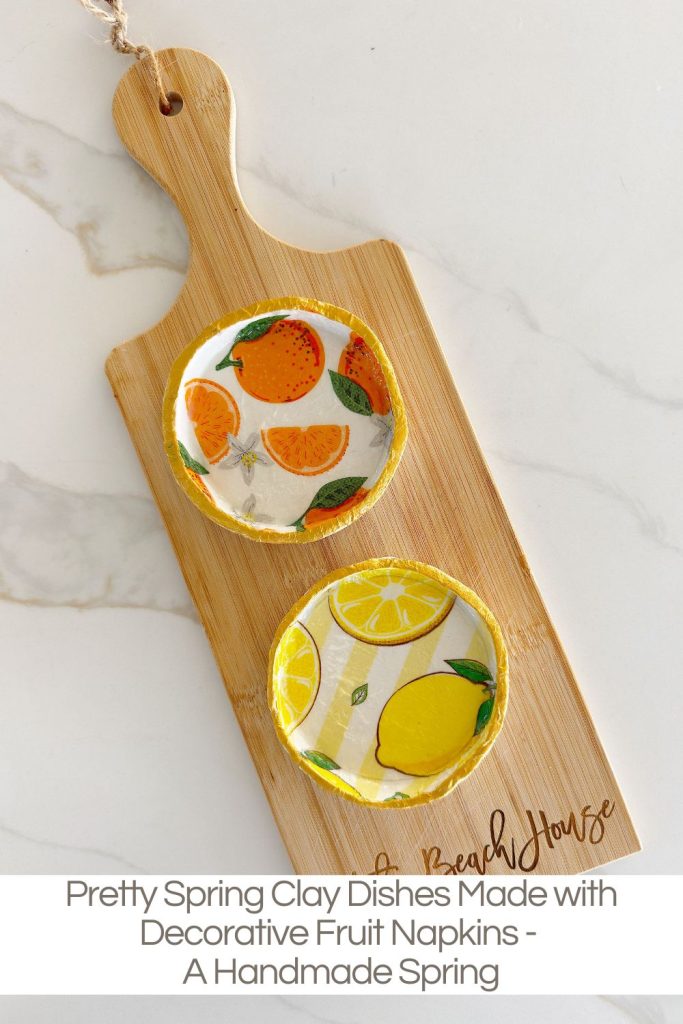
Pretty Spring Clay Dishes Made with Decorative Fruit Napkins – A Handmade Spring

These Pretty Spring Clay Dishes Made with Decorative Fruit Napkins are cheerful, easy to make, and incredibly versatile.
I love projects that feel elevated yet approachable, and this one checks all the boxes. Using air-dry clay, decorative fruit-themed napkins, and a few basic craft supplies, you can create small dishes that look like handmade ceramic pieces.


Pretty Spring Clay Dishes Made with Decorative Fruit Napkins
A Handmade Spring
This project is the fourth installment in my new A Handmade Spring series, and I am having so much fun exploring fresh, creative ideas that celebrate the season.
After the incredible response to A Handmade Christmas, I knew I wanted to continue the tradition with a collection of spring-inspired crafts that feel cheerful, approachable, and full of personality.
Each week, I share a new project that brings a little handmade beauty into our homes, and these pretty clay dishes with decorative fruit napkins are among my favorite creations so far.
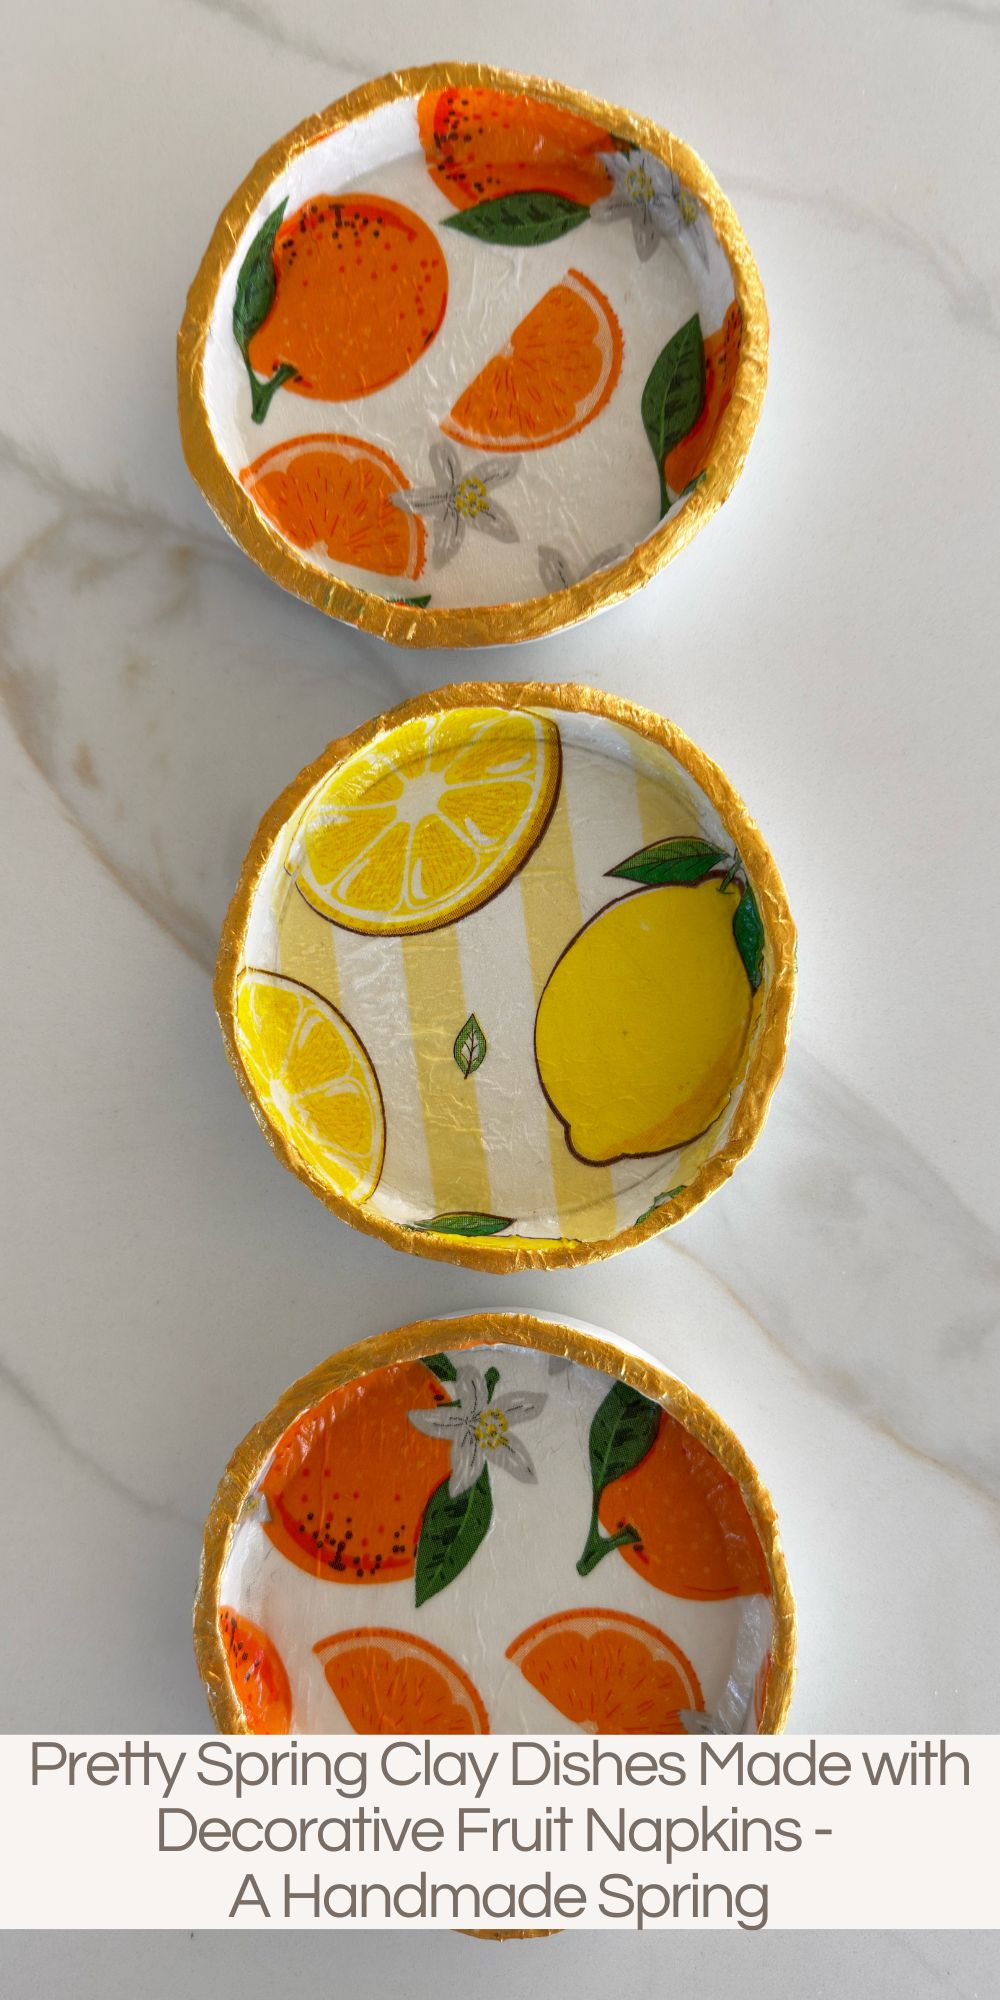
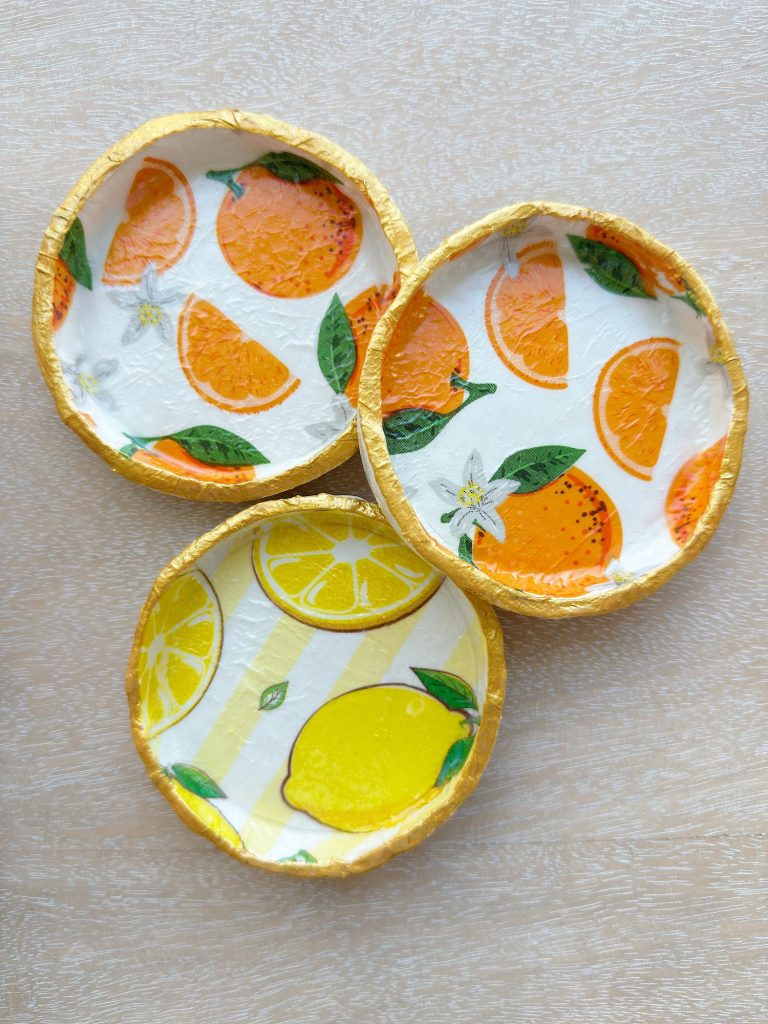
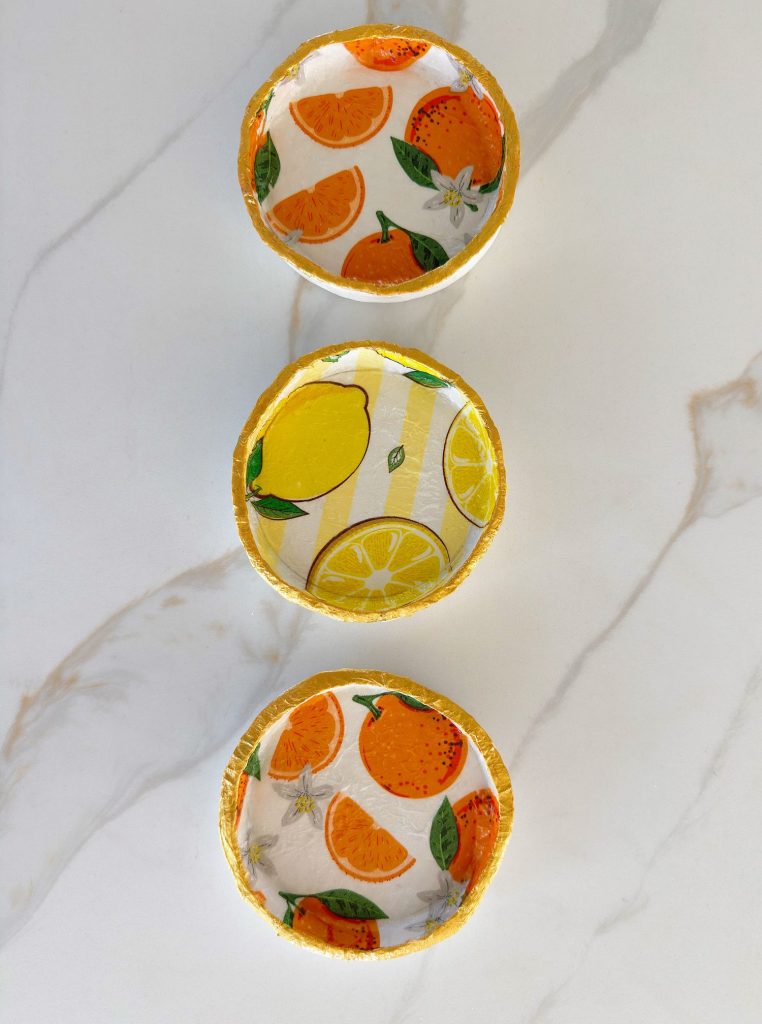
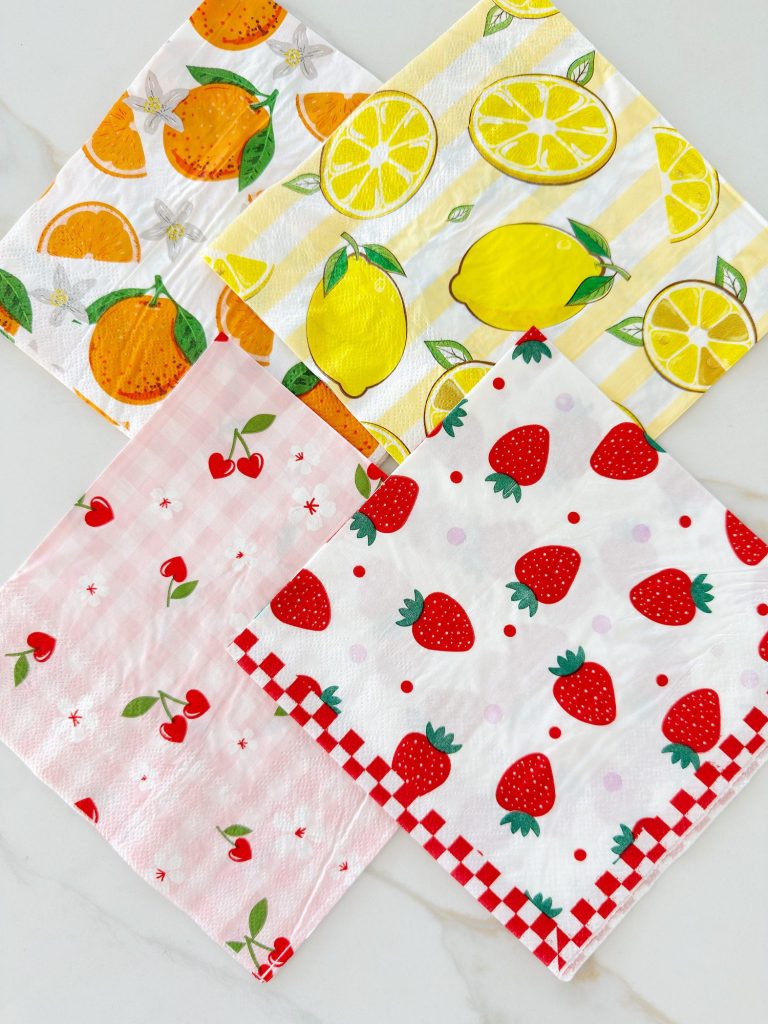
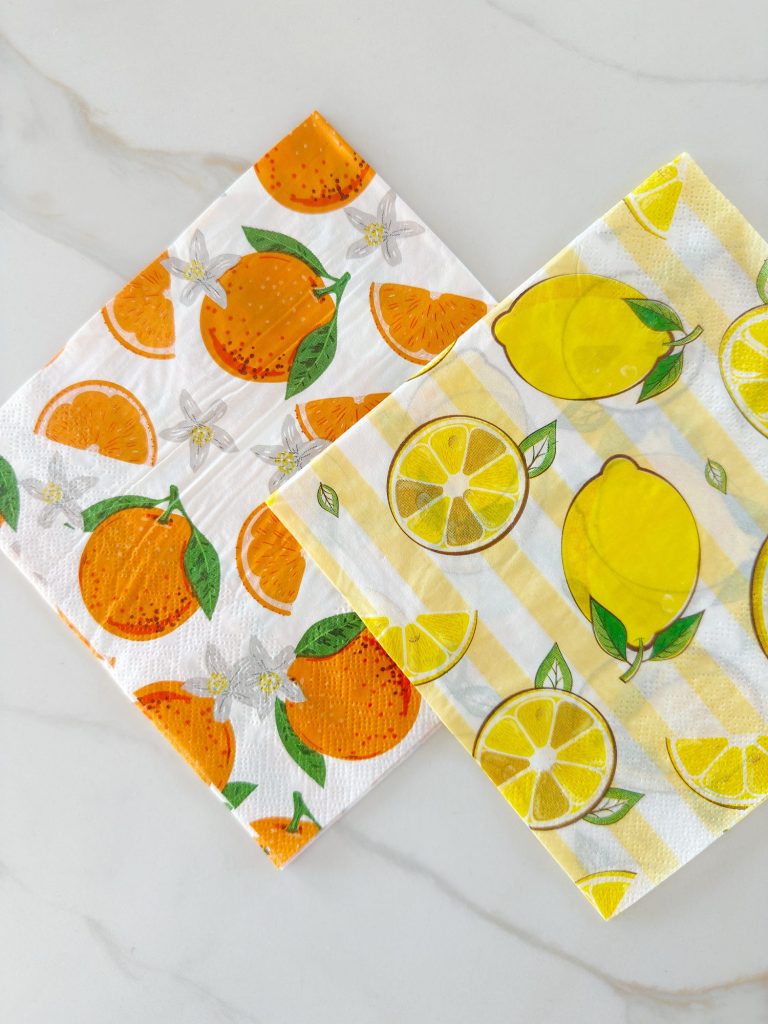
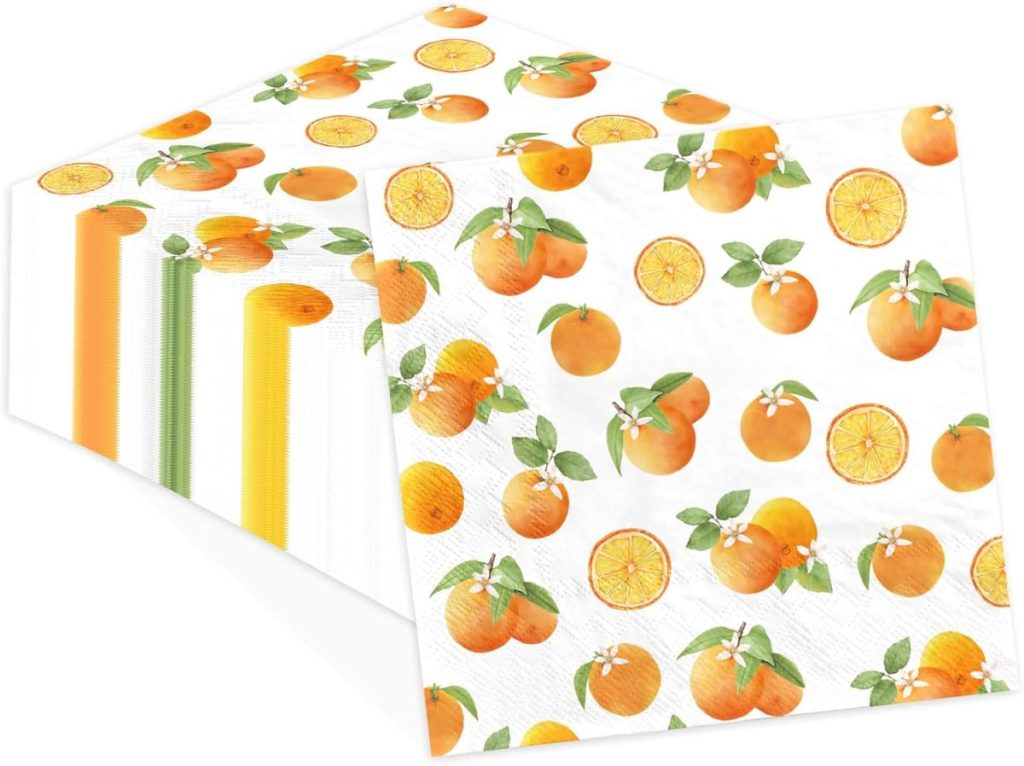
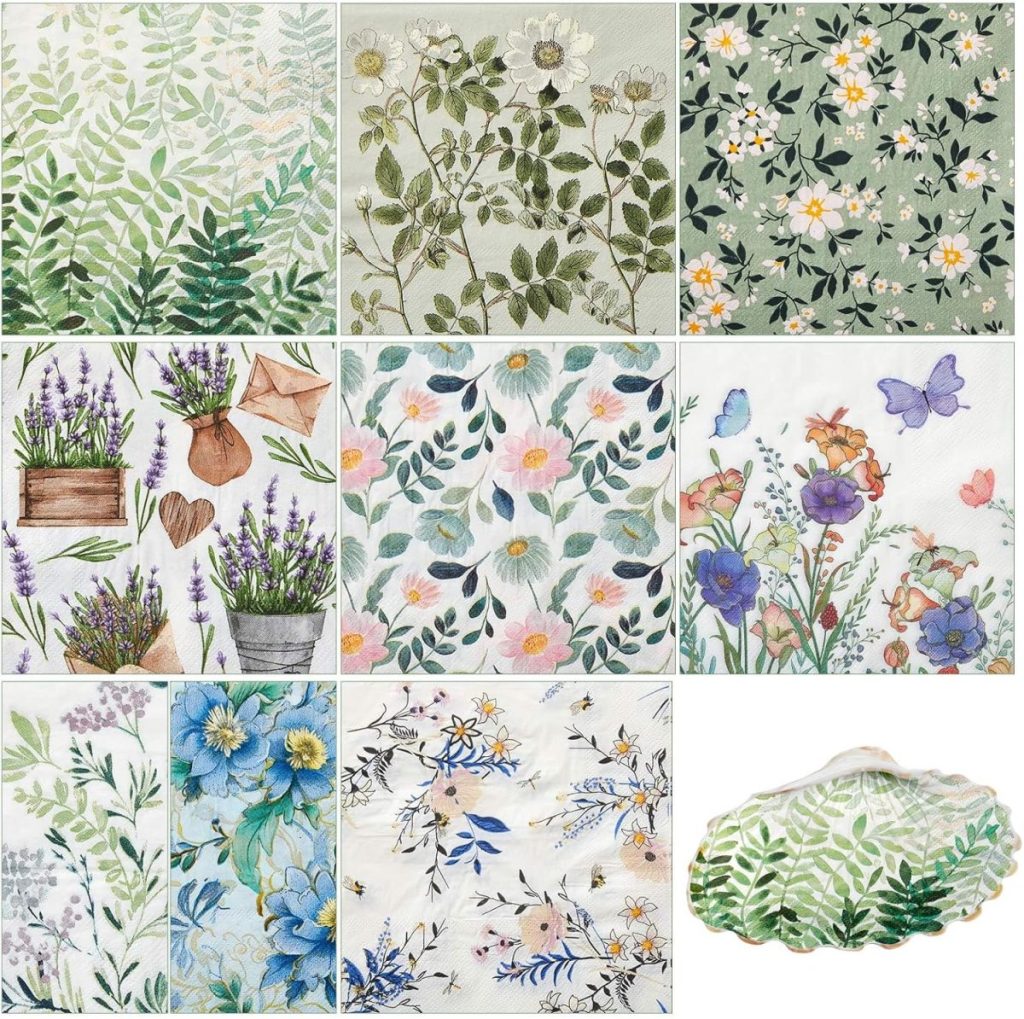
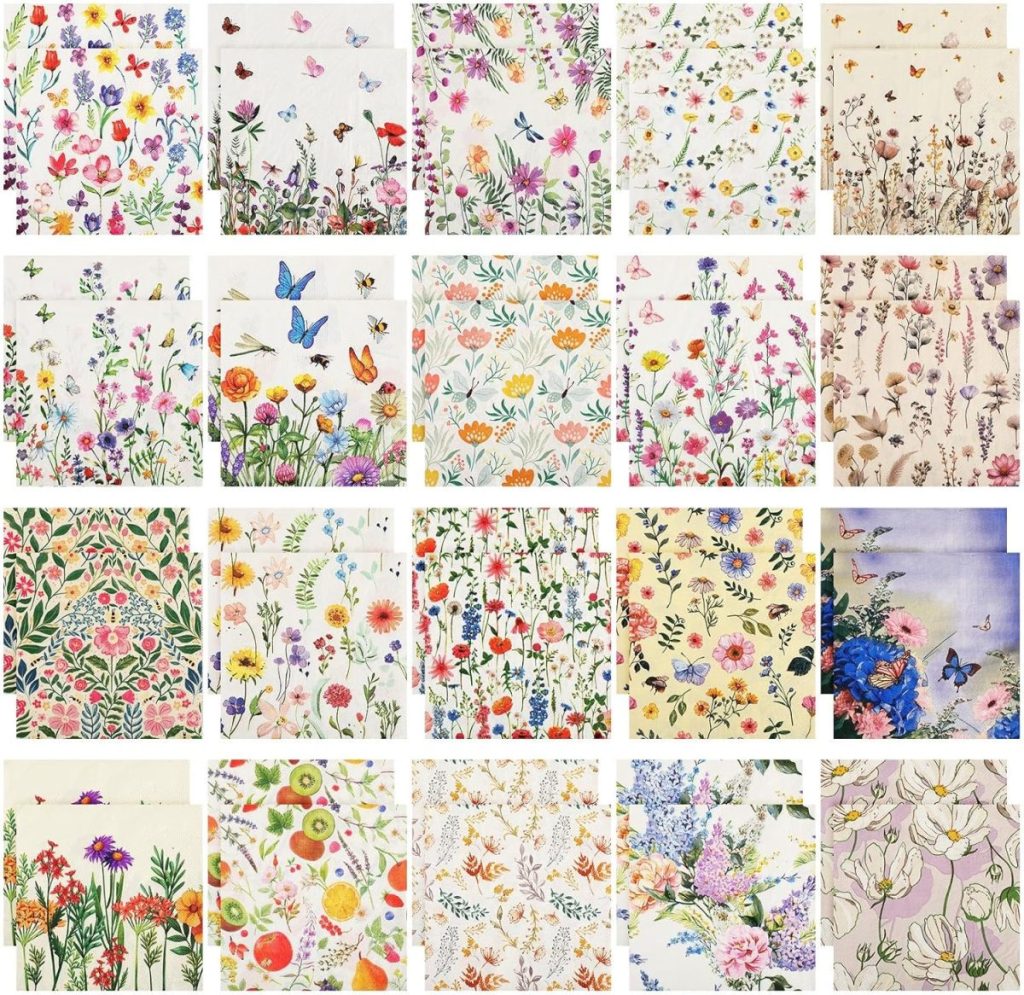
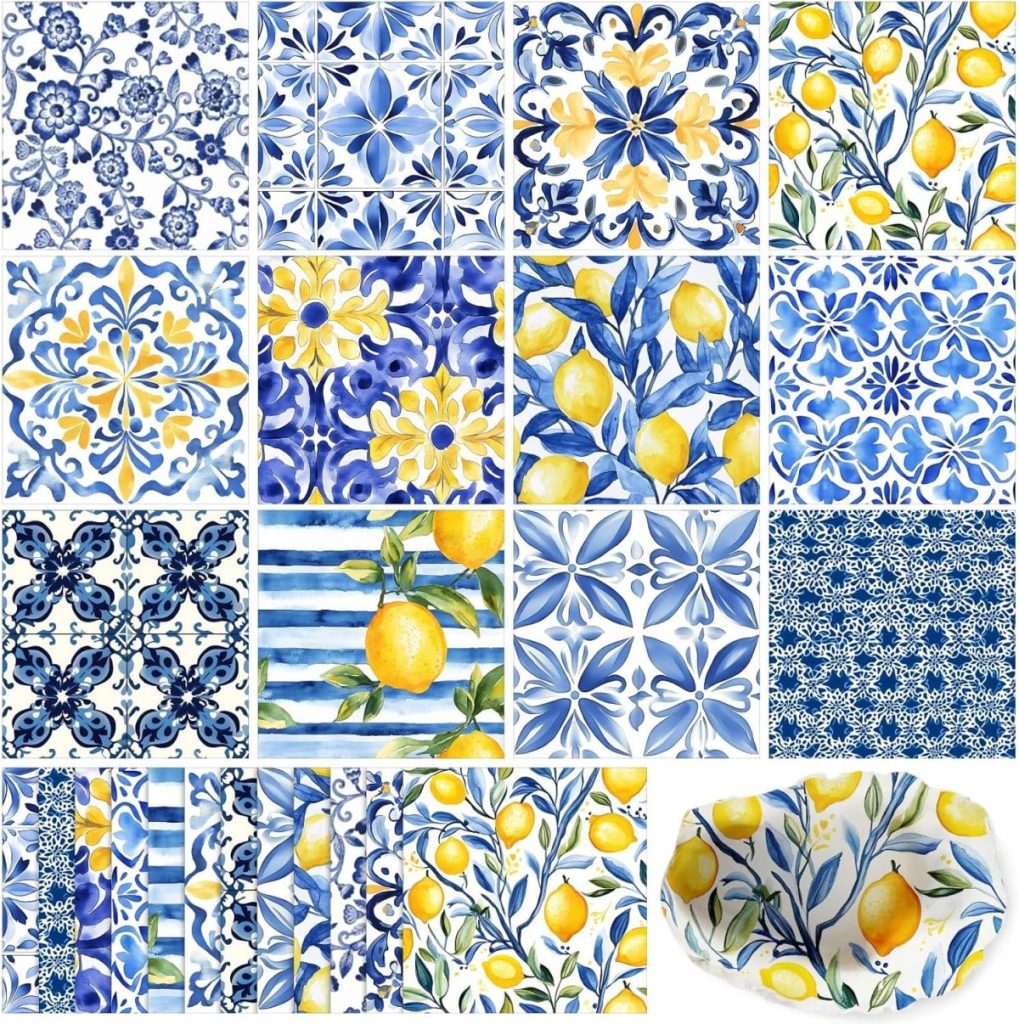
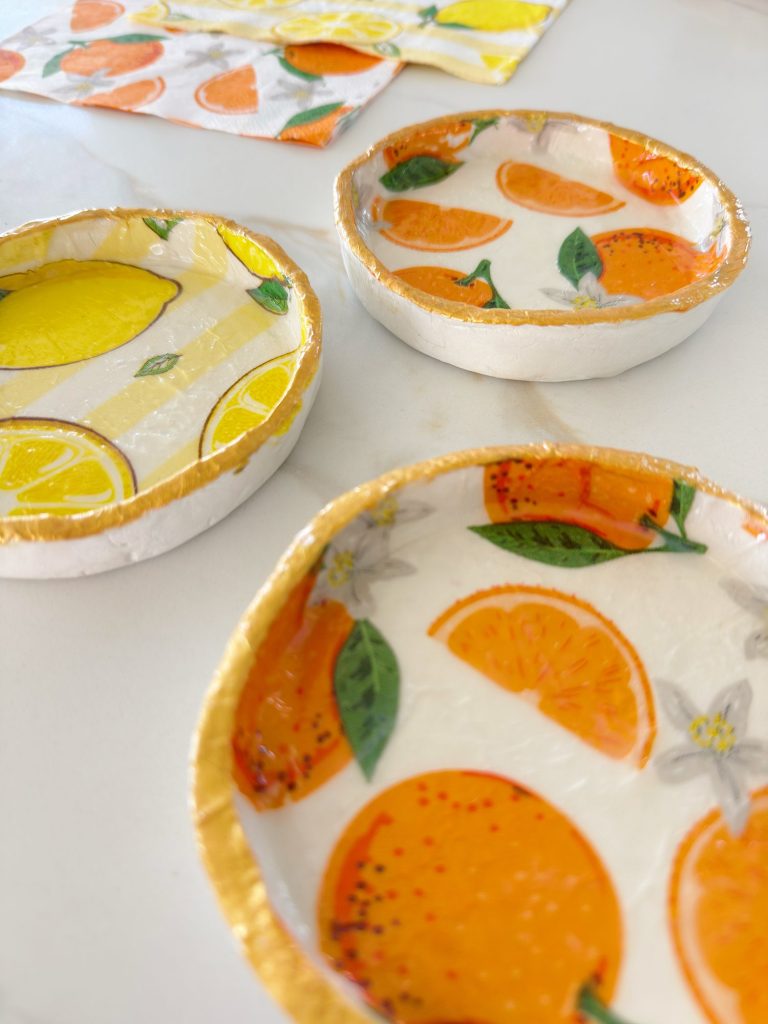
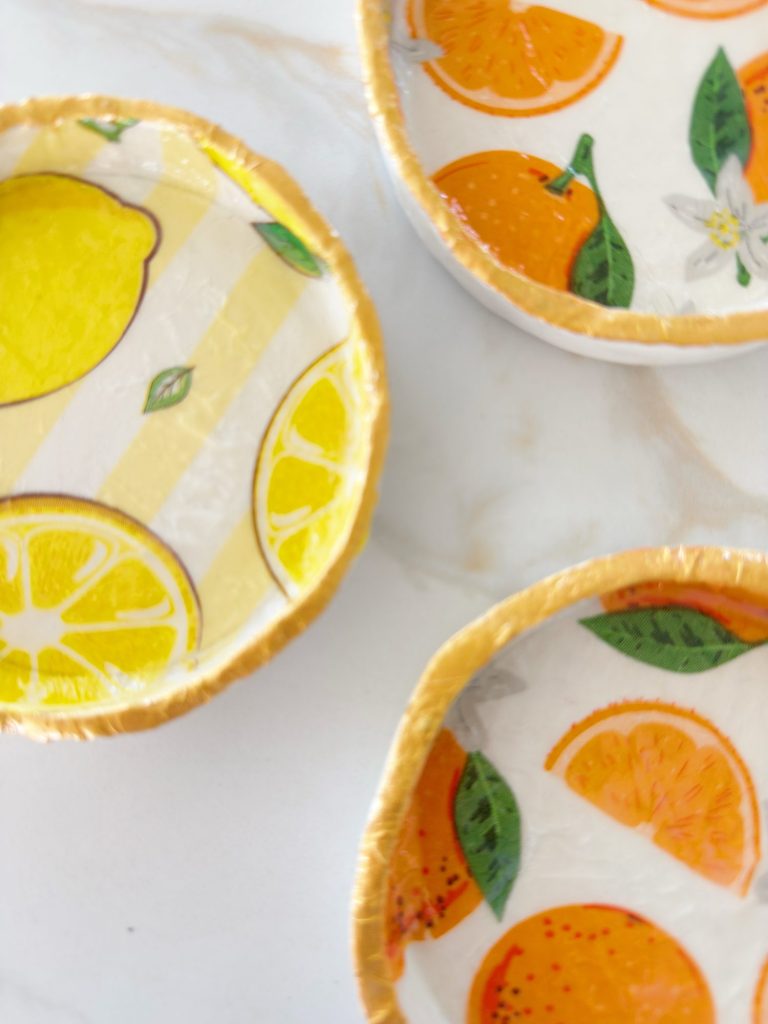
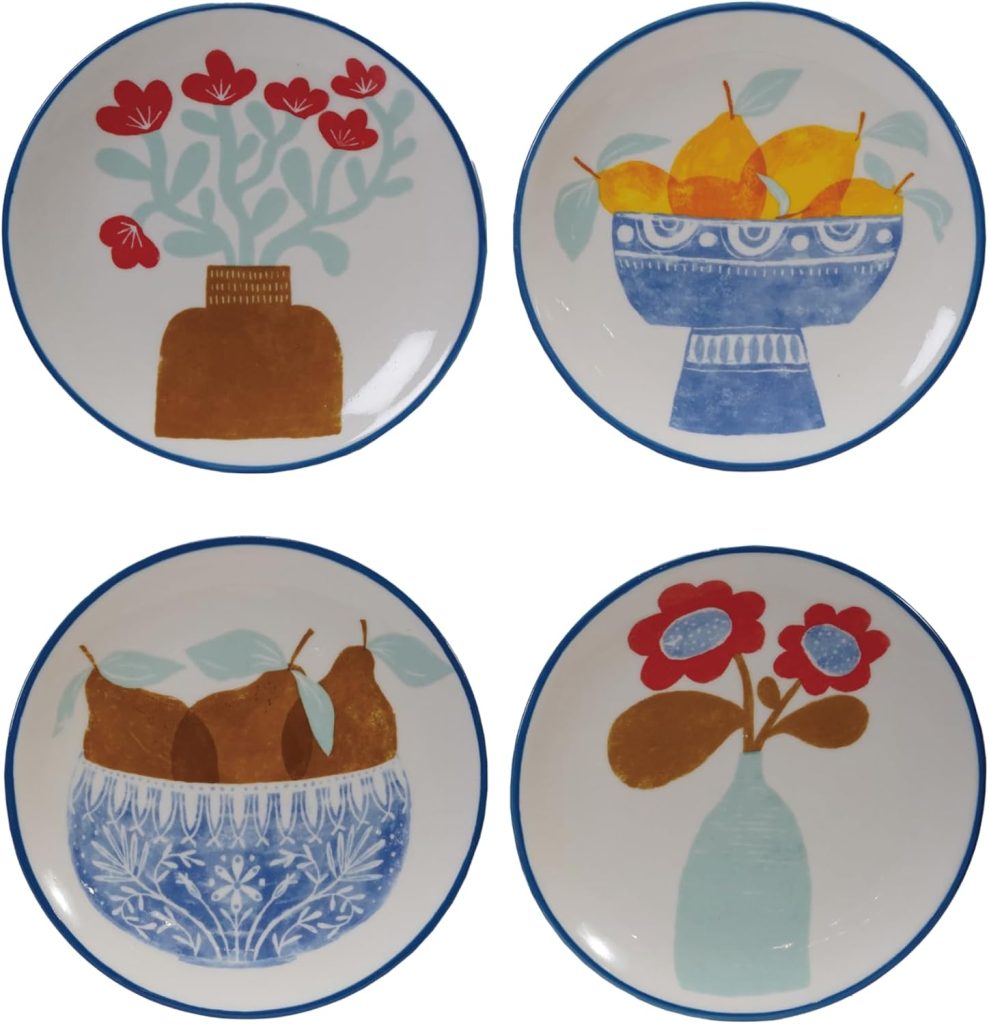
The best part of this project is that each dish becomes completely unique depending on the napkin design you choose. Lemons, oranges, cherries, or strawberries, or any spring-inspired pattern, instantly transform these little bowls into something special.
Let me show you exactly how I made them.
Why I Love This Spring Craft
Spring is the season of fresh starts, and nothing inspires me more than bringing new colors and textures into my home. These dishes add a playful pop of color while still feeling polished and timeless.
I especially love that this project combines several crafting techniques:
- Air dry clay shaping
- Decoupage with decorative napkins
- Creating a ceramic-style glazed finish
The result is something that looks much more complicated than it actually is. And honestly, those are always my favorite projects.
These dishes can be used in so many ways:
- Jewelry or ring dishes
- Soap dishes
- Small serving dishes for wrapped candies
- Decorative trays on a coffee table or nightstand
- Seasonal styling pieces
They are also wonderful, handmade gifts.
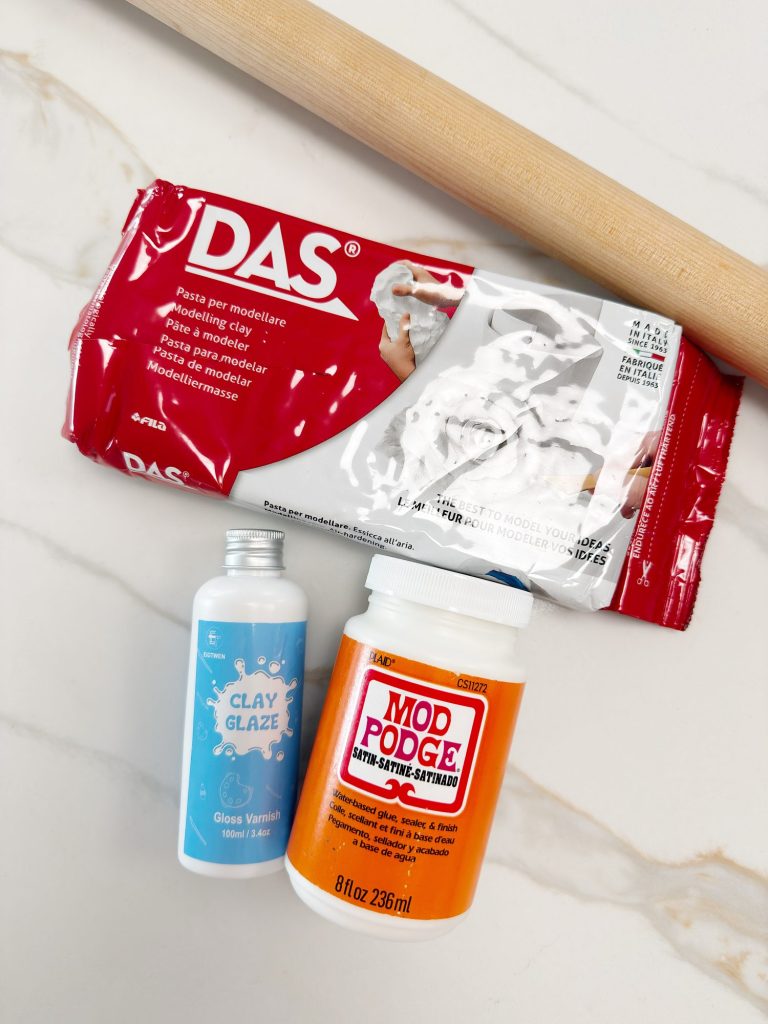
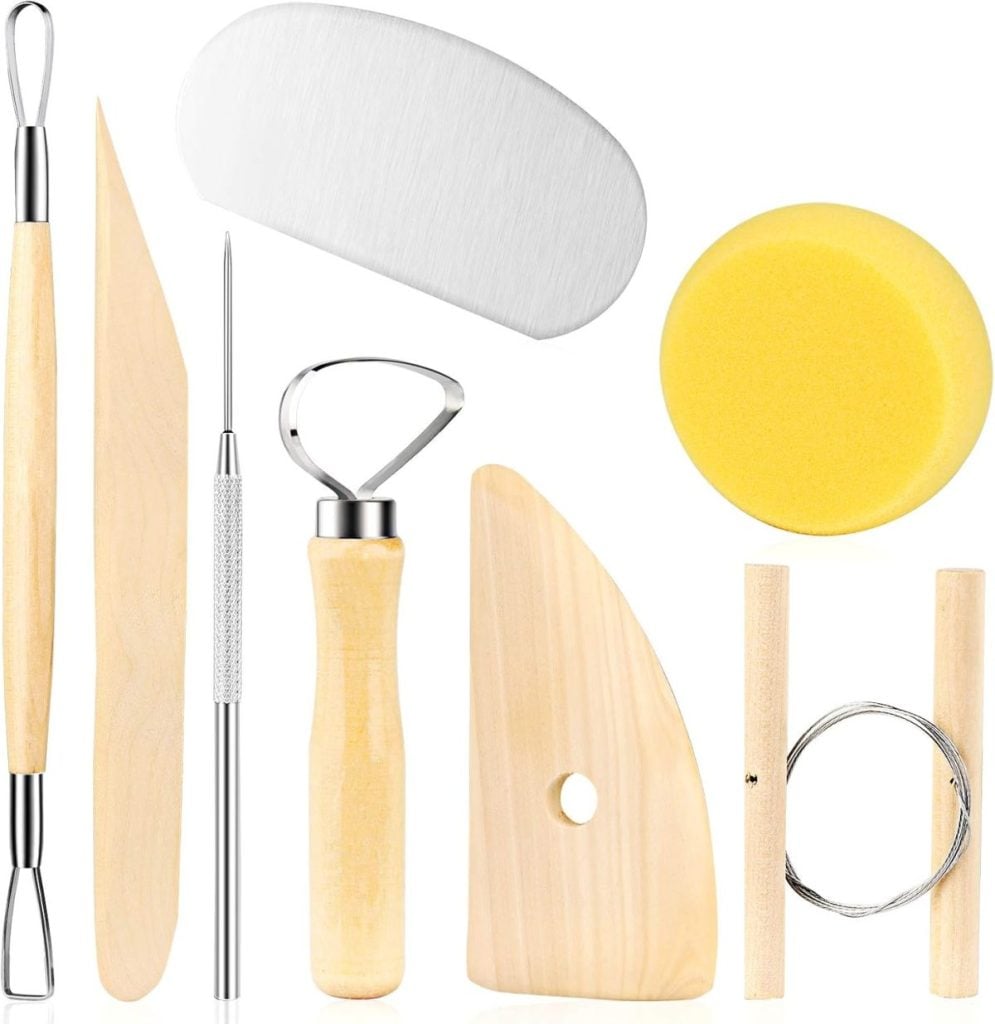
Supplies You Will Need
One reason this project is so enjoyable is that it requires very few tools.
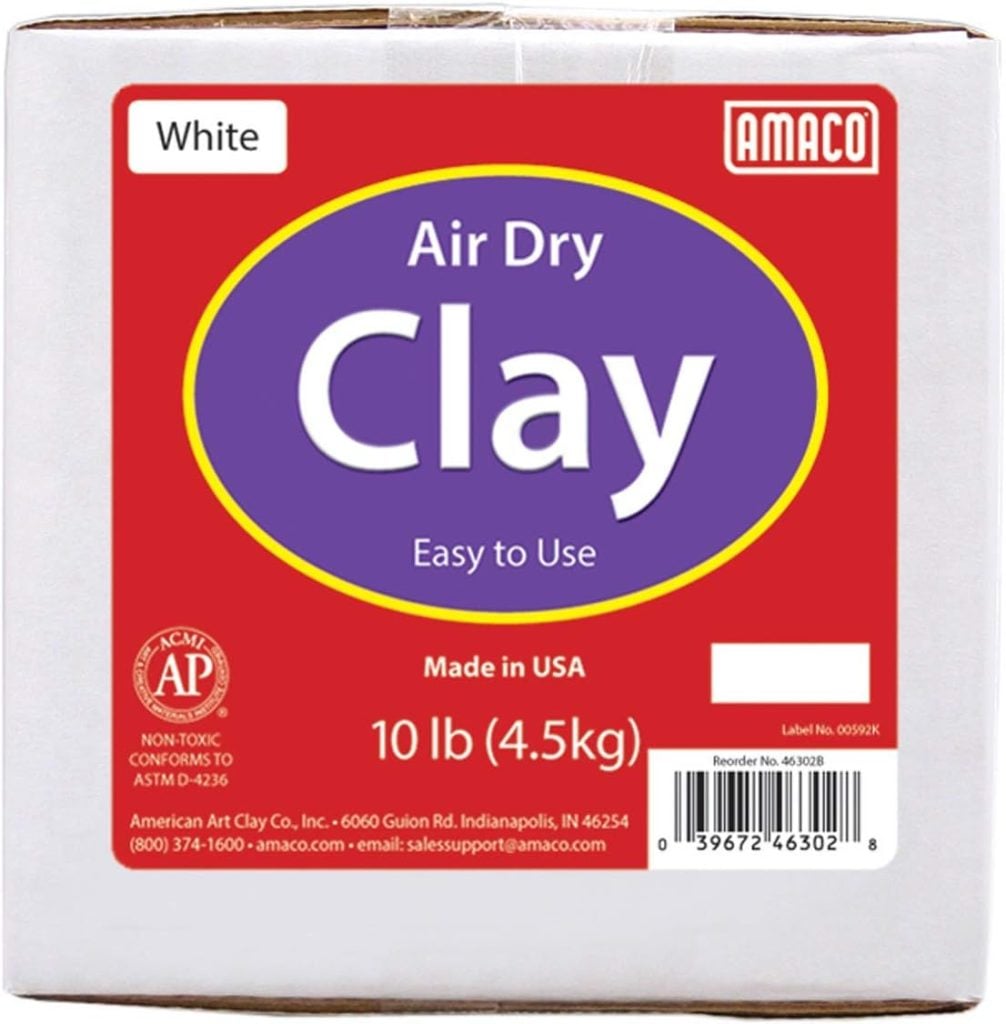
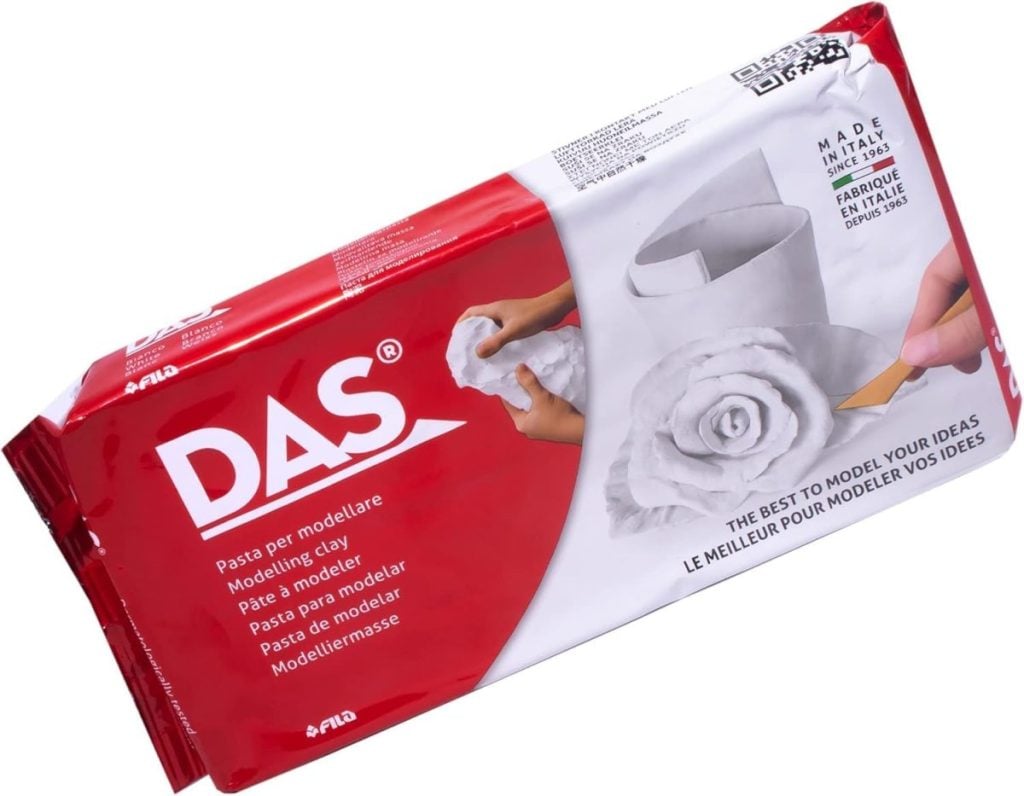
- Air Dry Clay
- Decorative fruit-themed paper napkins
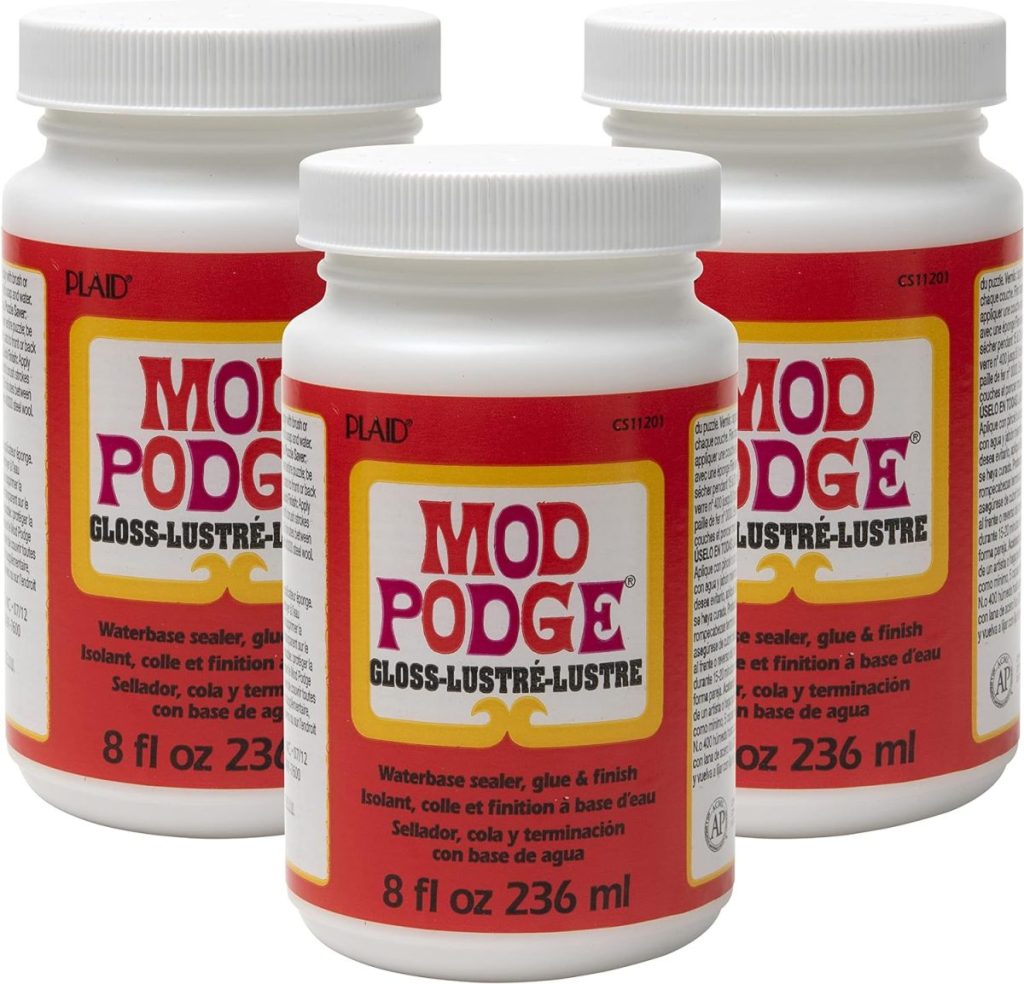
- Mod Podge
- Clay Glaze (for the ceramic finish)
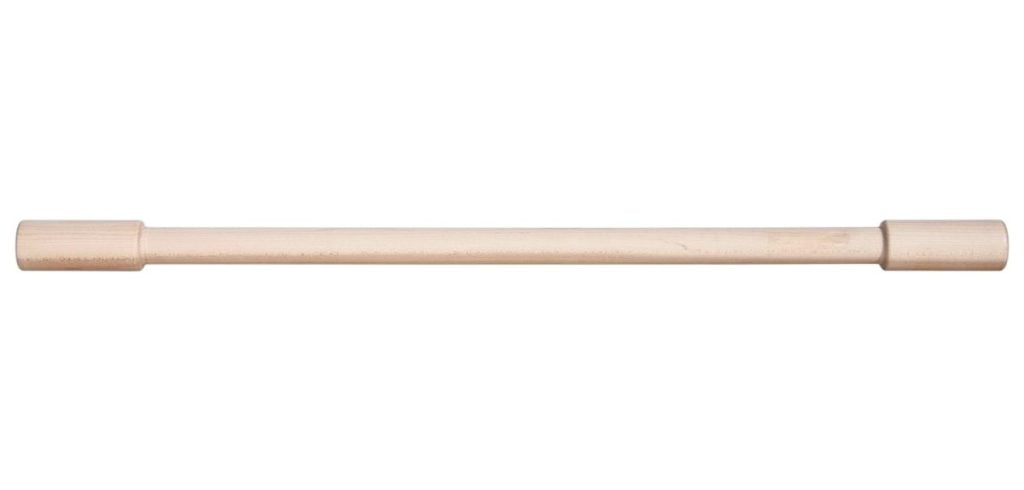
- Rolling pin
- Craft knife or clay tool
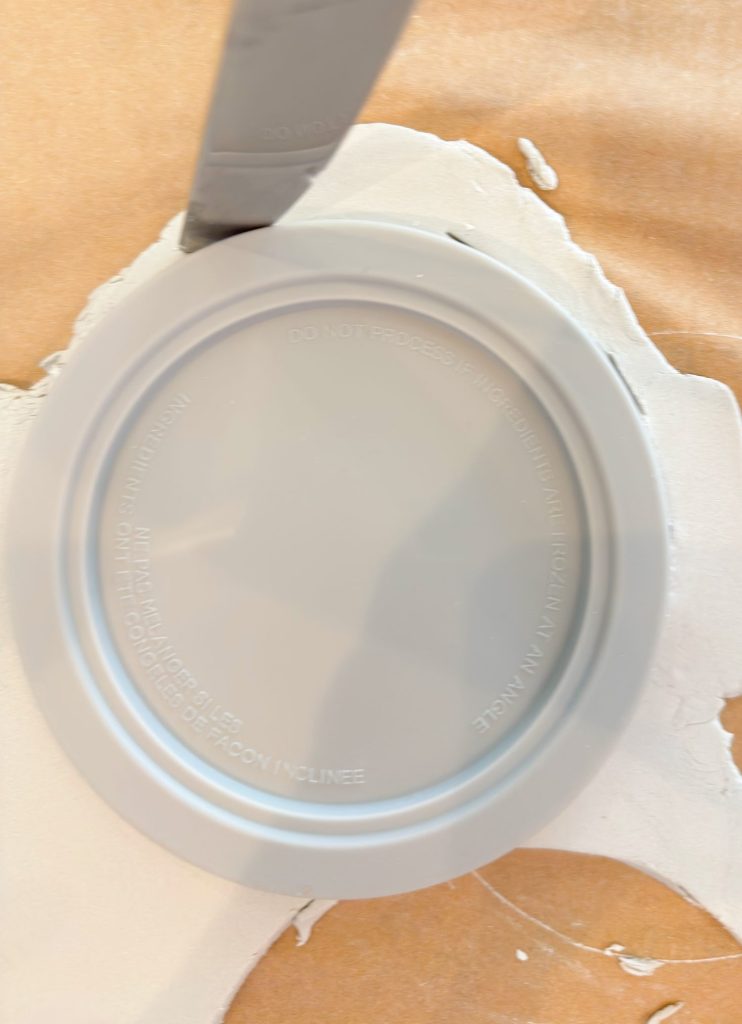
- Anthropologie candle lid or similar round mold
- Parchment paper or non-stick mat
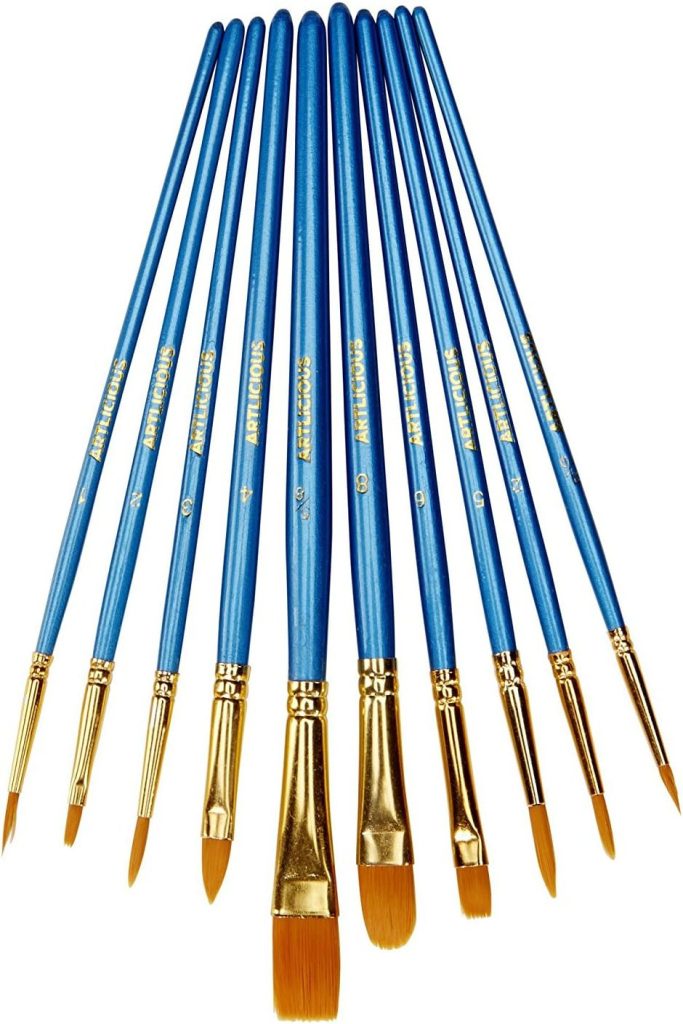
- Paintbrushes
On this blog, I may sometimes use affiliate links, which means I earn a small commission if you purchase through them. The price will be the same whether you use the affiliate link or go directly to the vendor’s website using a non-affiliate link.

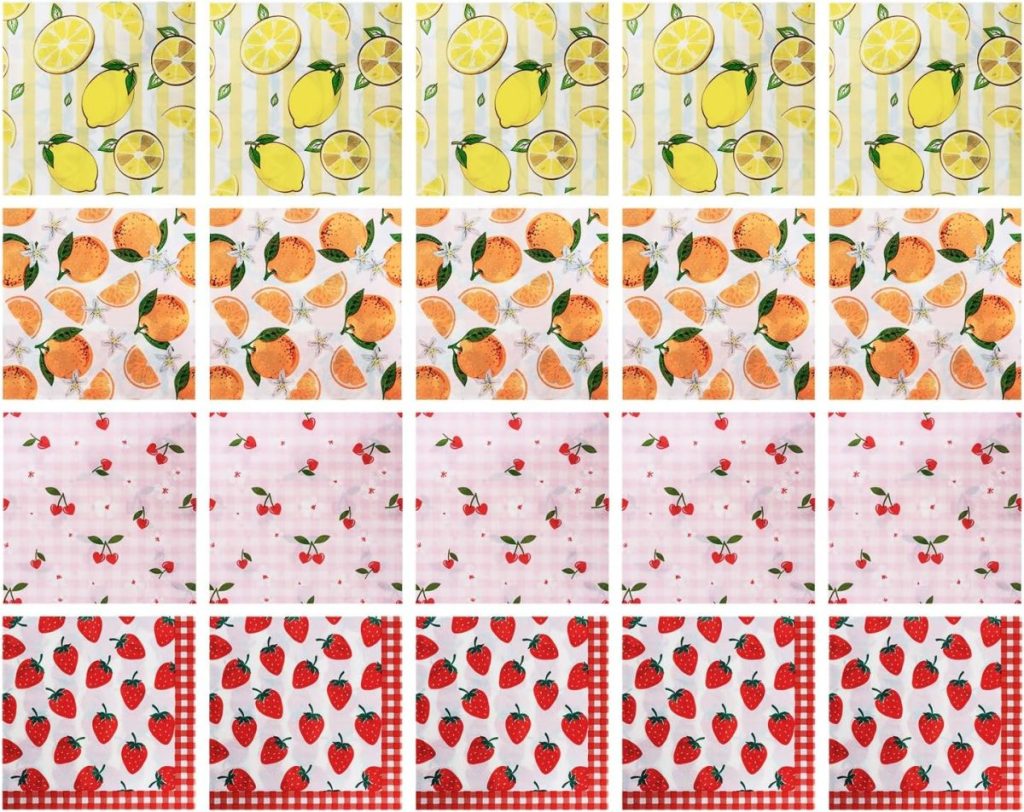
One thing that has made projects like this even more fun lately is that Amazon is now offering beautiful paper napkin sets specifically marketed for decoupage. These sets usually include multiple coordinating designs in one package, making it incredibly easy to mix patterns.
I love that you can get lemons, oranges, and strawberries, allowing you to create a cohesive collection while still giving each dish its own personality. Having a variety of matching designs takes the guesswork out and makes it easy to create a curated, intentional set without searching for individual napkins.
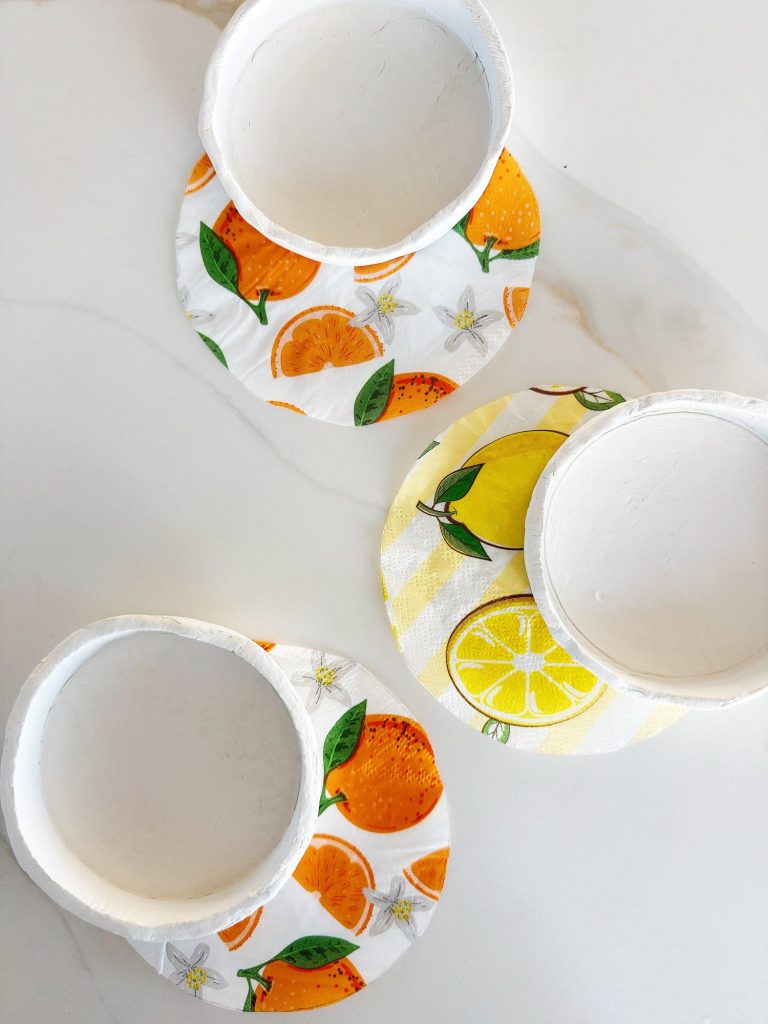
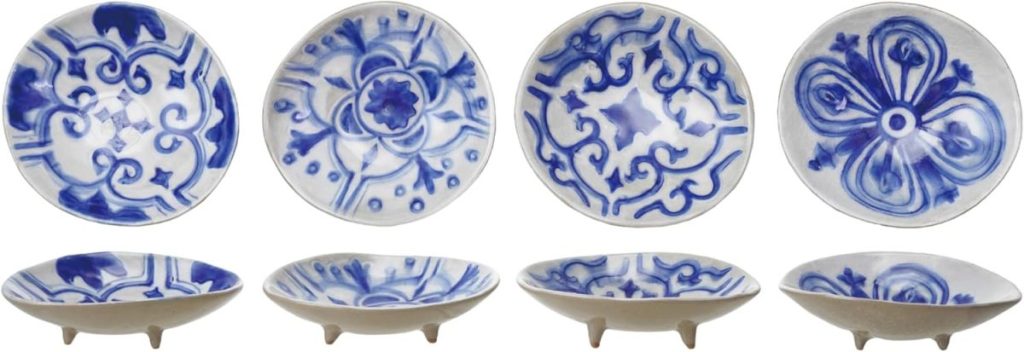
Using a candle lid as a mold is one of my favorite crafting shortcuts. The shape is already perfect, ensuring that every dish looks uniform.
Here are lots of multi-design paper napkins.


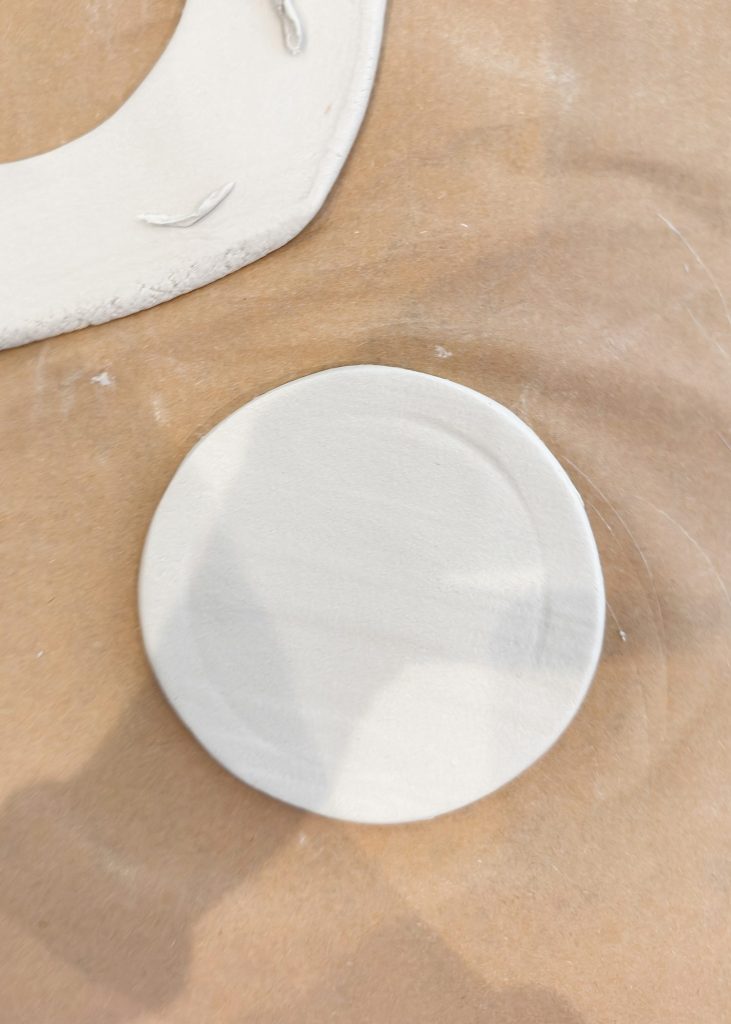
Step One: Shaping the Clay
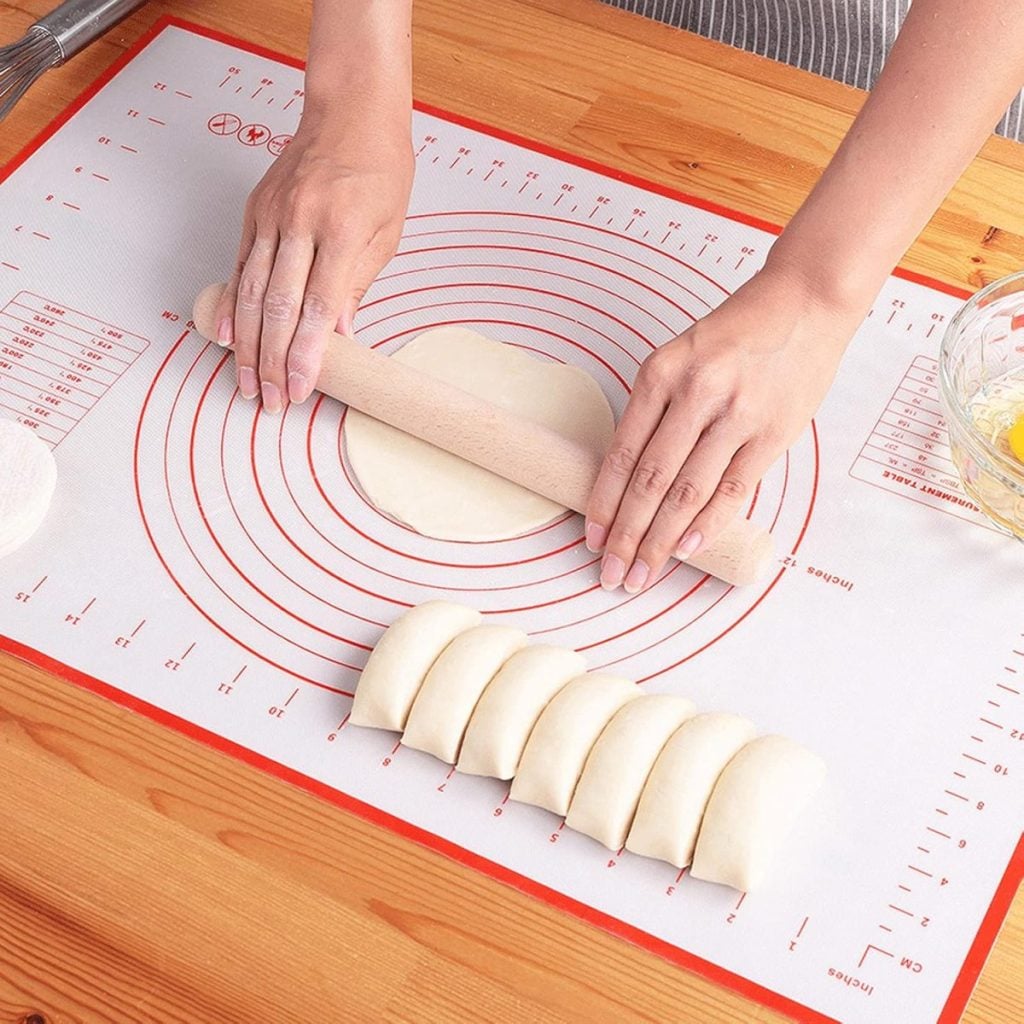
To begin, roll out your air-dry clay on a smooth surface. I like to use parchment paper because it prevents sticking and makes cleanup easy.
Roll the clay to an even thickness. You do not want it too thin because the dish needs structure, but it also should not be overly thick.
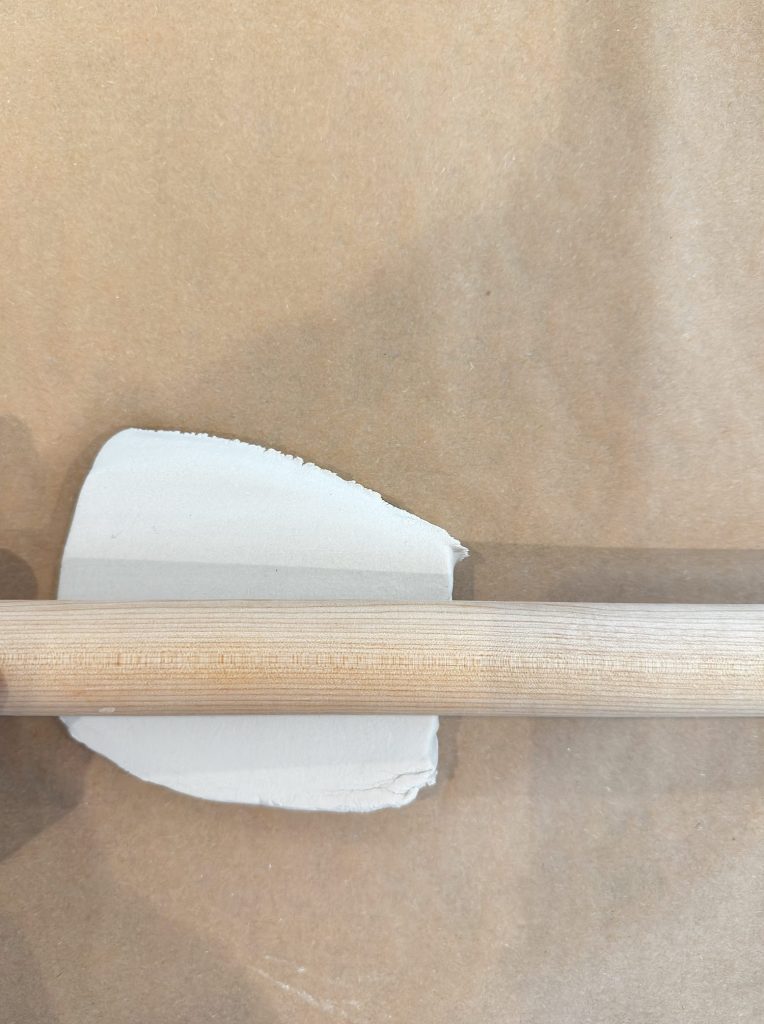
Next, place your candle lid upside down on the clay and cut a circle slightly larger than the lid. This extra size allows the clay to wrap around the edges, creating a gentle bowl shape.
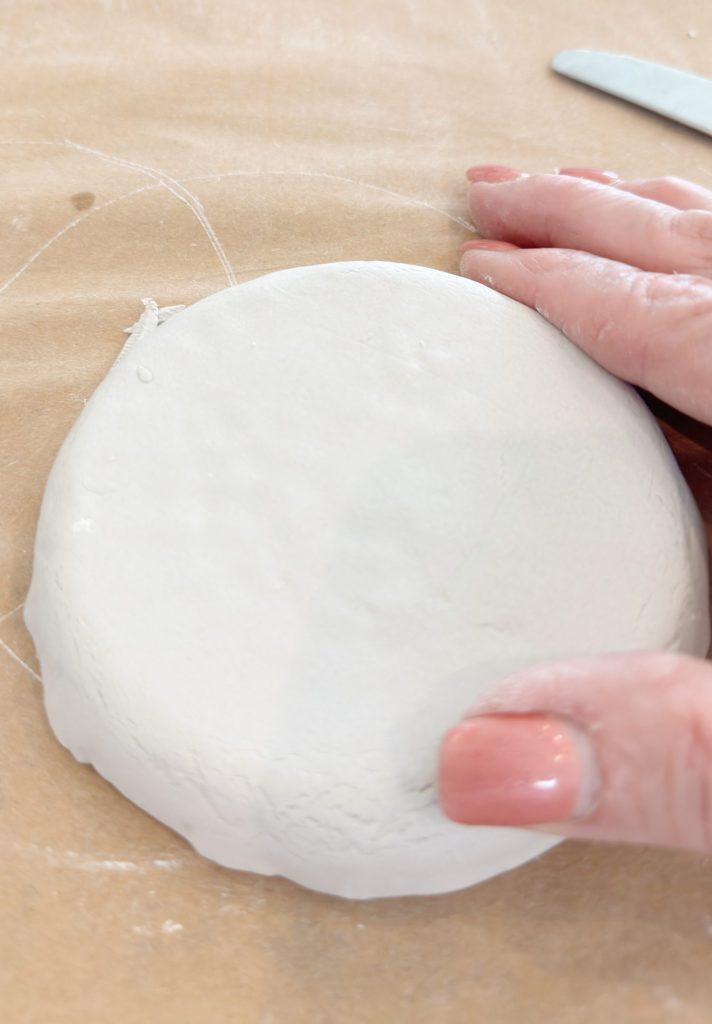
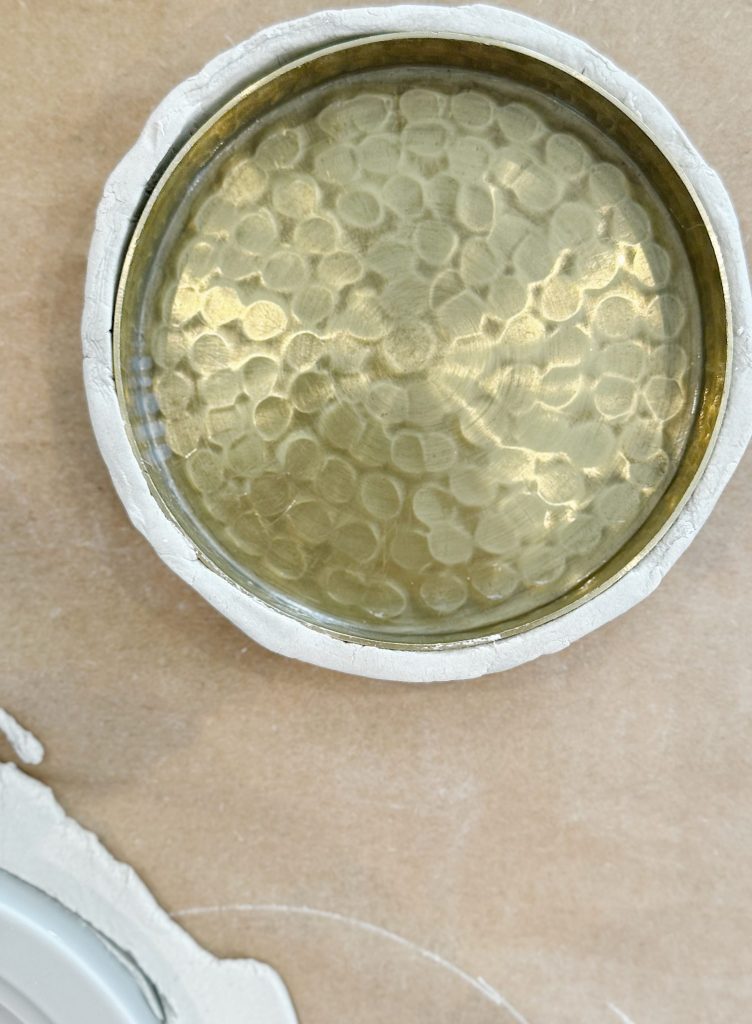
Carefully lift the clay circle and drape it over the lid. Use your fingers to smooth and shape the clay so it conforms to the mold. This is where you can add subtle character to the piece. I personally love slightly imperfect edges because they feel handmade and organic.
Once the shape is uniform, remove the lid mold and set the clay piece aside to dry completely.
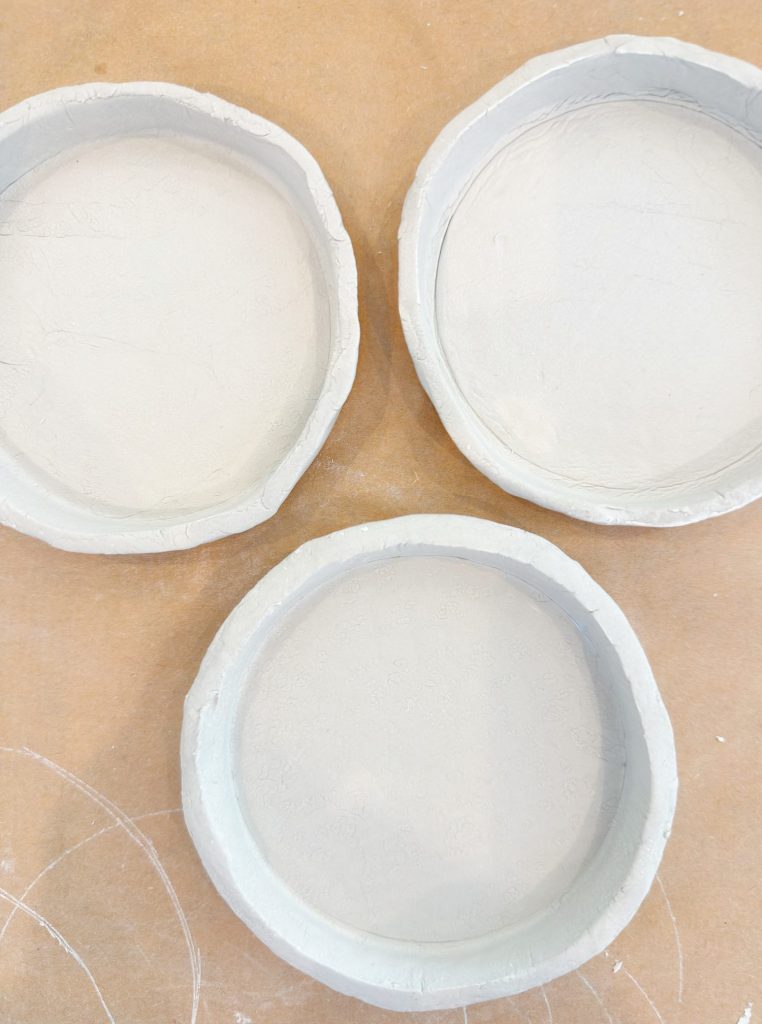
Air-dry clay takes patience, but the drying process is essential for achieving a smooth finished result.
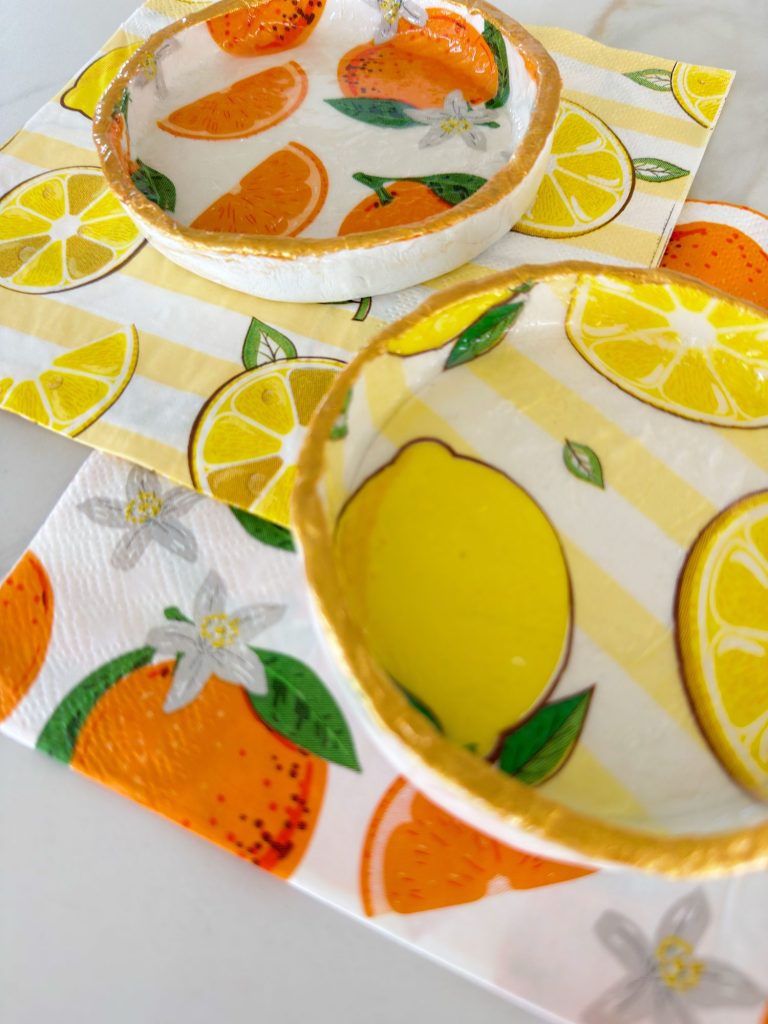
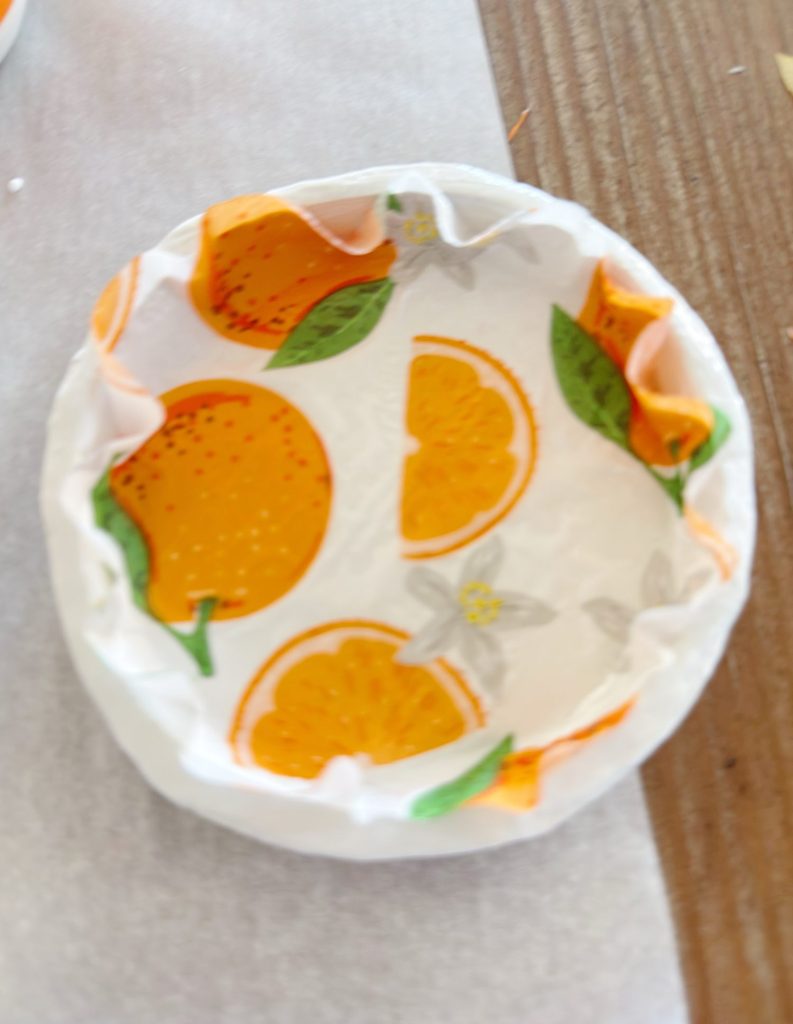
Step Two: Preparing the Decorative Napkins
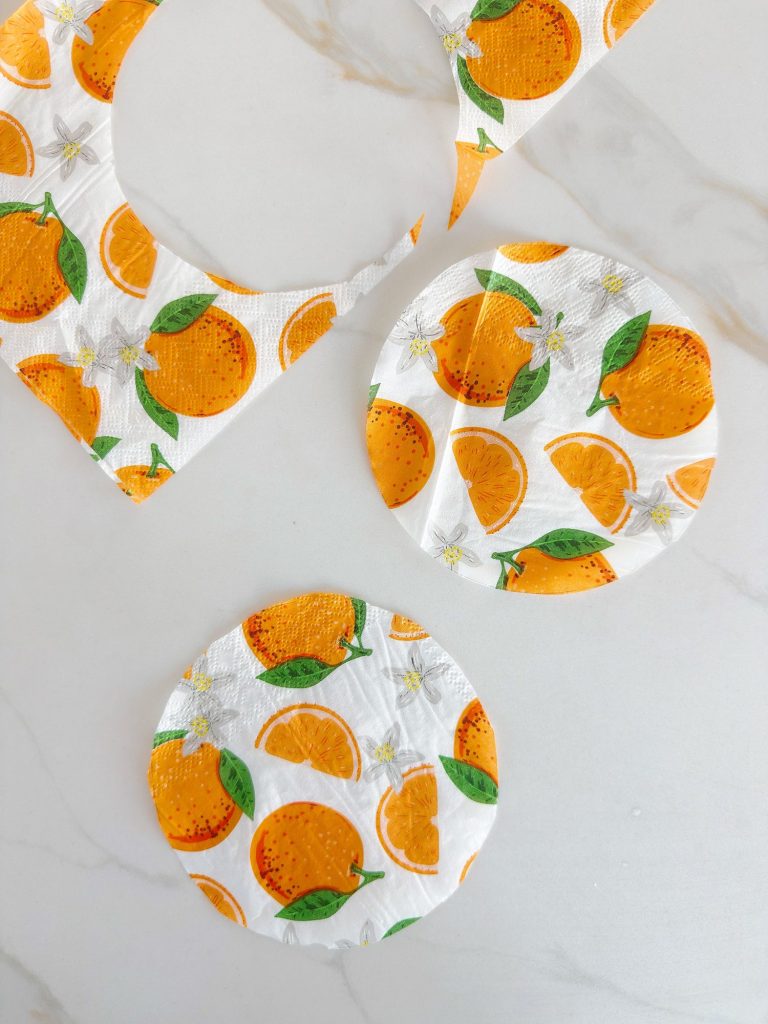
Decorative paper napkins are one of my favorite crafting materials because they instantly add color and detail.
Most decorative napkins are made of multiple layers, but for decoupage projects, you only want the top printed layer. Carefully separate the napkin layers until you are left with the thin decorative sheet.
This step is important because thicker layers can wrinkle or bubble during application.
Choose your pattern placement before applying adhesive. I like to plan where the fruit designs will sit so the final composition feels balanced.
Step Three: Applying the Napkins with Mod Podge
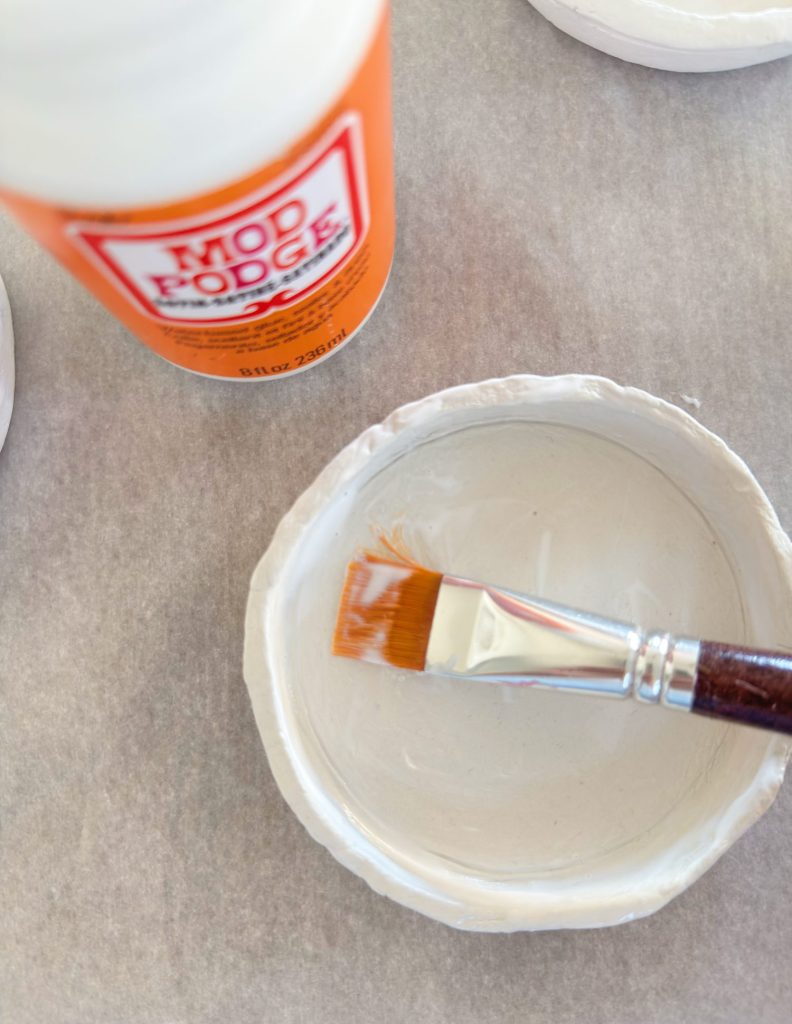
Once the clay dishes are fully dry, it is time for the transformation.
Brush a thin, even layer of Mod Podge onto the dish’s surface. Work slowly and avoid applying too much product, as excess moisture can cause tearing.
Cut the napkins into circles, slightly larger than the pattern you used.
Carefully place the napkin onto the dish, starting from the center and smoothing outward. Use gentle strokes to eliminate wrinkles. Because the napkin layer is delicate, take your time with this step.
After positioning the napkin, apply another light coat of Mod Podge over the top to seal it. Be gentle, as the napkin can tear if the pressure is too strong.
Apply the napkin to all sides of the dishes.
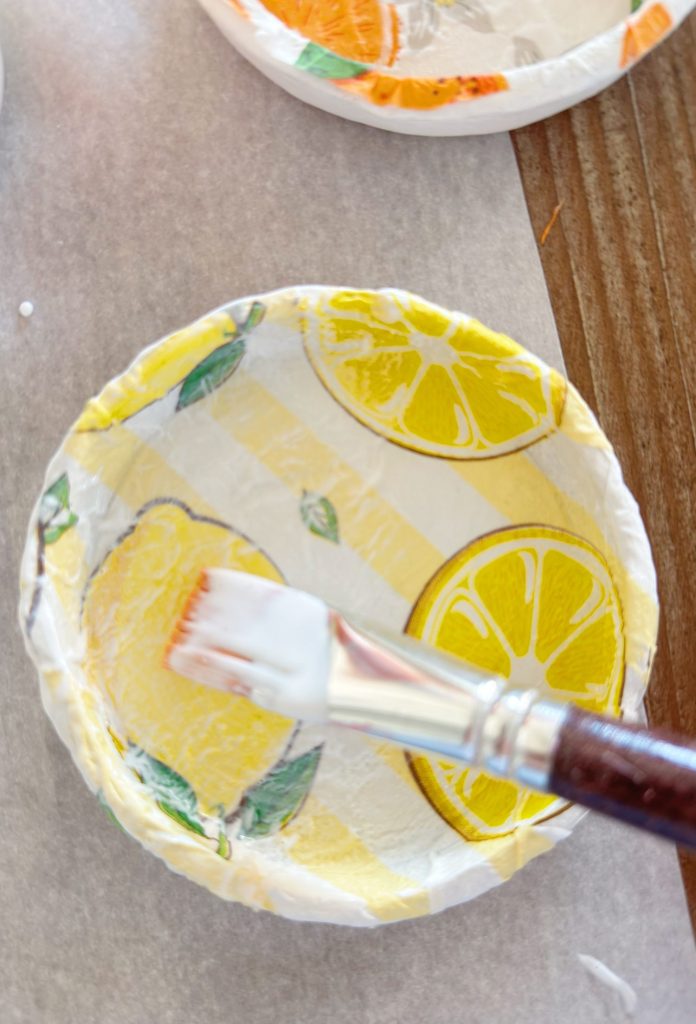
Let the dish dry completely before moving to the next stage.
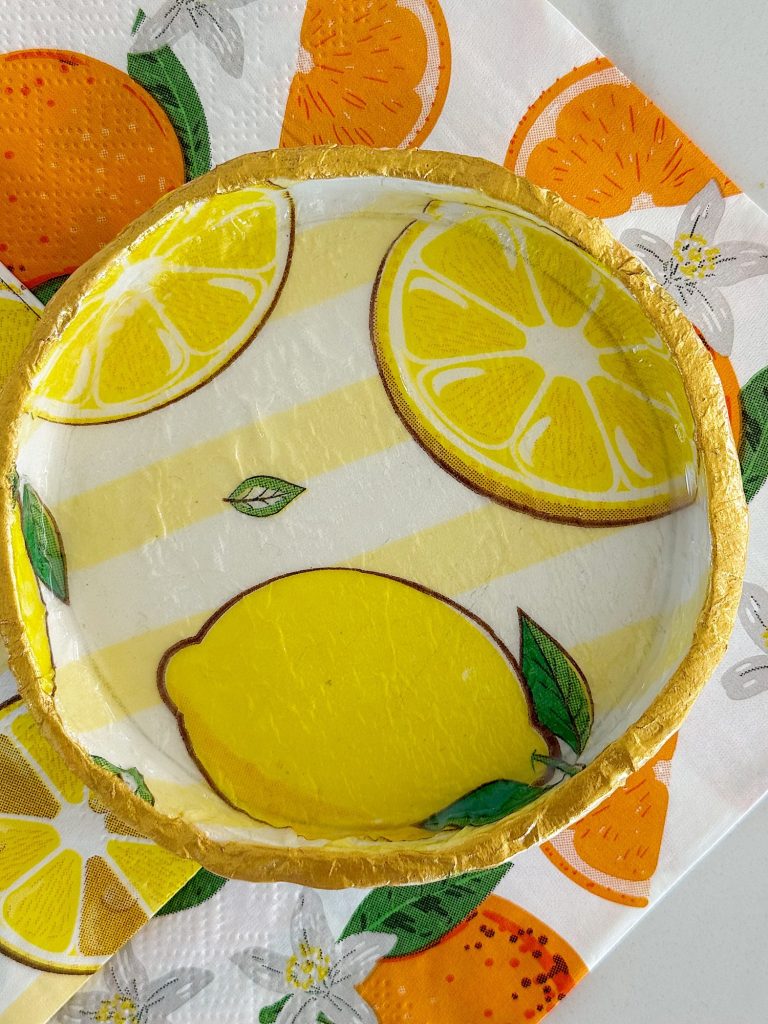
Step Four: Adding a Painted Edge Rim
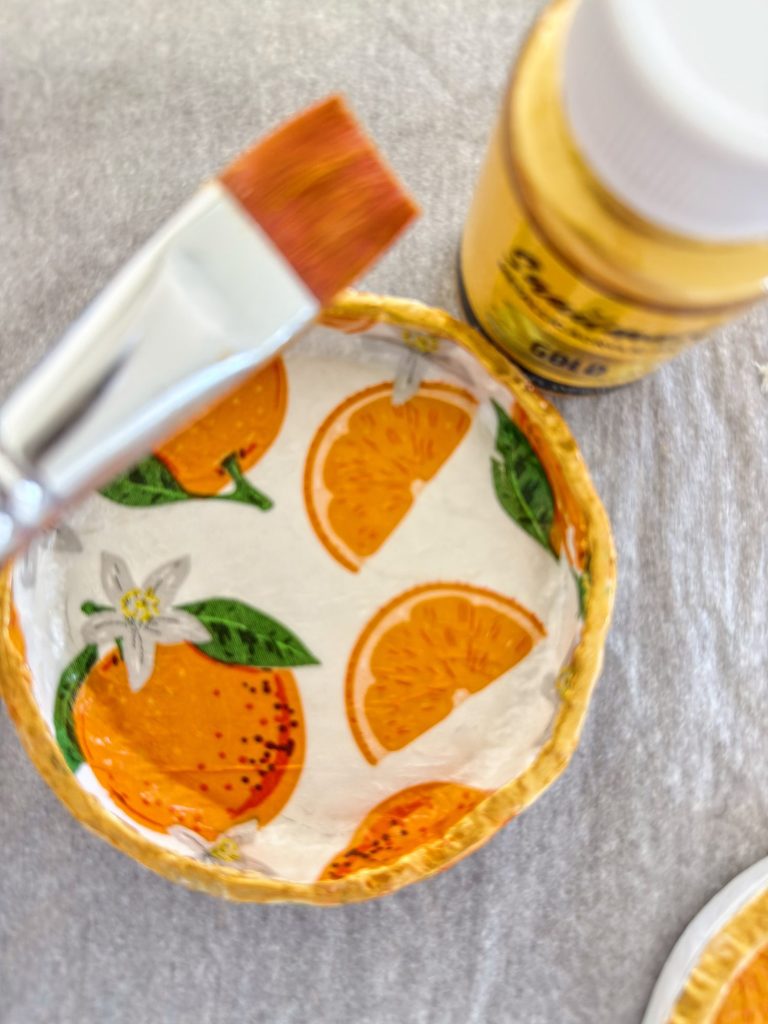
To finish my dishes, I added one extra detail that made a huge difference. After the glaze was fully dry, I lightly painted the edges with gold paint. This small step instantly elevated the pieces and gave them a more polished, almost boutique-style look.
The gold edge adds just enough shimmer to highlight the dish’s shape without overpowering the colorful fruit patterns. It is such an easy upgrade, but it makes the finished pieces feel more like handmade ceramics and less like a simple craft project.
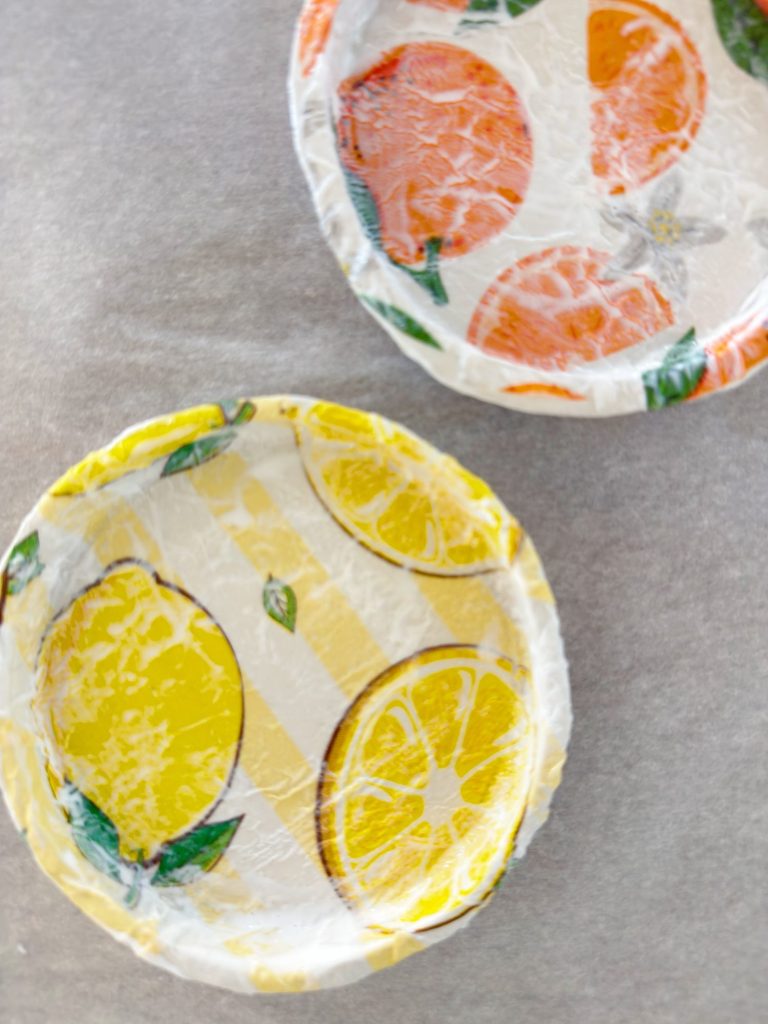
Step Five: Creating a Ceramic Look with Clay Glaze
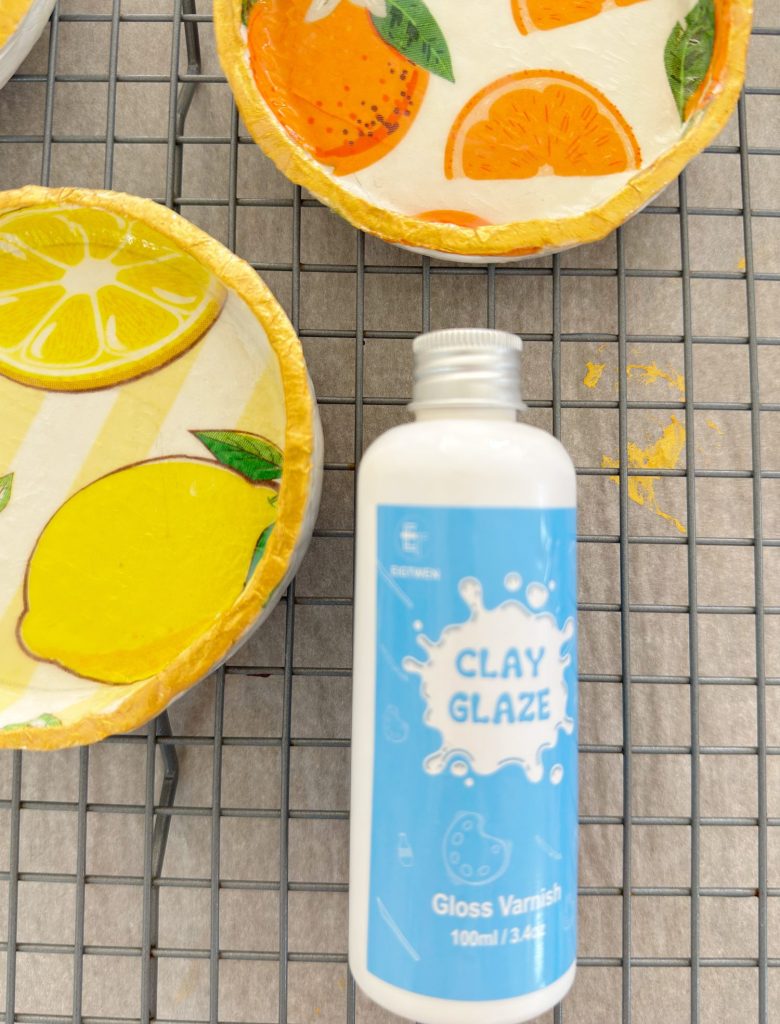
This final step is what truly elevates the project.
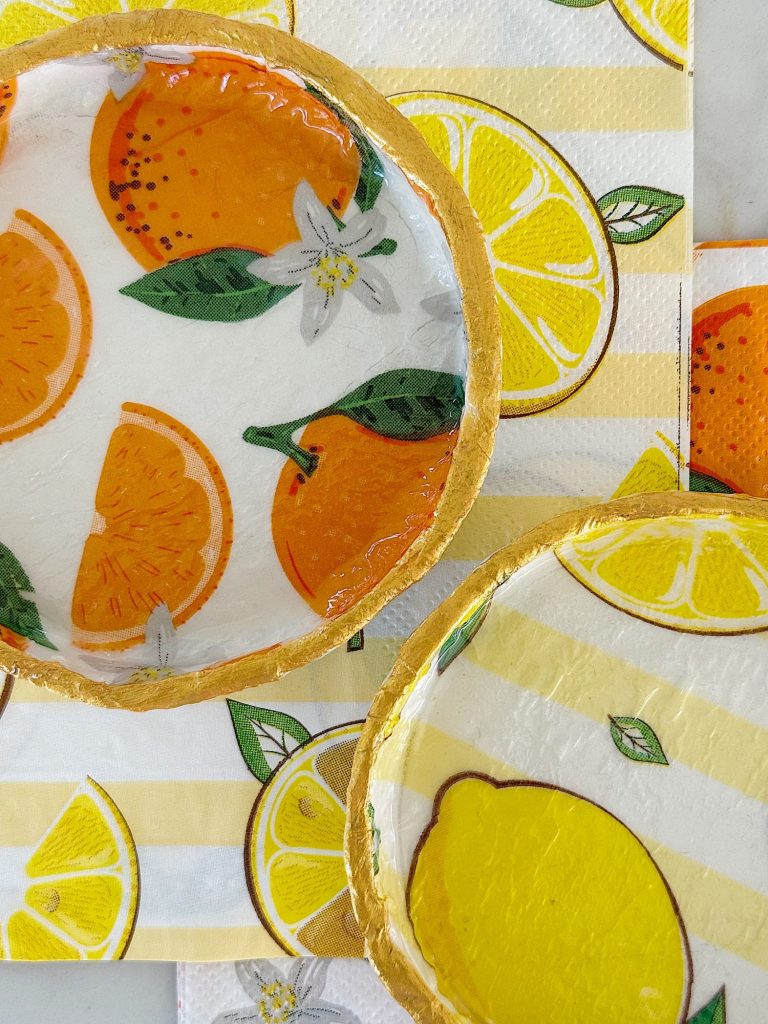
Once the decoupage layer is fully dry, apply Clay Glaze over the entire surface. This adds a beautiful sheen and gives the dishes a ceramic-like appearance.
I love how the glaze deepens the colors and makes the patterns feel more polished and professional.
Allow the glaze to dry fully before using or styling the dishes.
Tips for Best Results
Over time, I have learned a few tricks that make this process easier:
- Roll the clay evenly to prevent cracks while drying.
- Do not rush the drying stage. Fully dried clay ensures better adhesion.
- Use a soft brush when applying Mod Podge to avoid tearing the napkin.
- Apply glaze in thin layers for a smooth finish.
- Embrace slight imperfections because they add character.
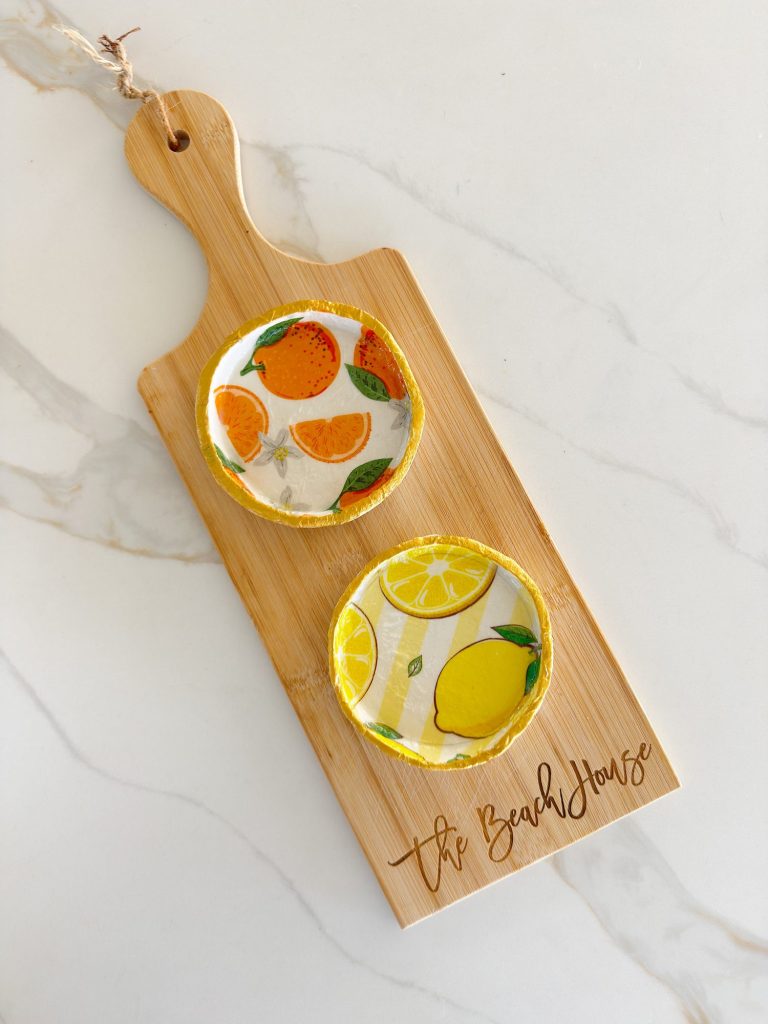
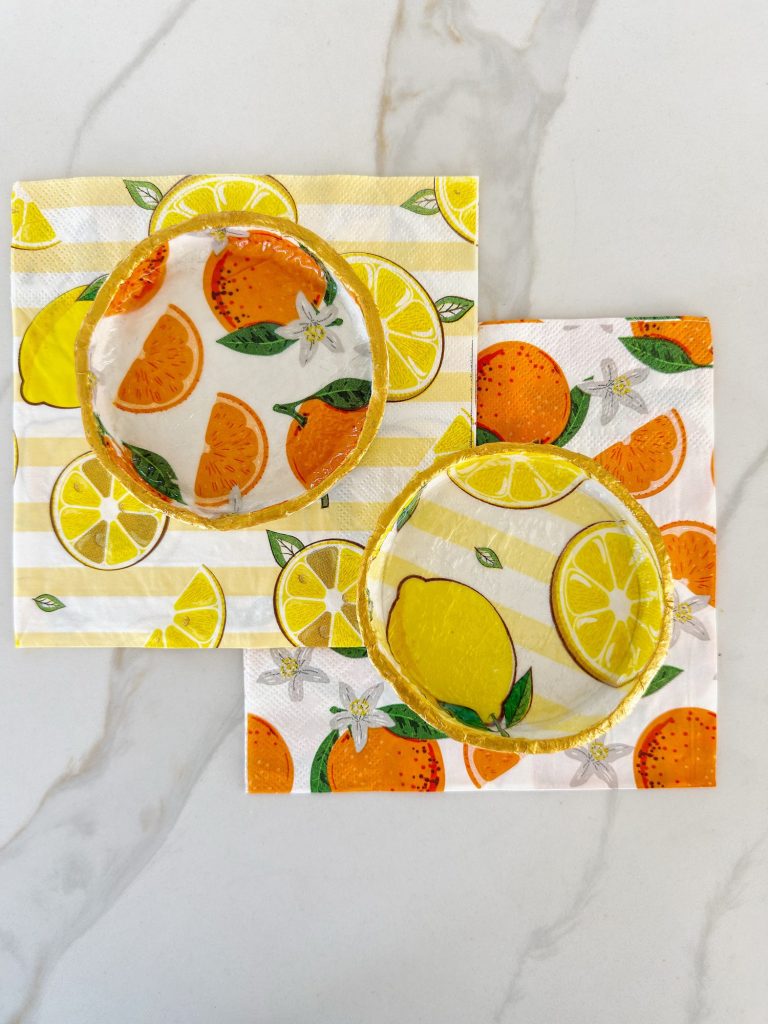
Styling Ideas for Your Spring Clay Dishes
One of my favorite parts of creating new crafts is finding ways to style them throughout my home.
These dishes look beautiful:
- On a bedside table holding rings or earrings.
- In the kitchen, with wrapped candies or small treats.
- On a coffee table layered with books and flowers.
- In a guest bathroom, as a soap dish or decorative tray.

Because the fruit patterns feel fresh and seasonal, they instantly brighten any space.
Why Handmade Projects Matter
There is something incredibly satisfying about transforming simple materials into something beautiful and useful.
Handmade pieces carry a story. They reflect creativity, patience, and the joy of making something with your own hands.
That is exactly why I created A Handmade Spring. After seeing how much joy and inspiration my Handmade Christmas series brought to so many readers, I wanted to continue sharing projects that encourage creativity and exploration.
Crafting does not have to be complicated to be meaningful. Sometimes the simplest projects are the most rewarding.
Final Thoughts
These Pretty Spring Clay Dishes Made with Decorative Fruit Napkins are one of those projects that feel instantly cheerful. They combine color, texture, and functionality in a way that makes them both practical and beautiful.
If you are looking for a spring craft that is relaxing, creative, and completely customizable, this is the perfect project.
And this is just the beginning.
I cannot wait to show you what comes next.

How to Follow Along With A Handmade Spring
Each week, a new spring craft will be shared here on the blog. I will also be sharing behind-the-scenes moments, progress videos, and finished projects on Instagram so you can see each craft come to life.
You can jump in at any point. There is no need to start at the beginning or complete every project. Choose the ones that speak to you and make them your own.
If you love seasonal crafting, this series is designed to inspire you throughout spring.
Here are all of the A Handmade Spring craft projects so far. I can’t wait to share all twelve.

Latest Posts
-
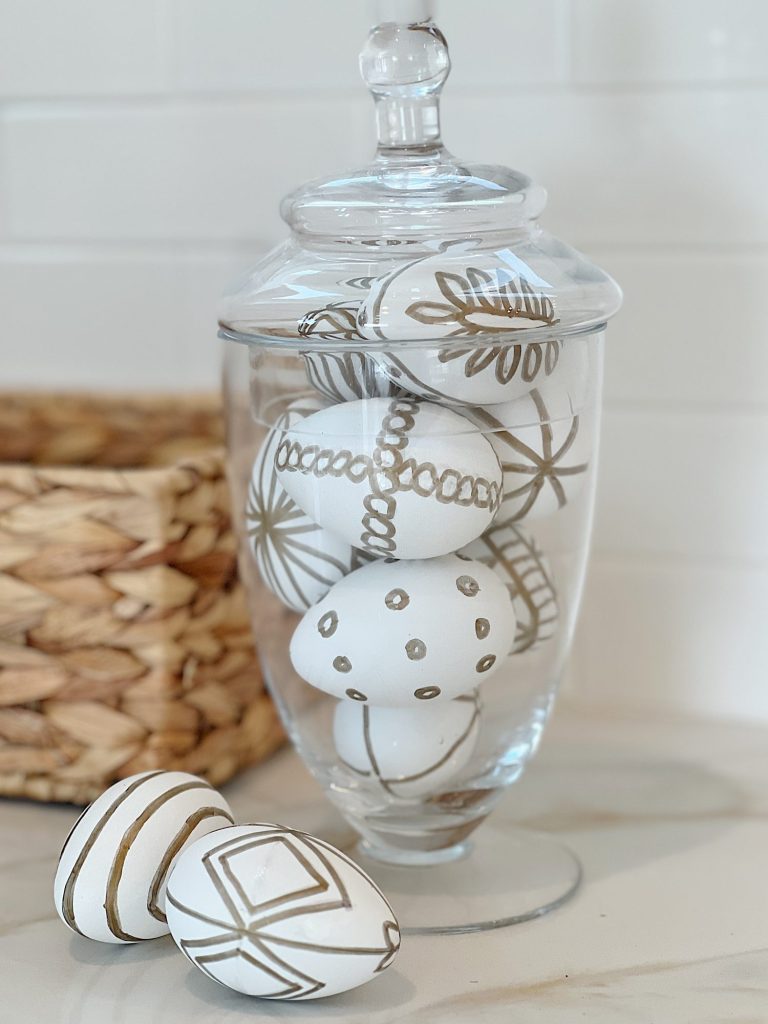
Hand Painted Plastic Easter Eggs DIY
I am so in love with these hand-painted plastic Easter eggs. All I did was paint them with a Sharpie pen! They make the best Easter decor. I was at the Beach House when I made these eggs, so the copper-and-white palette perfectly matched our beach house decor. But you can make these hand-painted plastic…
-
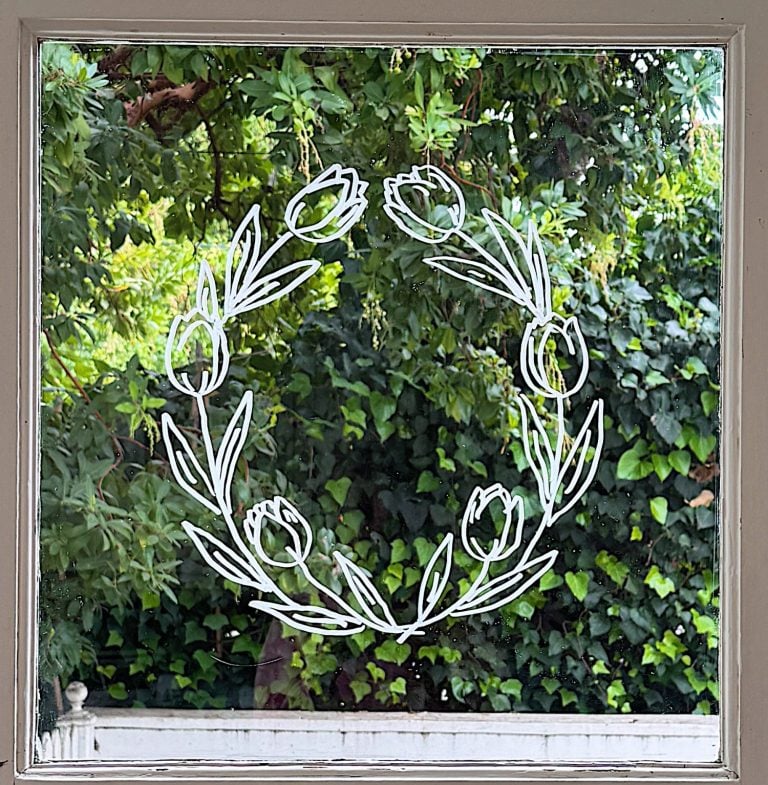
April Window Wreaths
April Window Wreaths mark the fourth release in my year-long window-wreath series, a collection of monthly templates designed to bring handmade creativity into your home. With nine brand-new April Window Wreaths to trace and place on your glass, this collection continues the series’ best: simple techniques, calming creativity, and thoughtfully designed seasonal art. April embraces…
-
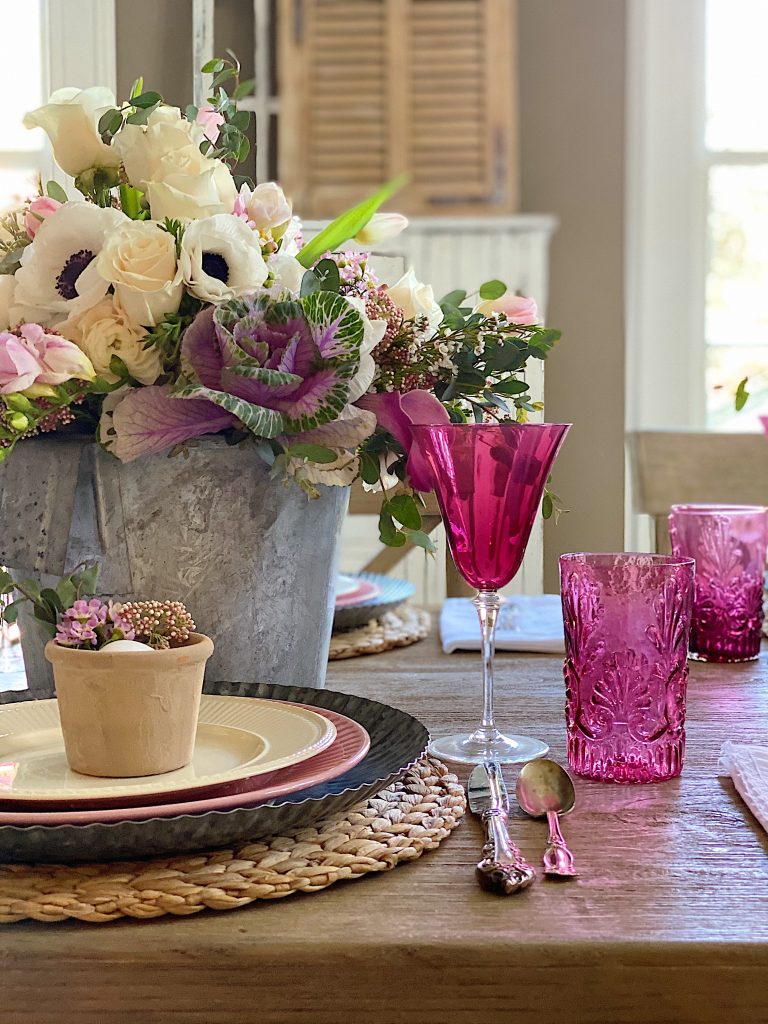
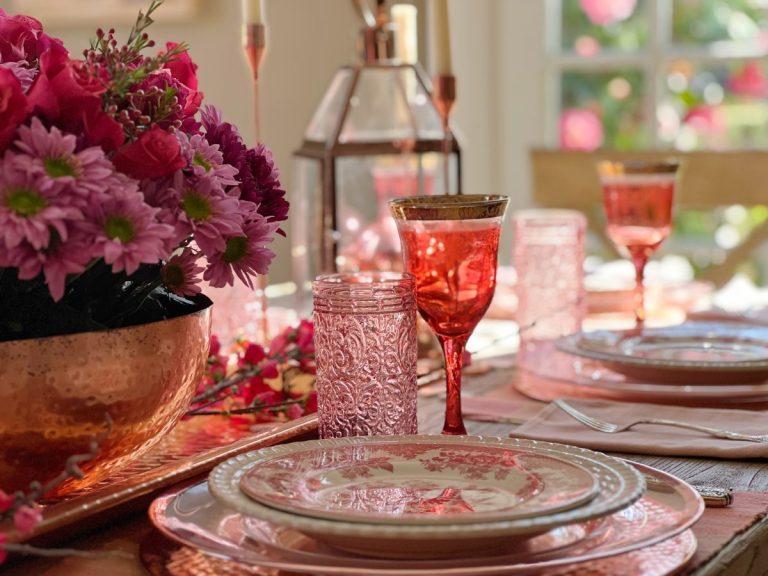
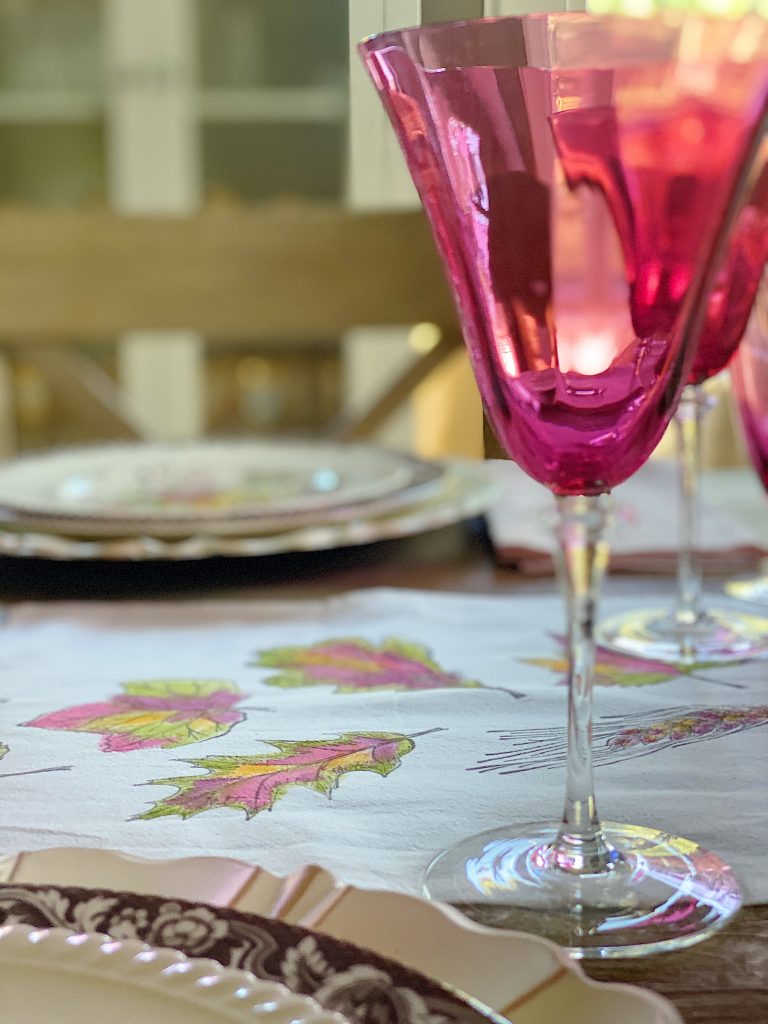
How to Set a Beautiful Table with Easter Colors
I am so excited to share my Easter brunch table ideas. I love the bright Easter colors and can’t wait to share the florals, table setting, and fun glassware. Easter Brunch is one of my favorites. I already shared my favorite Easter Brunch recipes. Today, I set a table and love how these Easter colors…
-
Five Easy Steps to Adding Hanging Planters in Your Yard
Today, I am sharing how I created the hanging planters in our backyard. I love mine so much! Hanging planters look lovely in any yard. My hanging planters have been looking awful all winter long. Here are five easy steps to add (or redo) hanging flower baskets in your yard. Adding hanging planters is a…

My Recent Instagram Posts

You can pin the image below to your boards on Pinterest (click the Pin button in the top left corner) or follow me on Pinterest!
For more real-time updates, follow me on Instagram @My100YearOldHome
Love this craft. I would love to share this with my artsy crafts group but may not work with my group because of the drying time. How long do you leave your clay piece to dry before proceeding with the application of the napkin. This project may take a couple days to finish completely, right?
Great question! I usually let the clay dry about 24 hours before adding the napkin. And yes, it’s typically a 2-day project to finish completely.