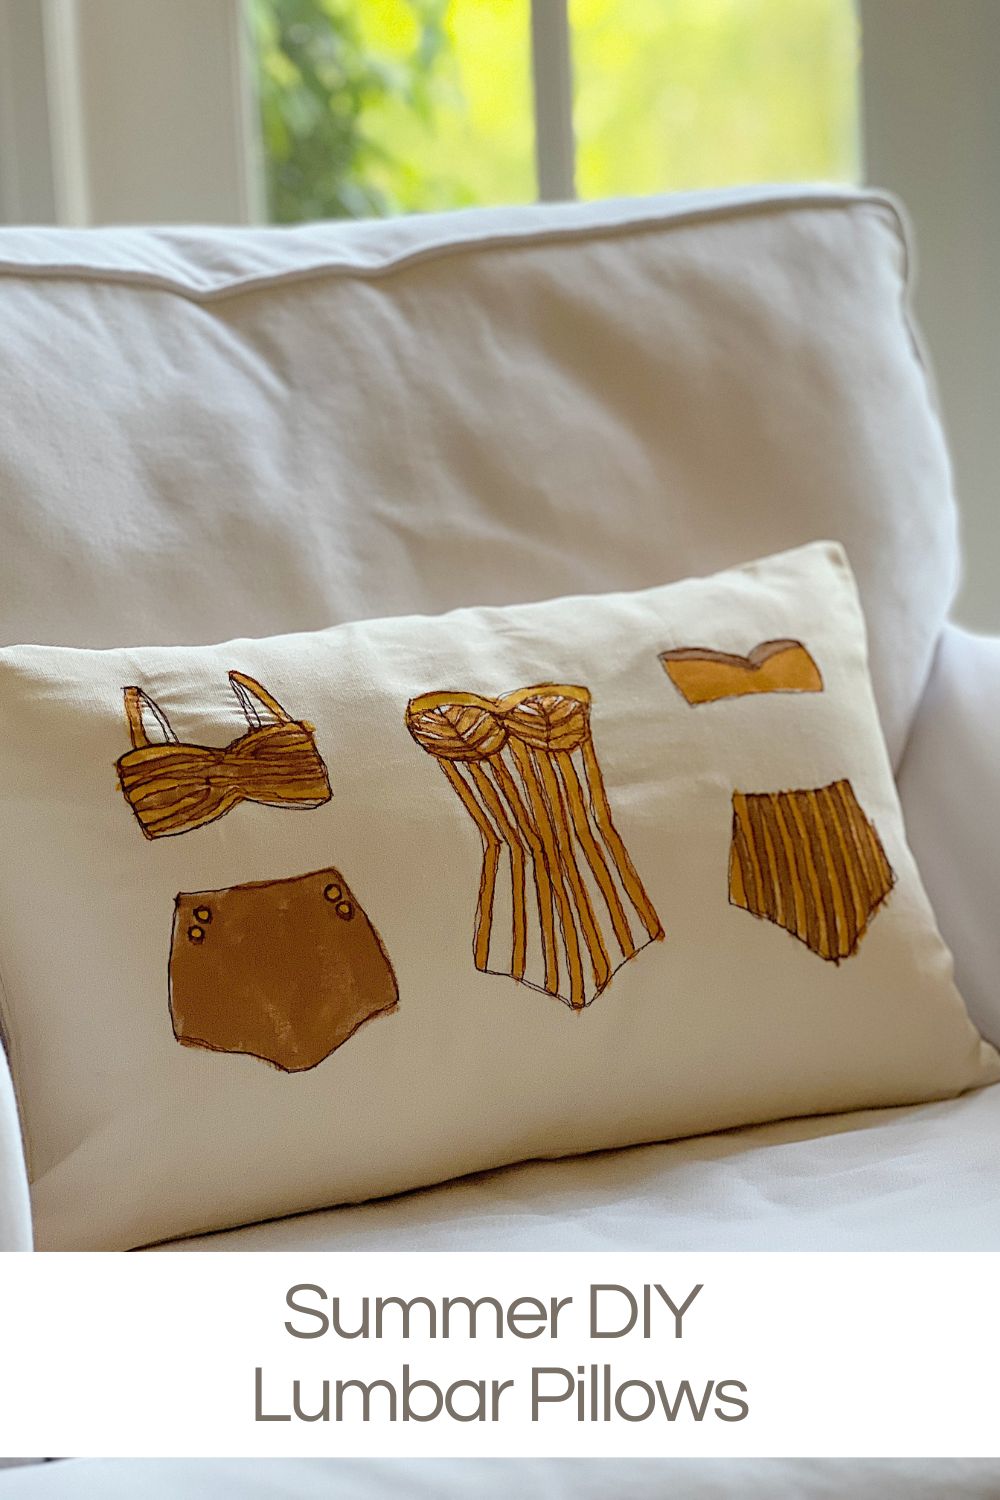
Summer DIY Lumbar Pillows
Summer will soon be here, so I am sharing a cute summer DIY with lumbar pillows. This pillow was inspired by the decor style of our beach house, modern coastal vintage.
It’s time to give your home a refreshing update that reflects the season’s vibrant spirit. You know how I love to create unique DIY pillow covers. This one is just amazing! Ready to find out how to make them?


Summer DIY Lumbar Pillows
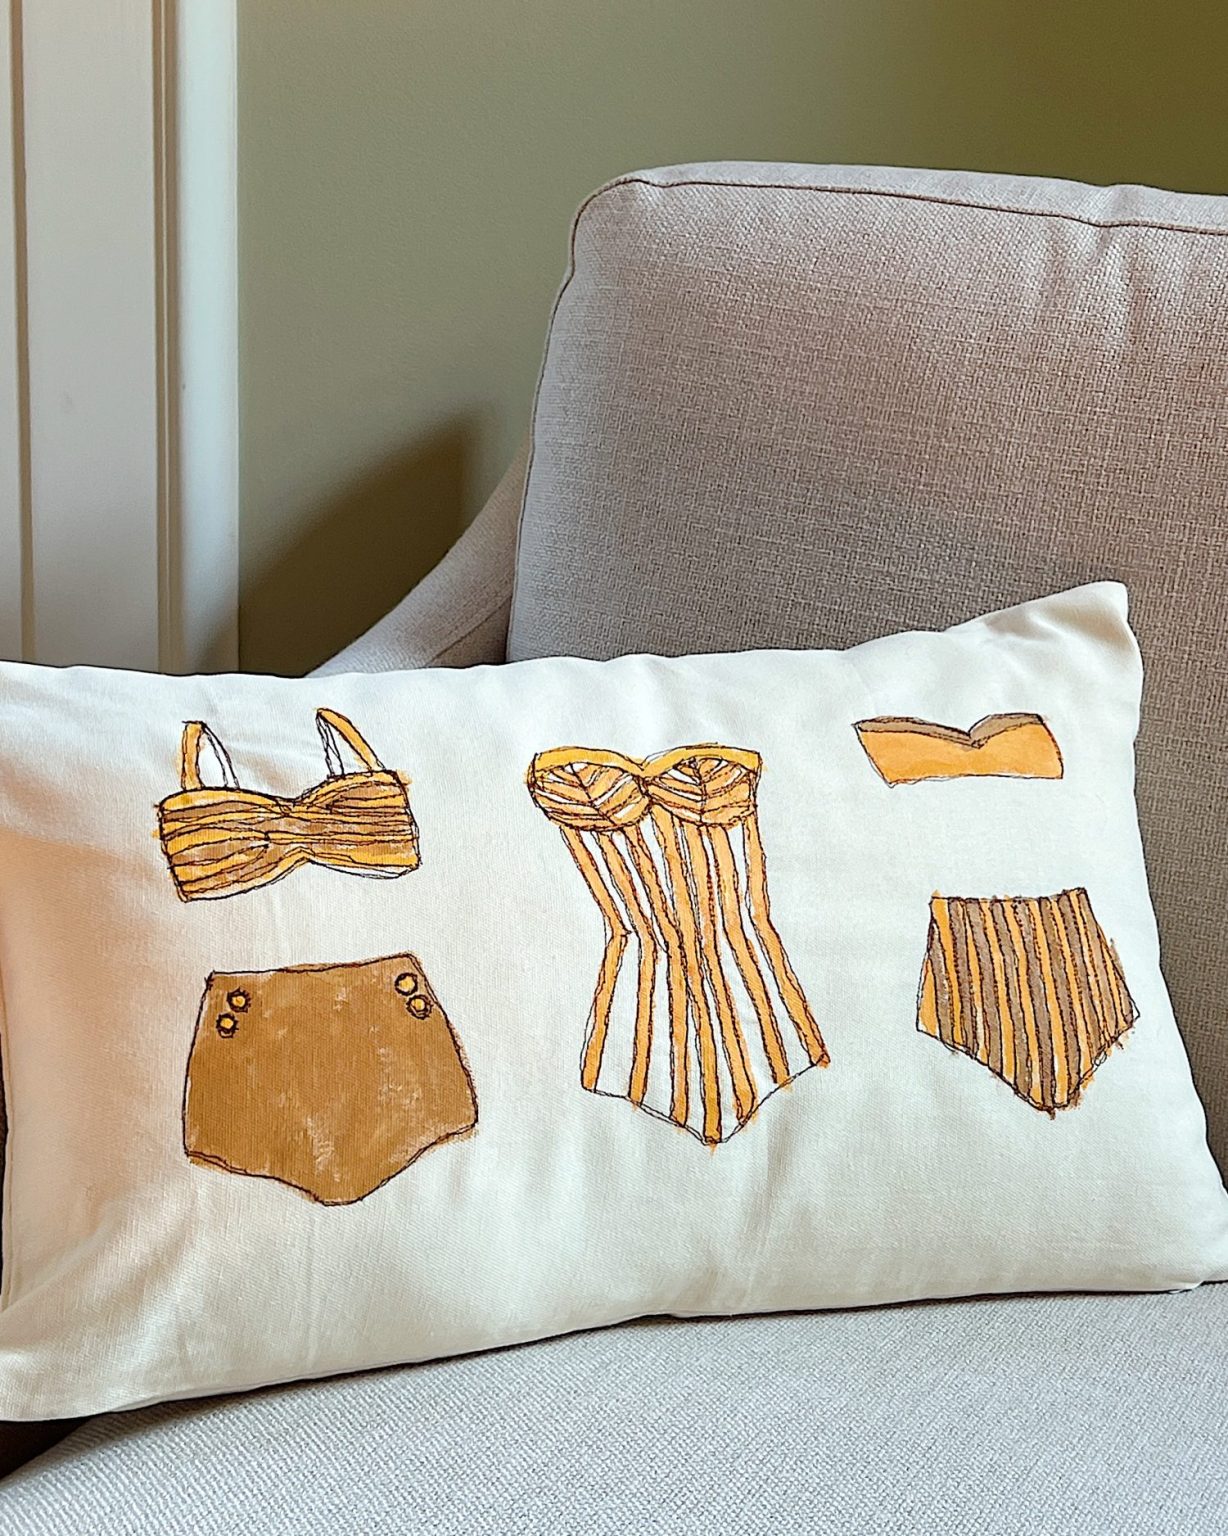
I wanted some lumbar pillows for the beach house, and I made one!
Aren’t they fun?
If you are wondering how I made them, I used acrylic paint and free-motion embroidery. I made it up, but I love it.
What is Free Motion Embroidery?
Free-motion machine embroidery is a type of sewing you do on a regular sewing machine, but you can move the fabric in any direction while sewing. Usually, when you sew, the machine automatically moves the fabric forward.
When you sew free-motion embroidery, you can move the fabric to determine precisely where you want to sew. You can move sideways, forward, and backward, creating any shape you want. All you need is a quilting foot (and the ability to lower the “feed dogs” on your sewing machine).
The free-motion quilting foot, sometimes called a darning foot, is designed so that the sewing machine needle passes through a small ring on the foot. Instead of hopping, these feet float over the fabric without providing pressure. The foot releases the fabric when the needle is up, allowing you to move the fabric freely.
I love combining paint and free-motion embroidery to create pillow covers. If you have followed me, you know all the paint-and-free-motion pillow covers I have made. If you are new to my blog, here is a link to all the projects if you want to make one (or more). You can also search my blog under the Crafts category for fun DIY projects.
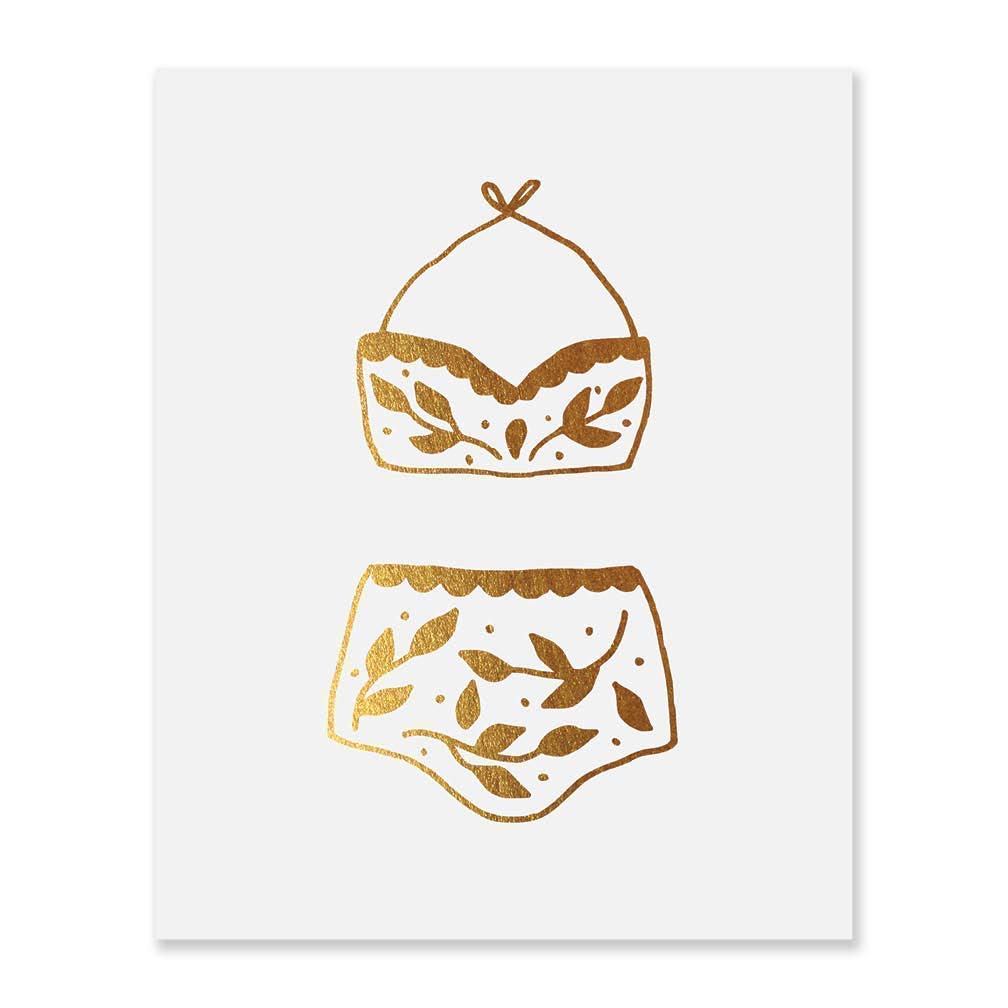
My Inspiration for the Vintage Bathing Suit Pillow
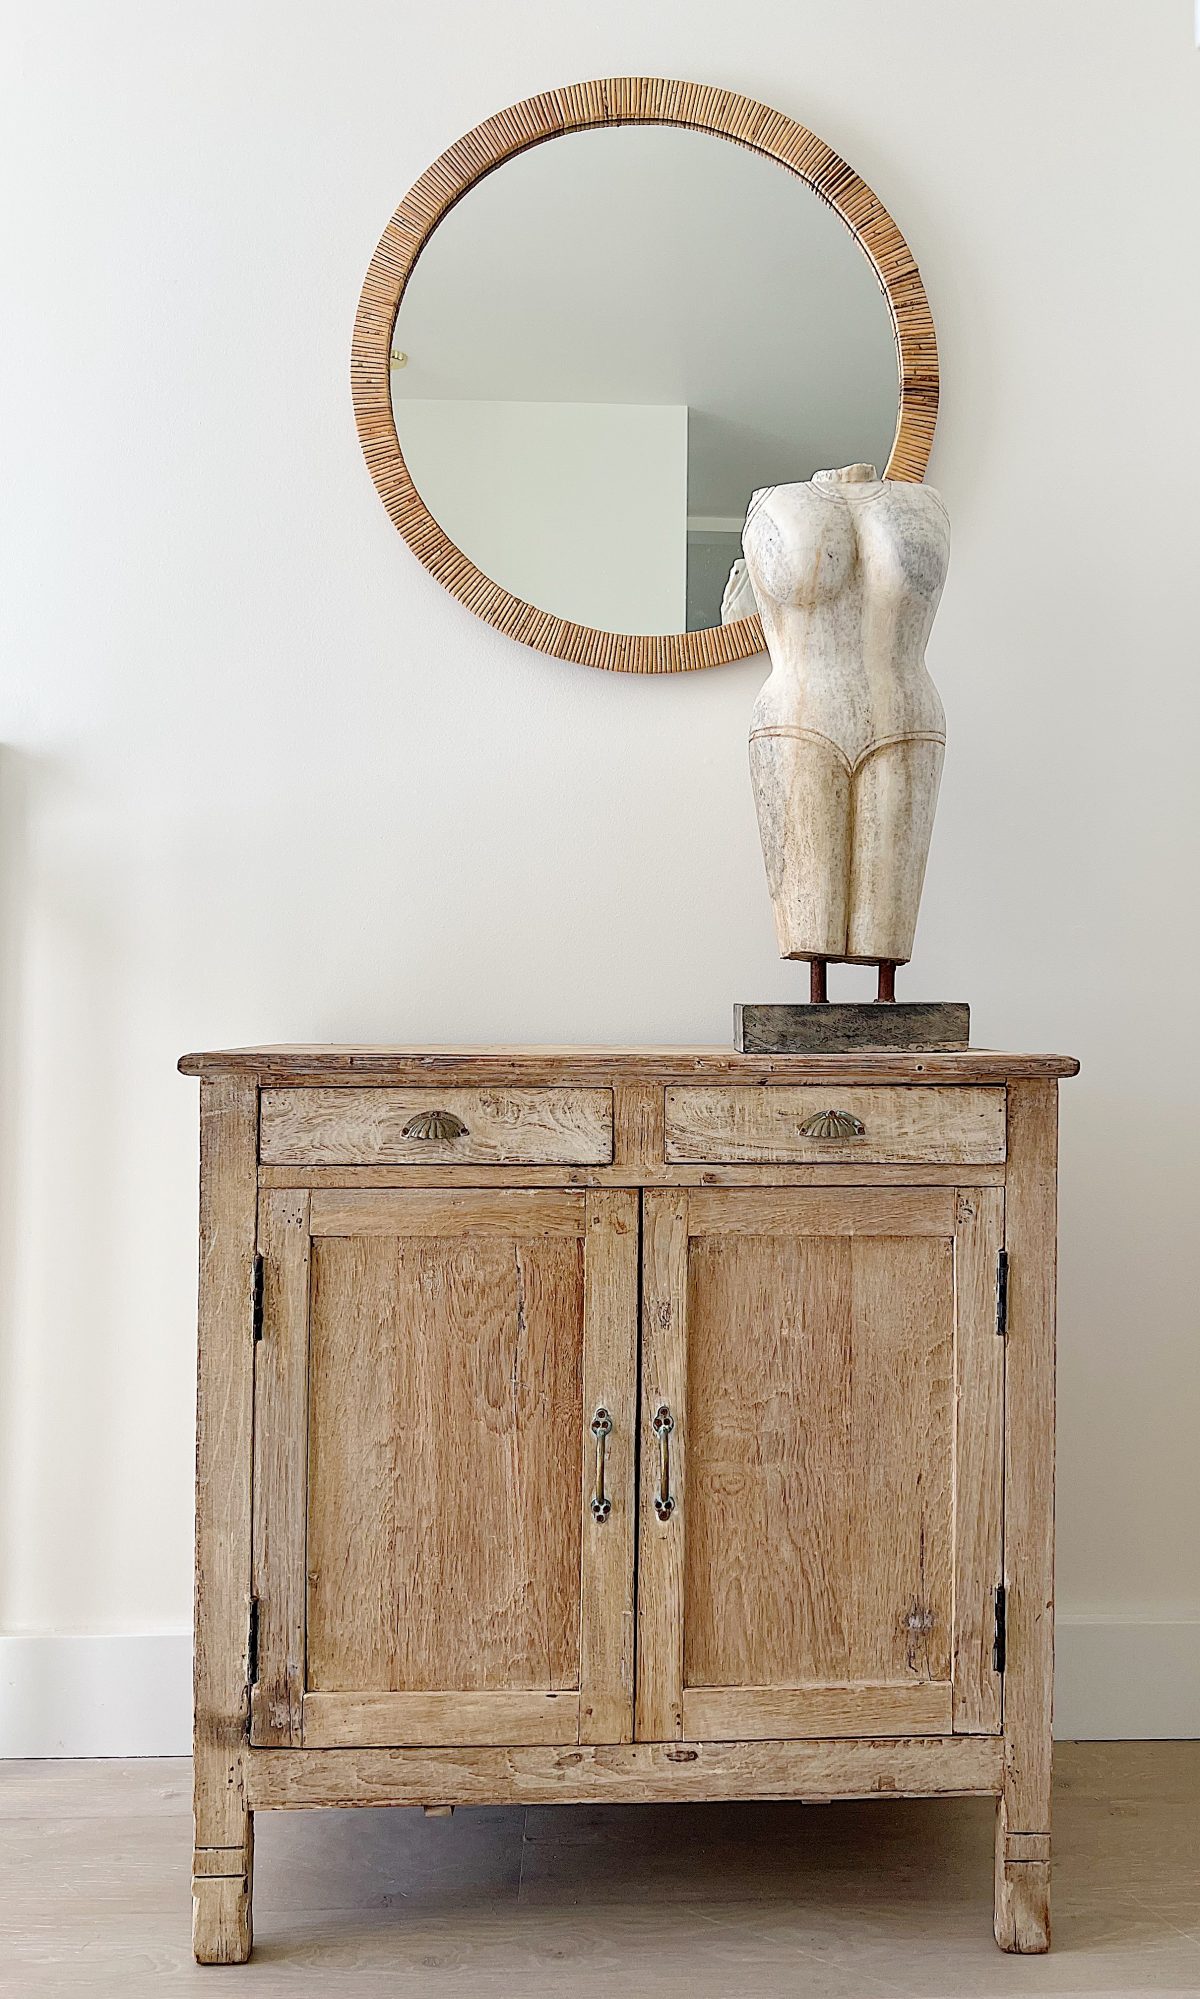
For this DIY, I was inspired by the marble bust I found a few years ago at the Round Top Antique Fair. If you look closely at the photo from our beach house above, you can see the lines of a vintage bathing suit etched into the marble.
For those of you who ask where I find inspiration for my DIY projects, inspiration is everywhere! This project is a perfect example of what I like to call a “This But That” type of project: this vintage bathing suit, but on a lumbar pillow with paint and free-motion embroidery!
I have also been inspired by the style I created at the beach house, which I call modern coastal vintage. I love it.
And yes, I made it up.
So, let’s dive into the project and create something incredible together!
I may sometimes use affiliate links on this blog, which means I earn a small commission if you make a purchase via the link. The price will be the same whether you use the affiliate link or go directly to the vendor’s website using a non-affiliate link.


Modern Coastal Vintage Style
Since these pillows are for our beach house, I knew they had to fit my modern coastal-vintage style.
Embracing the beauty of vintage summer aesthetics through DIY pillow covers is a delightful way to infuse your home with nostalgia and charm. By combining free-motion embroidery and paint, you can transform simple pillow covers into stunning pieces of art that evoke the carefree spirit of summers gone by.
I started imagining the fun coastal designs of old-fashioned bathing suits, sunglasses, and beach umbrellas. It was easy to imagine how these designs could transform pillows into eye-catching summer home decor accents.
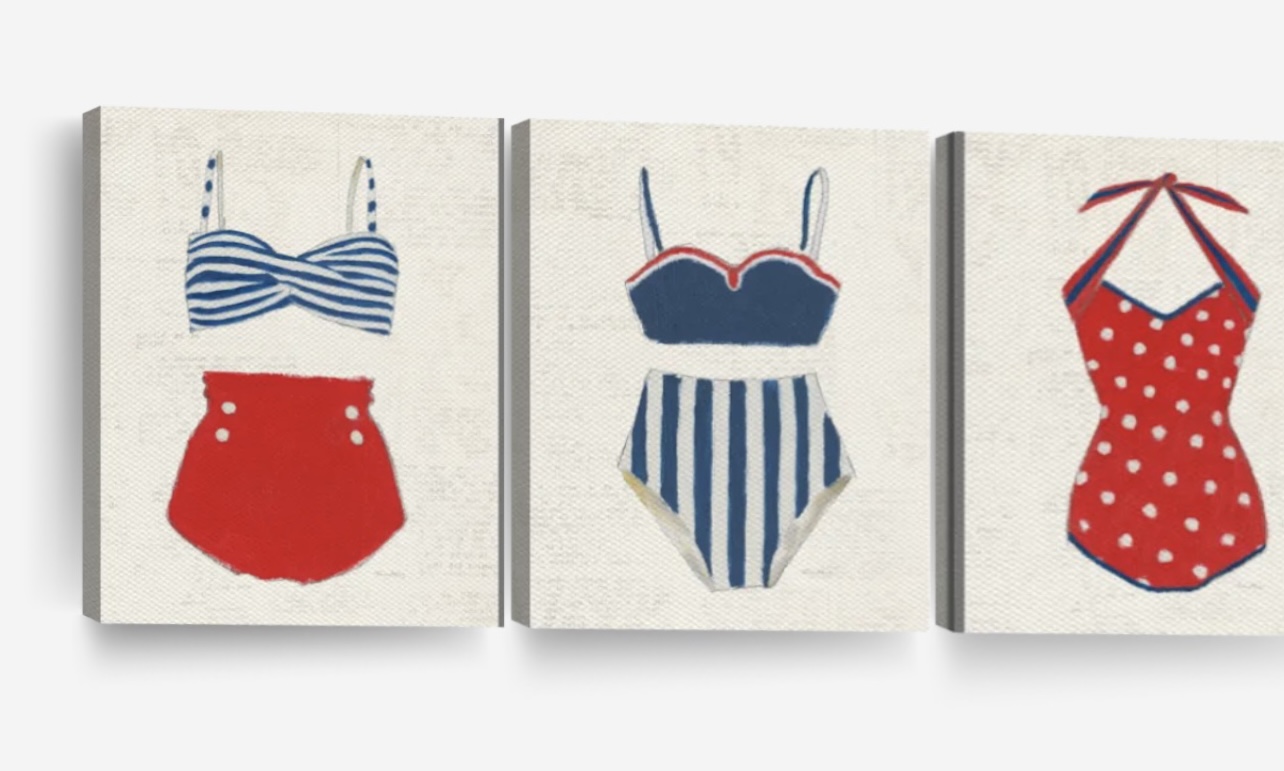
My first pillows feature vintage bathing suits. I promise to make more pillow covers in this series very soon.
Steps to Making These Lumbar Pillows
Inspiration from Nostalgic Summers
Few things evoke nostalgia better than old-fashioned bathing suits when capturing the essence of a bygone era. Whether it’s the playful polka dots, sailor-inspired stripes, or timeless elegance of one-pieces, incorporating these designs into your pillow covers instantly transports you to the carefree days of summers past.
Craft Supplies and Preparation
Before embarking on your DIY pillow cover adventure, gather your materials.
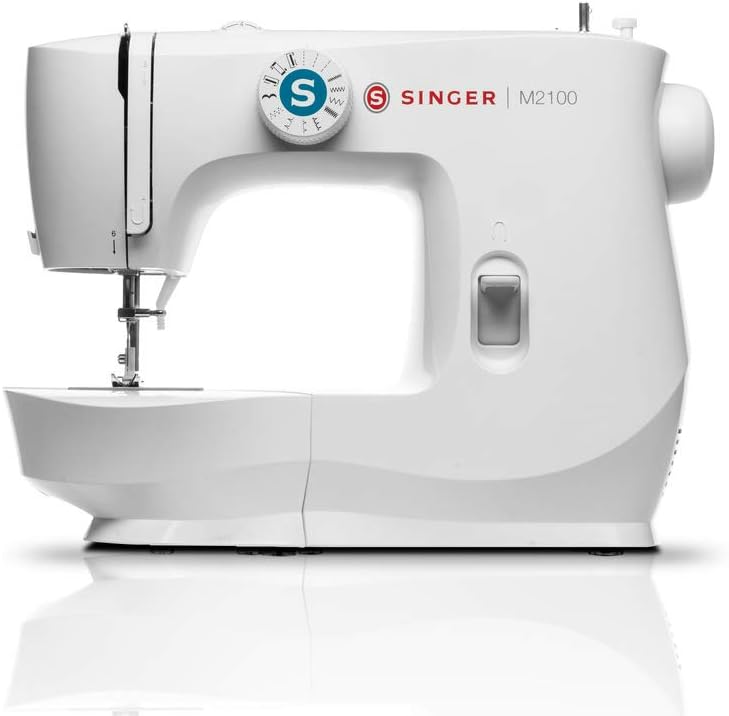
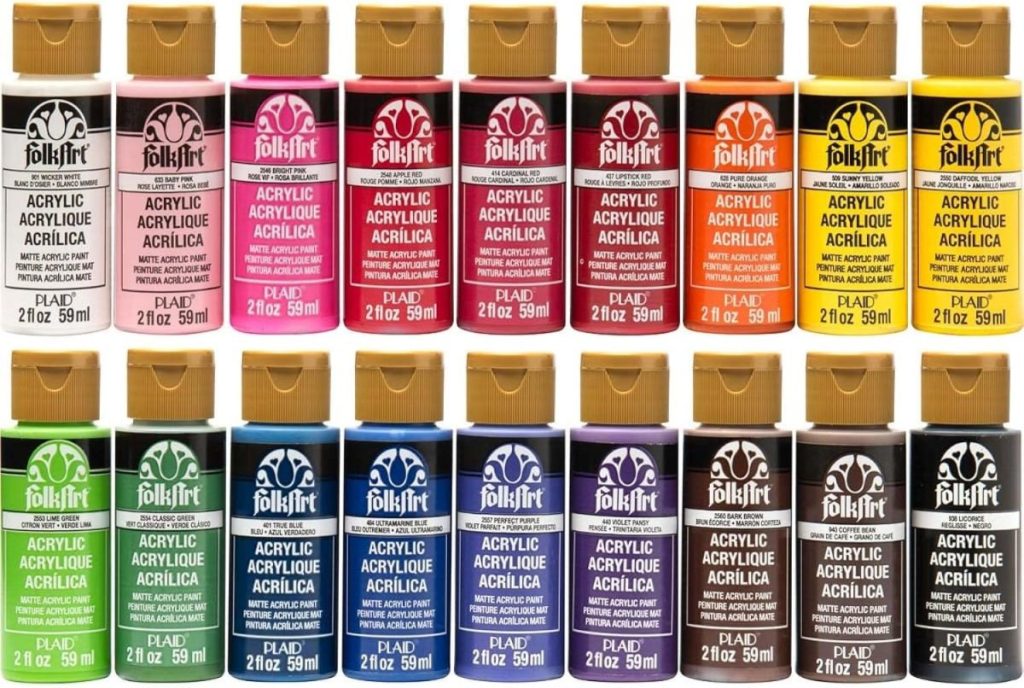
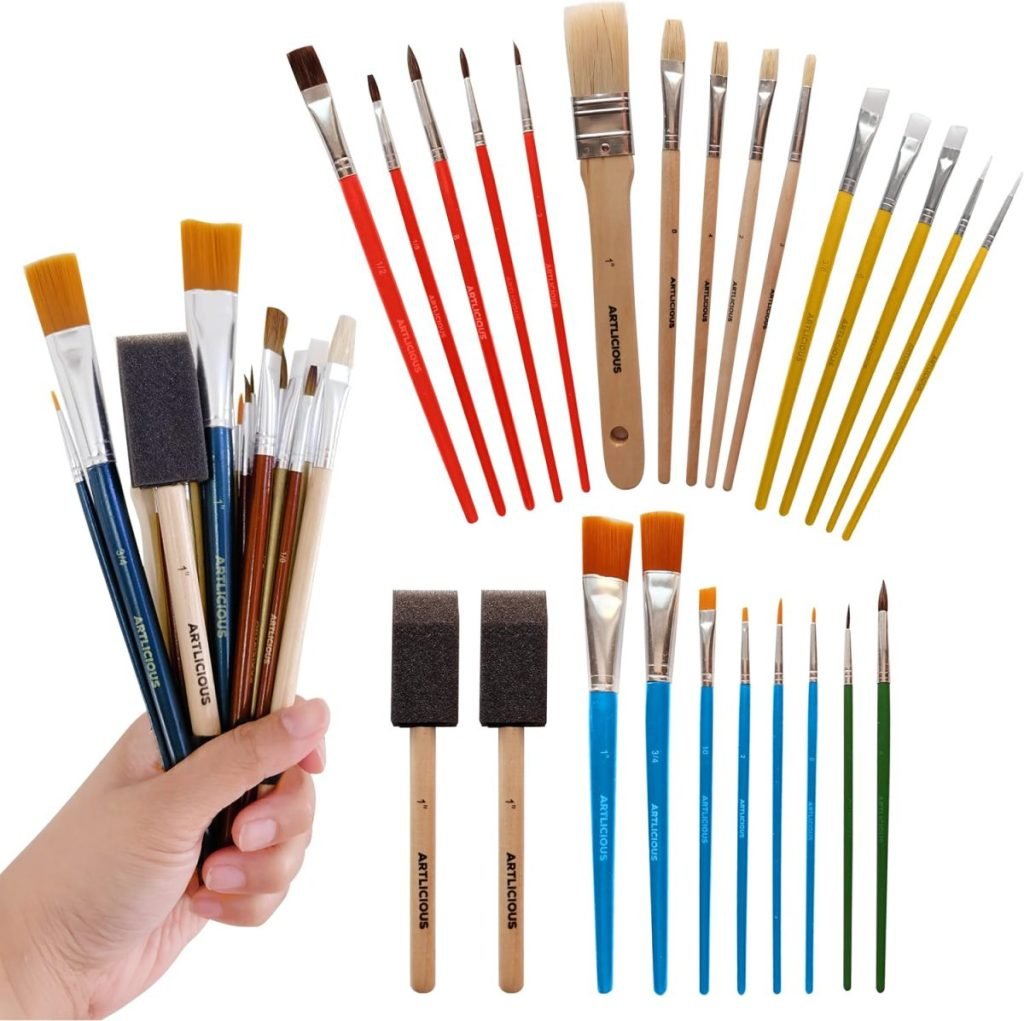
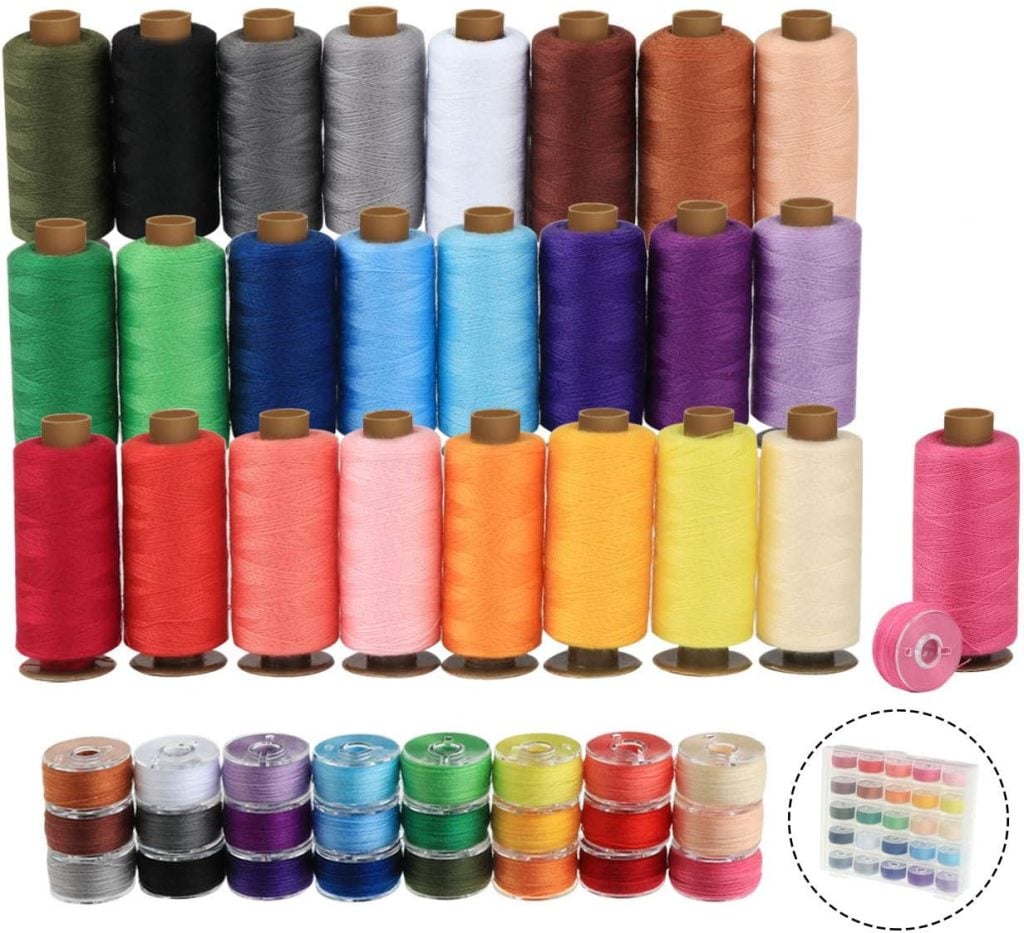
You’ll need blank pillow covers, fabric or acrylic paint, various paintbrushes, dark Embroidery thread (I used brown), a washable pencil, Parchment paper or cardboard to fit inside the pillow cover while painting, and a Sewing Machine. Additionally, select fabrics that complement the vintage theme, such as linen or cotton, to ensure durability and a classic feel.

Mix the Paint
Choose your colors and mix them to create a more cohesive color palette.
For this pillow, I used orange and brown bottles of acrylic paint and added white and yellow to both to create a lighter second shade.
Make a Stencil
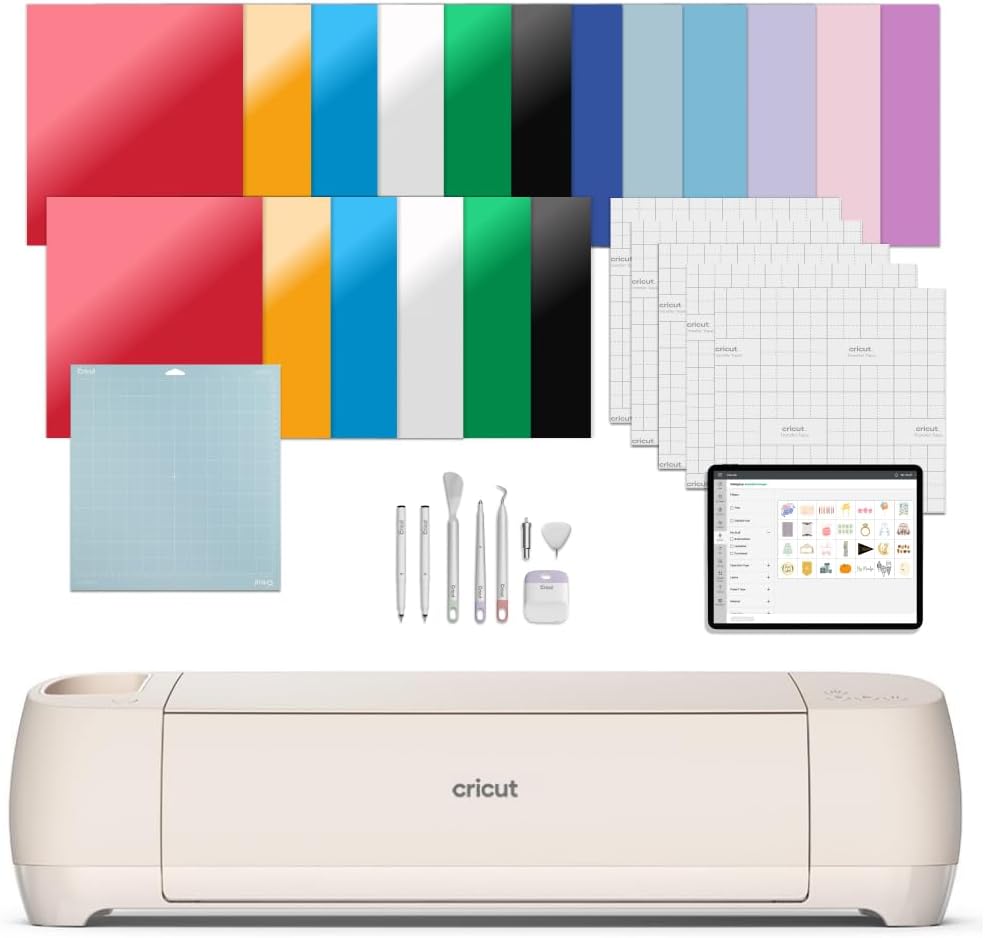
Next, I made a stencil on my Cricut machine to outline the bathing suits. I was inspired by some ideas I found online and bought an image from Shutterstock that I used to make a stencil. If you don’t have a Cricut machine, you can use scissors.

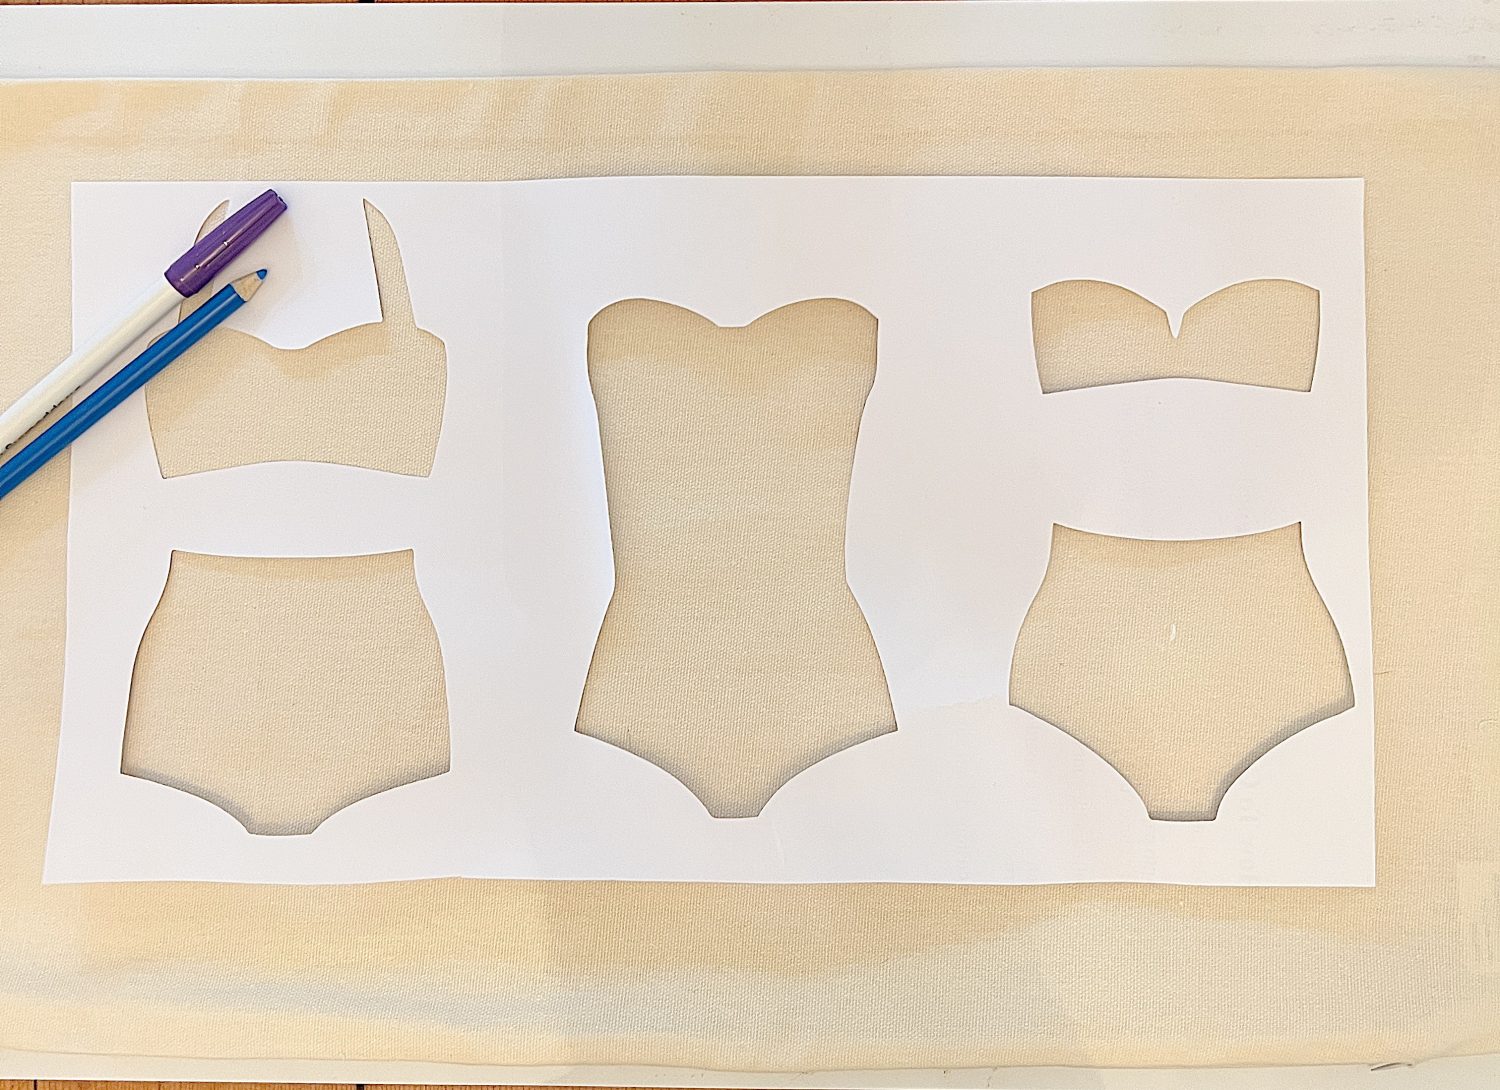
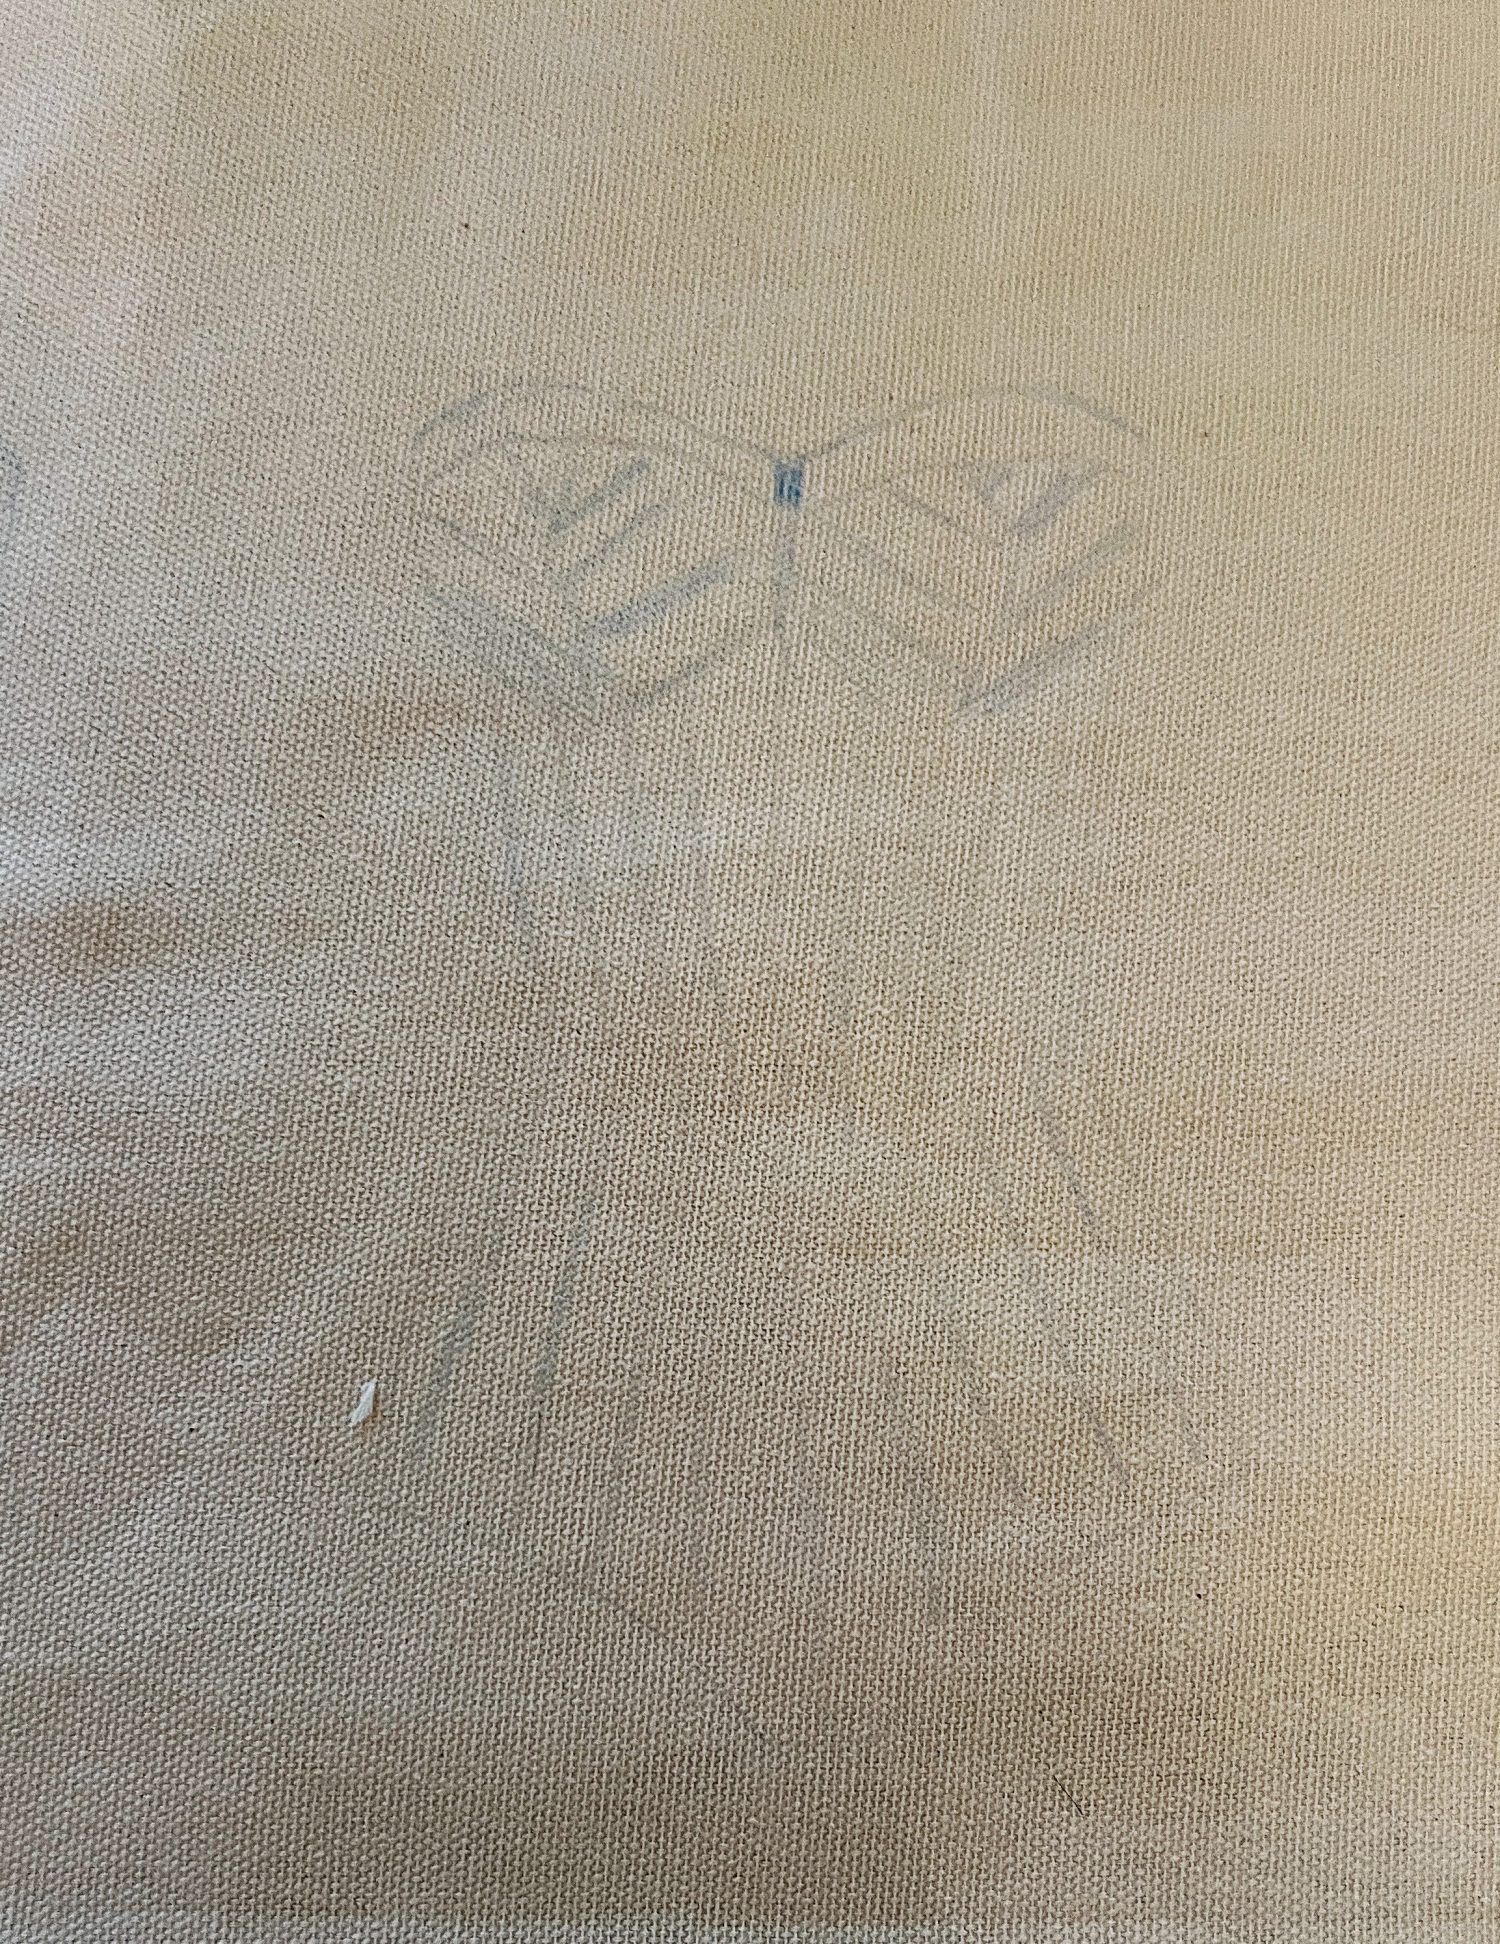
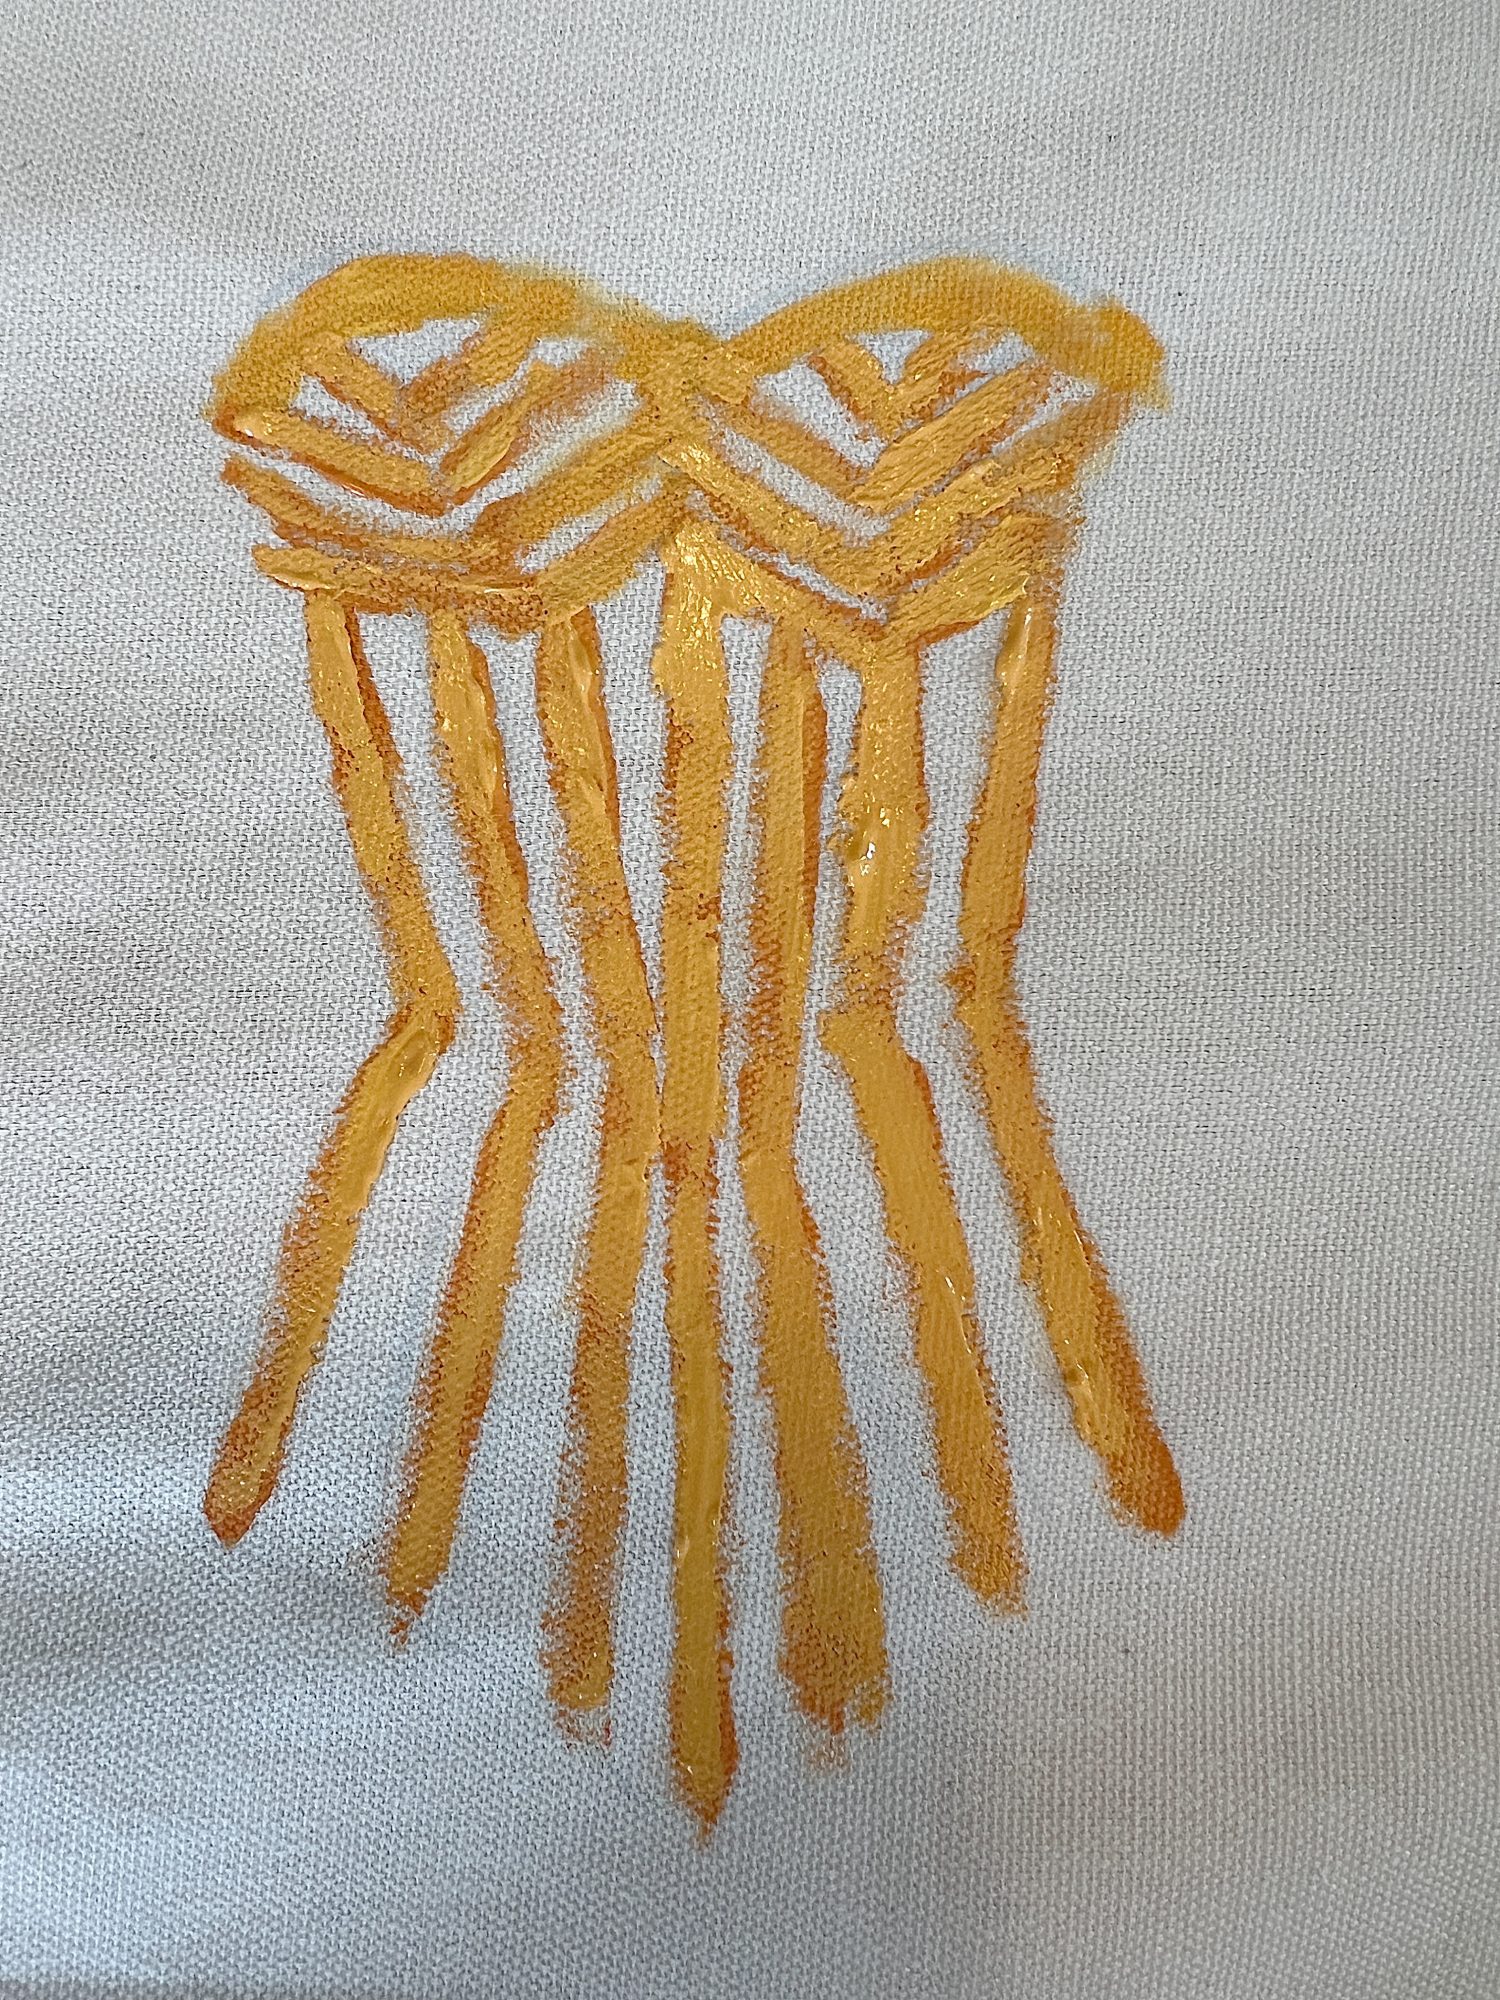
Outline Your Design and Paint the Pillow
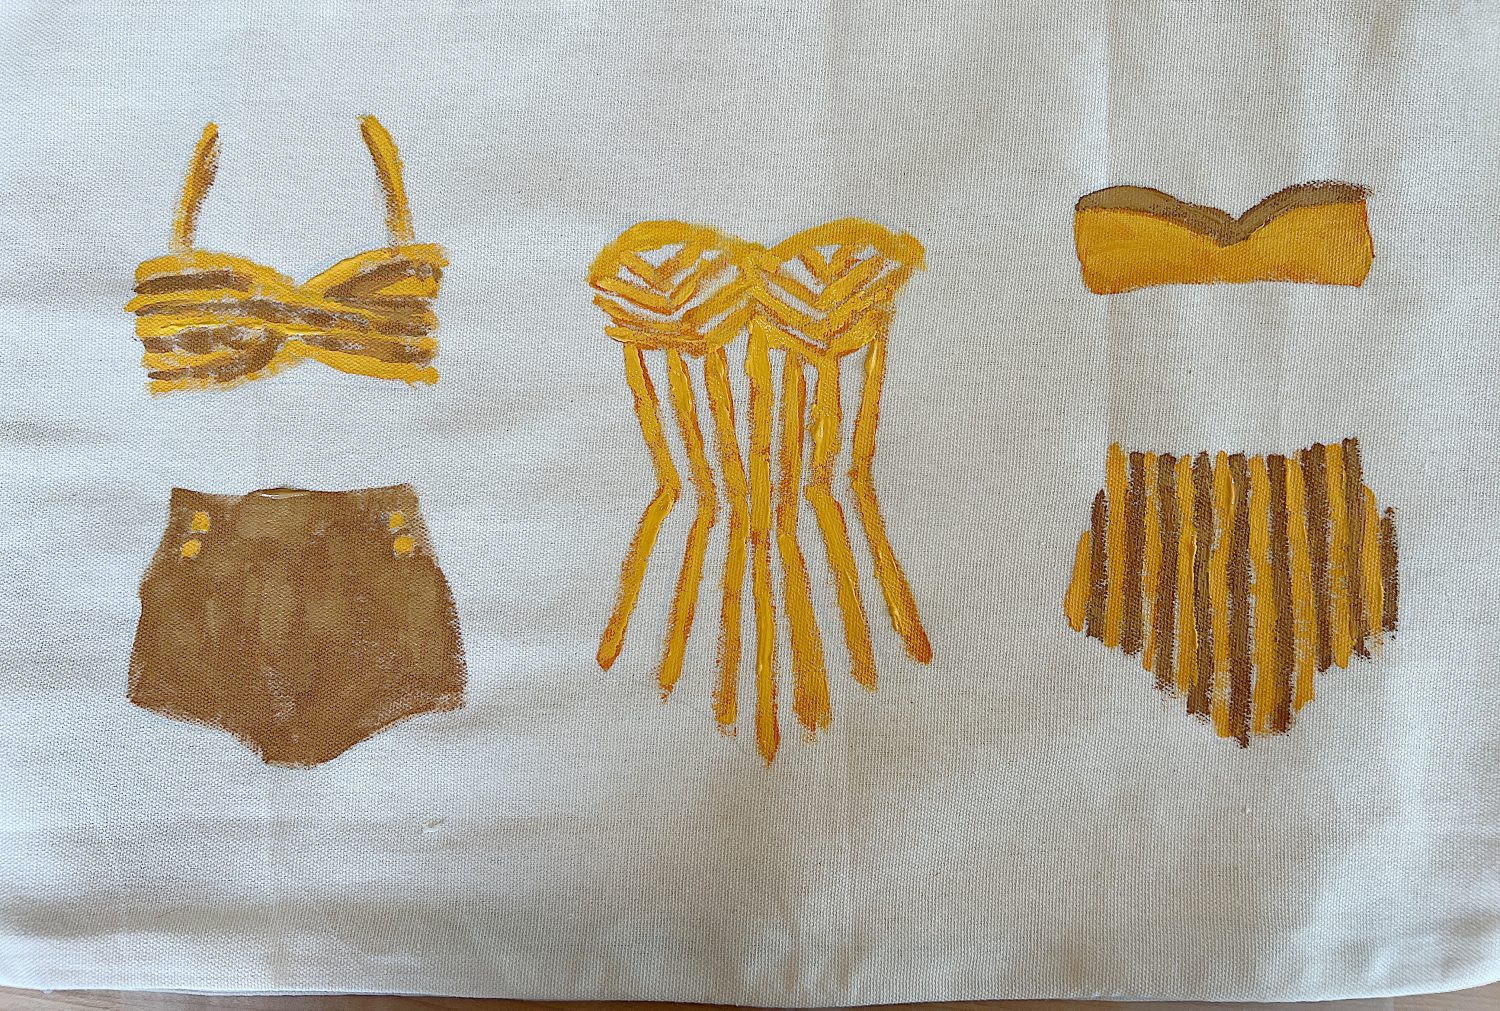
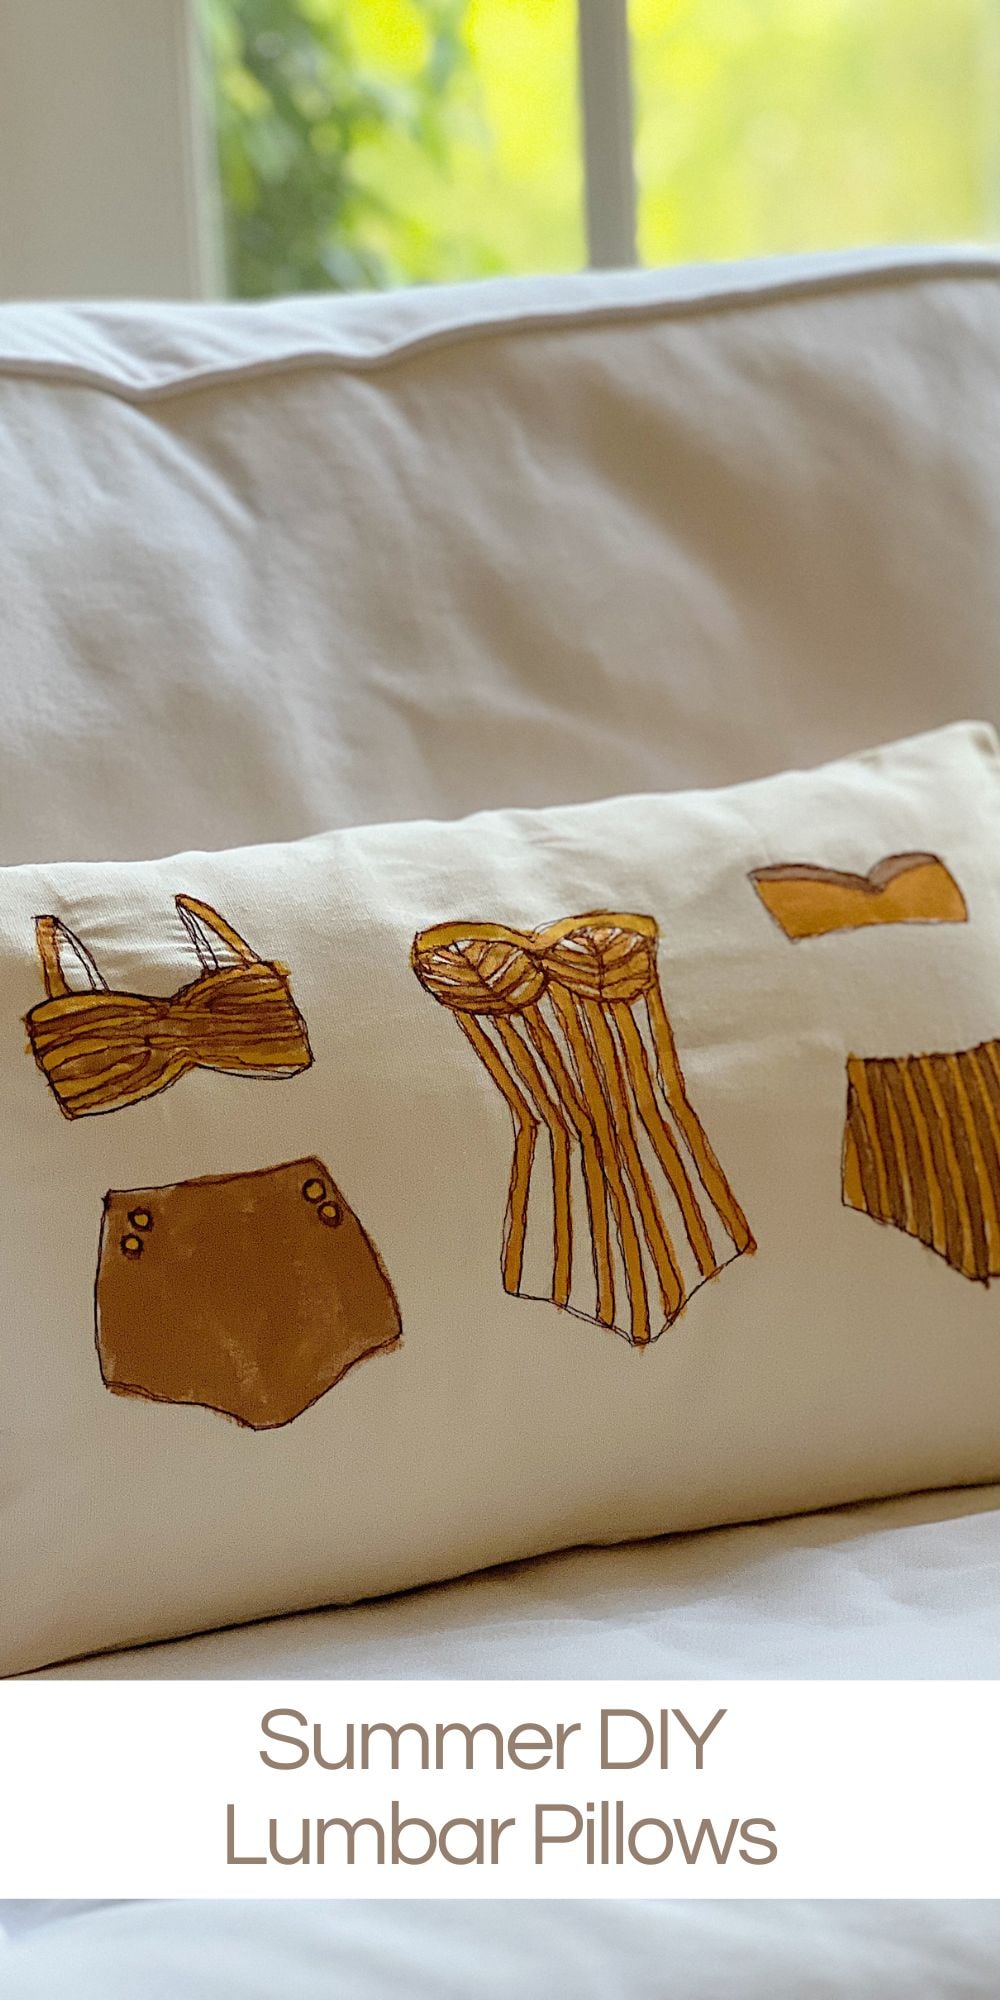
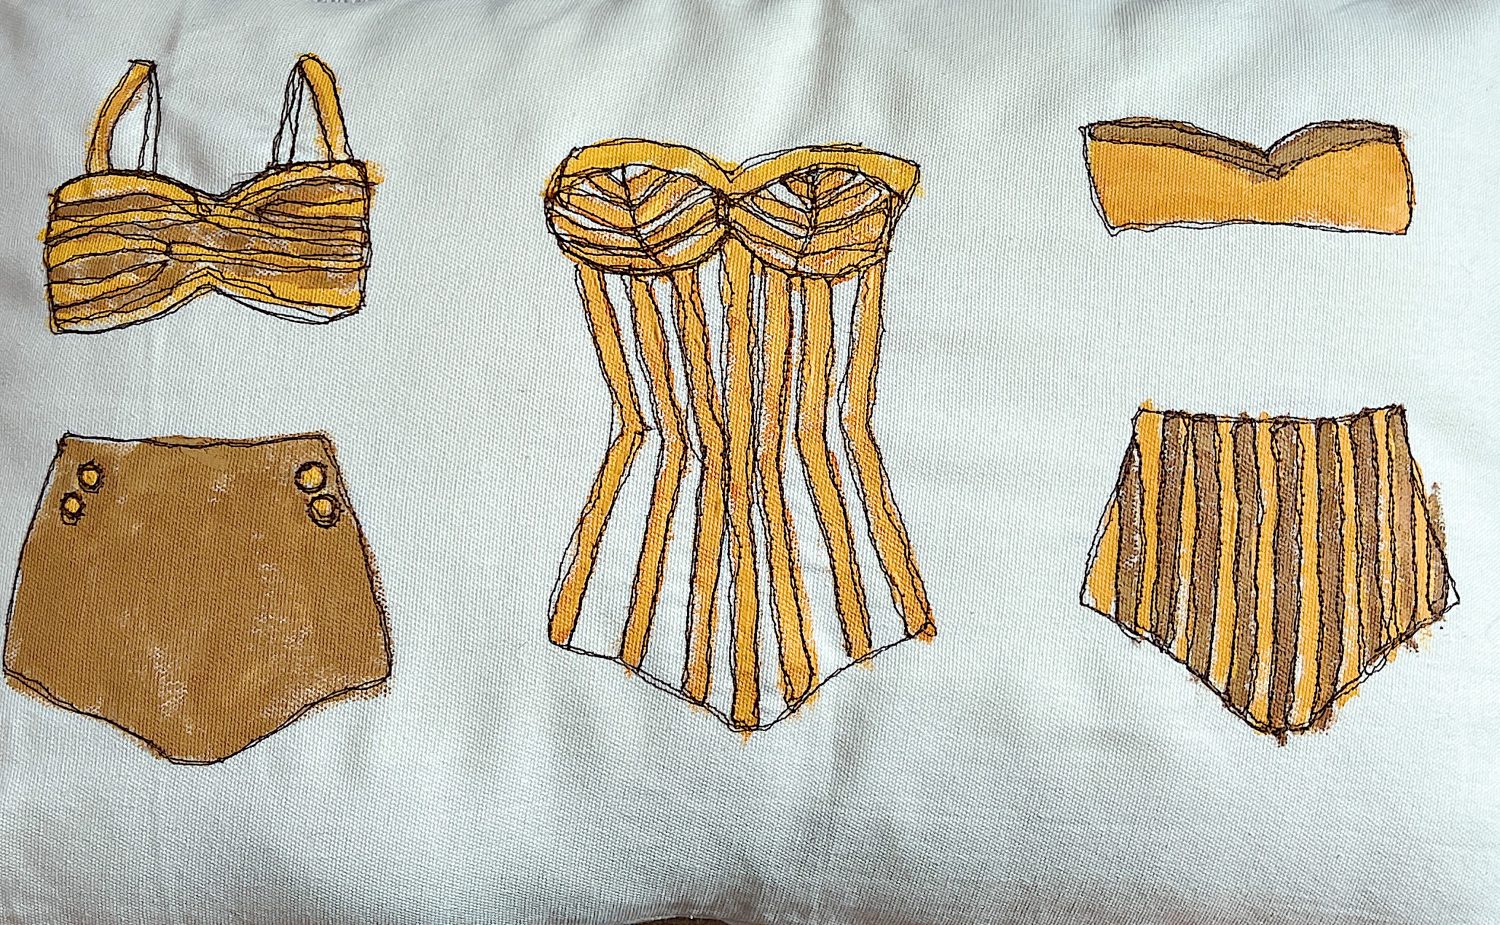
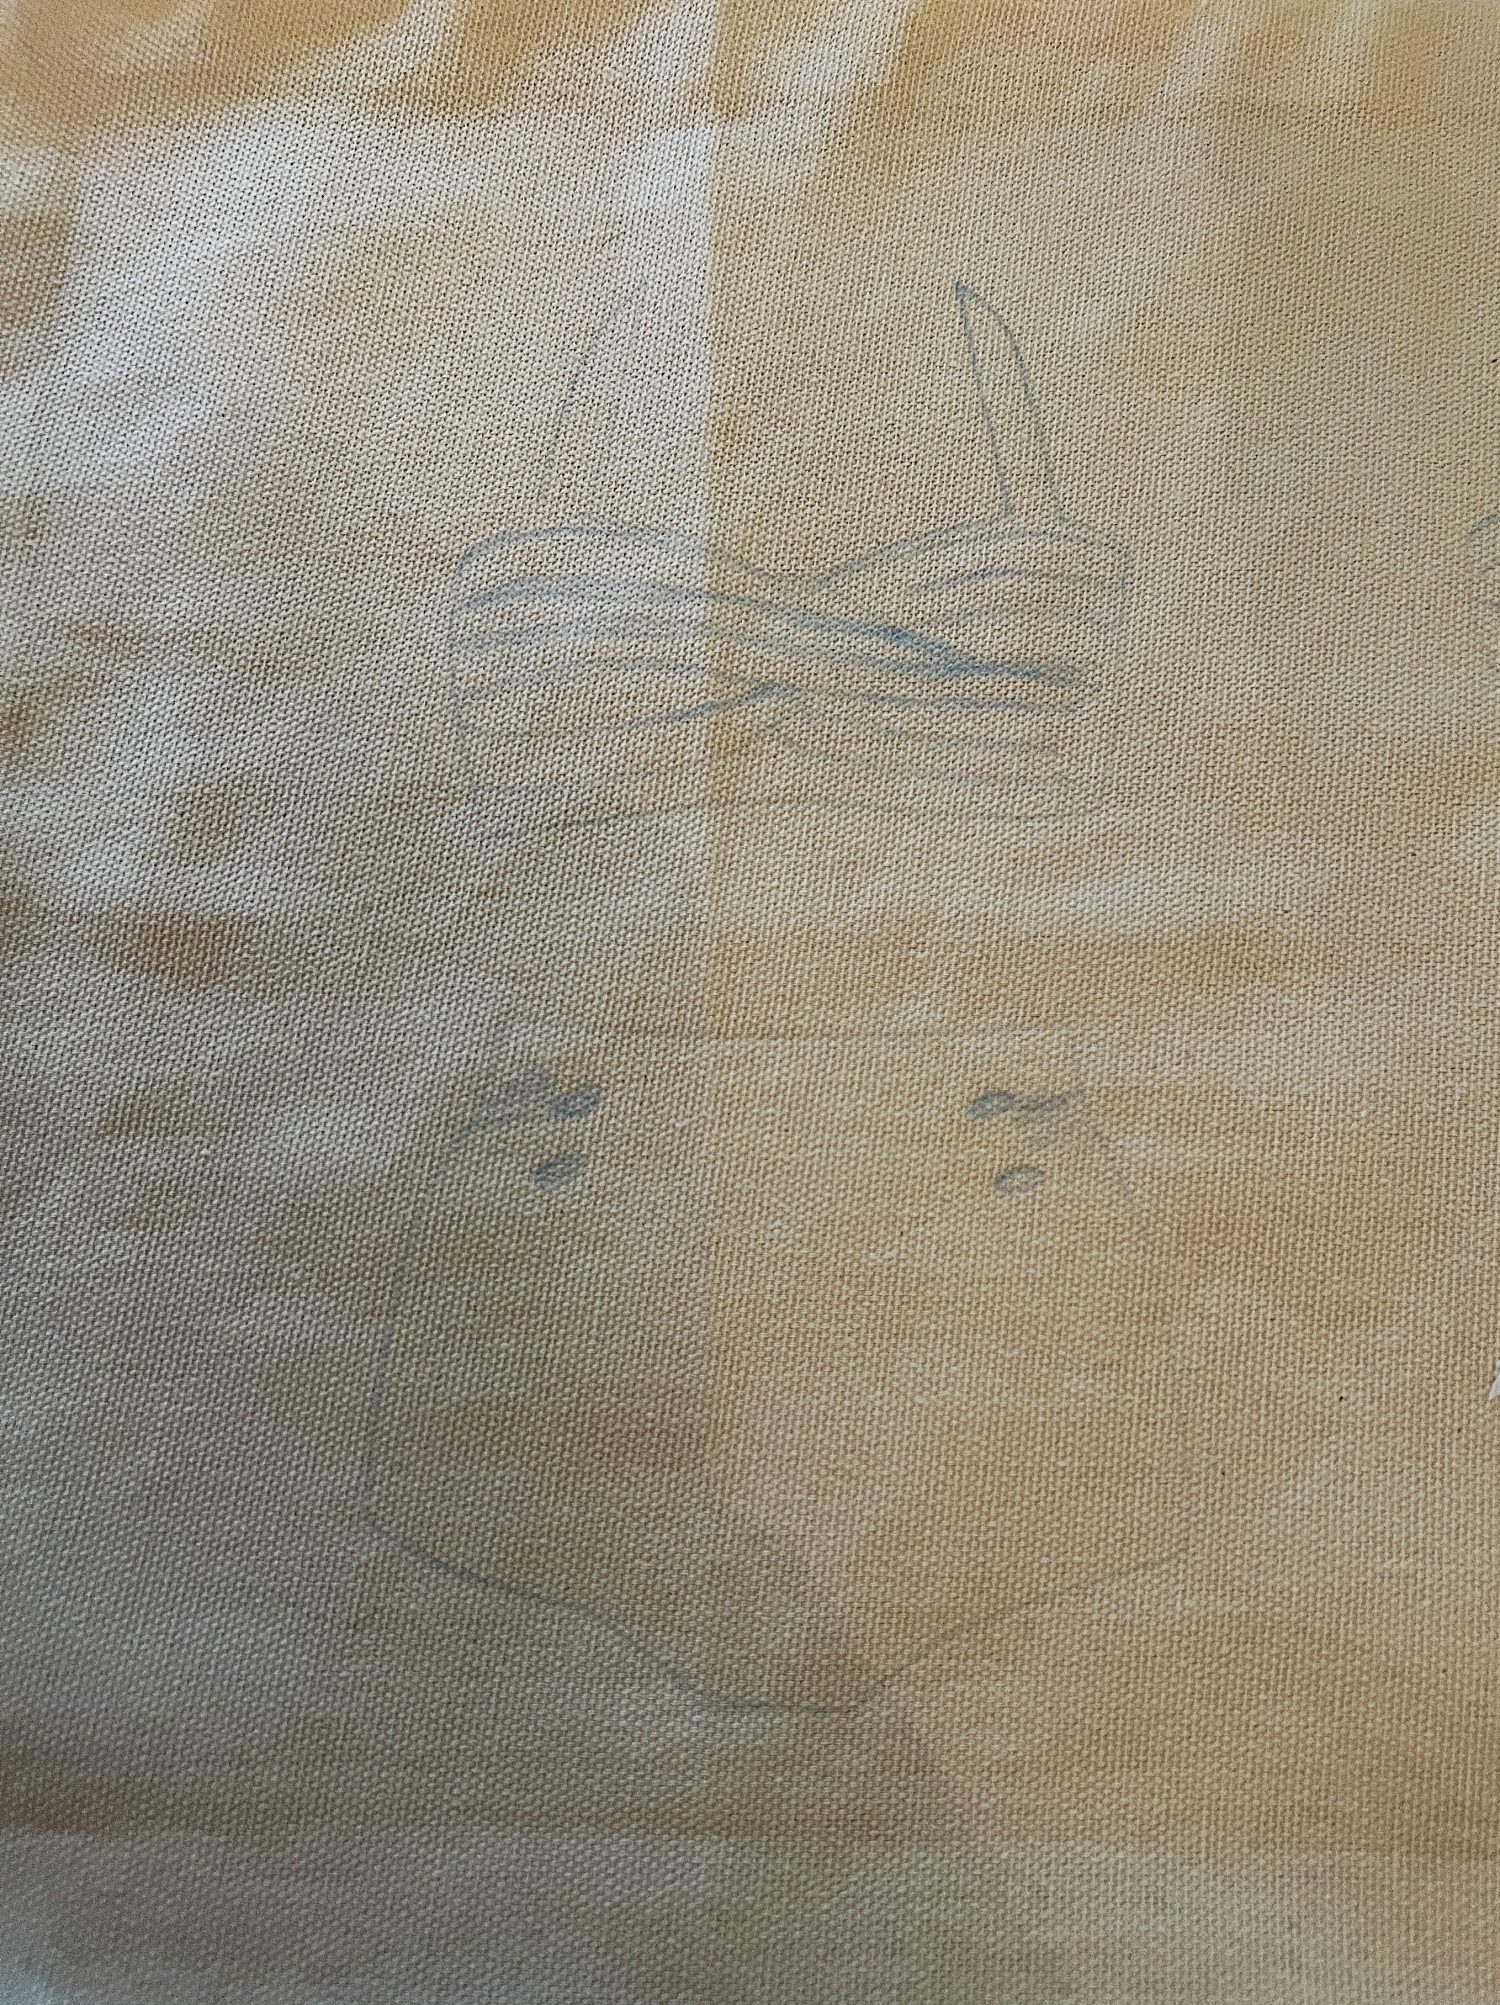
I used a washable pencil to outline the bathing suits and added more designs to the suits. I painted three different bathing suits using only two colors and stitched them on my sewing machine using free-motion embroidery.
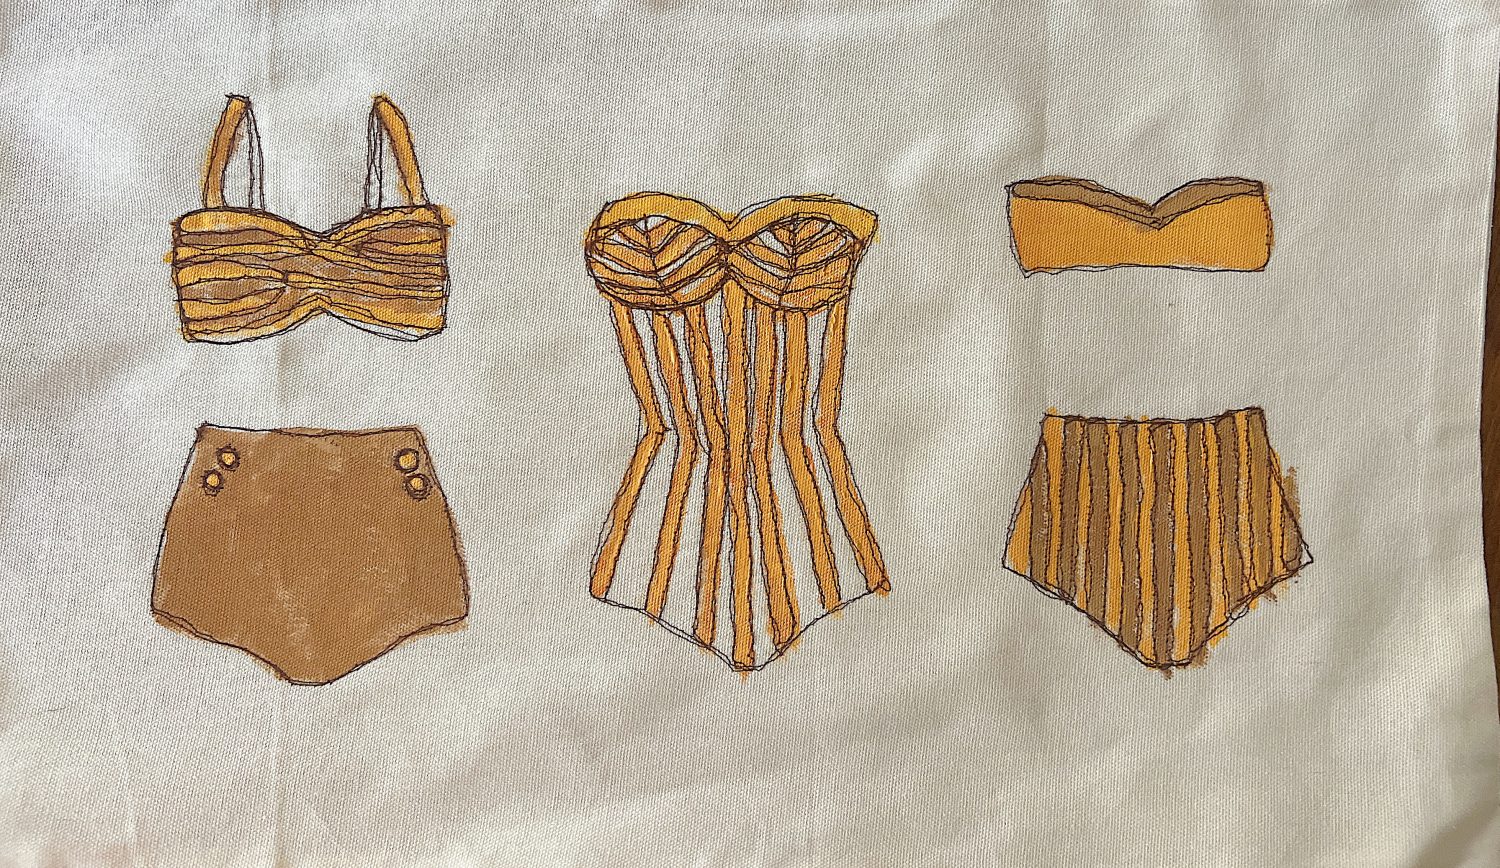

Look at how each design went from tracing to painting to stitching!
I am sorry the first photo is so faint; I purposely traced the designs lightly!
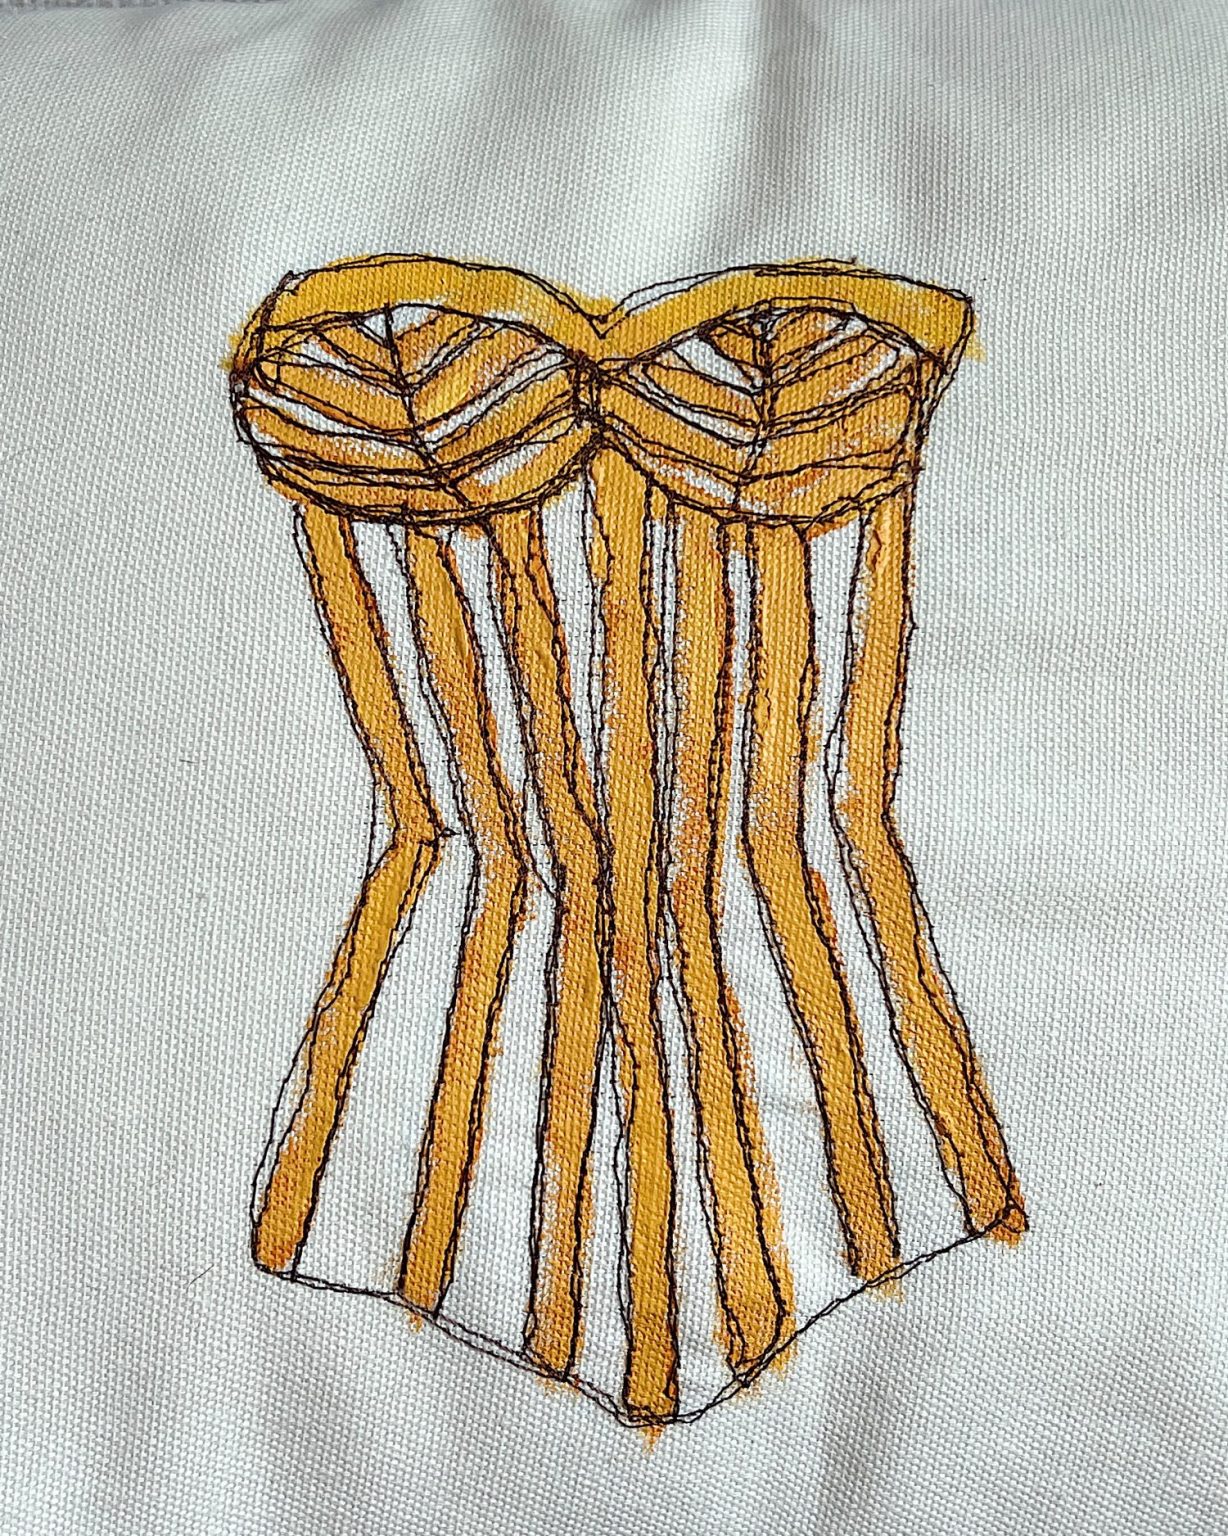
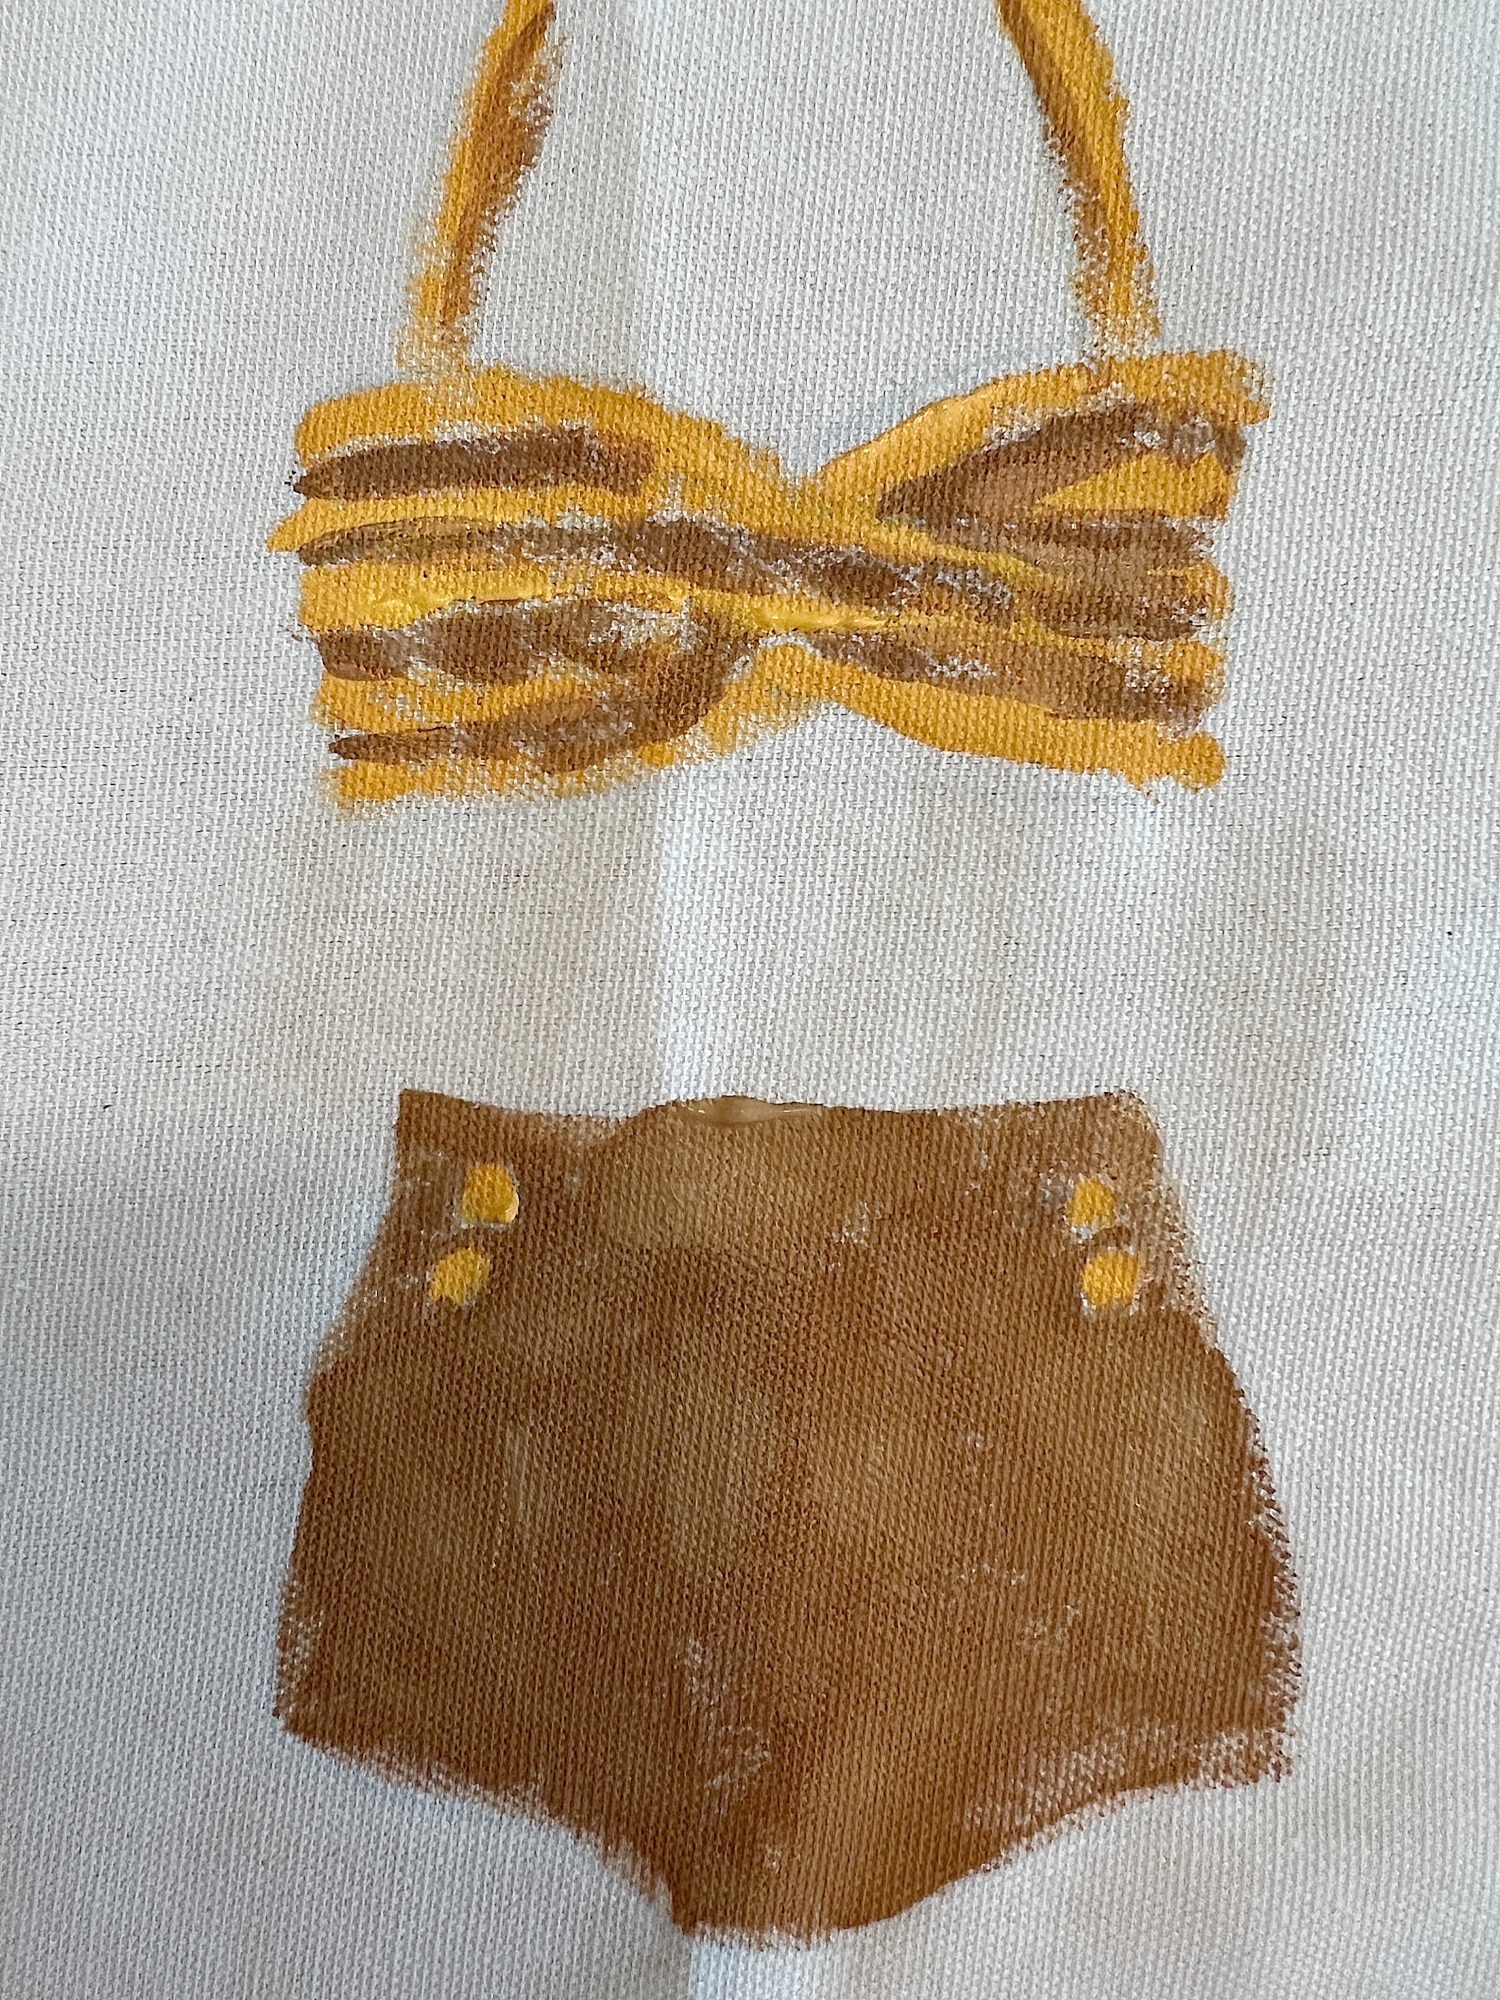
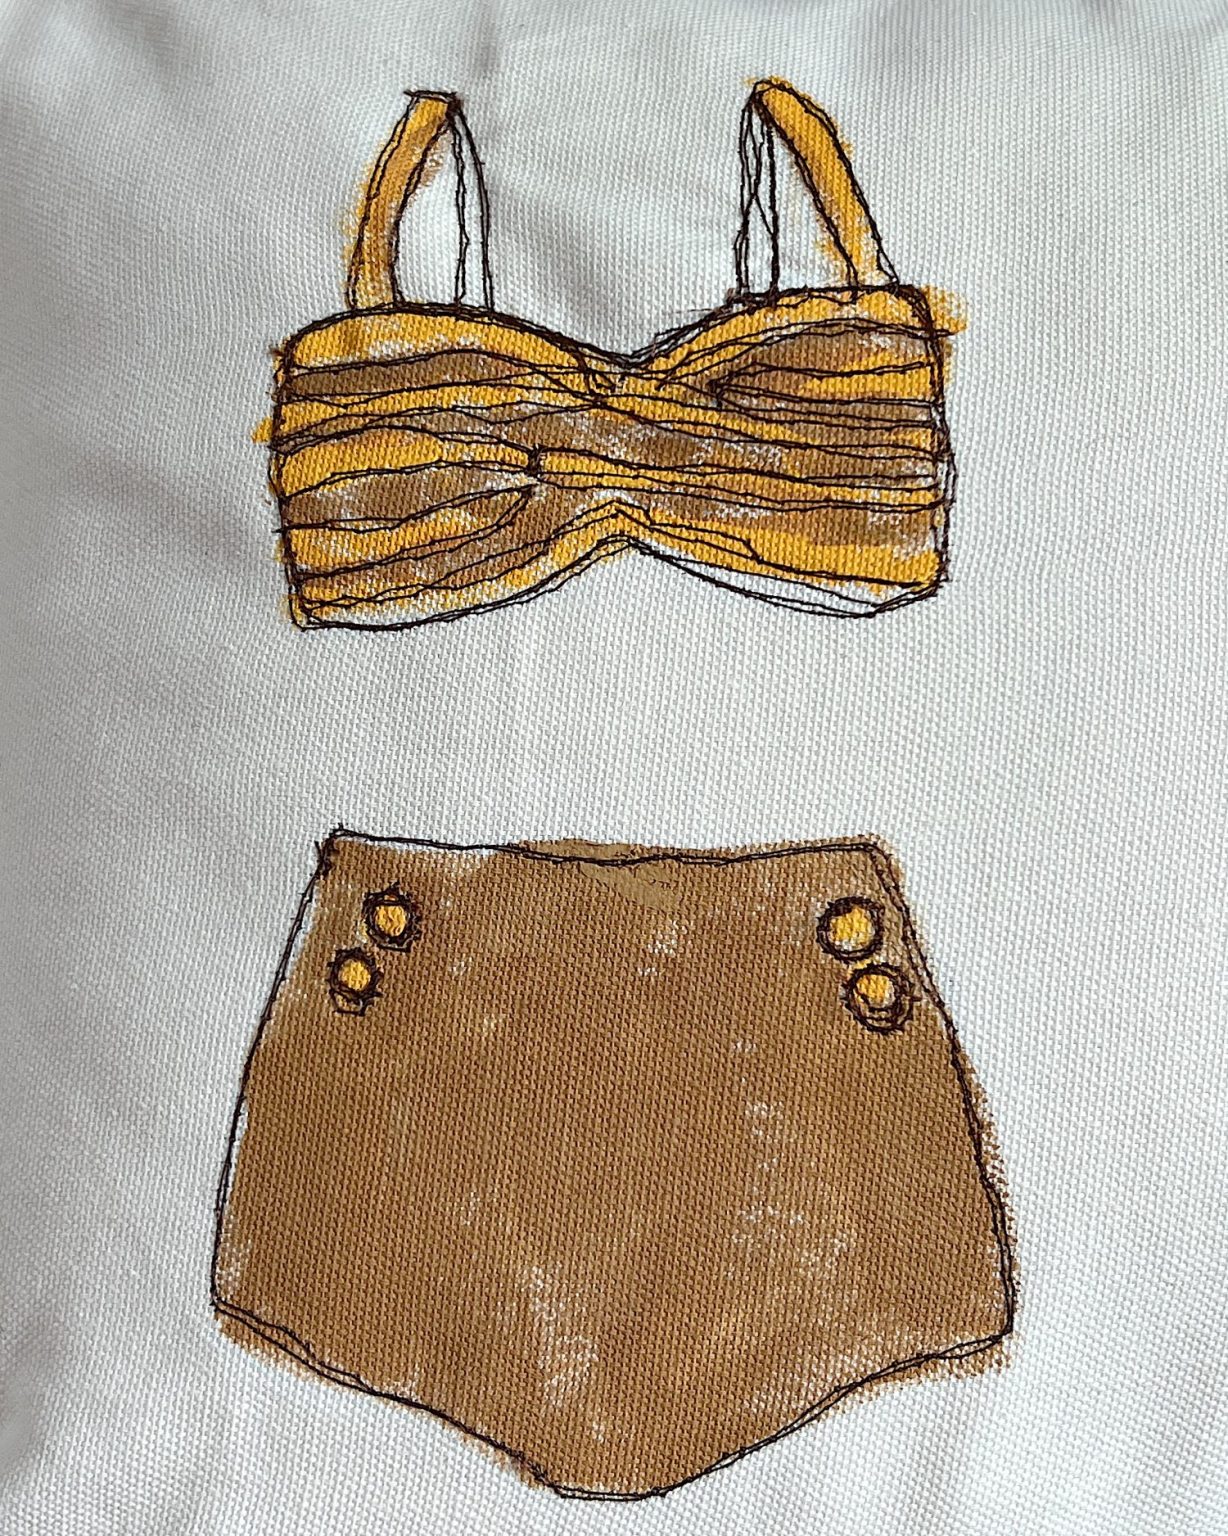
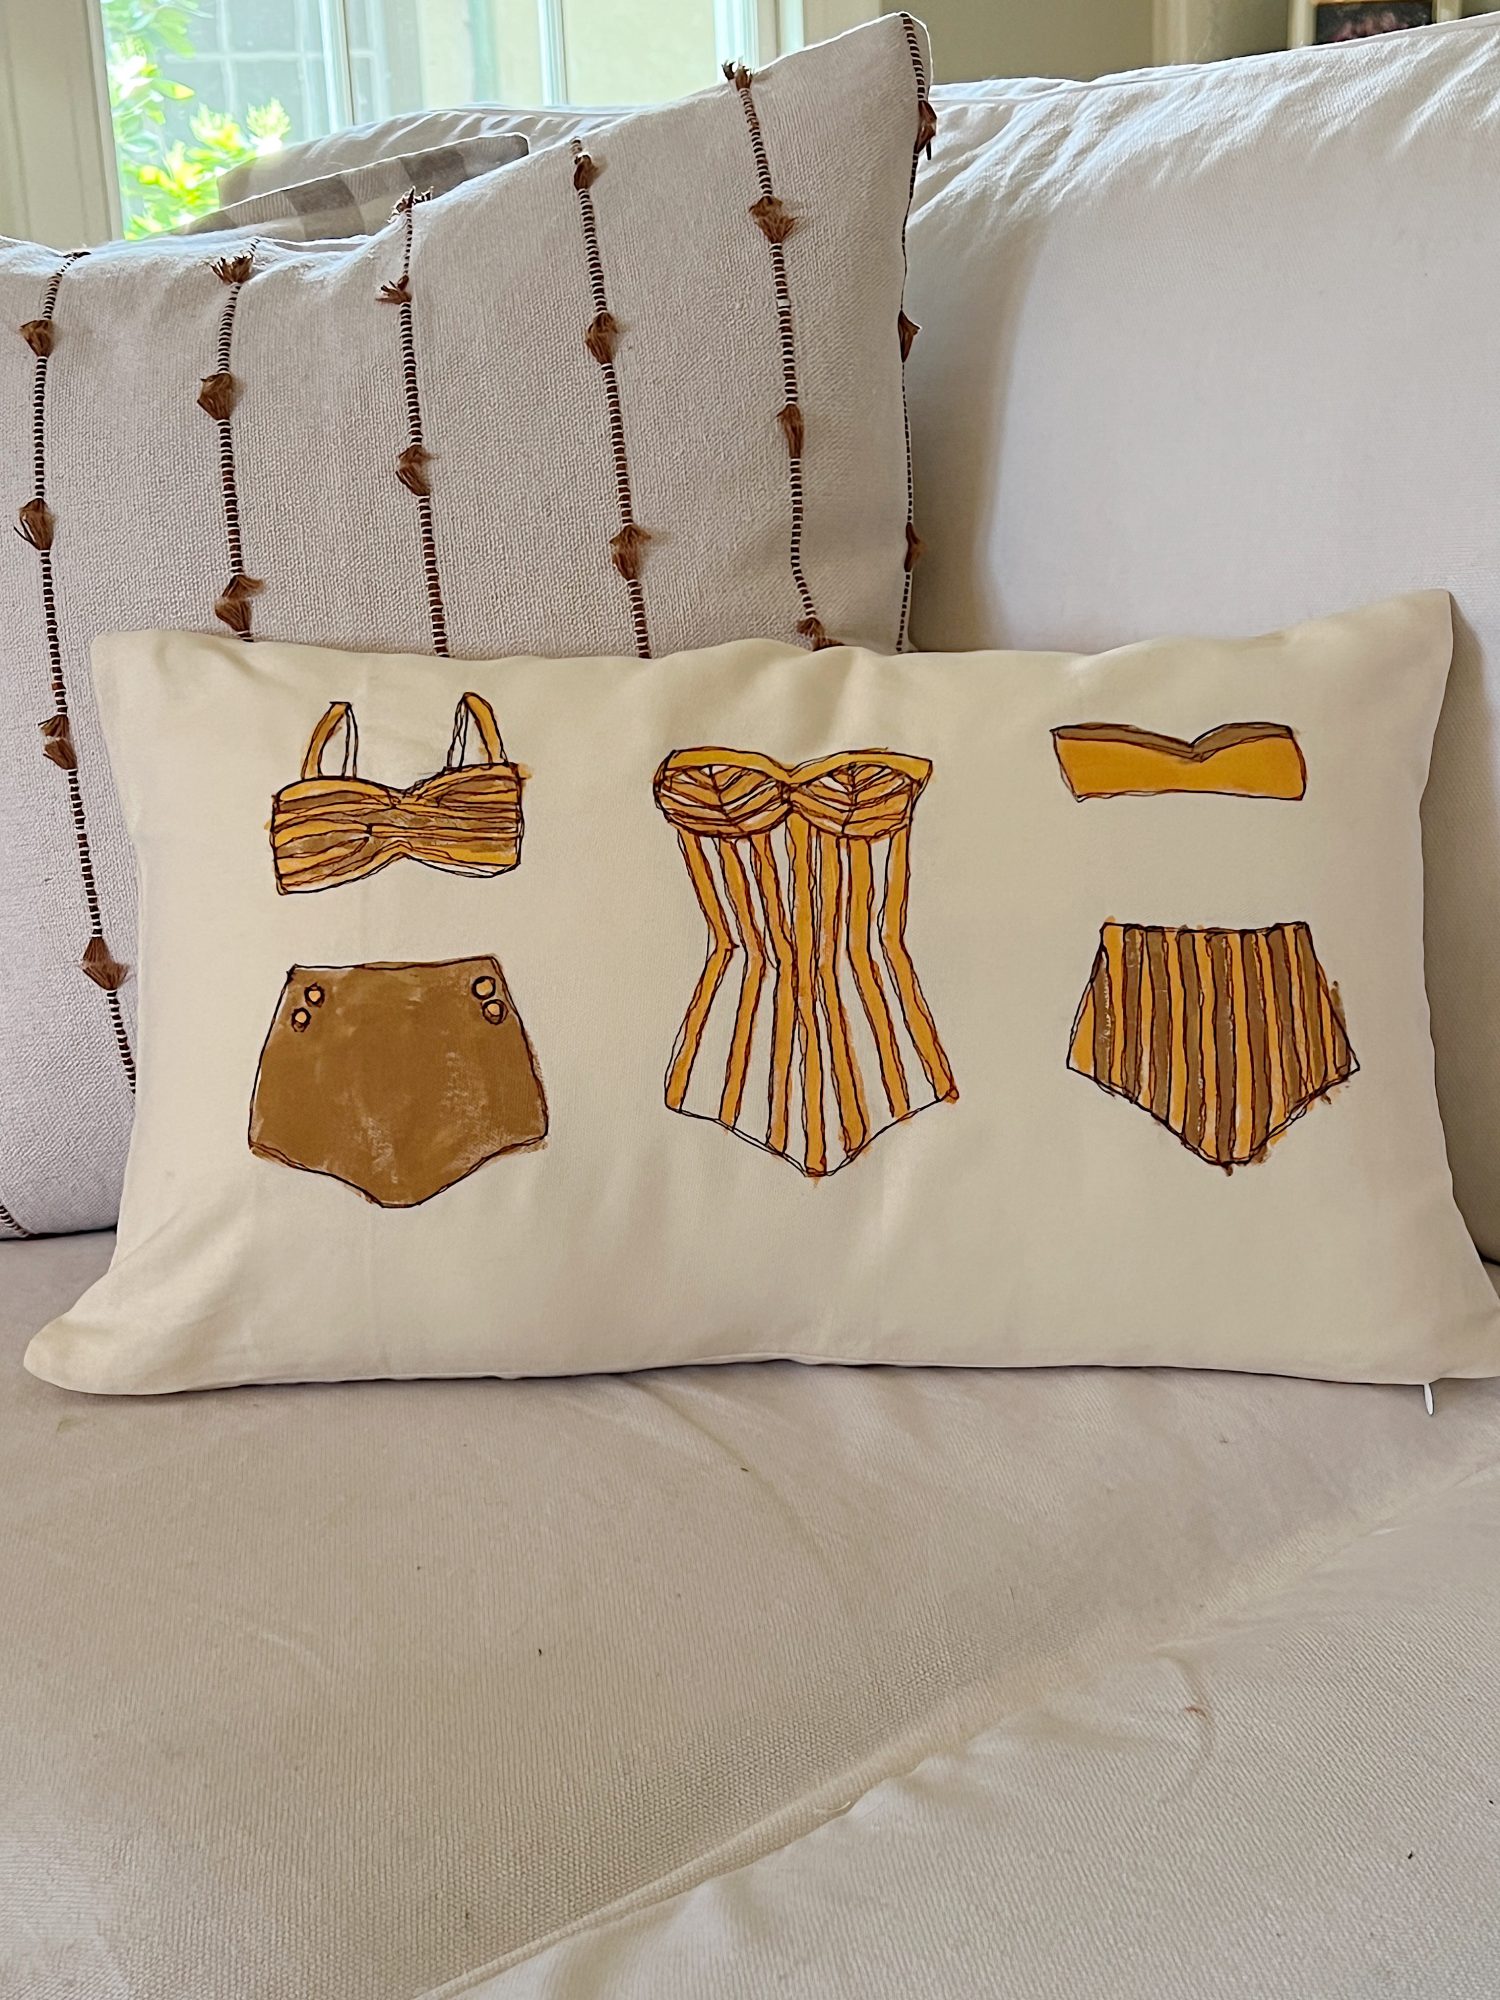
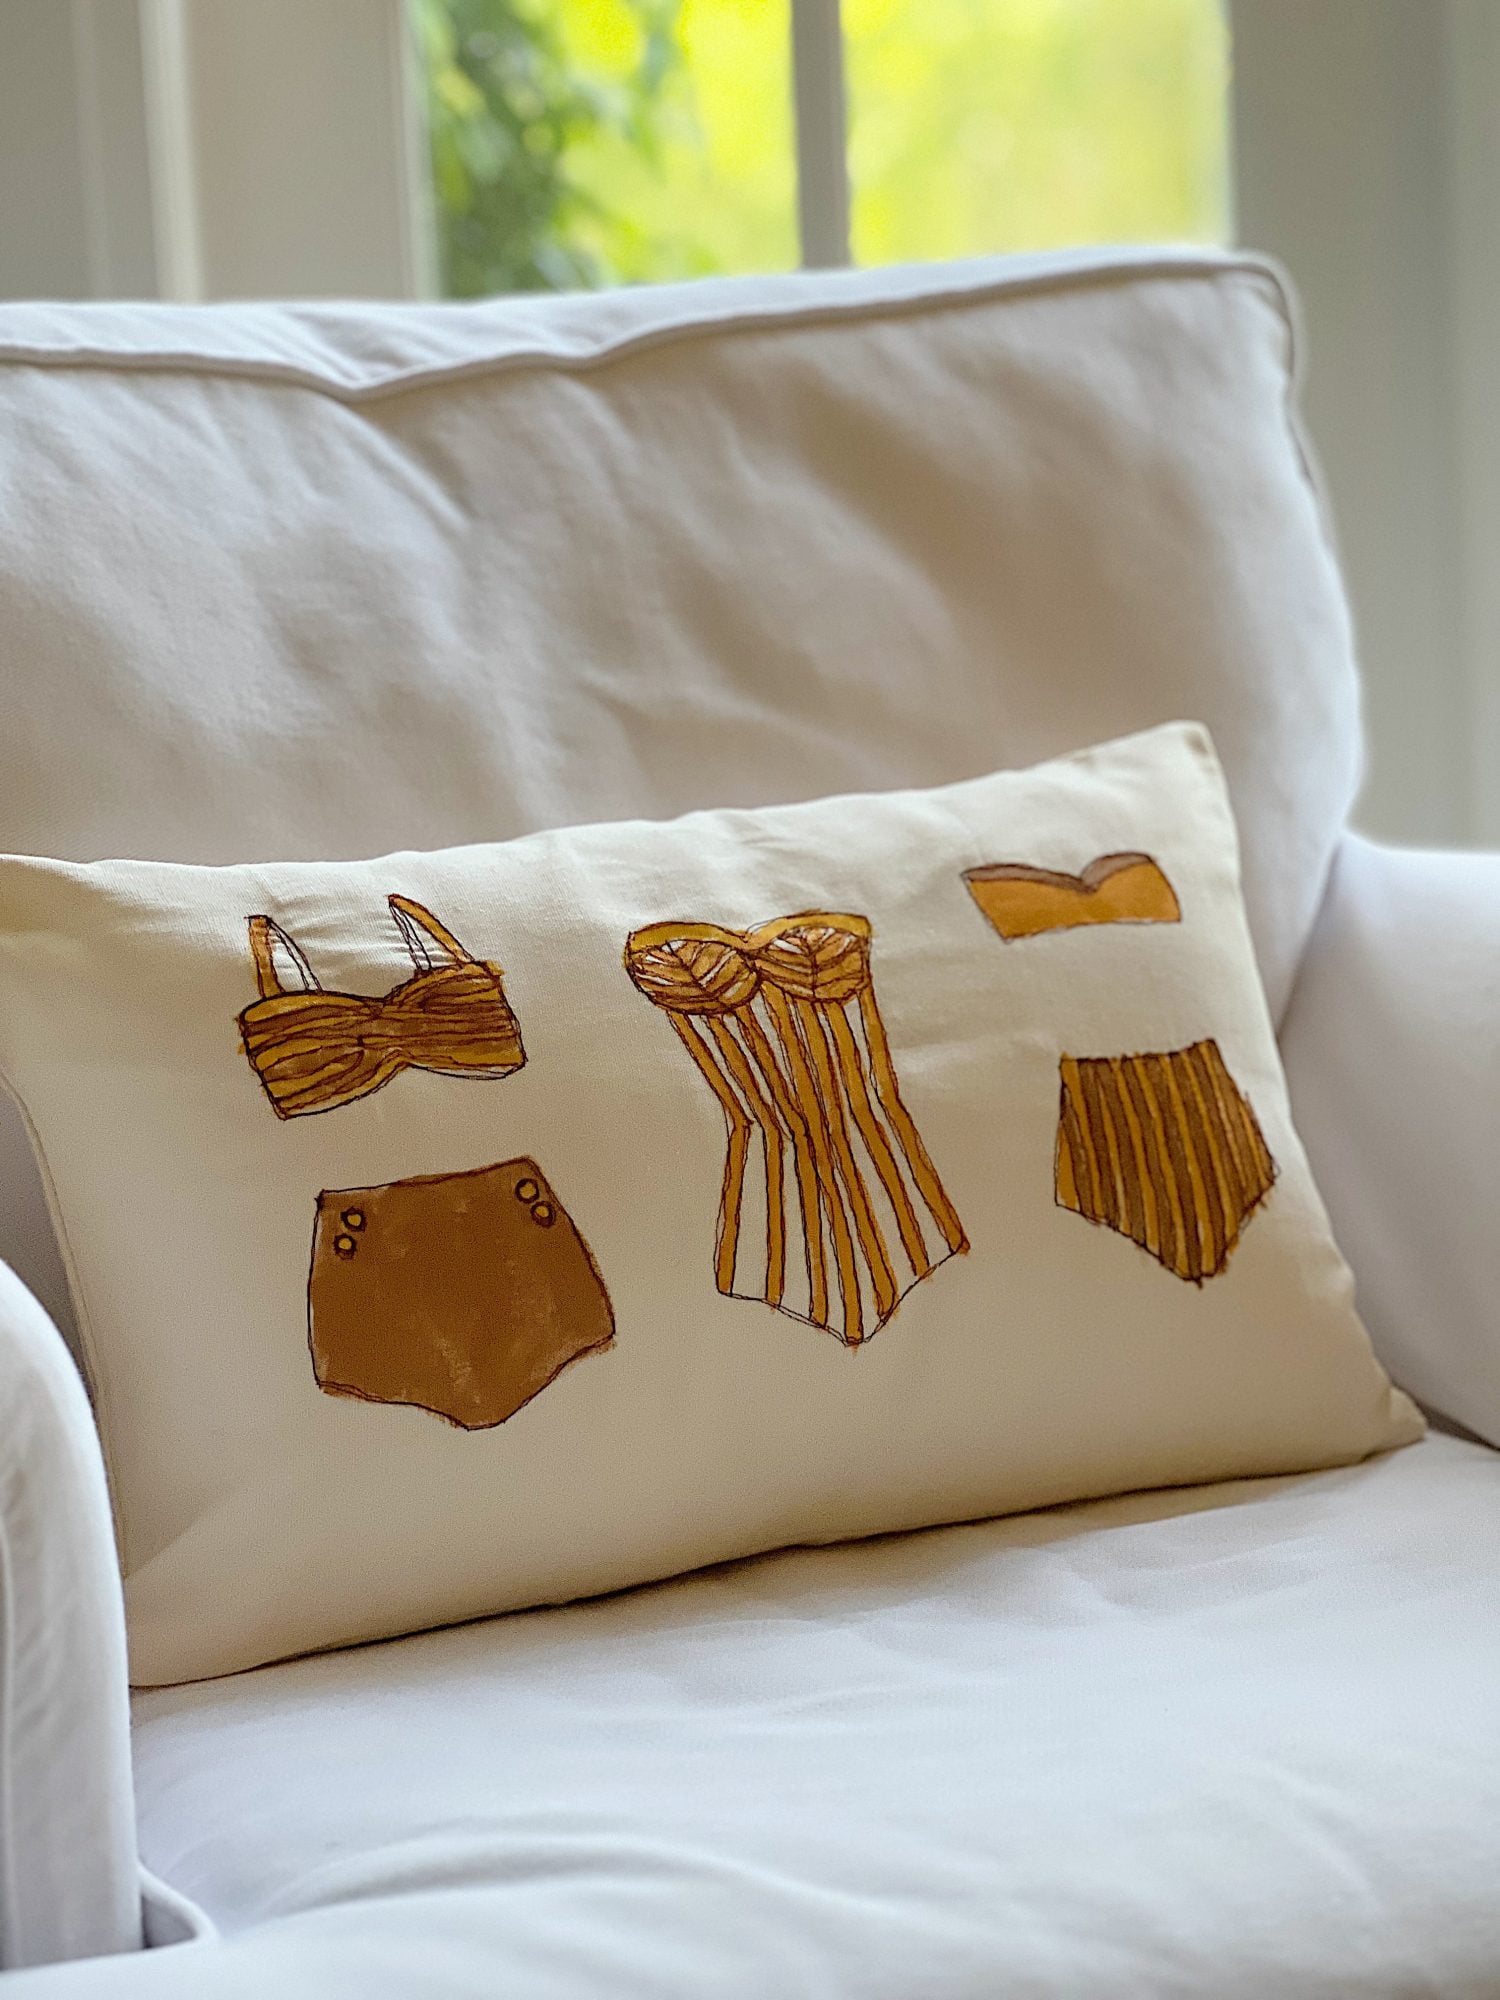
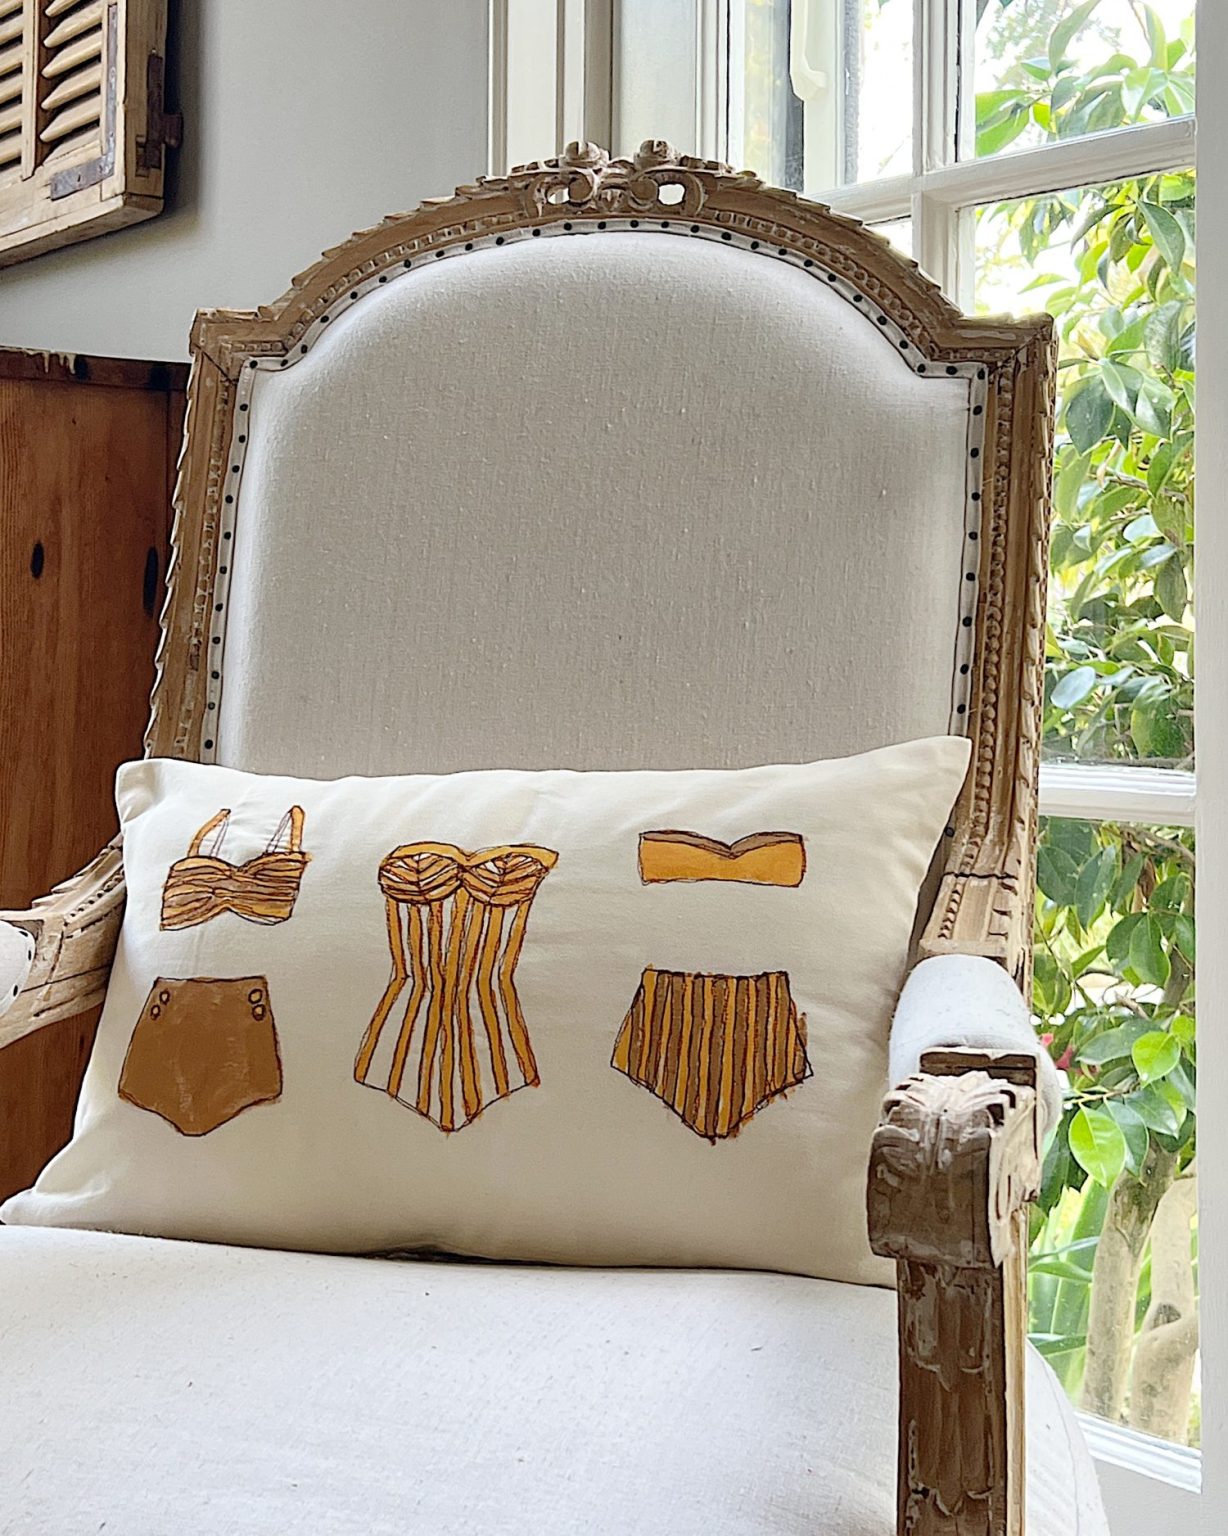
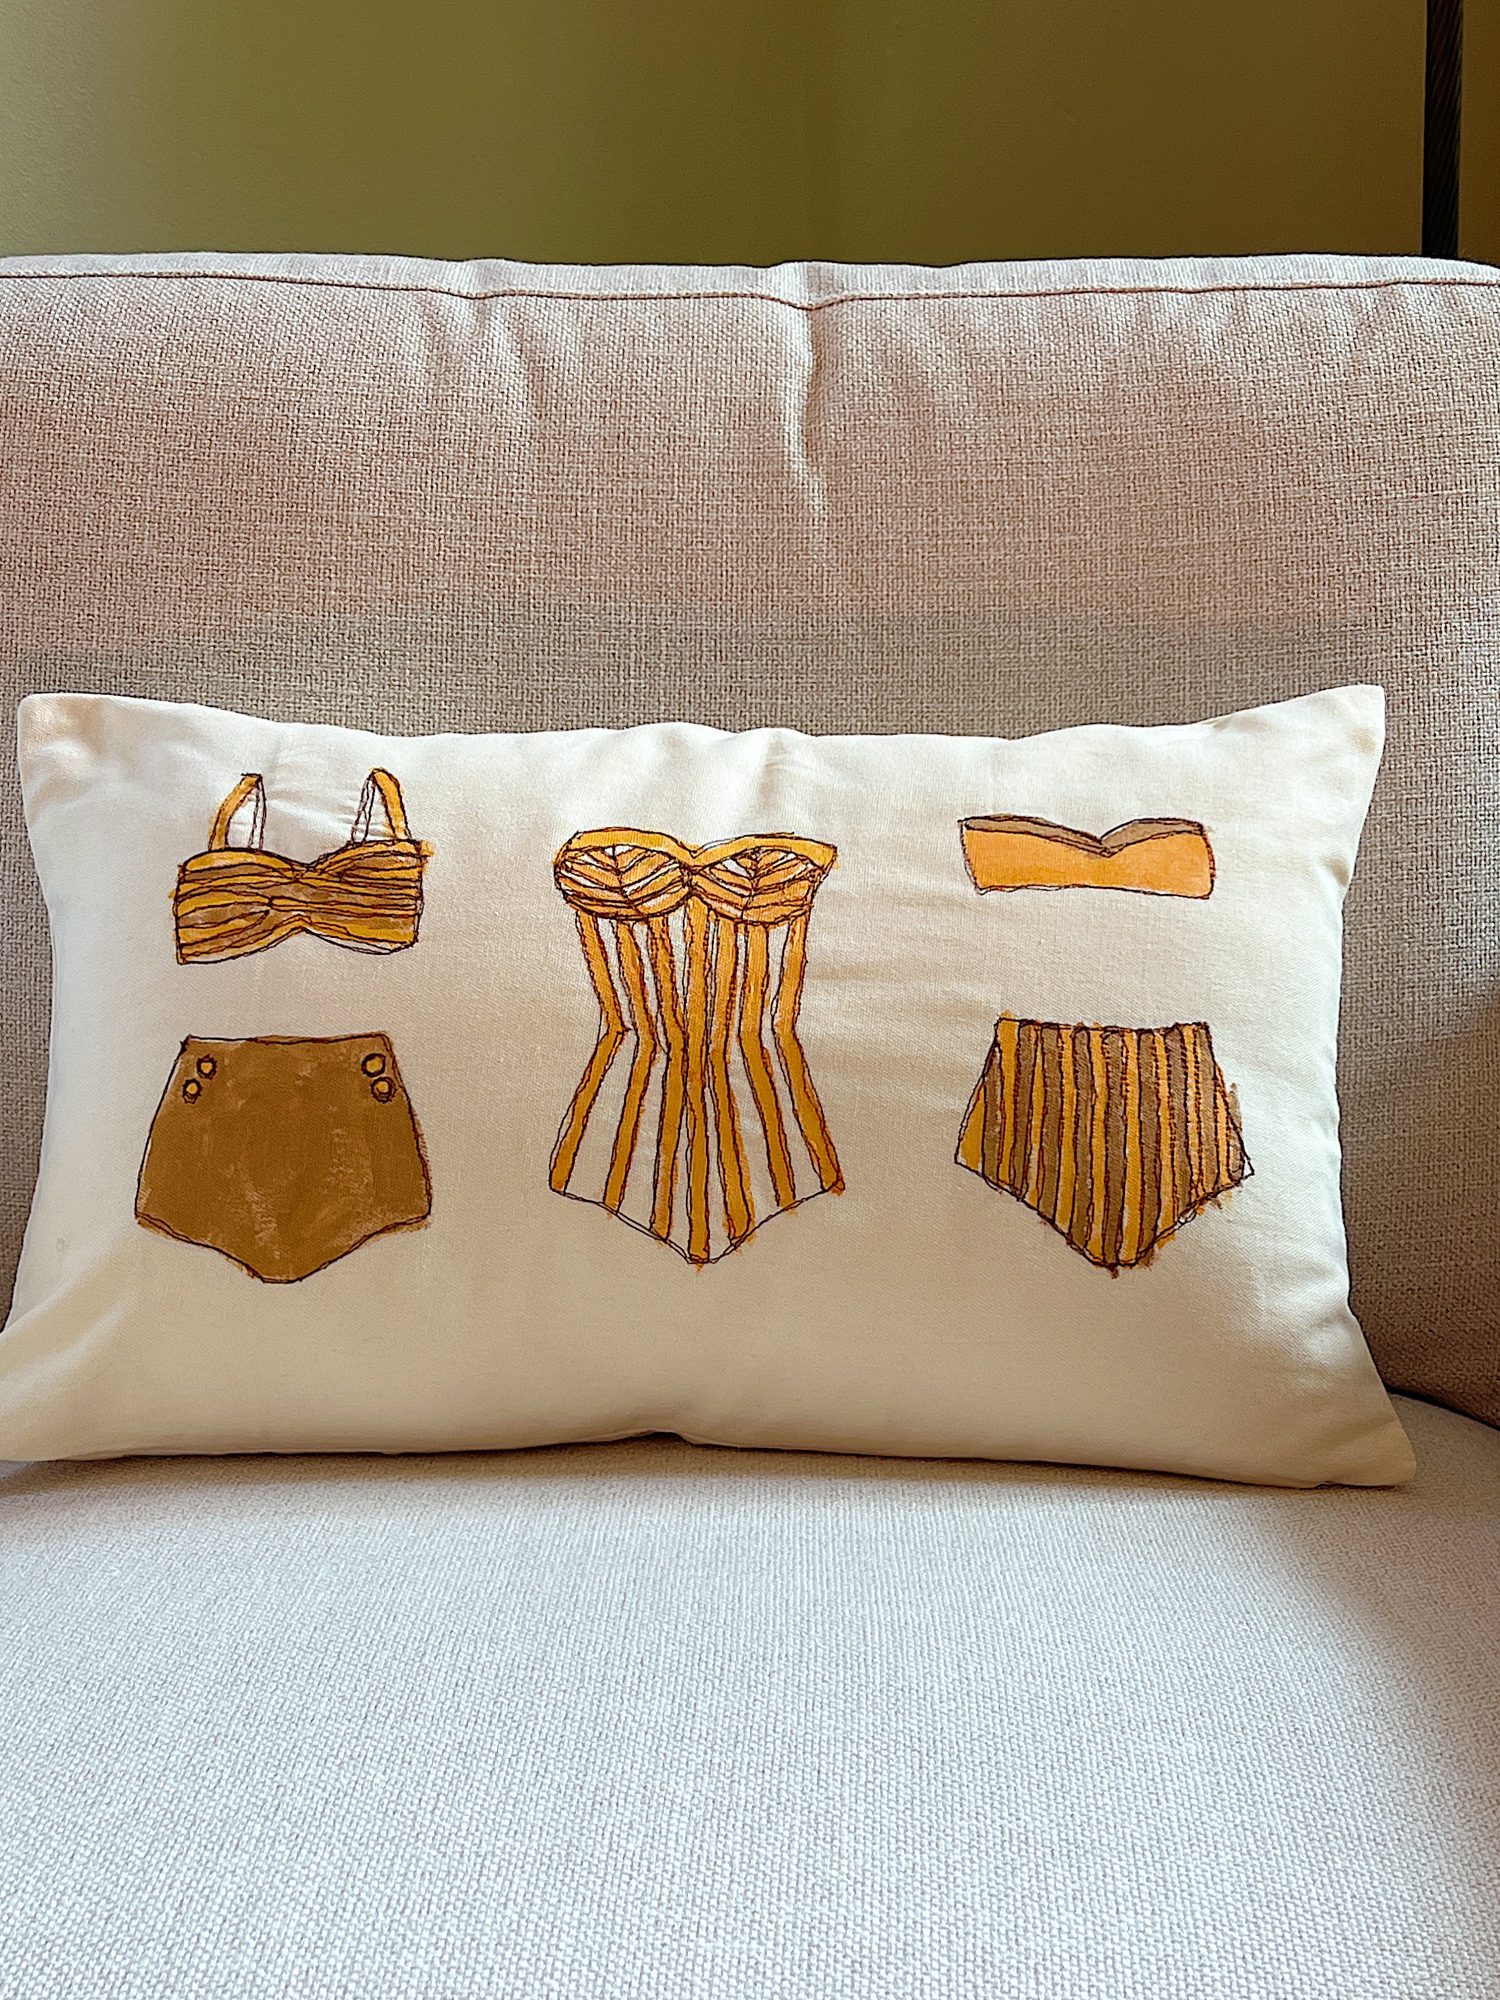
And here is the finished pillow cover.
The old-fashioned bathing suit pillow cover captures the playful patterns and timeless elegance of vintage swimwear. The carefully painted designs brought to life with delicate free-motion embroidery add depth and texture to the overall look. It’s a reminder of sunny days spent lounging by the water and making memories that last a lifetime.
As you style your vintage-inspired pillows, let them take center stage in your living room, sunroom, or outdoor oasis. Pair them with neutral tones for a soothing, balanced aesthetic, or match them with other pops of color for a vibrant, eclectic look. These DIY pillow covers become conversation pieces, sparking fond memories and conversations about the beauty of summers past.
So, unleash your creativity, gather your supplies, and embark on a journey to transform ordinary pillow covers into extraordinary pieces of vintage-inspired art. Let free-motion embroidery and paint be your tools to capture the essence of old-fashioned bathing suits, sunglasses, and beach umbrellas. Create a summer sanctuary in your home that radiates warmth, nostalgia, and the irresistible allure of days spent under the sun.


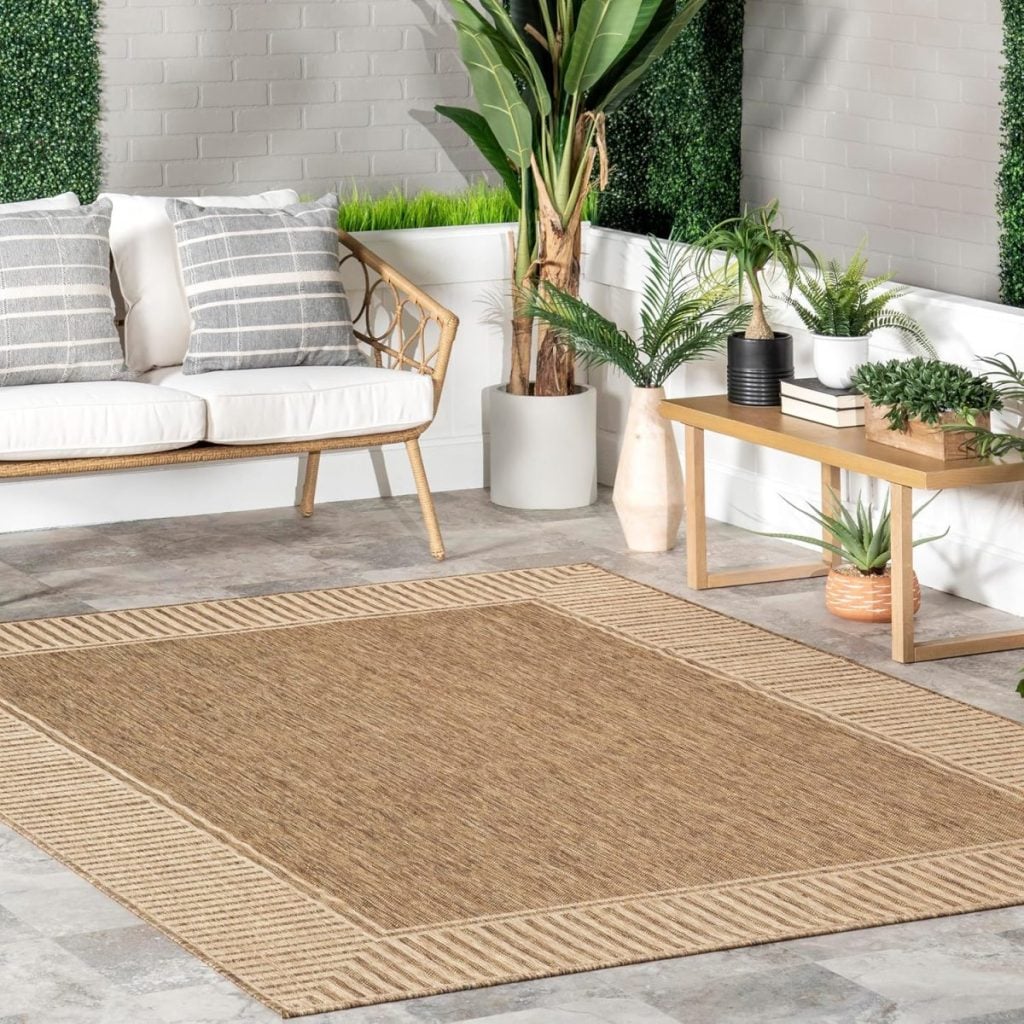
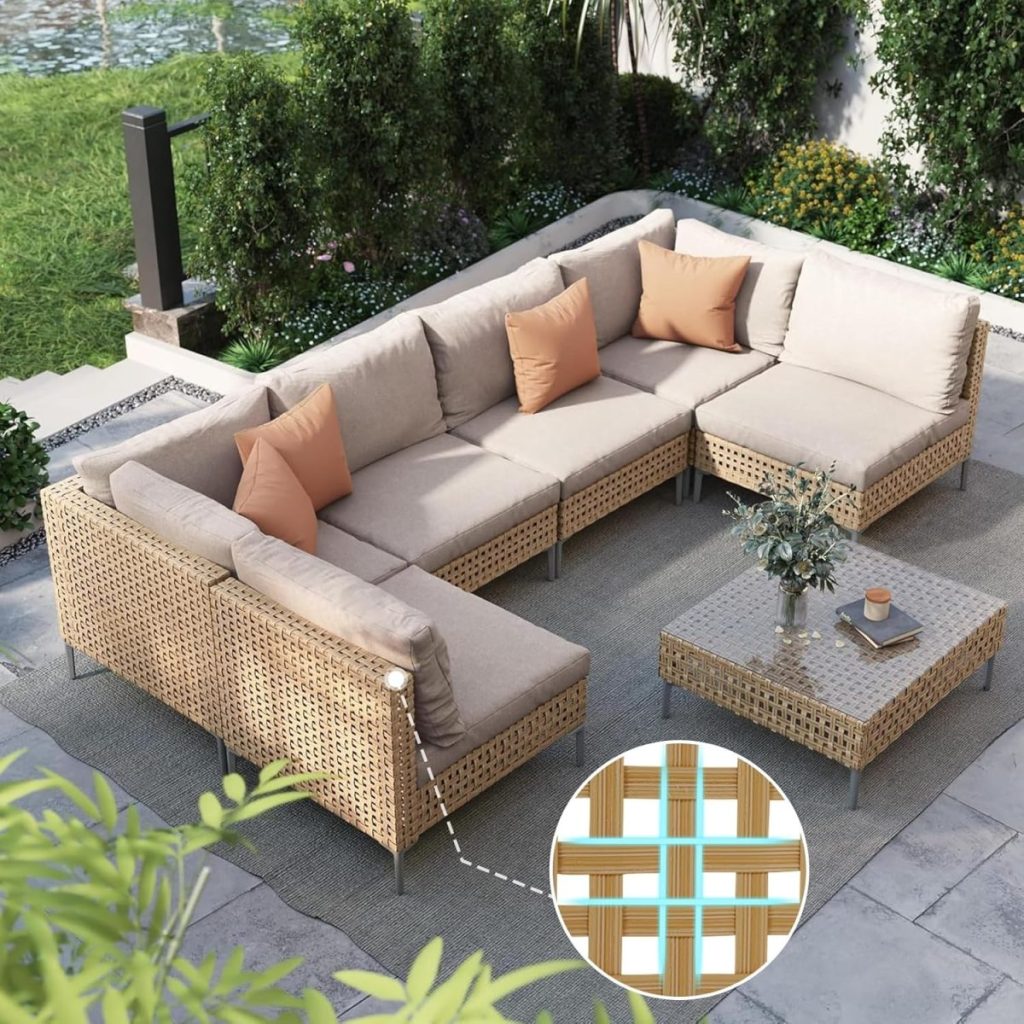
Outdoor Patio Favorites
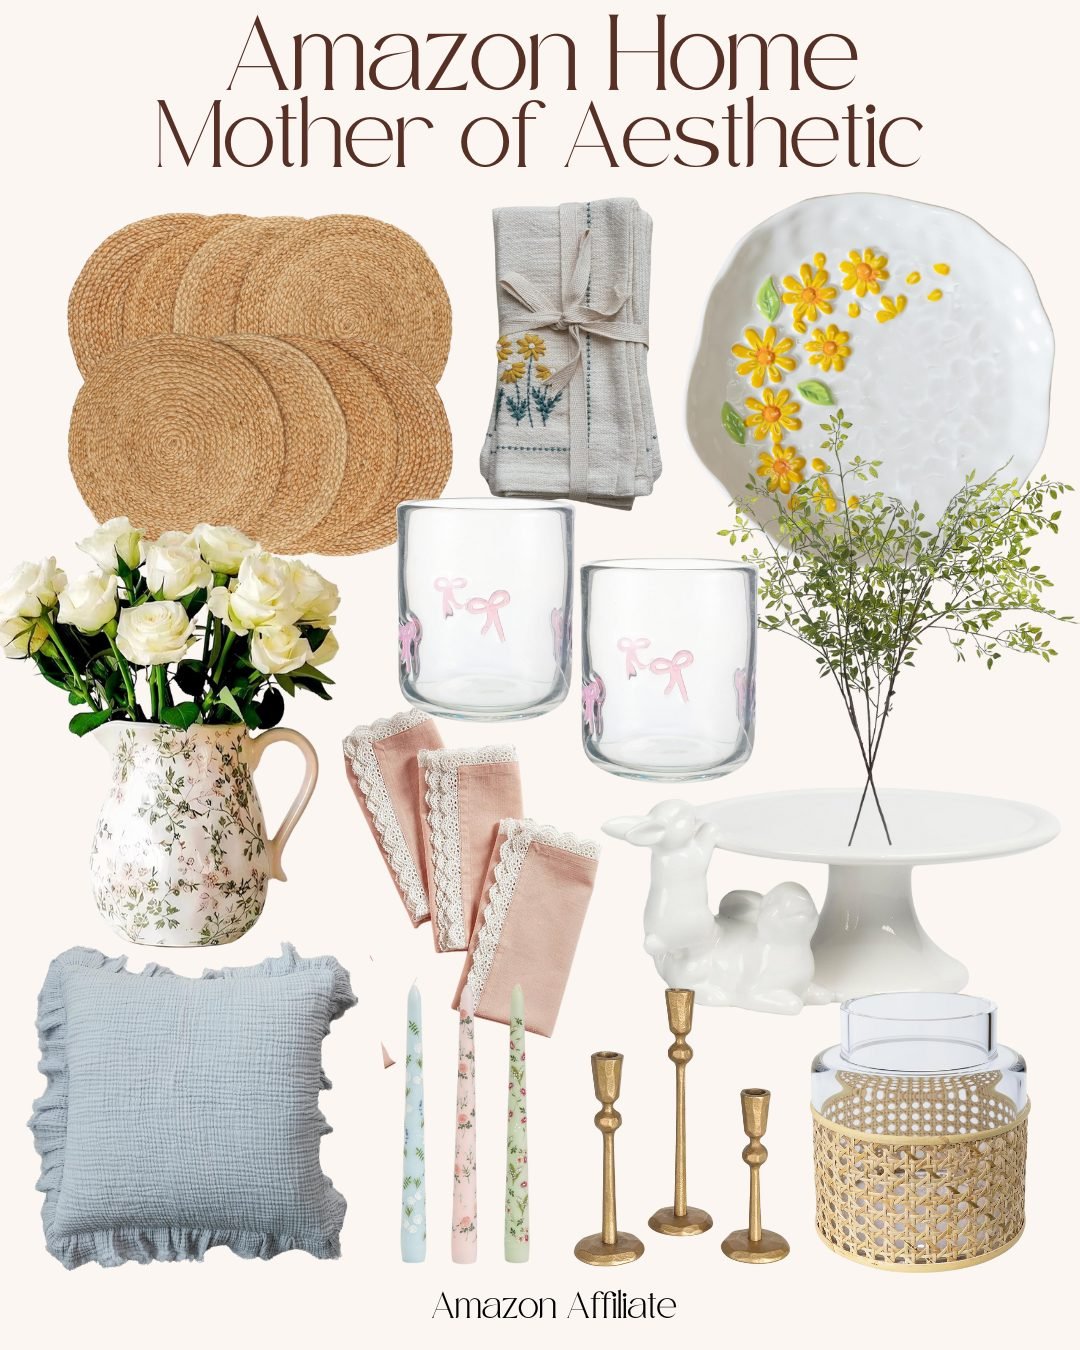
Great Gifts for Mothers Who Love Decor!

You can pin the image below to your boards on Pinterest (click the Pin button in the top left corner) or follow me on Pinterest!
For more real-time updates, follow me on Instagram @My100YearOldHome

I wish you sold some of the pillows you make they are so cute.
Oh my goodness, thank you Karen! I love making them ☺️❤️
I am amazed at your creativity with these pillow covers! When you do the machine free embroidery, do you take any of the pillow cover seams out to have a flat sewing surface? I am trying to figure out how you get that under the machine needle without sewing all the way through.
The sewing machine needs to have a removeable portion of the sewing bed so once it’s removed you have a free arm (most newer machines do). The arm gets “inserted” into the pillow case so you can move the case around the arm.