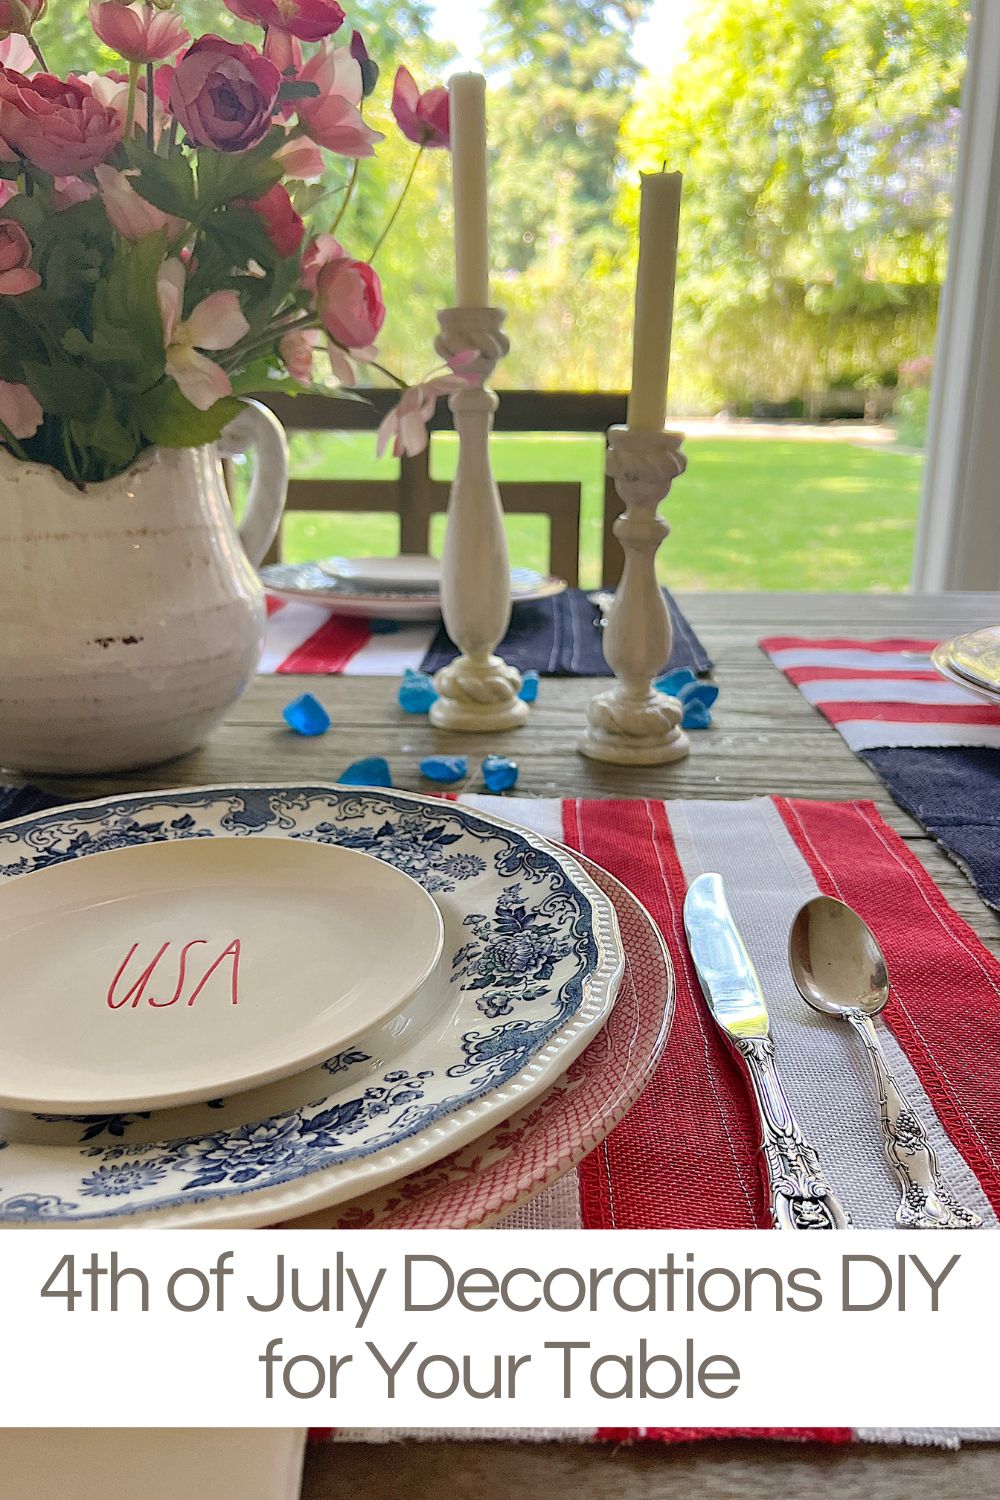
DIY 4th of July Decorations for Your Table
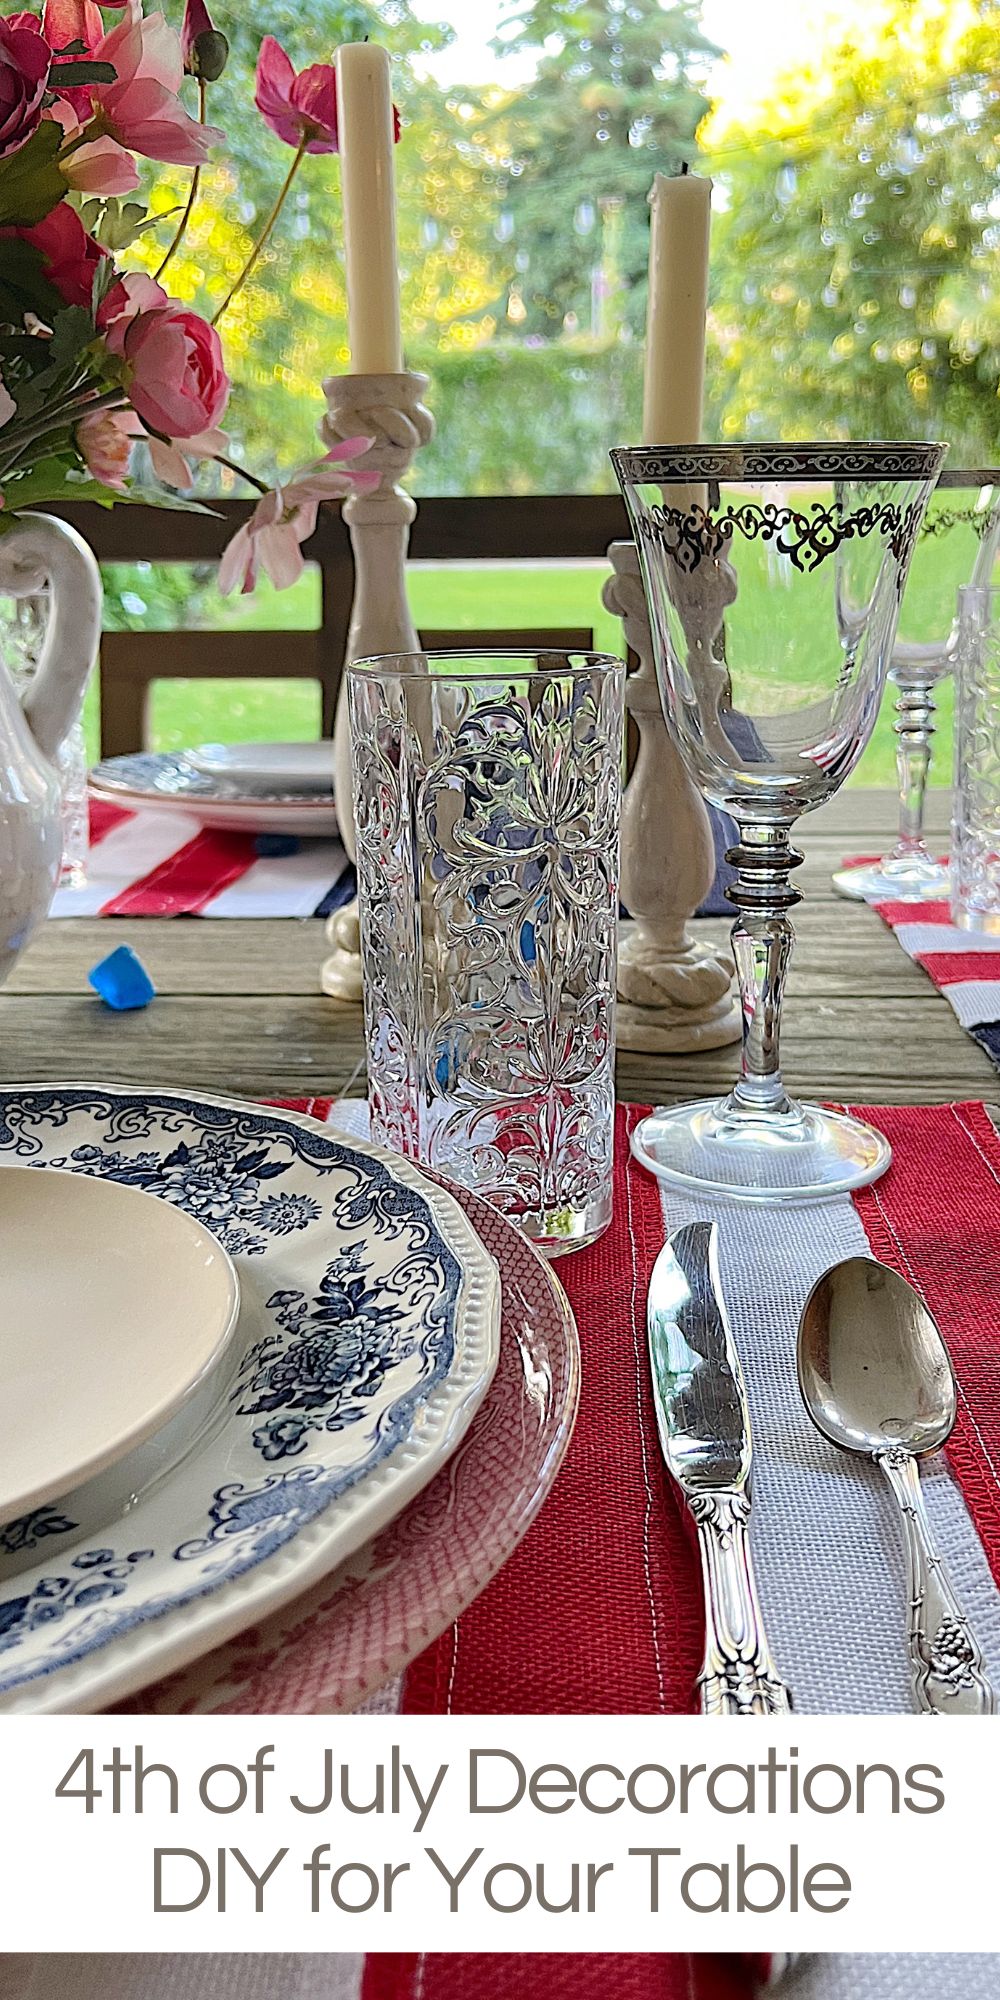
I couldn’t resist. I saw some cute placemats at Pottery Barn, and since they were expensive, I decided to make my own 4th of July decorations.
These placemats were fun and easy to make, and I think they turned out amazing. I loved making them.


DIY Placemats for 4th of July Decorations
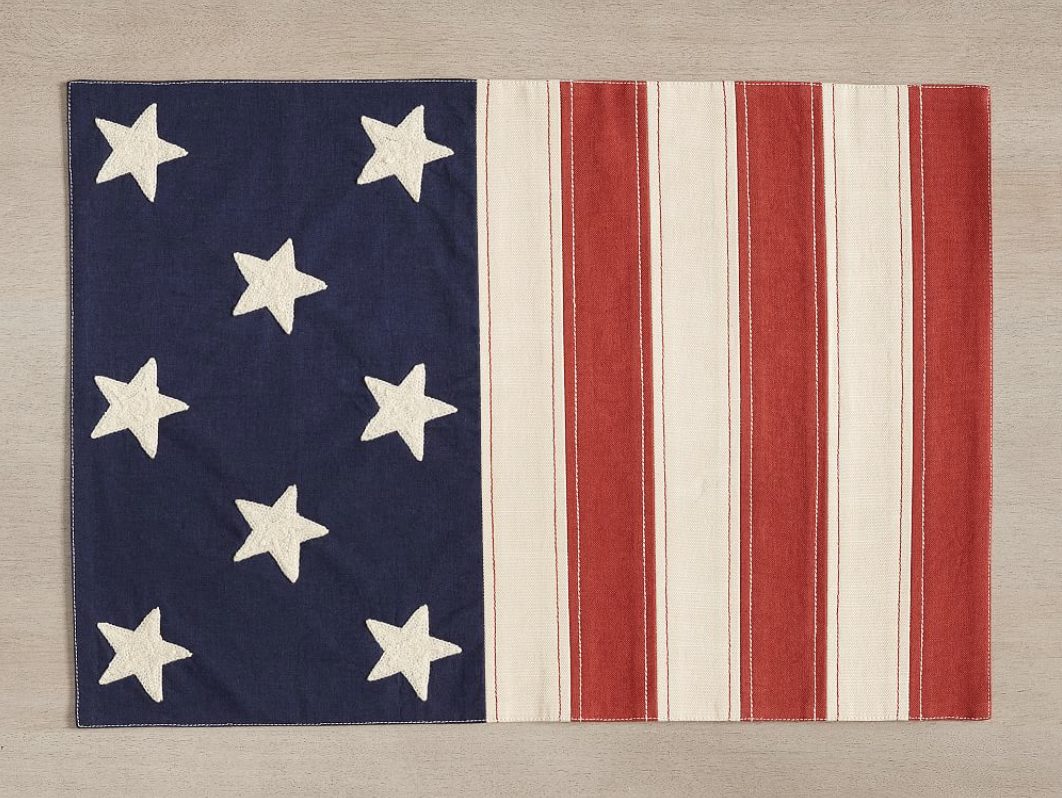
Pottery Barn is renowned for its exquisite home decor, and its American Flag Cotton Placemats are no exception. However, if you’re feeling crafty and want to personalize your table setting, why not try making your own knock-off version?
In this DIY guide, I will walk you through the steps to create stunning American Flag Cotton Placemats inspired by the Pottery Barn design. Not only will you have a unique and patriotic addition to your table, but you’ll also experience the satisfaction of crafting something beautiful with your hands.
I may sometimes use affiliate links on this blog, which means a small commission is earned if you purchase via the link. The price will be the same whether you use the affiliate link or go directly to the vendor’s website using a non-affiliate link.

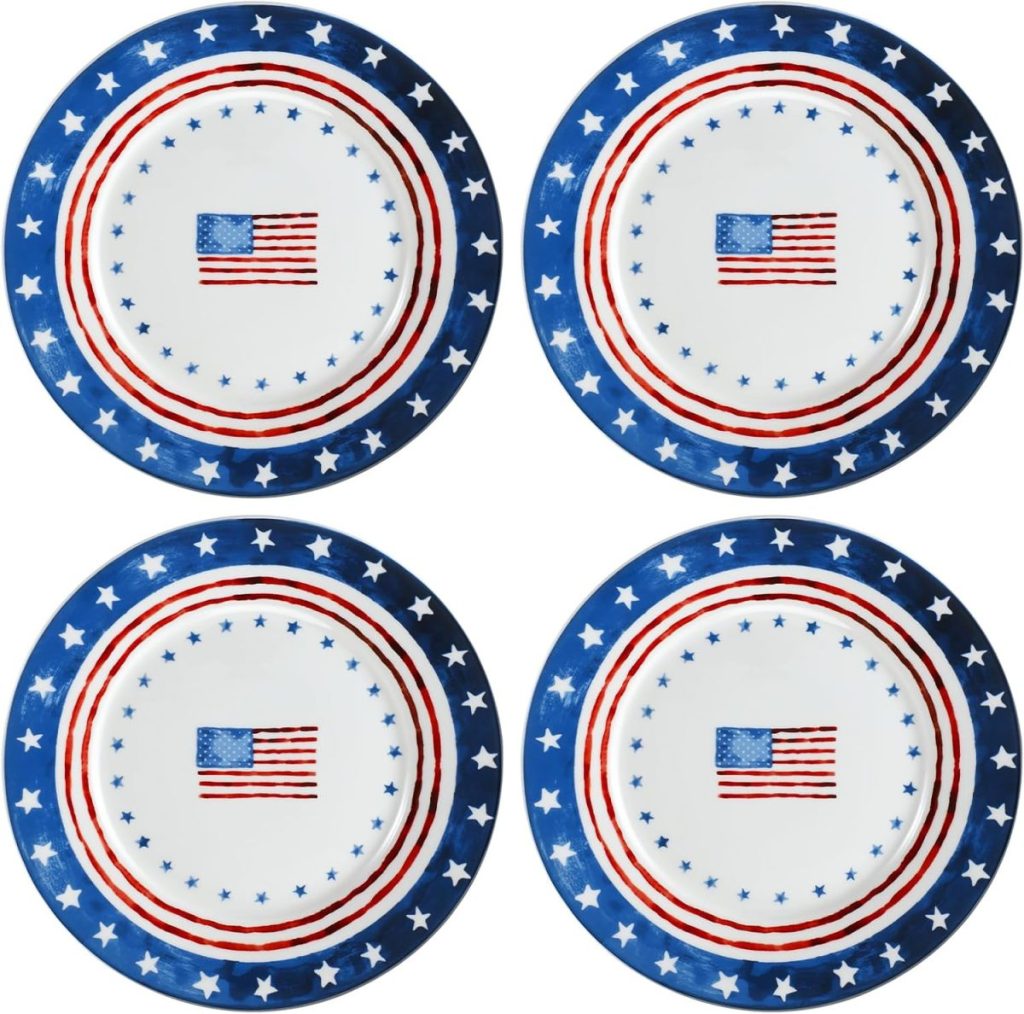
The Pottery Barn Placemat
Here is the Pottery Barn placemat. They are sold as a set of four for $72.00. I made my knock-off version for $25.00 for a set of 4. (Although, I made eight. And shipping was free. Hehe.)
Materials Needed:
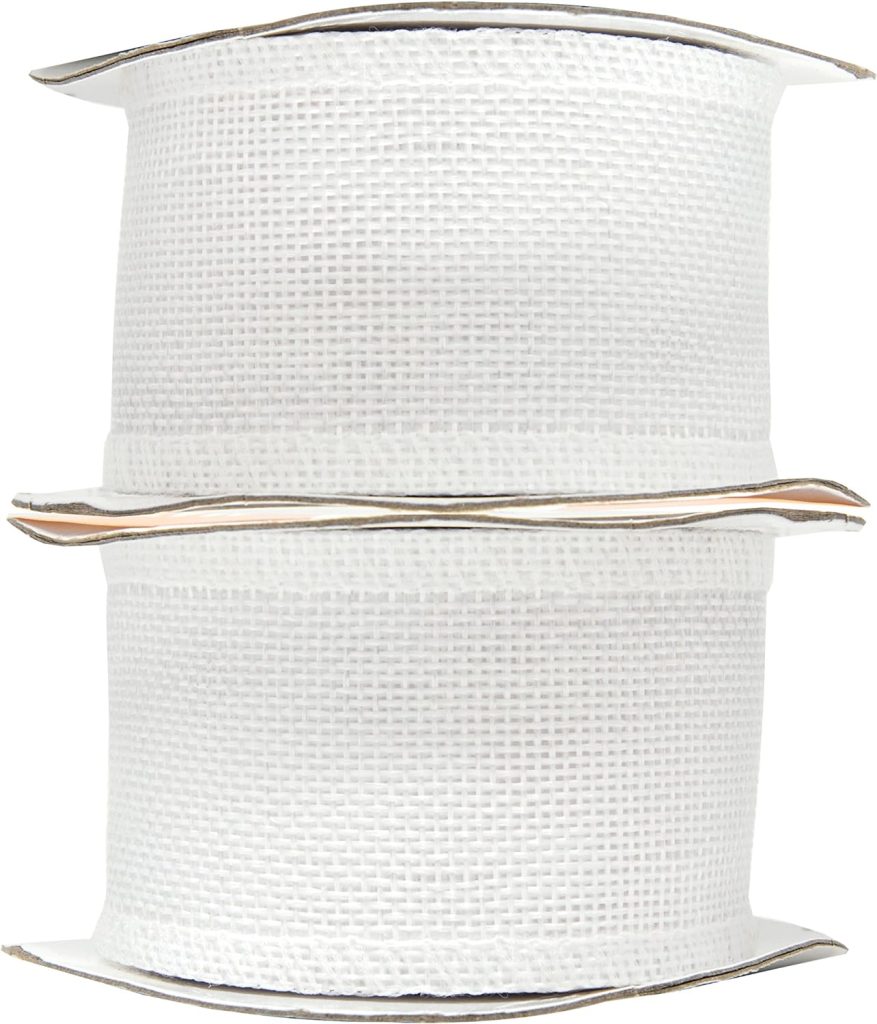
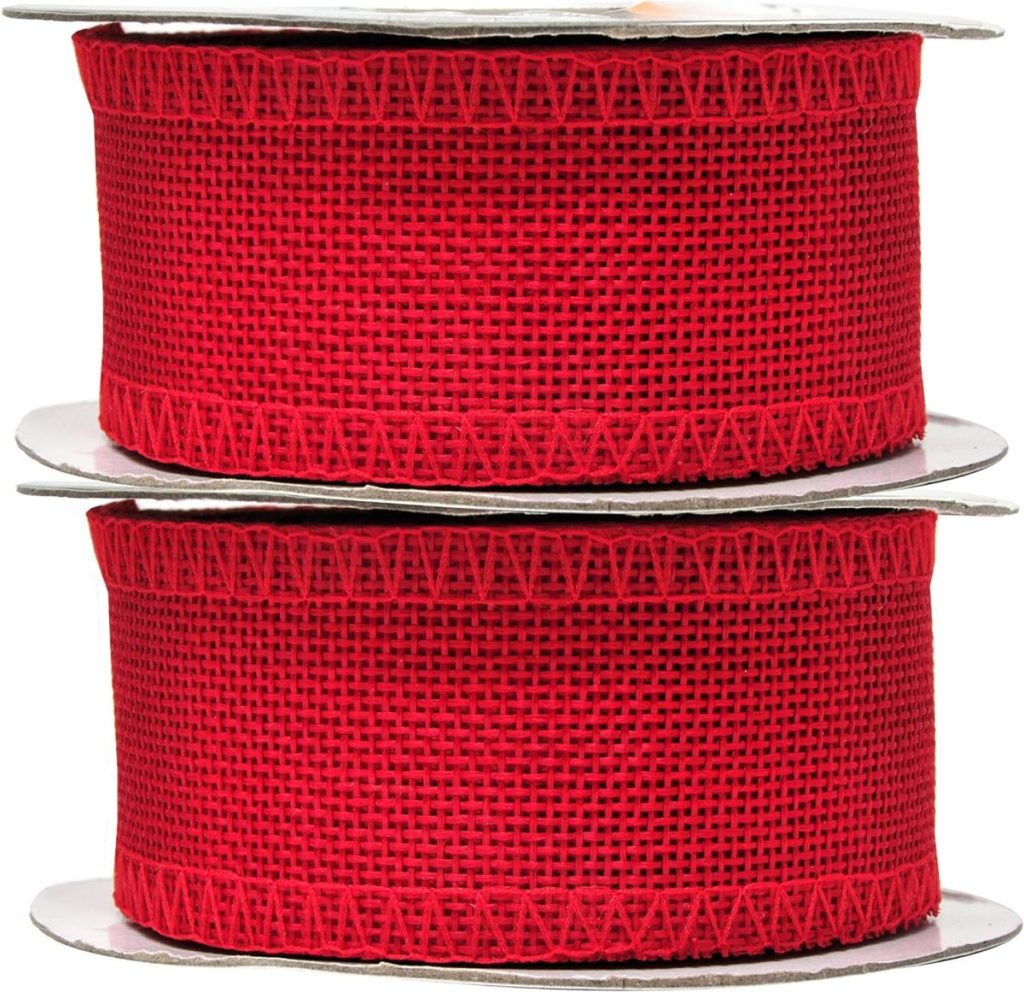
- Non-wired Burlap ribbon (red 2″ wide, white 2″ wide, and blue 4″ wide)
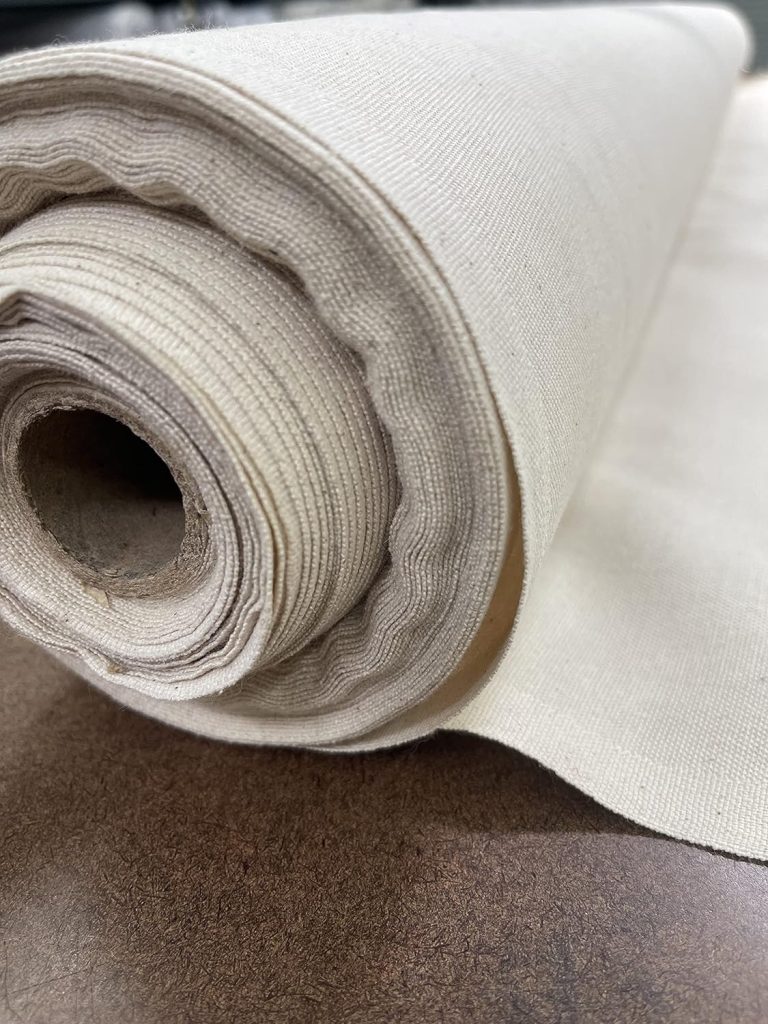
- Thick cotton fabric such as cotton duck.
- Scissors
- Sewing machine
- Thread (white)
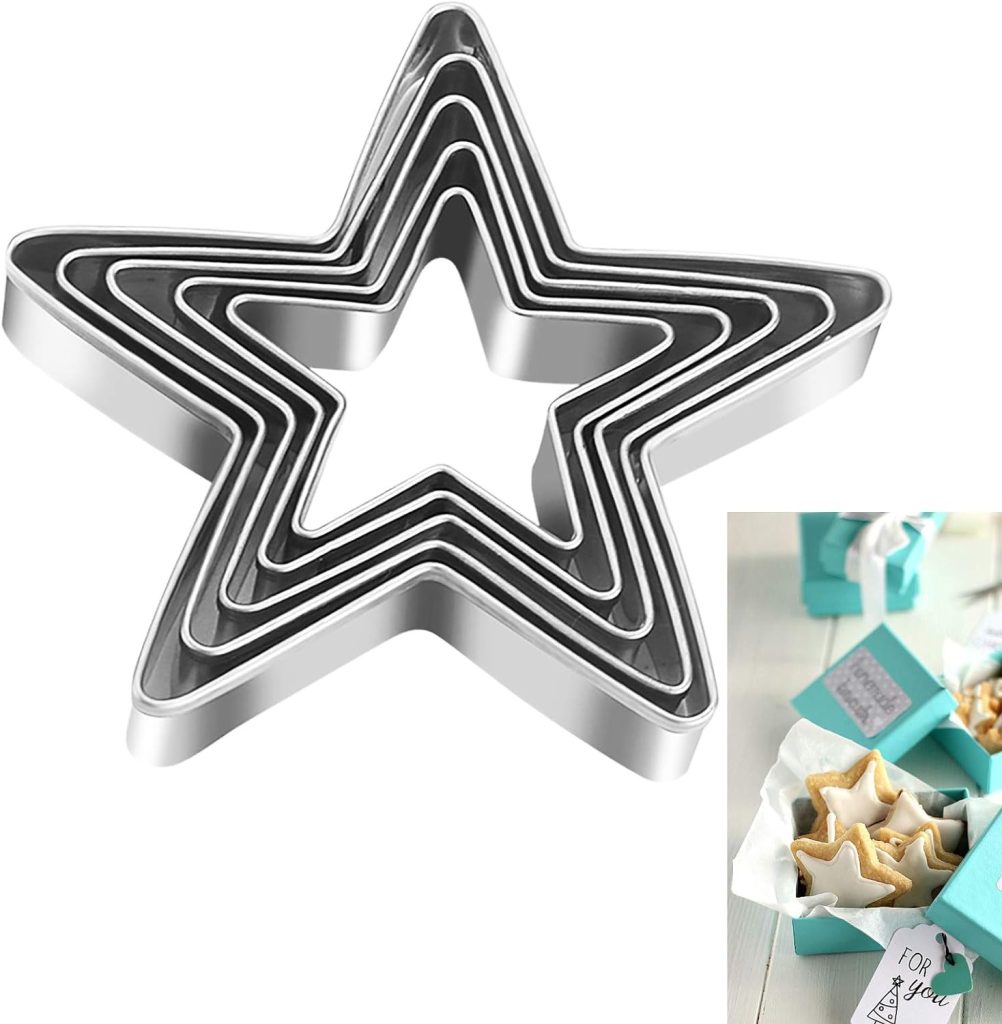
- star-shaped small cookie cutter (about 2′ – 3″)
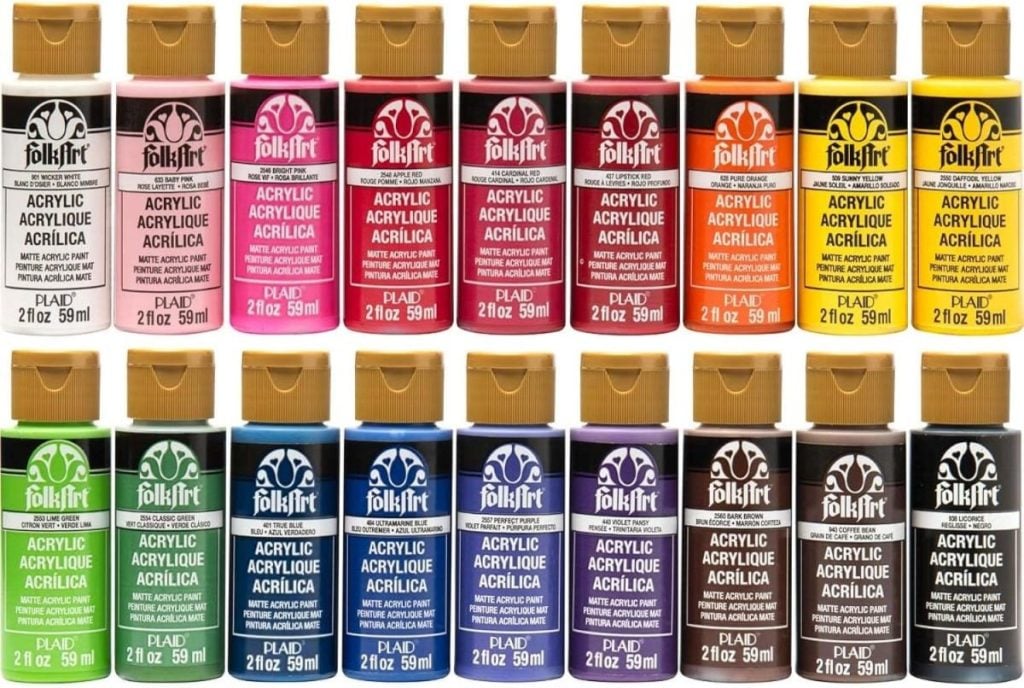
- white acrylic paint
- paint brush
- Ruler or measuring tape


How to Make the Placemats for 4th of July Decorations
Step 1: Gather the Materials
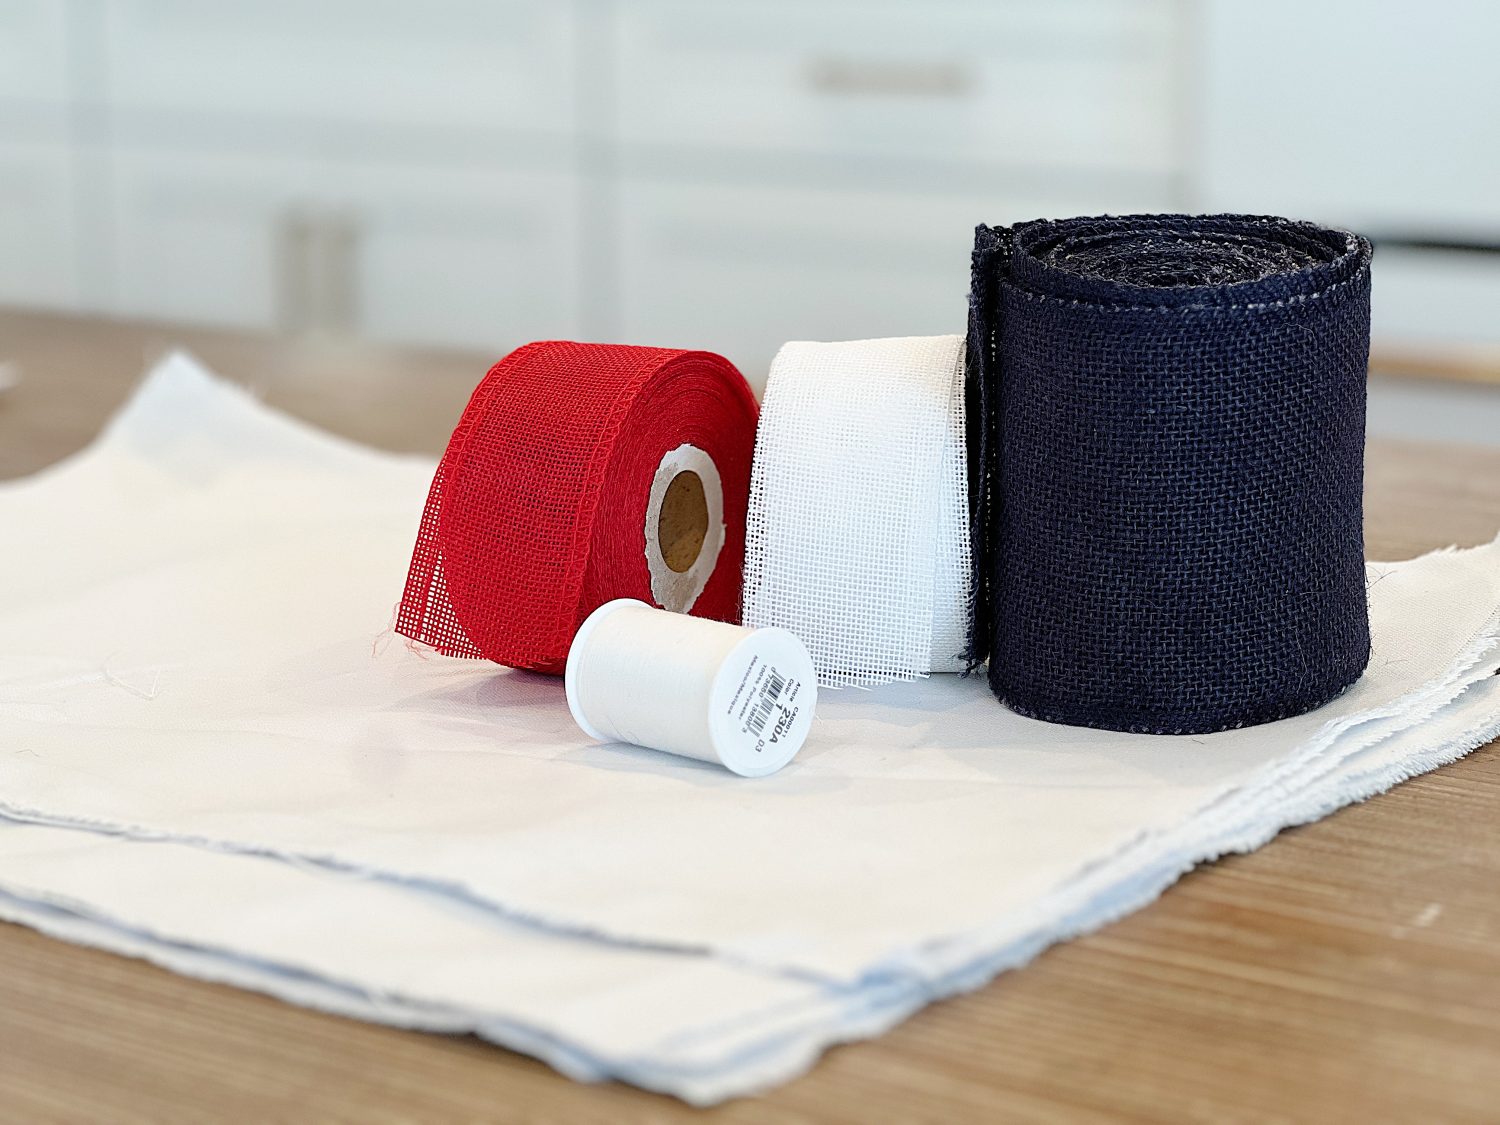
To begin, gather all the necessary materials. I found high-quality, non-wired burlap ribbons in red, white, and blue. You also need thick white fabric for the underside of the placements. You’ll also need a pair of sharp scissors, a sewing machine, thread in coordinating colors (red, white, and blue), an iron, a fabric marker or pencil, and a ruler or measuring tape.
Step 2: Measure and Cut the Fabric
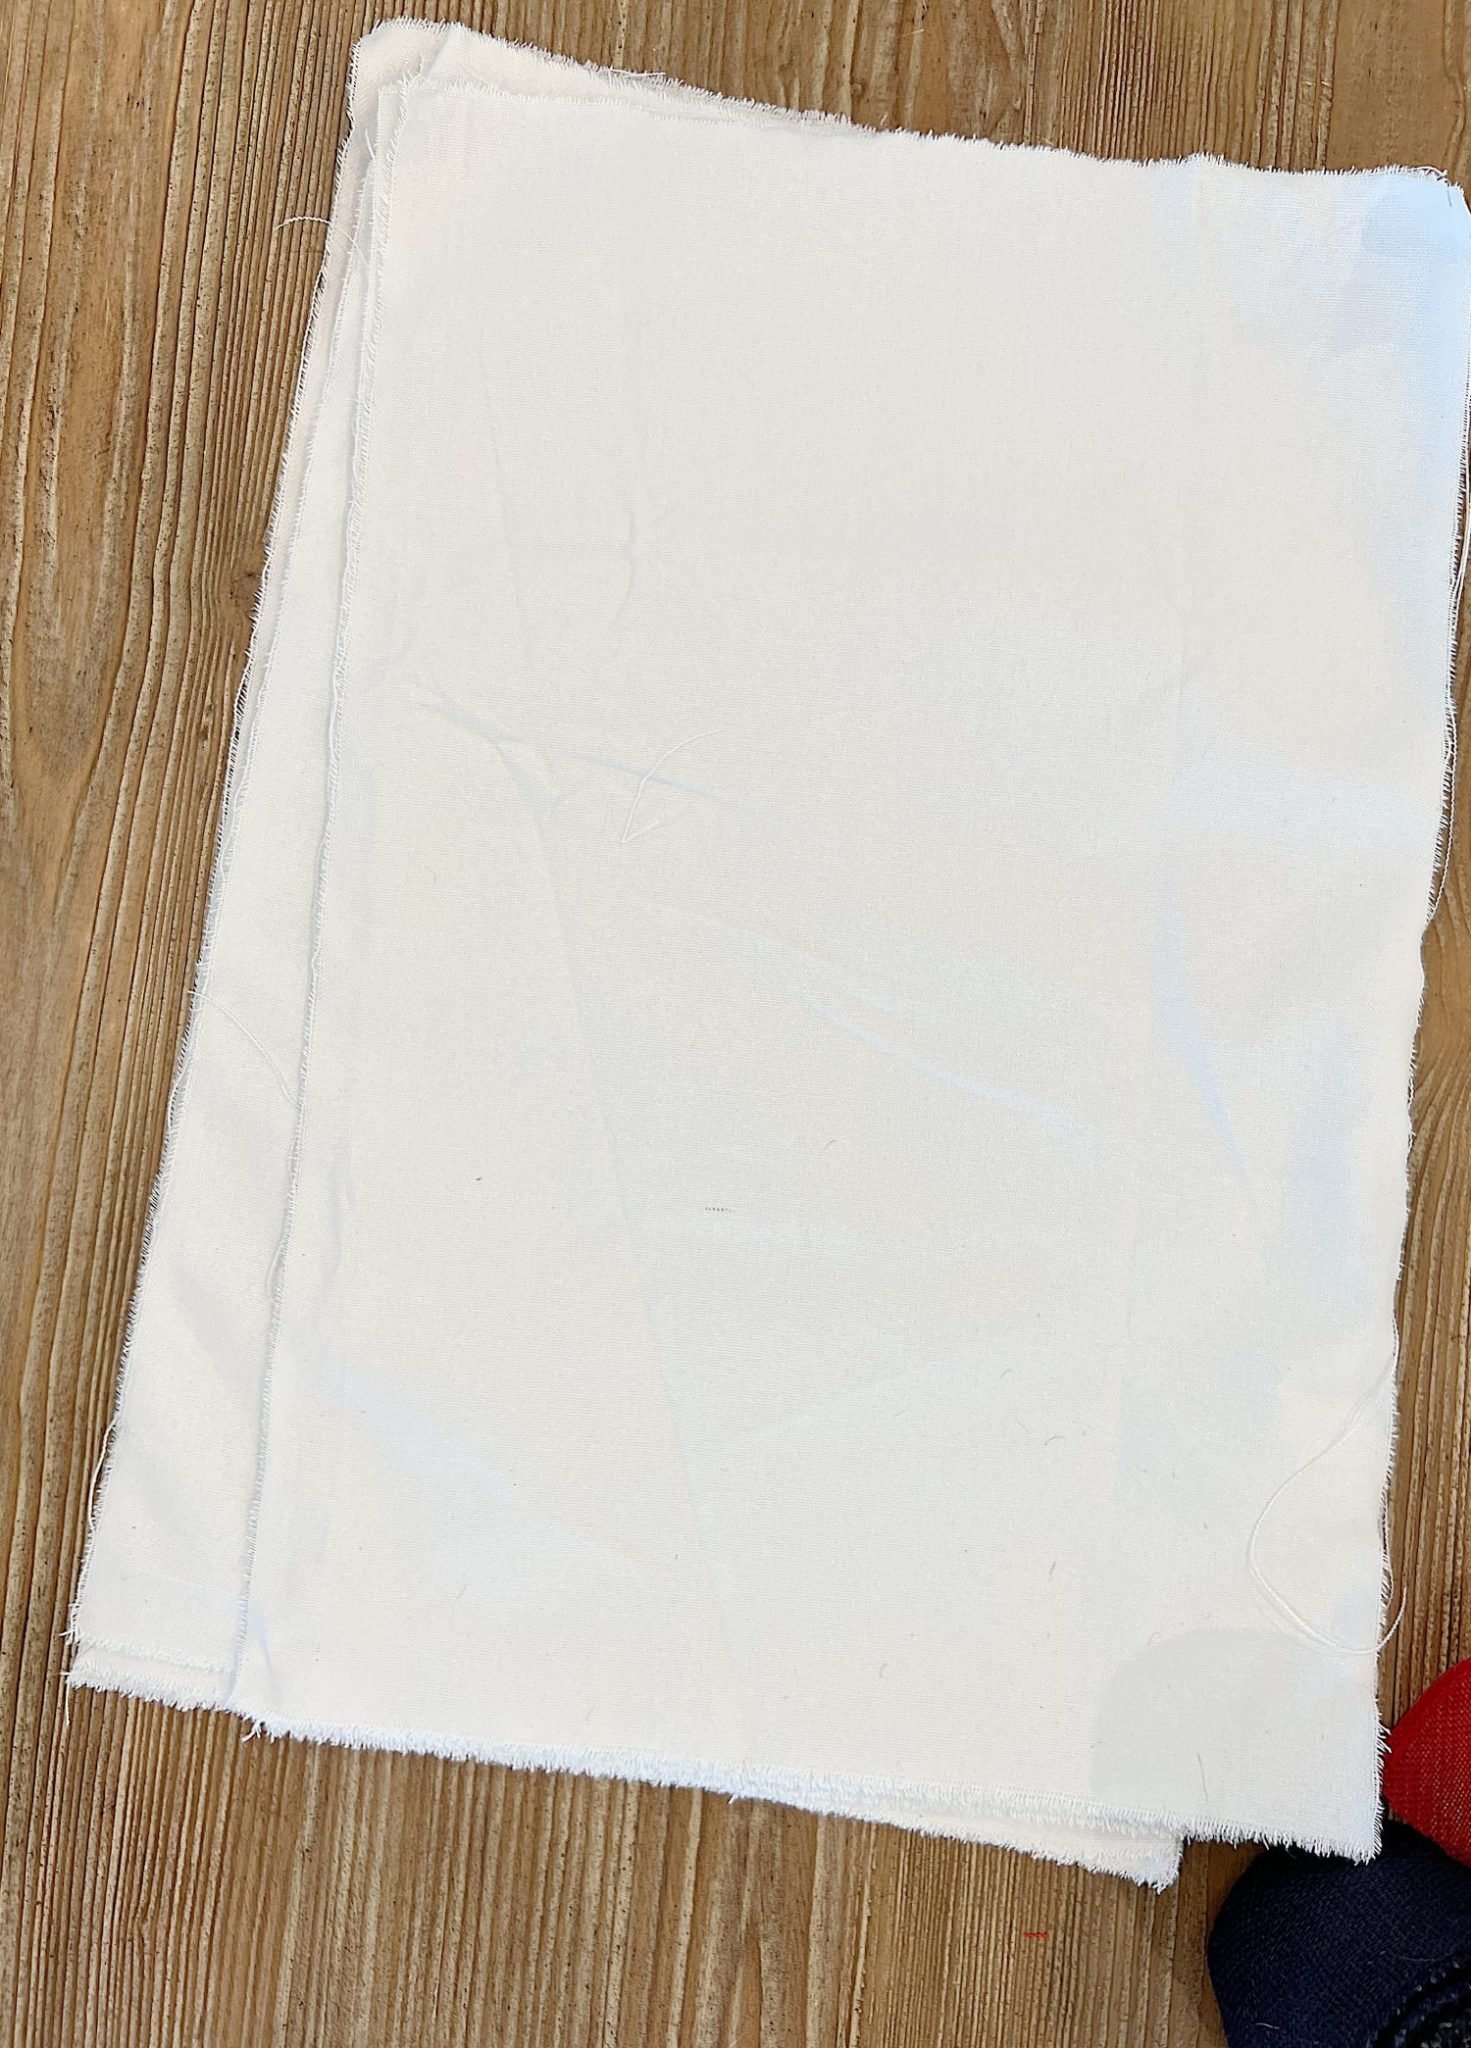
Measure and cut the fabric into rectangular shapes for your placemats. The standard size for placemats is usually around 18 inches by 12 inches, but I made mine 20″ x 14″. Either size works. Use the ruler or measuring tape to mark the dimensions on each fabric piece, and then carefully cut along the lines using the scissors. I always tear the fabric if I can; this time, I did as well.
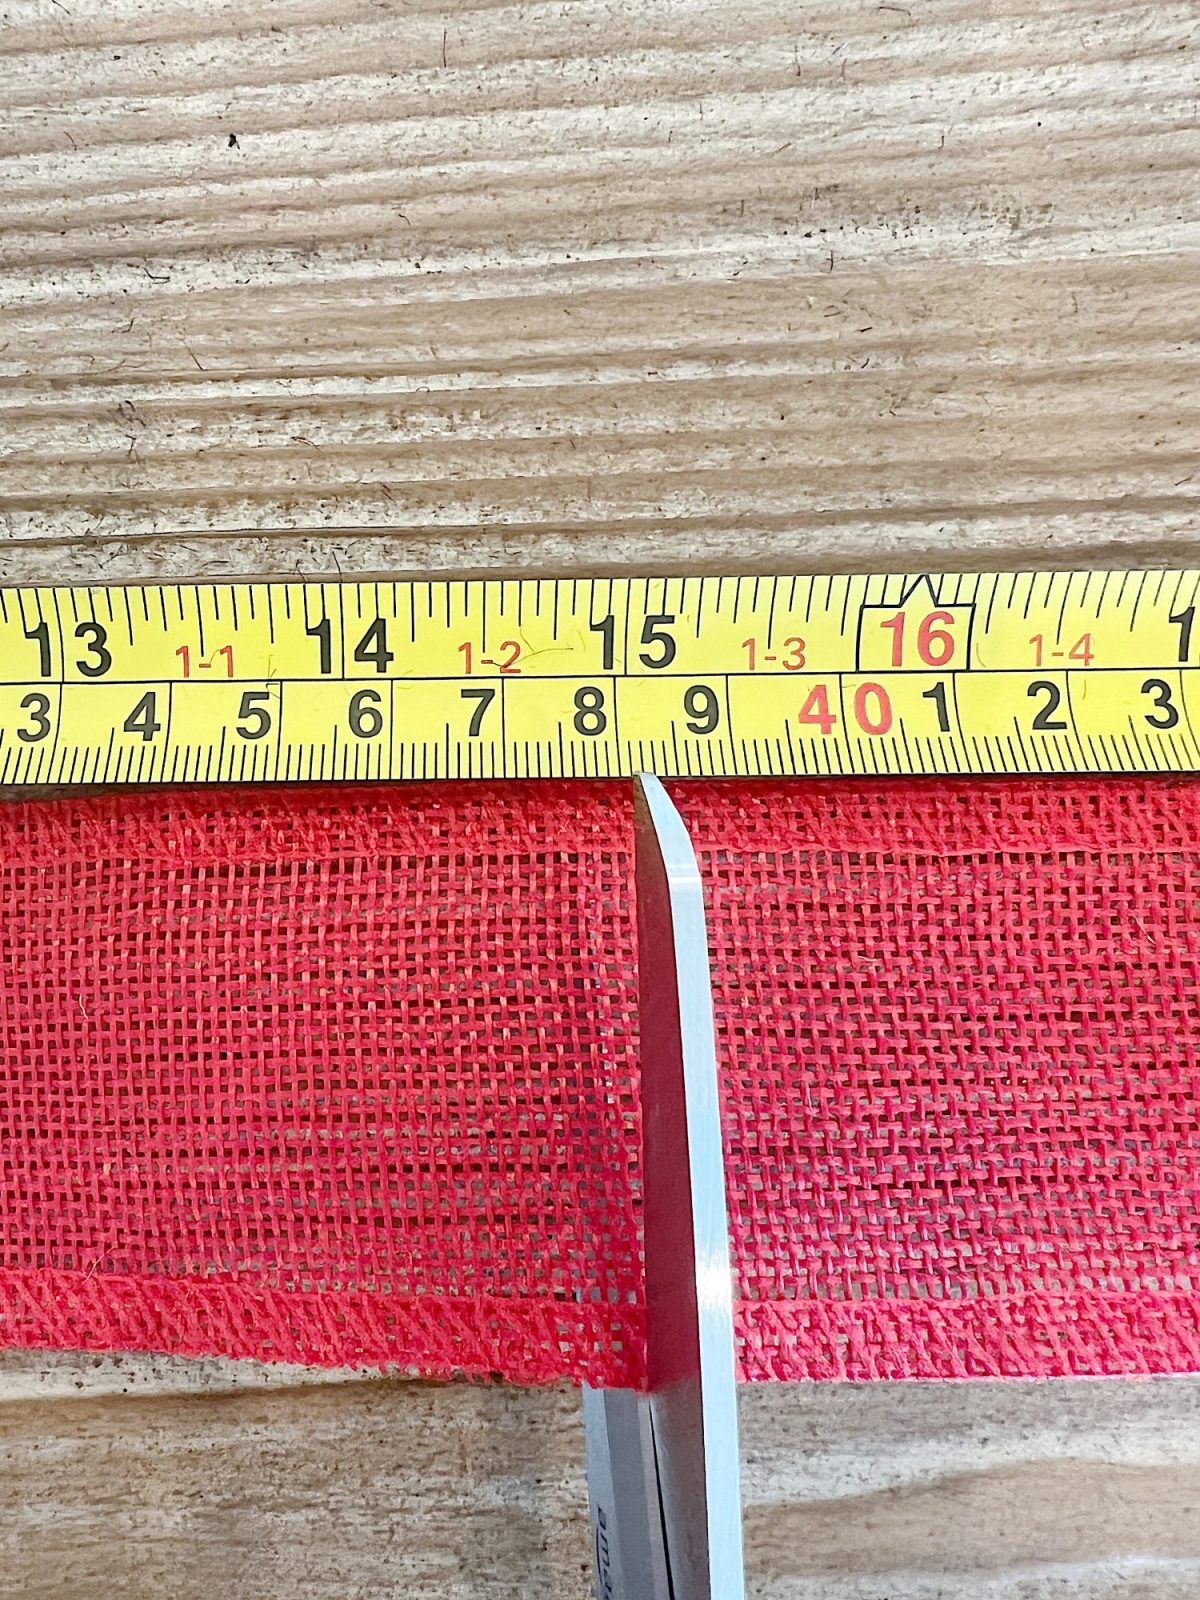
Cut the ribbon strips in advance, about 1″ longer than the length of the fabric. You need two blue, three red, and three white for each placemat.
Step 3: Create the American Flag Design
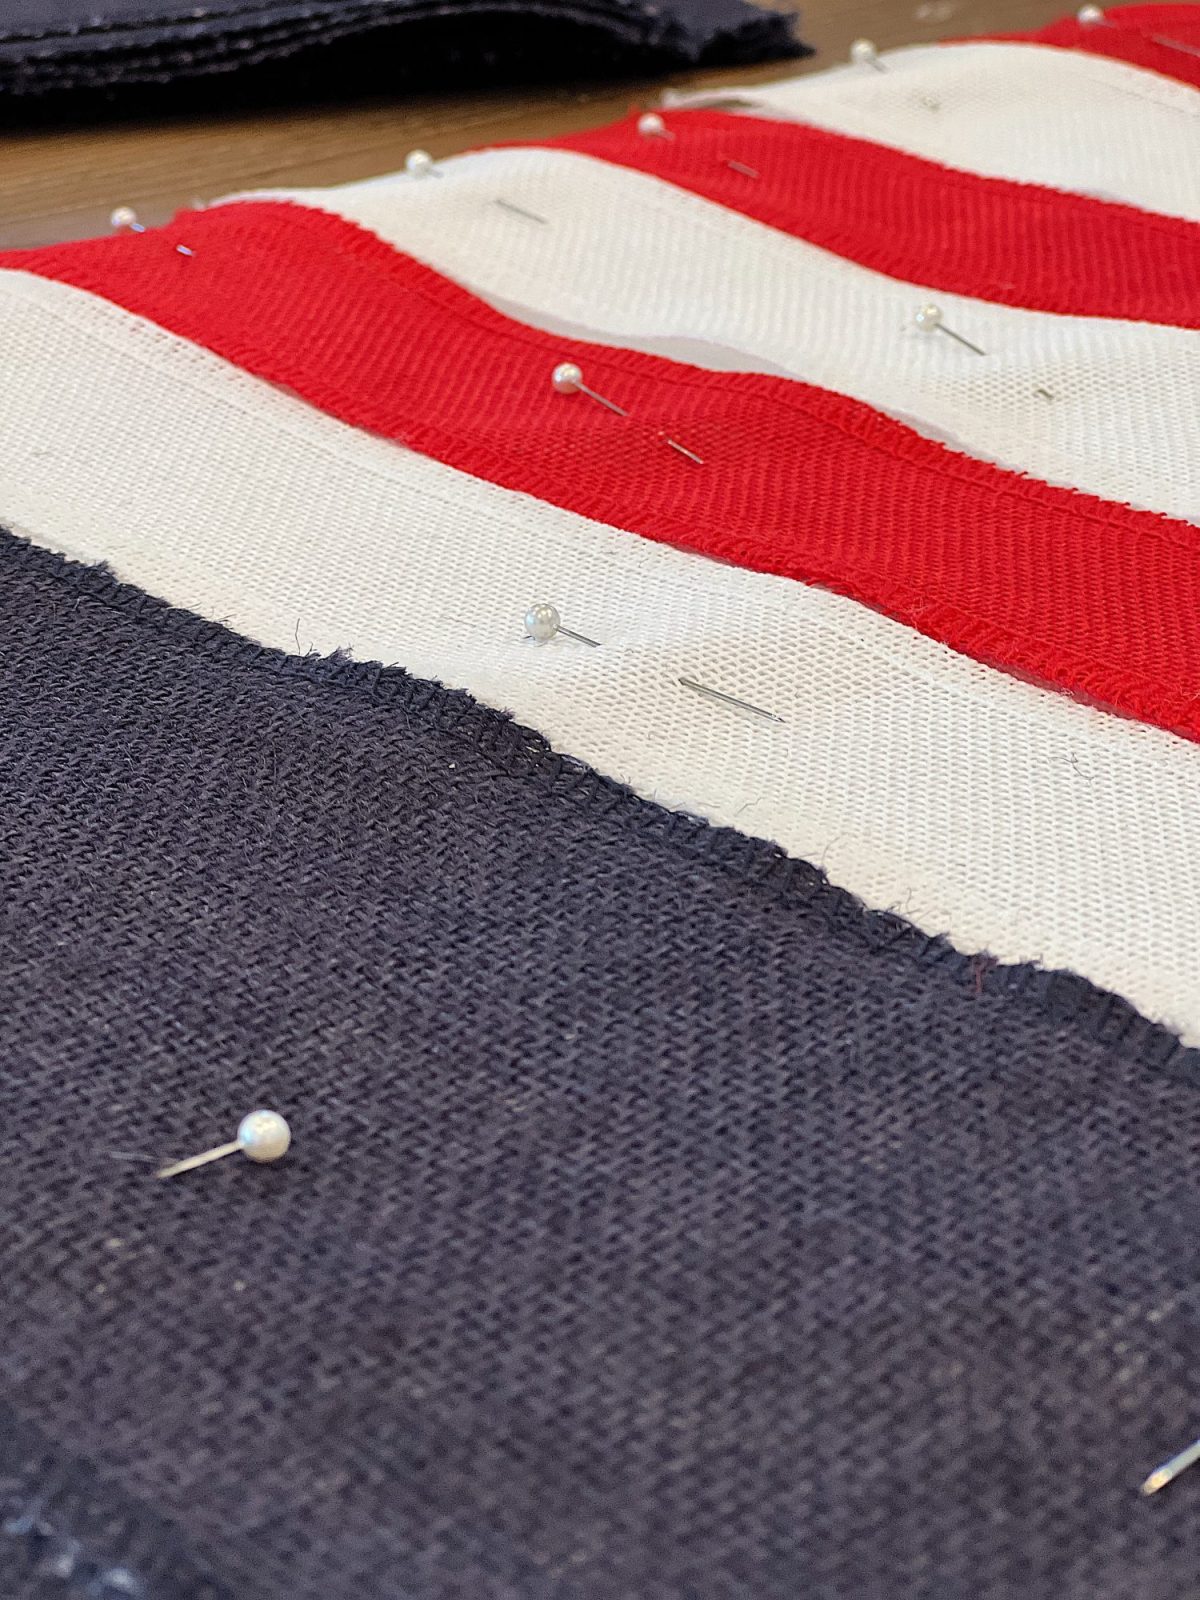
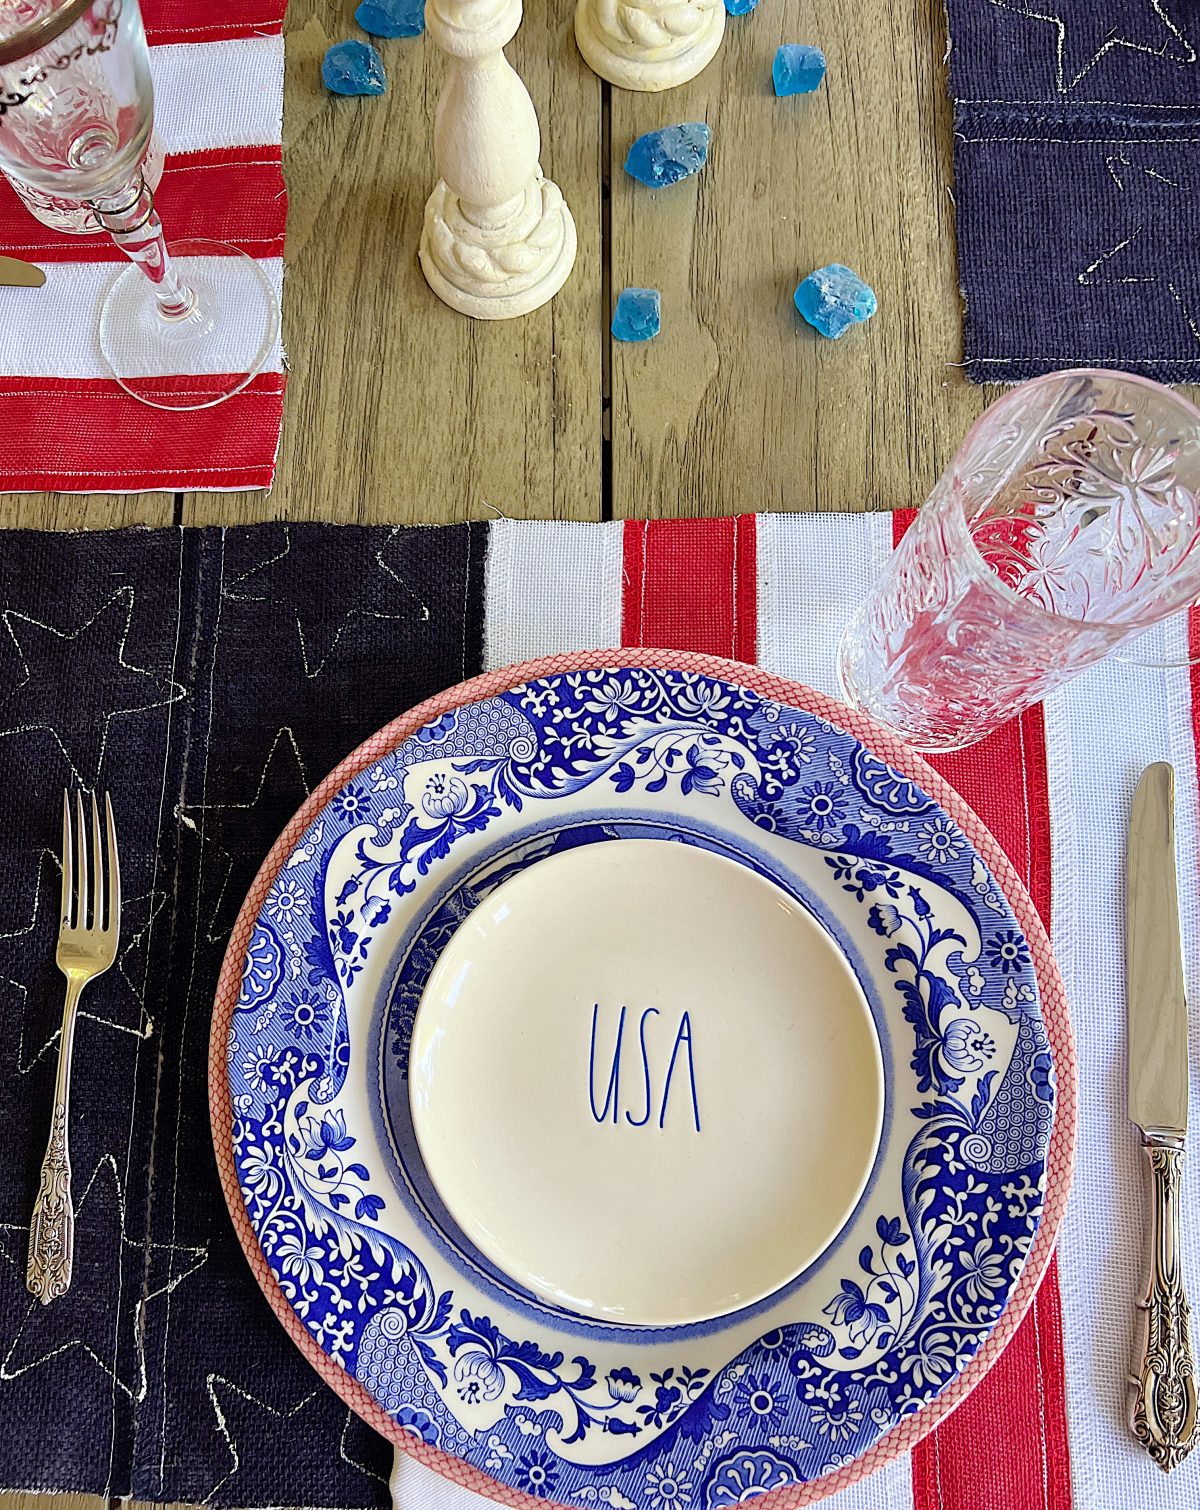
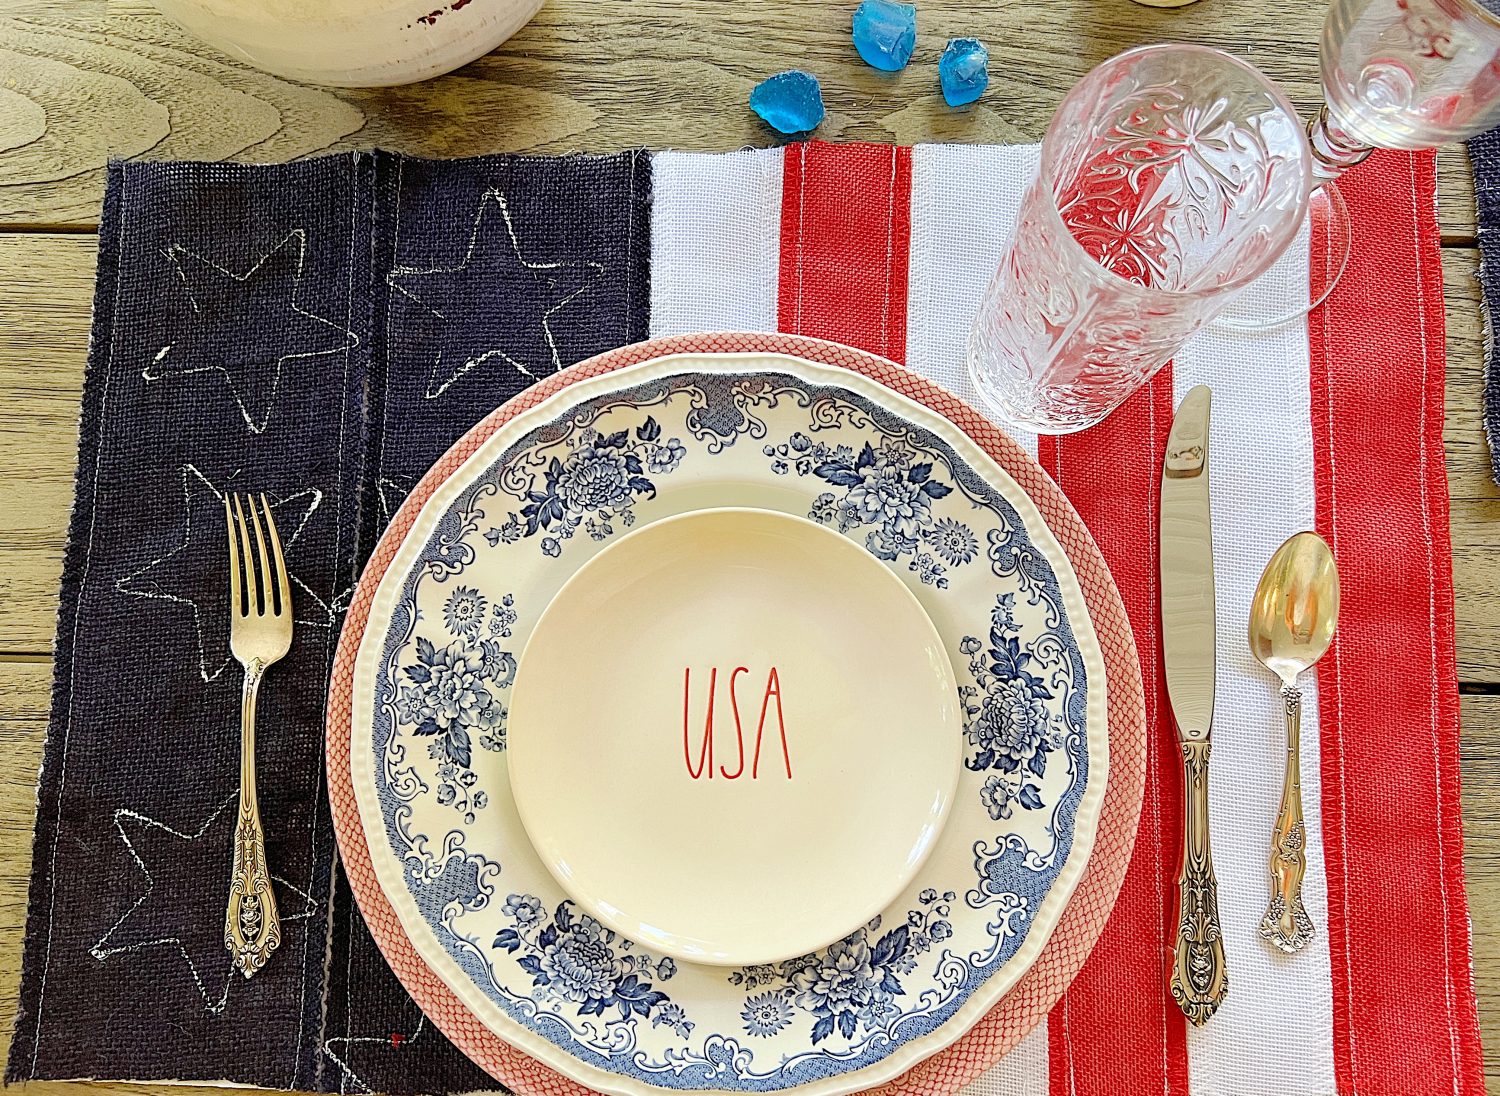
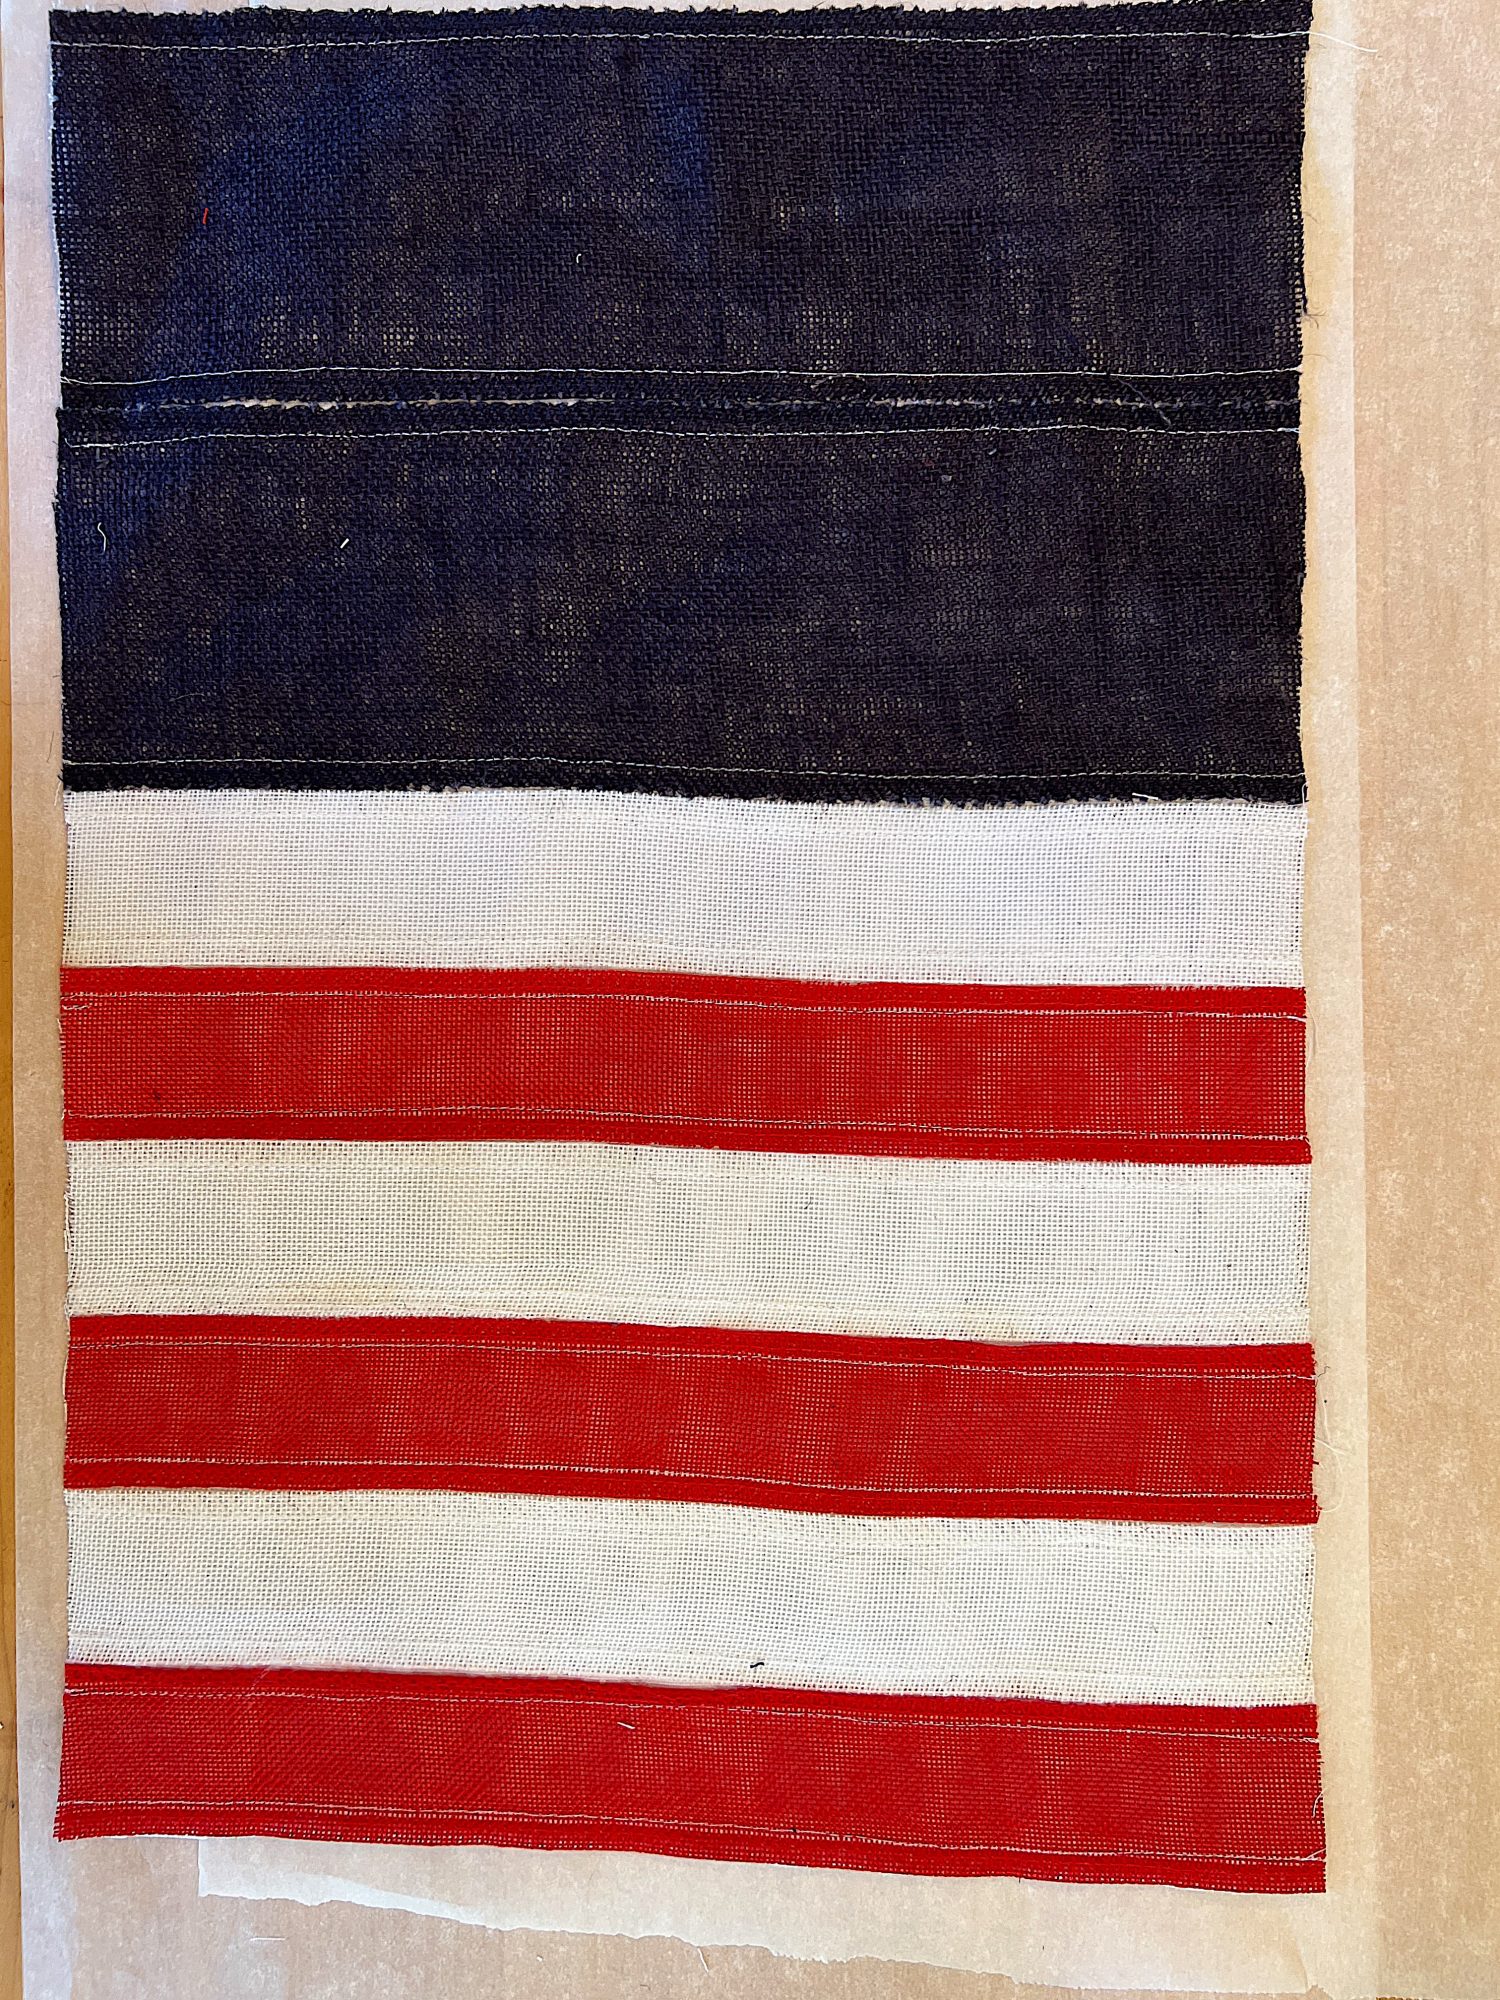
This is the Pottery Barn version of an American flag, but it works. Start by pinning the blue burlap ribbon. Pin two vertical rows of the blue burlap ribbon. This will serve as the blue field of the American flag. The dimensions of the blue field should be approximately one-third of the width of the placemat. Next, add three single alternating red and white stripes in two rows. Leave 1/2″ of the ribbon on each side so it hangs over the edge of the placemat.
Be careful to keep the strips of burlap straight.
Step 4: Sew the Flag

Thread the sewing machine with white thread and begin sewing along the edges of the burlap ribbon. As you sew, backstitch at the beginning and end of each line to secure the stitches. Continue sewing until you have completed all the edges of the ribbon stripes.
Once the stripes are sewn, slip the placemat over and cut off the additional ribbon. Sew all around the outside of the placemat.
Step 5: Paint the Stars
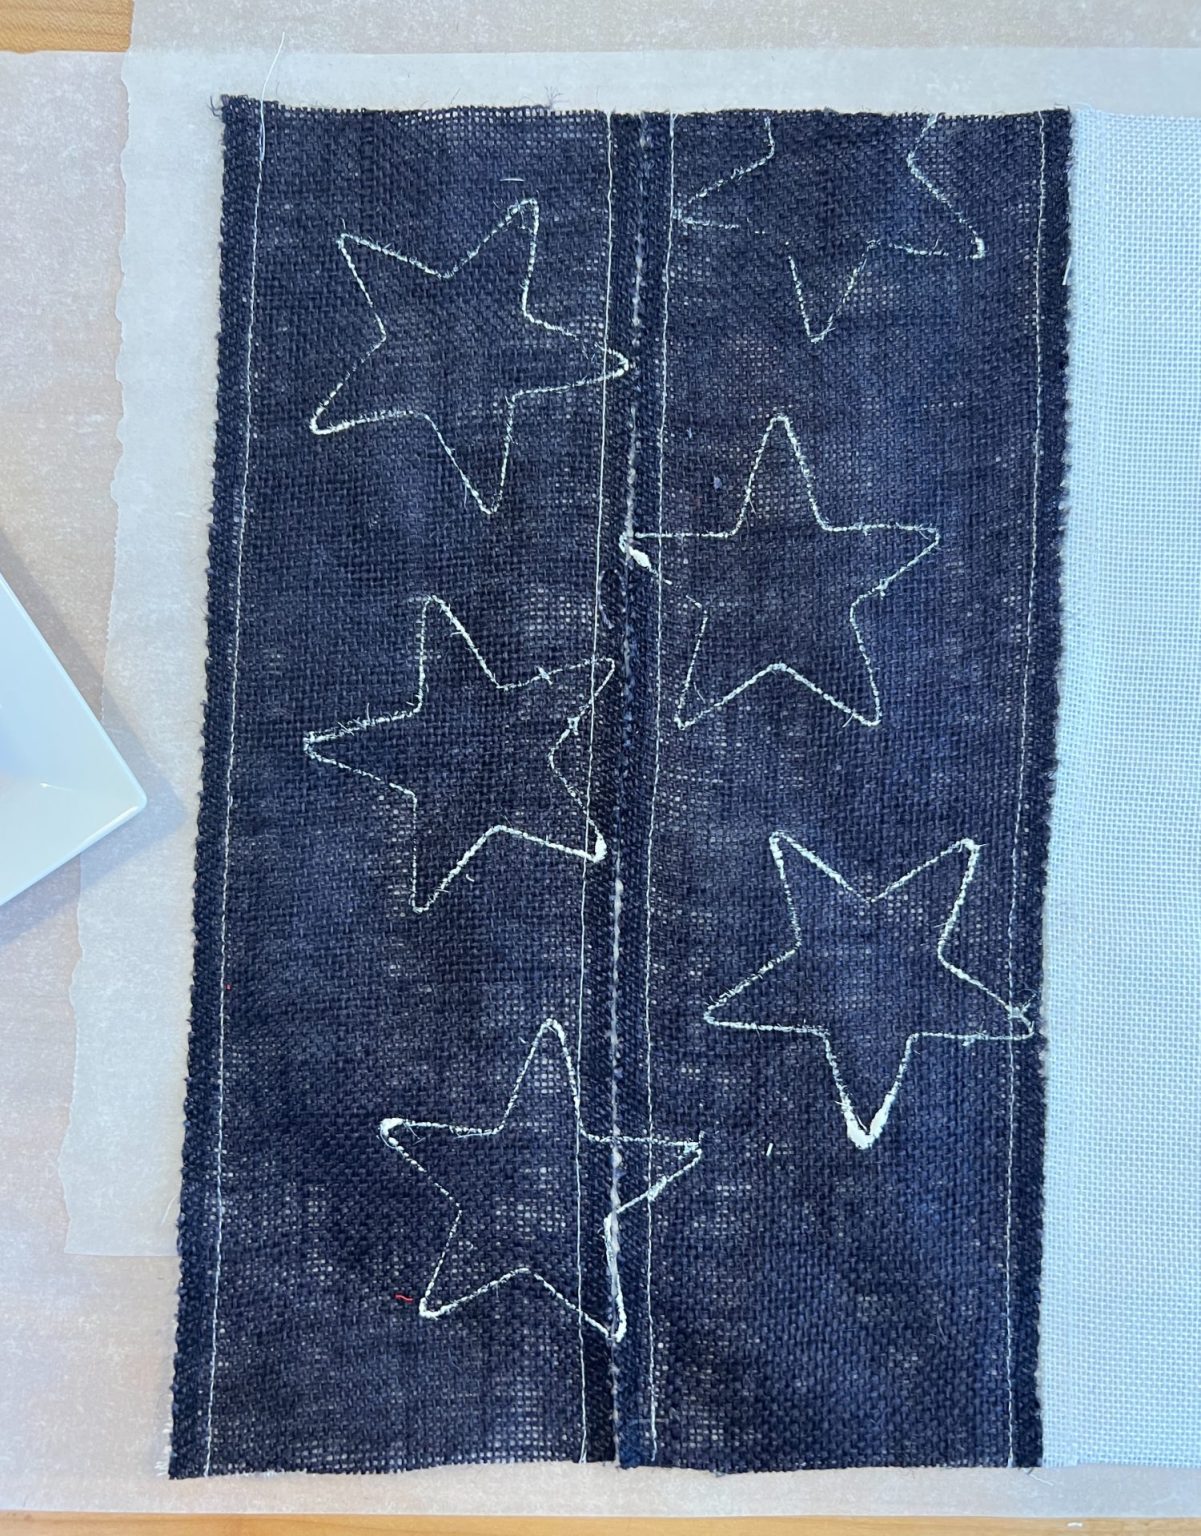
Add the stars with a star-shaped cookie cutter. Using white paint, take a paintbrush and place an even layer of paint on a paper plate. Place the cookie cutter in the paint to add paint to the bottom edge.
Then, gently tap the star on the blue burlap area. Add six or seven stars to the blue area of the placemat. Let dry.
If desired, stitch around the star outlines of the stars with white paint using the free-motion embroidery technique. (For more information about free motion embroidery, head to this post.)
Step 6: Final Touches and Care
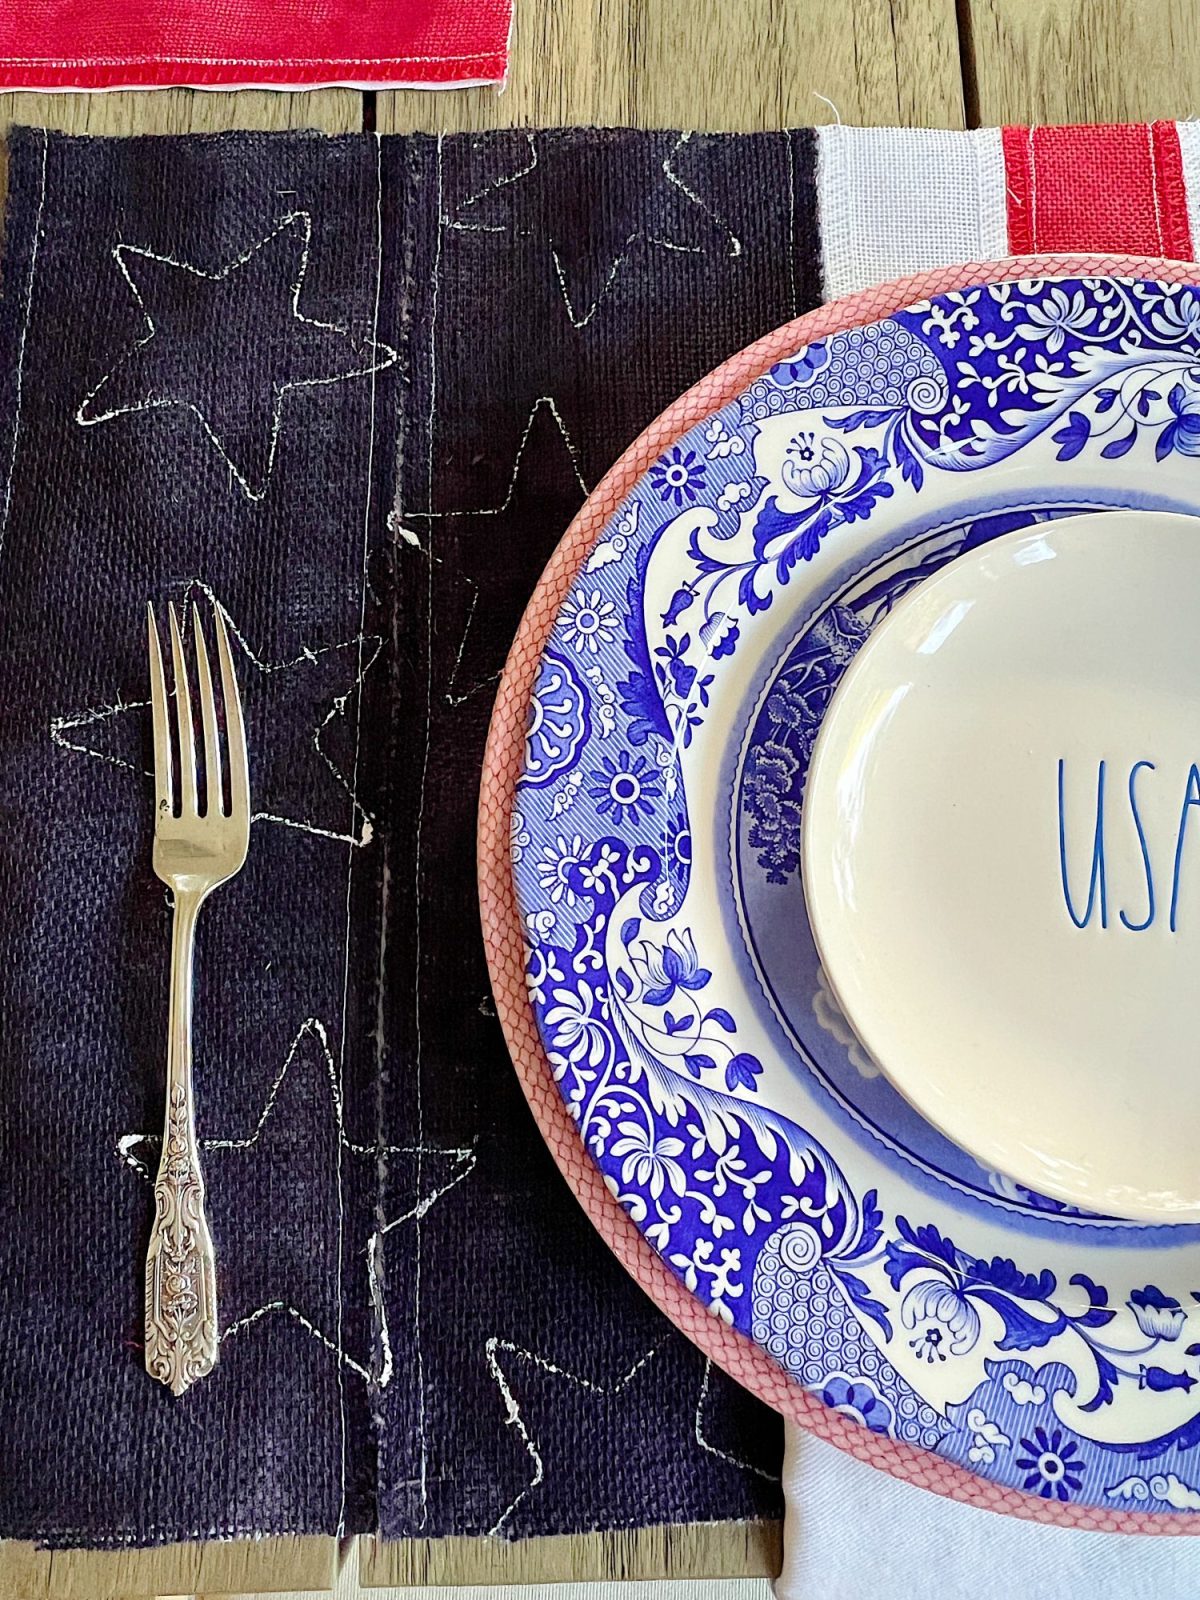
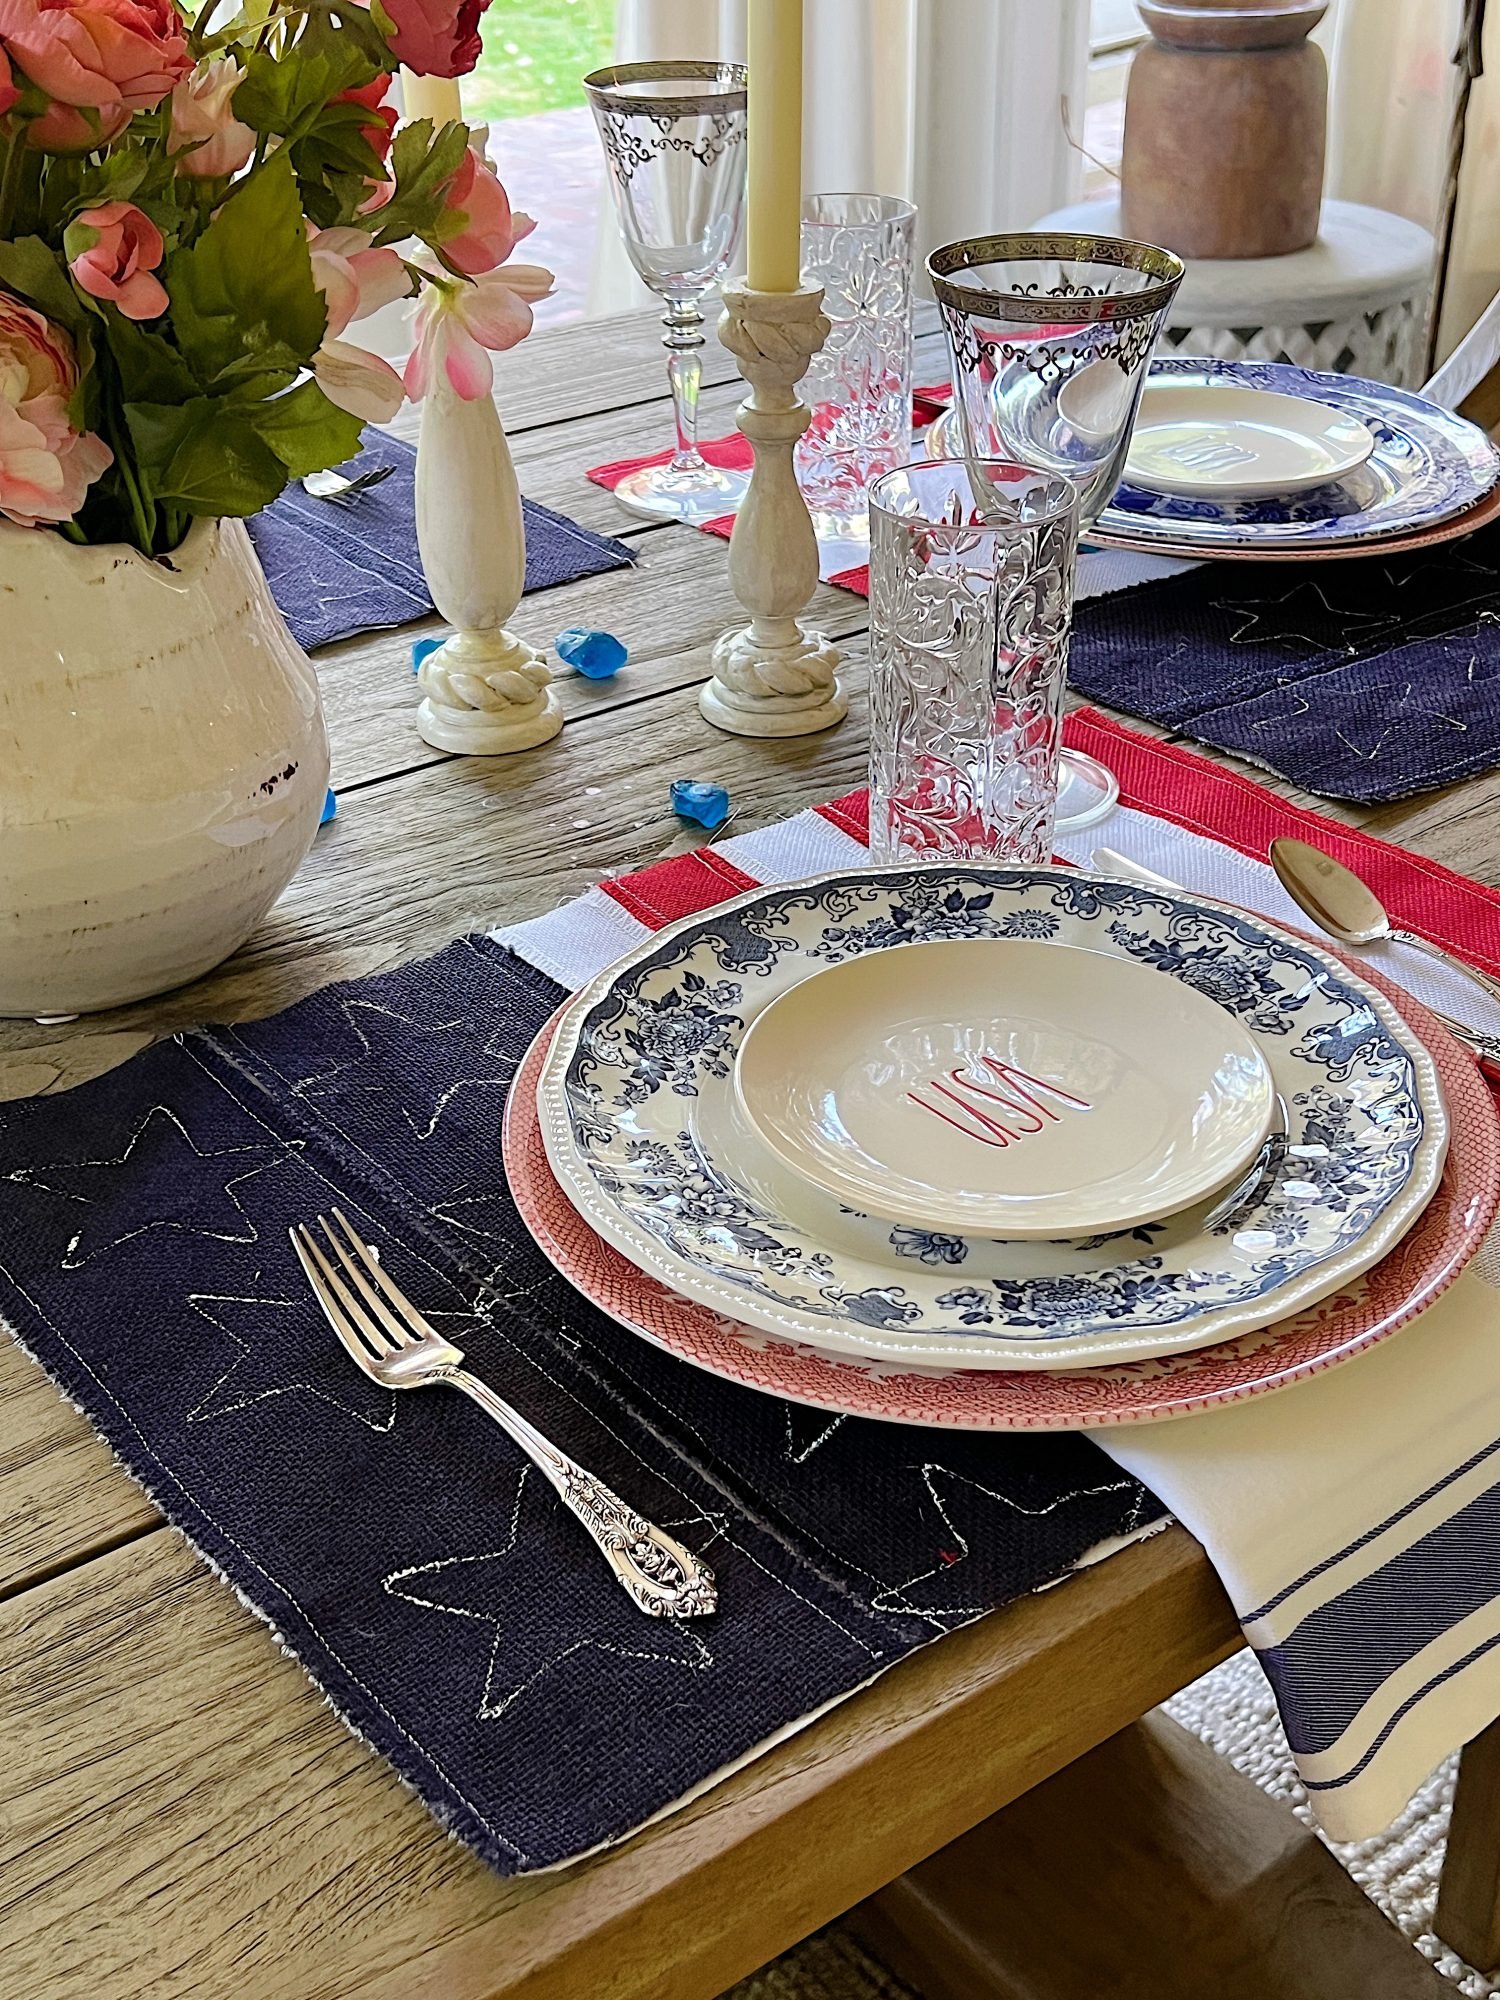
After completing the painting and stitching, give your placemats a final press with the iron to remove any wrinkles and set the paint. Take a moment to admire your beautiful, handmade American Flag Cotton Placemats inspired by the Pottery Barn design.
Of course, this version is much more affordable and handmade with love!
Regarding care, follow the washing instructions for the fabric and ribbon. Spot cleaning is best with dish detergent. I will wash the placemats by hand in cold water with dish detergent to wash the entire placemat. Then, I will dry them flat and iron them.
With this DIY guide, you can create your own Pottery Barn-inspired American Flag Cotton Placemats that will add a touch of patriotic charm to your table setting.
I encourage you to customize your placemats to suit your style and preferences. There are so many ways to make these placemats your own!
Whether hosting a Fourth of July celebration or wanting to showcase your American pride, these placemats will surely impress your guests. Get ready to enjoy the satisfaction of crafting something beautiful while adding a touch of elegance to your dining experience.

If you enjoy my blog, you can sign up to receive my updates here.
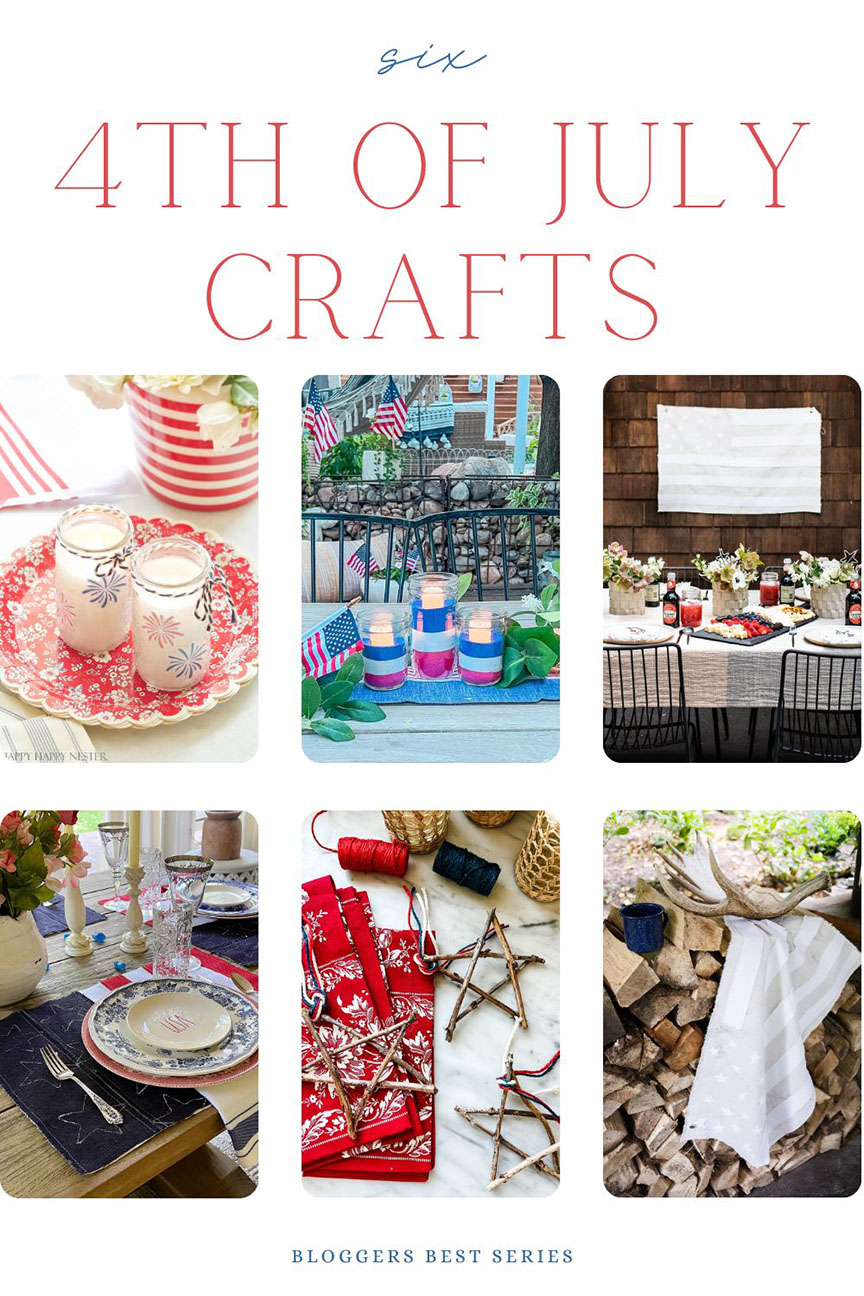
.Check Out These 4th of July Crafts by My Favorite Bloggers
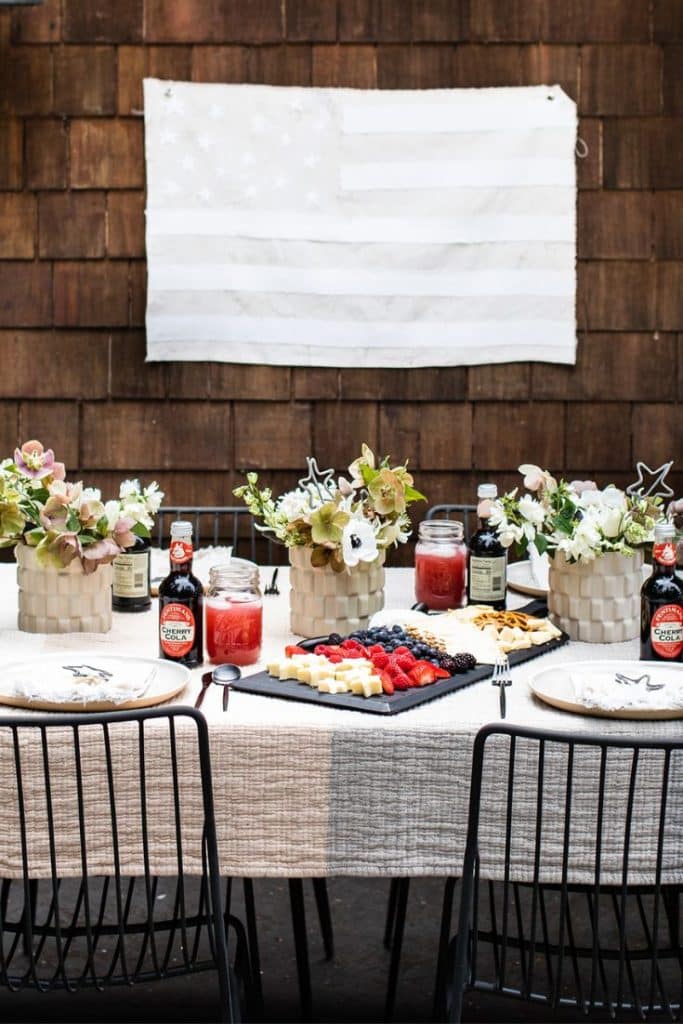
DIY Dropcloth Neutral Flag | My Sweet Savannah
If you like to decorate for the holidays with neutrals, this new sew DIY project is for you! Made with a drop cloth and fabric scraps, this flag can be made in under an hour, adding years of charm to your Fourth of July decor.
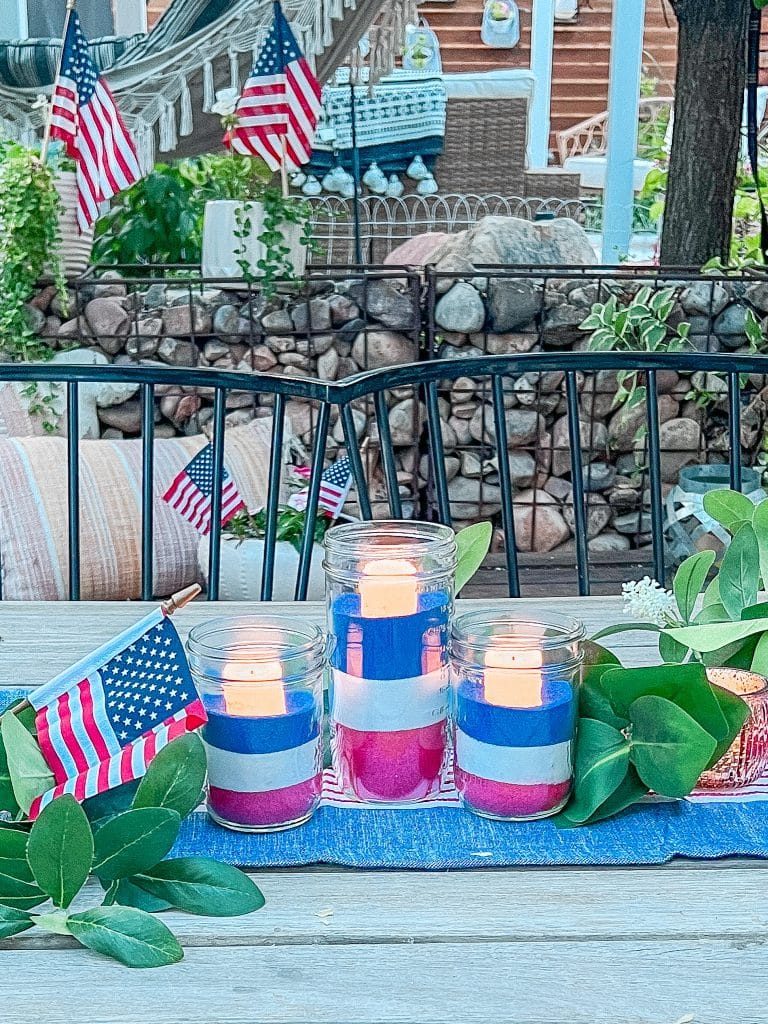
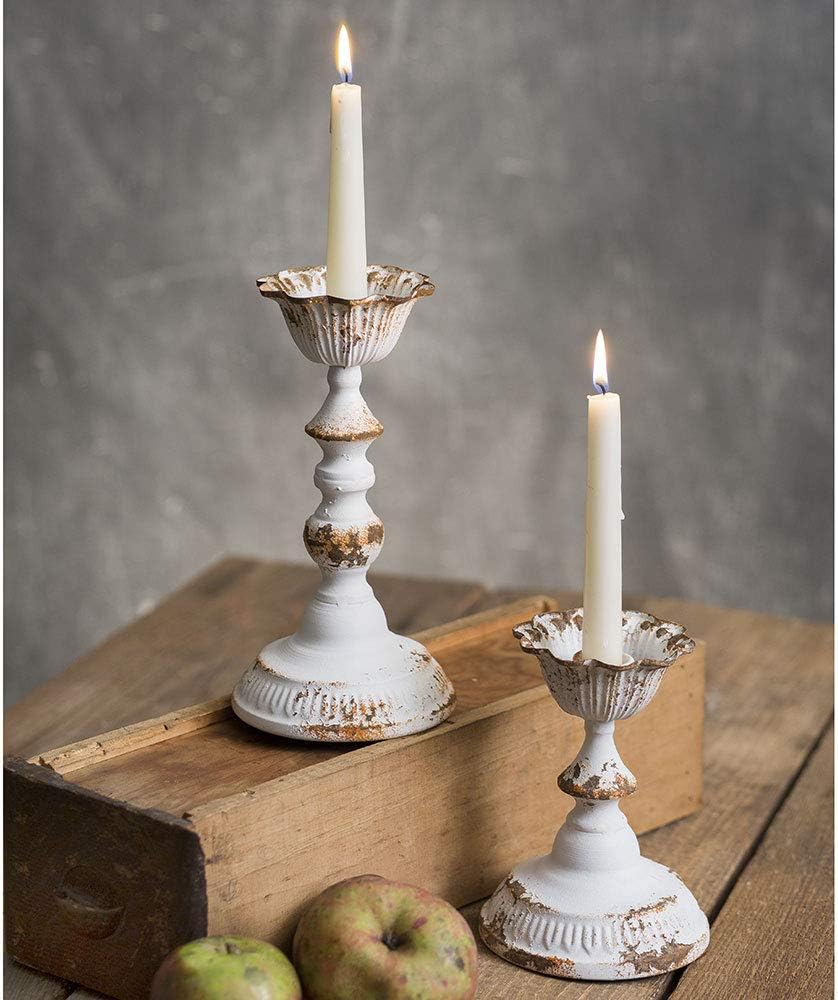
Easy Patriotic Candle Centerpiece | Tatertots and Jello
We love celebrating the Fourth of July with a family dinner. This year, I created an effortless candle centerpiece. It only takes 5 minutes to develop, and you will love how the candles glow as you celebrate!
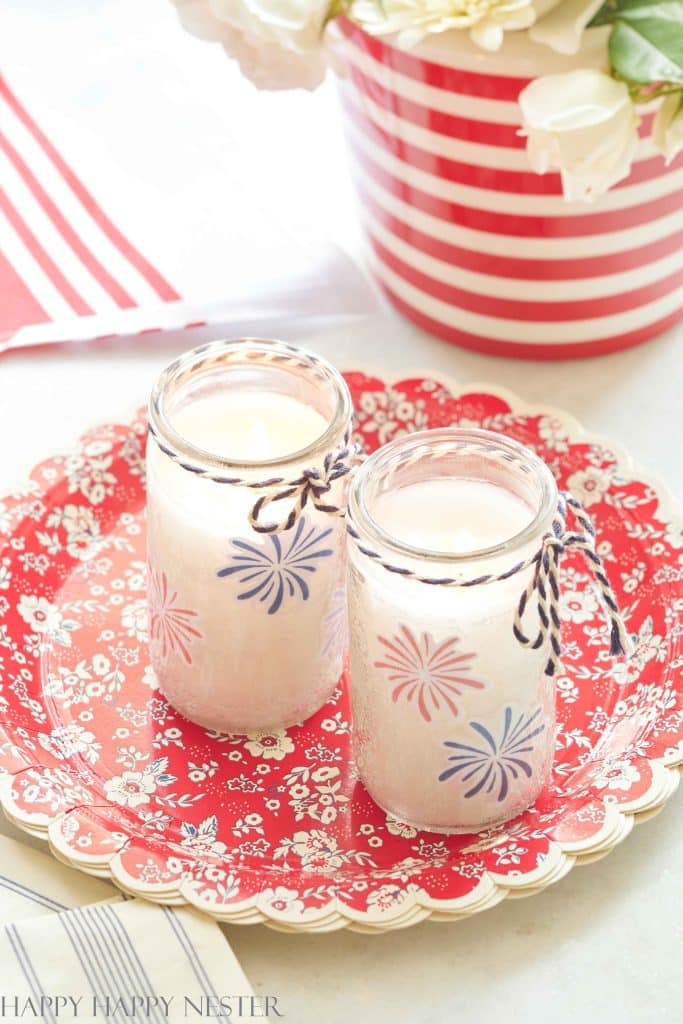
DIY Glass Candle Holder Decorations | Happy Happy Nester
I’m constantly looking for fresh ideas to jazz up prayer candles. This fun DIY Glass Candle Holder Decoration is easy to create and perfect for celebrating the 4th of July. This budget-friendly design requires only a few supplies and ten minutes to make!
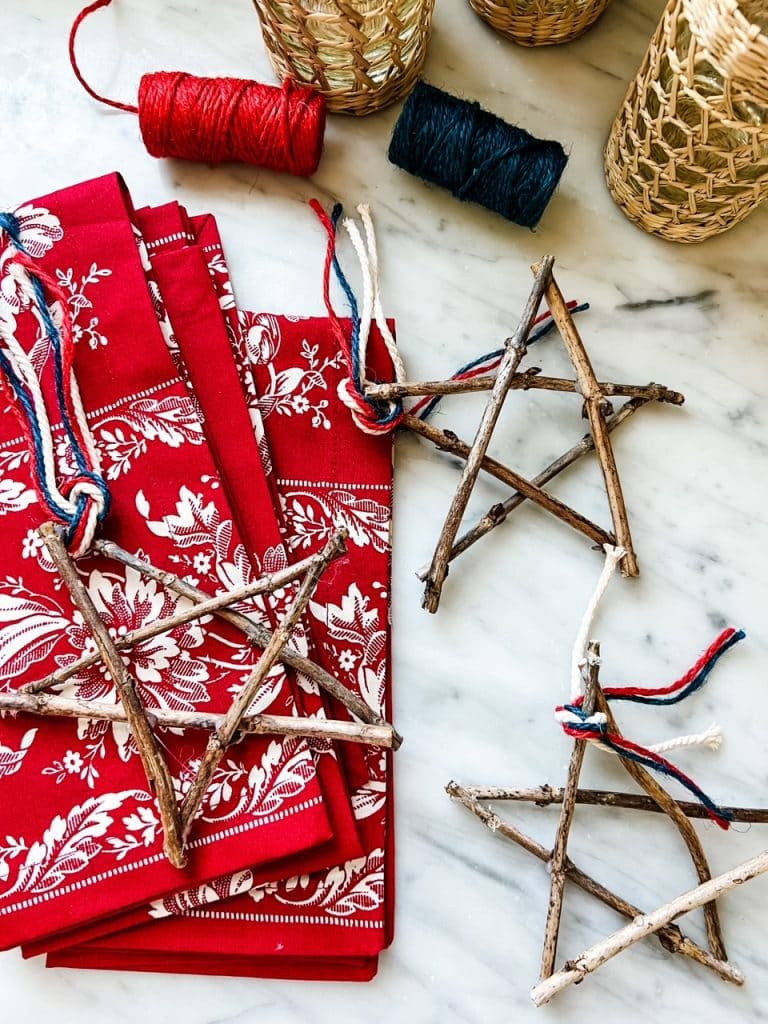
Hydrangea Twig Stars | Most Lovely Things
Simple and rustic twig star decorations using hydrangea branches and red, white & blue twine. Use it on the table and as a garland for a casual vibe.
The Best Red, White & Blue Decor!
You can pin the images below to your boards on Pinterest (just click the Pin button in the top left corner) or follow me on Pinterest!
For more real-time updates, follow me on Instagram @My100YearOldHome


Leslie,
I love your DIY 4th of July Decorations tutorial! Your flag placemats are so unique! Ok, I pinned them on Pinterest!
Janine! Thanks so very much my friend 🥰 Yay!
I love these! I am inspired and have planned a trip to the craft store tomorrow!
Omg yay! Love this- let me know how they go for you 🥰
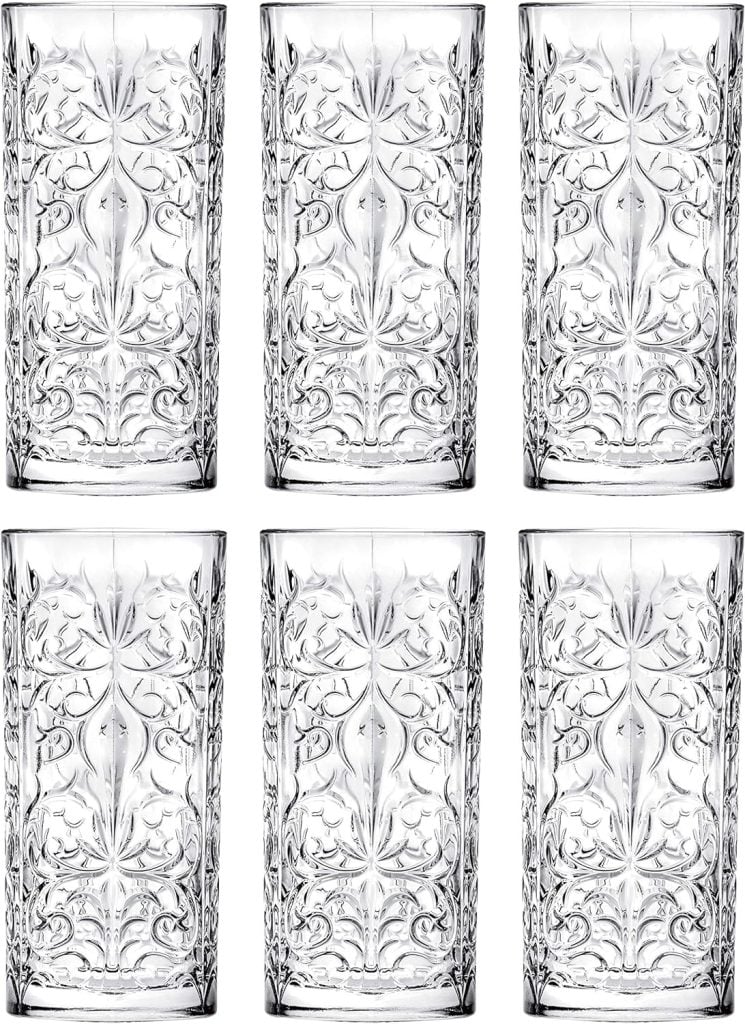
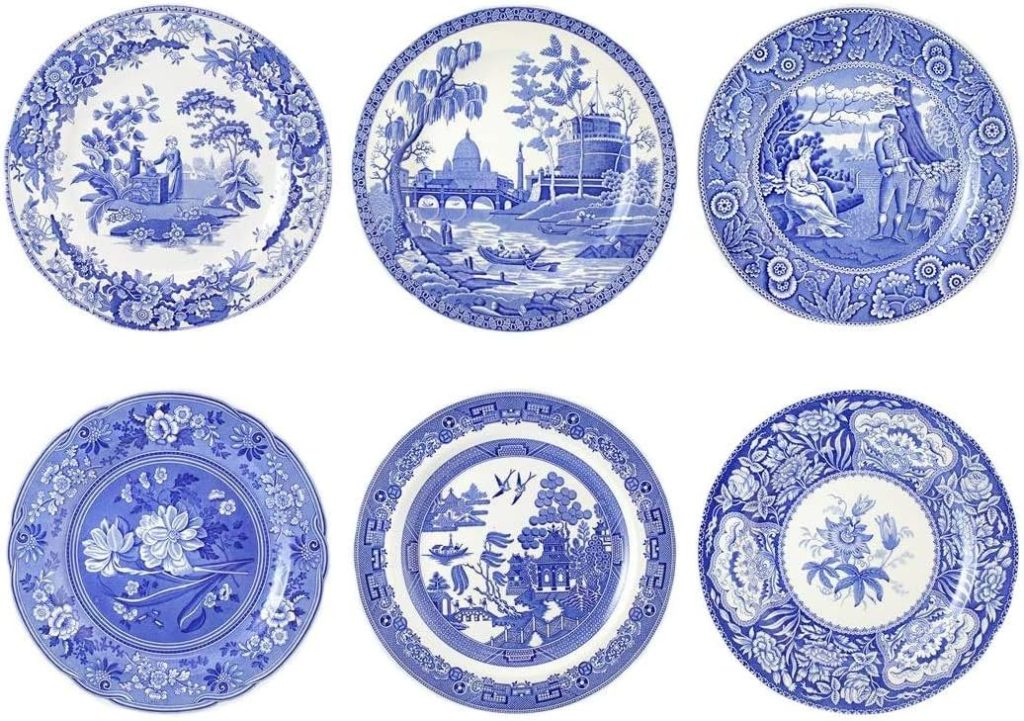
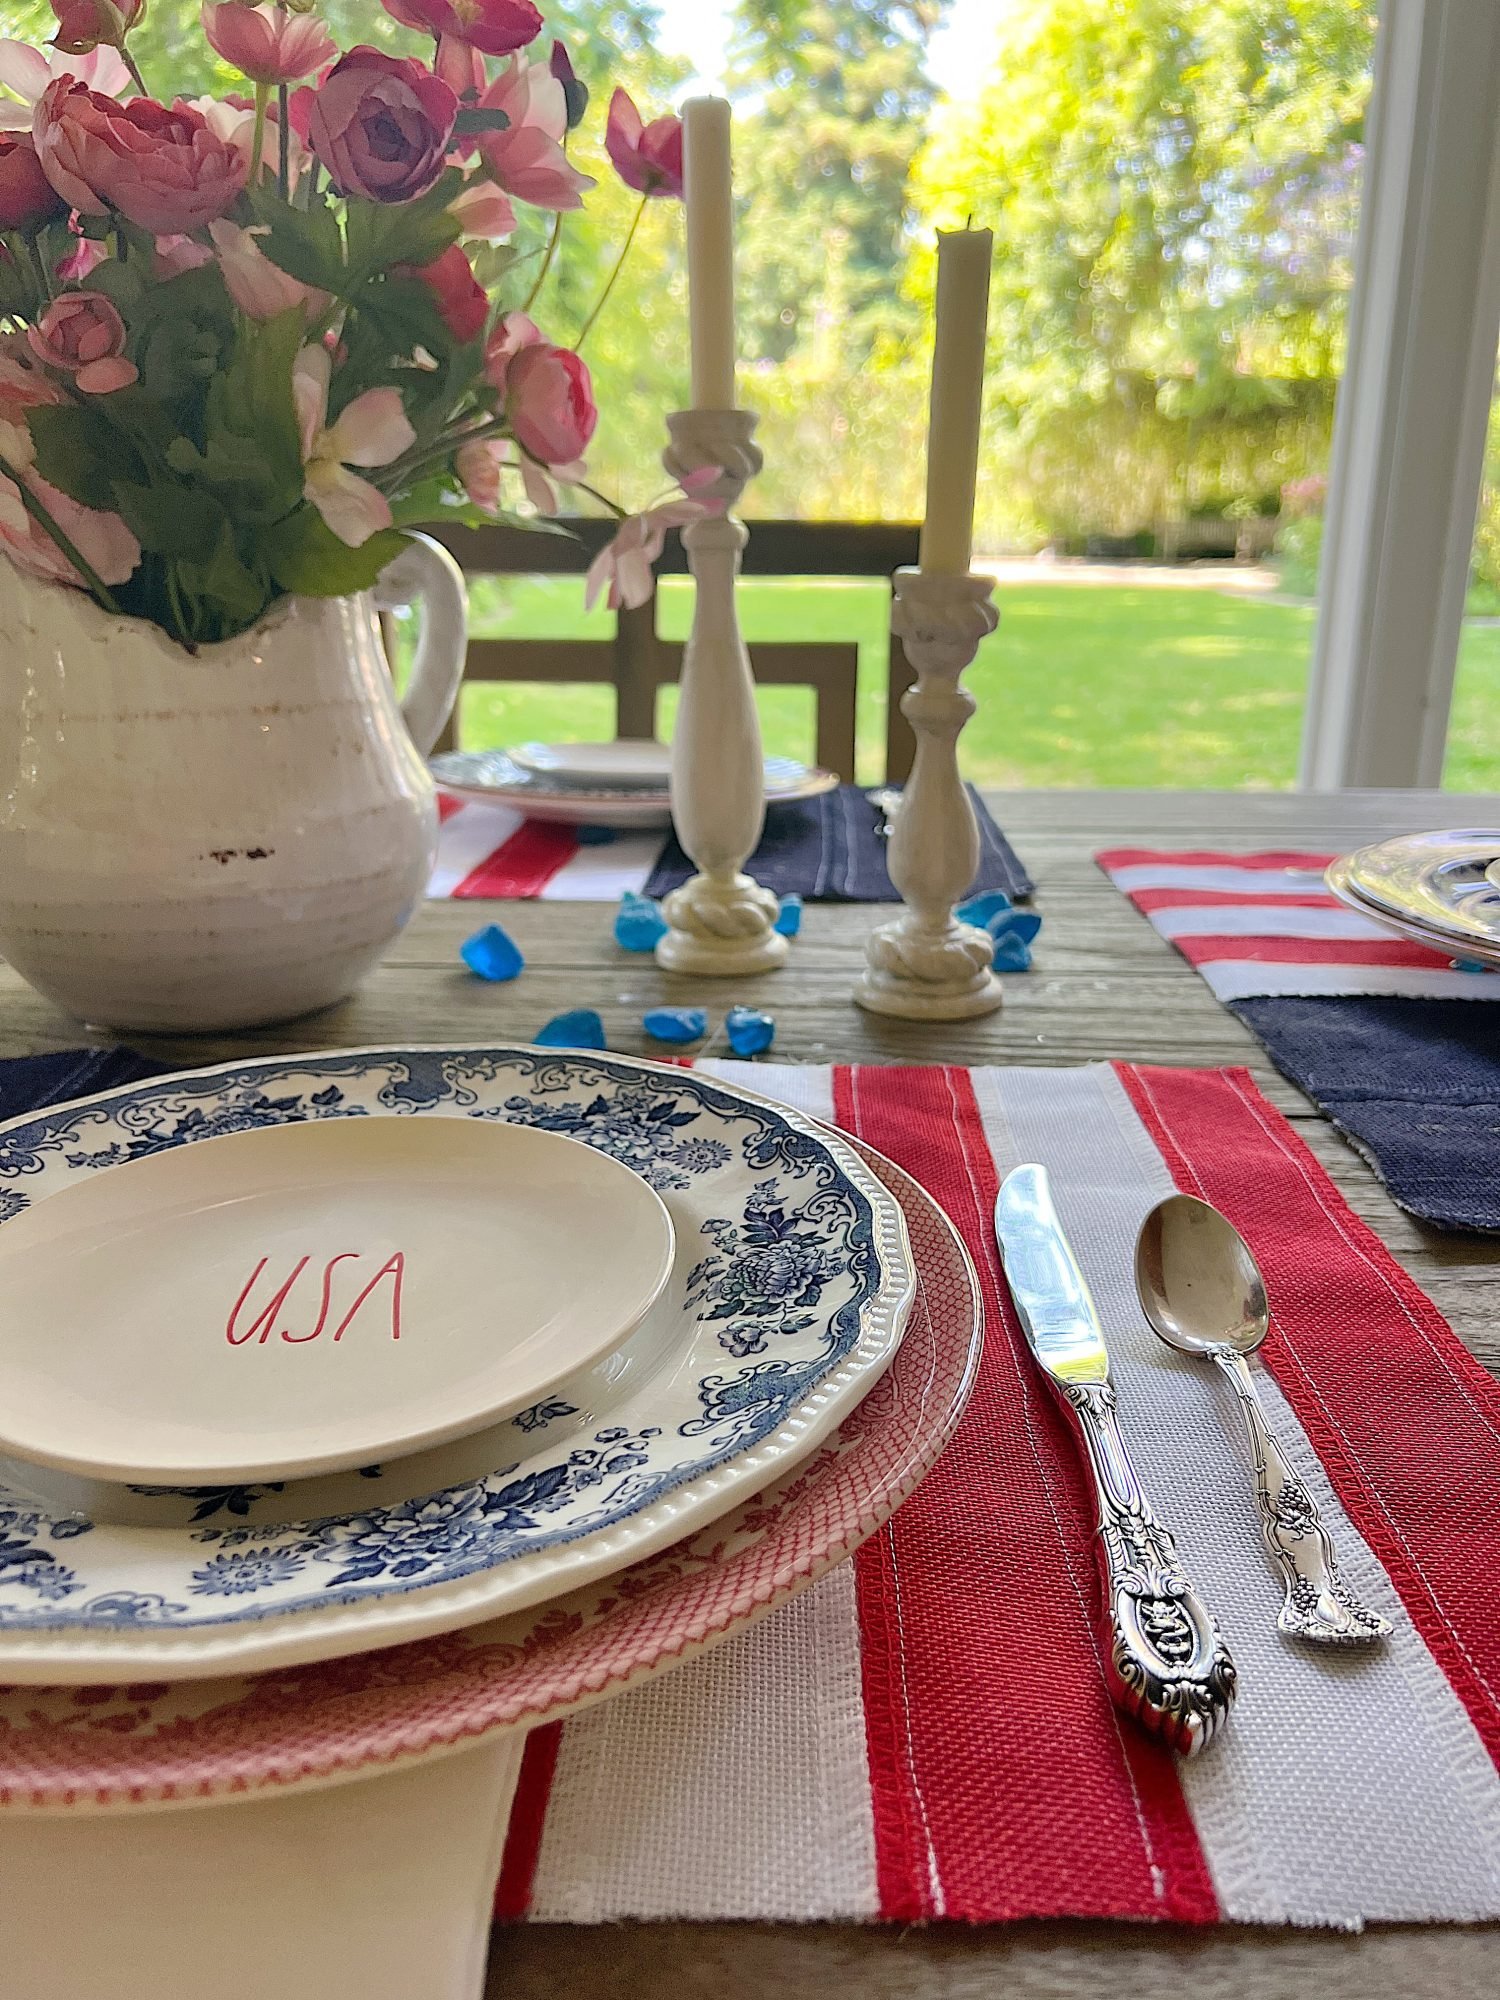
Leslie! These are even better than Pottery Barn! I love how you mix your glassware and plates! So pretty!
Omg you’re too sweet- thank you Annie! ☺️
This is so clever. I love this.
Oh thanks so much Renae! Really fun to do and at the right price 🙌🏻
obsessed with these!!!
Yay! I’m so glad Melaine 🥰
Leslie,
Love these placements! Last year I made the American Flags to put in the vases for the middle of the table. Now I will add the placemats. Just ordered the burlap ribbon, and will be making a trip to JoAnn’s in the morning. THANKS AGAIN for another great craft.
Hi Debra! Yay! I’m so glad. That makes me so happy about the flags- that’s a great DIY. Let me know how these go for you 💙❤️