Pink Magnolia Tree Spring Wreath DIY
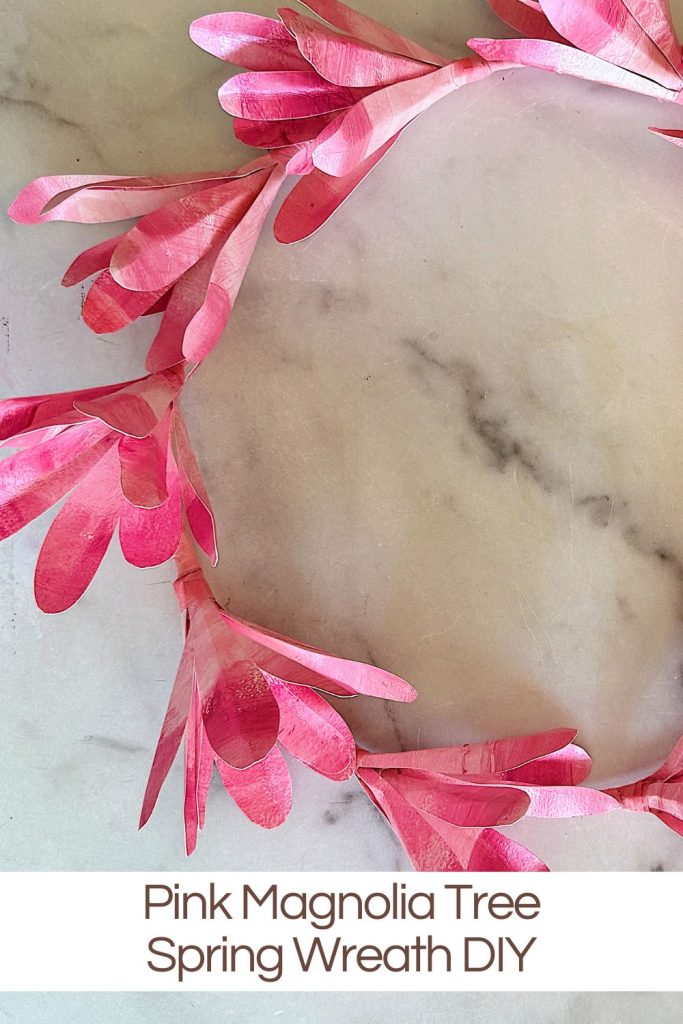
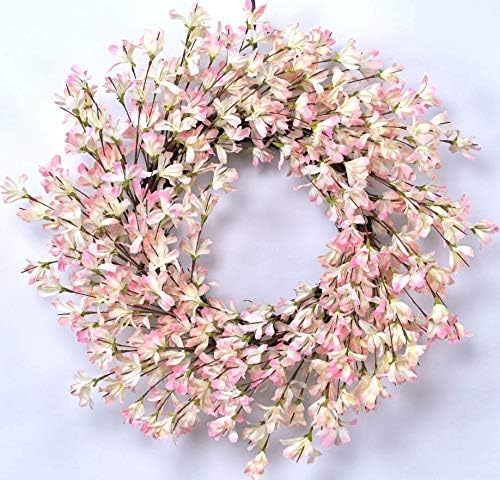
I am enjoying a spring crafting marathon, and here is one of my favorite projects – a Pink Magnolia Tree Spring Wreath.
I made this Pink Magnolia Tree Spring wreath as a budget-friendly alternative to the metal wreath from Terrain that inspired me. It’s made of paper instead of metal, and I cut all the petals myself, so there is no reason you can’t try to make this wreath, too!
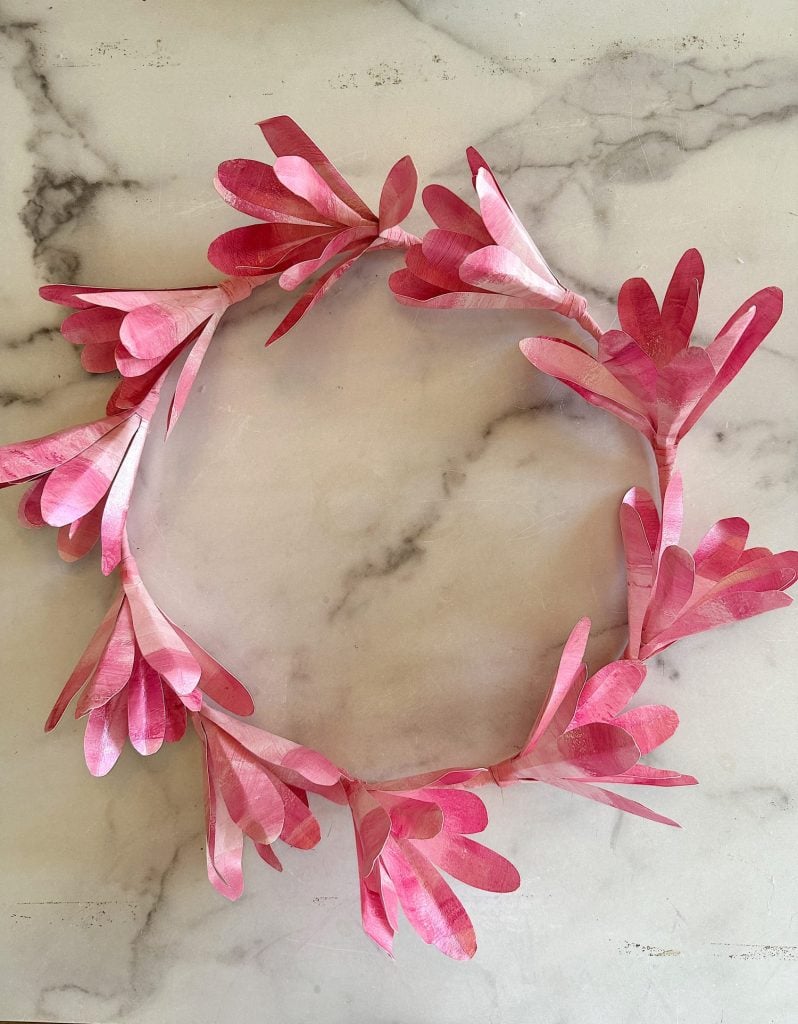


Crafting Beauty: DIY Pink Magnolia Tree Spring Wreath
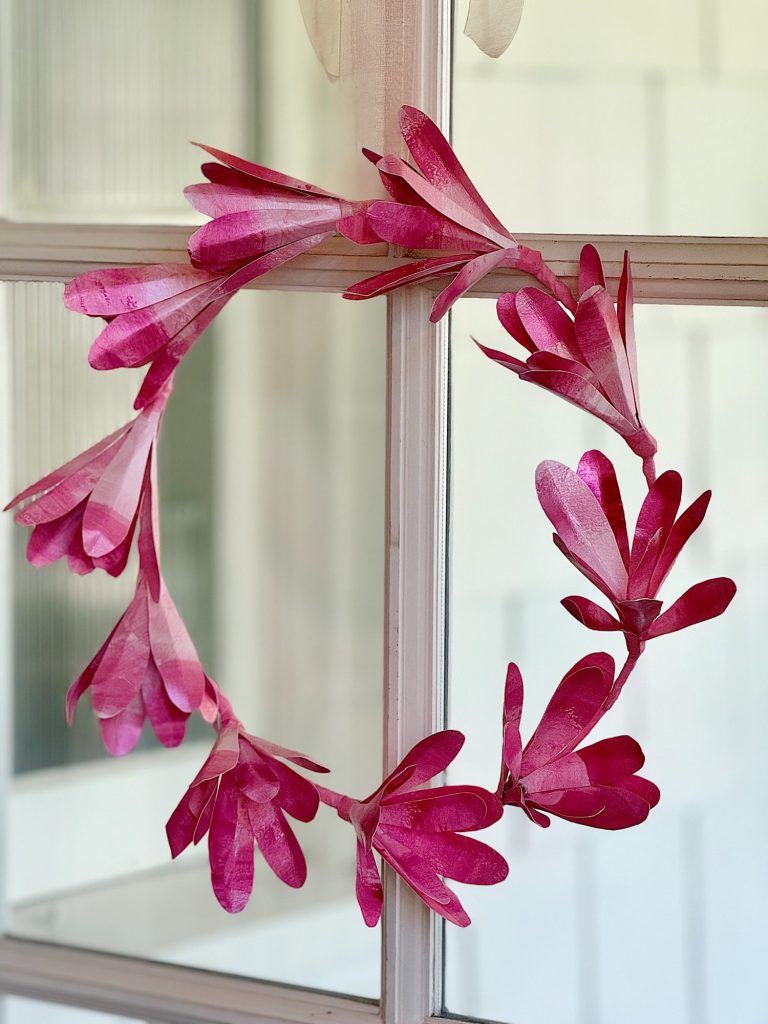
As spring blooms and nature awakens with vibrant hues, there’s no better time to infuse your home with the season’s spirit.
Inspired by the delicate beauty of the pink magnolia tree, I embarked on a creative journey to craft a stunning spring wreath that brings a touch of elegance and charm to any space.
Finding Inspiration in Nature
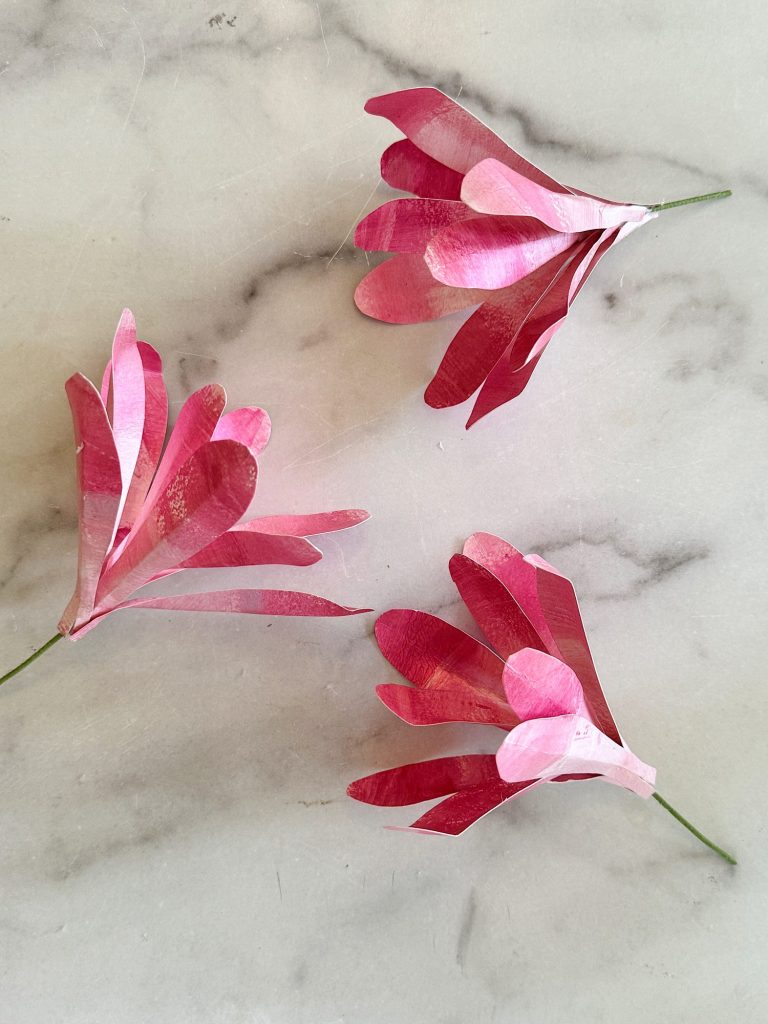
As I admired the ethereal beauty of the pink magnolia tree blossoms, I knew I wanted to capture their essence in a handmade wreath.
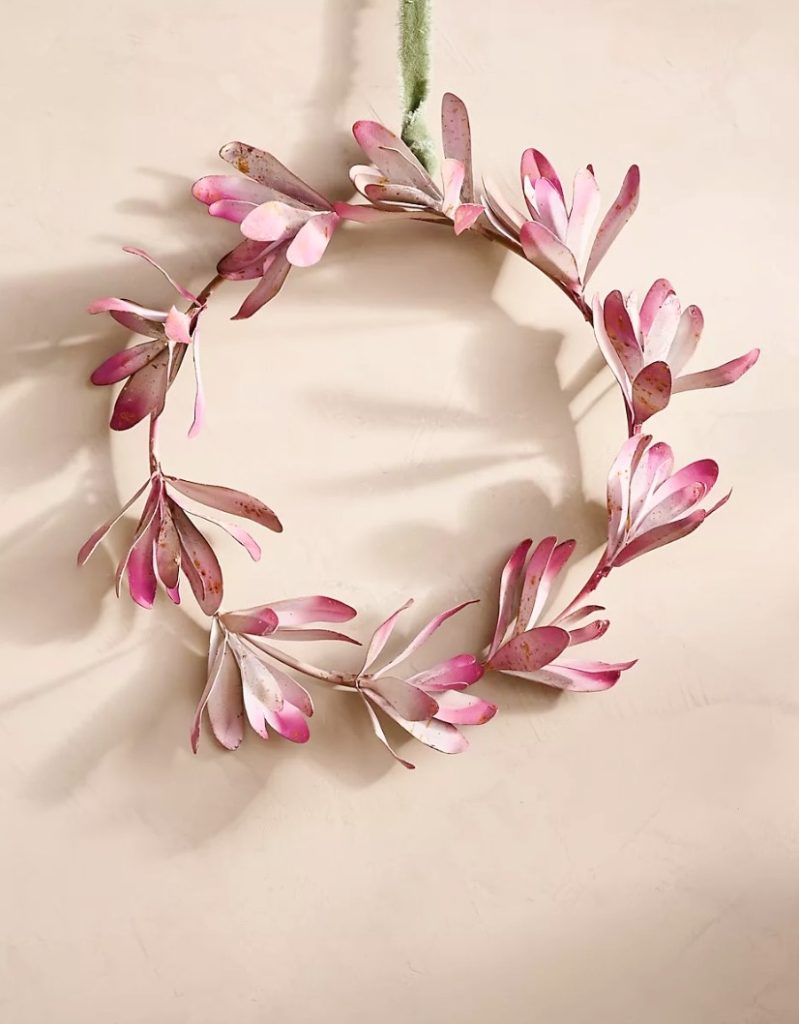
Drawing inspiration from a similar metal wreath I had seen, I created a paper option that would be easy to make, inexpensive, and equally enchanting.
Gathering Materials
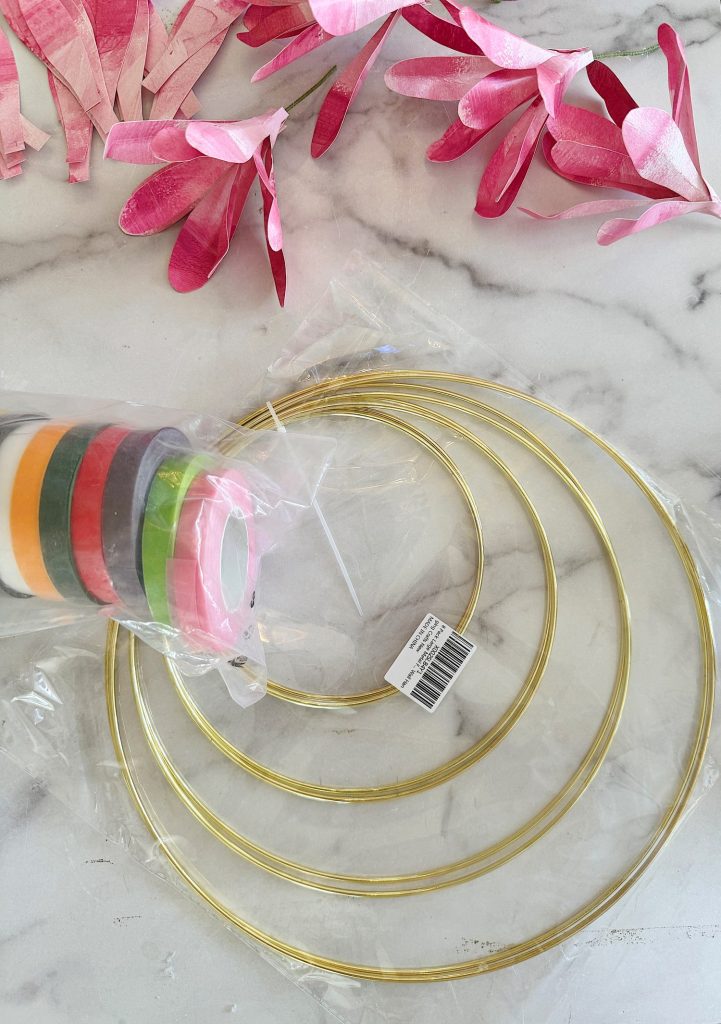
To bring my vision to life, I gathered the following materials:
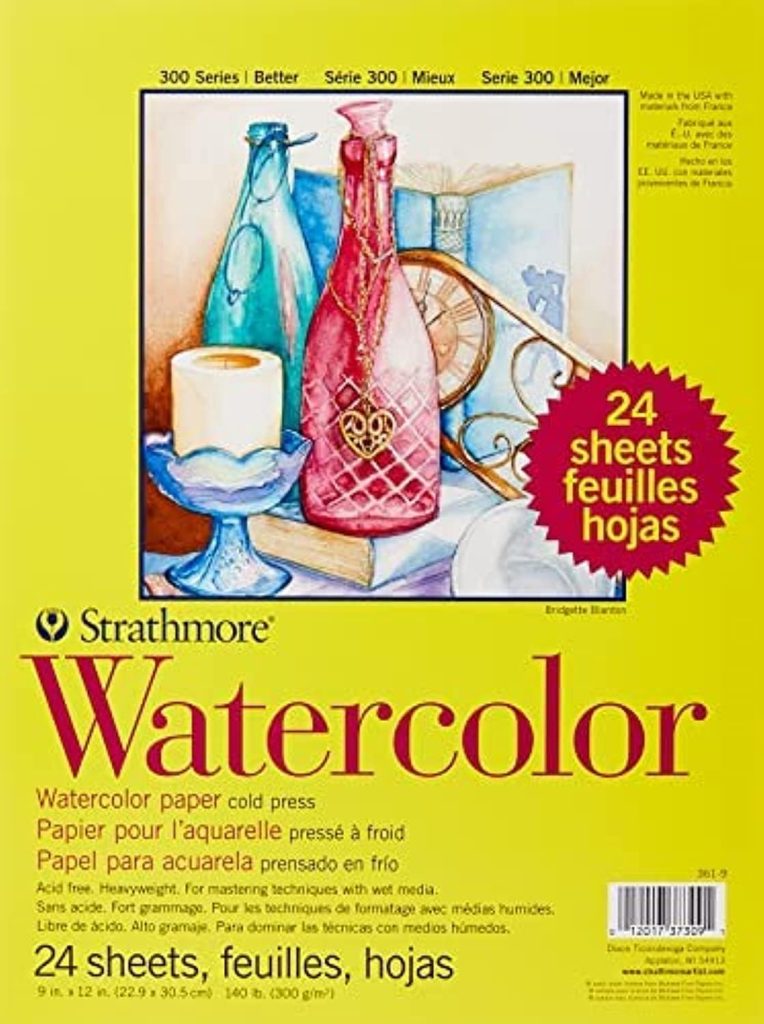
- Watercolor paper
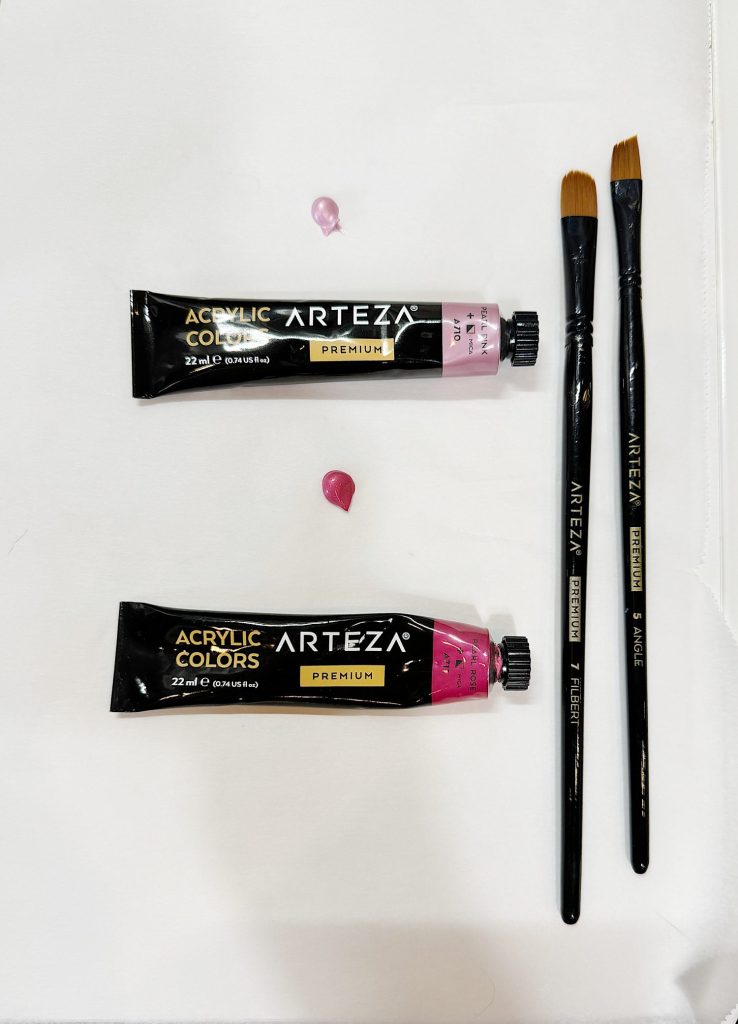
- Arteza metallic acrylic paint in light pink and dark pink
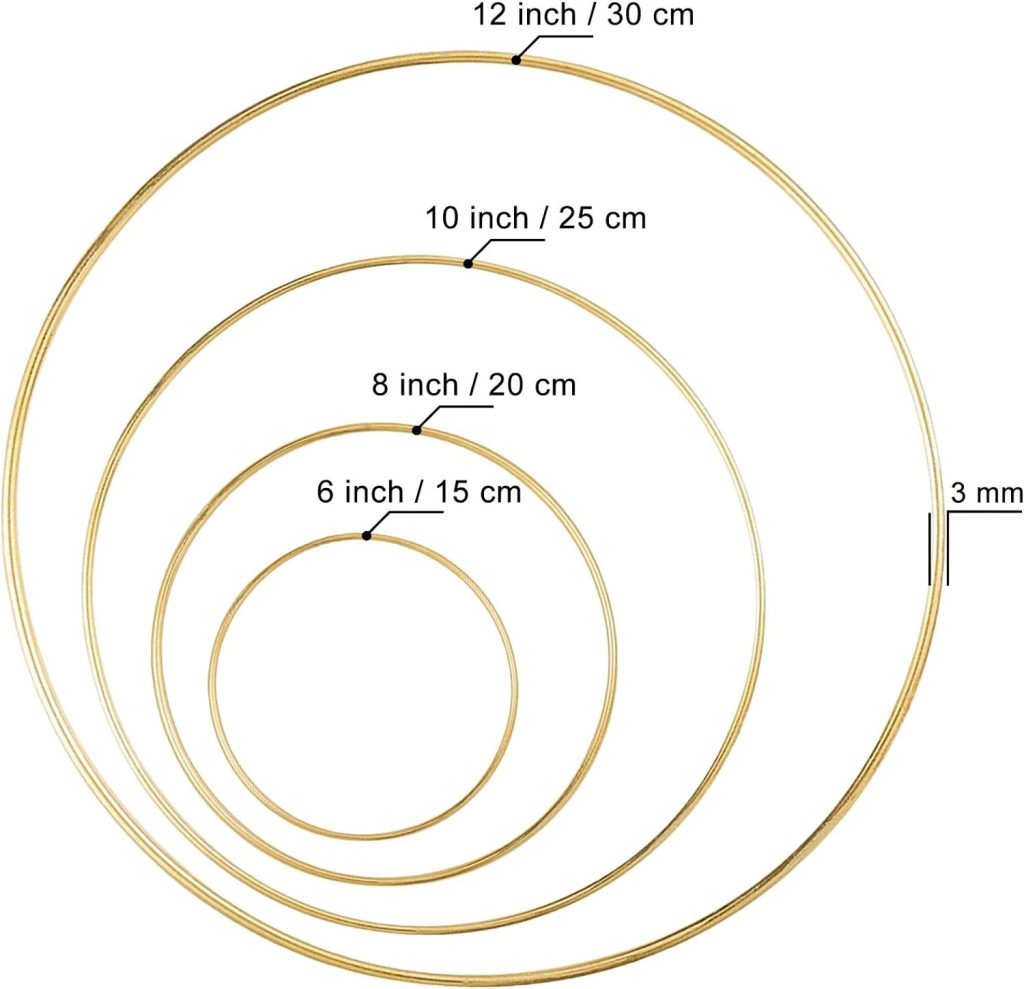
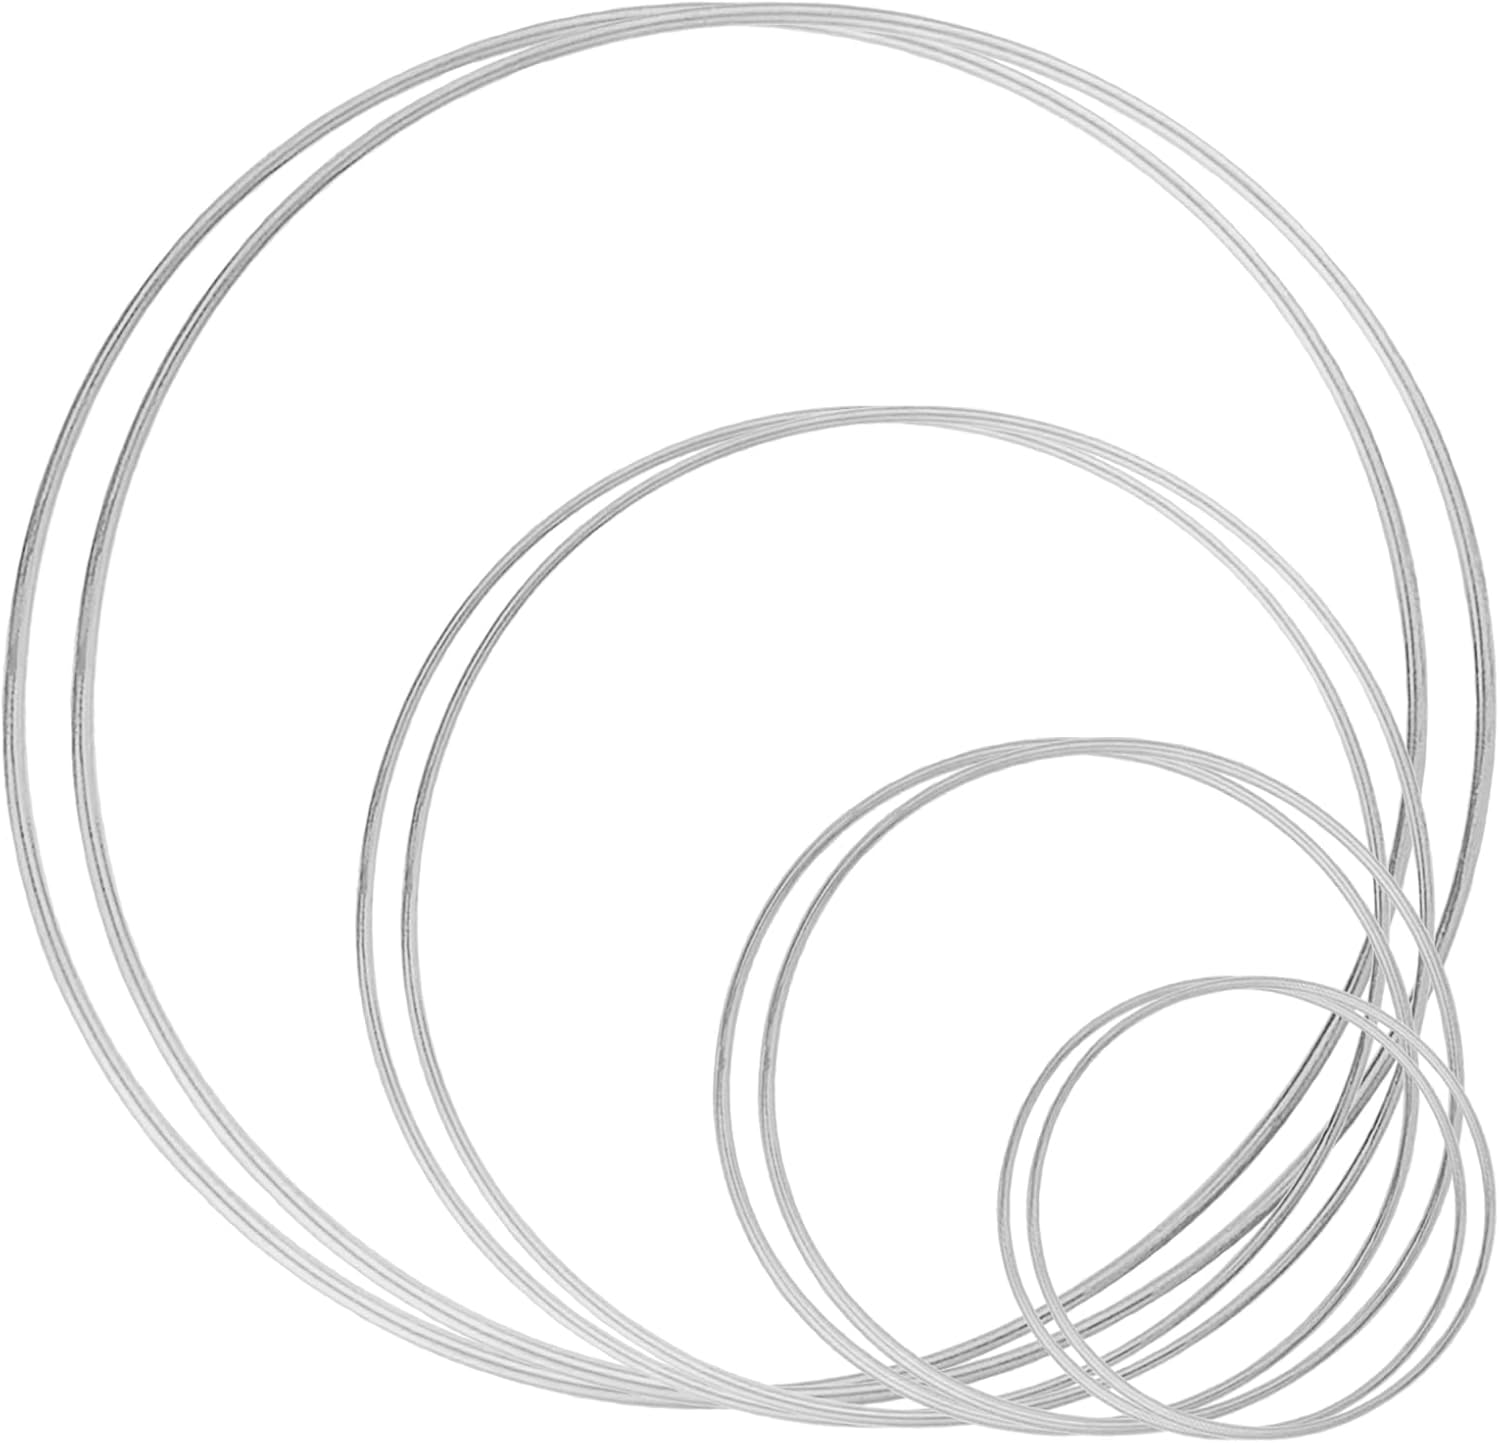
- Wreath hoop (I used a 12″ metal floral hoop wreath)
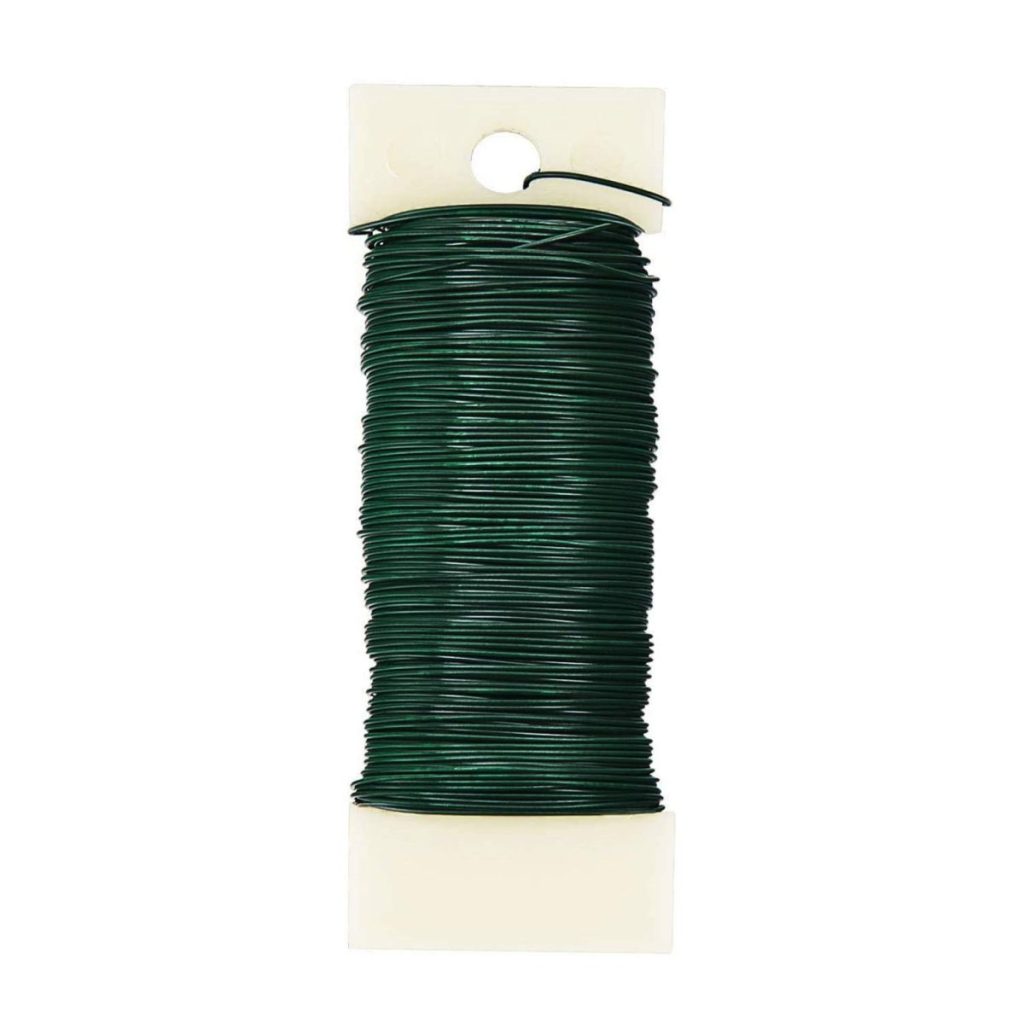
- Floral wire
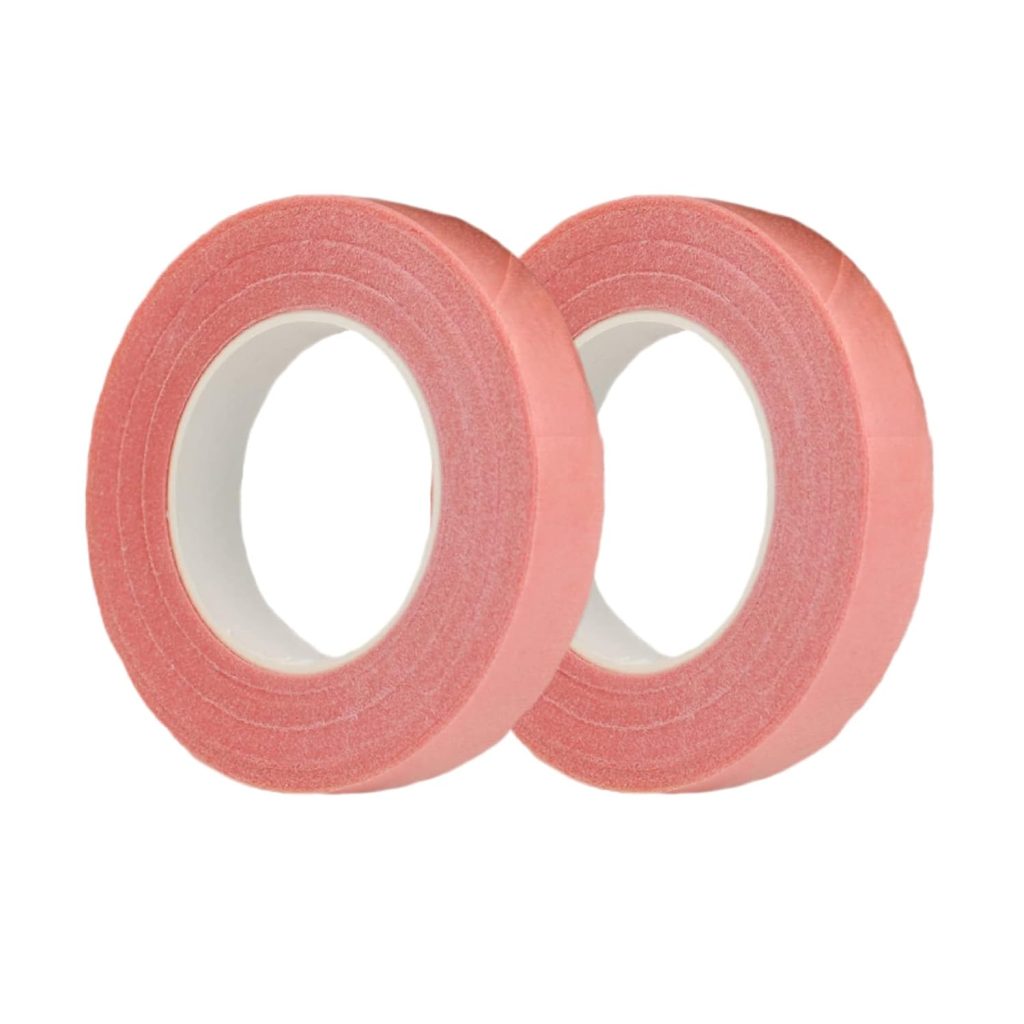
- Pink floral tape
- Hot glue gun
I may sometimes use affiliate links on this blog, which means a small commission is earned if you purchase via the link. The price will be the same whether you use the affiliate link or go directly to the vendor’s website using a non-affiliate link.
Crafting the Petals
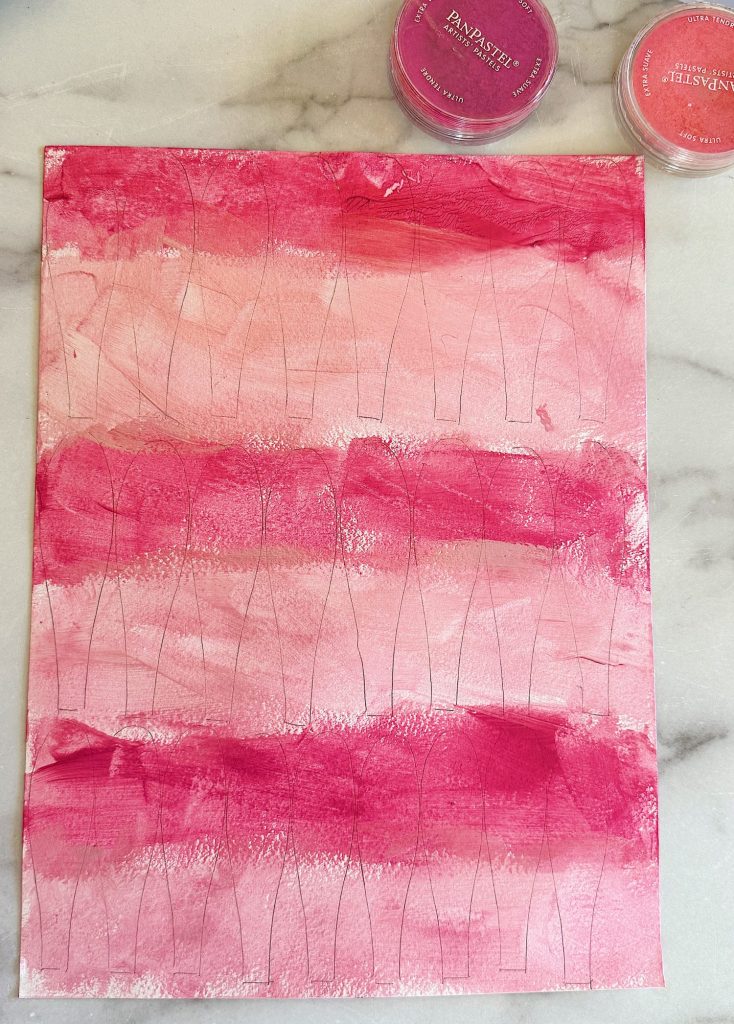
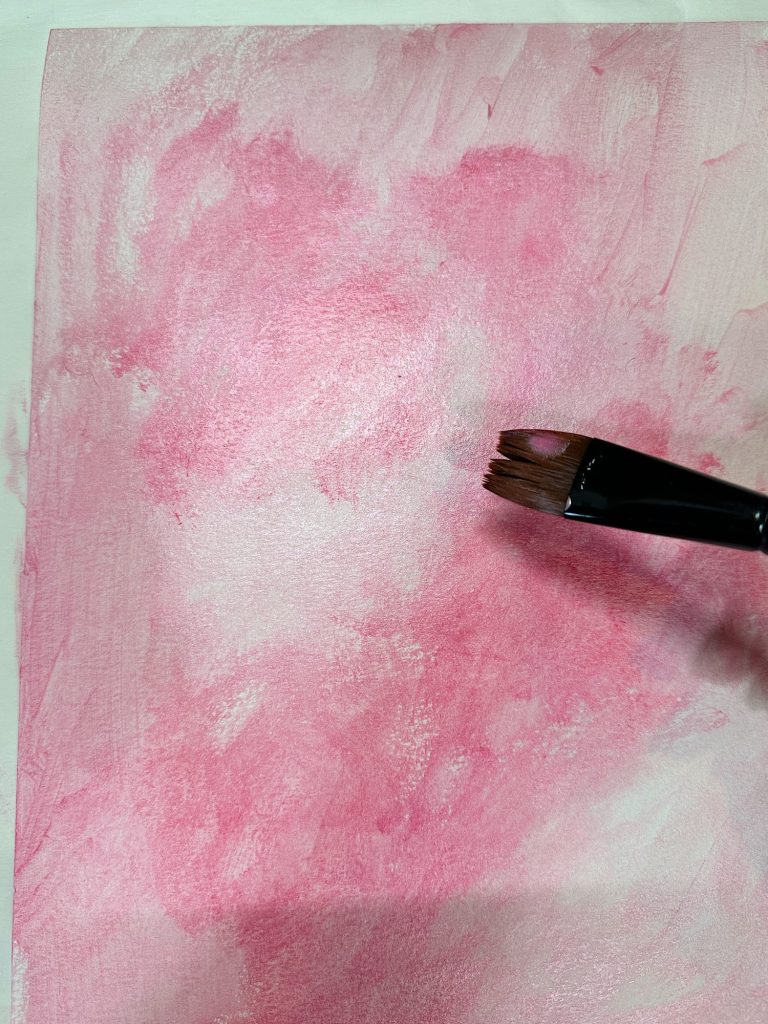
With delicate brushstrokes, I painted both sides of four sheets of watercolor paper with light pink and dark pink metallic paint.

I made my own patterns resembling the leaves on the pink magnolia tree flowers. Use the measurements in the photo below to cut your own patterns.
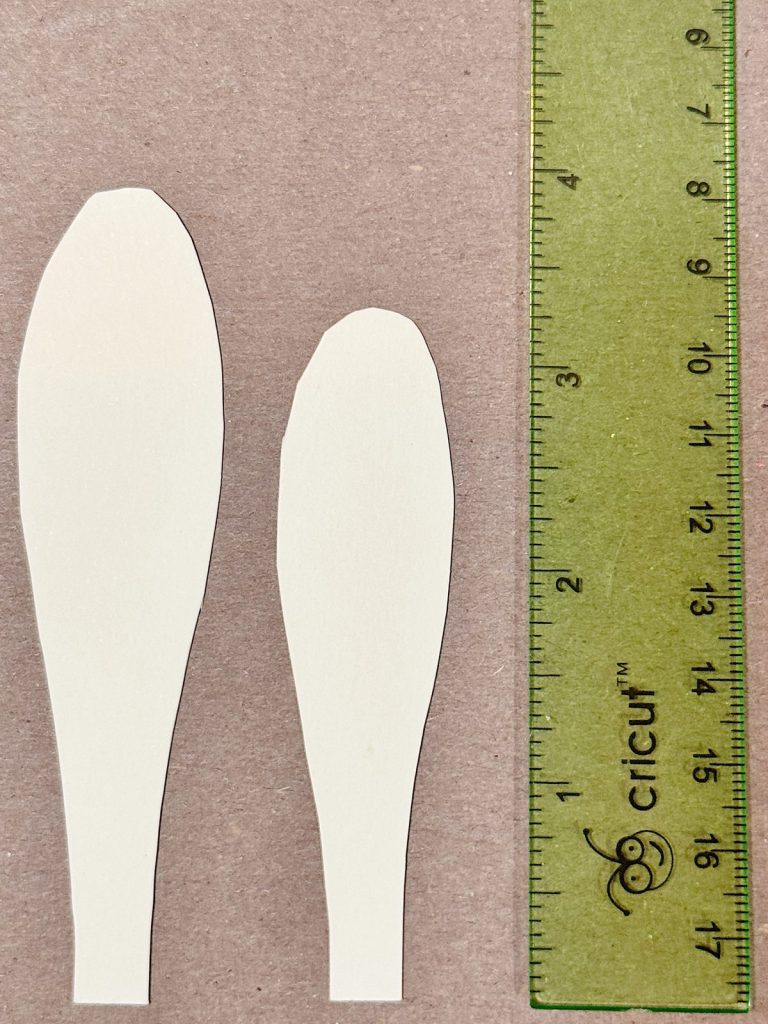
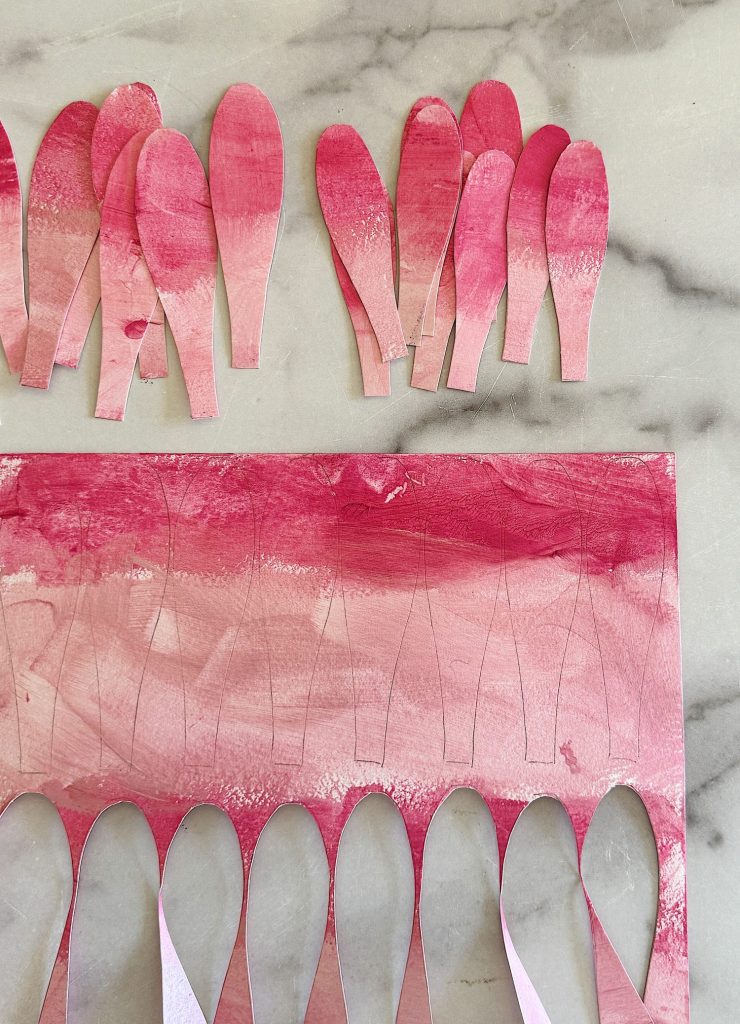
I traced and cut out petals of two different sizes from the watercolor paper.

Each flower required six large and three small petals, and I made ten flowers for my wreath.
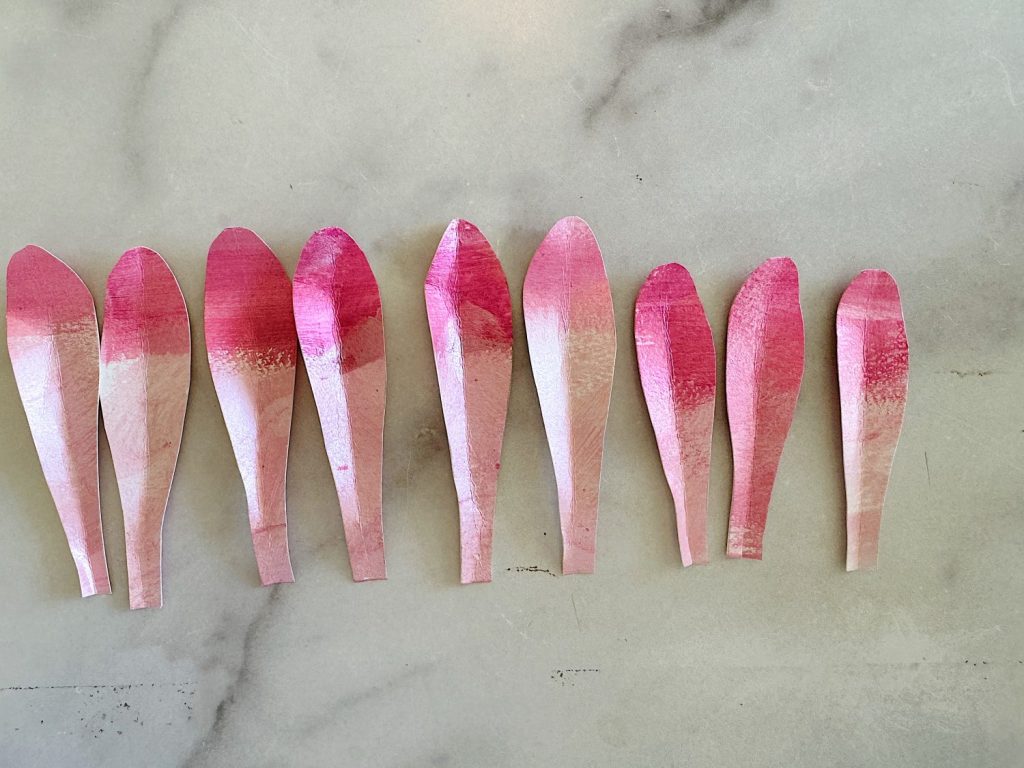
Once cut, I folded each petal half lengthwise to give it a natural curve, then gently bent the tip inward for a lifelike appearance.
Assembling the Flowers
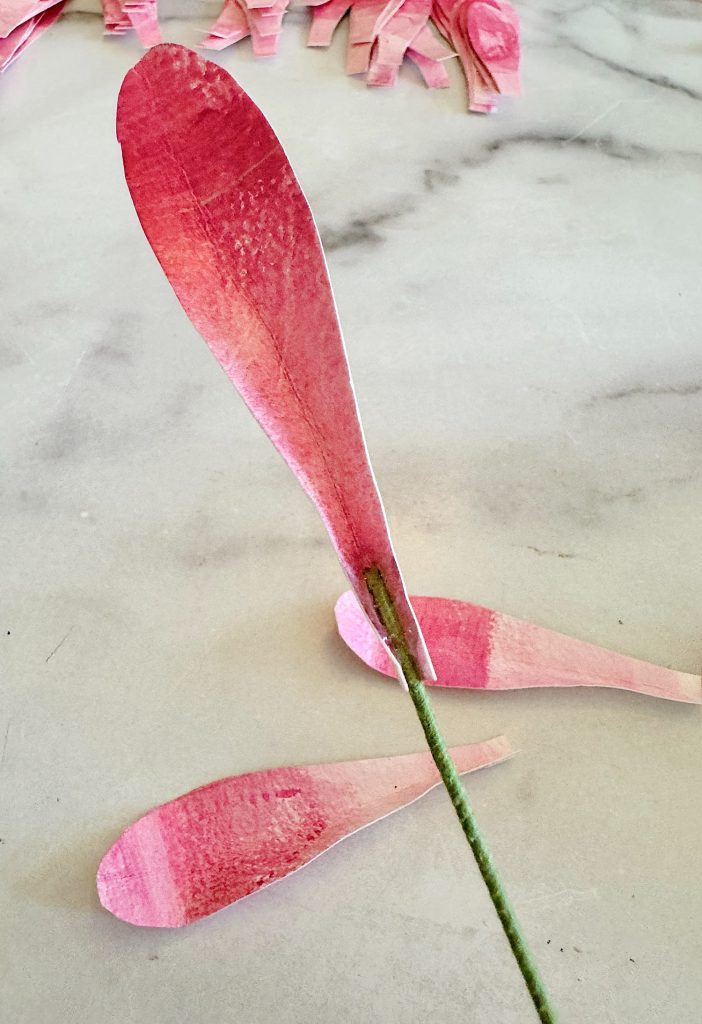
To assemble the flowers, I used a hot glue gun to attach three small petals to the floral wire, forming the center of each bloom.
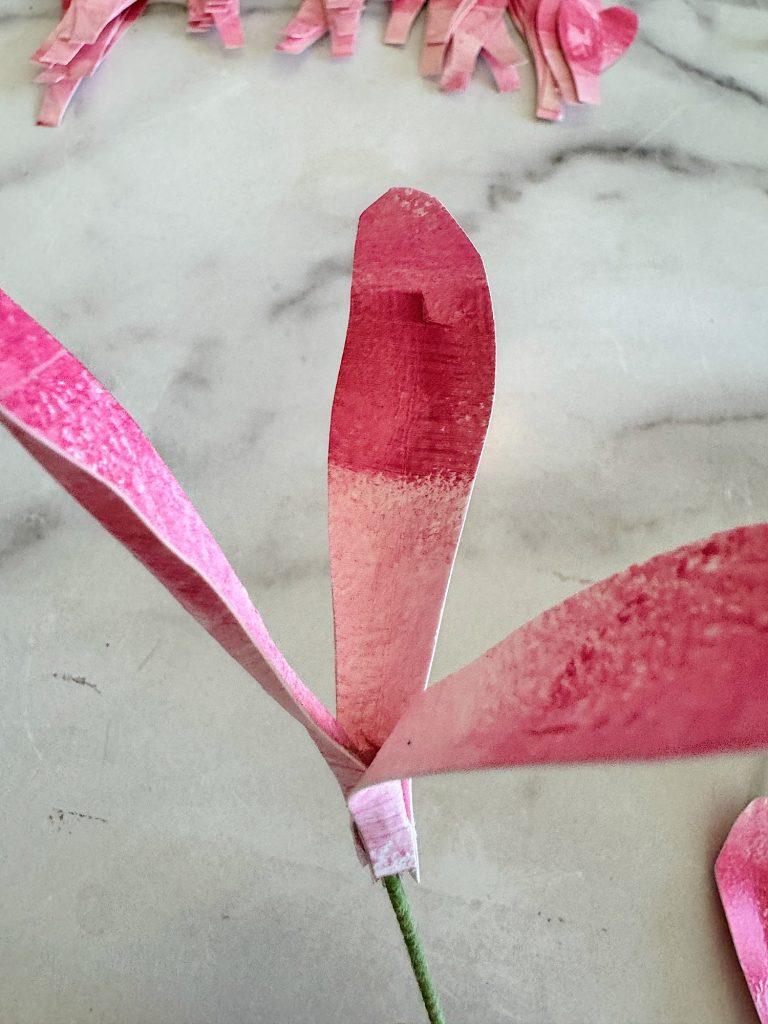
Then, layering petals in groups of three, I glued two more layers of large sized petals around the center to complete the flower.
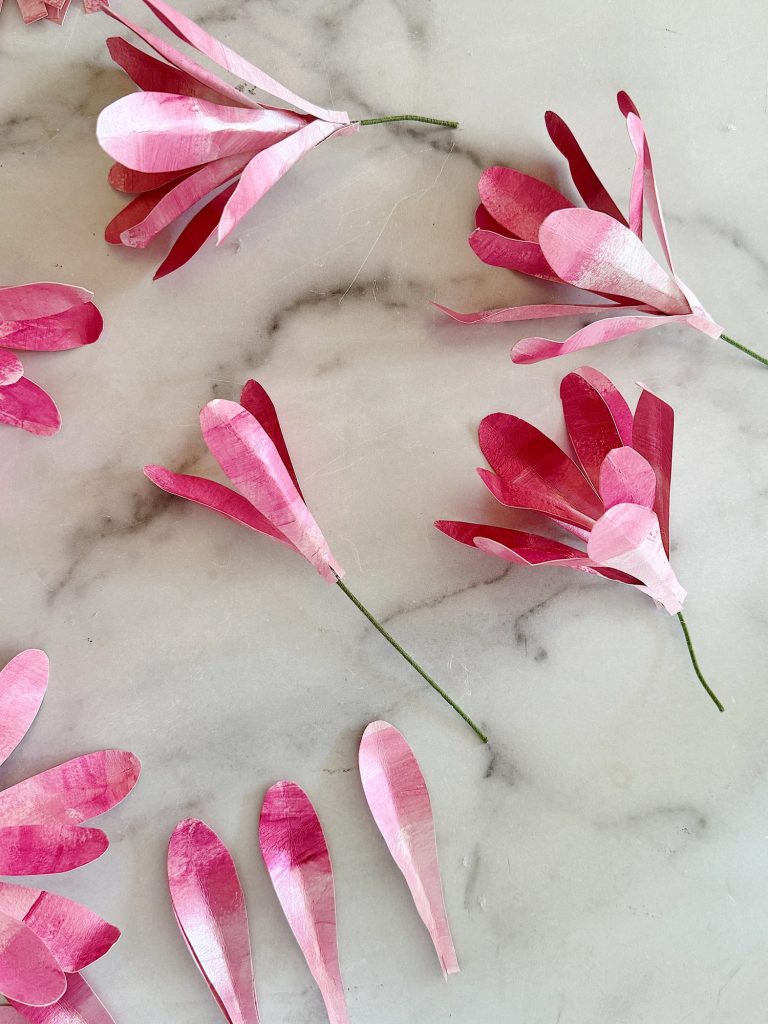
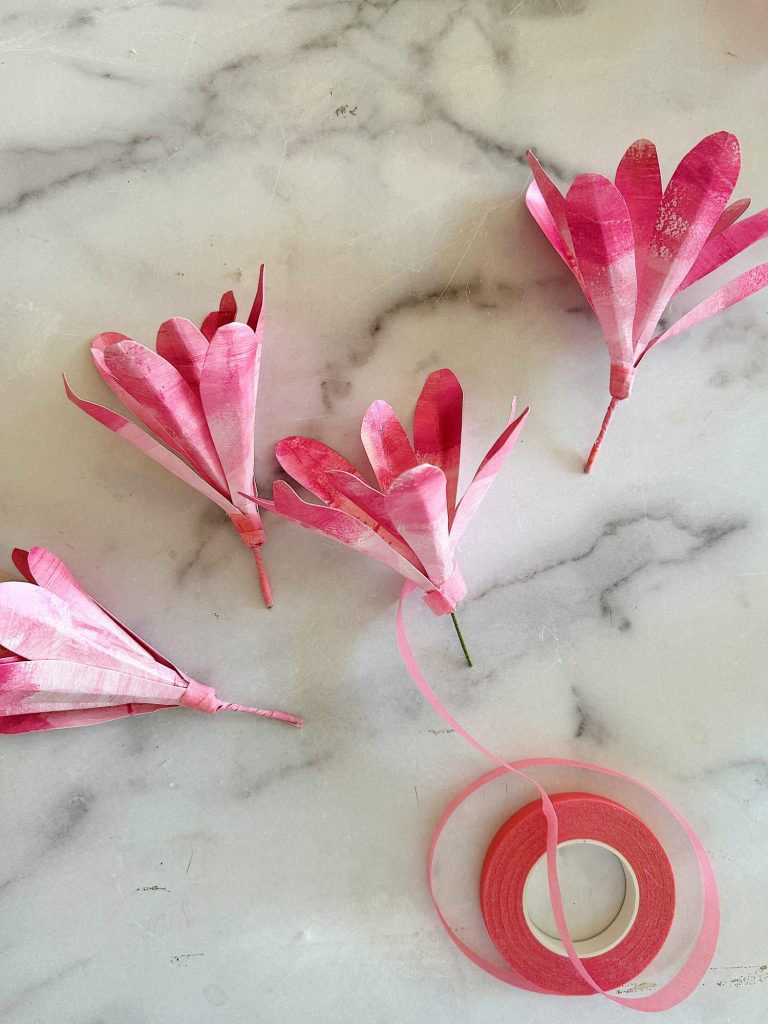
To secure the petals and floral wire together seamlessly, I cut the floral wire to about 1″ long and covered the bottom of the flower and the wire with pink floral tape. This concealed the wire and added a finishing touch to each blossom.
Creating the Wreath
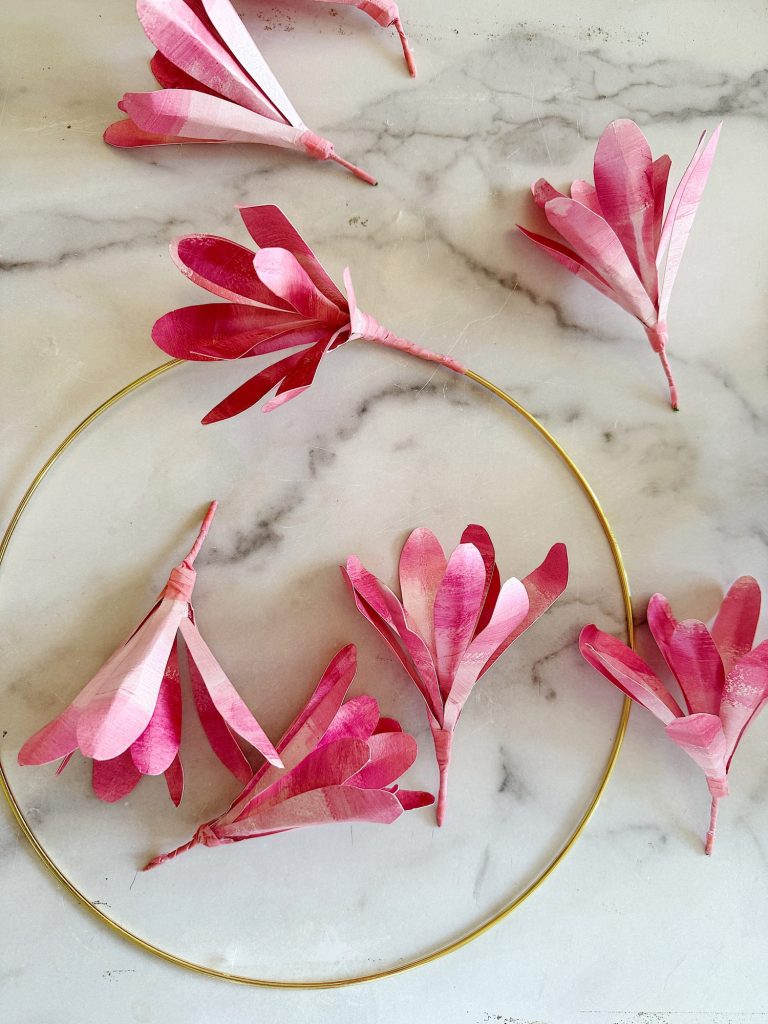
With all ten flowers crafted, it was time to assemble the wreath. I covered the entire metal floral hoop wreath with pink floral tape, creating a smooth surface for attaching the flowers.
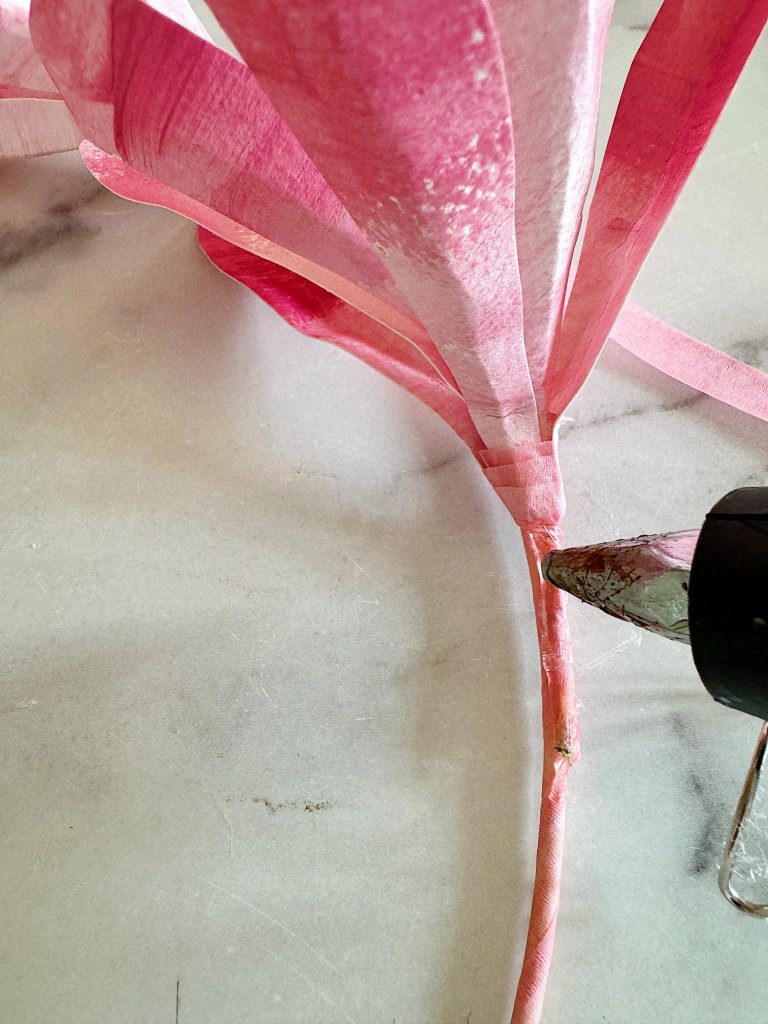
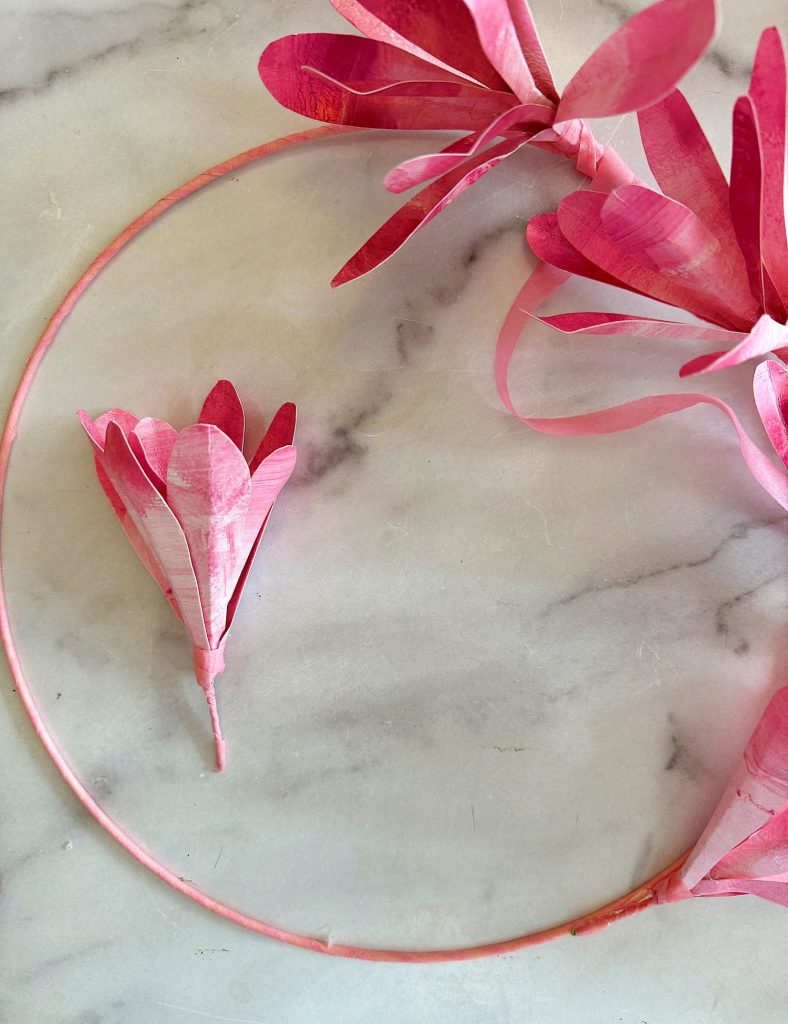
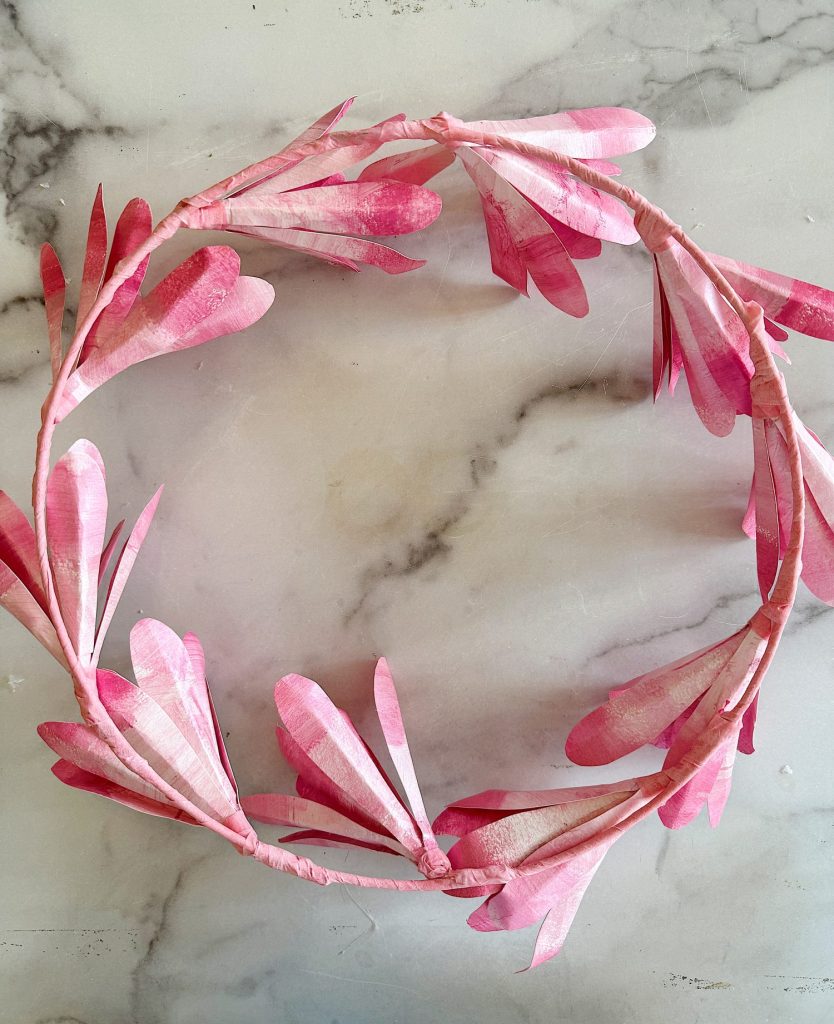
Starting at one end of the hoop, I hot-glued a flower in place and wrapped more floral tape over it. I continued around the hoop, evenly spacing and attaching all ten flowers until the wreath was fully adorned.
Admiring the Finished Wreath
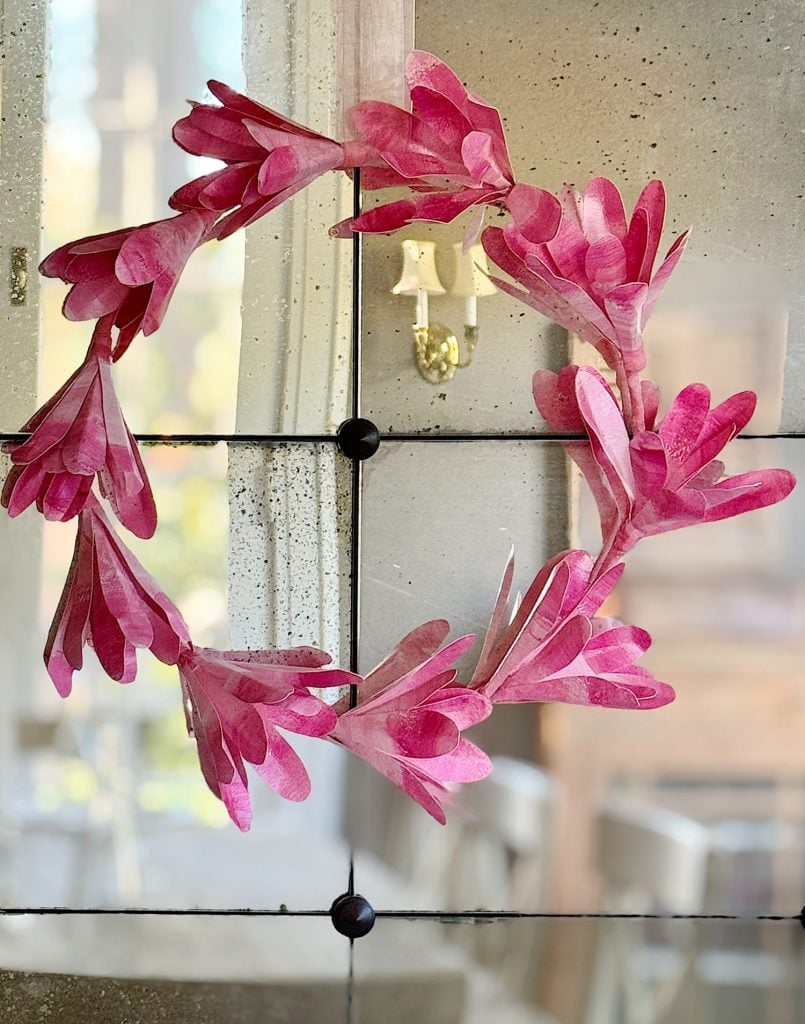
The result?
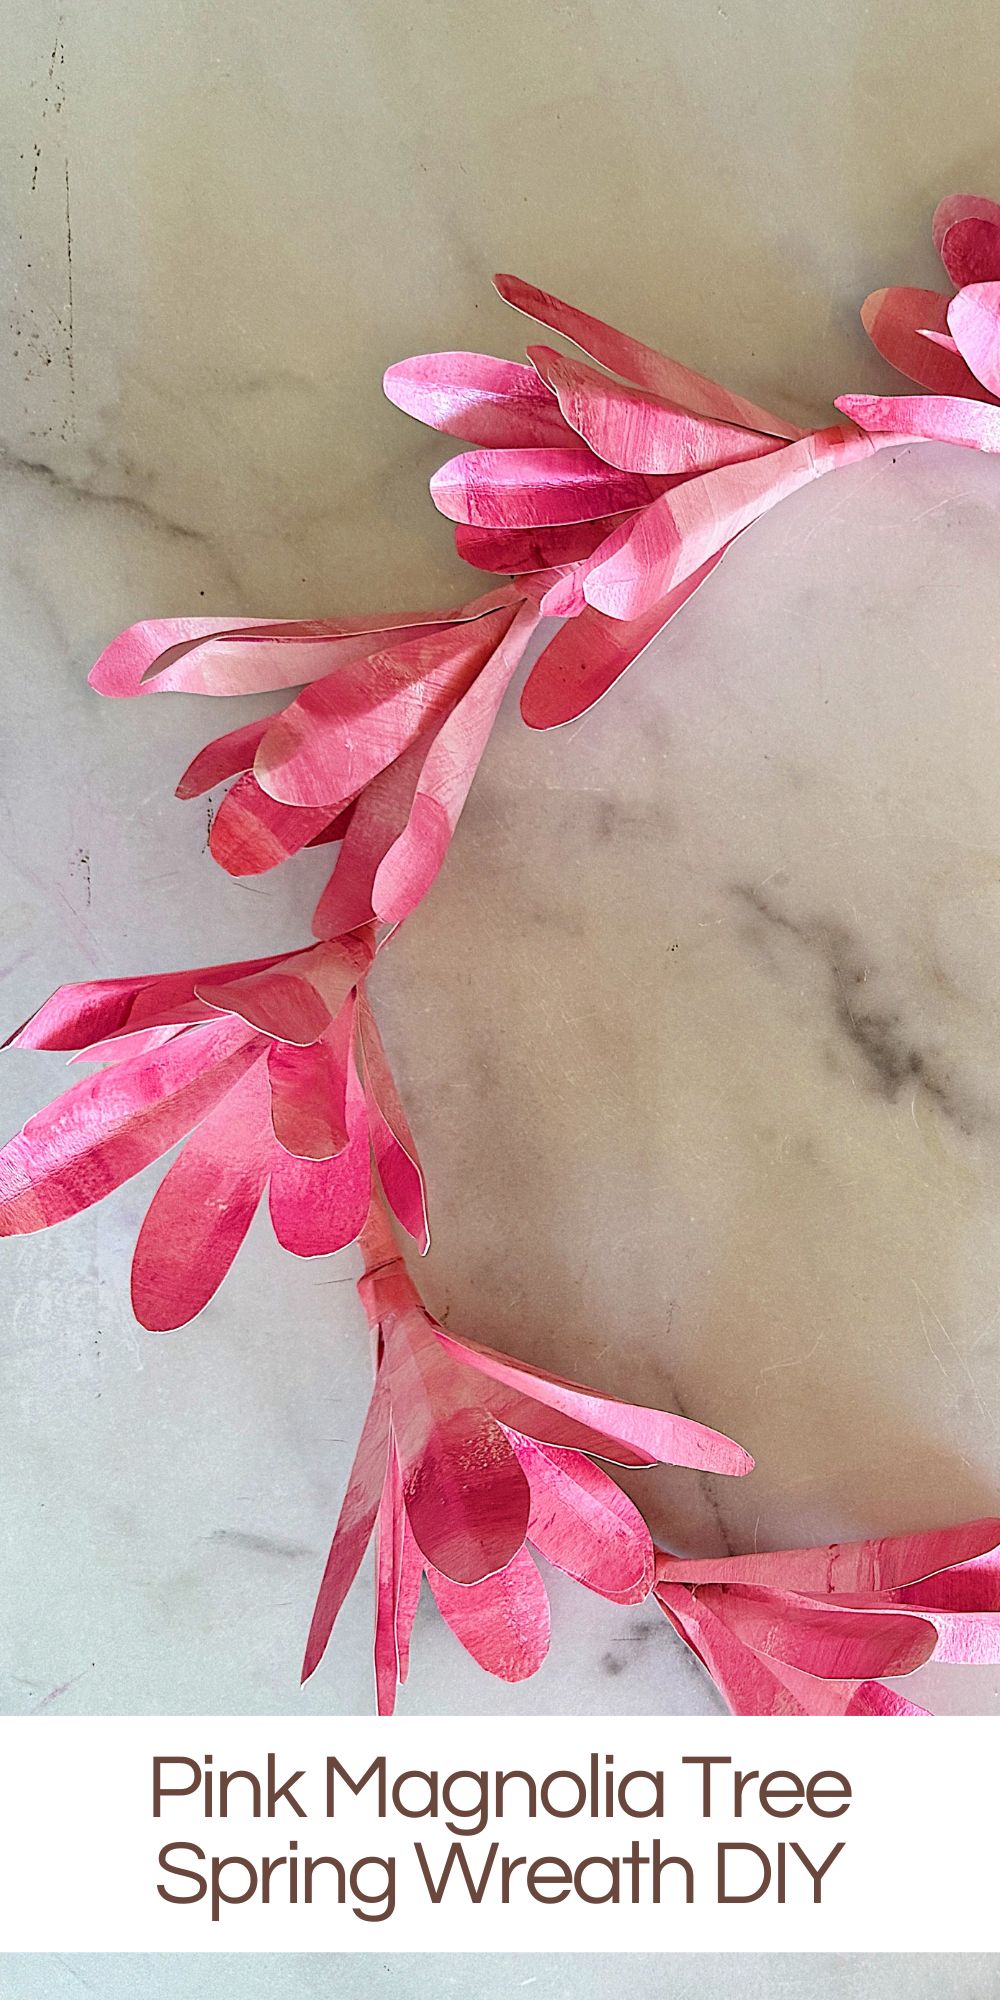
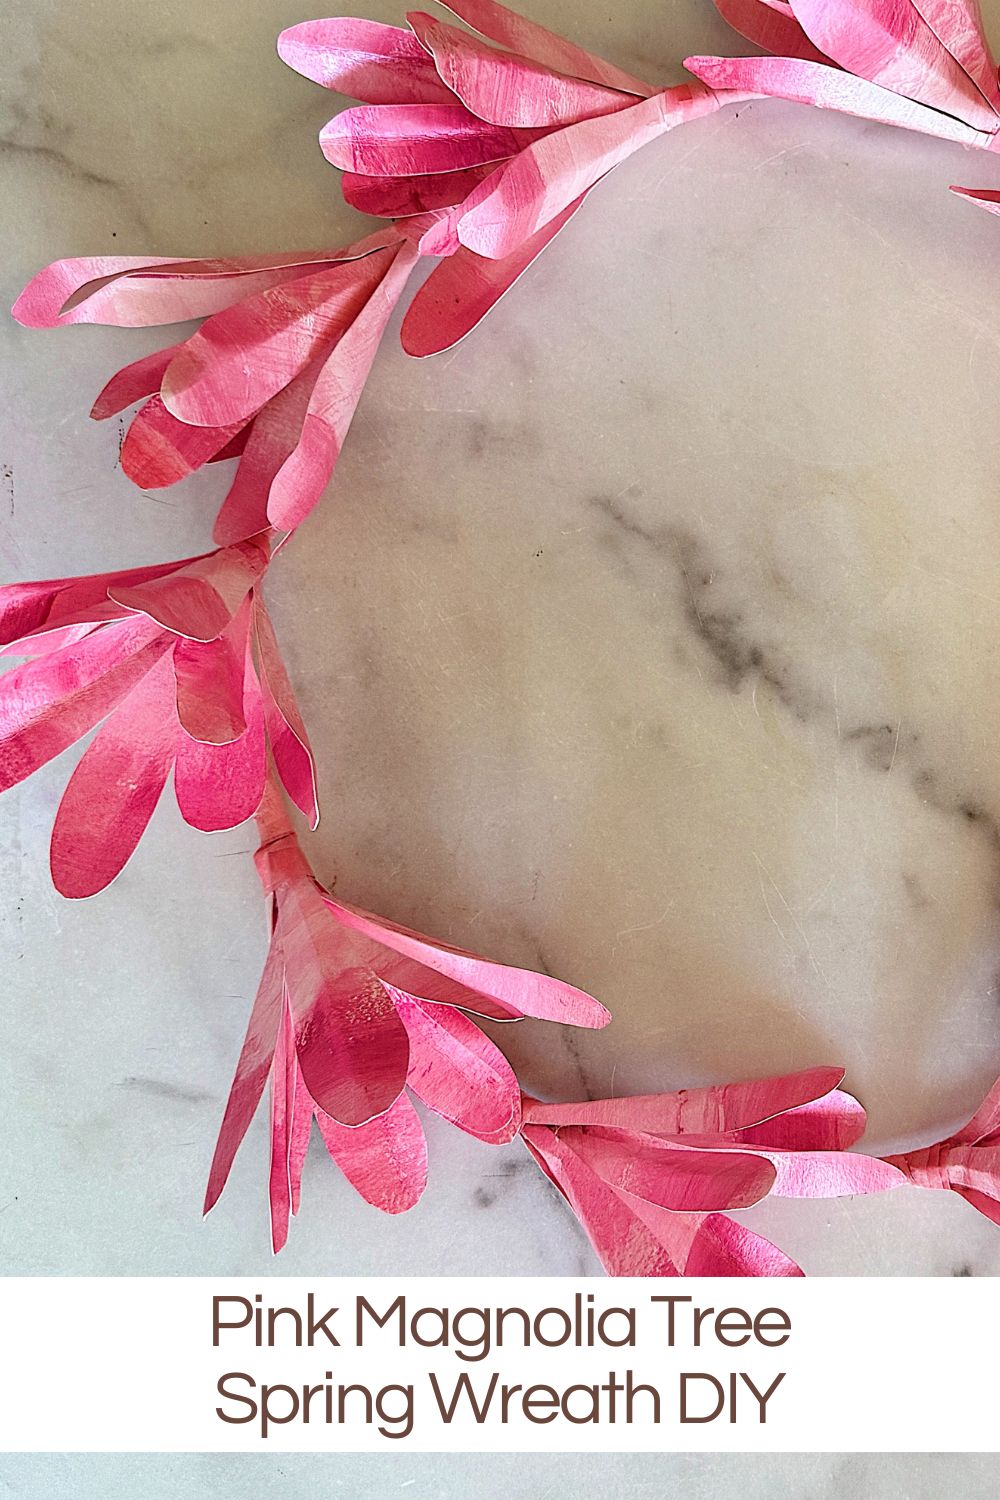
A breathtaking Pink Magnolia Tree Spring Wreath that exudes the beauty of nature and the joy of spring.
With its soft pink hues and delicate petals, this wreath is the perfect addition to any home decor, bringing warmth and cheer to doorways, mantels, or walls.
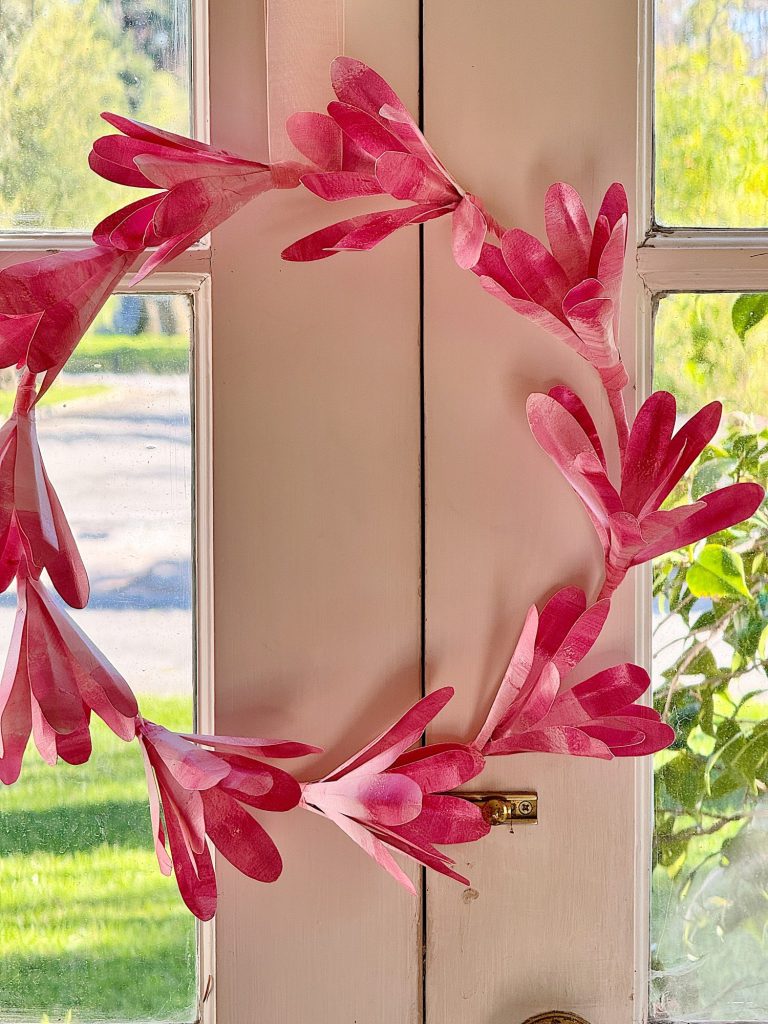
Crafting this Pink Magnolia Tree Spring Wreath was a creative endeavor and a therapeutic escape into the beauty of nature. With just a few simple materials and a bit of imagination, you, too, can create your stunning wreath to brighten your home and celebrate the arrival of spring.
So why not unleash your creativity and add a touch of floral elegance to your space with this delightful DIY project? Your home—and your heart—will thank you for it.
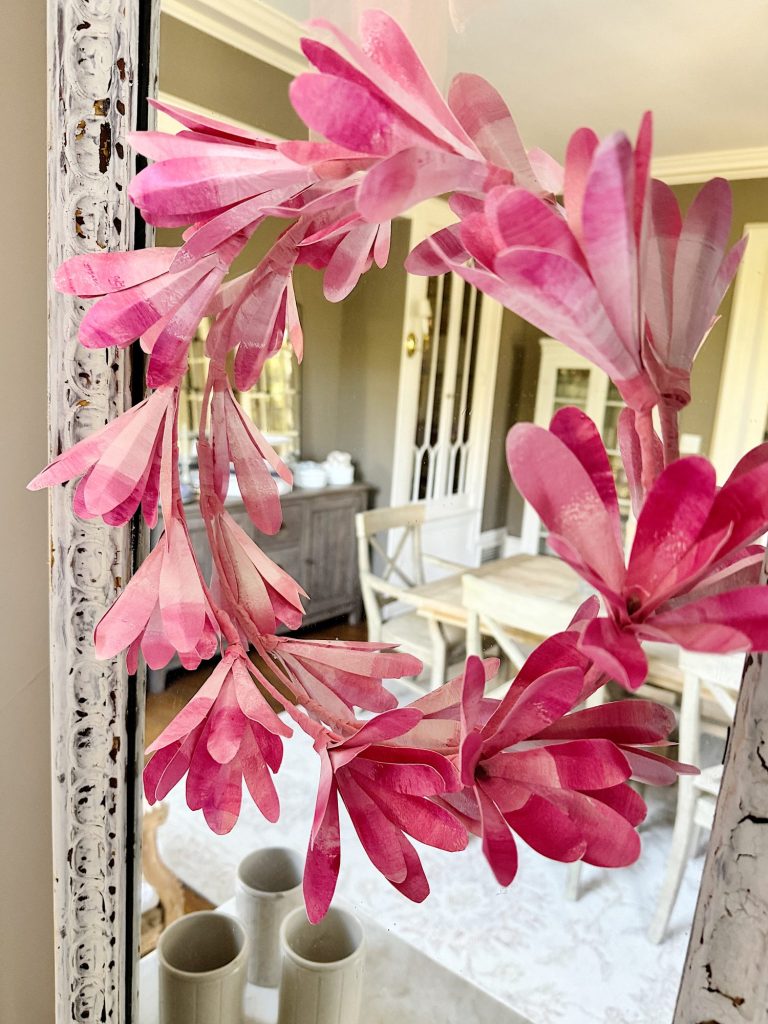
As I admired the ethereal beauty of the pink magnolia tree blossoms, I knew I wanted to capture their essence in a handmade wreath. Drawing inspiration from a similar metal wreath I had seen, I created a paper option that would be easy to make and inexpensive yet equally enchanting.
If you enjoy my blog, you can sign up to receive my updates here.
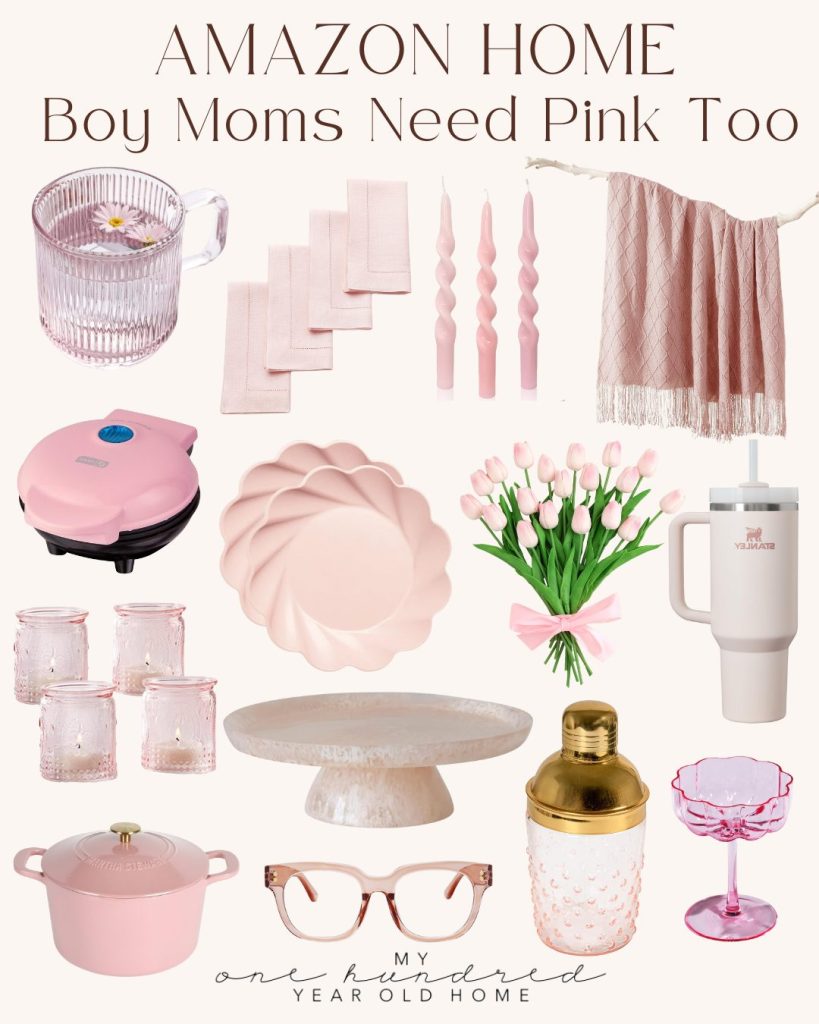
.All the Pretty Pink Gifts for Mother’s Day
BLOGGER’S BEST SPRING CRAFT
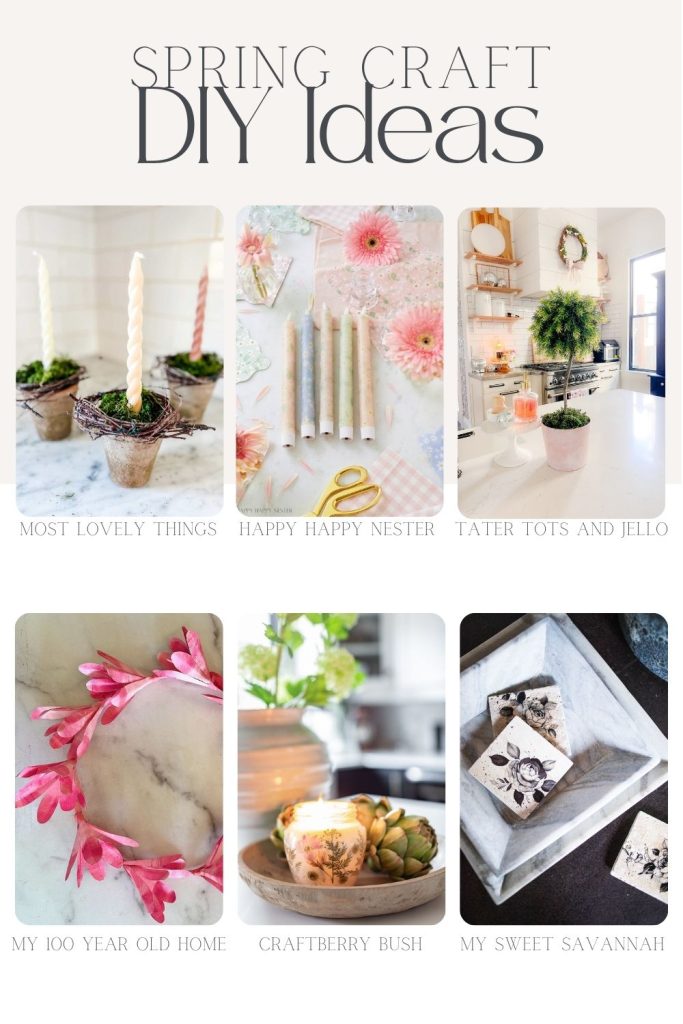
Here are a few more spring crafts from some of my favorite bloggers.
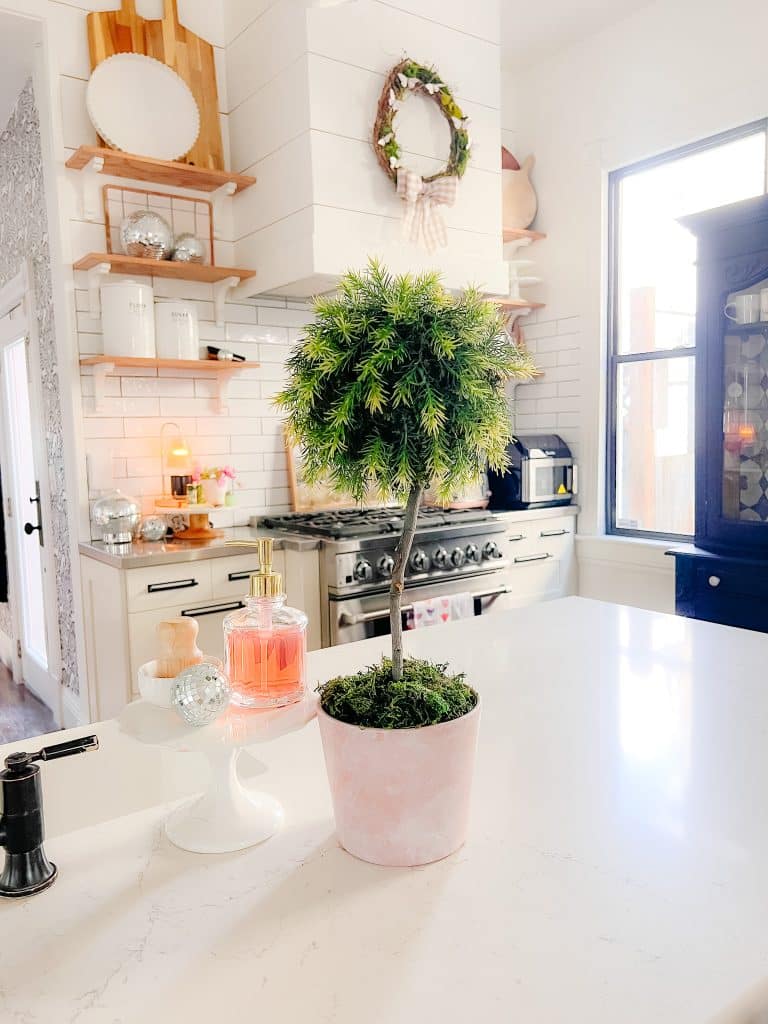
DIY Spring Topiary and Aged Pot | Tatertots and Jello
A topiary is the perfect addition to your spring decor. Put it on your kitchen counter, on your rmantel or as a centerpiece on your dining room table. I also share how to make a aged pot to plant it in!
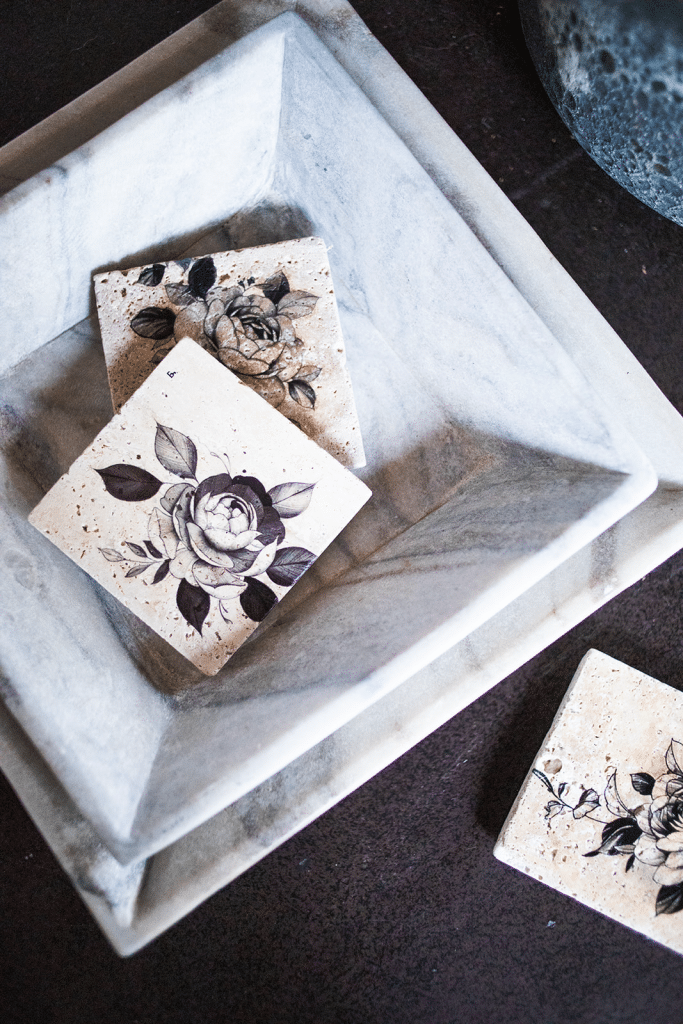
DIY Coasters Made From Temporary Tattoos | My Sweet Savannah
Temporary tattoos come in so many different styles. Choose the one that is right for you and add them to travertine tiles from the home improvement store to make chic coasters for you and your guests!
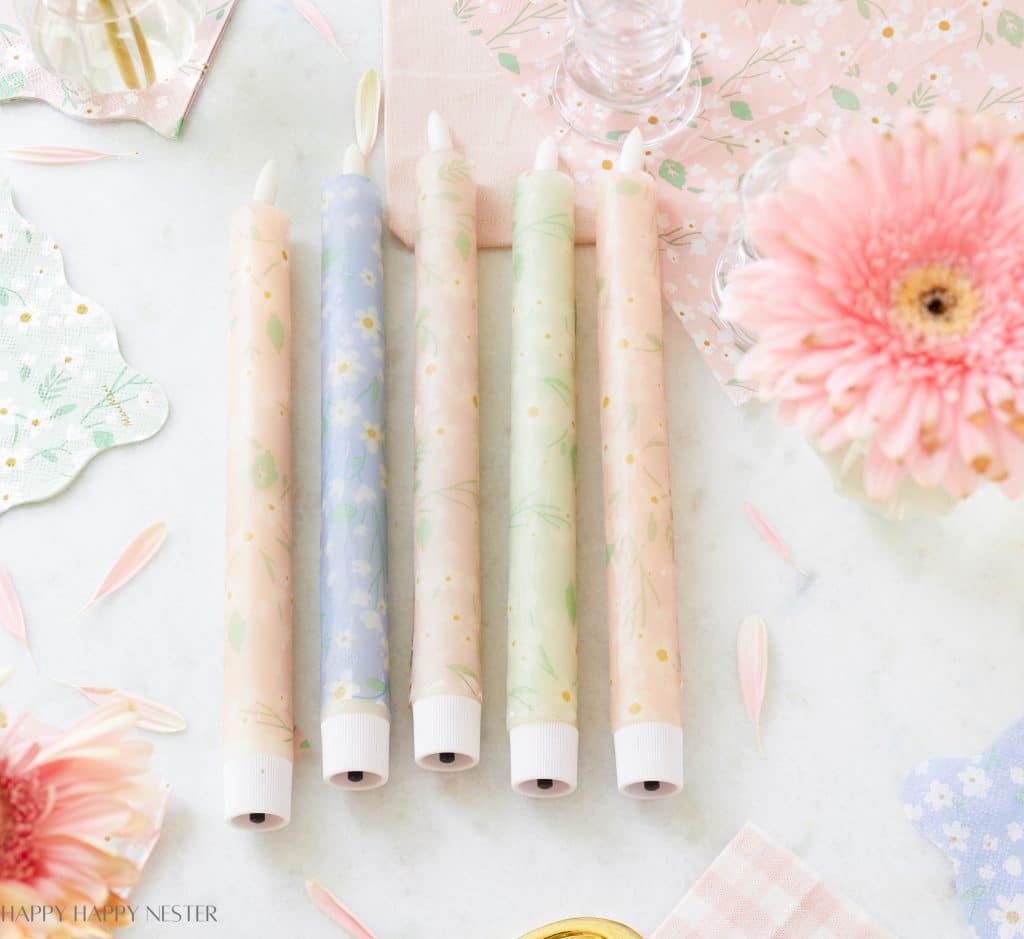
Decorating Candles (with Napkins) | Happy Happy Nester
Do you know what’s been on my to-do list forever? Decorating Candles with paper napkins! I’ve been eyeing those gorgeous designs I keep seeing on social media. So, I finally decided to try and create my faux tapered waxed candles!
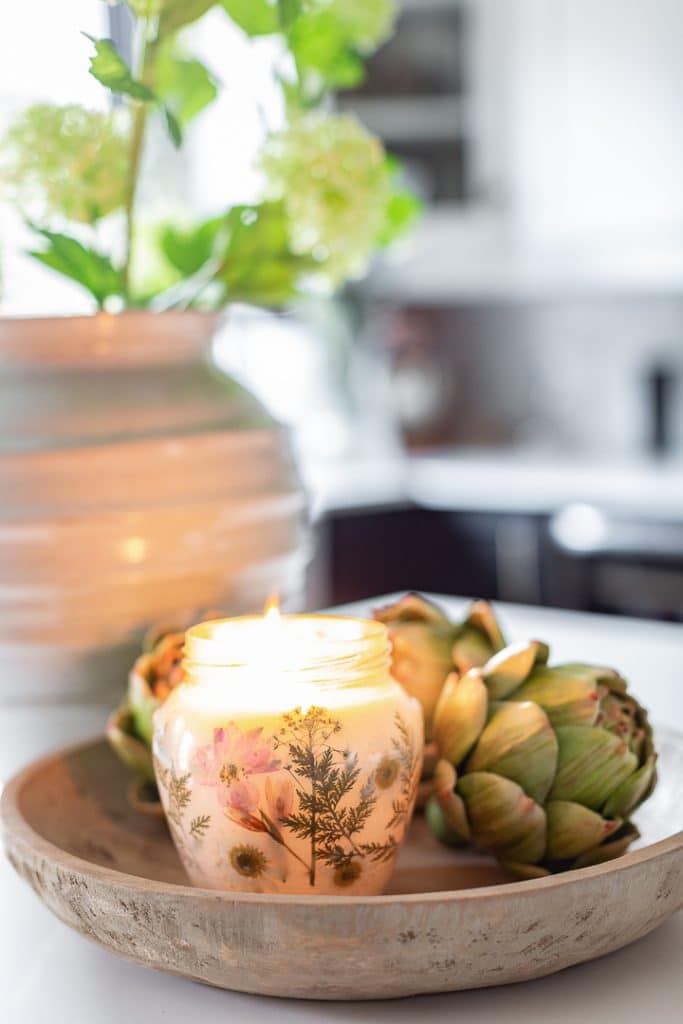
DIY Dried Flower Candle | Craftberry Bush
These Pressed flower candles are so pretty and easy to make. The perfect way to welcome spring.
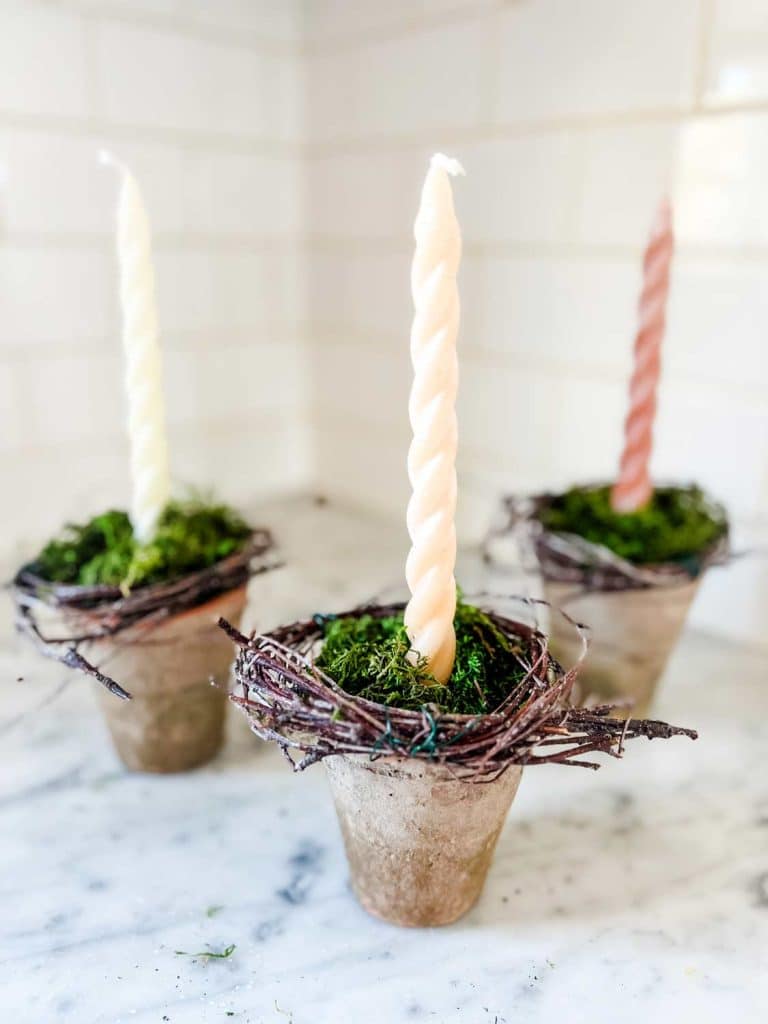
15-Minute Spring Centerpiece | Most Lovely Things
Looking for an easy spring centerpiece idea? I have just the thing!
You can pin the images below to your boards on Pinterest (click the Pin button in the top left corner) or follow me on Pinterest!
For more real-time updates, follow me on Instagram @My100YearOldHome









Wow! Beautiful That is the best copy of an inspiration piece ever!
Thank you so much Karen! So easy too! ☺️
Leslie! Your wreath is so pretty and I recognized it from terrain immediately!
I love how you used watercolors and watercolor paper to get the same look!
Thanks so much Annie! I love this wreath!
such a pretty and bright wreath love how the colors came together You always have the best crafts to watch and also for us watching to try ourselves
I love these colors! Thank you Jackie! ☺️
How sweet and simple, perfect for spring!
I am with you! ☺️