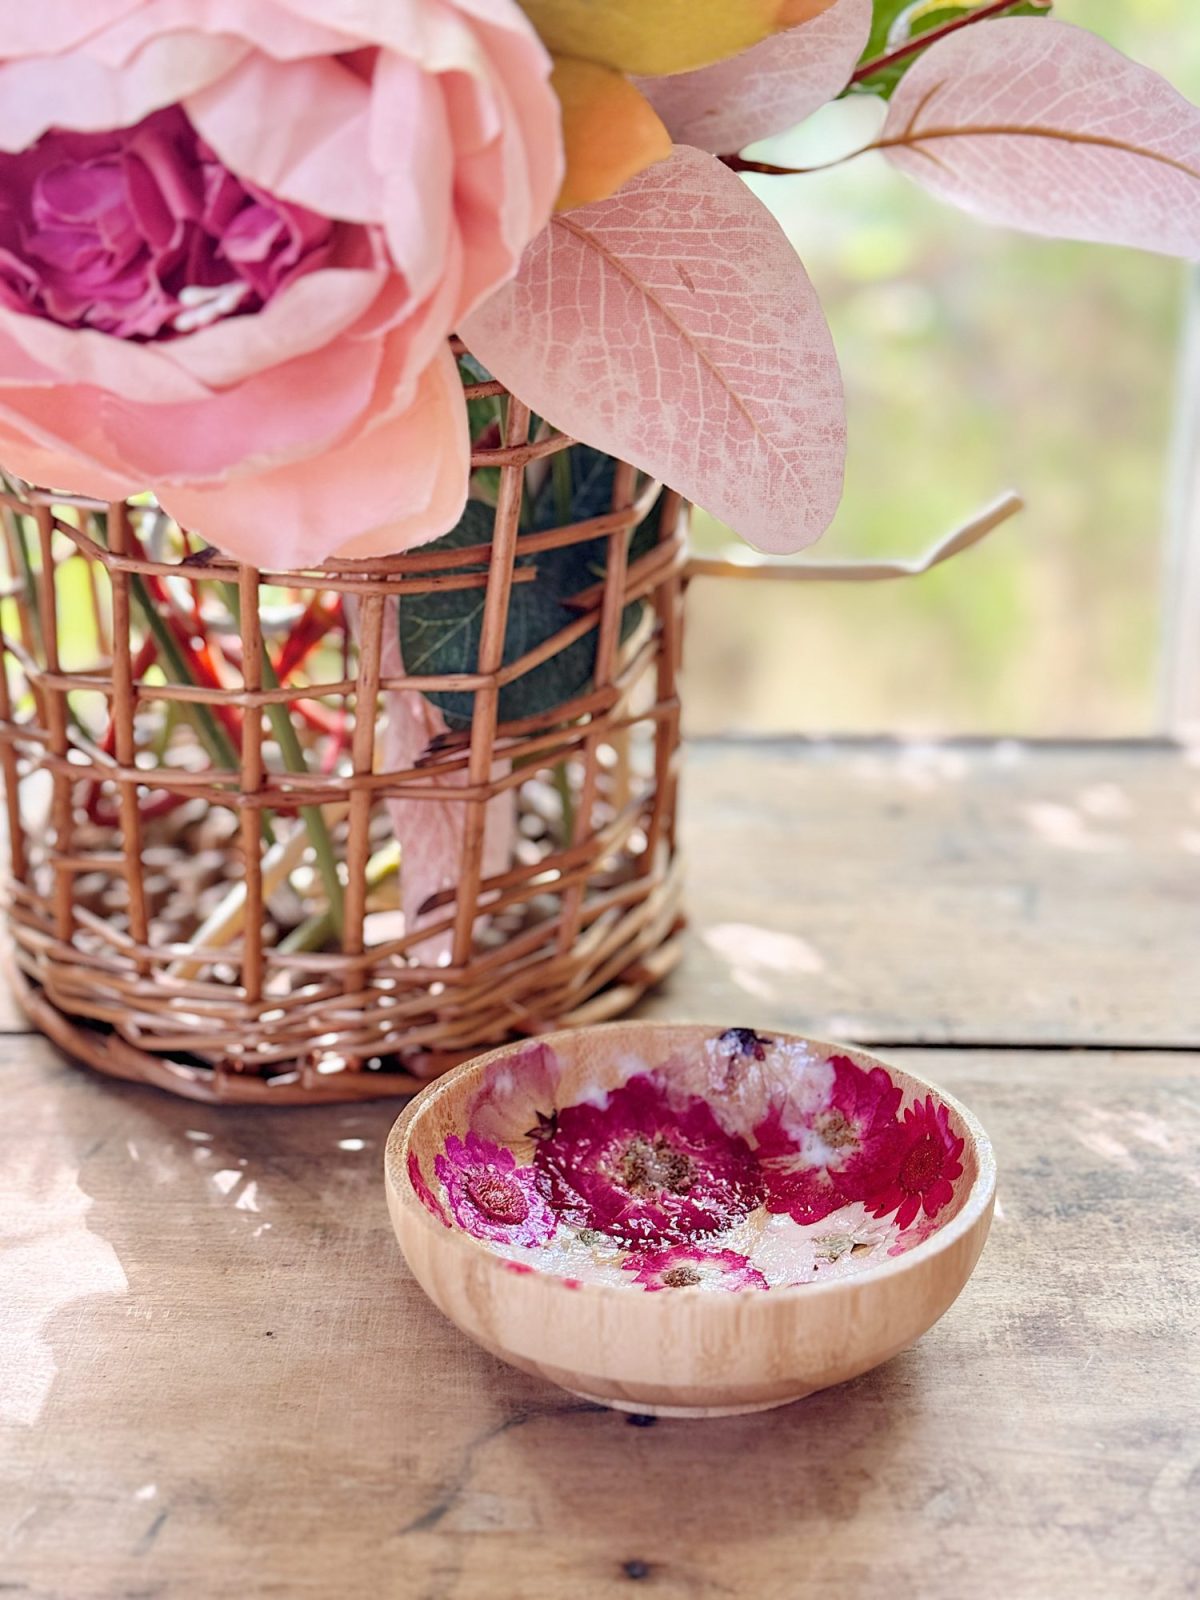
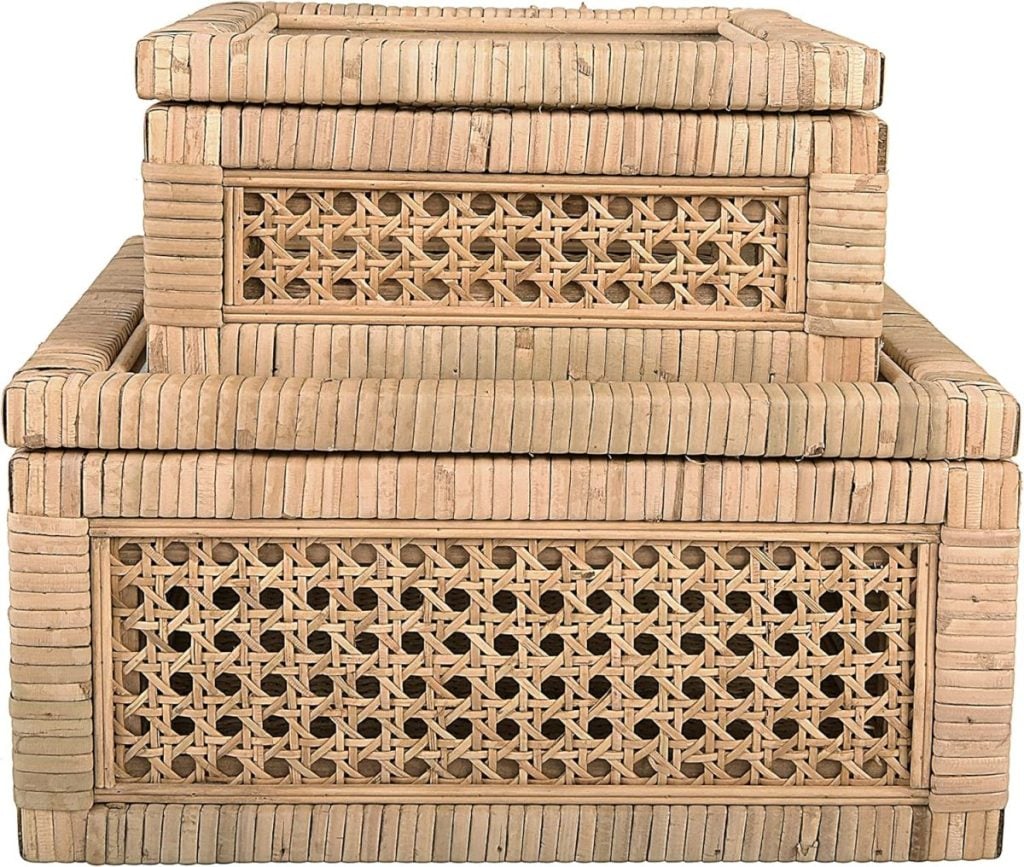
Decorative Floral Pots – A Handmade Spring
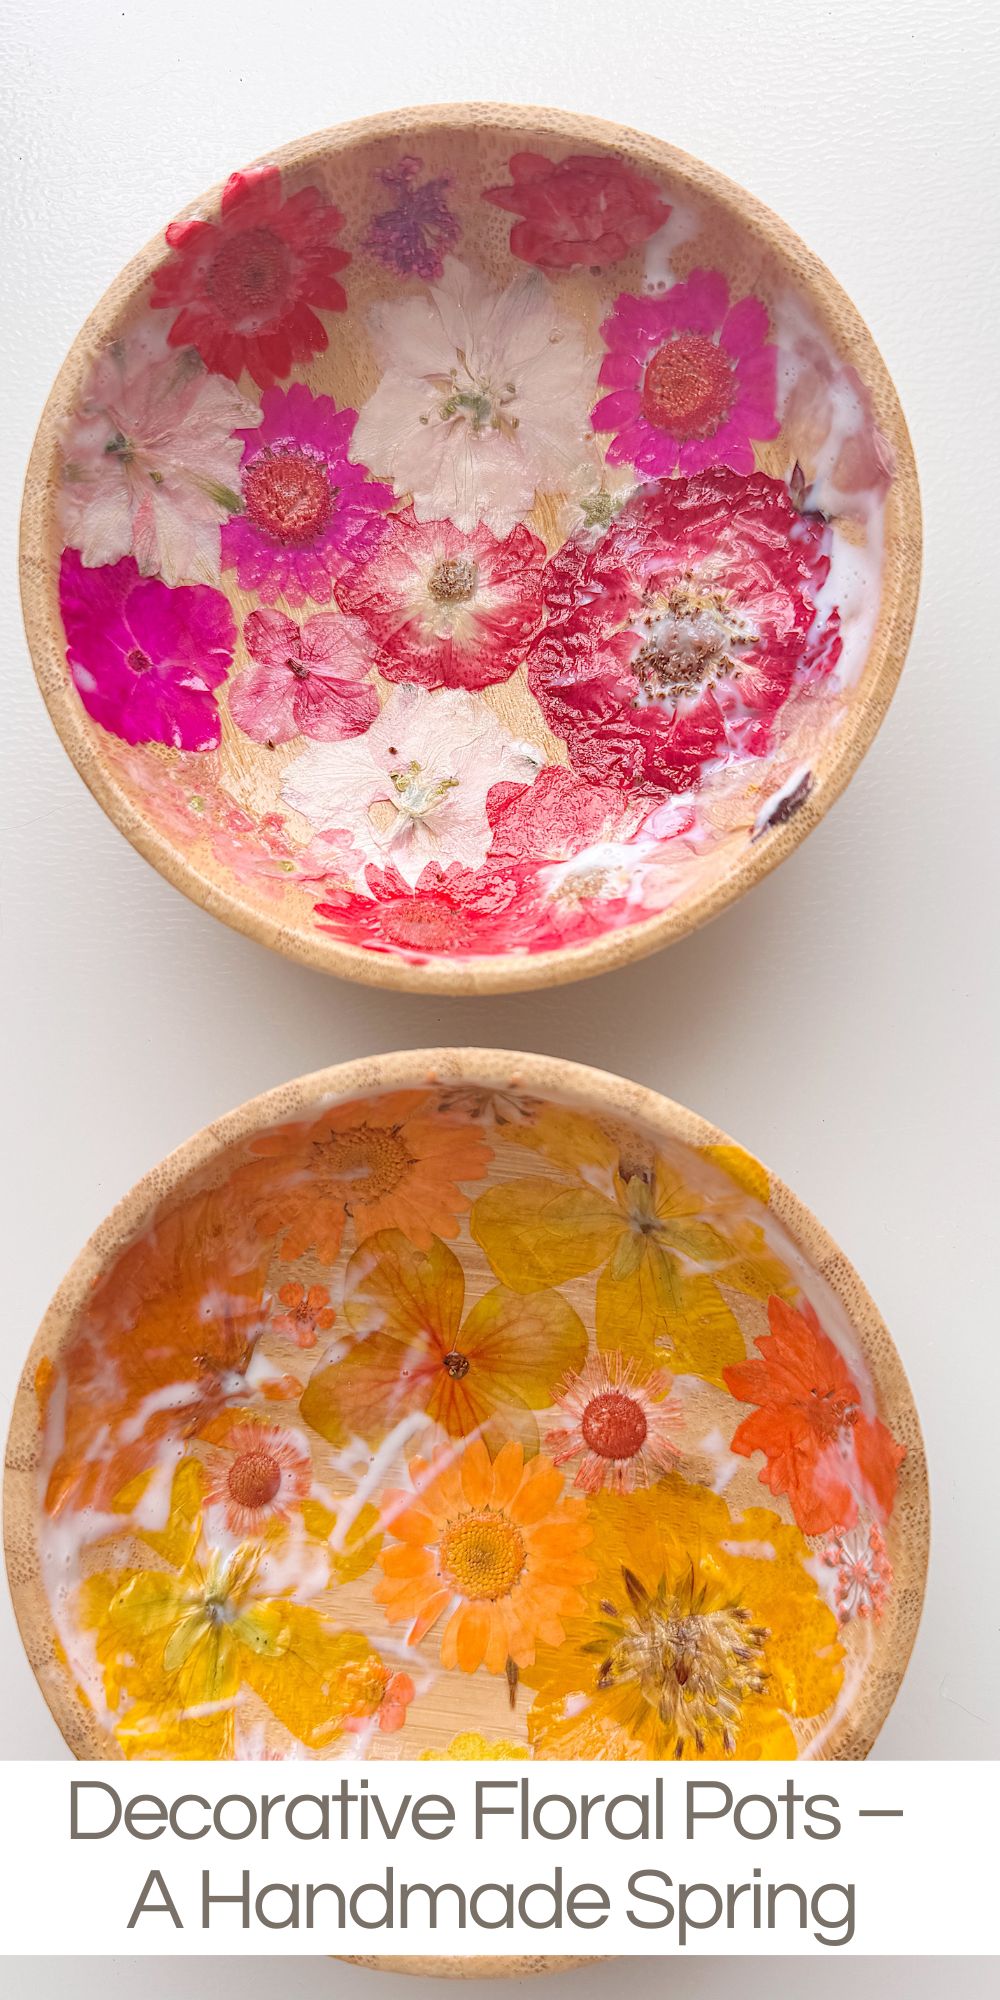
There is something magical about preserving spring flowers forever. These decorative floral pots are the perfect spring project.
This is the twelfth and final project in my A Handmade Spring series, and I truly could not imagine a better way to end it. These floral pots are simple, beautiful, and filled with everything I love most about this season. Fresh blooms, soft colors, and the joy of creating something meaningful with your hands.


Decorative Floral Pots – A Handmade Spring
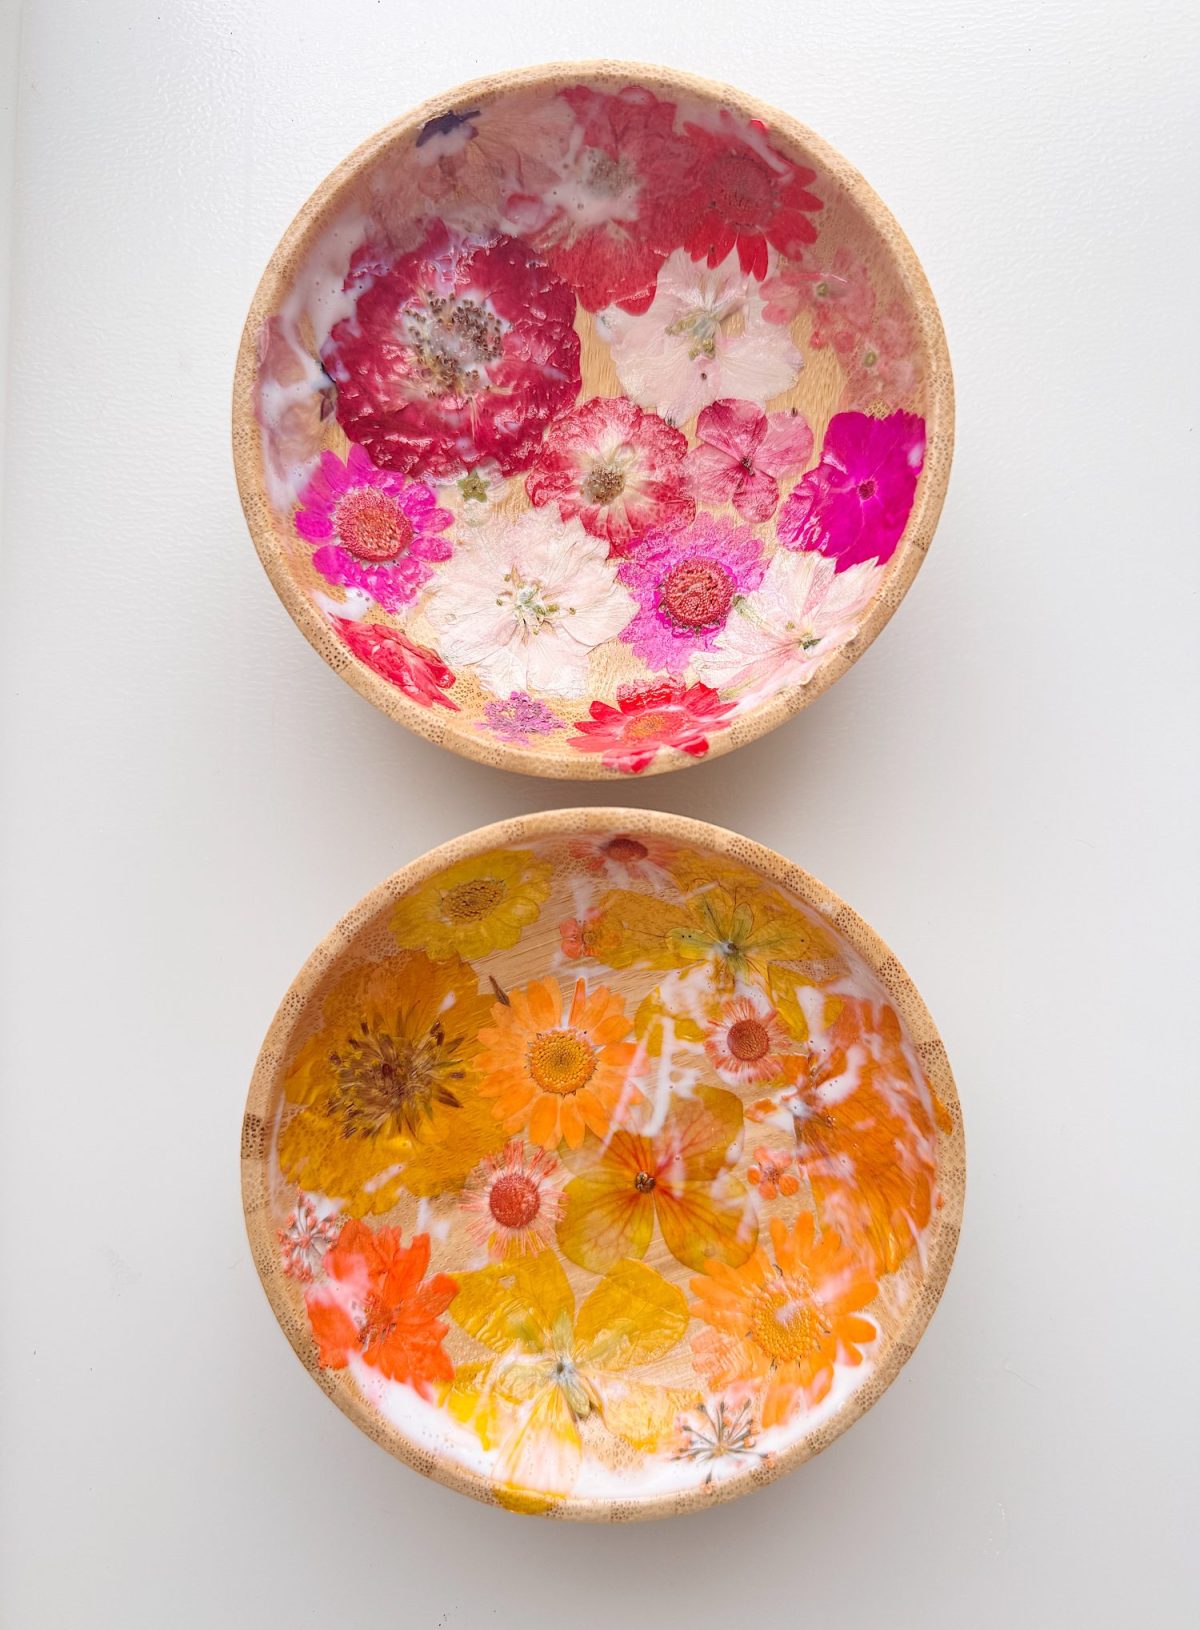
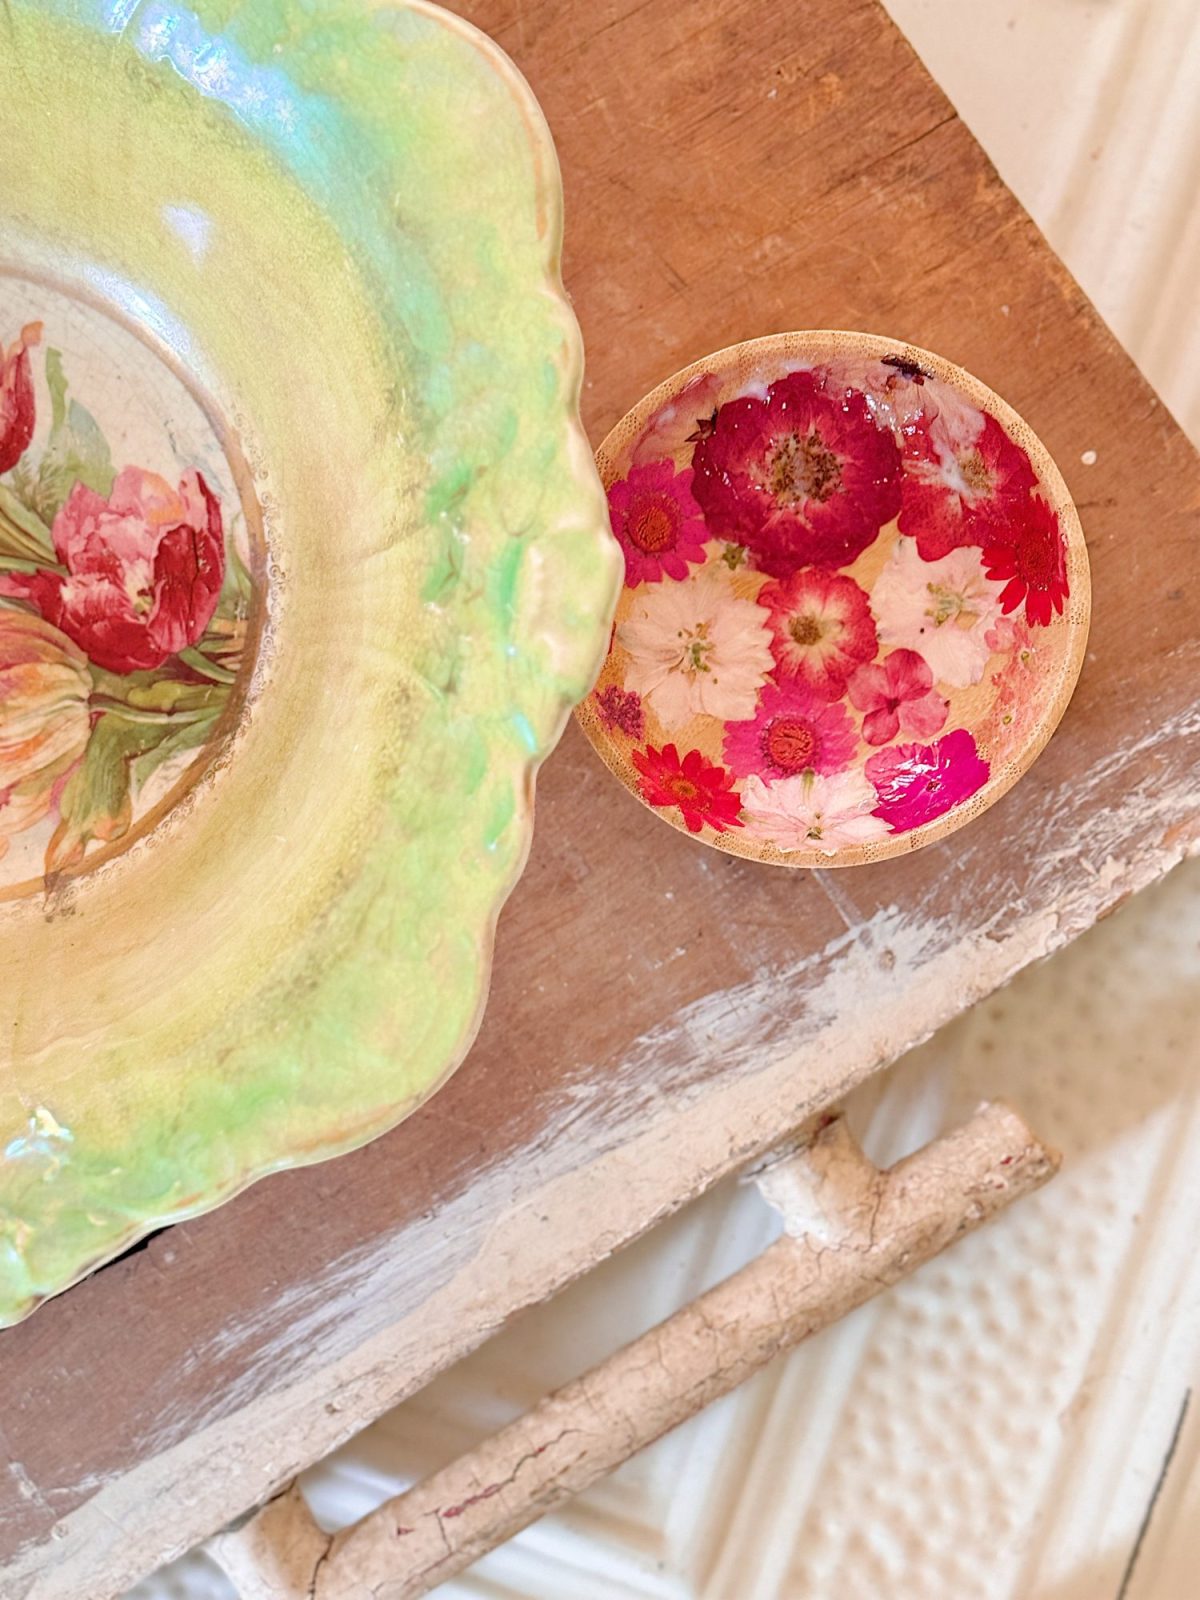
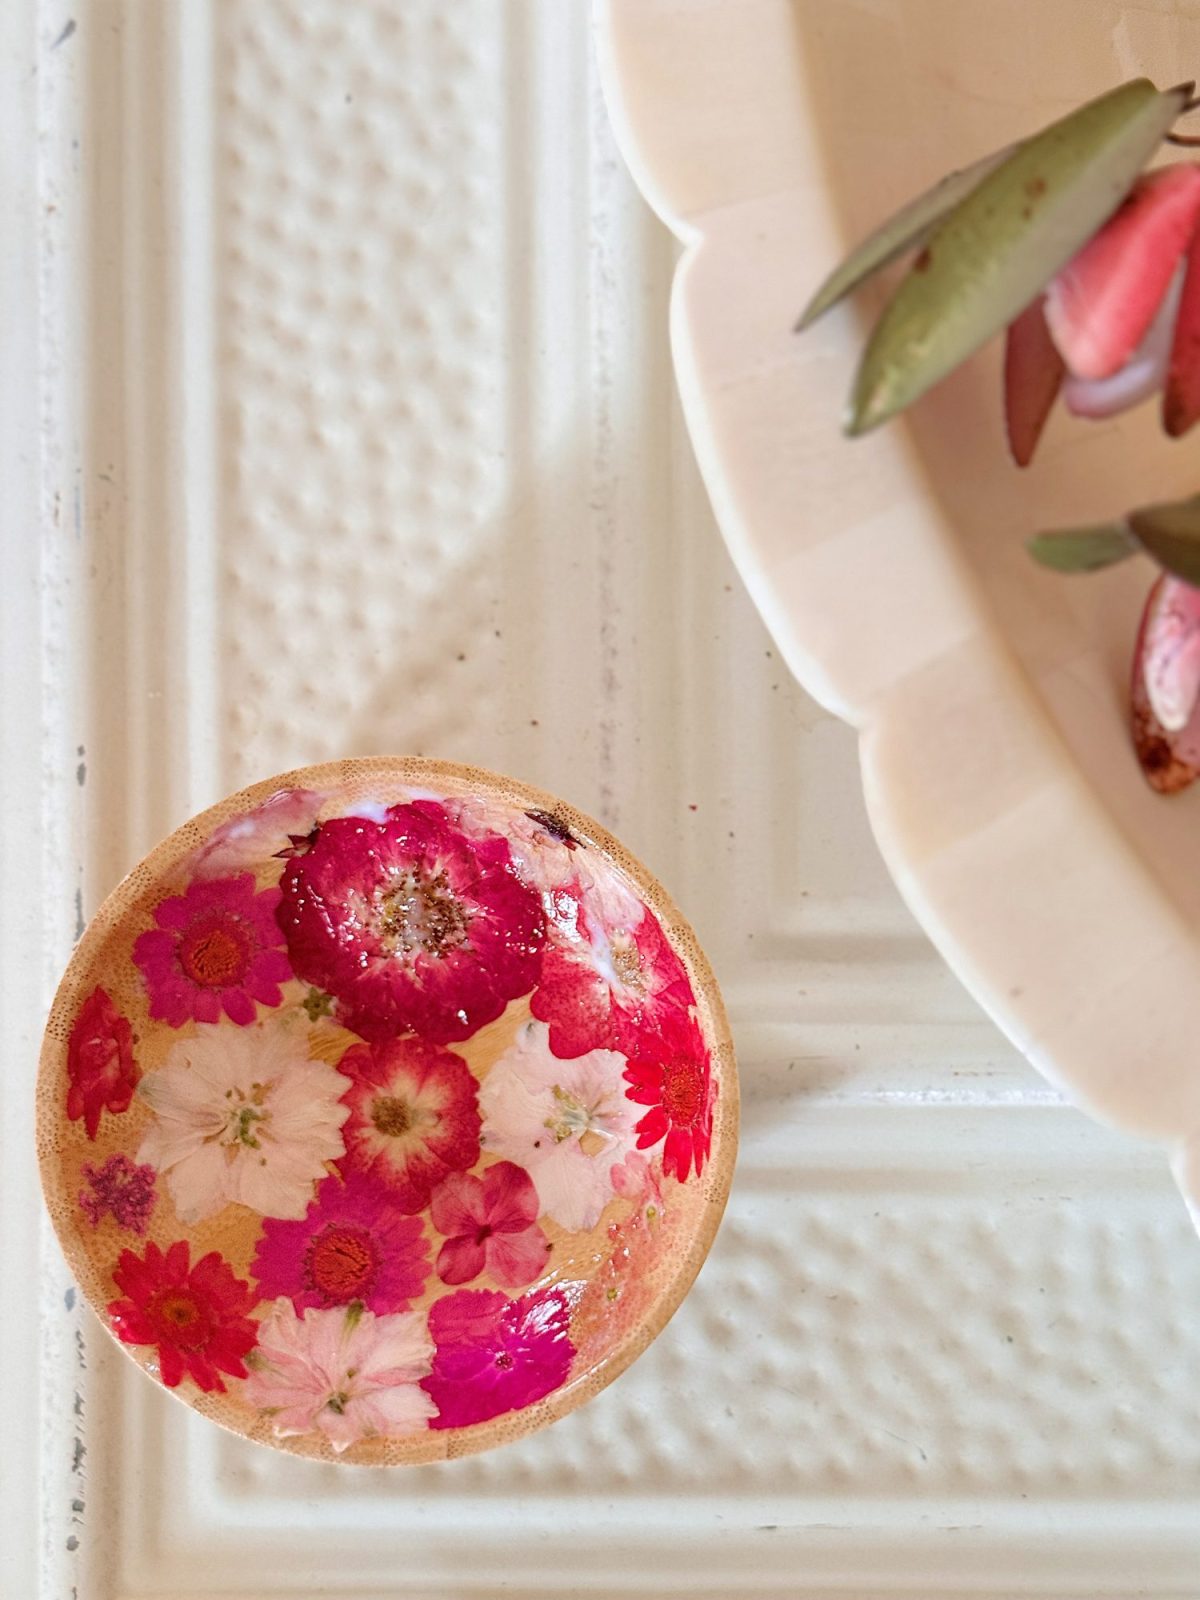
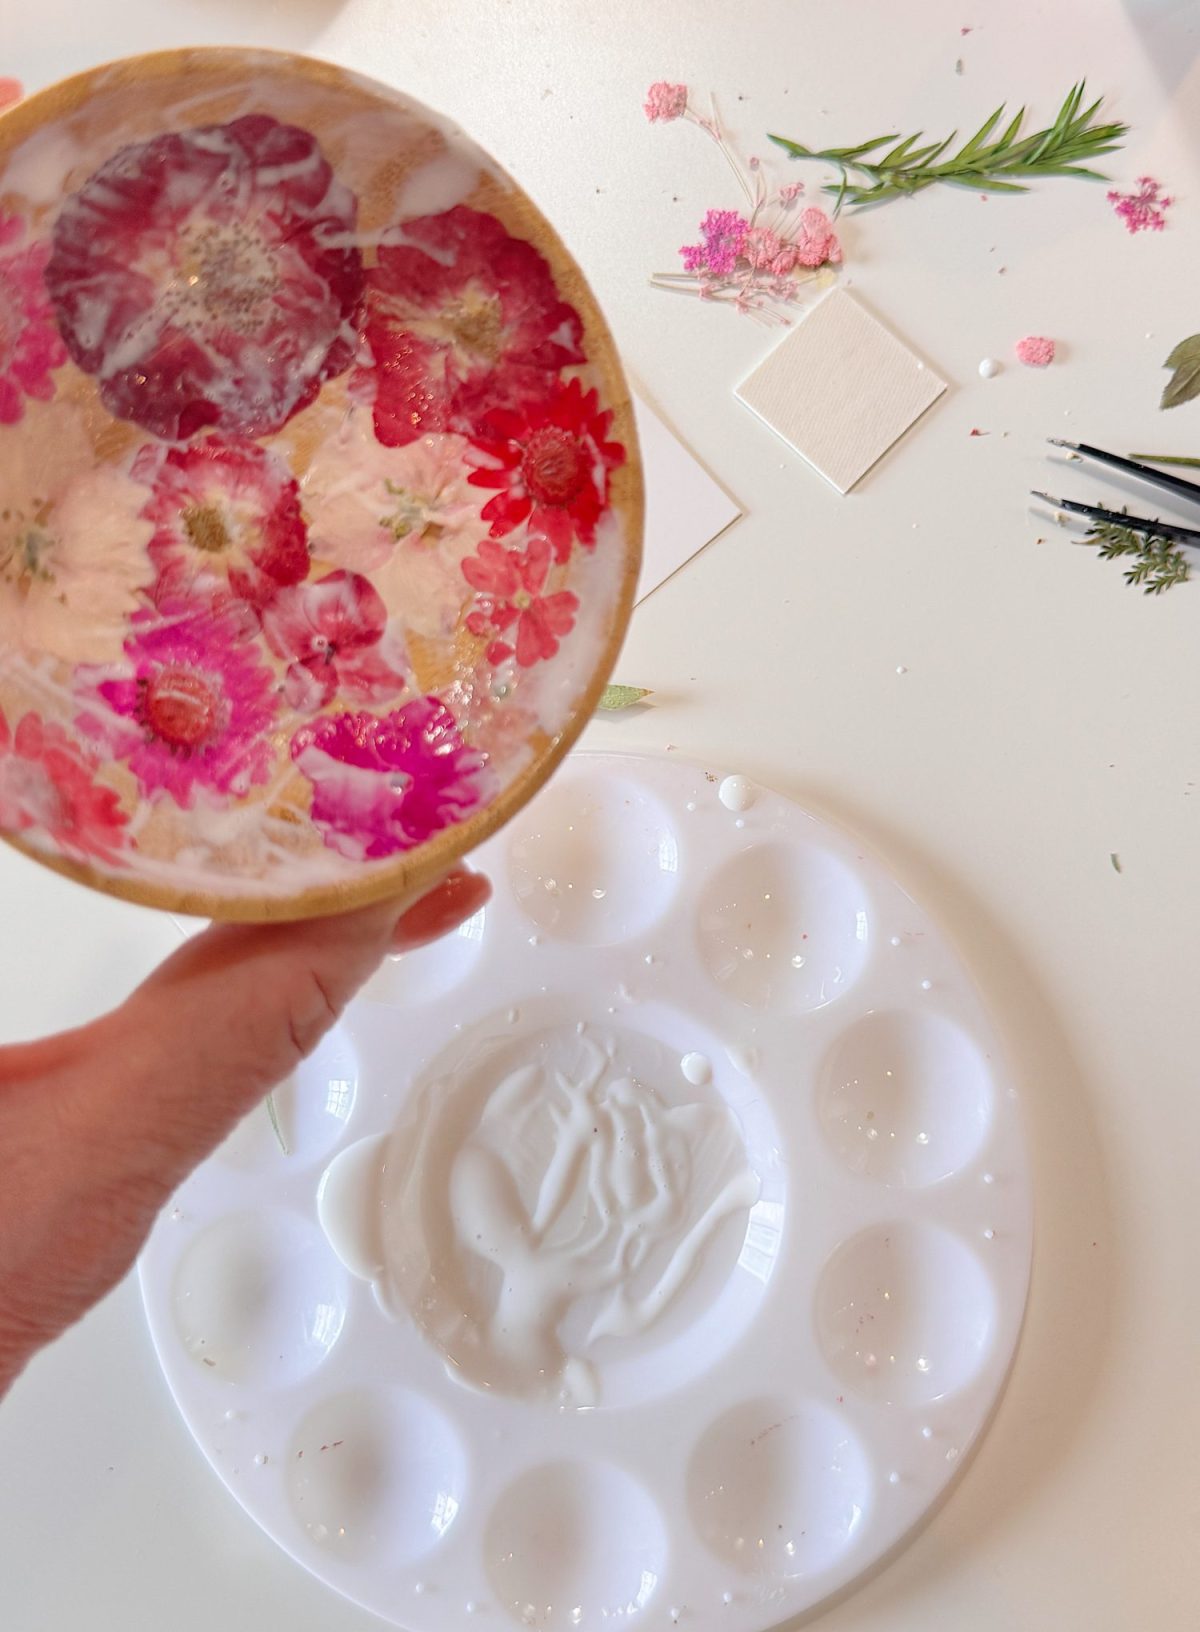
For this project, I transformed small bamboo pots into floral works of art by layering dried spring flowers inside, sealing them with Mod Podge, and finishing them with a glossy clay glaze. The result is stunning. Each pot feels like a tiny piece of spring captured and preserved.
And the best part is this. They are incredibly easy to make.
Why I Love This Project
This project is everything I want in a craft.
It is approachable, quick to complete, and the finished result looks like something you might find in a boutique. It uses natural elements, which always add a special touch, and it is completely customizable to your personal style.
These pots also fit beautifully into the way I decorate my home. I am always looking for small, thoughtful pieces that add texture and interest without creating clutter. These are exactly that.
They are perfect for:
- Styling shelves
- Adding to a coffee table vignette
- Placing on a bedside table
- Using them as decorative catch-all dishes
- Gifting to friends
Each one feels unique, and no two will ever look the same.
What You Need
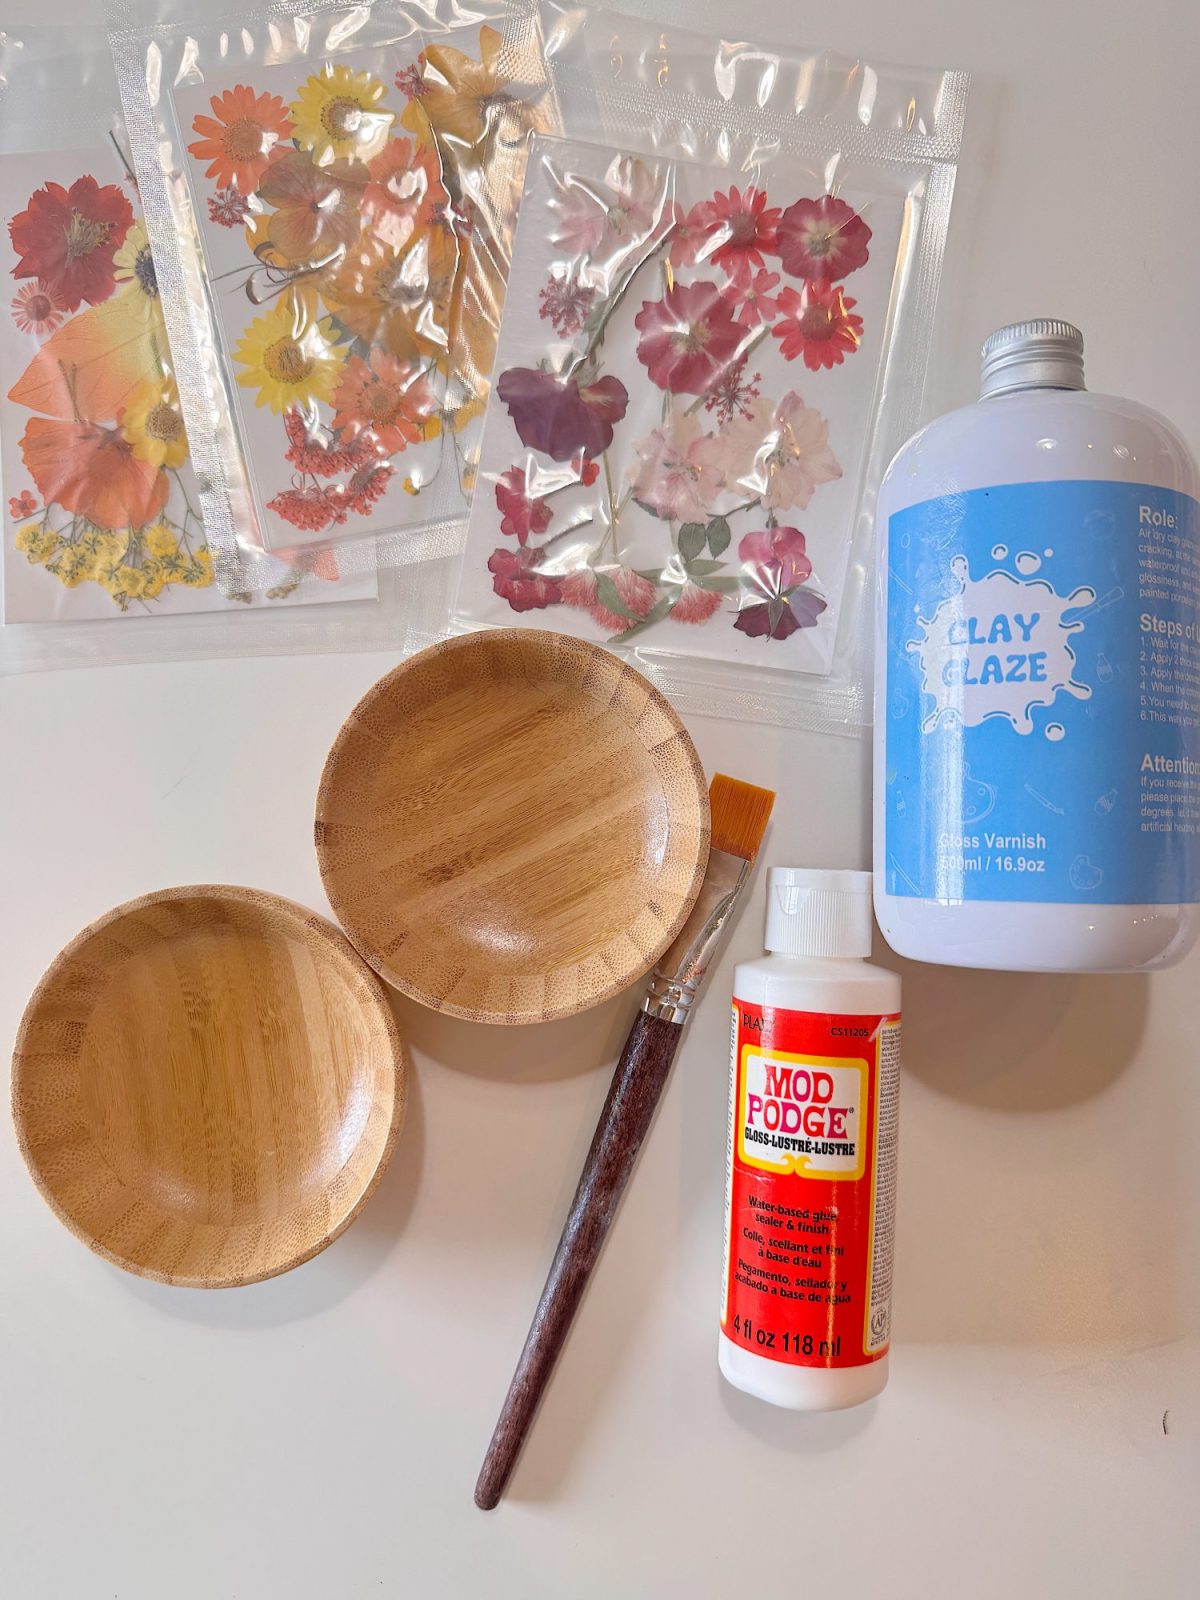
One of the reasons this project is so enjoyable is that it requires only a few supplies.
Here is everything you need:
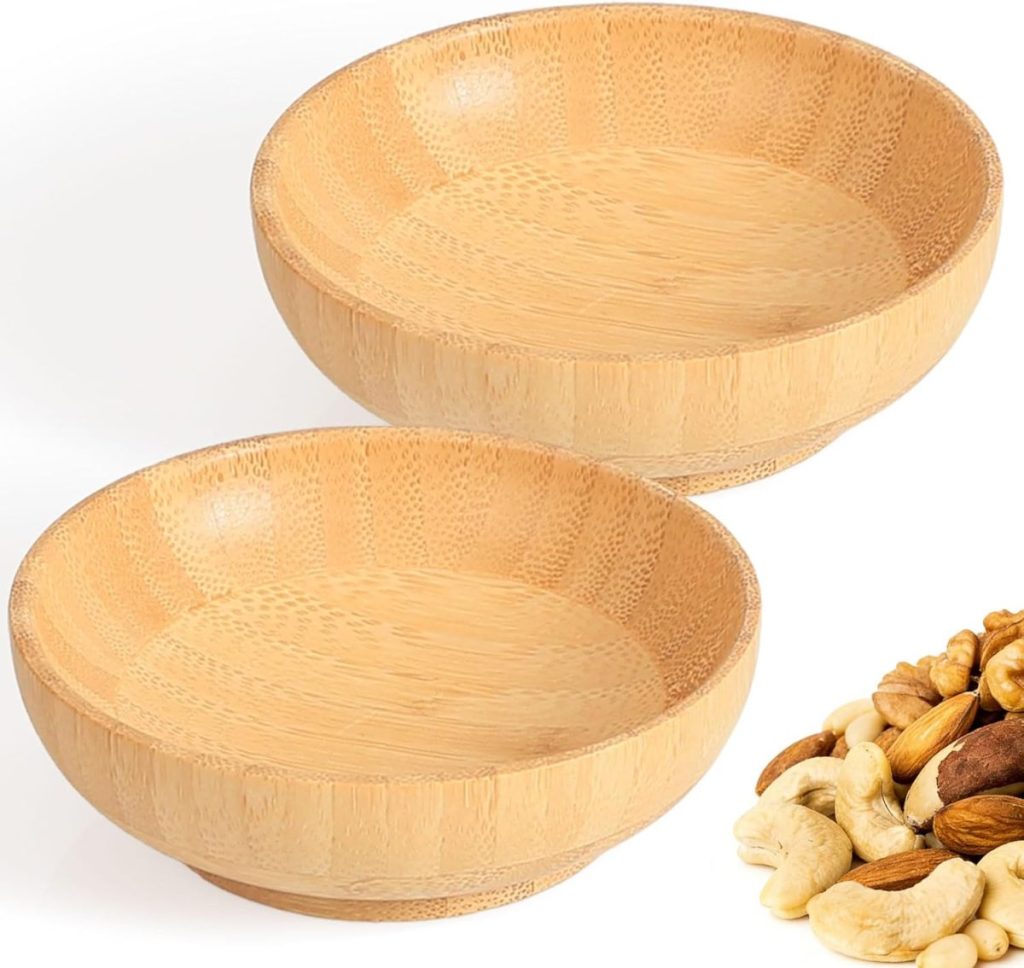
- Small bamboo pots or bowls
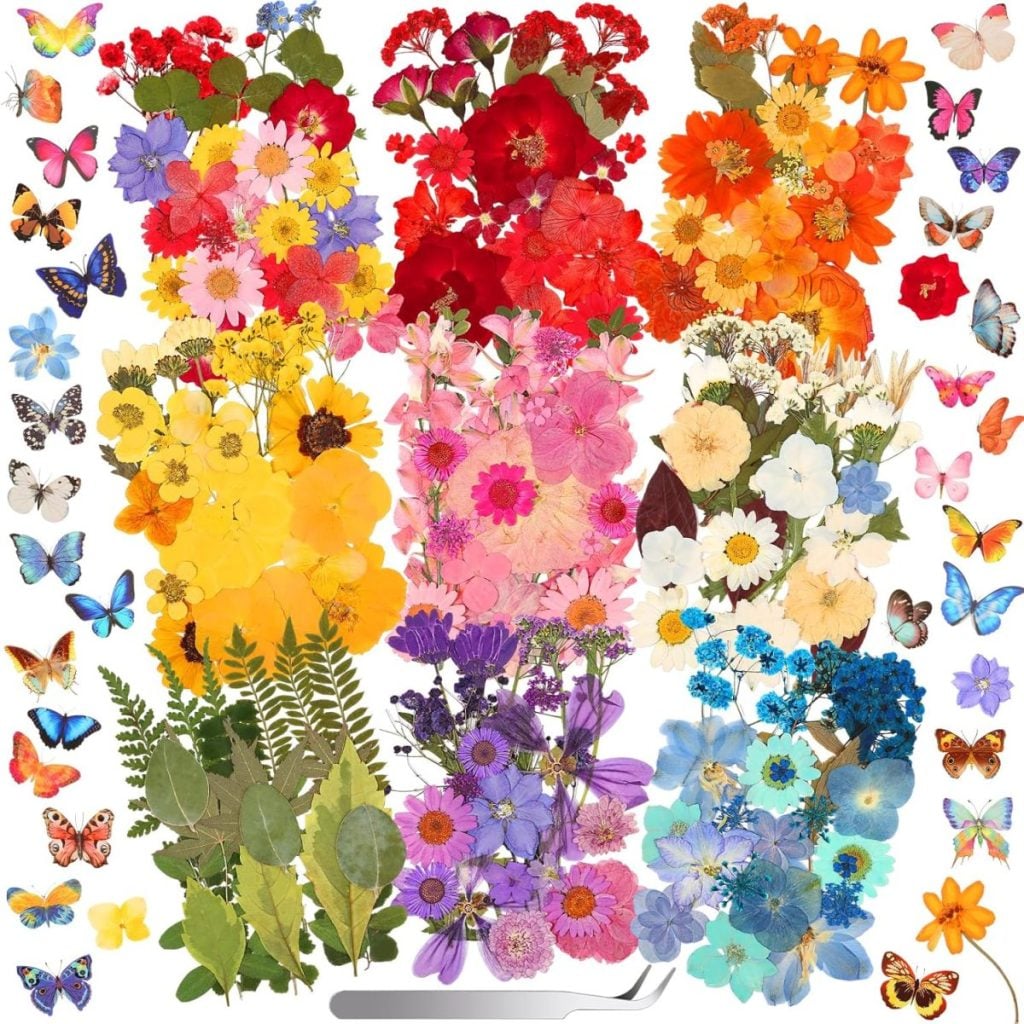
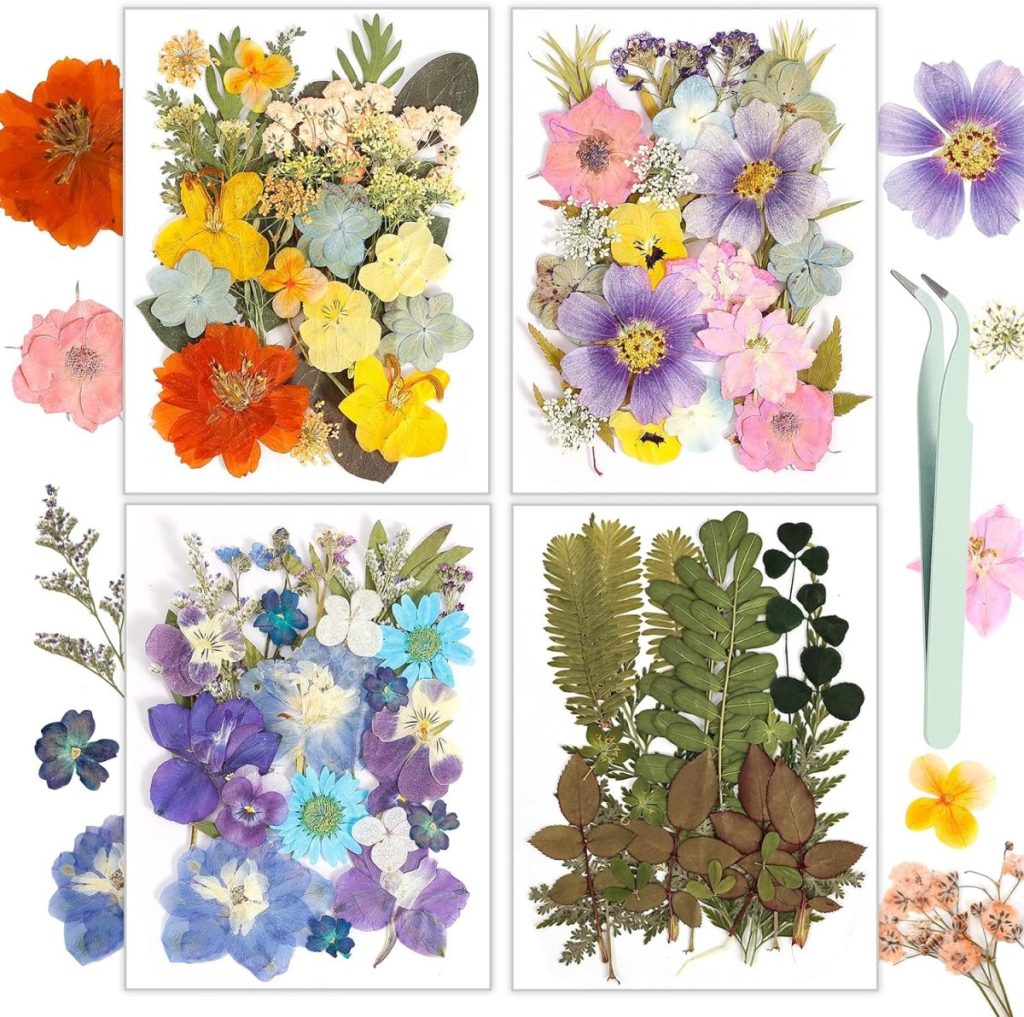
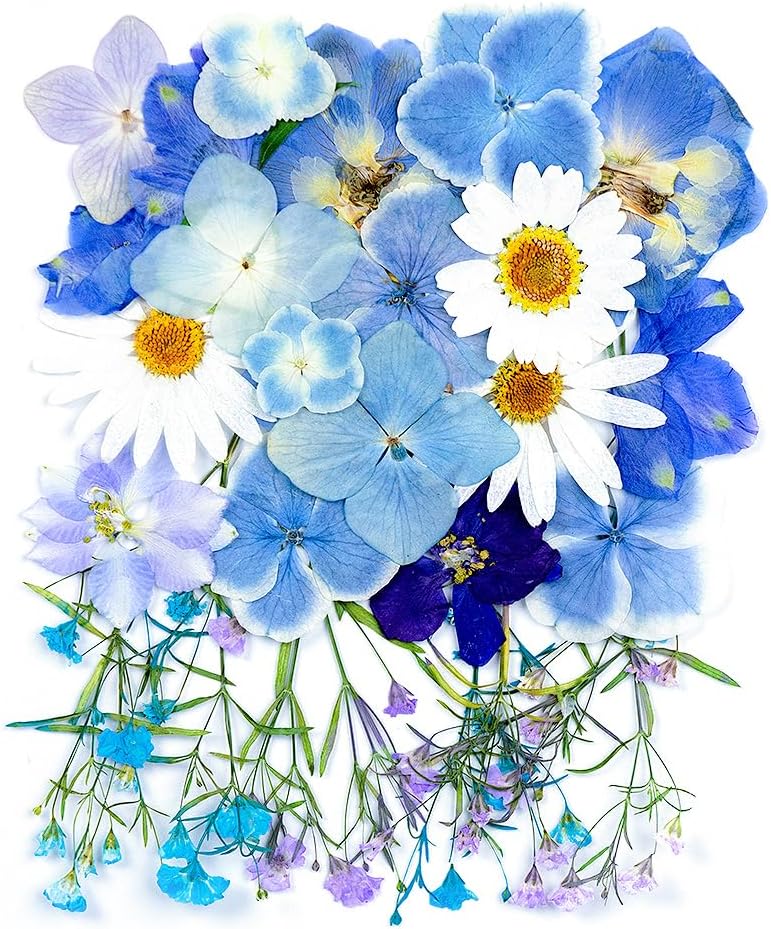
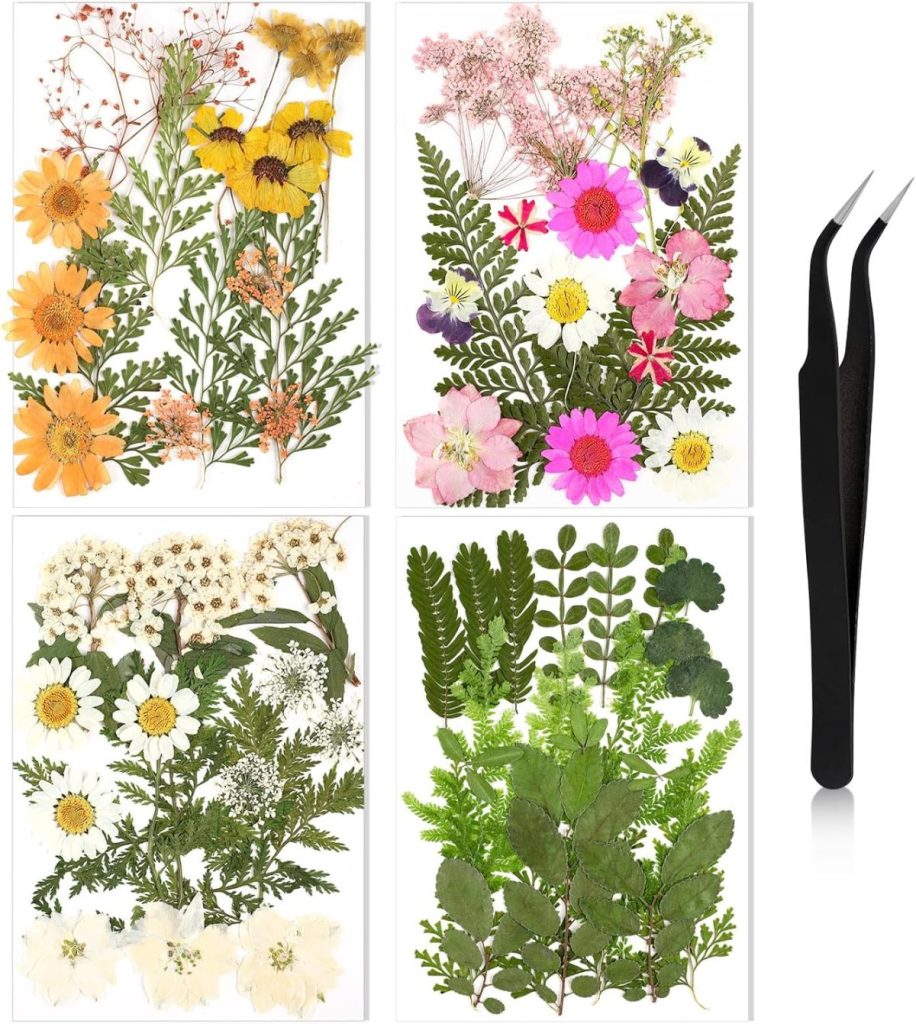
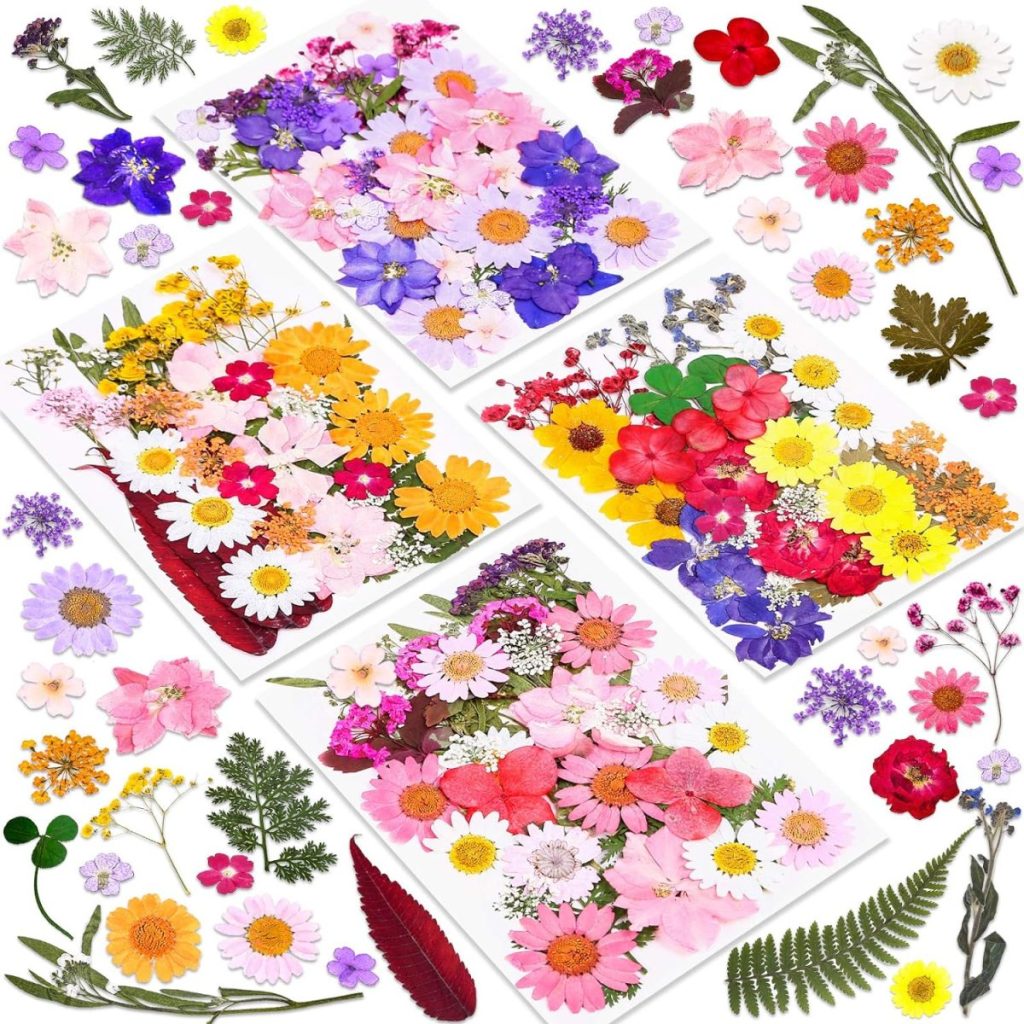
- Dried or pressed flowers
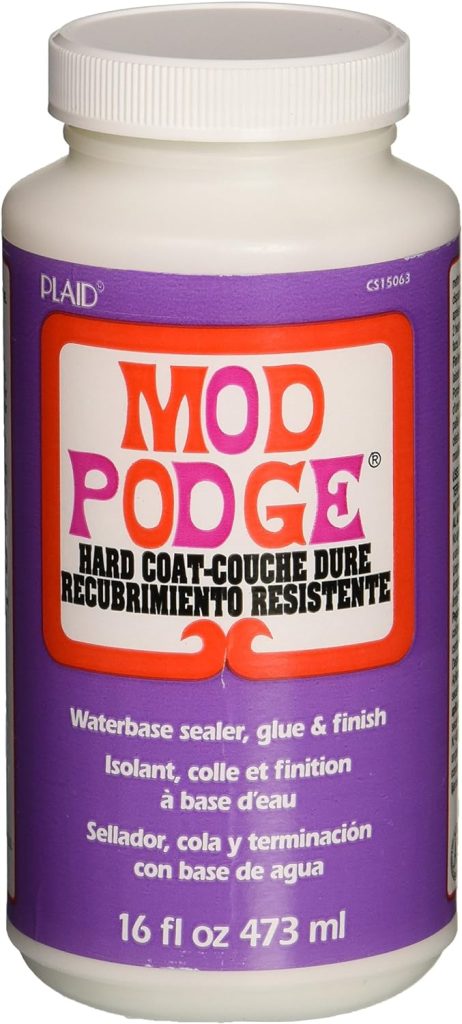
- Mod Podge in a gloss finish
- Clay glaze or gloss varnish
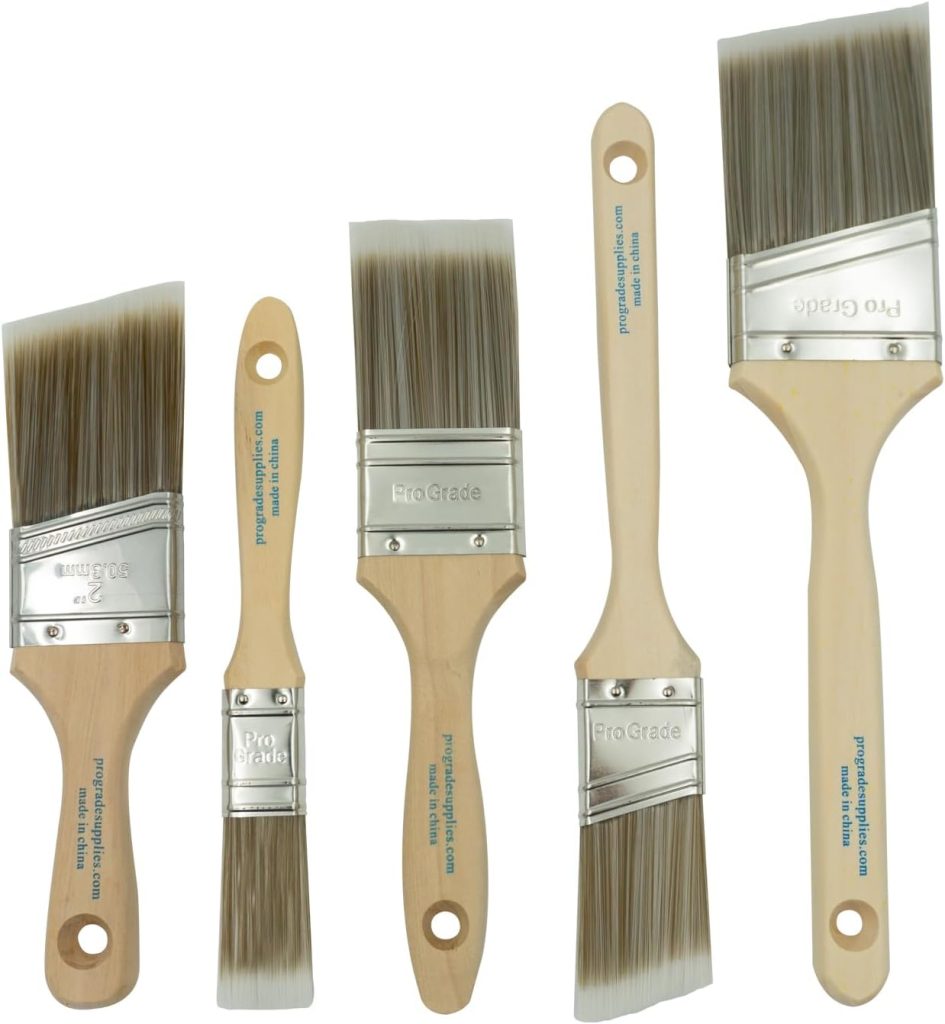
- A soft paintbrush
- Tweezers
I may sometimes use affiliate links on this blog, which means I earn a small commission if you purchase through the link. The price will be the same whether you use the affiliate link or go directly to the vendor’s website using a non-affiliate link.

That is it.
If you already love crafting, you may have most of these on hand. If not, pressed flowers are easy to find and come in beautiful assortments that make creating even more fun.
Choosing Your Flowers
This is where your creativity really comes to life.
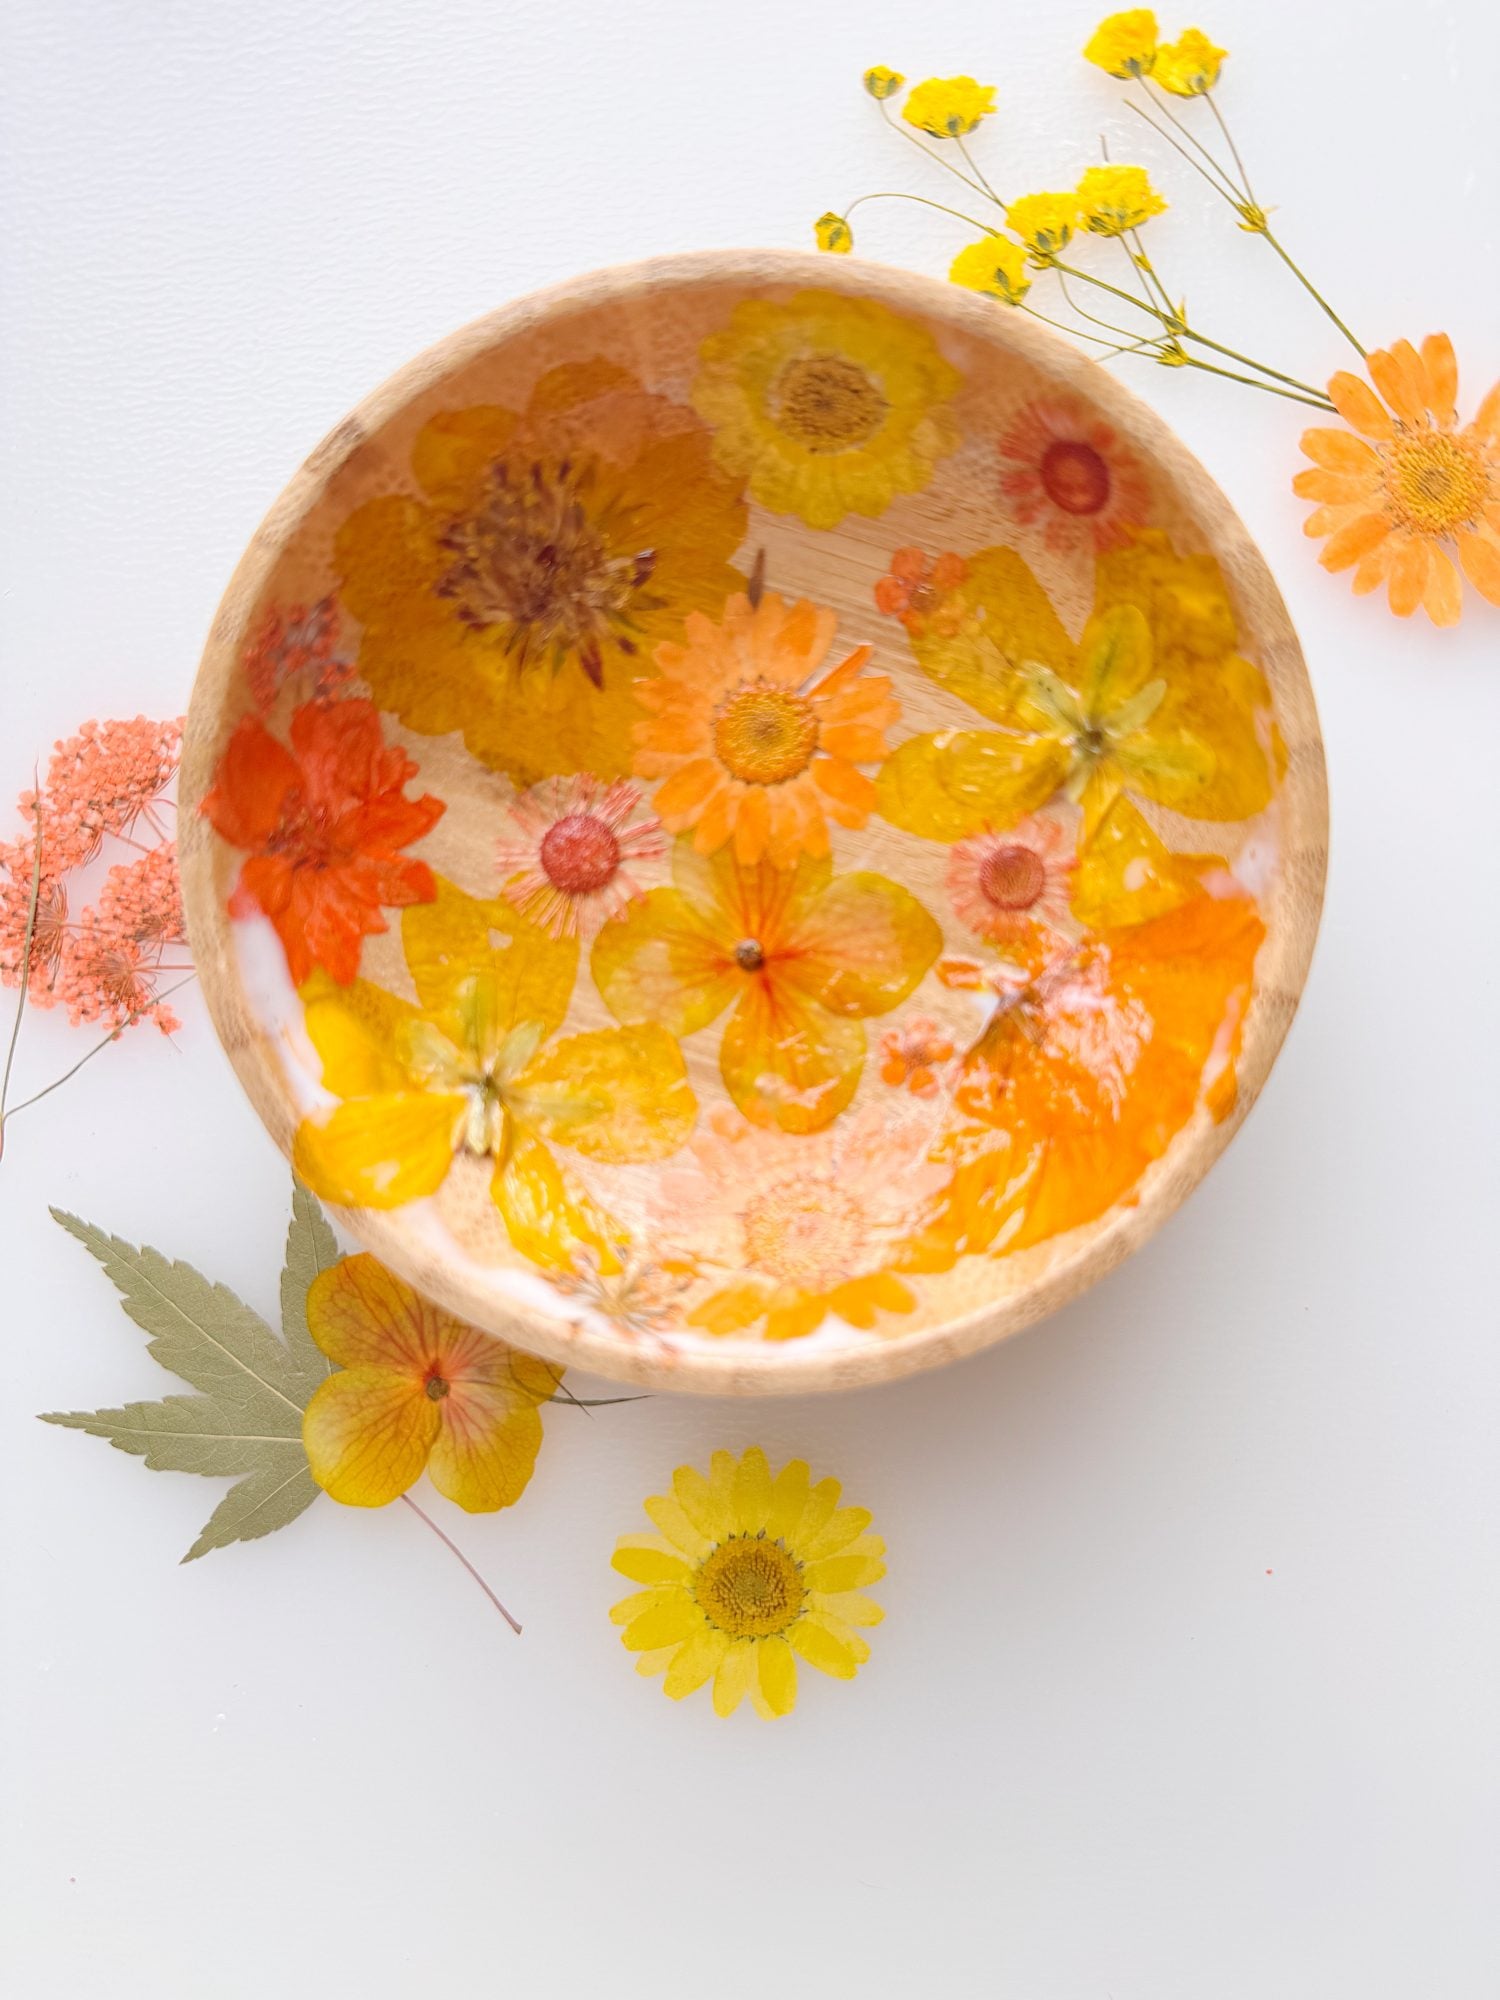
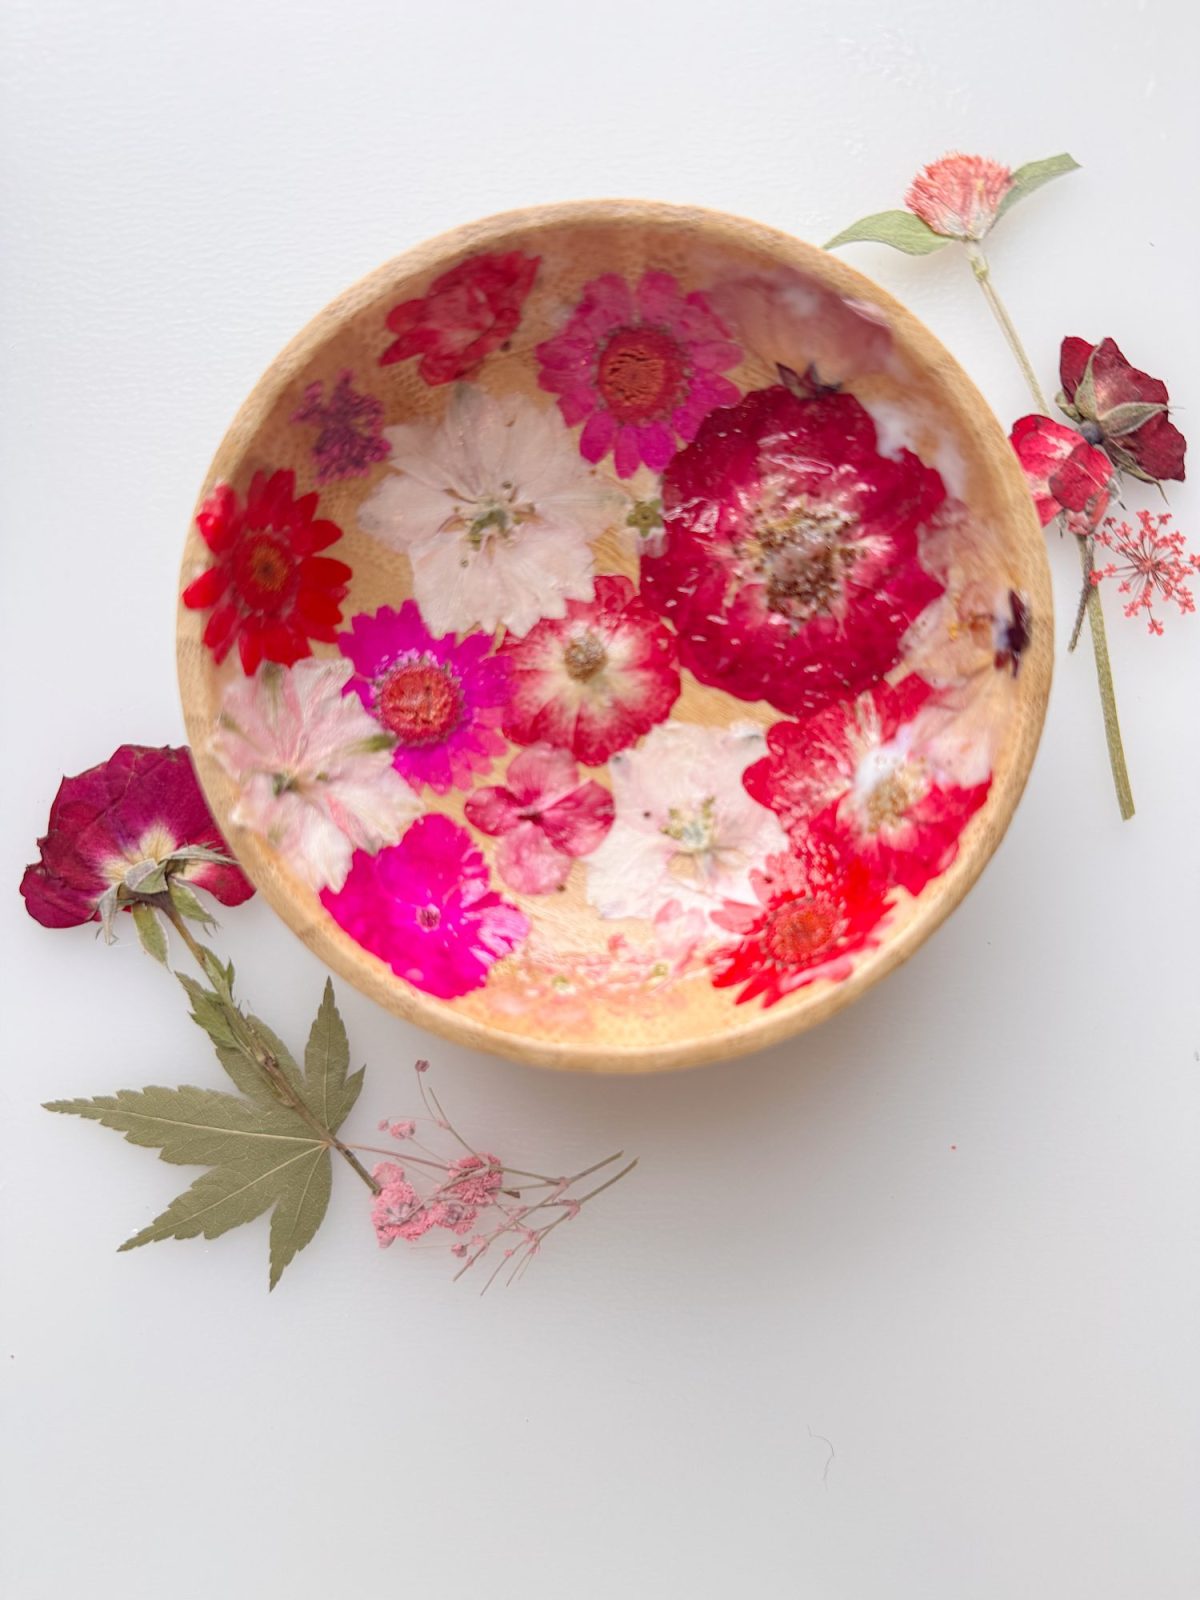
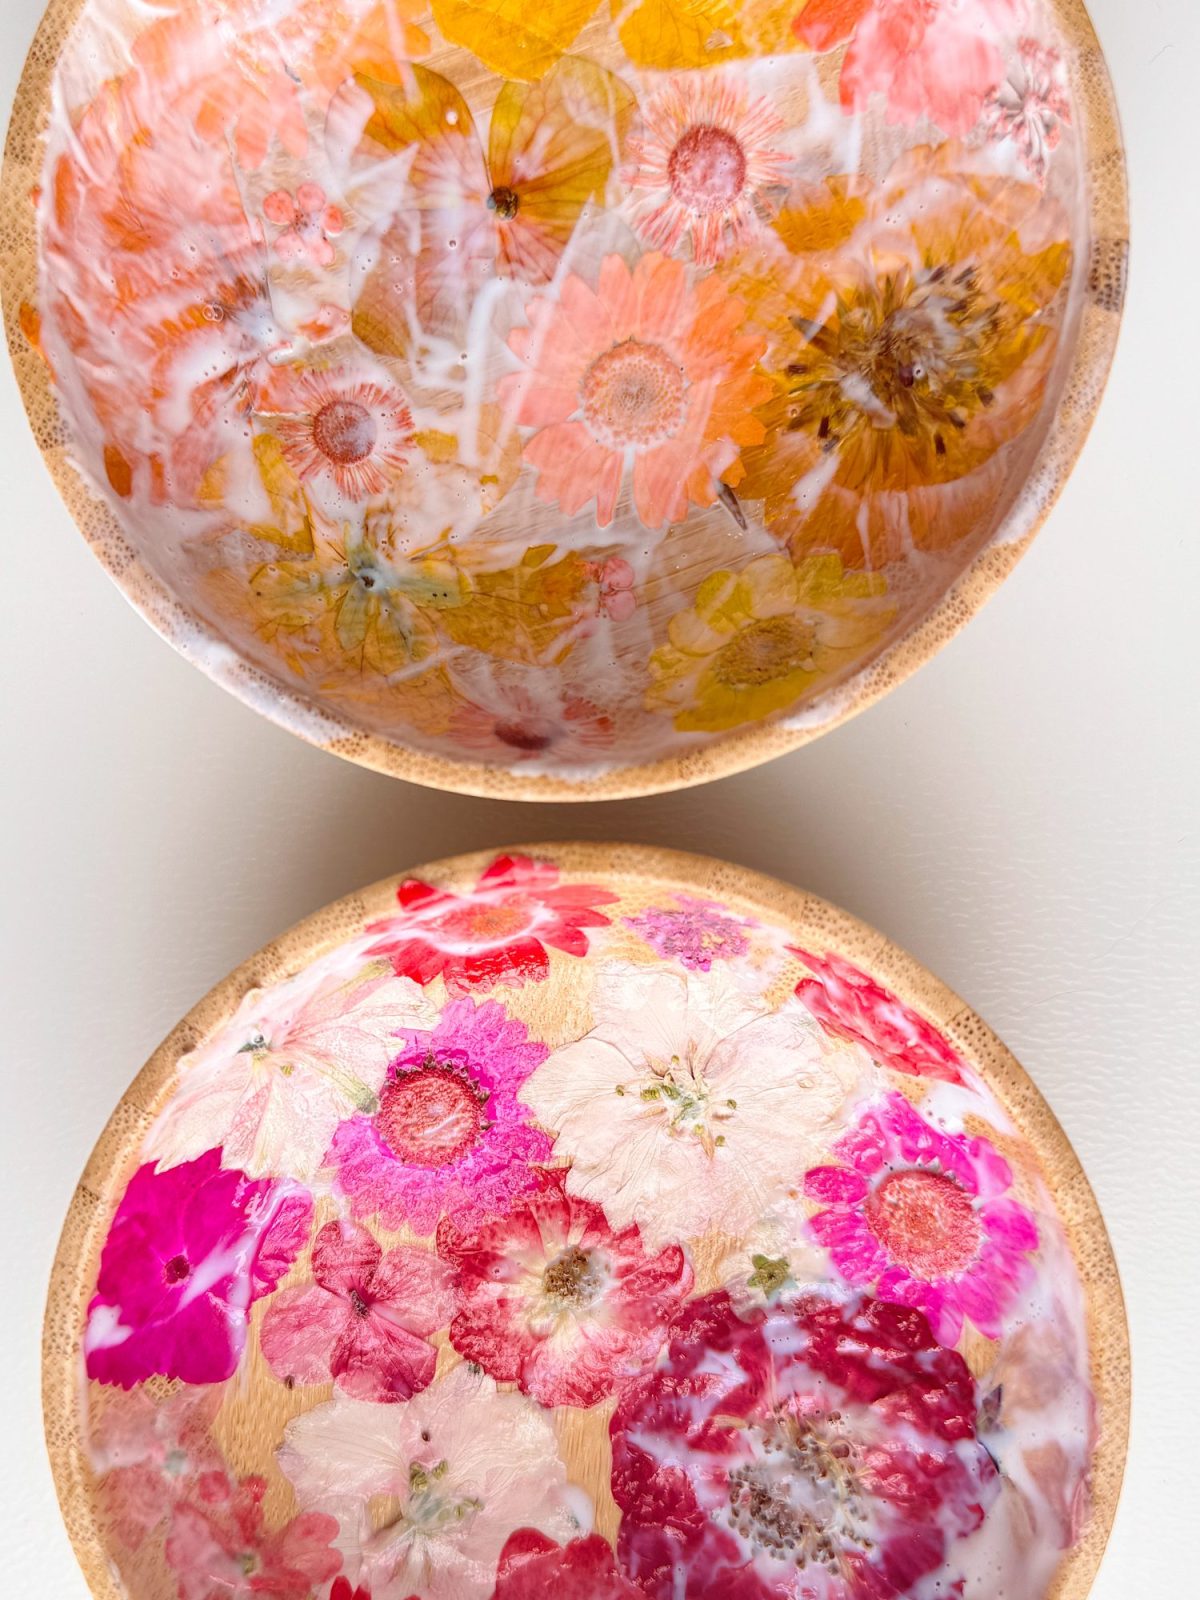
The flowers you choose will completely define the look of your pots. I used a mix of yellows, oranges, and soft pinks to create a cheerful, spring-inspired palette. The combination feels warm, fresh, and inviting.
Here are a few tips to help you choose:
Mix different sizes
Use larger blooms as your focal point and fill in with smaller flowers for detail.
Consider transparency
Some petals are slightly translucent, which creates a beautiful layered effect once sealed.
Stick to a color palette
Whether you go soft and neutral or bright and bold, choosing a cohesive palette will elevate your design.
Use flat flowers
Pressed flowers work best because they adhere smoothly to the surface.
Before you begin, lay out your flowers and experiment with different arrangements. This makes the process easier once you start applying them to the pot.
How to Make Floral Bamboo Pots
Step 1: Prepare Your Pot
Start by making sure your bamboo pot is clean and completely dry. This helps the adhesive bond properly and ensures a smooth finish.
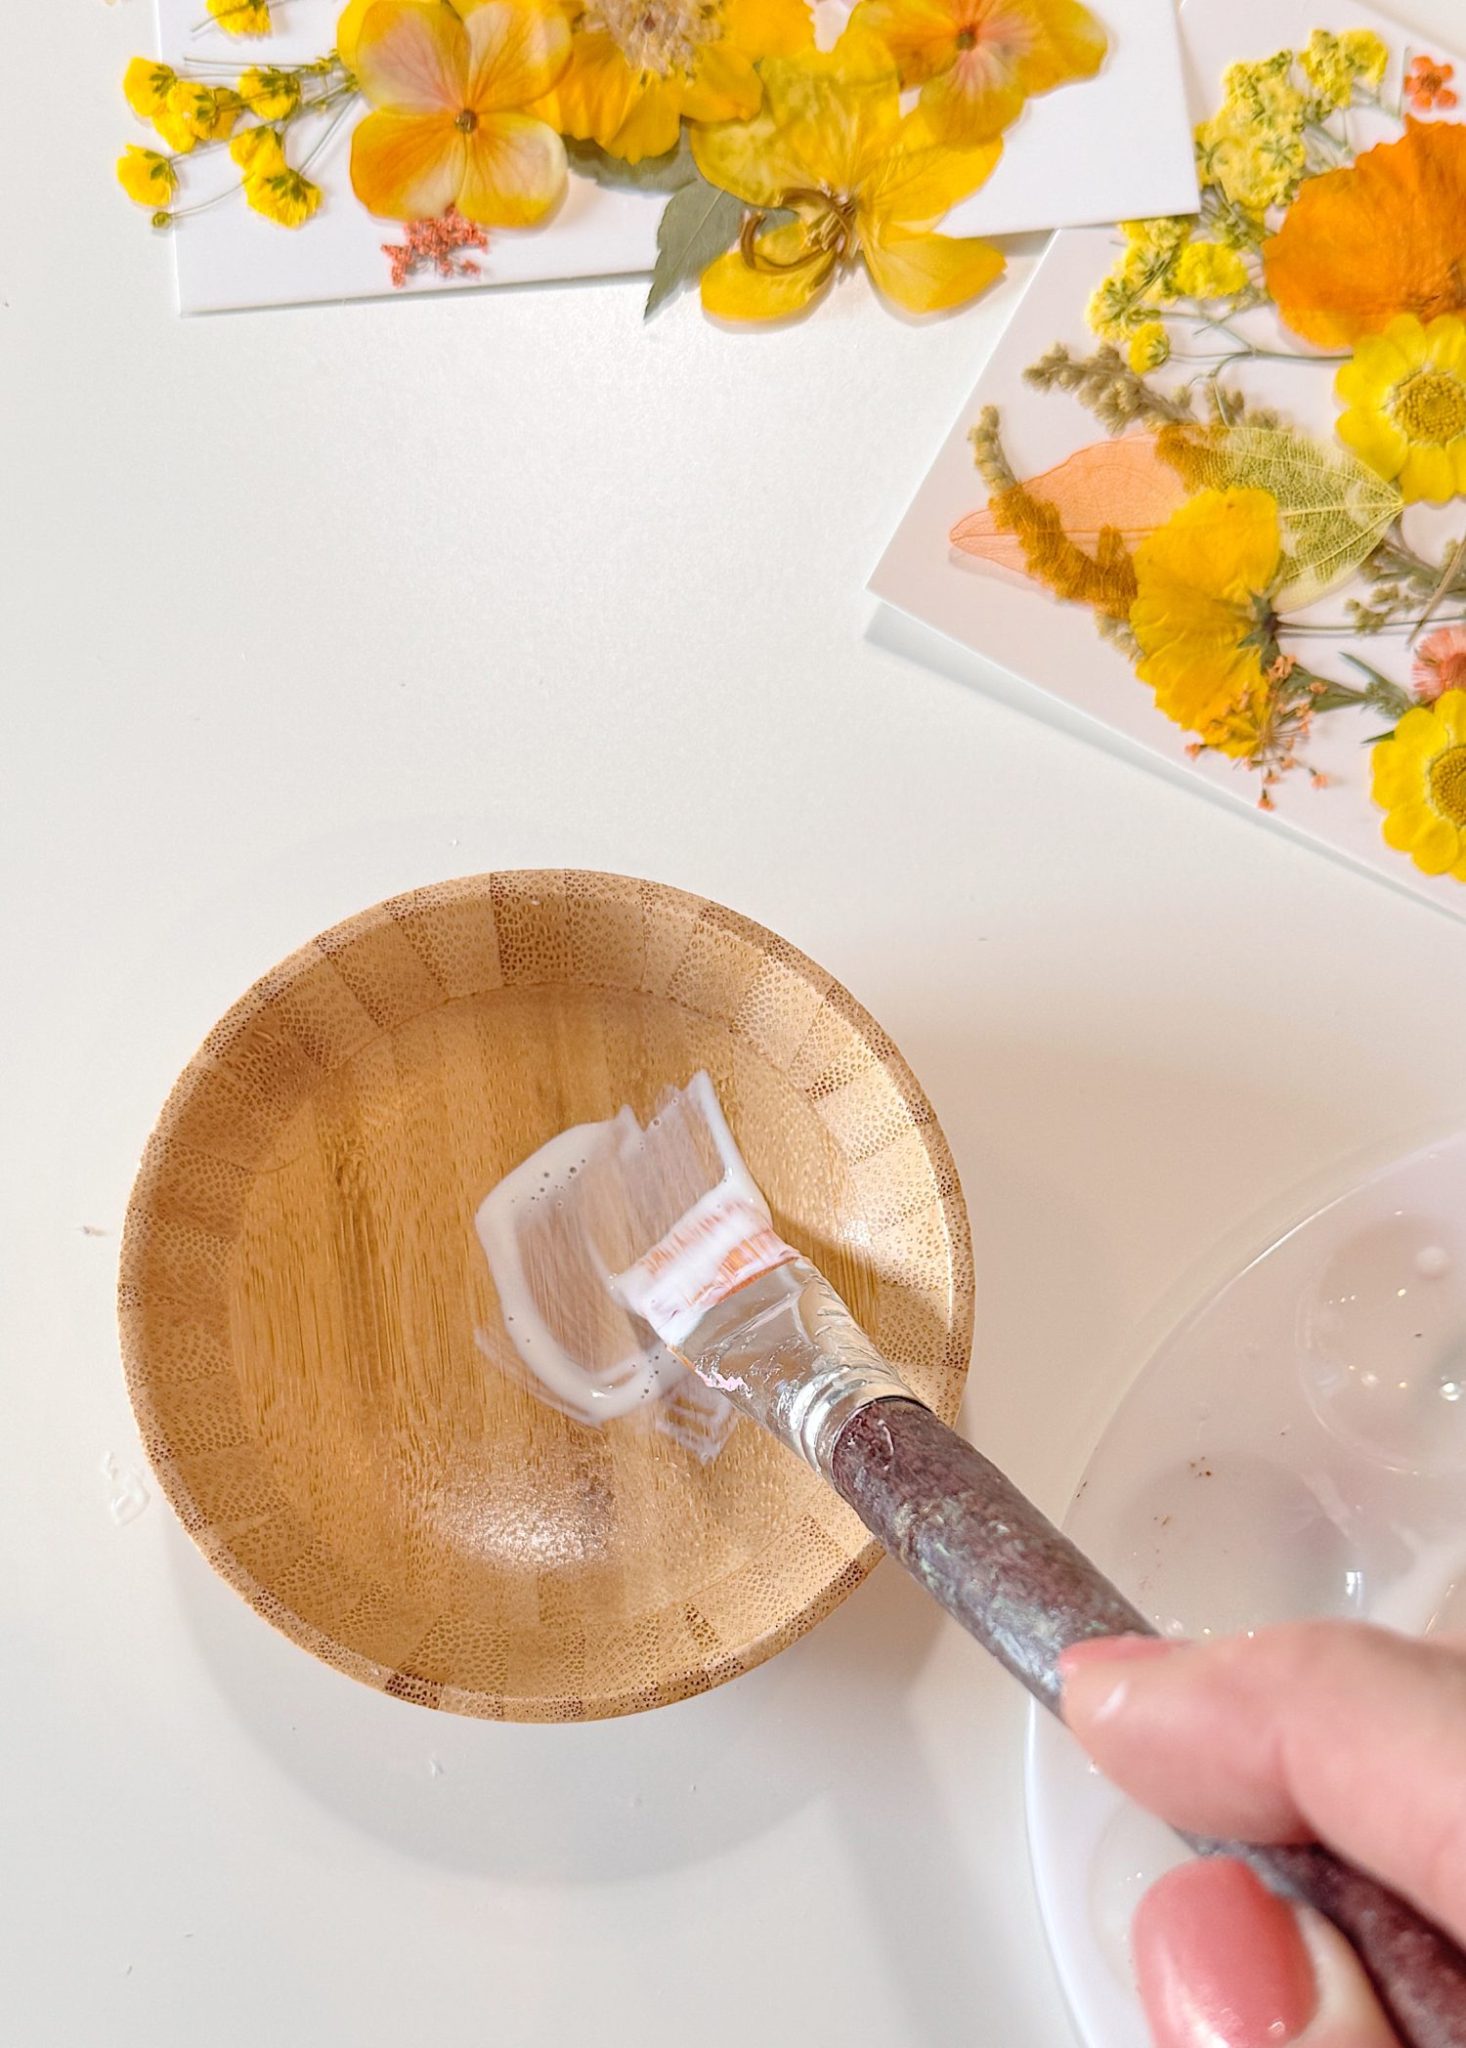
Step 2: Apply a Base Layer
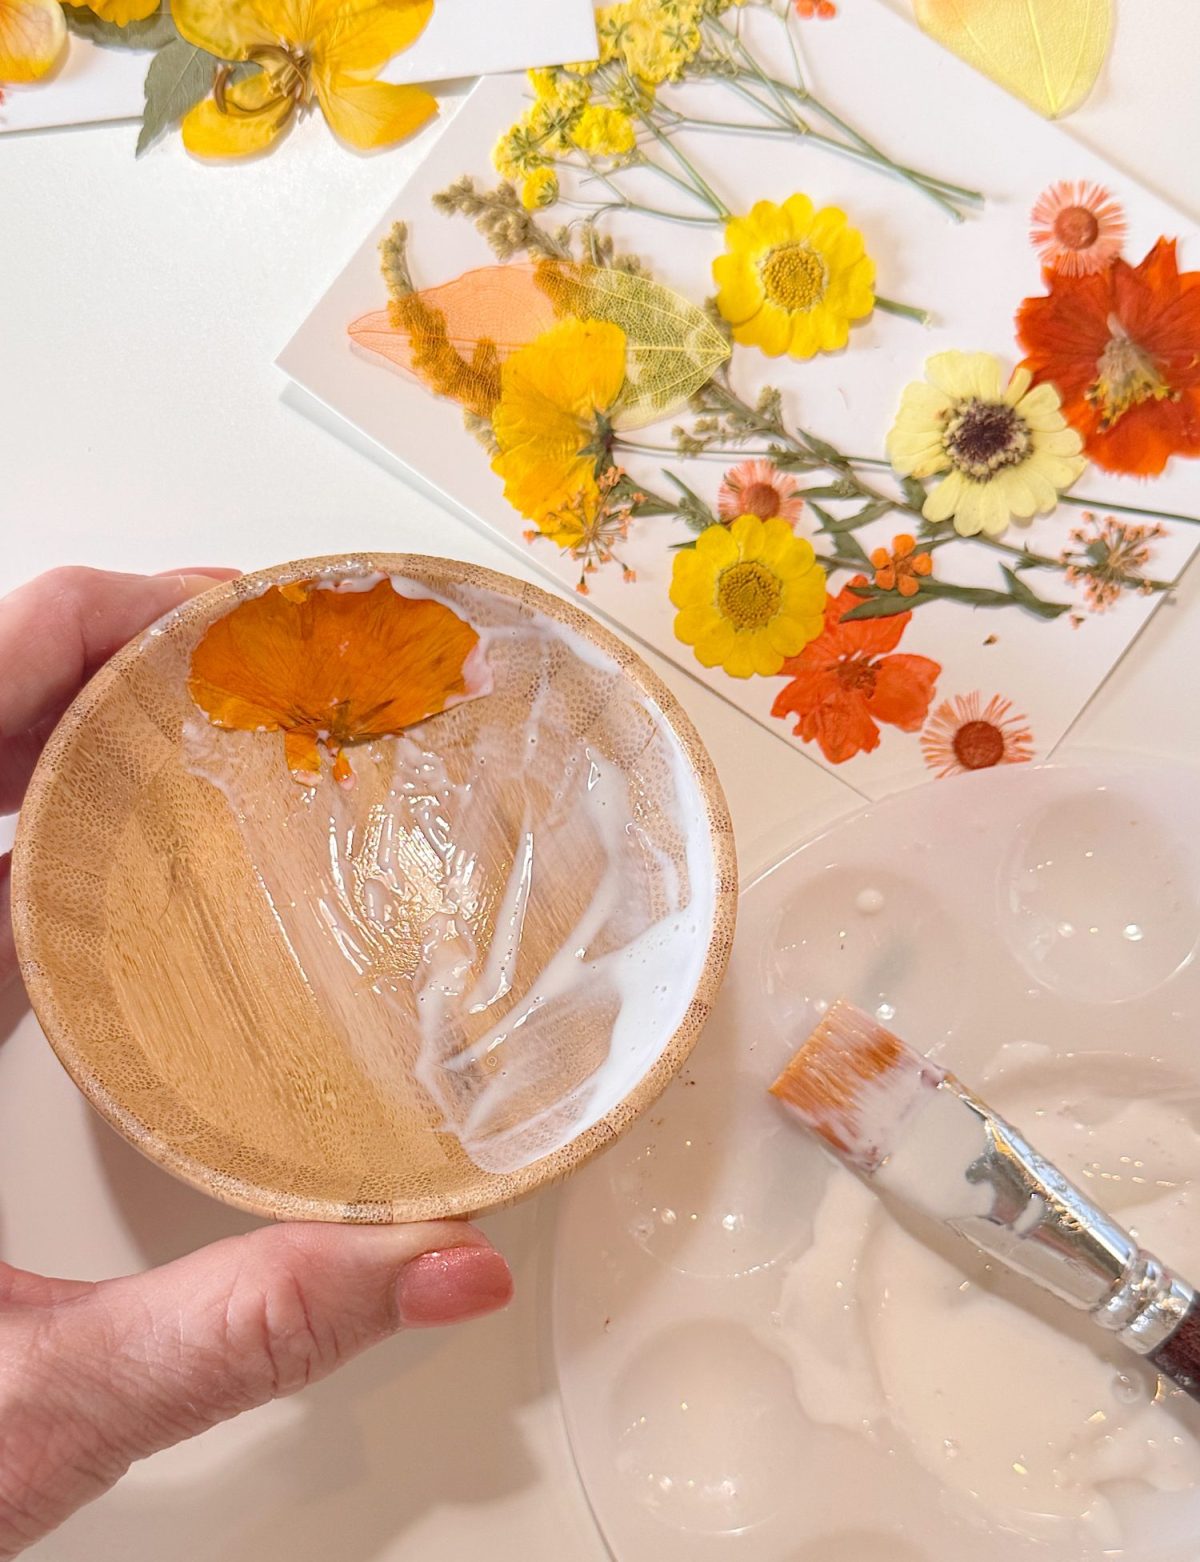
Using a soft brush, apply a thin layer of Mod Podge to the inside of the pot. Work in small sections so the adhesive does not dry too quickly.
Step 3: Place the Flowers
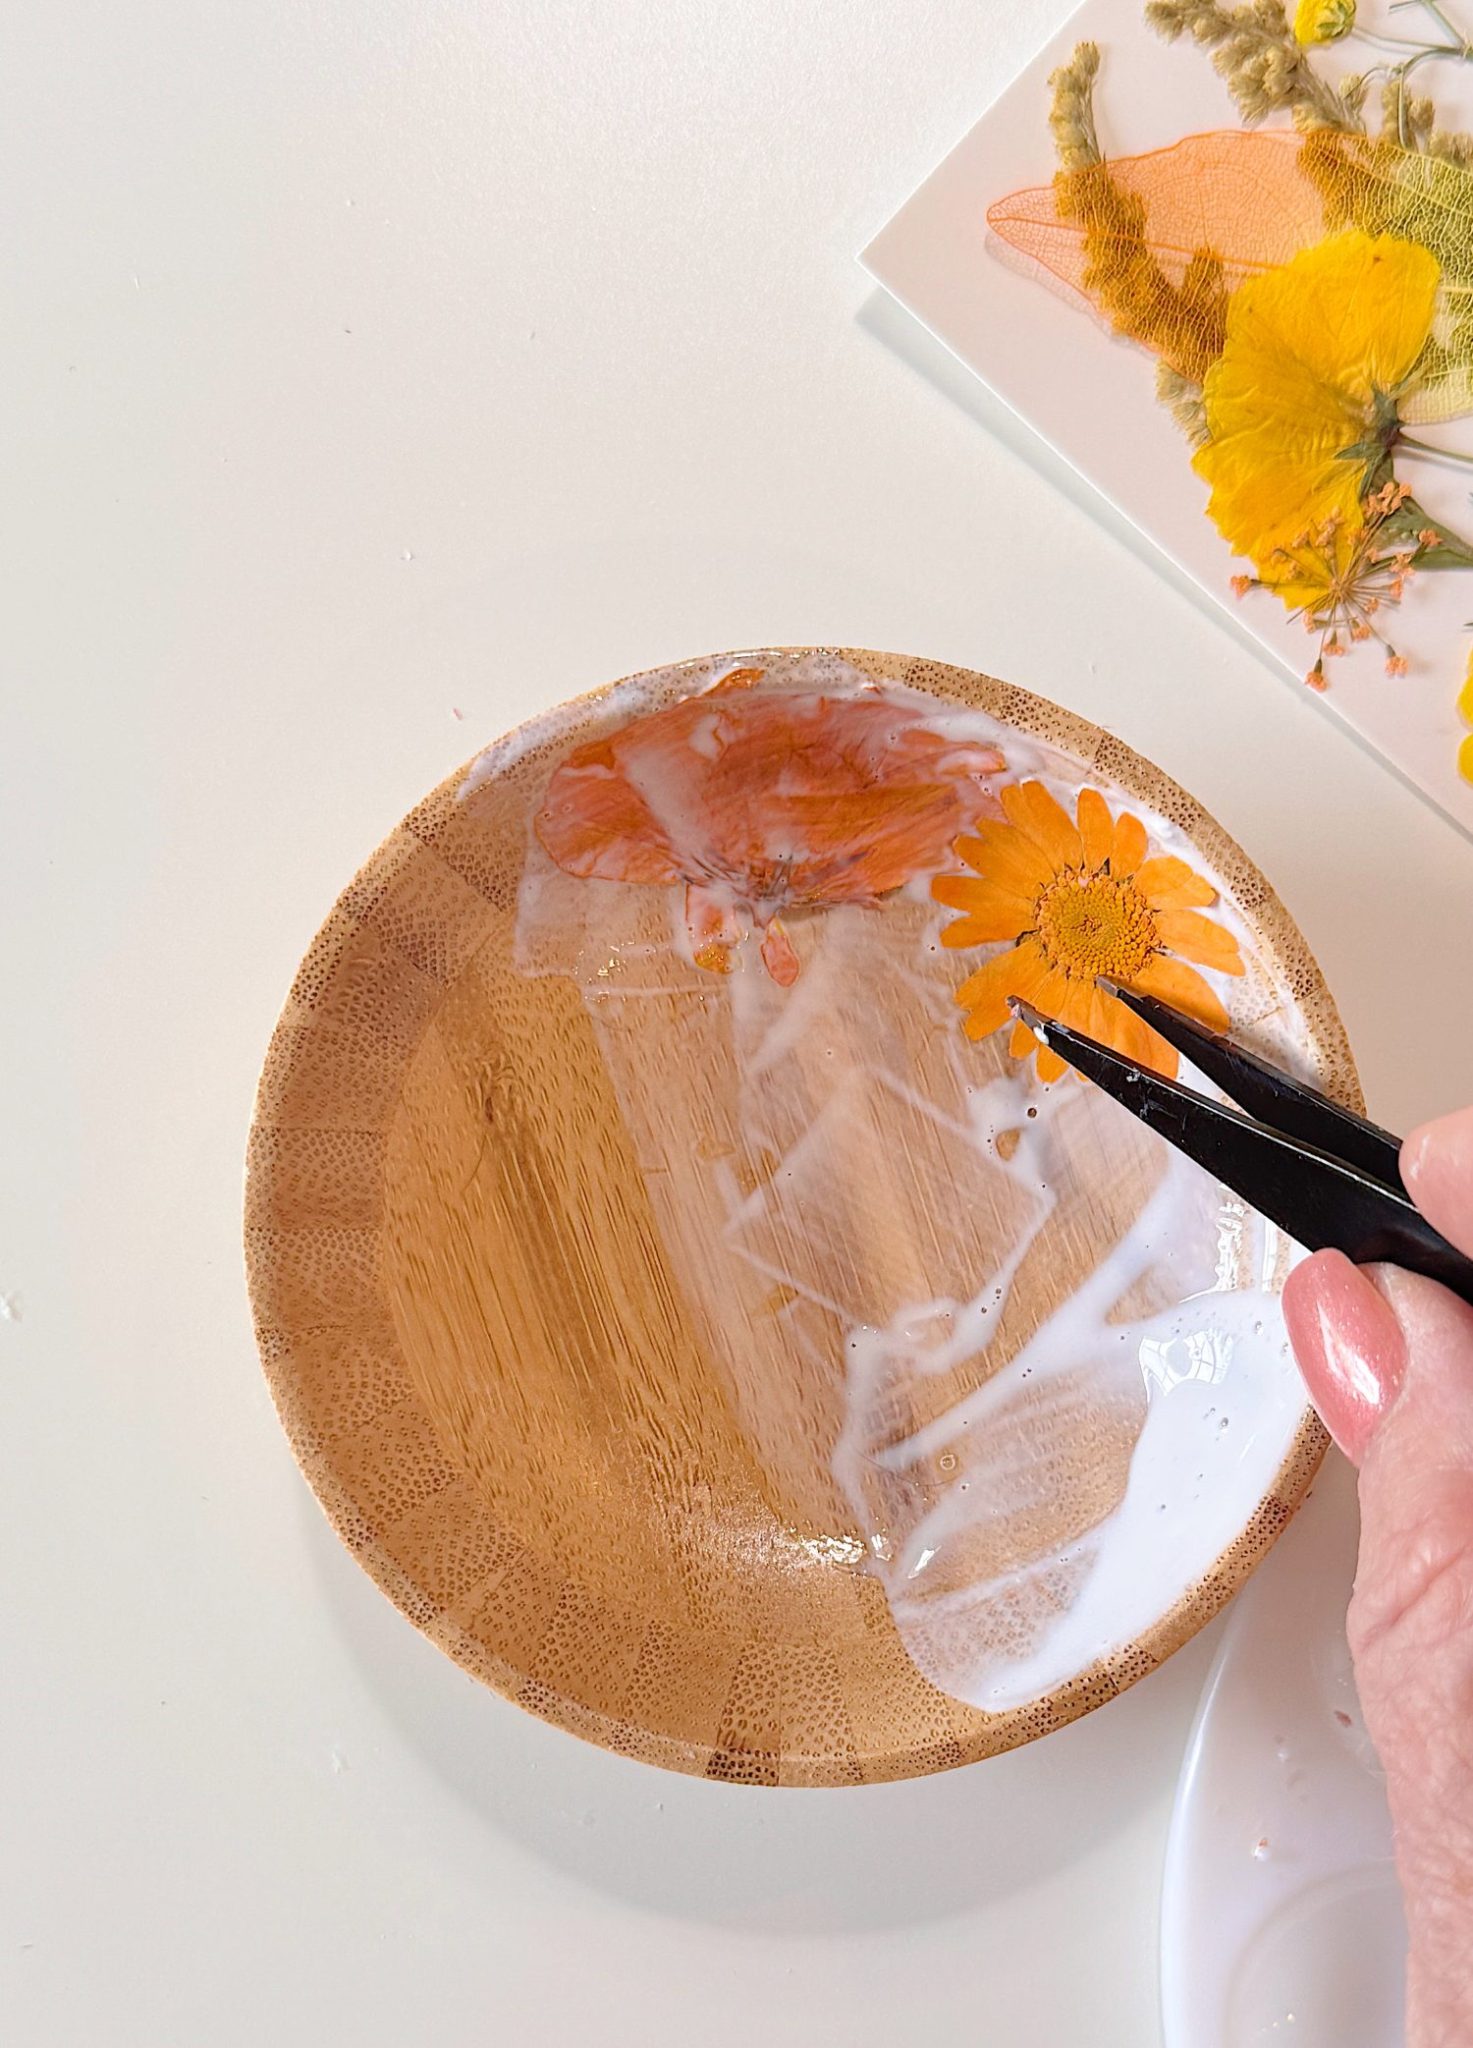
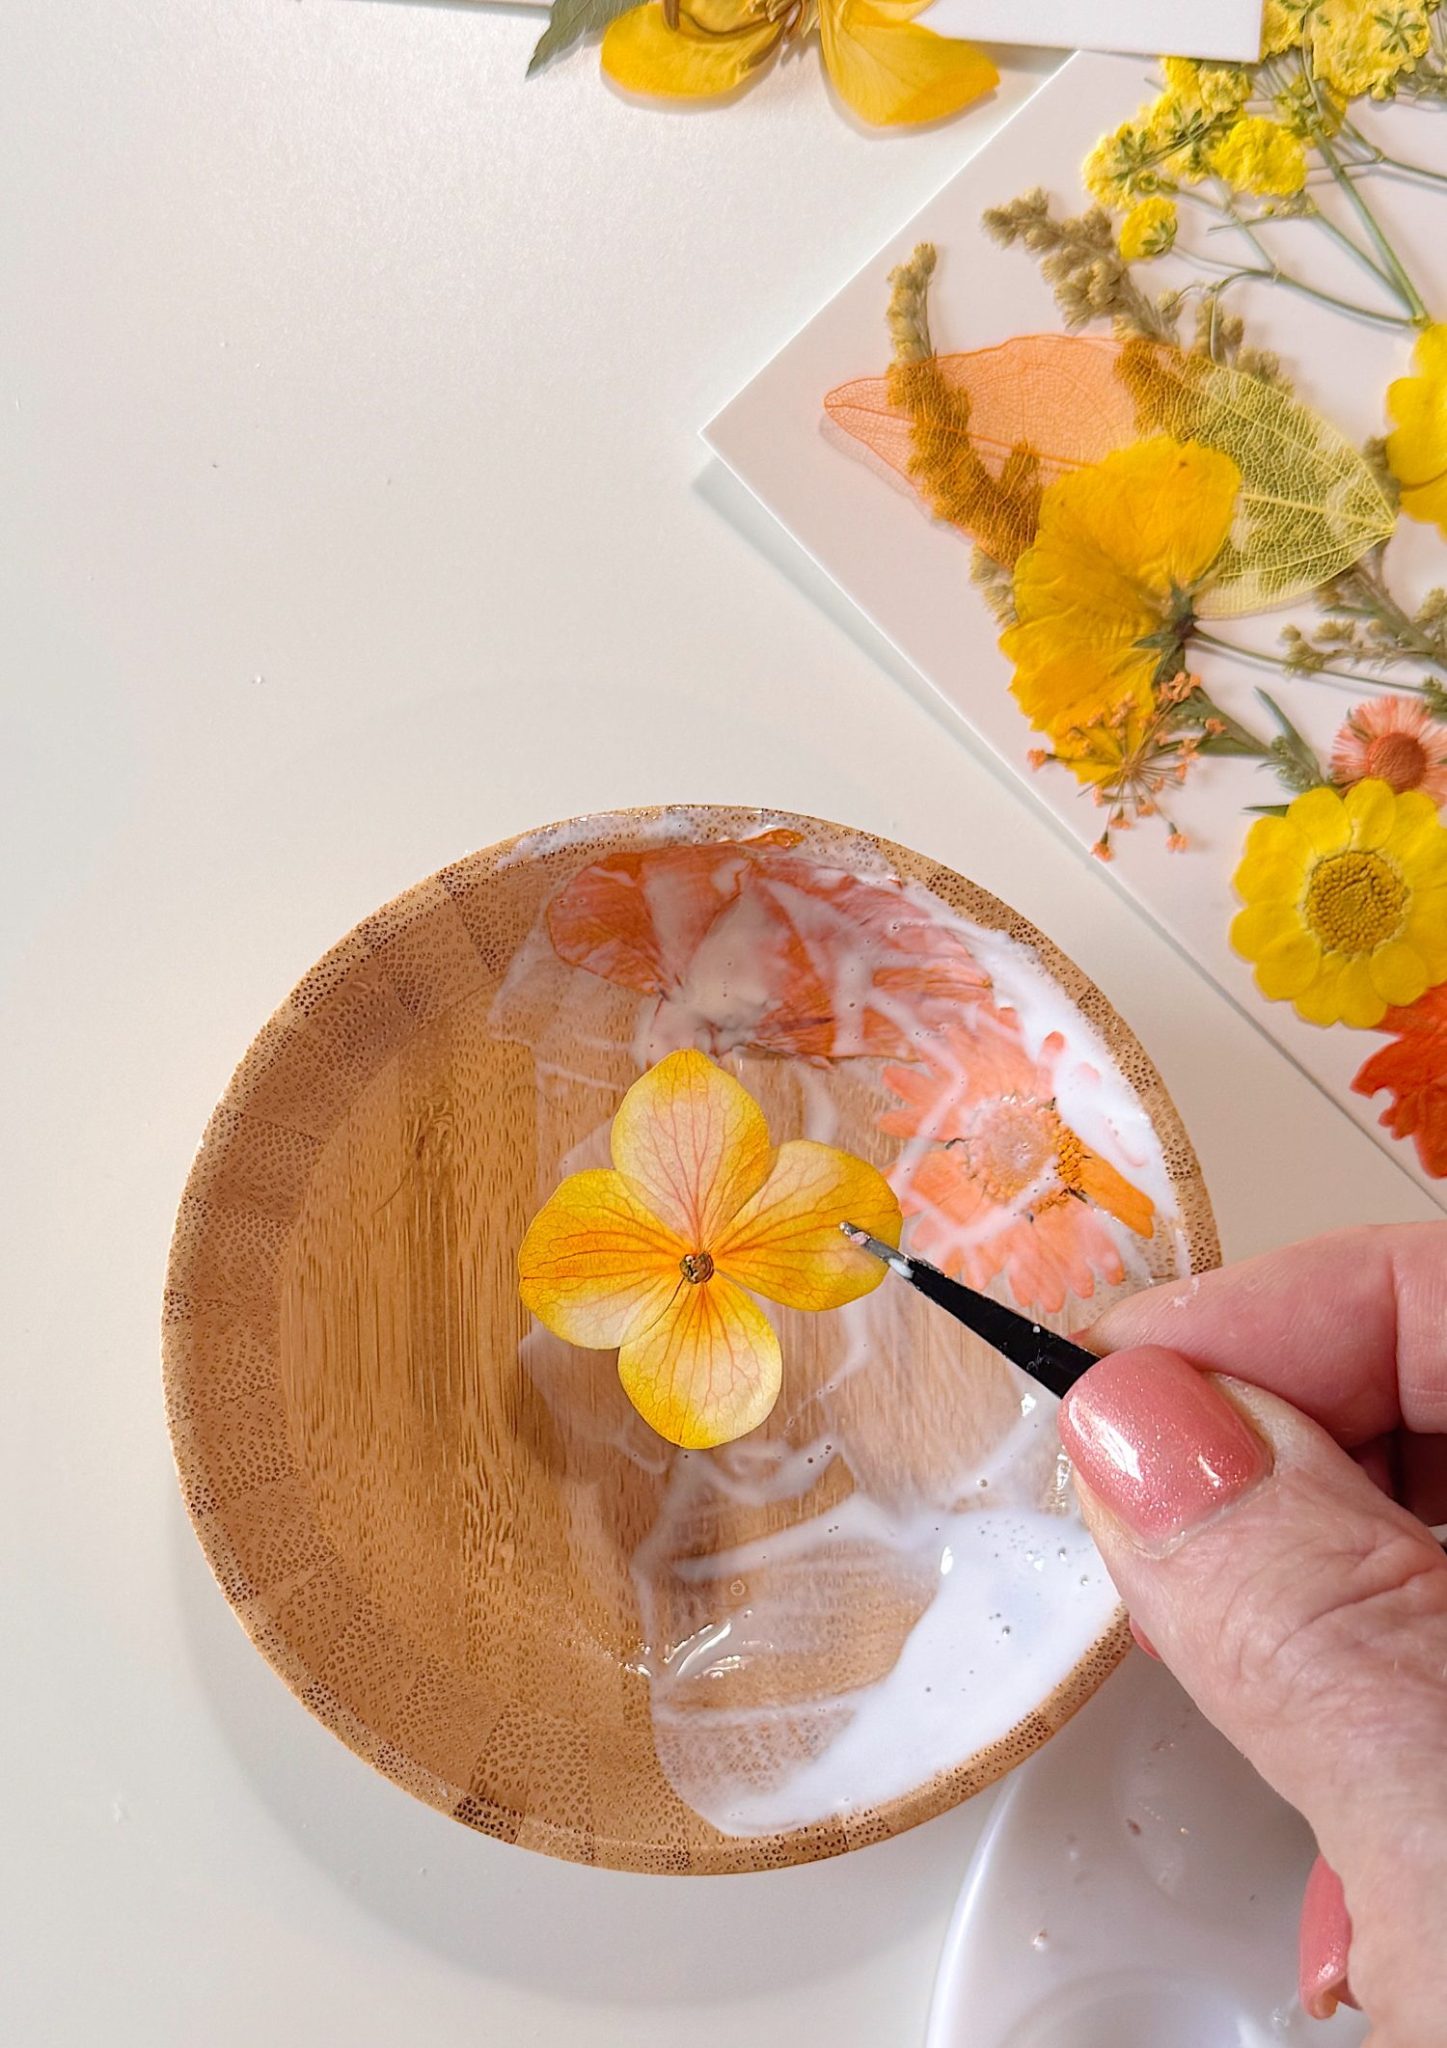
Using tweezers, gently place your dried flowers onto the surface.
Start with your larger flowers and arrange them first. Then fill in the gaps with smaller blooms and delicate details. Press each flower lightly into the Mod Podge so it adheres.
Do not worry about making it perfect. The organic, slightly imperfect look is what makes these pieces so beautiful.
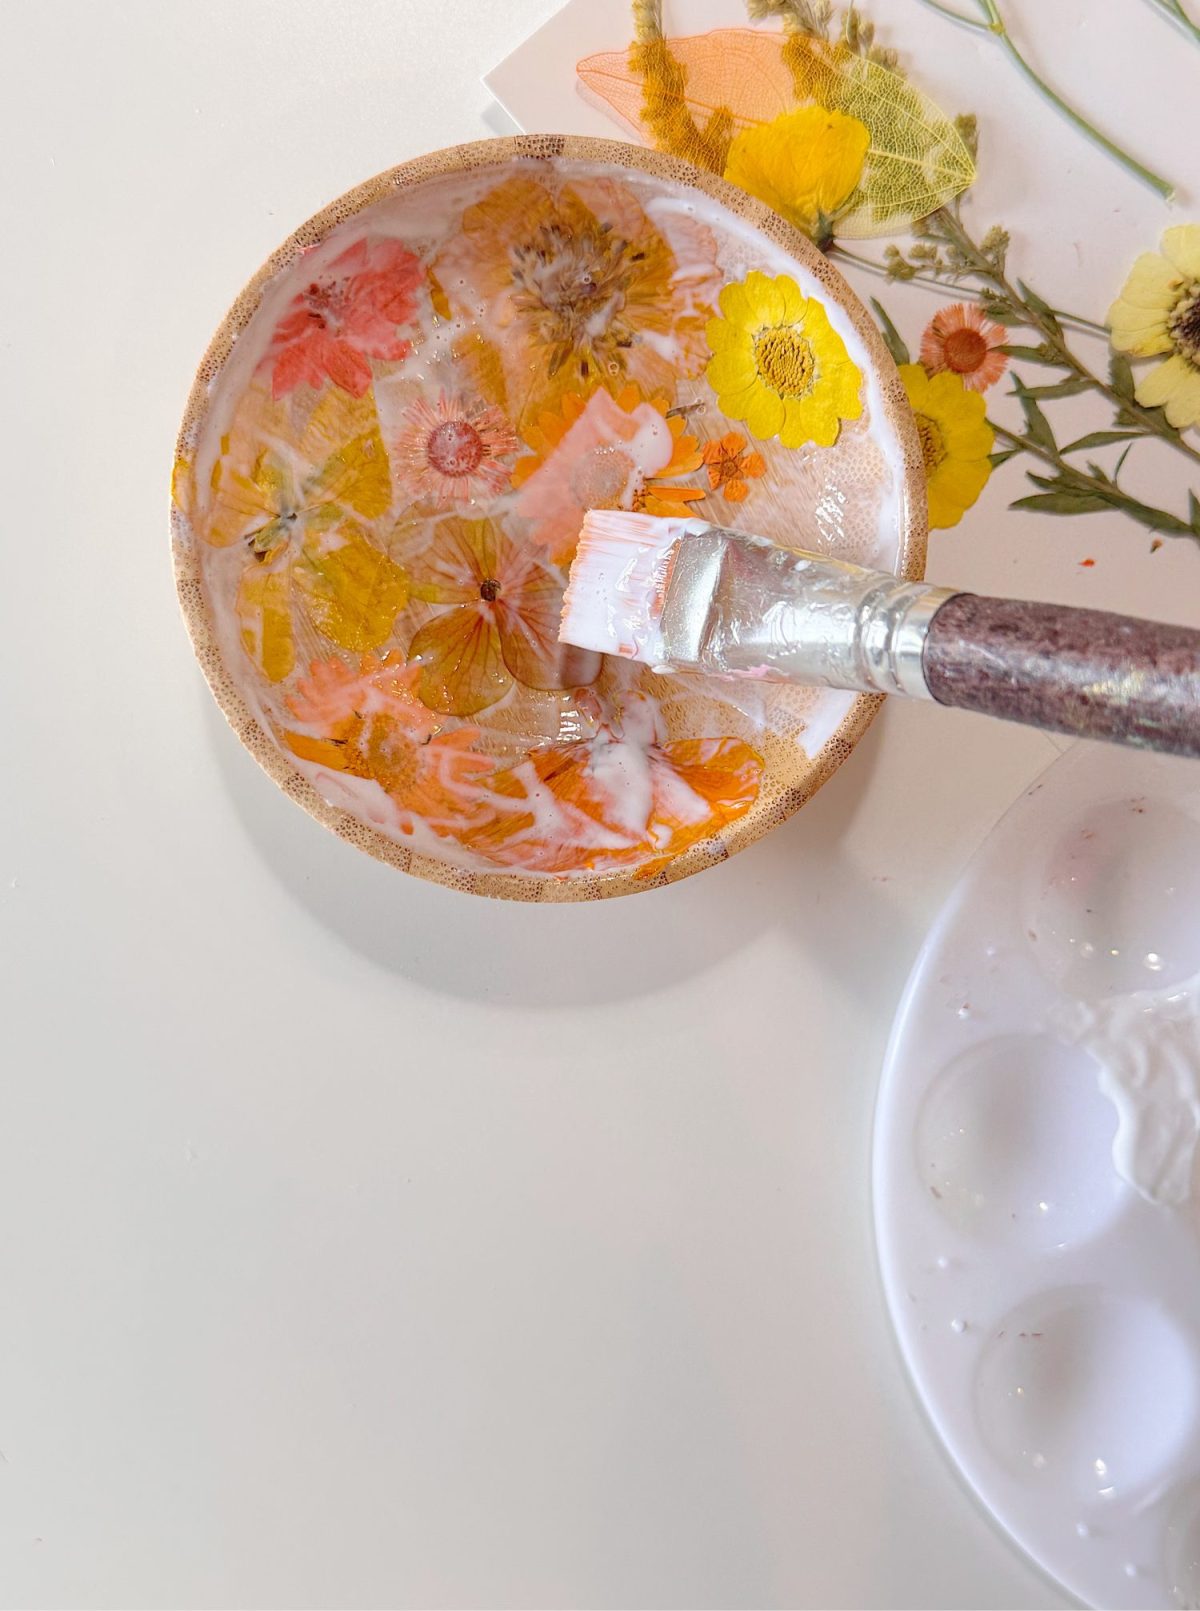
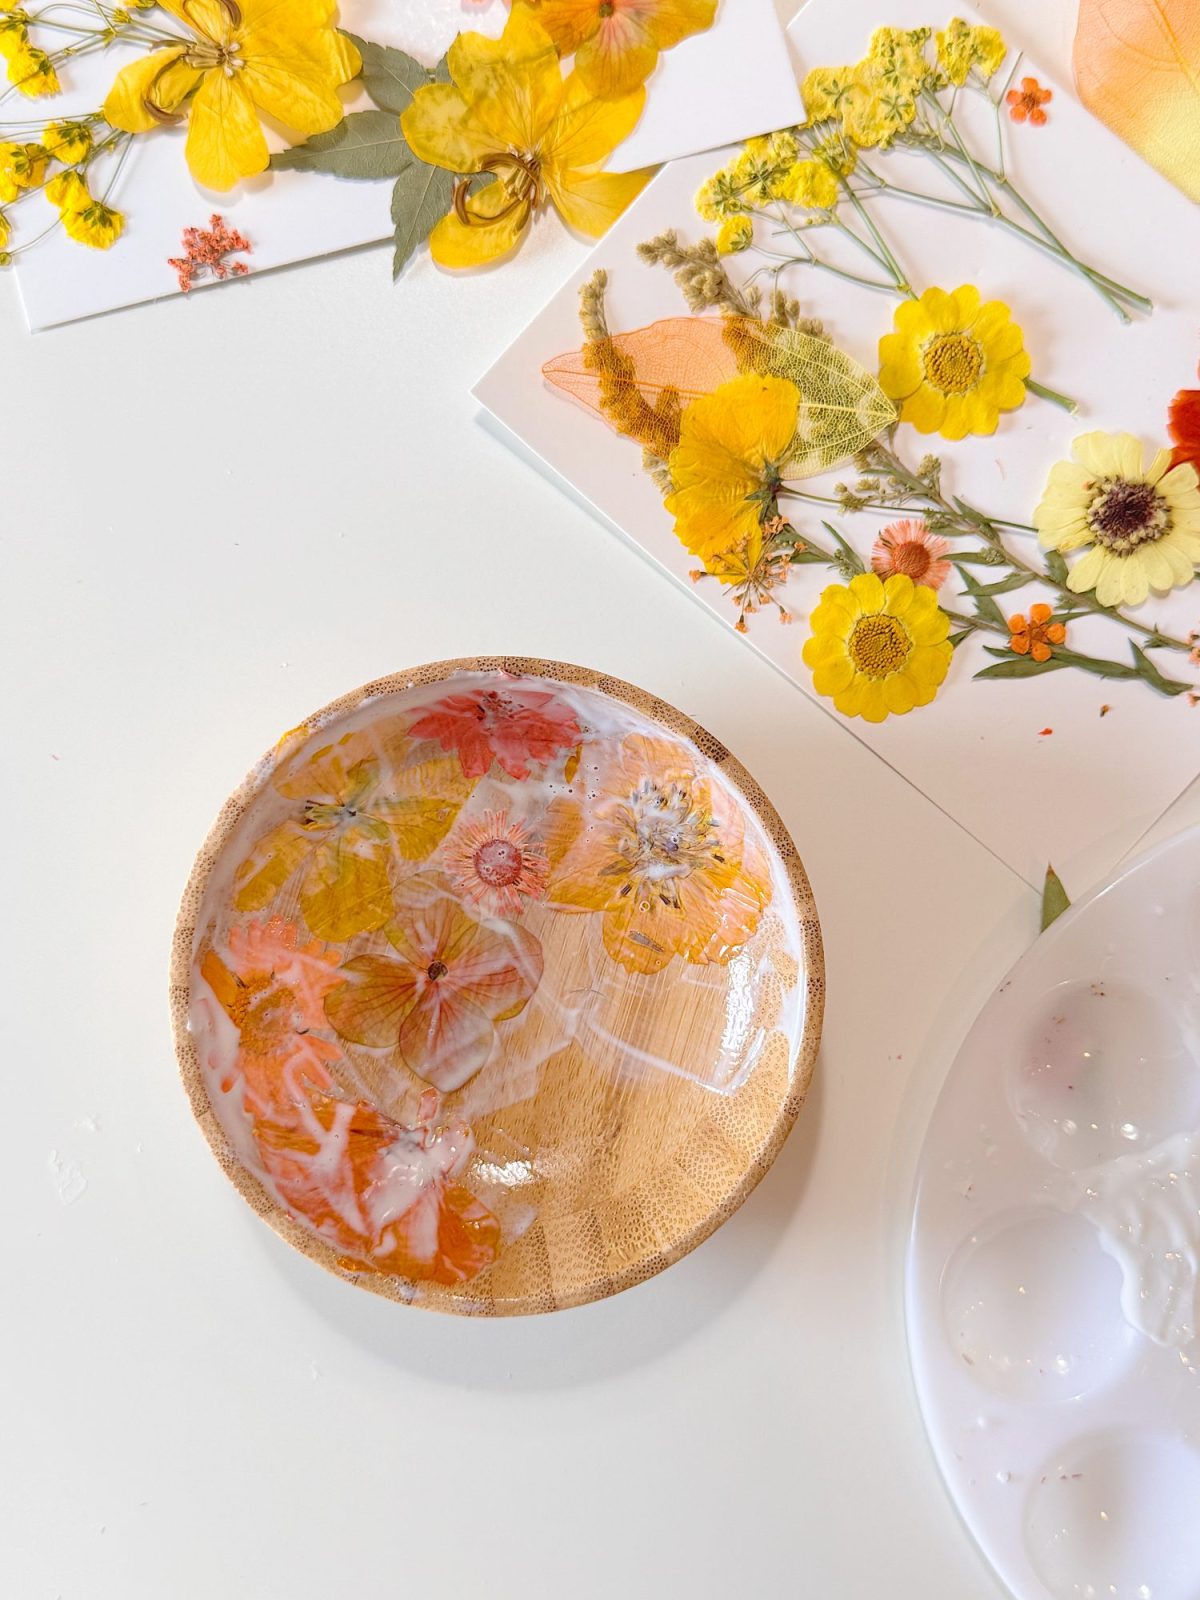
Step 4: Seal the Design
Once you are happy with your arrangement, carefully brush a thin layer of Mod Podge over the entire surface.
Be gentle as you apply it so you do not tear the petals.
Allow this layer to dry completely before moving on.
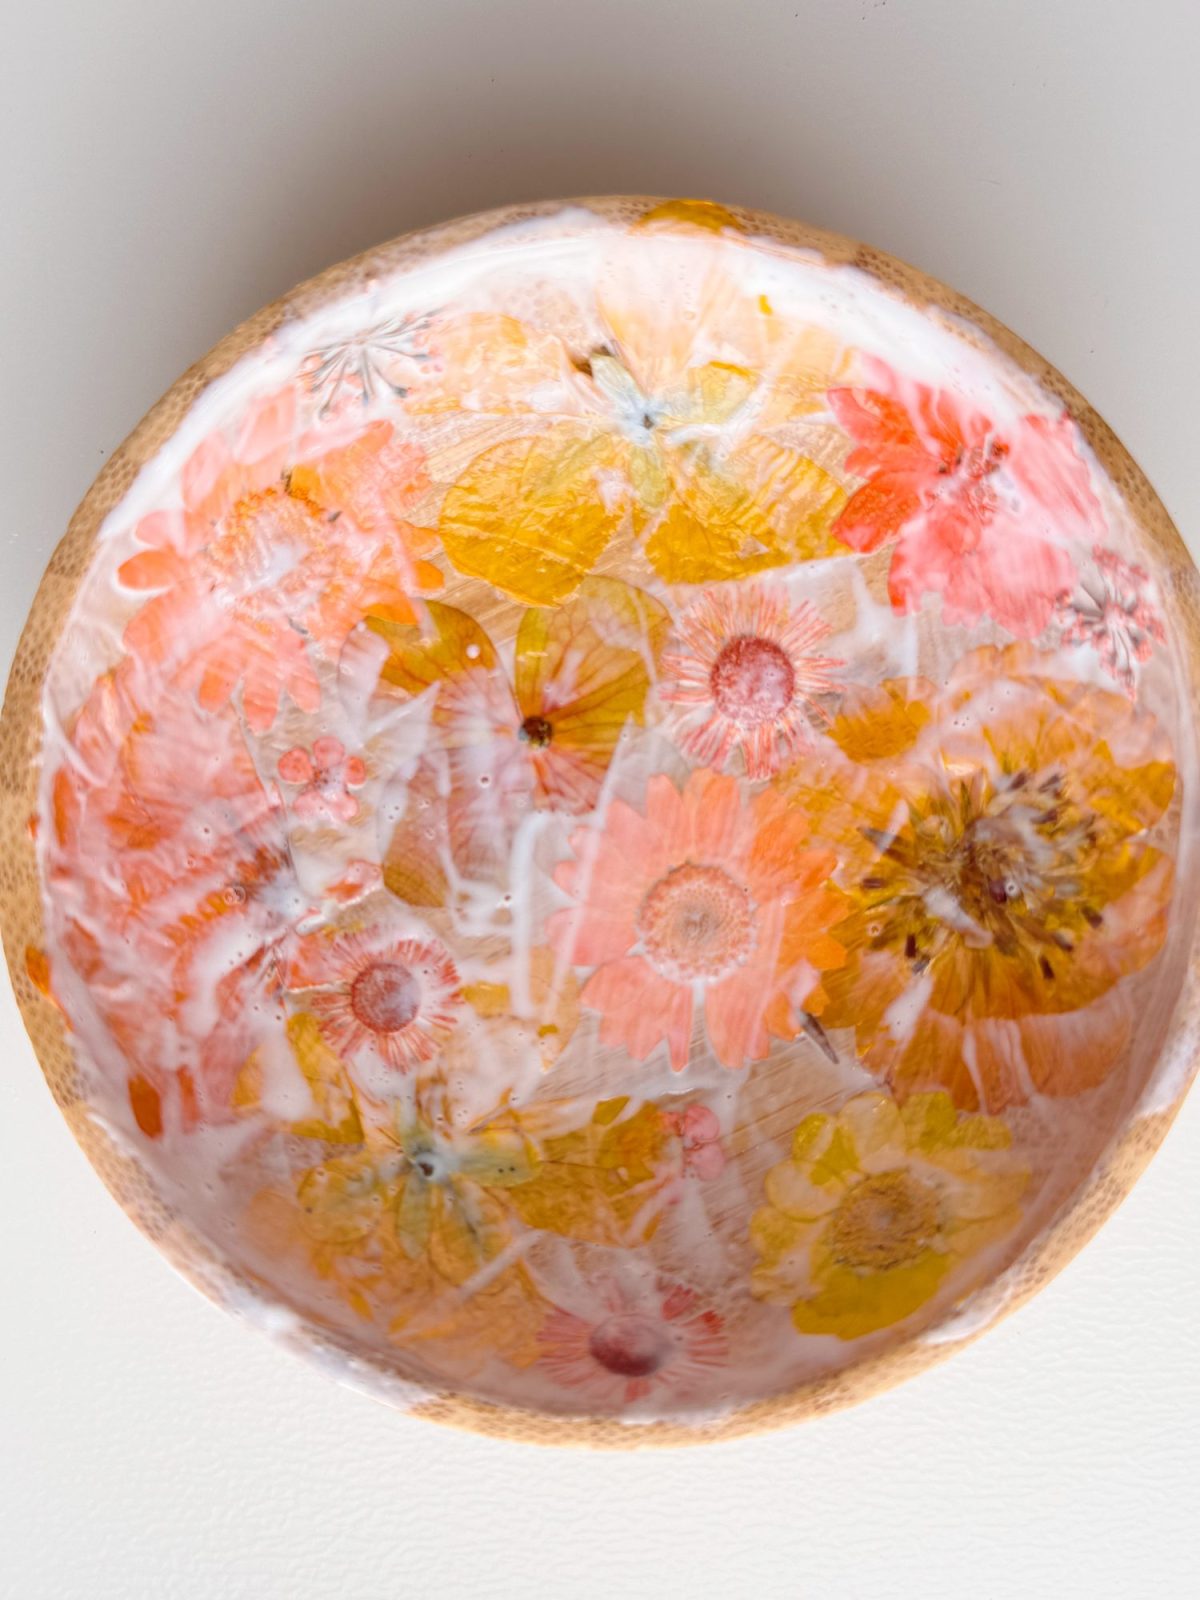
Step 5: Add the Gloss Finish
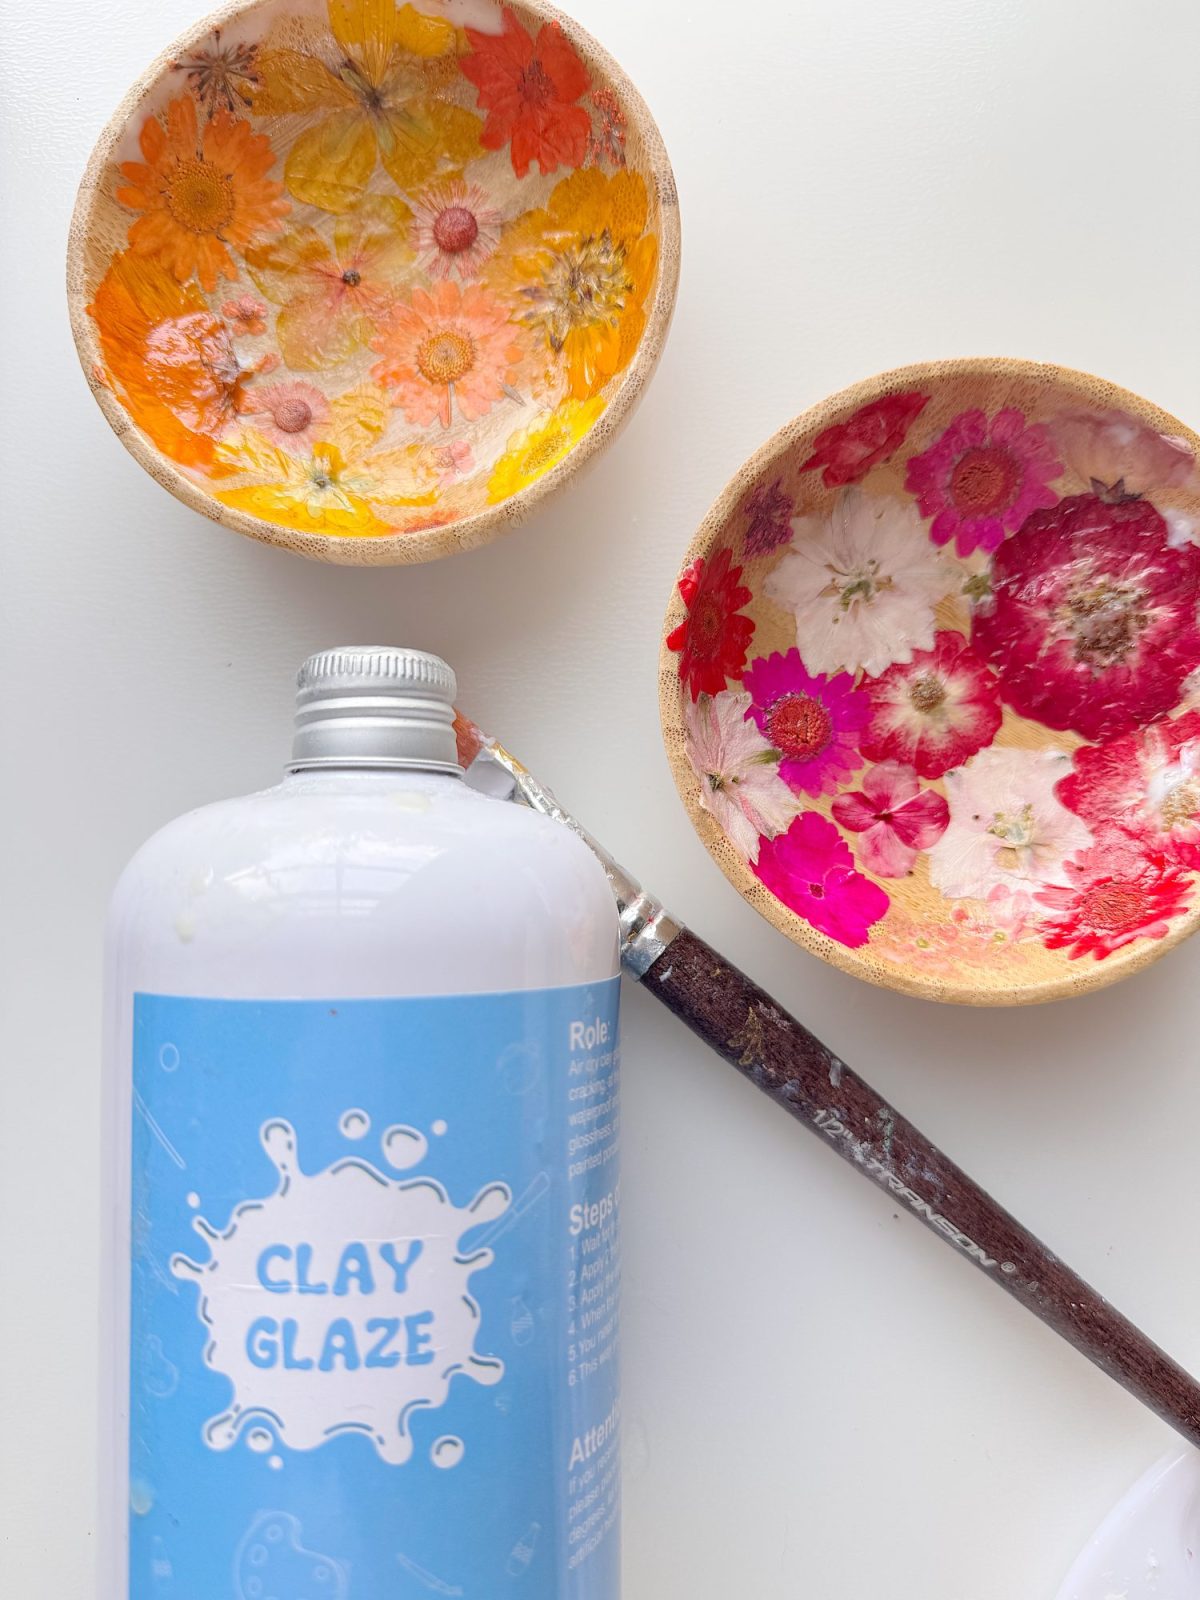
Once everything is dry, apply your clay glaze or gloss varnish over the inside of the pot.
This step completely transforms the piece. The glaze enhances the colors, adds depth, and gives the pot a polished, almost ceramic look.
Let the glaze dry thoroughly before using your pot.
What Makes These Pots So Special
There is something incredibly satisfying about taking simple materials and turning them into something beautiful.
These pots stand out because:
- Each one is completely unique
- They preserve real flowers in a lasting way
- They combine natural texture with a glossy finish
- They look far more expensive than they are
They feel like little pieces of art that bring a bit of nature indoors.
Styling Your Handmade Pots
Once your pots are finished, there are so many ways to use them in your home.
Here are a few ideas:
On a coffee table
Pair one with a stack of books and a candle for a simple, styled look.
In the kitchen
Use one to hold rings while cooking or as a small decorative accent.
On open shelving
Add color and texture among neutral decor pieces.
In a guest room
Place one on a bedside table as a thoughtful detail.
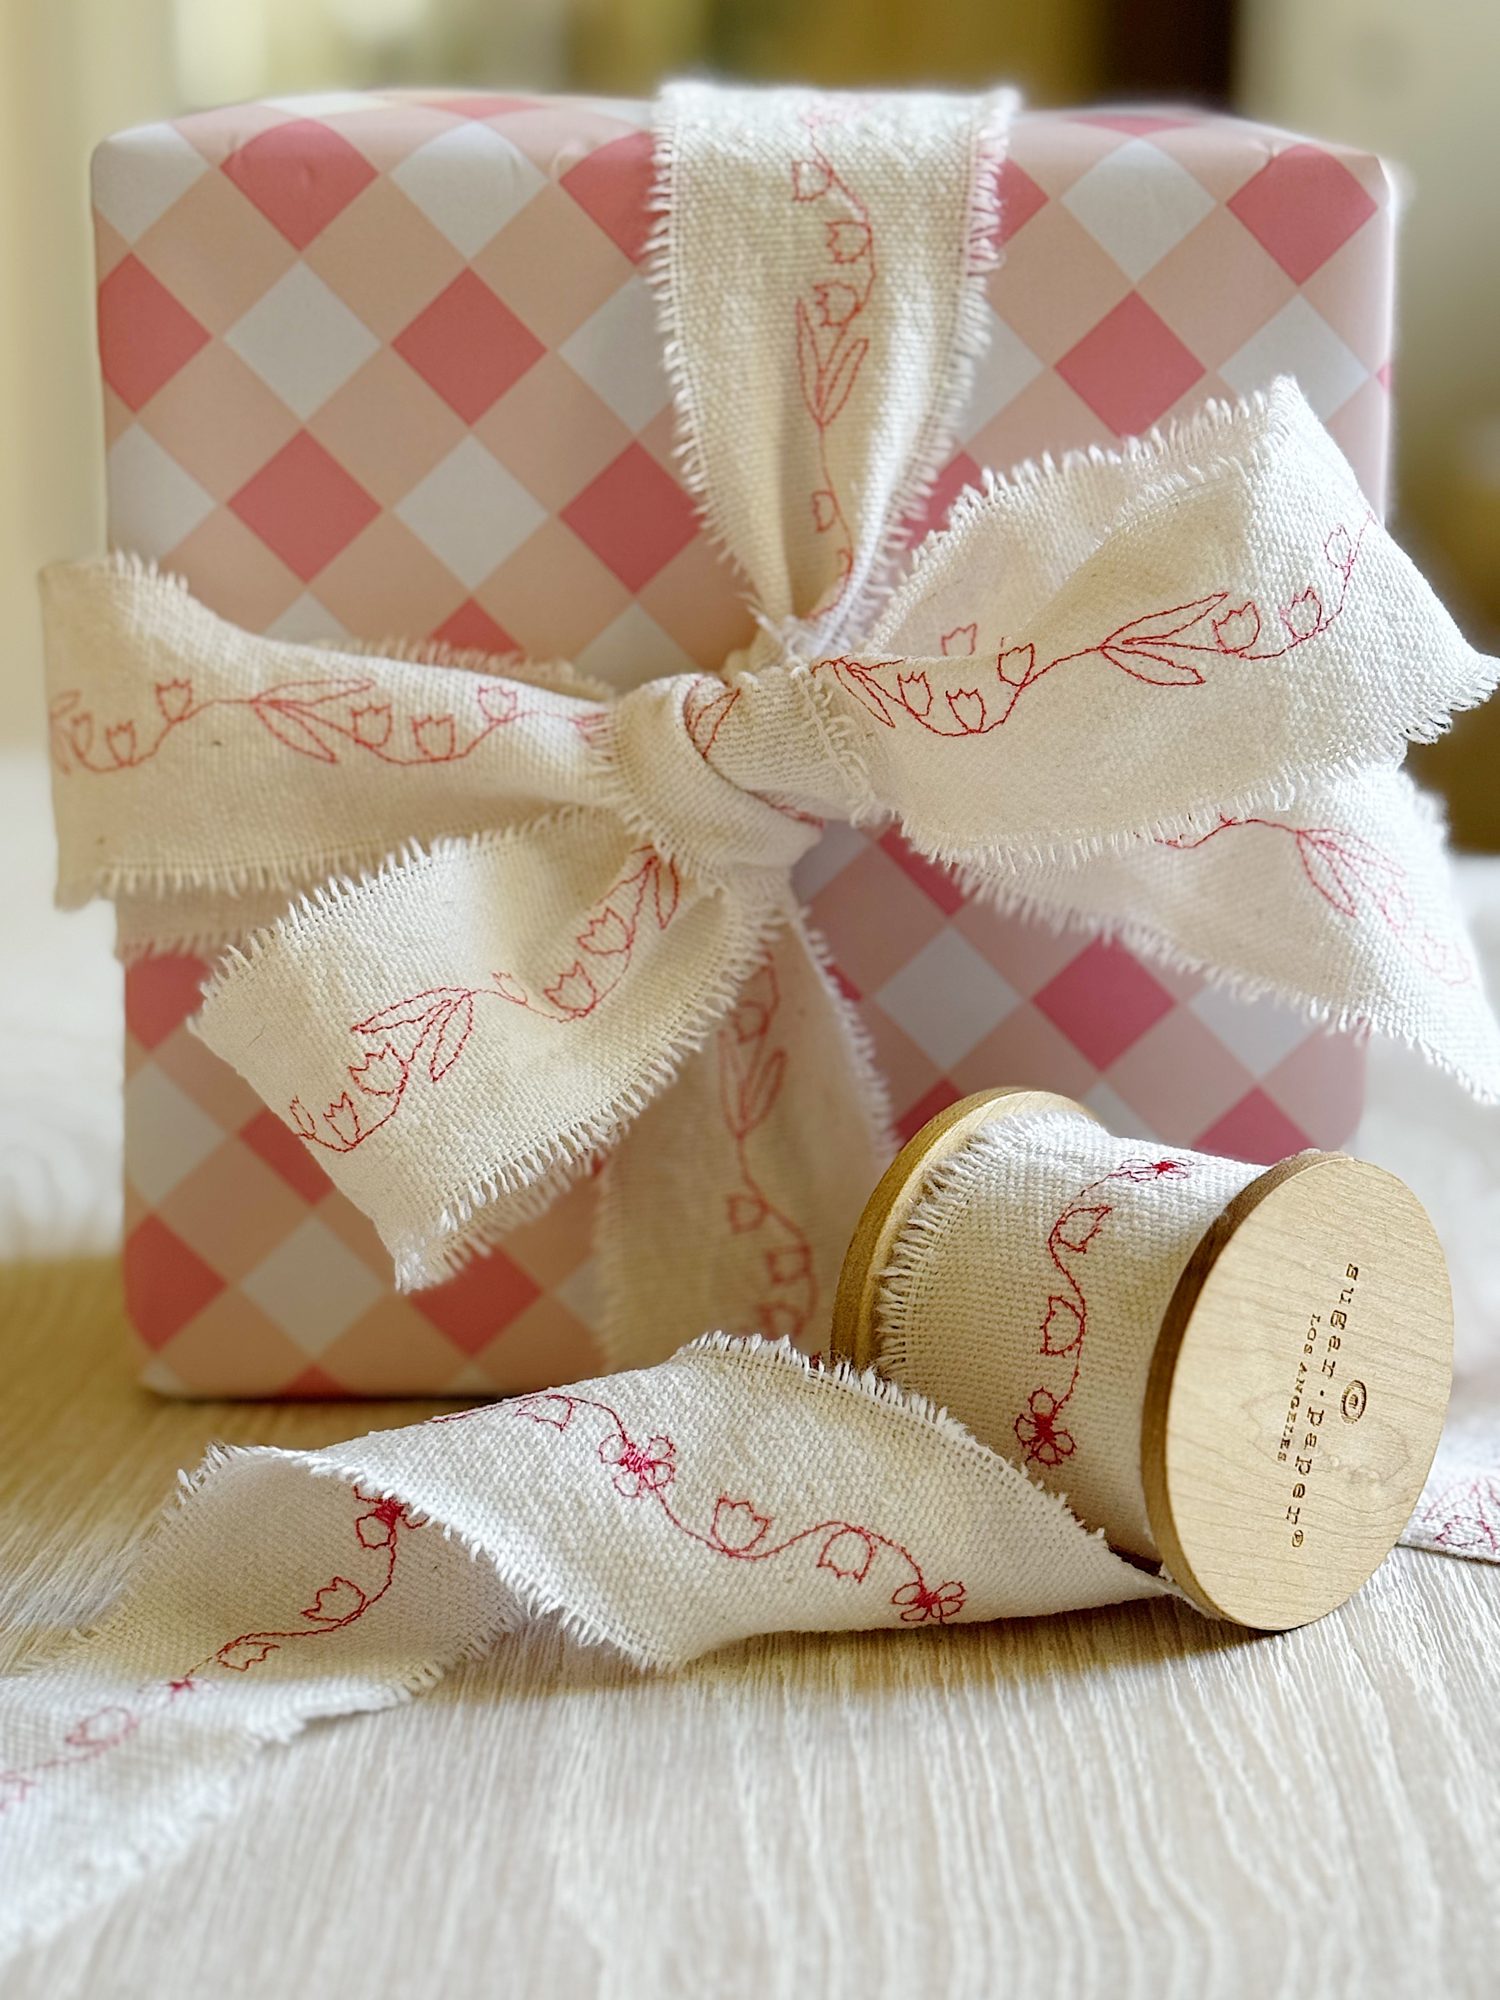
As a gift
Fill one with a small treat or a handwritten note for a meaningful, handmade gift.
Because they are small and versatile, you can easily move them around and restyle them throughout the season.

Tips for the Best Results
After making several of these, I found a few things that really help:
Use thin layers of Mod Podge
Too much can make the finish look cloudy.
Let each layer dry completely
This ensures a smooth and durable result.
Handle flowers carefully
They are delicate and can tear if handled too much.
Apply the glaze evenly
A smooth, even coat gives the most polished finish.
Experiment with designs
Try different flower combinations and layouts to find what you love most.
A Beautiful Way to End A Handmade Spring
This project feels like the perfect ending to this series.
Over the past twelve weeks, I have shared projects designed to inspire creativity and bring a handmade touch into your home. Each one has been about slowing down, trying something new, and finding joy in the process.
These handmade pots represent all of that.
They are simple, beautiful, and full of personality. They capture the essence of spring and turn it into something you can enjoy long after the season has passed.
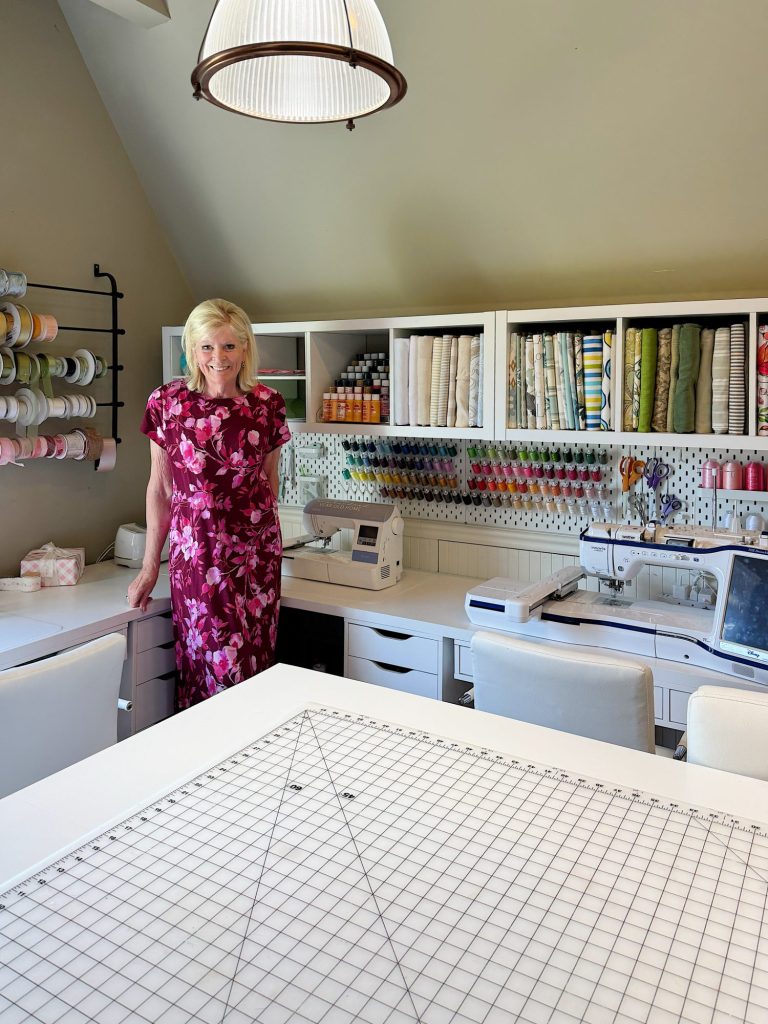
Here are all twelve A Handmade Spring craft projects. It’s been a very fun series!


Final Thoughts
If you have never worked with pressed flowers before, this is a wonderful place to start.
It is easy, forgiving, and incredibly rewarding.
And if you have been following along with A Handmade Spring, I hope this final project encourages you to keep creating. There is always another idea waiting, another project to try, another opportunity to make something beautiful.
Because that is what handmade is all about.
Creating something with your hands that brings joy to your home and your life.
Thank you for being part of this journey with me.
Latest Posts
-
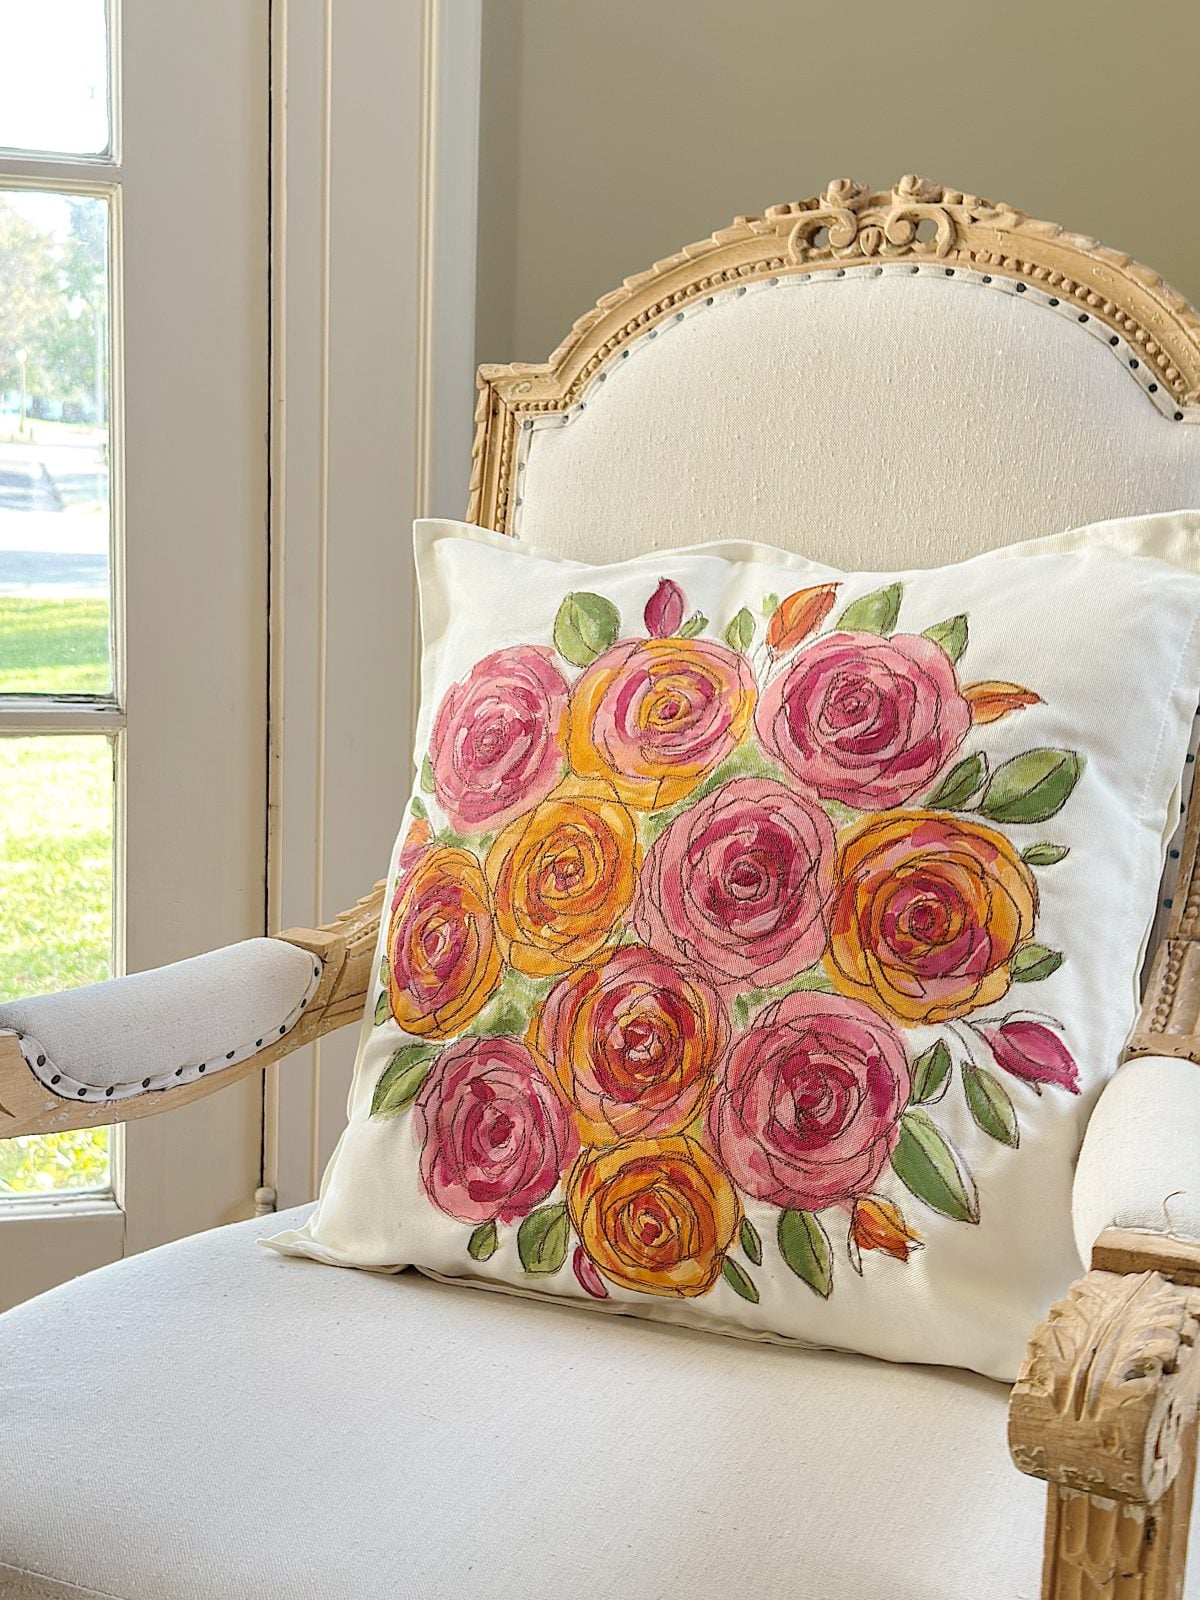
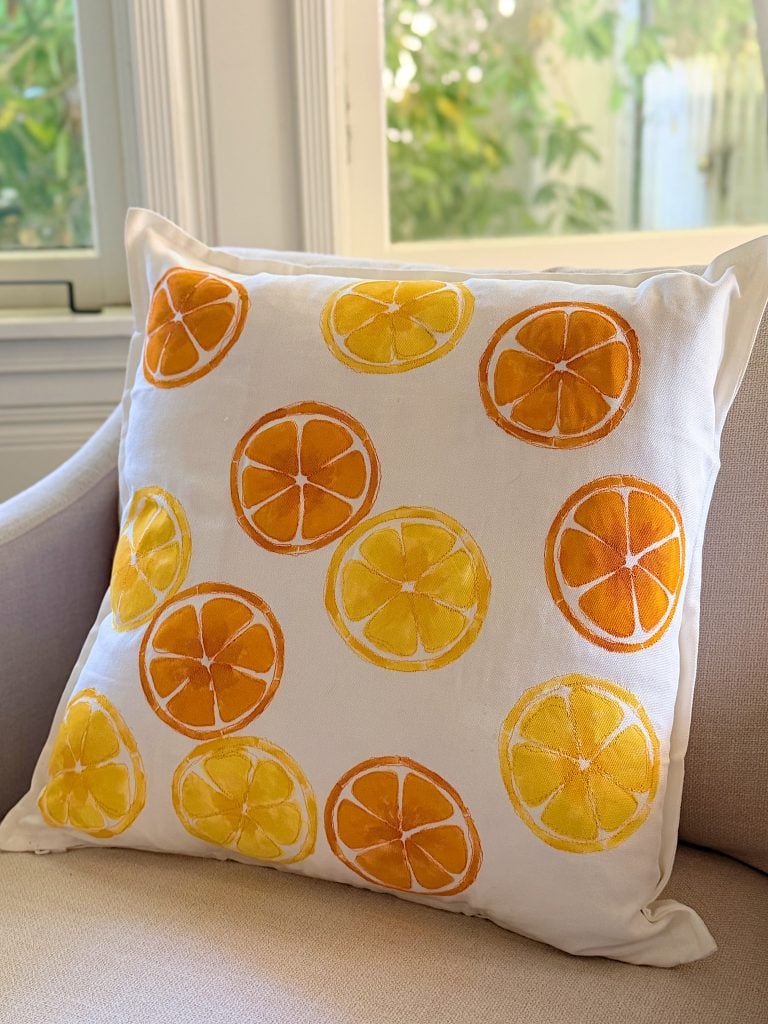
A Citrus Pillow – A Handmade Summer
A handmade pillow is one of the easiest ways to add a fresh, custom touch to your home, and this cheerful citrus design is perfect for summer. Using a simple white pillow cover, a citrus stencil, acrylic paint, and a little free-motion embroidery, you can create a one-of-a-kind accent pillow that looks boutique-made without spending…
-
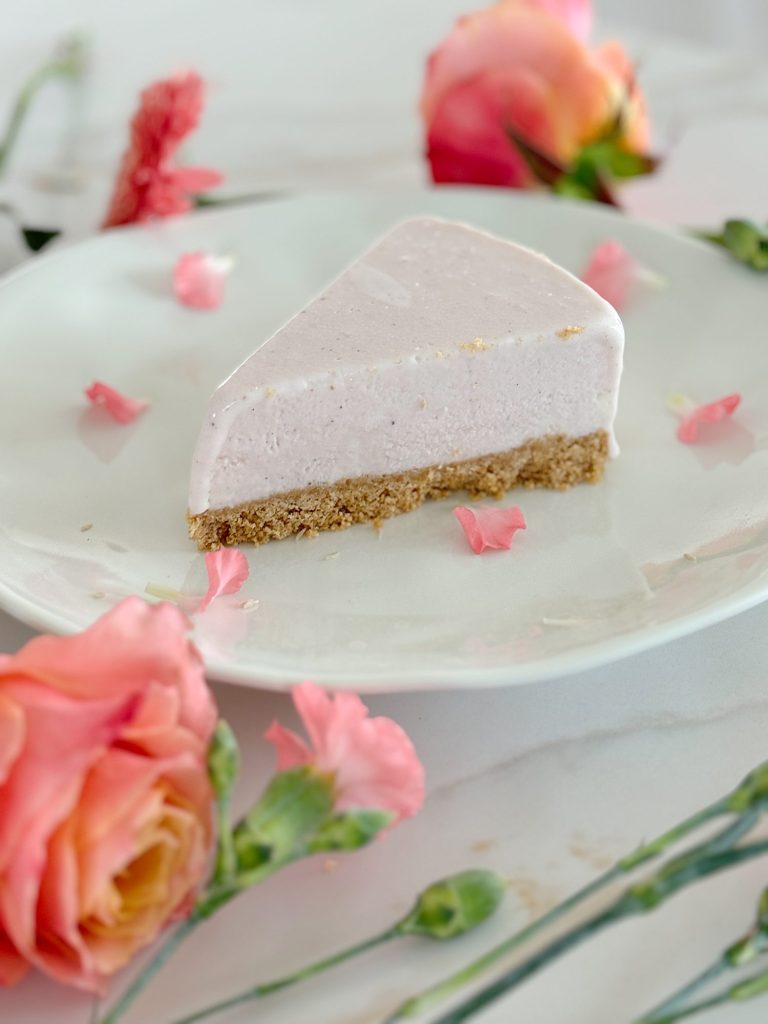
Pink Lemonade Pie
Summer is the season for refreshing and light desserts, and what could be better than a tangy, creamy, and perfectly chilled Pink Lemonade Ice Cream Pie? This delightful dessert is perfect for hot days, picnics, barbecues, or any summer gathering. Its vibrant color and mouthwatering flavor will surely be a hit for kids and adults….
-
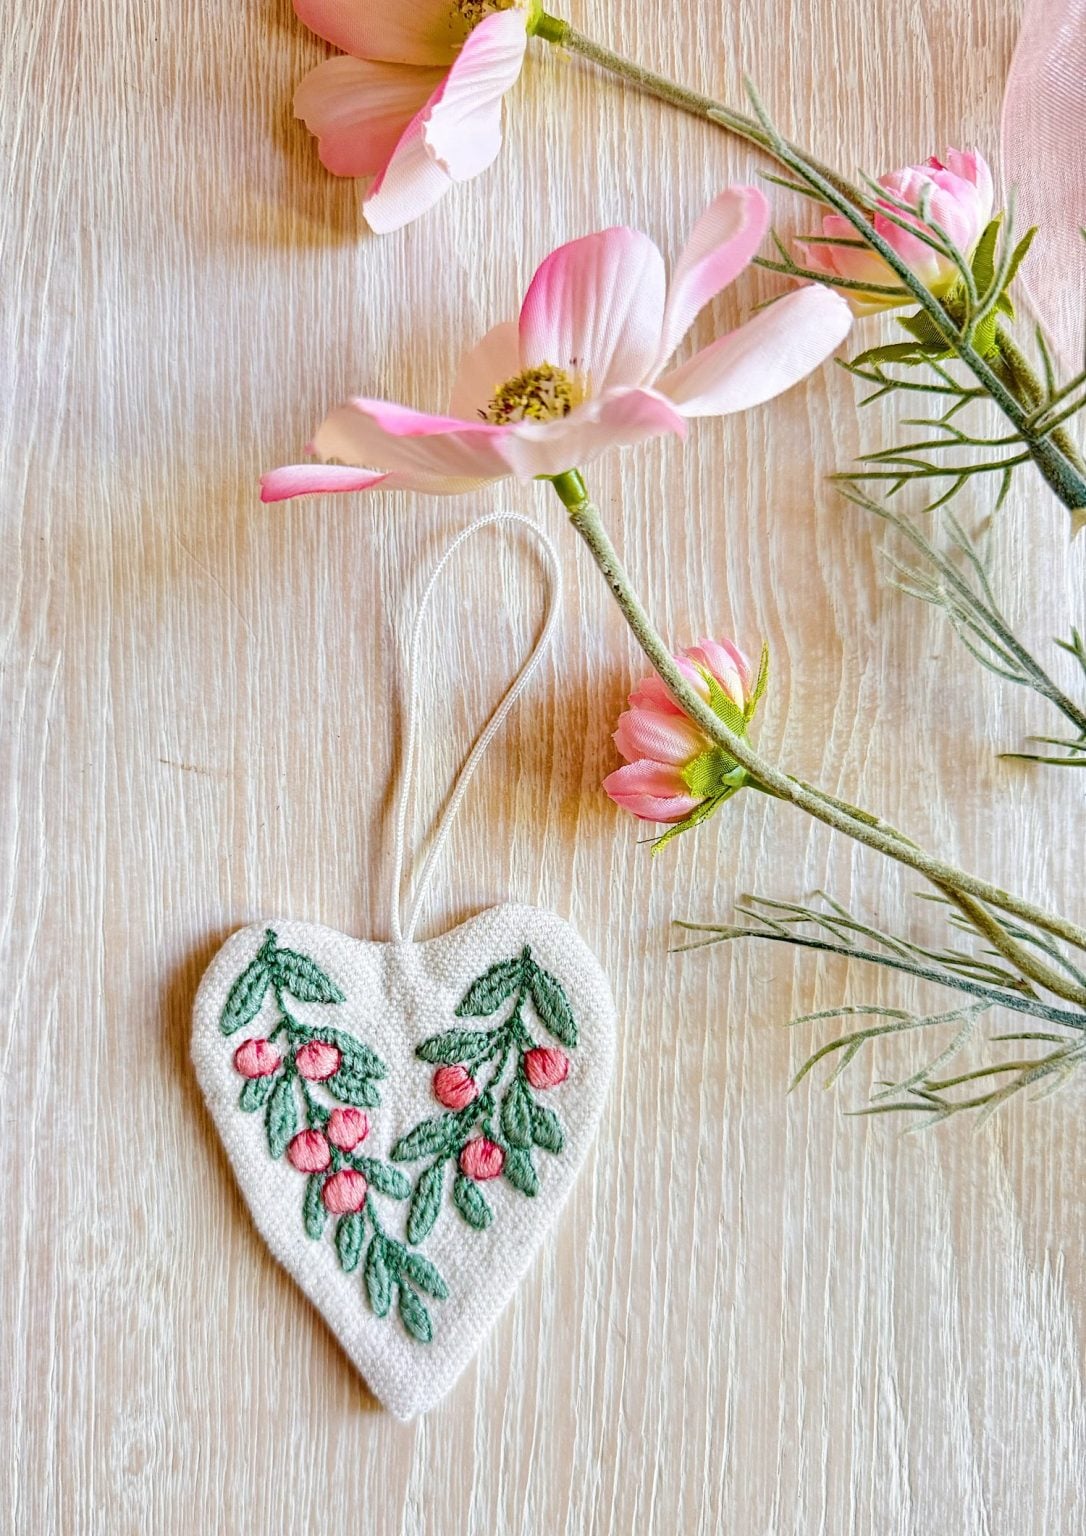
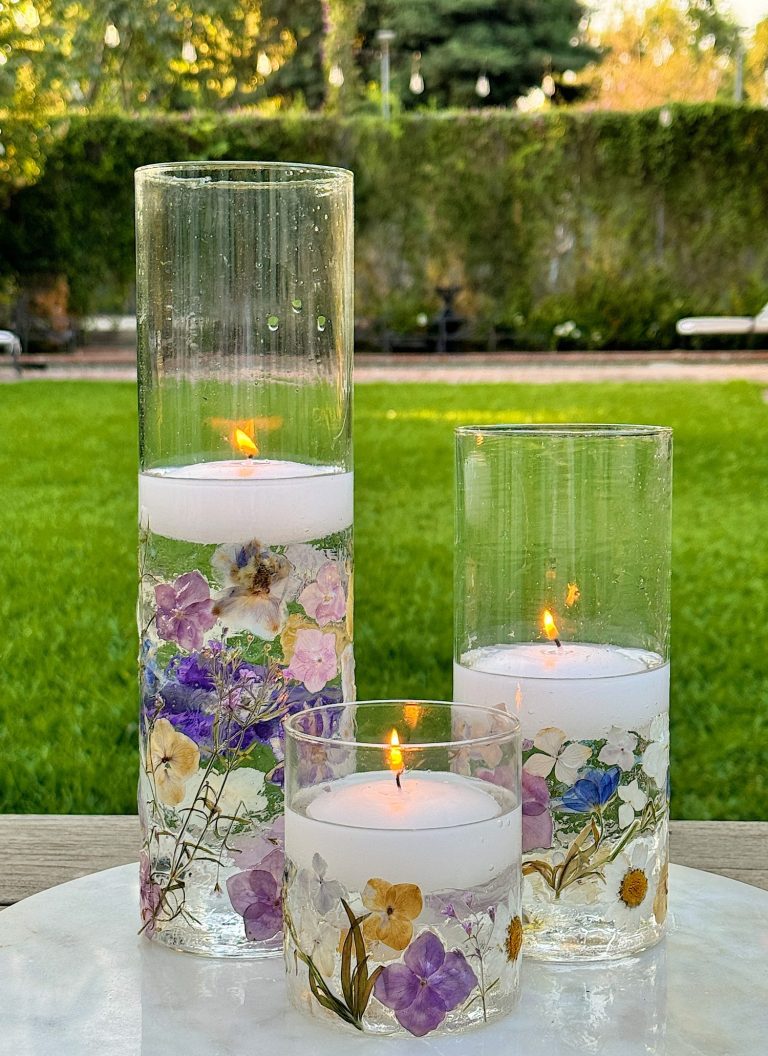
DIY Pressed Flowers
DIY pressed flowers are a beautiful and charming addition to any home decor. When made into candle holders, they are stunning. These delicate creations bring a touch of nature indoors and can be customized to fit any style or occasion. Whether you want to create a romantic centerpiece, a whimsical decoration, or a unique gift,…
-
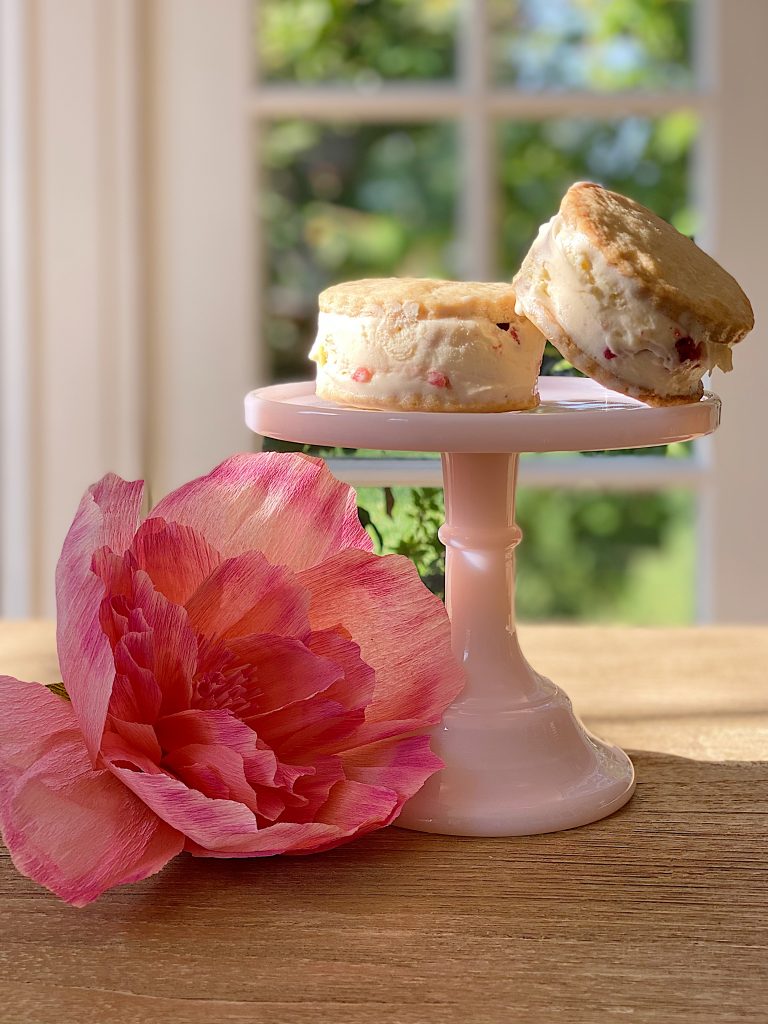
How to Make Strawberry Shortcake Ice Cream Sandwiches
Today, I am sharing my strawberry shortcake ice cream sandwiches. It’s strawberry season, so what could be better? These strawberry shortcake ice cream sandwiches are easy to make and taste amazing. Can you think of anything better for a hot summer day?
My Recent Instagram Posts

You can pin the image below to your boards on Pinterest (click the Pin button in the top left corner) or follow me on Pinterest!

For more real-time updates, follow me on Instagram @My100YearOldHome

You really are the best. I’m amazed at your ability to come up with really fantastic projects. I always look forward to your posts.