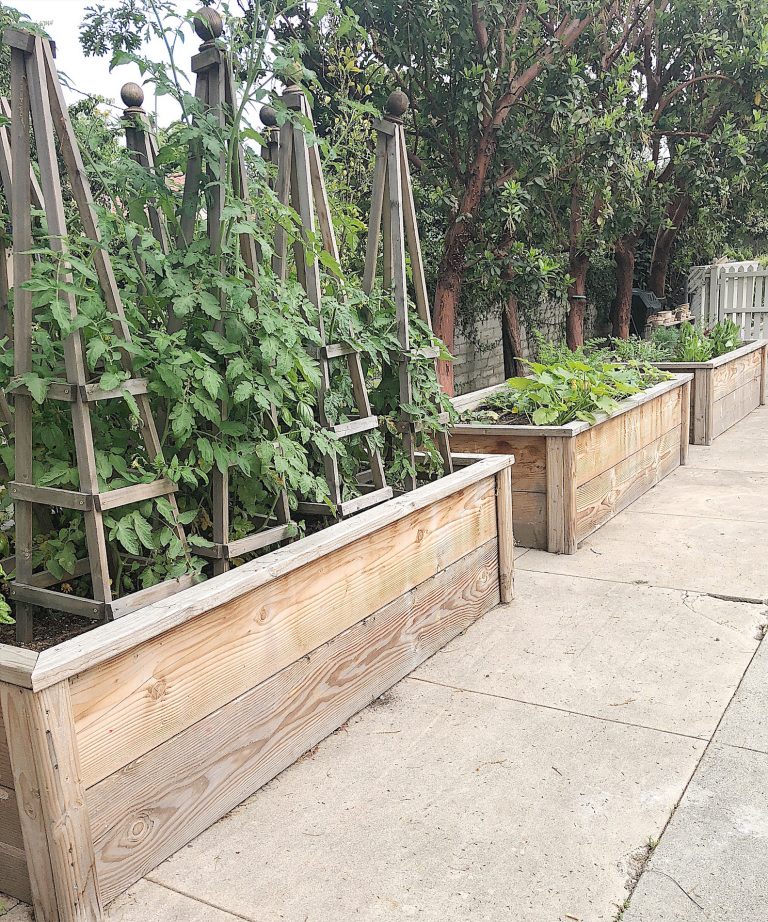
How to Build Raised Vegetable Beds
Last week, I shared lots of tips to grow tomatoes. Today, I am sharing how I made my Raised Garden Beds.
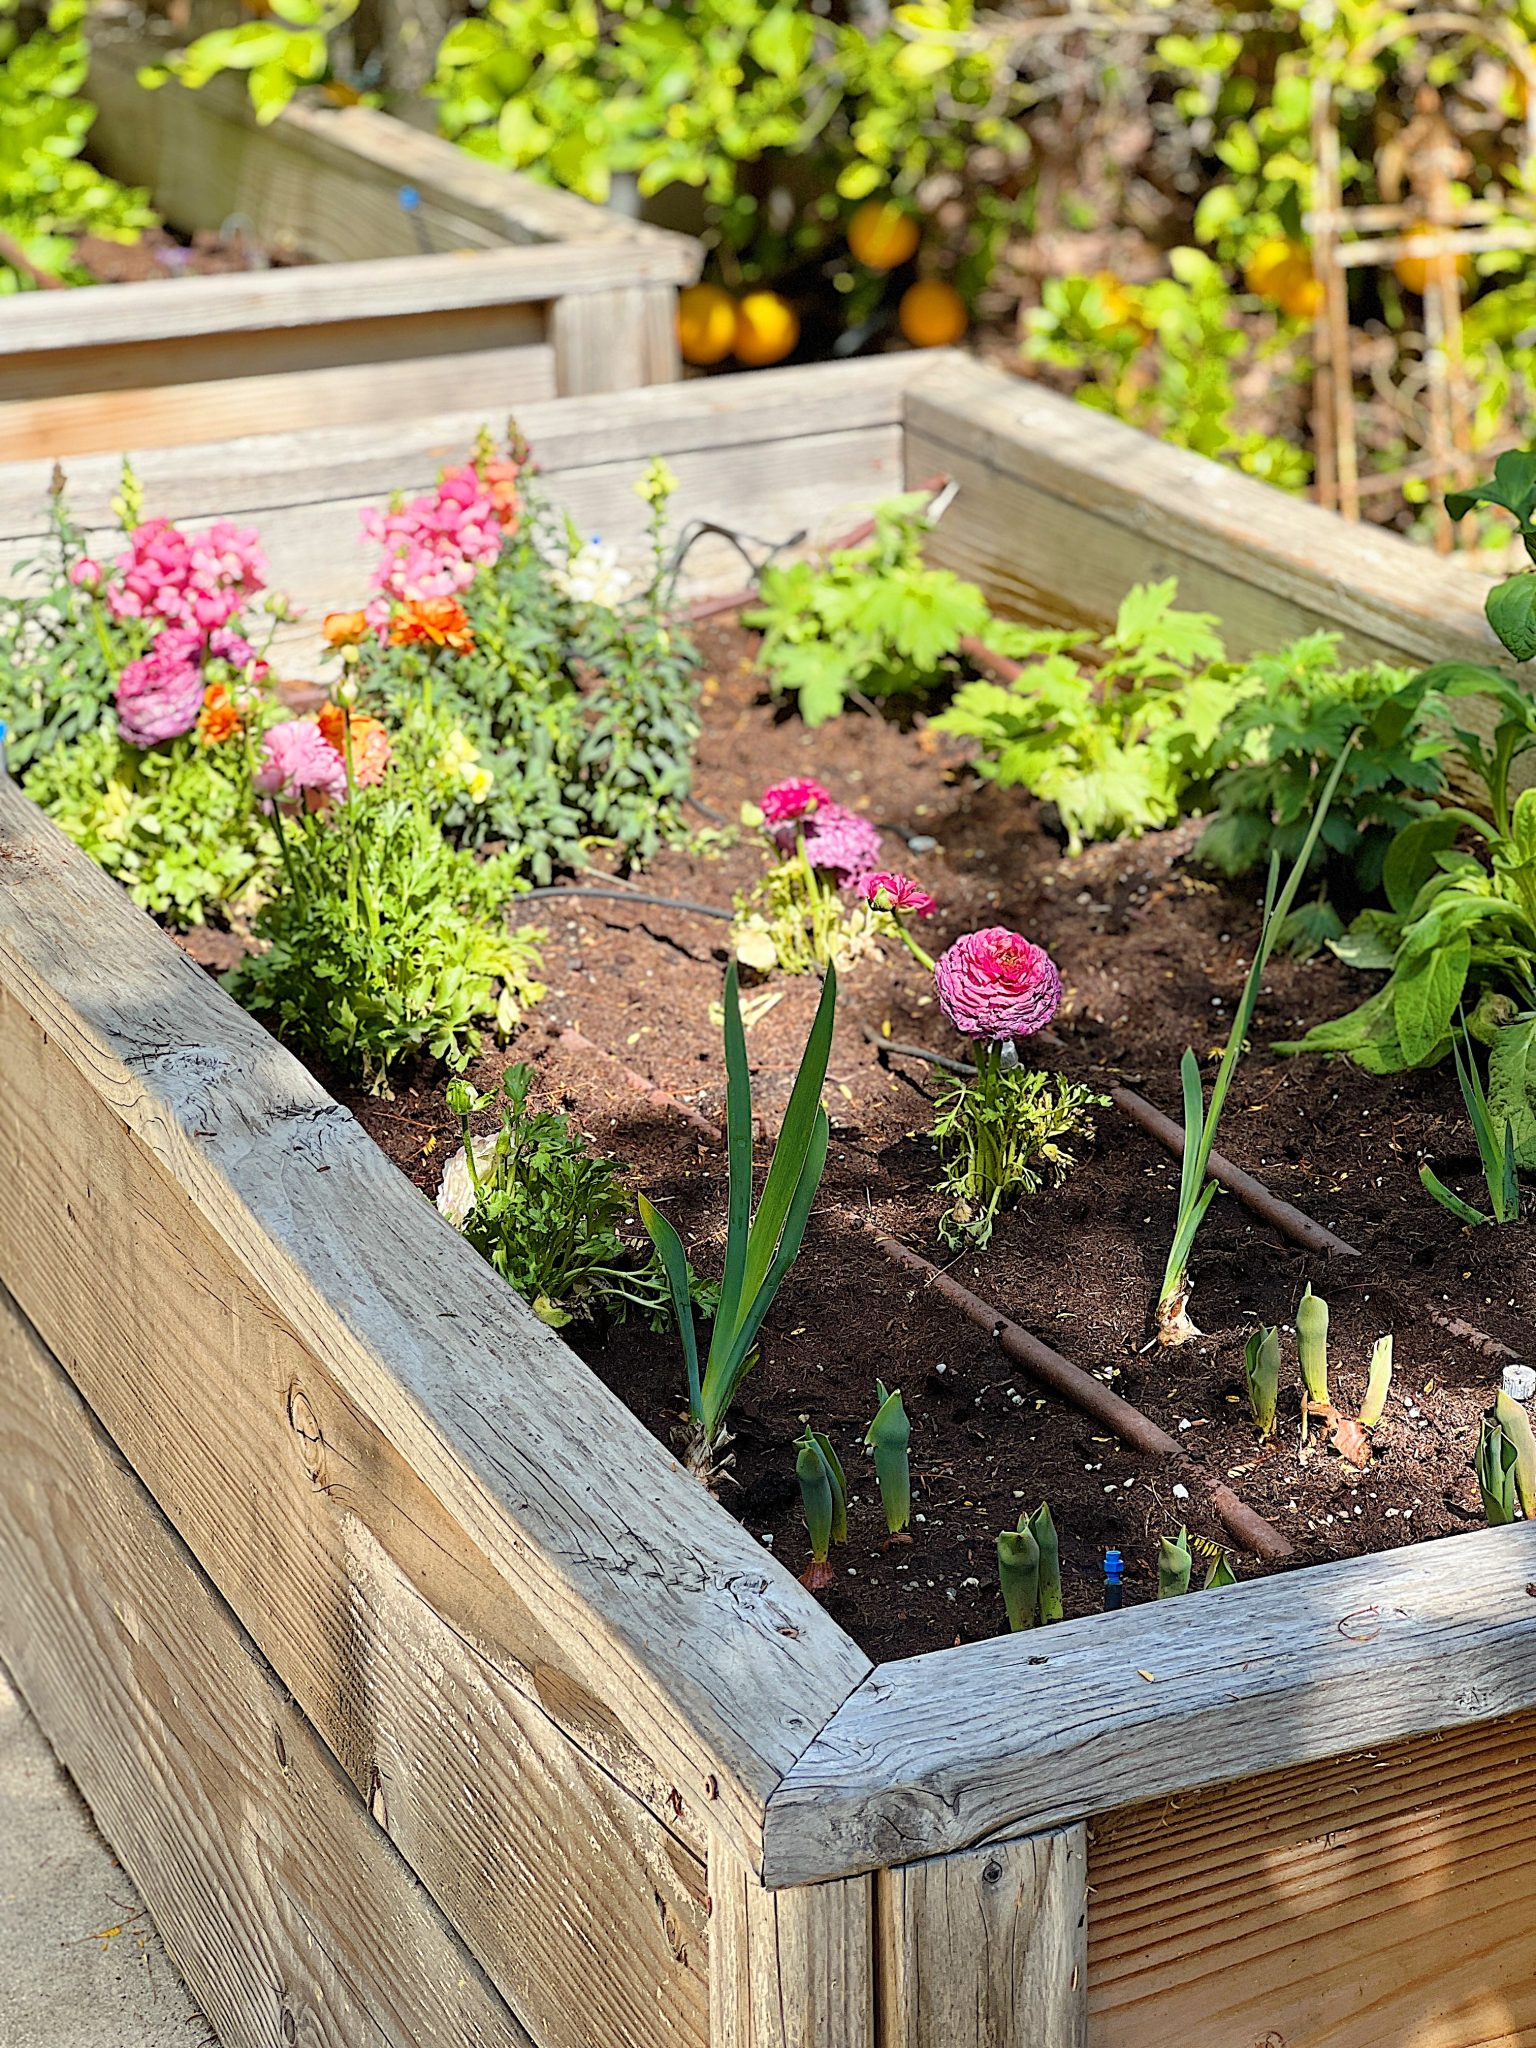
I had so much fun making these raised garden beds. I have had them for years, and every year, they host my vegetable and flower gardens. Would you consider making your own? I highly suggest you do so because they are affordable and built to last a very long time.


Raised Garden Beds
Raised vegetable beds offer several benefits over traditional in-ground gardening. Here are some of the benefits of building raised garden beds:
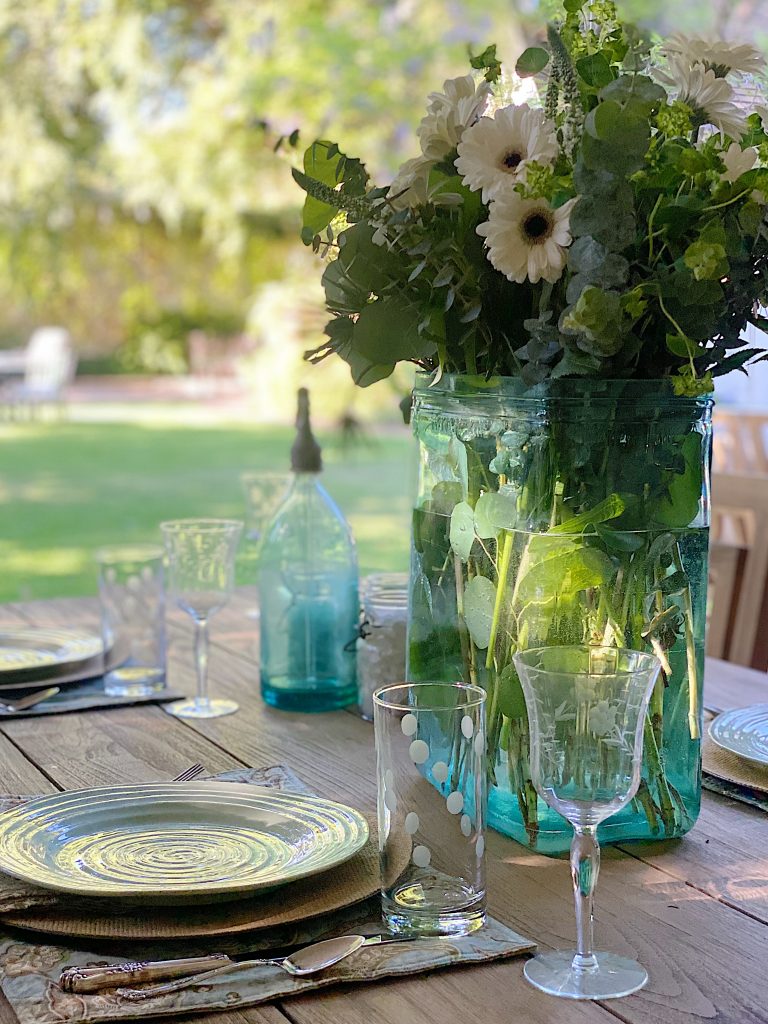
- Improved Soil Drainage: Raised beds allow excess water to drain quickly, preventing waterlogging and soil compaction. This improved drainage can help plants grow healthier roots and prevent diseases caused by waterlogged soil. It’s one of the reasons they are perfect for growing tomatoes.
- Better Soil Quality: Raised beds allow you to add high-quality soil and compost, creating a nutrient-rich growing medium ideal for vegetables. The soil in raised beds is often looser and more fertile than the compacted soil in traditional in-ground gardens, making it excellent for growing herbs and vegetables.
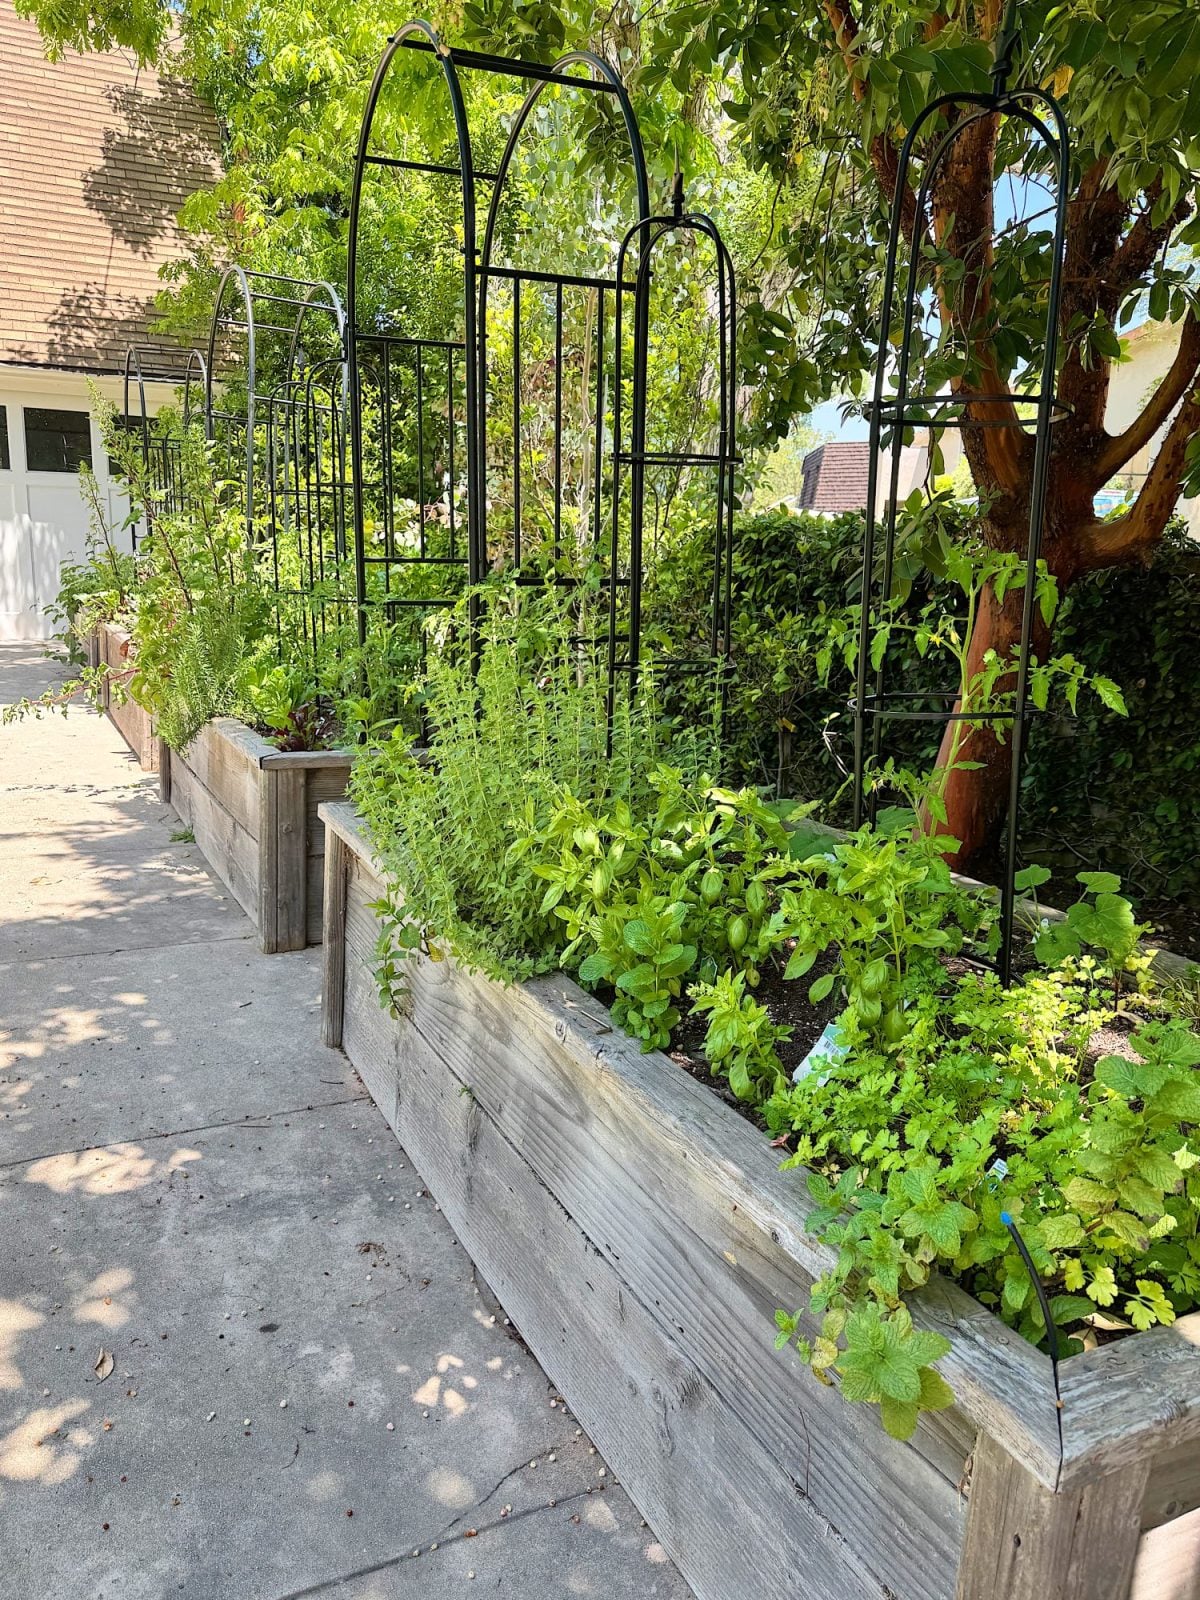
- Increased Growing Space: Raised garden beds make it easy to maximize your garden’s growing space. You can grow more vegetables in a smaller area by using vertical gardening techniques or planting in tightly spaced rows.
- Easier Maintenance: Raised beds can be easier to maintain than traditional gardens. They can be designed to a comfortable height for you to work at, reducing the need to bend over or kneel. I love sitting on the edge of the beds when I garden. Additionally, raised beds are less prone to weed growth and can be easily mulched to suppress any growing weeds.
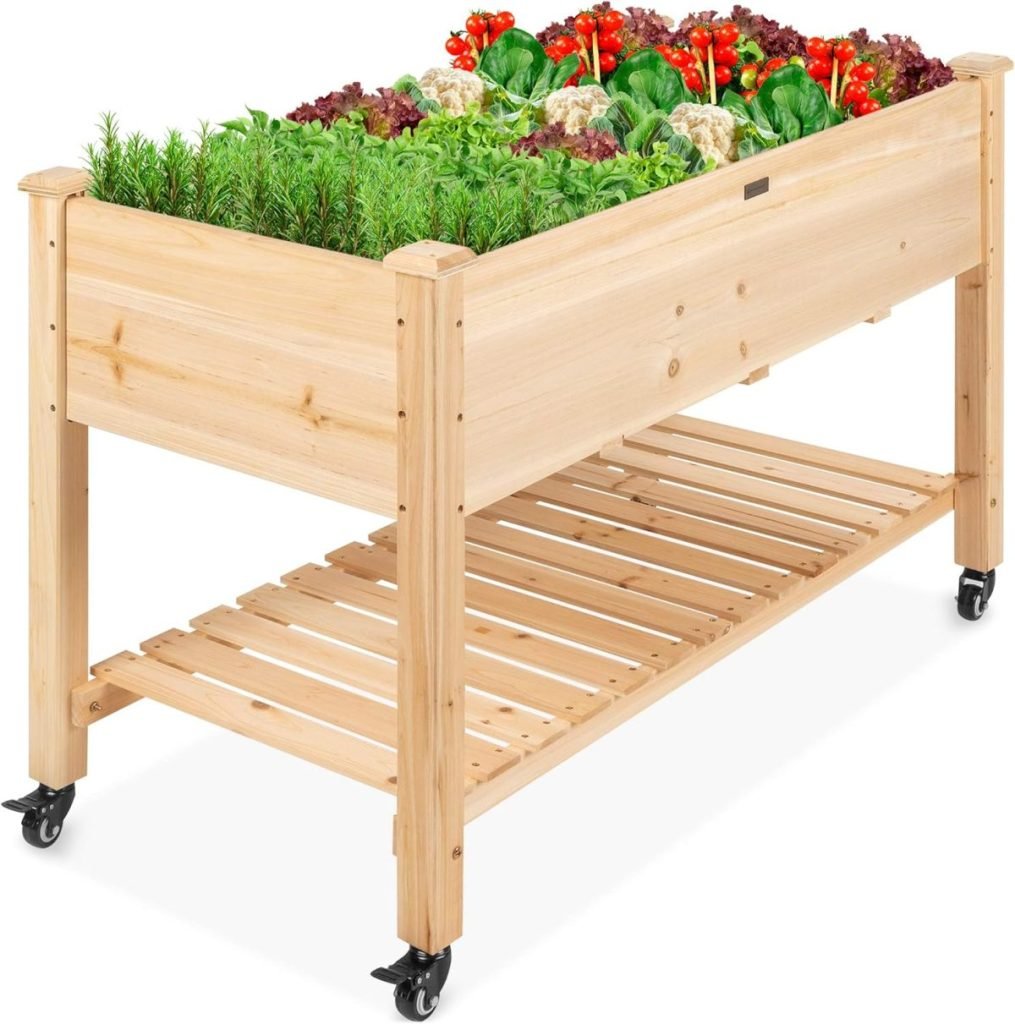
What You Need to Make a Raised Garden Bed
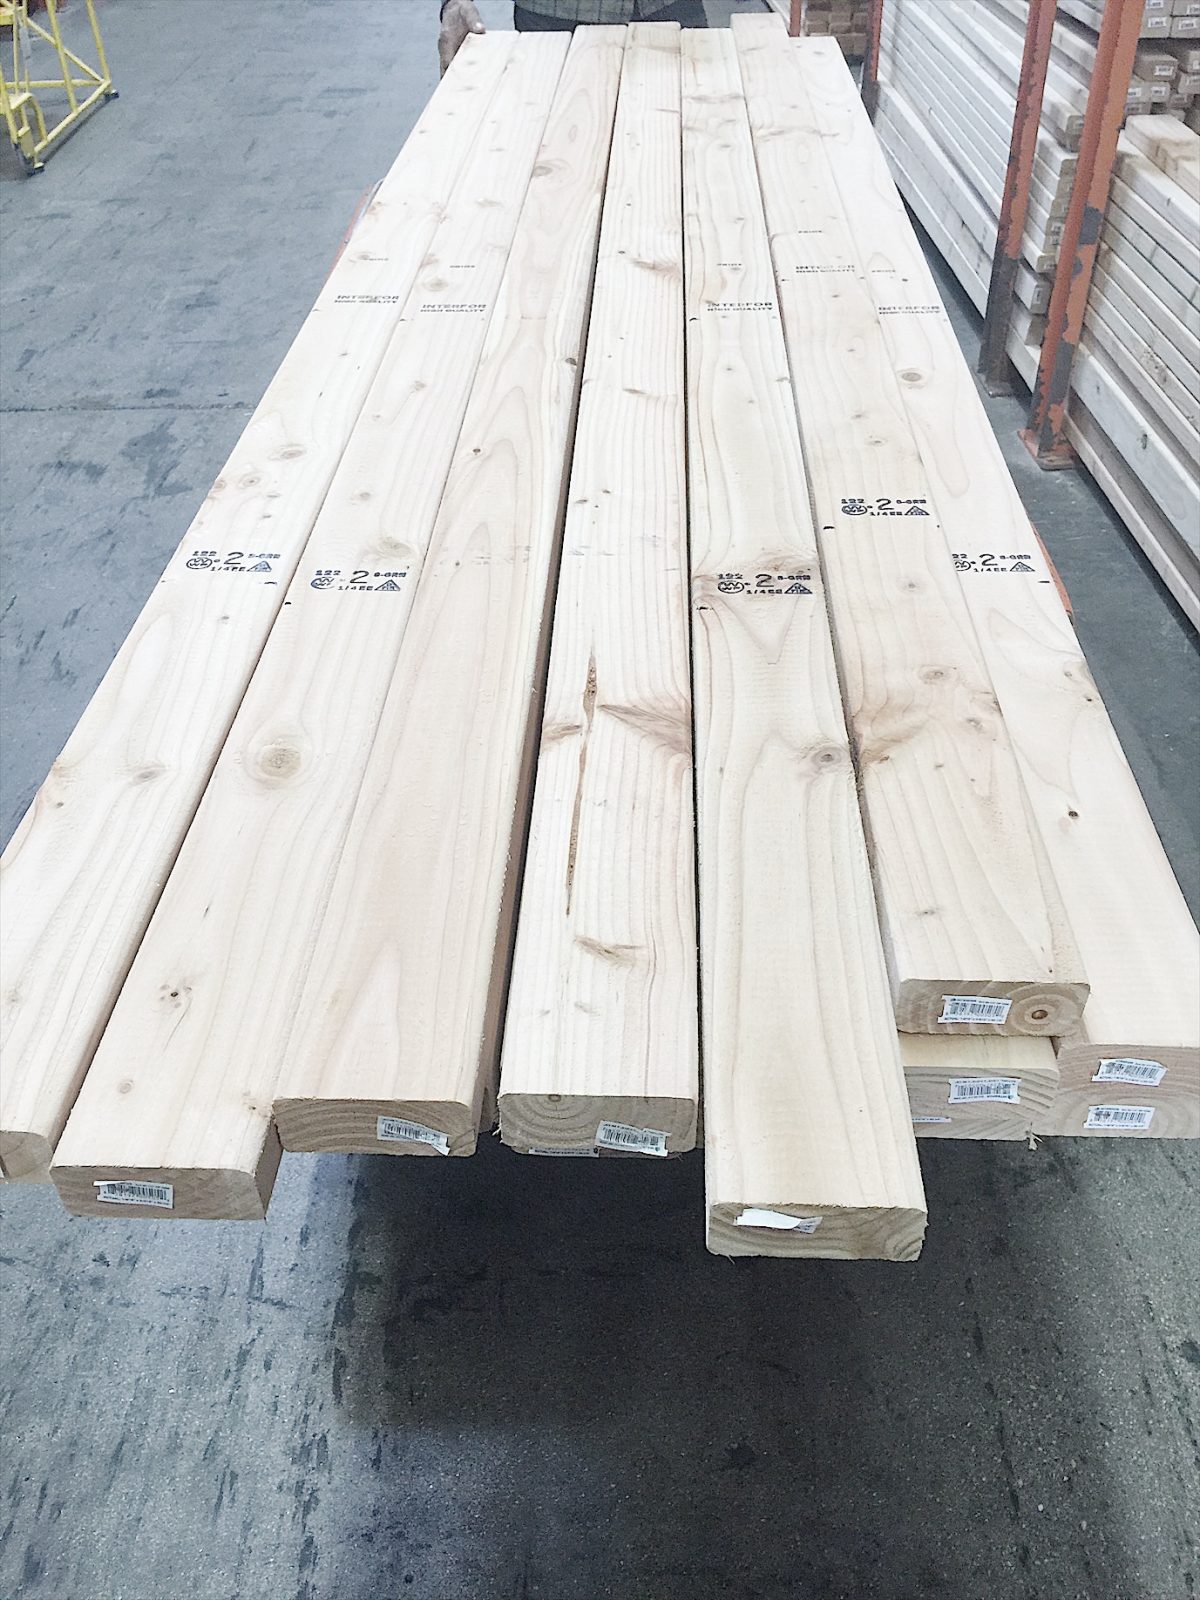
Many raised beds are made from cedar, but I used Douglas Fir because it was a lot less expensive and just as good. Do not use pressure-treated lumber, as the chemicals can leak into your garden.
Measurements for Cutting
These amounts are to make one raised, 4′ x 8′ bed.
- Two 2”x12”x8’ (cut down to four 2” x 12” x 4”) for short sides of box
- Four 2”x12”x8’ for long sides of box
- Three 2” x 6” x 8’ for top rails
- Eight 2’ x 4” x 8’ (cut down to 16″ lengths) for corners
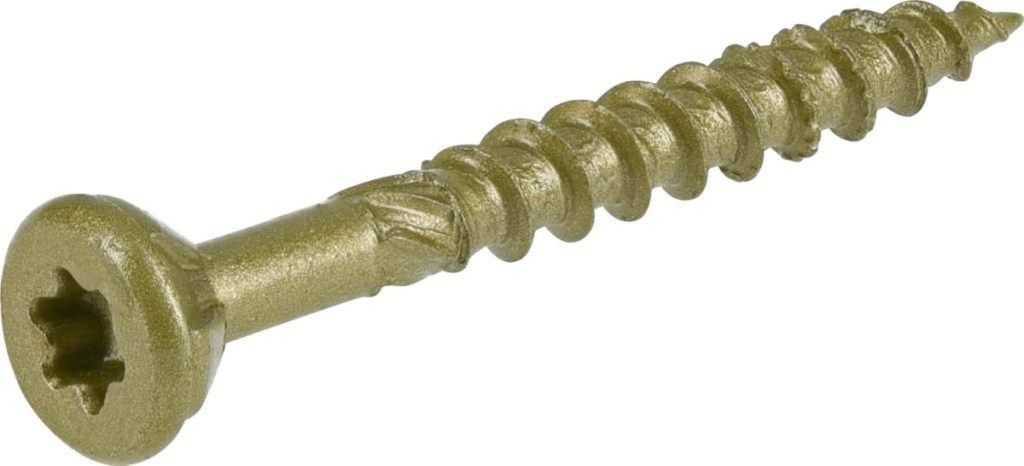
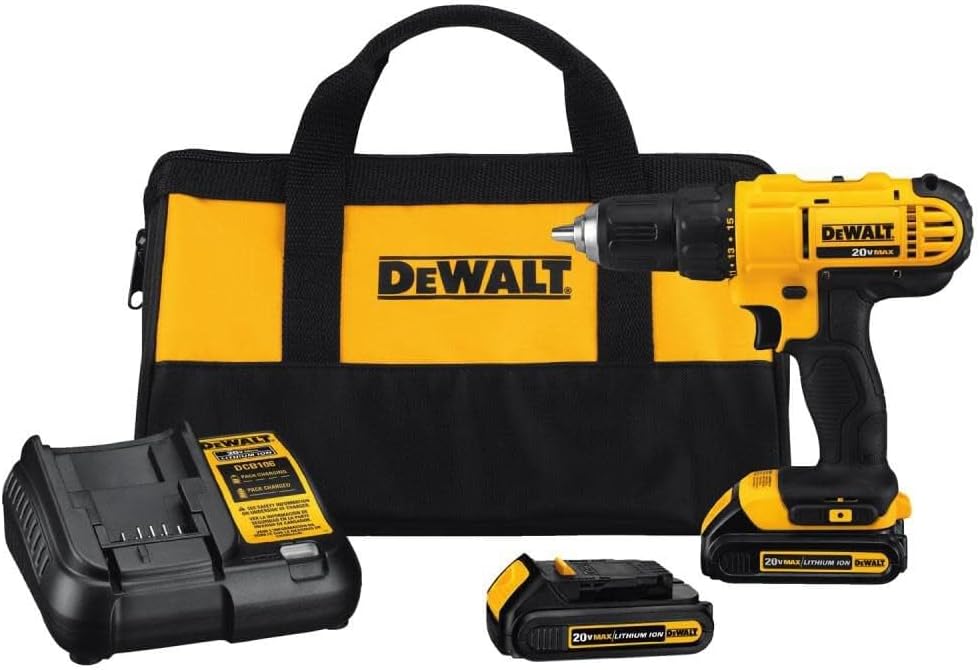
- One large box of 3 ½” long self-tapping deck screws
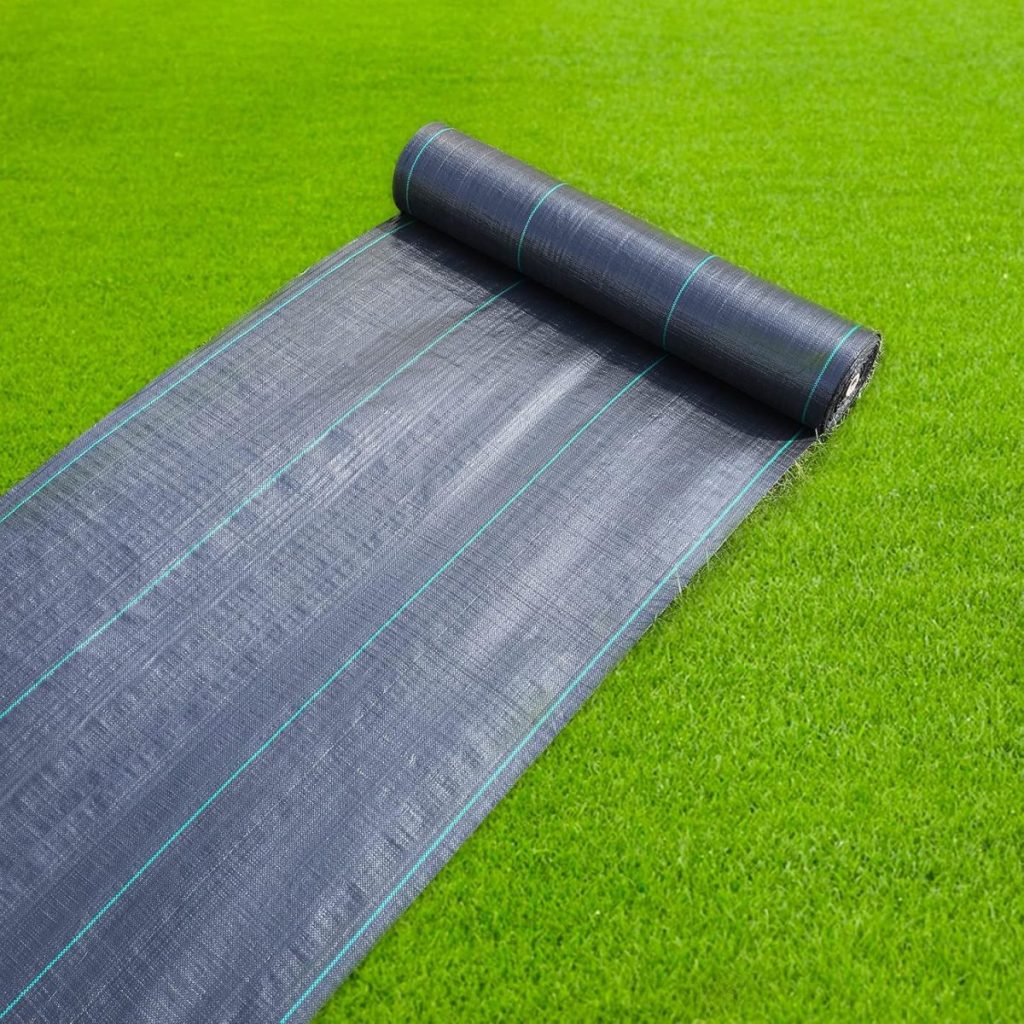
- Landscape Fabric or weed barrier cloth
- Two 16″ metal reinforcement straps
- Vegetable garden soil, manure, or topsoil
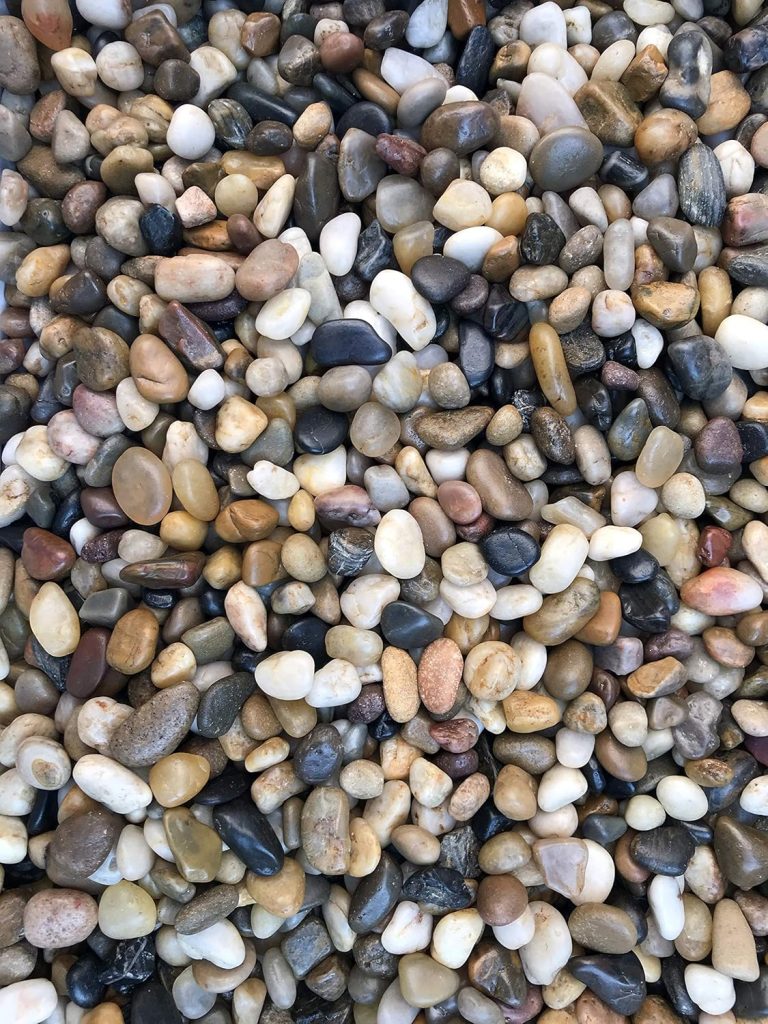
- 3” of small rocks for drainage
I may use affiliate links on this blog, which means I earn a small commission if you make a purchase via the link. The price will be the same whether you use the affiliate link or go directly to the vendor’s website using a non-affiliate link.


How to Make a Raised Garden Bed
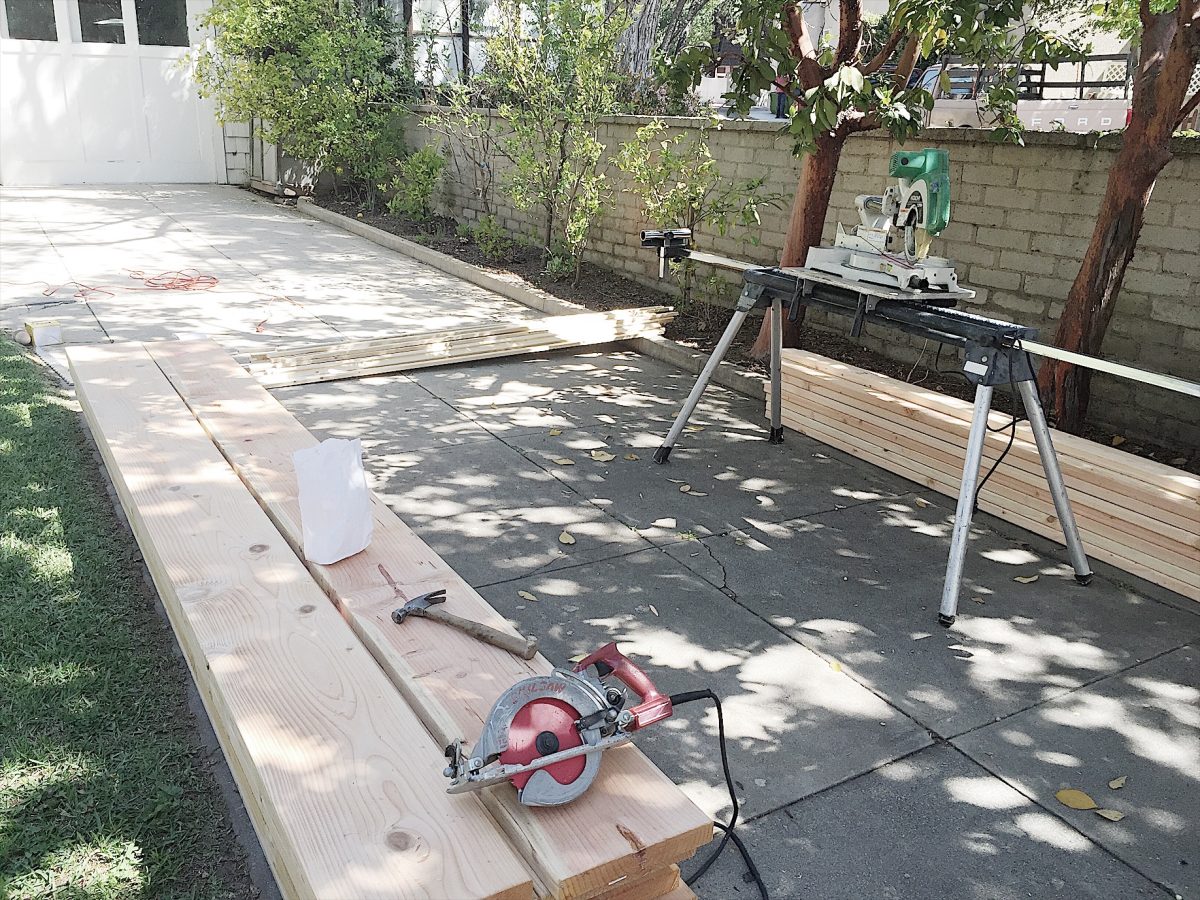
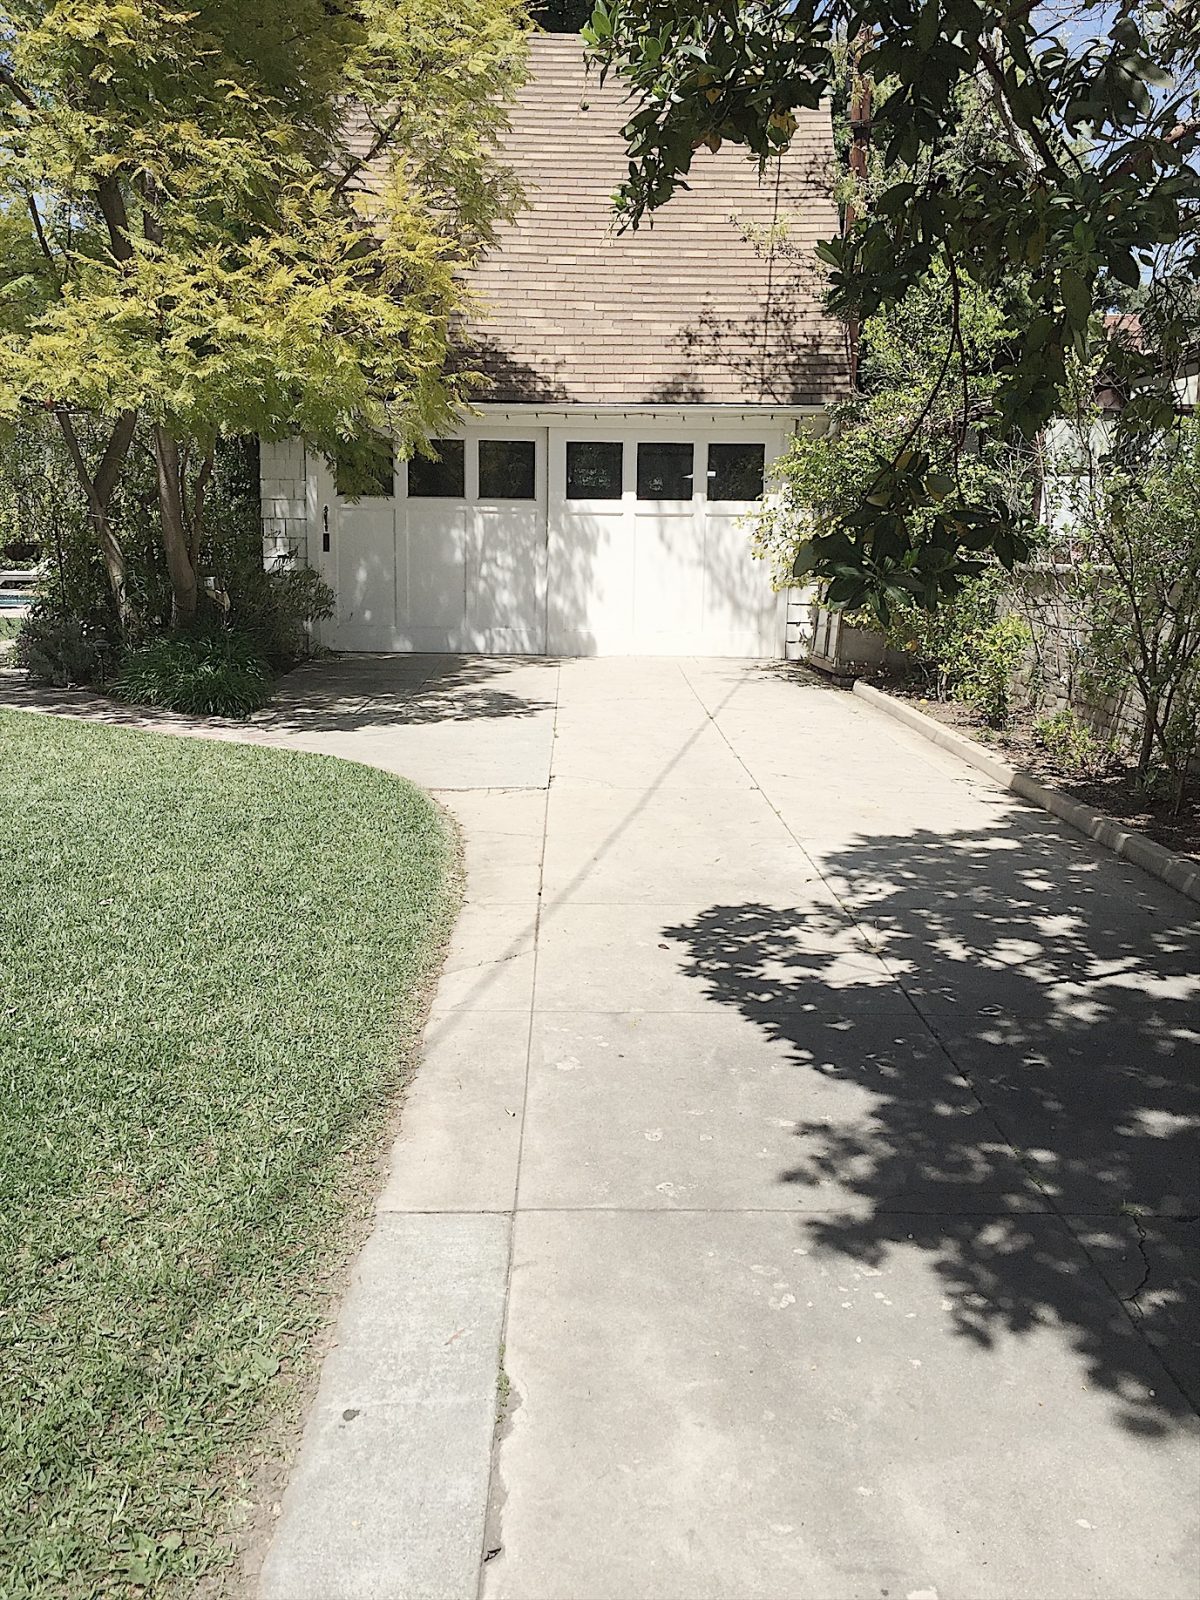
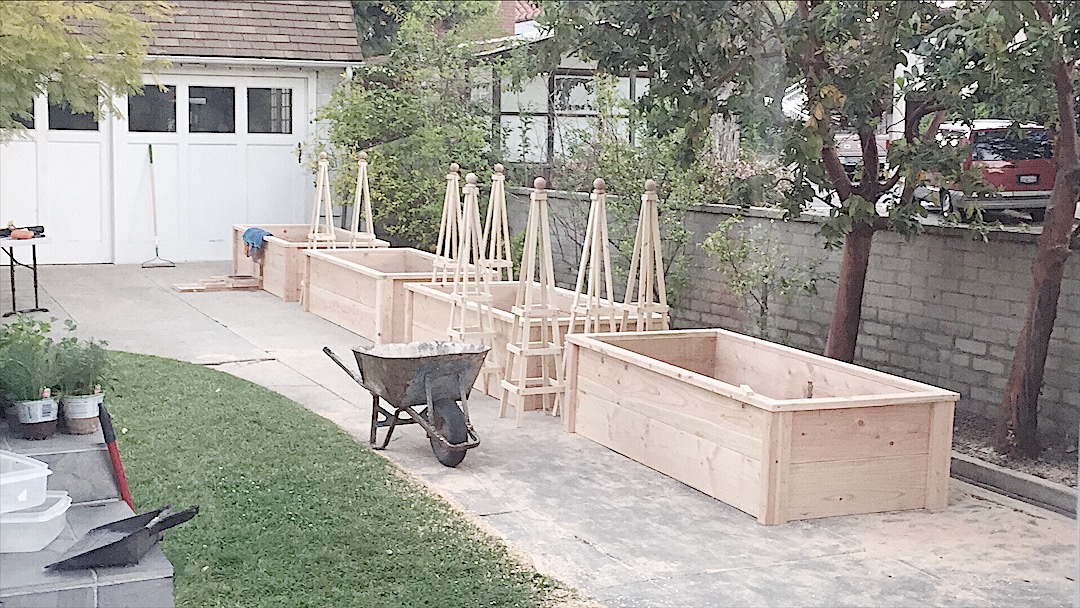
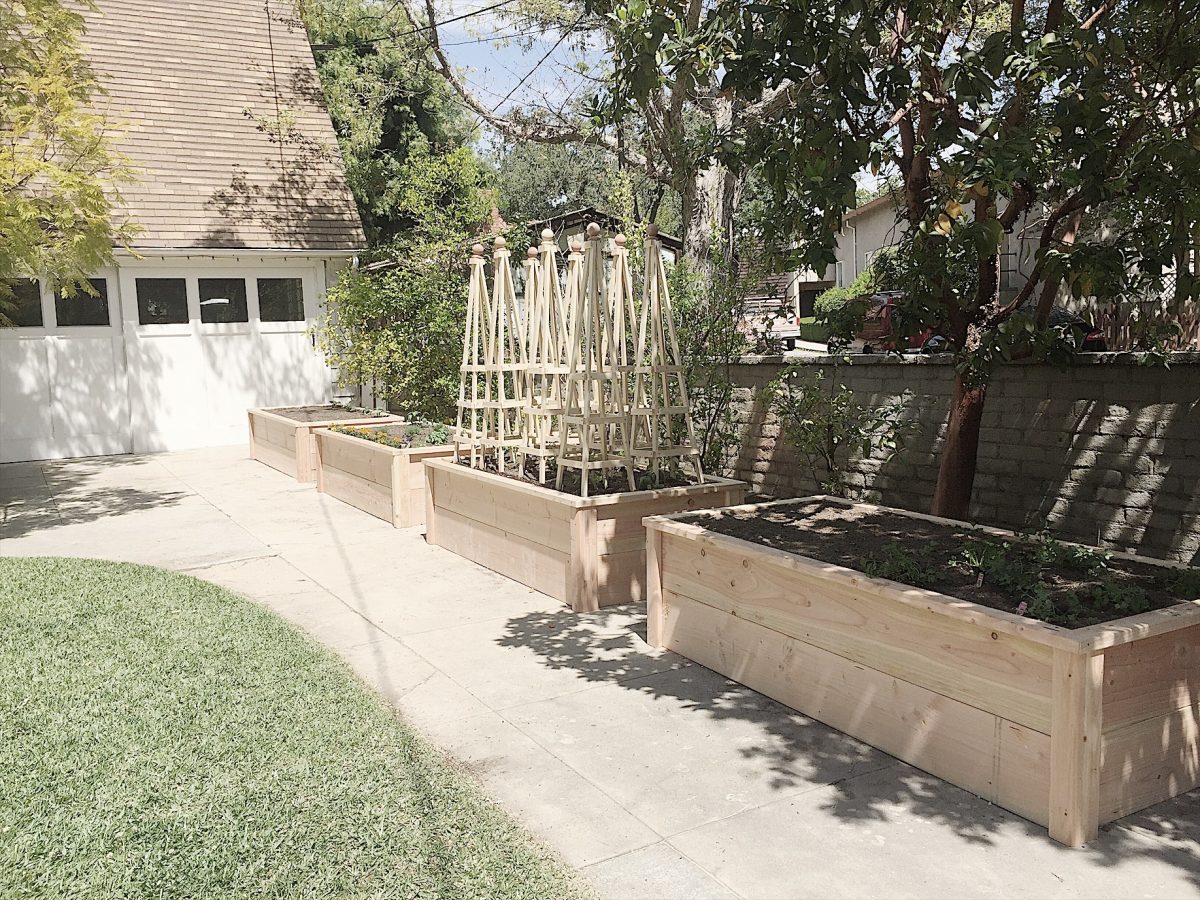
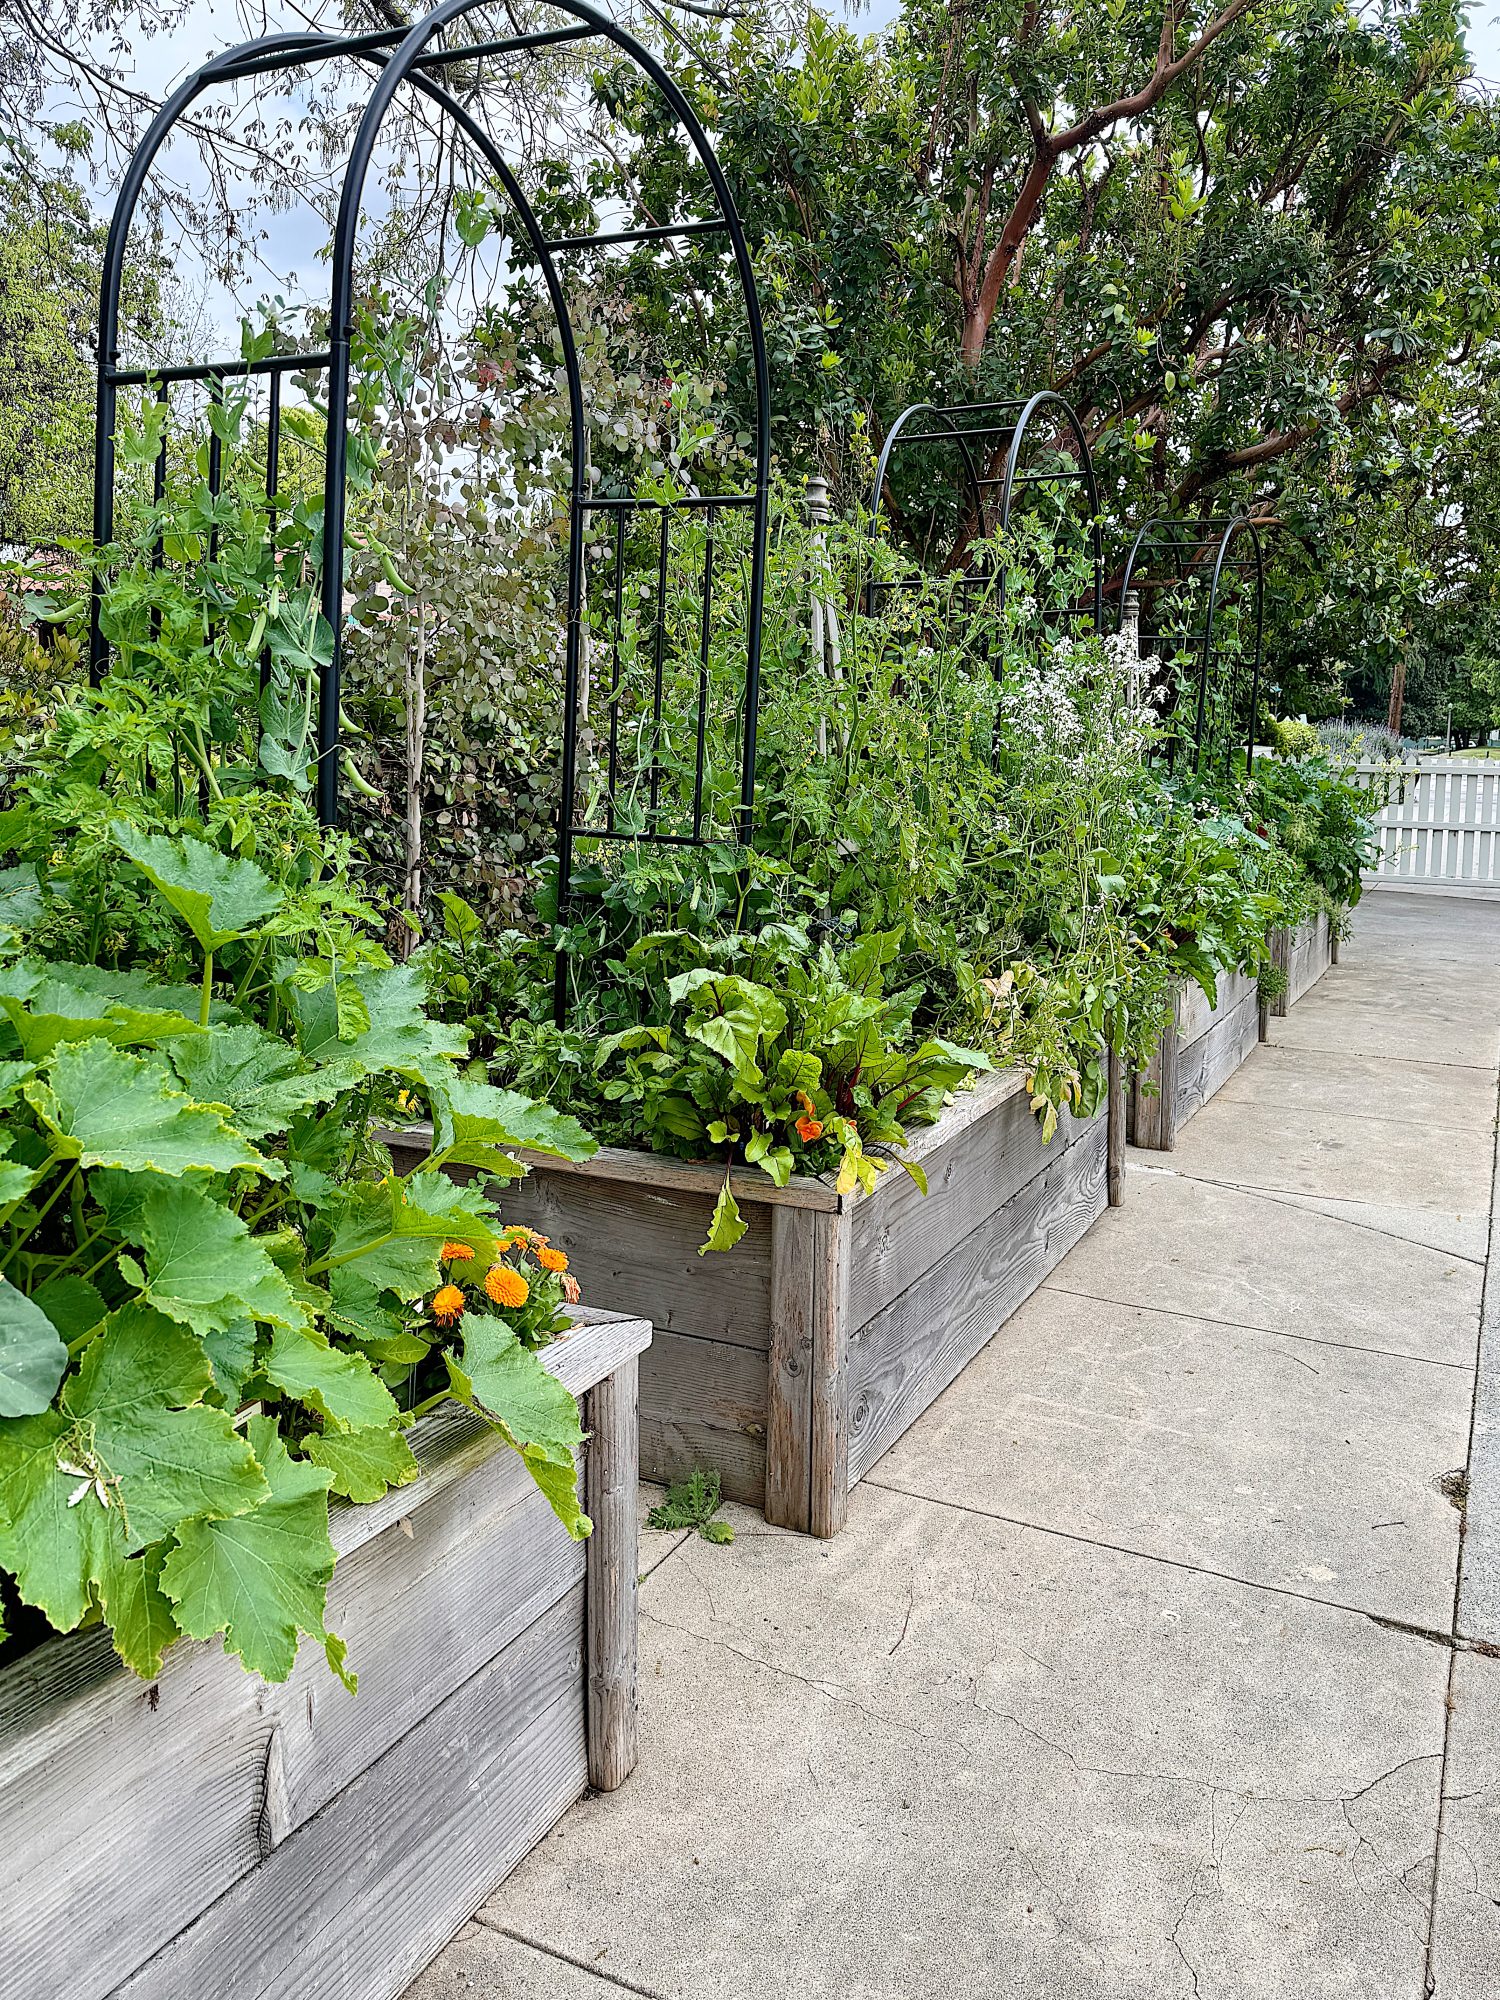
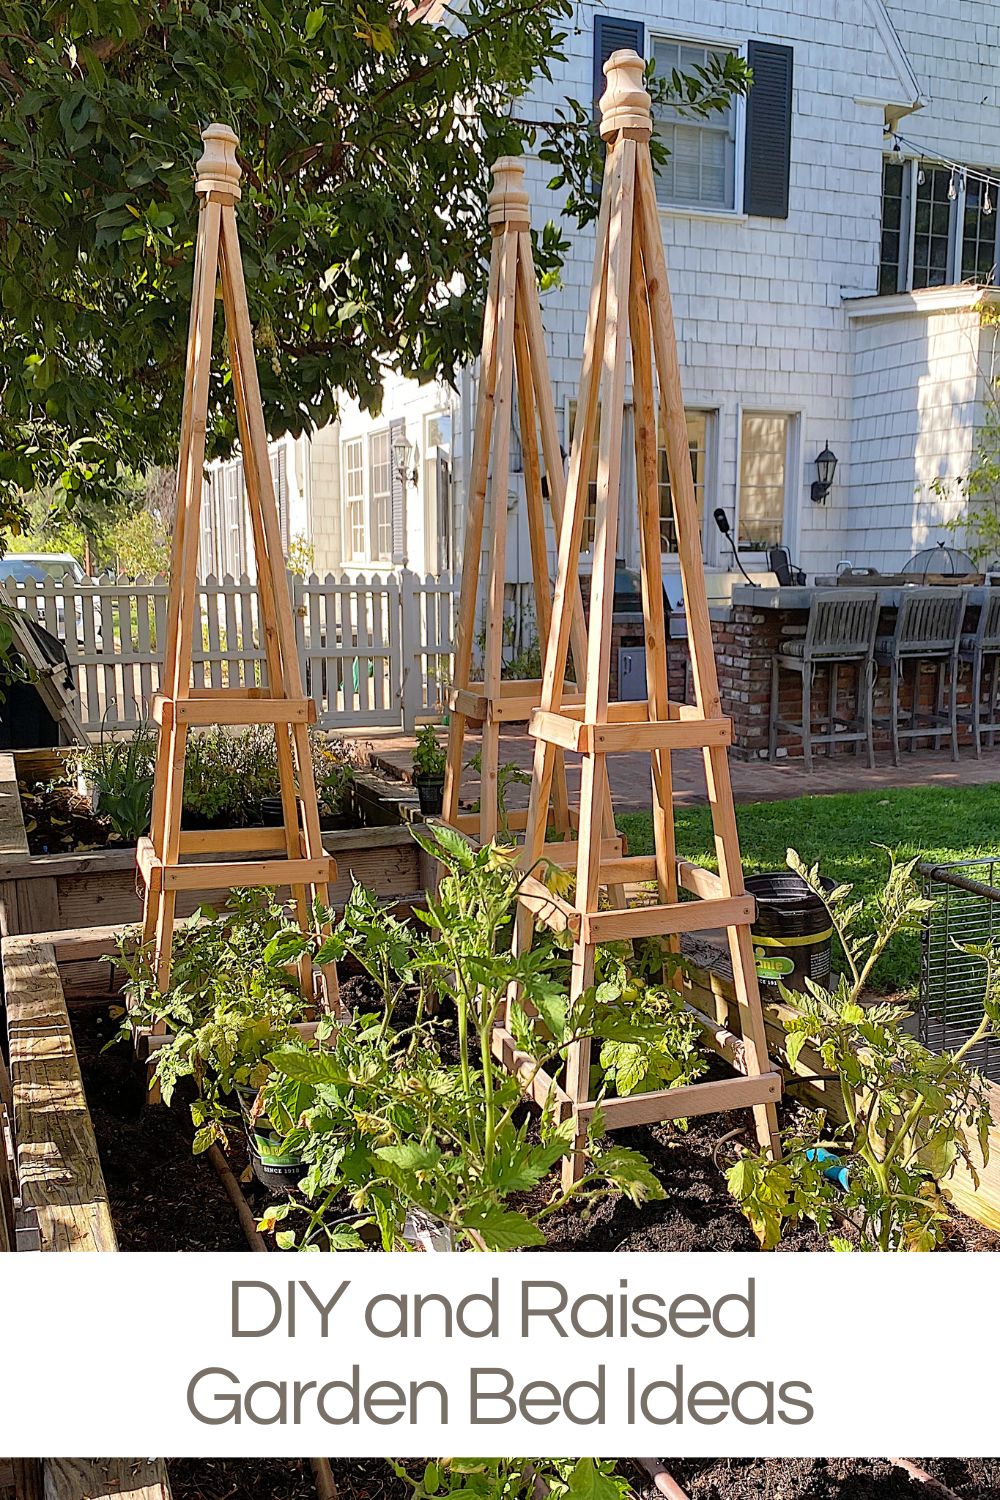
When I decided to build a few raised vegetable beds, I knew the best location was the long concrete driveway in our backyard. The driveway has never been used for cars, and the building in the back is our Carriage House, which was originally for horses and carriages.
The first thing you need to do is decide on a location for your raised vegetable beds. Consider a level location with the right amount of sunlight. Most vegetable gardens need at least four hours of sunlight per day.
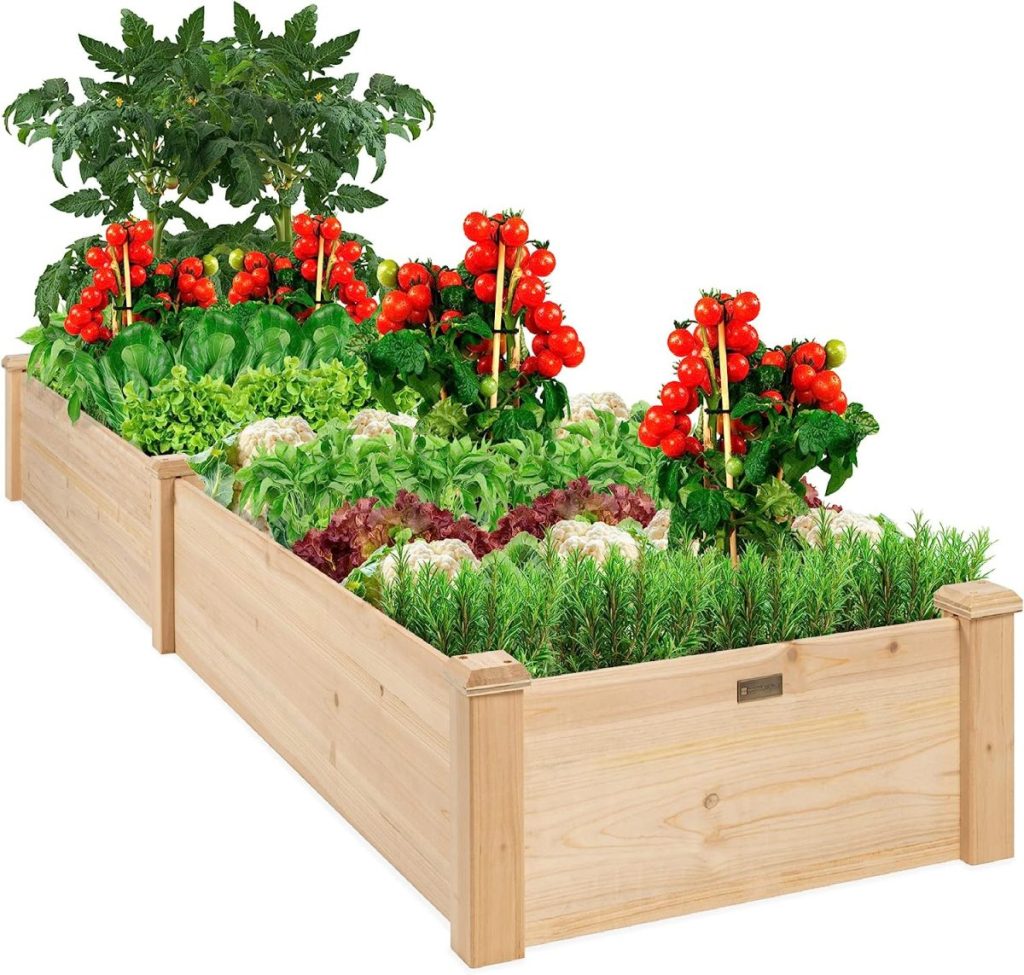
In terms of bed size, 4 feet is a standard width. Lumber is often cut in 4-foot increments, and you also want to access the garden without stepping into the bed. Length isn’t as important. Plots are frequently 4 feet wide by 8 feet long or 4 feet wide by 12 feet long. My beds measured eight feet by four feet.
The depth of the bed can vary. Six inches is a minimum. Plants need a 6- to 12-inch rooting zone, so 12 inches is ideal. Mine are 24” tall. I am so tall that I didn’t want to bend down too far to do my gardening!

Step By Step:
STEP #1
Once you have selected your area, if it’s on loose dirt, break up and loosen the soil with a garden fork so it’s not compacted. Go about 6 to 8 inches deep. For improved rooting, some gardeners like to remove the top layer (about a spade’s depth), dig down another layer, and then return the top layer and mix the soil layers.
STEP #2
Cut all of your boards for the desired size of your vegetable bed. Pre-drill the holes for the deck screws in the center of each end of the board.s
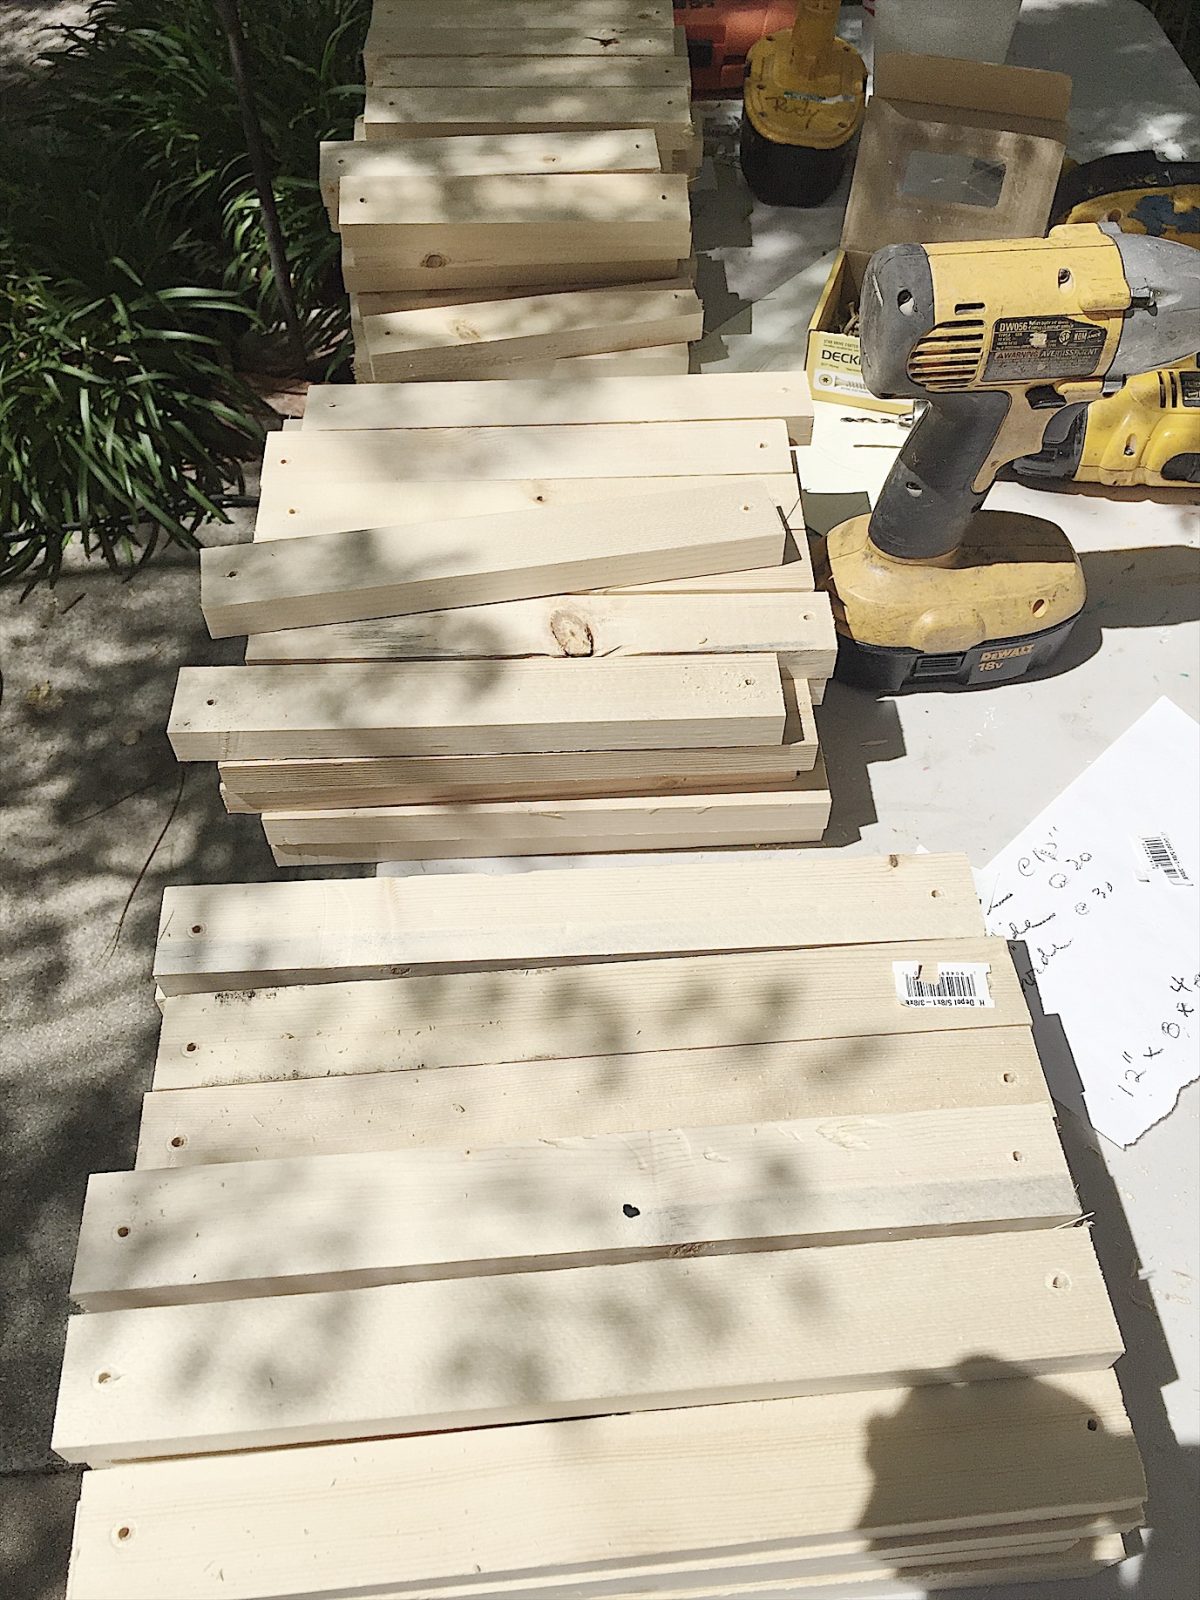
STEP #3
Attach the 2” x 12’ boards to the end pieces first, then attach the sides.
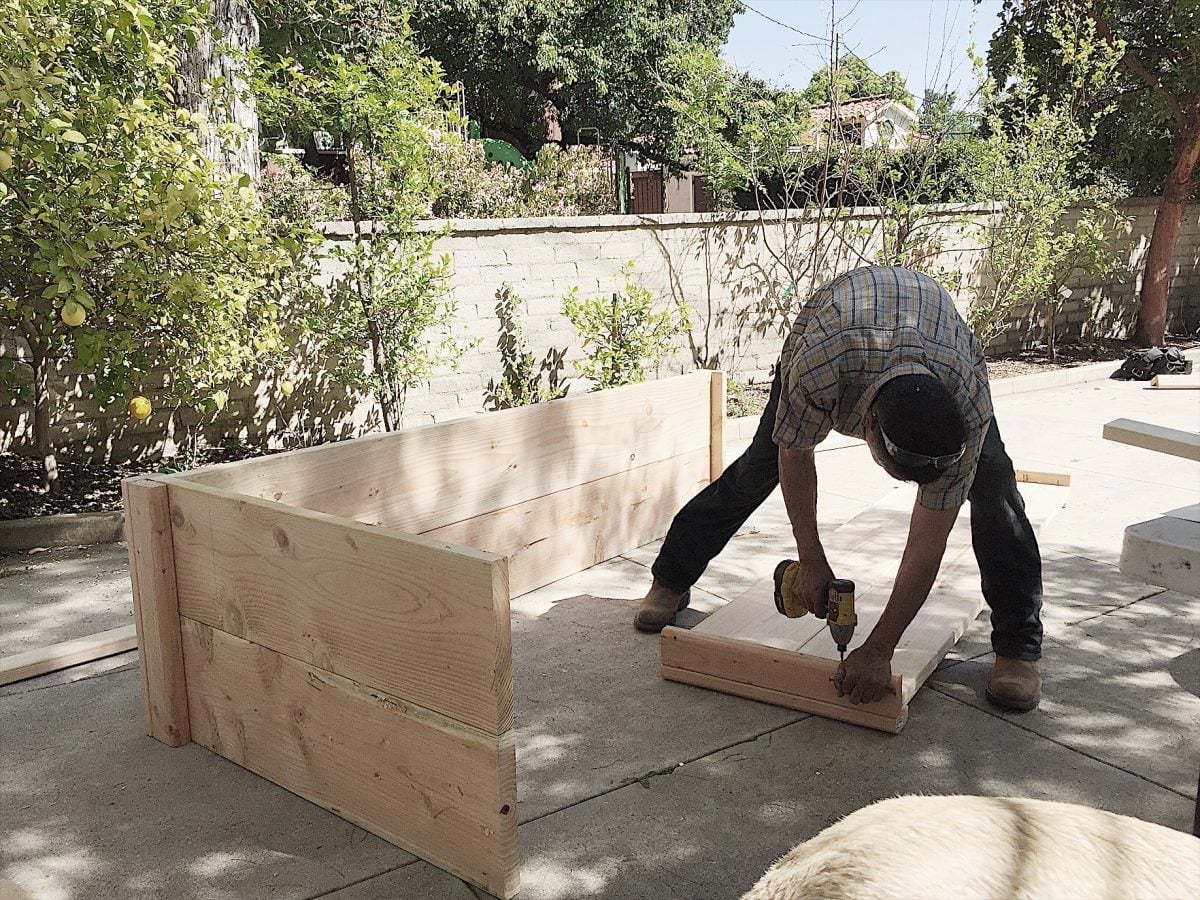
STEP #4
Once assembled, attach metal reinforcement brackets to the beds.
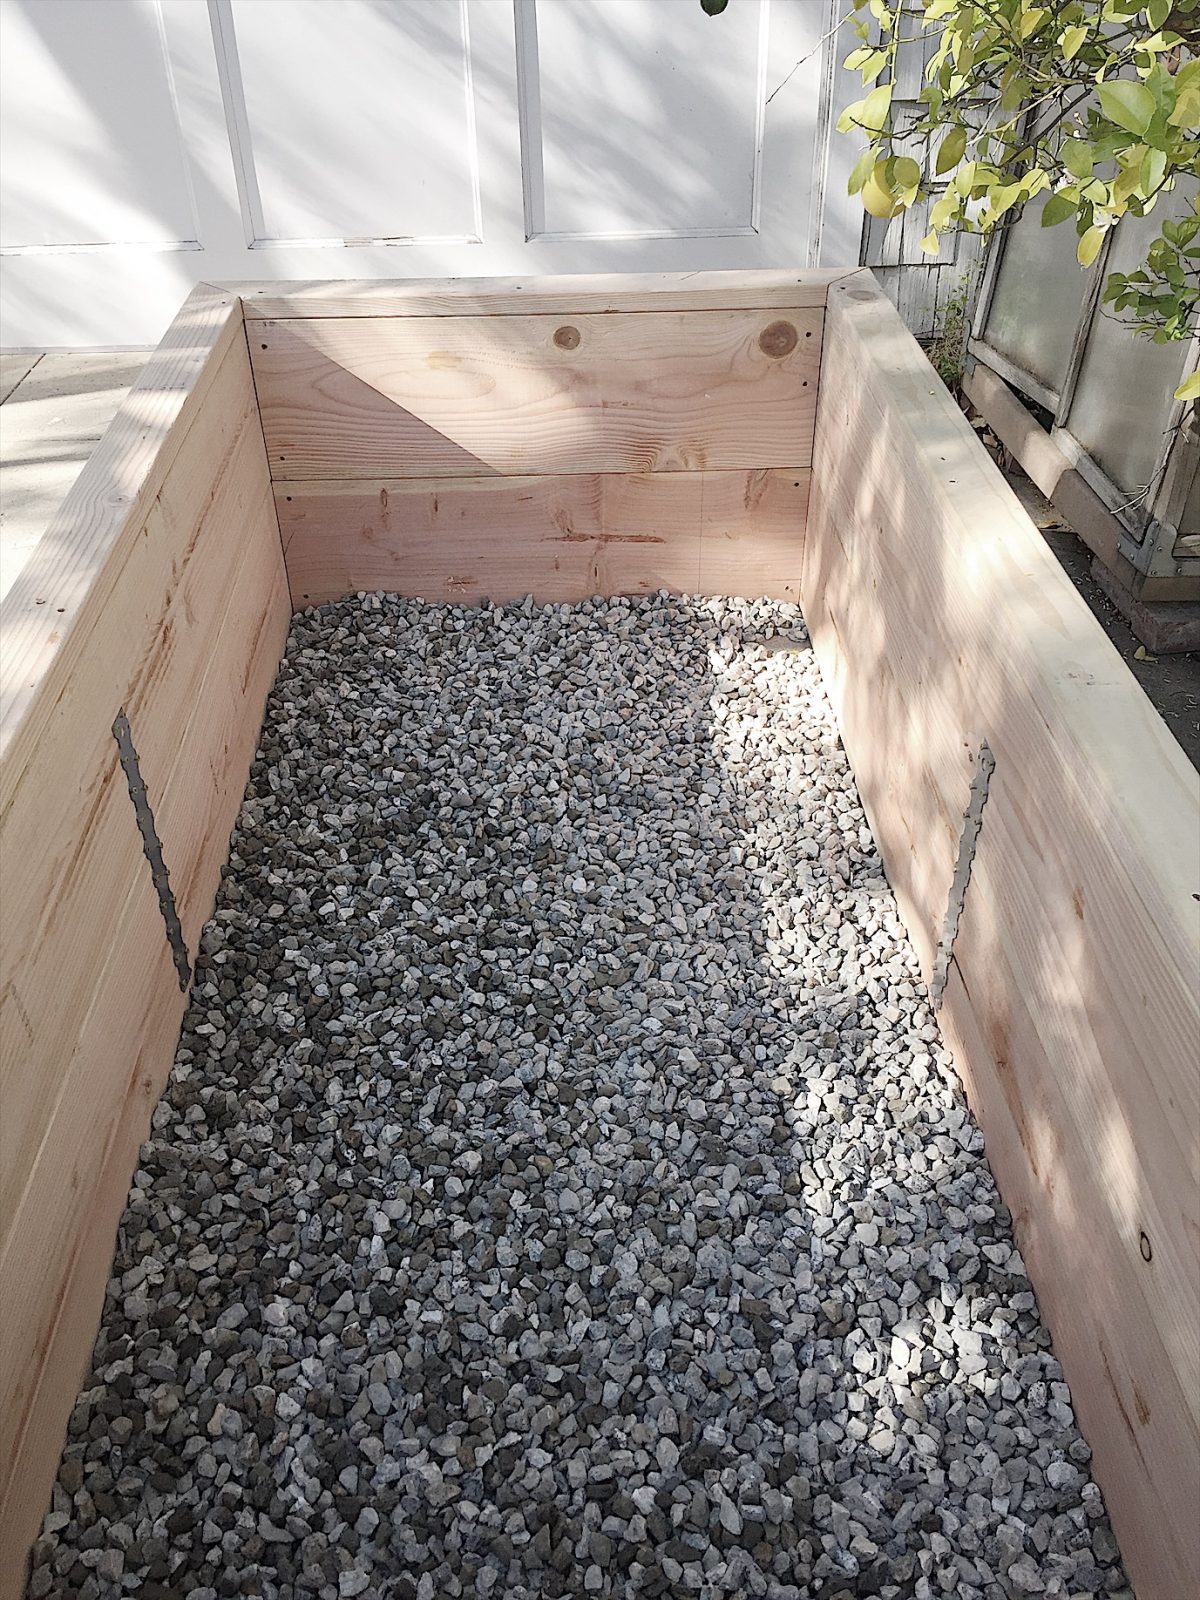
Line the bottom with landscape fabric and secure it with a staple gun. Fill the bed with 3″ of loose rock to ensure proper drainage.
STEP #5
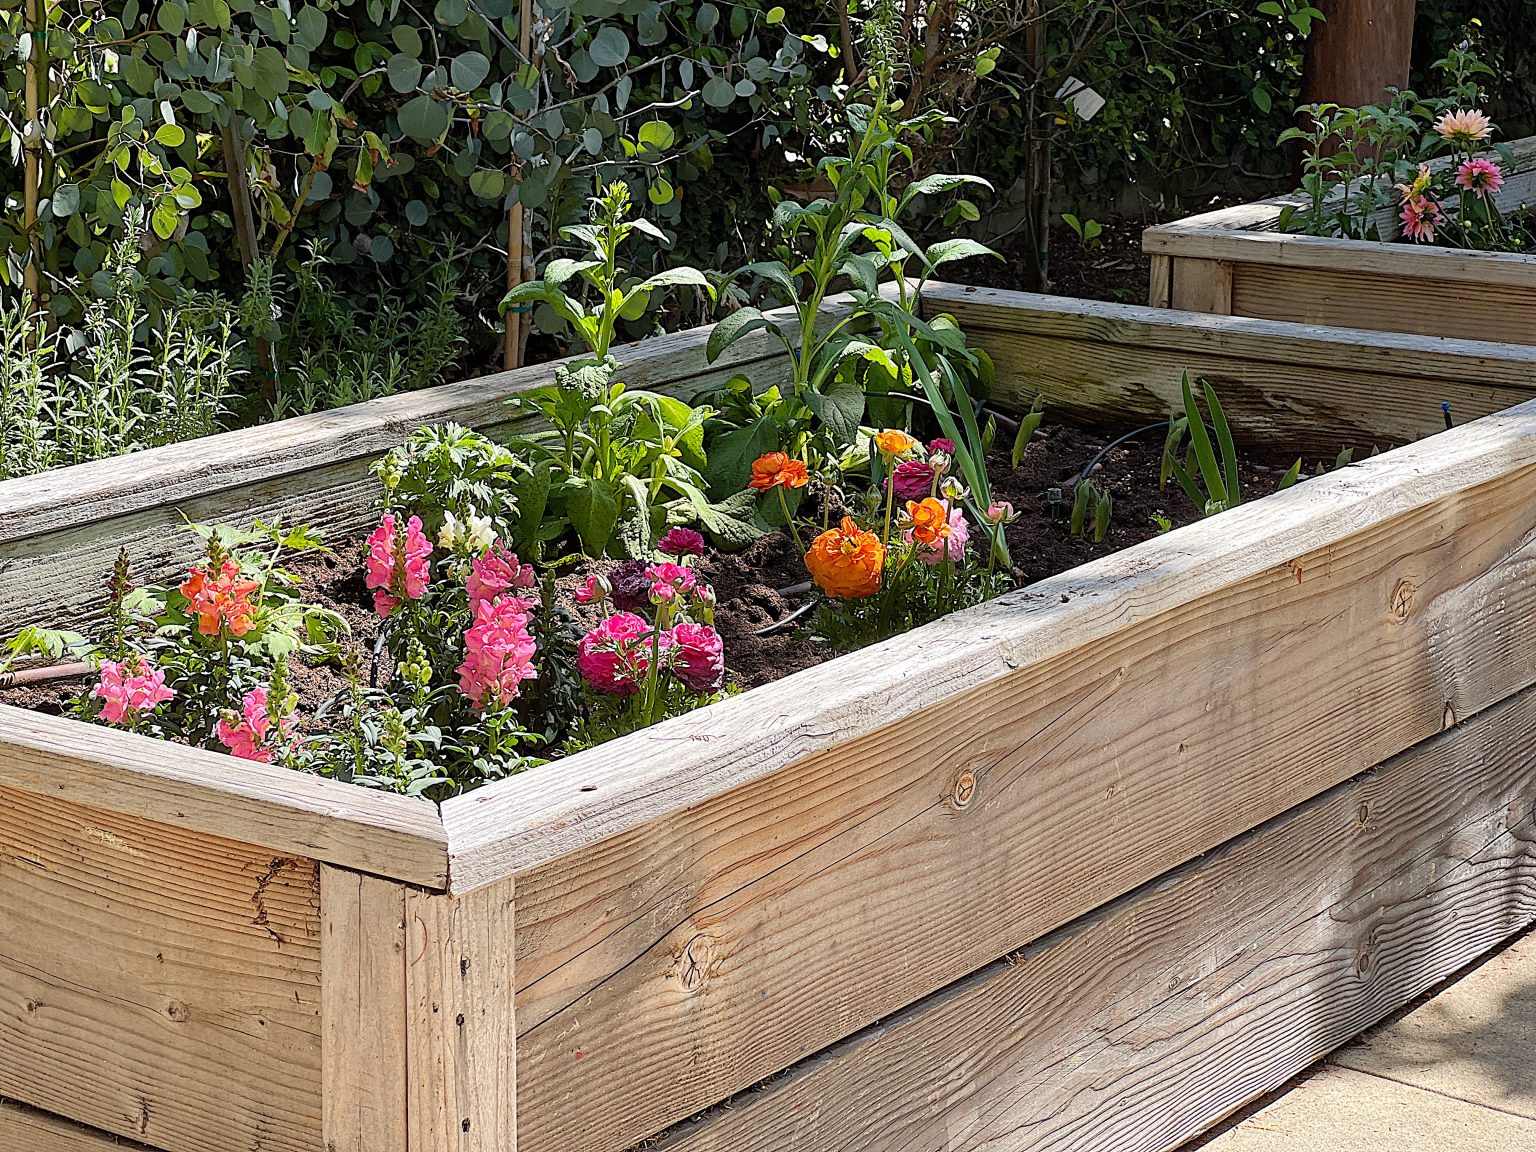
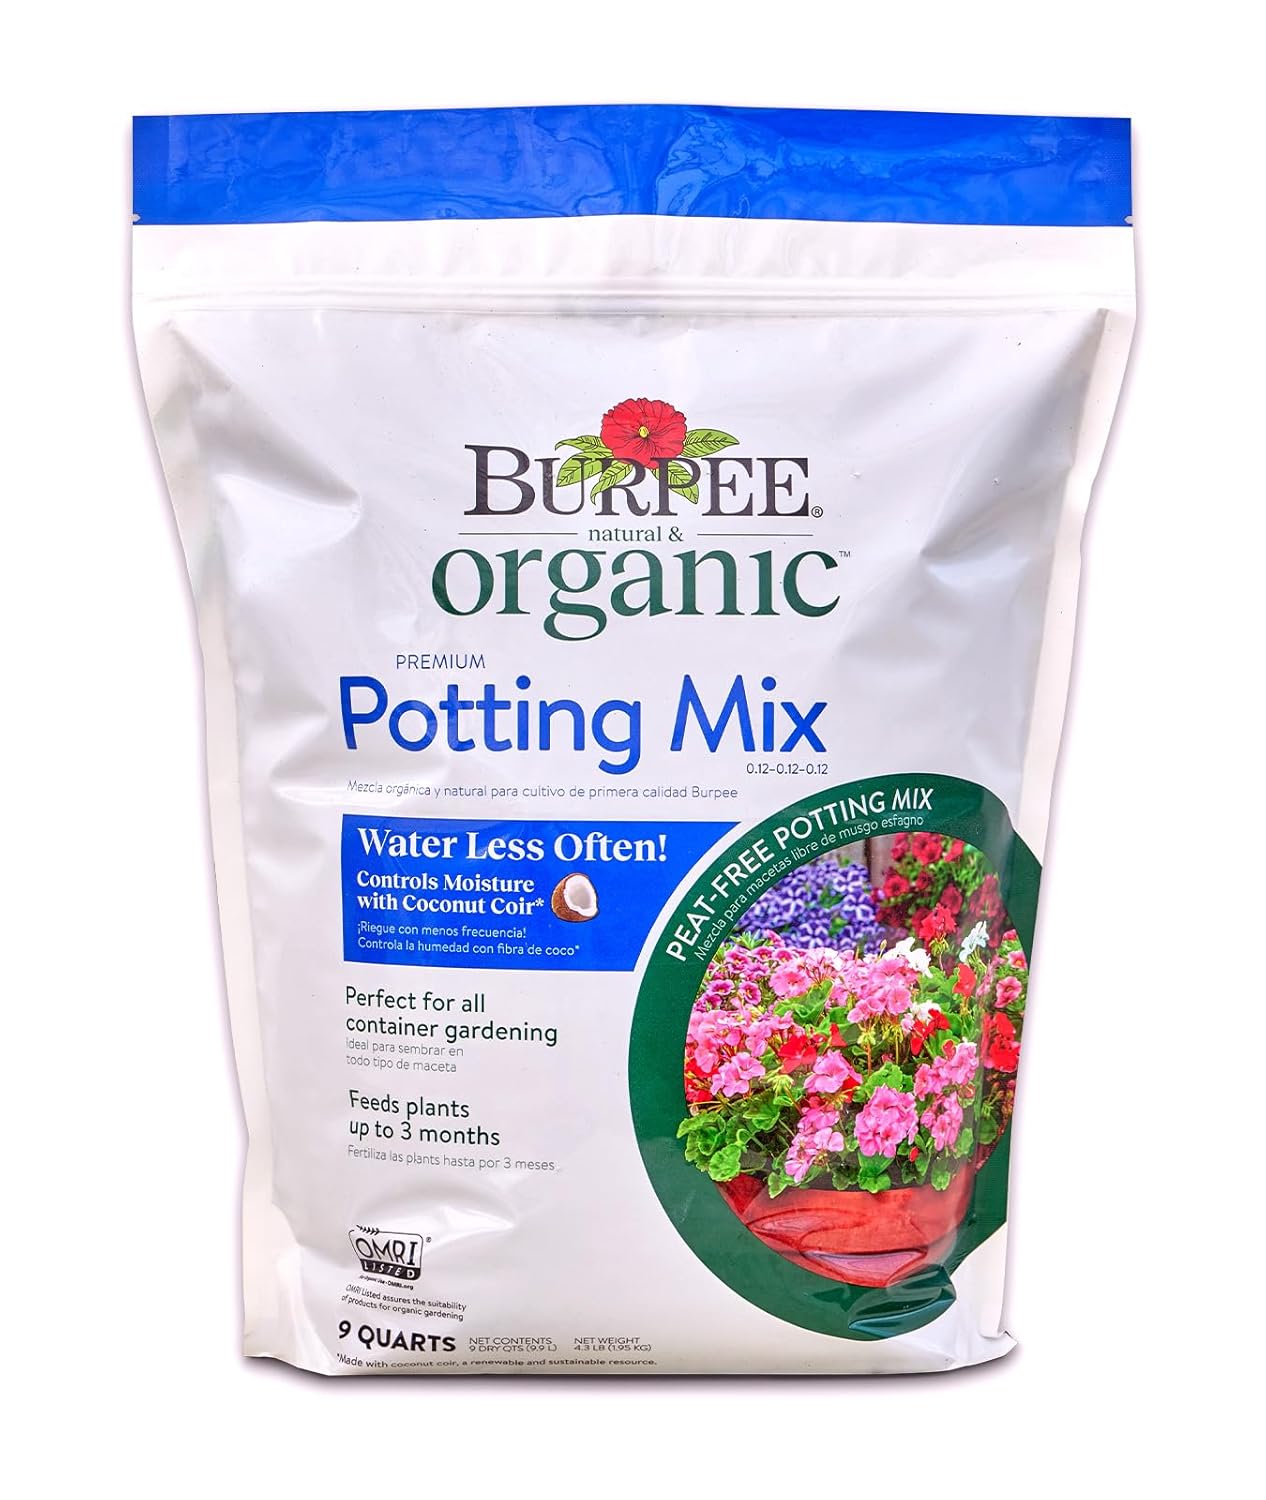
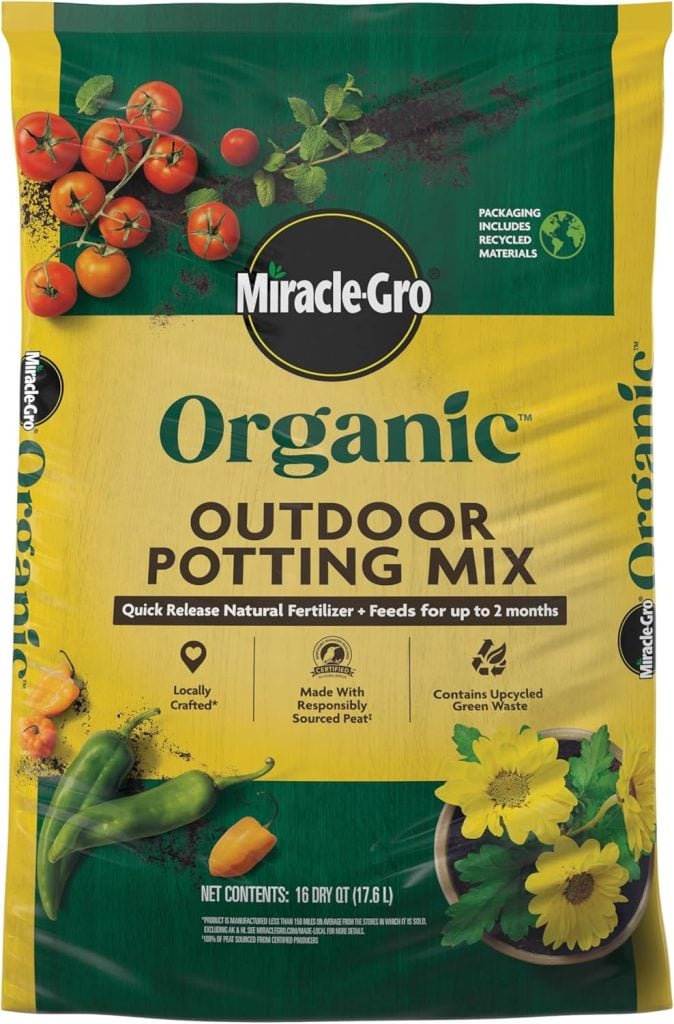
Fill the beds with a mix of topsoil, compost, and other organic material, such as manure, to give your plants a nutrient-rich environment. You can also use AMEND, which is a nutrient-rich organic garden soil.
STEP #6
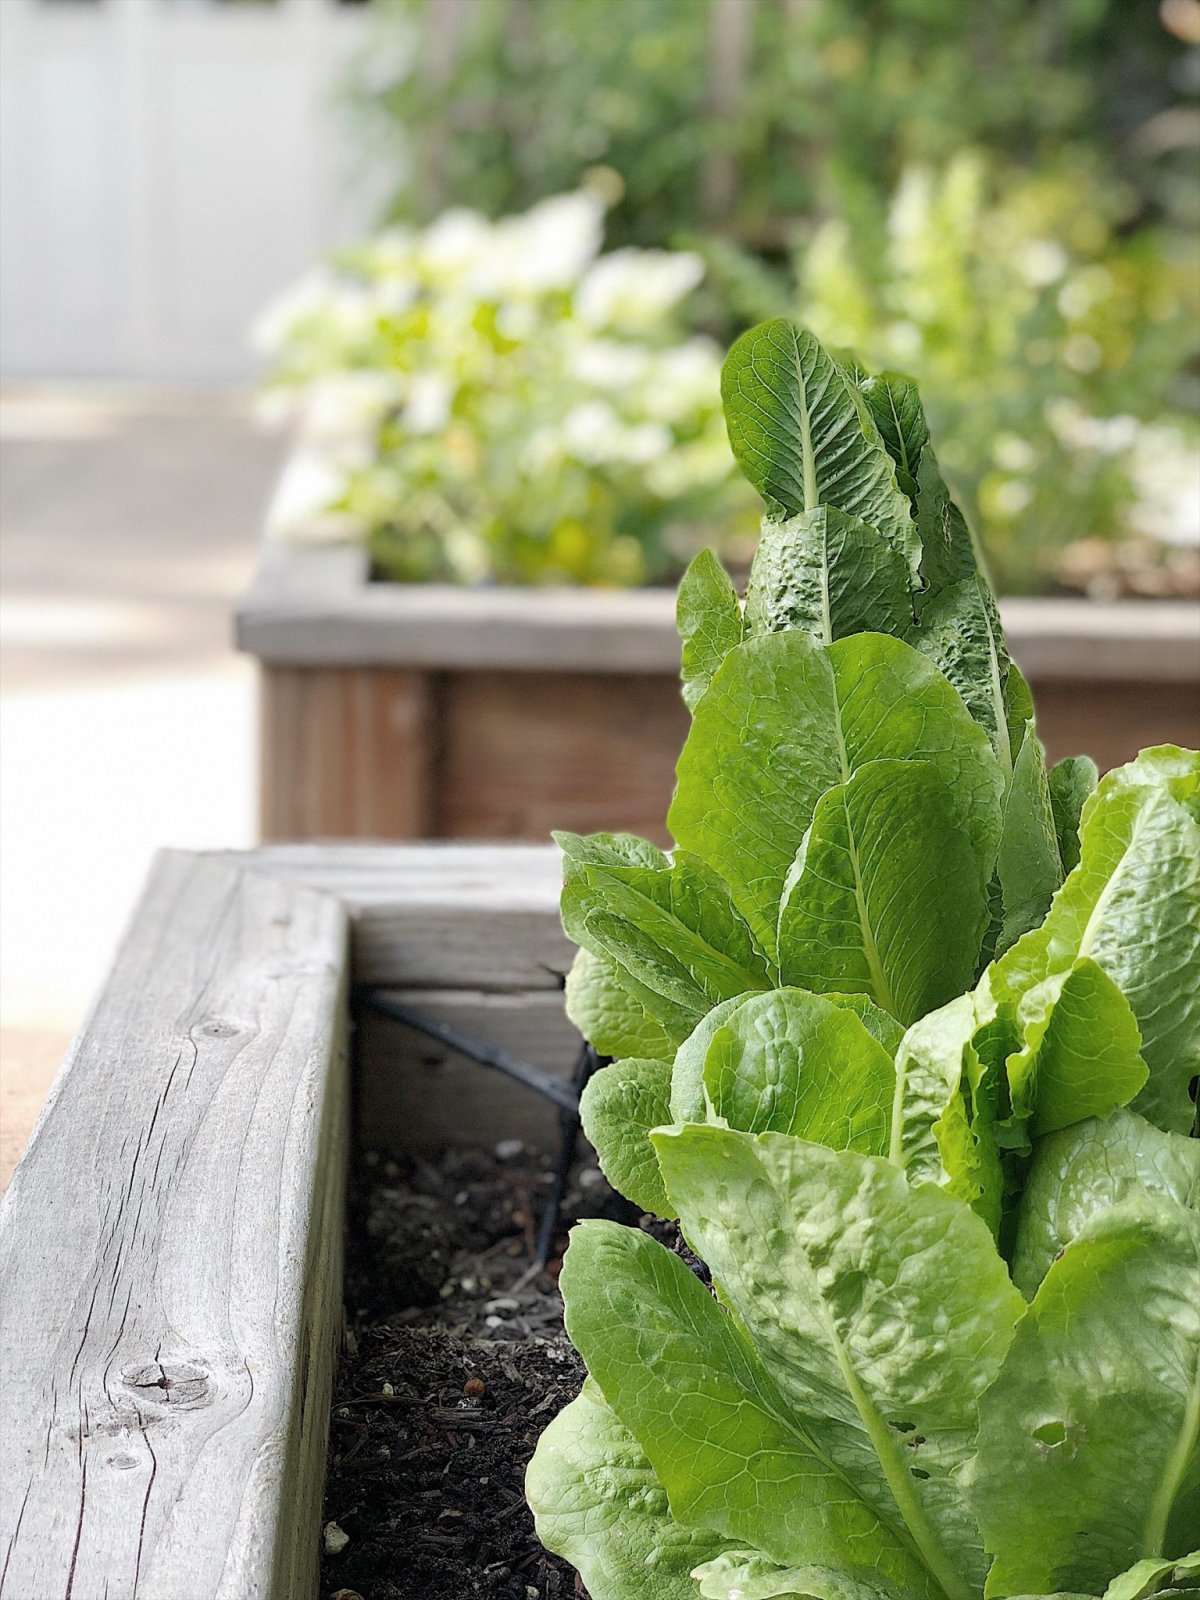
Plant your vegetable beds with your favorite vegetables.
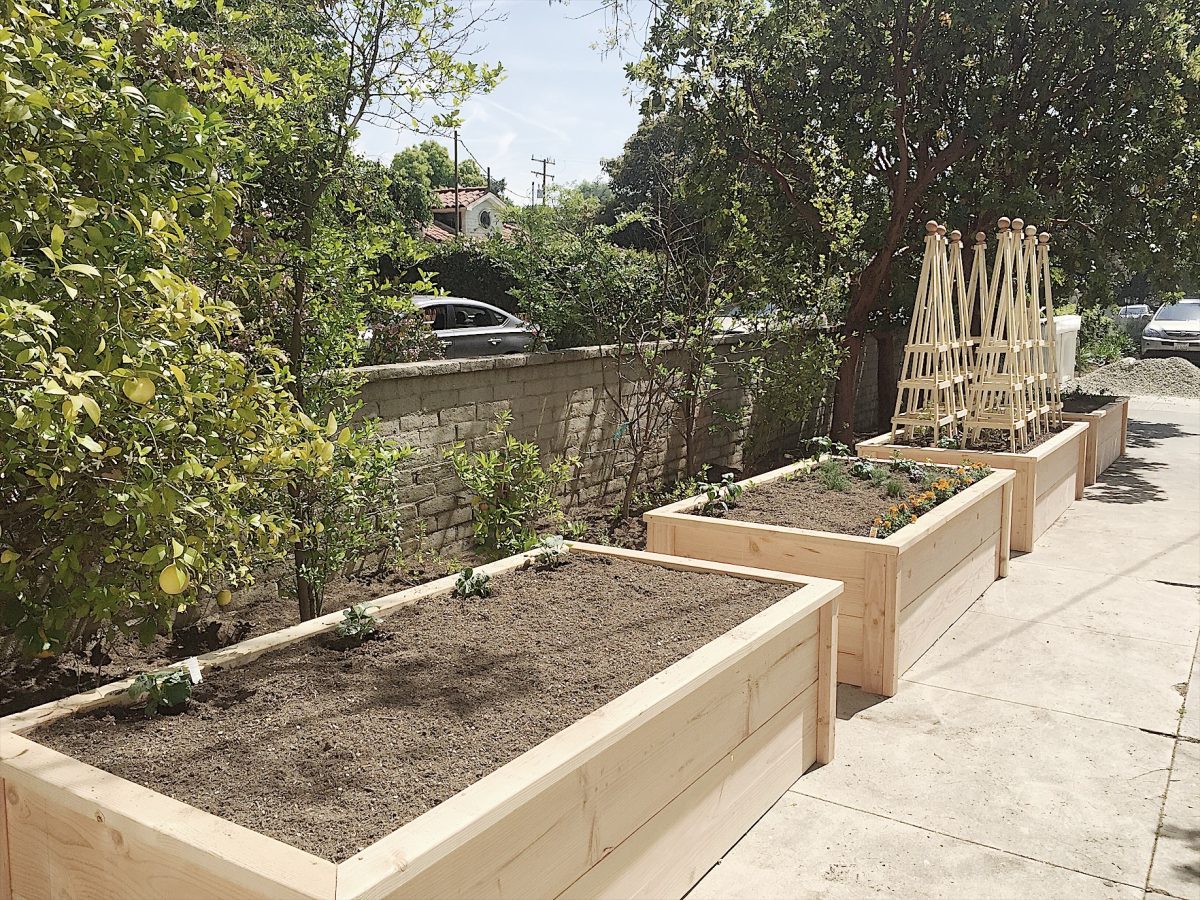
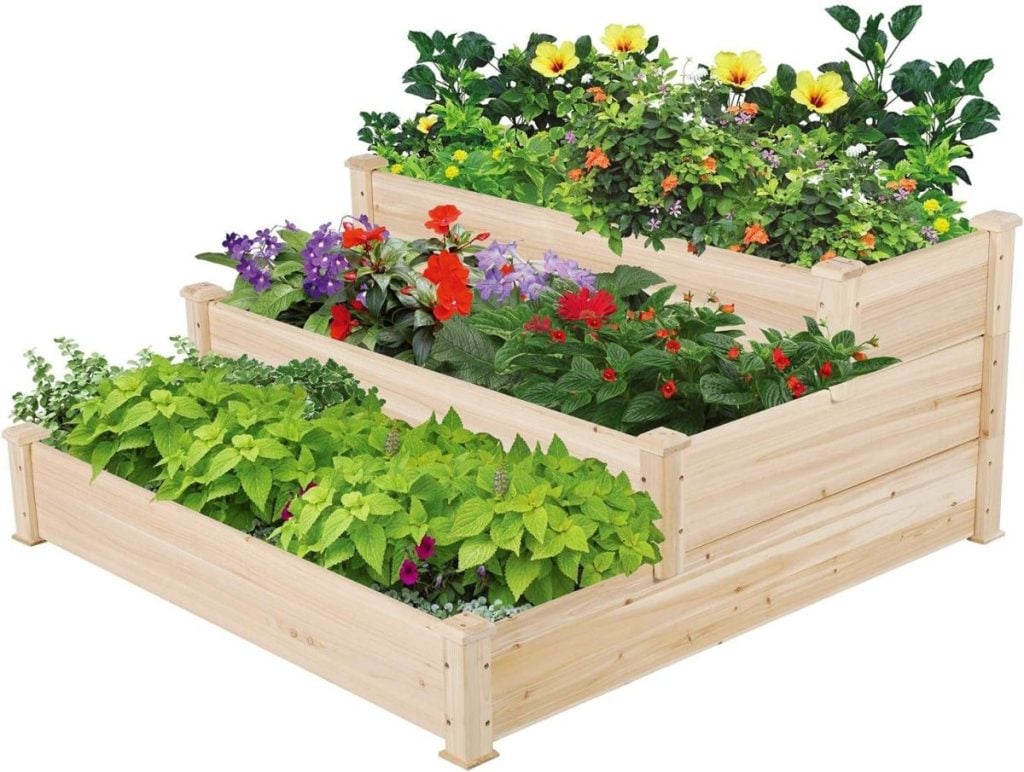
Almost any crop can be grown in a raised bed. Vegetables are most common, but fruit and flowers can be planted, too.
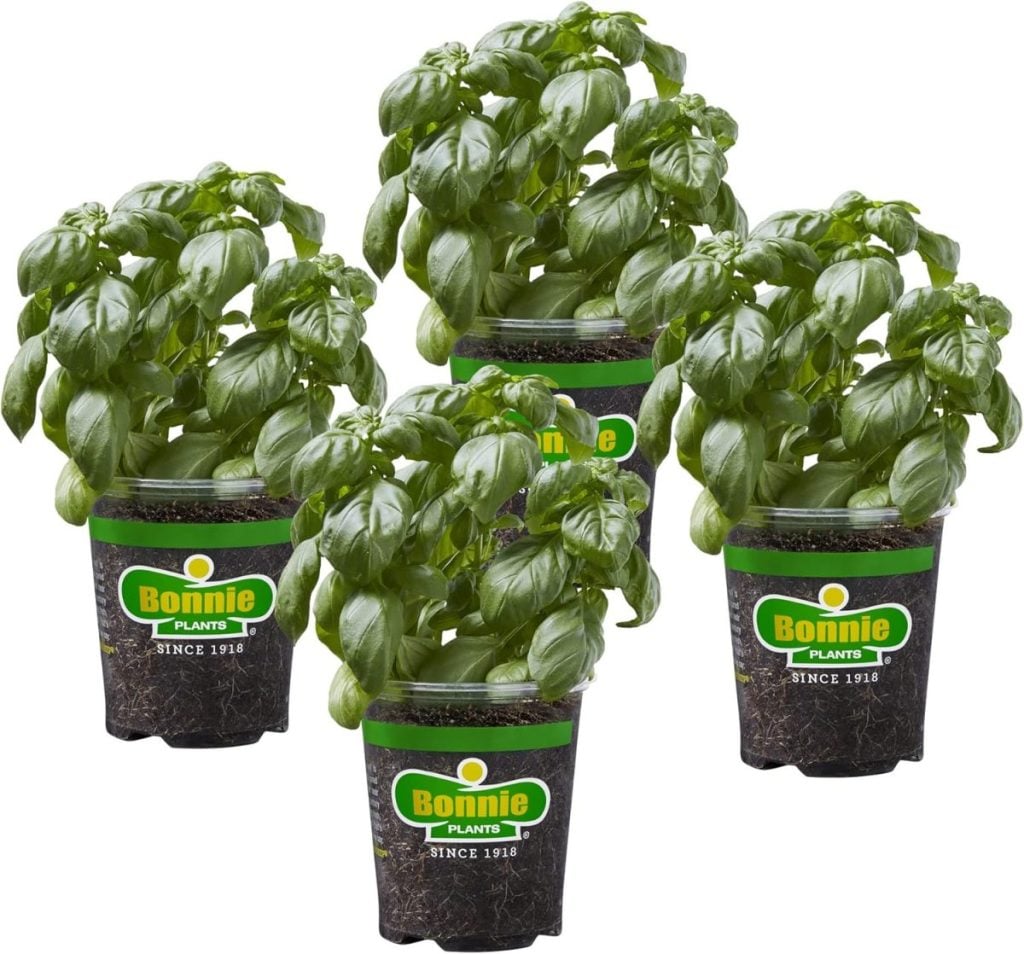
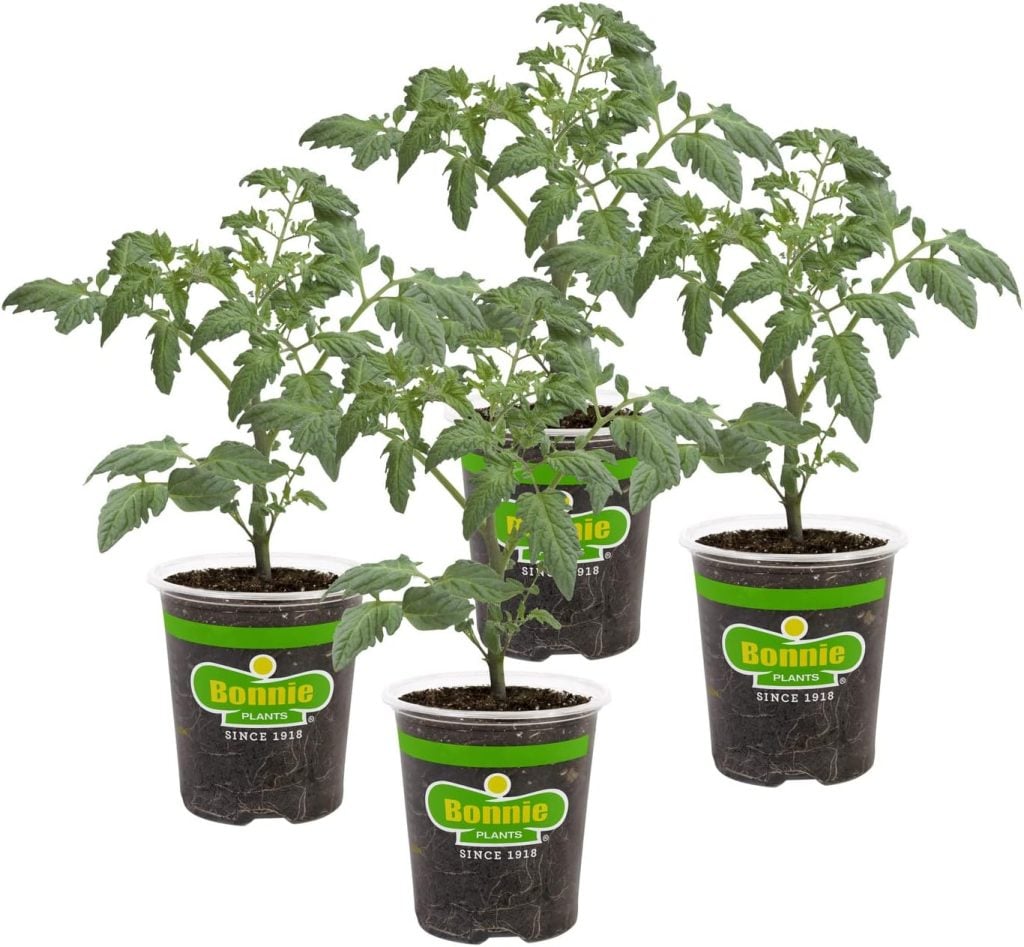
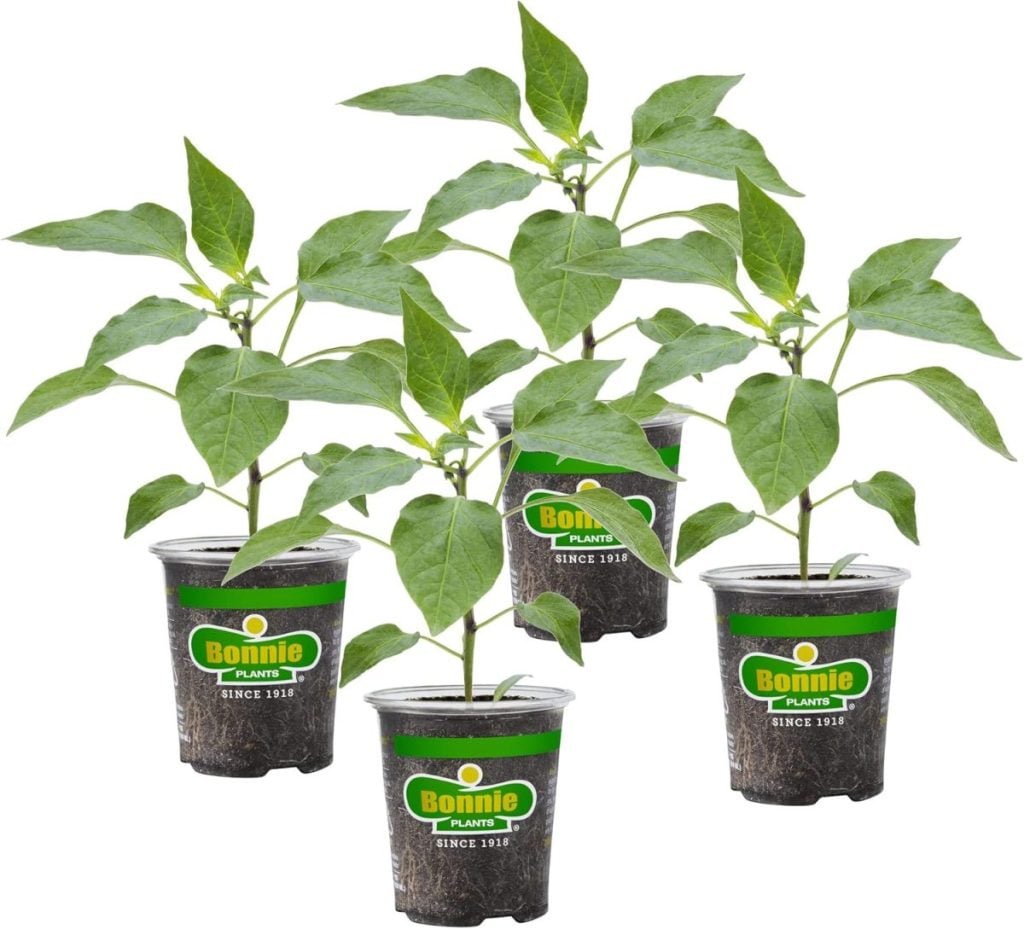
If you were not aware, Amazon delivers live plants. You can get tomato and herb plants from Amazon, and it is so easy. The plants arrive healthy, but there’s a trip to the nursery and a mess in your car!
Within weeks or months, your raised beds will be relatively plentiful!


By the way, I would encourage you to get some help with this project. Grab your partner, husband (if he’s handy), older children, or a handyman!
Mothers Day Gift Ideas
Shop all gift ideas for Mother’s Day HERE.


Pin the images below to your Pinterest boards (just click the Pin button in the top-left corner). You can also follow along with me on Pinterest!
For more real-time updates, follow me on Instagram @My100YearOldHome

These are beautiful! Id love to make some like this someday. And I love the idea of not having to be on the ground to weed!
Saving this for later (probably next year). We have so many bunnies that love to chomp on our veggies and flowers ????
Oh no! But how fun to have bunnies! Can they hop that high?!
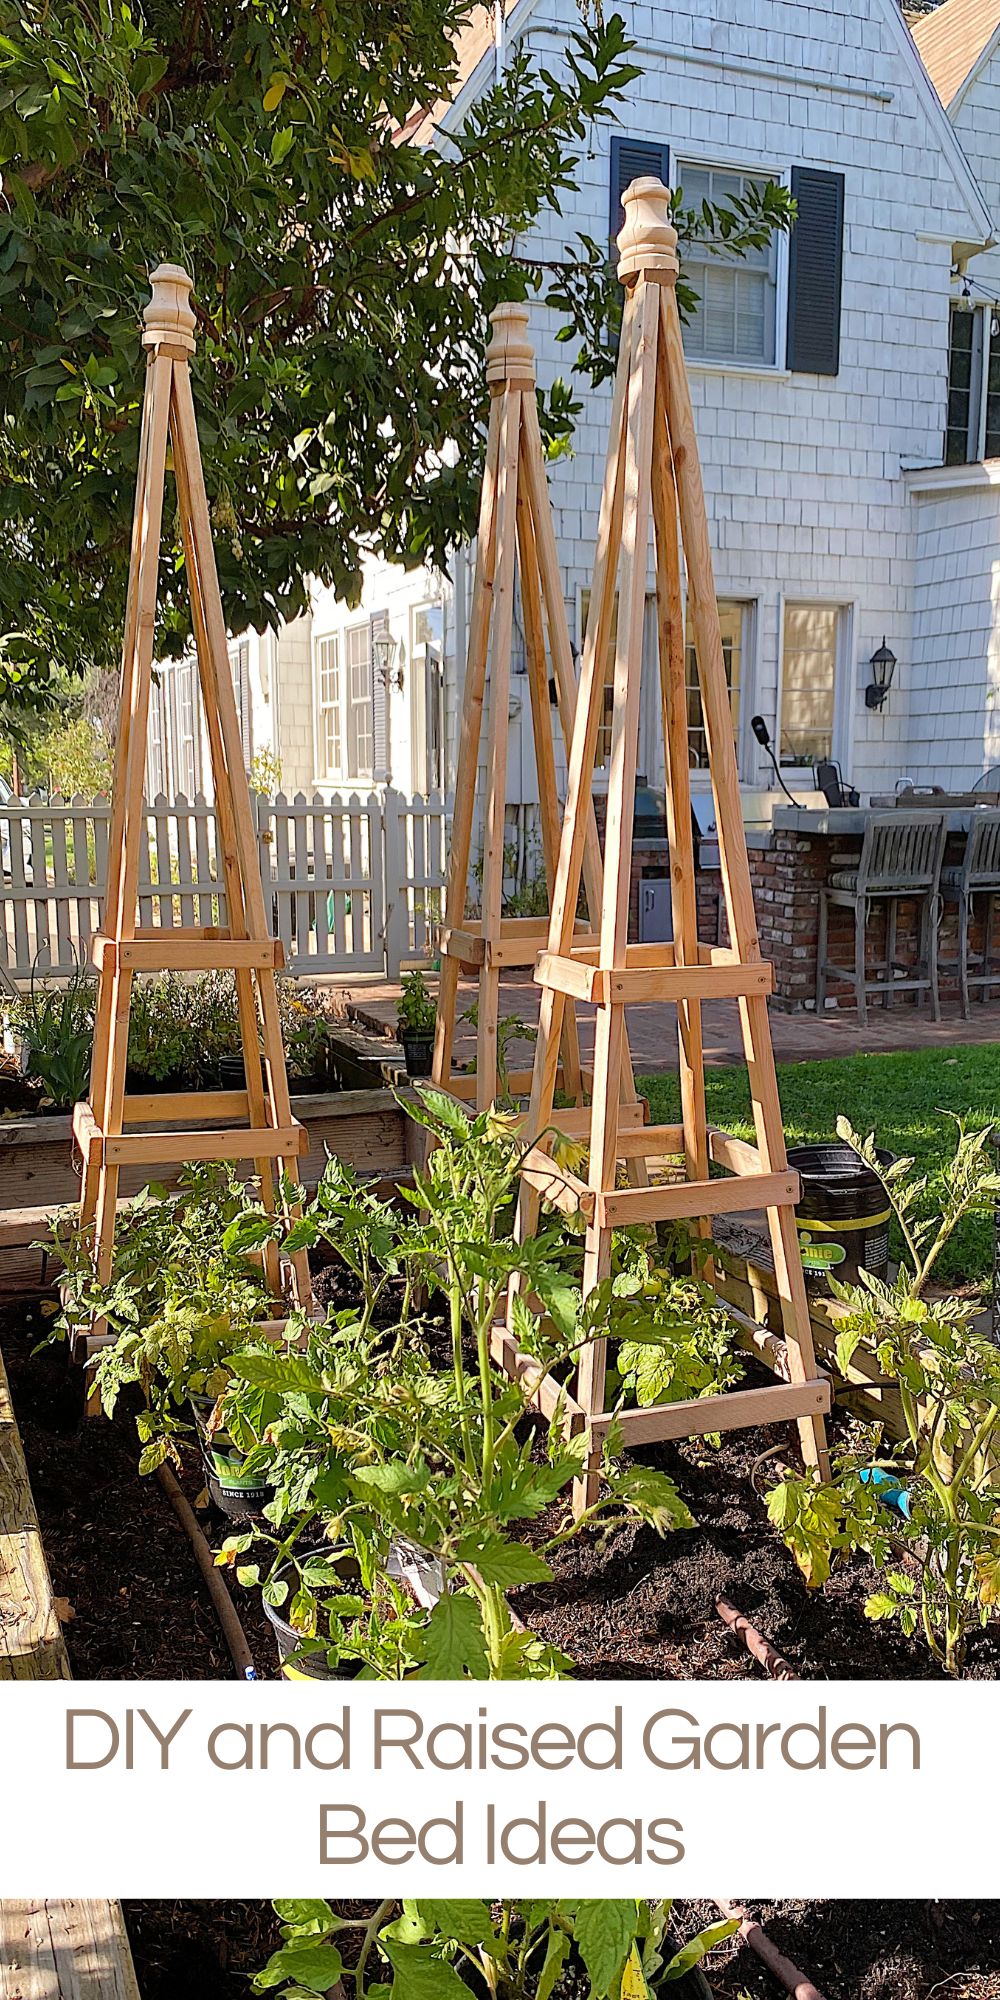
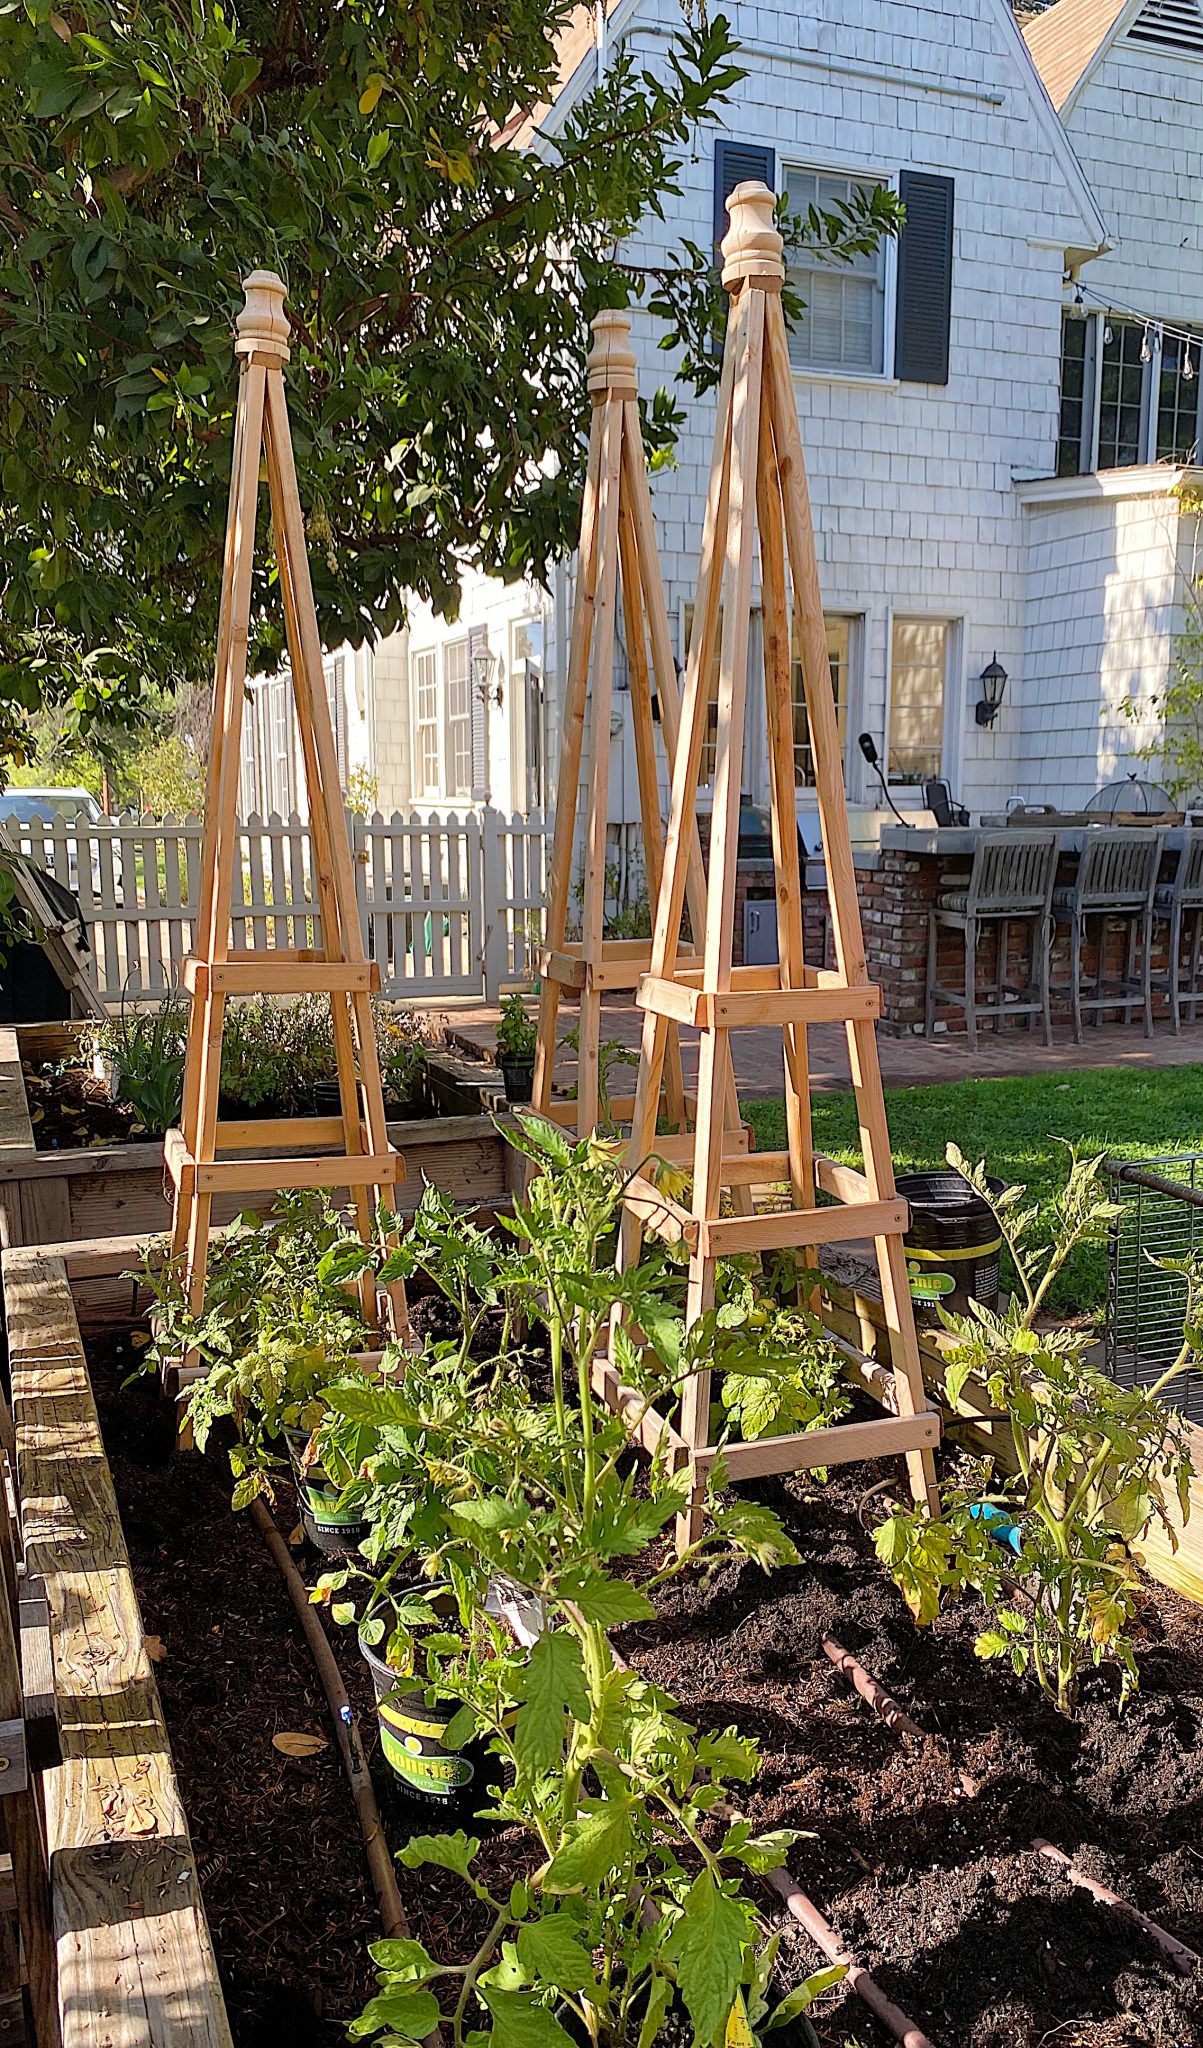
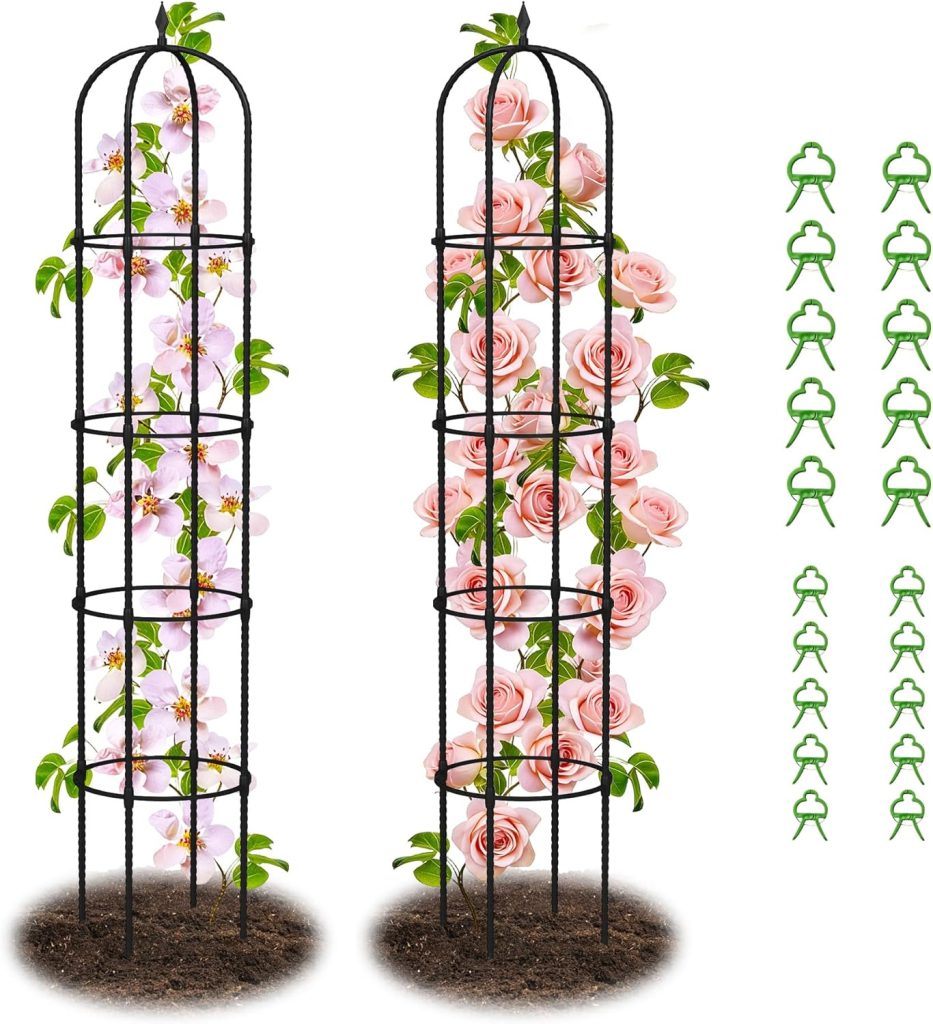
Do you have step-by-step instructions for the tomato trellis? They are amazing and I think my level of handinesscould try to build them! I never seem to have much luck growing veggies in raised beds, so I’m curious to see how you do this year. I would much prefer raised beds in our backyard. I too have a big old fluffy squirrel who hides treasures in my flower pots or sometimes my tulips end up in the neighbors’ yard.
Love your garden
I too, would like directions for the tomato trellises. They are lovely as well as useful. The wire ones aren’t attractive, sturdy, and don’t seem to hold up more than a couple of seasons. Thank you. Today is my first time to visit your blog.????
Love the tomato trellis! Working on our garden currently and would love to have instruction for them. So much better looking than the awful wire ones!
Thanks!!
Please send instructions on how to build the beautiful tomato trellises.
is this treated or untreated wood
I’ve been wanting to build some raised beds…love your plans! Would also love to have the tomato trellis instructions…they’re beautiful!
Oh awesome! I’ve attached the blog post on tomato cages below- enjoy! 🥰
https://my100yearoldhome.com/how-to-make-tomato-cages/
You mention using manure for the soil. Be sure that your source for manure does not feed hay that has been grown and treated with Grazon herbicide. We own horses and for years used the copious amounts of free fertilizer in our garden. Everything thrived. Then suddenly our tomato plants started withering up and dying. After a lot of investigation and frustration, we discovered that our hay source used Grazon, which is a broad-leaf herbicide. It does not break down and will continue to kill broadleaf plants that are fertilized with it for years. We ultimately wound up digging out and replacing our garden soil. We now use our “fertilizer” on our lawn, where it helps to control weeds.
Thanks for this, Leslie. I’m ready to go on this project but had some questions about the measurements. You have 16” for the 2x4s but in the photos it looks like they are 24”. Also the top rails in the photos look like 2x4s instead of 2x6s. Am I see that right? Thanks for your help!
Hi, I have the same questions as David. I love the look of these but I don’t understand those measurements. Should the 2x4x8’s be cut to 24” and the rail sits on top of them?
That’s a great suggestion—having an extra set of hands can make any project smoother, faster, and even more enjoyable. Whether it’s family members or a skilled handyman, teamwork really makes a difference in getting things done efficiently.
If someone needs help finding reliable professionals for projects like this, they can also explore listings on https://cityinsiderexpert.com/ , where various local services and businesses are easy to discover.