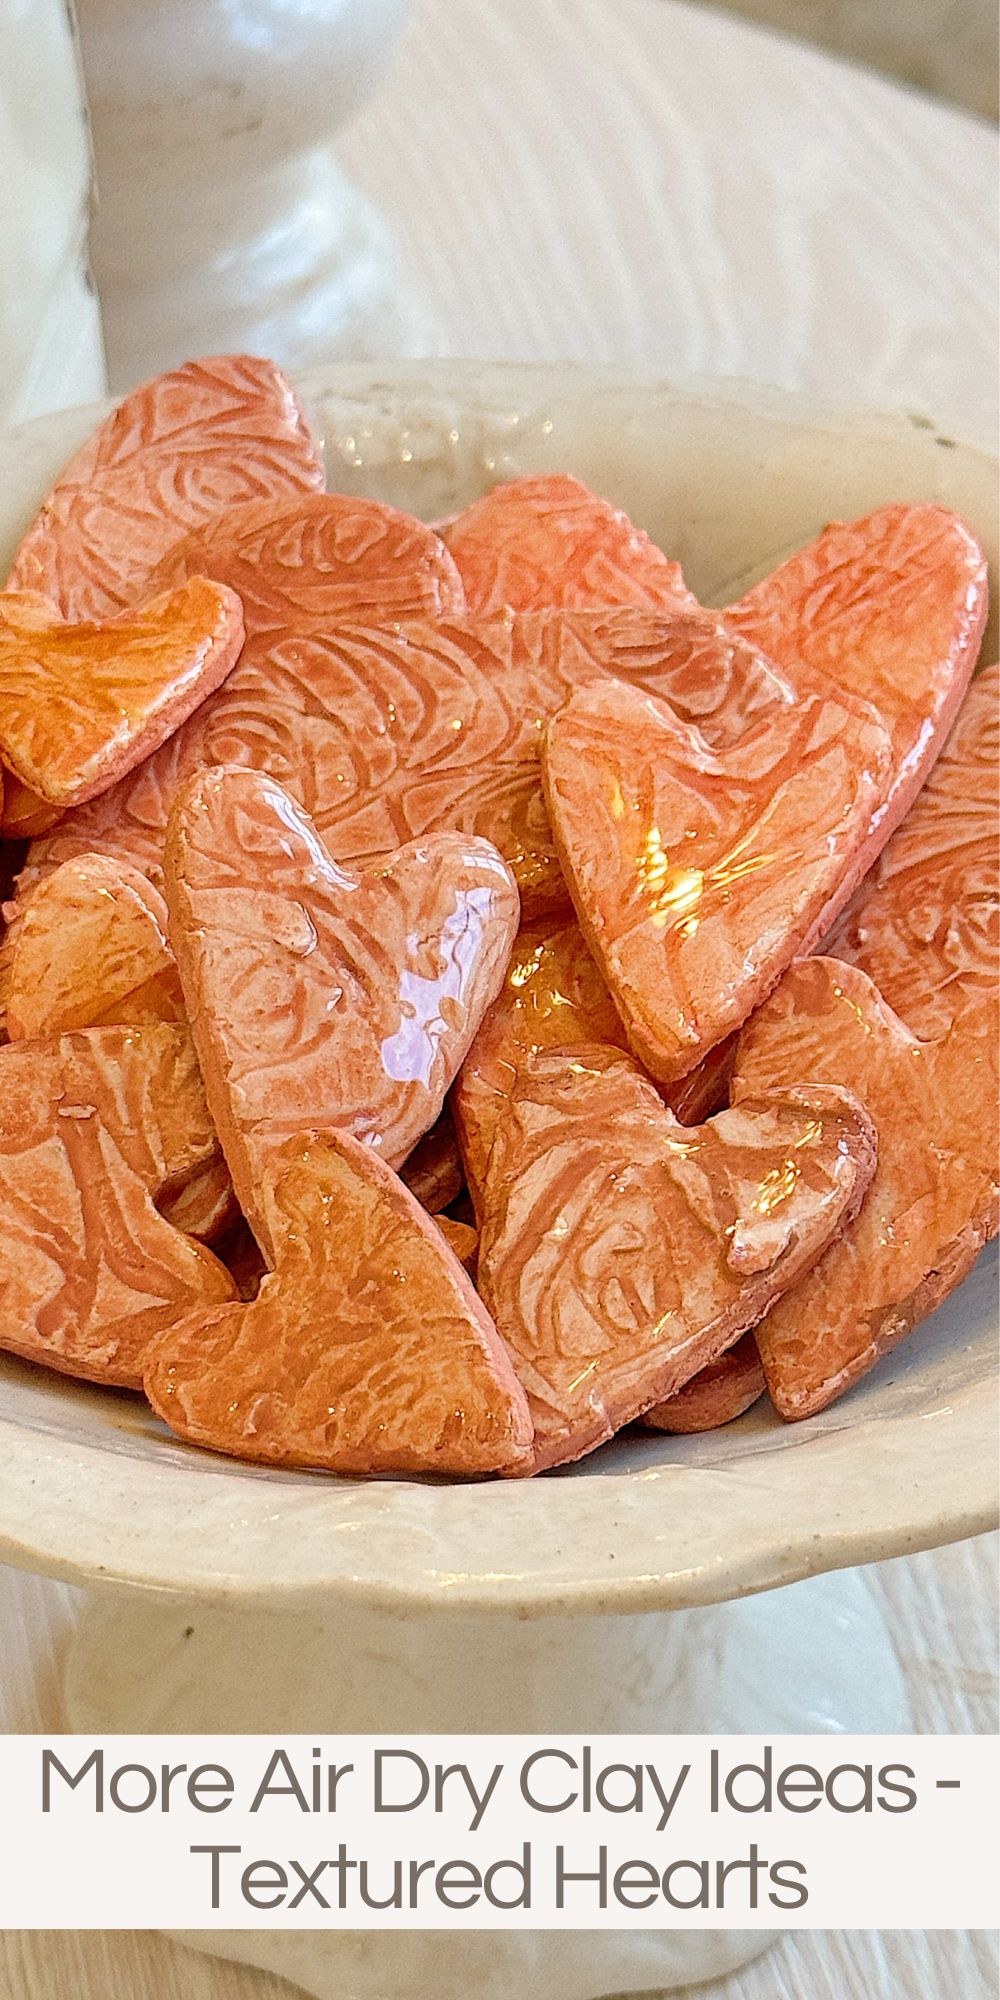
More Air Dry Clay Ideas – Textured Hearts

Here are more air-dry clay ideas if you’re looking for a creative and therapeutic project that results in stunning, personalized decor.
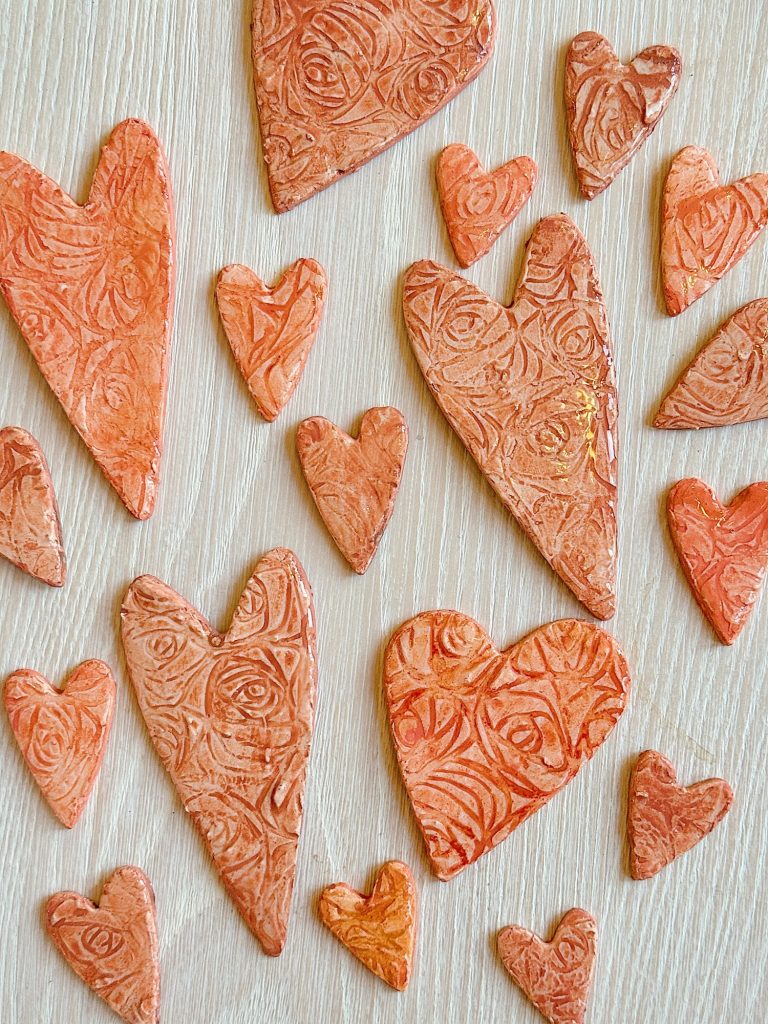
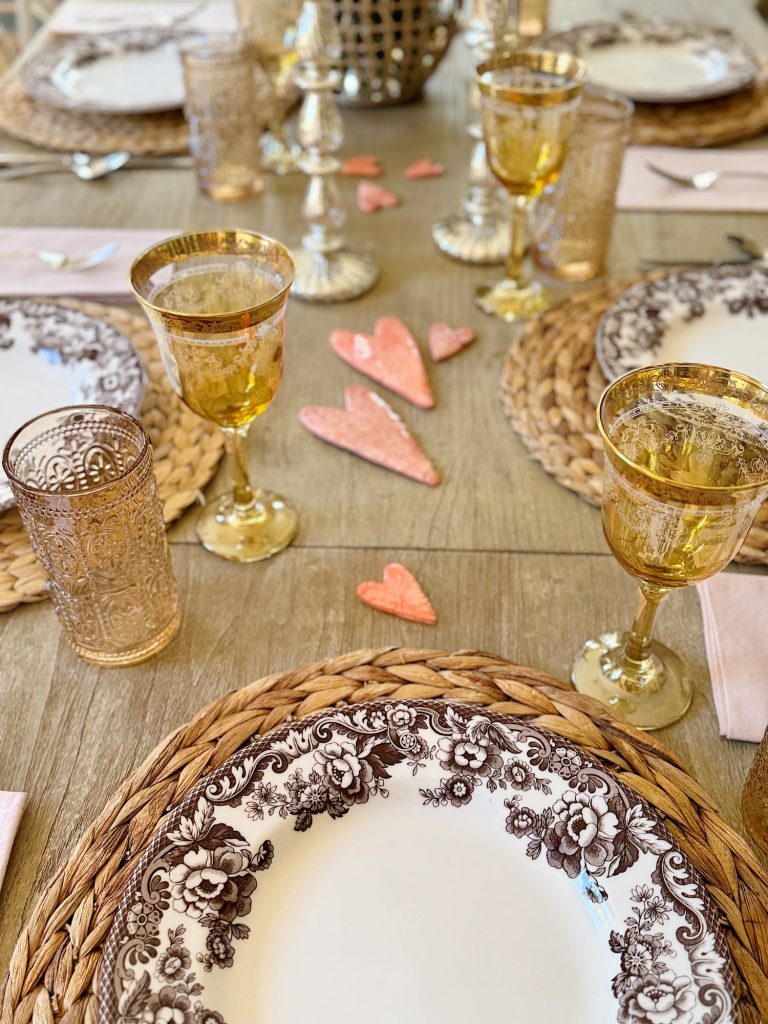
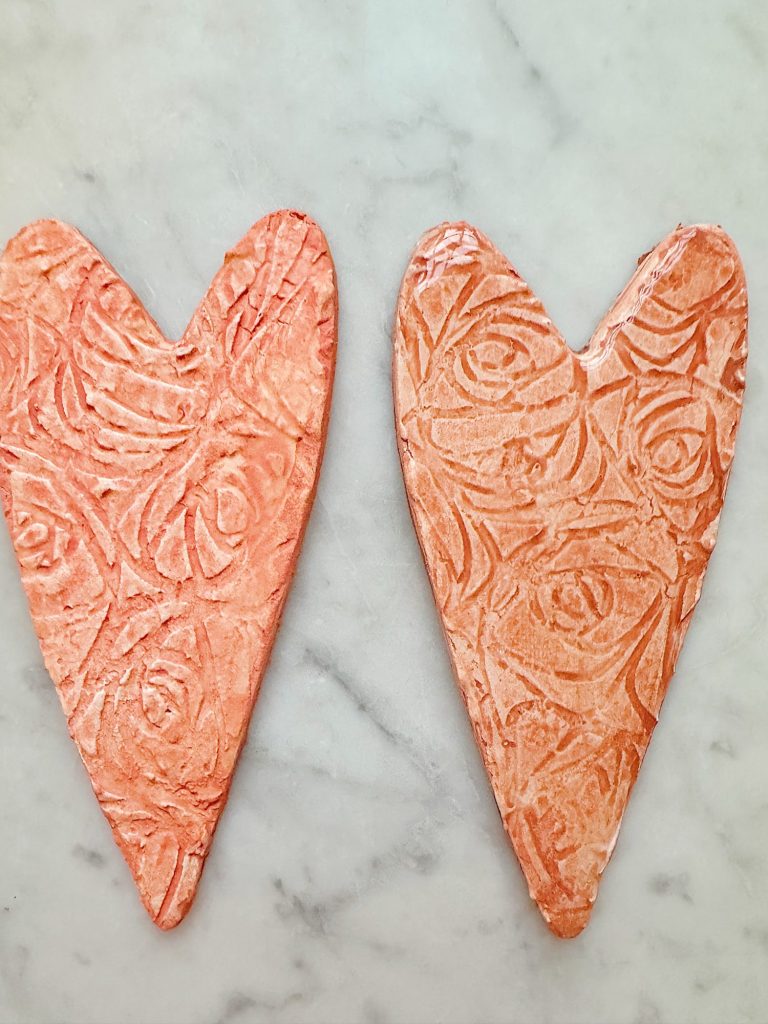
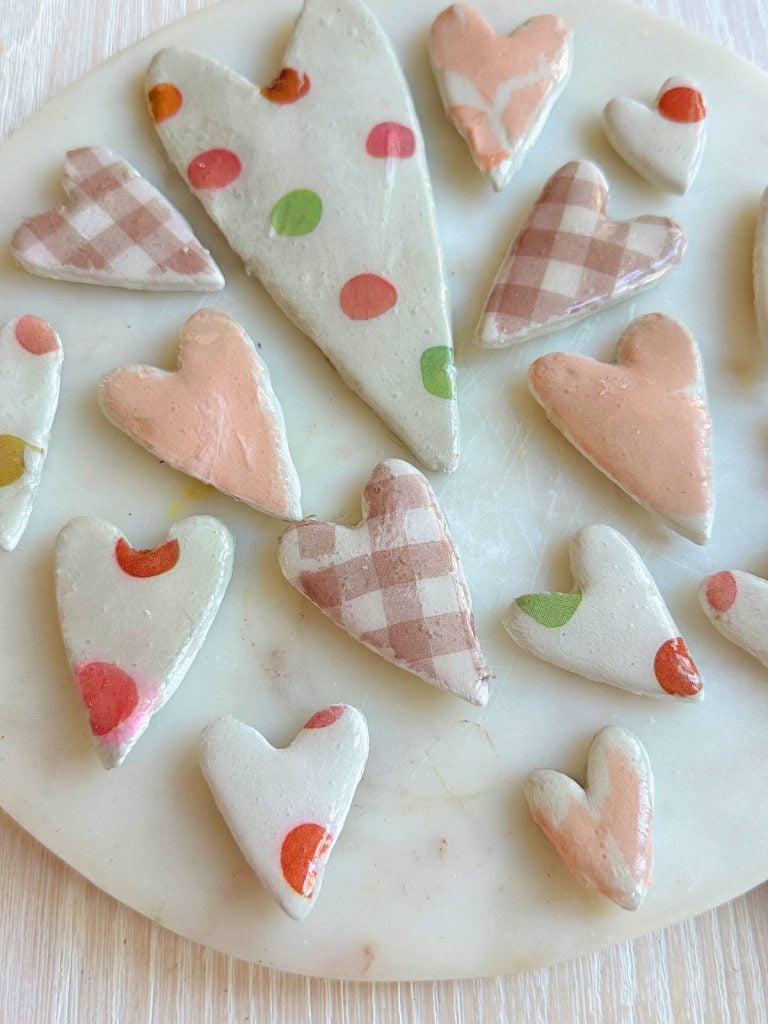
I recently made a set of these textured hearts to match my blush and taupe winter palette, and I couldn’t be happier with how they turned out. They’re not only beautiful but also versatile—they can be used as ornaments, table decorations, gift tags, or even as part of a garland.


DIY Textured Air Dry Clay Hearts: A Beautiful Handmade Project
How to Make Textured Air Dry Clay Hearts
Here is a step-by-step DIY guide to creating these clay hearts, with an added technique for creating intricate textures with clay paste and stencils. The process is simple, relaxing, and incredibly rewarding.
Materials You’ll Need

Here’s what you’ll need to make these textured clay hearts:
- Air Dry Clay (white or light-colored works best)
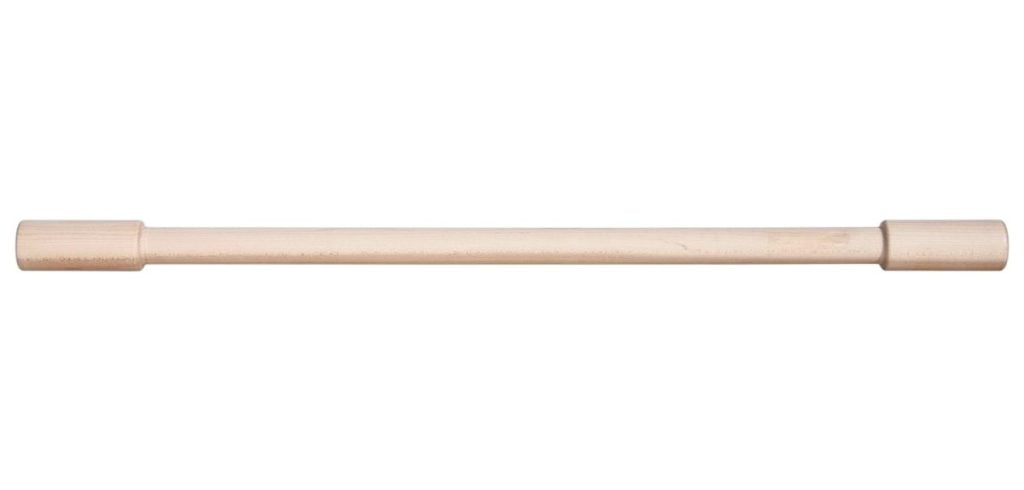
- Rolling Pin
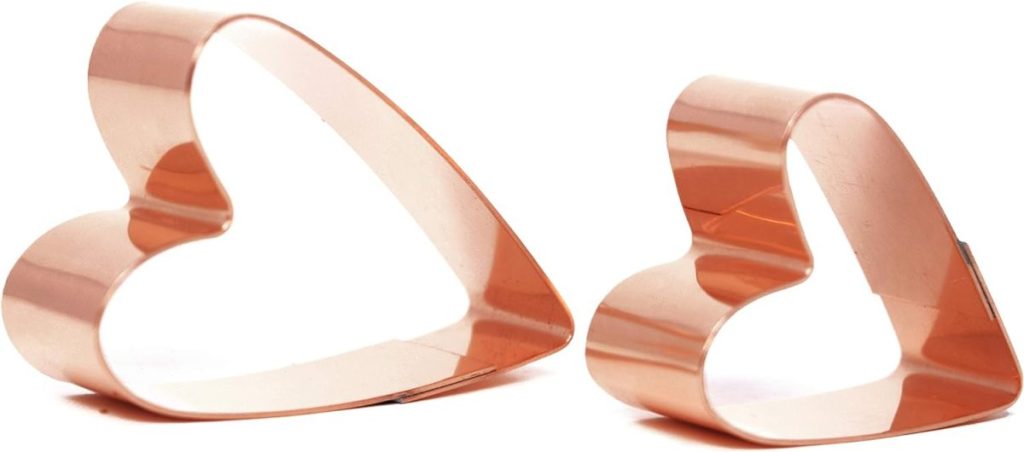
- Heart-shaped cookie cutters (various sizes)
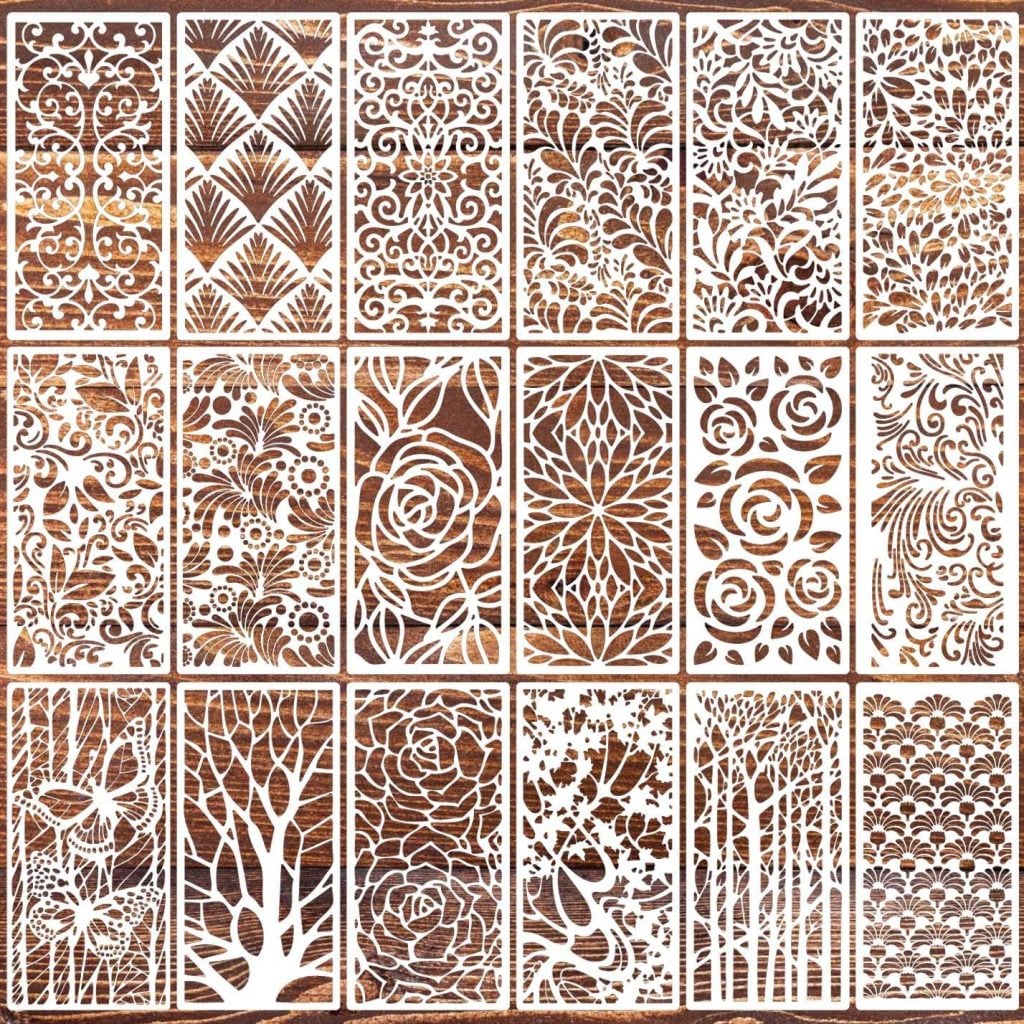
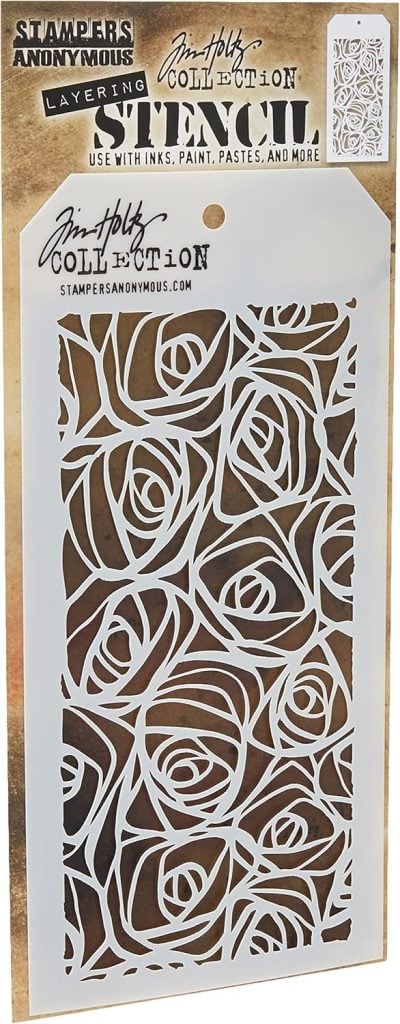
- Stencil(s) with intricate patterns – Stampers Anonymous Tim Holtz
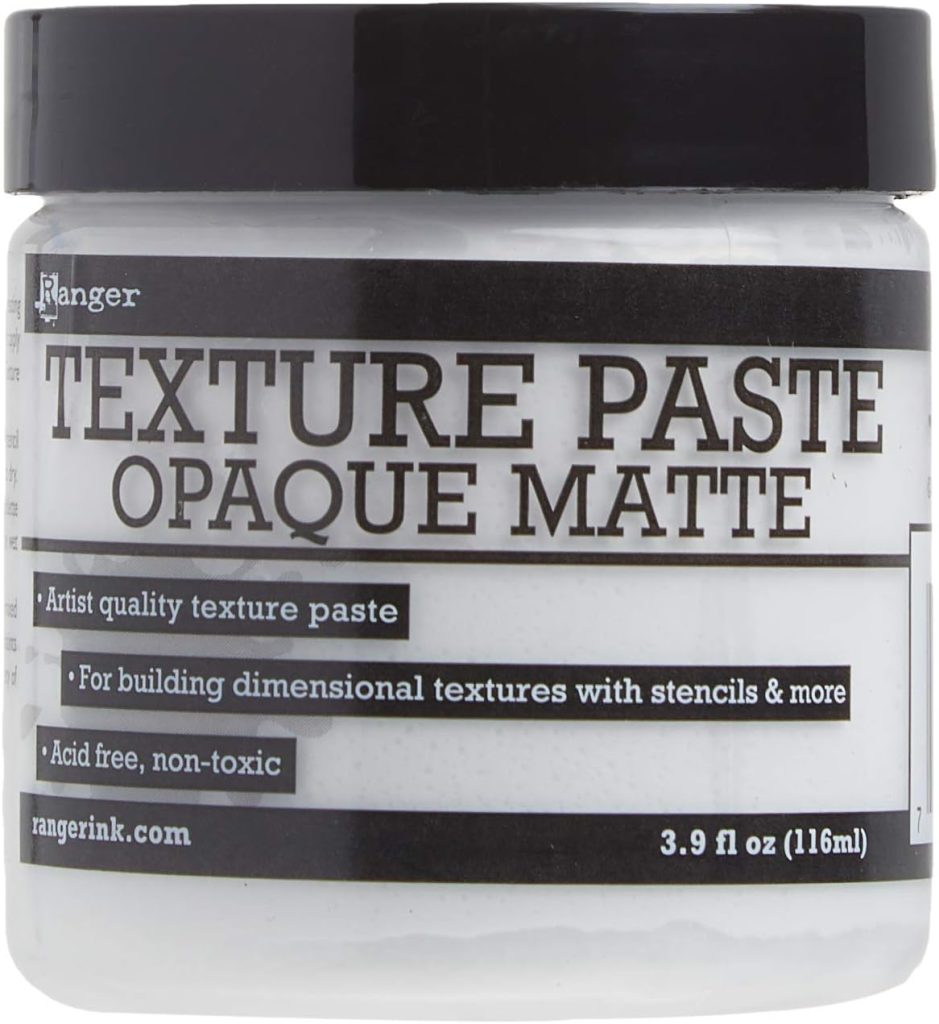
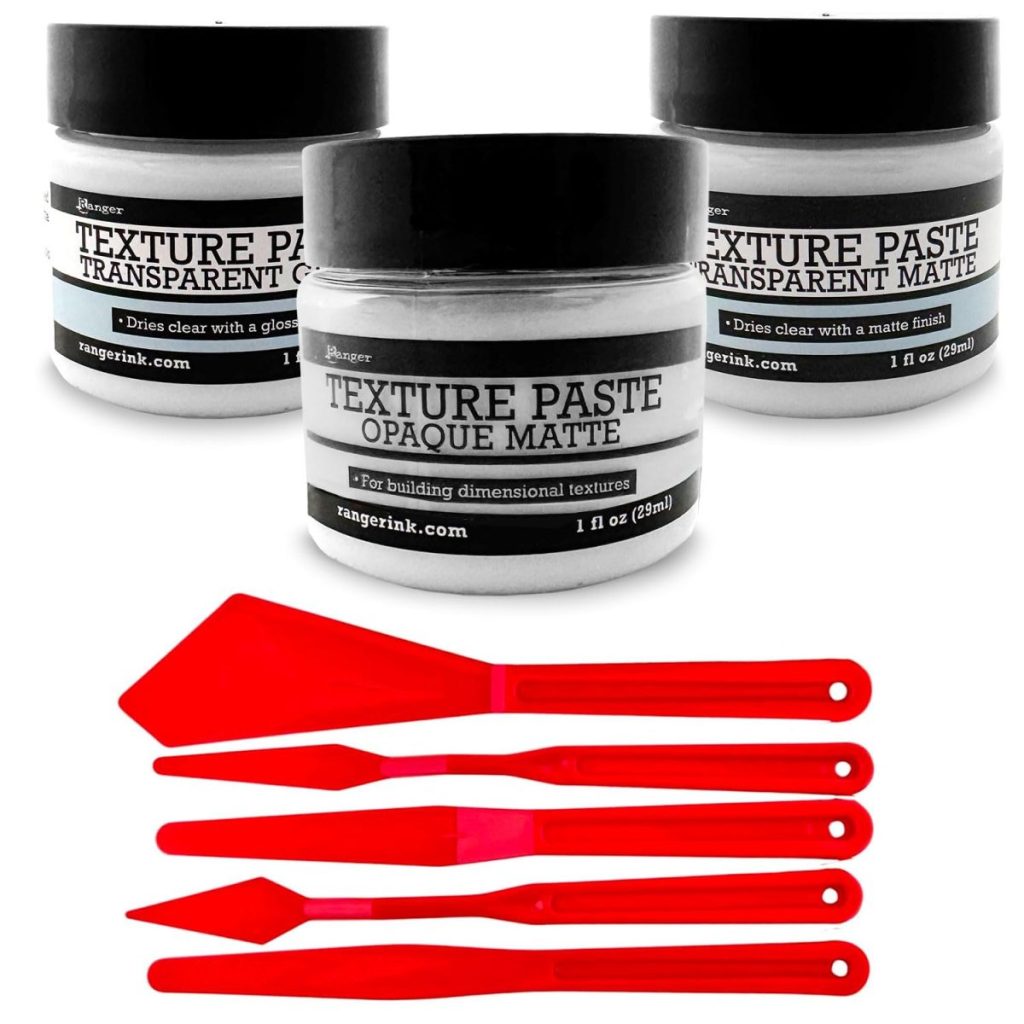
- Clay paste (instructions below)
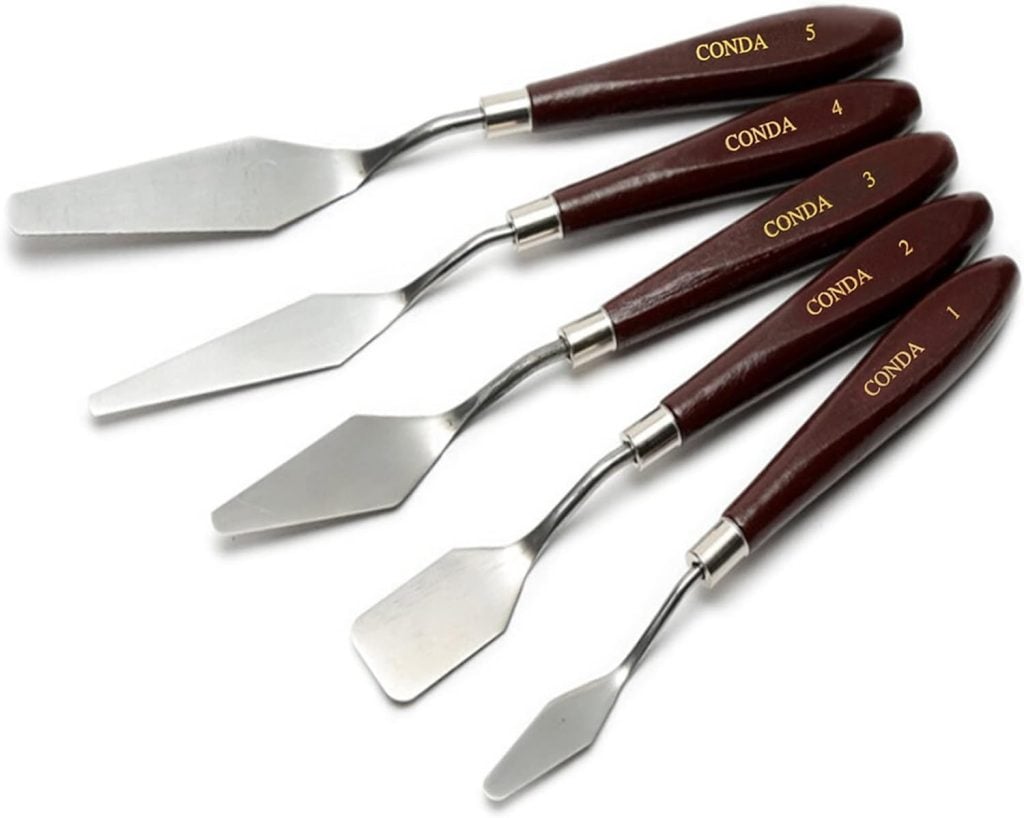
- Palette knife or flat spatula
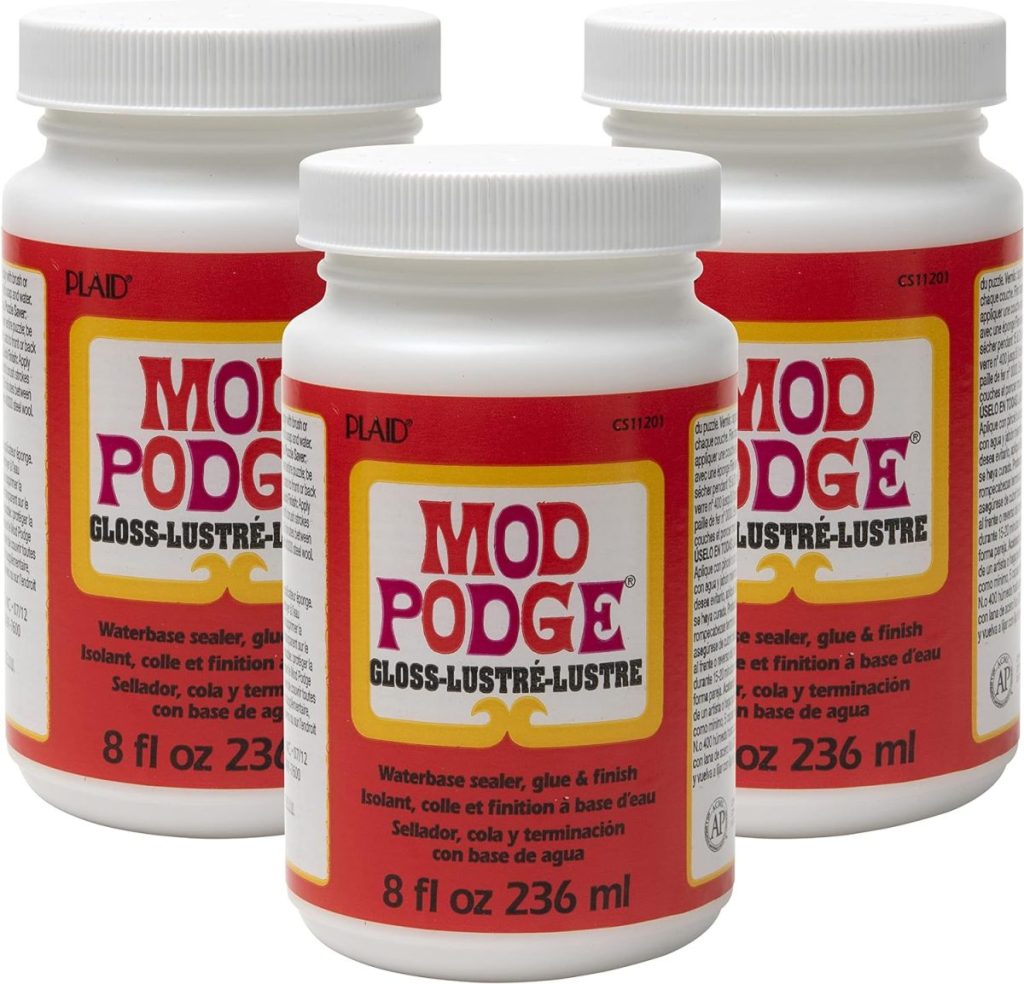
- Mod Podge or any other clear sealant
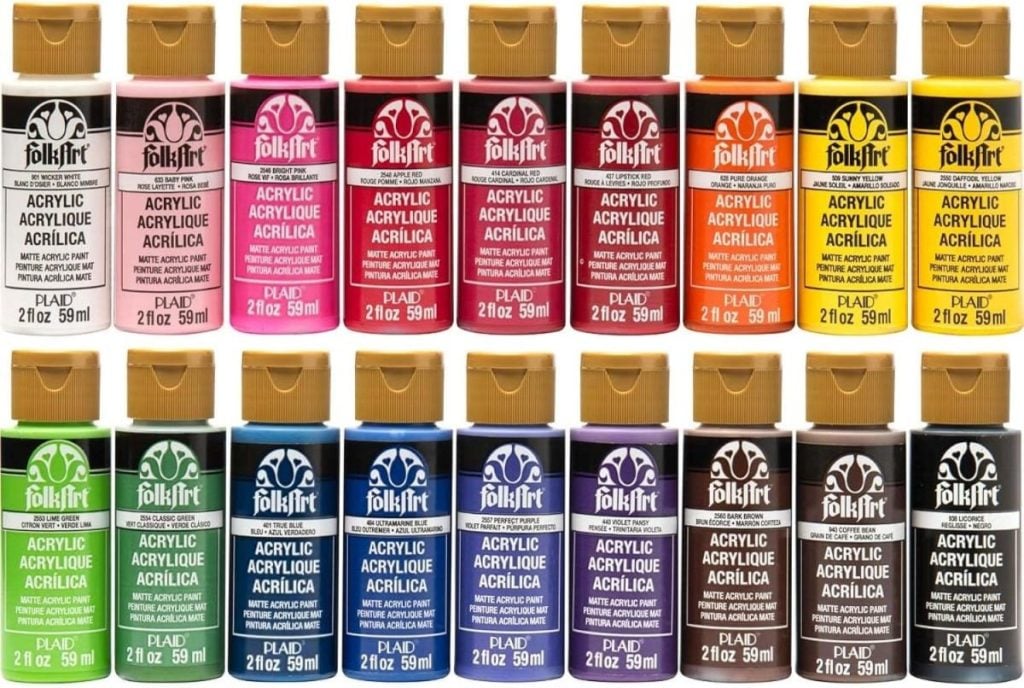
- Acrylic paint (I used blush and taupe)
- Small bowl of water
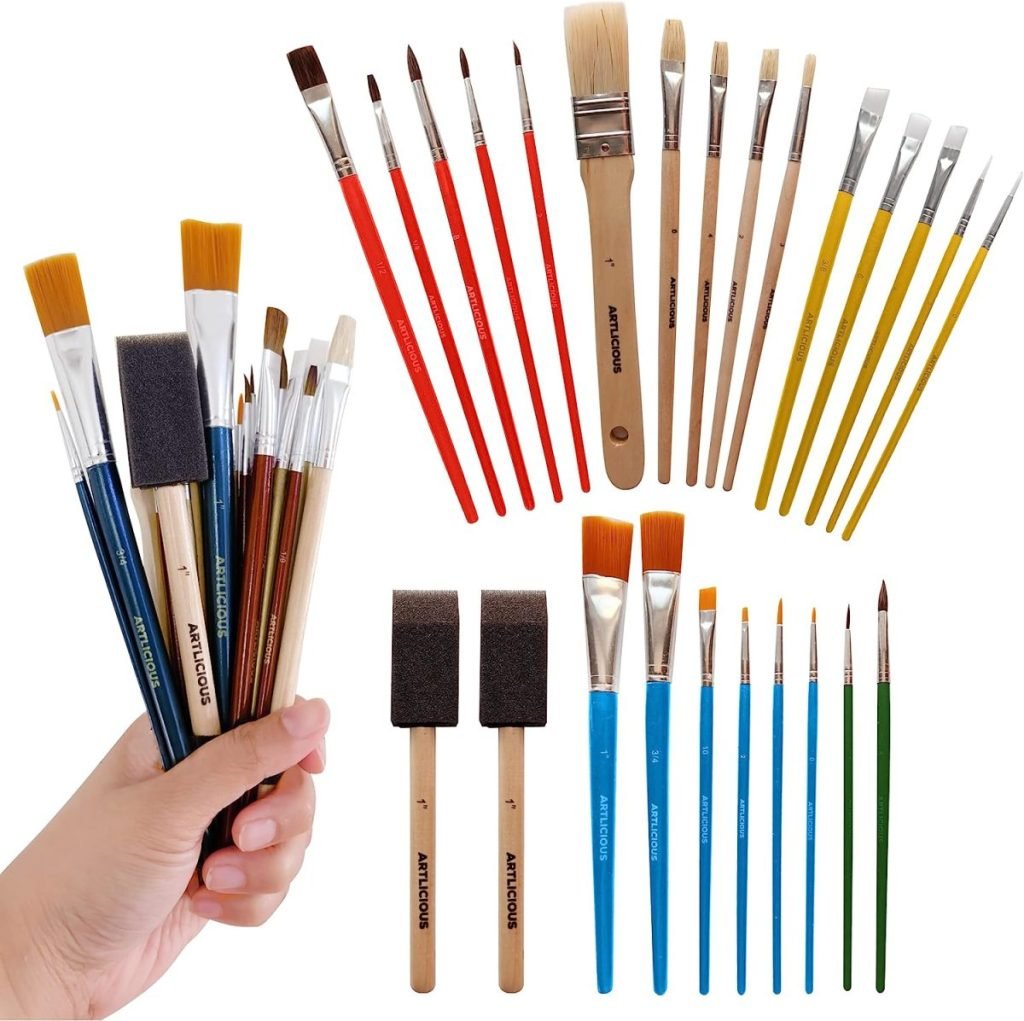
- Paintbrushes
- Wax paper or non-stick mat
- Sandpaper or nail file (optional, for smoothing edges)
On this blog, I may sometimes use affiliate links, which means a small commission is earned if you purchase via the link. The price will be the same whether you use the affiliate link or go directly to the vendor’s website using a non-affiliate link.


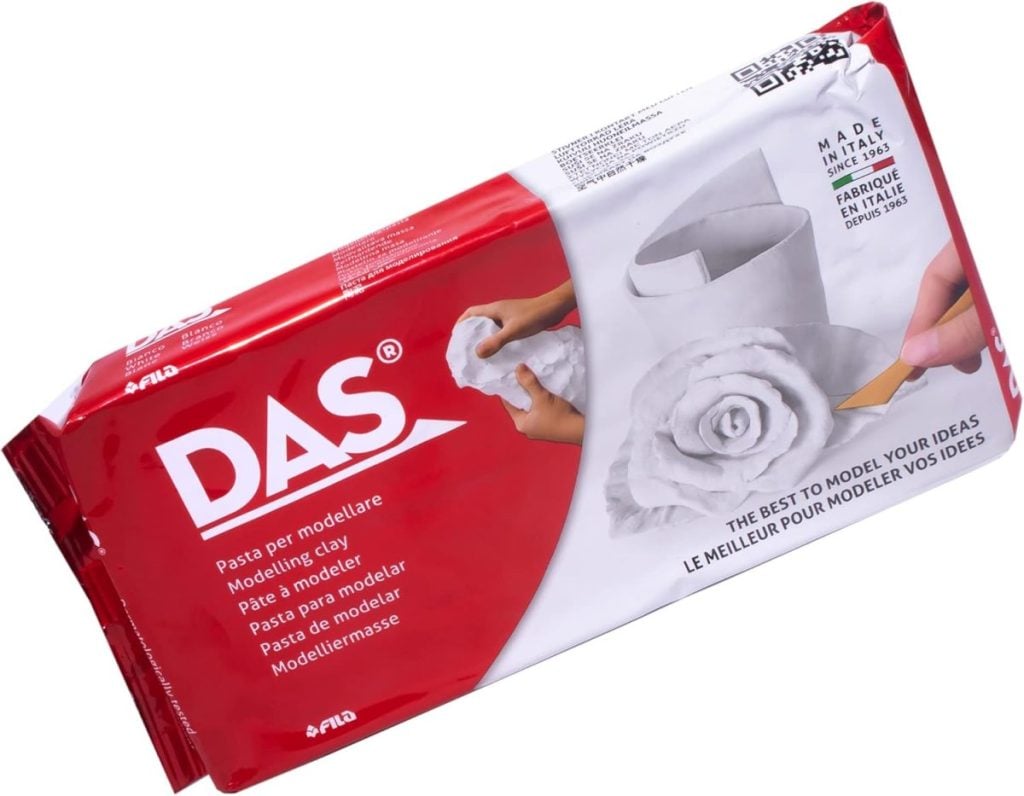
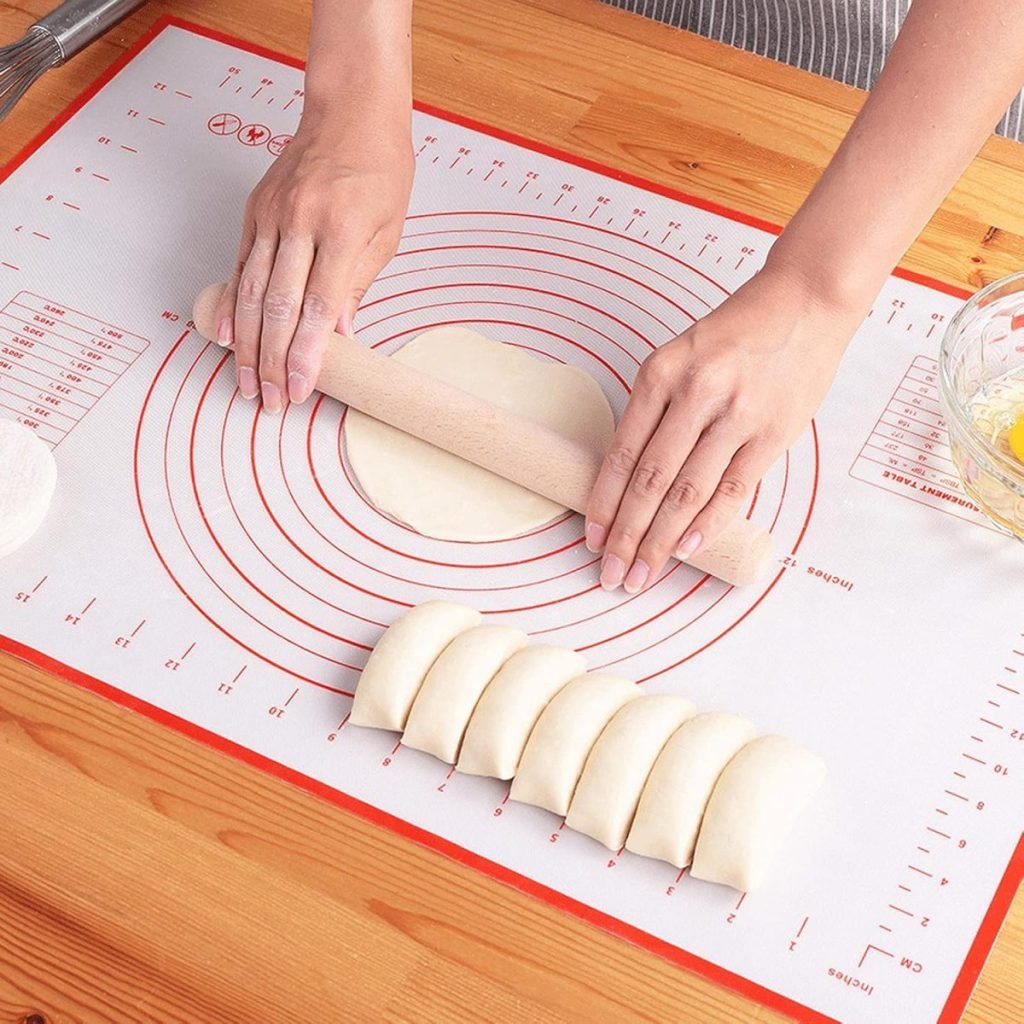
Step 1: Roll Out the Clay
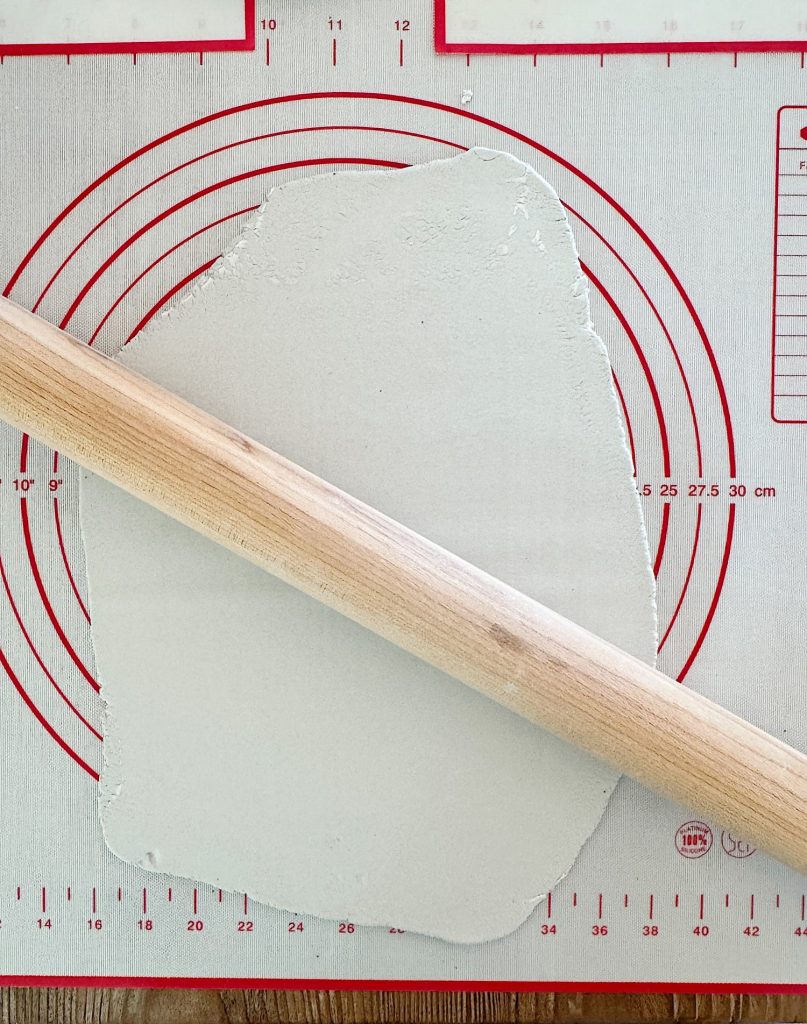
Start by placing a wax paper or a non-stick mat on your work surface to prevent the clay from sticking. Take a portion of air dry clay and roll it out evenly with a rolling pin. Aim for a thickness of about 1/8 inch—thin enough to look delicate but sturdy enough to hold its shape.
Step 2: Cut Out Heart Shapes
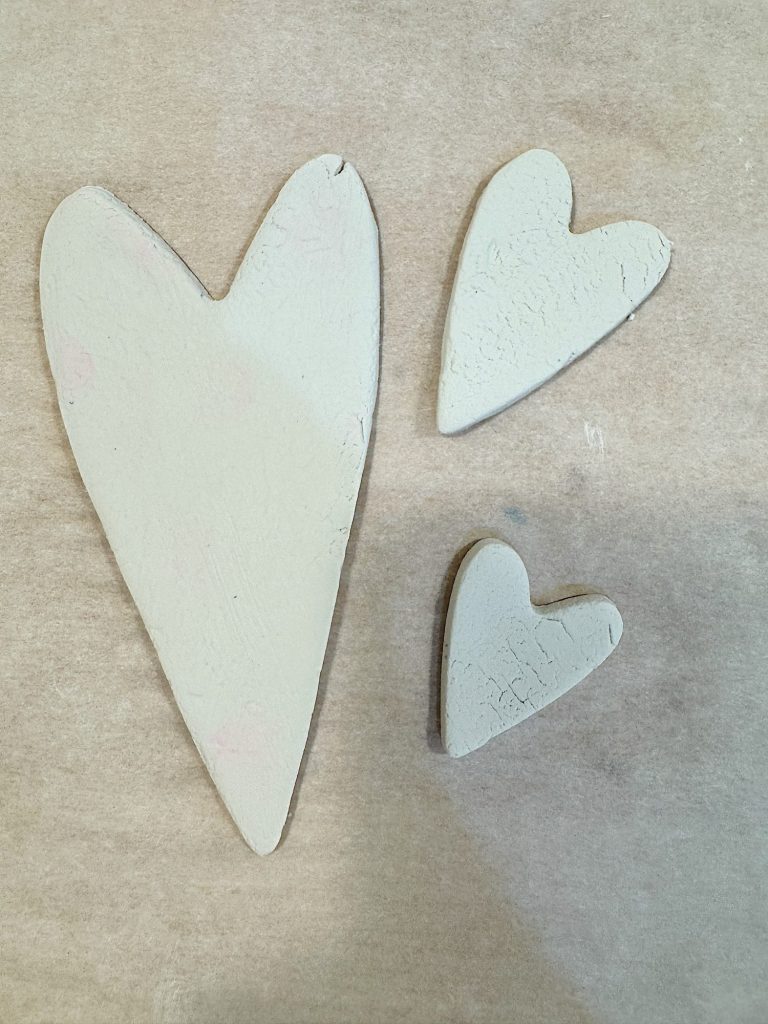
Use heart-shaped cookie cutters to cut out hearts in various sizes. Gently lift each heart and smooth the edges with your fingers. If any edges feel rough, don’t worry—you can refine them later once the clay has dried.
Step 3: Prepare the Clay Paste
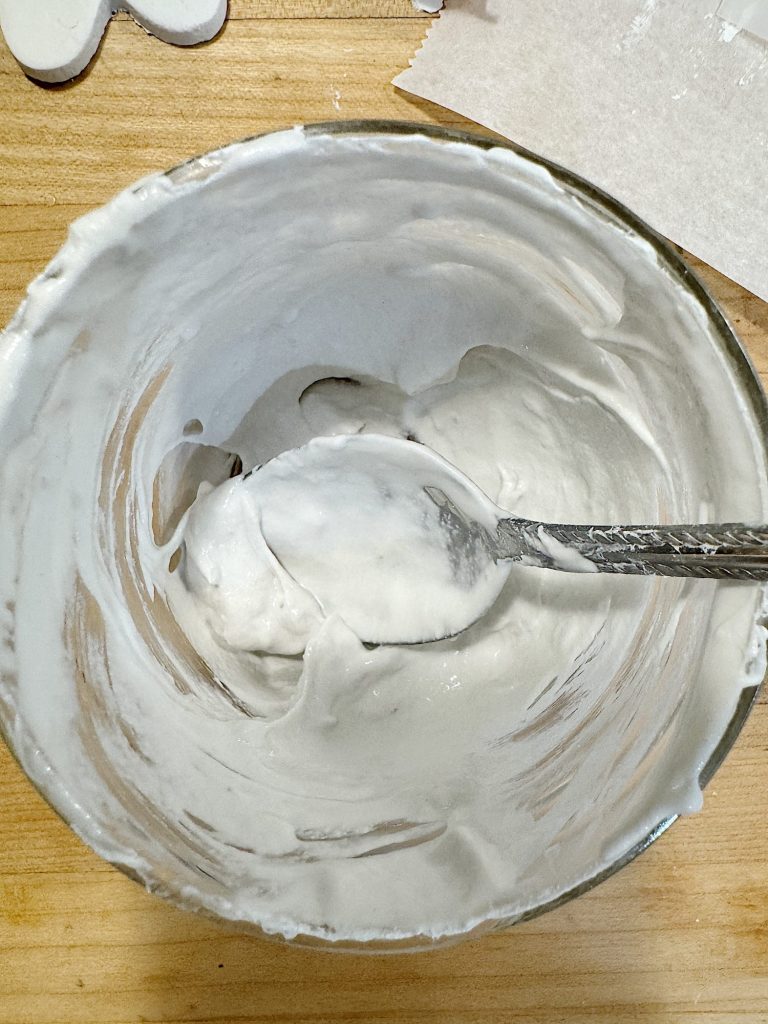
To create the textured design, you’ll need a clay paste. Here’s how to make it:
- Mix a small portion of air dry clay with a few drops of water in a bowl.
- Stir until it forms a thick, smooth paste. The consistency should be similar to frosting—not too runny but easy to spread.
Of course, after I went to the trouble making the clay paste I found some hidden in my craft room! I recommend buying the clay paste, as mixing it was a bit of a pain!
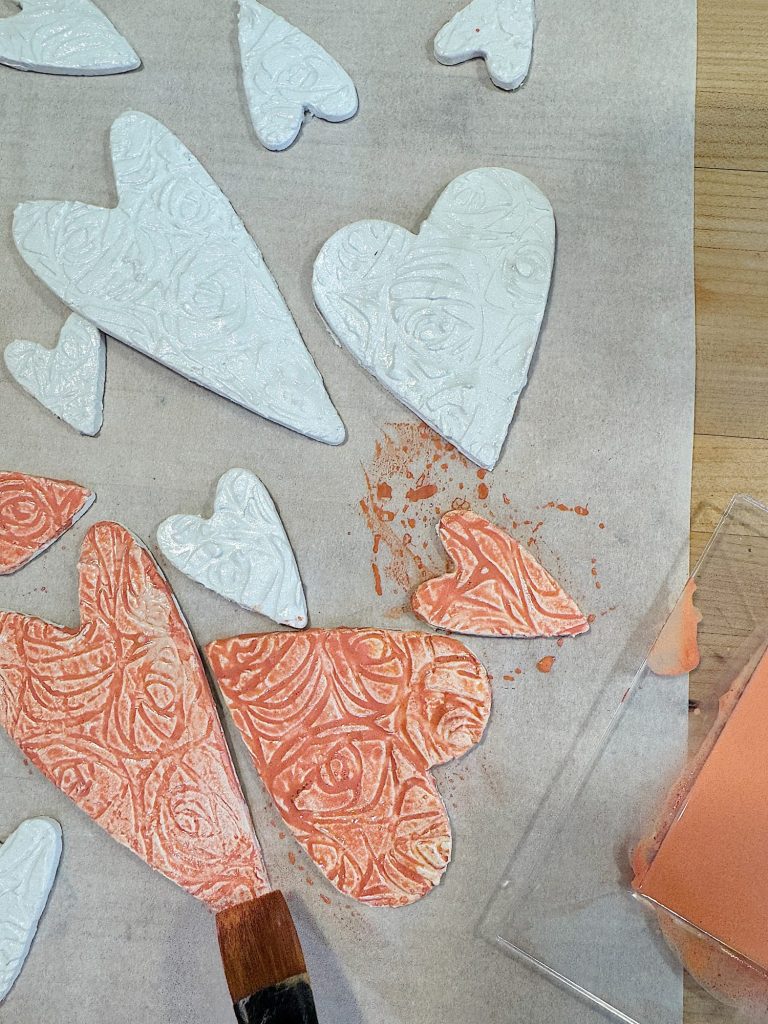
Step 4: Add Texture Using a Stencil
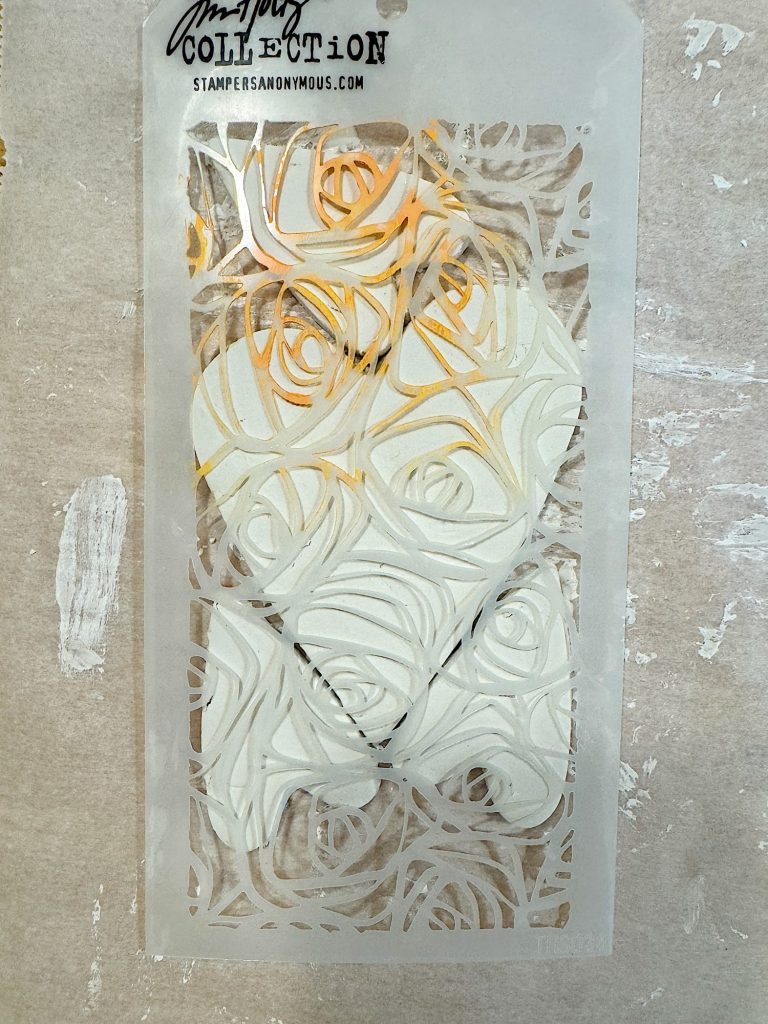
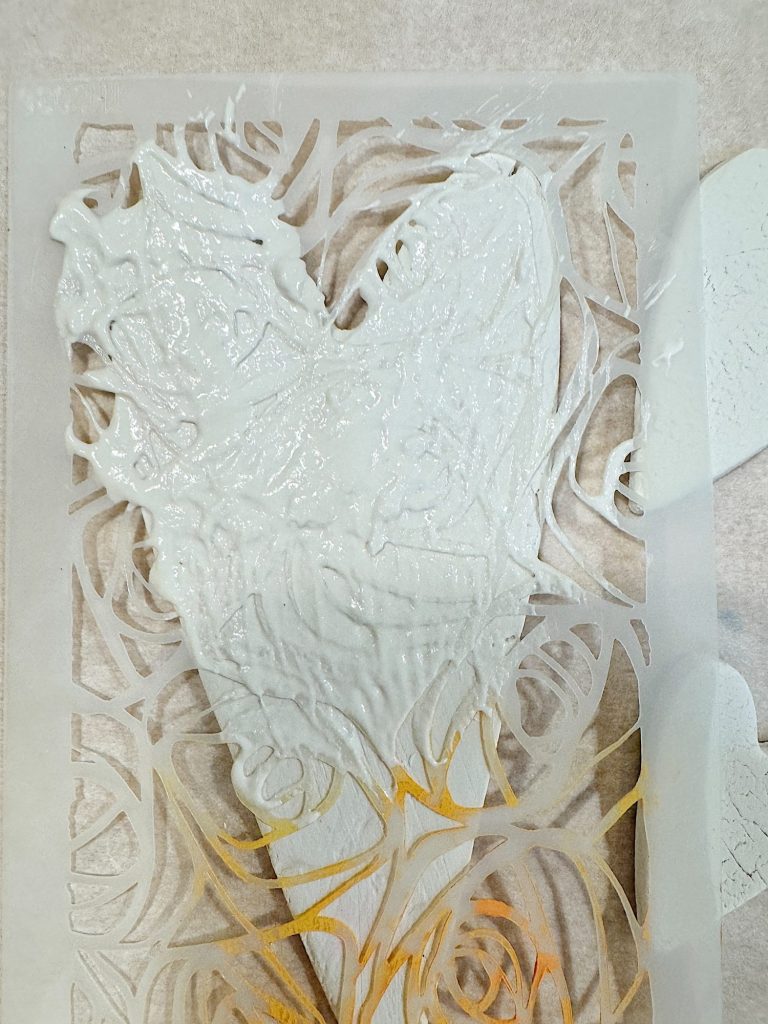
At this point, you might be expecting me to pull out a textured roller to make these hearts. I decided to try something different in case you don’t have one of these rolling pins.
I used a stencil instead.
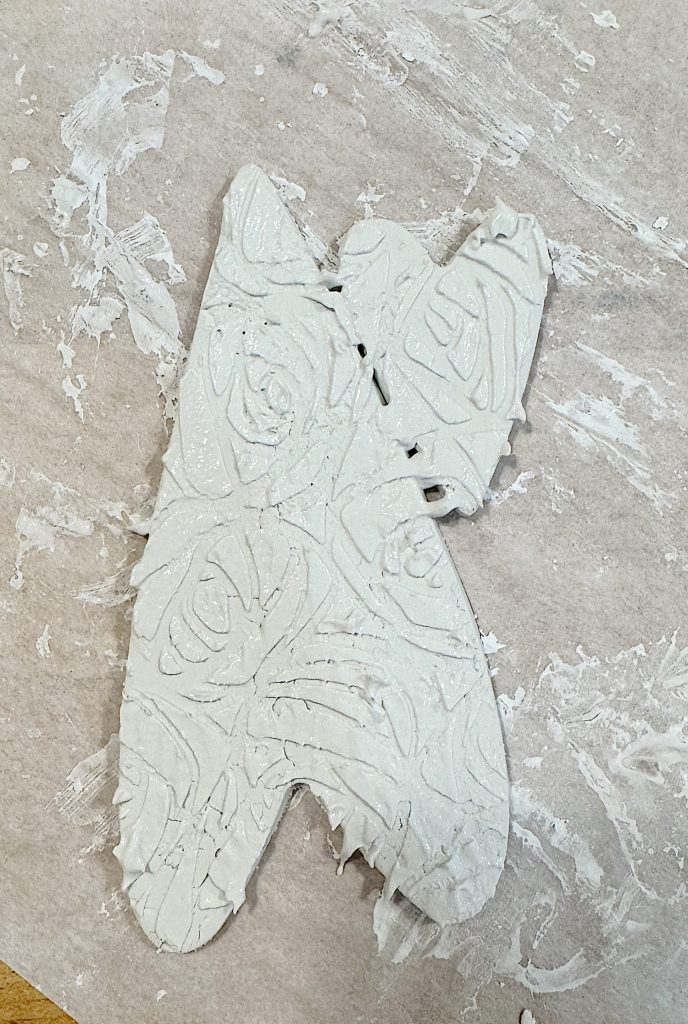
Place a stencil over one of the clay hearts. Using a palette knife or spatula, apply a thin layer of clay paste over the stencil, spreading it evenly across the surface. Carefully lift the stencil to reveal the design underneath. Repeat this process for each heart, experimenting with different patterns if you have multiple stencils.
Tip: Rinse the stencil after every use to prevent the clay paste from drying.
Step 5: Let the Hearts Dry
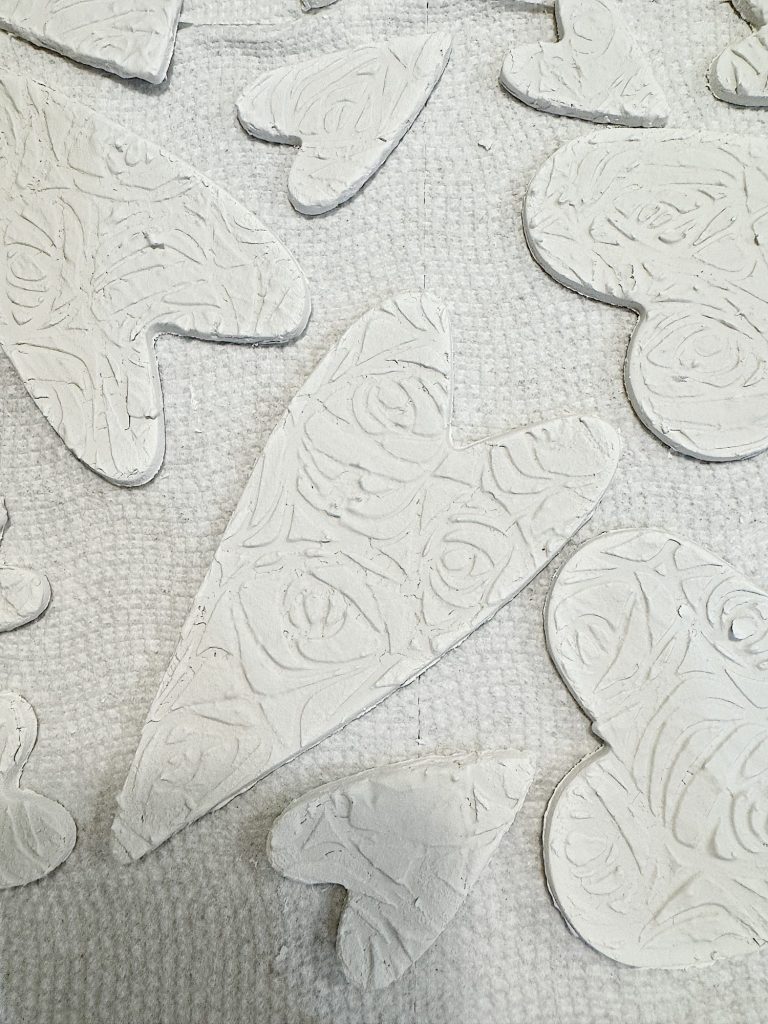
Once you’ve added texture to all your hearts, let them dry completely. Air-dry clay typically takes 24–48 hours to dry, depending on the thickness. Turn the hearts occasionally to ensure even drying.
You can speed up the process by placing it in a 200-degree oven for 10 – 15 minutes.
If needed, use sandpaper or a nail file to smooth the edges for a polished finish.
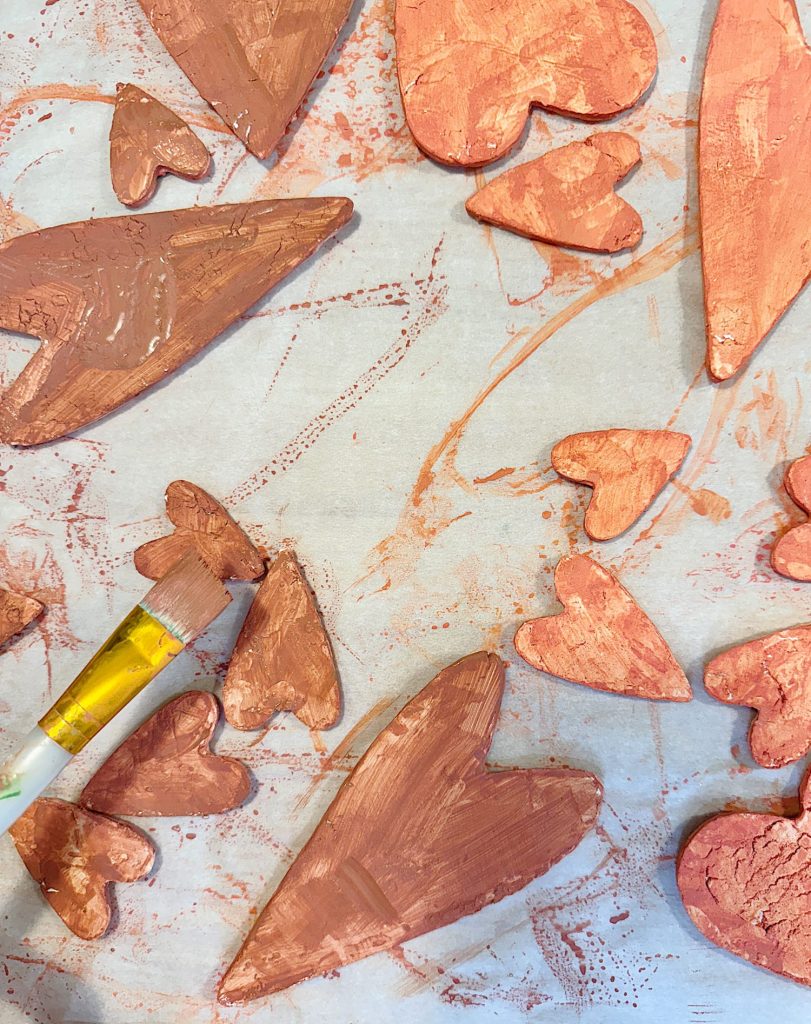
Step 6: Seal with Mod Podge

To achieve a kiln-dried look, I applied a layer of Mod Podge to each heart. This seals the clay so the paint can’t absorb into the clay. Allow the Mod Podge to dry thoroughly before painting.
Step 7: Apply Watered-Down Acrylic Paint
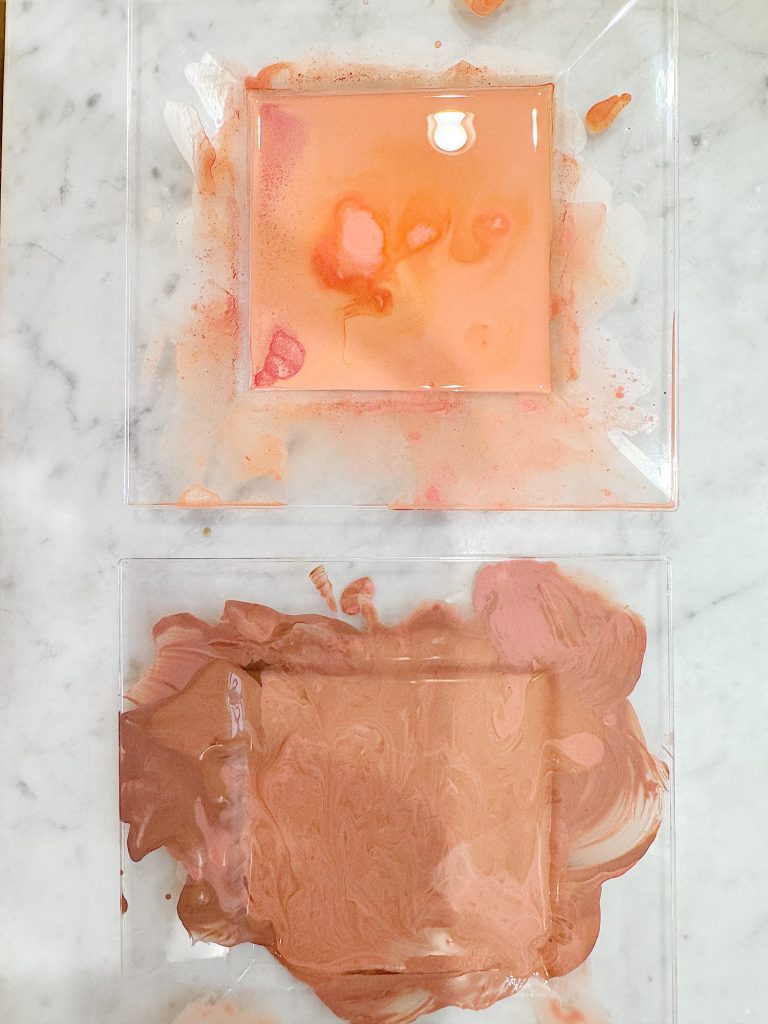
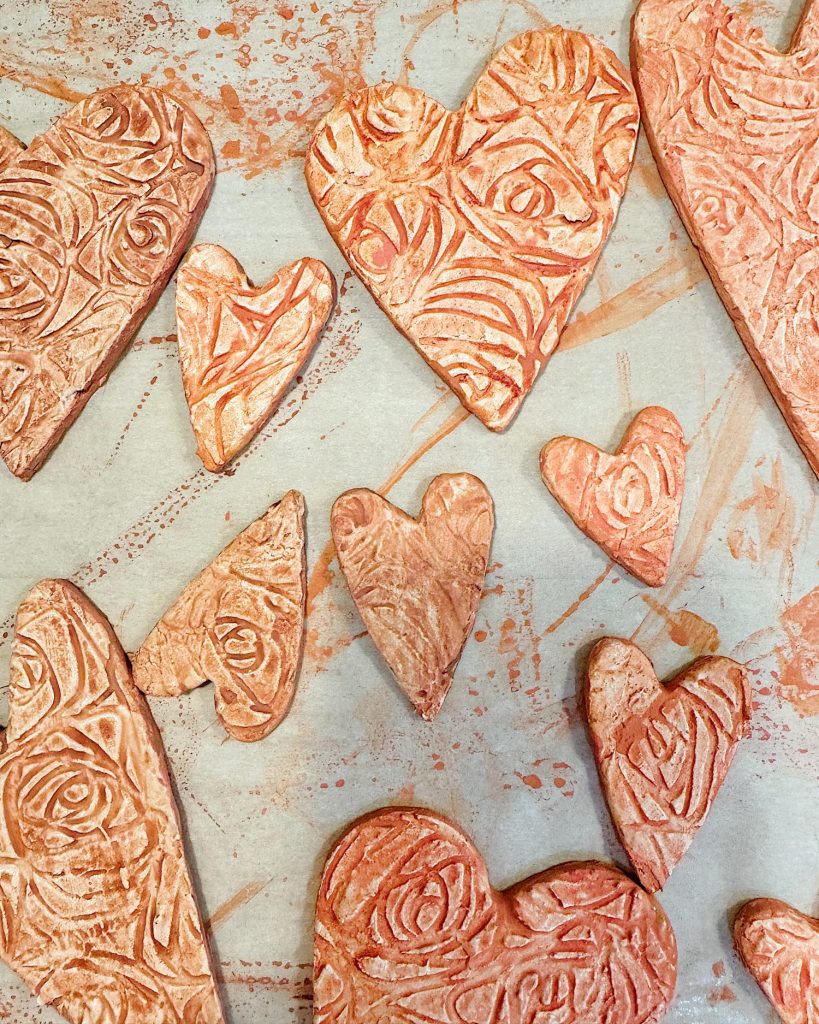
For a soft, natural look, I mixed acrylic paint with water to create a wash. Using a paintbrush, I applied the watered-down blush and taupe paints to the hearts, allowing the paint to seep into the textured designs. This technique highlights the stencil patterns while maintaining a subtle, handmade feel. If you want more intensity, layer the paint until you achieve your desired look.
Once the front was dry, I painted the back of the hearts, too.
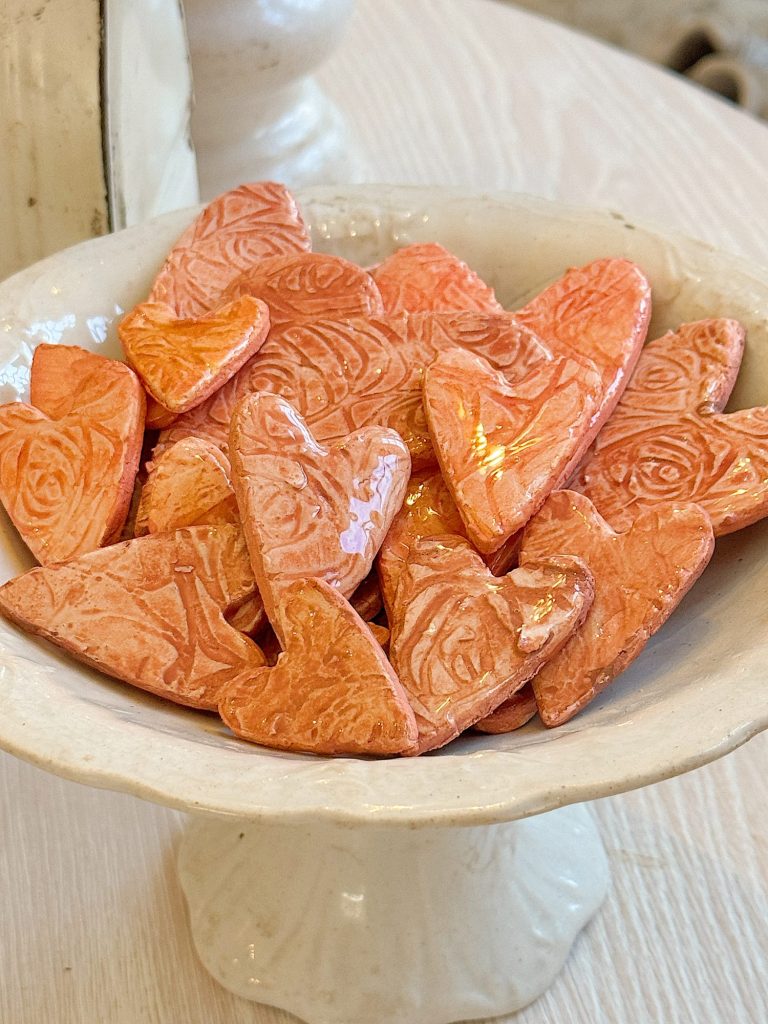
To seal the hearts, paint them with Clay Glaze. Let dry for about 30 minutes. The glaze gives the hearts the look of having been kiln-dried.
Ideas for Using Textured Clay Hearts in Your Decor

Now that you’ve created your stunning clay hearts, it’s time to put them to use! Here are some ideas for incorporating them into your decor:
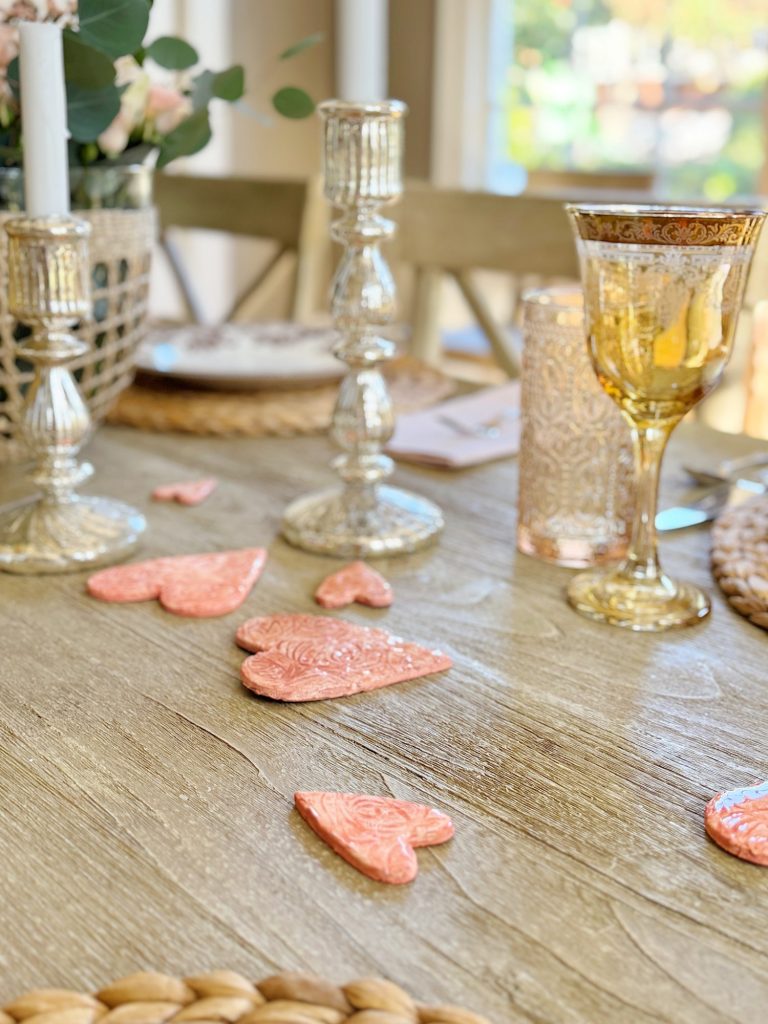
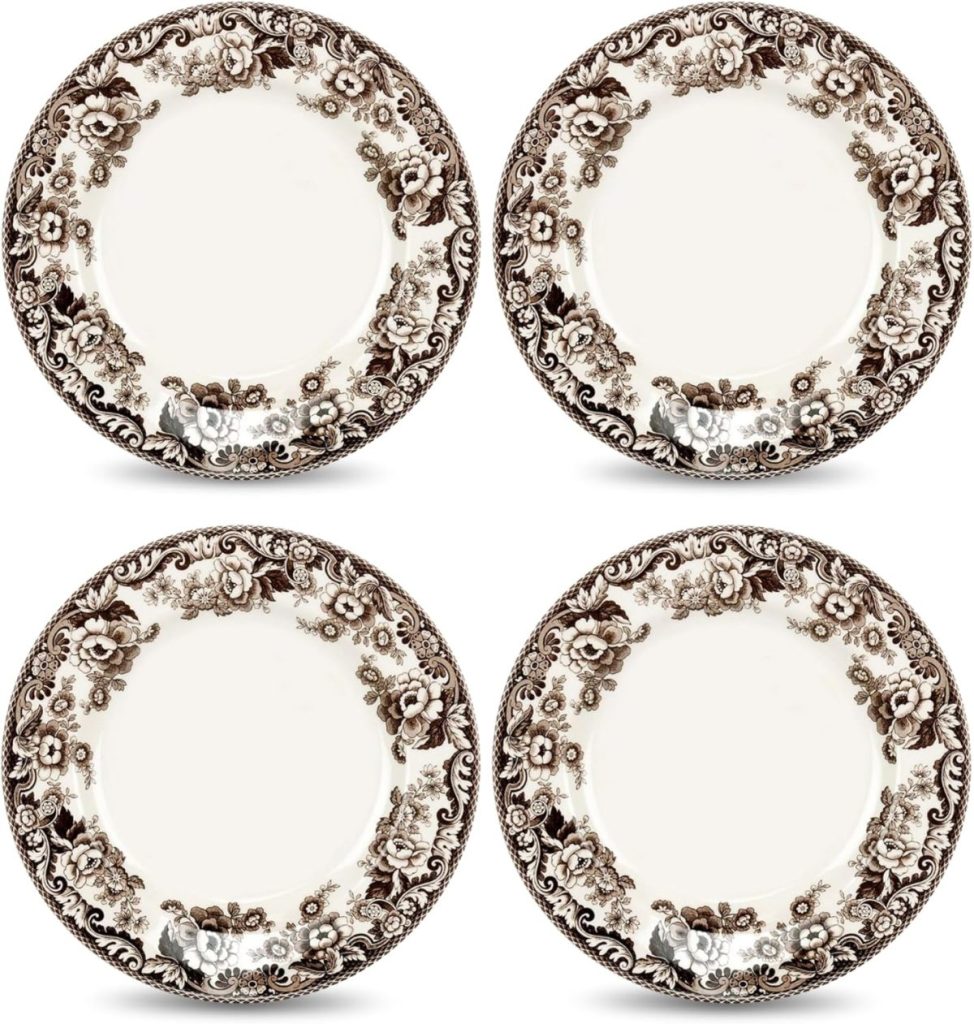
- Table Settings:
Use the hearts as decorative accents on your dining table. Place one on each plate or scatter them along the center of the table for a charming touch. - Garlands:
Thread the hearts onto twine or ribbon to create a garland. Hang it across a mantel, above a window, or along a shelf. - Ornaments:
Add a small hole to the top of each heart before the clay dries, then thread a ribbon through for hanging. They make beautiful winter or Valentine’s Day ornaments. - Gift Tags:
Tie a clay heart onto a wrapped present for a personal, handmade touch. You can even write on them with a permanent marker to customize each tag. - Decorative Bowls:
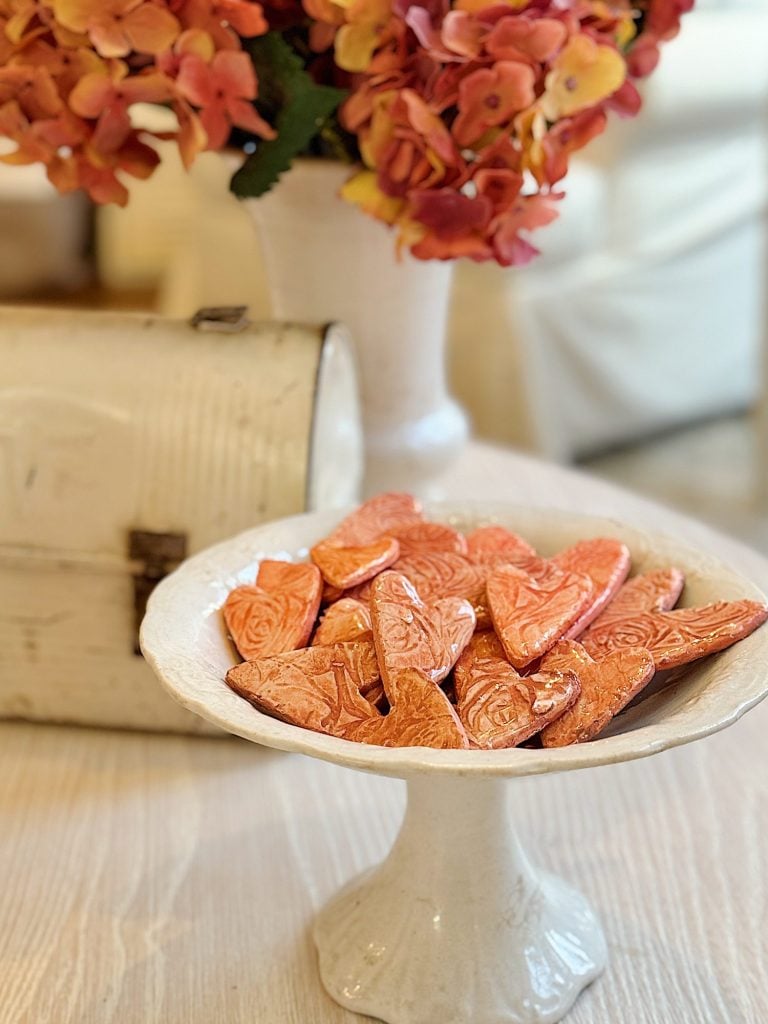
Display the hearts in a decorative bowl on your coffee table, entryway console, or kitchen counter. - Wall Art:
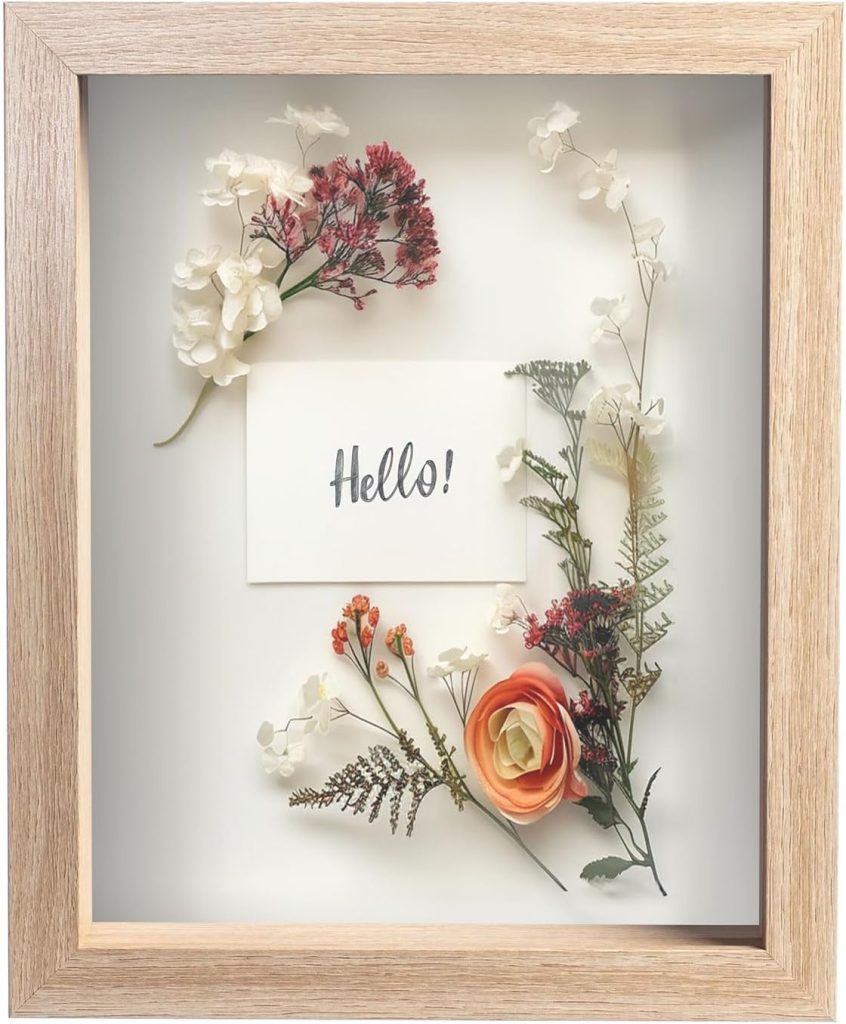
Arrange the hearts in a shadow box or mount them on wood for a unique piece of wall art.

Why I Love This Project
Creating these textured air-dry clay hearts has been one of my favorite DIY projects. The process is relaxing and allows for creativity, from choosing stencils to experimenting with paint colors. I love how the hearts tie into my blush and taupe winter palette, adding a soft, handmade element to my decor.
The best part? These hearts are incredibly versatile and can be used year-round. They’re an excellent way to bring a personal, artistic touch to your home or to give as heartfelt gifts to loved ones.
Whether you’re styling your home for winter, preparing for Valentine’s Day, or simply looking for a creative outlet, this project is a perfect choice. Give it a try, and let me know how your hearts turn out—I’d love to see your creations!
Here are some of the DIY clay hearts I have made.
Air Dry Clay Hearts

DIY Clay Valentine Conversation Hearts
Valentine’s Hearts DIY
Fabulous Valentine’s Day Decor
If you enjoy my blog, you can sign up to receive my updates here.
.
Latest Posts
-
Best Easter Brunch Egg Dish: Loaded French Onion Frittata
Easter brunch is one of those special meals where the table is complete, the laughter is loud, and the food is nothing short of spectacular. If you want to wow your guests with something savory, cheesy, and unforgettable, let me introduce you to your new Easter brunch hero: a Loaded French Onion Frittata.
-
The Best Spring Pillow DIY – A Handmade Spring
There are certain projects that start as an idea and quietly turn into something you love far more than you expected, and this Spring pillow is exactly that. As part of my A Handmade Spring series, I wanted to create something soft, beautiful, and full of texture, and this pillow checked every box. This pillow…
-
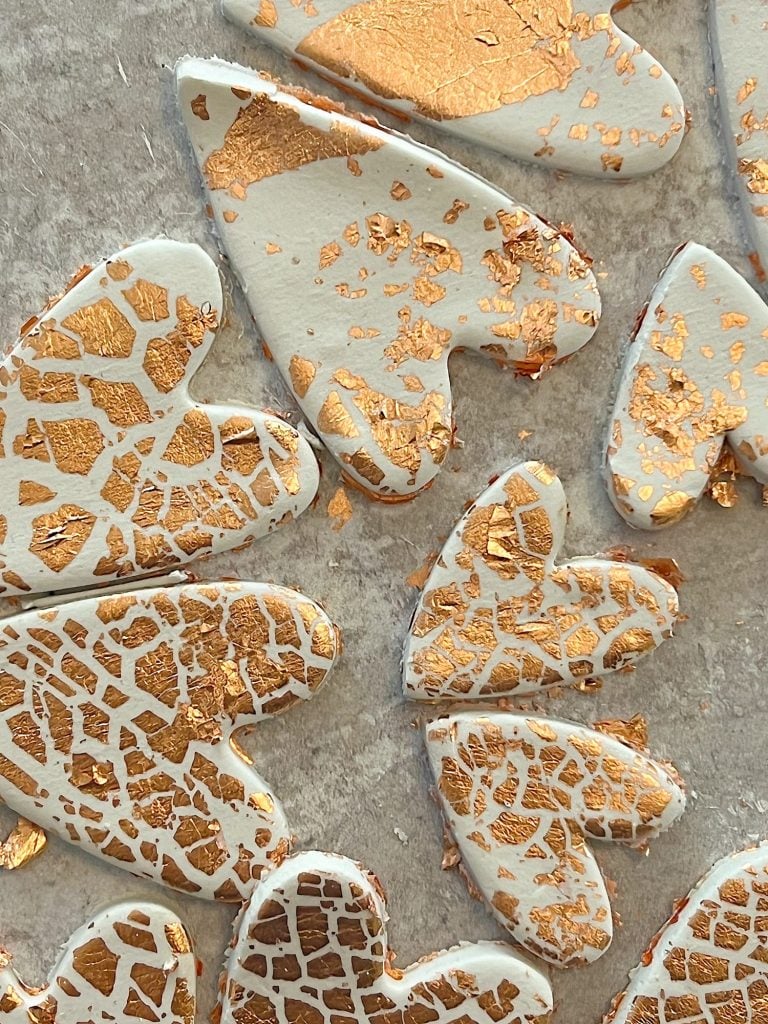
DIY Clay and Metallic Foil Easter Eggs
With Easter just around the corner this week, I decided to create something special and truly unique for my spring décor … handmade clay and metallic foil Easter eggs. These little works of art are soft, pastel, and subtly shimmery, and they’re a beautiful way to add a handmade touch to your Easter celebrations. While…
-
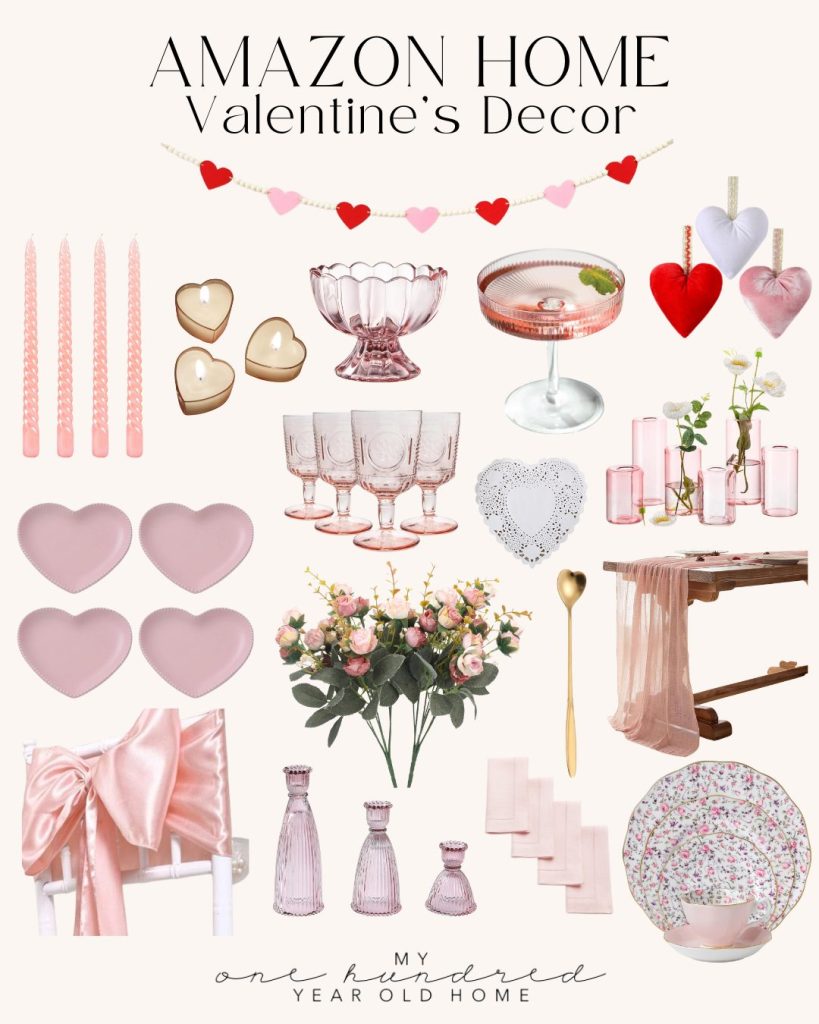
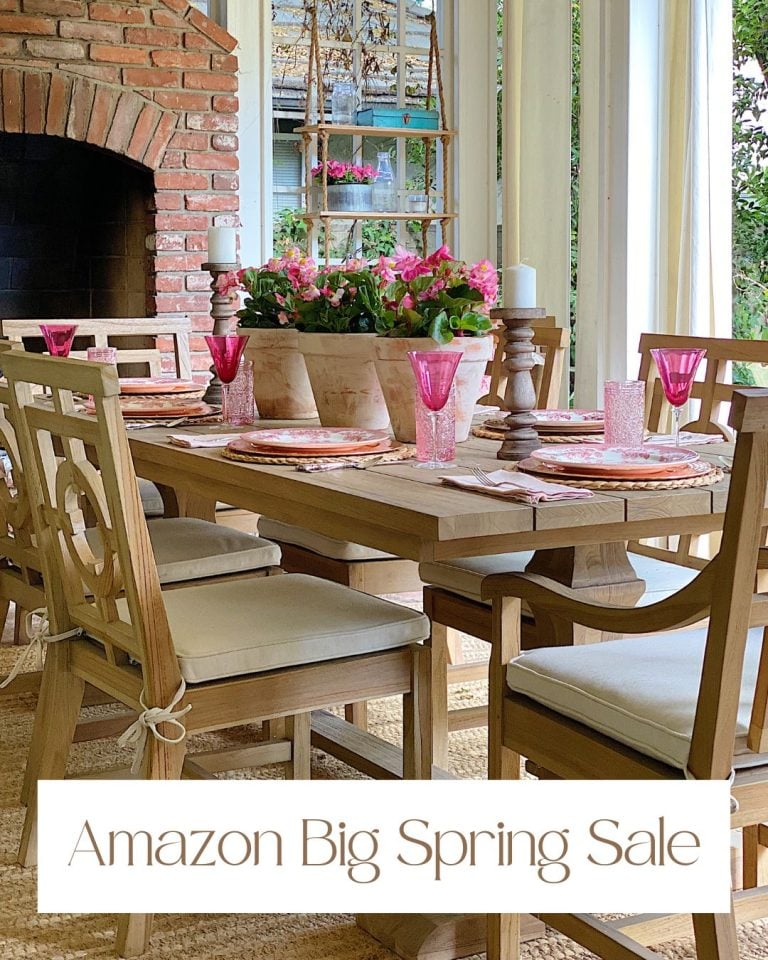
The Amazon Big Spring Sale is Here!
The Amazon Big Spring Sale is here! It runs from March 25th (today) through March 31st, and here are some of the best Amazon Deals ever! There are millions of deals available, and today I will help you find the best ones for everything you need. Now is the perfect time to shop for Spring.


You can pin the image below to your boards on Pinterest (click the Pin button in the top left corner) or follow me on Pinterest!

For more real-time updates, follow me on Instagram @My100YearOldHome

I got your post today. Thank you very much ❤️
You had sent this one yesterday except for the recipe