My Favorite Easy Painted Pumpkin
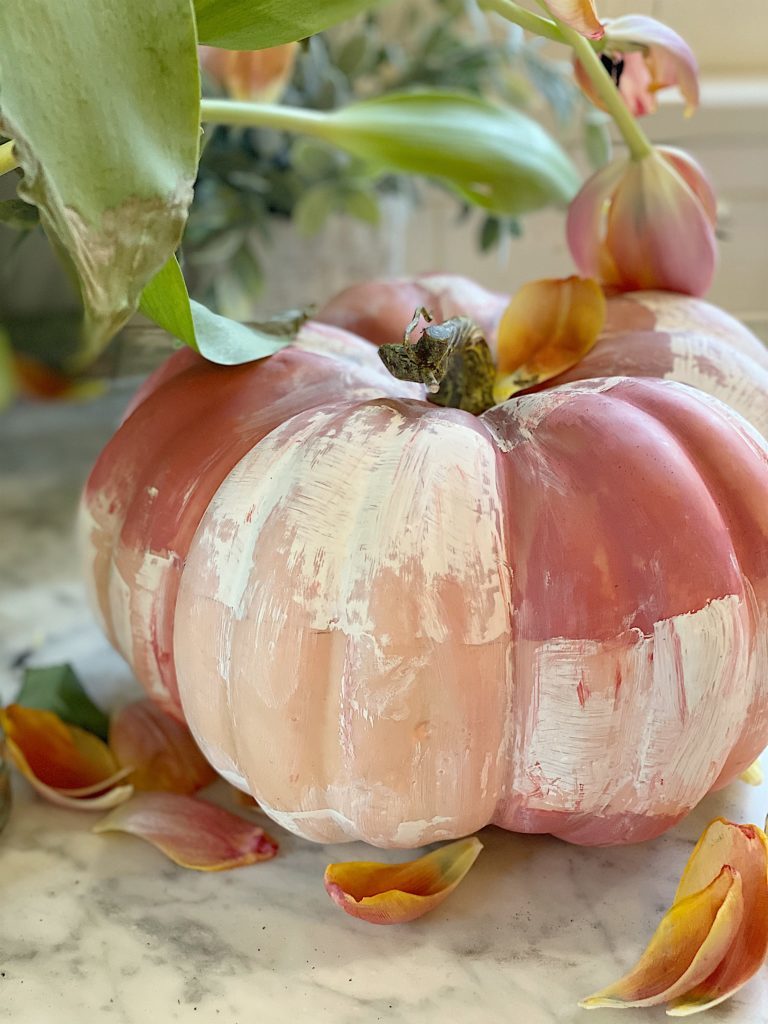
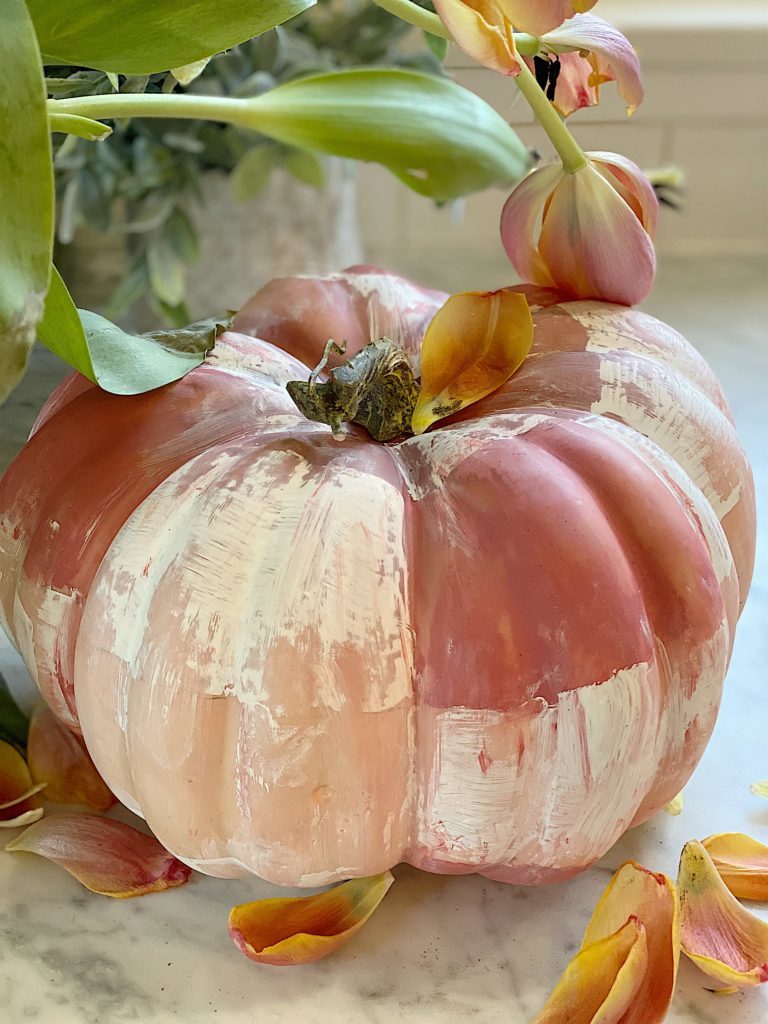
I am so happy my original painted pumpkin project didn’t work because it led me to create this deconstructed Easy painted pumpkin! And I love it.
Sometimes craft projects don’t work out. But occasionally they can lead to something better. This easy painted pumpkin does not look like I thought it would. Which is great because it looks so much better than I had ever hoped.
I fully intended to paint a pumpkin to add some fun fall decor to my home. But that didn’t work. So I made a “deconstructed” painted pumpkin.
I love deconstructed furniture so why couldn’t I paint a deconstructed pumpkin?
So what do you think? It’s plaid. Or kind of plaid. Like deconstructed plaid.
And I learned a huge lesson from doing this project. If you are doing a craft project and it fails don’t give up. Be creative and you just may end up with something you love.
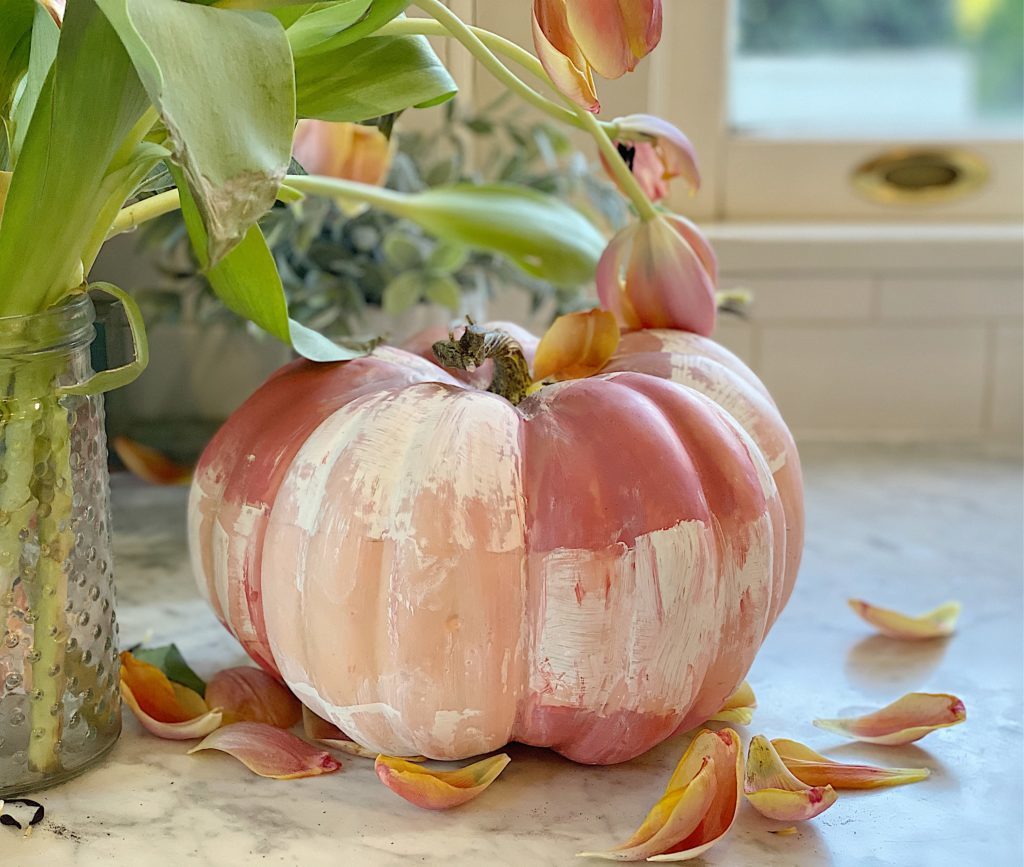
Originally I wanted to paint a pumpkin in a plaid design. But you will see below that the paint looked awful, so I started to rub it off to create a more vintage look. And I love it. Yes, I love my plaid easy painted pumpkin. Go figure!
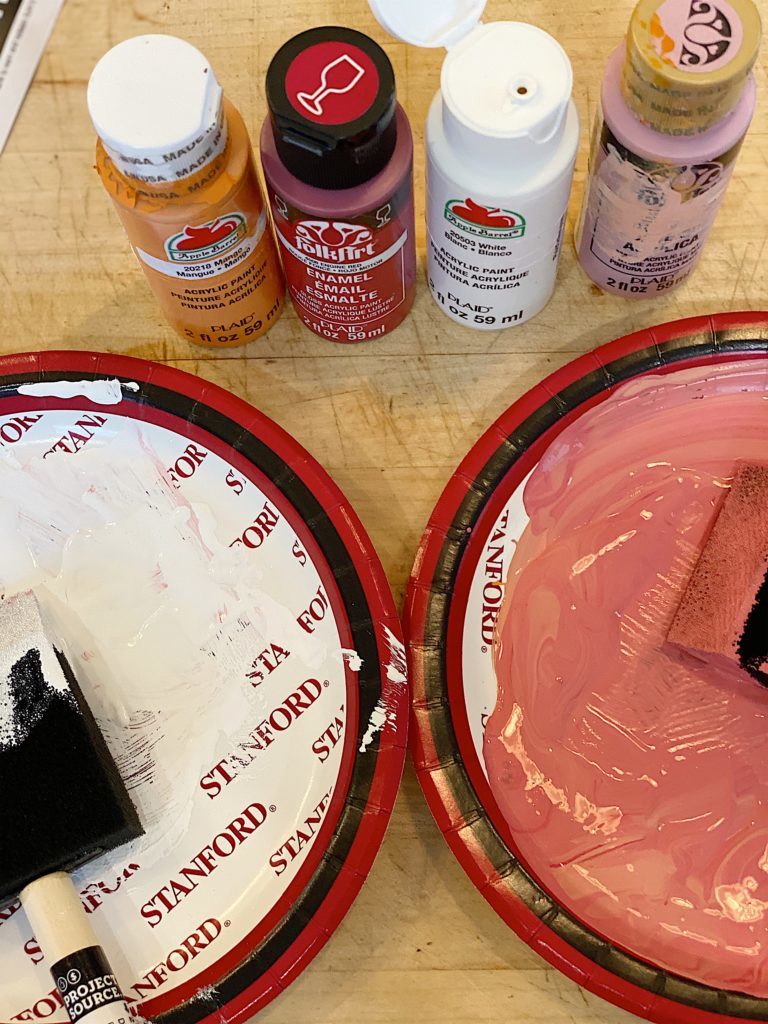
To start this project, you need a pumpkin. You can use a real or a faux pumpkin. I had an extra faux blush pumpkin laying around and decided to use it. You also need acrylic paint in three colors. You will need a light, medium, and dark tone of one color, such as white, grey and black. Since I loved the color of my blush pink pumpkin, I used the color of the pumpkin as my medium tone. All I needed was white and a darker blush tone. So I mixed my colors and I was ready to start. (Please don’t tell my husband I used his Stanford plates to mix my colors.)
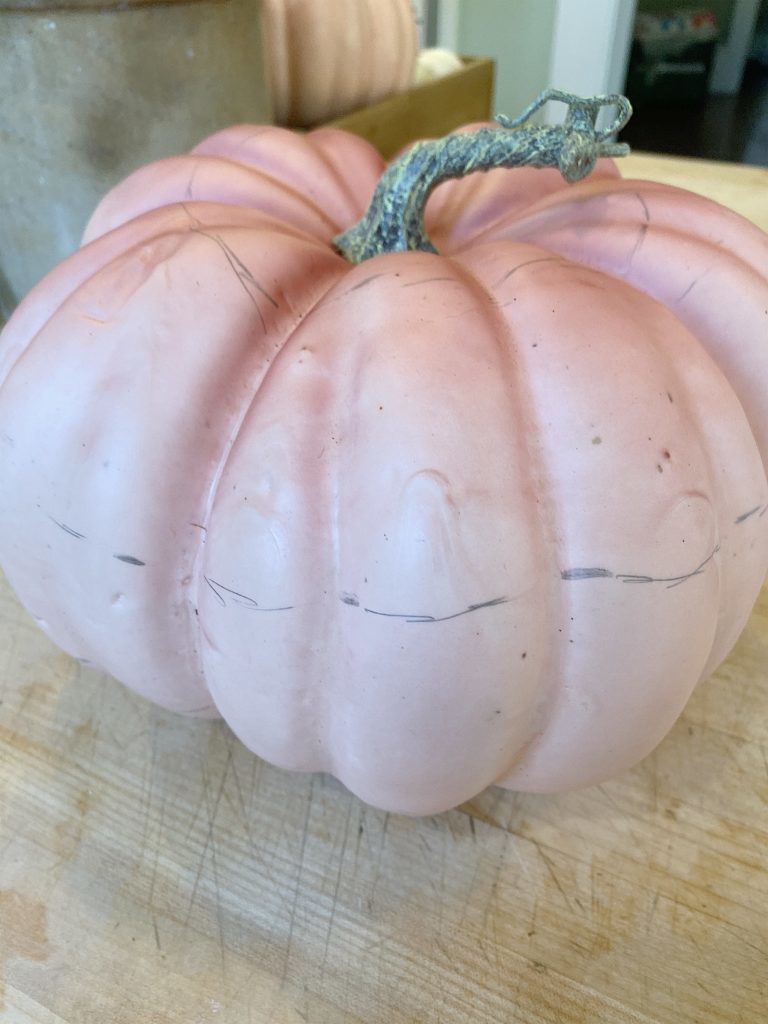
Next, I drew the pattern on my pumpkin. The first calculation you need to make is to divide the pumpkin vertically with an even number of sections. I used six sections. Next, draw the horizontal lines. I suggest you measure from the top to keep the lines as straight as possible. I promise this is the hardest step of my easy painted pumpkin.
On the top row (closest to the stem) paint the sections alternating the light and middle paint colors. (Don’t use the dark one.)
For the second row, use the light and dark paint colors. Just make sure when you start with the light color paint that it is opposite of the light color paint above it.
For the third row, use the light and middle paint colors. Once again make sure the colors are alternating with the row above it.
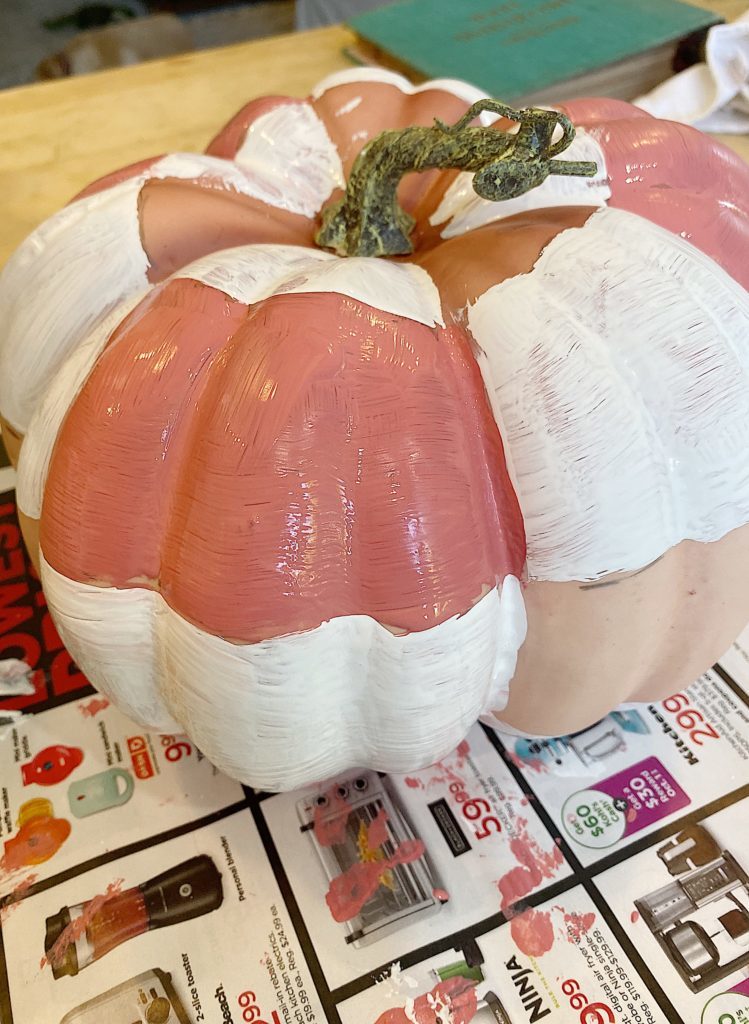
Please note that this is how my plaid painted pumpkin could have looked. Yikes. Now you see why I decided to deconstruct it.
When the paint is almost dry, take a damp cloth and lightly rub away some of the paint. Keep rubbing until you get that “deconstructed look”. You can see how I already wiped away the top layer of paint closest to the stem.
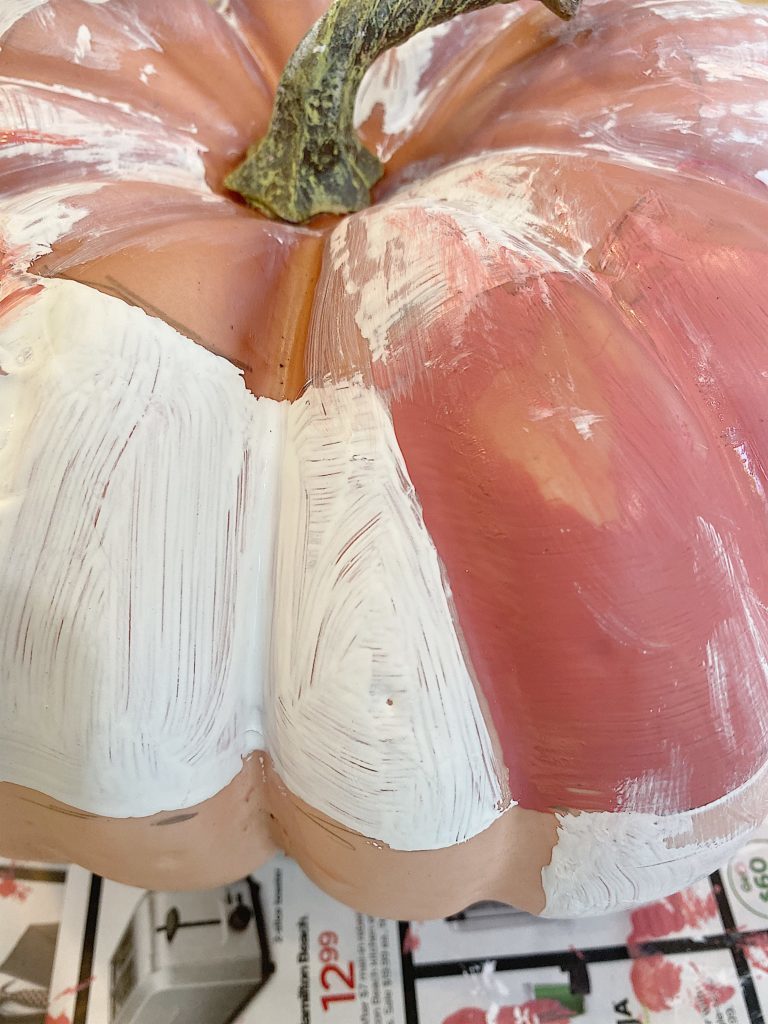
My goal was to create a worn look and get rid of the “hard lines”. You should try to mess up the lines and spread paint from one section on to the other. This is a bit like finger painting where messy is better.
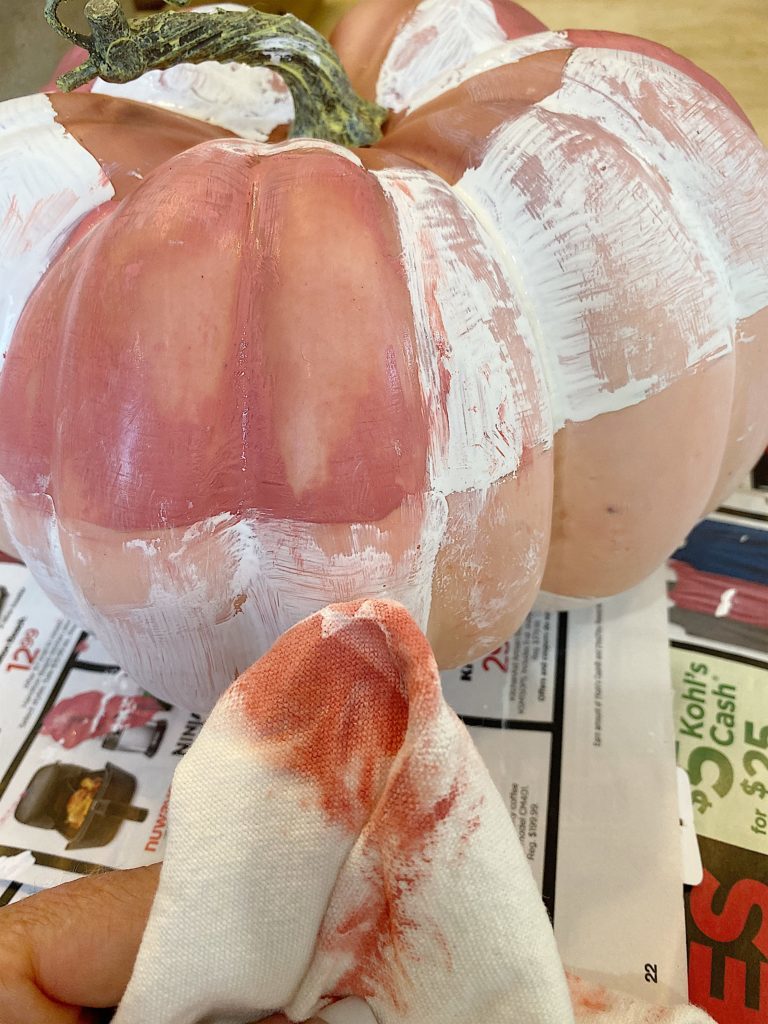
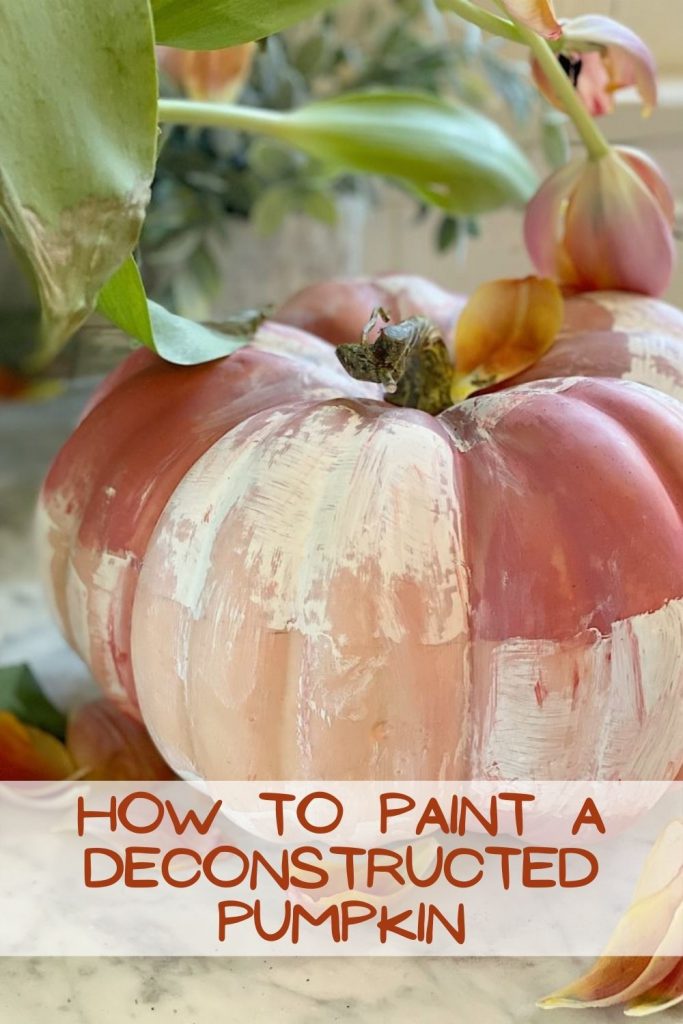
I absolutely love how this turned out. It’s even better than I had hoped it would be. And I am pretty sure there are no other plaid painted pumpkins like it anywhere!
There are so many different colors you could use to make these pumpkins!
You might want to add some varnish to your pumpkin to protect the paint. I haven’t done that but I will soon.
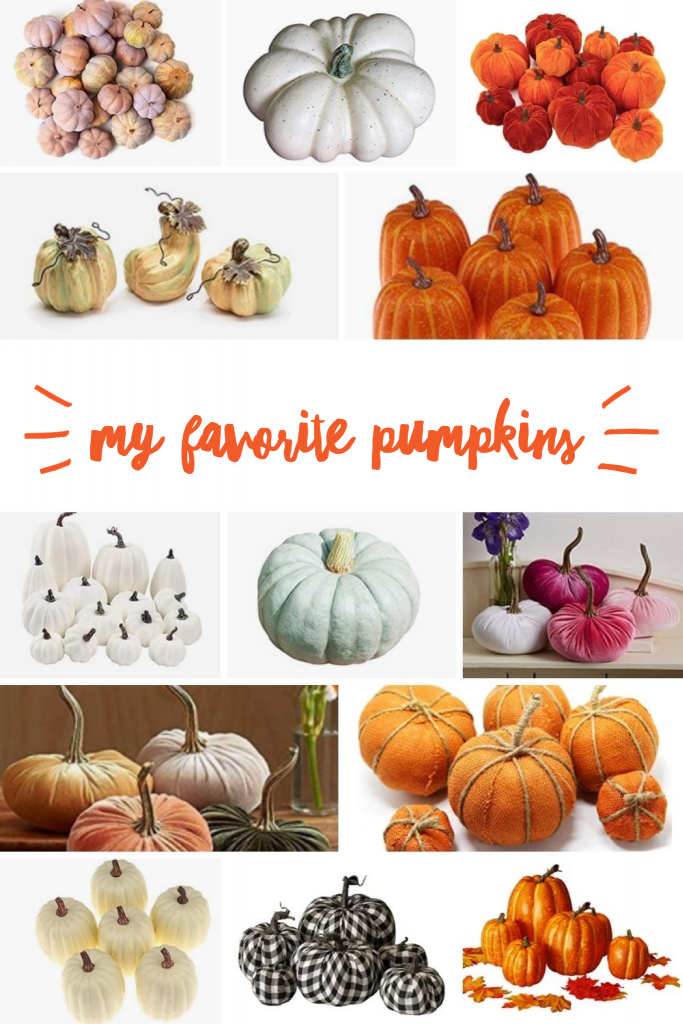
I know some of you aren’t DIY’ers. So I added some of my favorite pumpkins to my Amazon Home Store.
Just click on the graphic below to shop.
Pin the images below to your Fall Decor and Craft boards on Pinterest (just click the Pin button in the top left corner). You can also follow along with me on Pinterest!




So pretty! LOVE this pumpkin!
I love the patina on these! Great Job!
This is do pretty! So happy you “stumbled” across it!
Clever, clever idea. Love it!
I LOVE this idea. Have you seen the McKenzie Child’s pumpkins 🎃 It’s a store near my home in Aurora, NY in the beautiful Finger lakes area. I LOVE reAding your e-news. I miss the AHA podcast. Will you be doing that again? Anne