How to Style a Rose Gold Christmas Tree
I loved creating this beautiful Christmas tree. Today I am sharing with you how to style a rose gold Christmas tree.
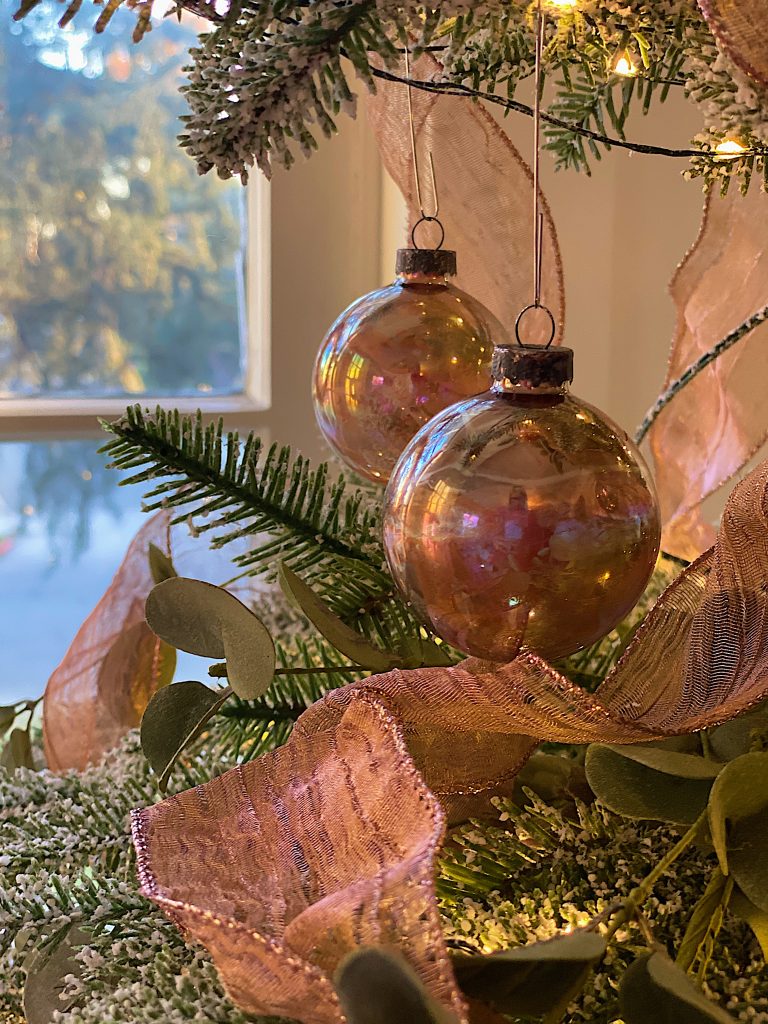
I spent a lot of time trying to decide what the theme of my tree would be for this blog post. I considered green and white. Then I thought about red and white. I also considered all white. I finally decided on my favorite color of 2020 … rose gold and I created a rose gold Christmas tree!
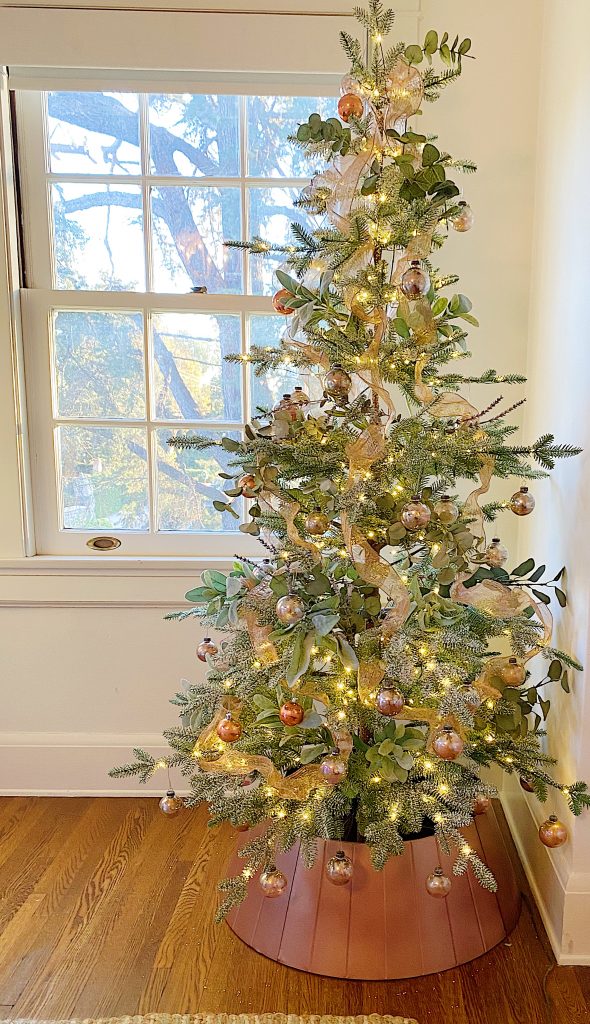
Of course, there was one catch. Where would I find rose gold ornaments? That answer was easy.
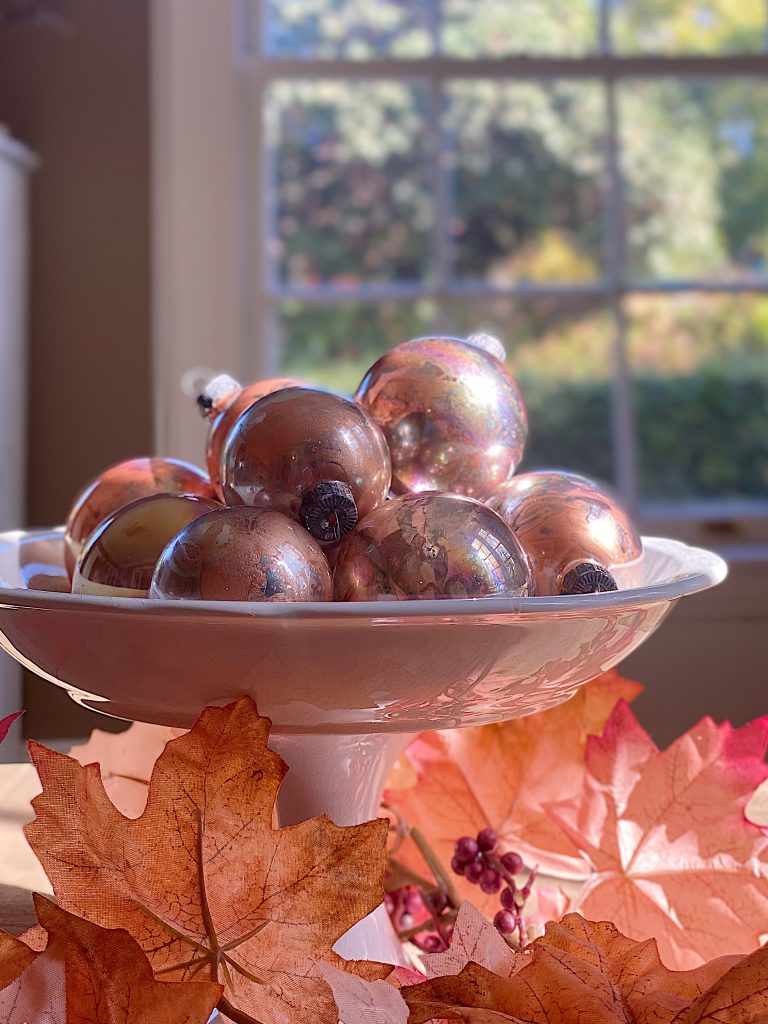
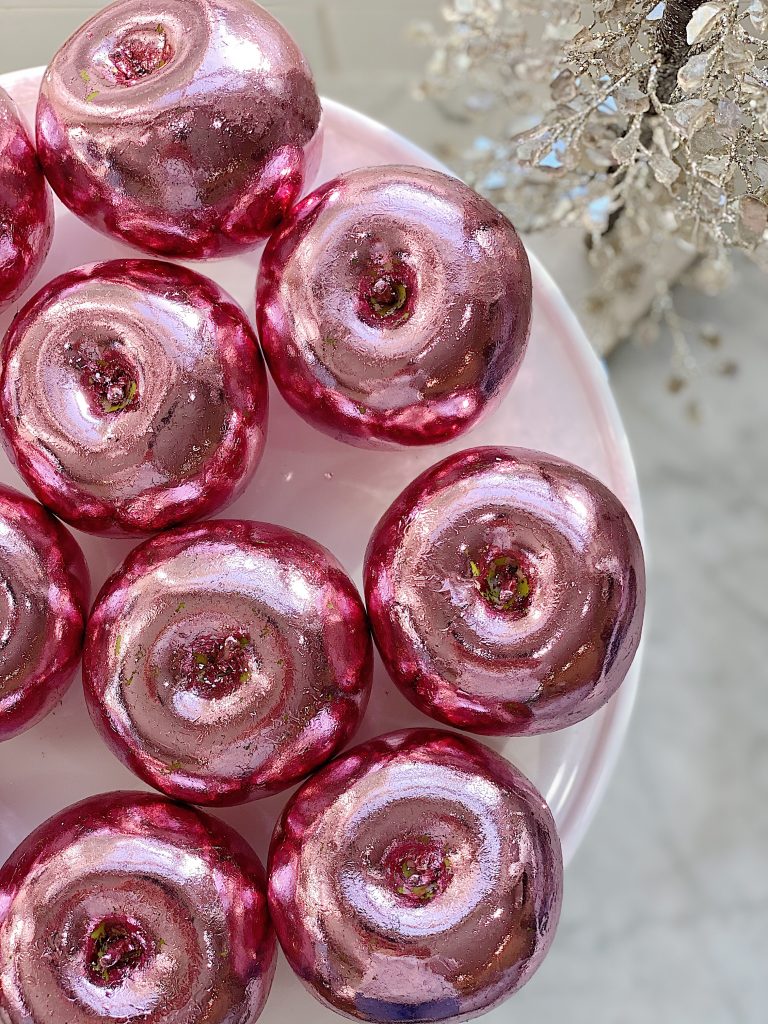
I made rose gold mercury glass ornaments for my rose gold Christmas tree!
I love them. The complete DIY is listed below.
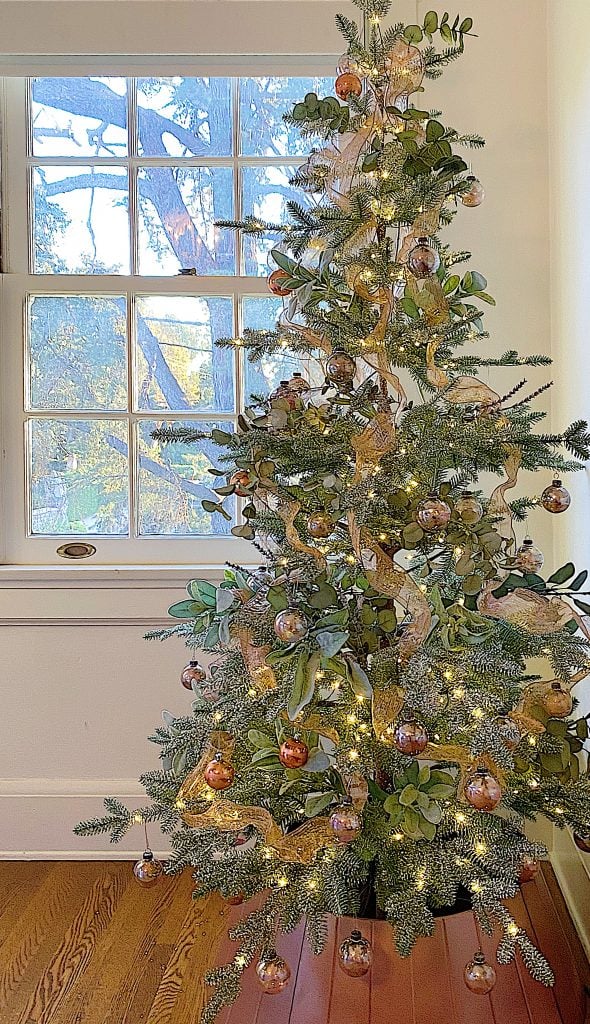
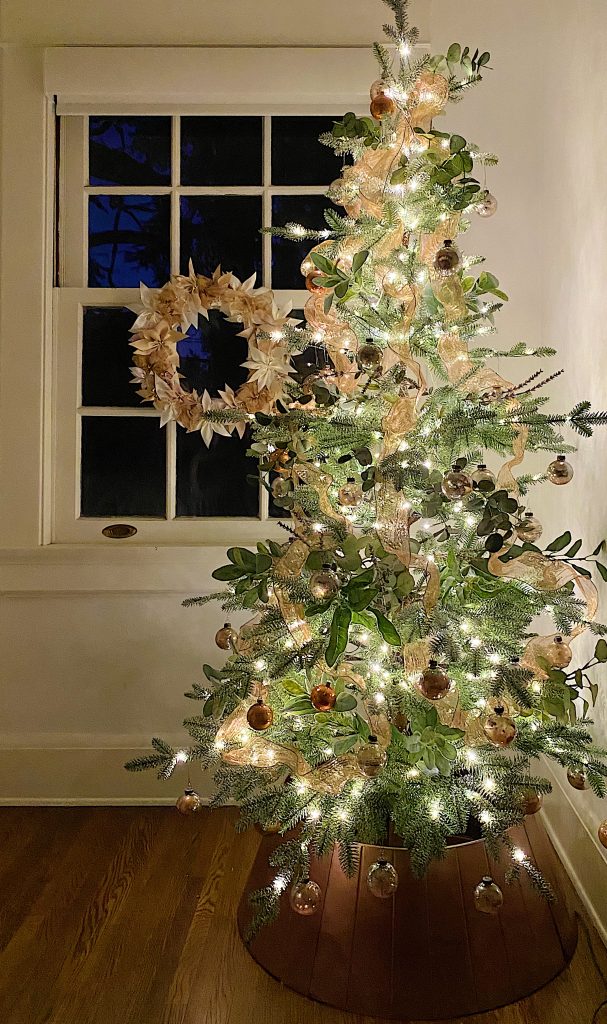
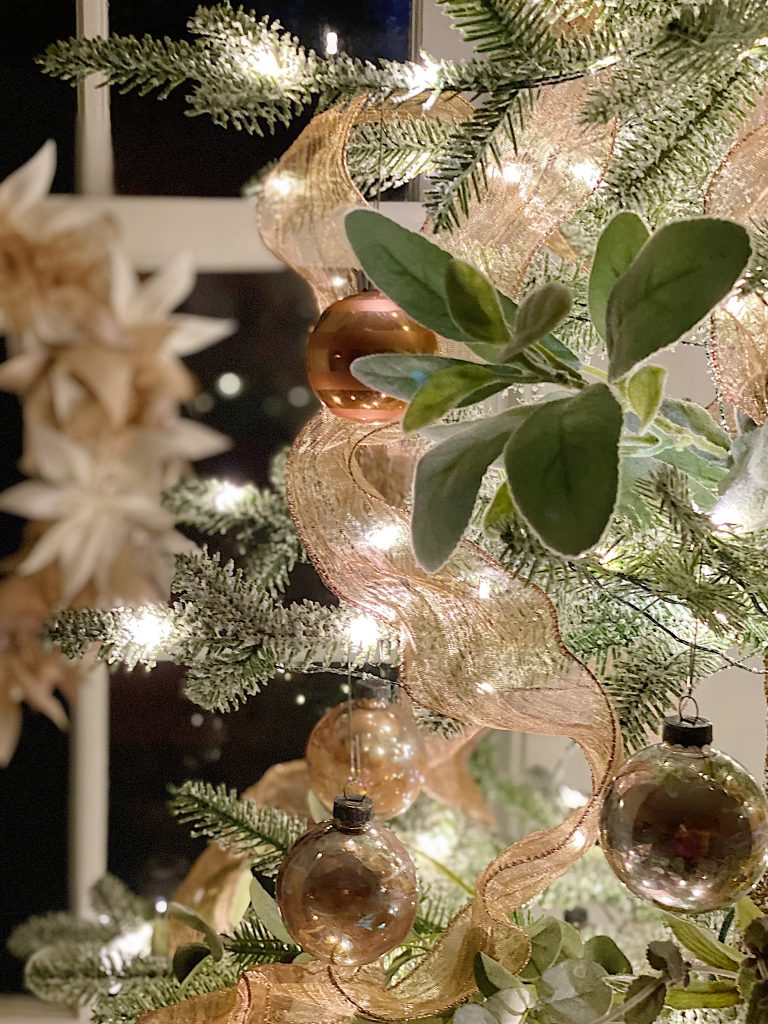
Here is my rose gold Christmas tree. I am so in love with it!
The tree is from Balsam Hill. I added eucalyptus and lambs ear to the tree, then added the ribbon and all of my mercury glass ornaments.
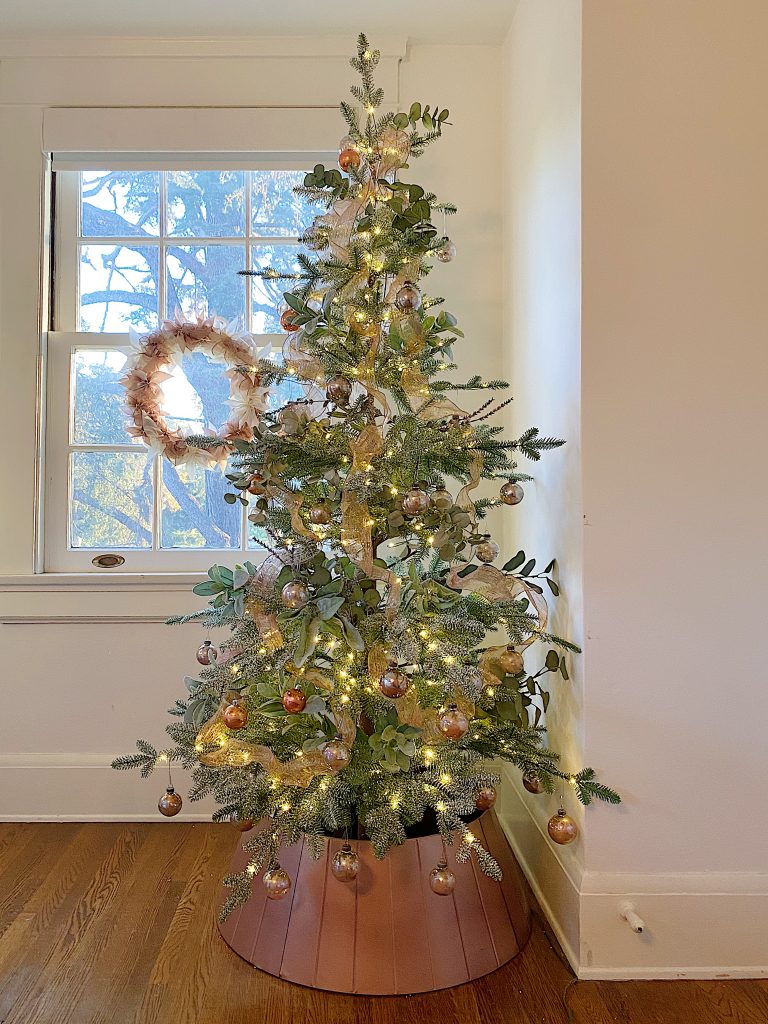
The ribbon wreath is a DIY I made last week. You can find the complete step by step process on my blog post here.
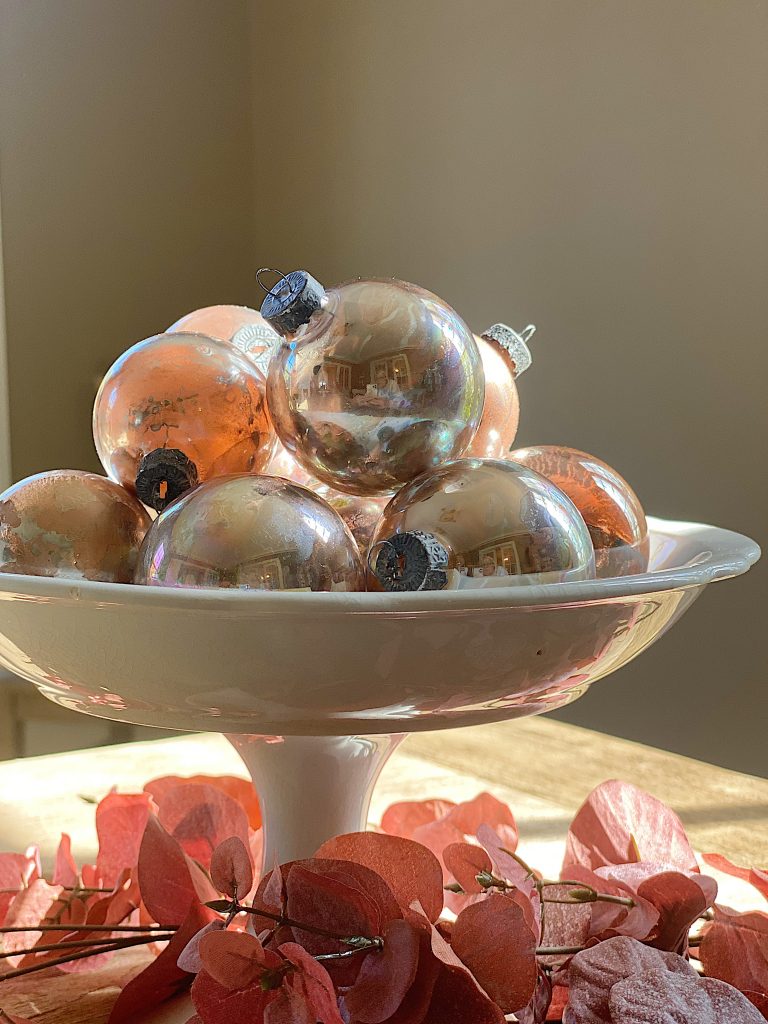
Here is another view of my rose gold ornaments.
I also spray painted my metal tree collar. I used Krylon Metallic Rose Gold spray paint and gave it one solid coat.
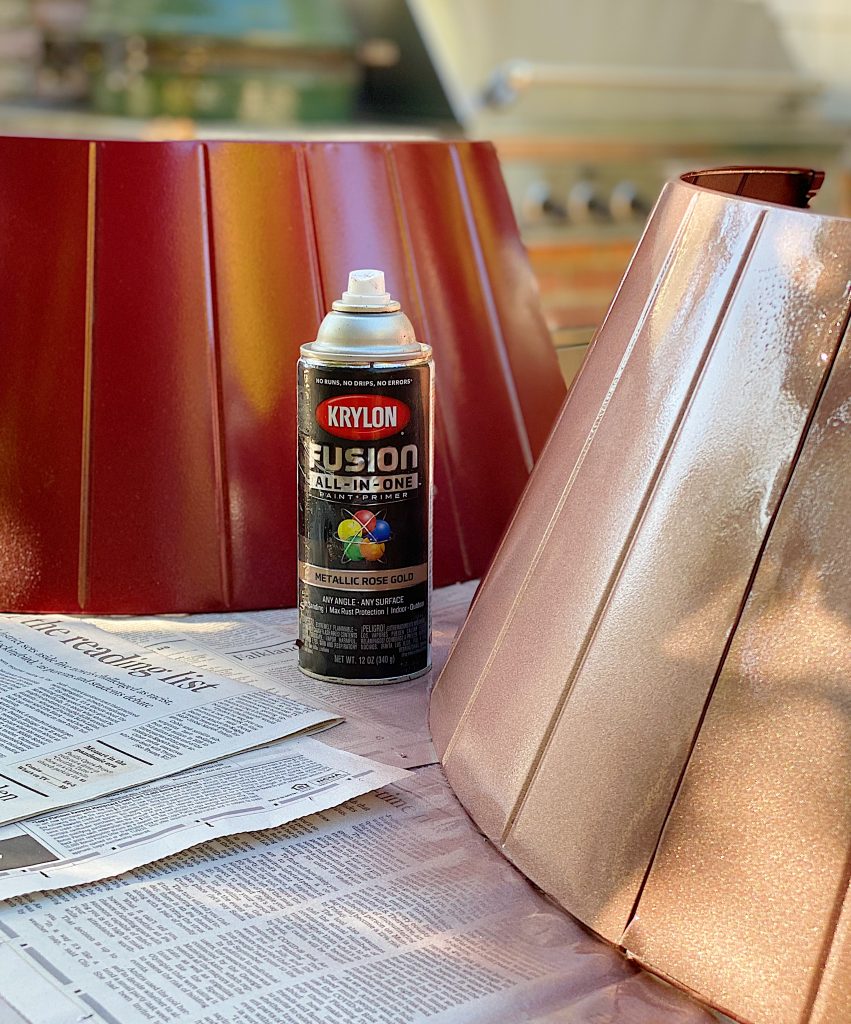
Doesn’t the tree collar look great?
How to Make Mercury Glass Ornaments
What You Need to Make Mercury Glass Ornaments
Clear Glass ornaments (don’t get plastic)
Krylon Looking Glass Spray Paint
Rose Gold Metallic Acrylic Paint
Black and gray acrylic paint
Tools You Will Need
A hairdryer
Small cups to hold the ornaments while they dry
A brown paper bag
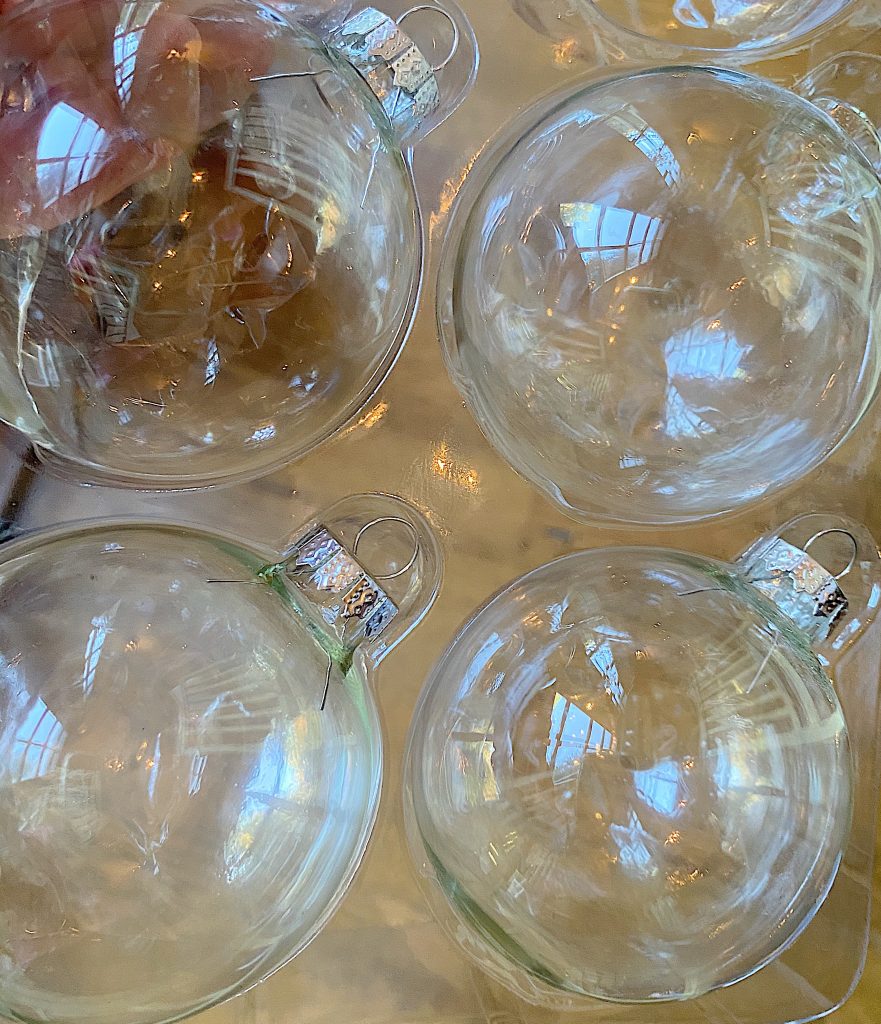
Before I get started, I wanted to mention that I believe this only works with Krylon Looking Glass Spray. Don’t buy anything else.
Spray the inside of the ornament with a small amount of the Looking Glass paint. Swirl it around. If it hardly covers the inside, spray a little bit more. Rest the ornament on the paper cups so you can turn the ornaments as it dries.
Dry the inside with a hairdryer for about ten seconds. Spray a few medium-sized droplets of water inside the ornament with the spray bottle. Swirl again. Dry the inside of the ornament completely with the hairdryer.
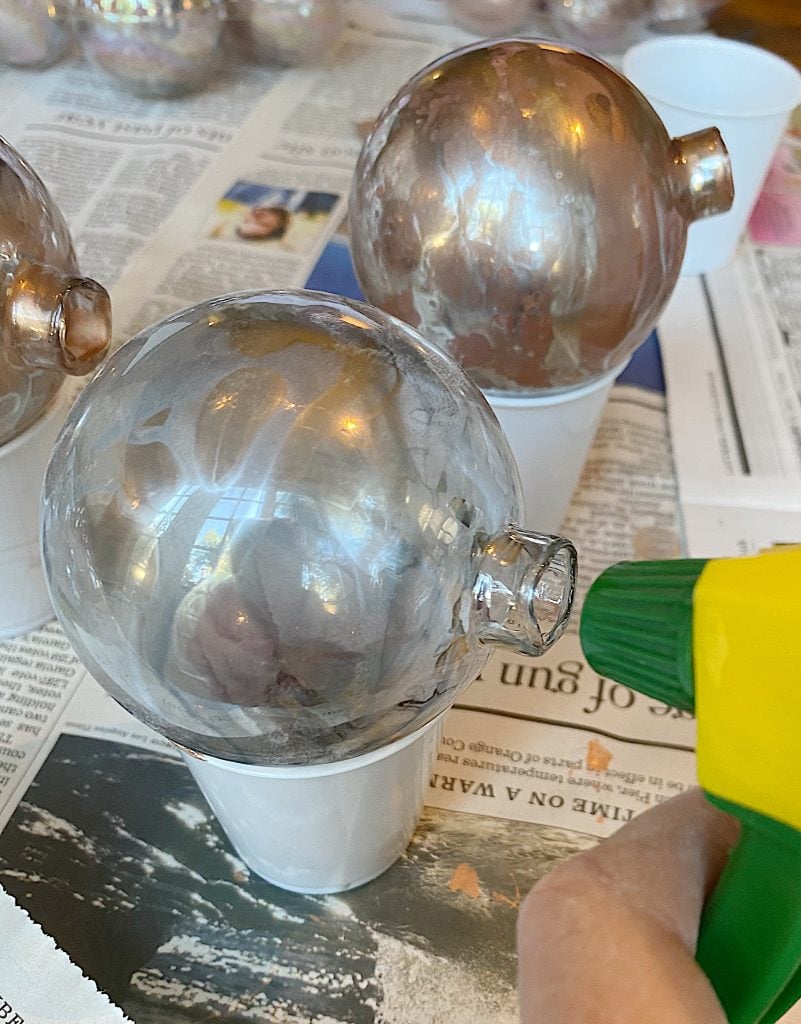
Next, add a few droplets of the Rose Gold metallic paint into the ornament. Swirl around. If the paint is too thick, add a squirt of water with the squirt bottle. You can see how the rose gold paint fills in the area not covered by the Looking glass paint.
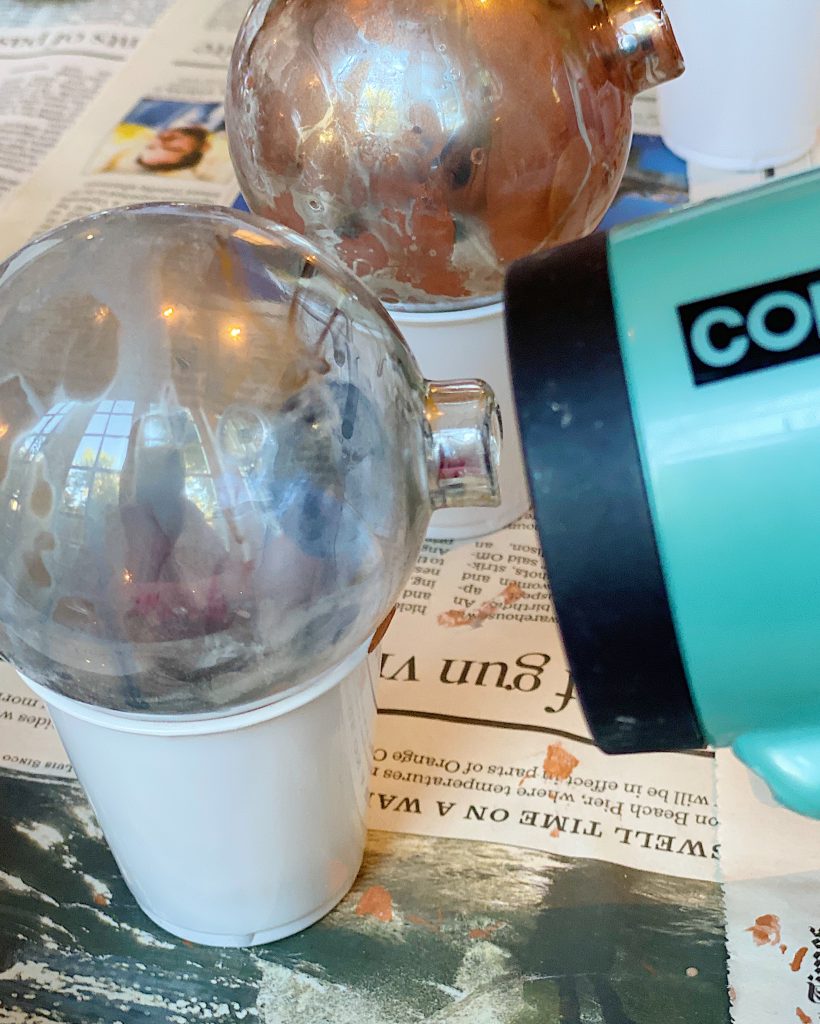
The inside of the ornament takes a long time to dry. Dry as much as you can with the hairdryer. place on a small dixie cup and rotate it every half of an hour. If you don’t do this, the paint on the top of the ornament will thin and pool at the bottom of the ornament.
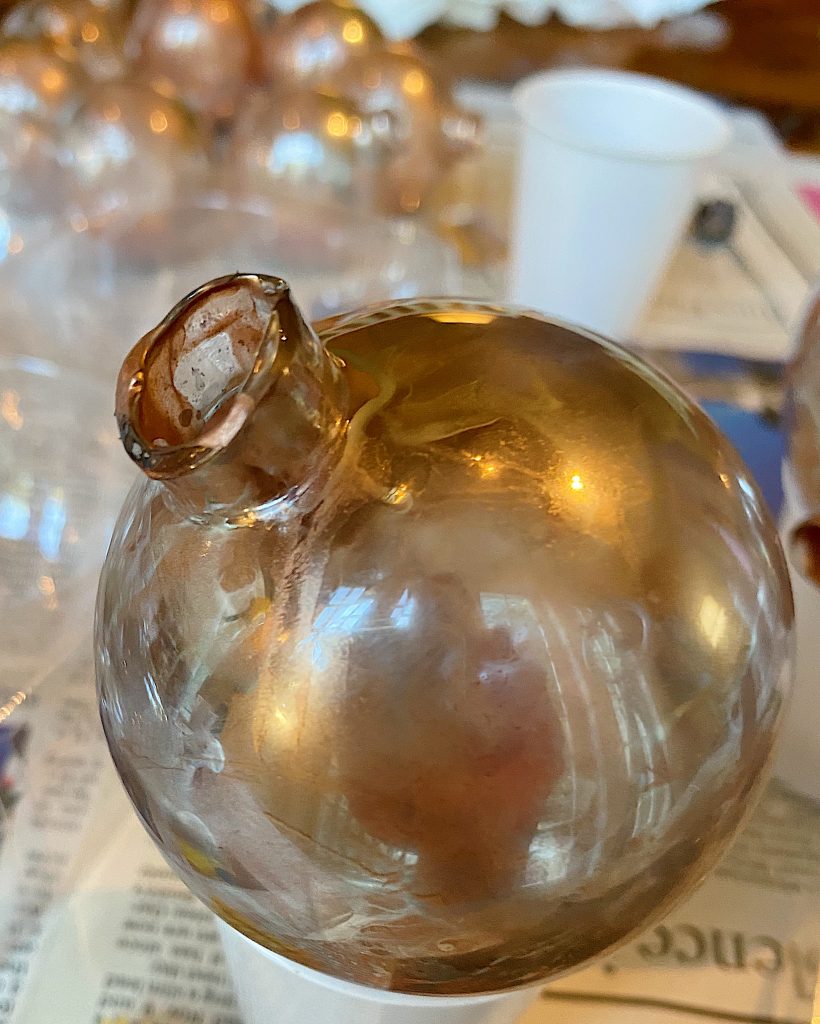
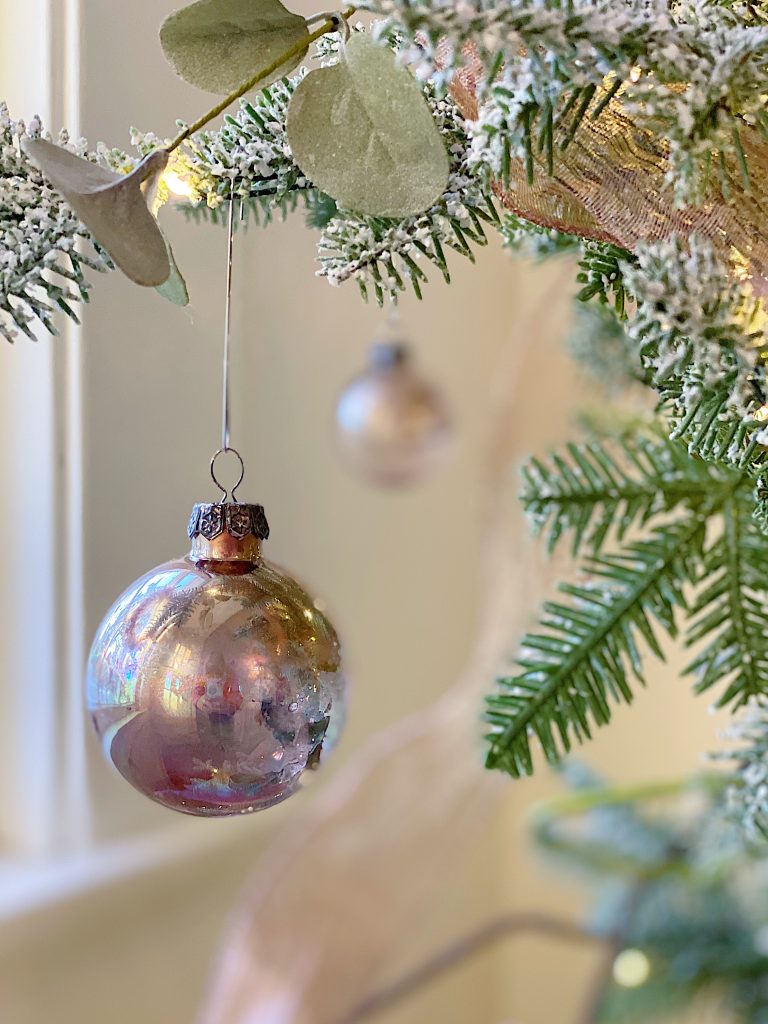
This is what the ornaments can look like when you are done.
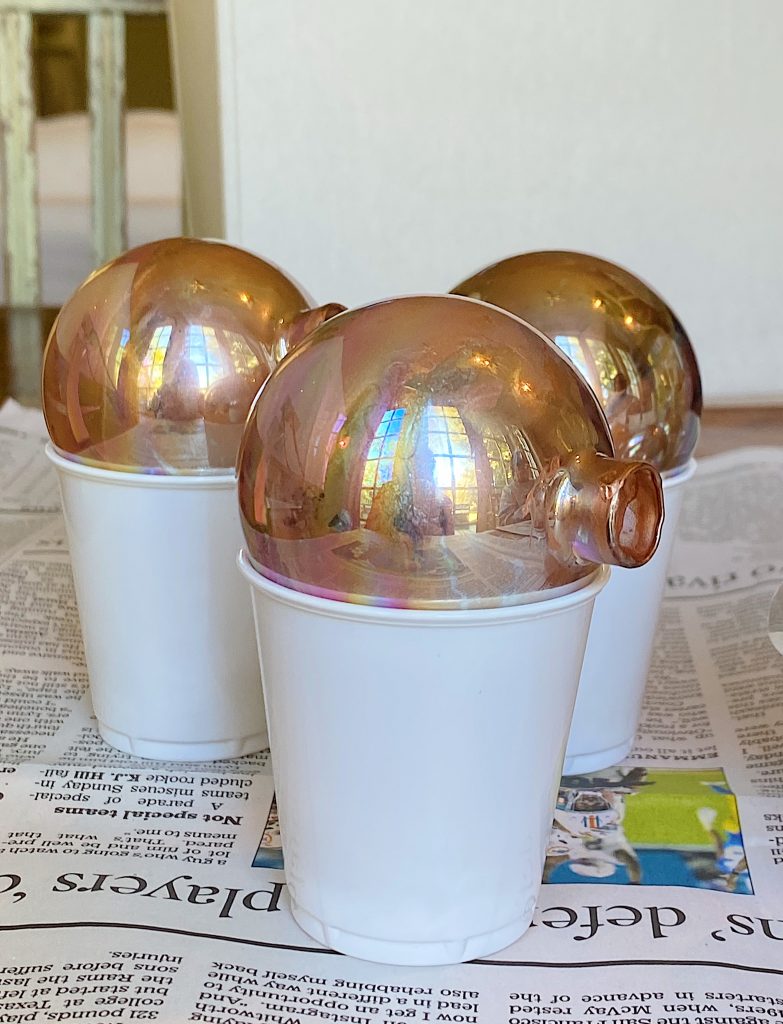
II didn’t like the metal hangers that come with the glass ornaments because they are too shiny. So I put a small amount of gray and black paint in a paper bag, added the metal tops, and shook the bag for about thirty seconds. Lay the tops out to dry. You can see the before and after in the photo below.
Can you believe the difference?
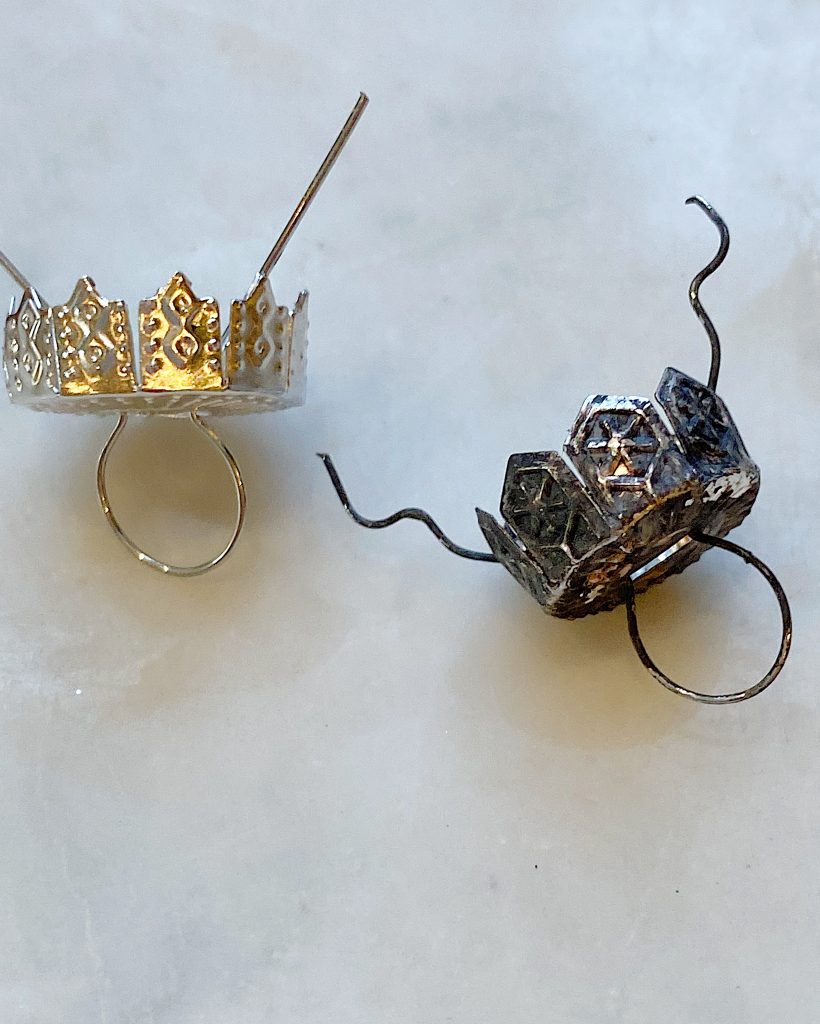
I can’t believe how great these turned out! The ornaments were so inexpensive and fun to make. They did take a long time to make due to the drying time. But it’s so worth it.
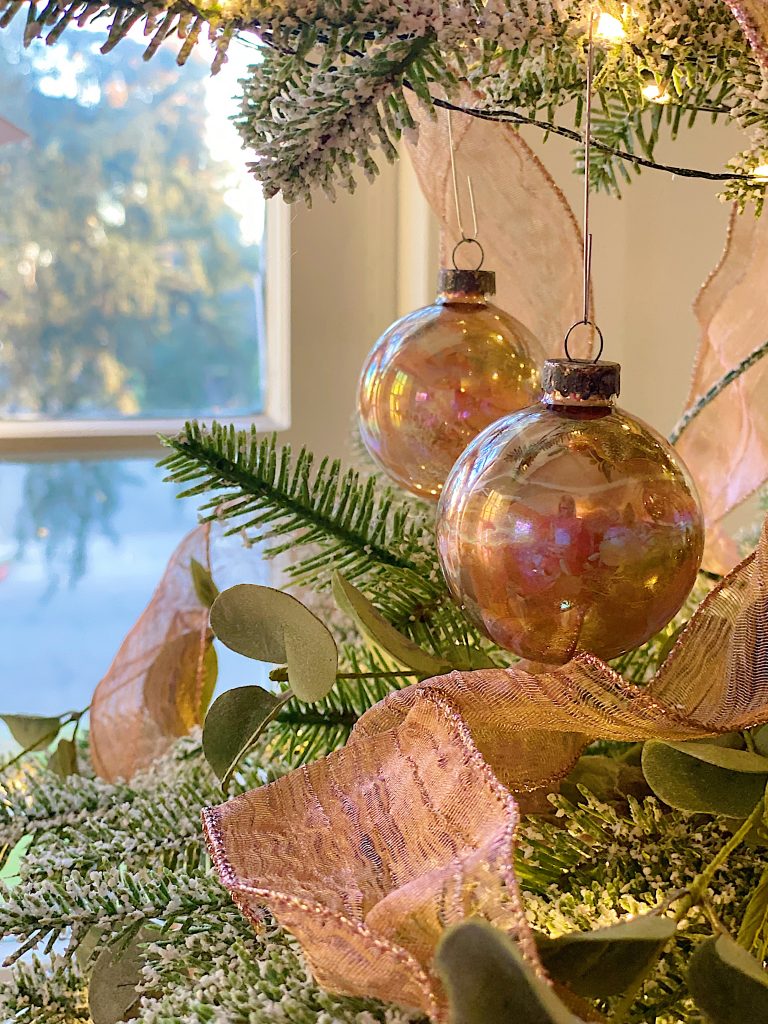
Here is another glimpse of my ornaments on my Rose Gold Christmas tree. I love the imperfections.
Here is a peek at what our tree looks like at night.
I am going to make a set of green mercury ornaments next. I cannot wait!
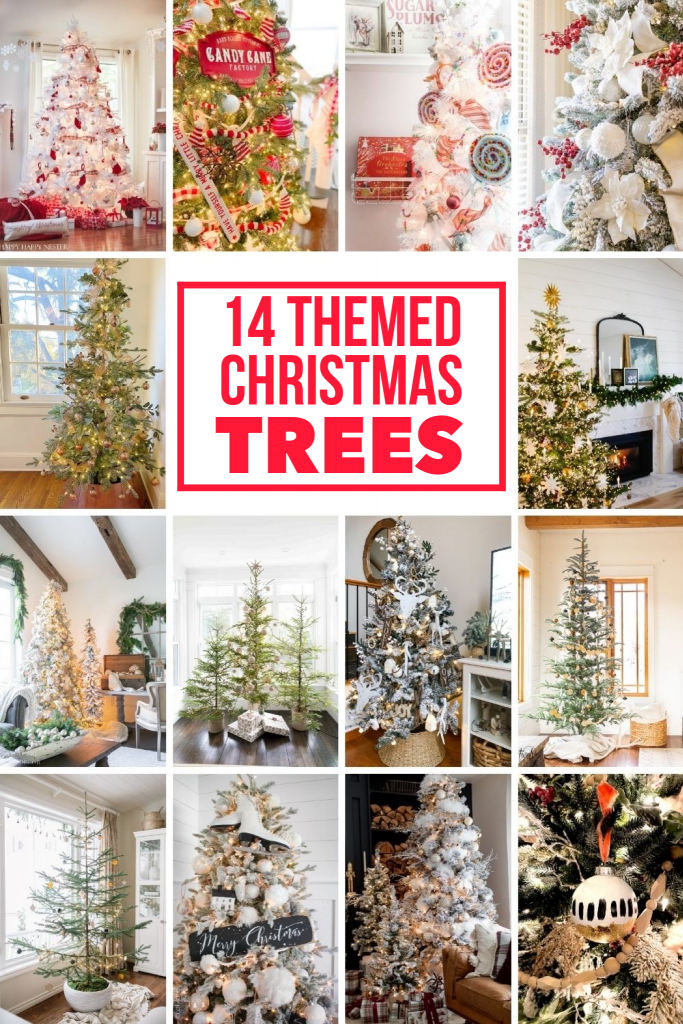
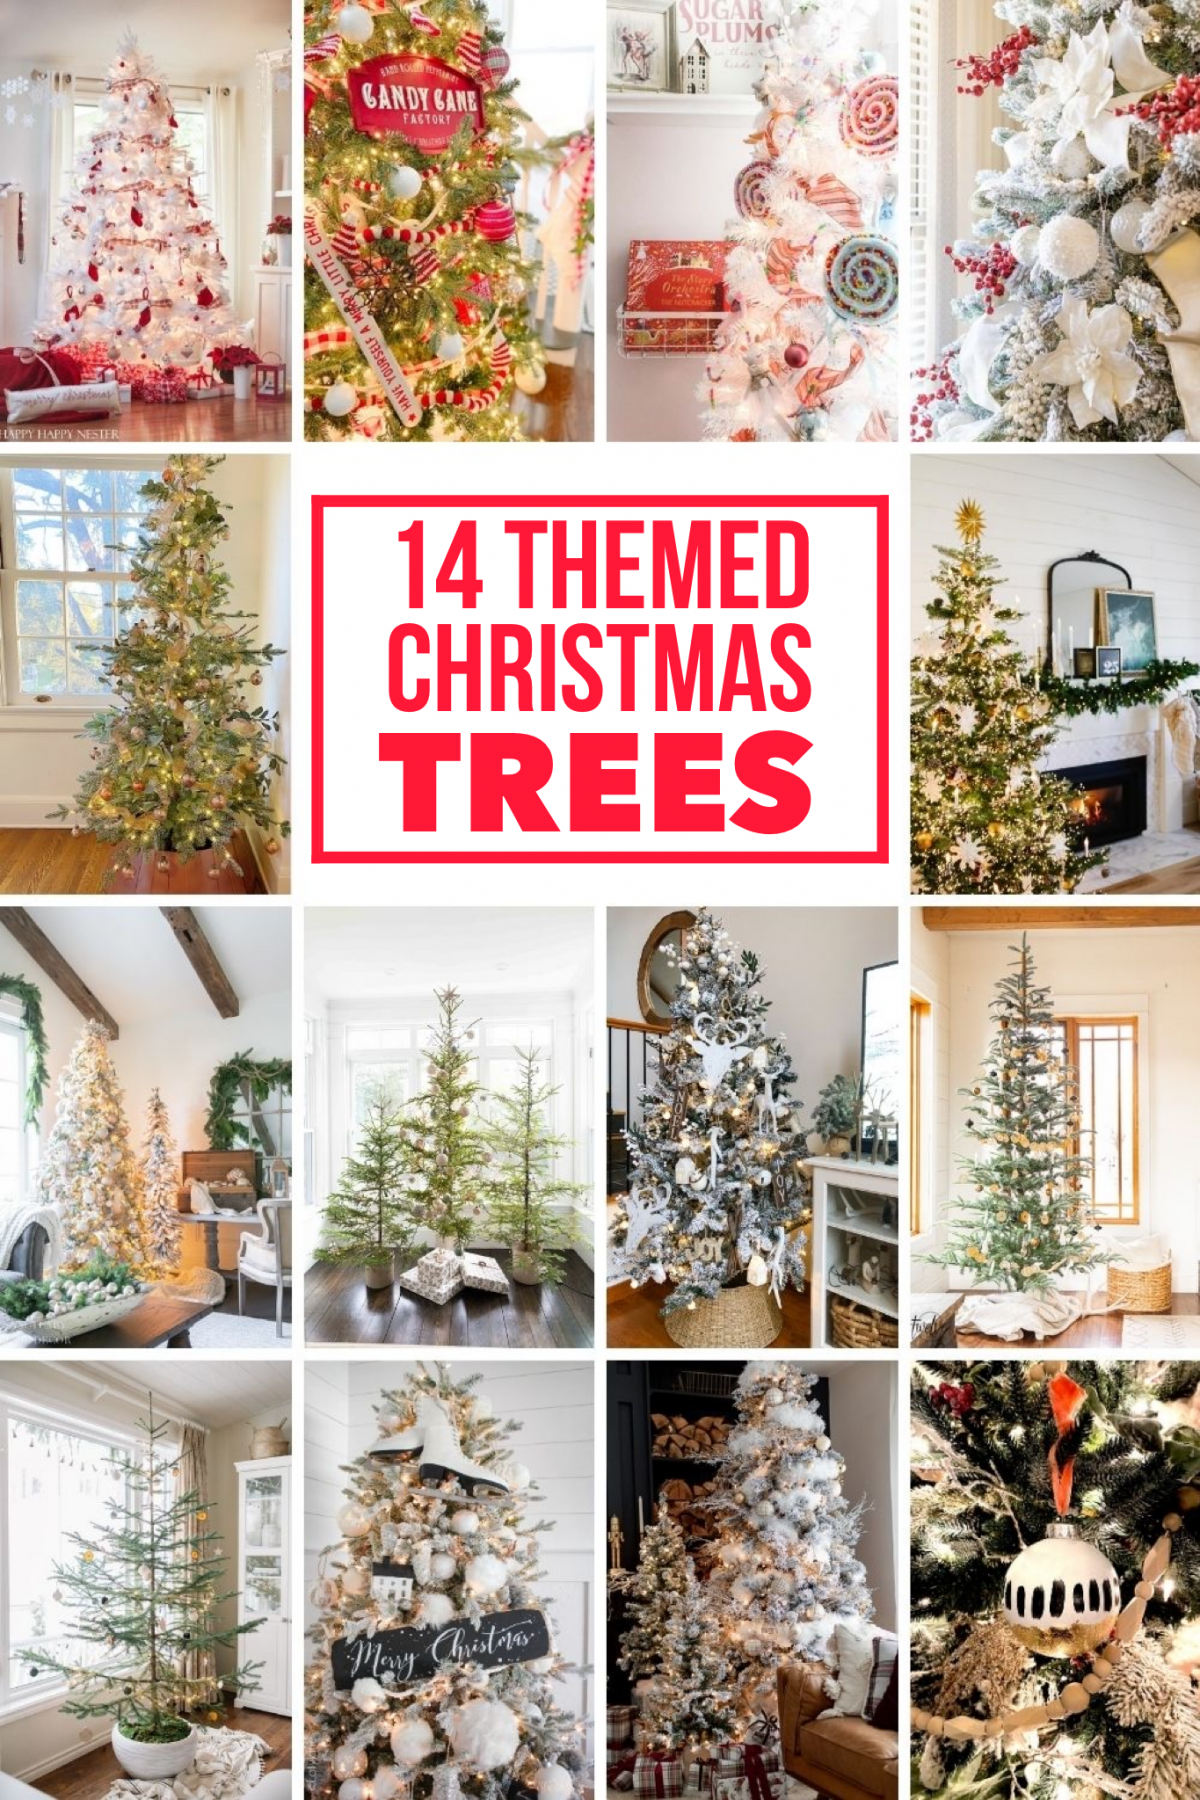
Today I have joined some really talented bloggers who have each designed their own tree.
Aren’t these incredible? Click on any of the links for more information.

Land of Sweets Christmas Tree // A Blue Nest
Red and White Christmas Tree // Happy Happy Nester
Candy Cane Themed Christmas Tree // Tatertots & Jello
Elegant White Christmas Tree // Jennifer Maune

Rose Gold Inspired Christmas Tree // My 100 Year Old Home
Christmas Trees Through the Years // Finding Lovely
White Flocked Christmas Tree With Neutral Wood Accents // The Happy Housie

Scandinavian Inspired Christmas Tree // Modern Glam
How to Decorate a Sparse Christmas Tree // The Ginger Home
Mixed Metals Inspired Christmas Tree // Sanctuary Home Decor
Simple Nordic Christmas Tree // Twelve On Main

Snowy Golden Christmas Tree // Craftberry Bush
DIY Boho Modern Ornament Tree // Jennifer Rizzo
Winter Theme Flocked Christmas Tree // Lolly Jane
Pin the image below to your Craft or Christmas boards on Pinterest (just click the Pin button in the top left corner). You can also follow along with me on Pinterest!
For more real-time updates, follow me on Instagram @My100YearOldHome



Hi Leslie. This is beautiful ! I would like to know if the effect would be as good with plastic balls as with glass balls. I can’t find glass balls with a diameter of 8 cm. I have only found plastic balls of this size. Thank you very much!
Can definitely use plastic! Still think they’d look fabulous!
Spray the inside of the ornament with a small amount of the Looking Glass paint. Swirl it around. If it hardly covers the inside, spray a little bit more. Rest the ornament on the paper cups so you can turn the ornaments as it dries poor bunny free.