How to Make Christmas Wrapping Paper
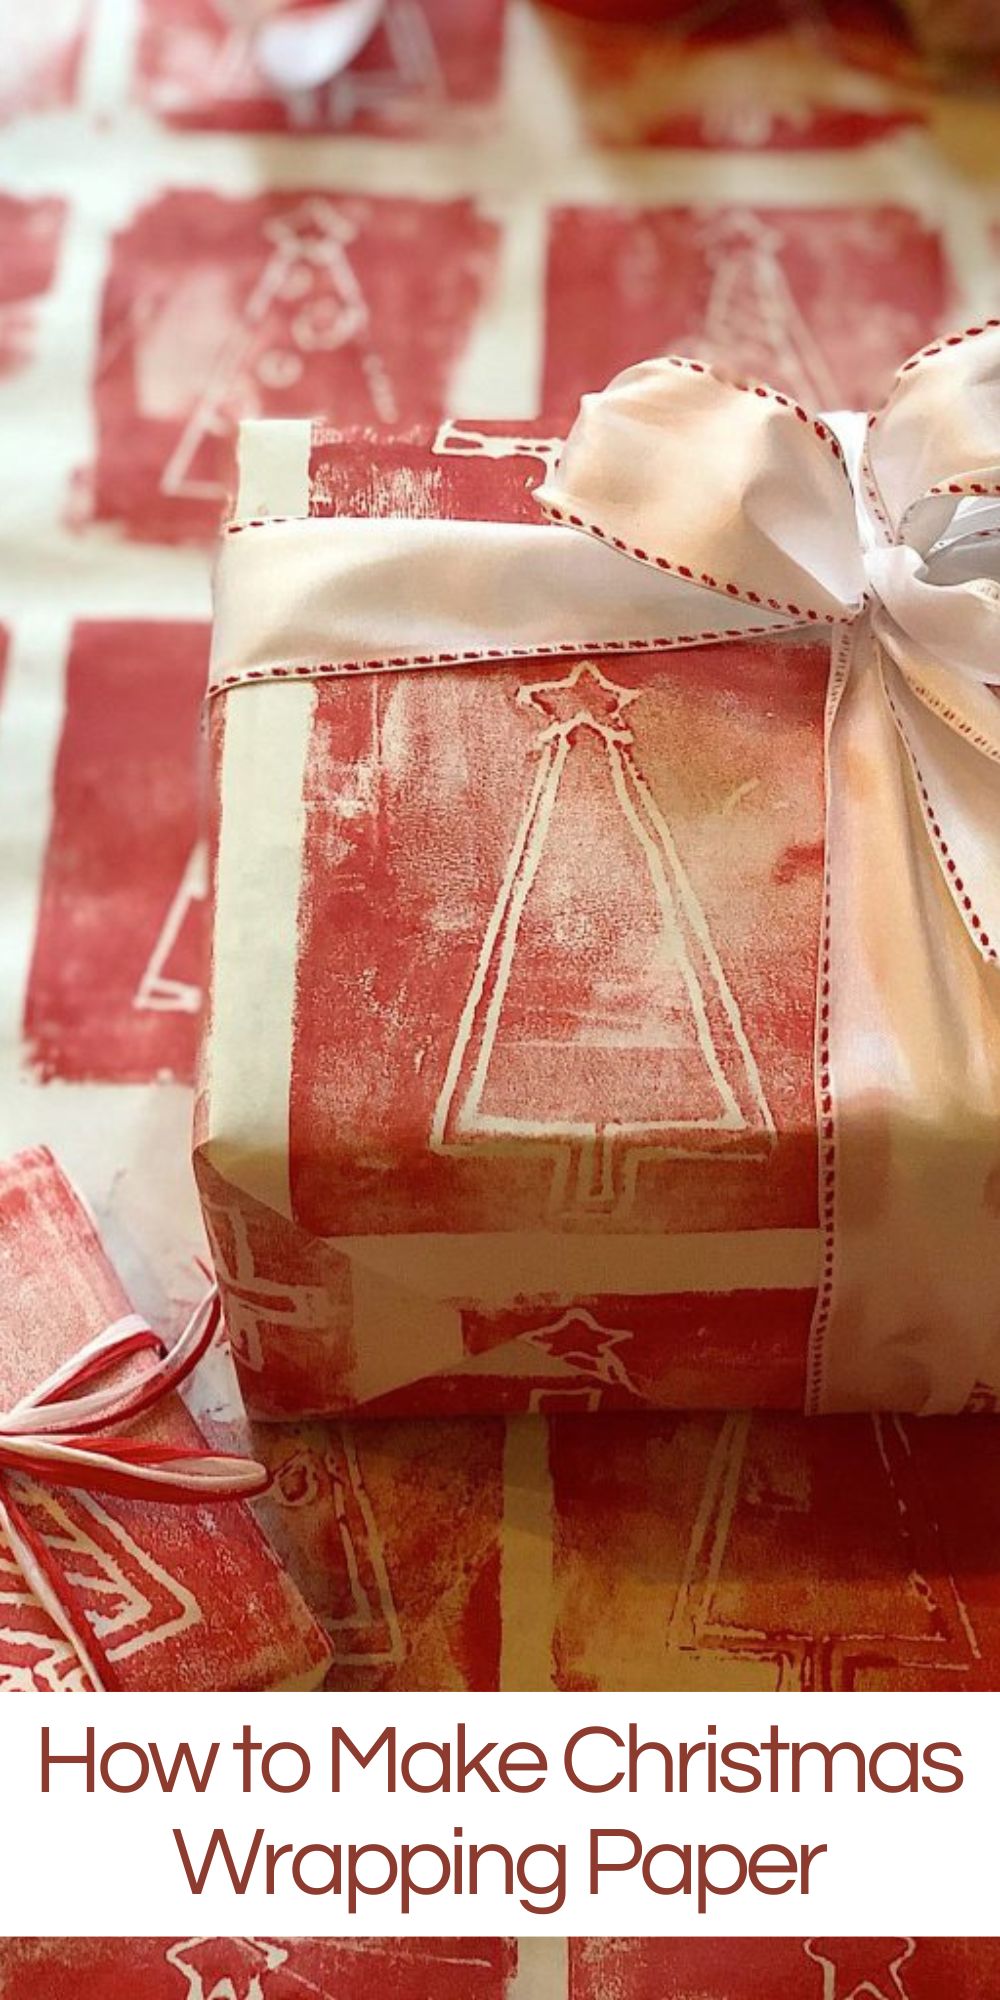
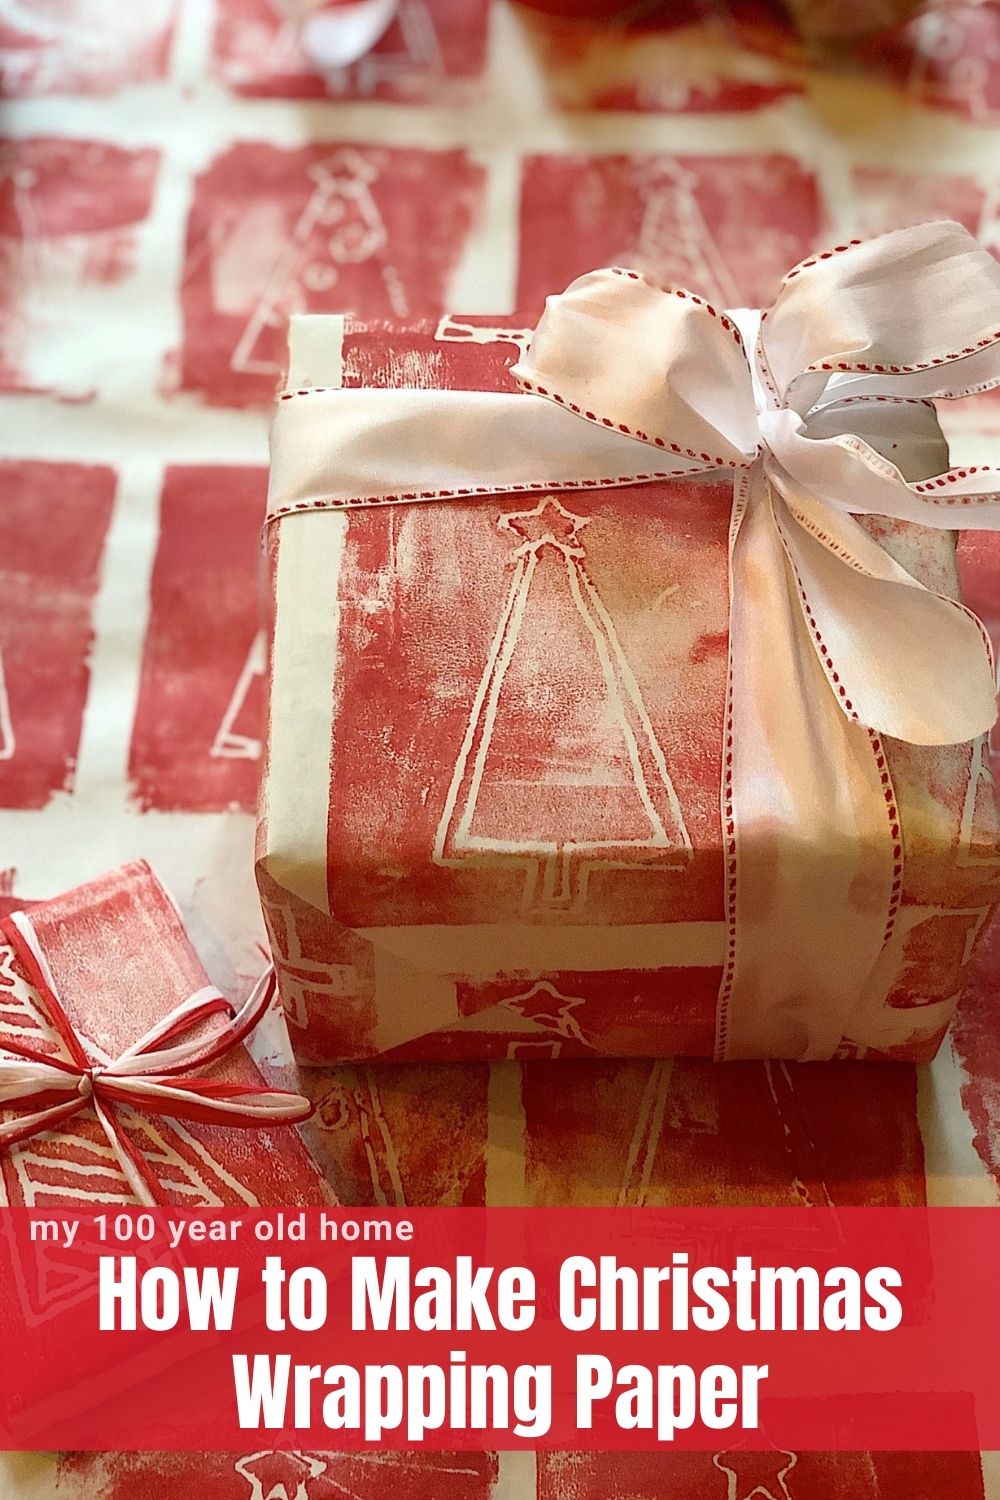
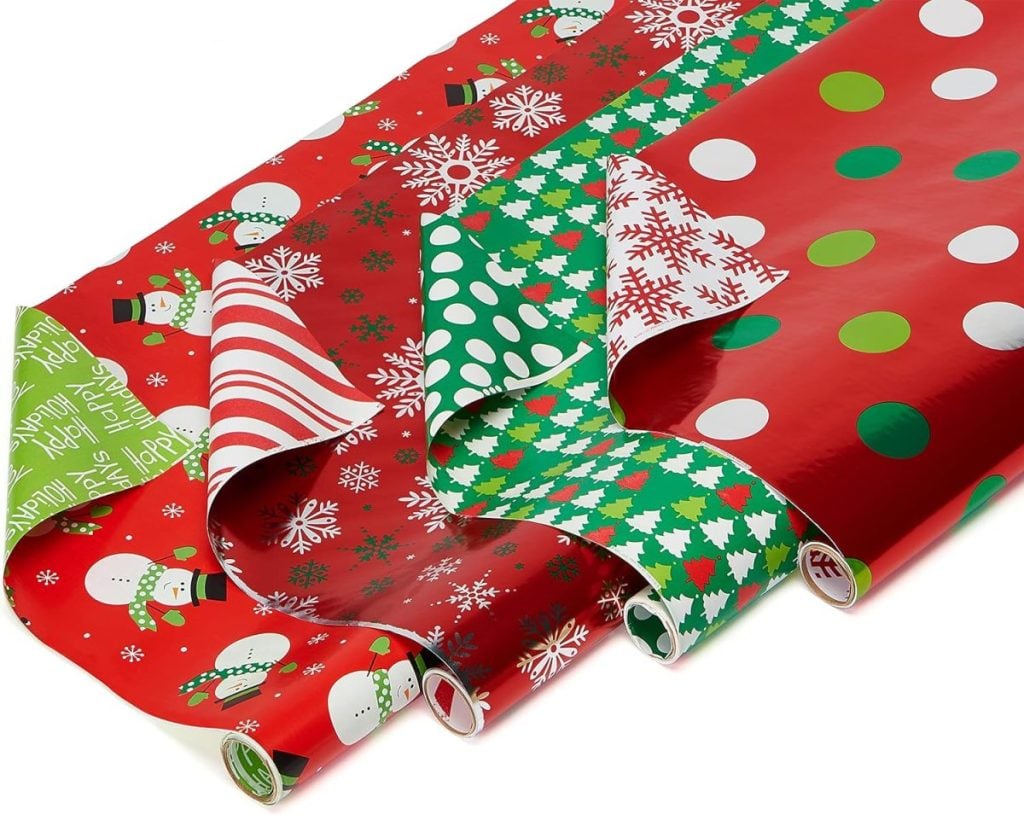
I love to wrap gifts, but finding cute wrapping paper can be hard. So, I made my own Christmas red wrapping paper, and I love it.
Years ago, I used styrofoam plate printing to make art in my son’s elementary school classes. I knew someday I would find a way to use this creative printing method again. I can’t wait to see what you think of my red wrapping paper.


The Perfect Craft to Share with Kids
Before I start the DIY, I wanted to share one thought.
Imagine how cute this wrapping paper would look if YOUR CHILDREN DREW THEIR DESIGNS on the styrofoam. They could draw Santas, wreaths, snowmen, candy canes, or Christmas trees!
I think that would make your gifts so special!

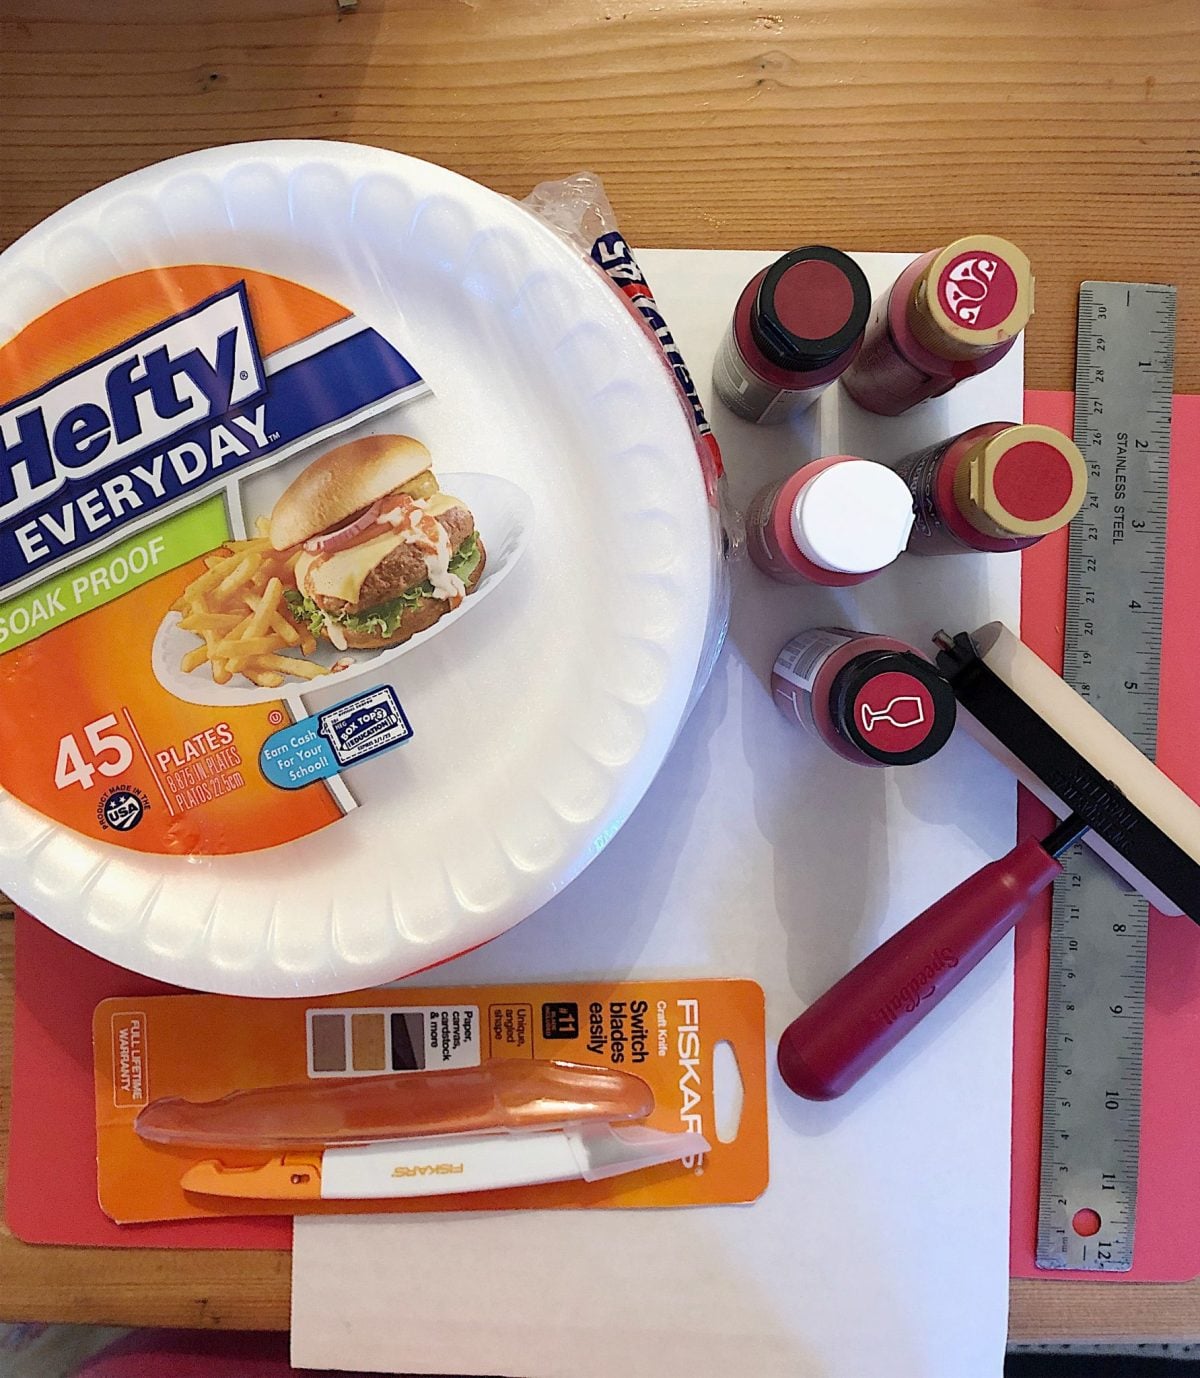
What You Will Need to Make My Wrapping Paper
Brayer (you will need two. One to apply the paint and one to press down your stencil.)


Step-by-Step Instructions
The first step is to cut a cardboard pattern for your styrofoam design. This pattern should be the total size of the styrofoam stamp you will make and use.
Cut out five or six pieces from the styrofoam plate using your cardboard template. Then, use the craft knife to cut out the cupboard.
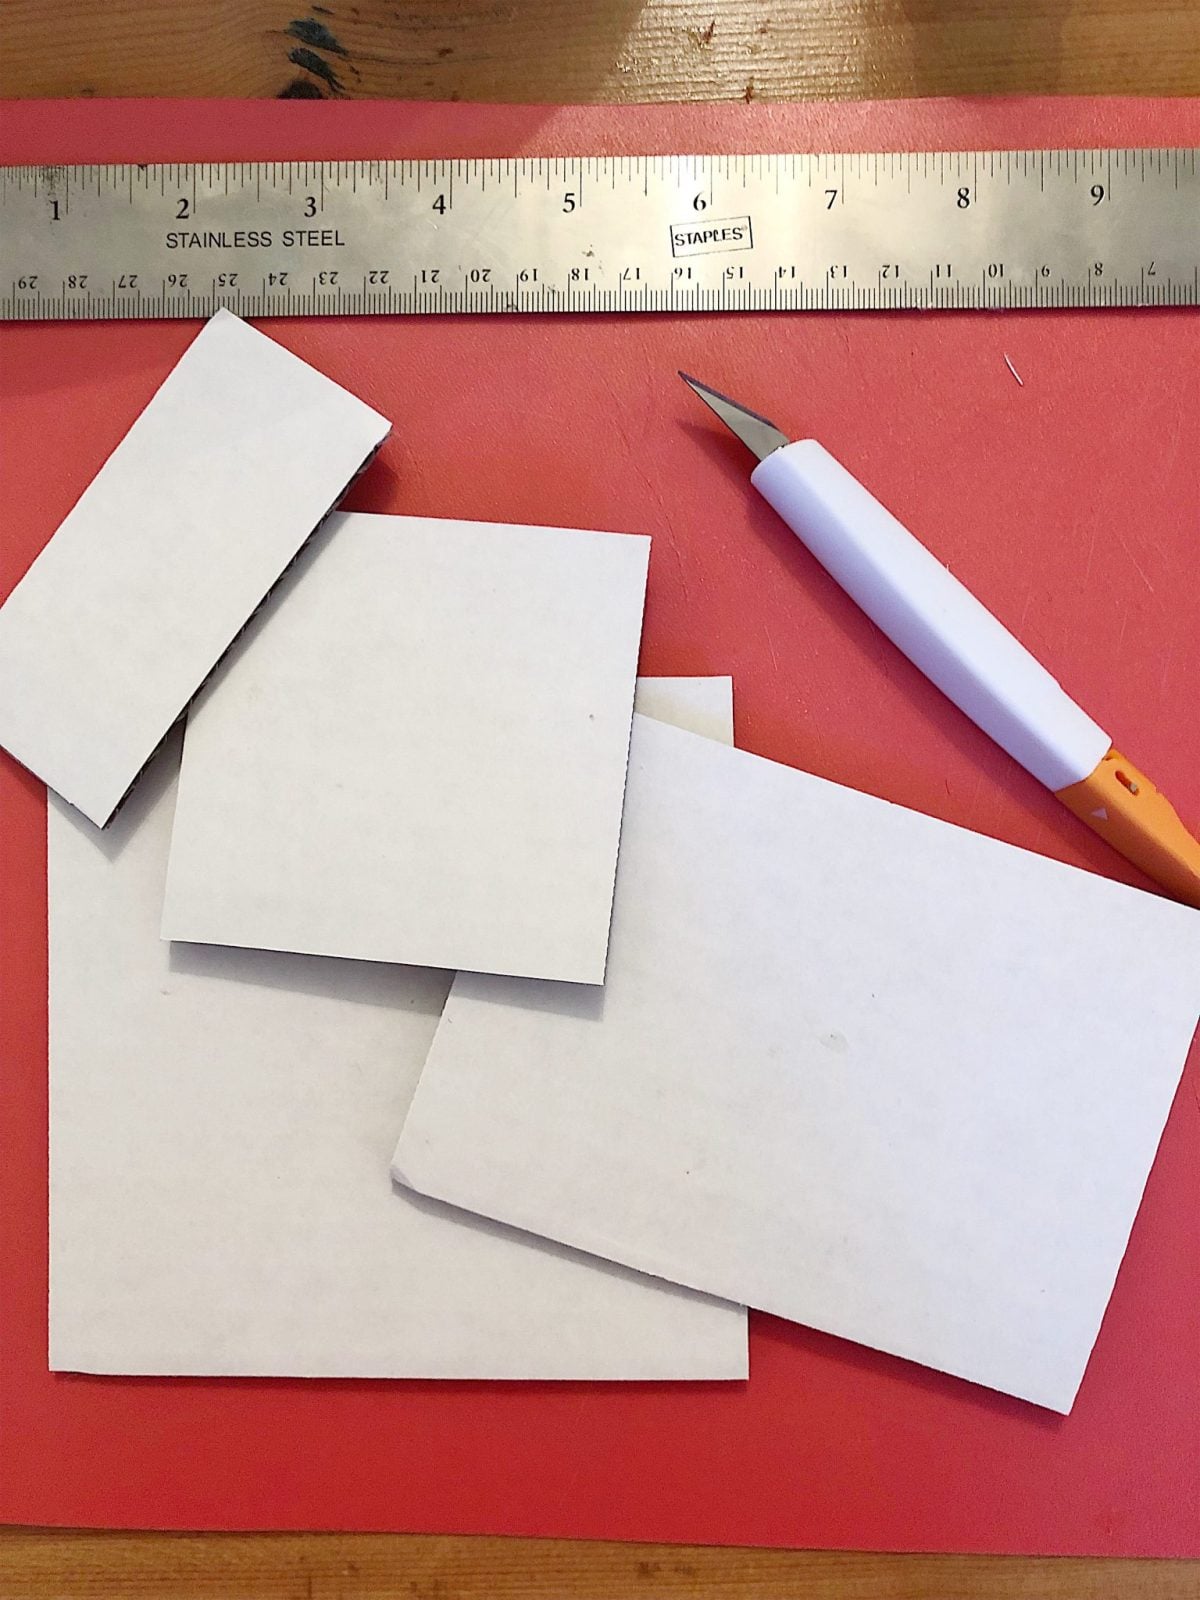
If you use different designs of the same shape (as I was doing with a tree), cut out a tree stencil. This will ensure the styrofoam stamps are the same size and have different hand-drawn designs.
Using a pen or pencil, draw your design on the styrofoam. Re-trace your design (pressing hard but not too hard to tear the styrofoam) to ensure the indentation is well-defined. This helps with the printing. (Please note, if you use words, the letters need to be written backward, or else they will print backward.)
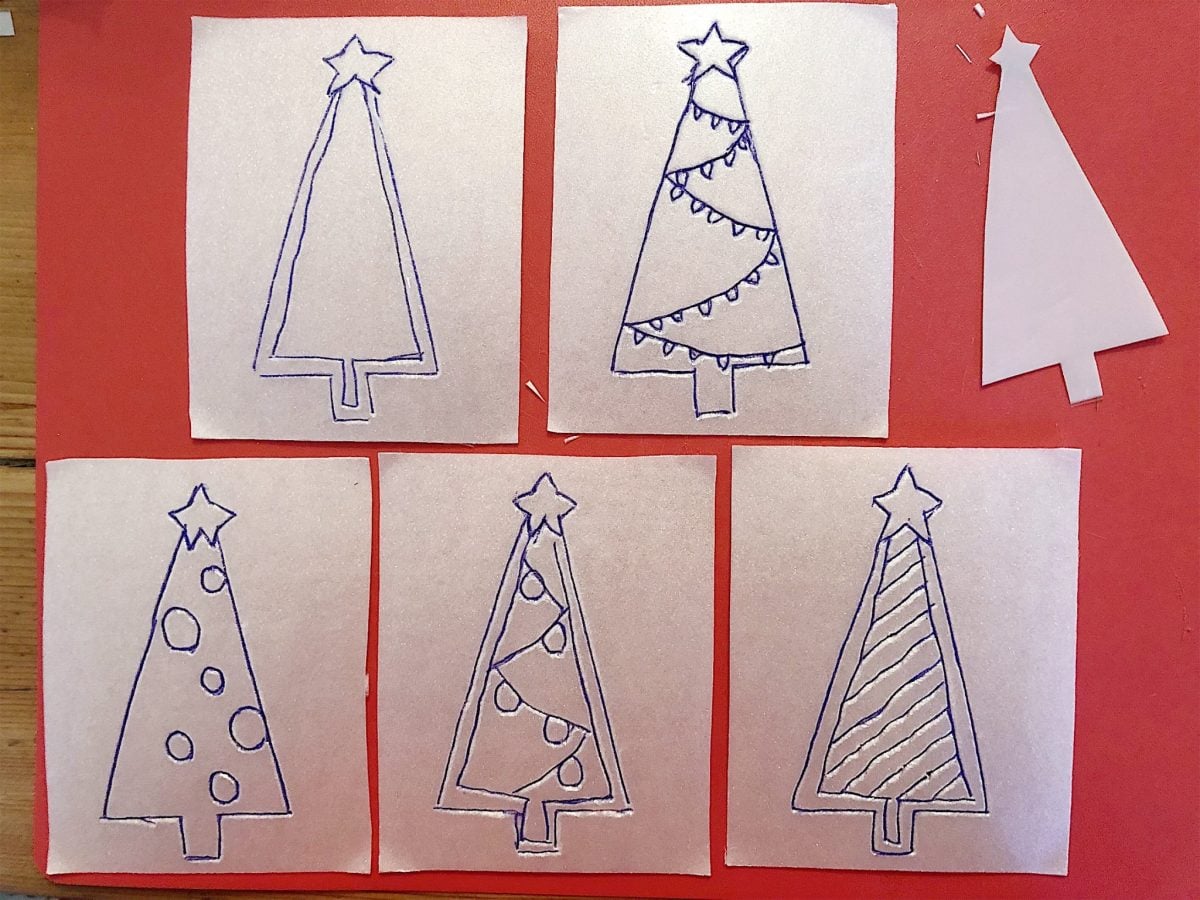
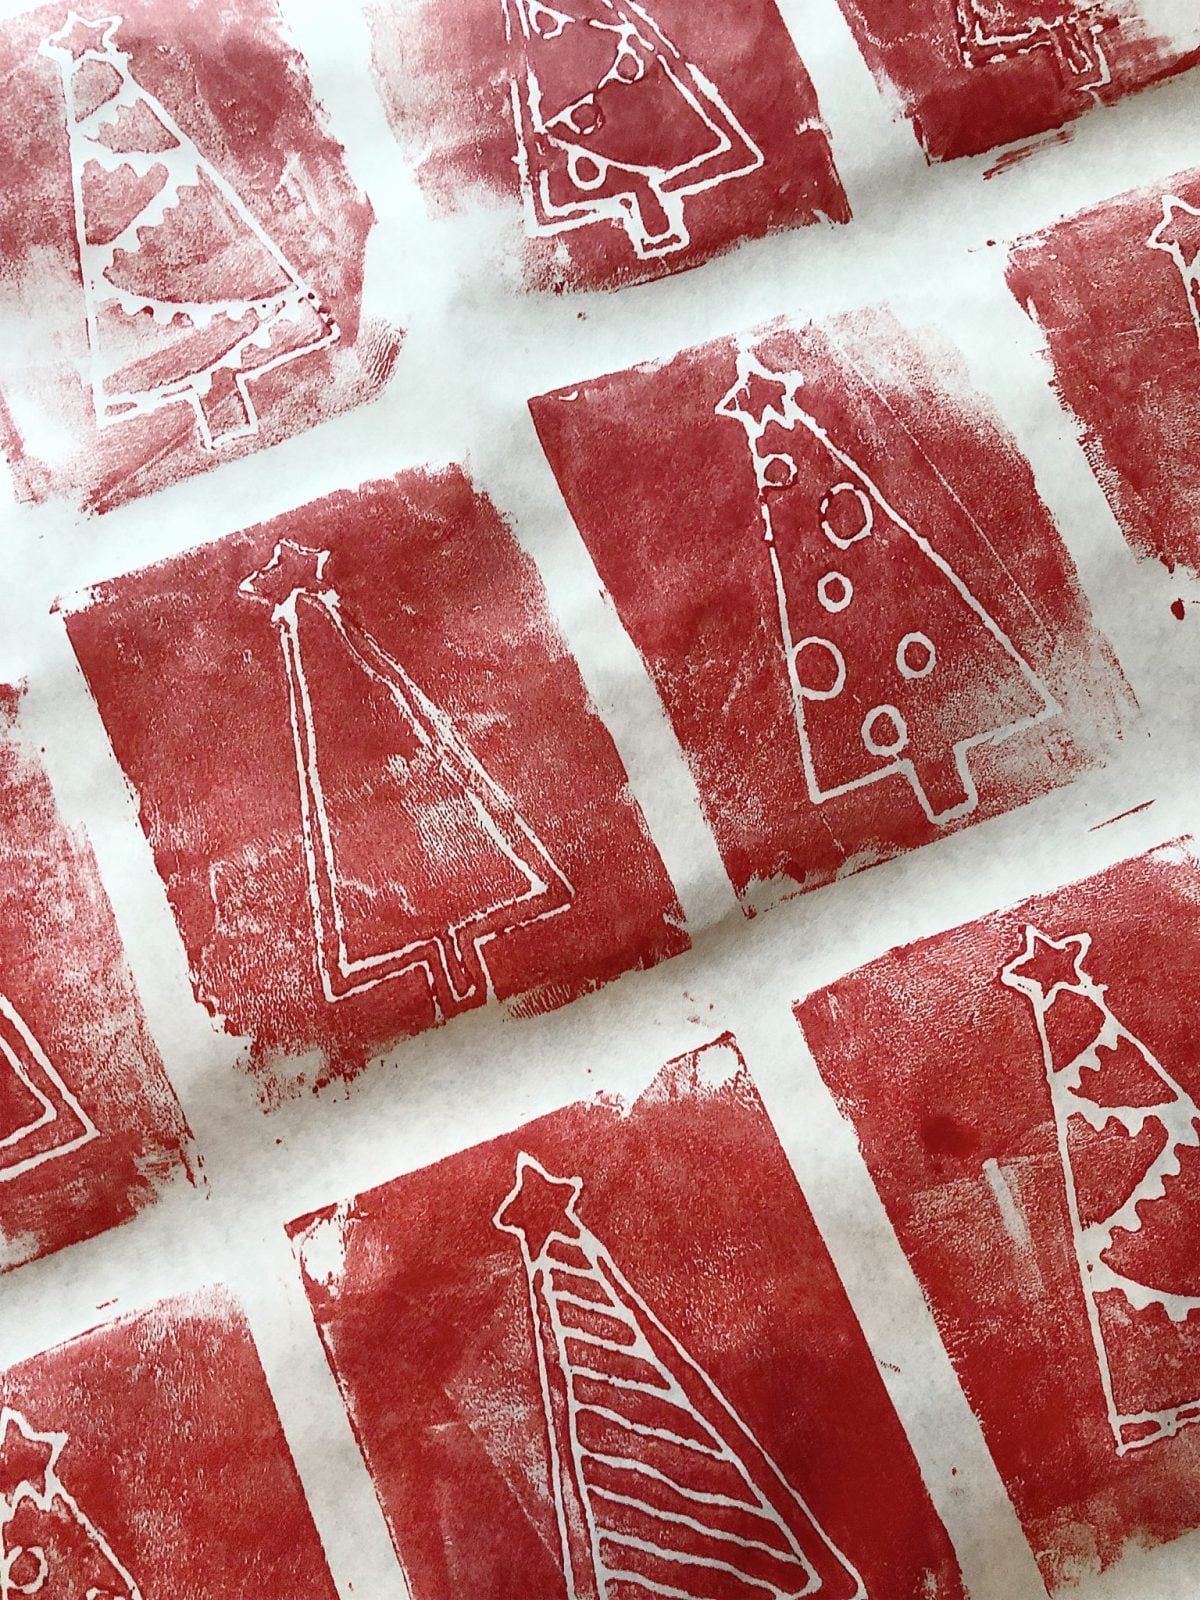
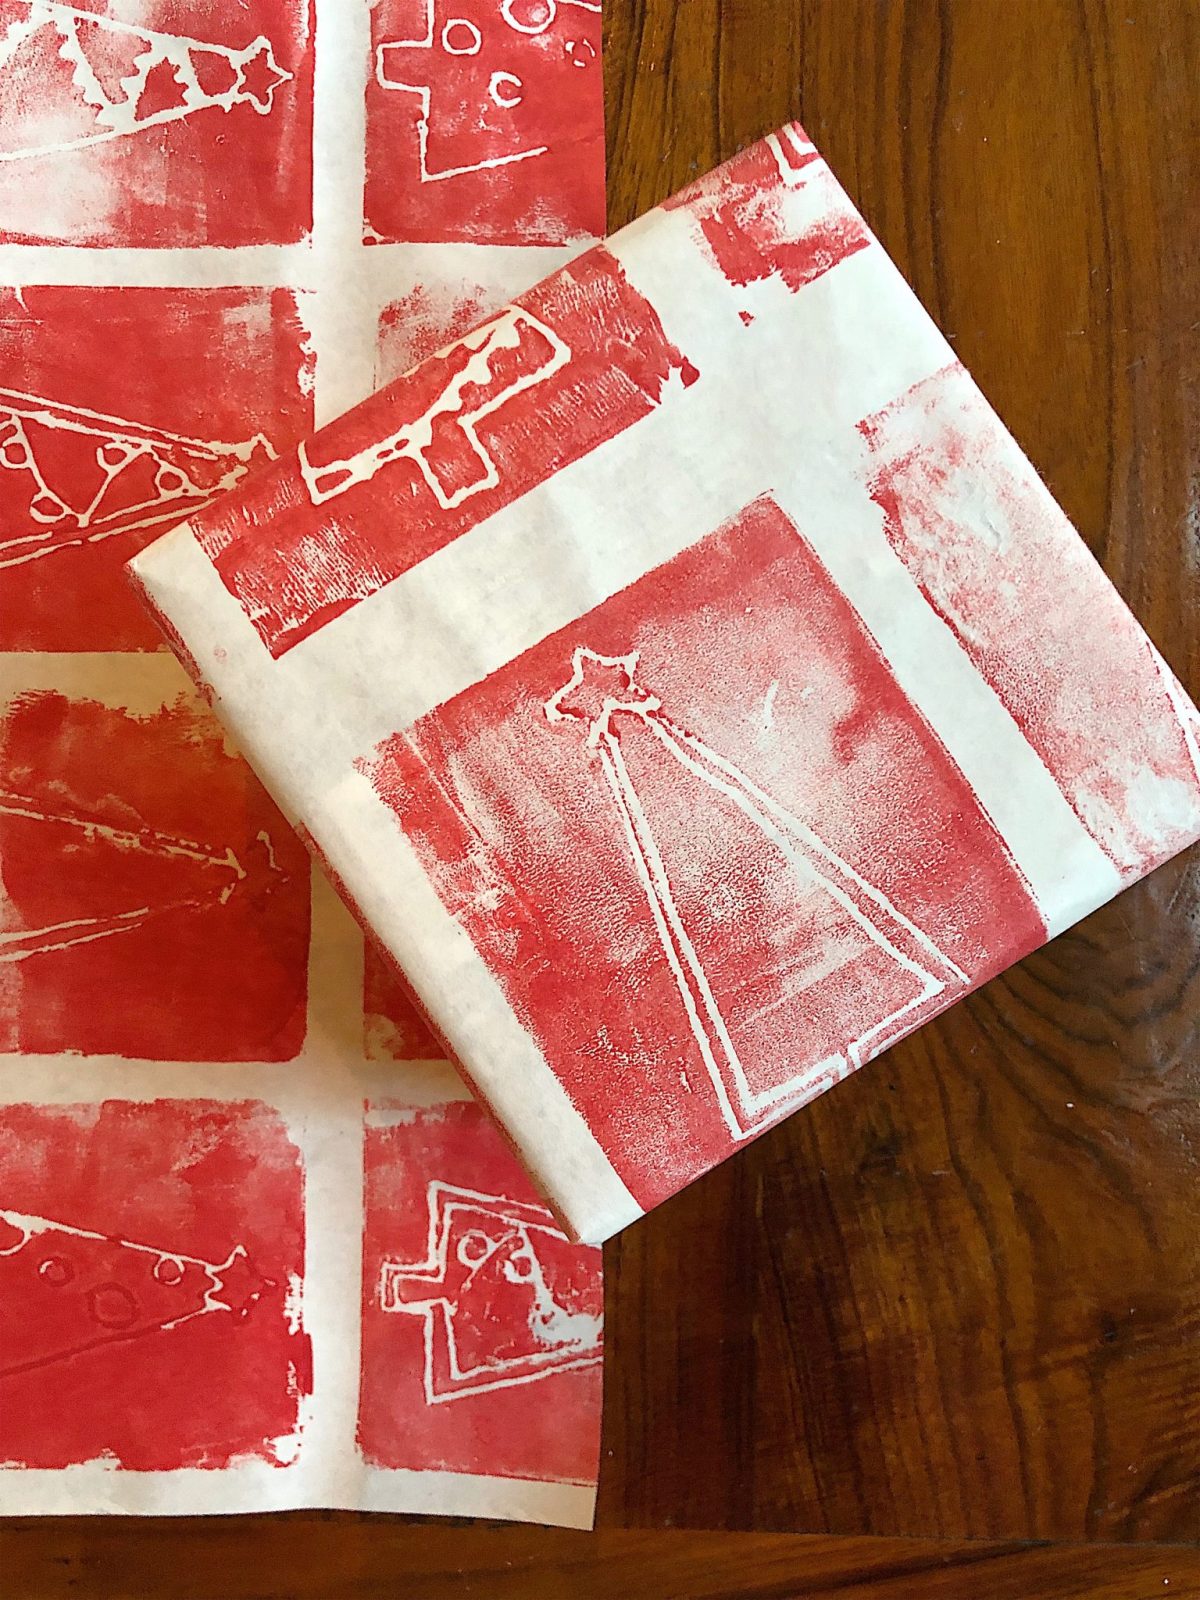
As you can see, I made five different designs with the same tree outline. I quickly made up the designs and wanted them to be different but not have to spend too much time focusing on the designs.
Feel free to copy my designs if you want. You could also make ornaments, wreaths, or candy canes.
Pour some of the acrylic paint on a larger paper plate and roll the brayer in the paint. Try to get an even amount of paint on the brayer.
Roll the paint lightly on top of the stencil, covering it completely.
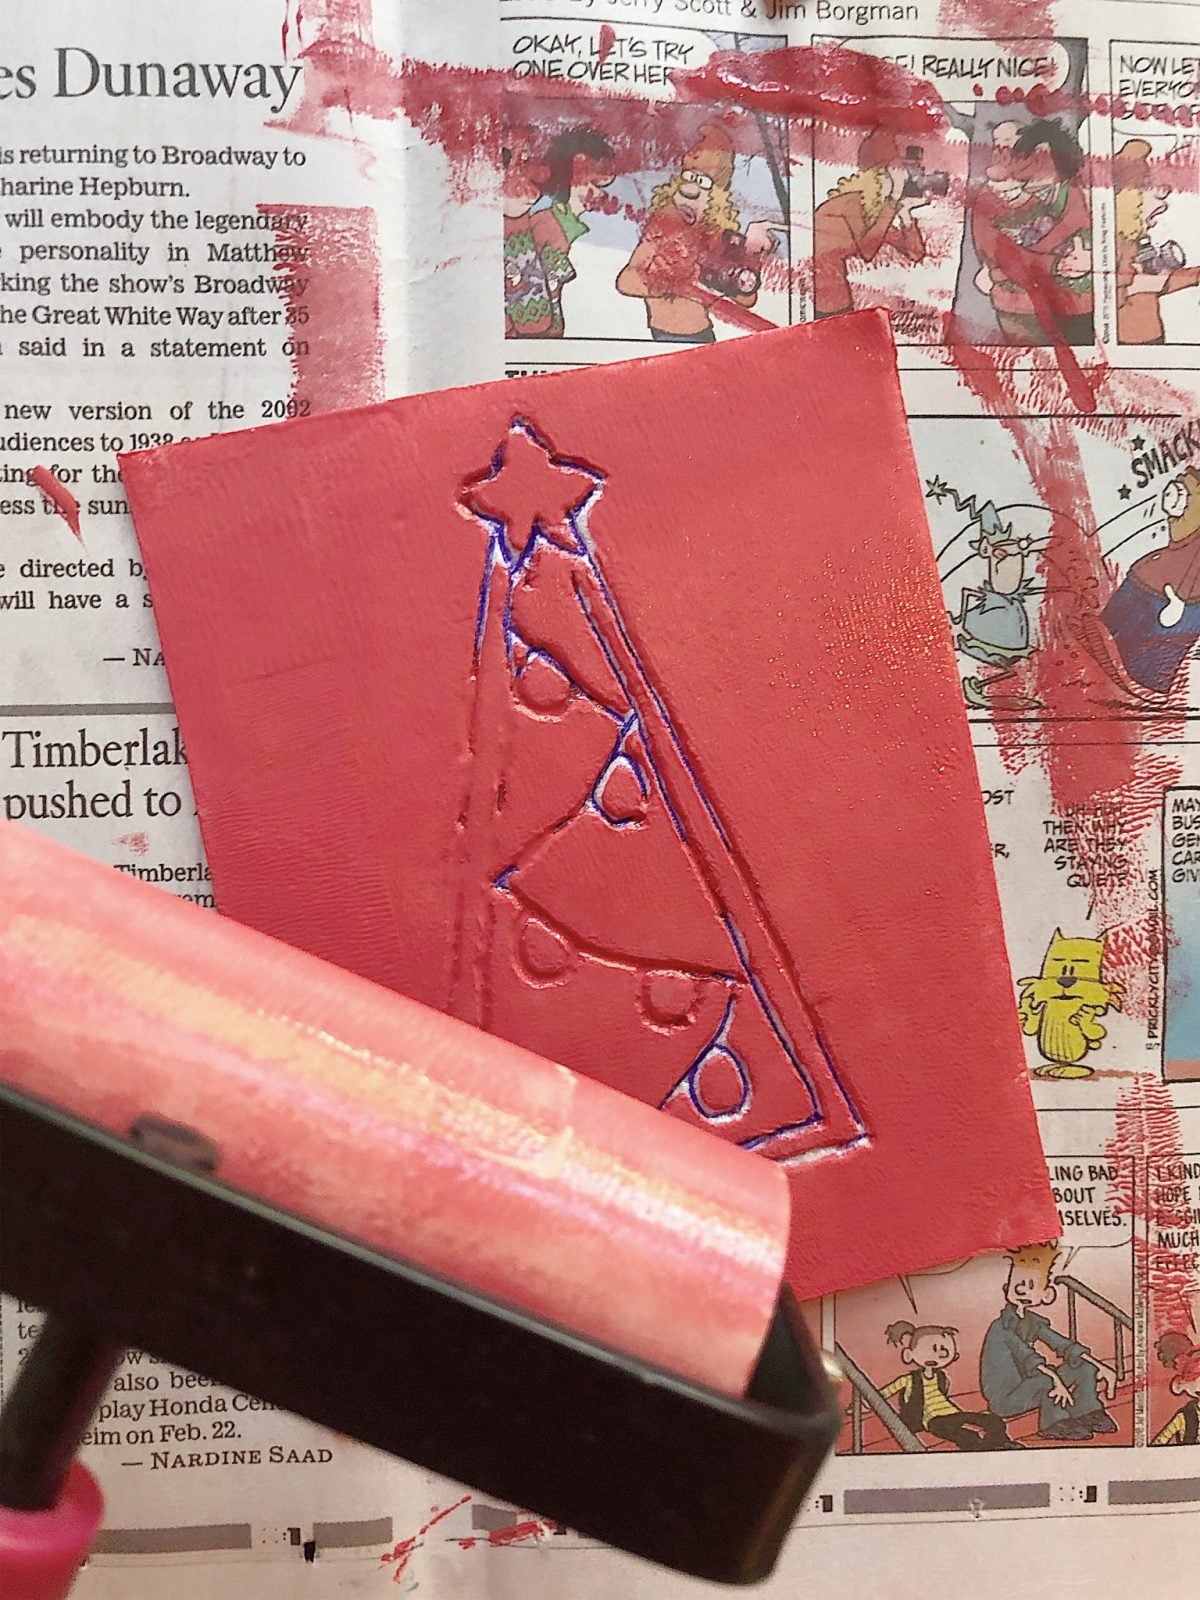
Gently place the stencil face down on the craft paper. Use the second brayer (which does not have paint!) to press the stencil down on the paper. Pull the stencil off as soon as you are done with the brayer. (It can dry and stick to the paper if you wait too long.)
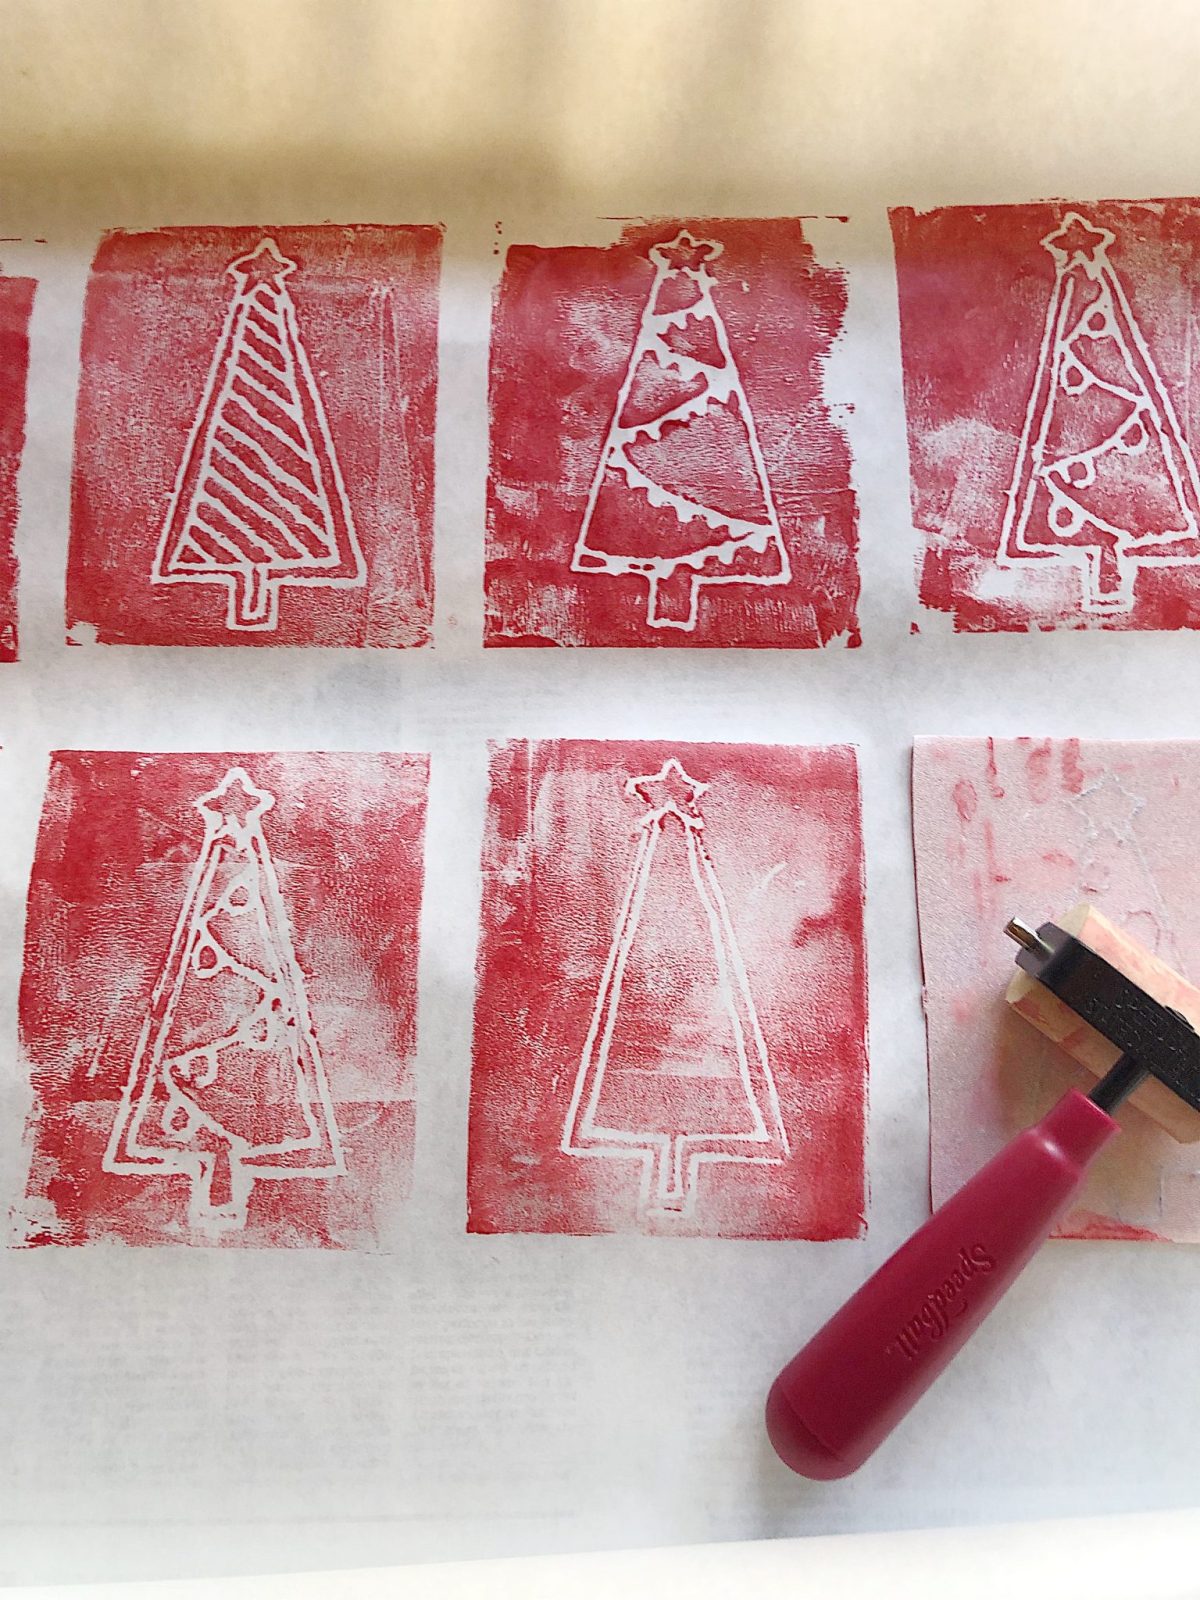
Don’t spend too much time trying to make the stenciling perfect. I love that it’s a tiny bit messy because it looks vintage. I think it looks better if it’s not perfect.
Continue these same steps, and you line up the stencil on the paper and continue to cover the paper.
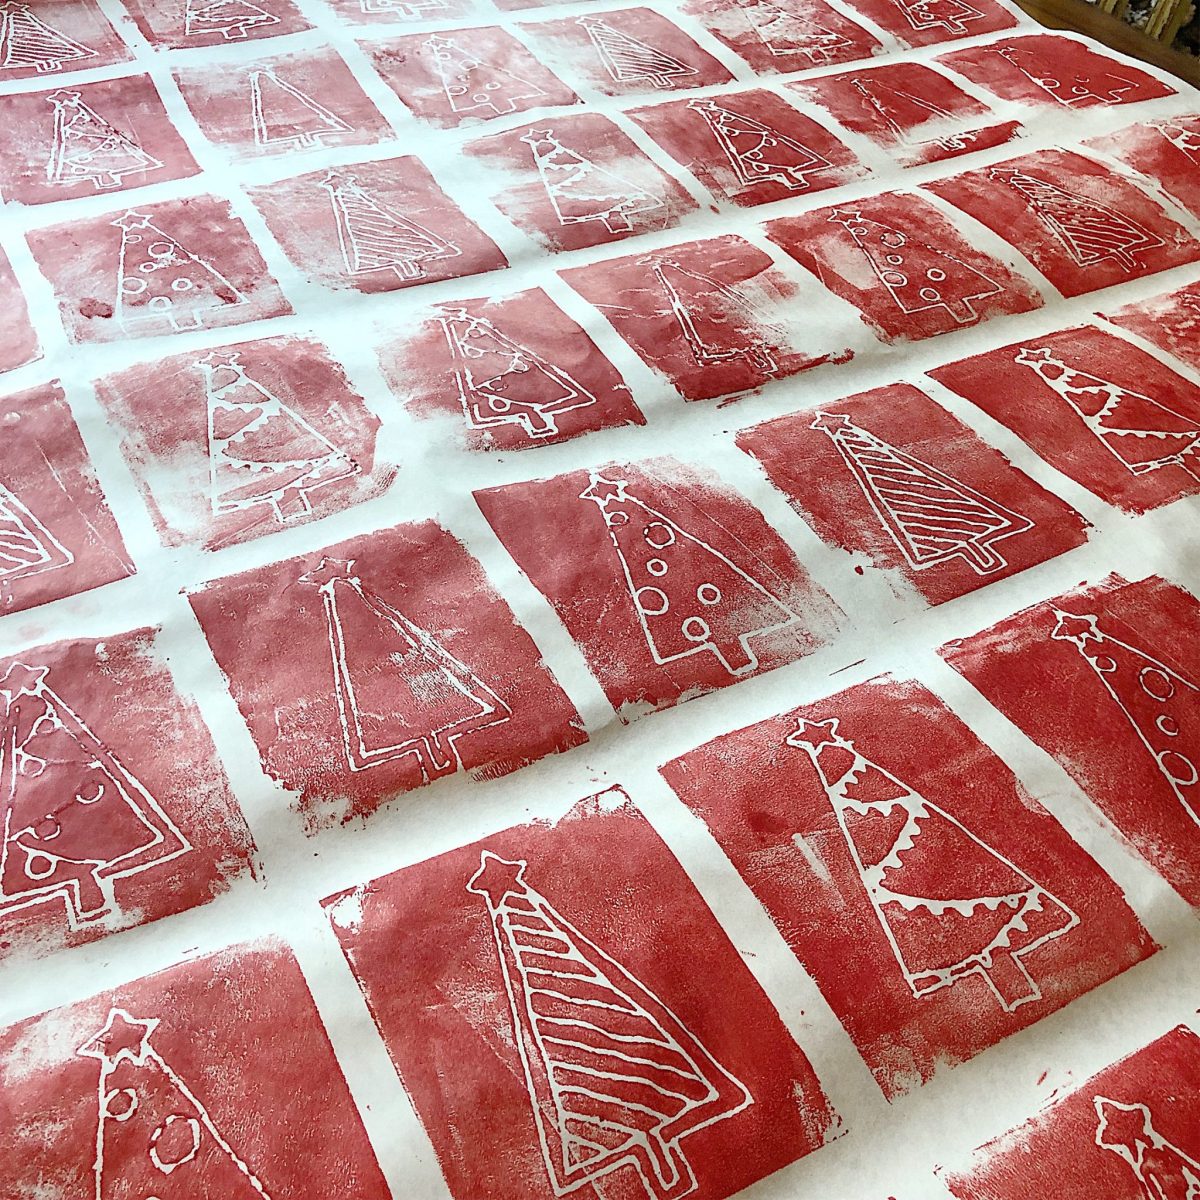
Look how great this looks! I didn’t measure the space between the stamps. Rather, I just “eyeballed it” because I wanted this to look like vintage Christmas wrapping paper. I did have a yardstick nearby to help me keep the rows straight.
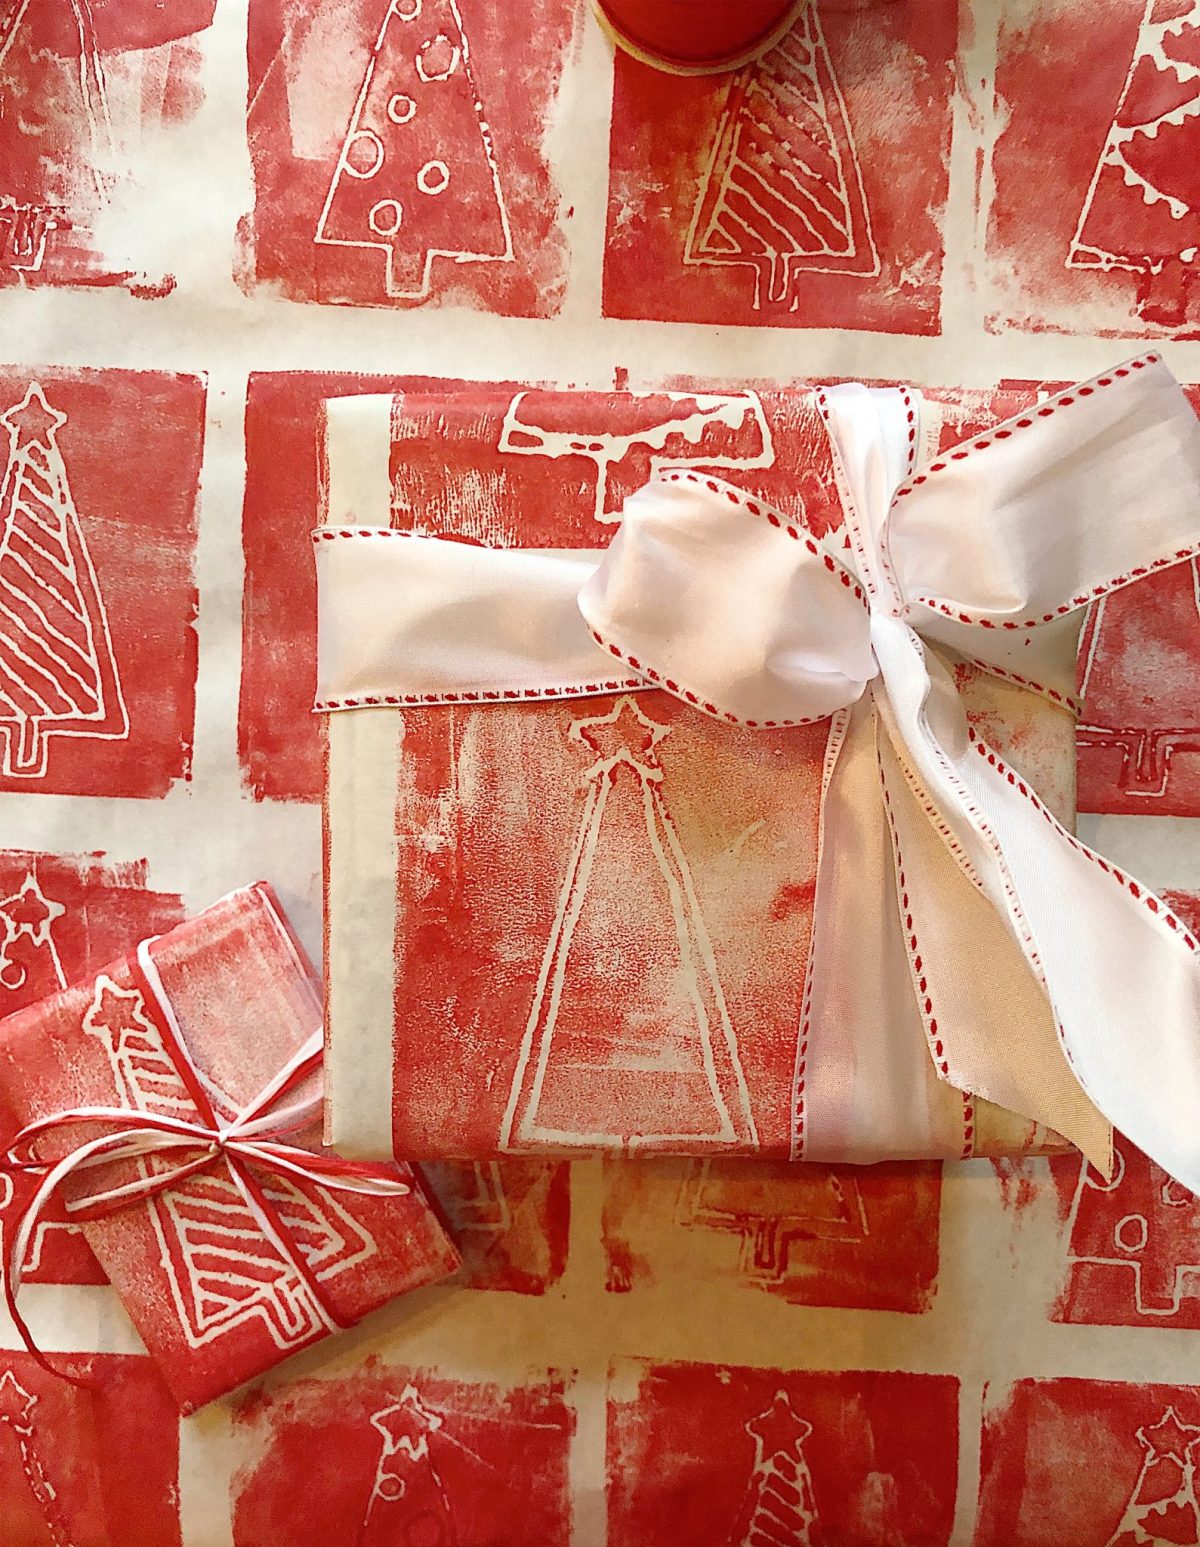
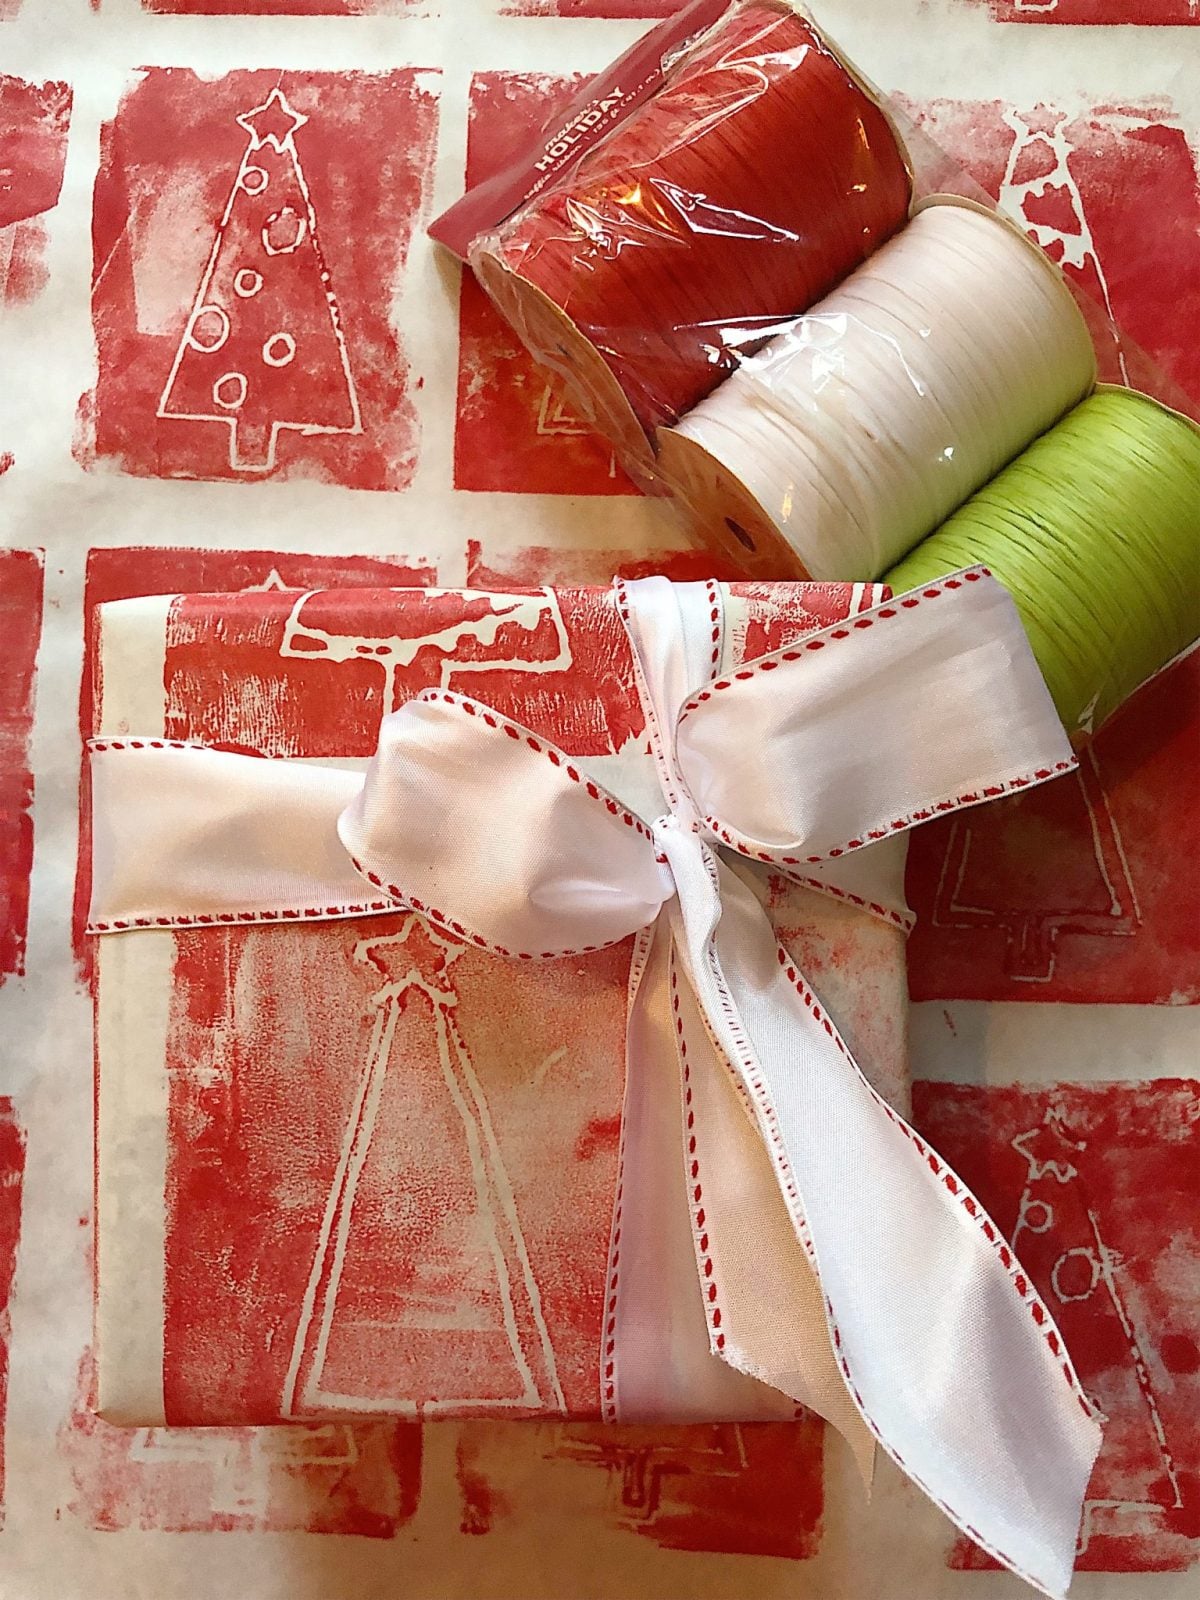
Once the paper is dry, you can begin to wrap your presents.
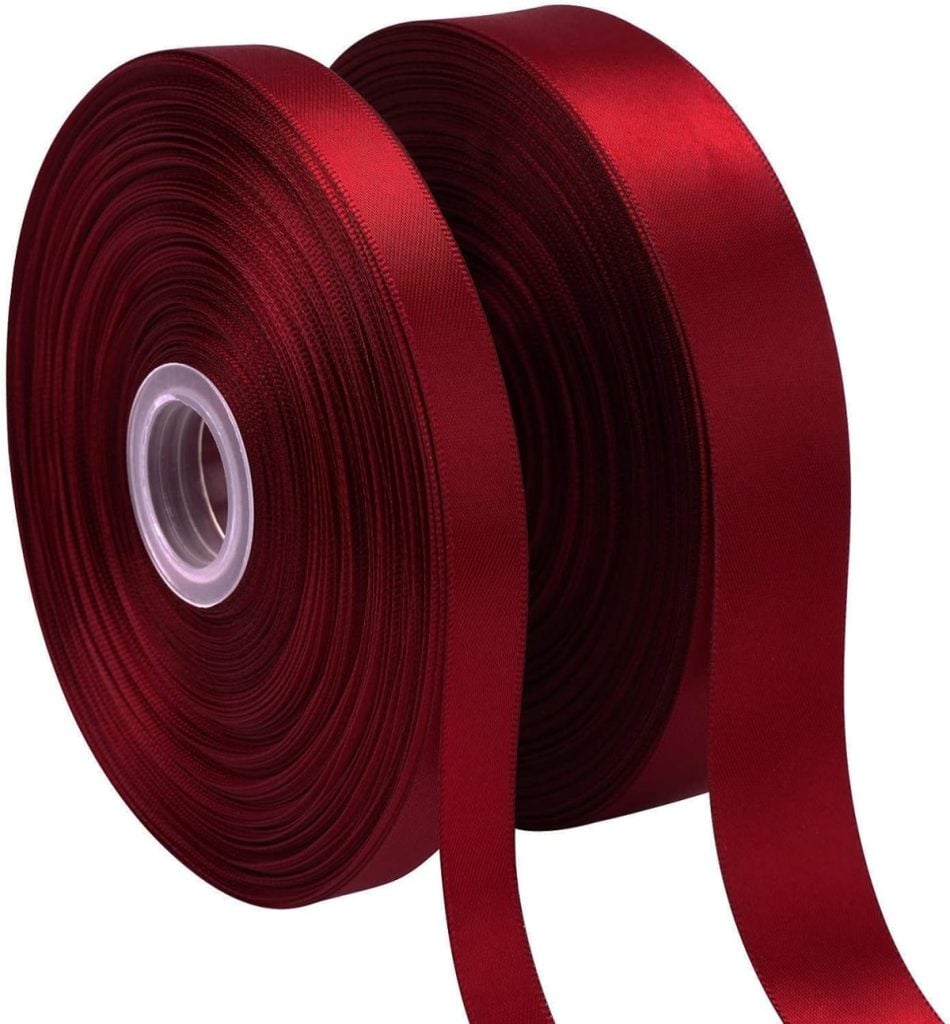
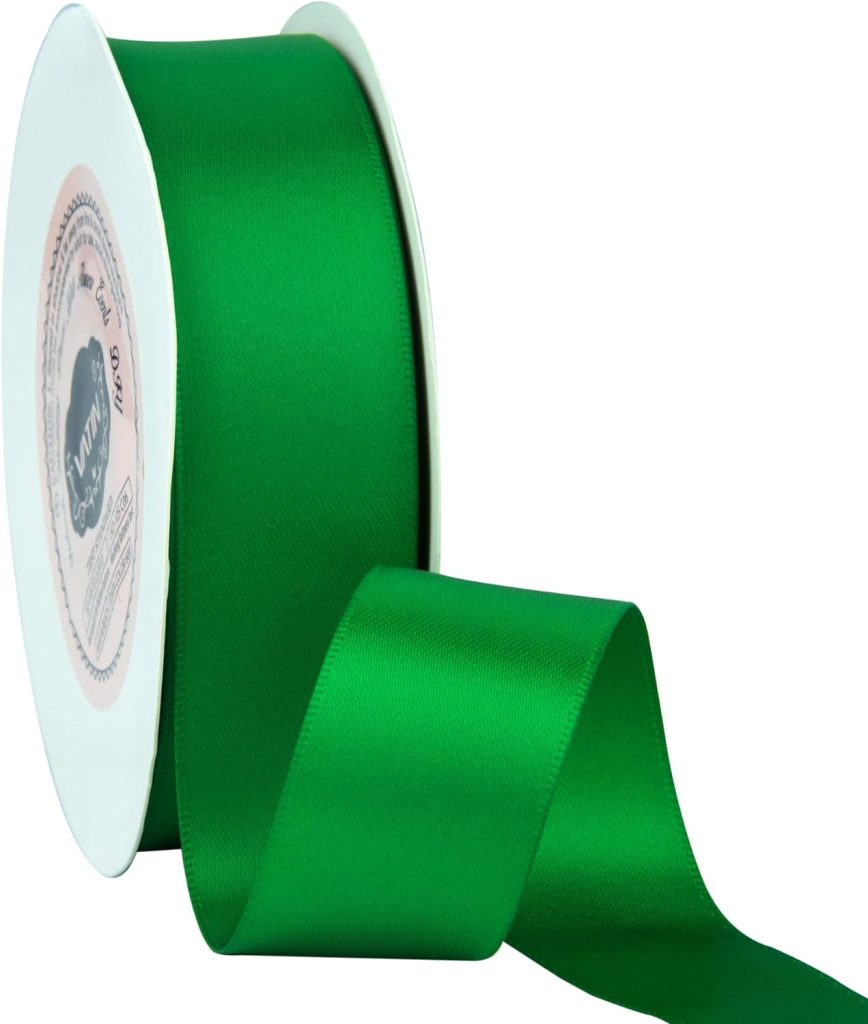
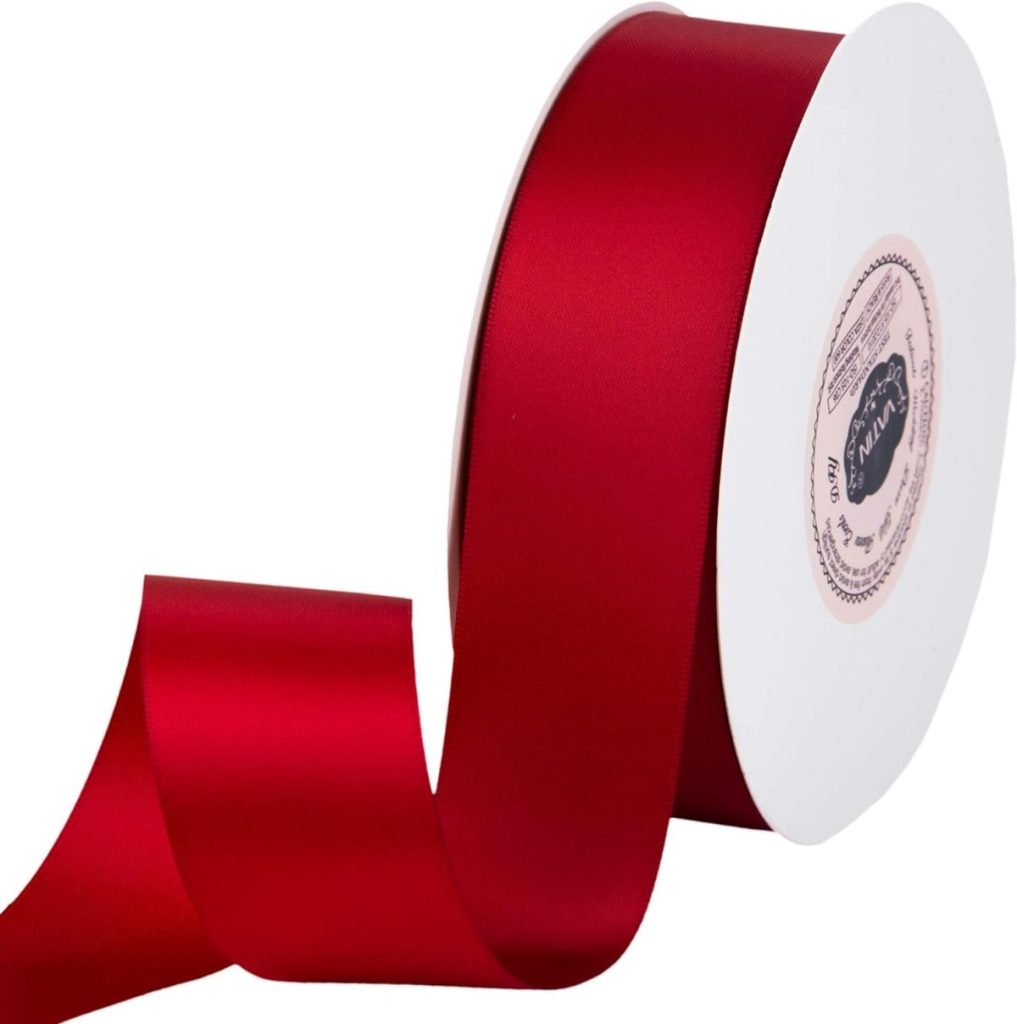
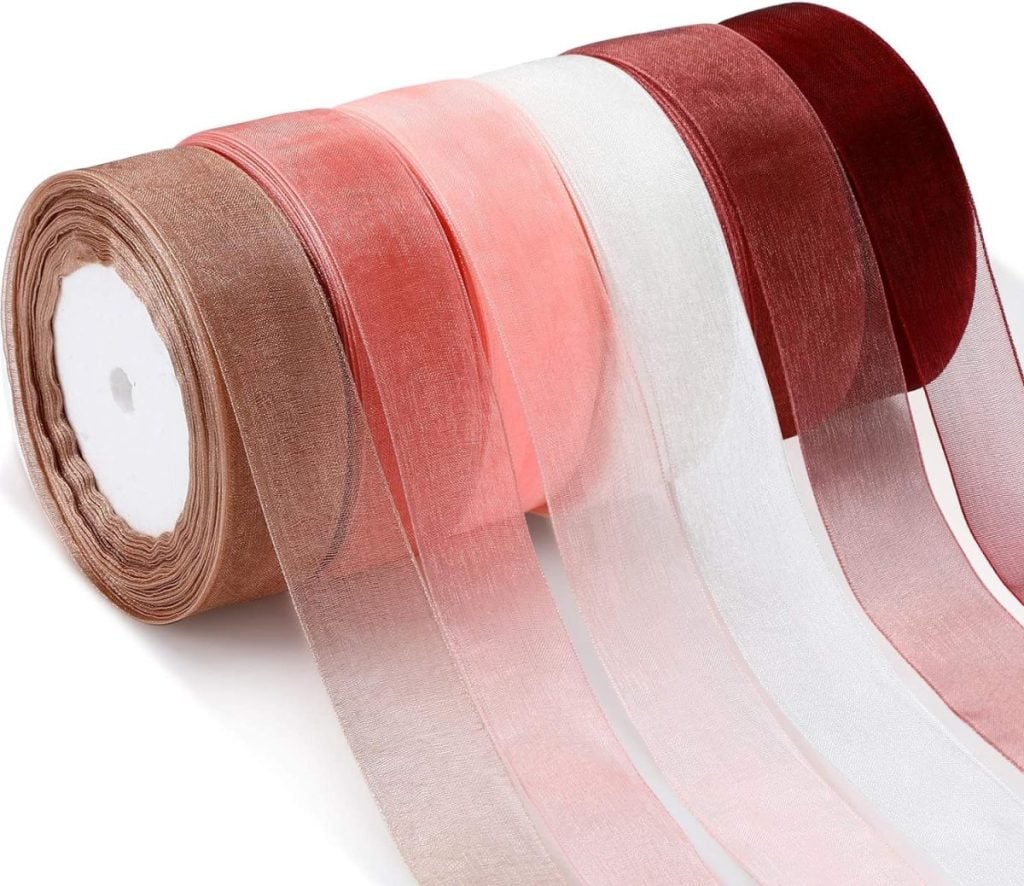
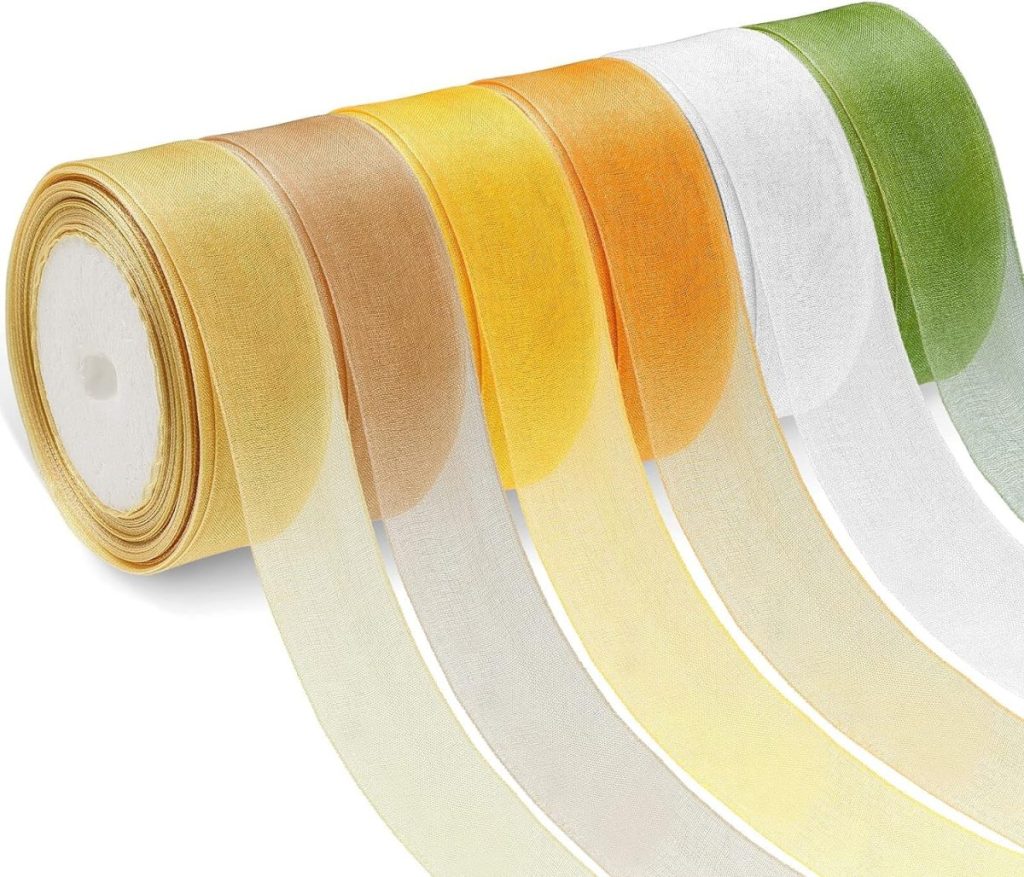
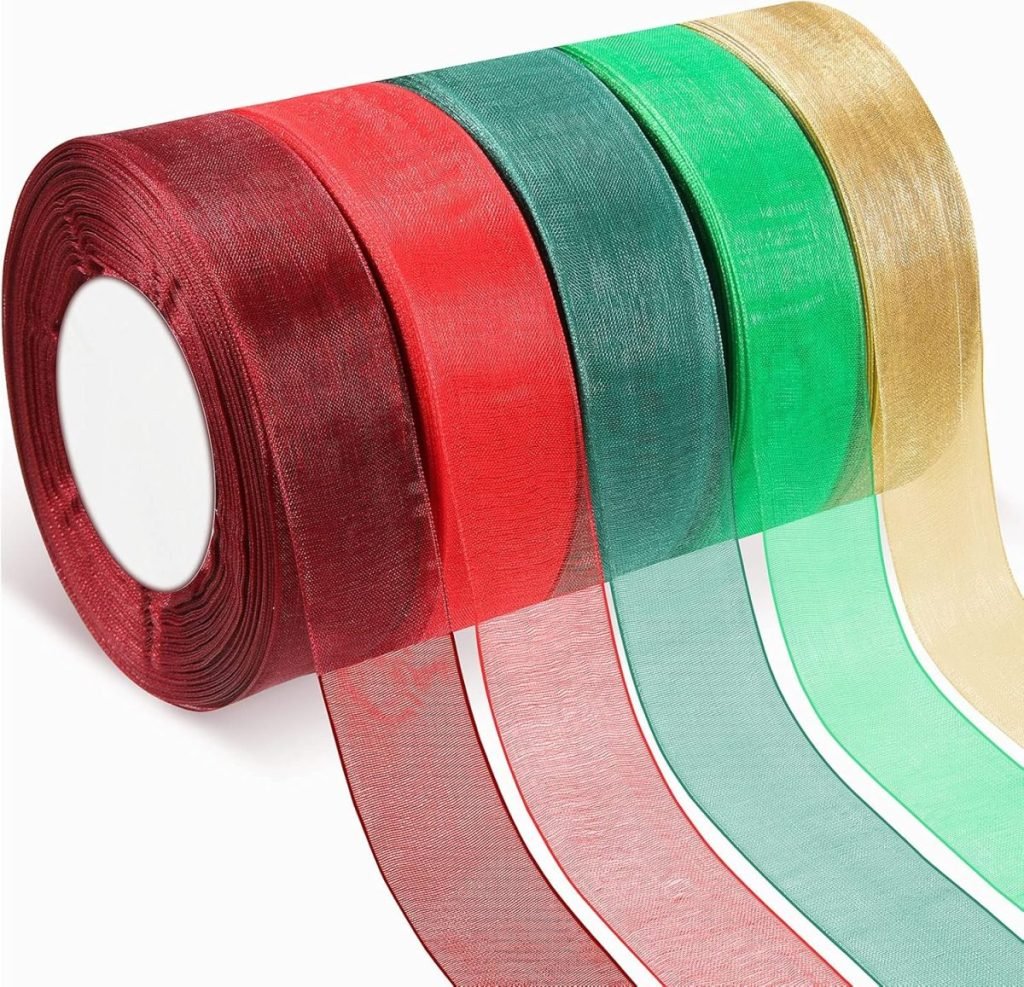
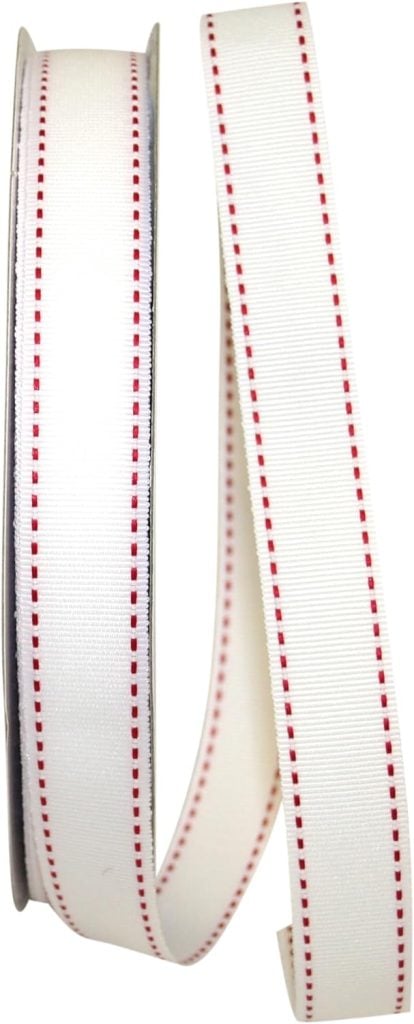
You can find so many ribbons these days to enhance your packages. Look how adorable these ribbons are. They enhanced my packages, and I love how they turned out.
Ribbons for Your Packages
If you enjoy my blog, you can sign up to receive my updates here.
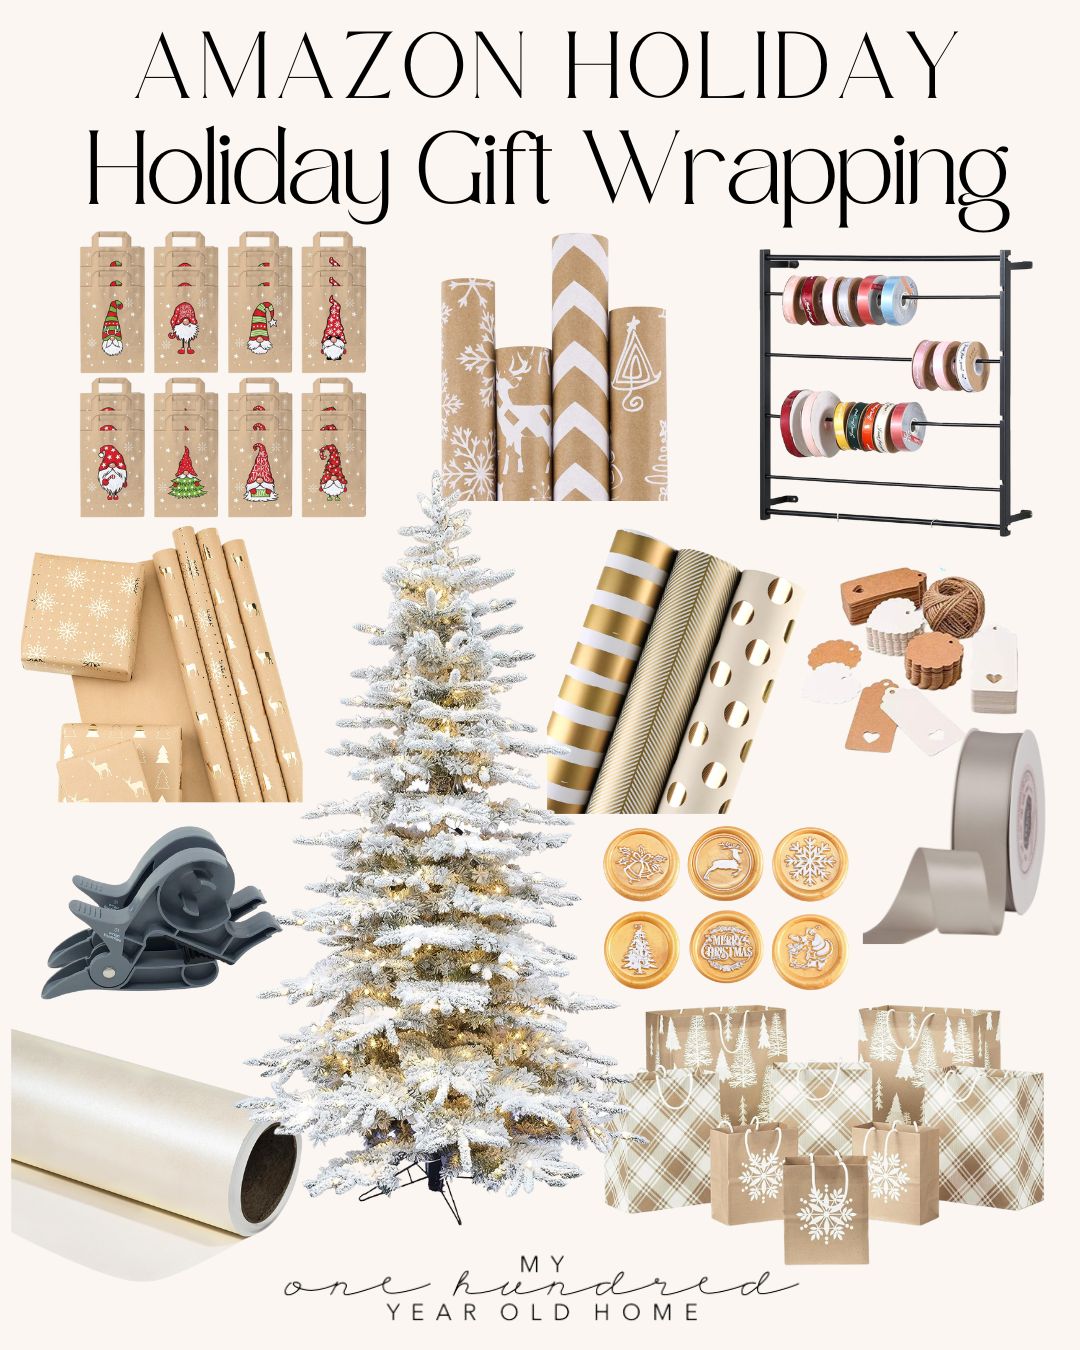
.Shop This Look

I hope you enjoyed this DIY. It is easy, fast, and the outcome is so much fun.
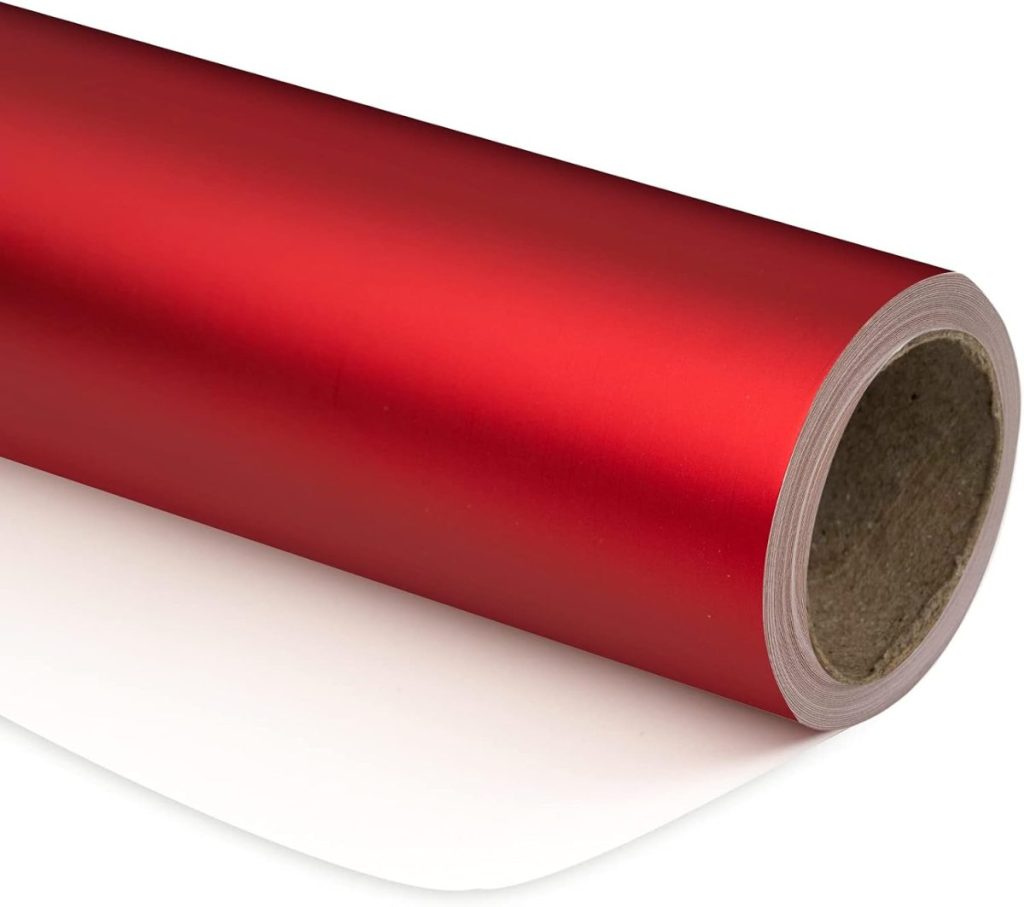
More Wrapping Paper Ideas

You can pin the image below to your decor boards on Pinterest (just click the Pin button in the top left corner) or follow me on Pinterest!

For more real-time updates, follow me on Instagram @My100YearOldHome


That is just adorable! Thanks for the tutorial.
Great idea! Thanks!
The paper is really unique and would be good to use for special personal gifts, wonderful. Thanks for sharing your project.
Love this!!!
You are incredible! I would’ve never thought to make my own wrapping paper. Thanks for teaching me how to.
Your paper is darling! I’ve done this using craft paper on a roll and used gold ink with fancy elemental stamps. Fun to make and everyone raves about how beautiful their packages are. Handmade paper makes even less expensive gifts “feel” more special because you took the time to make the paper. 🙂
I used to teach art for developmentally related adults. I used this technique at the holidays to teach them to make holiday cards. Same process except instead of using a roll of craft paper, get sheets of white heavy paper stock. I would tear the sheets in half horizontally so I could get two cards out of one sheet of paper. Then fold each section in half to make a card. The front is where you roll the design. They would make a dozen. And we’d let the cards dry for an hour while we cleaned up. Then they would write their name and year in the bottom corner (like a real work of art) and write their holiday message on the inside (with my help). They were always a big hit with family and friends. I would buy plain card envelopes for mailing.
I’ve done rubber stamping for years and never thought to try making custom ones using a foam plate! Thanks for the inspiration and tutorial!
Such a great idea and the “vintage” look is so “elegant. Thanks for sharing.
Thank you, Mary!
Such a neat idea! It’s great. I’ll have to try it. Thank you for such wonderful ideas! 😊
I am so glad you enjoyed, Thank you, Cynthia!
Wow!!! This will be so much fun to do with the grands!! Thank you for the helpful
Tutorial!!
Love your posts, Leslie!
Would you consider doing an Amazon Lives tutorial on free-motion embroidery pillow covers?? In one of your posts you talked about lessons learned–SO valuable when you are doing something for the first time. LOVE your pillows and the fabulous holiday coasters. Thank you and Happy Holidays!!
I will schedule a tutorial on the free motion embroidery early next year. I probably won’t do it on Amazon live but I will share it on my blog and social media. Thanks for the reminder that I need to do this!
Leslie
Hooooooray! Huge thanks! I will watch for it!!!
Thanks!
Thanks,Leslie it came out gorgeous.You are truly talented Artisian and designer…👏
Thanks so much Amar!
Would love for you to do more veidos on your creative projects
Your tutorial is my “go to” for wrapping paper. Making it yourself adds such a personal touch. This is a really crazy question- but do you think its possible to print like this on blank rolls of wallpaper to hang on the wall? Hmm…You are such a DIY and design inspiration!
Leslie,
I love how this paper looks. Very vintage feeling. I’m sharing a link on my Sunday, Dirt Road Adventures. Thanks for all you inspiration.
I absolutely love the idea of using red wrapping paper for the holidays! It adds such a vibrant touch to gift-giving. Plus, it really captures the festive spirit. Great tips on pairing it with different ribbons too!
I love the red paper too! Thanks so much. ❤️
I love the idea of using red wrapping paper! It adds such a vibrant touch to gifts, especially during the holiday season. Can’t wait to try some of these creative wrapping techniques you shared!
I love the idea of using red wrapping paper! It adds such a festive touch to gift-giving. Plus, it’s perfect for both Christmas and Valentine’s Day! Do you have any suggestions for embellishing red paper to make it stand out even more?
I love the vibrant look of red wrapping paper! It’s perfect for Christmas and adds a festive touch to any gift. Great tips on how to make it stand out even more!