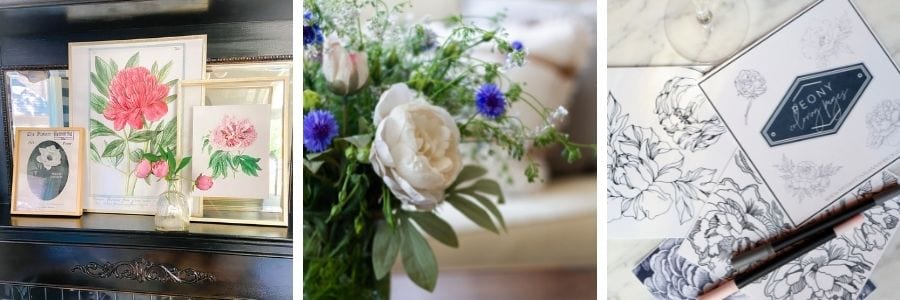
How to Enjoy Peonies Season All Year Long
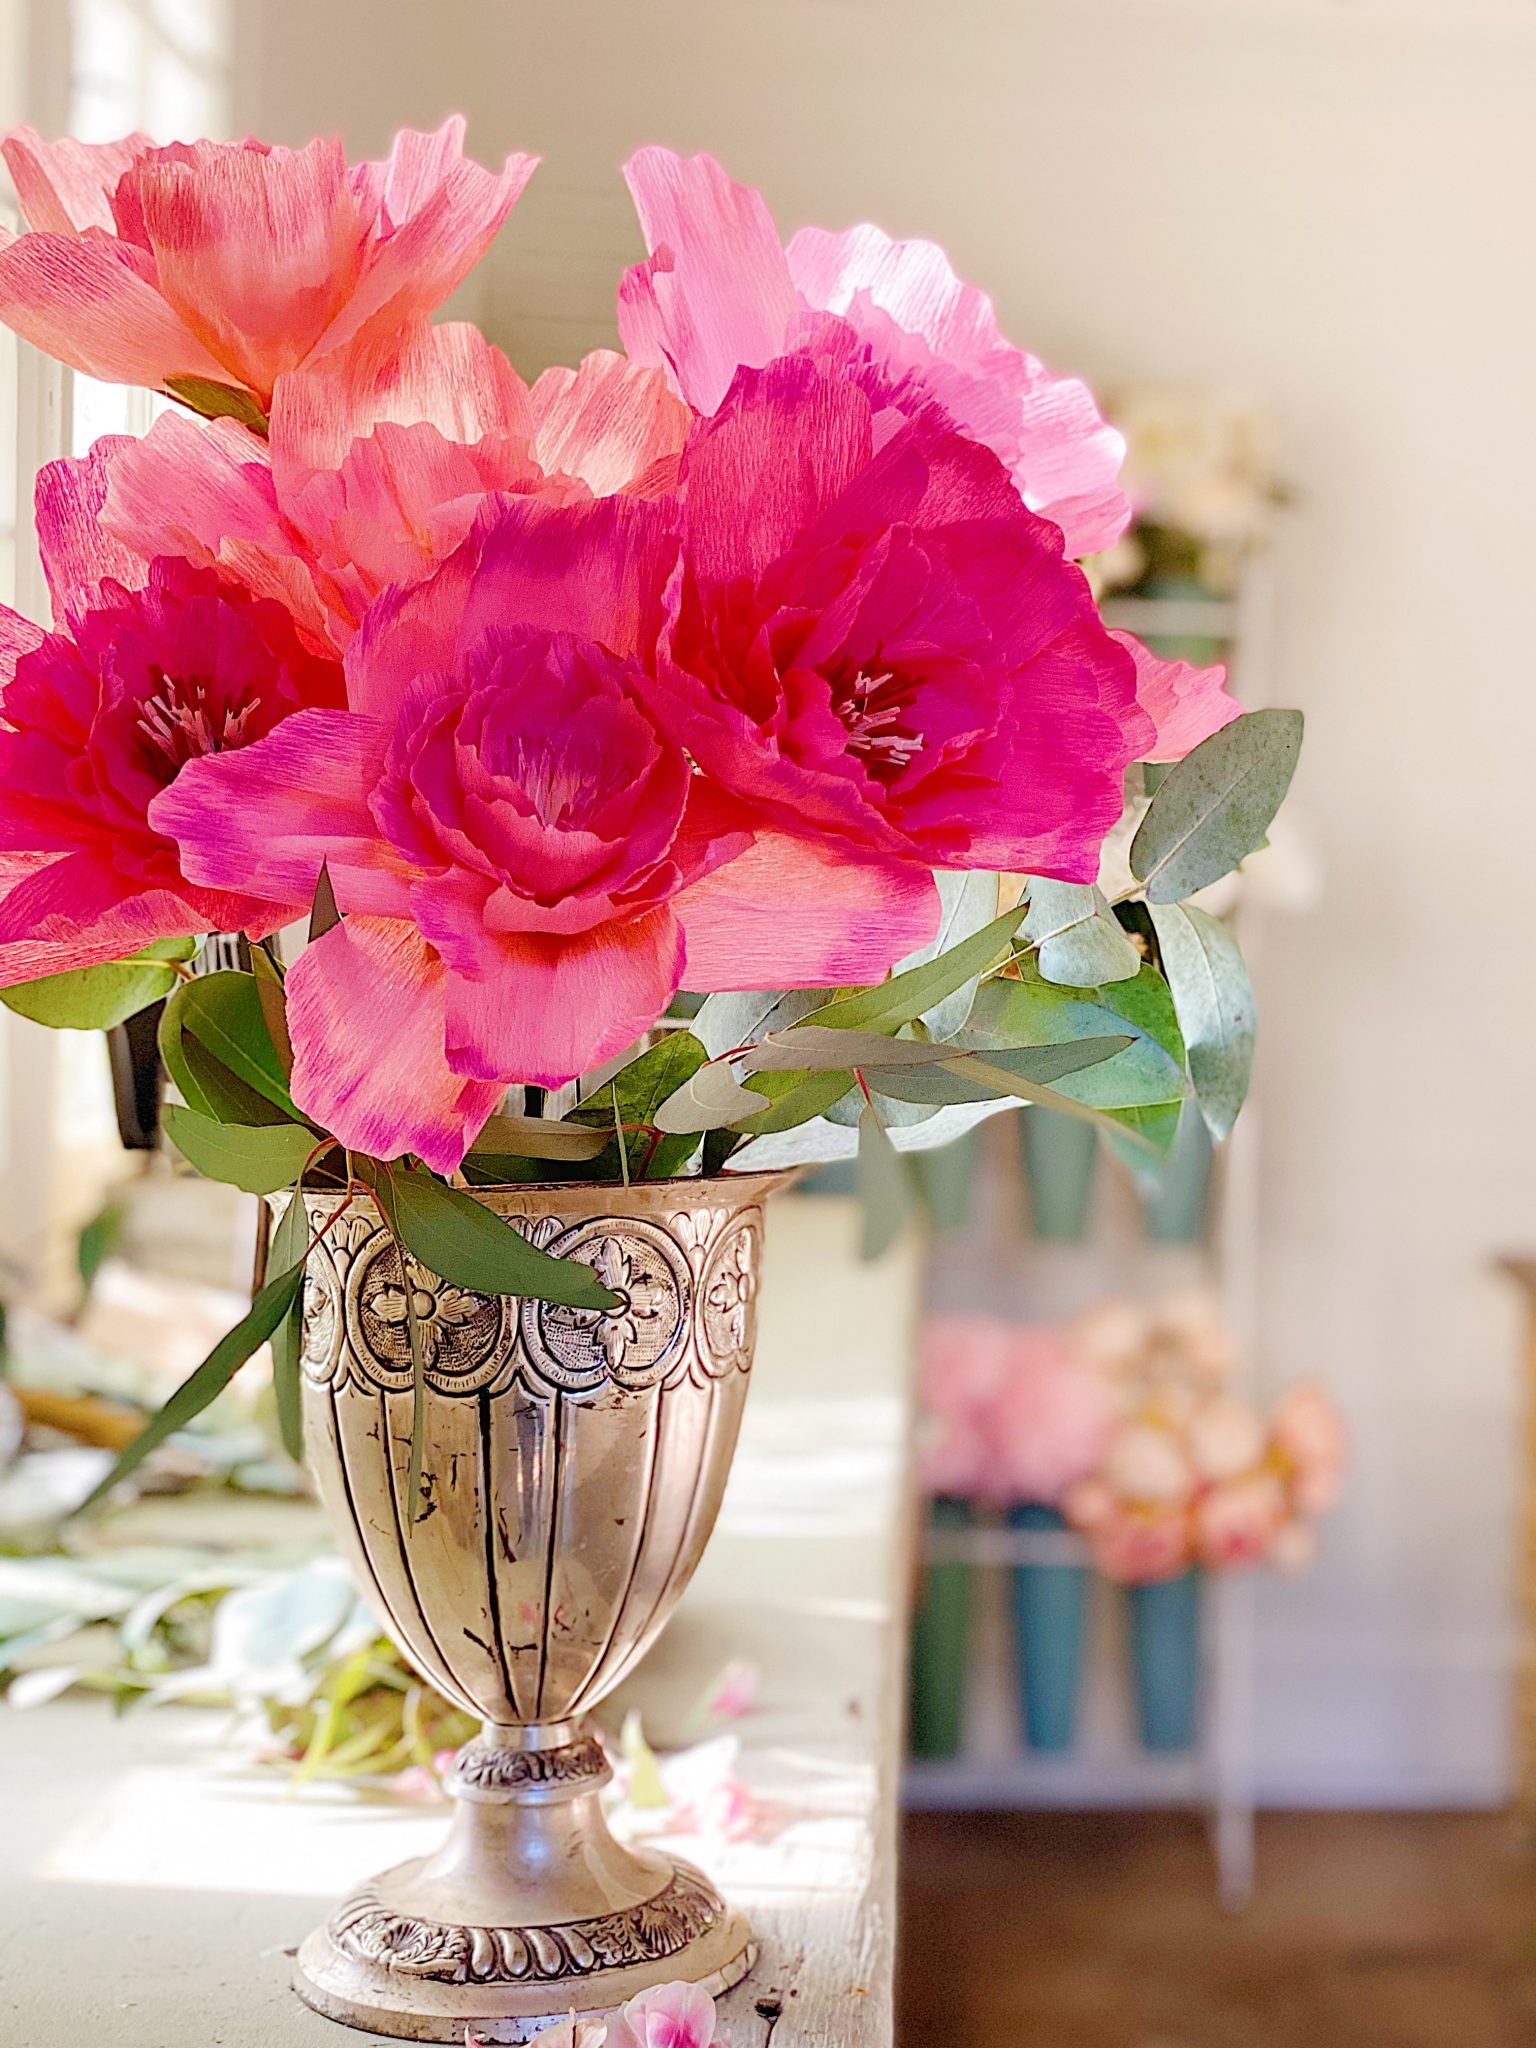
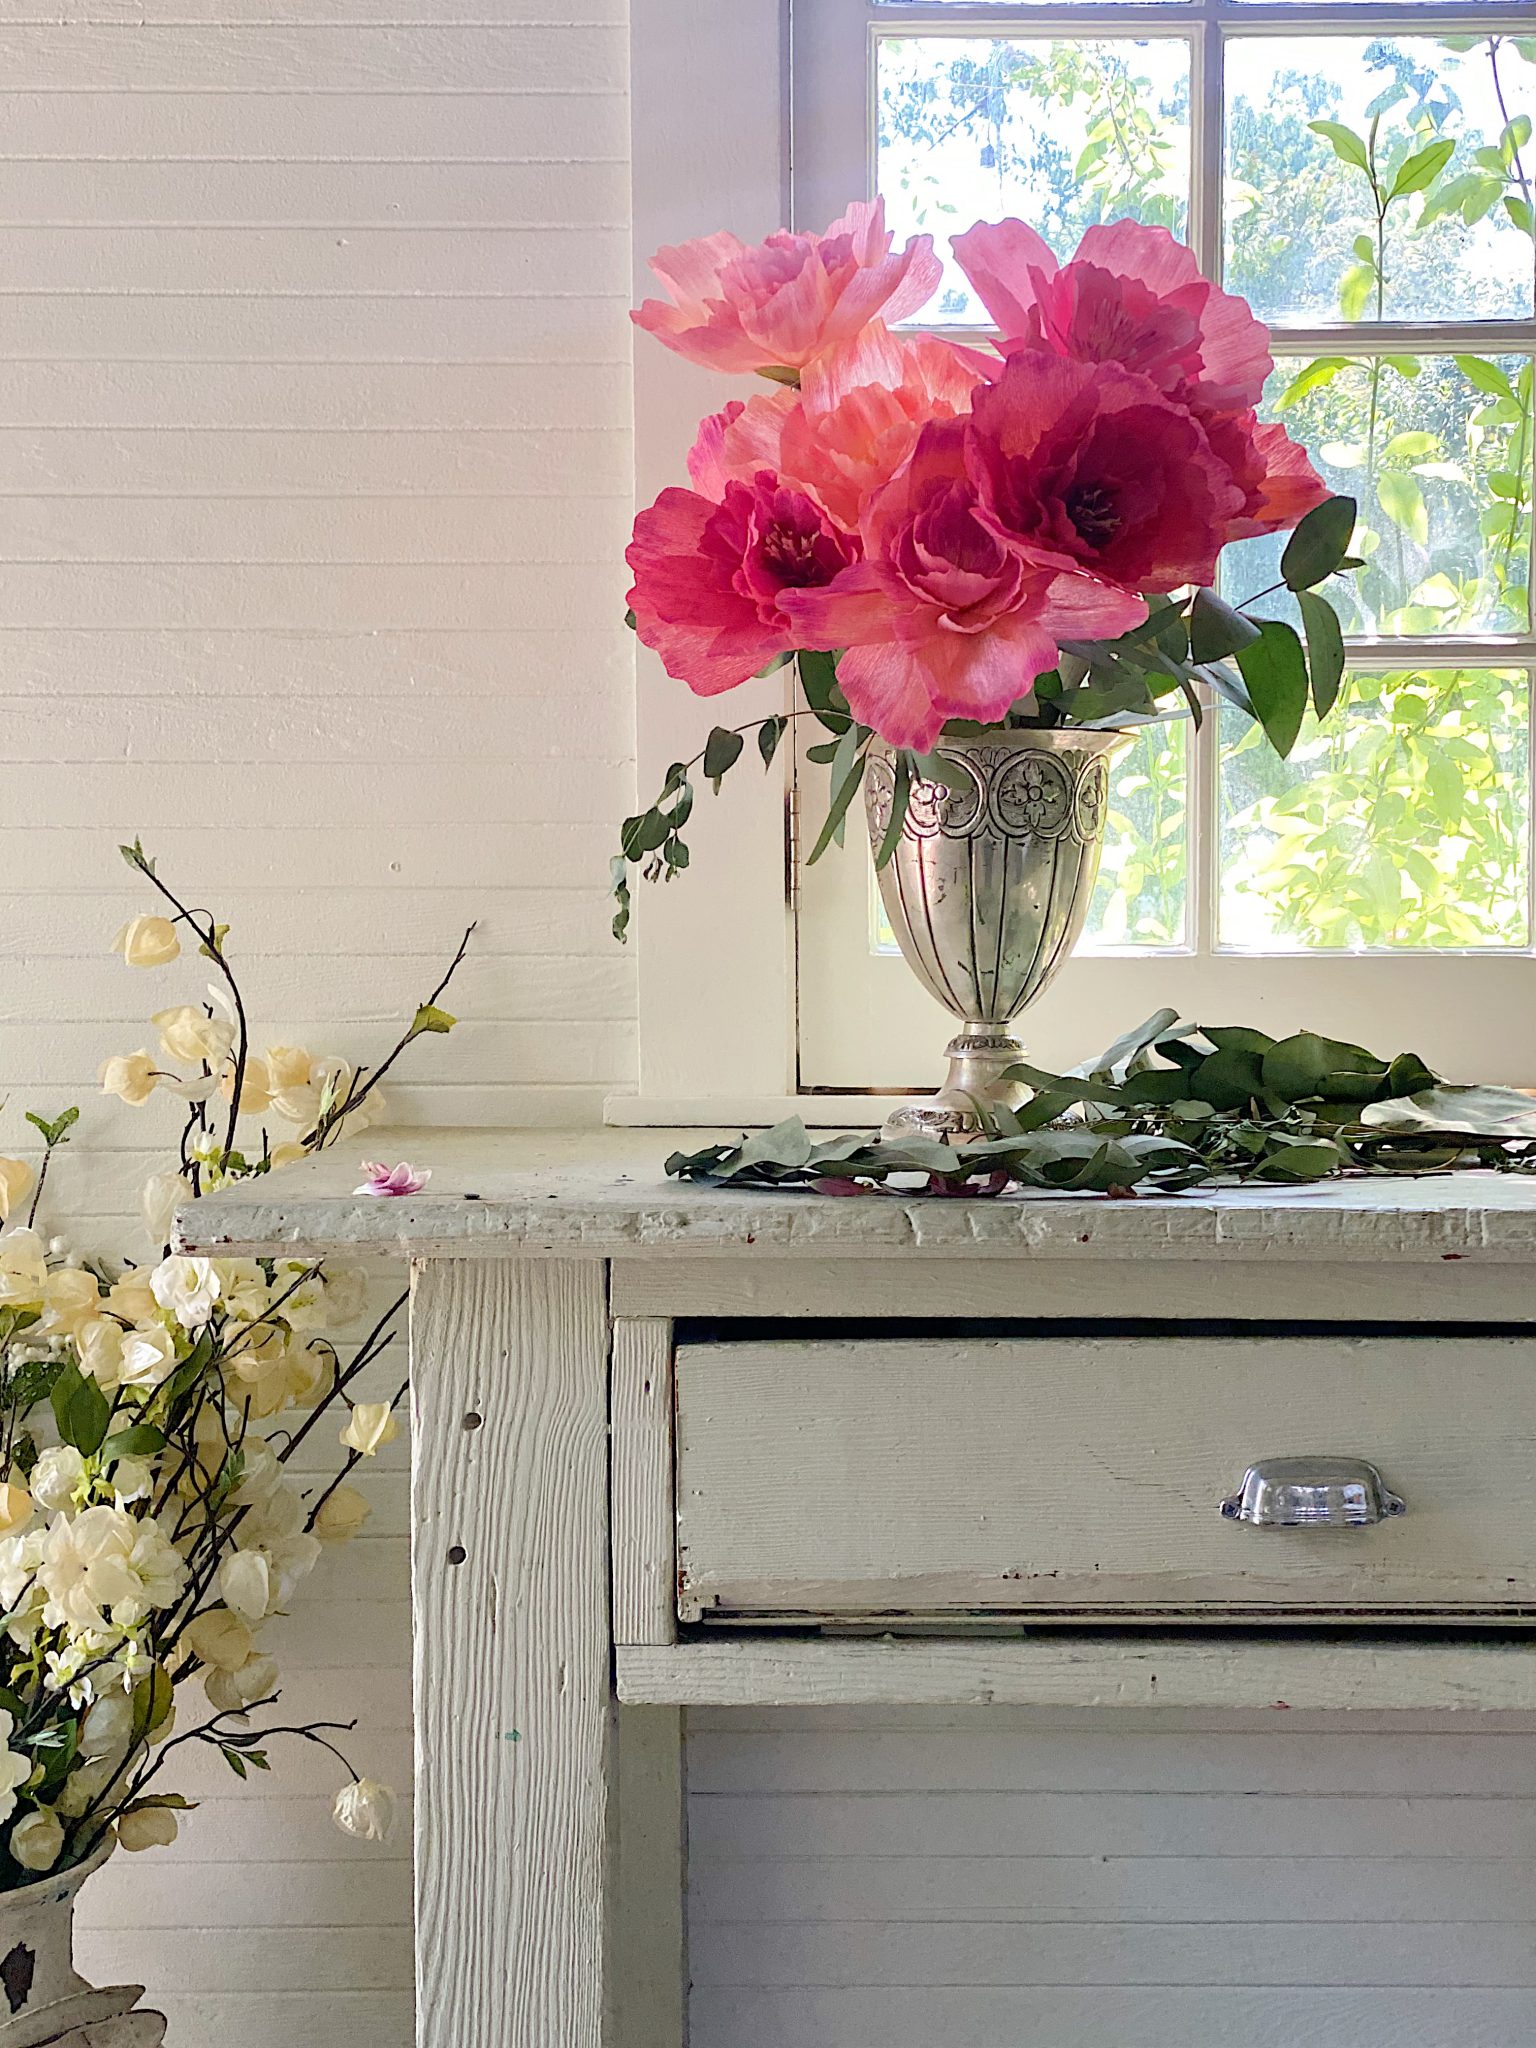
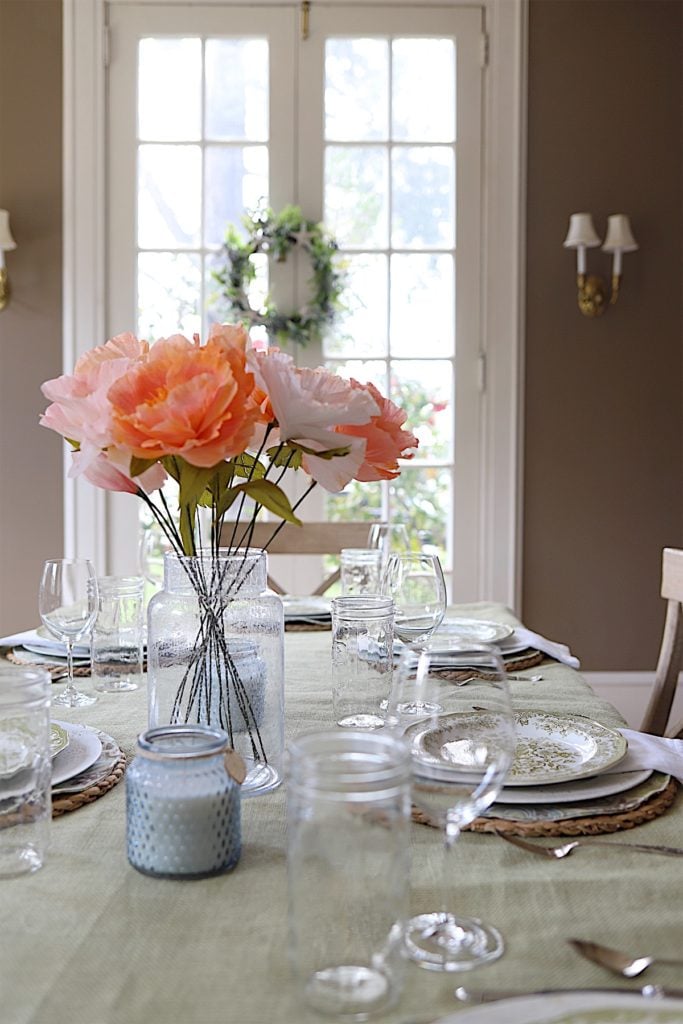
I am so excited to share that I figured out how we can enjoy peonies season all year long. I made this peony bouquet from crepe paper and I absolutely love that it will last all year long!

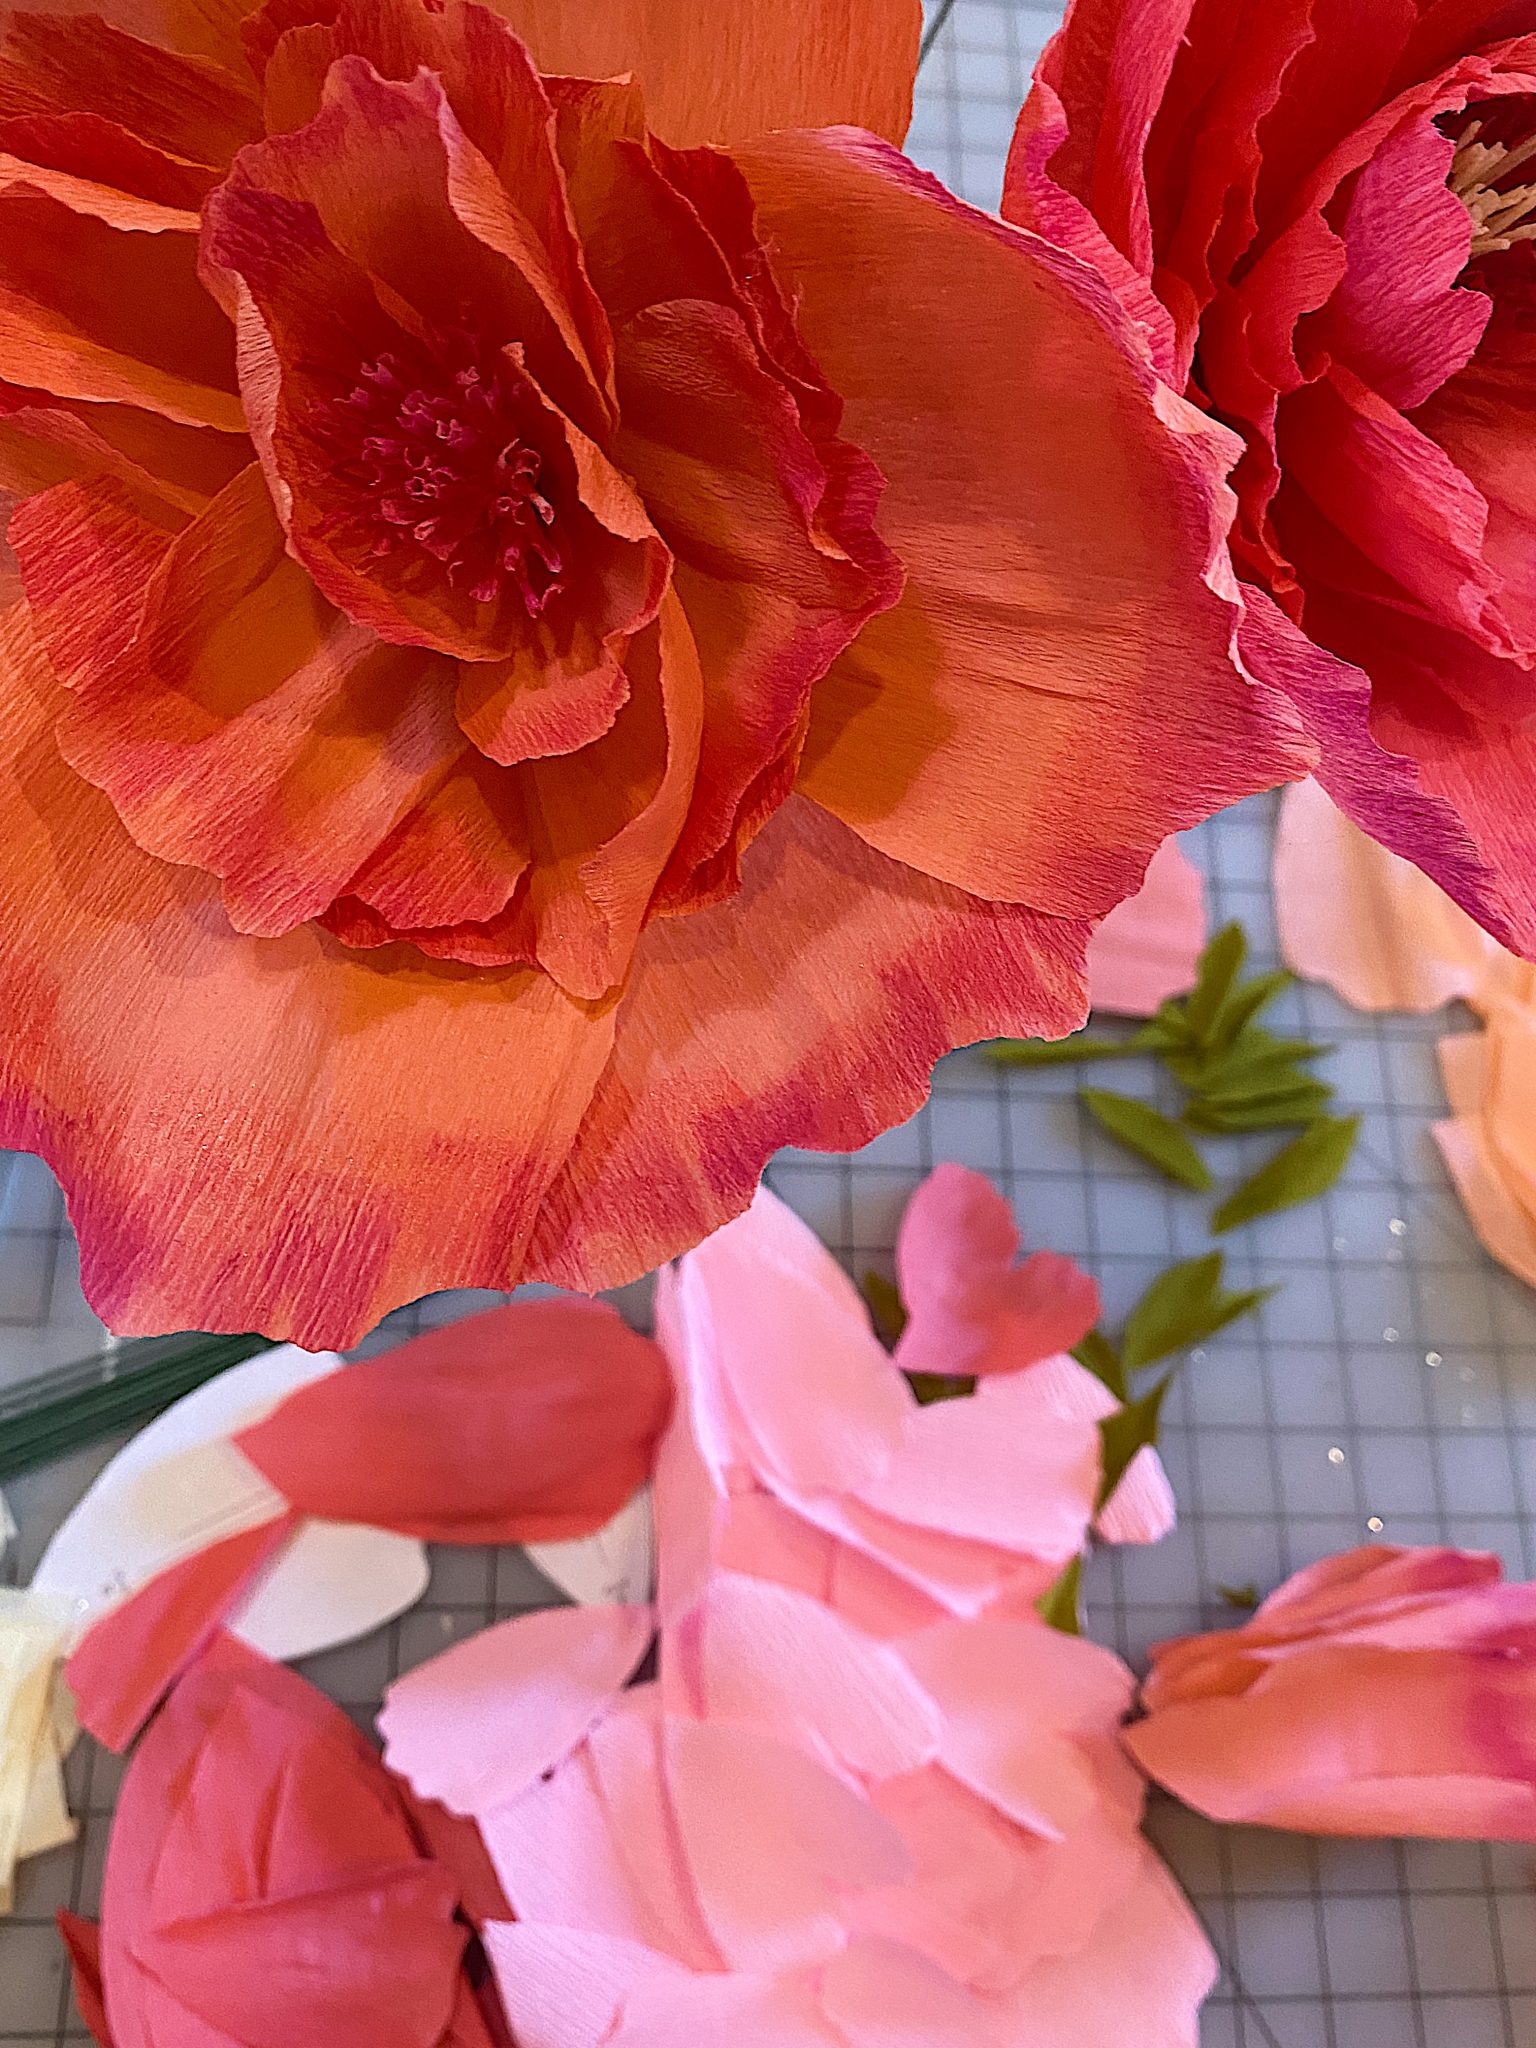
Don’t they look real? I just love how these peonies came out and I am determined to use these all year long! I made twelve so I can enjoy peonies season every single month.
Enjoy Peonies Season all Year Long
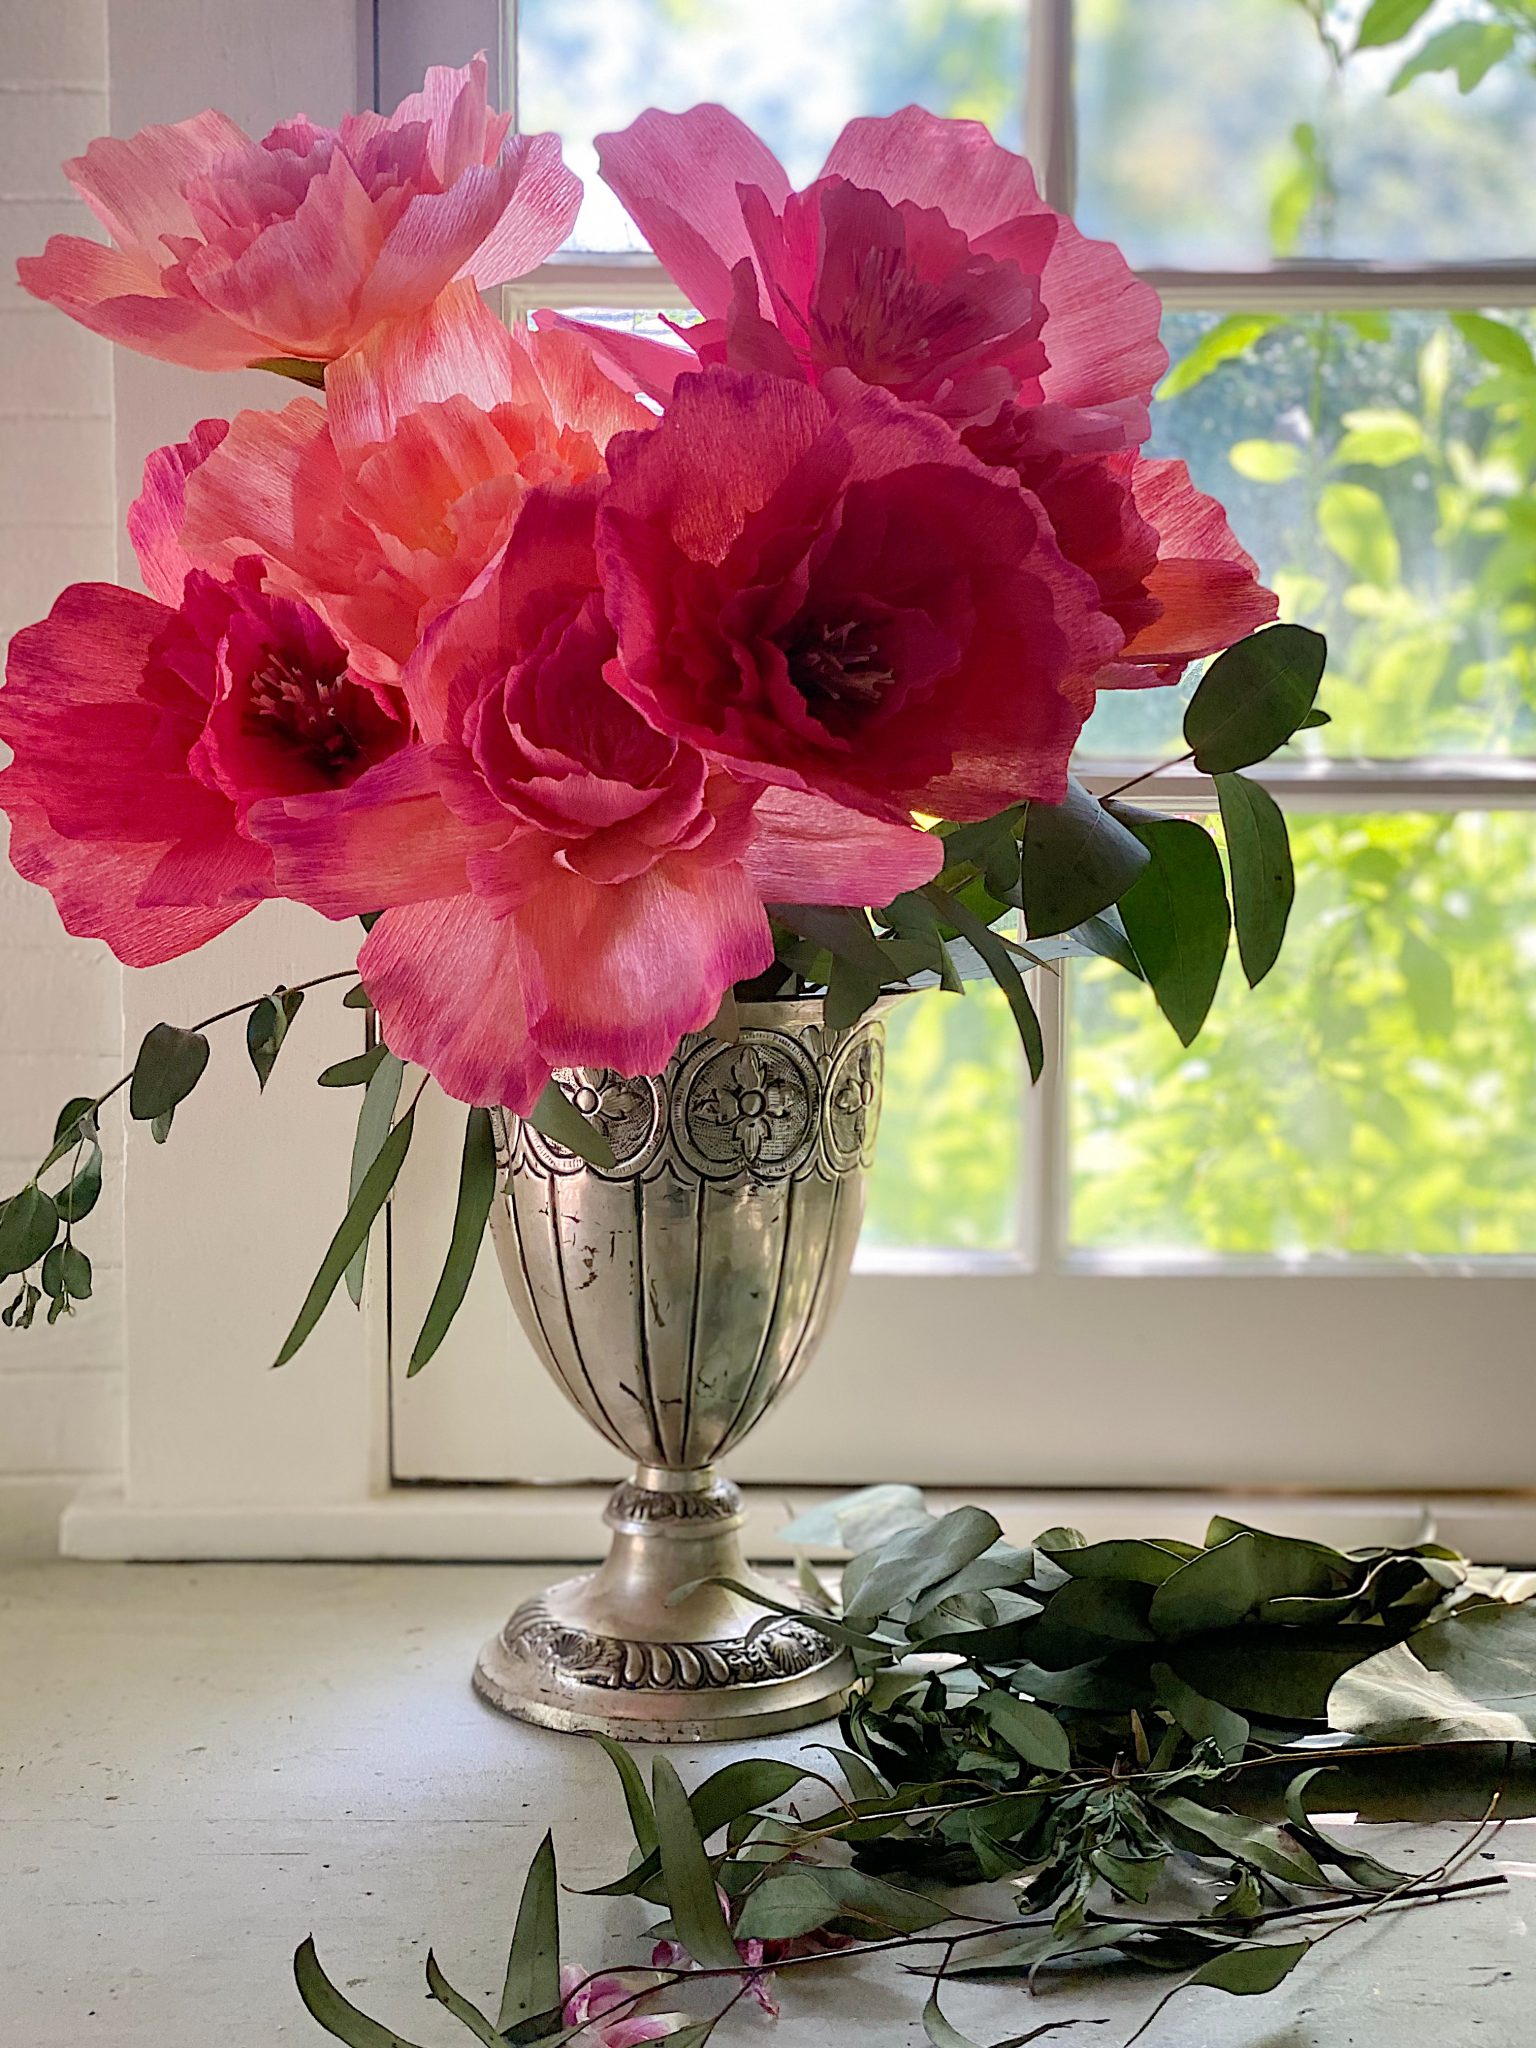
I love making crepe paper flowers and these pink peonies are by far my absolute favorite! The colors are fabulous and I love that these will last for years.
If you are thinking that “these are too hard to make”, then I think you will be surprised at how simple these are to make.
The tasks that took me the longest are cutting the crepe paper, adding the pastel color to the petals, and stretching the petals. The actual flower assembly only took minutes.
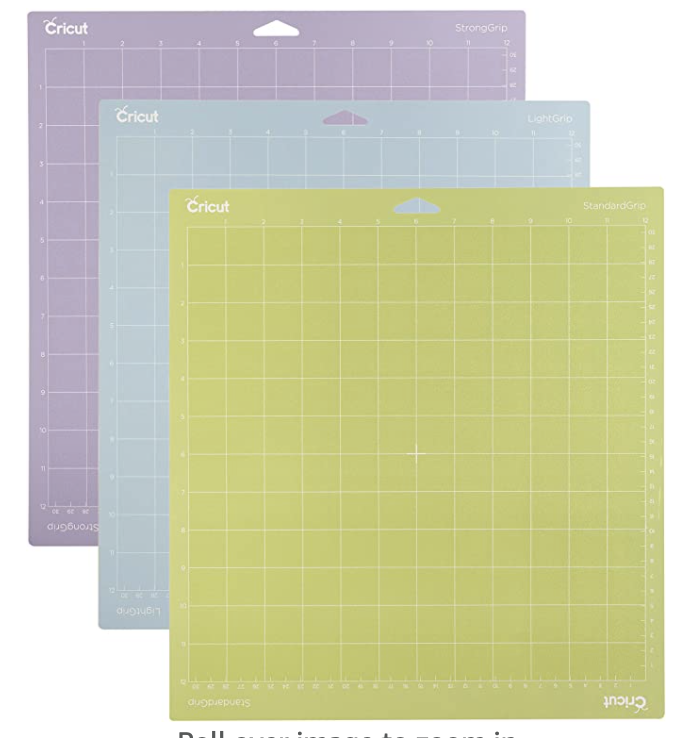
I chose not to use my Cricut machine to make these paper peonies but you can absolutely use one! I didn;t want you to think that you had to own a Cricut to make these flowers. Crepe paper is so easy to make and since it is easy to cut six sheets at a time it didn’t take long at all to cut these out.
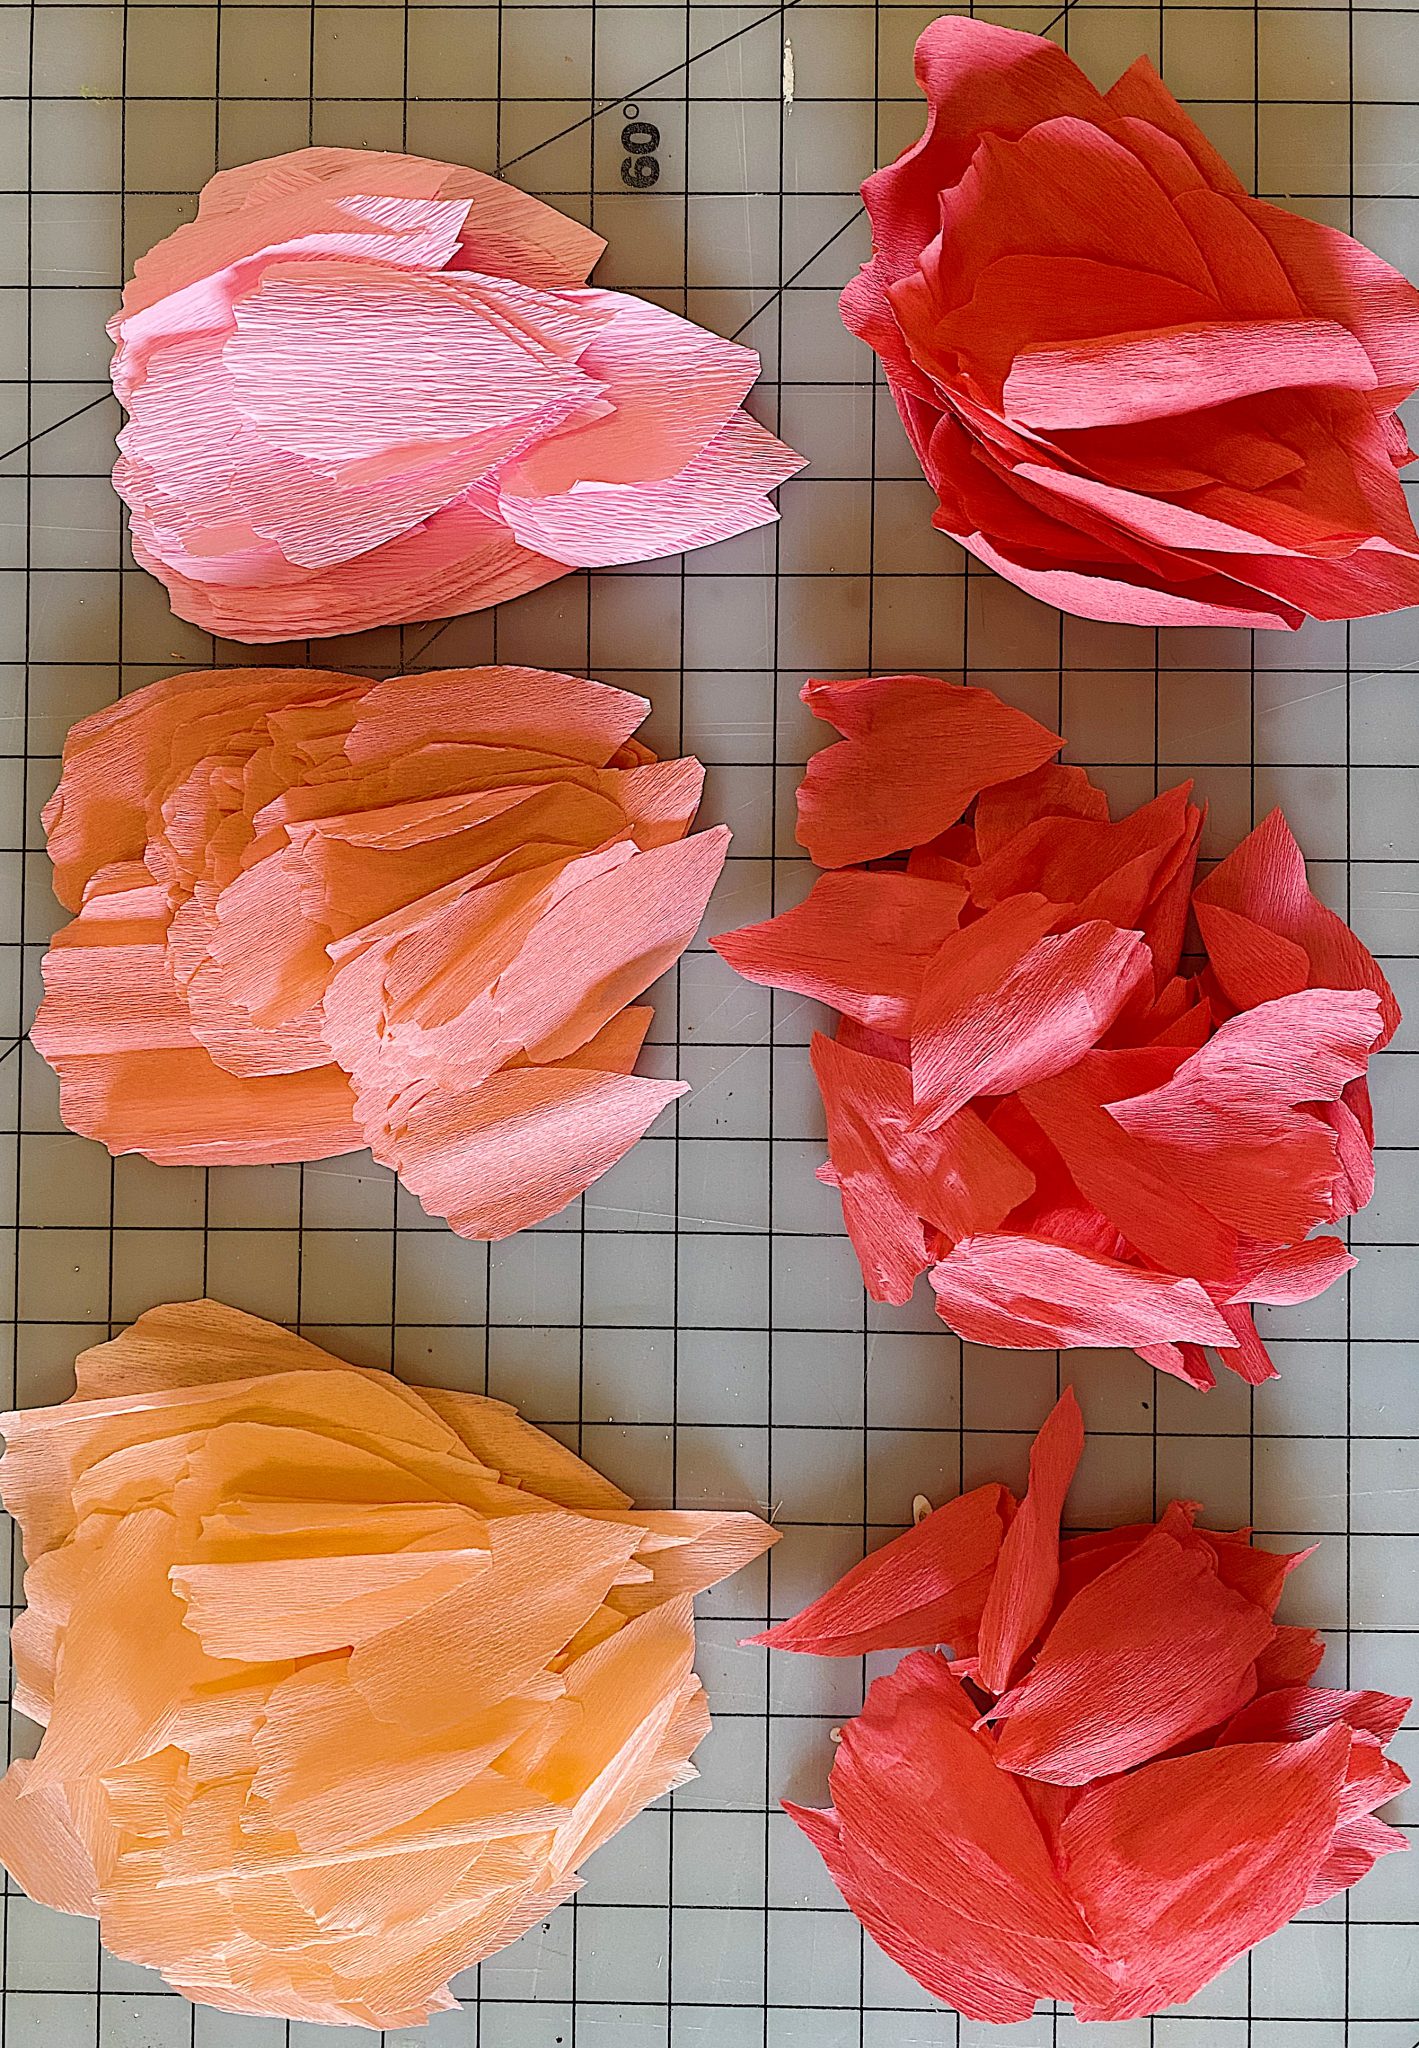
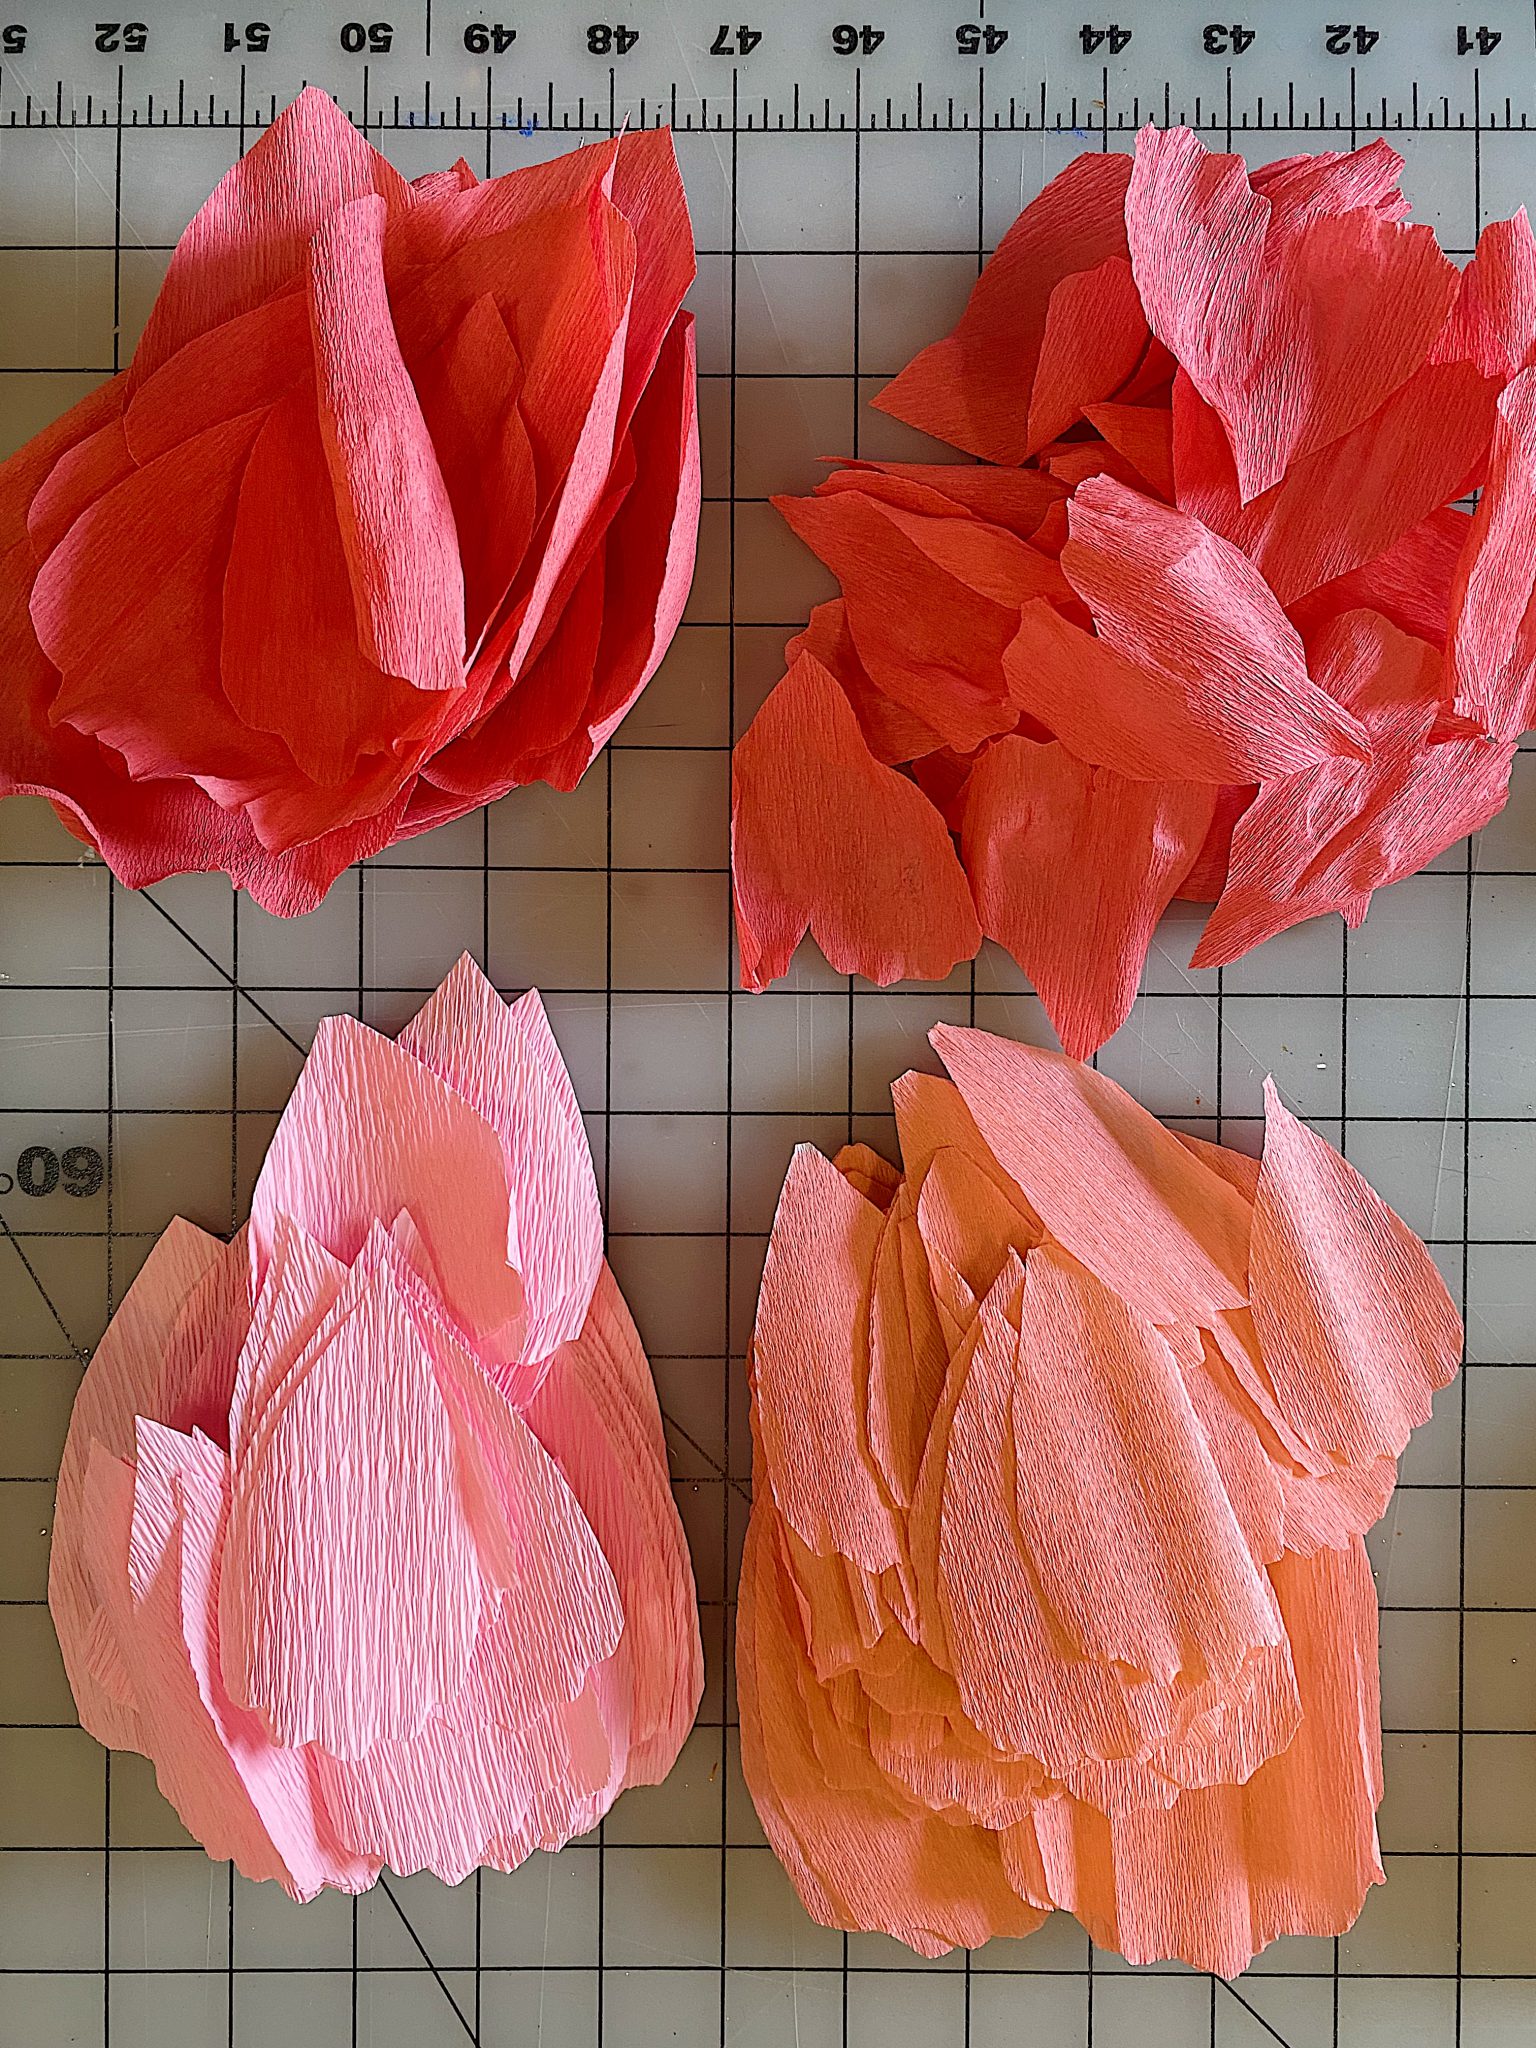
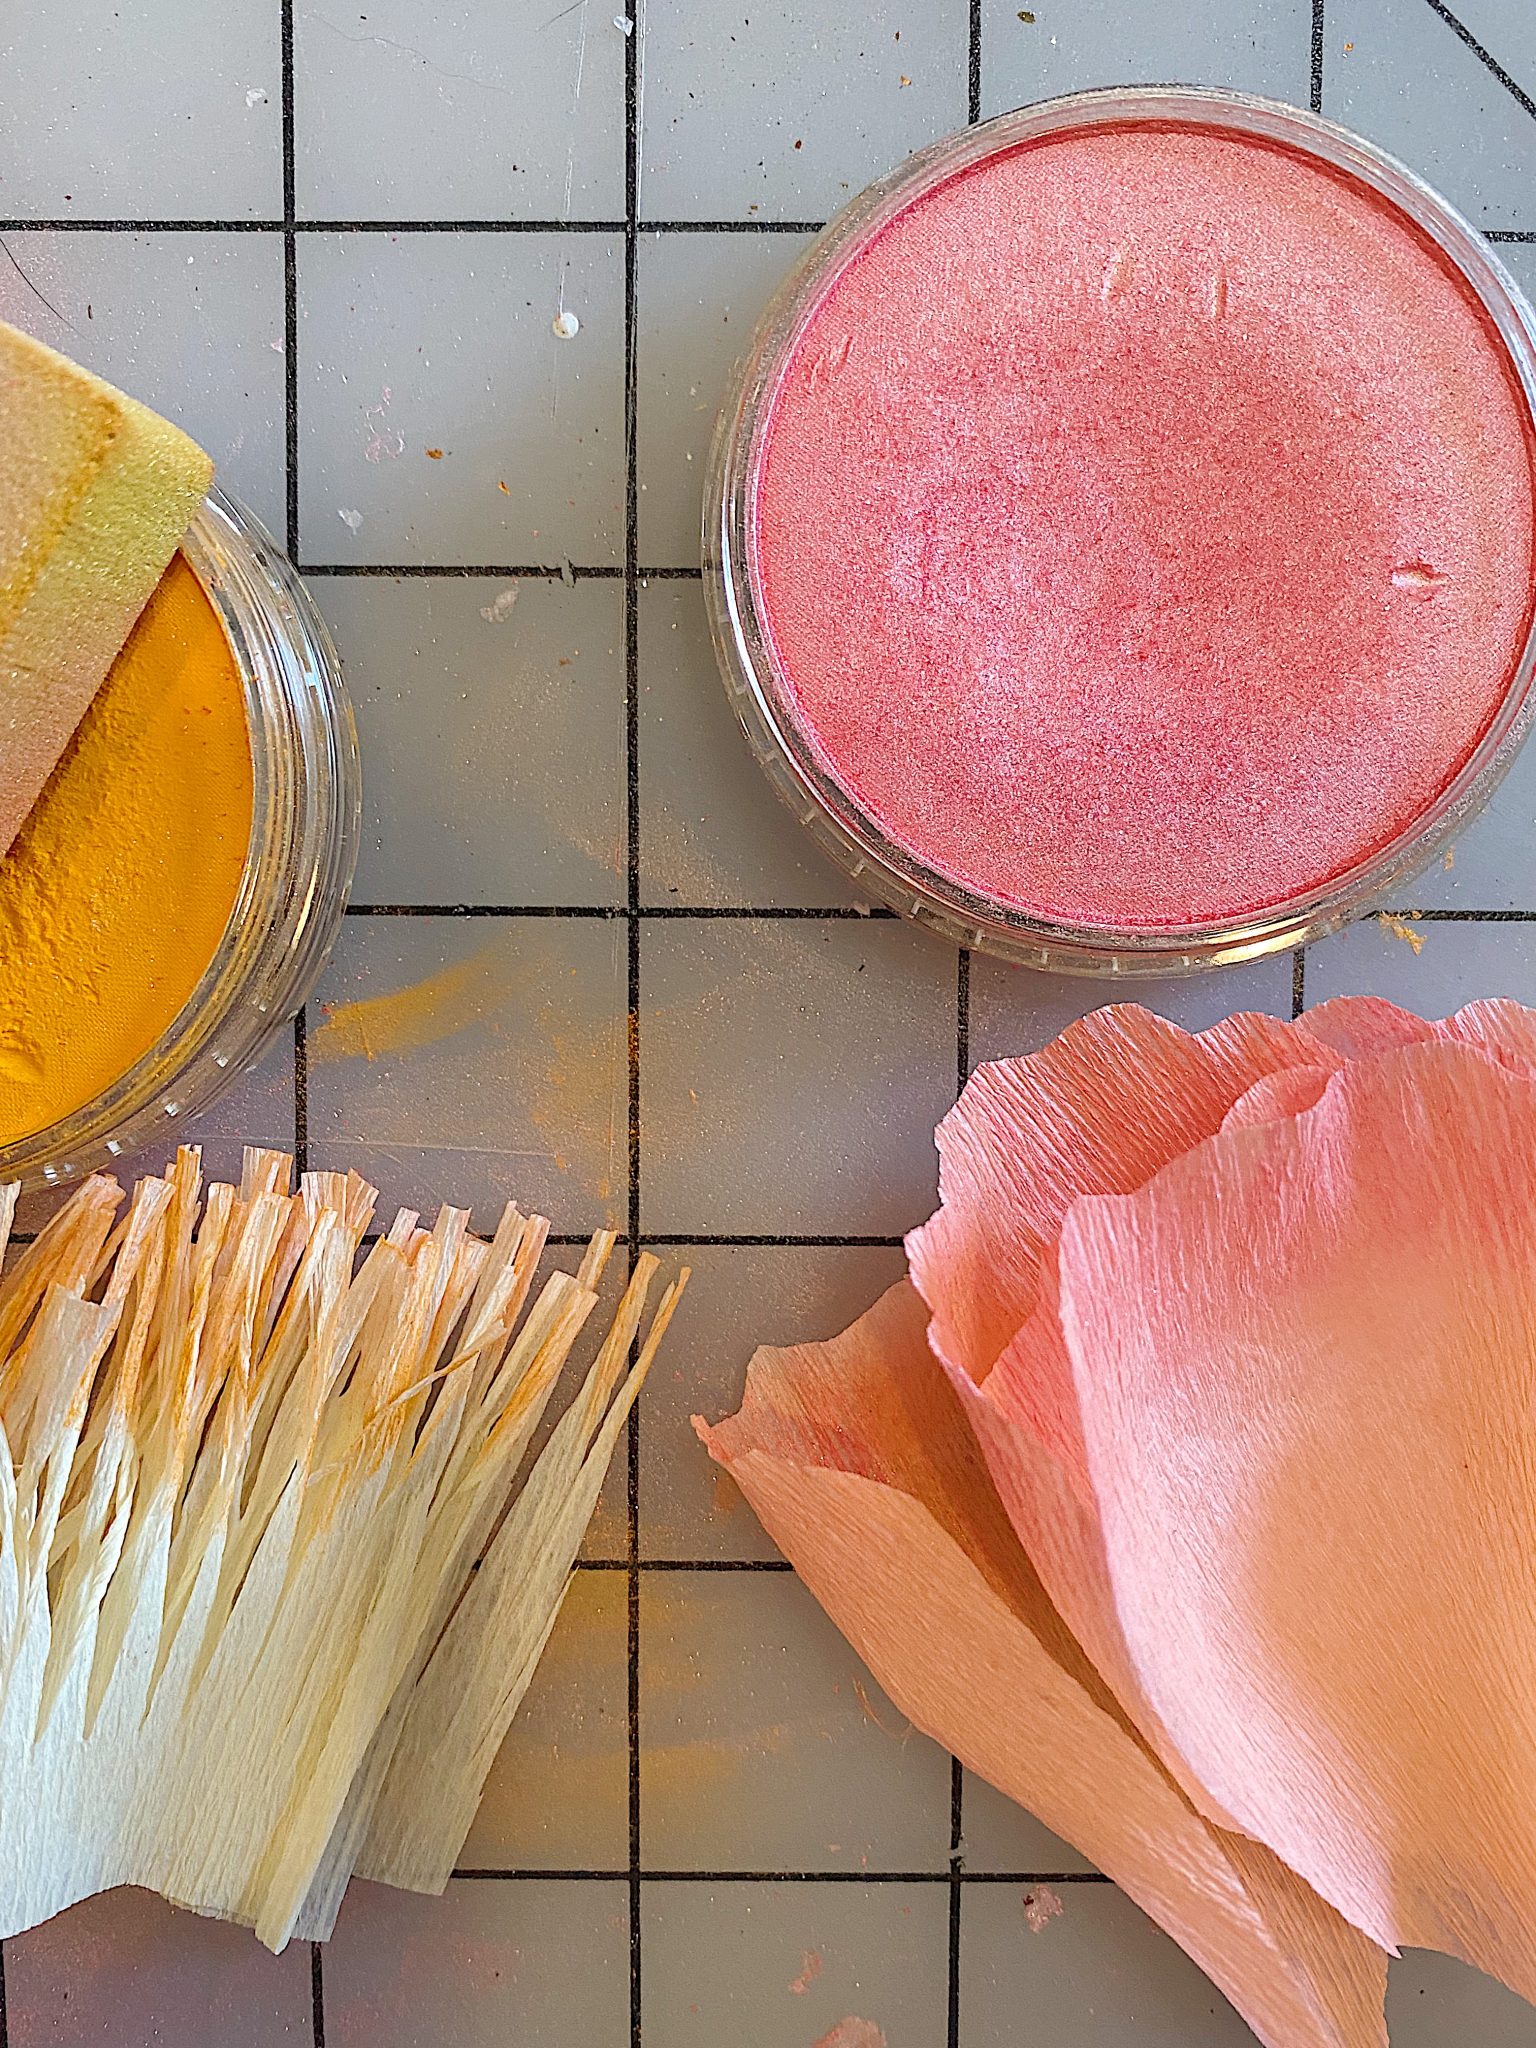
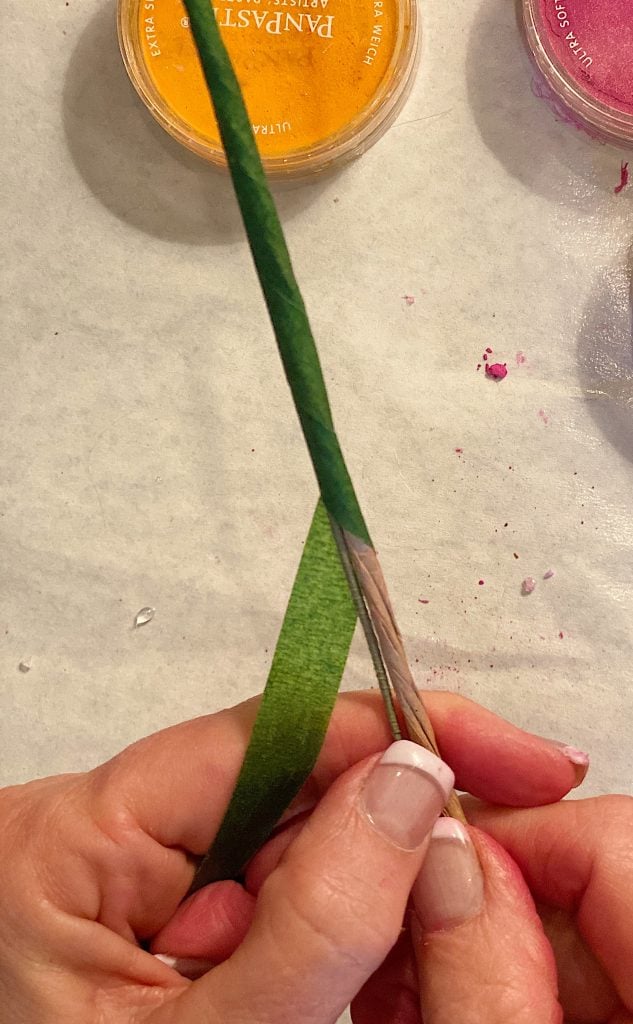
I decided to use shades of pink to make these peonies.. I picked four shades which you can see below. The petals on the right are all the same color and they have already been “stretched” to make the petals curvy.
If you are wondering why I selected the peach color on the bottom left, it is because the brightest pink peonies turn this color as they ripen. It’s so cool!
Our Carriage House is full of fresh pink peonies right now and I wanted to make matching ones for when they are all gone. I cut enough crepe paper to make 16 peonies which should be enough for a year-long peonies season.
Of course I only made 8 for these photos but I will be making eight more this weekend!
When peonies are long gone this summer guess who will still have gorgeous peonies?
Me!
Be sure to scroll down to the end of my post as I have joined nine other bloggers who are also sharing their peony projects!
If you are enjoying my blog, you can sign up to receive my blog updates here.
.How to Make Realistic Looking Paper Peonies
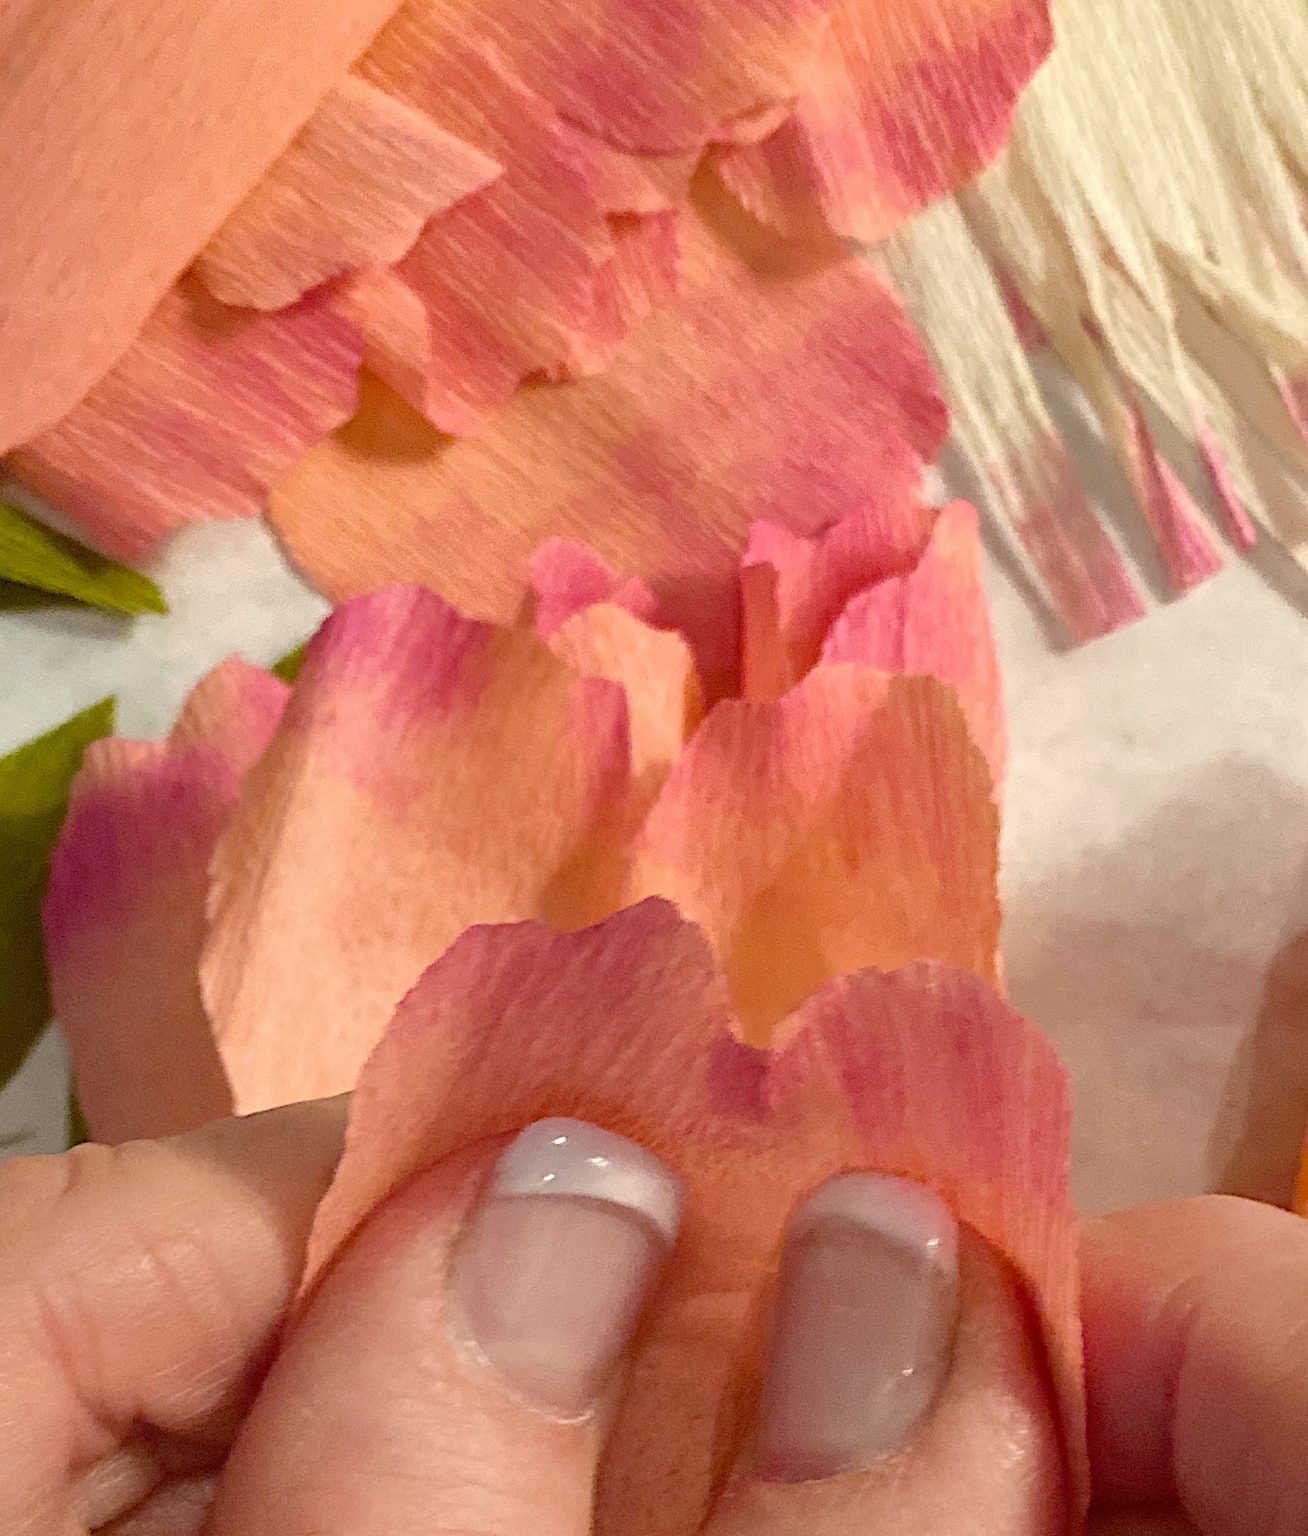
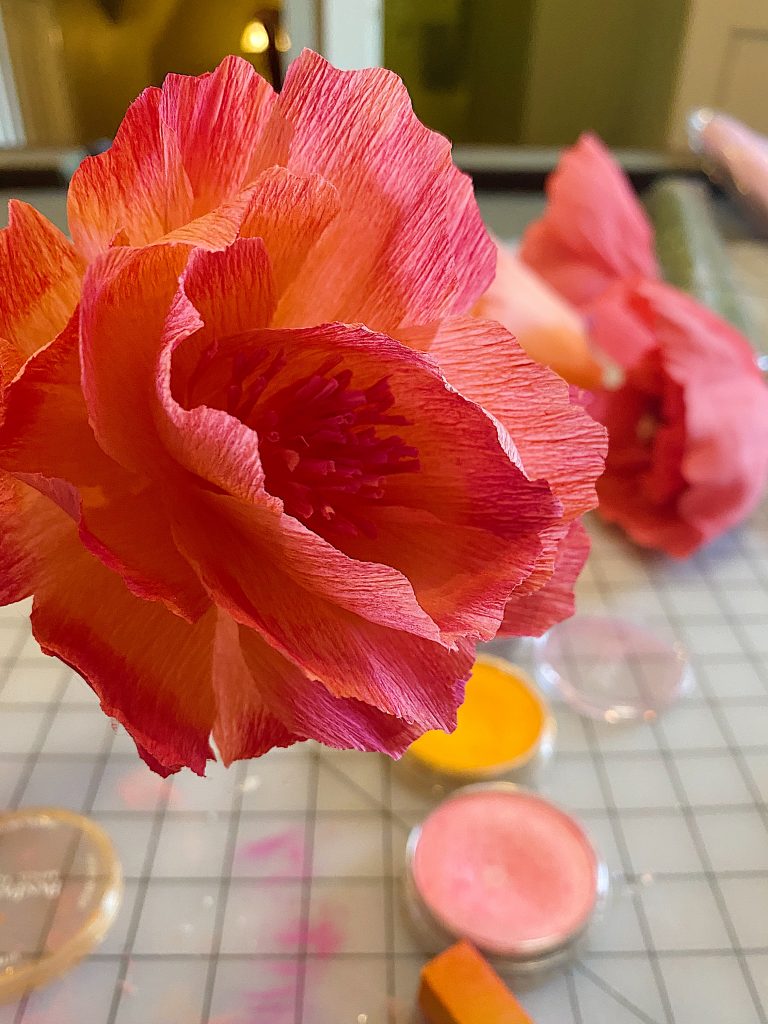
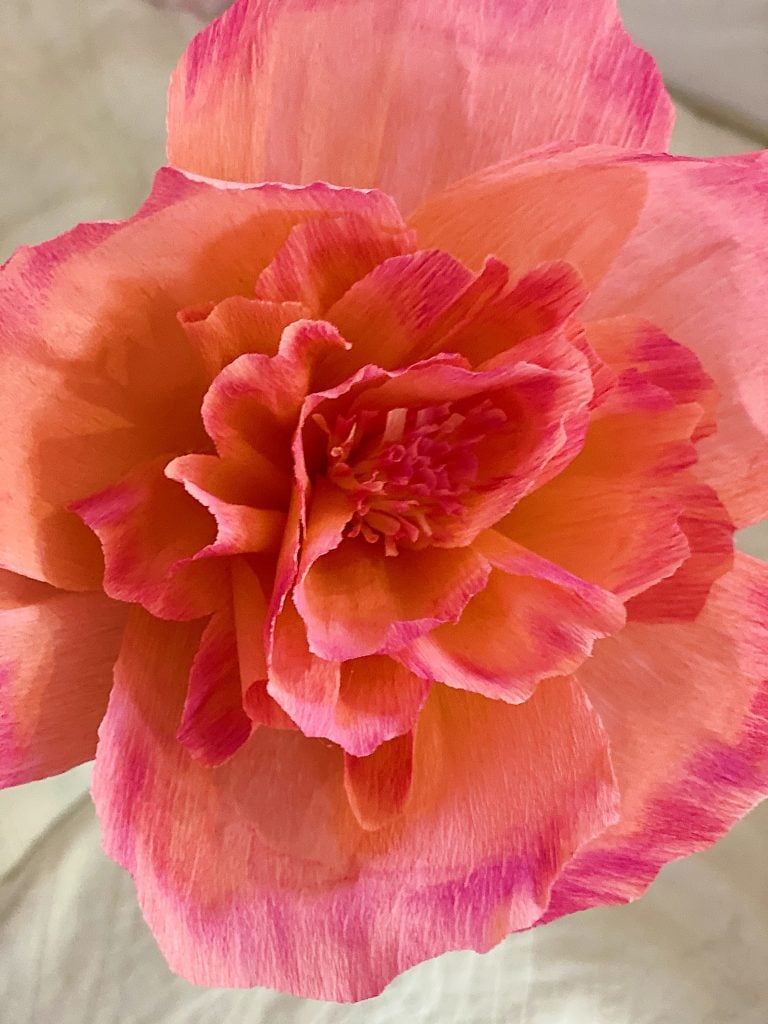
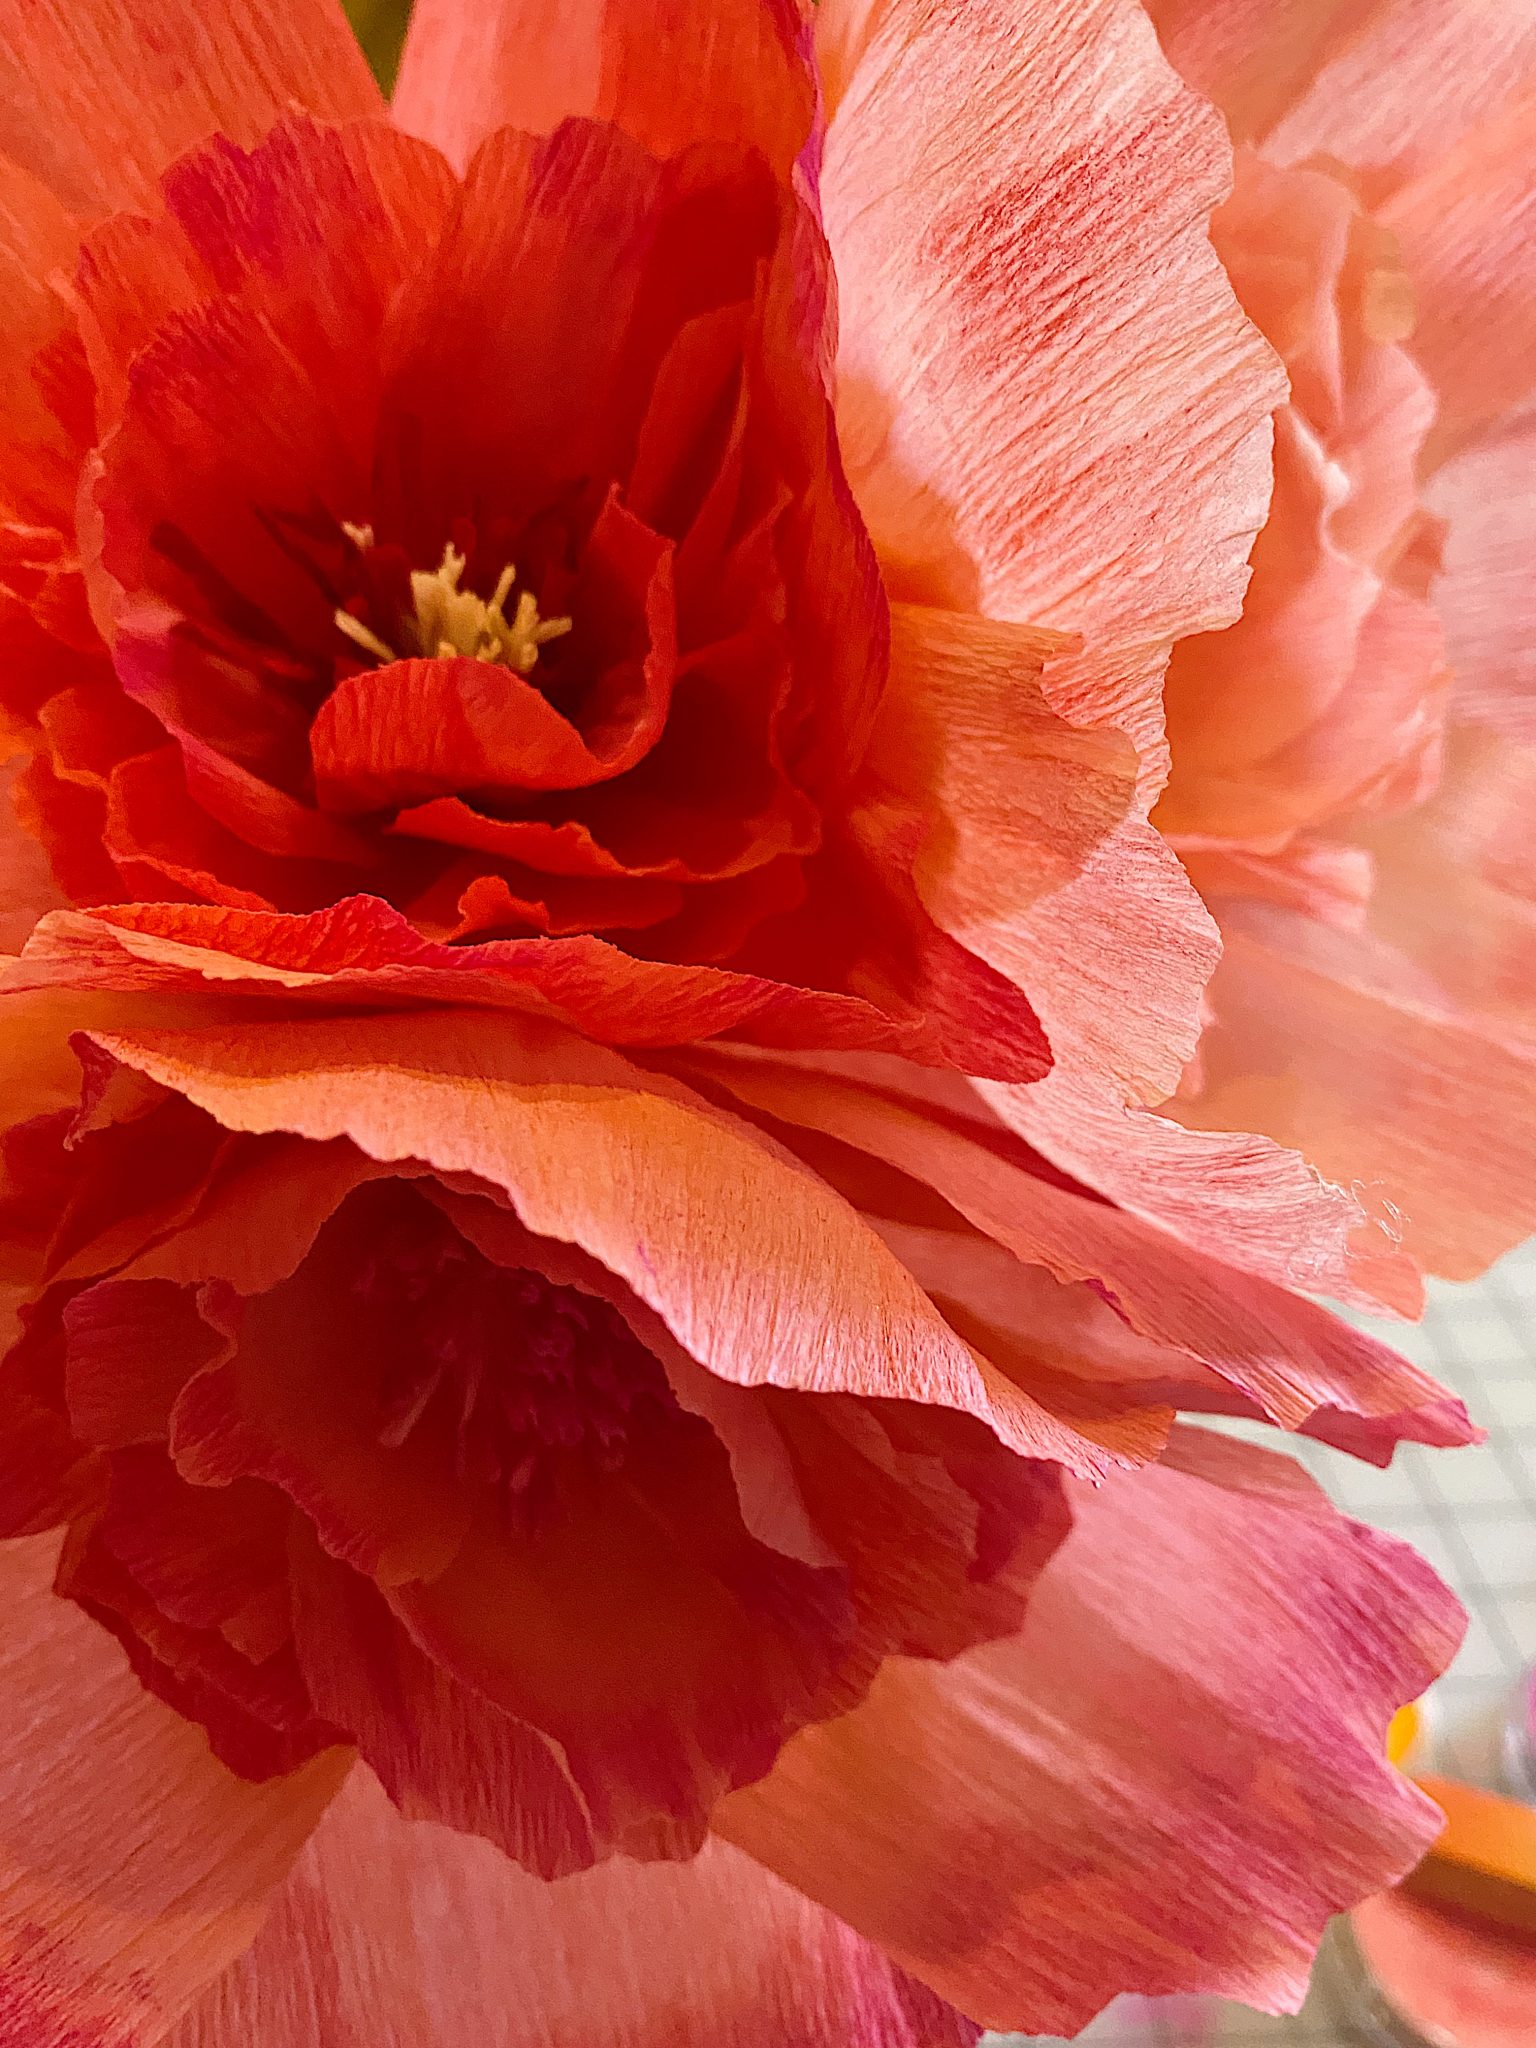
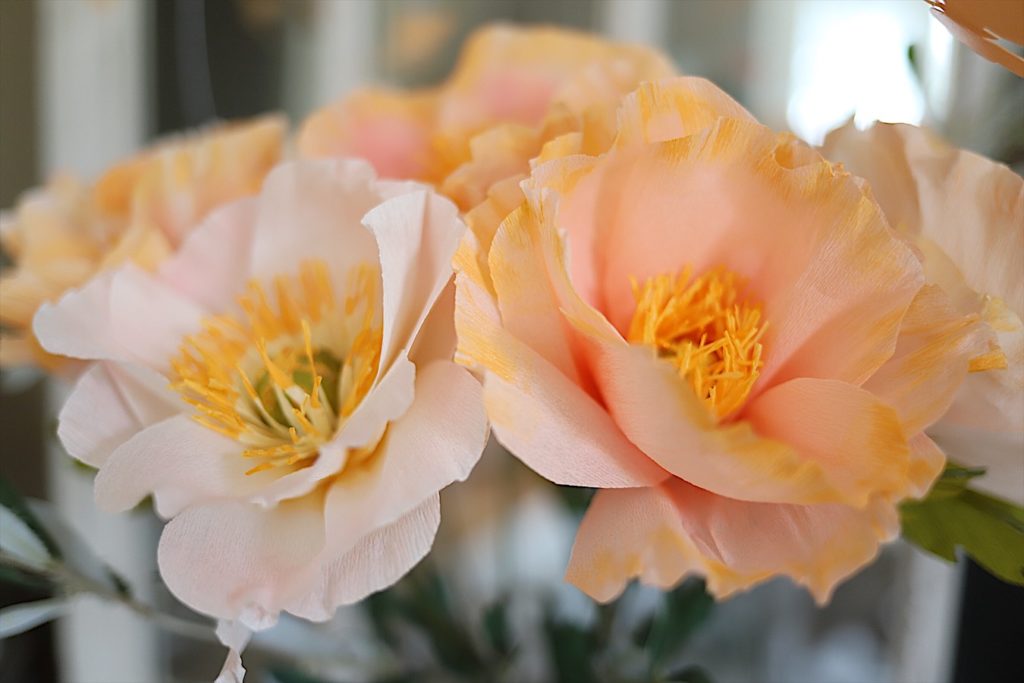
Here is a close up of the finished peony flowers. These colors are amazing! Can you see how the different colored edges on the petals look so realistic?
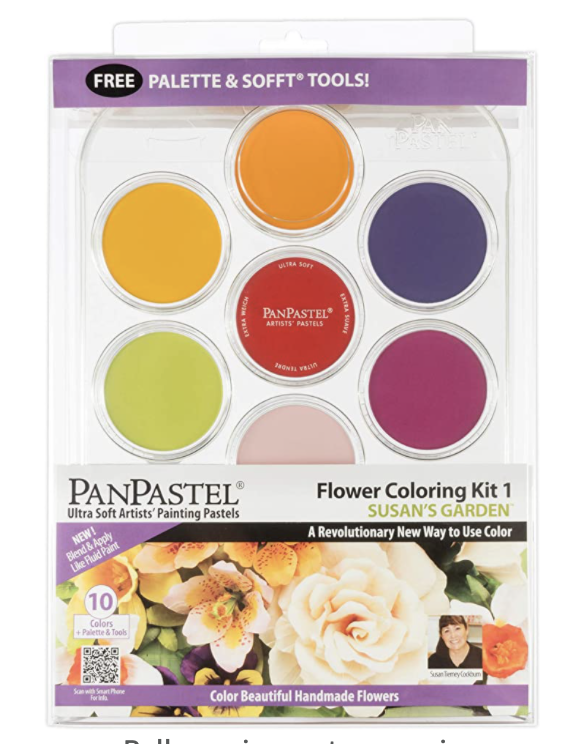
The secret to making realistic paper flowers is using pastel colors called Pan Pastels.
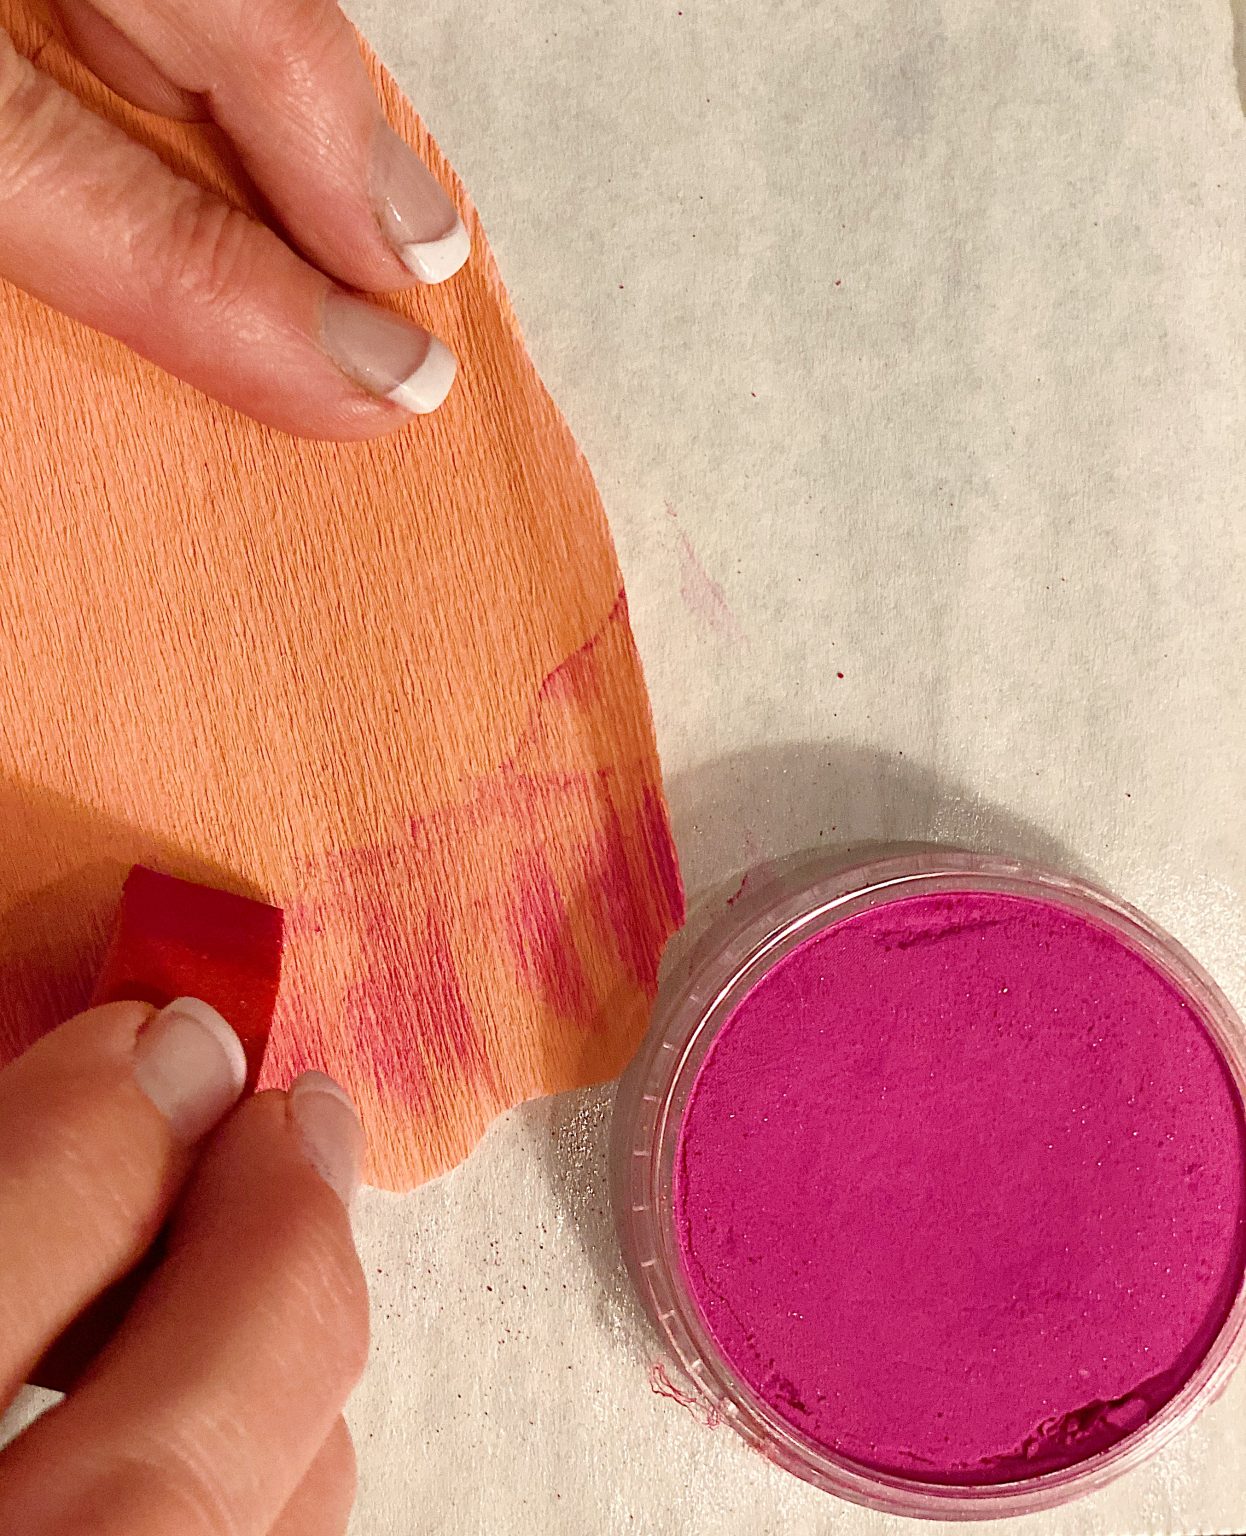
With a tiny sponge you apply the pastel coloring to the ends of the petals. This single step is the most important thing you should do when making paper flowers. And yet, very few people use Pan Pastels.
Instead of a dull, fake paper flower, your flowers will look vibrant, glow in the light, and very authentic!
How to Make Crepe Paper Peonies
What You Need to Make Crepe Paper Flowers
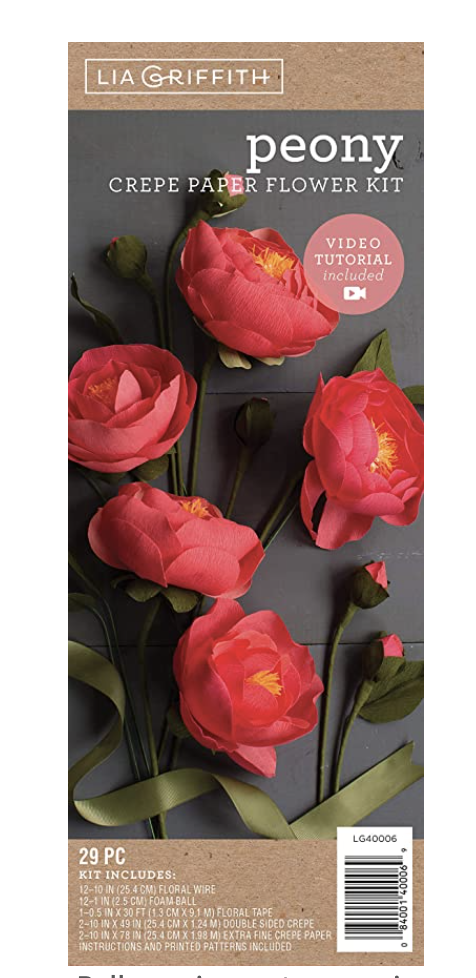
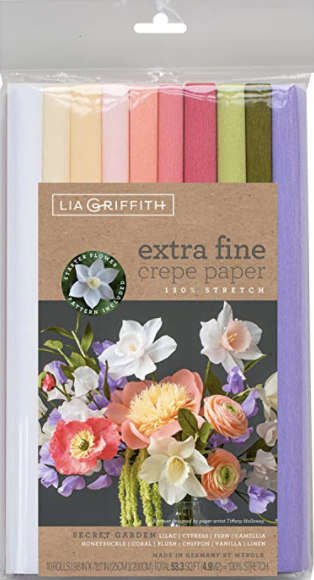
- One package of Lia Griffith Extra Fine Secret Garden Crepe Paper – (There are ten rolls of crepe paper in this package and you will have every color you need to make flowers all summer long … for under $15.00. I used four colors from this package for these peonies.)
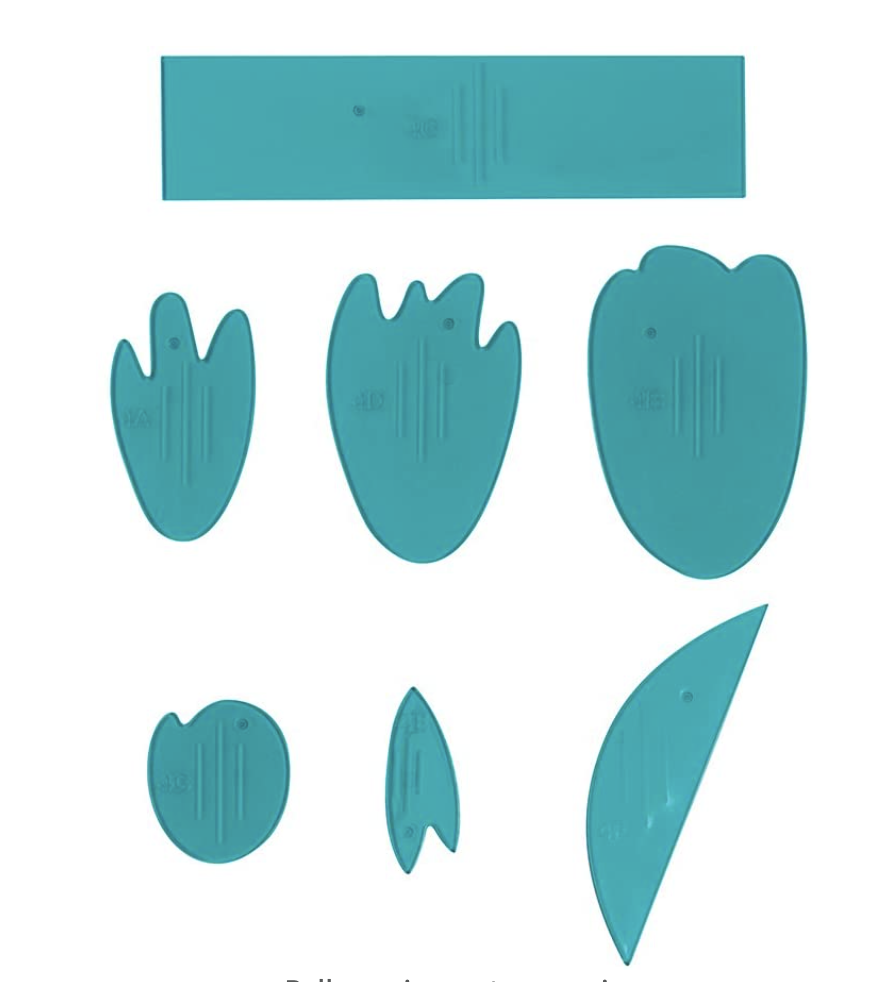
- Lia Griffith Peony Template or the Lia Griffith Peony download – You can also find peony templates for free on the internet. I chose to keep it simple. My template had three sizes of petals for a total of 19 petals per flower. Some of the peony templates use 60 petals per flower! I can’t even imagine how long those would take to make!
- Pan Pastels – I linked to an entire set of pastels below, but you really only need two colors, orange, and magenta. The entire set is fun but the single ones are so much cheaper.
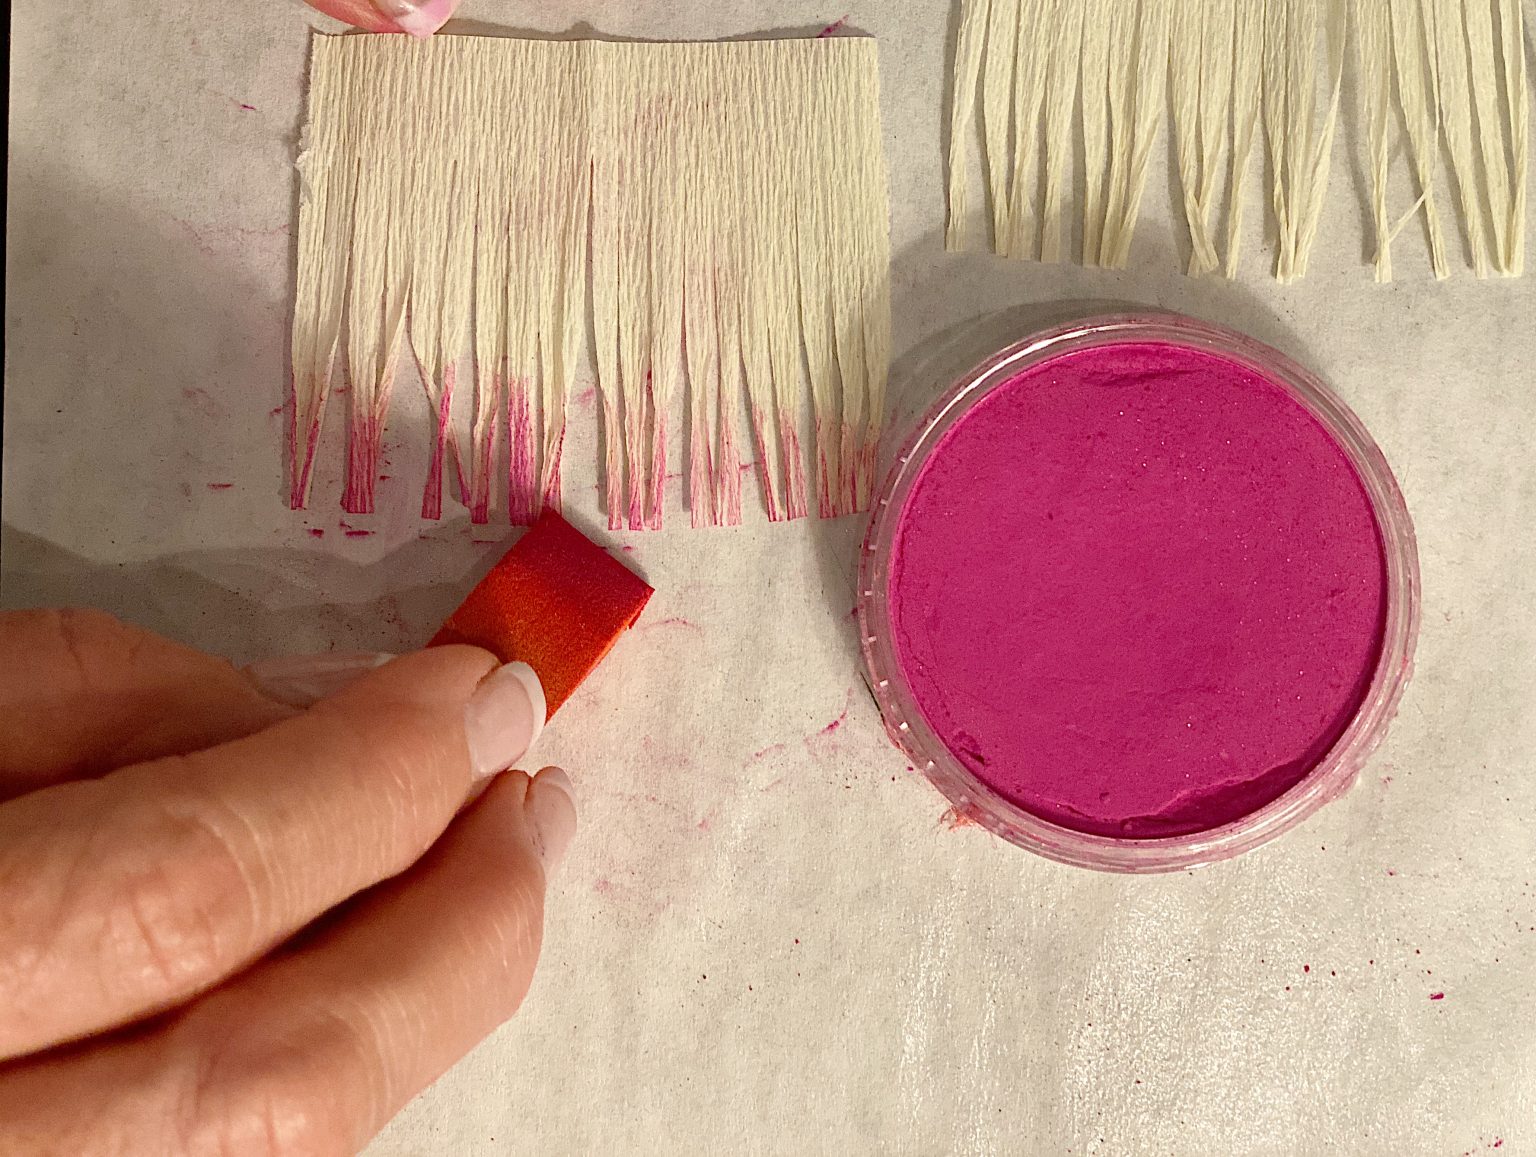
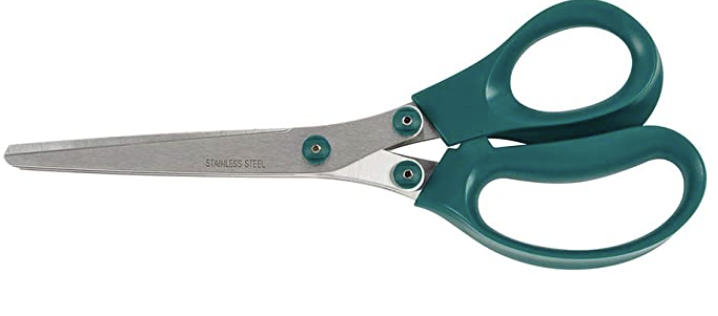
- Fiskar Fringe Scissors – These scissors cut the fringe for you. I guess you could cut it yourself but these scissors are so worth the $15!
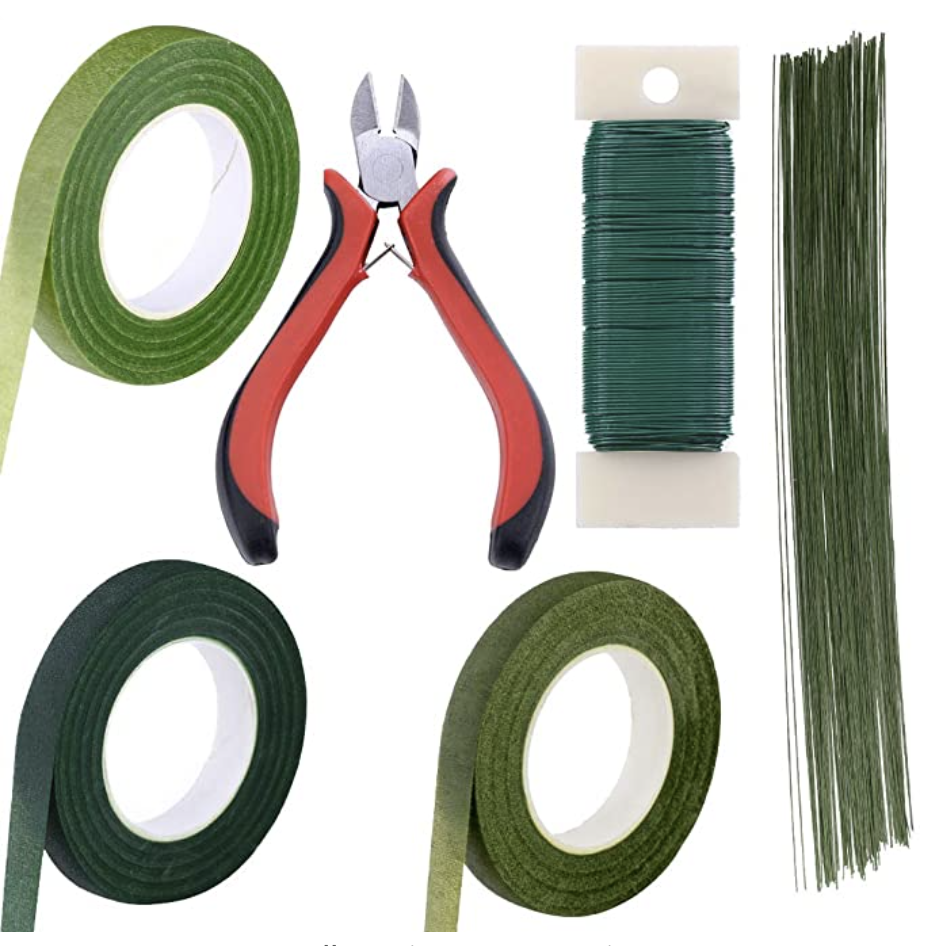
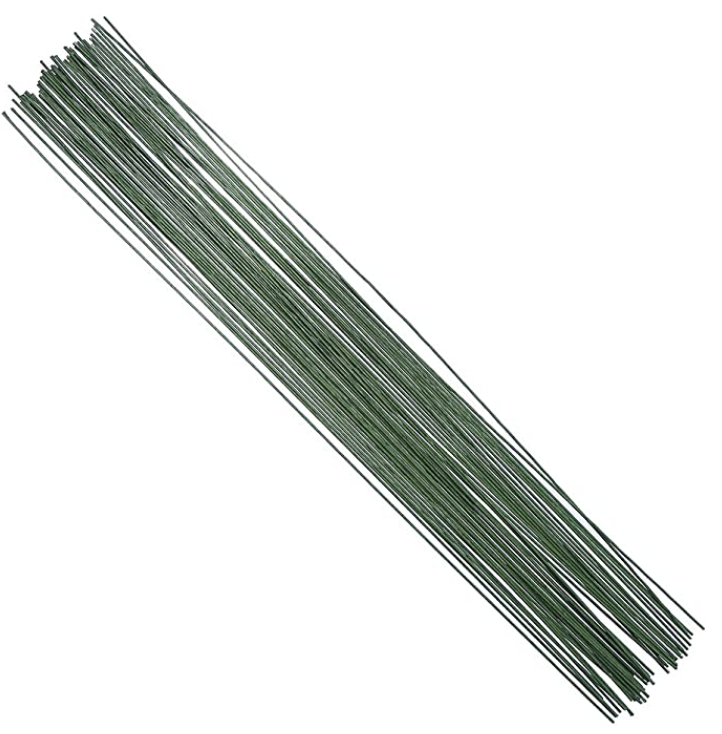
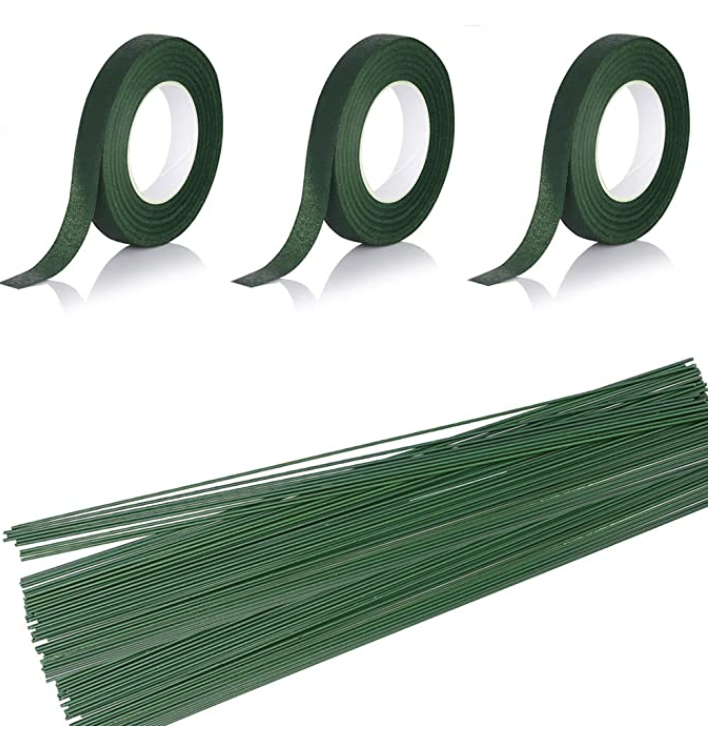
- Wrapped wire (see below)
- Floral tape (see below)
- Glue gun
Step By Step DIY

one 
two 
three
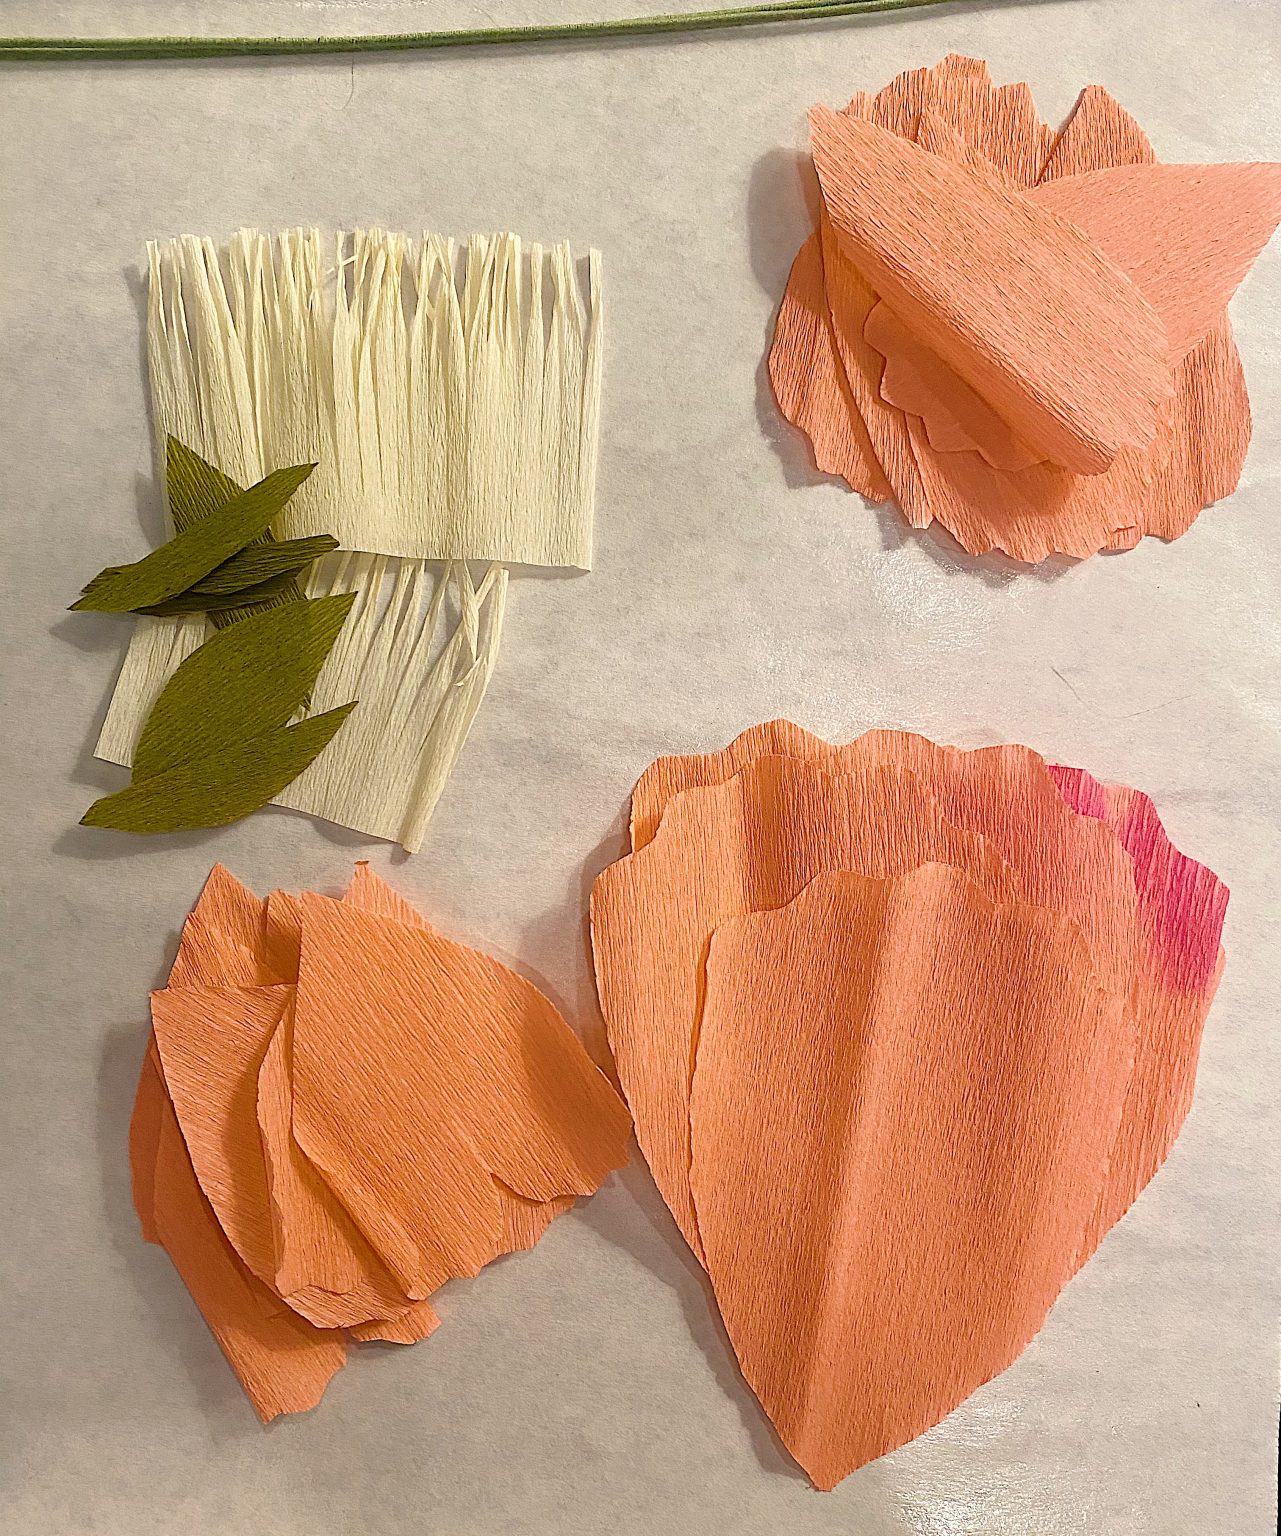
- one – cut out the petals using a template and the quantities listed, being sure to follow the grainline on the pattern
- two – Use a small sponge to lightly add pastel coloring to the end of each petal
- three – you can also add pastel coloring to the end of the fringe (it’s optional)

four 
five 
six
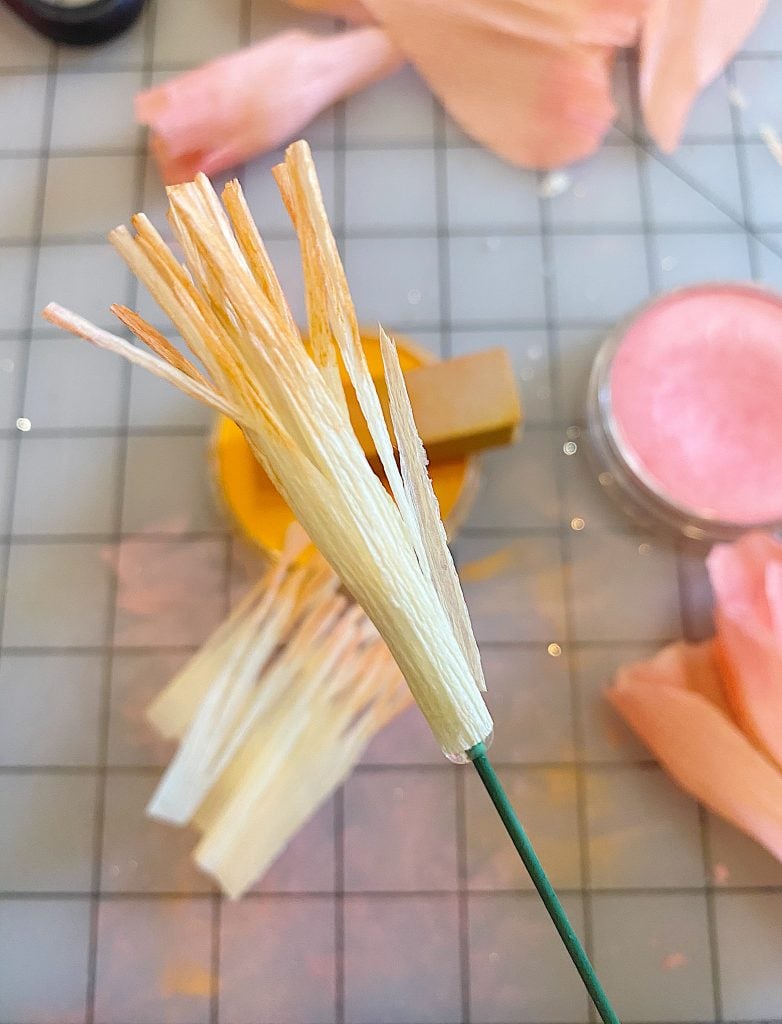
- four – glue the fringe to the end of the wire and wrap it around
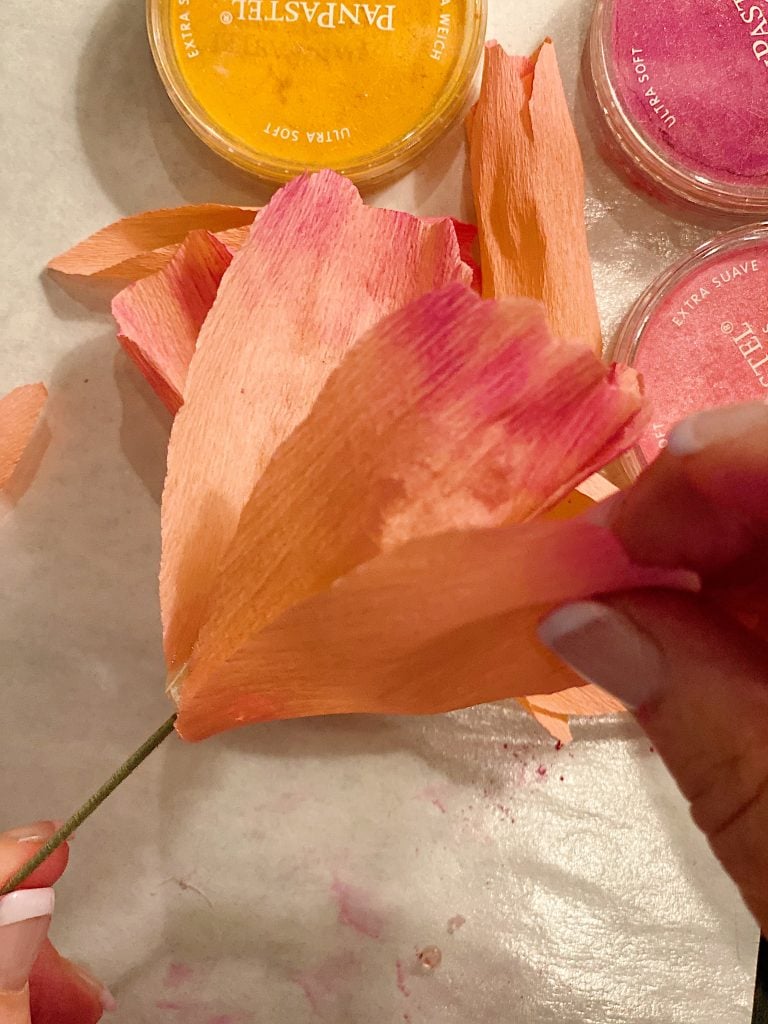
- five – per the instructions, stretch out the petals to form a cup
- six – attach the first set of petals with the glue gun

seven eight nine
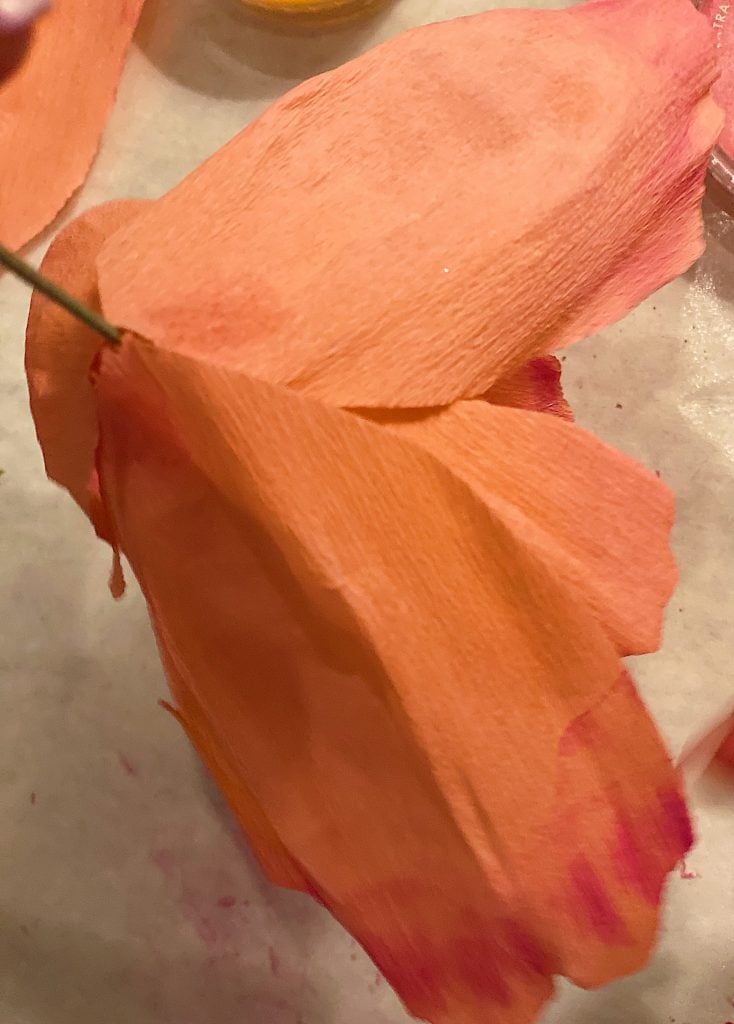

- seven – attach the second set of petals
- eight – this is what the flower looks like with two sets of petals (14 total)
- nine – attach the last set of six petals, alternating in between the layers

ten 
eleven twelve
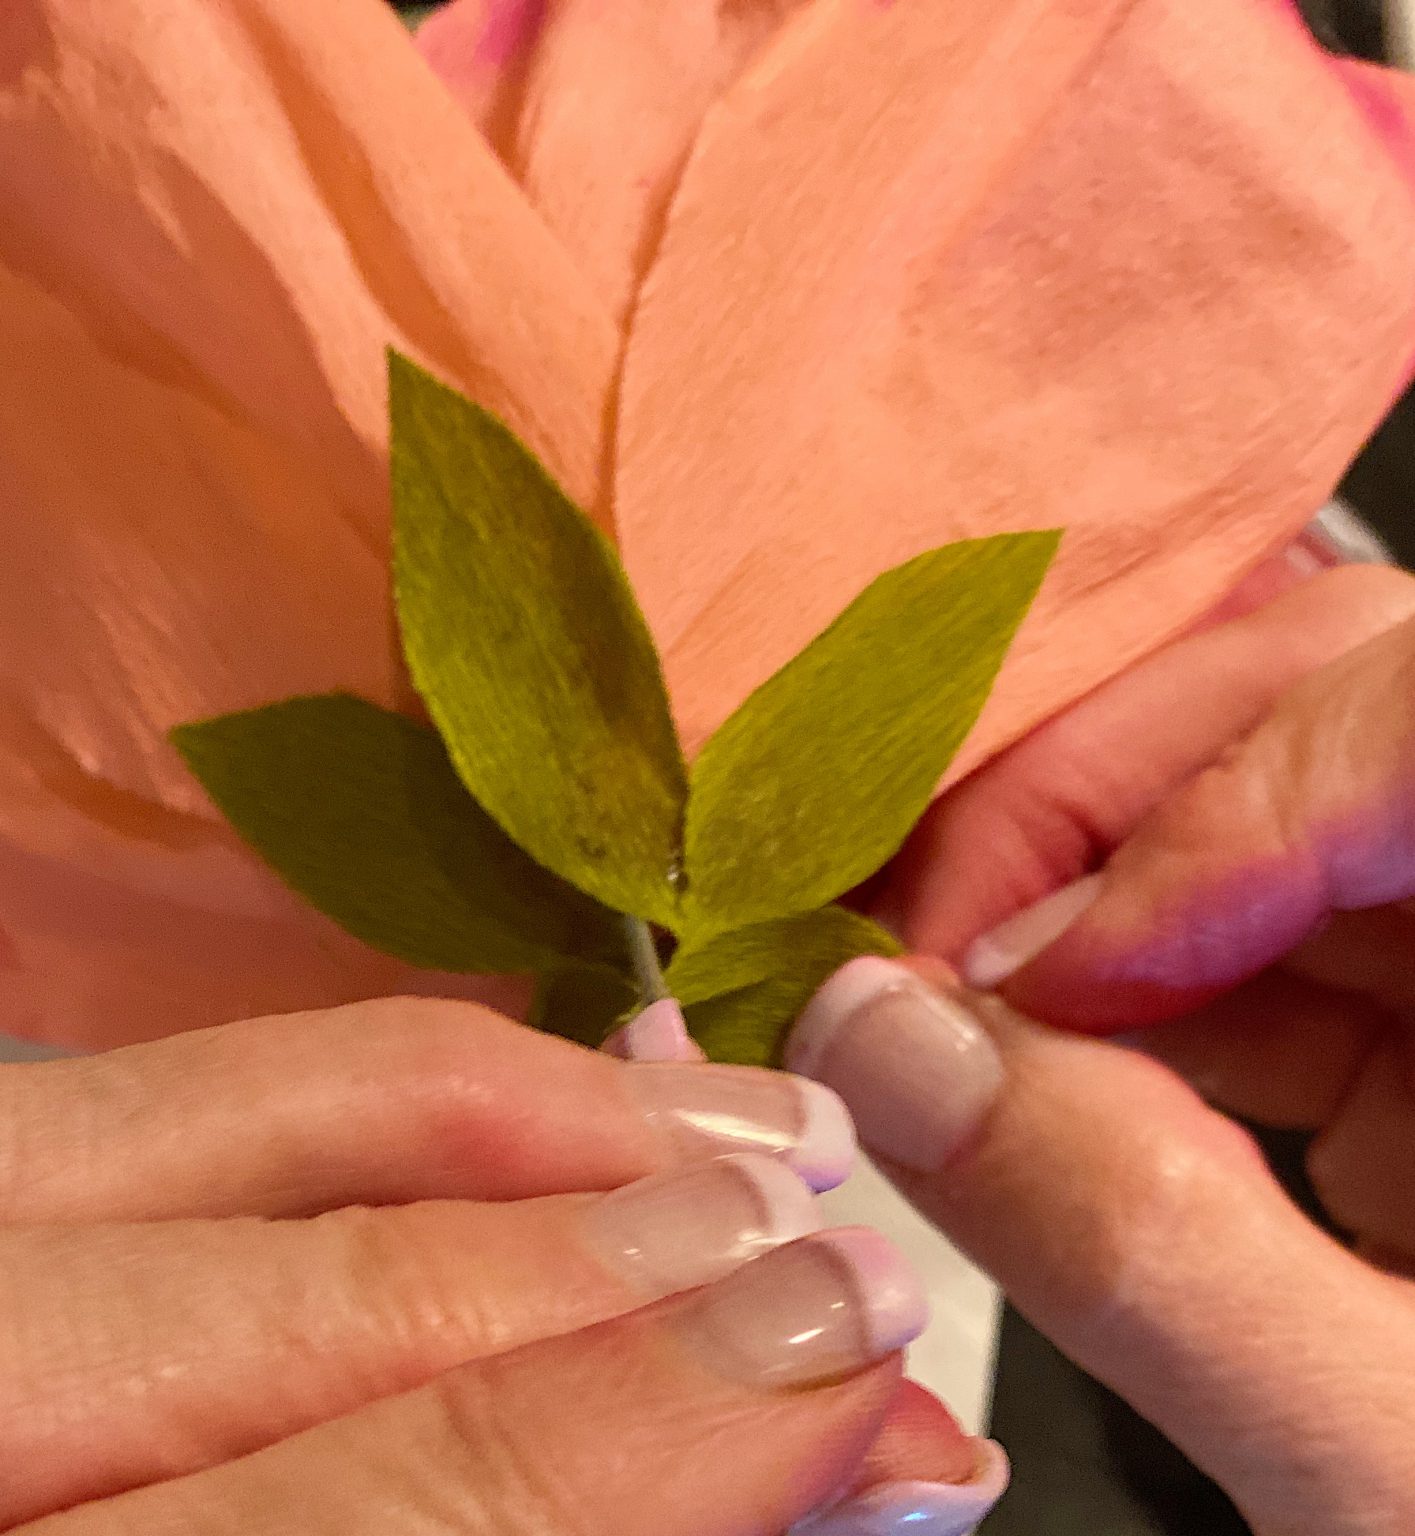
- ten – apply the small green pieces to the underside of the petals, around the stem
- eleven – wrap the floral tape all the way down the stem
- twelve – enjoy your flower!
Please note, that I didn’t include the leaves because I usually add fresh leaves to my arrangements. But feel free to make the leaves included with the template.
Look at the Peony Projects My Friends Made!
Just click on any of the links to see more.
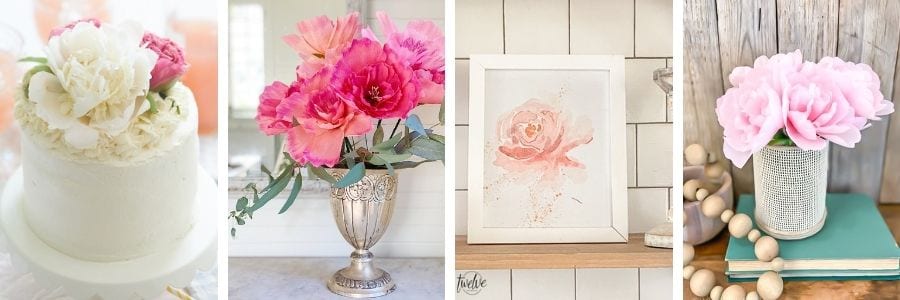
Peony Cake (with Fresh Flowers) // Happy Happy Nester
How to Enjoy Peonies Season All Year Long // My 100 Year Old Home
Watercolor Peony Printable // Twelve On Main
DIY Dollar Store Faux Cane Vase with Peonies // The Happy Housie
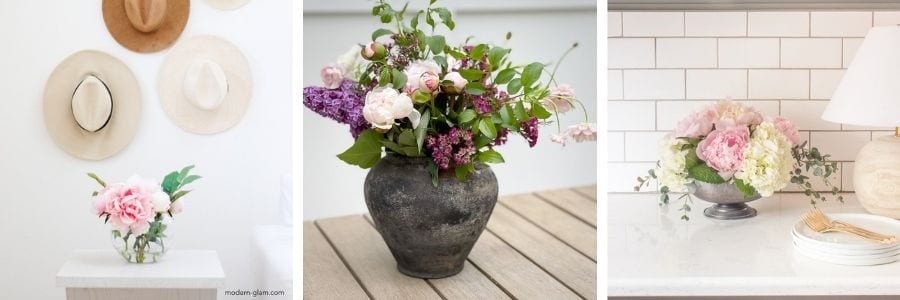
DIY Faux Peony Arrangement // Modern Glam
Peony Arrangements & Vase Finds // Finding Lovely
Peony Tips for the Most Gorgeous Arrangements // Inspiration For Moms
Three Free Peony Prints // Tatertots & Jello
Peony Floral Arrangement // Zevy Joy
How To Make Your Own Coloring Book // My Sweet Savannah
Frequently Asked Questions
Peony season is primarily in May and June. The start of summer sadly ends the peony season.
Peonies have a very limited growing season and they are short in supply. Plus, warmer climates have a harder time growing peonies.
I hope you enjoyed my thoughts and instructions about making paper peonies. Not only will these allow you to enjoy the peonies season all year long, but they are really fun to make.
Be sure to check my instagram tomorrow to see a video of how I made these peonies.
Links to the Items Shown in This Post
Similar Posts
Pin the image below to your spring/summer boards on Pinterest (just click the Pin button in the top left corner). You can also follow along with me on Pinterest!

For more real-time updates, follow me on Instagram @My100YearOldHome

Leslie,
These are darling! I’d love to link to your tutorial on my Sunday, Dirt Road Adventures!
So pretty and fun to make yourself
They are so much fun to make! The result is always so beautiful.
Can’t wait to give it a try! They look exceptional!! I love love the peach, peachy pink, and pink color combination.
P.S. I tried your earlier diy homemade cards for valentines (I’m a bit behind ) I’ll take a pic and show you sometime ,I had so much fun making these!
I would love to see how yours turns out, Pam! I am glad you had fun.
Even following your fantastic step by step tutorial, I know I will not be able to make this gorgeous diy. Yours is so beautiful and looks real.
I am sure you can do it!
So beautiful, thank you.
Is there a template? I can’t see it.
Thanks
I used this template: https://amzn.to/3v5RPFH or you can find any that you like online! Thanks Marion!
These are so beautiful! When I first got married (45 yrs. ago) I used to make crepe paper roses that were so pretty but today things are so different and these peonies really come to life with the pan pastels. You did mention in step one “ cut out the petals using a template and the quantities listed” but I’m unable to find the quantities listed. Have I overlooked this step?
I linked templates at the bottom or you can just google and some will come up! Hope this helps!