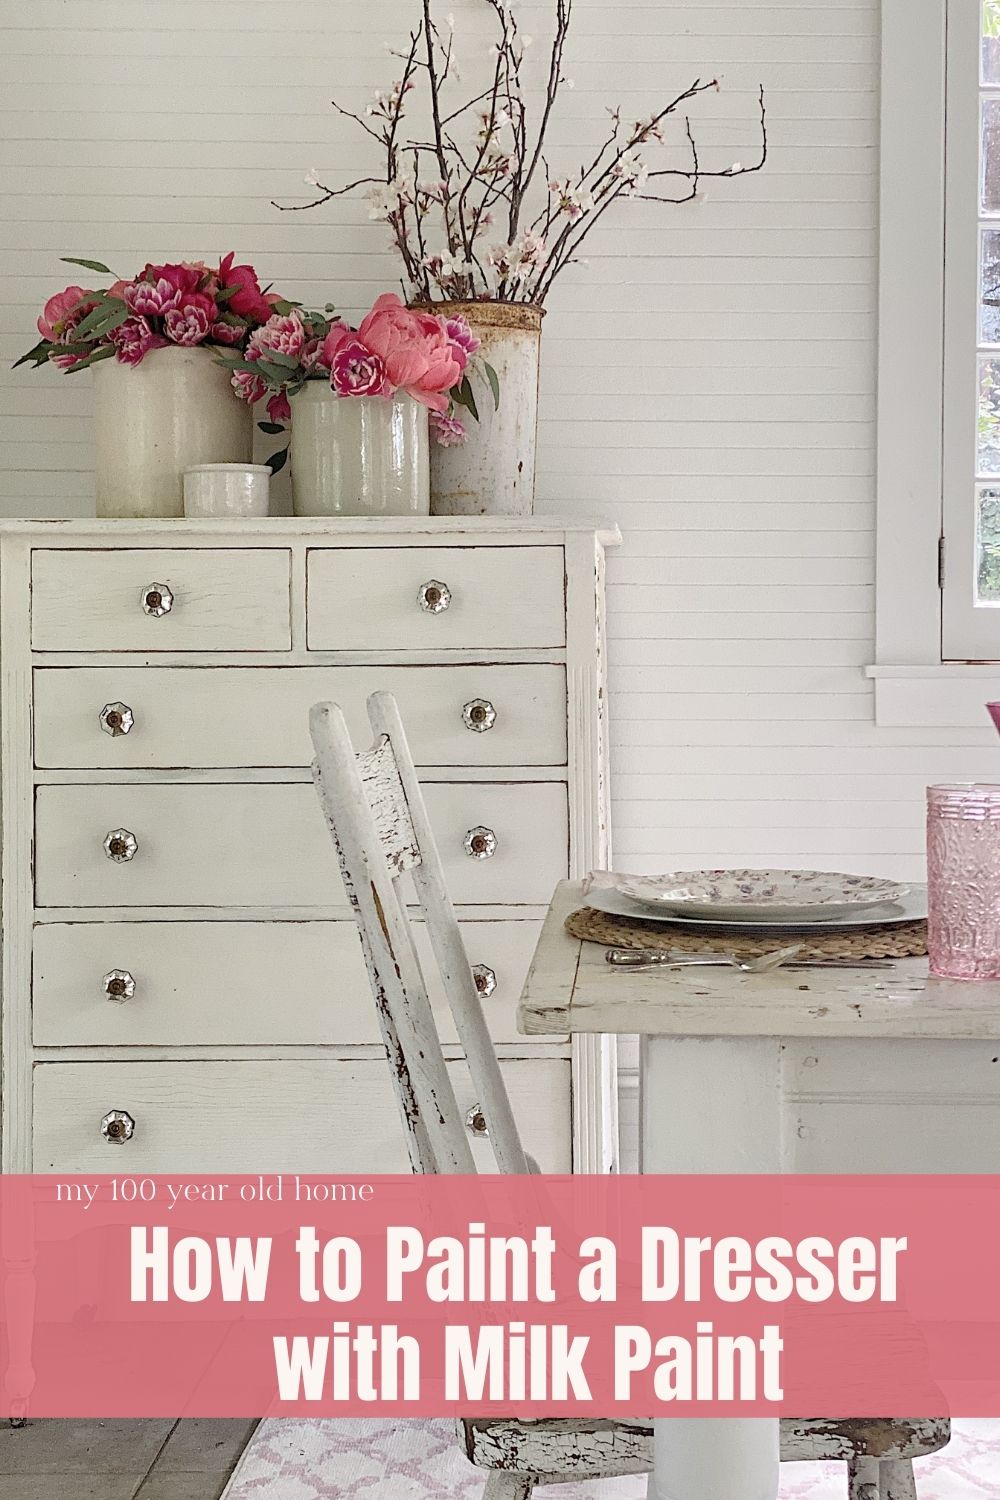
Furniture Refinishing with Milk Paint
This dresser has been in our family for years. To be honest, I wasn’t crazy about it until I tried a furniture refinishing project with milk paint.
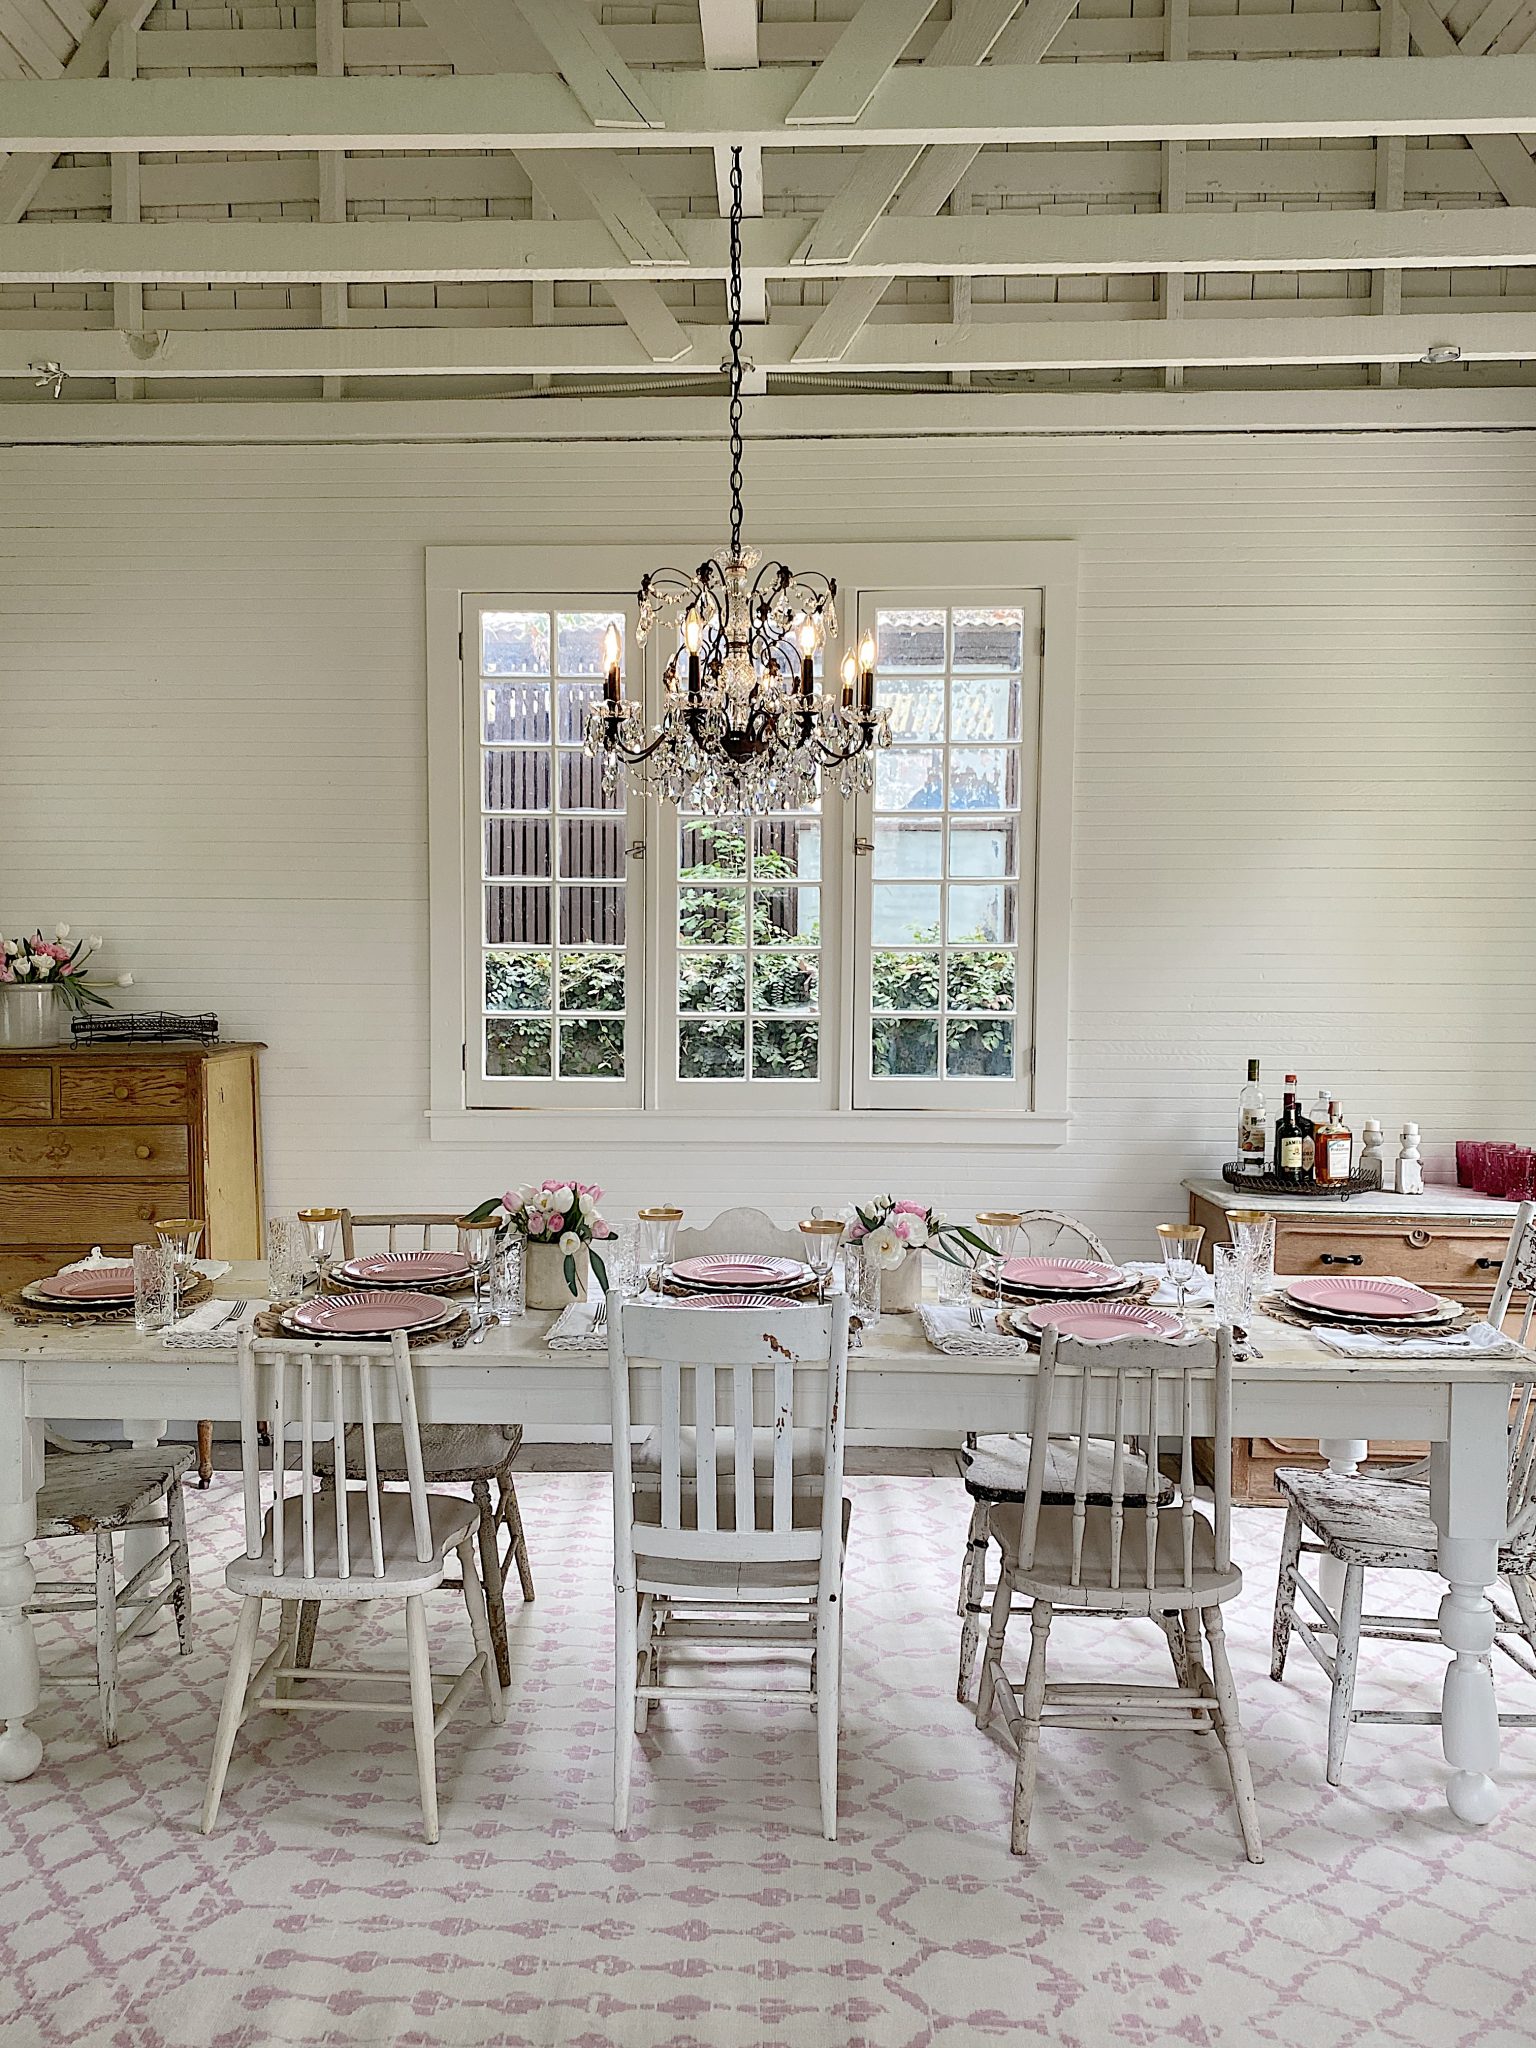
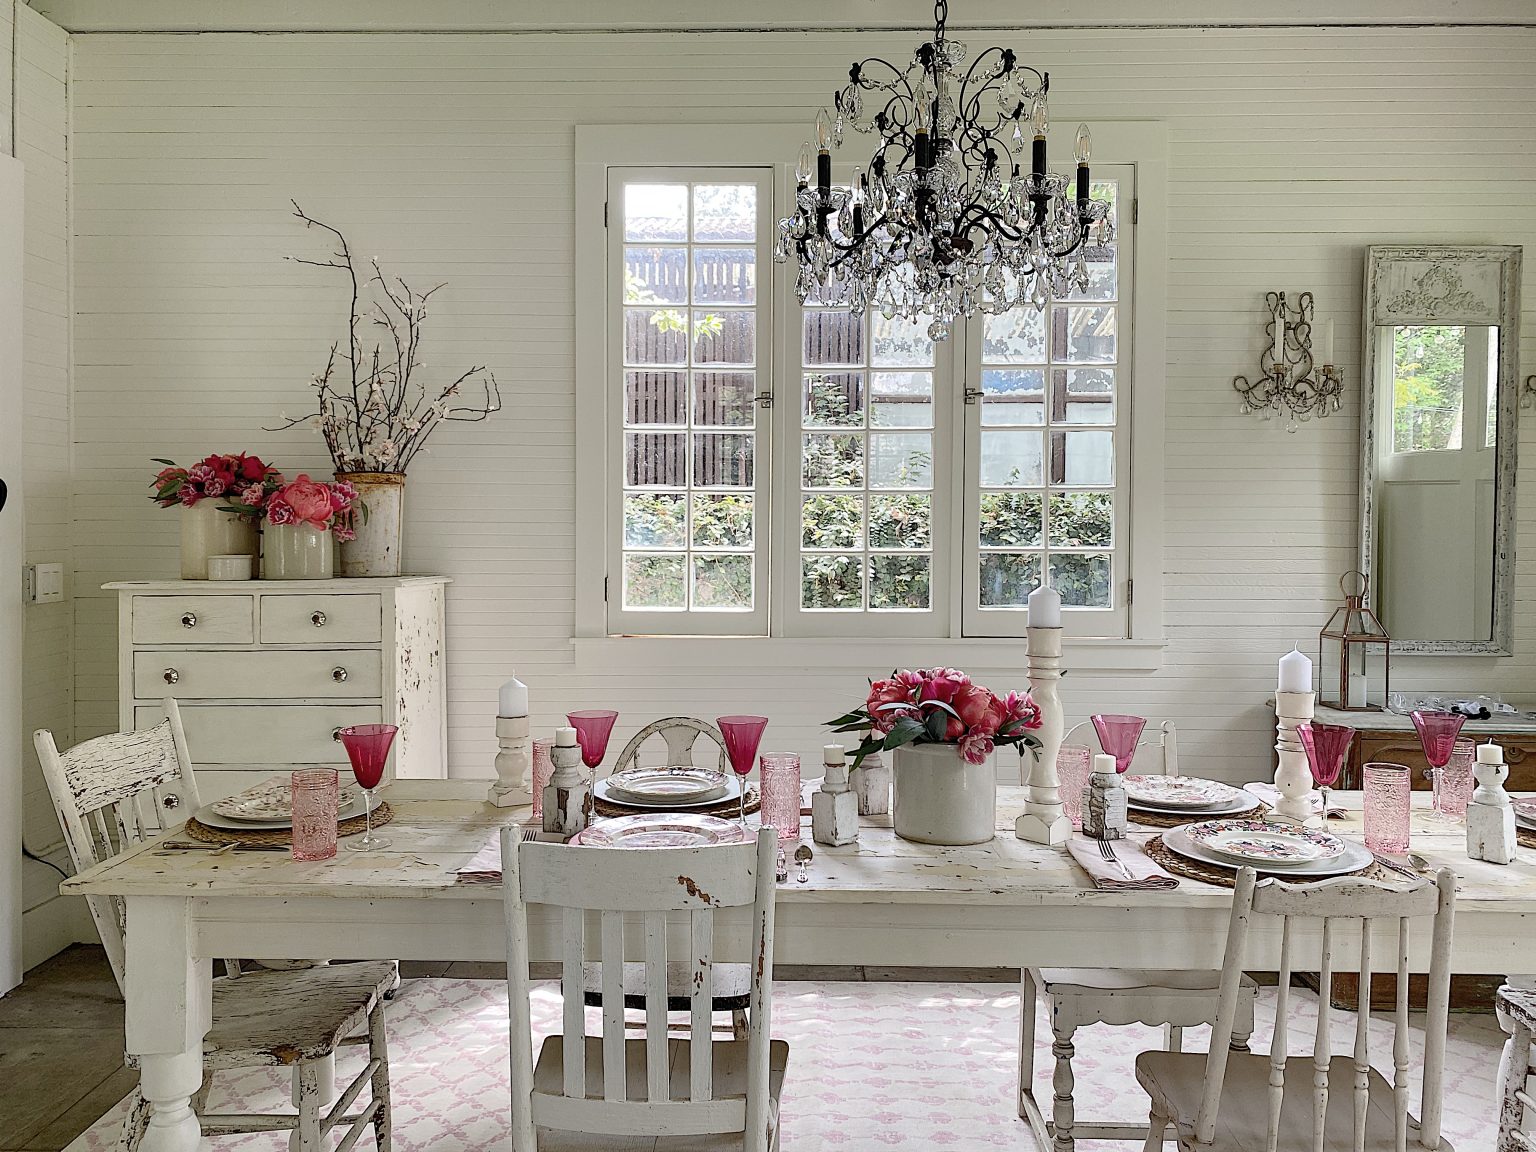
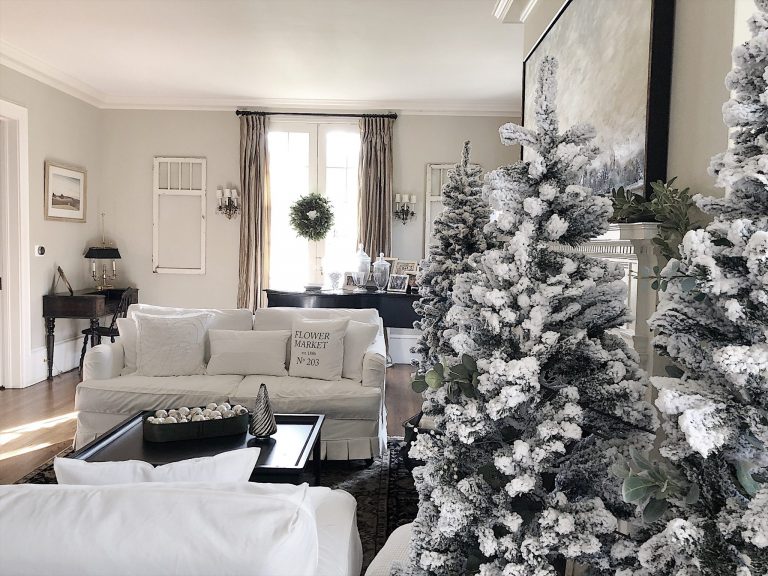
When I first took photos of the Carriage House I found that I was cropping out this dresser in every photo. It looked yellow. Once I took a better look at it, it was obvious that many years ago it had been painted a yellowish-gold. When the walls of the Carriage House were painted sage green (many years ago), I never really noticed the color. But with the new white walls, I knew I had another furniture refinishing project to complete.
Another Milk Paint Furniture Refinishing Project
I am sure you remember that I painted a cheap mirror with milk paint last week. It came out so well and it is My Favorite DIY Mirror ever!
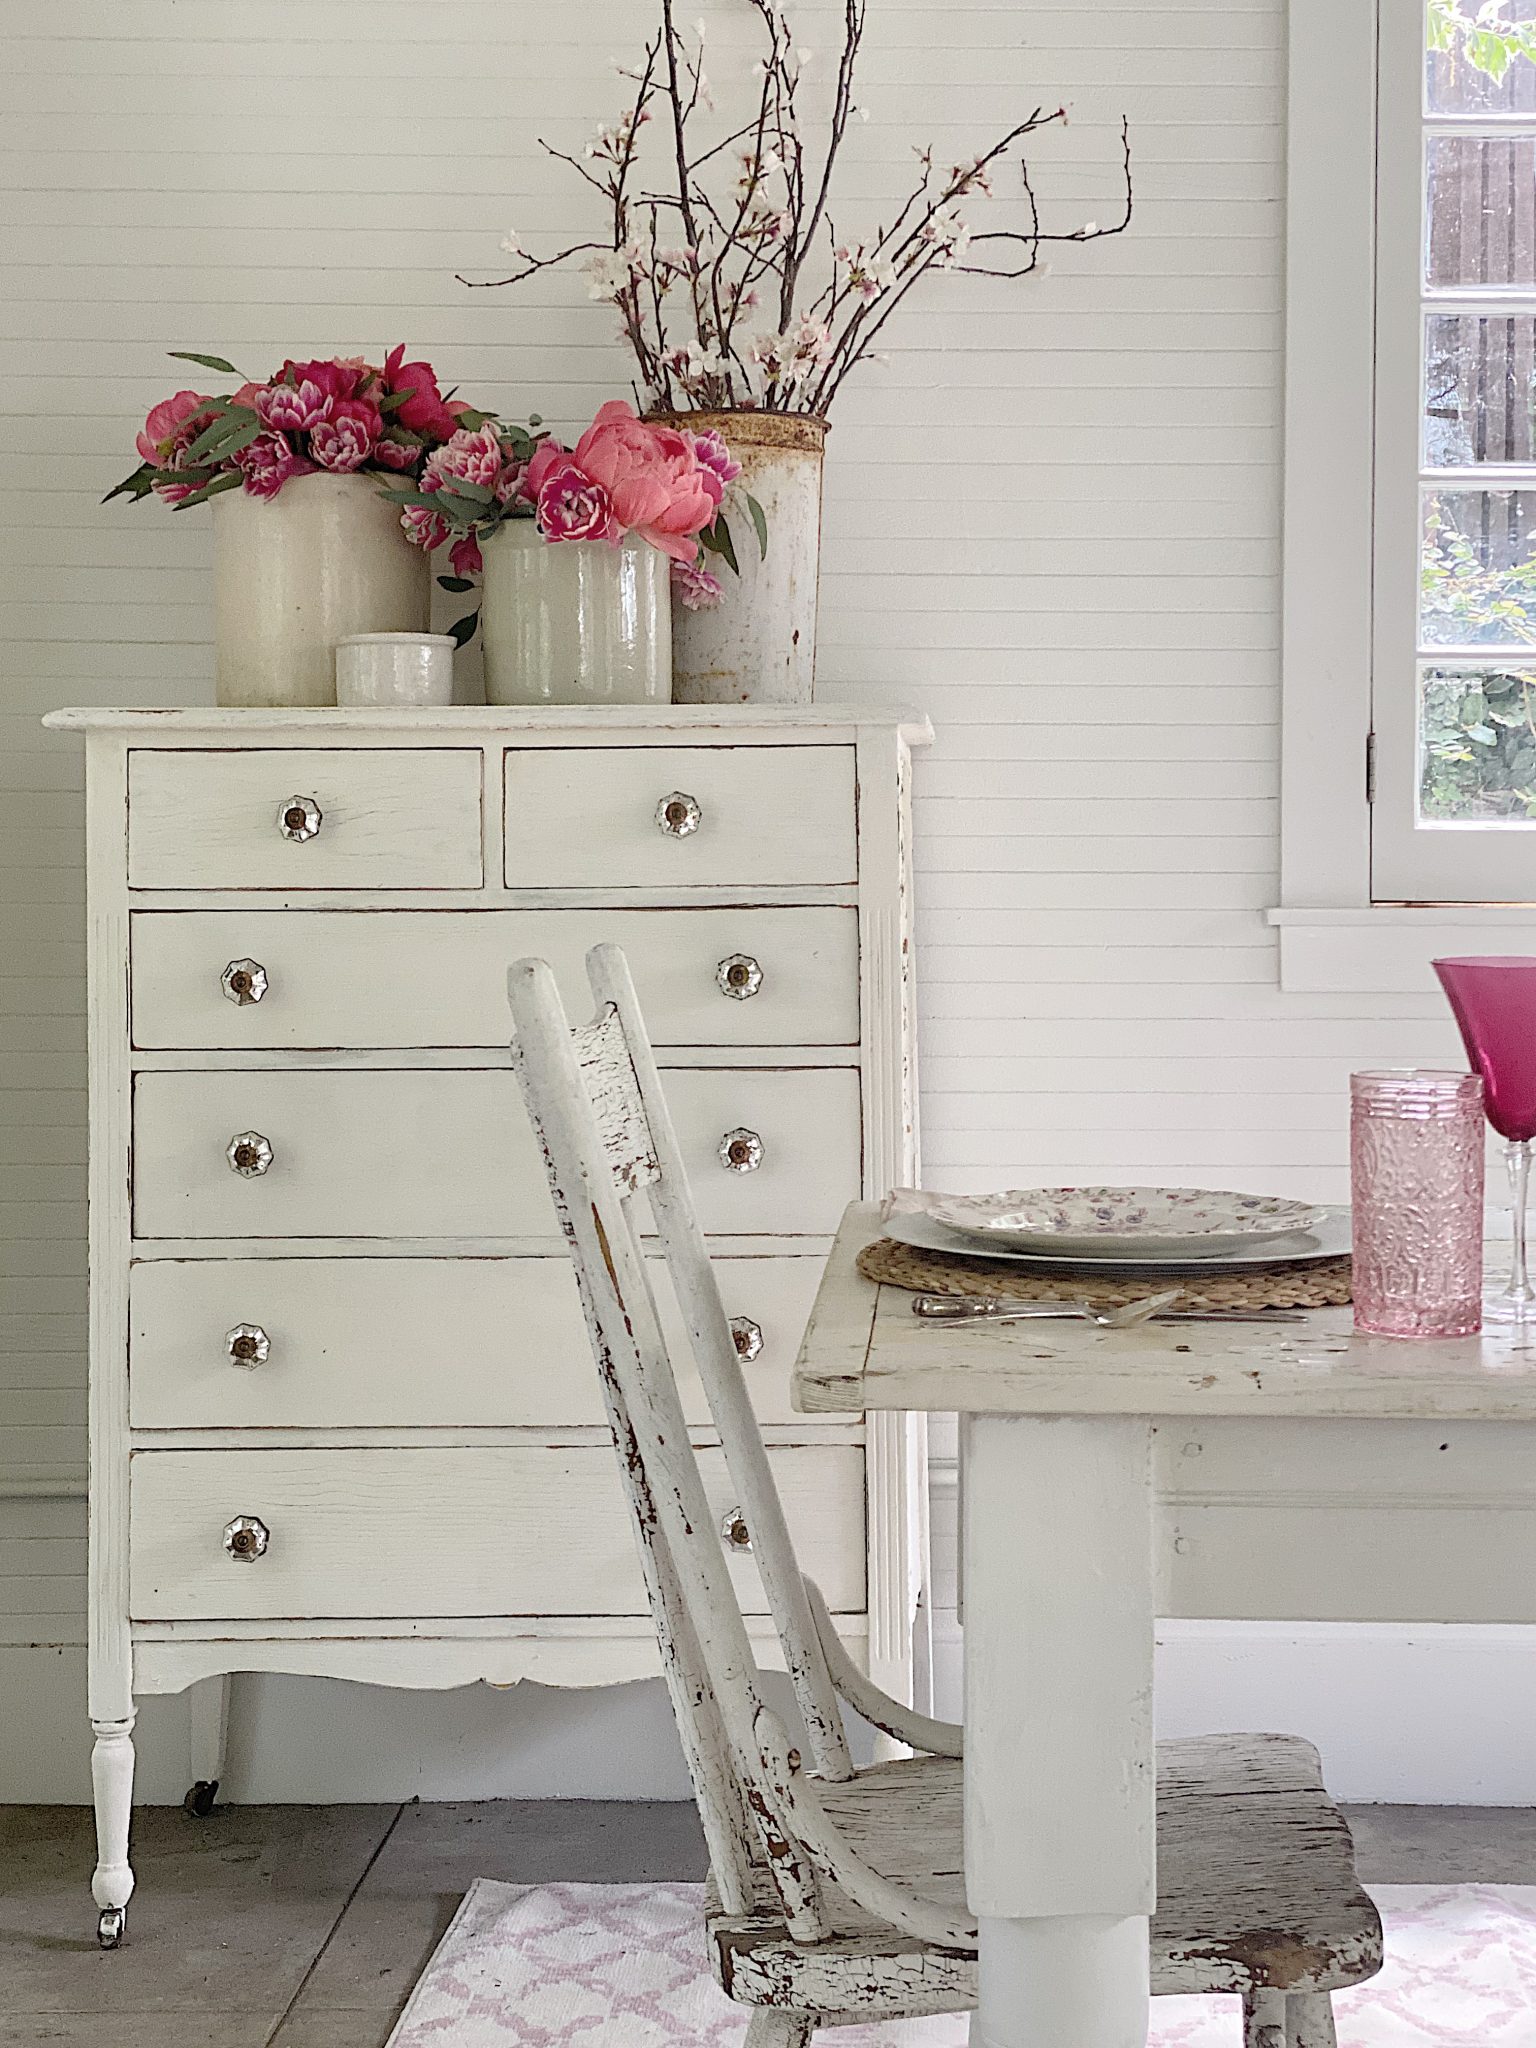
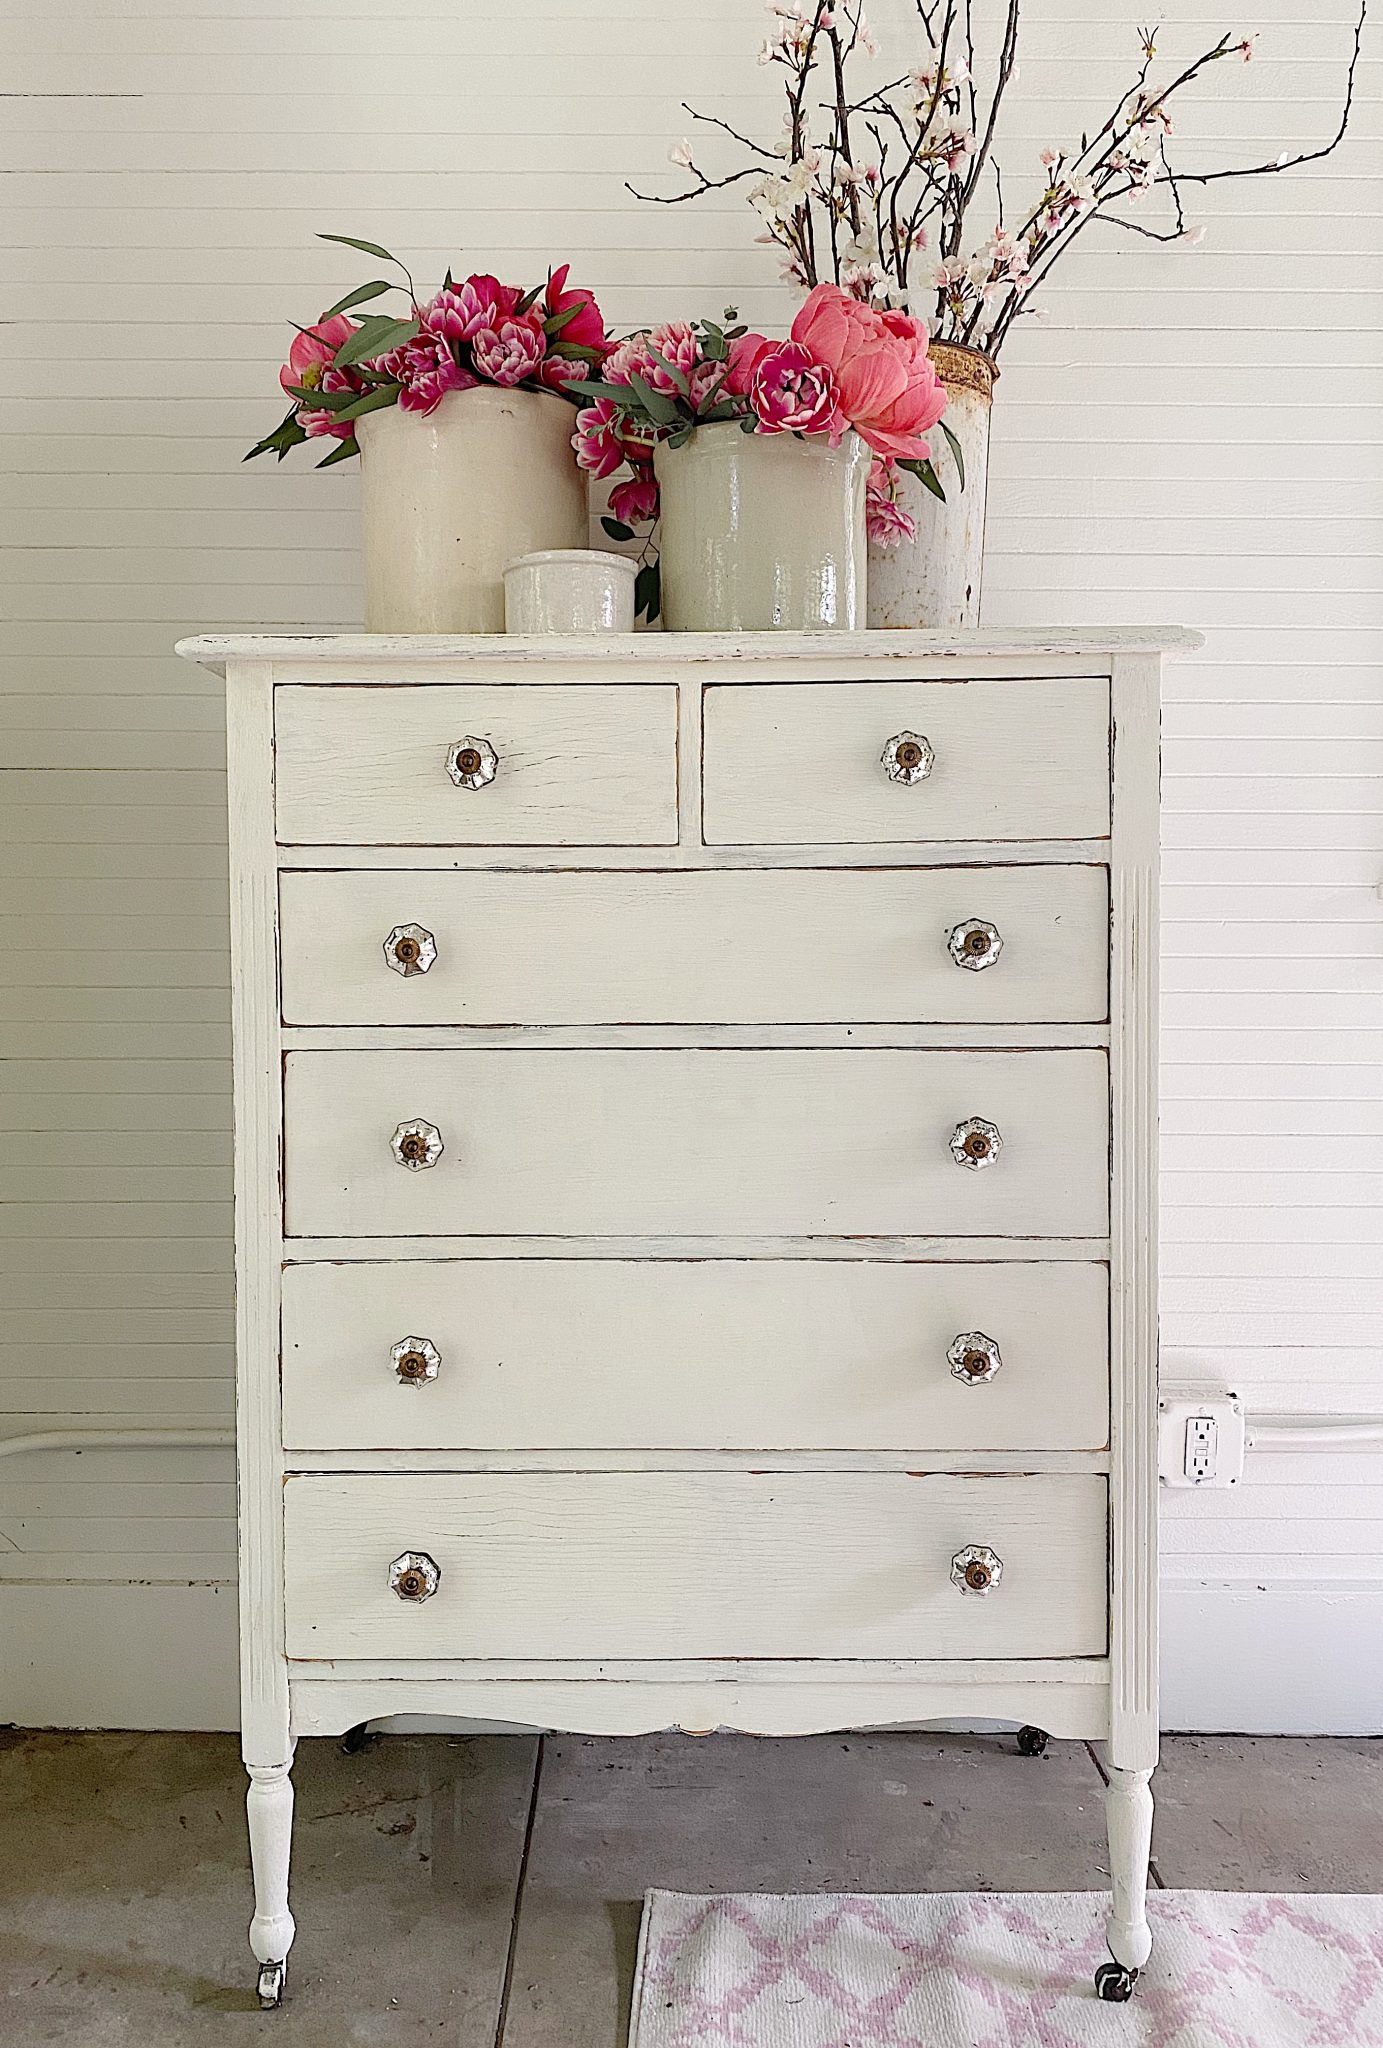
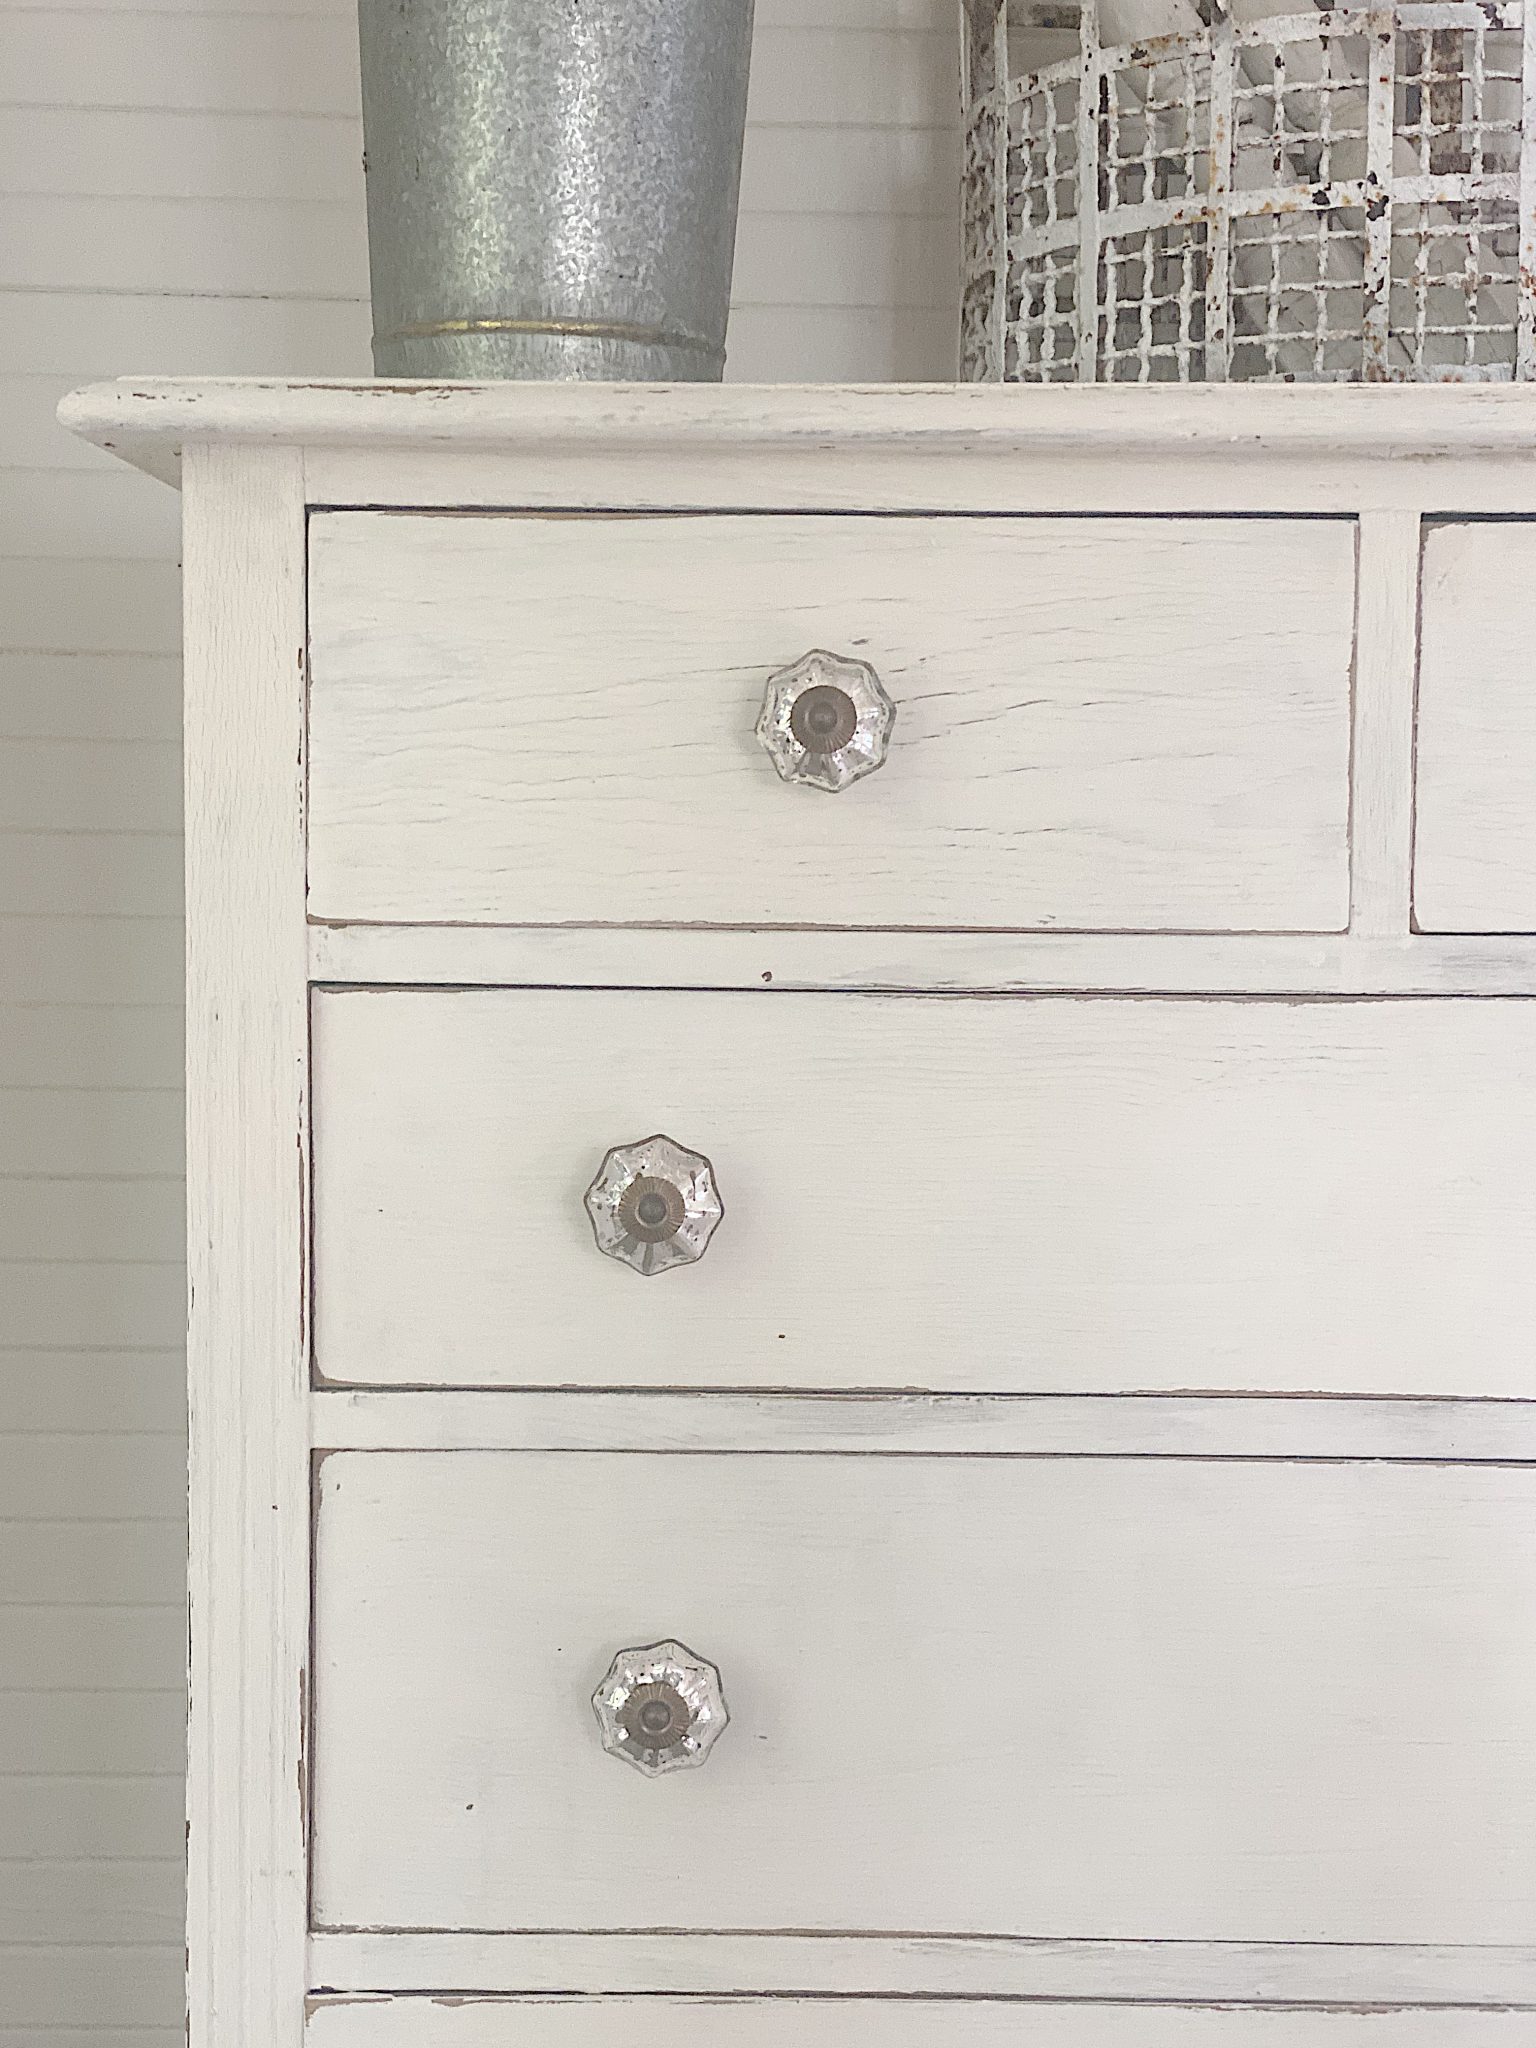
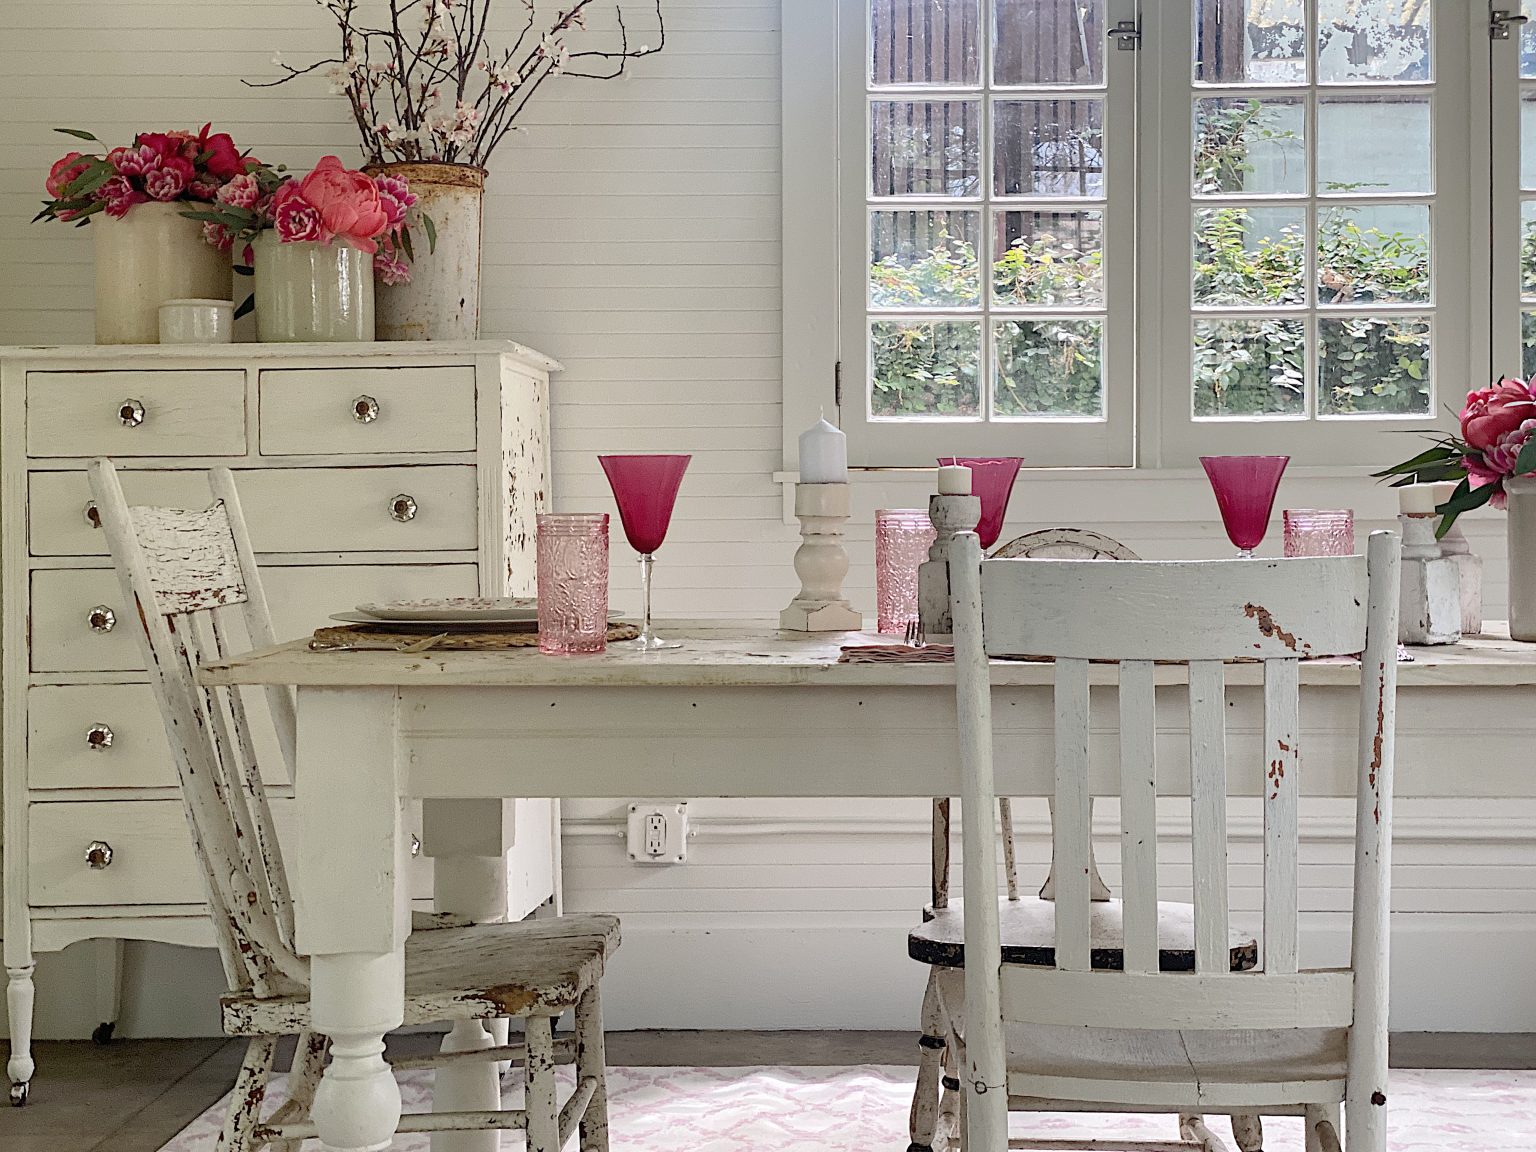
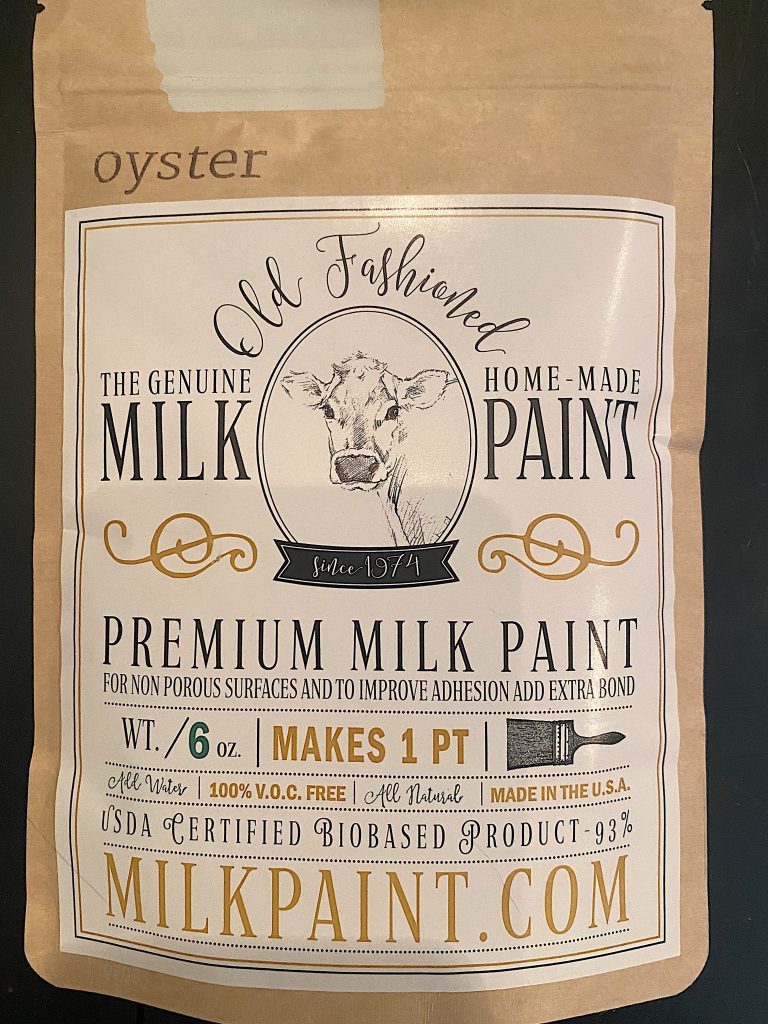
I pulled out the milk paint again and painted this dresser. The dresser came out so well and the new Mercury Glass Knobs I bought look amazing!
I originally shared the Carriage House Remodel a few weeks ago. I cropped out the dresser on the left because the color looked awful with the new white walls.
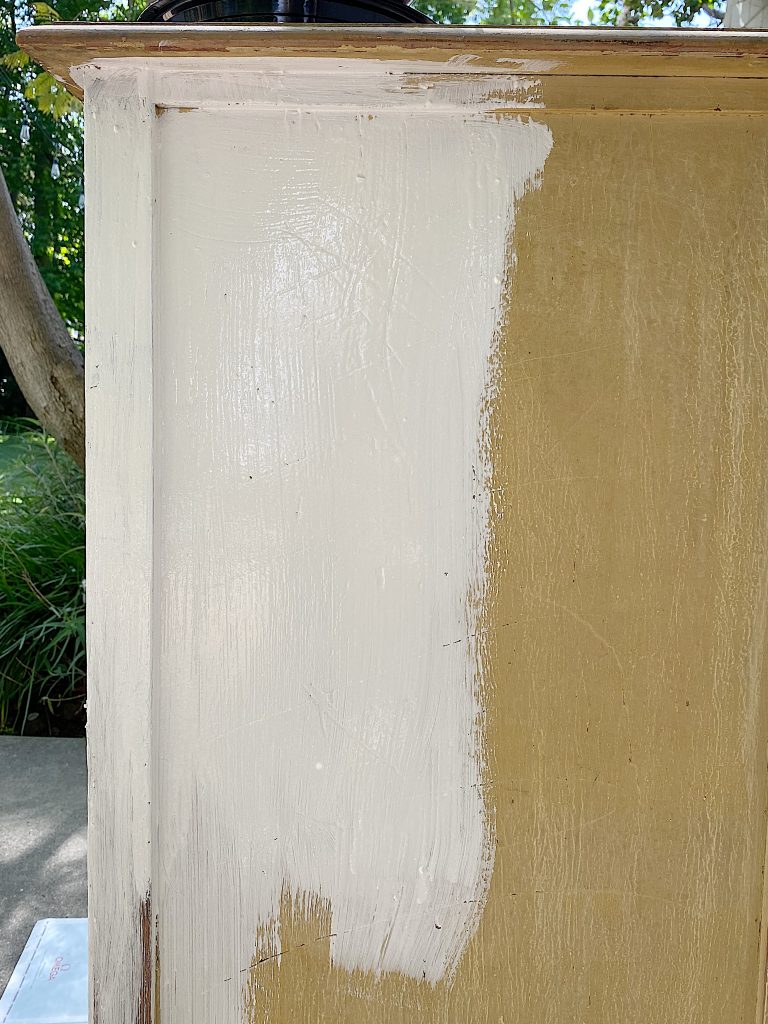
As you can see, the dresser is a goldish-yellow color. Ugh.
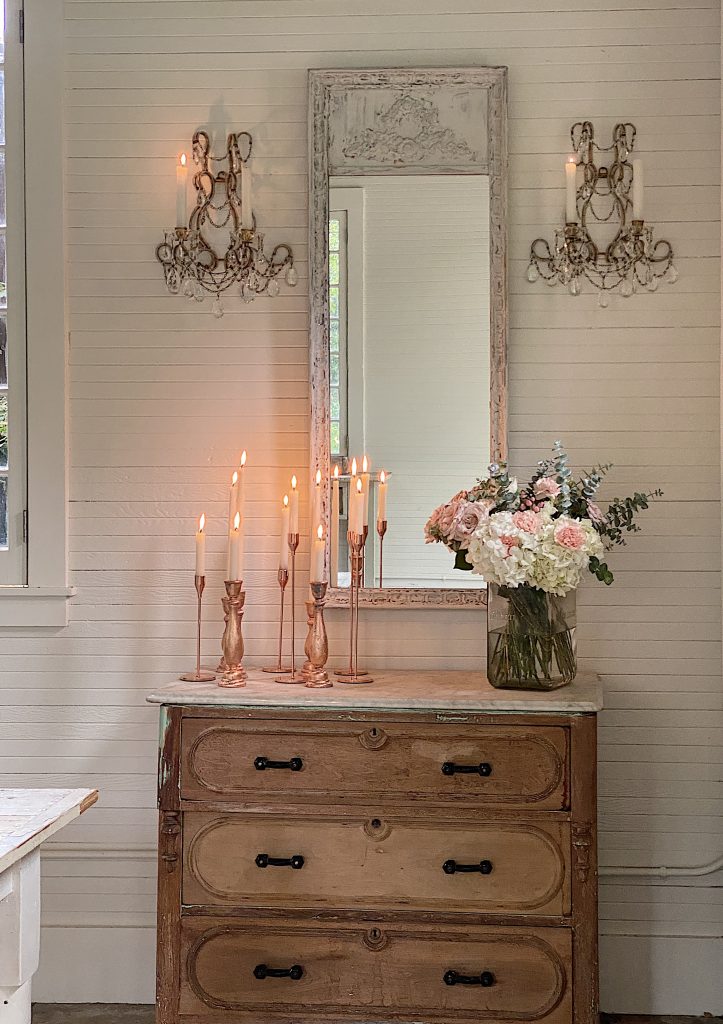
Look how much better the dresser looks now!
Can you believe the difference?
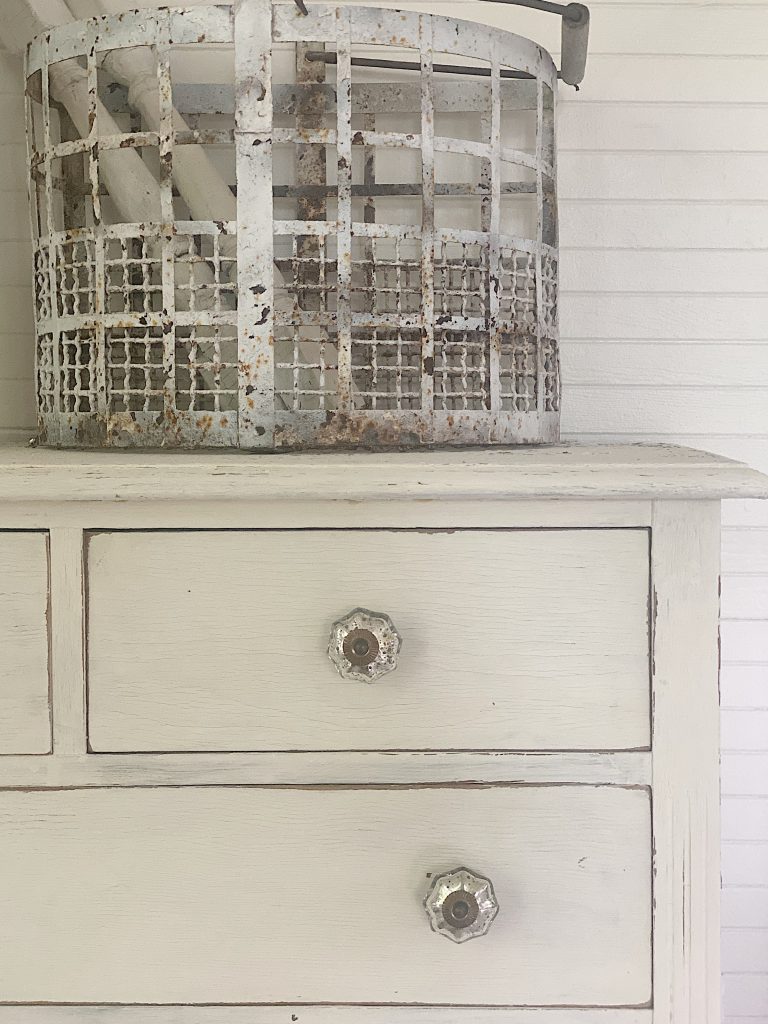
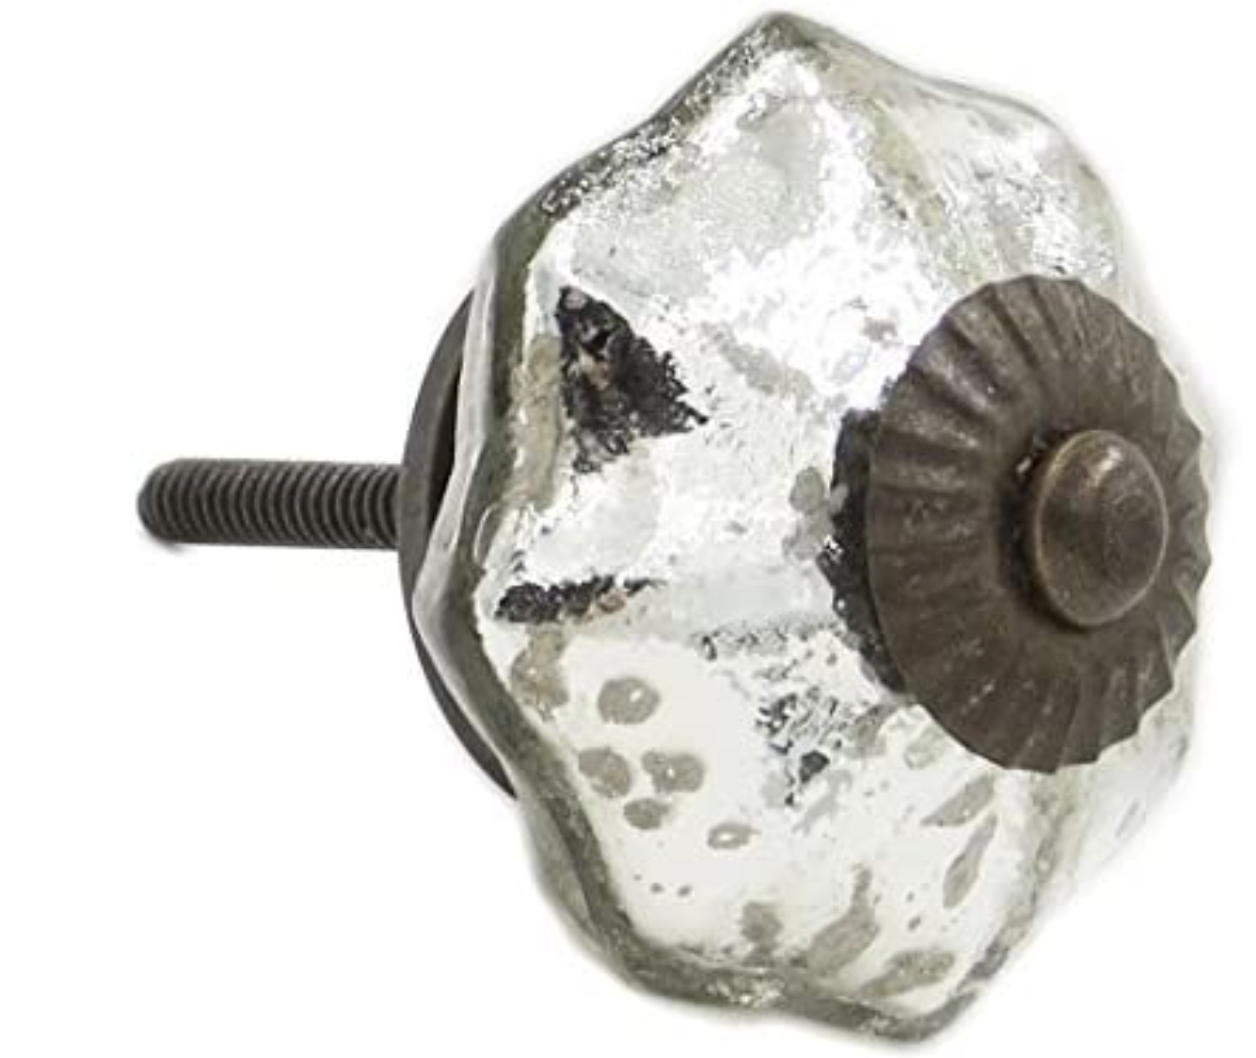
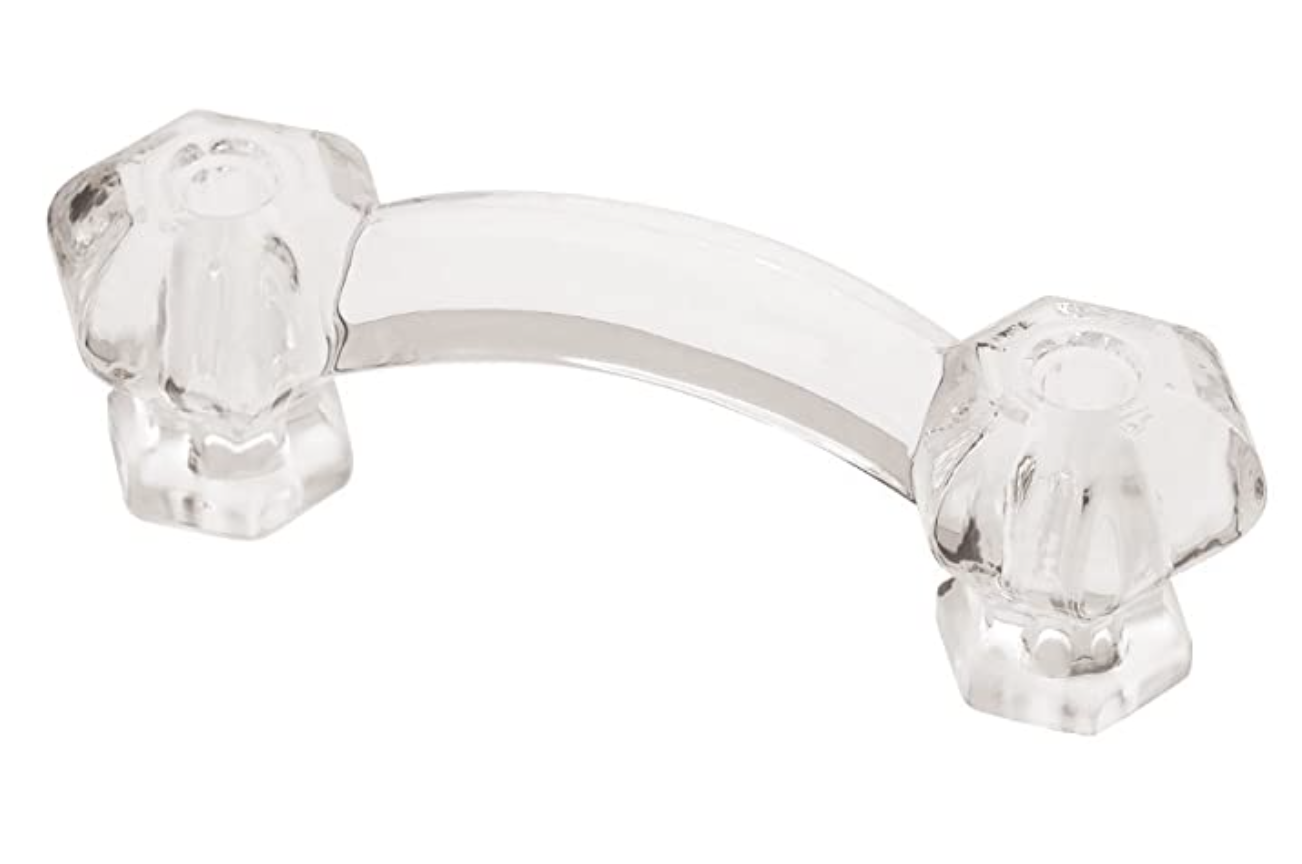
The original knobs were wood and I thought it might be fun to change them out. I found these Mercury Glass Knobs and I love them! They add so much interest to the dresser.
If you are enjoying my blog, you can sign up to receive my blog updates here.
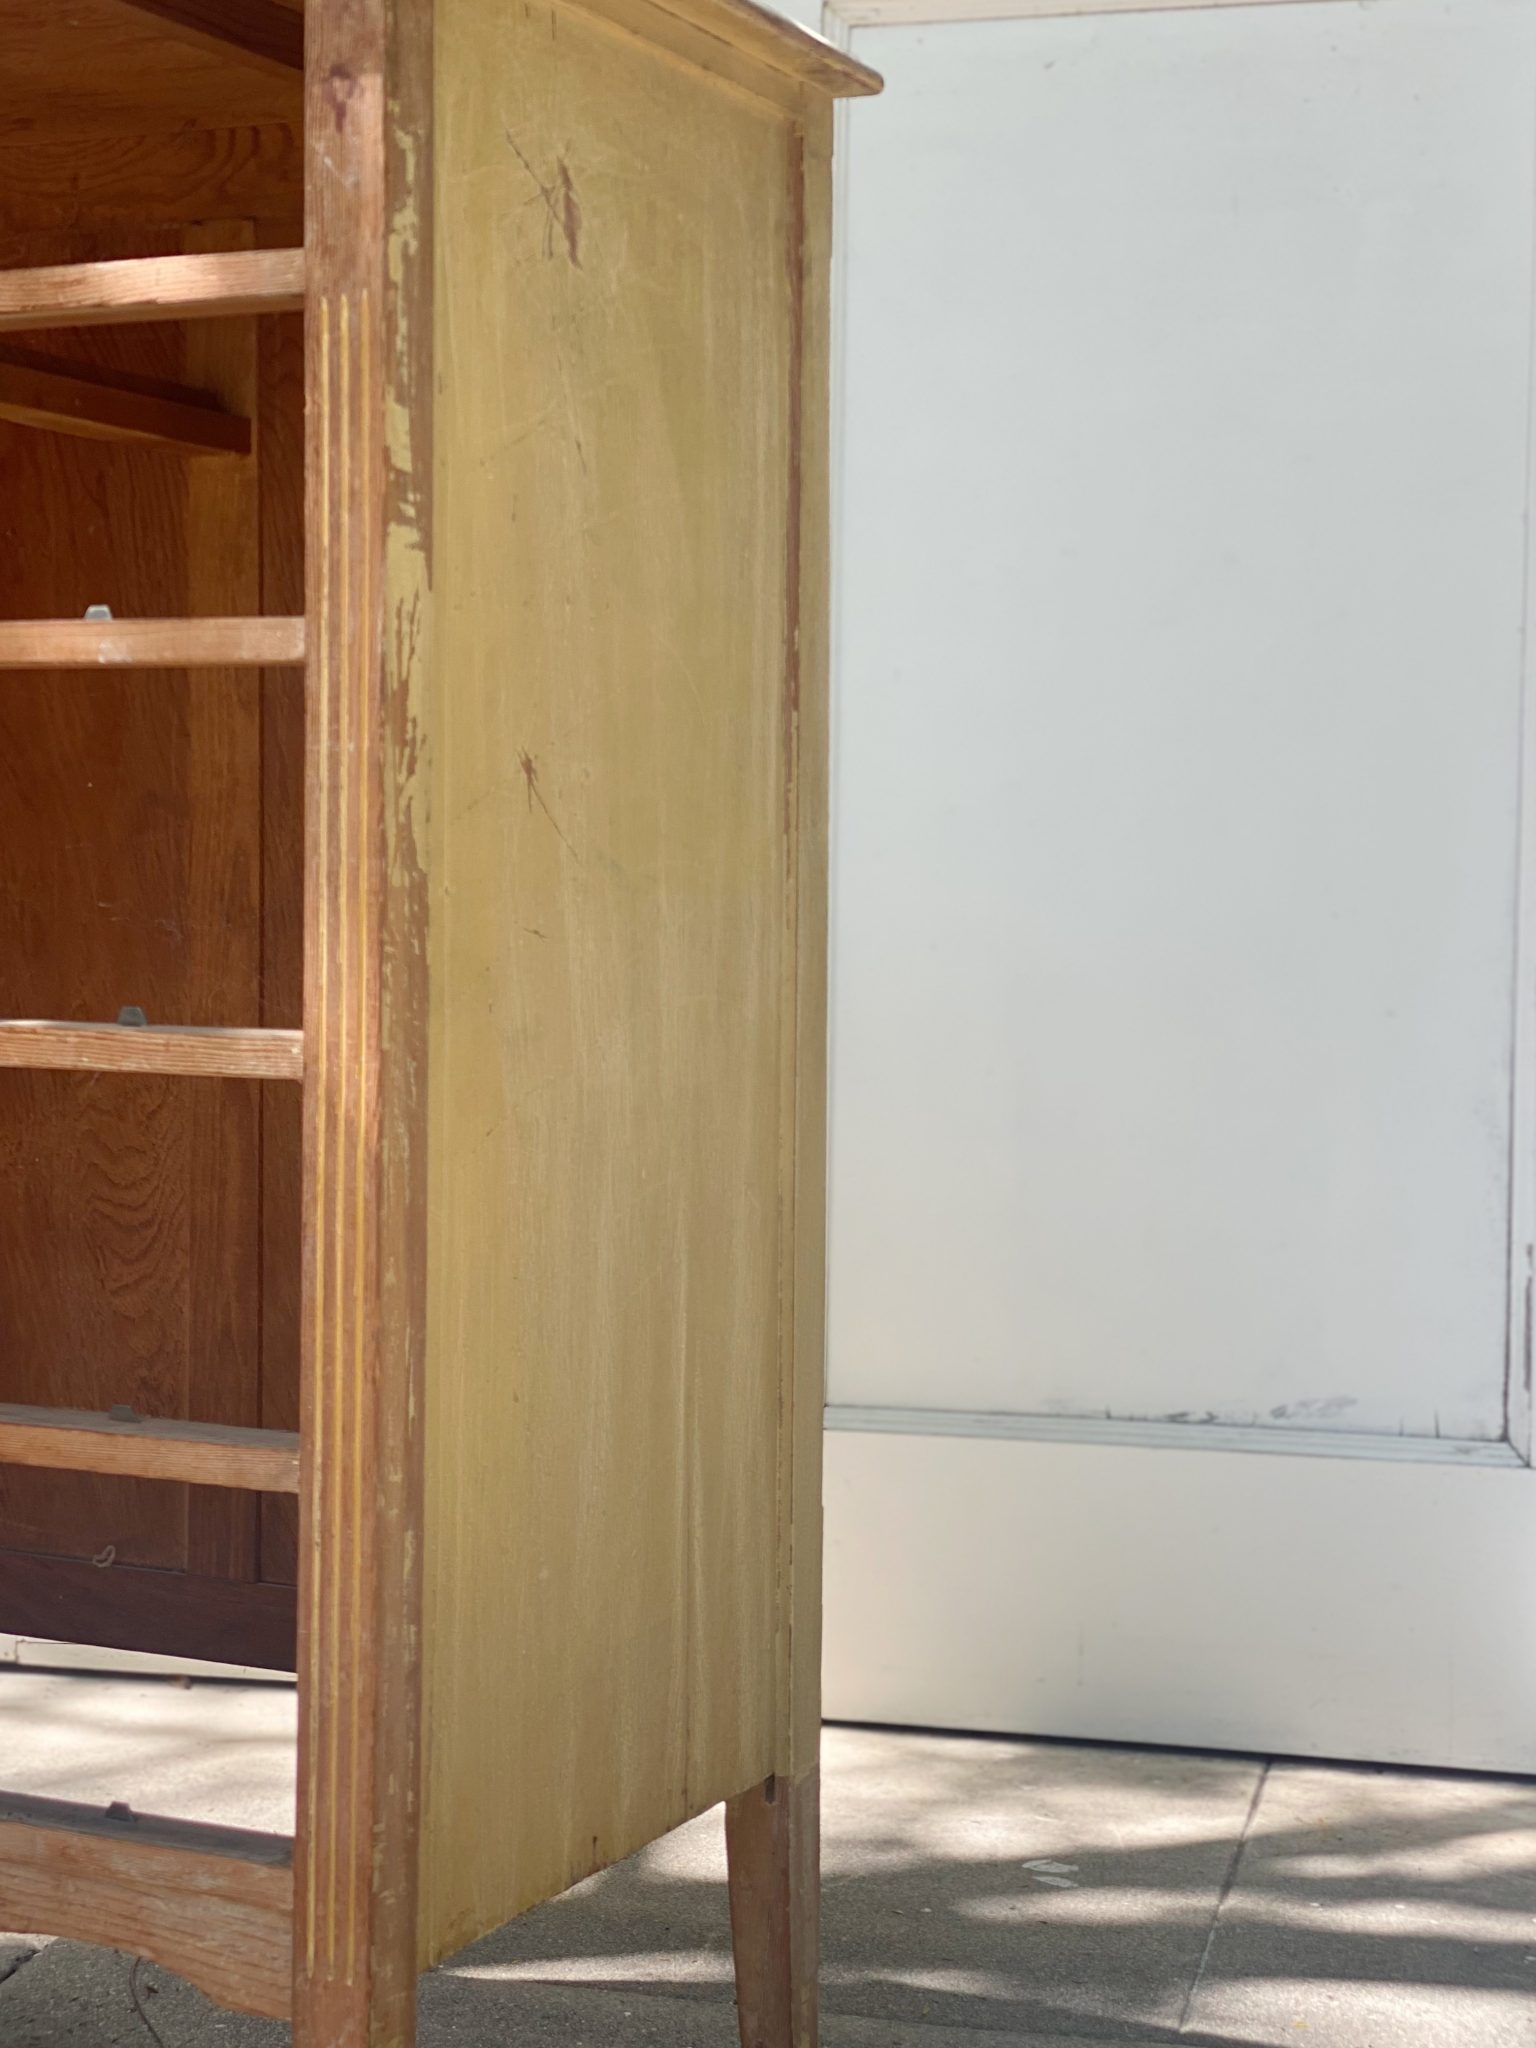
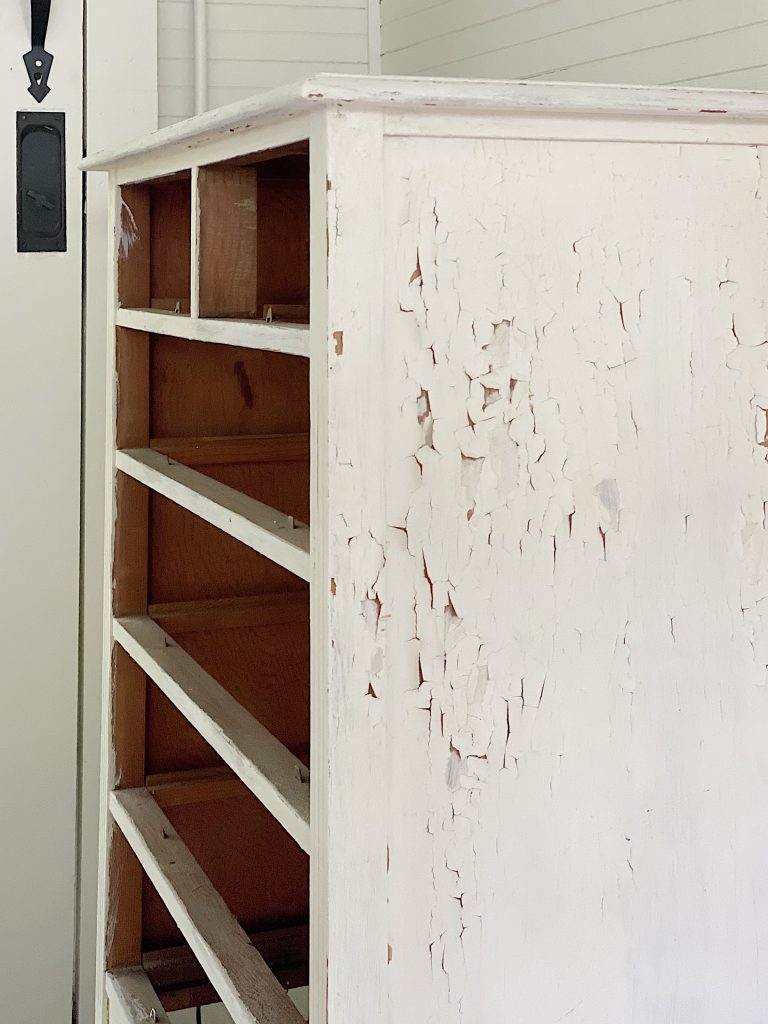
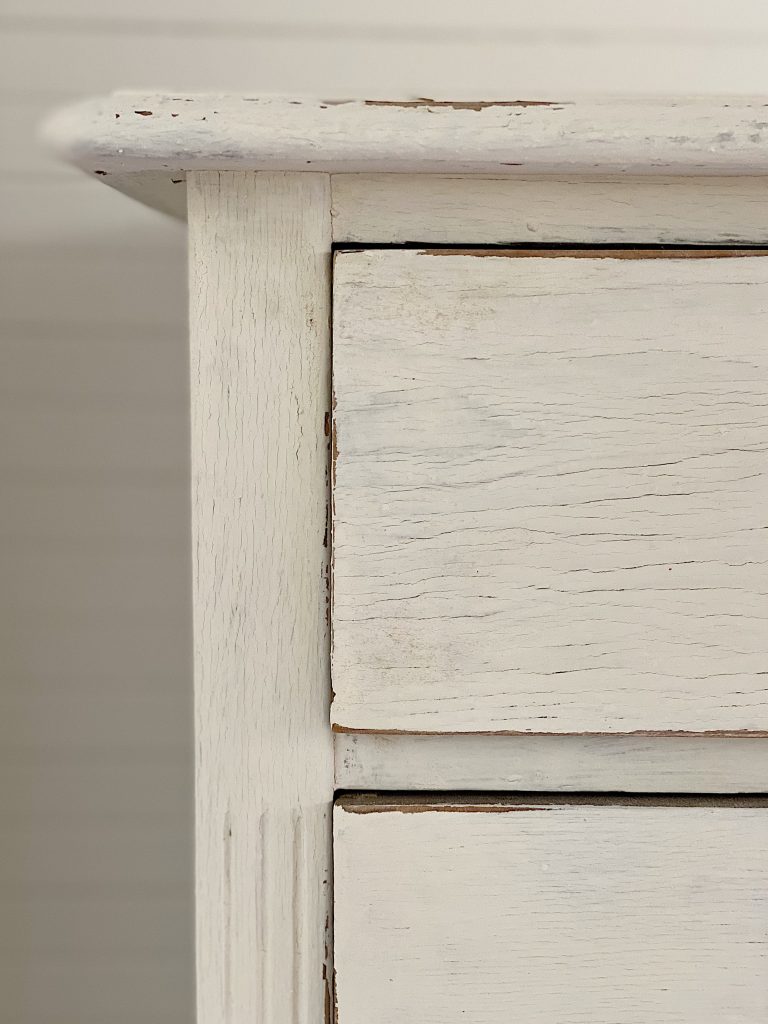
.Here is a close up of the dresser as I was sanding it. This is a really important step when using milk paint. If there is a lot of paint or varnish on your piece of furniture you need to sand it. If you don’t then most of the paint will chip off.
In fact, that kind of happened to me with this project. Um …
How to Refinish Furniture with Milk Paint

one 
two three
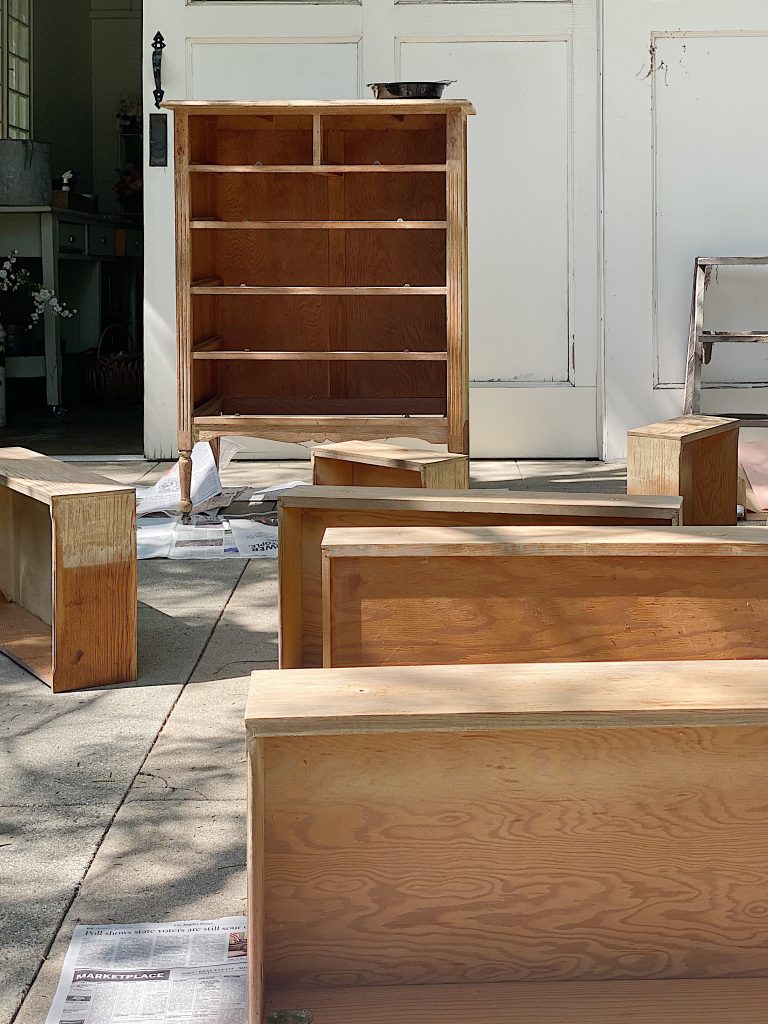
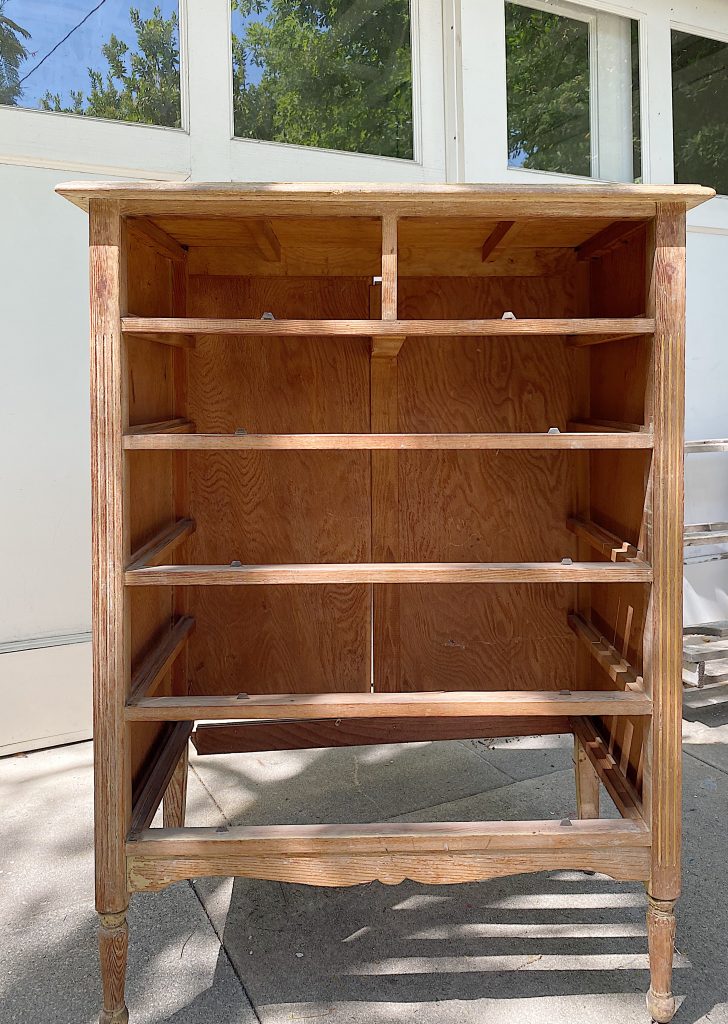
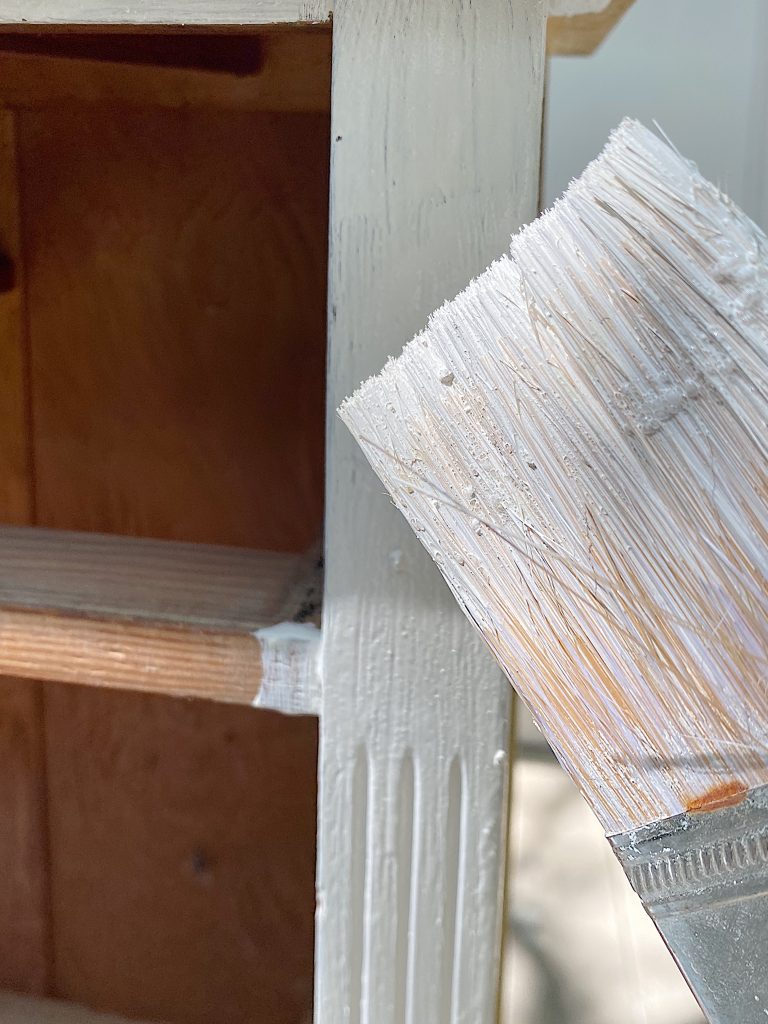
- one – take the piece of furniture apart and sand every surface. Pay special attention to areas covered with lots of paint or any type of varnish. You really need to sand these areas well. (A smooth surface does not like milk paint and it might not stick.)
- two – once the piece is sanded, wipe it off with a slightly damp cloth to remove all of the dust.
- three – mix the Milk Paint, per the instructions, and begin painting every surface.
four five six
- four – continue to paint all of the surfaces.
- five – I painted two layers of paint for this project as this it didn’t cover well.
- six – as you can see on the side, I didn’t sand it enough. To fix it, i painted more milk paint in the chippy areas and then covered it with a polyacrylic finish.
seven eight nine
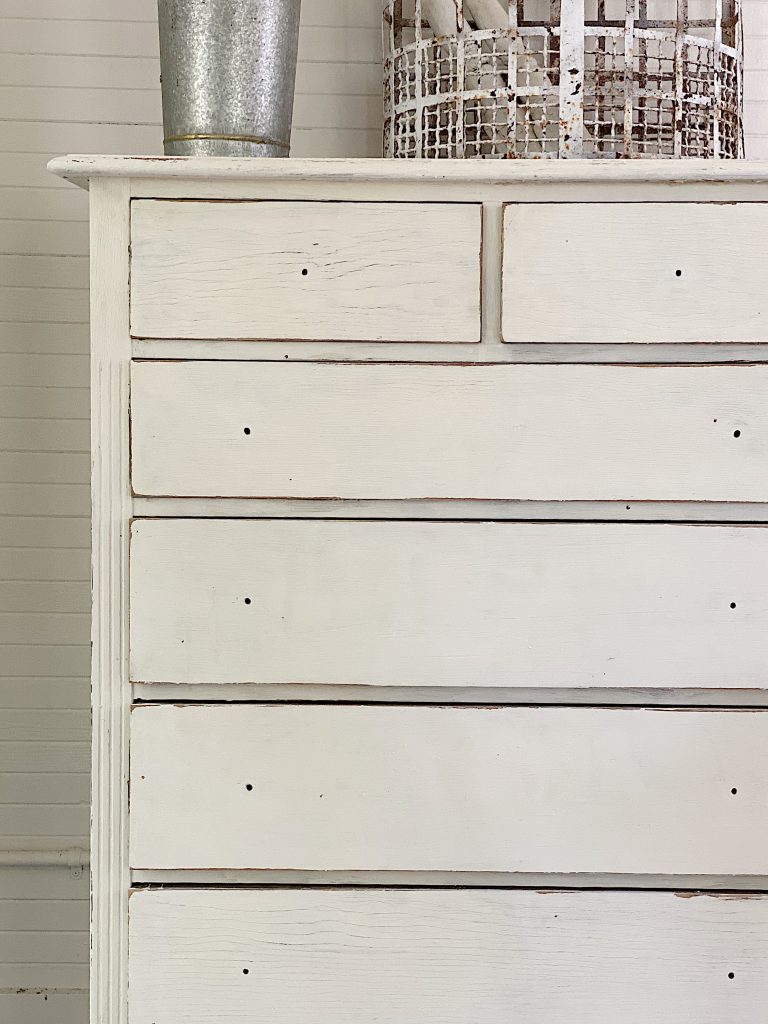
- seven – if the furniture doesn’t look chippy enough you can sand the areas where natural wear and tear may have occurred. I sanded around the edges of the drawers as you can see in the photo.
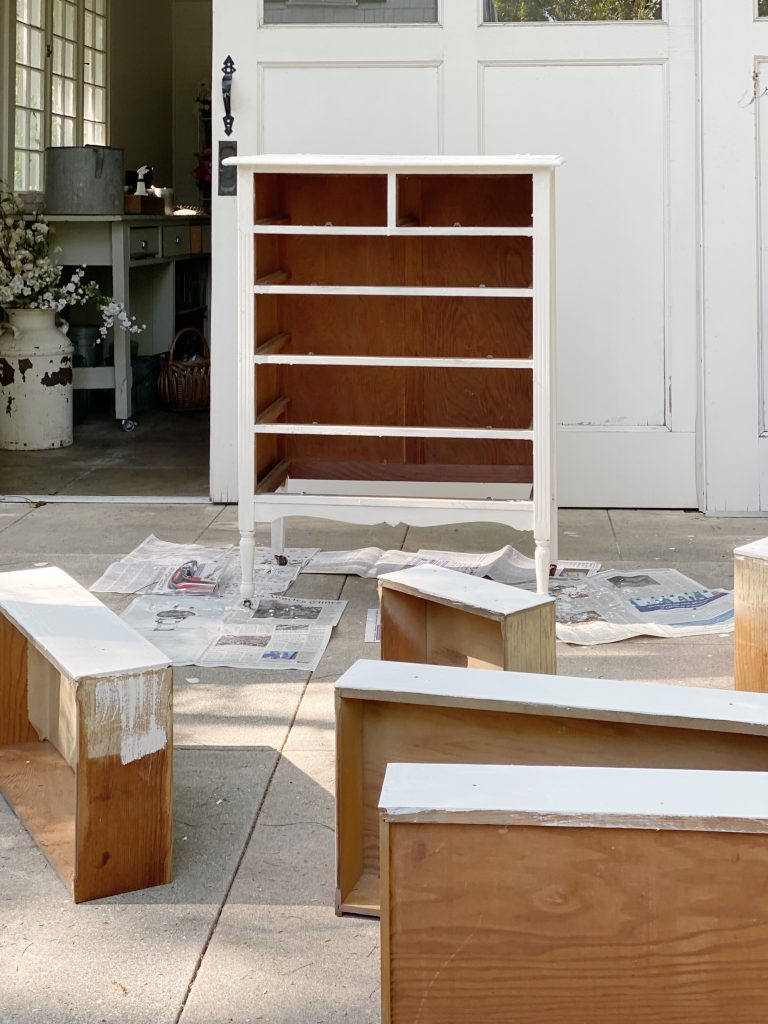
- eight – Here is the dresser as I am done painting!
- nine – I added the knobs and the dresser is complete. I love it so much!
Frequently Asked Questions
Milk paint automatically produces a bubbly paint texture, which is a perfect “chippy” distressed look. It creates is the perfect vintage look for DIY furniture and wood projects.
No. Milk paint comes in powder form and will bubble and create a chippy look when it dries. You also need to sand your wood piece to remove any varnish when using milk paint. Chalk Paint has a heavy smooth finish and you will have to sand it if you want any chippy look.
Links to the Items Shown in This Post


Similar Posts
Pin the image below to your decor boards on Pinterest (just click the Pin button in the top left corner). You can also follow along with me on Pinterest!
For more real-time updates, follow me on Instagram @My100YearOldHome

Thank you for great idea! I have a very similar dresser in my basement. Mine has a bowed front on the top two smaller drawers. I like that your is on wheels. I’ve never used milk paint but it seems easy enough.
I am so happy that you enjoyed this post Donna and that you have a piece of furniture to milk paint! When yours is done, post it on Instagram and tag me! I can’t wait to see what you do.
Hi Leslie, I love that you painted your dresser. It turned out so pretty! When you say milk paint is that similar to fusion paint?
I just spent a lot of time painting a hutch. But I used a tsp product so I didn’t sand it but now I think it’s going to chip! 🙁it’s been 3 days and I was able to chip paint off just reaching to handle to open. What do you think? 🌷
Milk Paint is pure magic!! I am a huge fan of milk paint and I use it all the time on our reinvented furniture pieces! Thanks for sharing your dresser!
I totally agree, Cindy!
Milk paint is always on the top due to its texture and contrast to the eyes. I use it always.
Right? I am really enjoying the projects I use it with!
Where is the white and pink rug from
I will be posting about that soon! Stay tuned, Jackie!
Hi Leslie,
Everything looks beautiful! I love the color of the walls as well! Could you tell me what is the color you chose to paint the carriage house with? I am on a mission to find the perfect off white.
Yes! It is Dunn Edwards Swiss Coffee.
Thank you. I love it!
Thank YOU, Toni!