Decorating Cookies 101 with Wilton Royal Icing
Today, I am sharing decorating cookies 101 with Wilton royal icing. The Wilton royal icing mix makes it so easy!
I am a self-taught cookie decorator. Today, I am sharing all of the tips and tricks that I learned the hard way. I promise you can make beautiful cookies decorated with Wilton royal icing. Bookmark this post so that you can find it easily!

I made a goal to learn four new things. On top of my list is to learn how to decorate cookies with royal icing. I love the way professionally decorated cookies look, but I have no plans to become a professional cookie decorator. Trust me, that is not going to happen. The reason I want to learn how to use royal icing is so that I can serve them at parties that I will host this year.
On my first attempt at decorating cookies with royal icing, it took me six hours to decorate 32 cookies. I was so frustrated and, I stayed up until 3:00am! The biggest problem I had was getting the consistency right. I filled the bags a few times only to realize I had to remove the icing because it was either too thick or too runny. The tips I had were too large or too small and I didn’t have enough bags for the different colors of frosting.
The royal icing cookies turned out great, but the process was so painful that I doubted I would ever try them again.

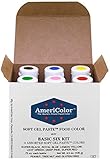
Wilton Royal Icing Mix
My next attempt at cookie decorating involved using the Wilton royal icing mix. The mix is so easy, you just add water! This time I decorated 38 cookies in two hours!

Here is what I used
On this blog, I may sometimes use affiliate links, which means a small commission is earned if you make a purchase via the link. The price you pay will be the same whether you use the affiliate link or go directly to the vendor’s website using a non-affiliate link.


I made the cookies ahead of time and strongly recommend you do this. I love this recipe and it is the only one I ever use.
The Best Sugar Cookies
This sugar cookie recipe is my go-to recipe every time. It's almost flawless!
Ingredients
- 2 cups all-purpose flour (or gluten free 1 to 1 or measure to measure flour)
- 1/4 teaspoon salt
- 1/2 teaspoon baking powder
- 1/2 cup (1 stick) unsalted butter
- 1 cup sugar
- 1 large egg, lightly beaten
- 1 tablespoons milk
- 1 TBL lemon juice
- 1/2 teaspoon pure vanilla extract
Instructions
Mix together flour, salt, and baking powder in a medium bowl. In the bowl of an electric mixer fitted with the paddle attachment, cream the butter and sugar; add dry ingredients, and mix until incorporated.
With the mixer running, add egg, milk, lemon, and vanilla; mix until incorporated. Transfer dough to a work surface. Shape into 2 discs, cover with plastic wrap and refrigerate for at least 1 hour.
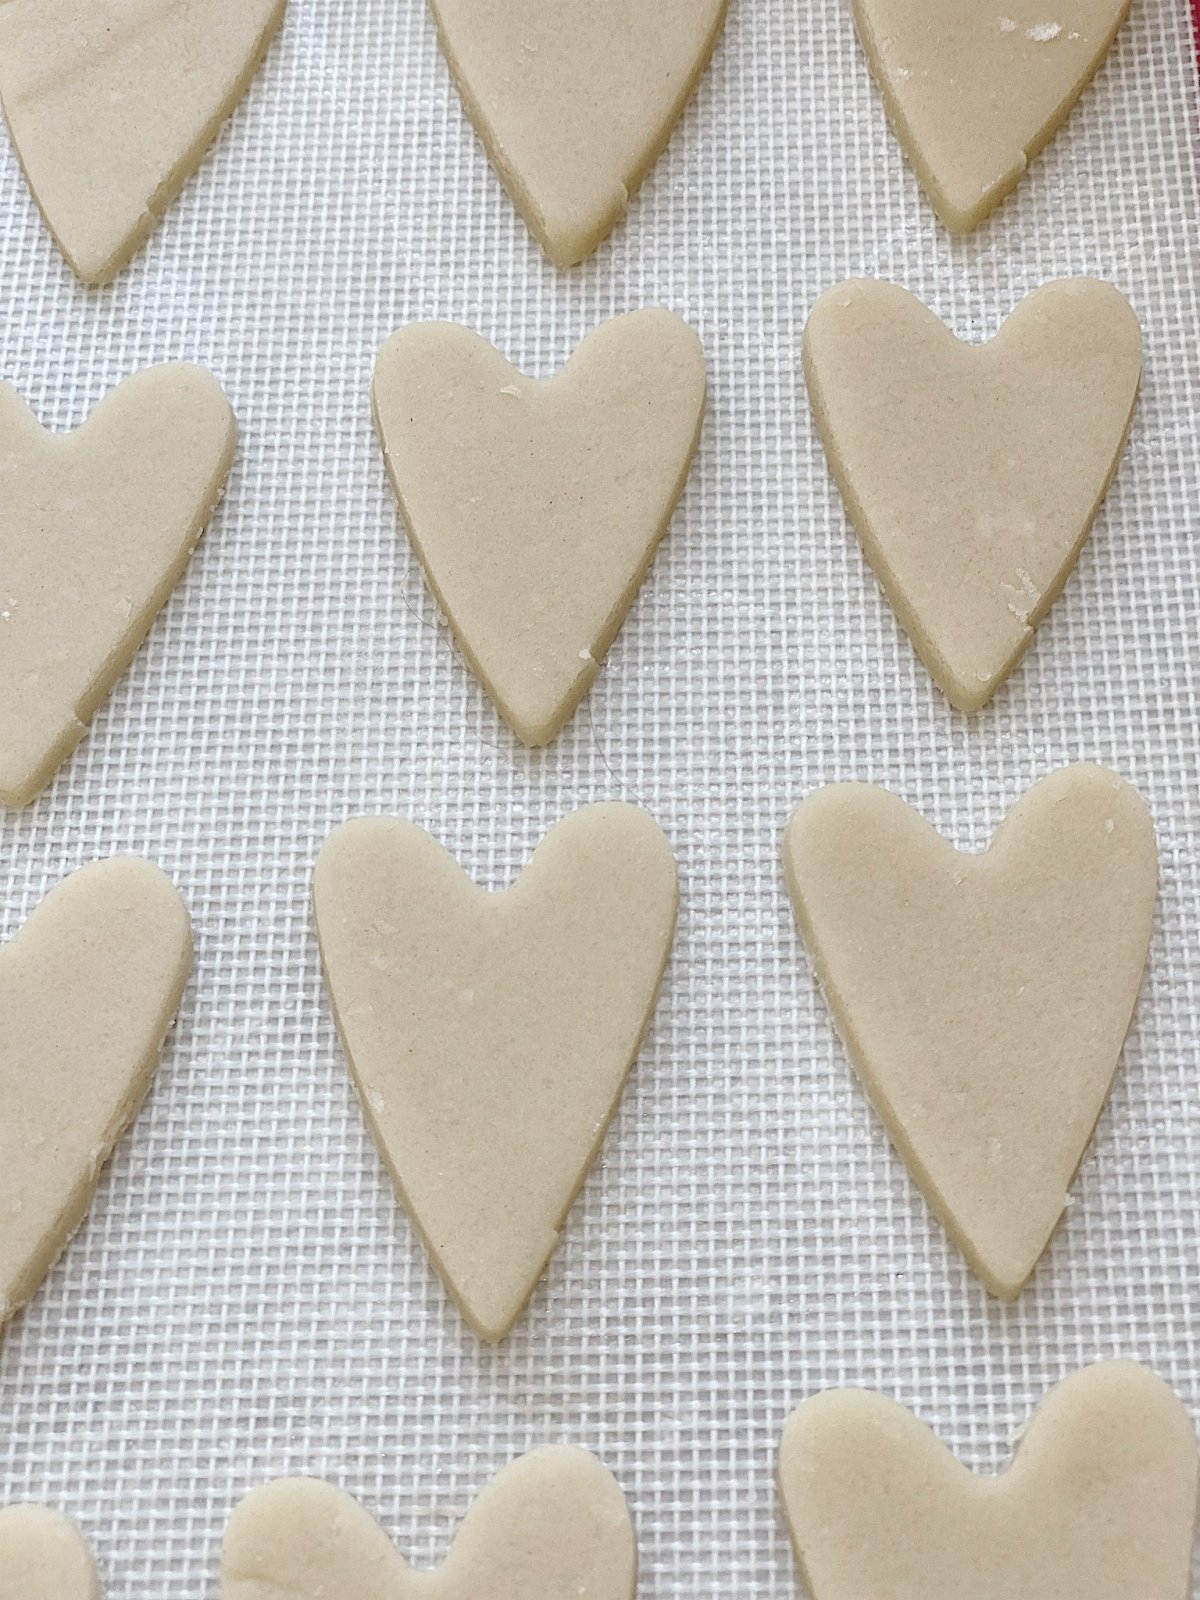
Preheat oven to 350 degrees. Line baking sheets with nonstick baking mats or parchment paper; set aside.
On a lightly floured work surface, roll out dough to 1/8-inch thickness. Cut into desired shapes, and transfer to prepared baking sheets, leaving an inch in between. Leftover dough can be rolled and cut once more. Bake until lightly golden, about 10 minutes; do not allow to brown. Transfer to wire racks to cool.
Decorate with Royal Icing.
Notes
I made this recipe with measure to measure gluten-free flour. The Xantham gum is included in the flour and the cookies came out perfectly.

After baking, I froze the sugar cookies until it was time to decorate them.
I mentioned earlier that as a beginner I had a really hard time figuring out the right consistency of Royal Icing. I realize that eventually you just know when it’s right. But that didn’t work for me initially.
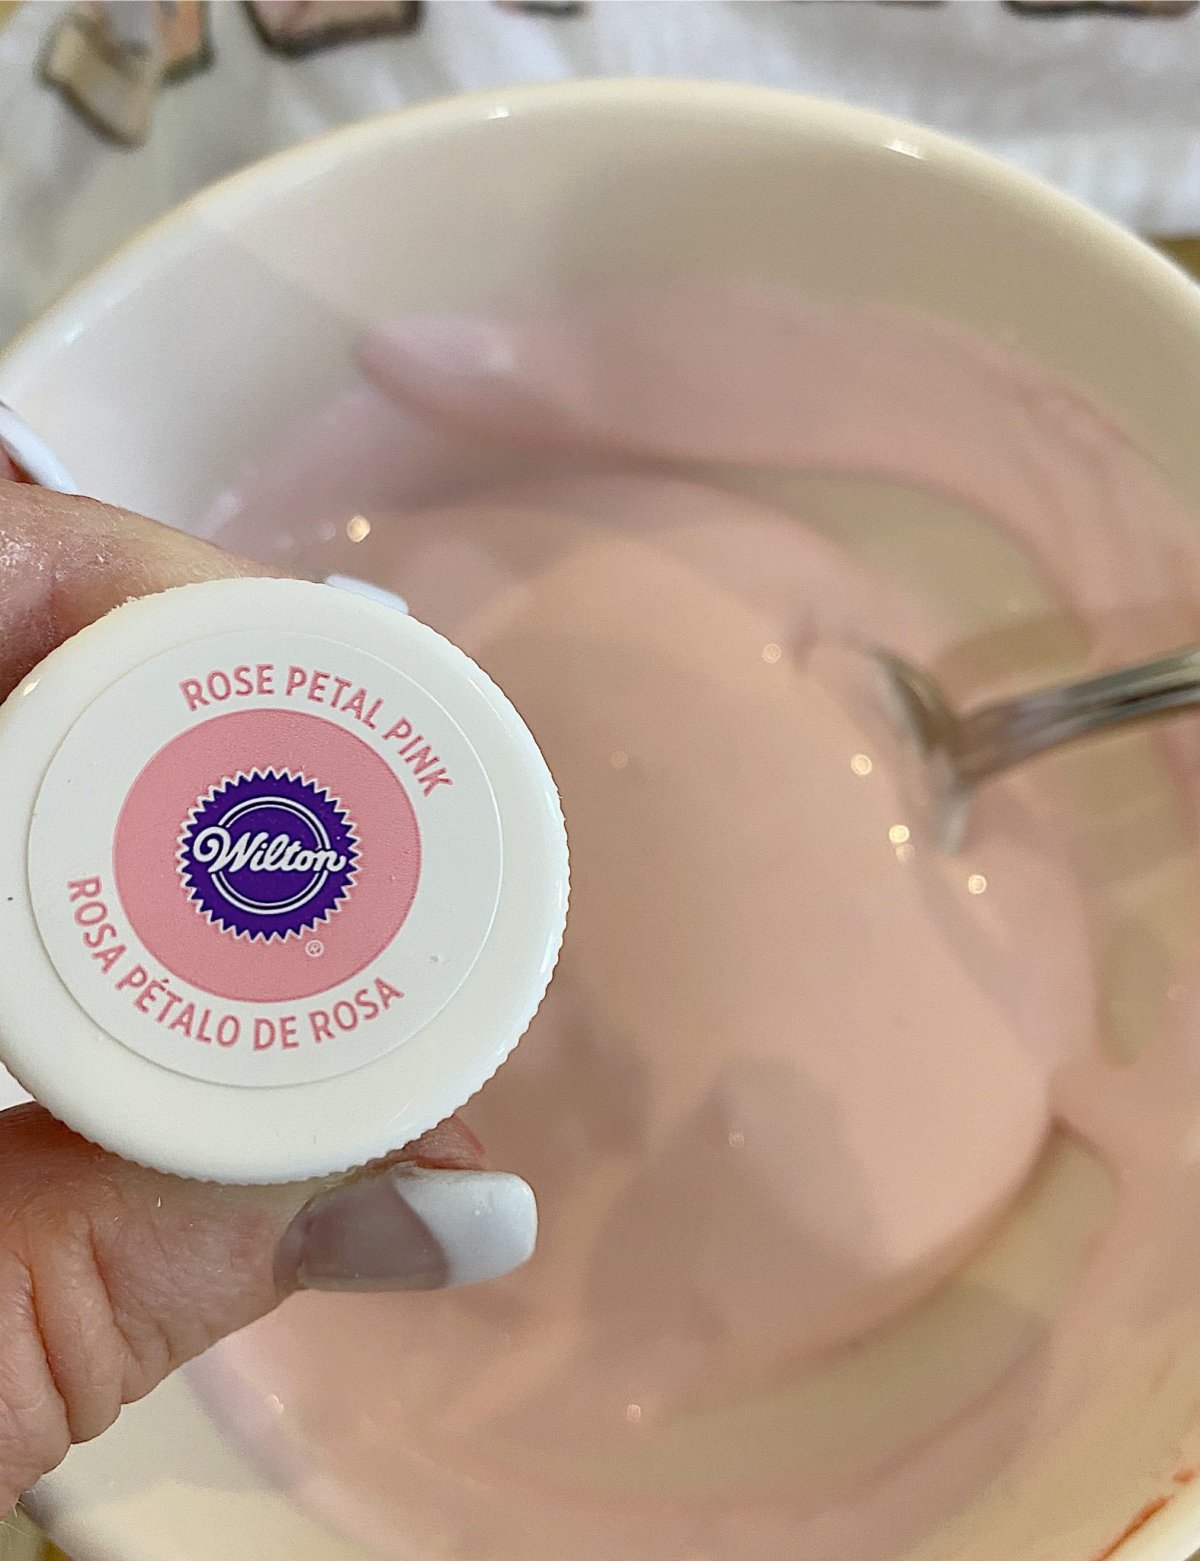
How to Mix the Icing for Royal Icing Cookies
Ideally, you want two different types of icing consistency to decorate your cookies. The first is called Flood Icing. This is what I call the base coat. There is a trick you can use to get the right consistency to be able to use the flood icing for the outline and to fill in the outline with icing. It’s called the 10-second rule. Once your icing is mixed, take a sharp knife and cut about an inch down and count how many seconds it takes for the icing to come together and the “cut” to disappear. For the right “flood icing” the “slice” in the icing should disappear in ten seconds. The consistency of the frosting is determined by the amount of water added to the Royal Icing mix.
The second consistency is what I call the decorative icing. This is the icing you will pipe top to decorate the top of the Royal Icing cookies. It’s the icing I used for the dots, the outline and curly accent, and the flowers in the photo above.

Just so you know, when I was mixing the icing, I used three tablespoons water for the decorative icing and three more tablespoons for the flood icing. This is only a guideline for you to use. I mixed the decorative icing first and then removed it from the bowl. Next, I added more water to make the flood icing.
How to Use Flood Icing
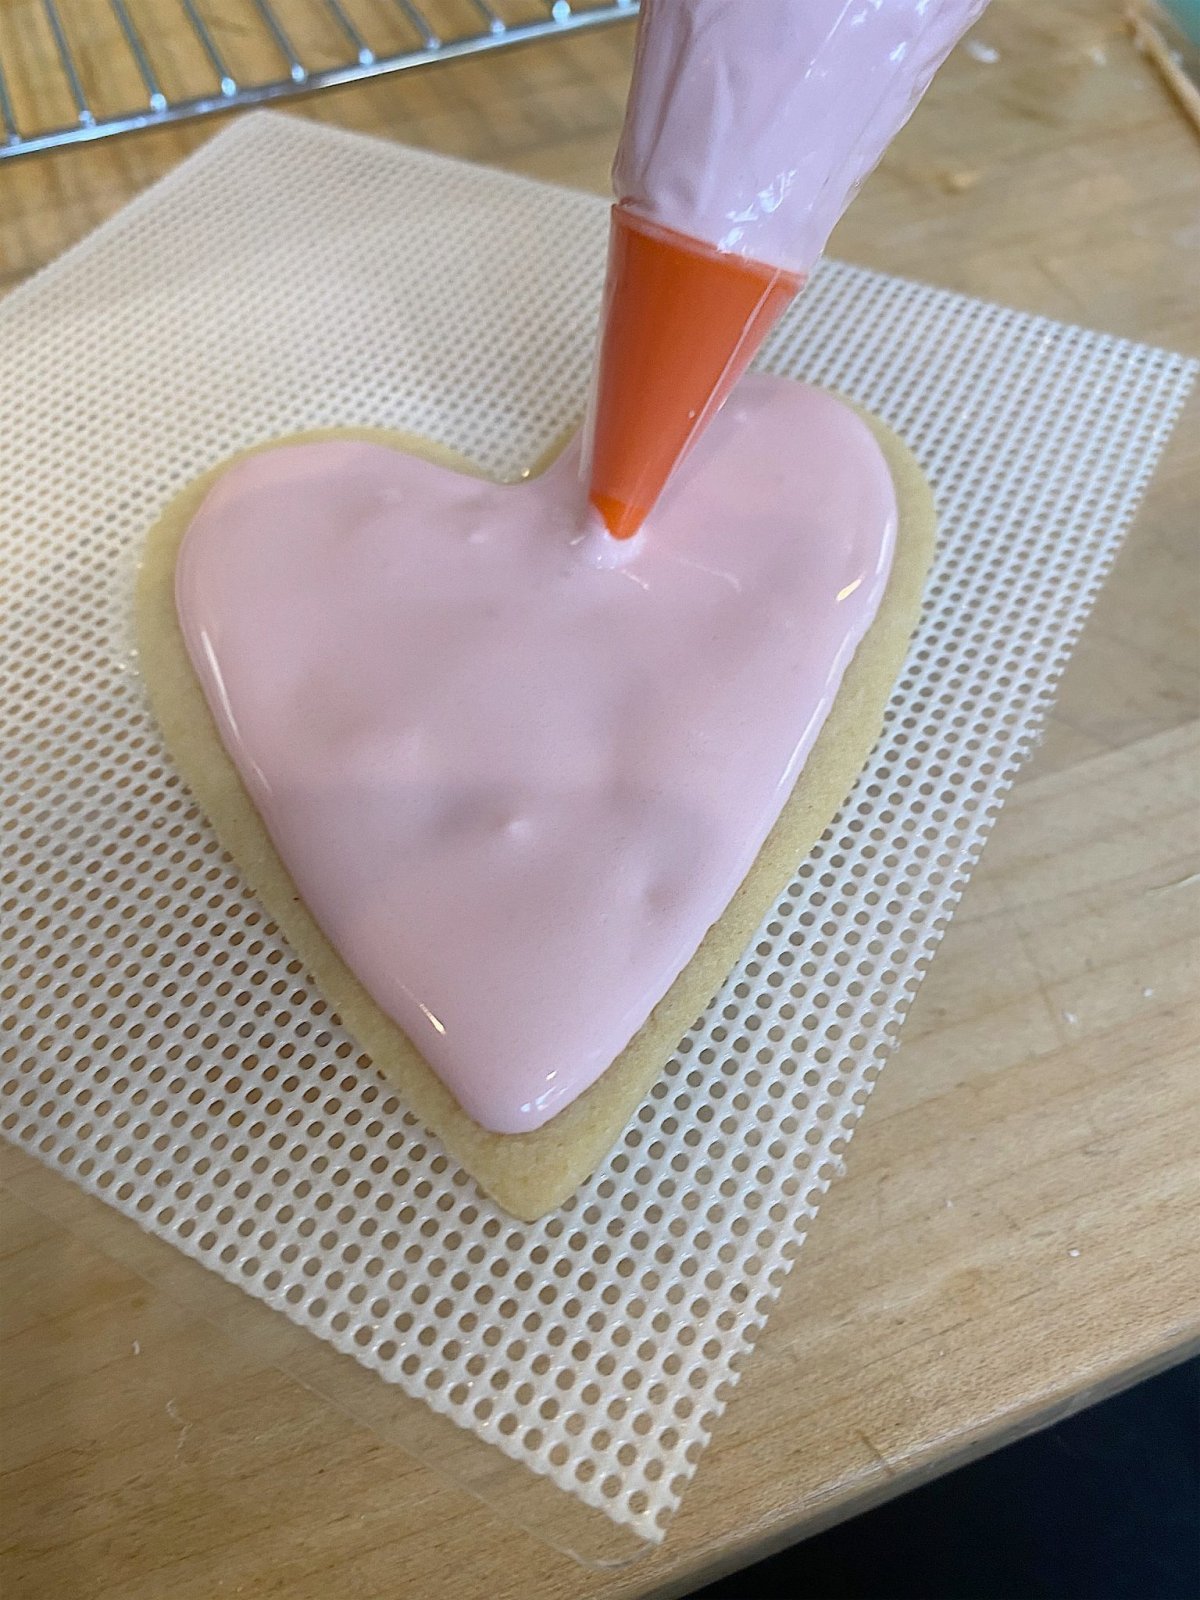
It’s very easy to use Flood icing because it is only two steps. The first step is to pipe an outline around the outside edge of the cookie.
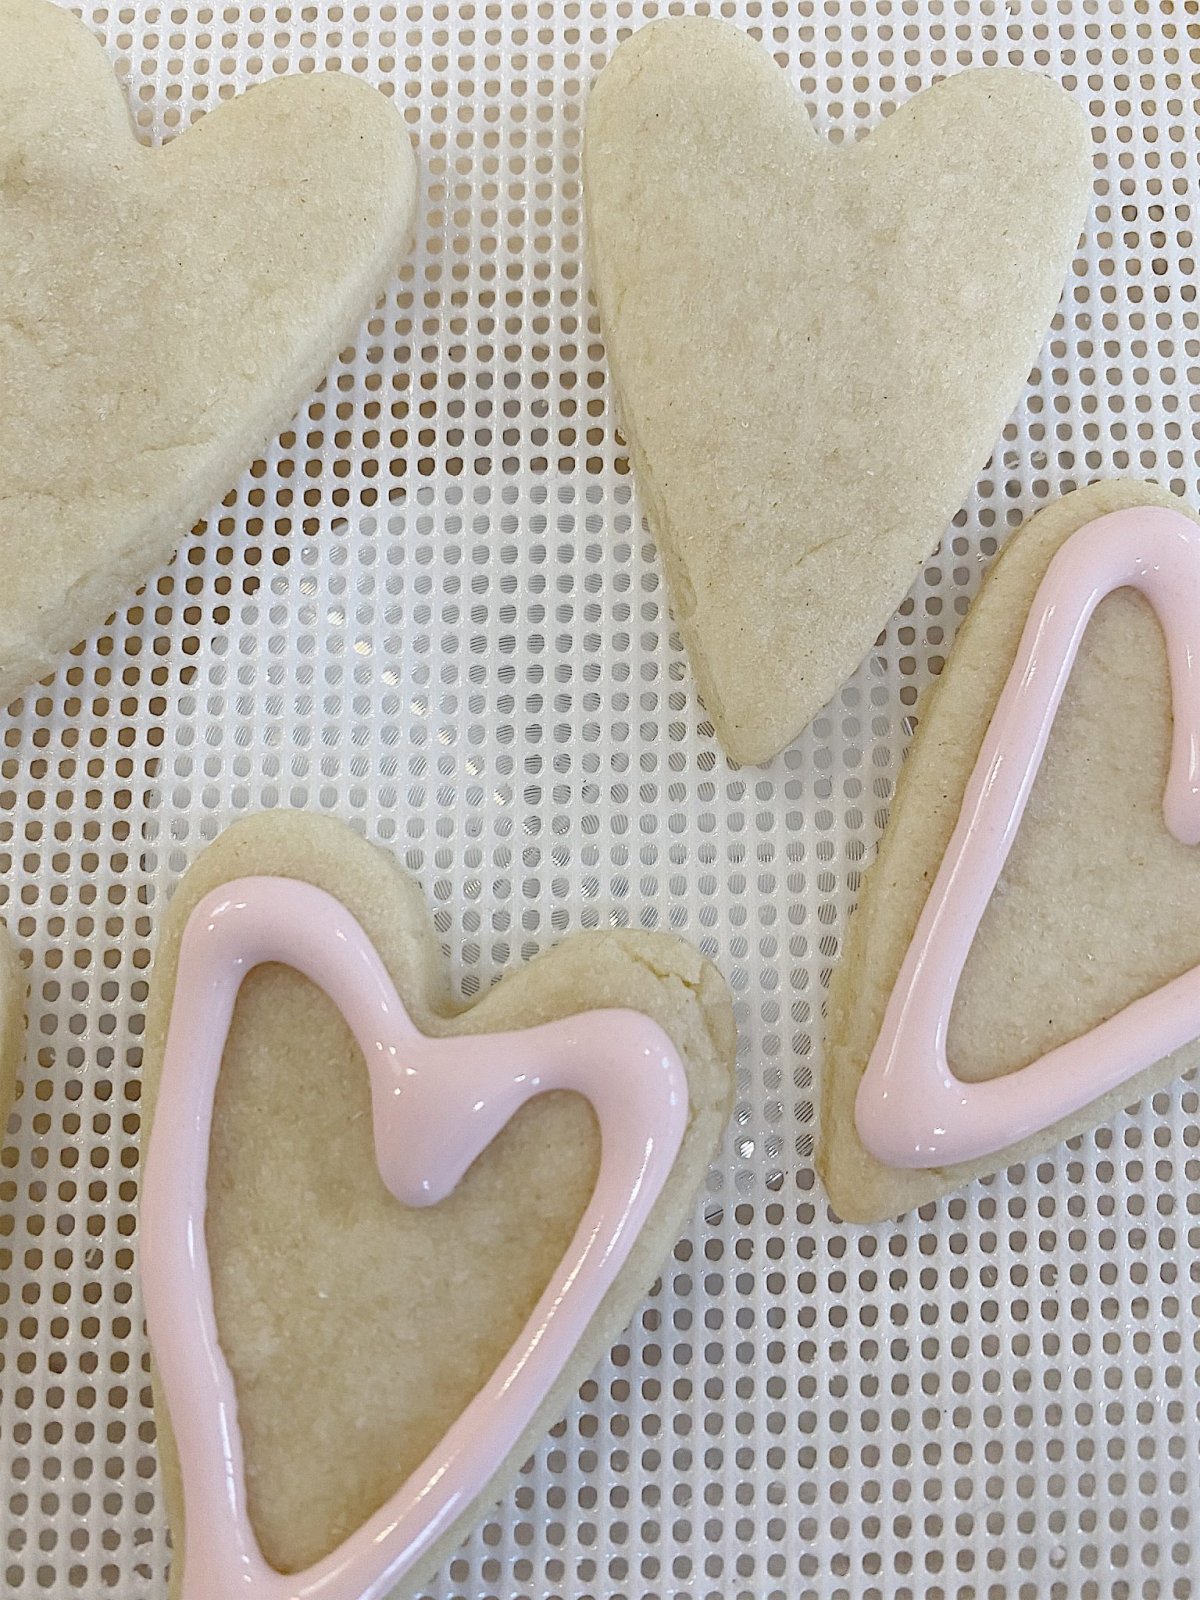
The second step is to apply more pressure to fill inside the outline.

Use the icing tip or a skewer to fill the area completely. Pop any air bubbles that appear. Gently shake the cookie back and forth to even out the icing.
To make polka dots, add dots of flood icing of a different color, immediately on top the flood icing (before it dries).
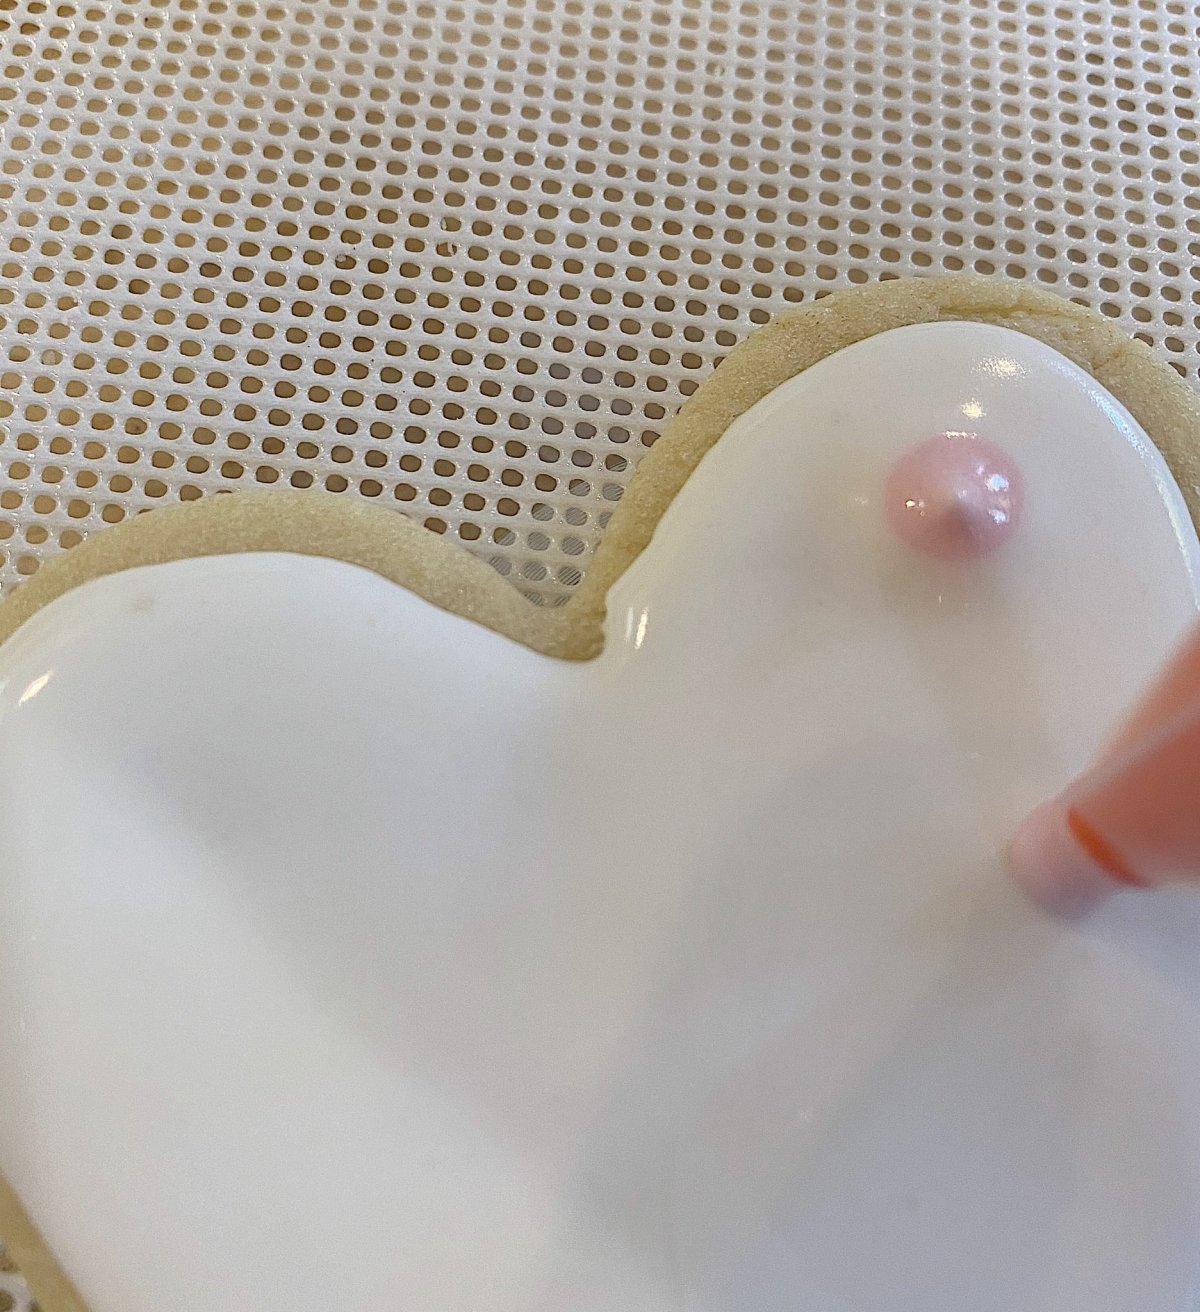
Within a few seconds, the dots will flatten and look great!

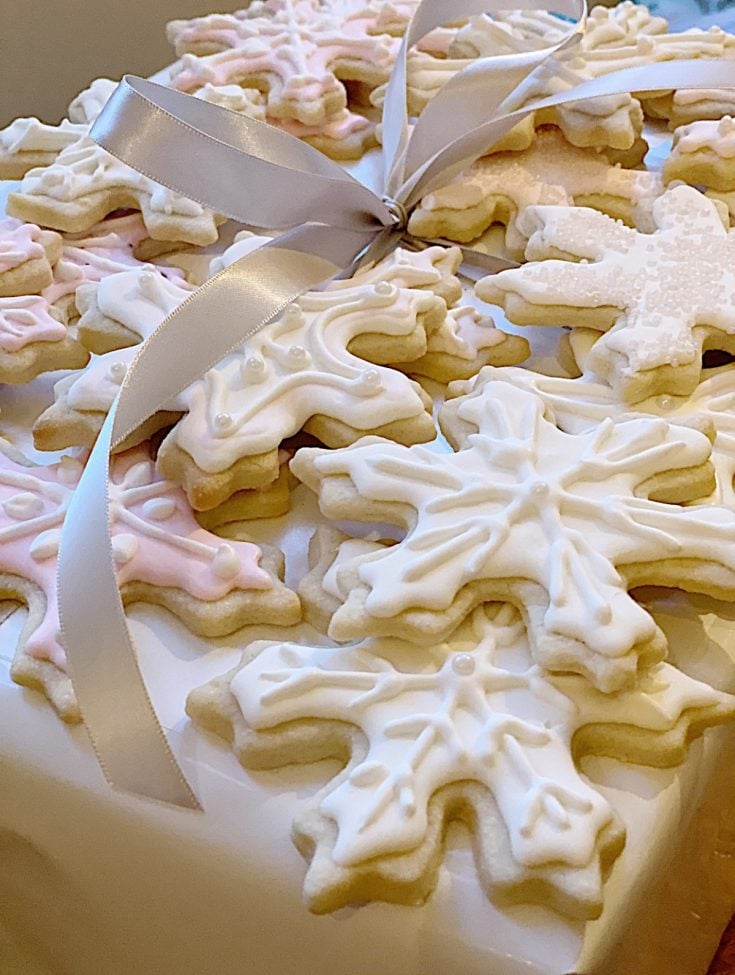
Don’t the Royal icing cookies look adorable?

Next, let the flood icing dry and then add the decorative icing on top.

I am so in love with these polka dot cookies. I can’t believe how the using the Wilton royal icing mix made it so easy to make these cookies!

There are other decorating tips in the kit that show how to make your own sprinkles and decorative writing with royal icing. I am going to try those next time.

This video shows you how how to decorate cookies with royal icing using both types, flood and decorative icing.
This was so much fun and I can’t wait to bake and decorate more cookies with Royal Icing.
Pin the image below to your Cookie or Recipe boards on Pinterest (just click the Pin button in the top left corner). You can also follow along with me on Pinterest!

For more real-time updates, follow me on Instagram @My100YearOldHome


This has absolutely inspired me to do a cookie night with my kids for Valentine’s Day. And I am going to try that sugar cookie recipe!
Great inspiration! I like your detailed directions. Thanks.
These are really cute!
I’ve wanted to try this forever but have always been so confused by the instructions. Thanks Leslie for making it a language I can understand. Definitely giving it a try! (and the sugar cookie recipe sounds delicious!)
This is wonderful. At Last I have simplest guide to help me prepare my cookies. Thank You
OMG, these are out-of-this-world adorable. They are too pretty to eat. I think my heart would sink watching someone eat my cookies if they were this cute. I would bake them and enjoy looking at them for days before anyone would be allowed to eat them. LOL!
Great to know. I always thought you had to outline with the stiffer and then flood with the thinner. Thanks!
Where did you get your cookie cutters? i love their whimsical shapes!
I love your cookie directions and have ordered the Wilton kit “Royal Icing 101” because I live quite a distance from a JoAnns store. I can’t wait for it to arrive tomorrow!
I am curious about the cookie cutters. I see another follower asked where you got the cookie cutters and you linked to Thistlekeeping – Thistlewood Farm. Another lovely blog to follow….thanks! But I have not found the cookie cutters! Any further advice?
Thank you for this post. I definitely will try this. Is the Royal Icing very hard when dry? Of does it have a little “bite” to it?
Kathy
The icing hardens just enough to keep its shape, but is soft when you bit into it! I hope that helps.
Just to comment-as I don’t know about this particular RI, but if you want a softer bite
Add in about 1Tbl corn syrup and or a tsp or two of food grade glycerin
I remember when you first posted this and I filed it away in my head knowing someday I would need to resource it. Well, this weekend is the time. I’m making some Easter sugar cookies and am going to use your directions. Thank you for making them easy to follow along.
The cakes really looks sweet, thanks for sharing your article.
Thank you so much!
Was so excited to try this but the cookie dough recipe was a fail. Very dry and near impossible to shape into discs. Tried to roll out after chilling and again, beyond difficult. Very dry and brittle. Followed the recipe exactly even weighing my ingredients. I’ve been making cool ones for years and have never experienced this with a dough.
Just thought I’d pass along the feedback for anyone interested.
Excellent info! Thank you!
The only suggestion I have is I wish the video did not have music running the whole duration. I watched the video, but I could not understand your words with the competing music volume.
Oh I’m sorry to hear that! Noted for next time.