Valentine’s Day Charcuterie Board Ideas
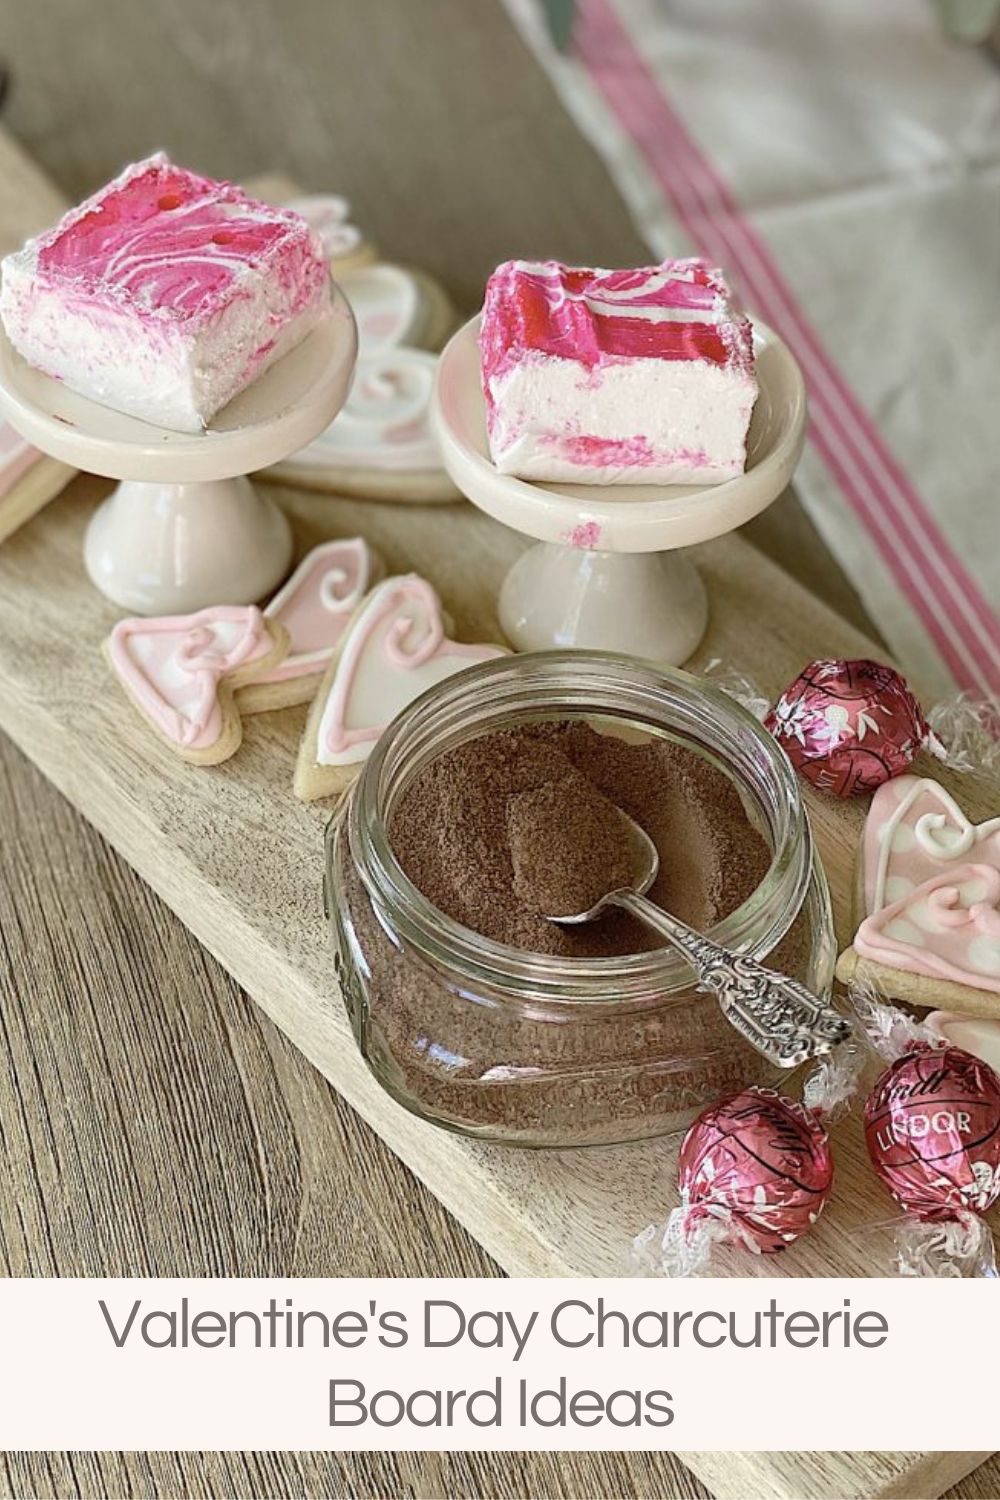
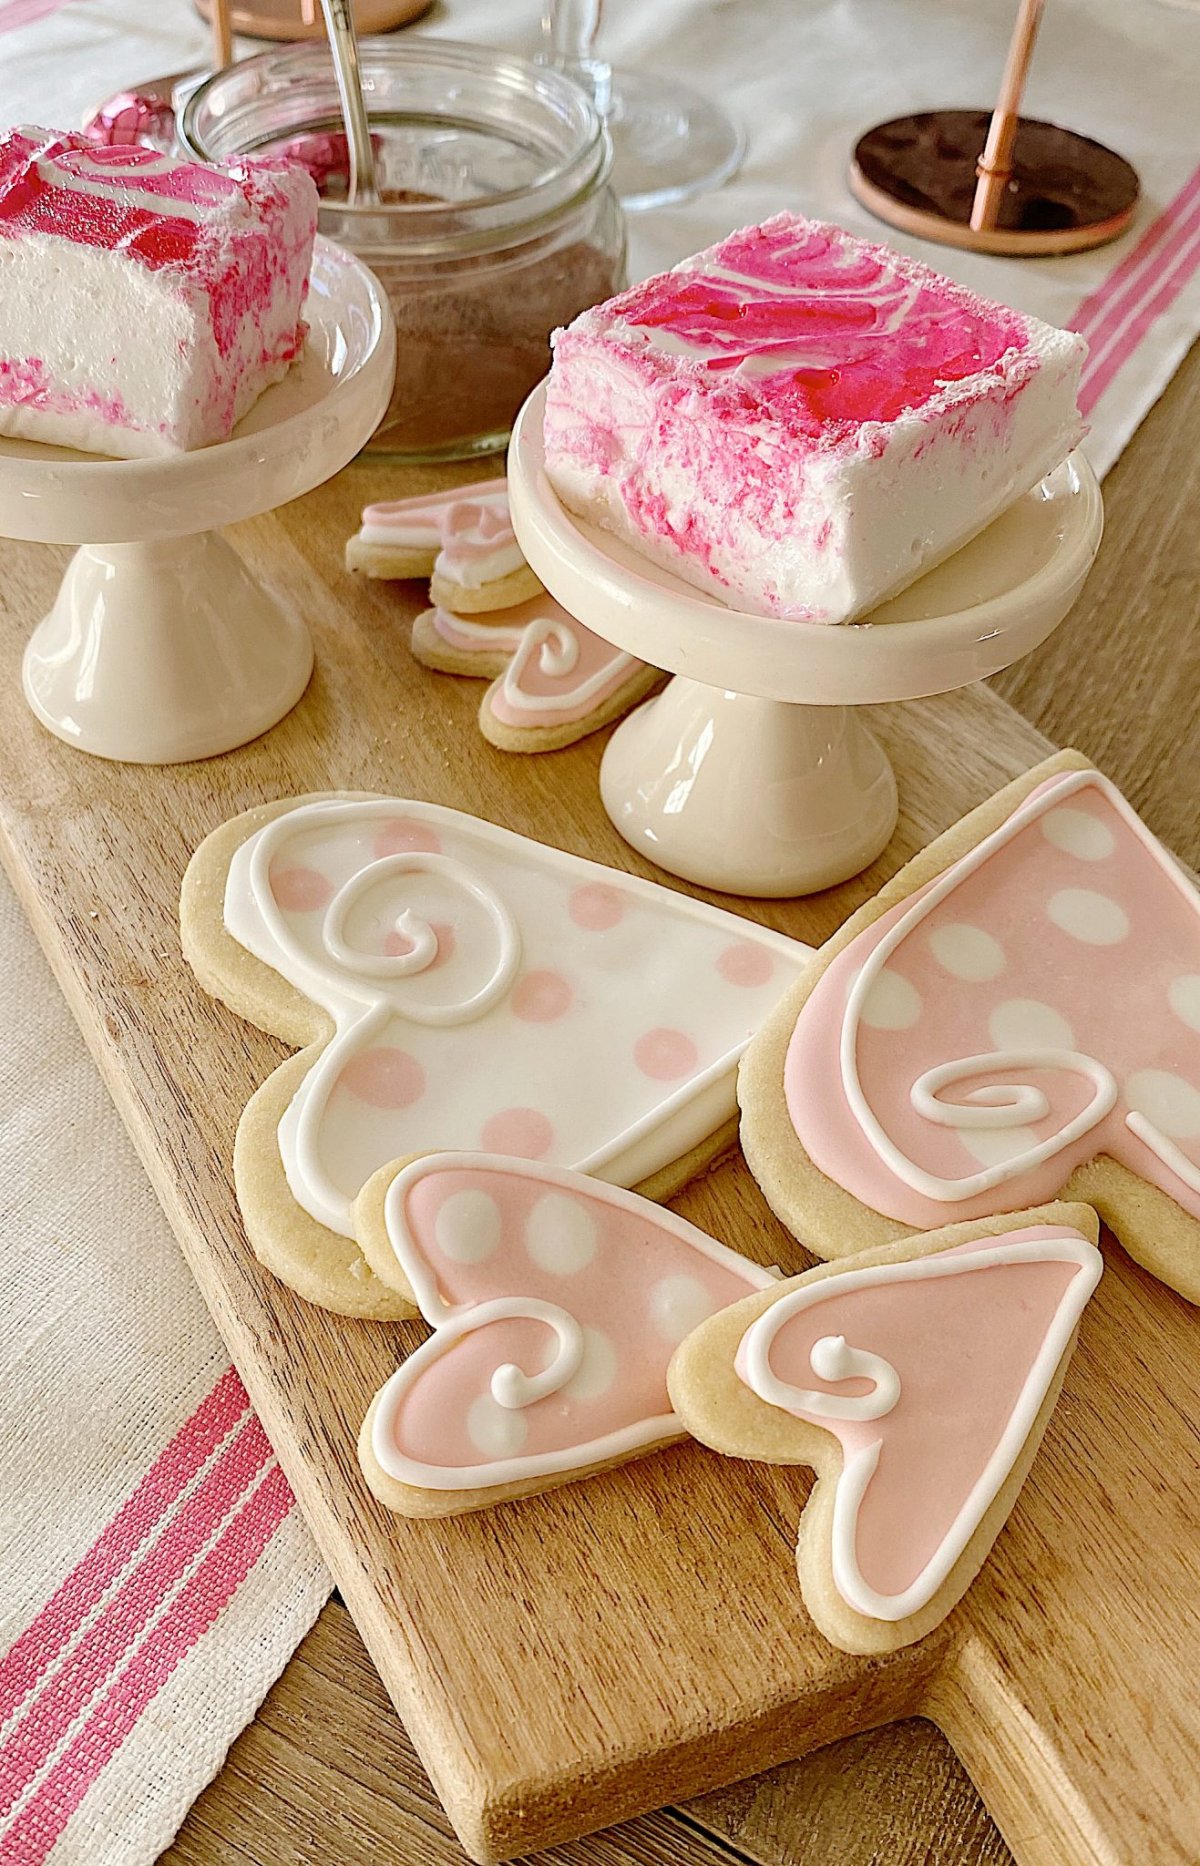
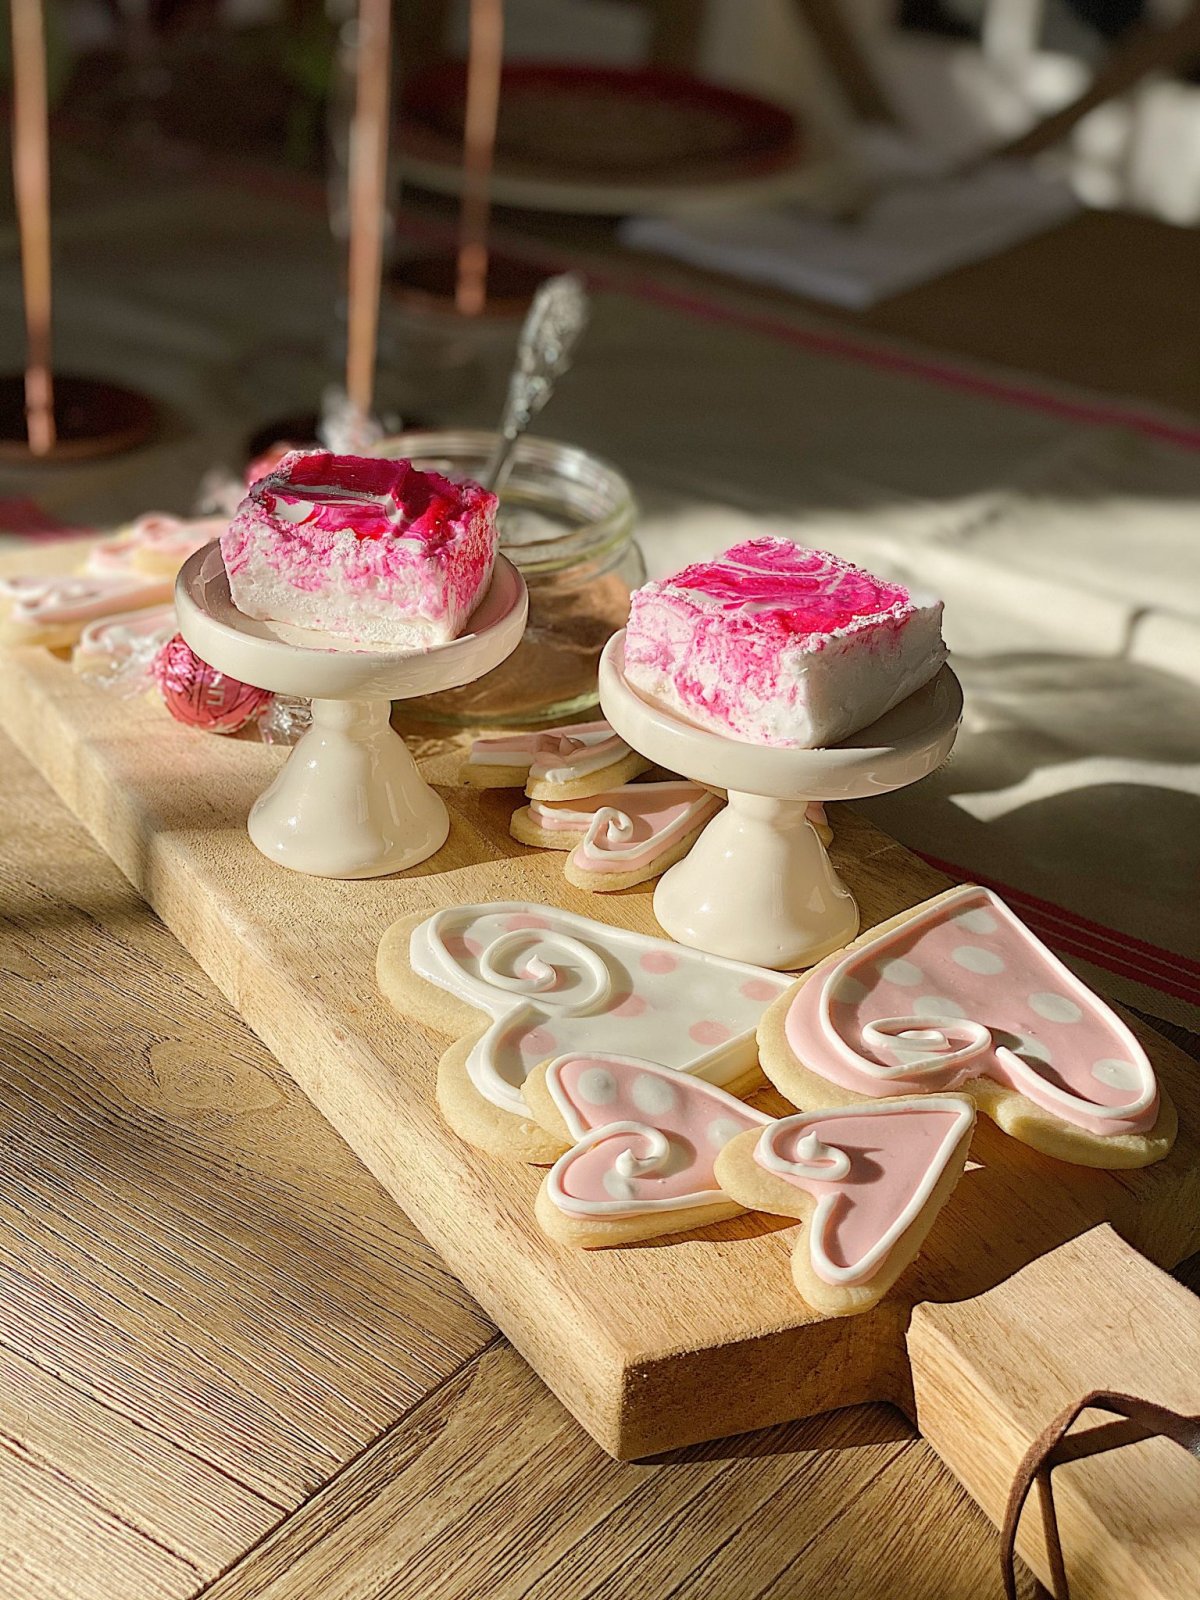
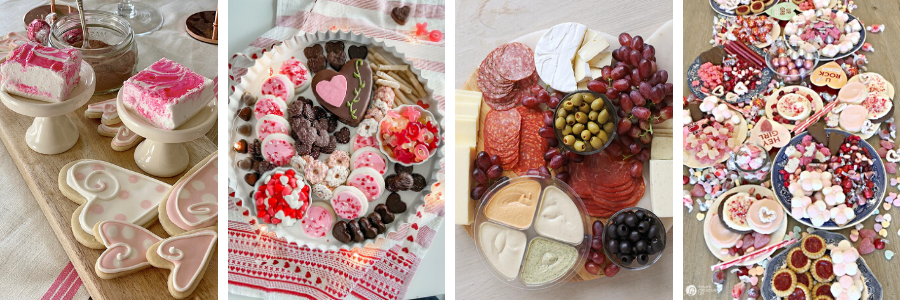
I am getting ready for Valentine’s Day, and today, I made a Valentine’s Day Charcuterie Board. It is full of yummy dessert ideas!
The hardest thing about making a charcuterie board is figuring out how to pronounce it. Just kidding! If you need to know, it is pronounced: “shar-KOOT-ter-ee”. I made an after-dinner dessert charcuterie board with lots of homemade goodies. Today, you will find recipes for Pink Peppermint Swirl Marshmallows, Homemade Hot Chocolate, and Royal Icing Sugar Cookies. Yum.


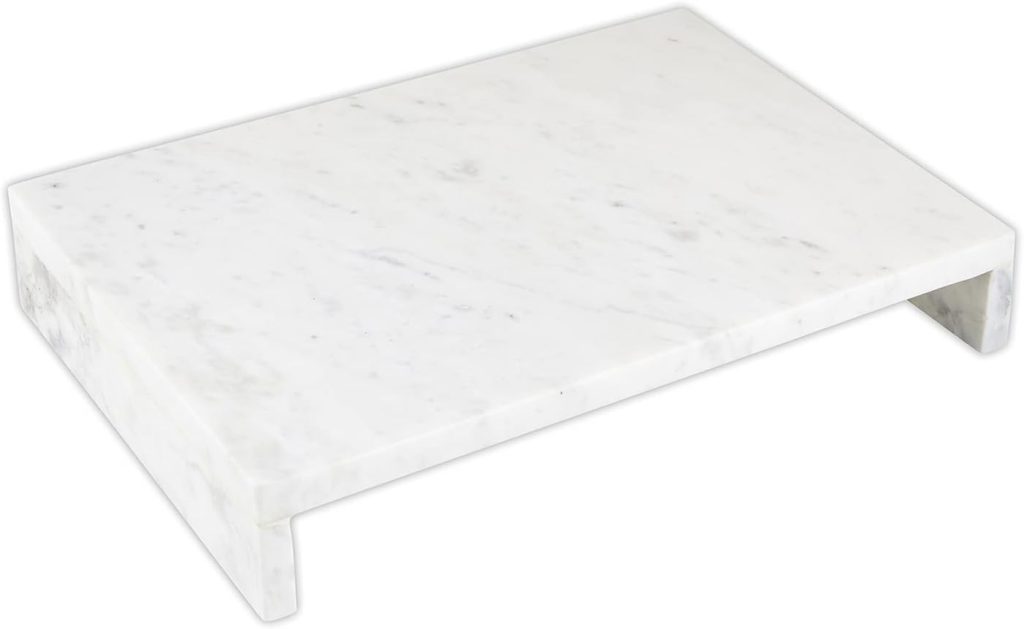
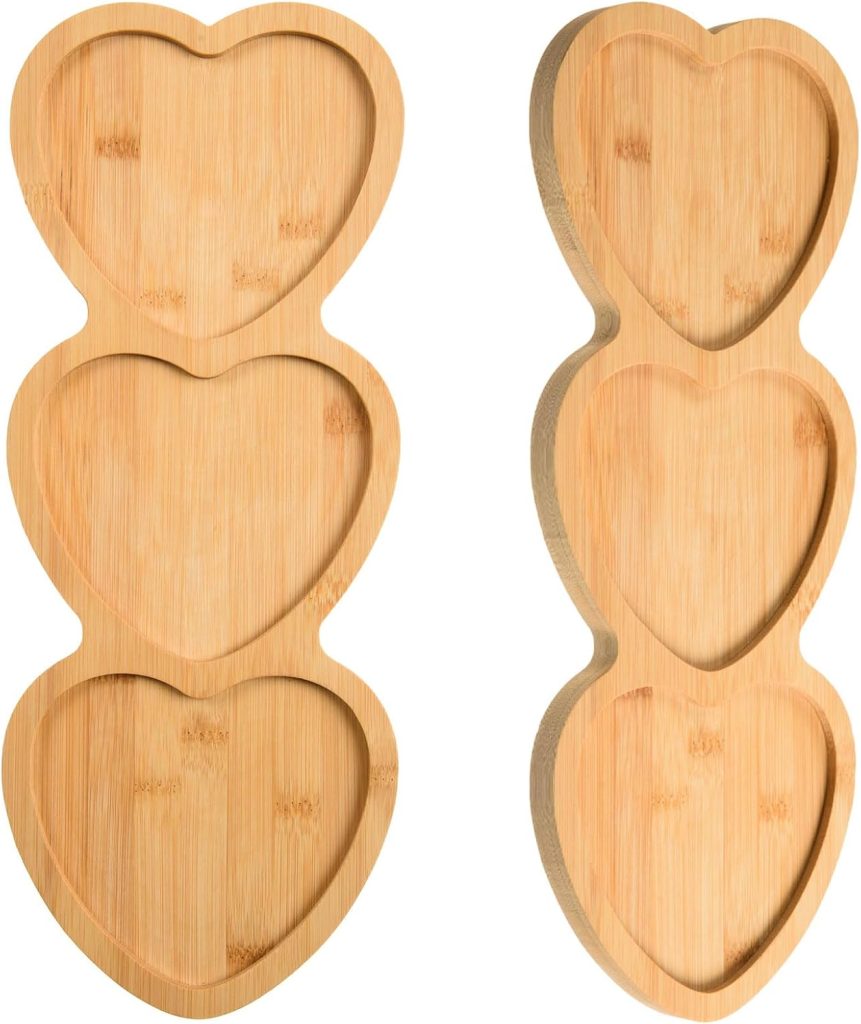
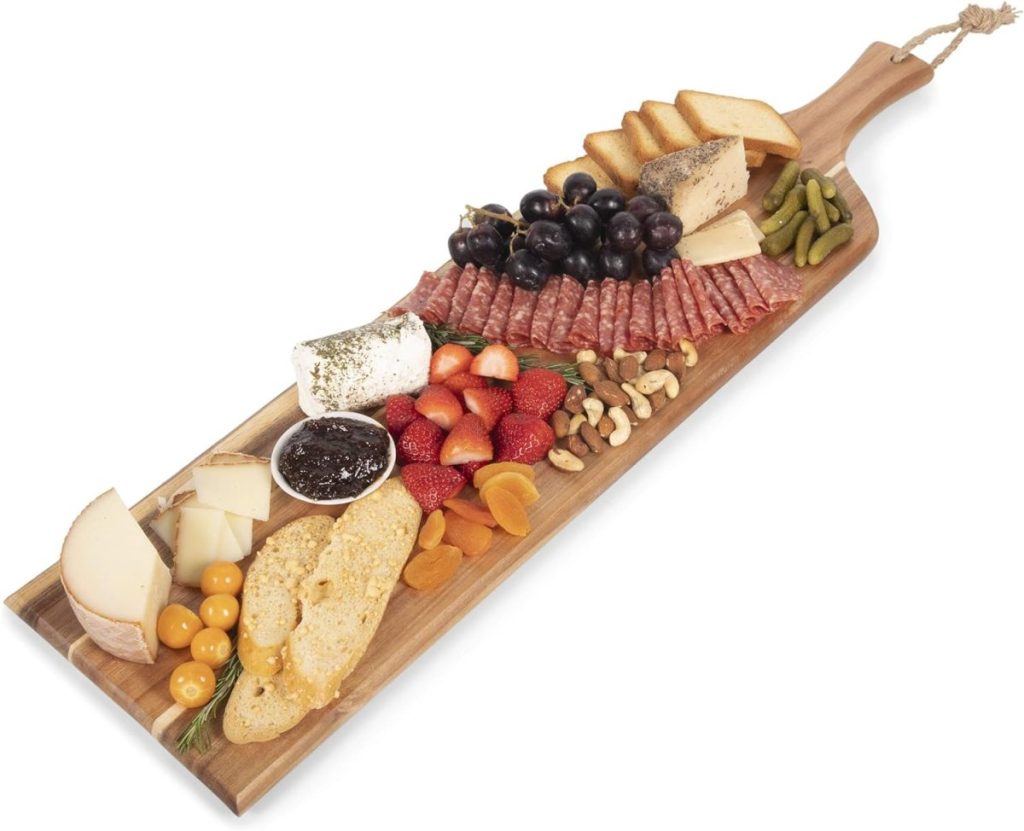
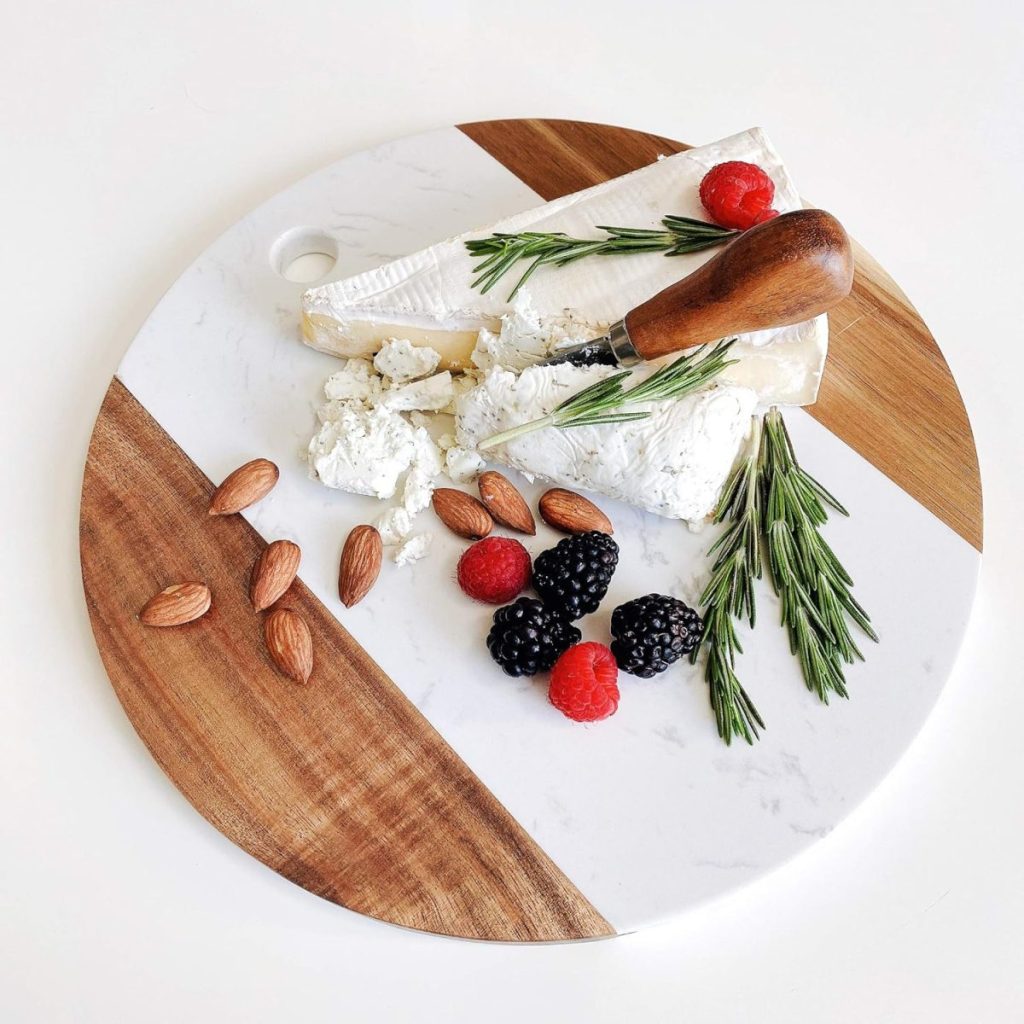
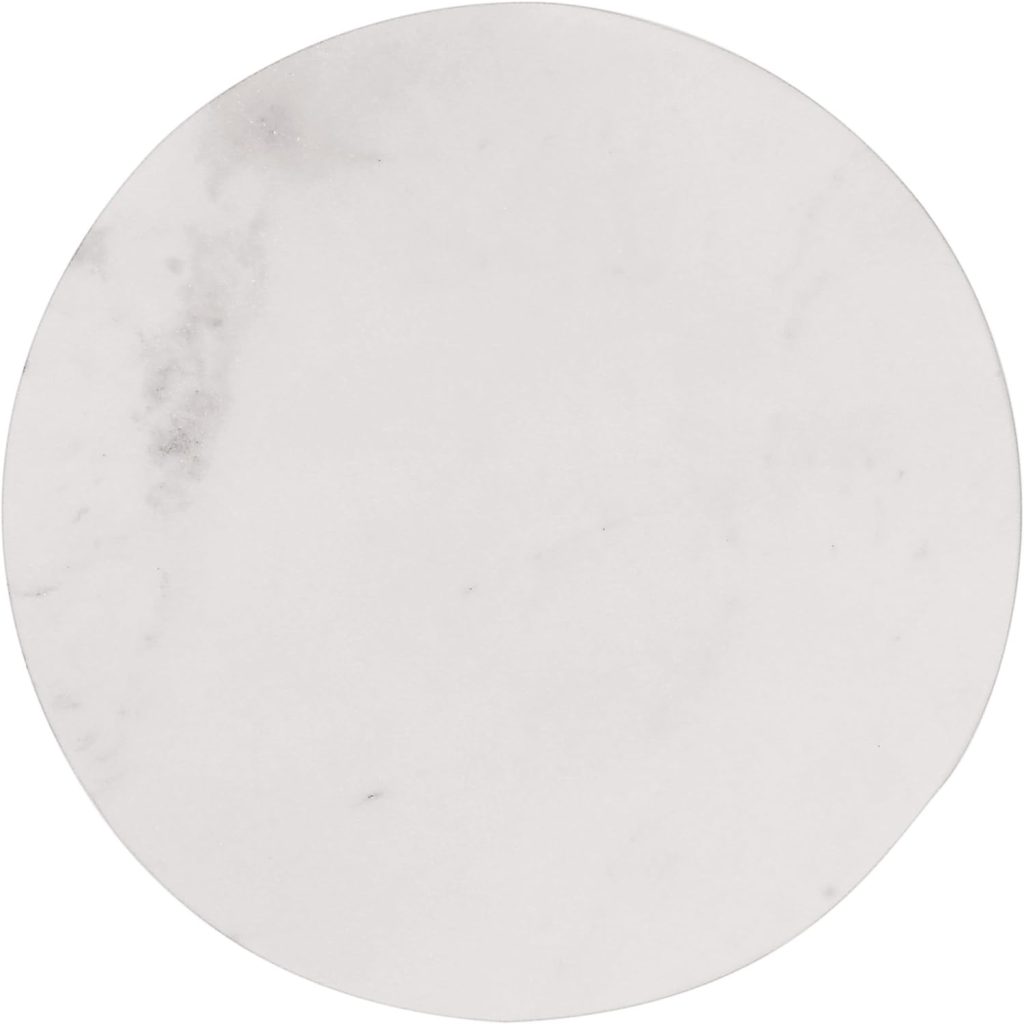
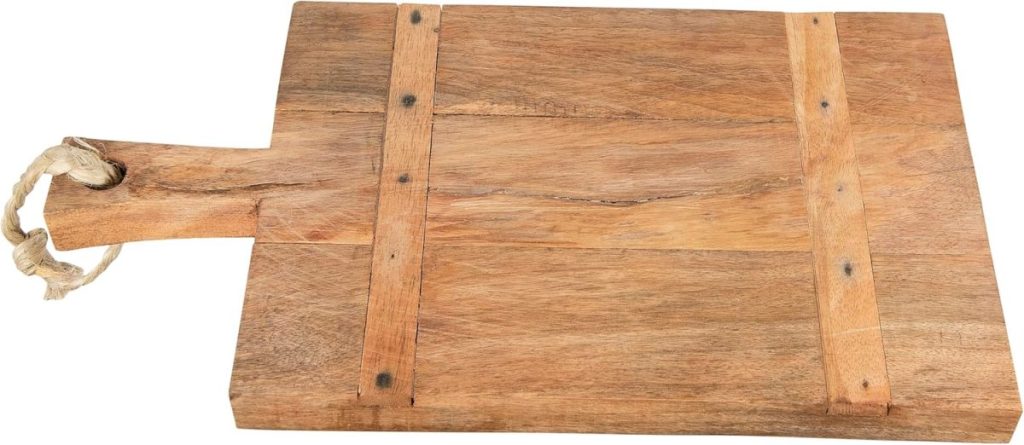
Putting together a Valentine’s Day Dessert Charcuterie Board is not only a lot of fun but also very practical. Wooden and marble cutting boards are an excellent way to display appetizers, desserts, salad bar items, really, just about anything.
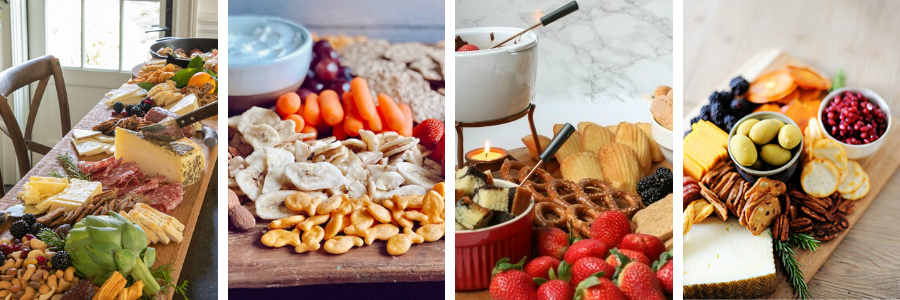
I try to make a charcuterie board as often as I can. While I have boards in many sizes, I have one board that is five feet long. It needs about one hundred items to fill it up, and I cannot wait for the day when I figure out how to use it affordably.
Today, I joined nineteen other bloggers who are sharing charcuterie board ideas. Be sure to scroll through this post to see all of the fantastic ideas.
I may sometimes use affiliate links on this blog, which means I earn a small commission if you purchase through the link. The price will be the same whether you use the affiliate link or go directly to the vendor’s website using a non-affiliate link.

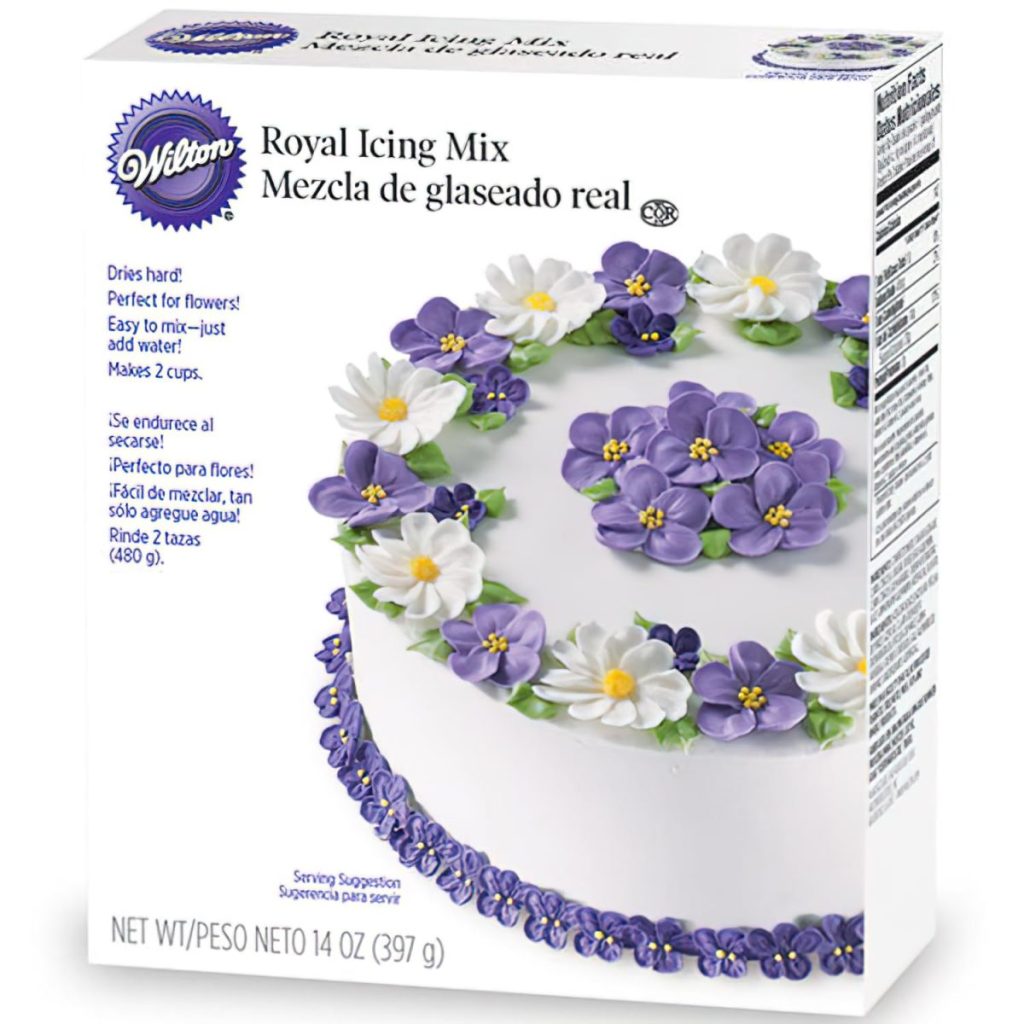
Sugar Cookies with Royal Icing
I wrote a blog post about how I decorated these sugar cookies while using Royal Icing for only the second time. The cookies weren’t hard to make, and you can find the how-to instructions and a video here. I love how these came out.
The Best Sugar Cookies with Royal Icing

These sugar cookies are light and flaky and have a slight taste of lemon. I love how they taste!
Ingredients
- Sugar Cookies
- 2 cups all-purpose flour
- 1/4 teaspoon salt
- 1/2 teaspoon baking powder
- 1/2 cup (1 stick) unsalted butter
- 1 cup sugar
- 1 large egg, lightly beaten
- 1 tablespoons milk
- 1 TBL lemon juice
- 1/2 teaspoon pure vanilla extract
- Royal Icing
- 5 tbl warm water
- 3 TBL Meringue Powder (with vanilla)
- 4 cups Powdered sugar
Instructions
Whisk together flour, salt, and baking powder in a medium bowl.
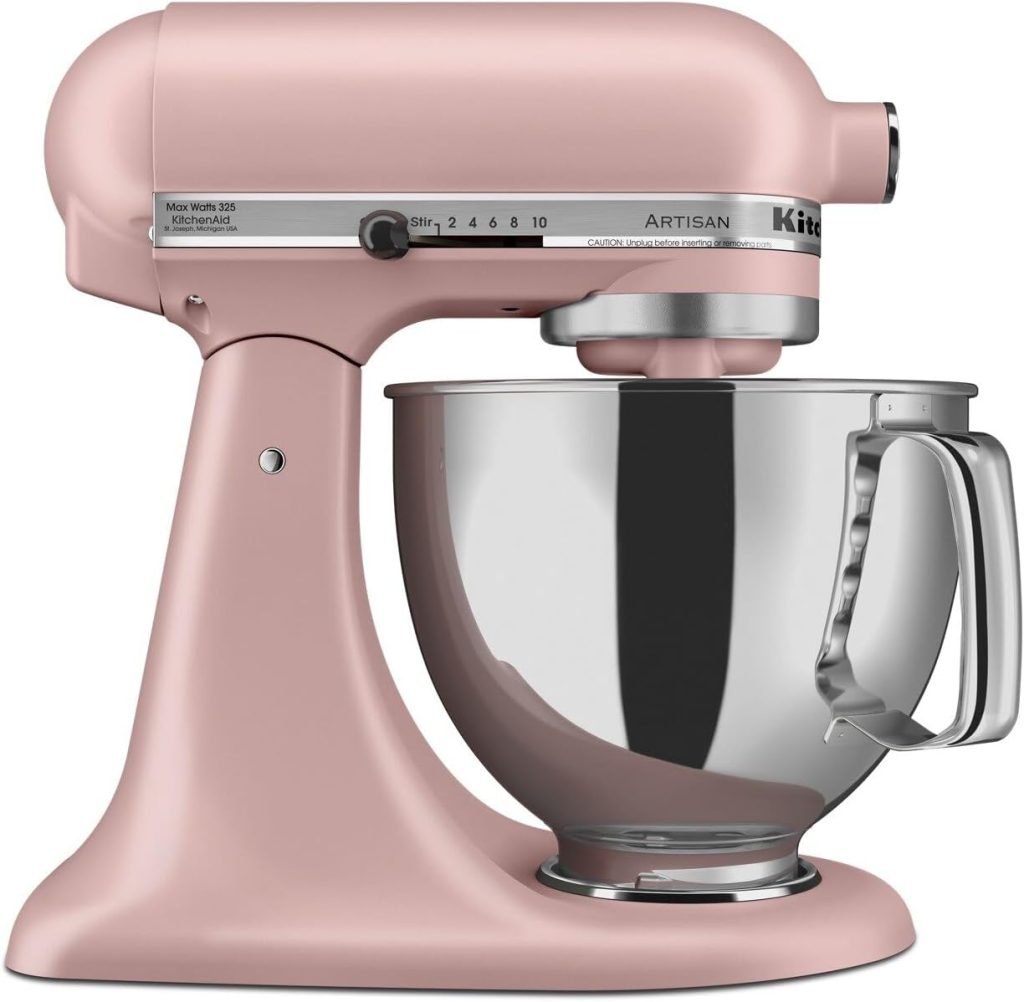
In the bowl of an electric mixer fitted with the paddle attachment, cream
butter, and sugar; add dry ingredients, and mix until incorporated. With the mixer running, add egg, milk, lemon, and vanilla; mix until incorporated.
Transfer dough to a work surface. Shape into 2 discs, cover with plastic wrap and refrigerate
for at least 1 hour.
Preheat oven to 350 degrees. Line baking sheets with nonstick baking mats or
parchment paper; set aside.
On a lightly floured work surface, roll out dough to 1/8-inch thickness. Cut
into desired shapes, and transfer to prepared baking sheets, leaving an inch in
between. Leftover dough can be rolled and cut once more.
Bake until lightly golden, about 10 minutes; do not allow to brown. Transfer to wire racks to cool.
To make Royal Icing, beat all ingredients together until icing forms peaks (about 8 minutes with a heavy-duty mixer, 10 - 12 minutes with a hand mixer). Add additional water until the desired thickness.
If you want the icing to outline and fill then use the 10-second rule. The test is done by dragging the tip of a knife across your frosting, about 1" deep. If the surface of the icing smooths over in roughly ten seconds, then it's ready for use.
What's so great about this thicker icing is you can use the same icing for the outline and for the filling in.

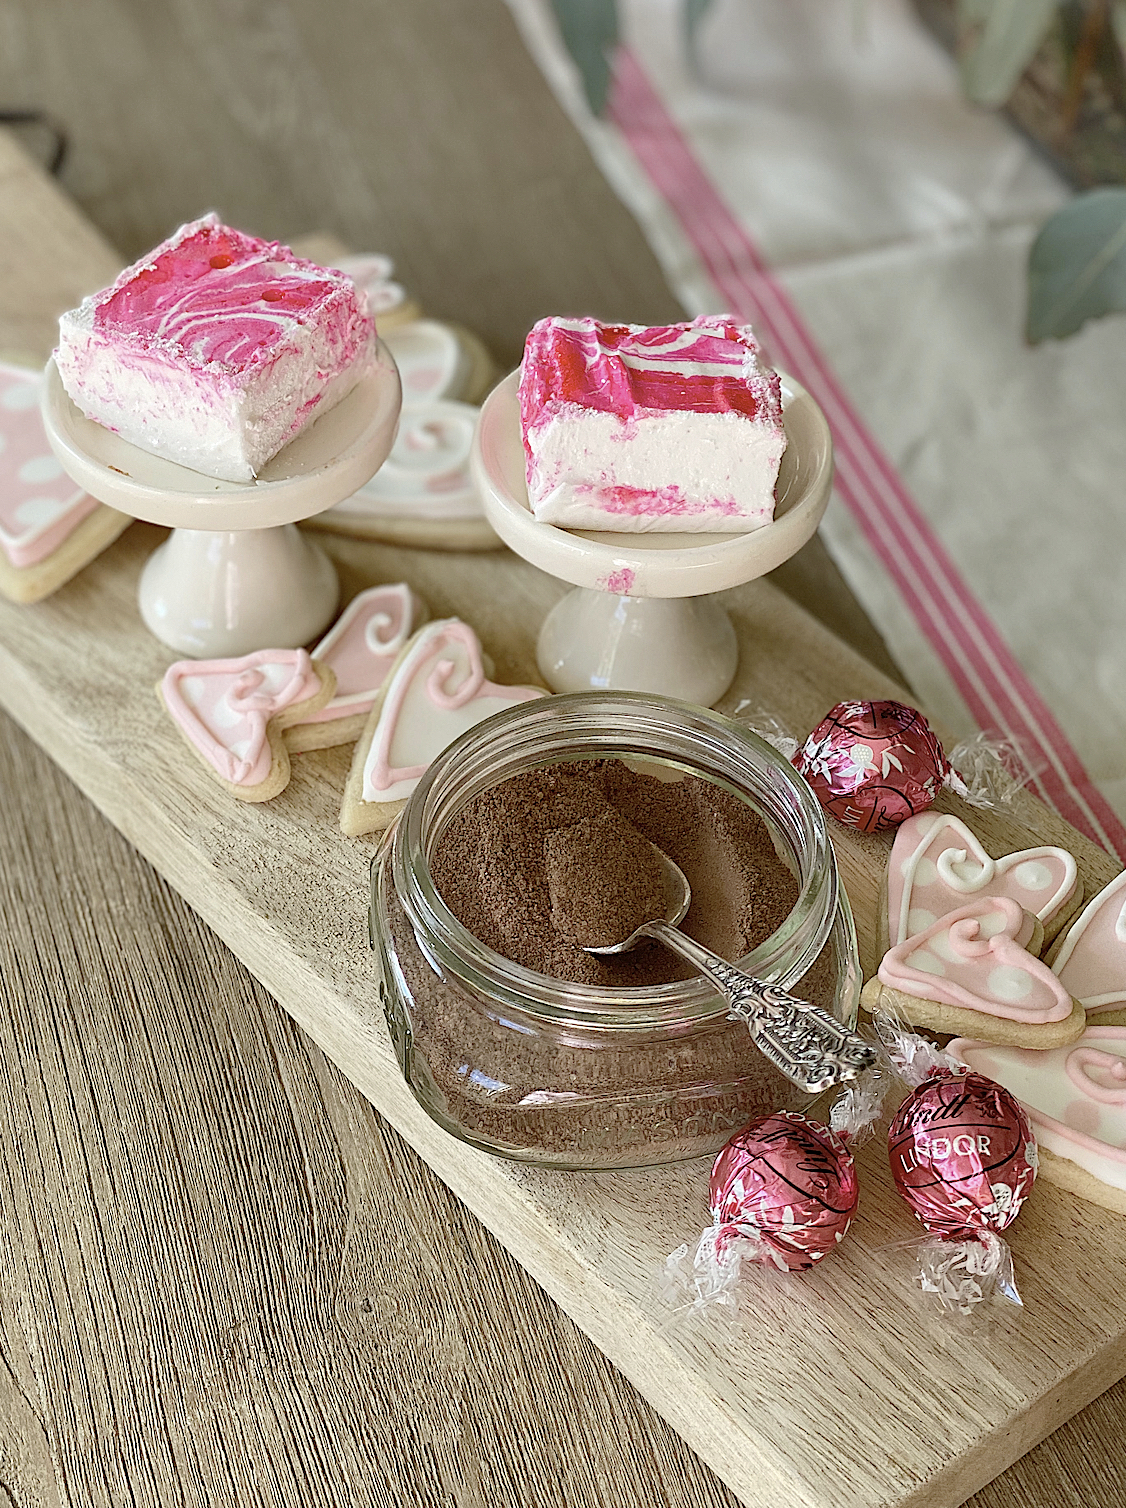
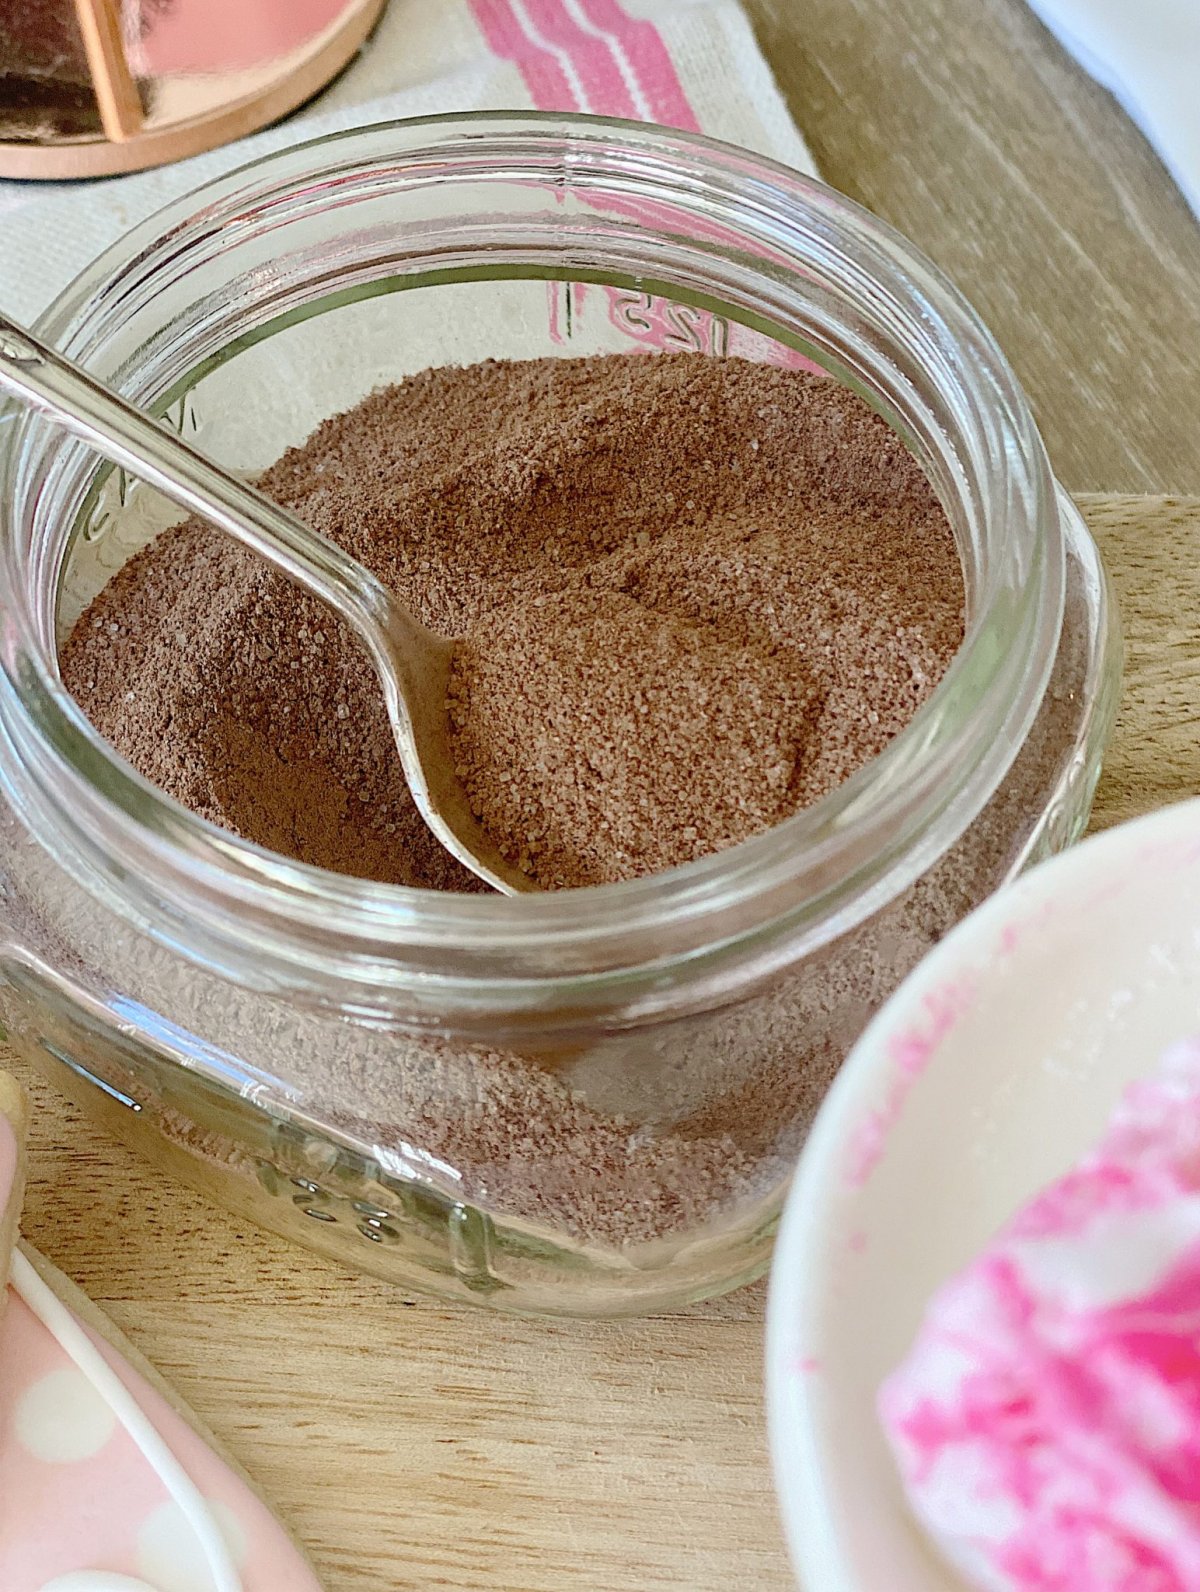
Hot Chocolate Mix
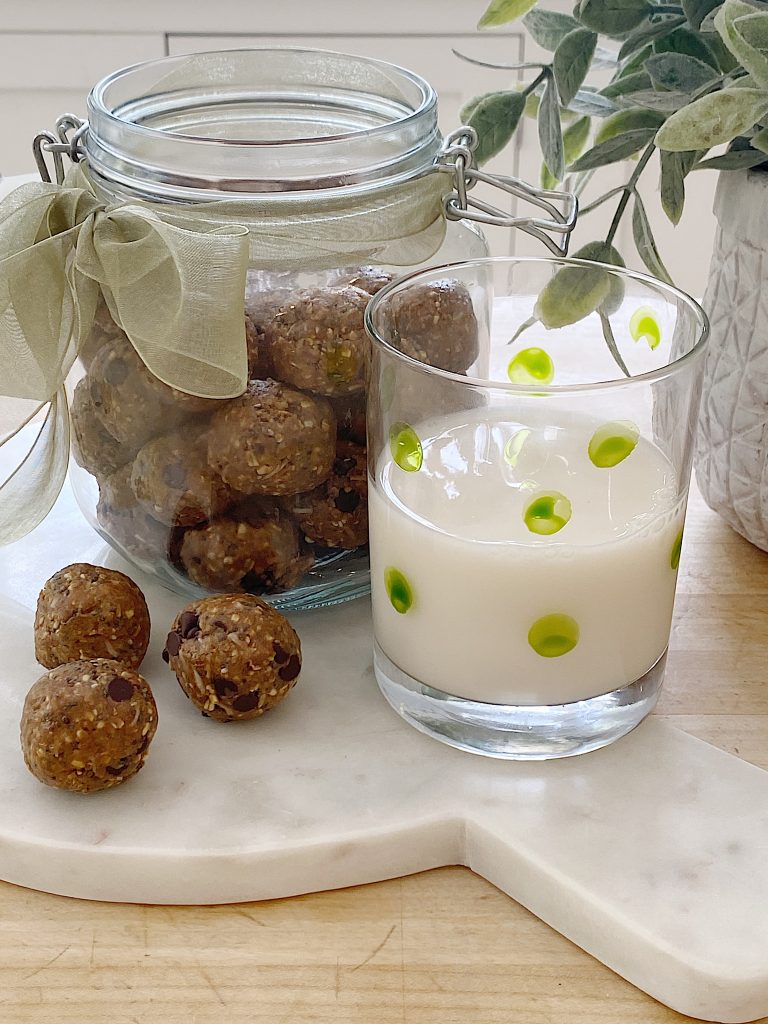
I made this hot chocolate mix using only three ingredients. You are going to love this recipe. It is so easy that I am going to type it out.
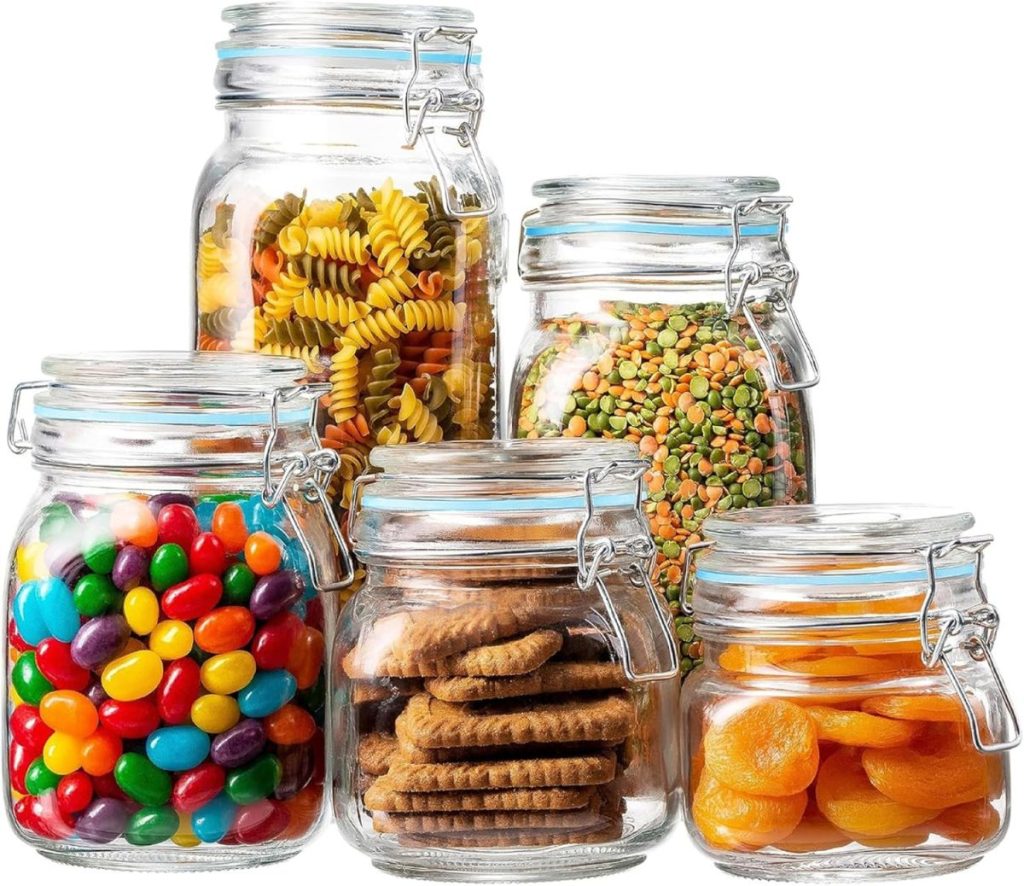
Mix two cups of powdered sugar, one cup of unsweetened cocoa, and two cups of powdered milk. Once the ingredients are mixed, store the mixture in an air-tight jar with a lid. To serve, mix one cup of hot water and 1/3 cup of hot chocolate.
See, I told you it was easy.

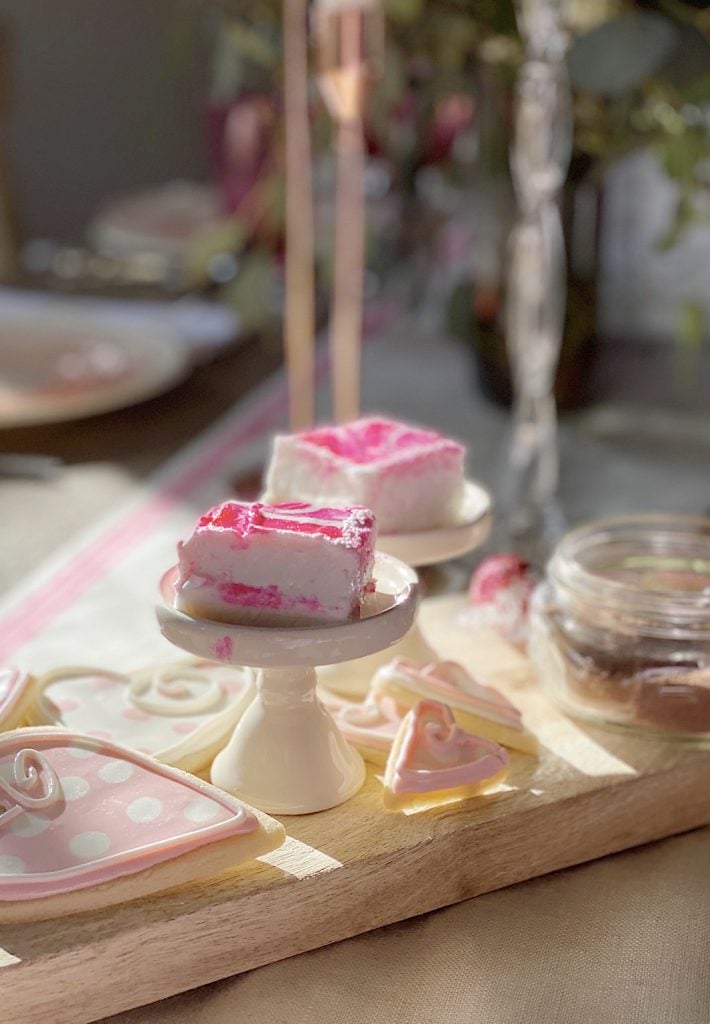
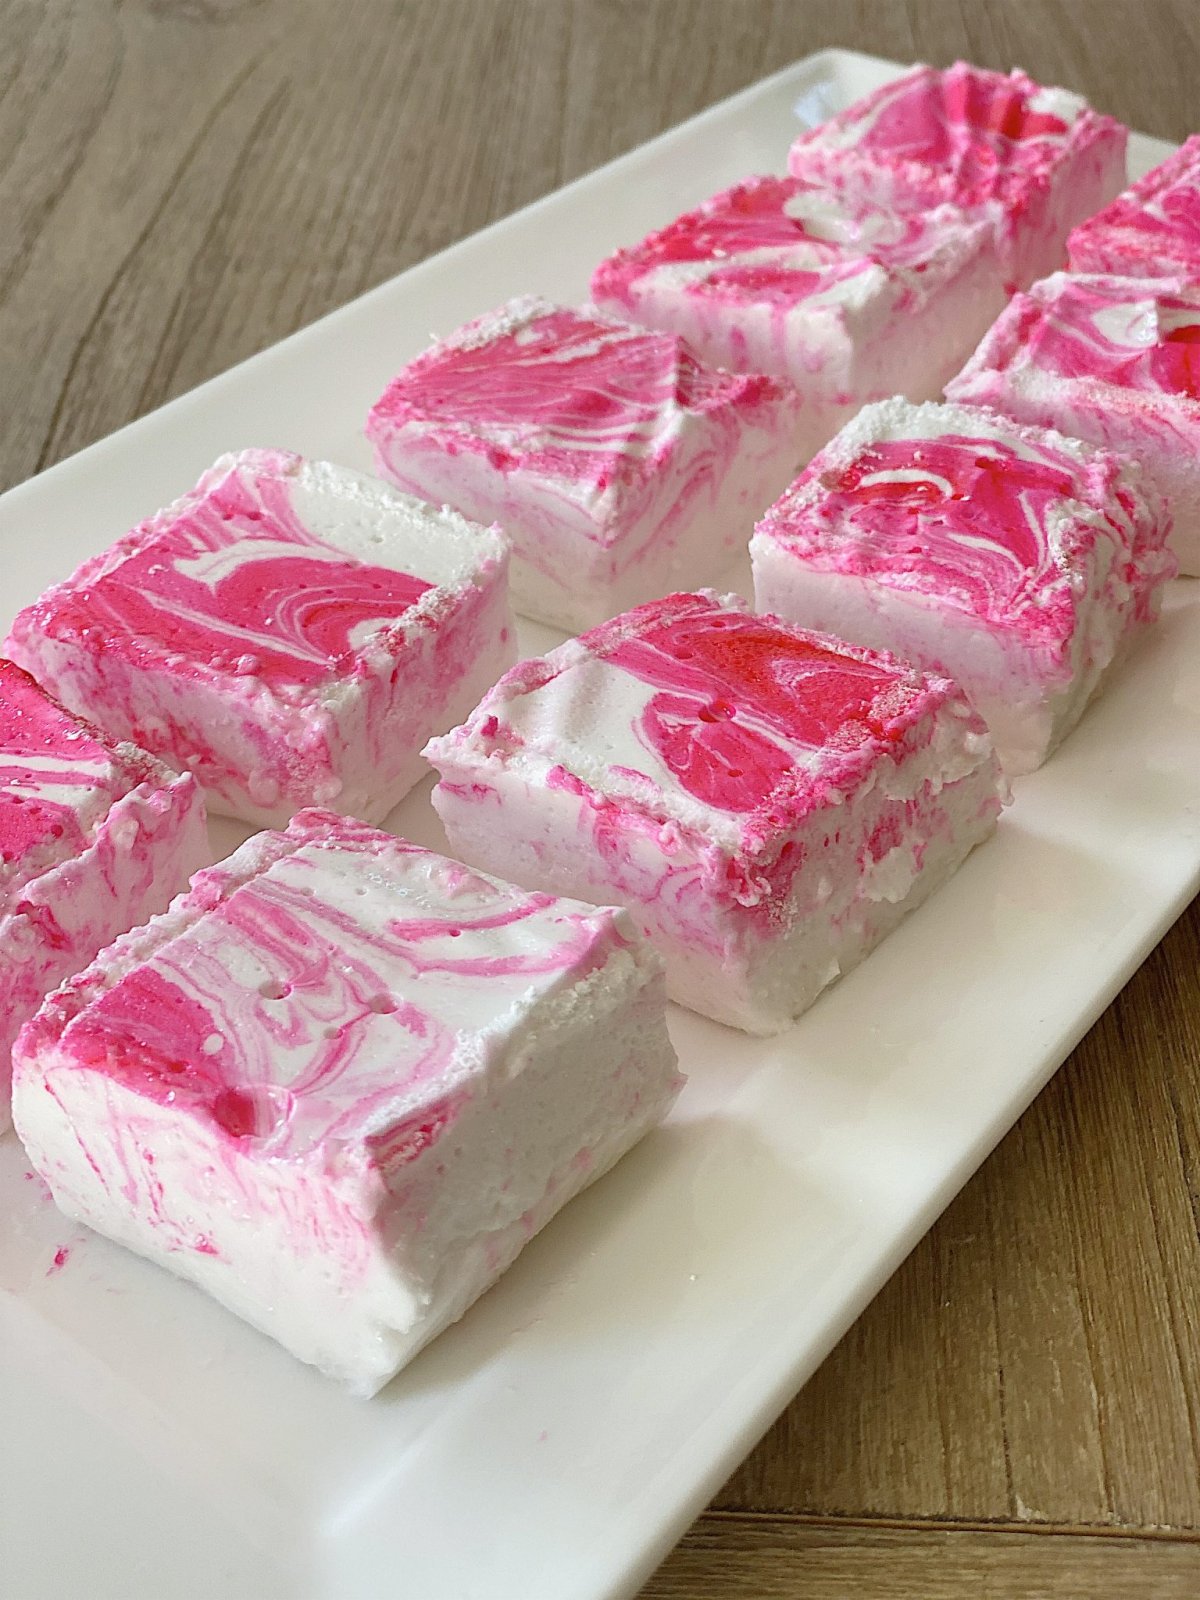
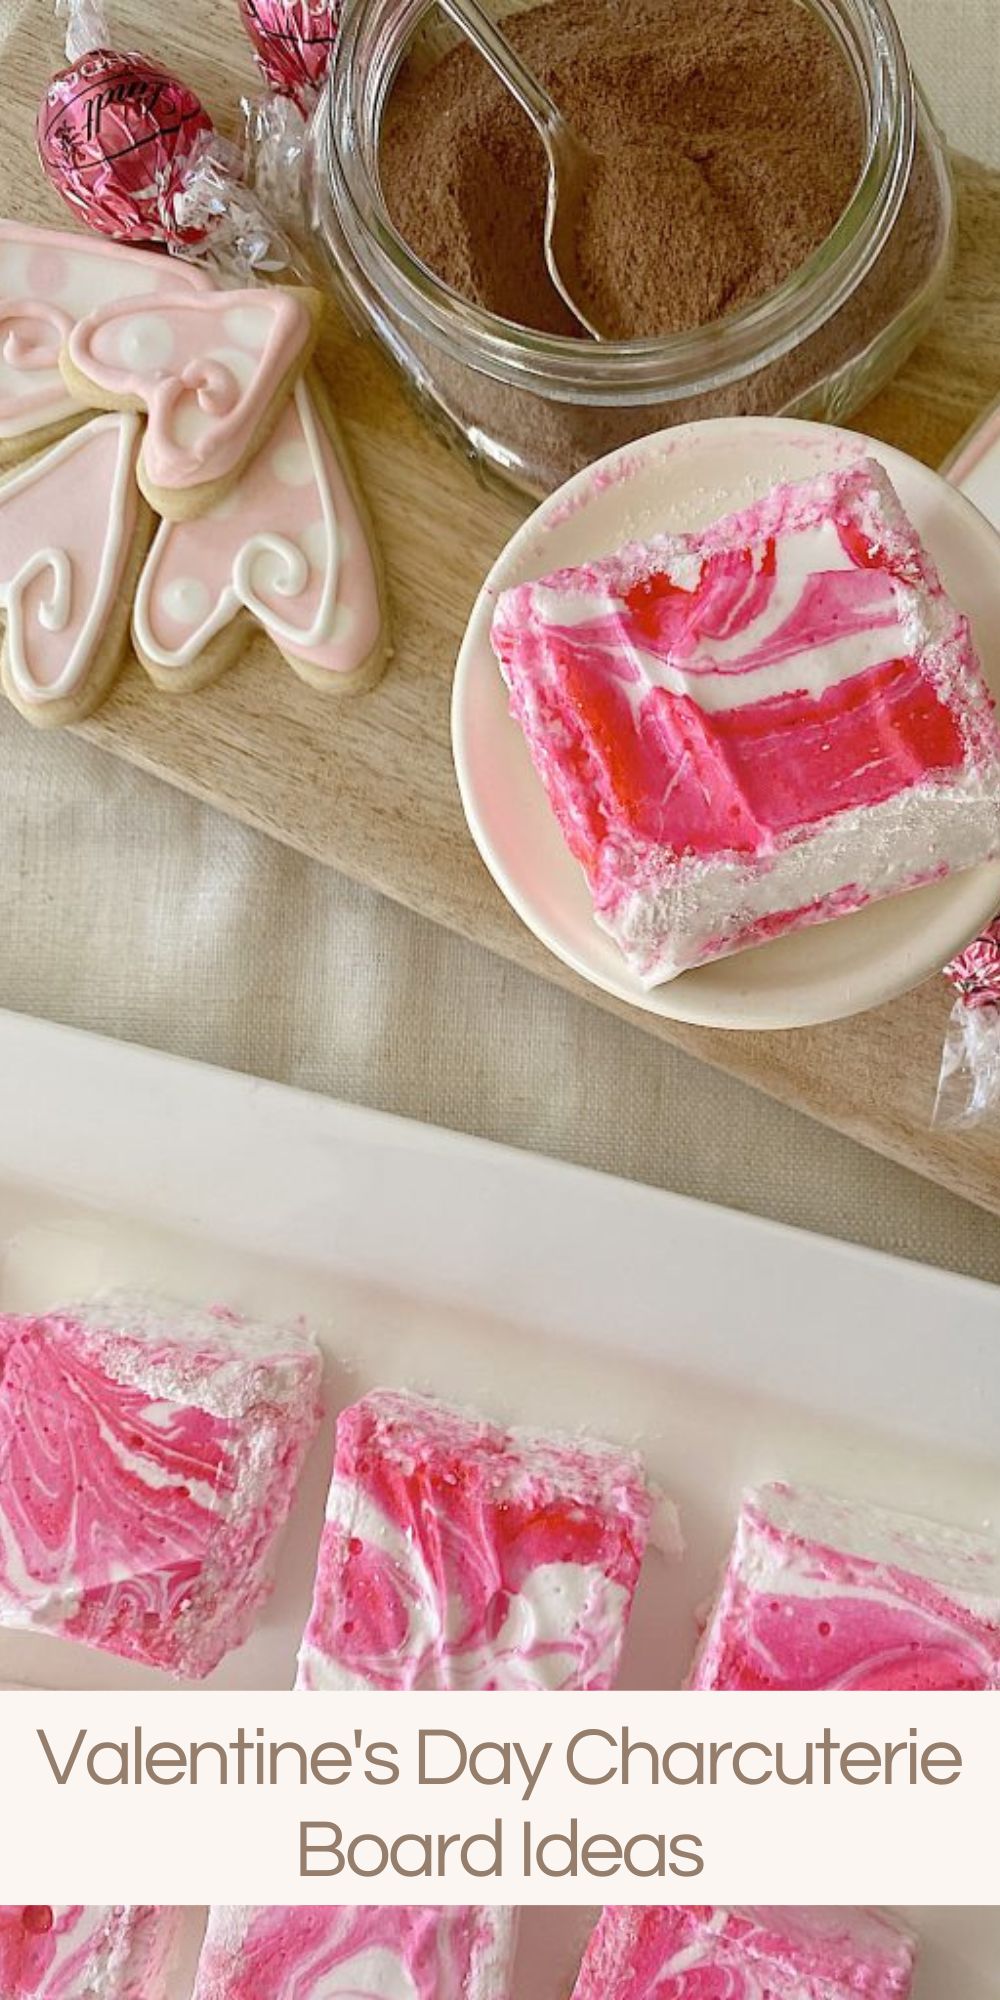
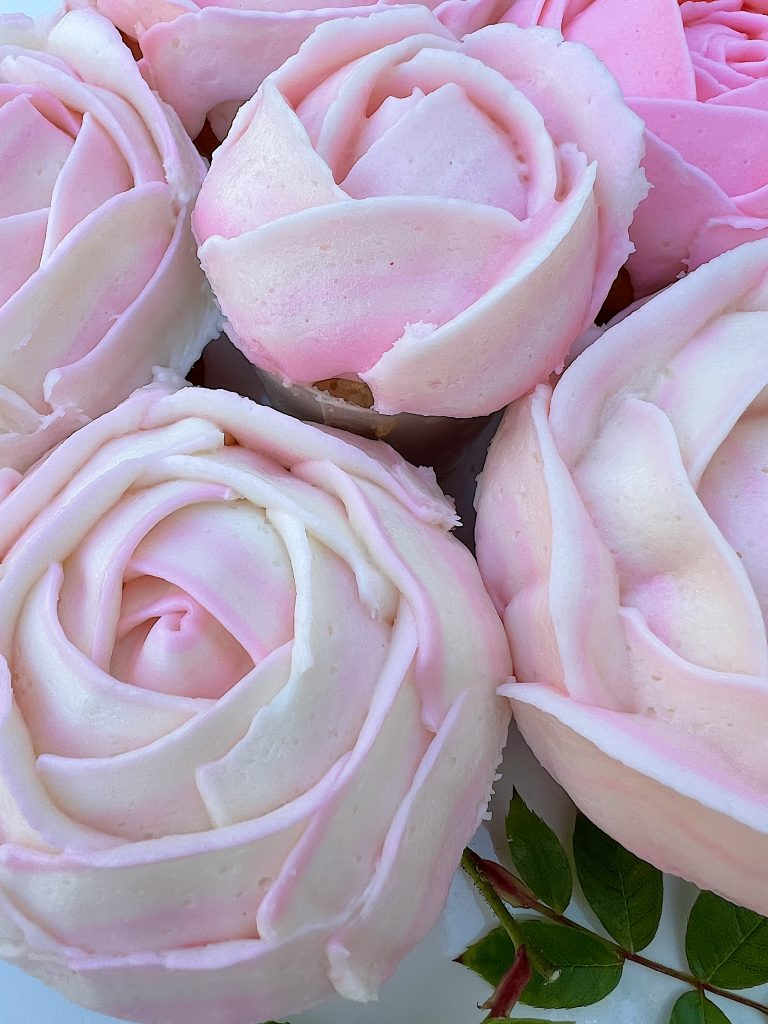
Pink Swirl Peppermint Marshmallows
These Pink Swirl Peppermint Marshmallows were easy to make; they just look fancy!
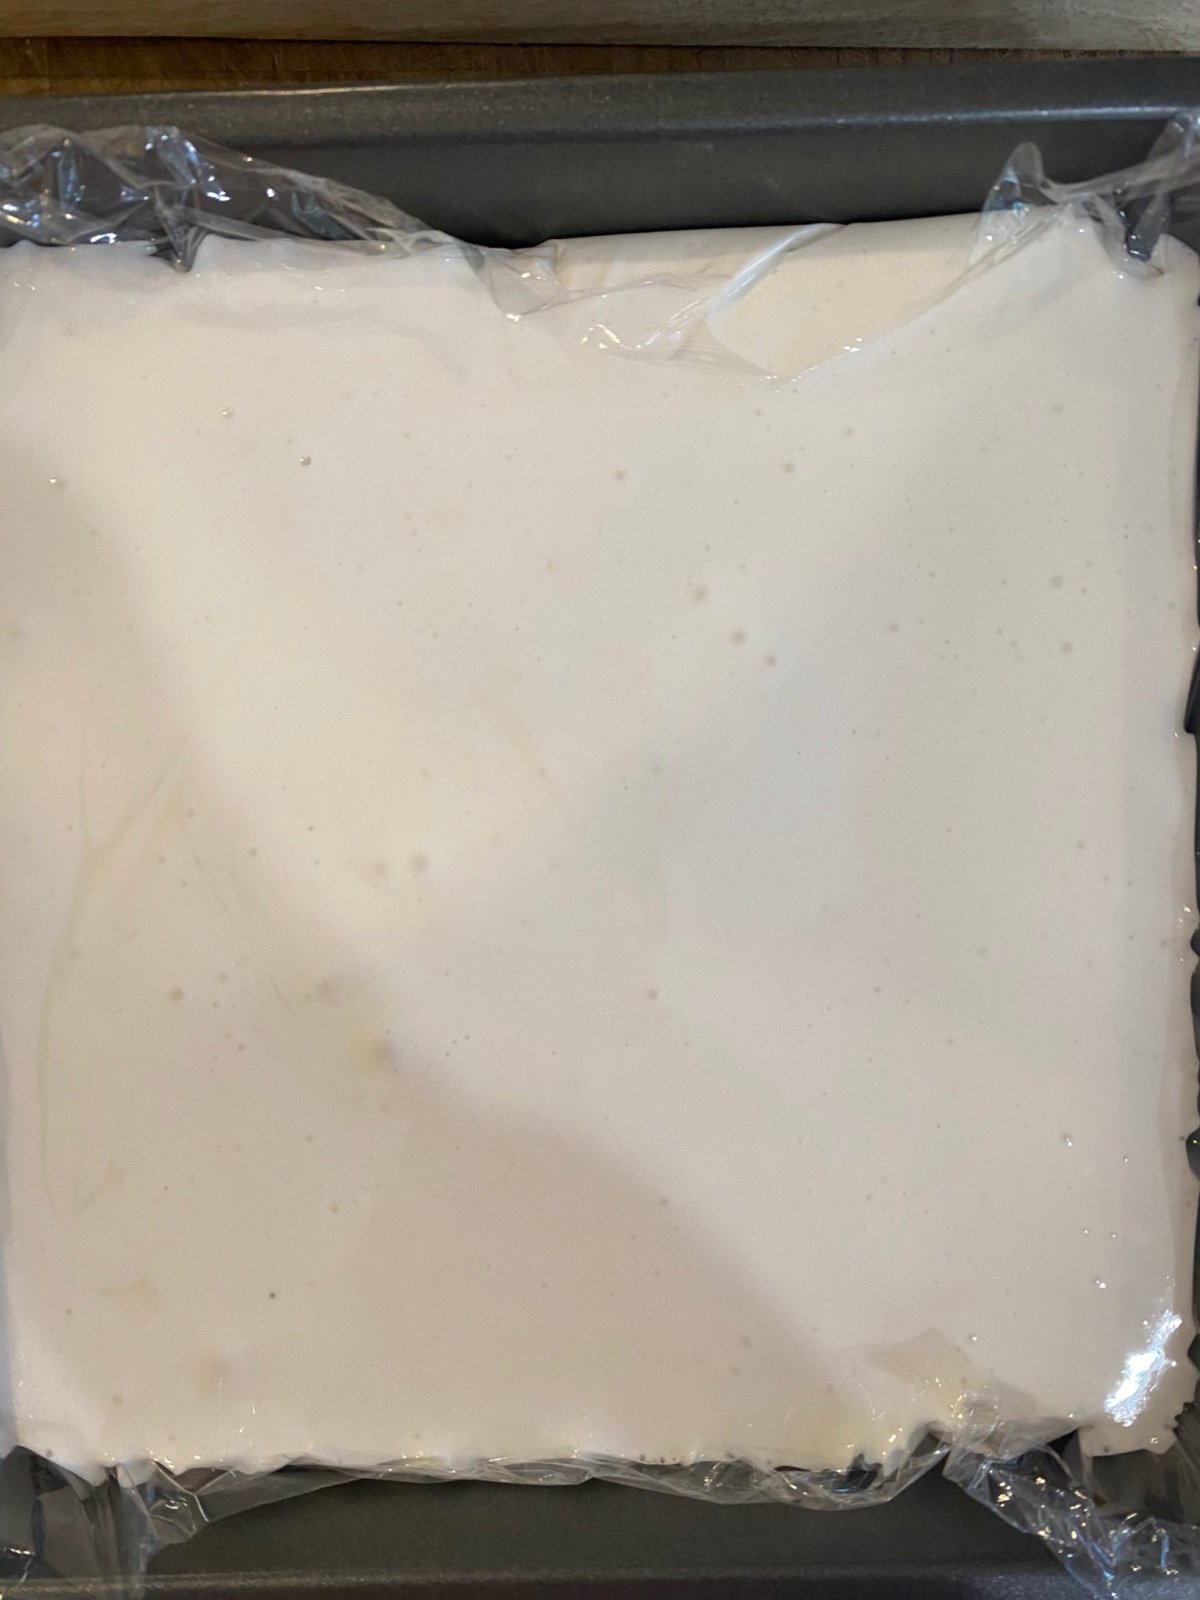
This is what the marshmallow looks like when you add it to the Saran-Wrapped pan.
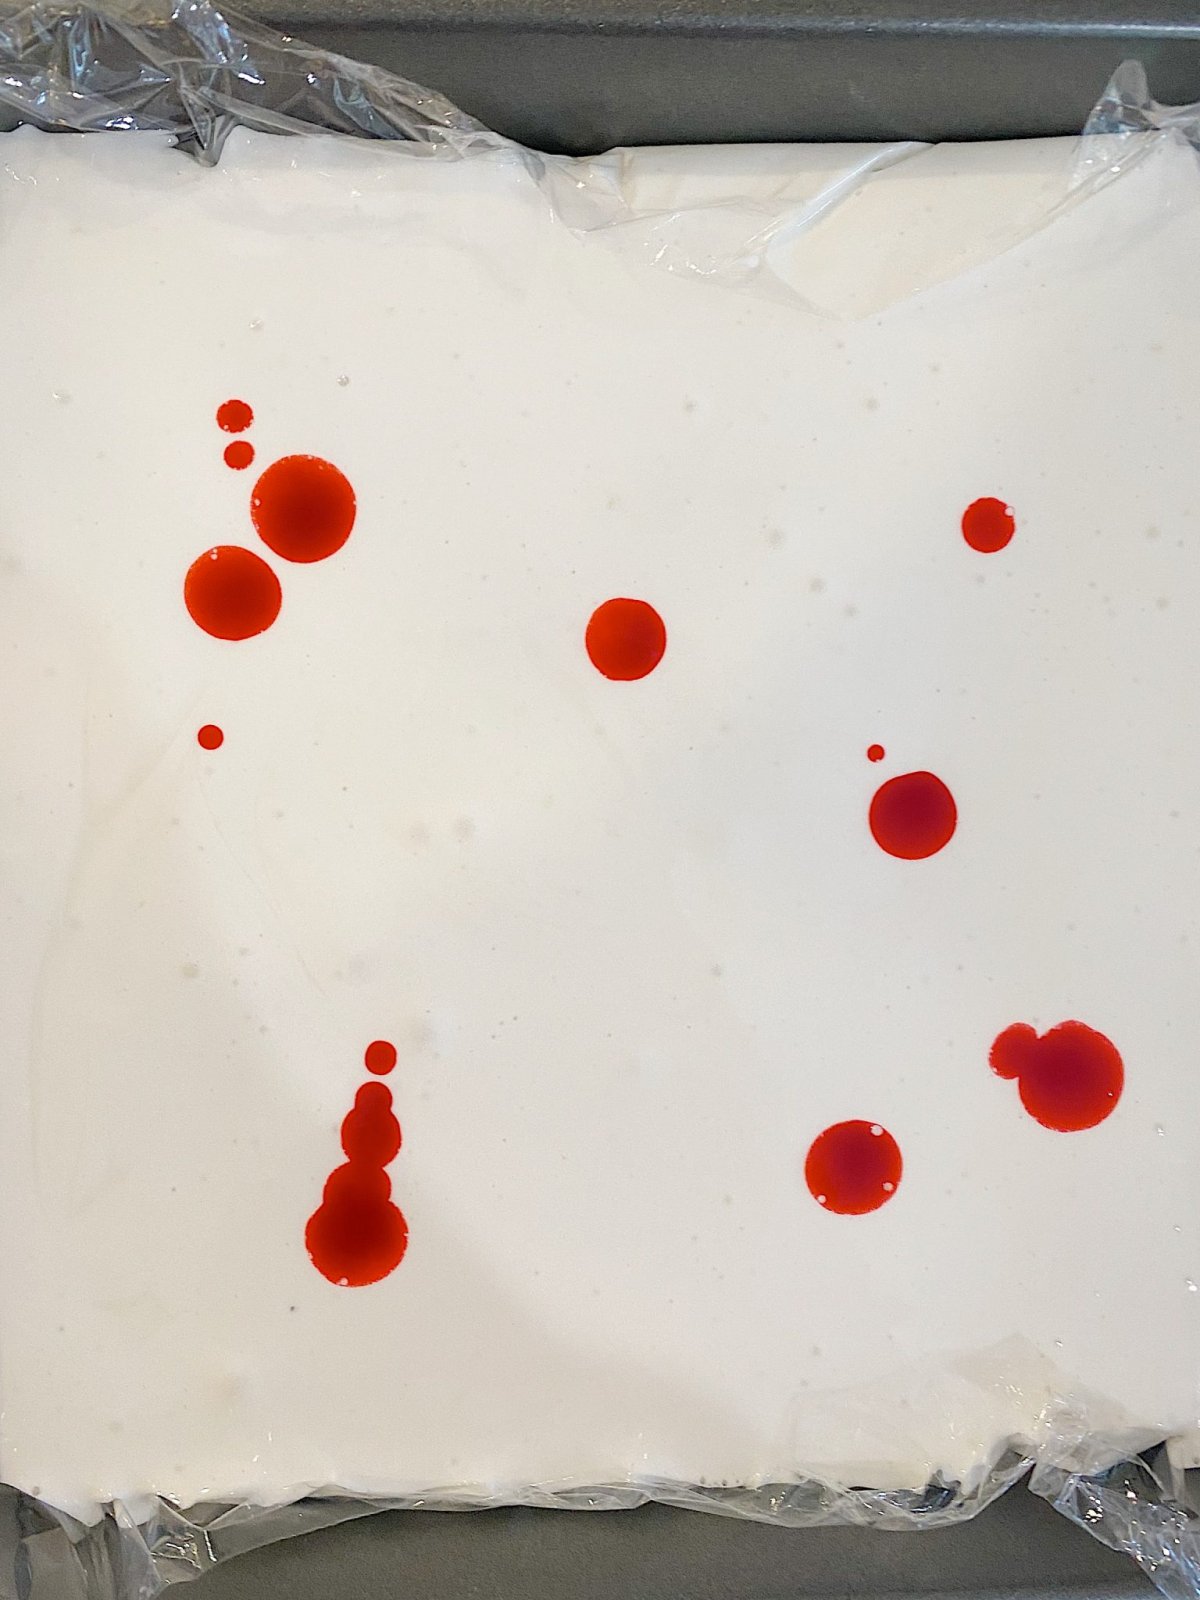
My favorite step is to sprinkle food coloring on top of the marshmallow.
Using a wooden toothpick, swirl the coloring around in the pan.
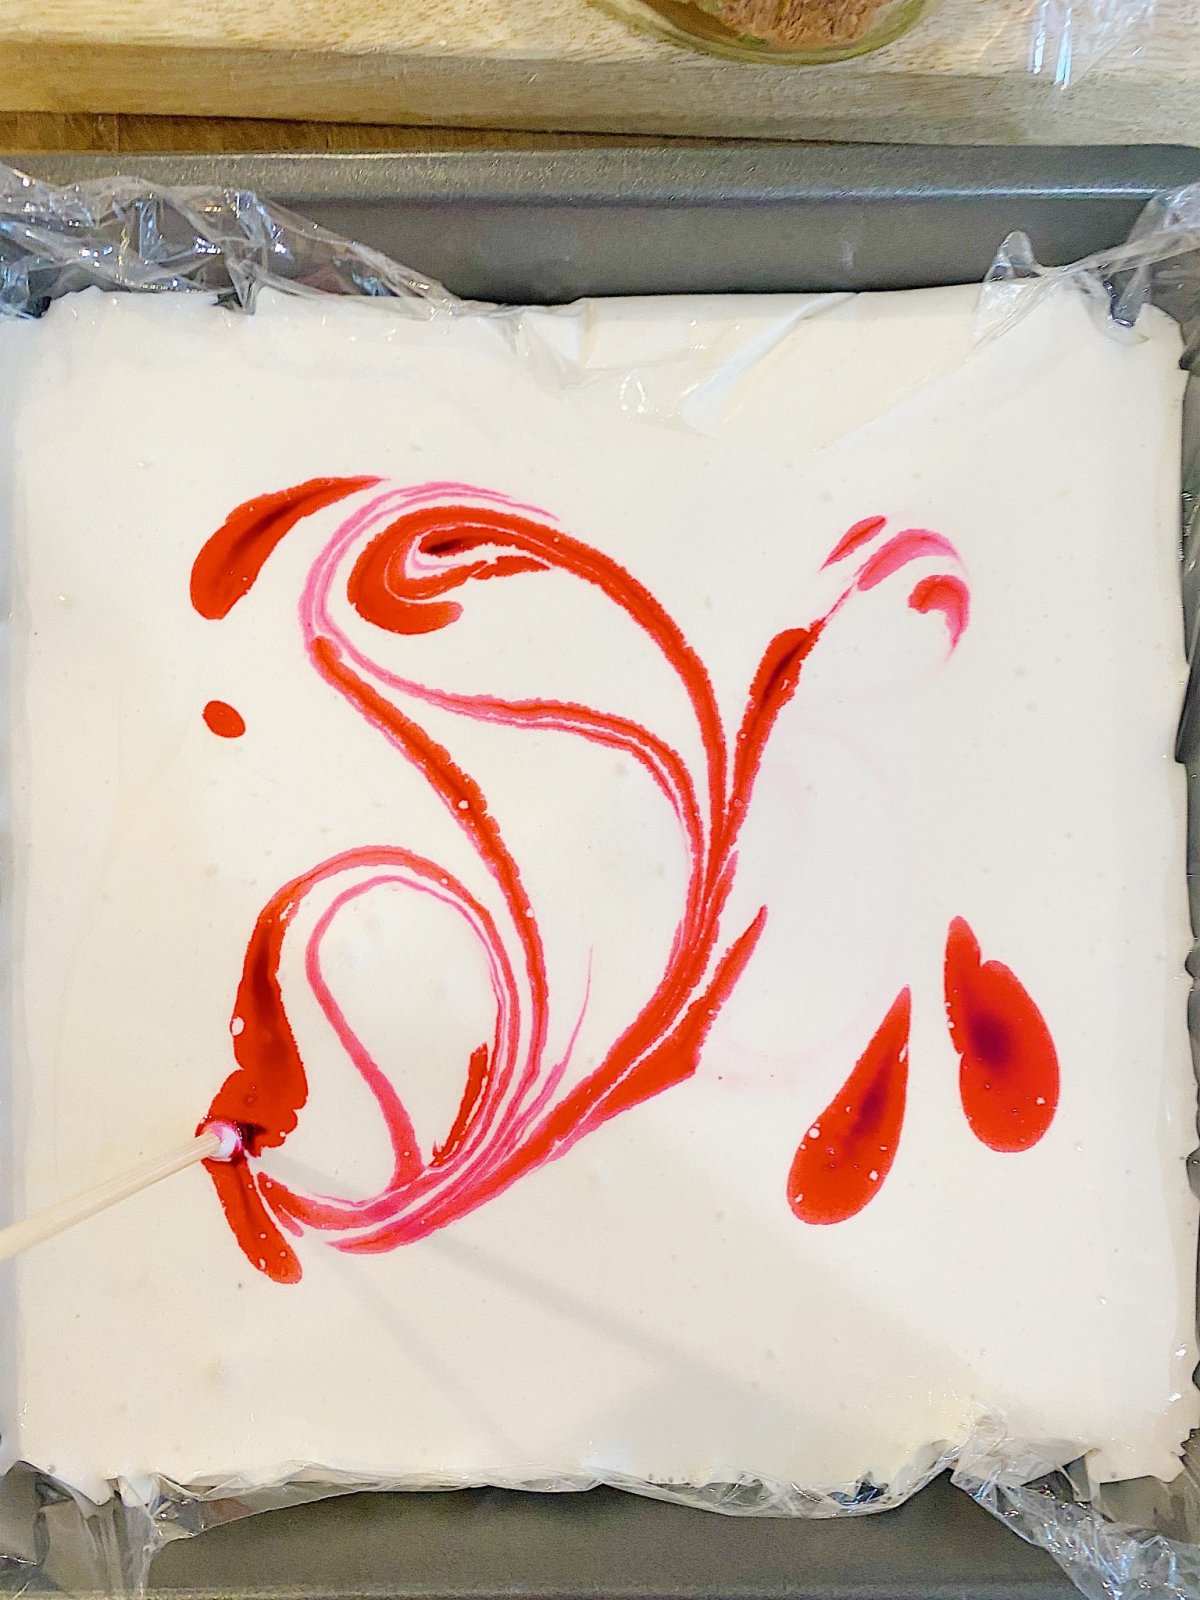
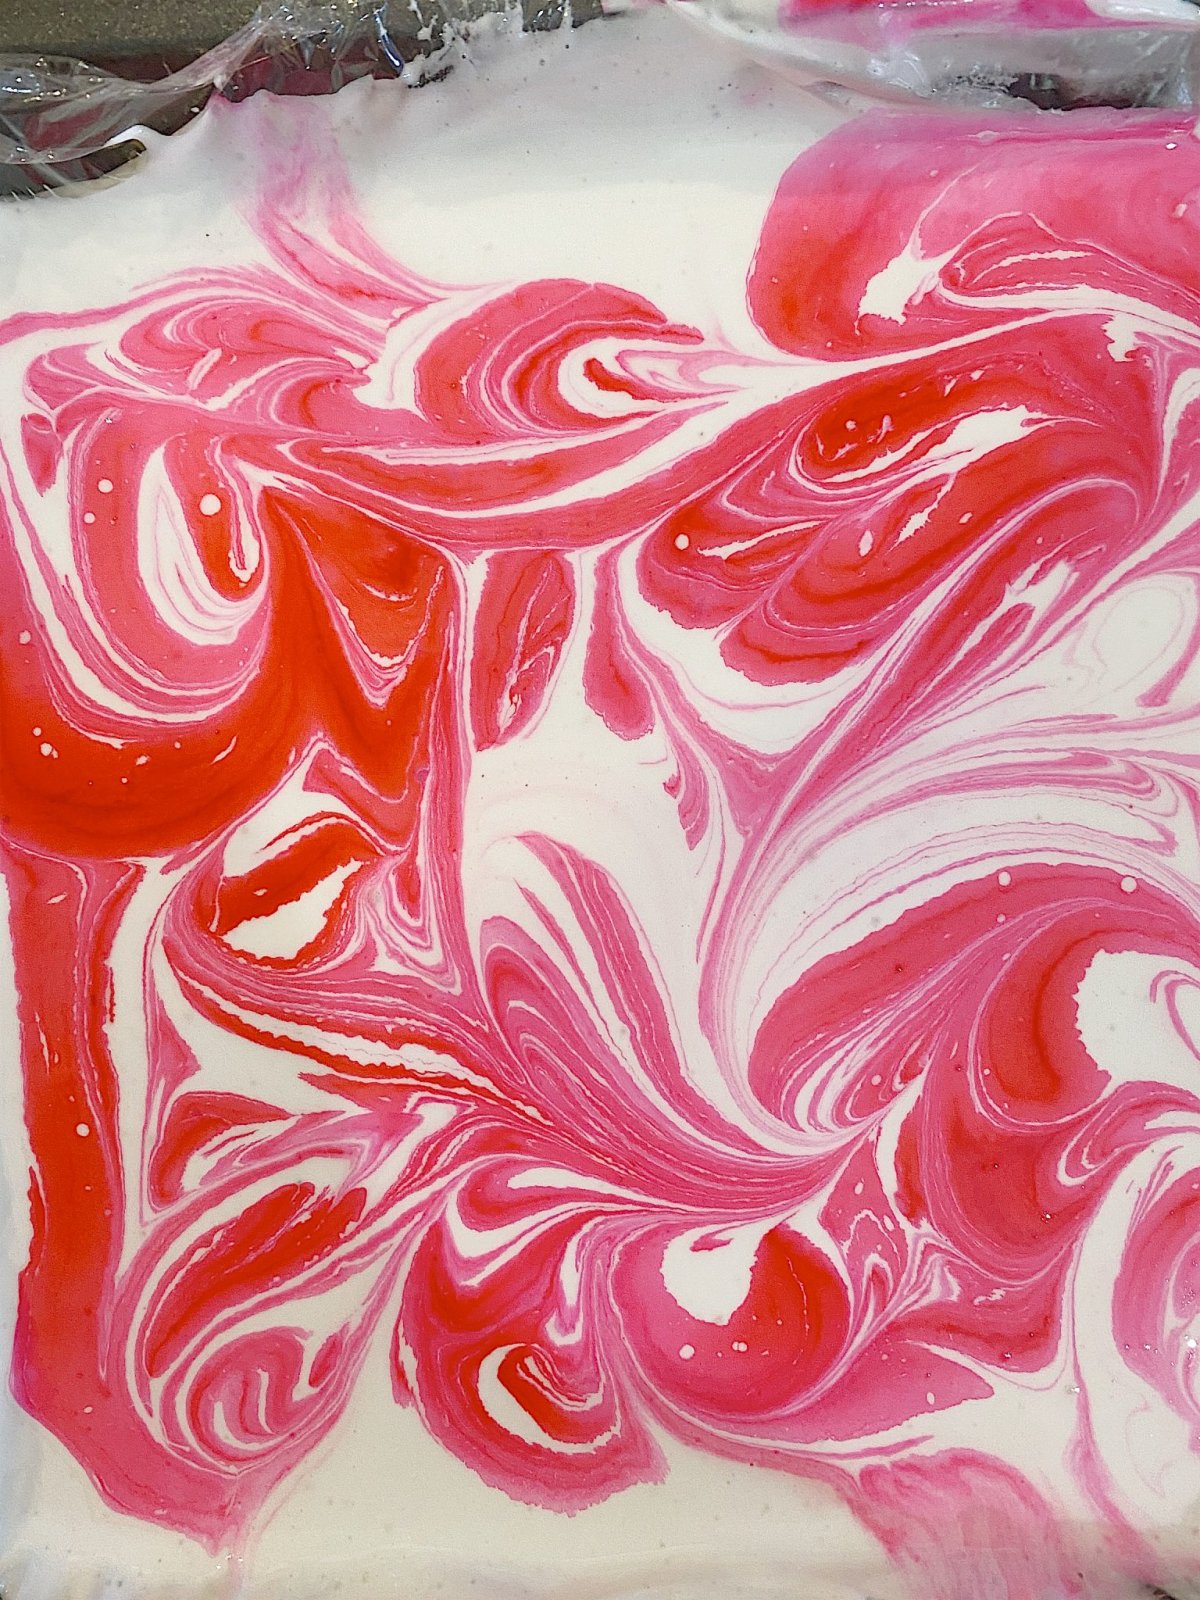
Continue until you have reached the desired effect.
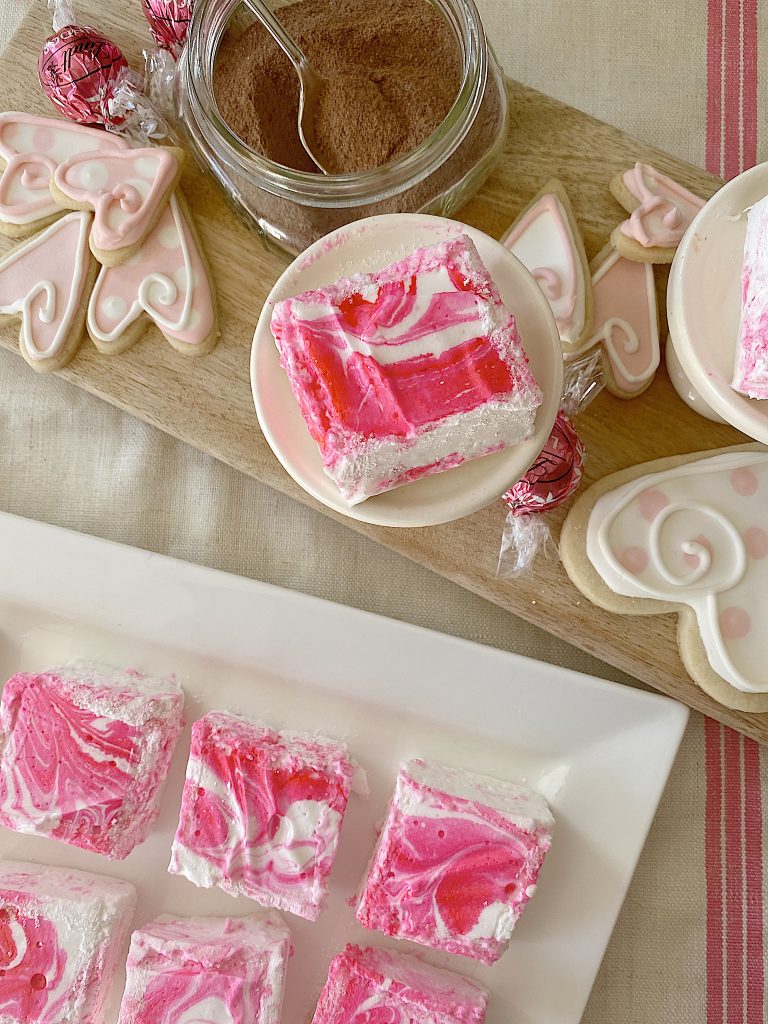
Once you refrigerate the marshmallows (for about two hours), you need to cut them. Coat your knife with powdered sugar and cut the marshmallows in rows with a sharp knife. Be patient, as this is the hard part.
The marshmallows can and will be sticky. Once the squares are cut, place them on a plate. They will dry a bit in an hour or so and be much easier to handle. Store the marshmallows in an air-tight container for up to a week.
Homemade Peppermint Swirl Marshmallows

These homemade marshmallows are sweet and have a wonderful peppermint flavor.
Ingredients
- 1/2 cups cold water
- 3 packets of gelatin (.75 oz.)
- 2 cups sugar
- 3/4 cups light corn syrup
- 1/4 cup water
- 1/8 tsp salt
- 1 TBL peppermint extract
- pink food coloring
- powdered sugar
Instructions
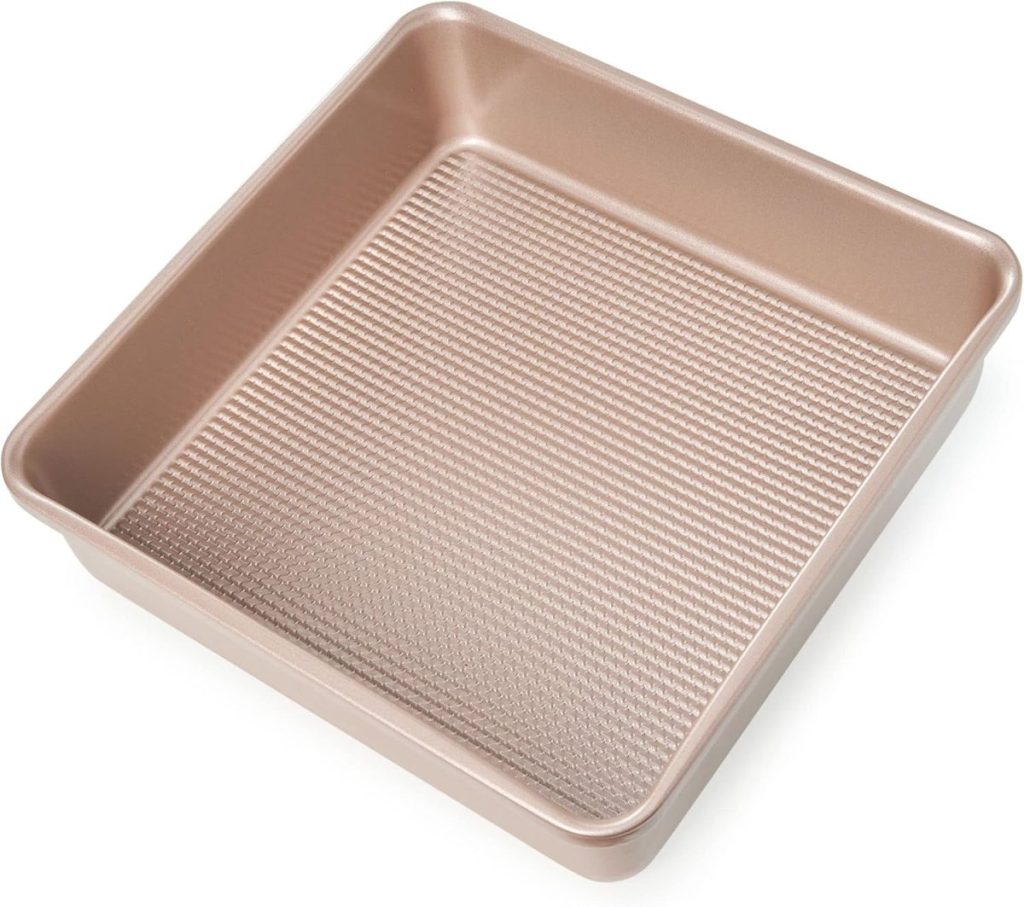
- Prepare a 7" x 7" baking pan by lining the bottom and edges of the pan with saran wrap. Spray with cooking spray and set aside.
- Place 1/2 cup water in the bowl of a stand-up mixer and sprinkle gelatin on top. Let sit while cooking sugar mixture.
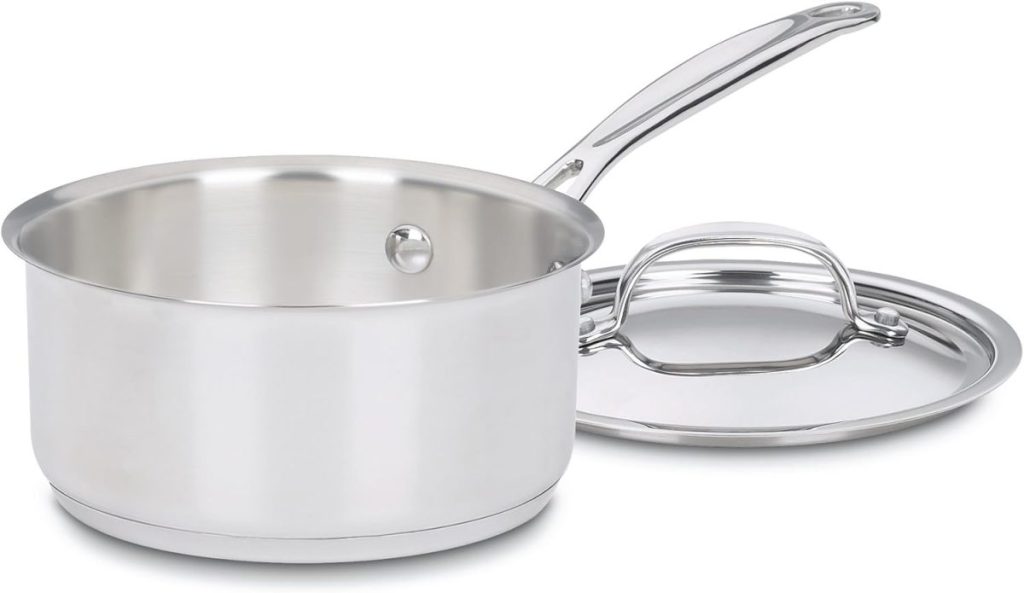
- In a small saucepan combine sugar, light corn syrup, and 1/4 cup water. Stir until mixed well. Heat until sugar starts to boil and continue to boil for one minute. Remove from the stove.
- Add sugar mixture to gelatin and add salt. Turn on the mixer and mix for 12 - 13 minutes until sugar is barely warm and thick. Add peppermint extract and mix thoroughly.
- Put on gloves and spray with cooking spray. Transfer marshmallow mixture into prepared pan. Flatten the top with your fingers.
- Lightly drop pink food coloring in drops on top of the marshmallows. With a wooden skewer, swirl the coloring until you get the effect that is desired.
- Place plastic on top (after covering side with cooking spray).
- Place in refrigerator until set, about 90 minutes.
- When set, take marshmallow out of the pan by gently lifting plastic wrap. Cut marshmallows with a long skinny knife, dipping into powdered sugar to prevent sticking. Cut into pieces. Store in an airtight container for up to a week.
Notes
Once you refrigerate the marshmallows (for about two hours) you need to cut them. Coat your knife with powdered sugar and cut the marshmallows in rows with a very sharp knife. Be patient as this is the hard part. The marshmallows can and will be sticky. Once the squares are cut, place them on a plate. They will dry a bit in an hour or so and be much easier to handle. Store the marshmallows in an air tight container for up to a week.
I love the colored swirls on these marshmallows, instantly festive.
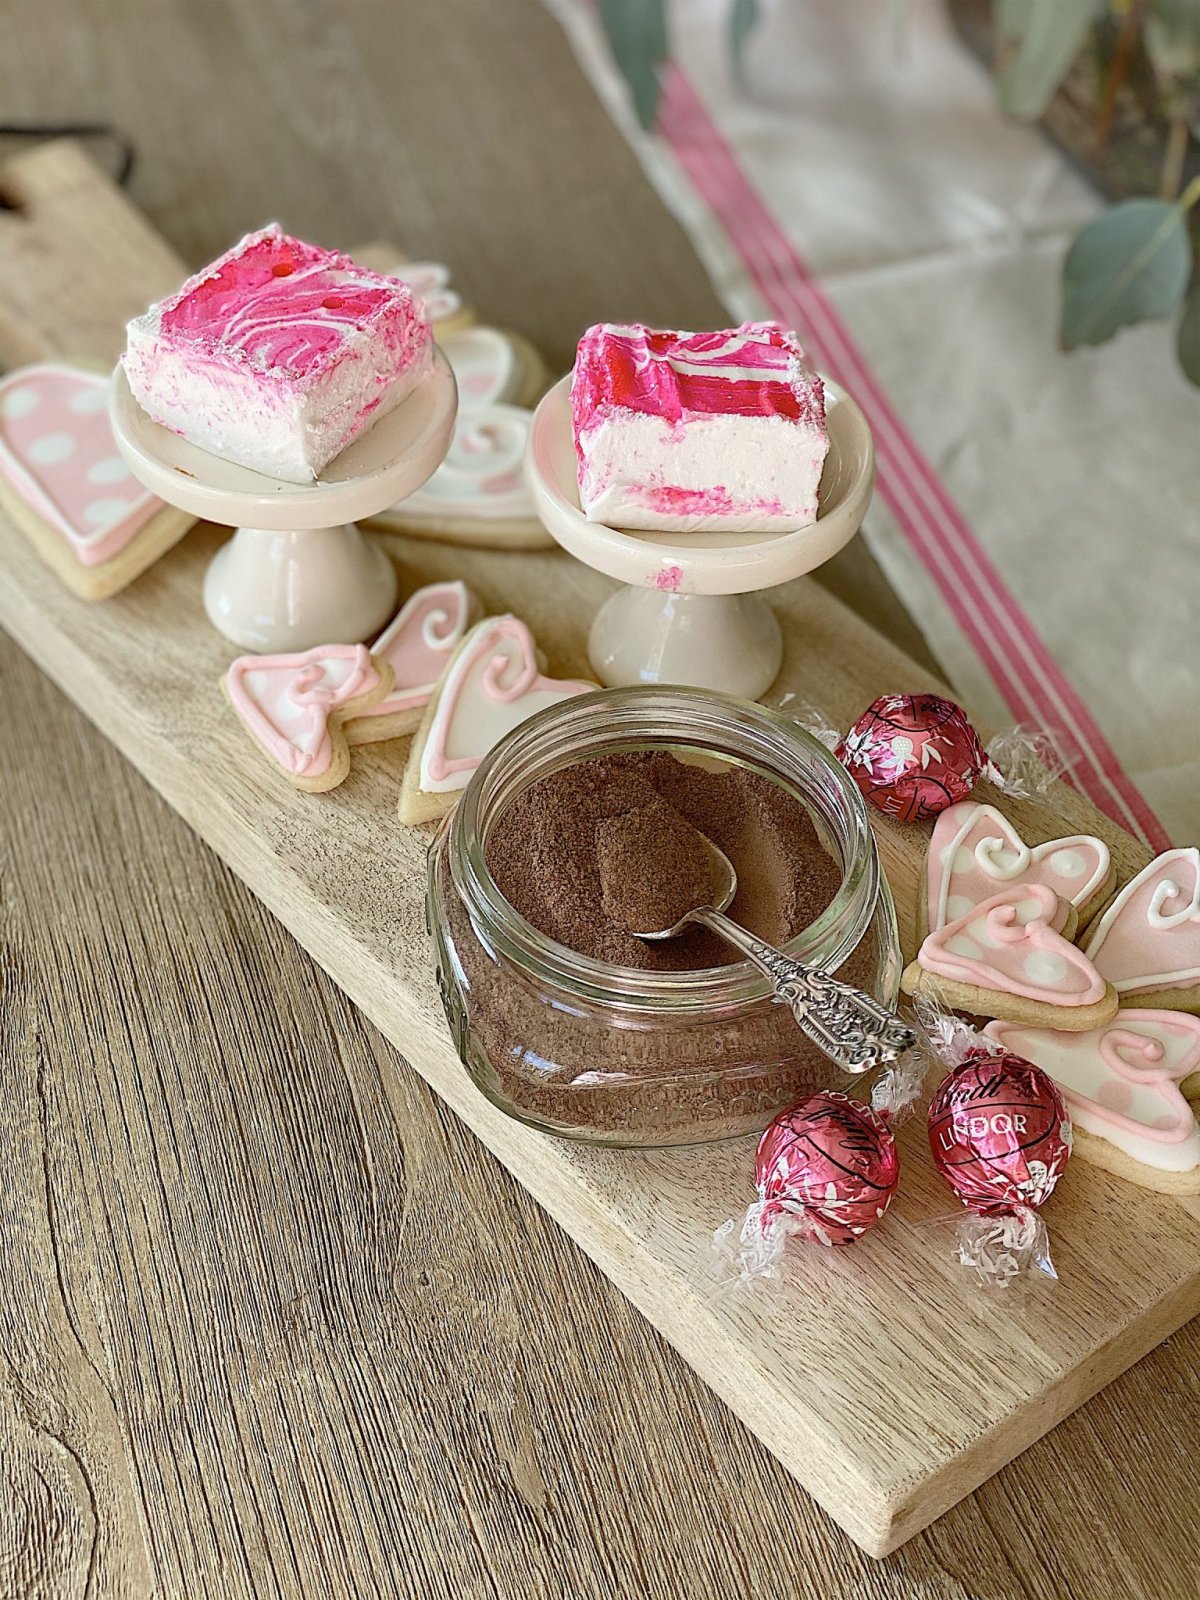
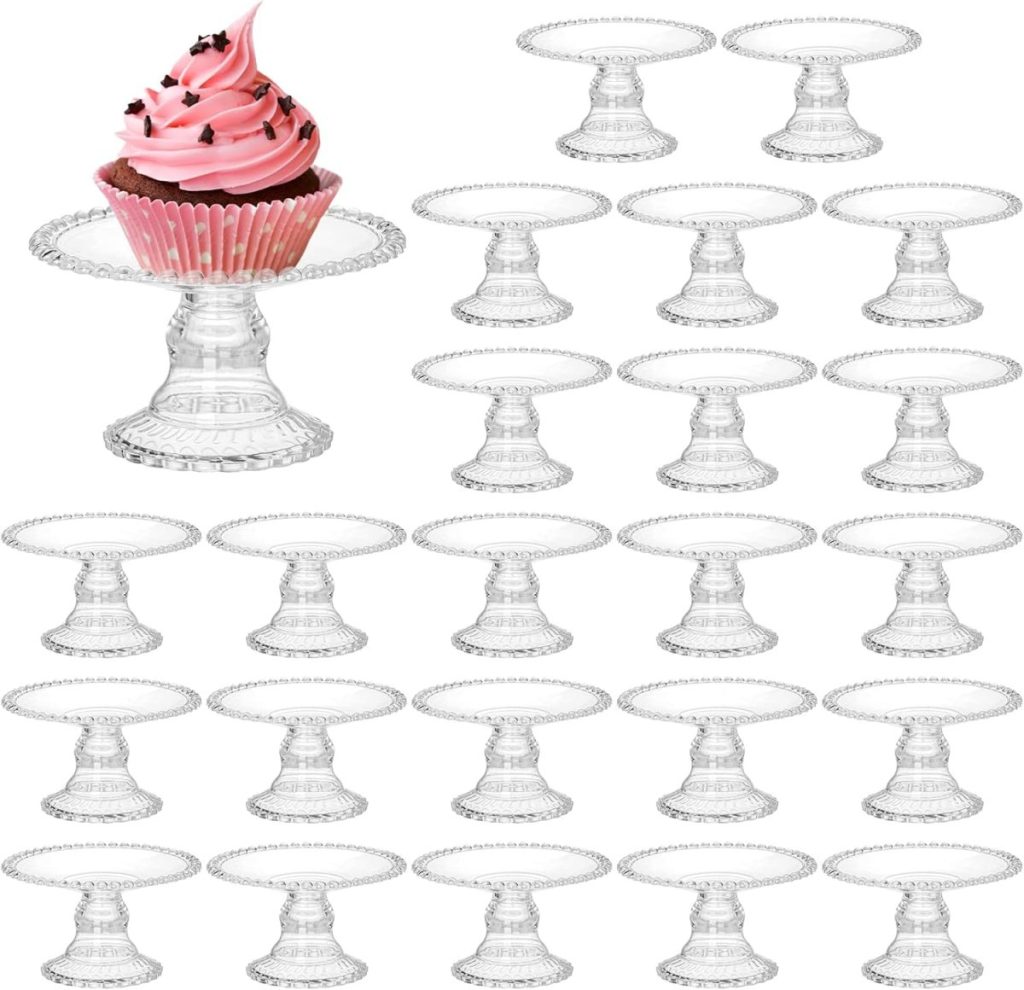
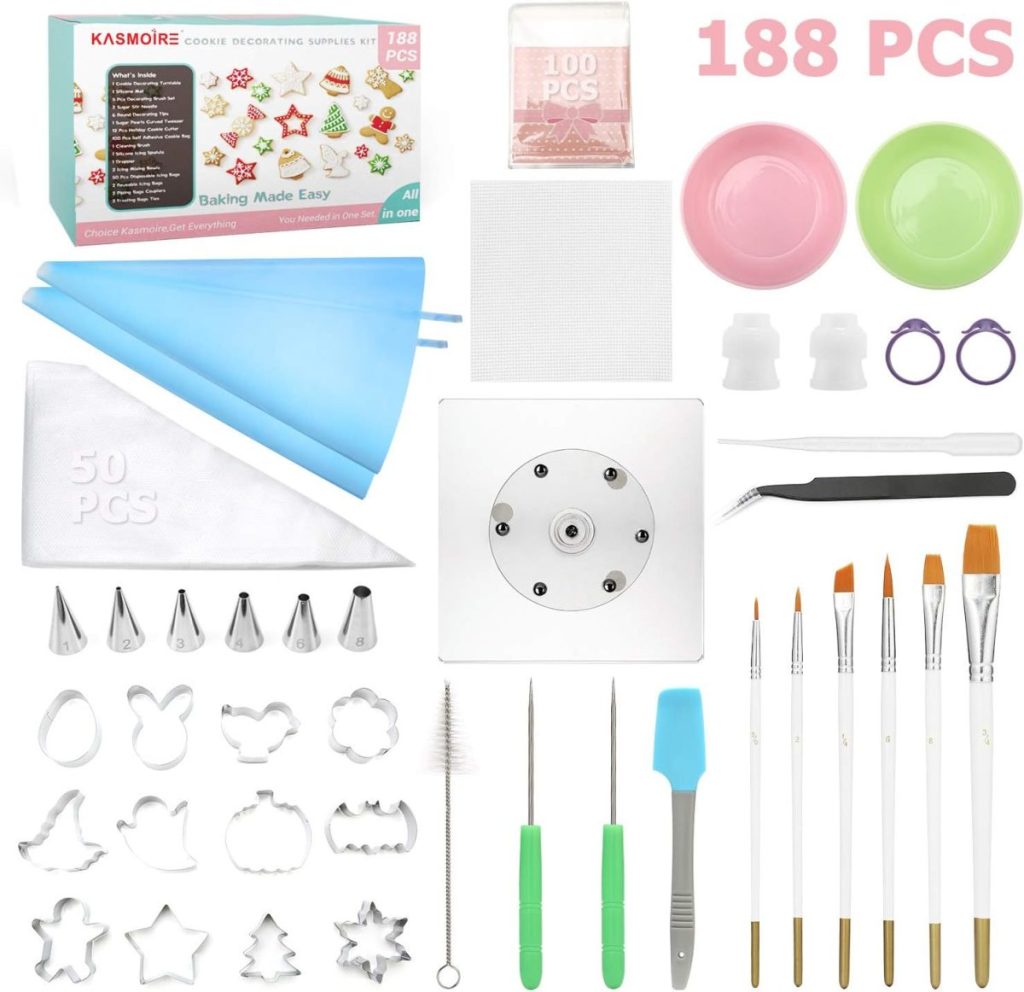
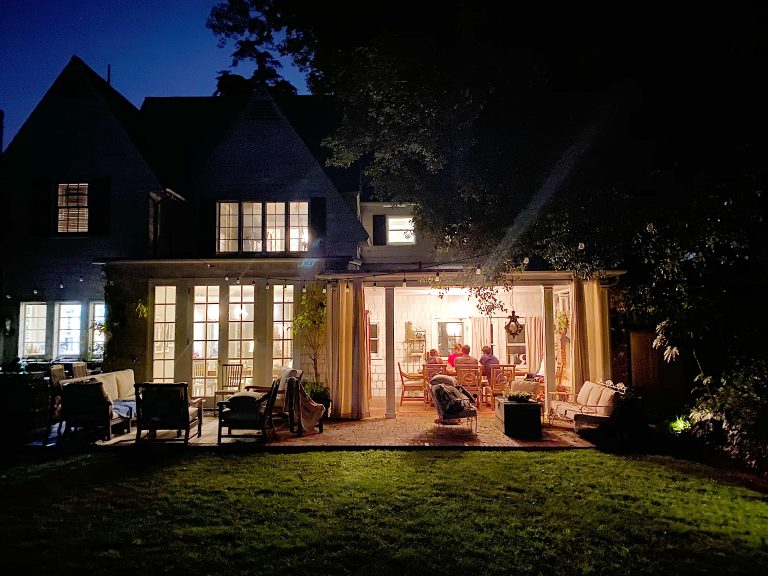
Everything you need to create the perfect charcuterie board this Valentine’s Day!
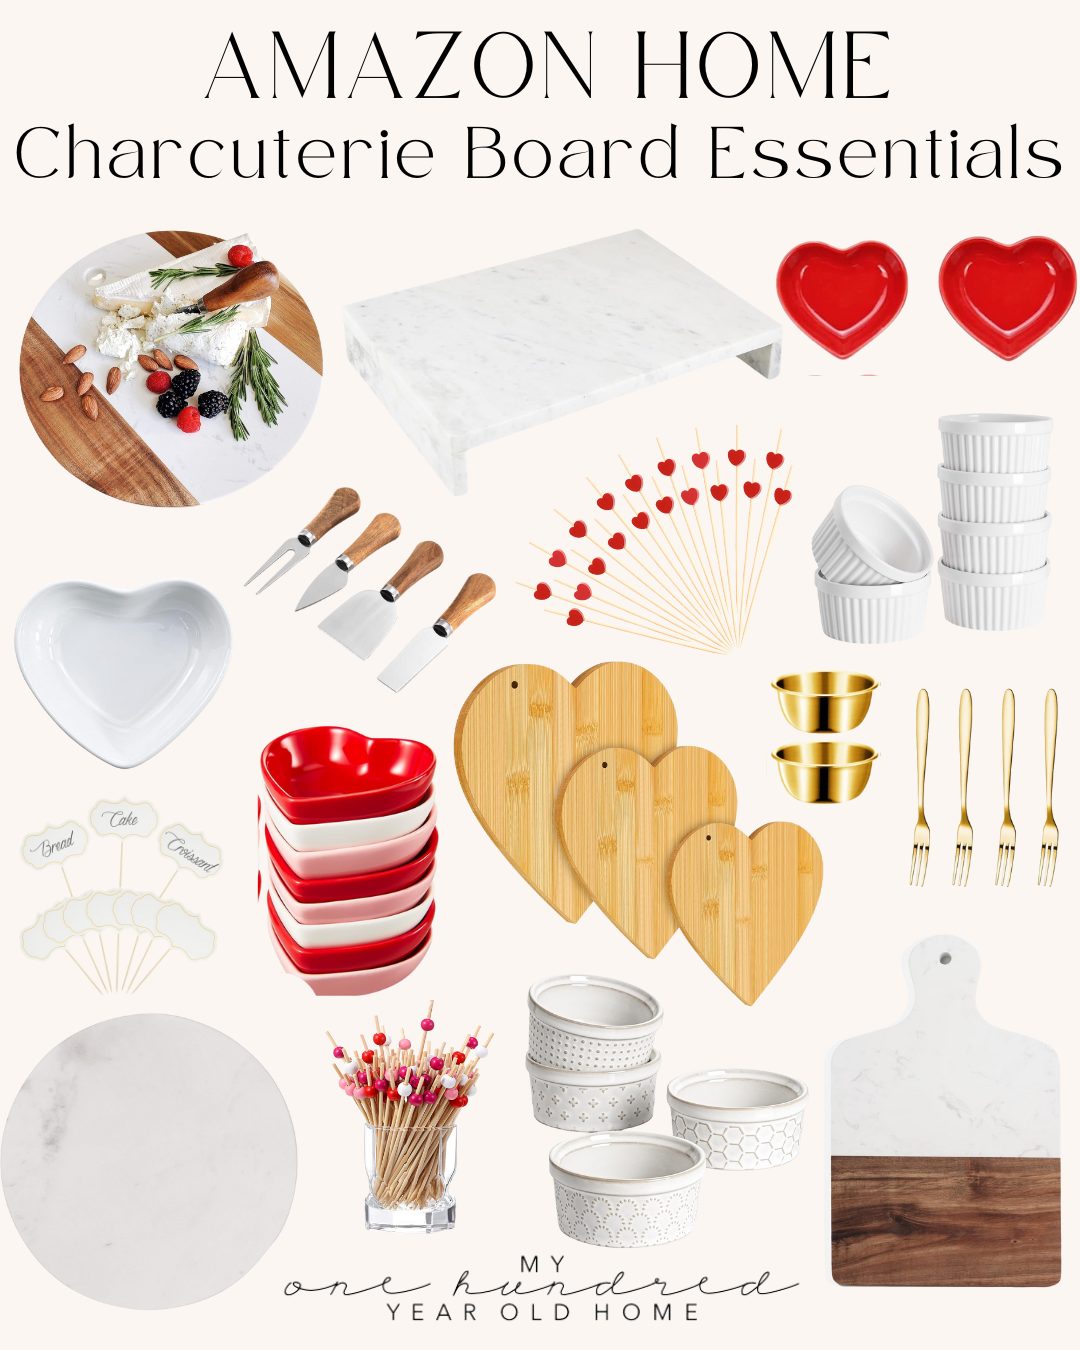
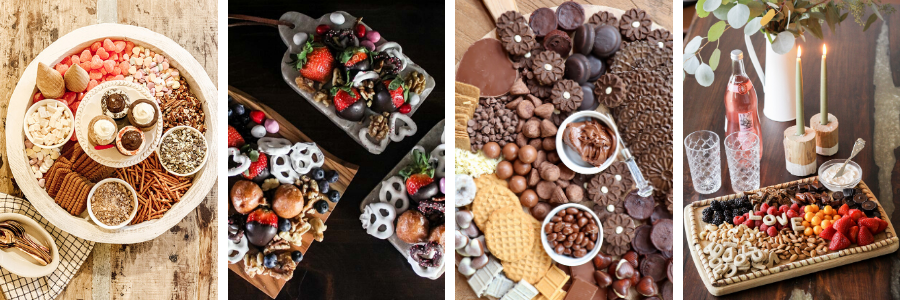
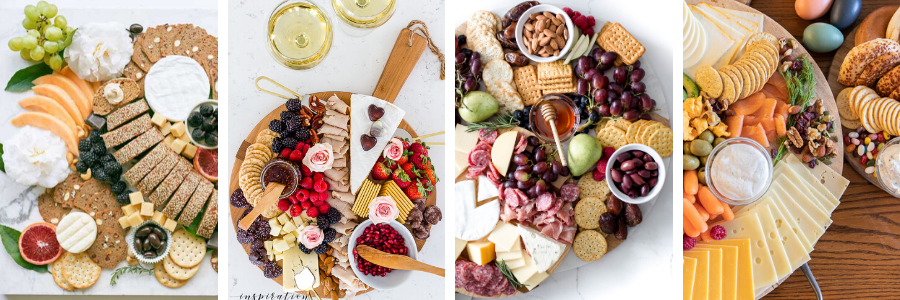
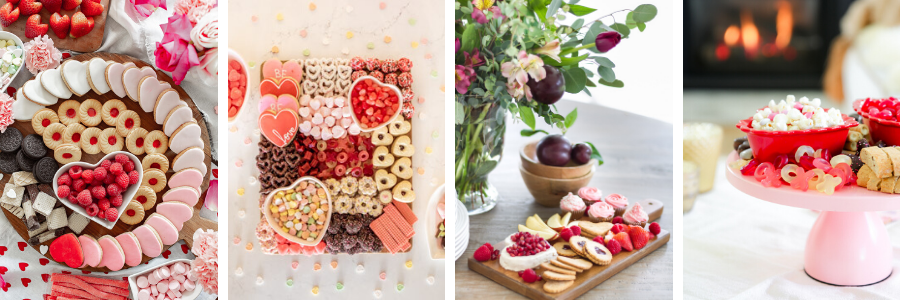
Check out these twenty amazing Valentine’s Day Charcuterie Board ideas!
20 Fabulous Charcuterie Boards!
Hallstrom Home | A Blue Nest | My Sweet Savannah | Cassie Bustamante
Happy Happy Nester | Inspiration For Moms | Art of Everyday Living | Twelve On Main
Craftberry Bush | Jennifer Maune | Zevy Joy | Modern Glam
My 100 Year Old Home | Tatertots and Jello | Two Twenty One | Today’s Creative Life
Sanctuary Home | She Gave It A Go | The Design Twins | Pink Peppermint Design
Pin the image below to your Recipe or Charcuterie boards on Pinterest (click the Pin button in the top left corner). You can also follow along with me on Pinterest!
For more real-time updates, follow me on Instagram @My100YearOldHome

This is so darling! I love it!
I need to try this peppermint swirl recipe! This is too cute my friend!
These look delicious! Something the whole family can enjoy 🙂
Do you have any suggestions for corn syrup substitute? Most young moms these days don’t want their children eating the high fructose corn syrup and I would love to make these for my grandchildren
Corn Syrup (such as Karo brand) is not the same as high fructose corn syrup- it actually has no fructose! So it like using sugar (glucose). Some corn syrup brands used to add HGCS but if they do, it will be listed as an ingredient.
Thank you!
YW! Now those grandbabies can enjoy!
Oh boy! I don’t know what to make first! Everything looks amazing. Thanks for the recipes.
Corn Syrup (such as Karo brand) is not the same as high fructose corn syrup- it actually has no fructose! So it like using sugar (glucose). Some corn syrup brands used to add HGCS but if they do, it will be listed as an ingredient.
Thank you so much! I did not realize that!
Can you just use vanilla in place of peppermint to have a regular marshmallow taste ?
How much of the hot chocolate mix do I use for 1 cup of water?
You mix one cup of hot water with 1/3 cup of the hot chocolate!
I have noticed Americans are misusing this word charcuterie. Charcuterie is a French term for a branch of cooking devoted to prepared meat products, such as bacon, ham, sausage, terrines, galantines, ballotines, pâtés, and confit, primarily from pork. Could not you call it a dessert board?
Leslie,
Such a great idea! Maybe you could use your 5ft Charcuterie board for SUPER BOWL SUNDAY. You could segment it to cover, appetizers, main dishes, and desserts. We lived in Europe for 8 years and have thoroughly enjoyed a lot of different ways of presenting food and now use them at home off and on. Have missed getting any of your emails since Friday. Always look forward to reading them first thing every day.
Great idea, thank you so much!
The cookies are beautiful and the marshmallow dessert looks delicious! I may attempt to make it!
Yay! Let me know how you like it!
I was getting an email every morning from your site, and I looked forward to it so much. Now, suddenly, as of Saturday, February 5th, it has stopped. Did I do something wrong? Please help it start coming again.
Oh no I am so sorry! There is an issue with the newsletter, it was mostly likely sent to your junkmail. Let me know if you find it and we will hopefully get it sorted out too.
I have a great idea for your 5′ board. Do you ever watch The Kitchen on Food Network? Last Saturday’s episode was Game Day recipes and Jeff Mauro did a “sub “boil” board”. Perfect for when your hungry sons are home.https://www.foodnetwork.com/recipes/jeff-mauro/italian-sub-boil-12265058
What size and type board are you using in the pics here? Lovely!
Hi Janice. Thank you so much for reaching out about the post. The board in the photos is one I bought at a vintage flea market years ago. I don’t know that it was intended to be a charcuterie board all of those years ago. It is rather narrow 6″ wide and 14″ long. Have a great evening!
Very pretty but was wondering if we still call it a charcuterie board when there’s no charcuterie on it? (Maybe just a “dessert board”?…) Anyway, beautiful for a Galentine luncheon❣️
Hi Marti! Haha it probably would just be a dessert board- the boards always sell as charcuterie boards so I think that’s where the association comes in 😆 Aw thank you so much!
Still have not received blog