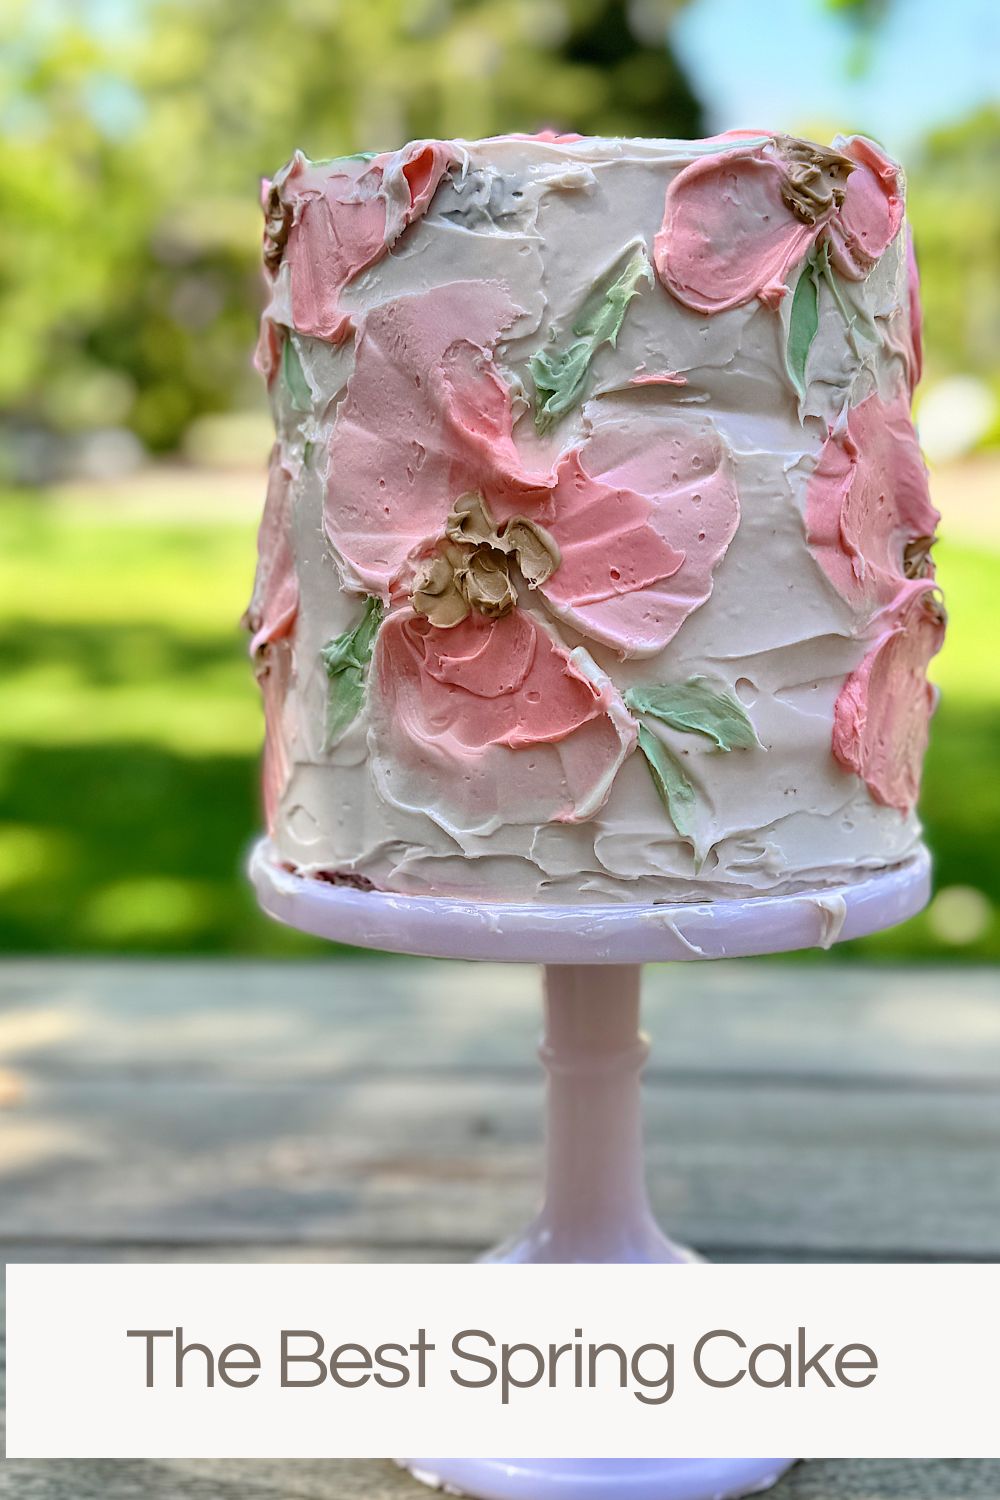
The Best Spring Cake
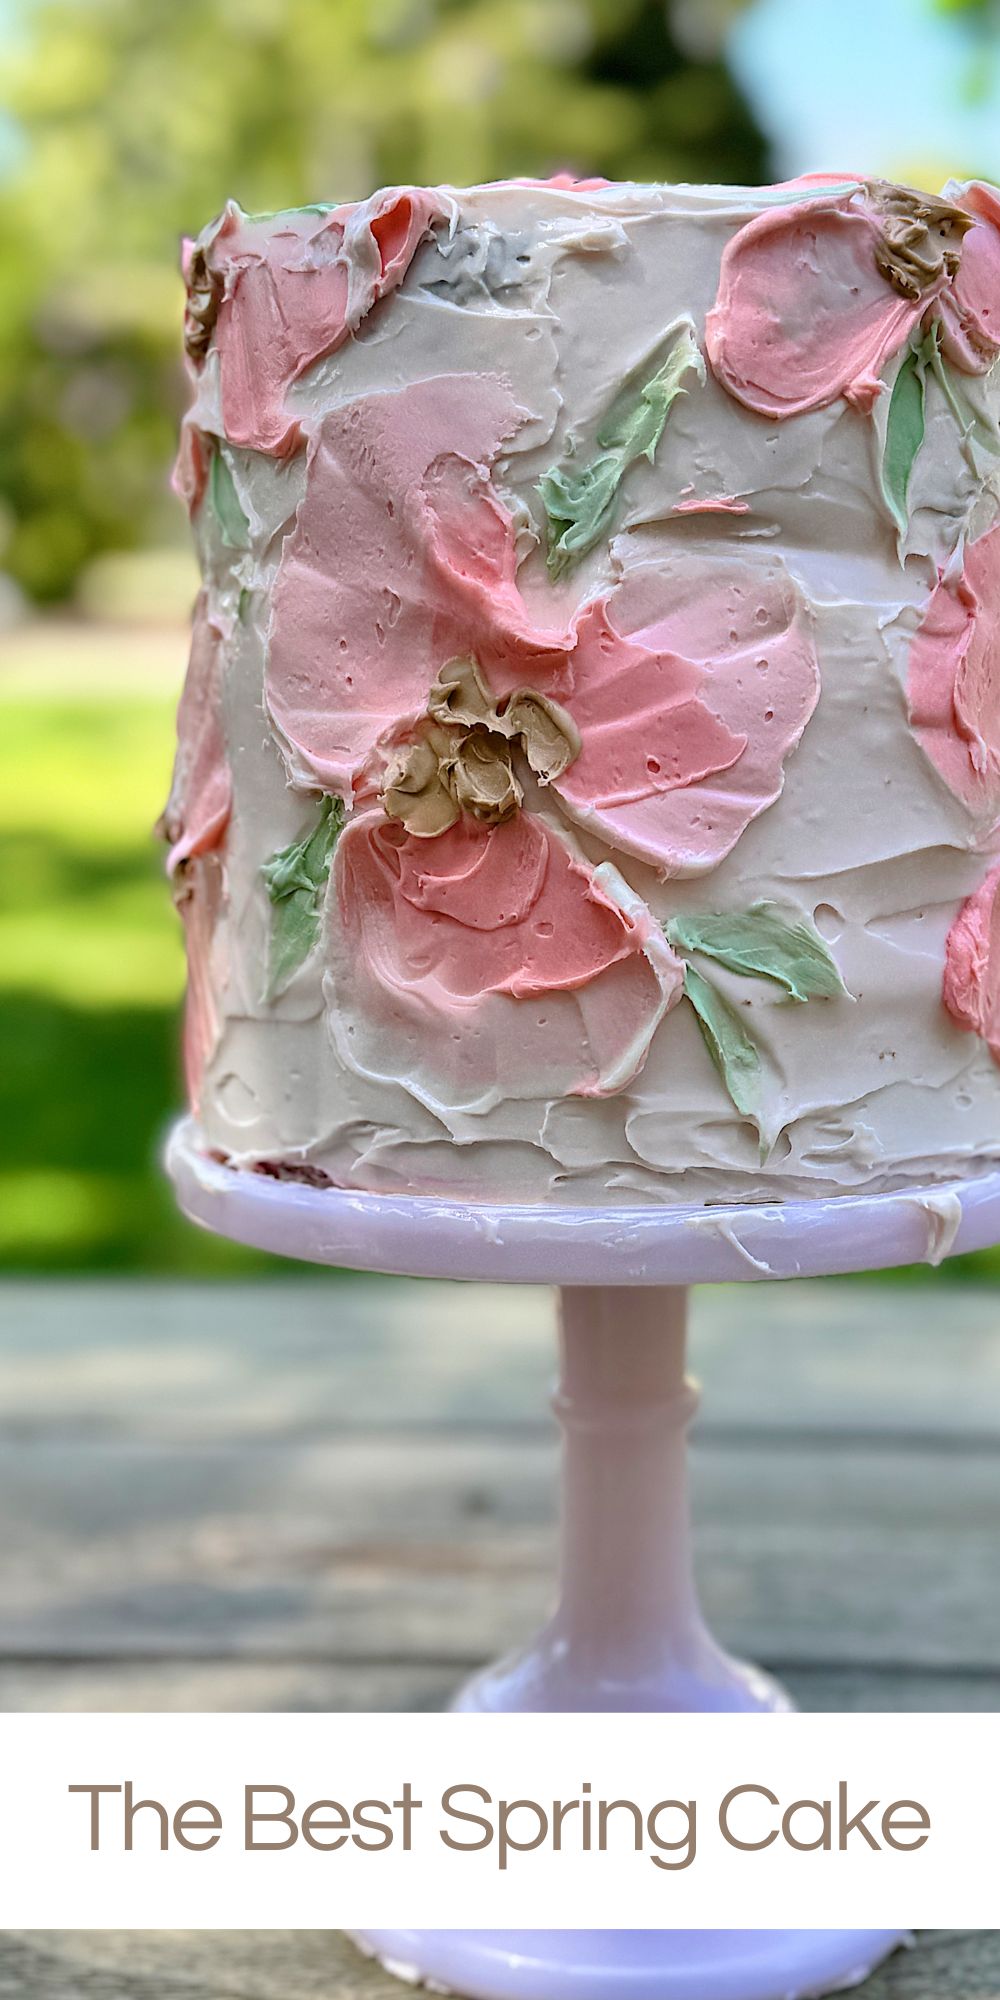
Nothing says celebration quite like a beautifully decorated spring cake, and this three-tier cake will steal the show on any special occasion.
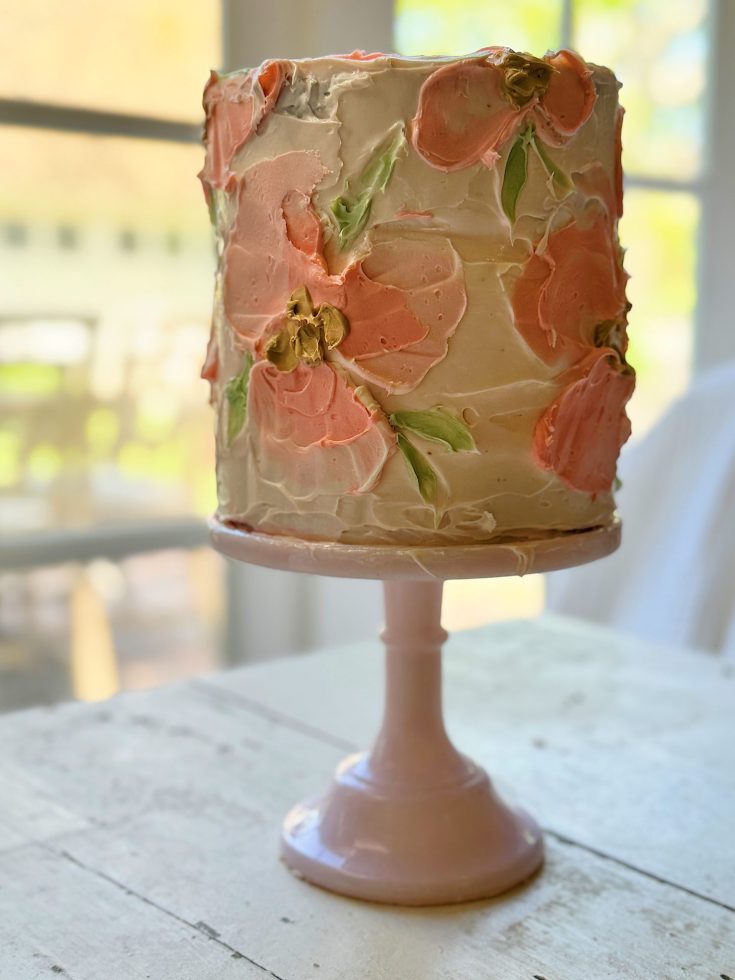
Whether planning a birthday bash, bridal shower, or wedding reception, this elegant spring cake, decorated with delicate buttercream flowers and a delicious confection, will leave your guests in awe.


How to Make a Three-Tier Spring Cake with Buttercream Flowers
Many of you are likely unaware that I was a full-time artist for six years. I painted traditional oil seascapes, still lifes, and large-scale abstract acrylic paintings.
And I painted every single canvas with a palette knife.
I did not use a brush.
Ever.
This might help explain why I decorated this spring cake with a palette knife.
I promise I used buttercream frosting and not paint.
Making the Three-Tiered Spring Cake
Here are the step-by-step instructions for baking, assembling the cake, and creating stunning buttercream flowers using a palette knife.
Part 1: Baking the Cake Layers
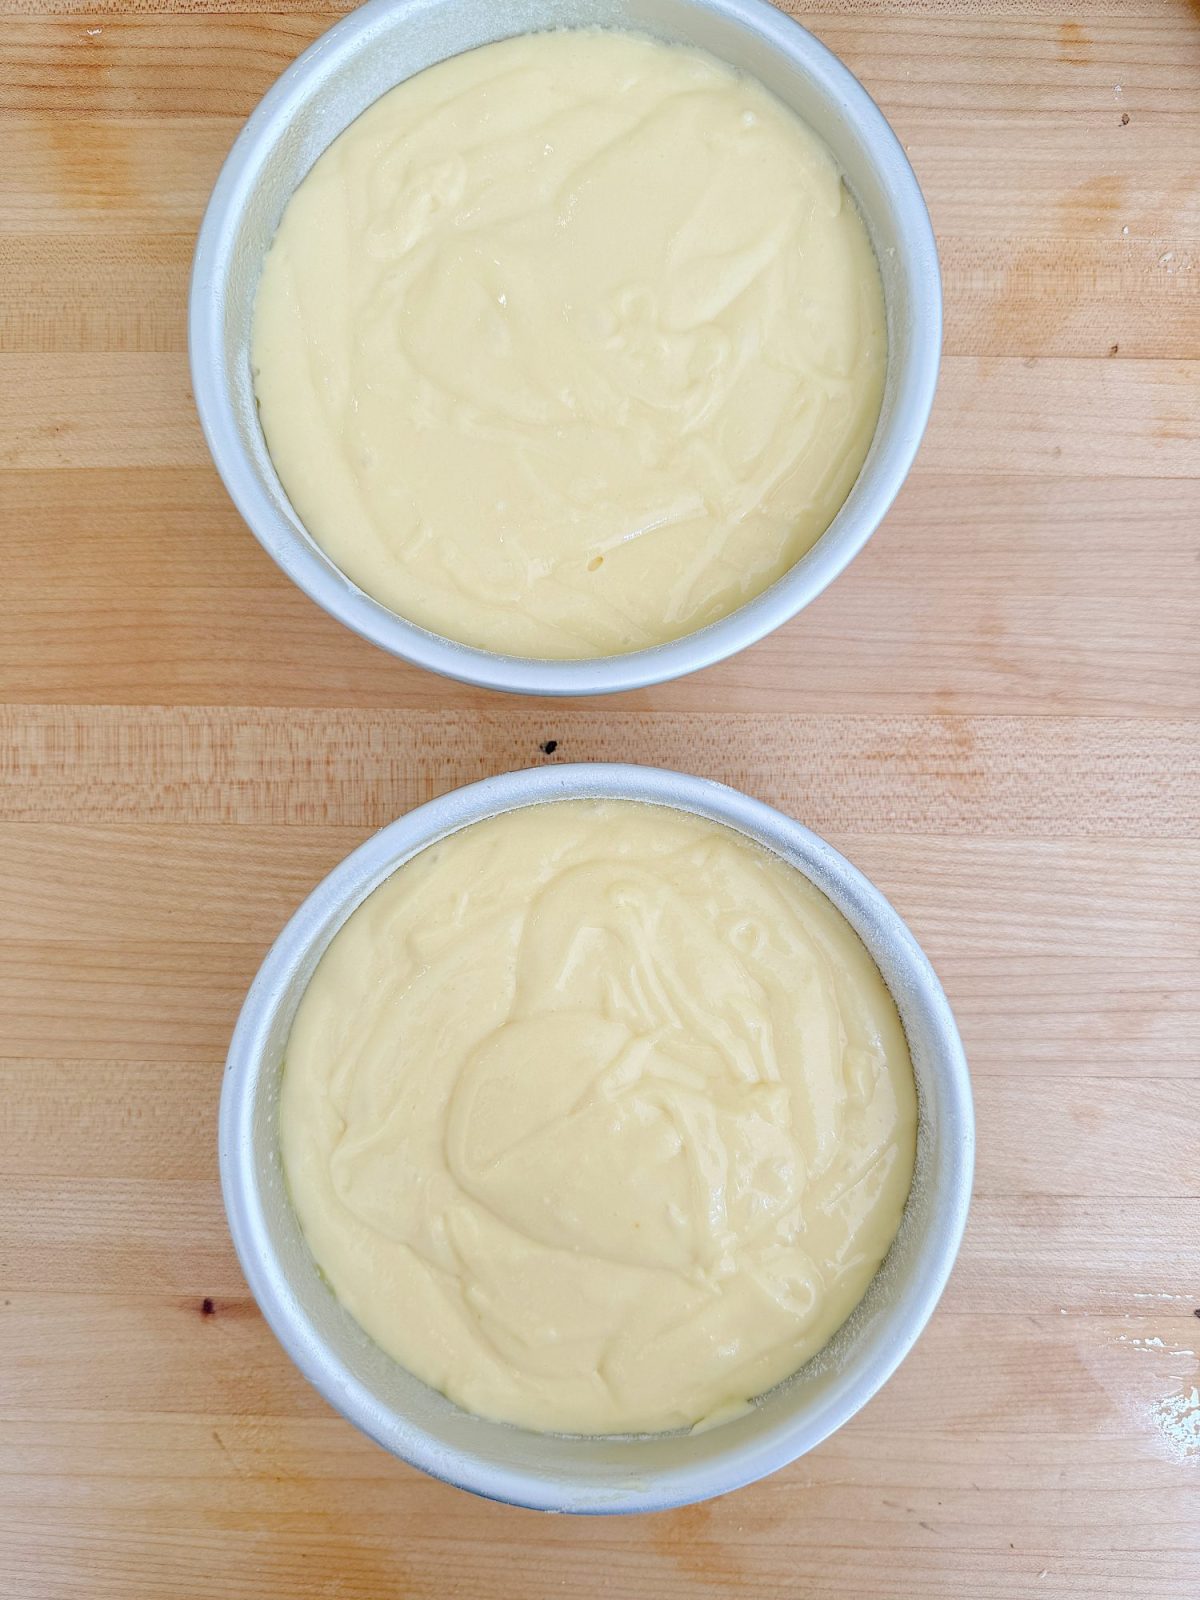
Once you have divided the batter evenly among the prepared cake pans, smooth the tops with a spatula.
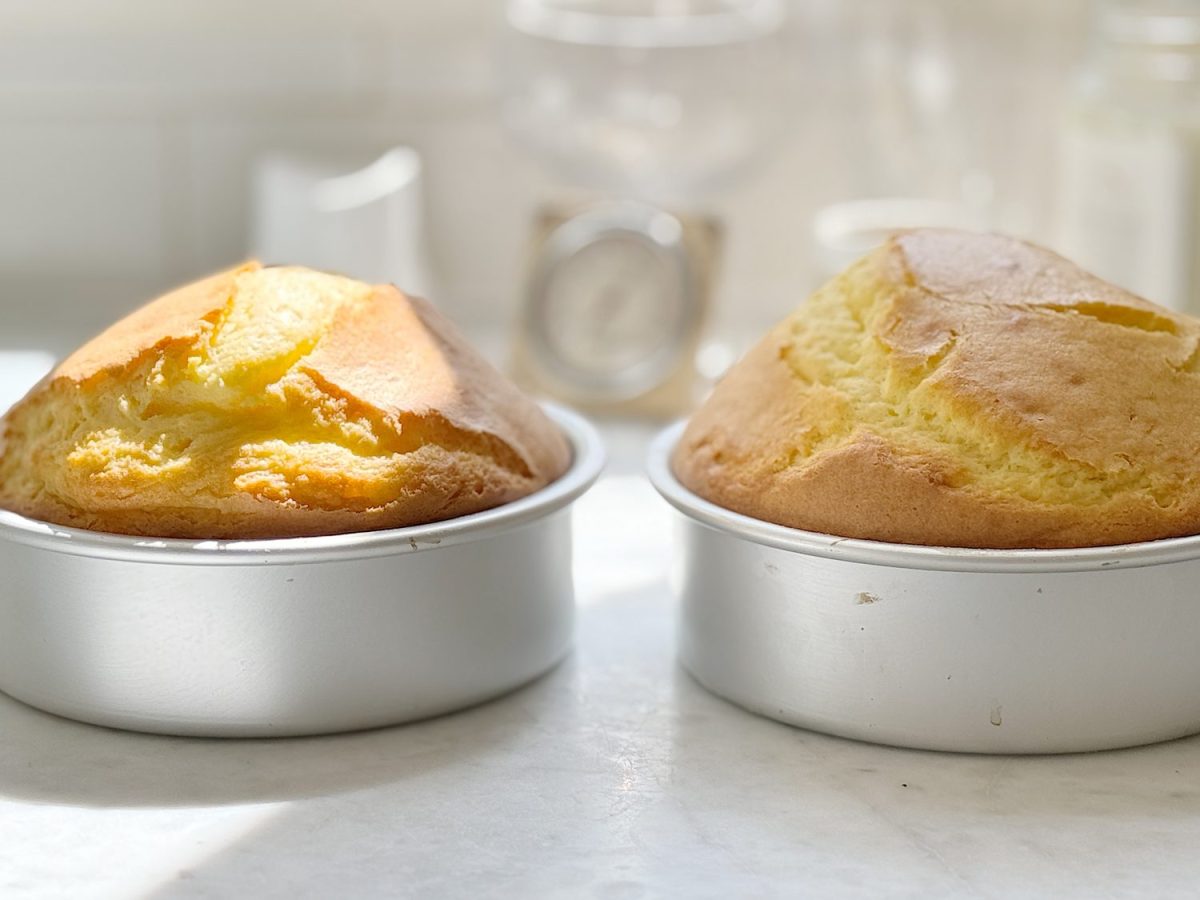
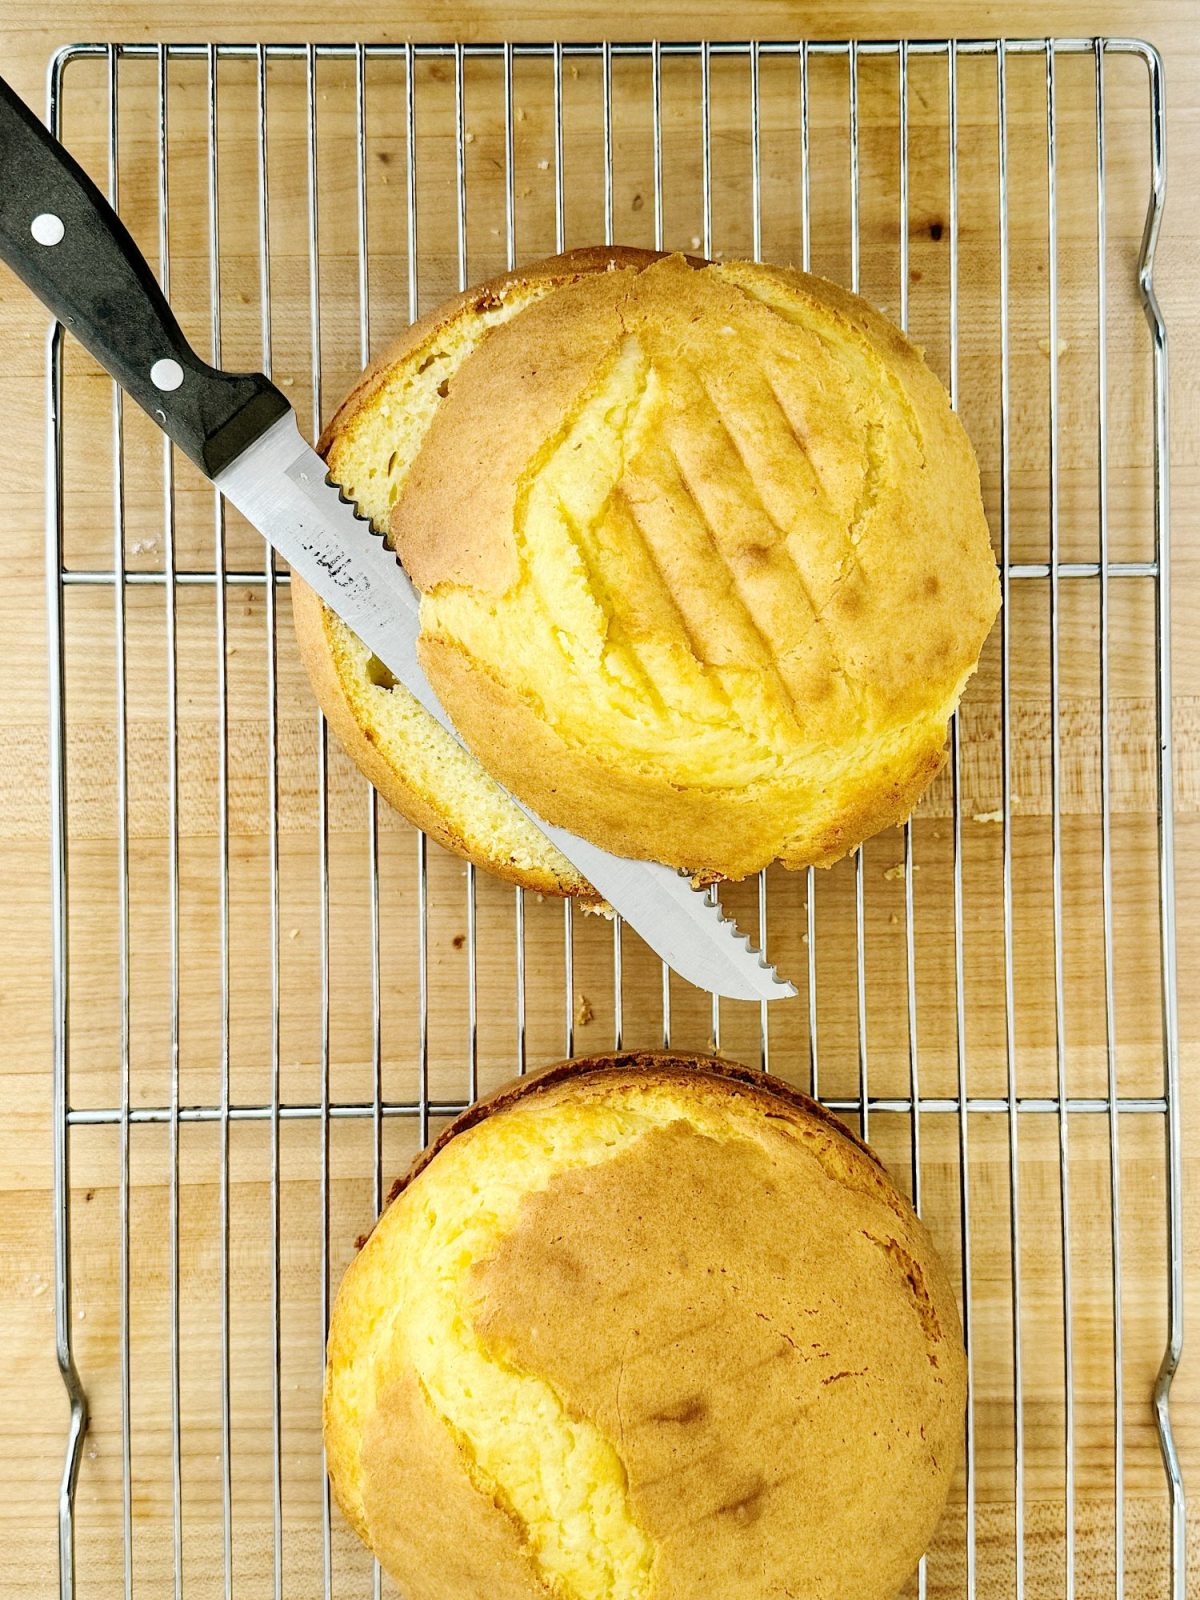
After they have cooked, you must cut the tops off if they have risen too high.
The Best Spring Cake
Ingredients
- 3 cups all-purpose flour
- 2 cups granulated sugar
- 1 tablespoon baking powder
- 1 teaspoon salt
- 1 cup unsalted butter, softened
- 1 cup whole milk
- 4 large eggs
- 2 teaspoons vanilla extract
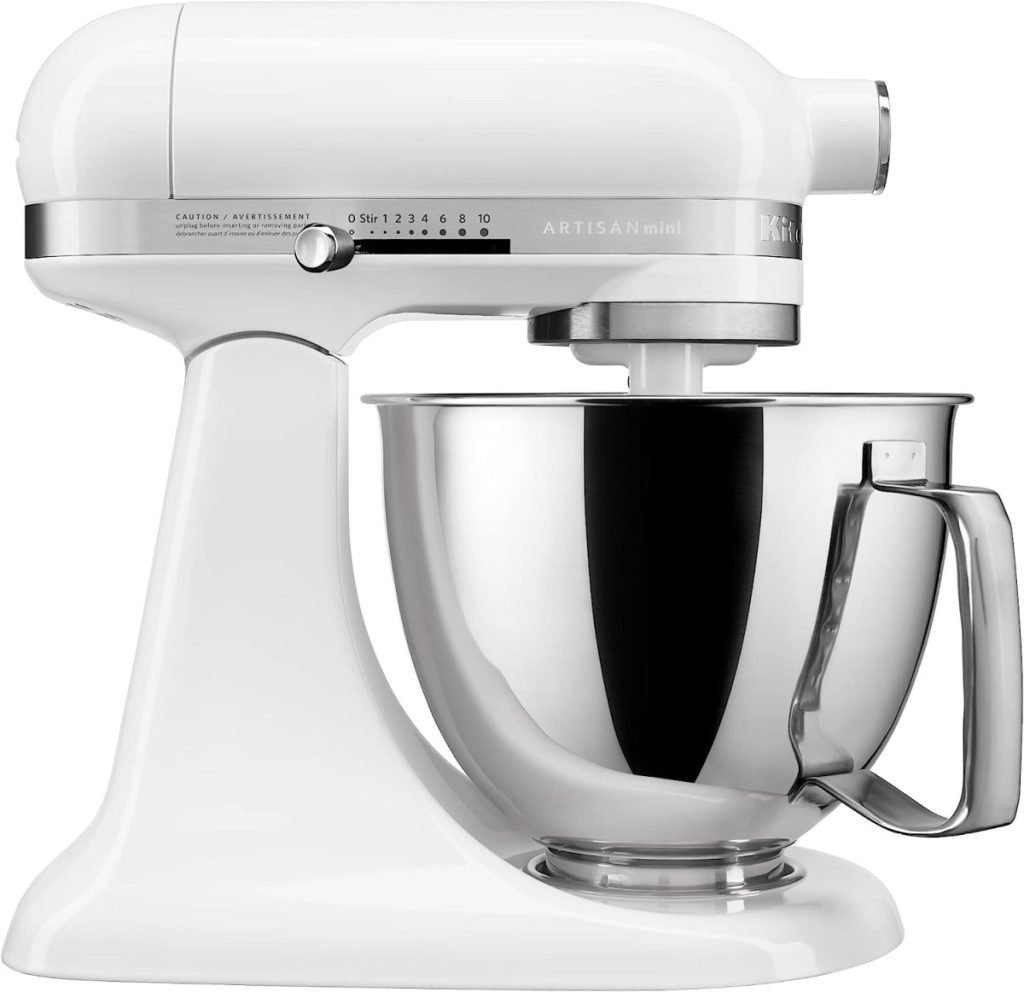
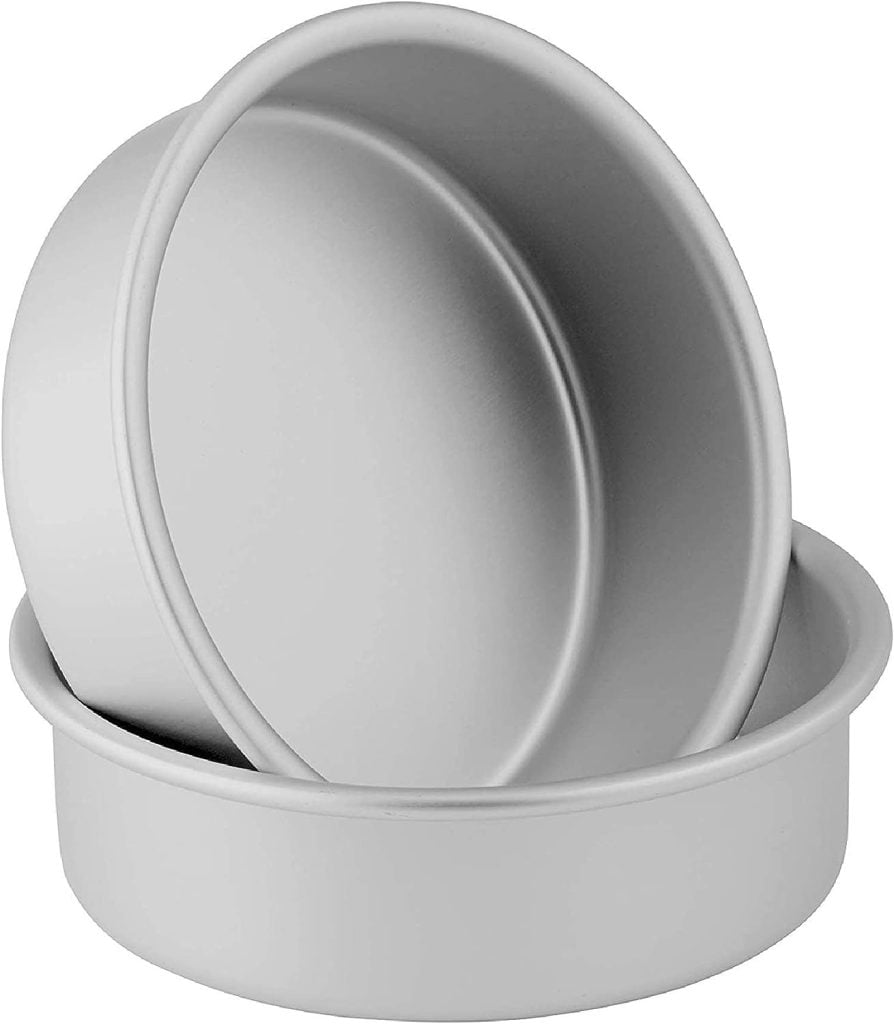
- Three 6" cake pans (if you only have two, just bake the third pan separately)
Instructions
- Preheat your oven to 350°F (175°C). Grease and flour three 6-inch round cake pans and line the bottoms with parchment paper.
- Sift the flour, sugar, baking powder, and salt in a large mixing bowl.
- Add the softened butter to the dry ingredients and mix quickly until the mixture resembles coarse crumbs.
- Whisk together the milk, eggs, and vanilla extract in a separate bowl until well combined.
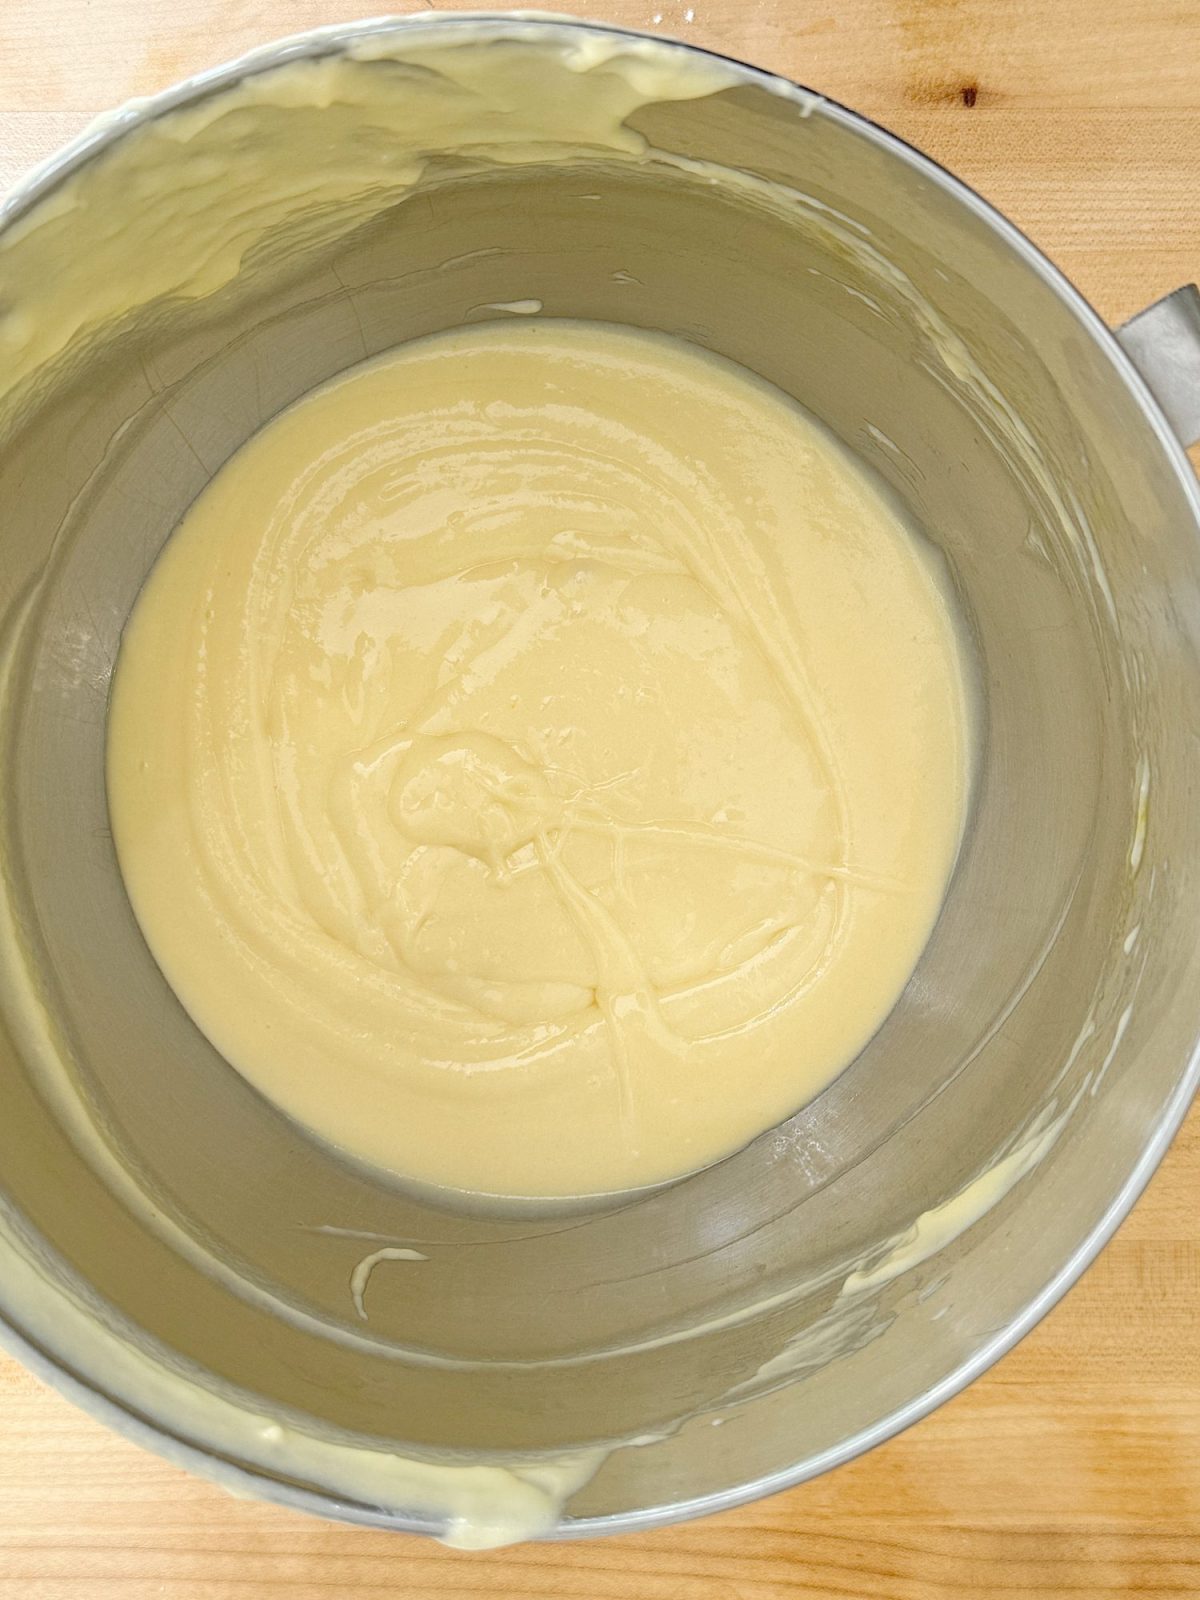
- Gradually pour the wet ingredients into the dry ingredients, mixing on medium speed until the batter is smooth and well combined.
- Divide the batter evenly among the prepared cake pans, smoothing the tops with a spatula.
- Bake in the preheated oven for 25-30 minutes or until a toothpick inserted into the center of the cakes comes out clean.
- Remove the cakes from the oven and let them cool in the pans for 10 minutes before transferring them to wire racks to cool completely.
I may use affiliate links on this blog, which means I earn a small commission if you make a purchase via the link. The price will be the same whether you use the affiliate link or go directly to the vendor’s website using a non-affiliate link.
Part 2: Making Buttercream Frosting
Making the buttercream frosting is easy. Just make sure it’s thick enough to hold the shape of a flower petal. If it’s not, add more powdered sugar.
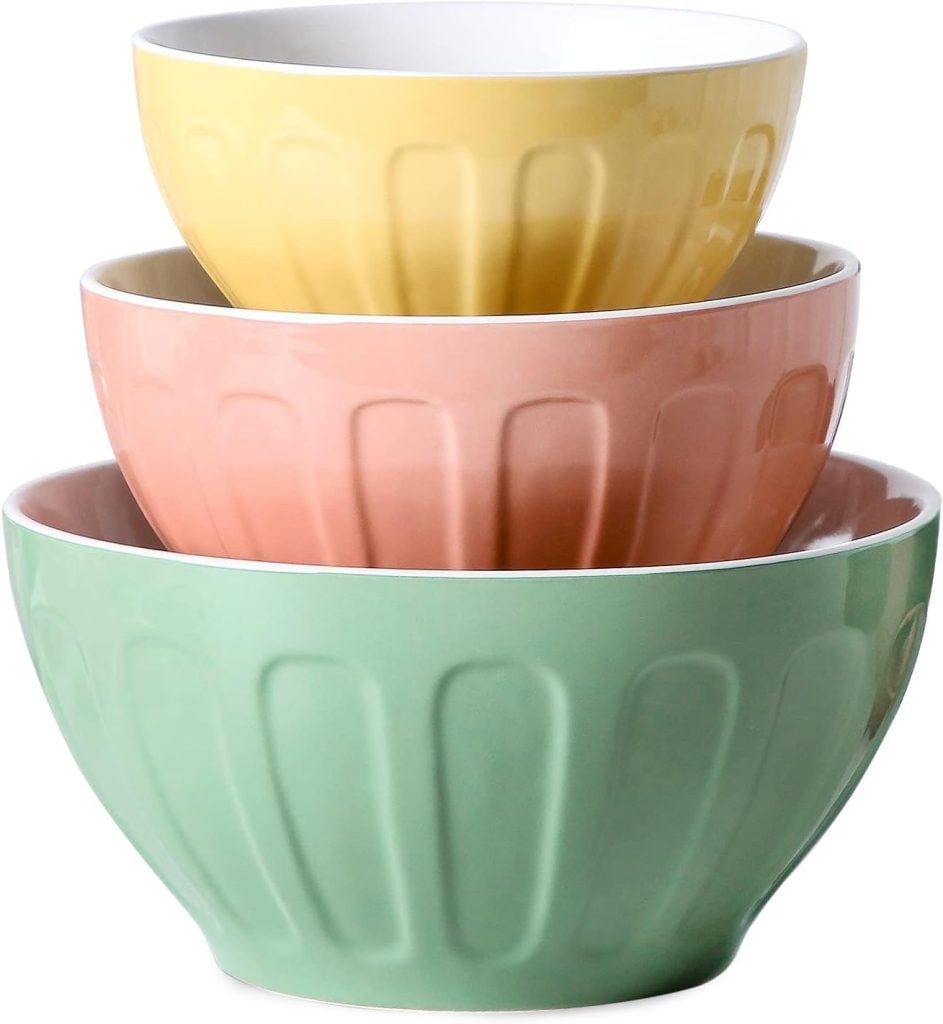
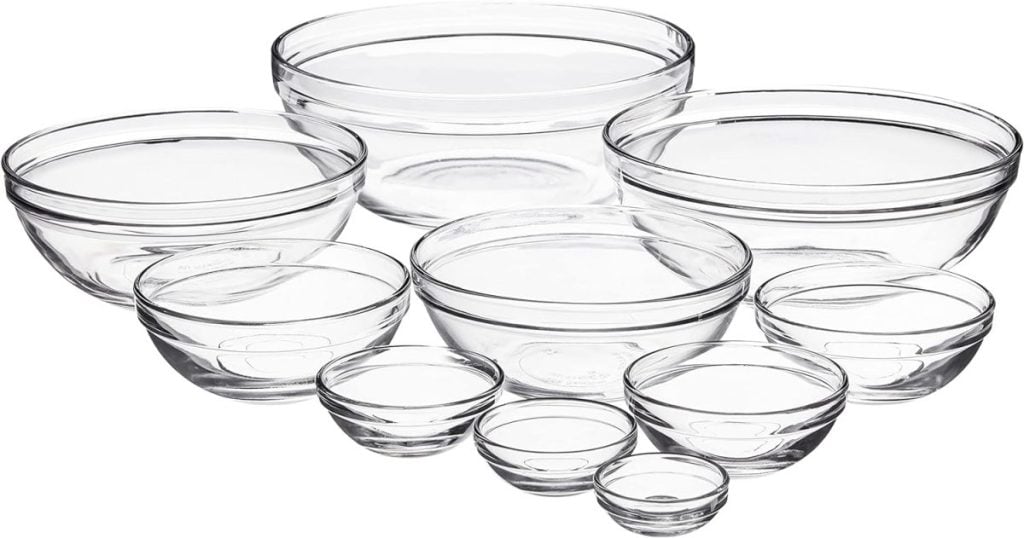
Divide the frosting into small bowls and add the gel coloring to match the flowers you want to create.
Buttercream Frosting
Ingredients
- 2 cups unsalted butter, softened
- 4 cups powdered sugar
- 2 teaspoons vanilla extract
- 2-4 tablespoons heavy cream, milk, or coconut milk
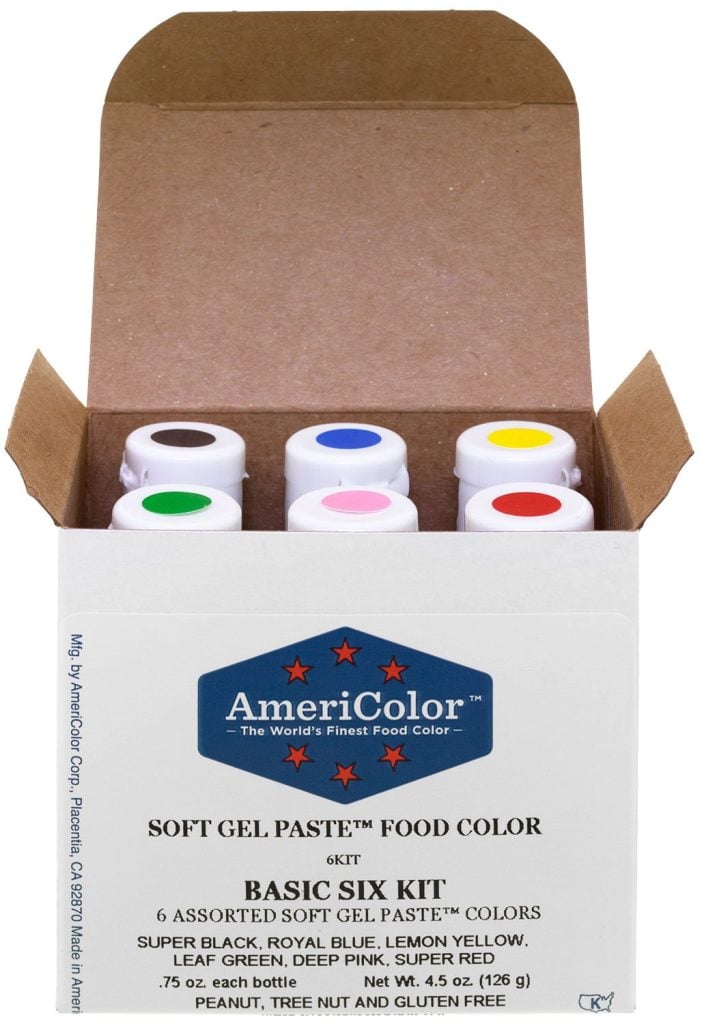
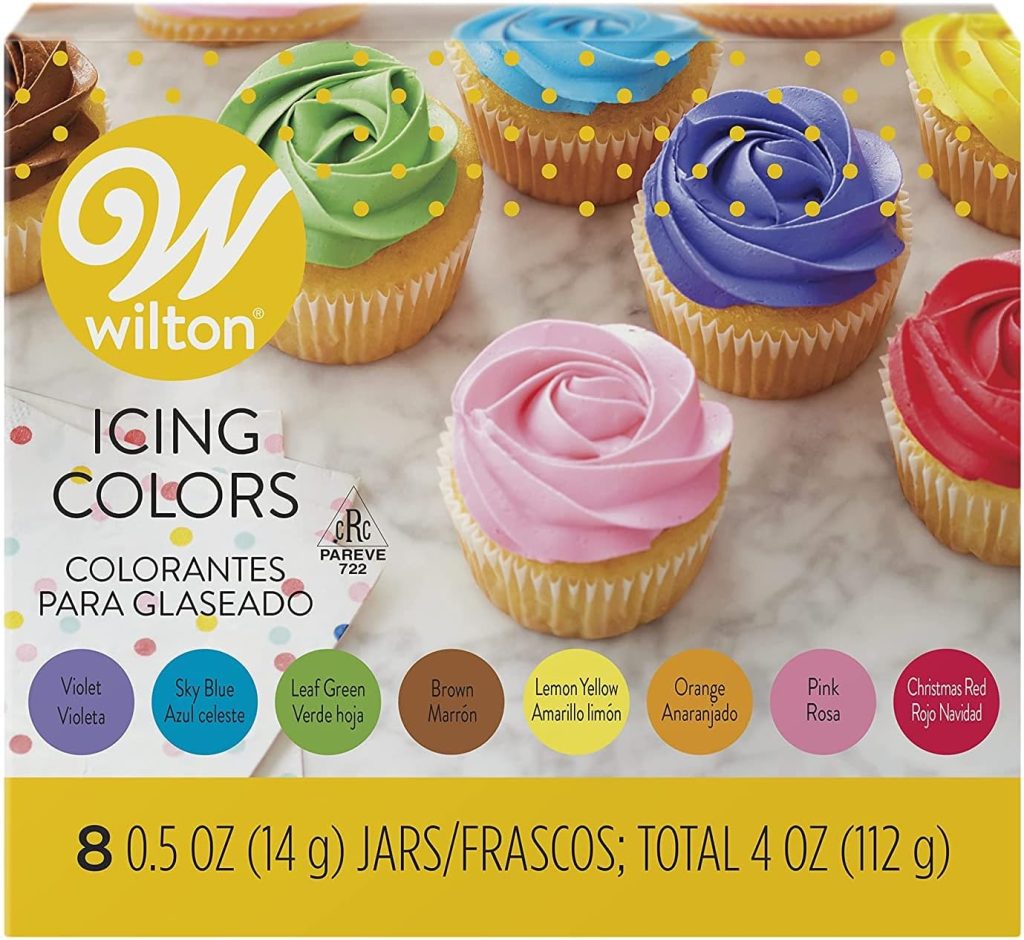
- Gel food coloring
Instructions
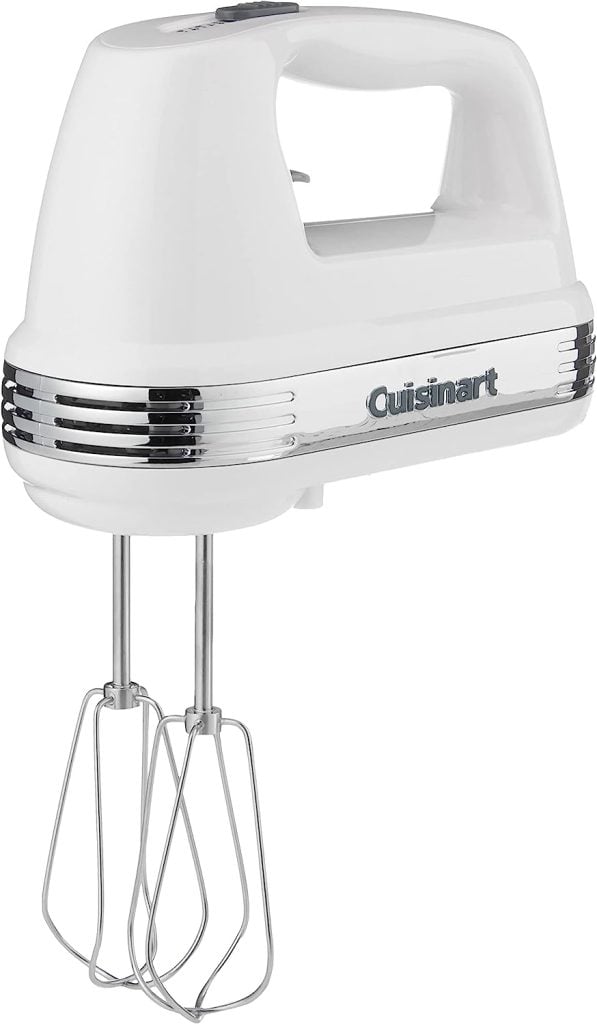
- In a large mixing bowl, beat the softened butter on medium speed until creamy and smooth.
- Gradually add the powdered sugar, one cup at a time, mixing on low speed until well incorporated.
- Add the vanilla extract and 2 tablespoons of heavy cream or milk, then beat on medium-high speed until light and fluffy. Add more cream or milk as needed to achieve the desired consistency.
- If desired, divide the frosting into smaller bowls and tint each portion with gel food coloring to create different shades for decorating.
Part 3: Assembling and Decorating the Cake
Chill the cake layers until they are ready to frost.

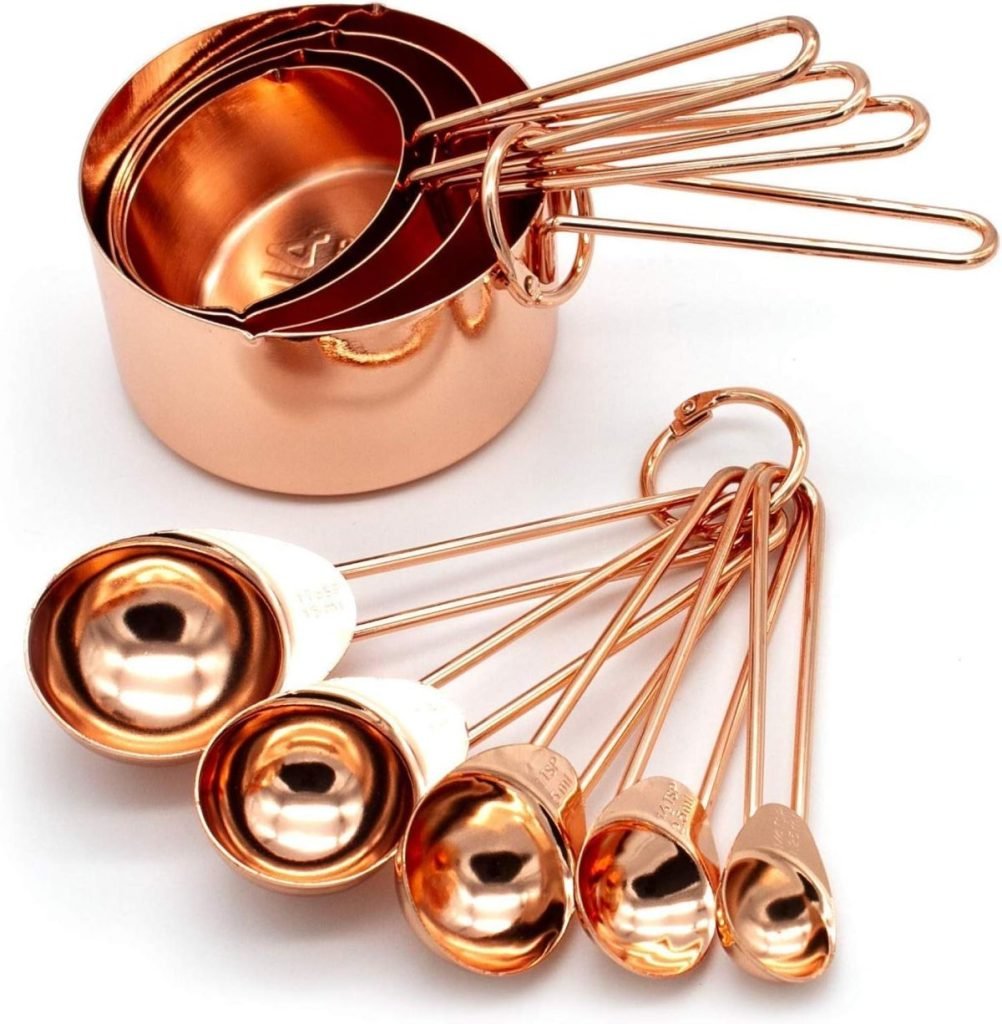
Here is what you will need to assemble and decorate the cake.
- Chilled cake layers
- Buttercream frosting
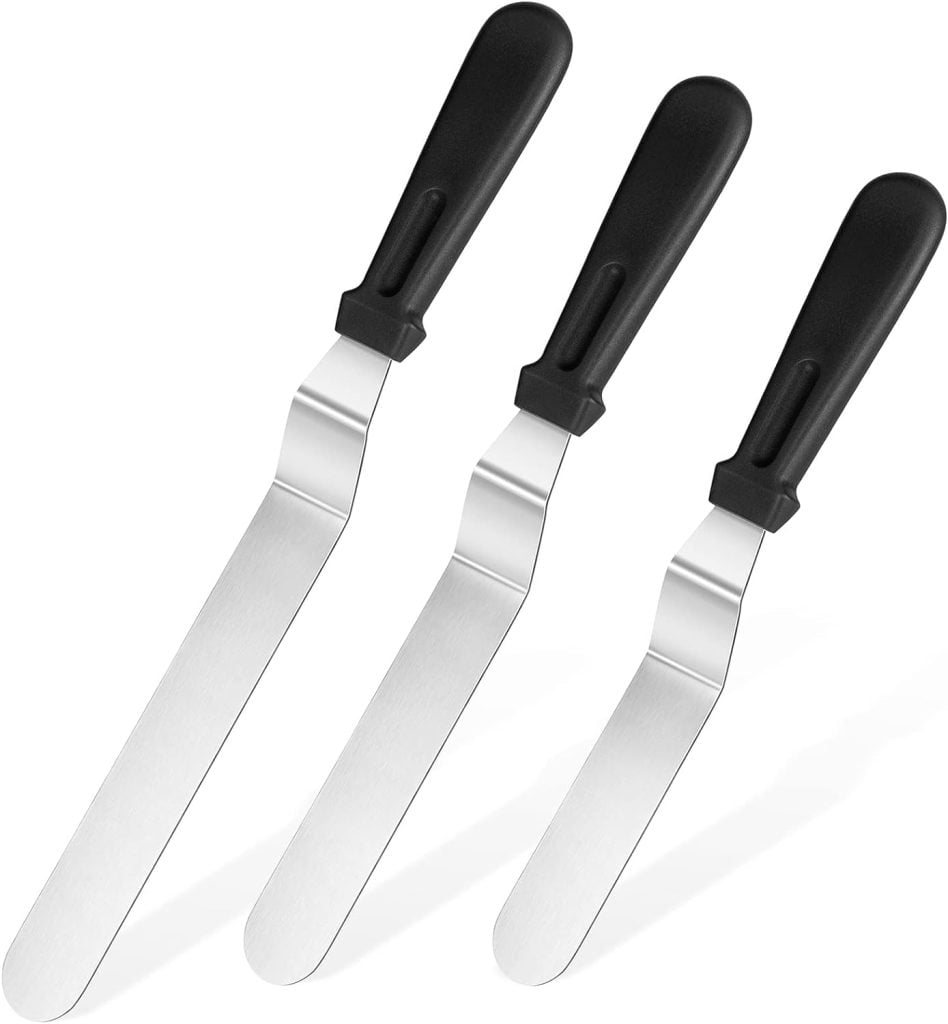
- Offset spatula
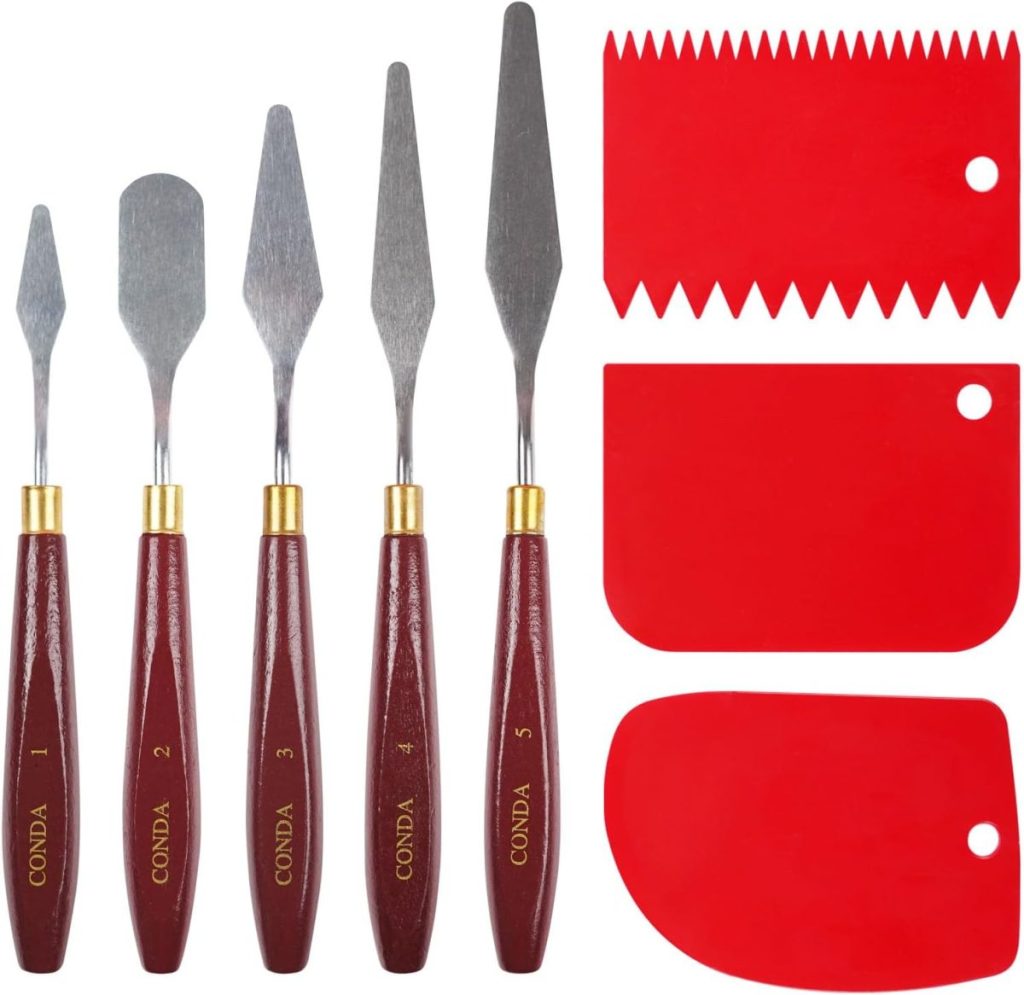
- Palette knife
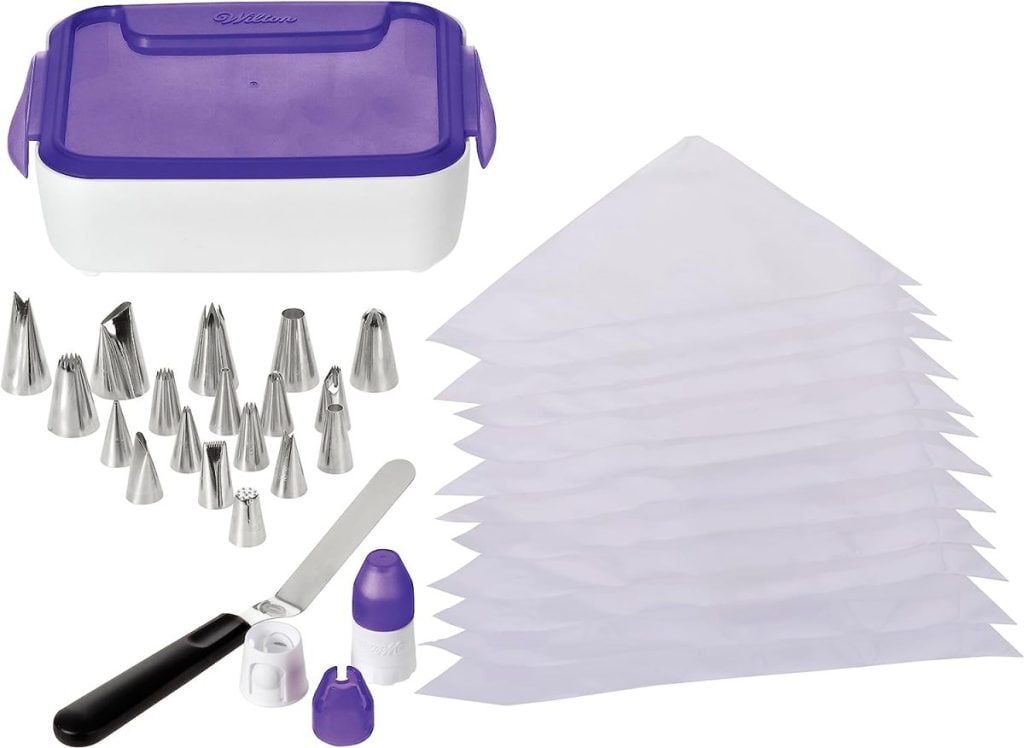
- Piping bags and tips (optional)
Instructions:

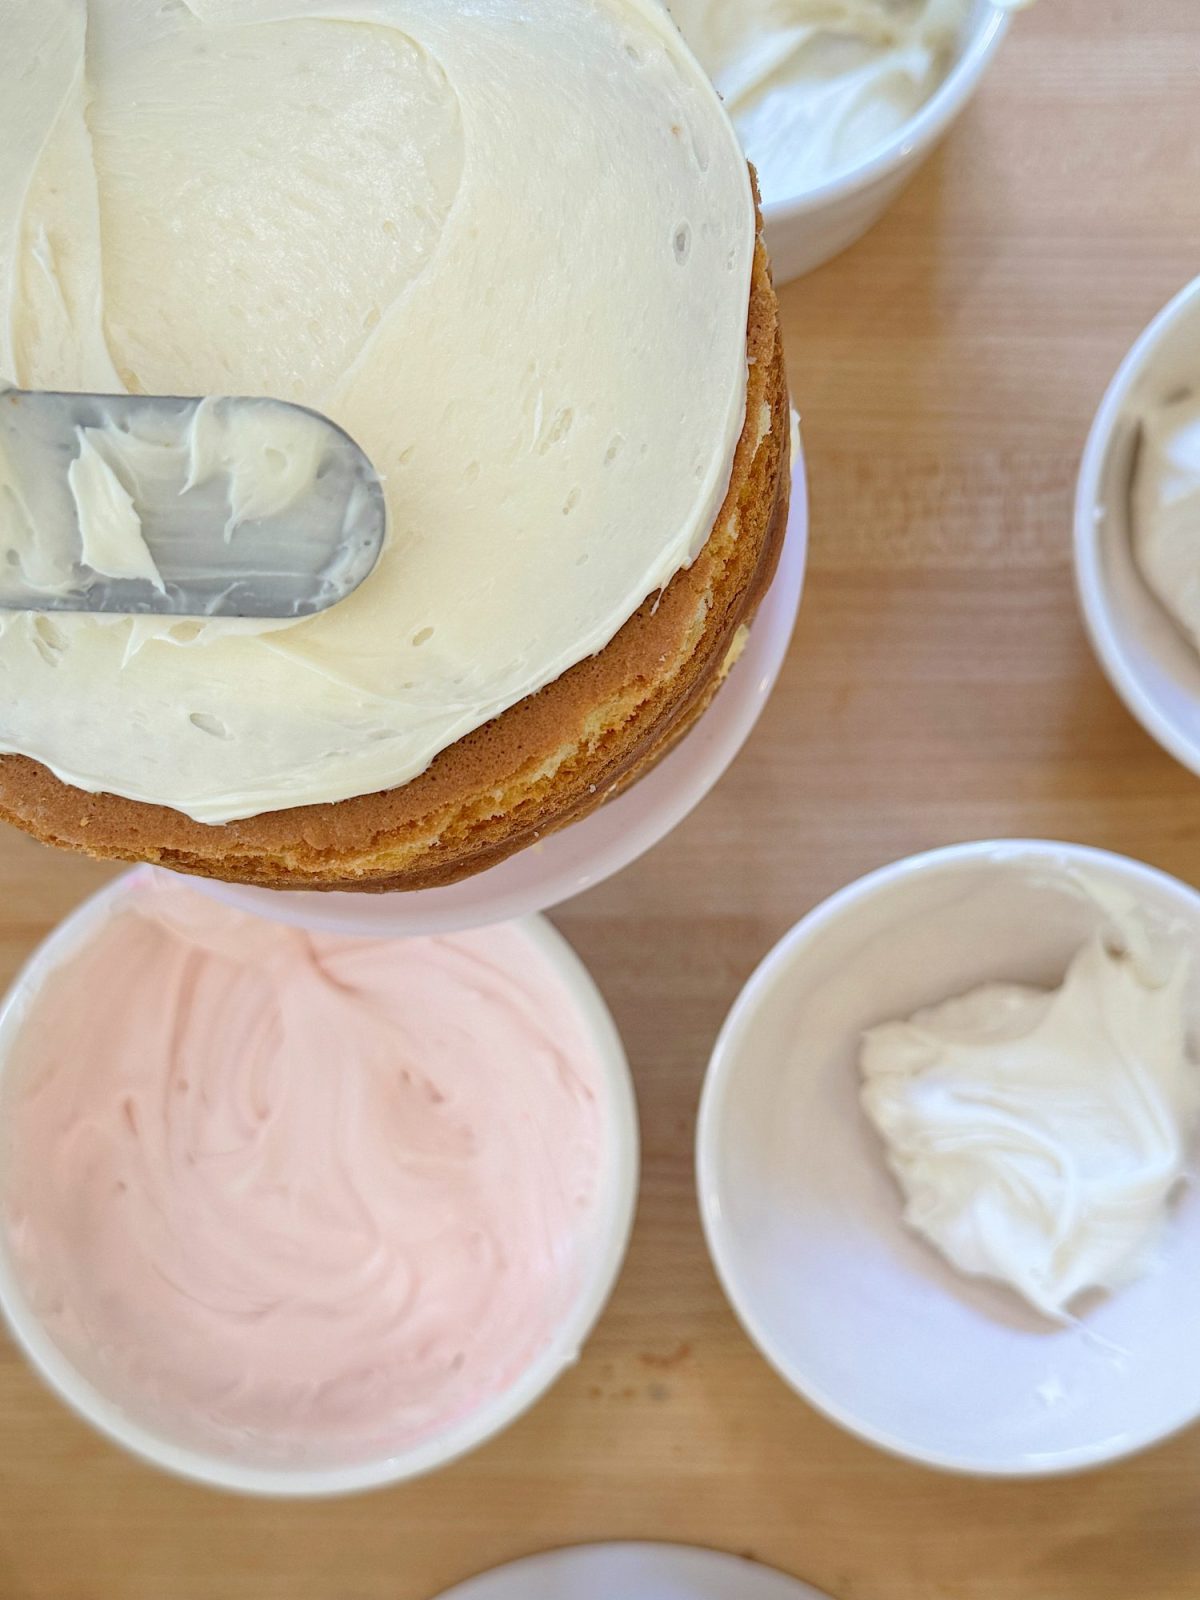
Mix the desired colors of the frosting.
Place one cake layer on a serving plate or cake stand. Using a spatula, spread a layer of buttercream frosting evenly over the top.
Repeat with the remaining cake layers, stacking them on top of each other and spreading frosting between each layer.
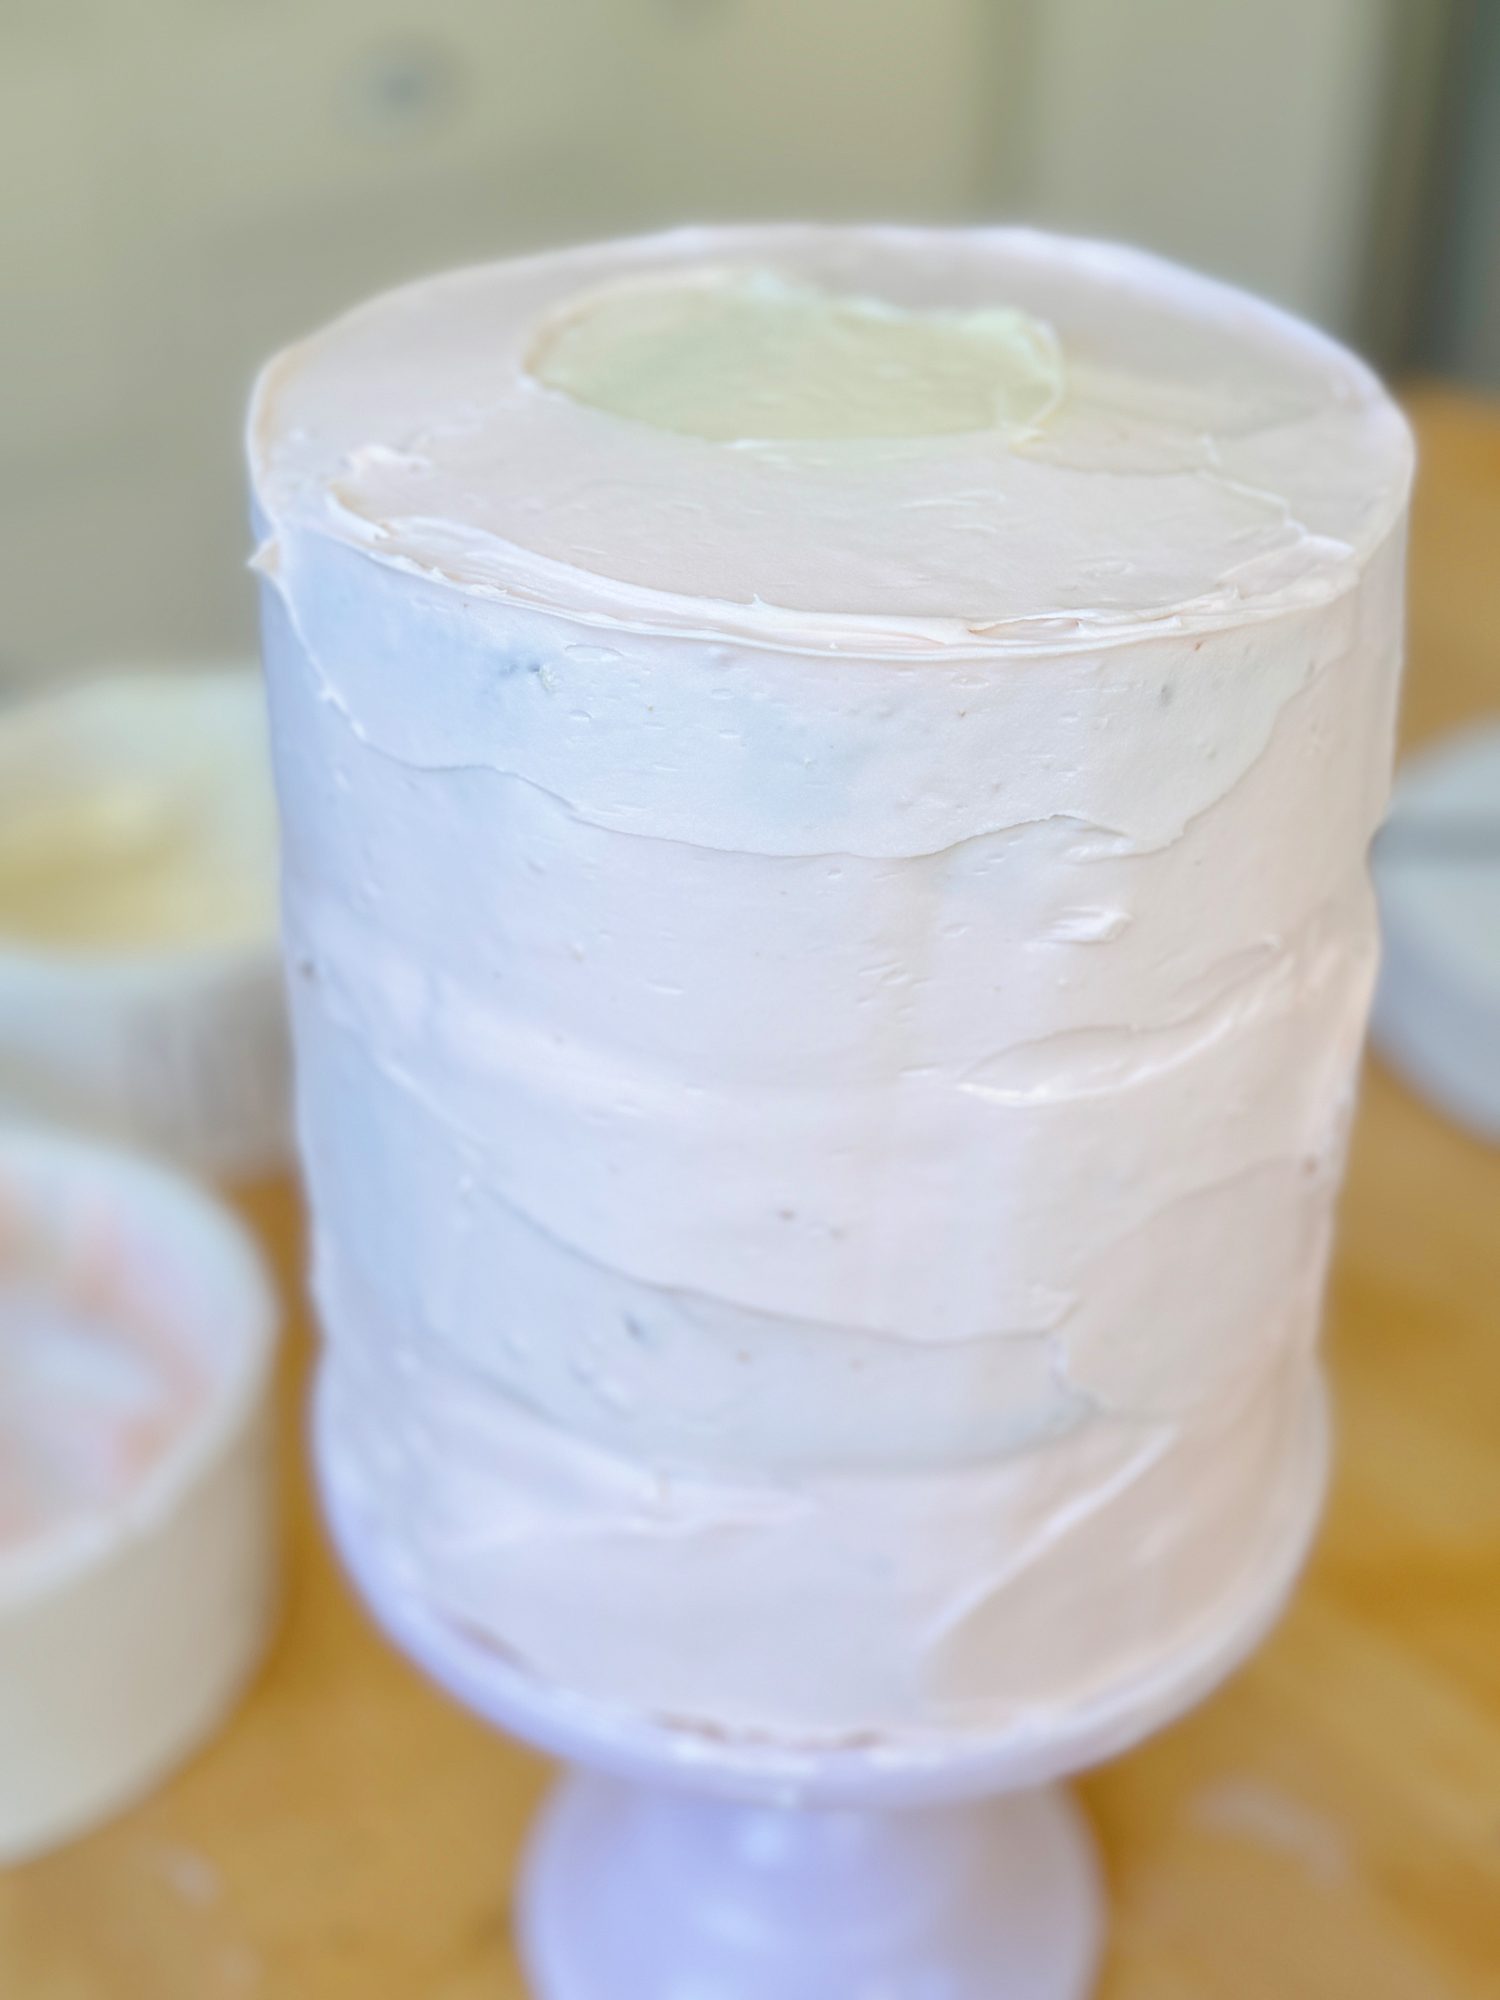
Once all the layers are stacked, use the remaining frosting to cover the top and sides of the cake, smoothing it with a spatula for a smooth, even finish. Cool in the refrigerator for at least thirty minutes.
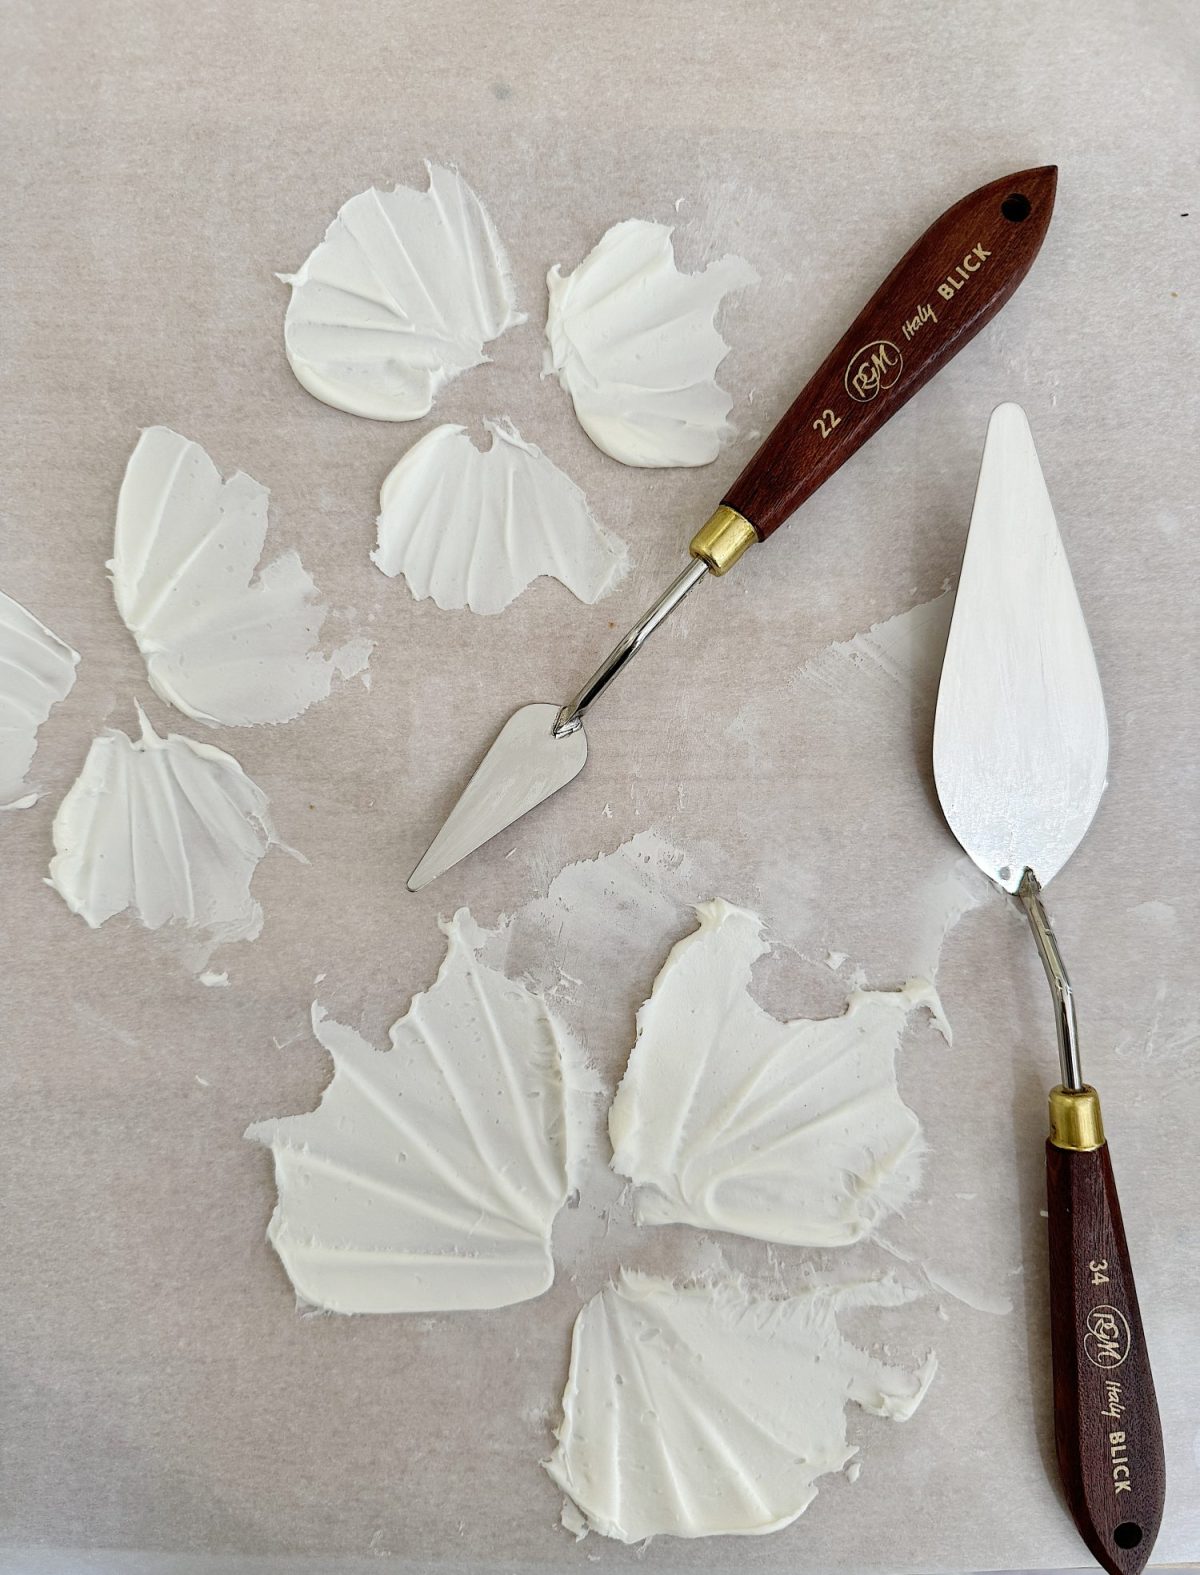
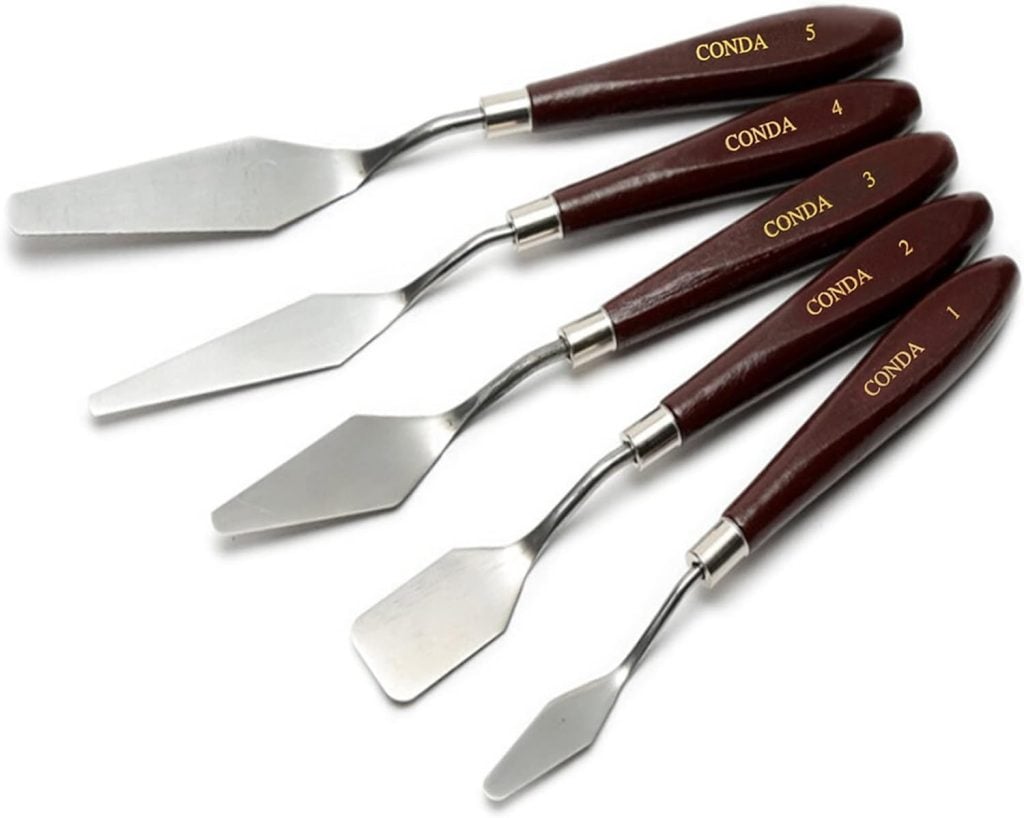

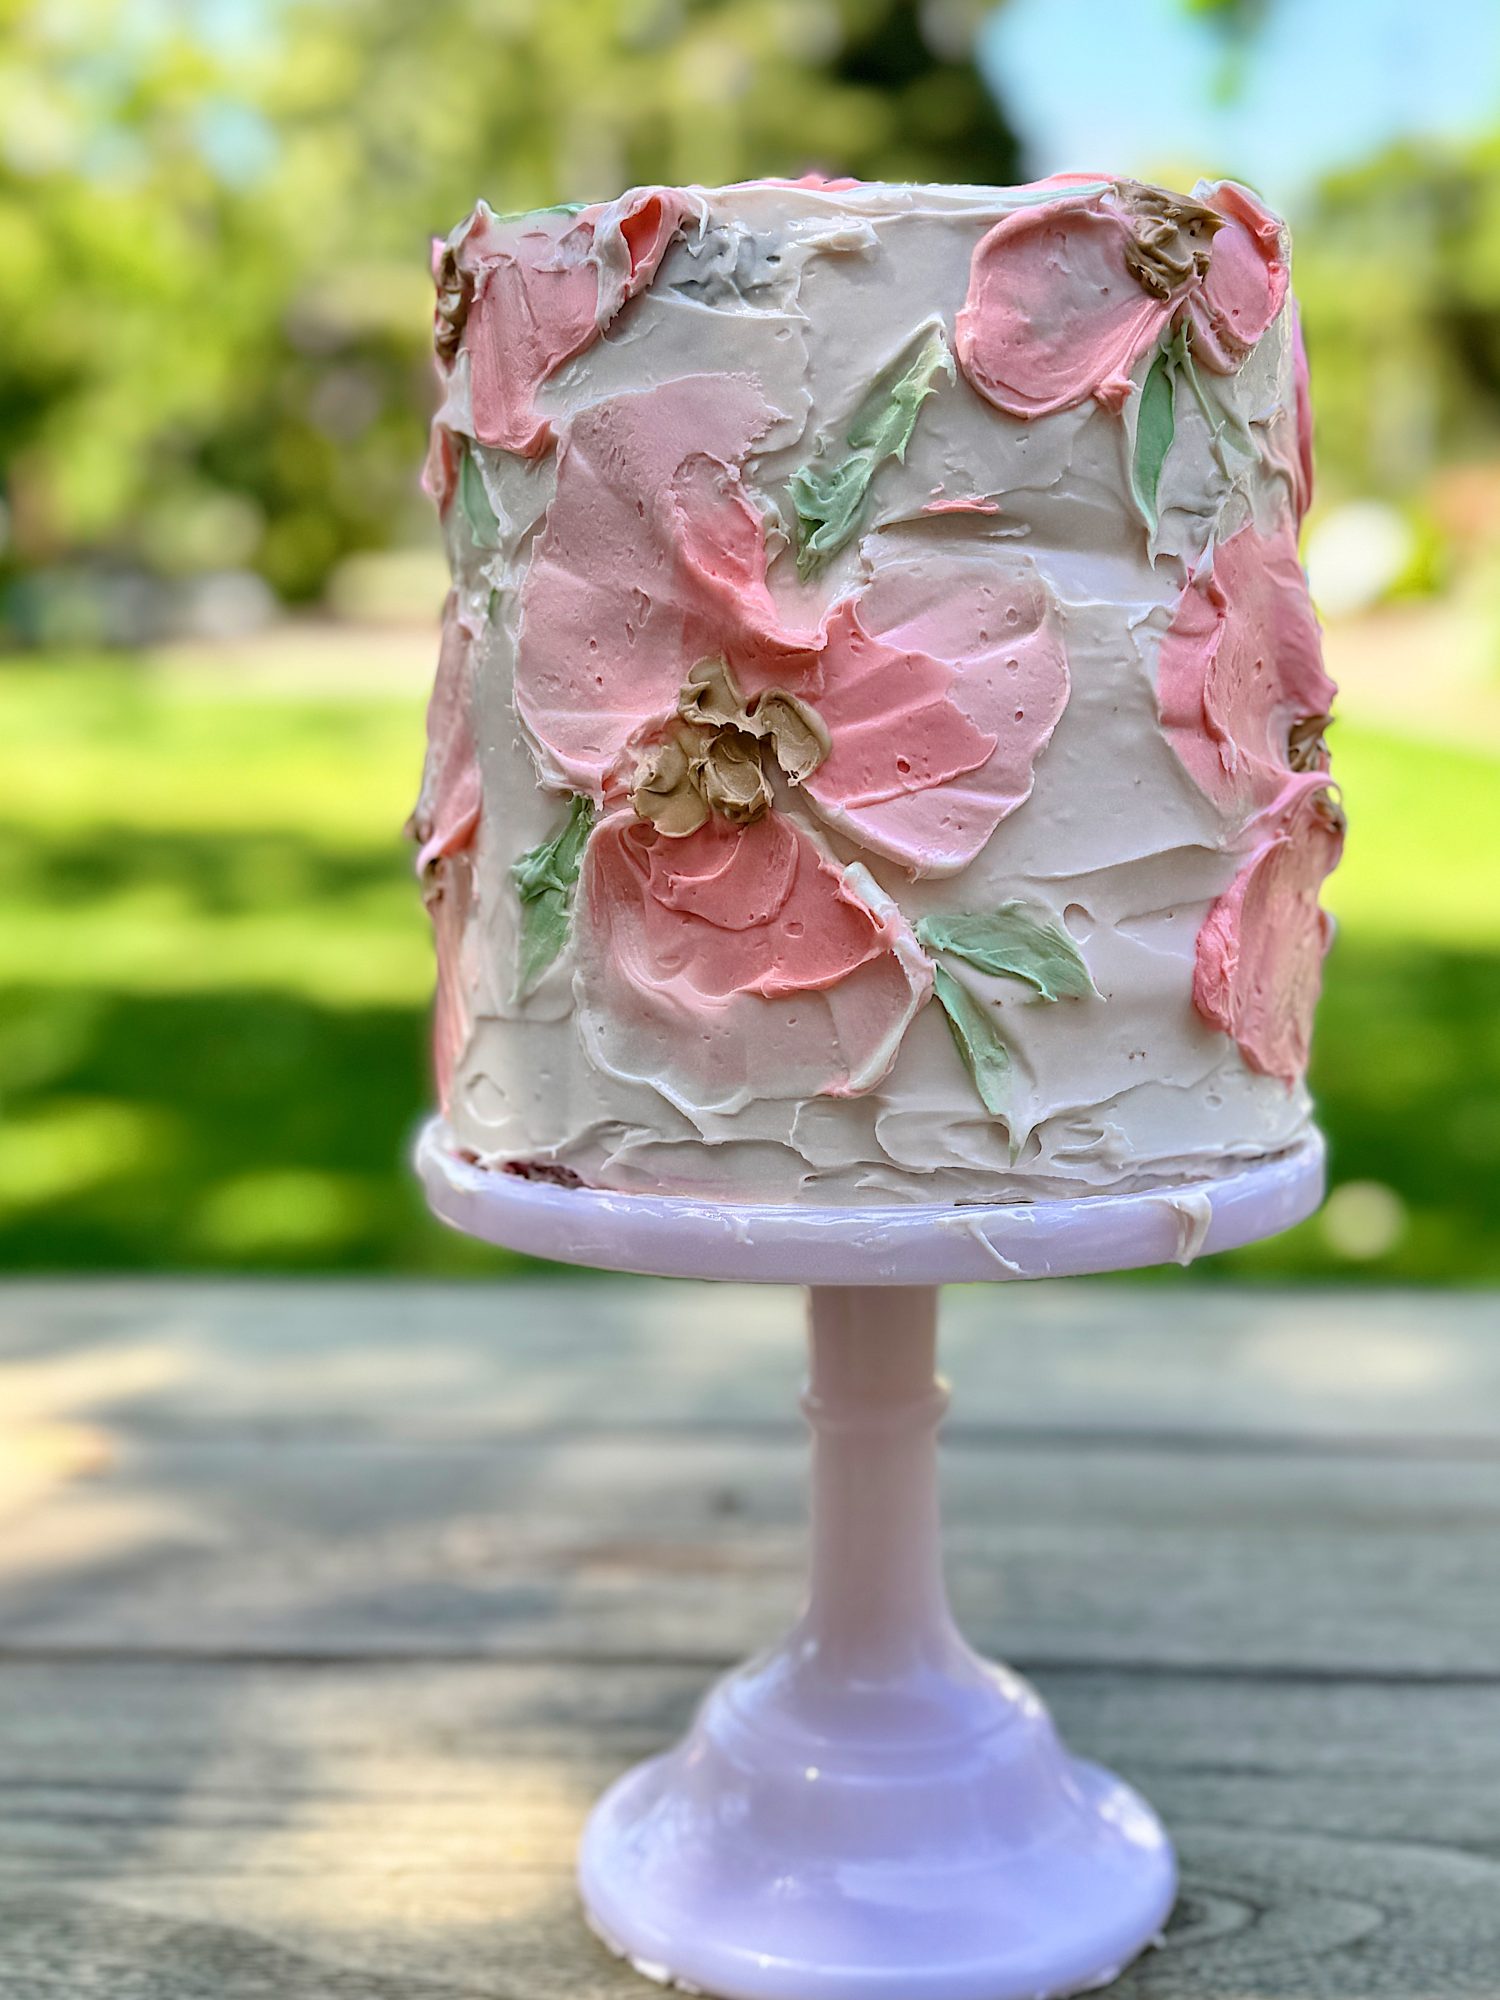
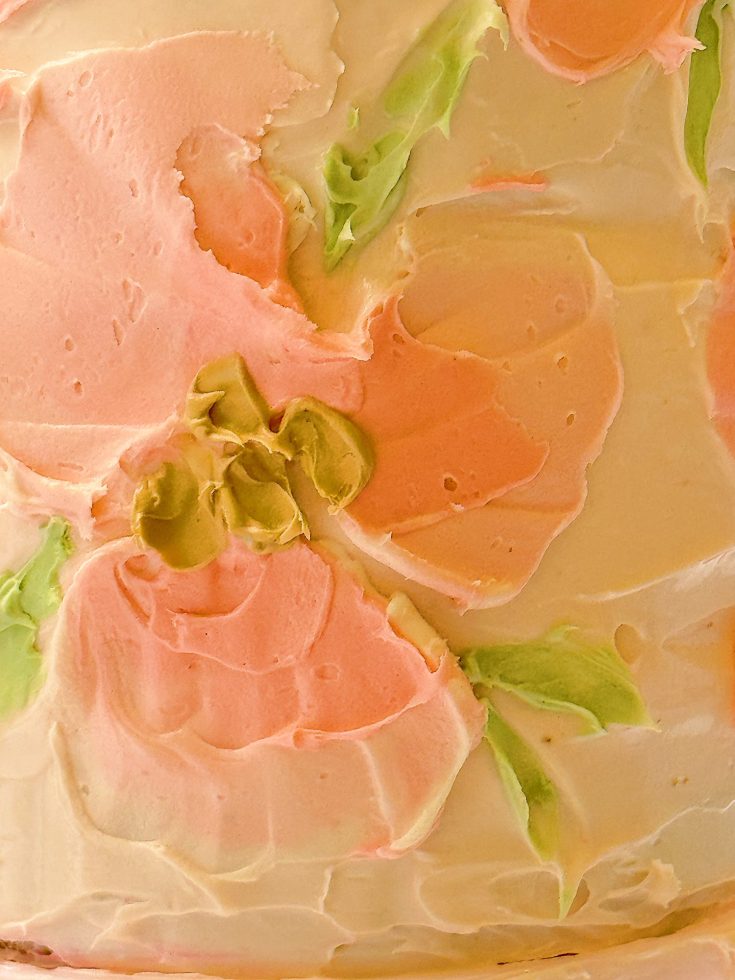
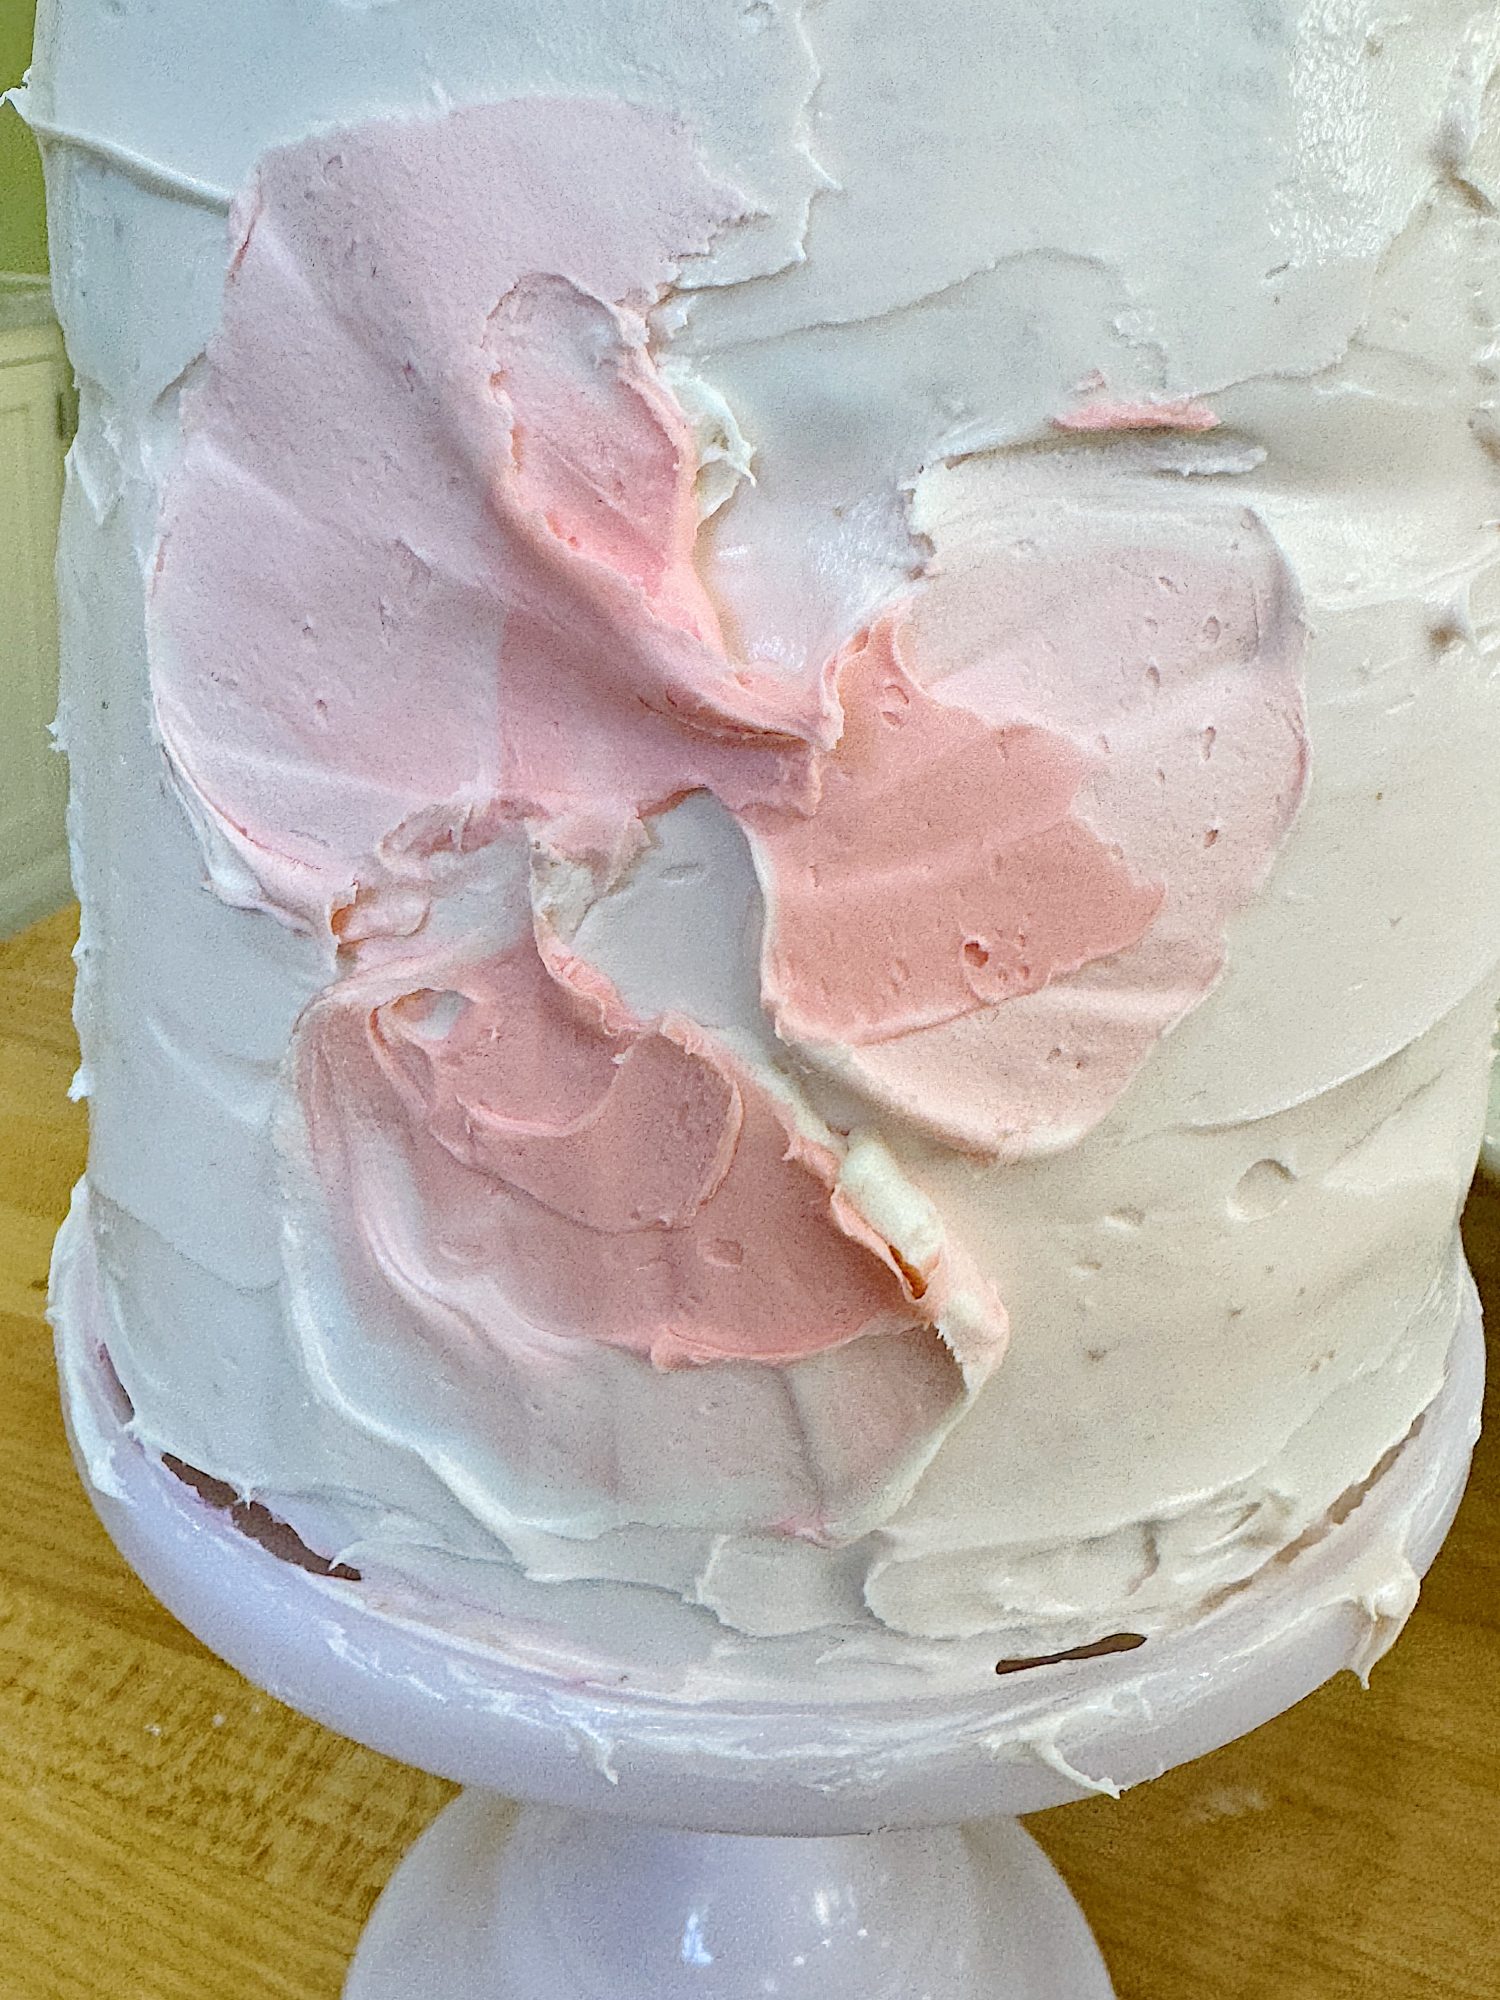
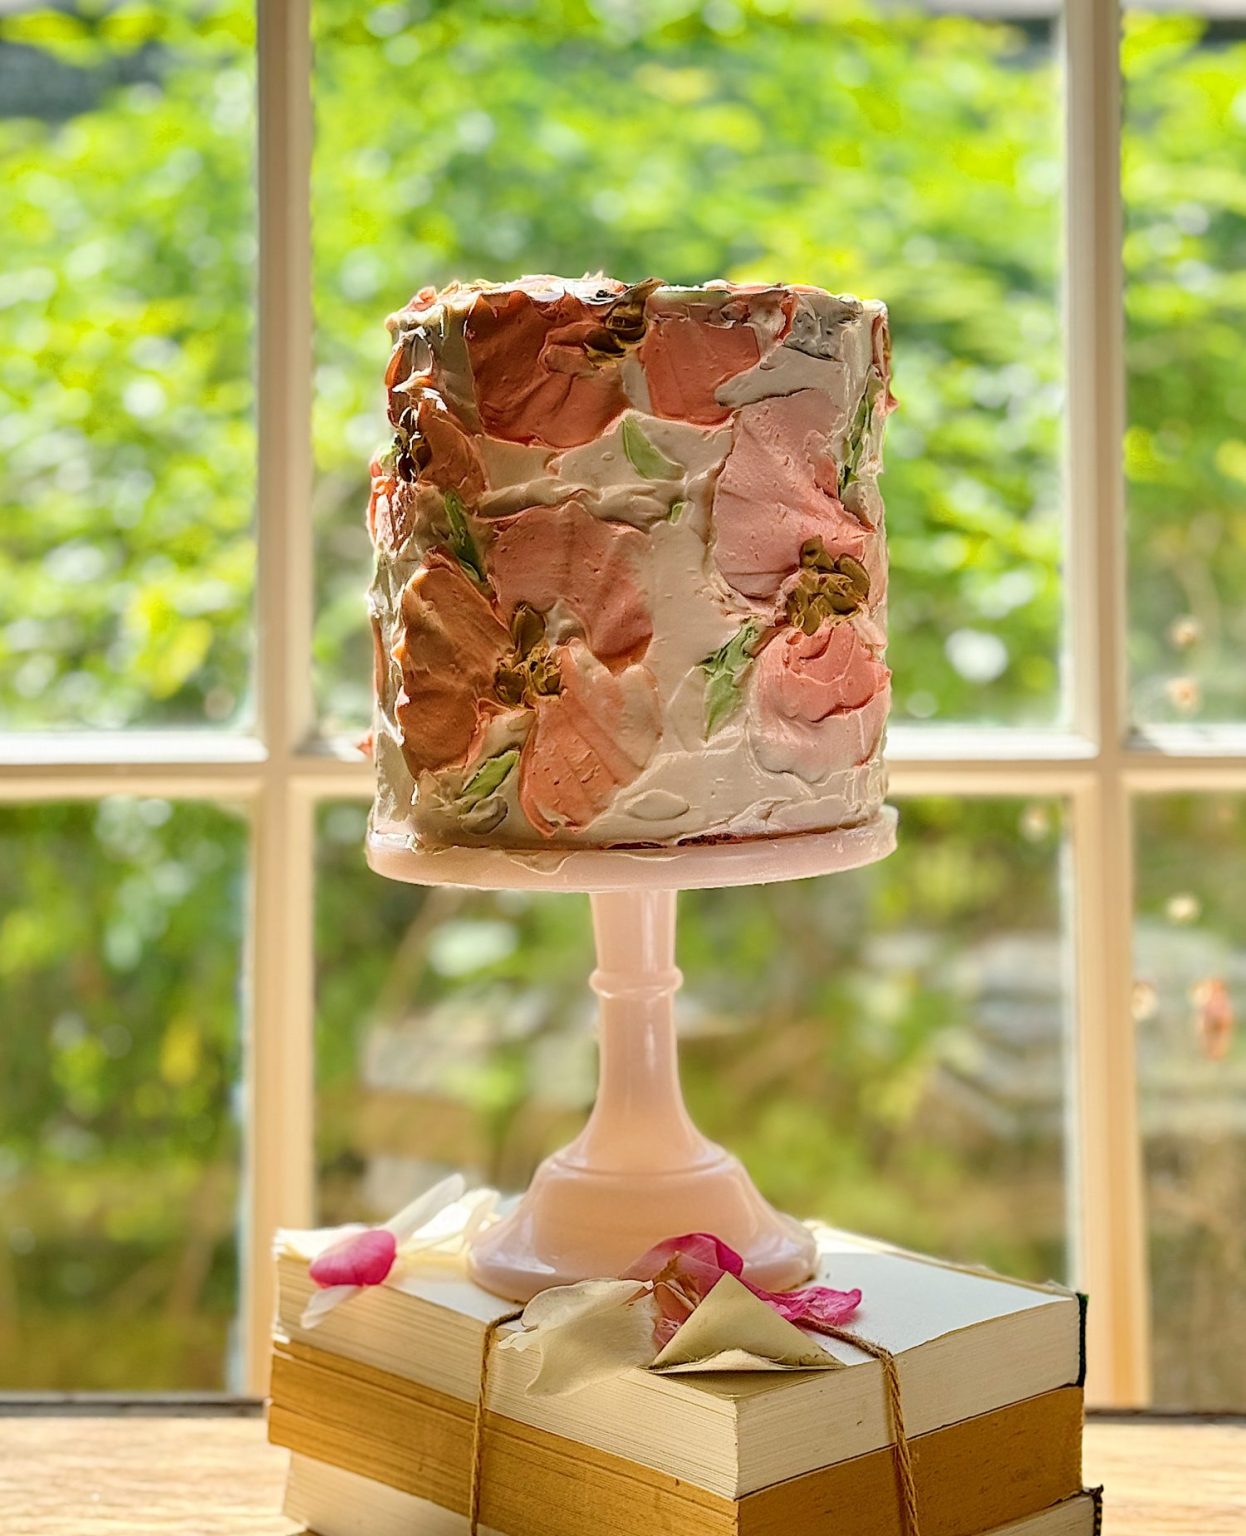
To create buttercream flowers, dip a clean palette knife into a small amount of colored frosting. Place the palette knife at a 45-degree angle against the cake and gently fan the frosting to create a petal shape.
I practiced on parchment paper first.
Using the larger palette knife, place the mid-color frosting on the knife. Lay it almost flat against the cake and press gently in a fan pattern. Repeat this three times per flower. Return with the darker color and repeat the same motion in the center of each petal.
Leave a space in the center as you will add brown frosting later.
Repeat this process to create multiple petals, overlapping them slightly to form a flower.
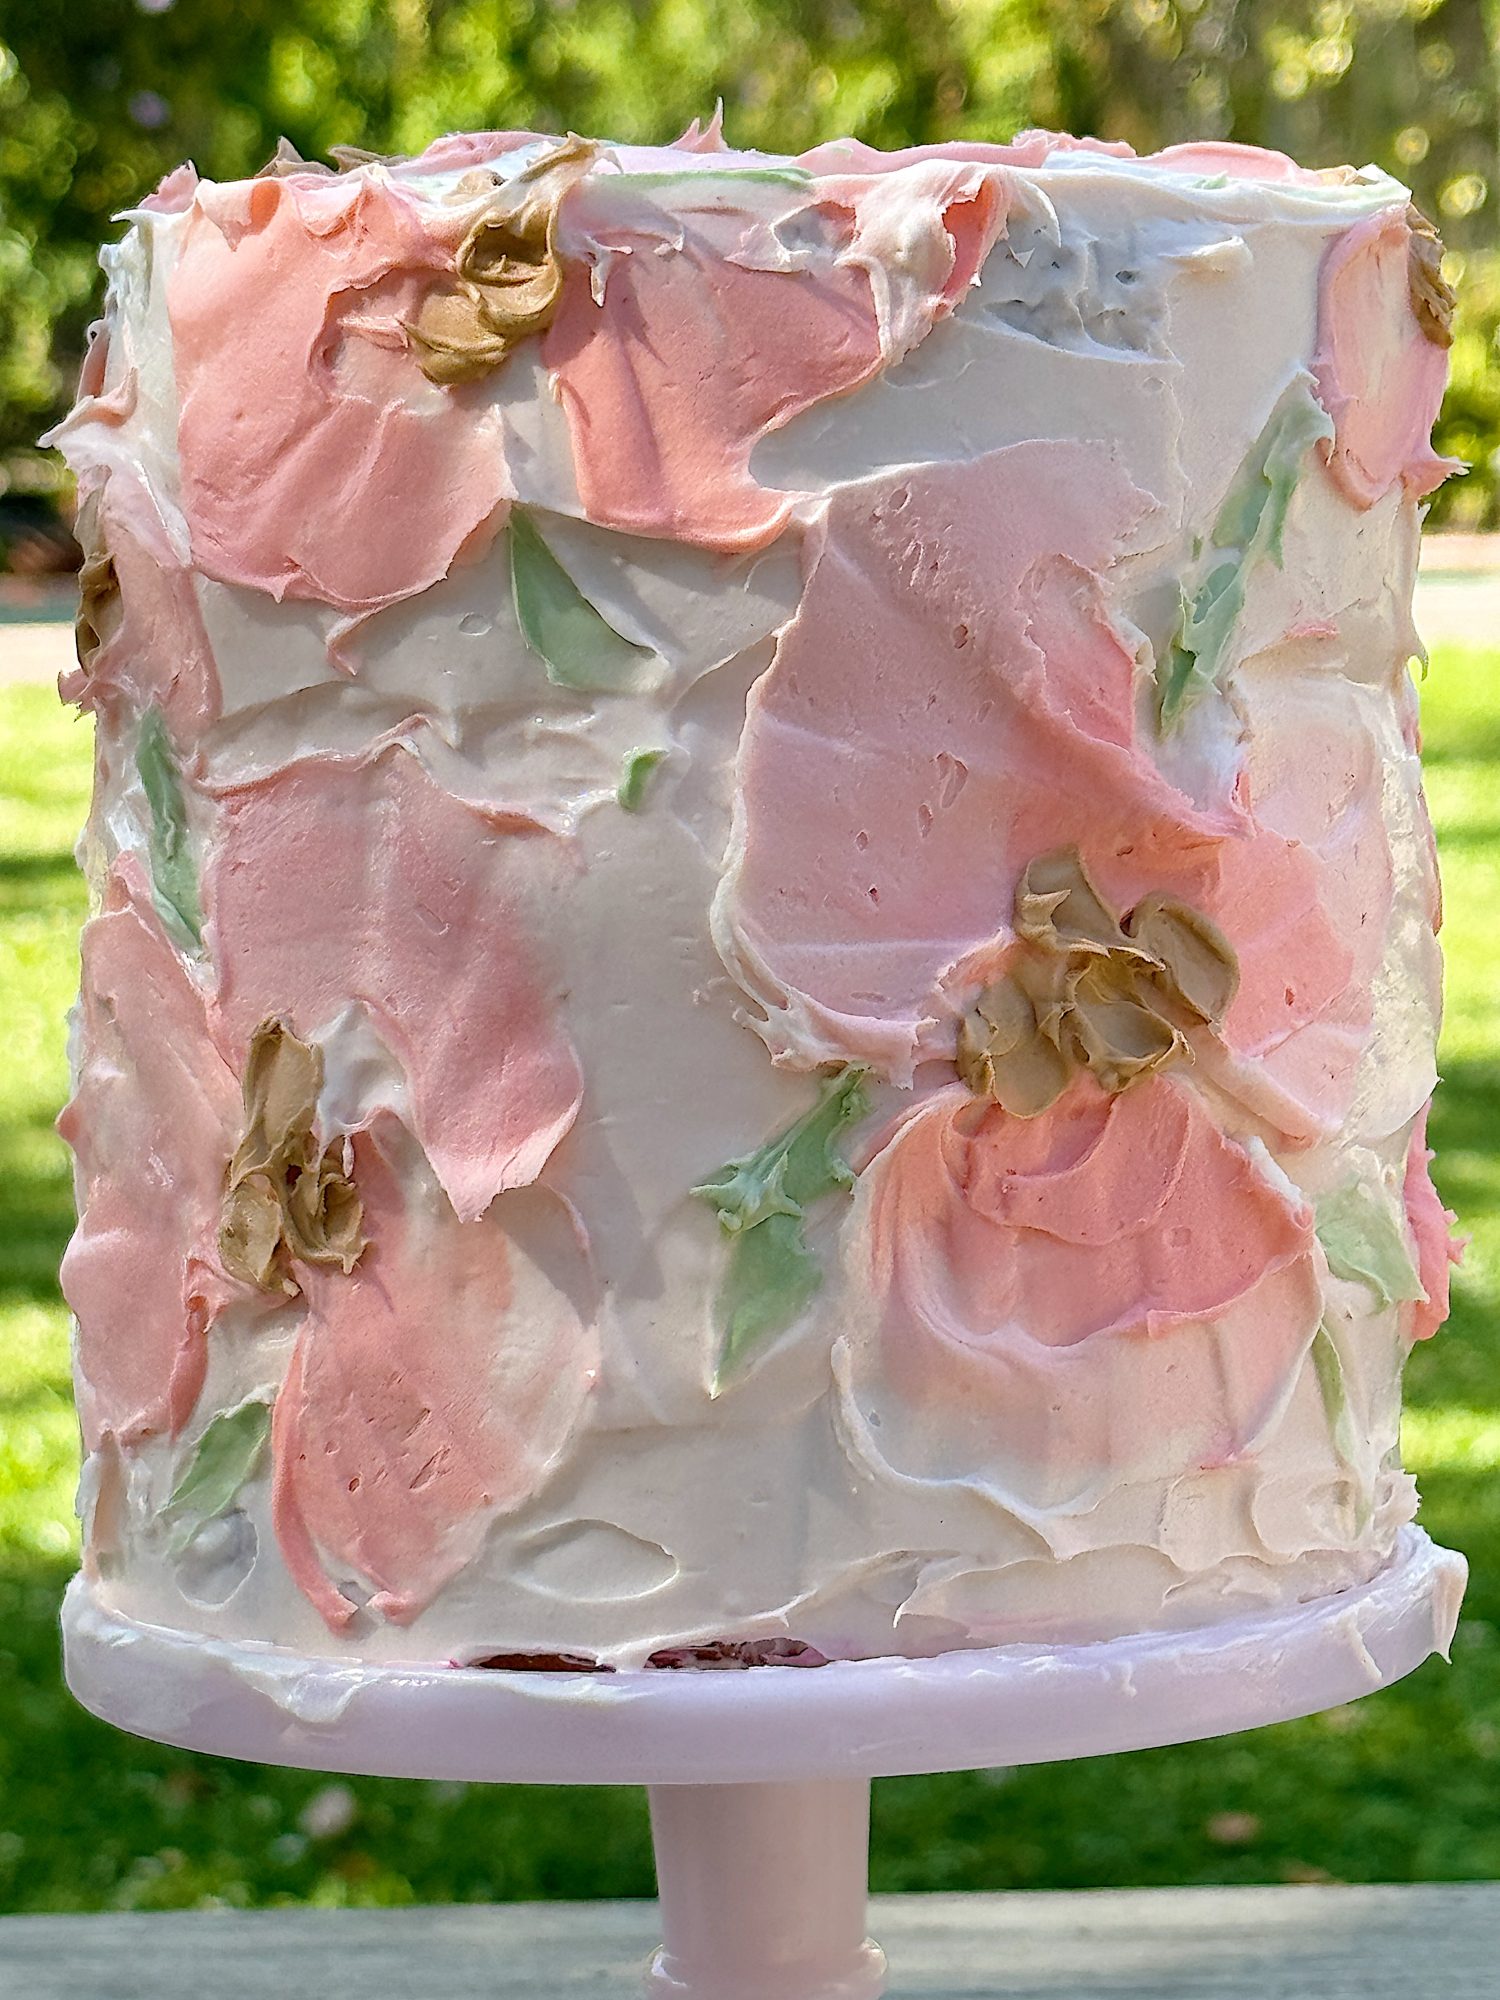
Continue decorating the cake with buttercream flowers, varying the colors and sizes as desired. Add green leaves and brown pods in the center of each flower with a smaller knife.
Once decorated, refrigerate the cake for at least 30 minutes to allow the frosting to set before serving.
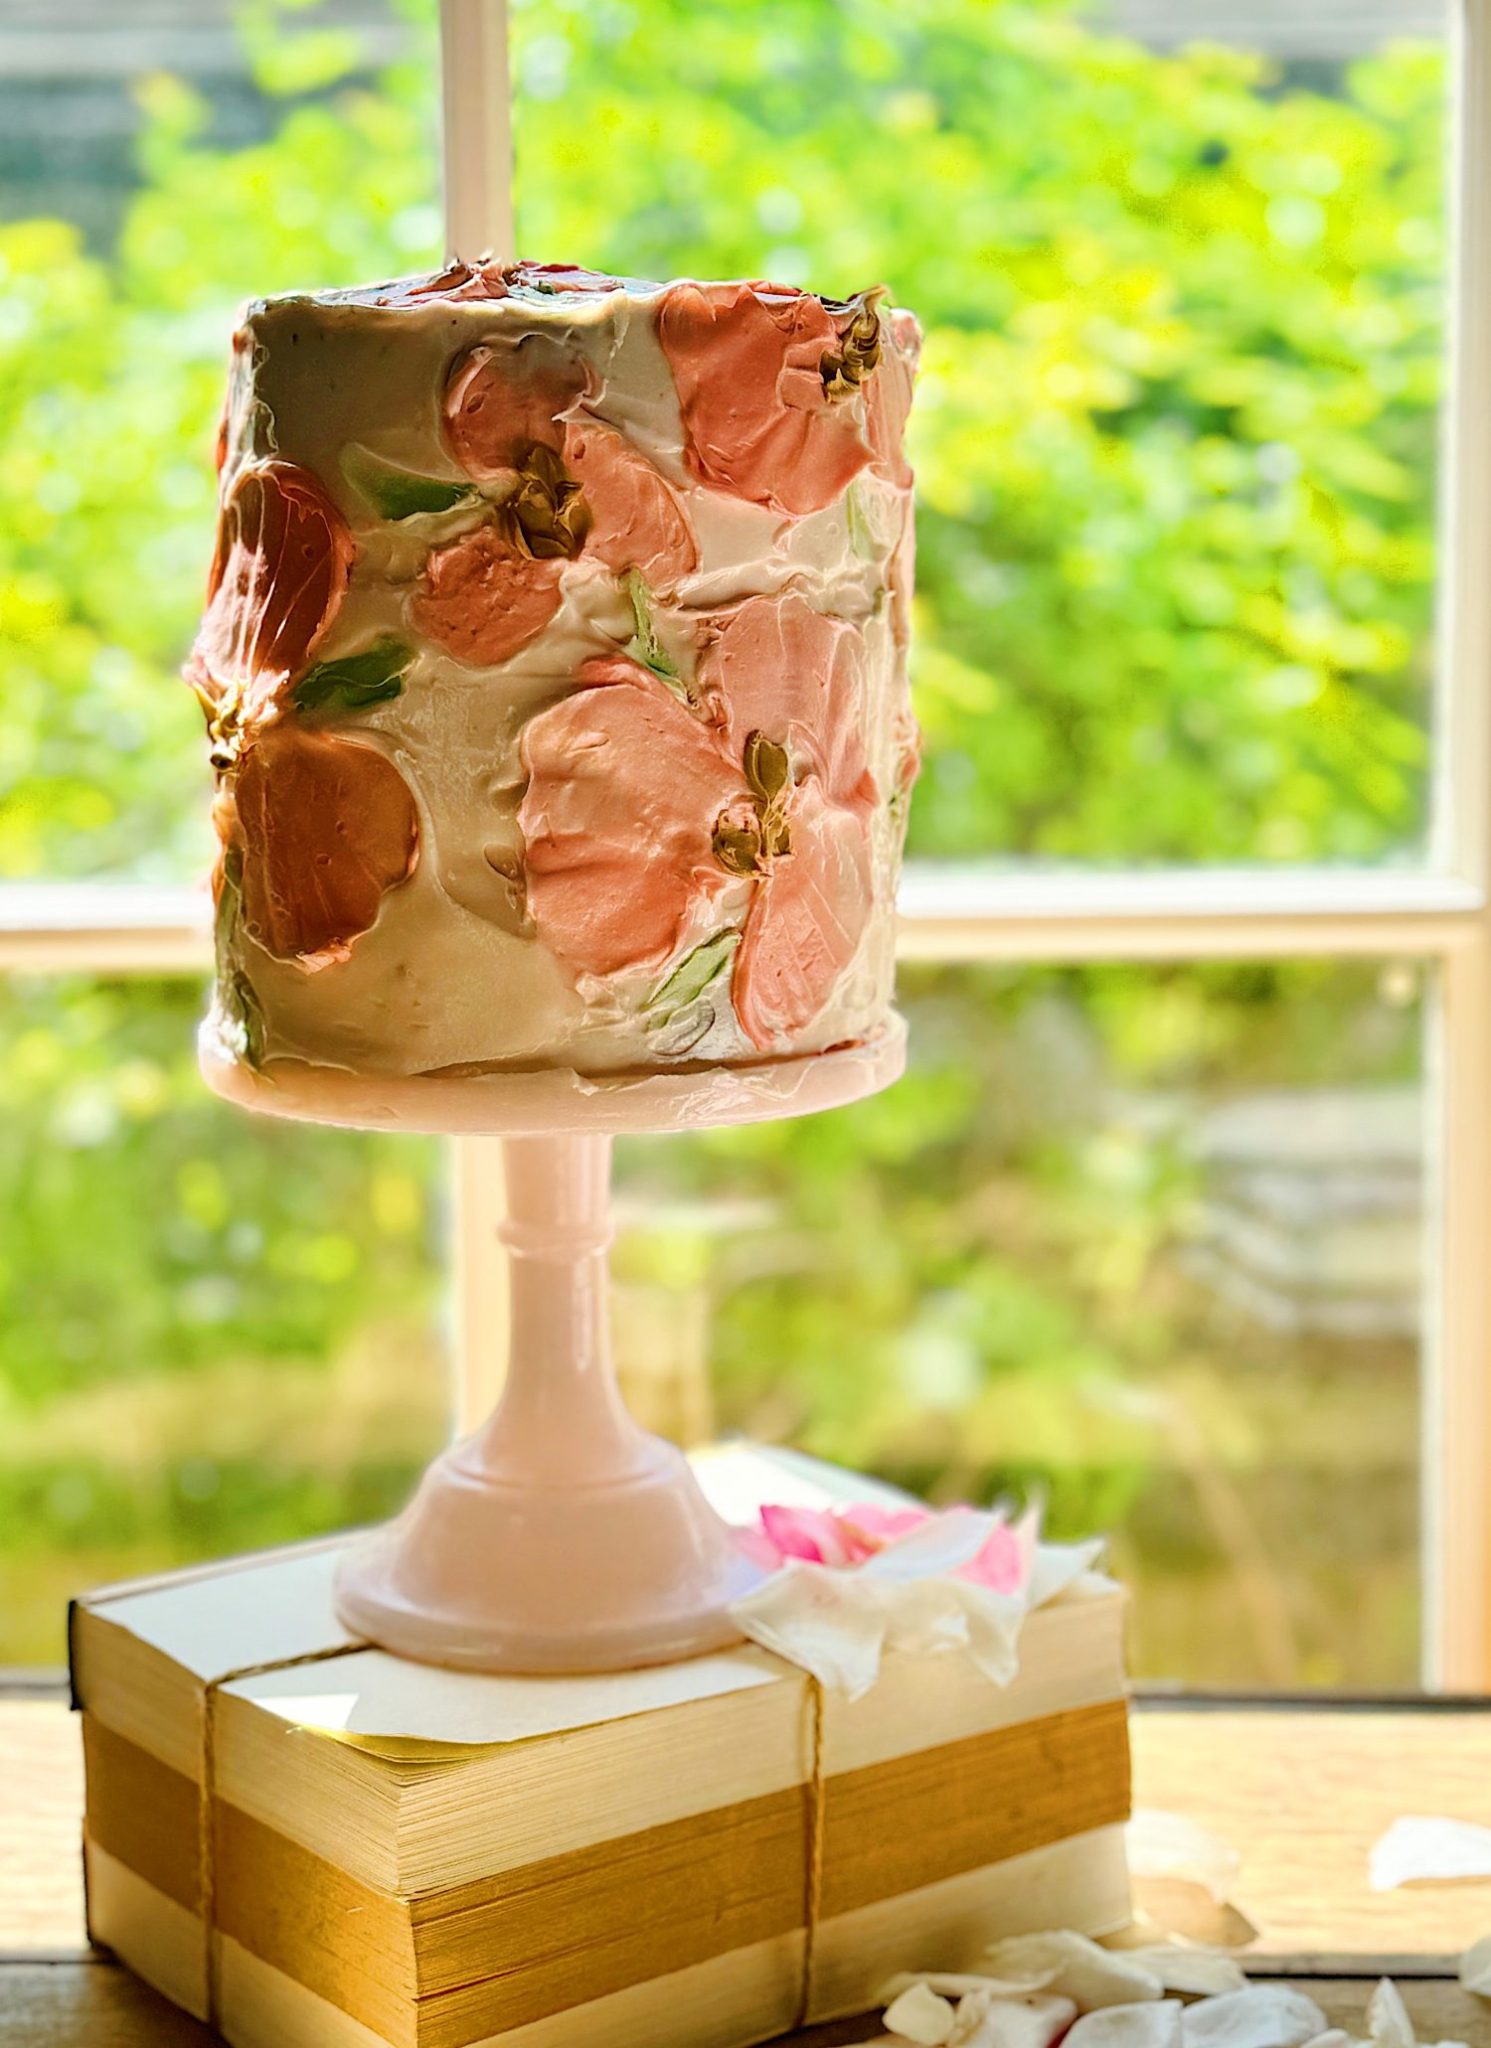
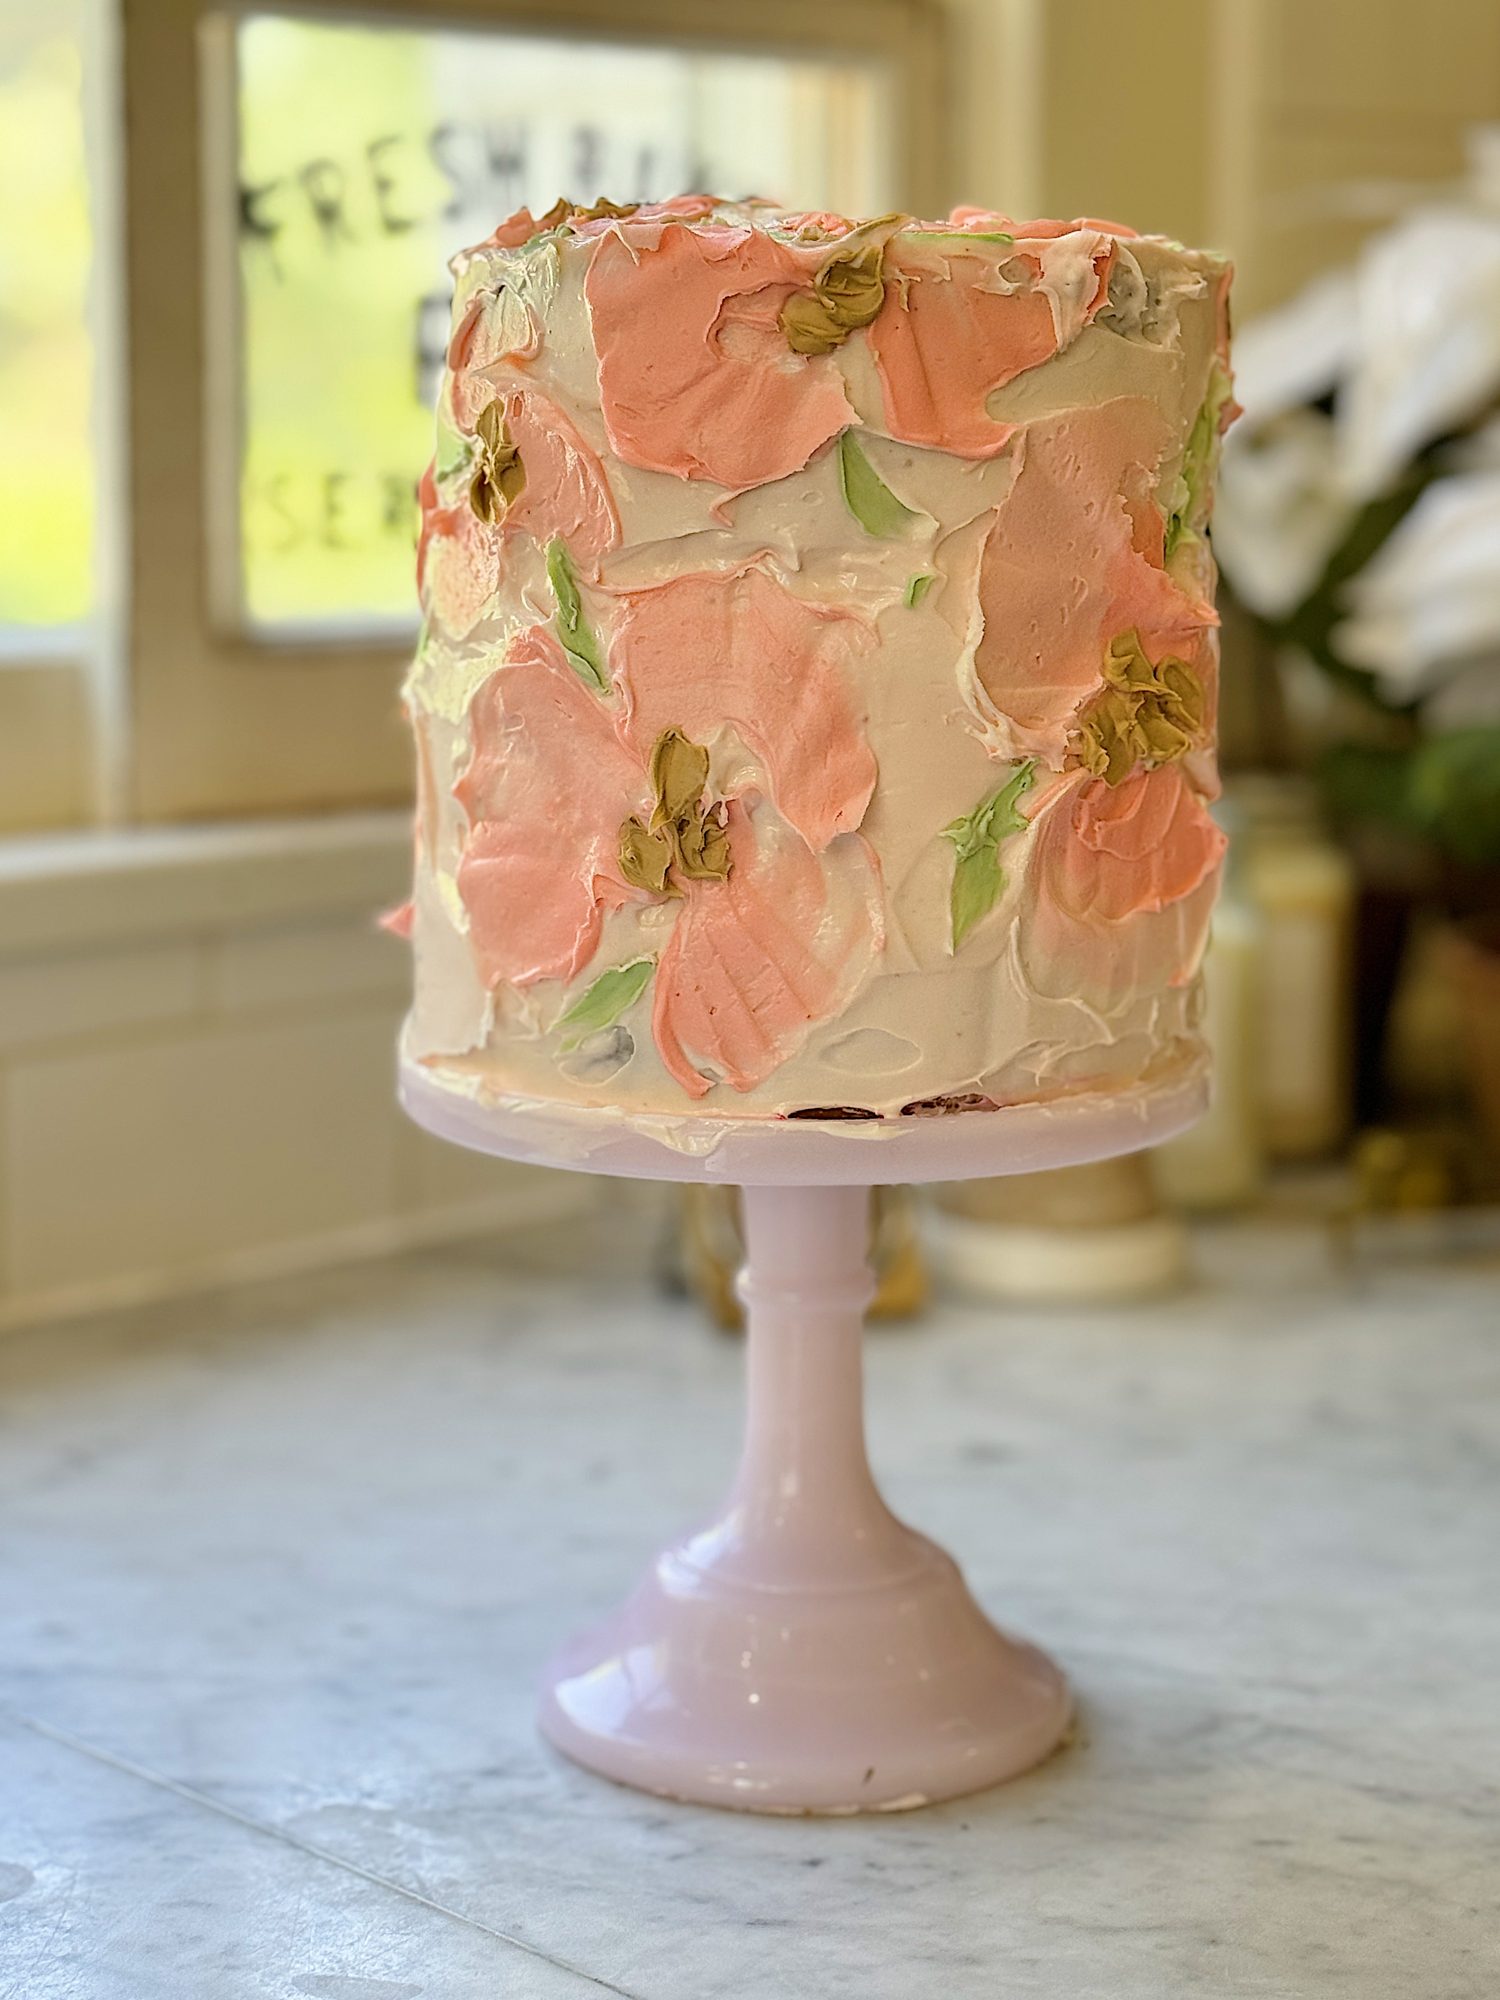
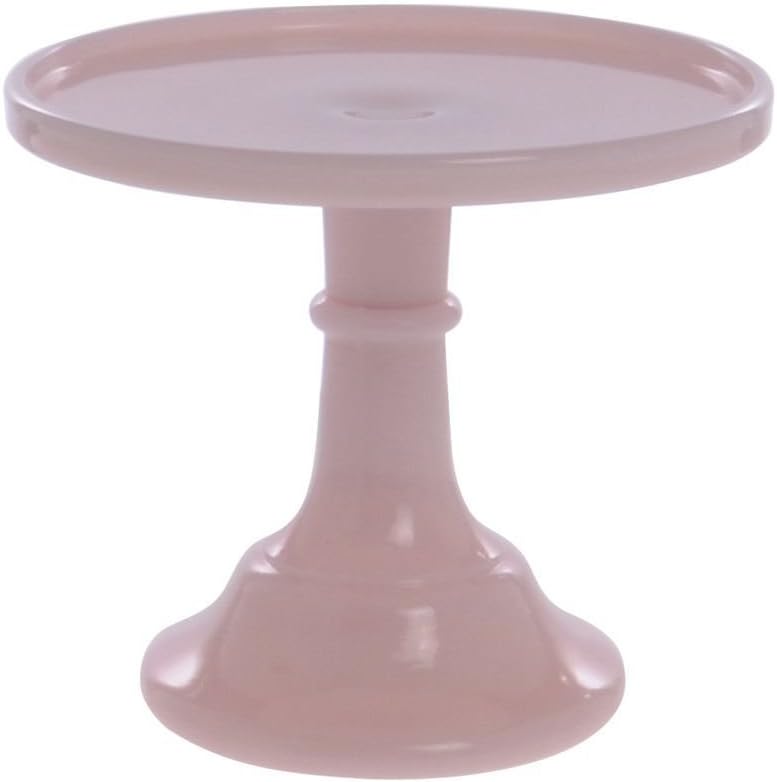
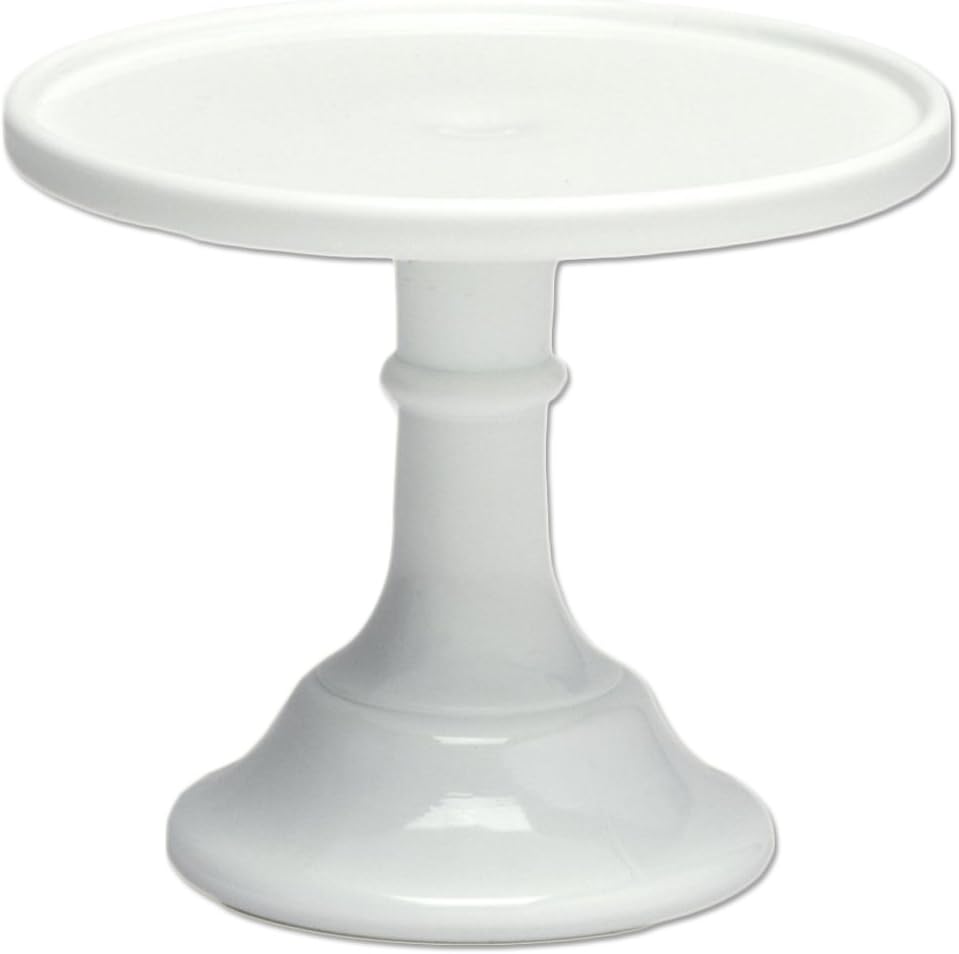
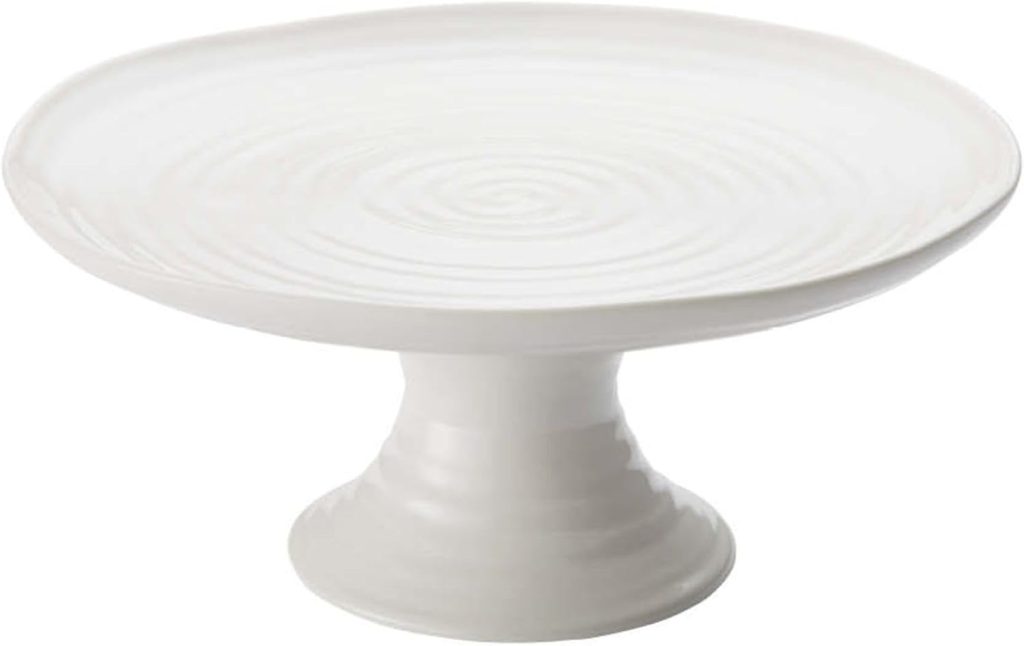
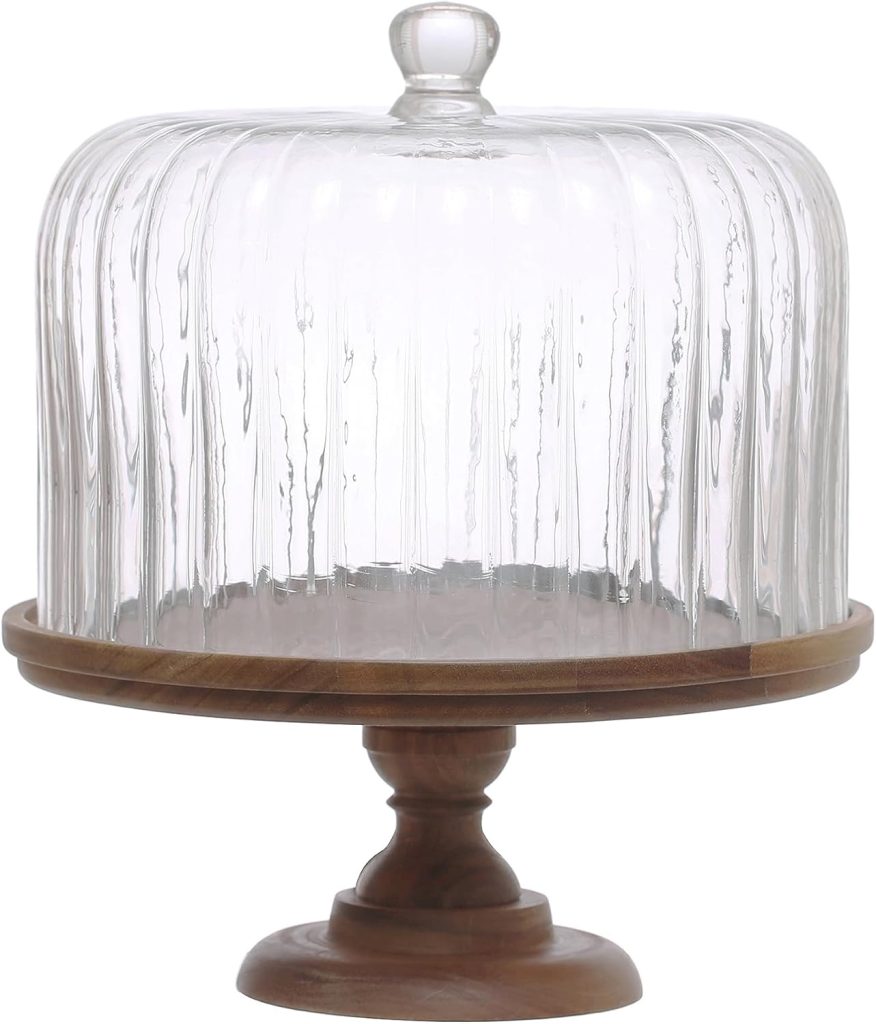
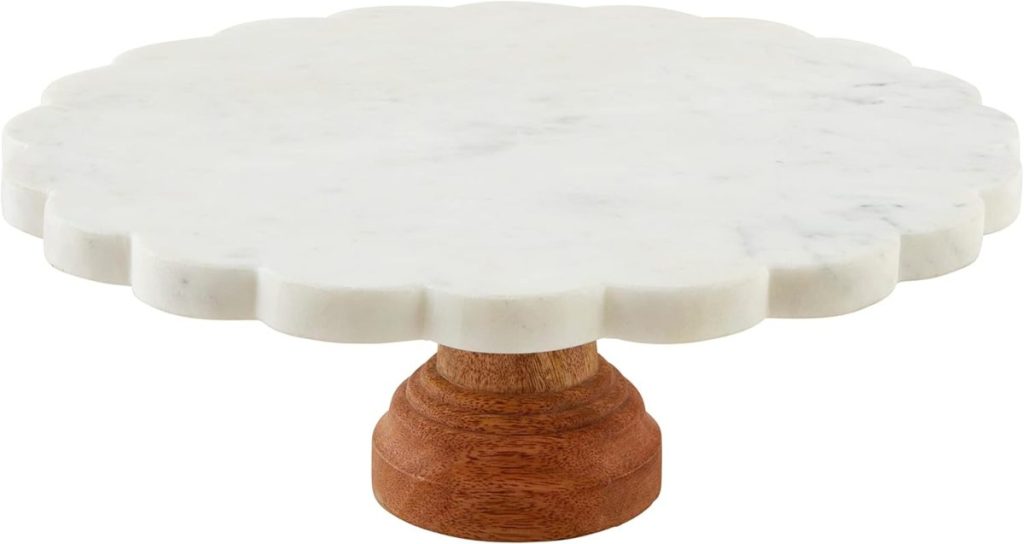
My Favorite Cake Stands
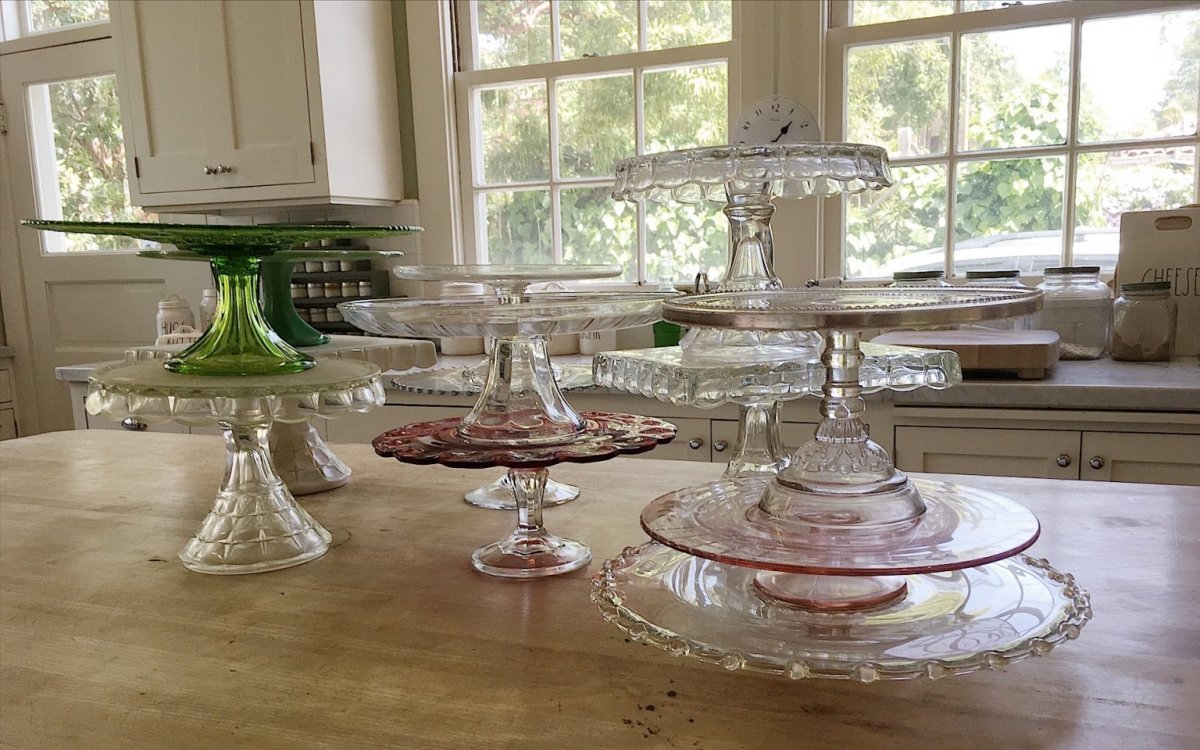
One of the best ways to display a cake is with a cake stand. Over the years, I have collected many cake stands, and I am pleased to say I use them to display more than just cakes!

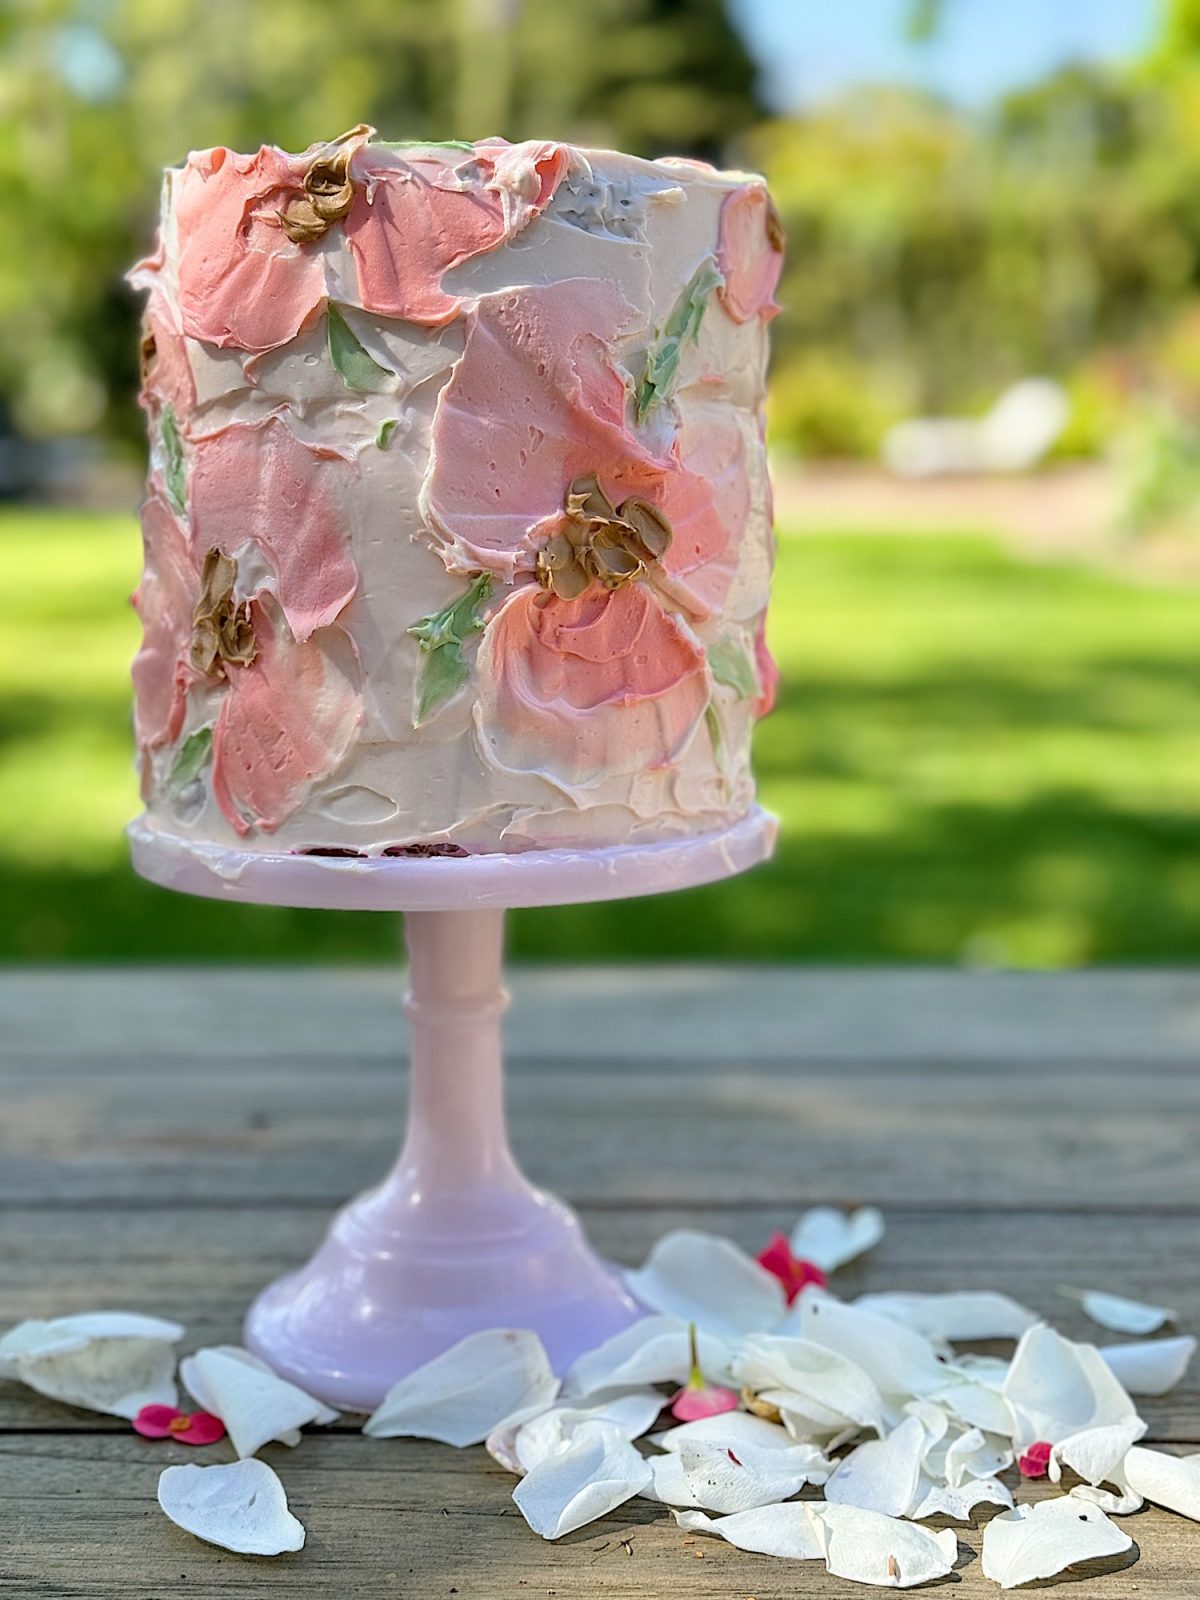
With its three tiers of moist cake and whimsical buttercream flowers, this spring cake is as delicious as beautiful.
Whether celebrating a special milestone or simply indulging in a sweet treat, this cake will surely impress. So grab your ingredients and prepare to bake, decorate, and delight with this stunning creation!
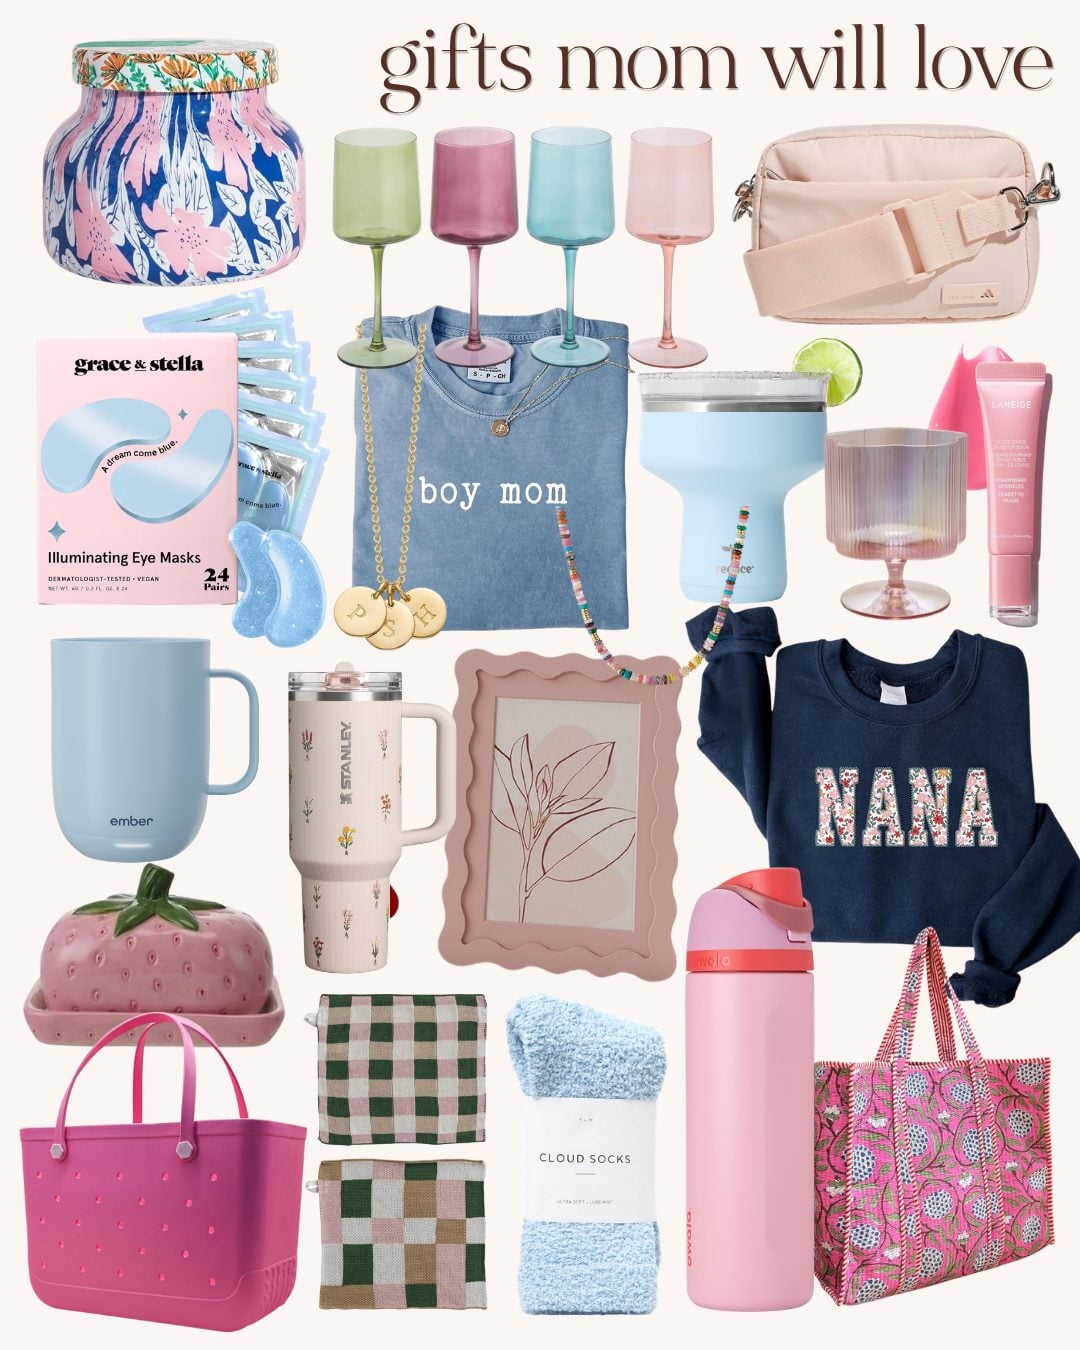
Mother’s Day Gifts

Pin the image below to your boards on Pinterest (click the Pin button in the top left corner). You can also follow along with me on Pinterest!
For more real-time updates, follow me on Instagram @My100YearOldHome


This is just too pretty to eat!!! My attempt would likely look like a hot mess!
It’s so much more doable than you would think! ☺️
This spring birthday cake is absolutely stunning! The delicate buttercream frosting and three-tier design are sure to make any party extra special!
Thanks so much!
Leslie you are an amazing woman! How on earth do you accomplish so much, as well as being a wife, mother and friend? Everything you do is so beautiful and unique.
Have a wonderful day!
Heather! This was so kind to read. Thank you. I have so much support and love. Thank you ❤️