Hand Painted Flower Ornaments – A Handmade Christmas


Welcome back to A Handmade Christmas! I’m so excited to share the second week of my holiday craft series. This week’s project might be one of my favorites yet: Hand Painted Flower Ornaments.
Every Christmas, I try to create a few new ornaments for my trees. Handmade ornaments have a charm you can’t buy in a store. They carry a story, they reflect a season of creativity, and they add so much personality to holiday decor.
Hand Painted Flower Ornaments

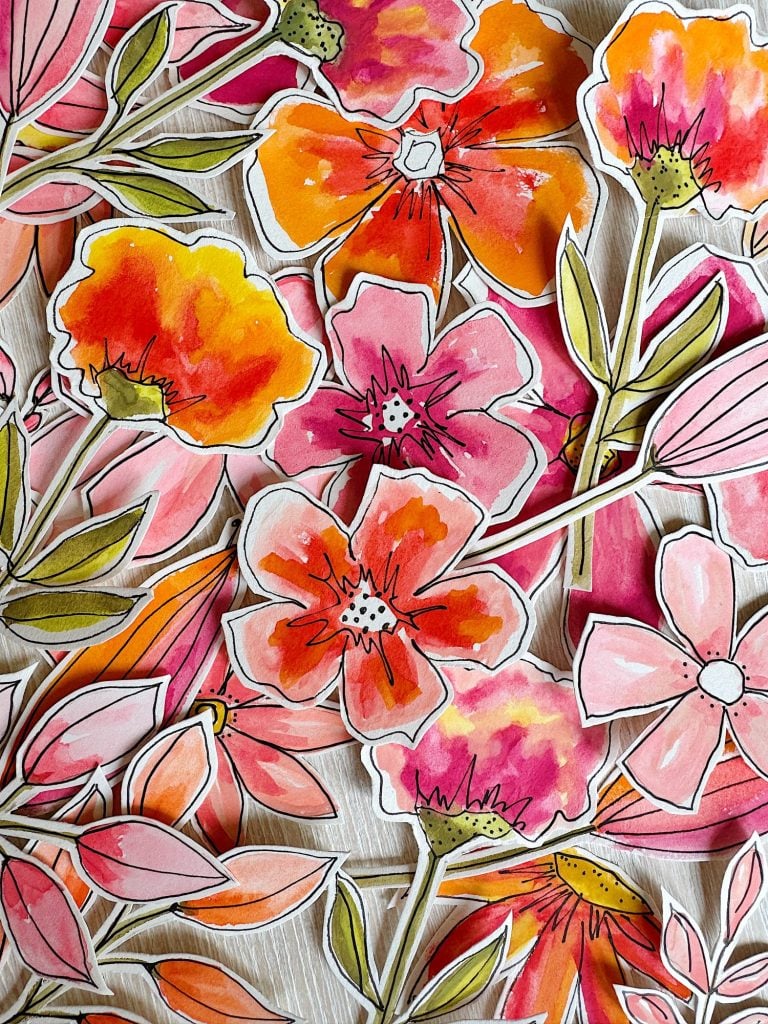
I love making ornaments, and over the years I’ve created quite a collection of handmade pieces. This season, I thought it would be fun to paint ornaments featuring one of my favorite designs: the abstract rose.
If you’ve been following along with my projects, you know this motif has appeared on pumpkins, cookies, and most recently, as a buttercream design on desserts in vintage teacups. There’s something about the free-flowing petals and playful colors that feels timeless and cheerful.
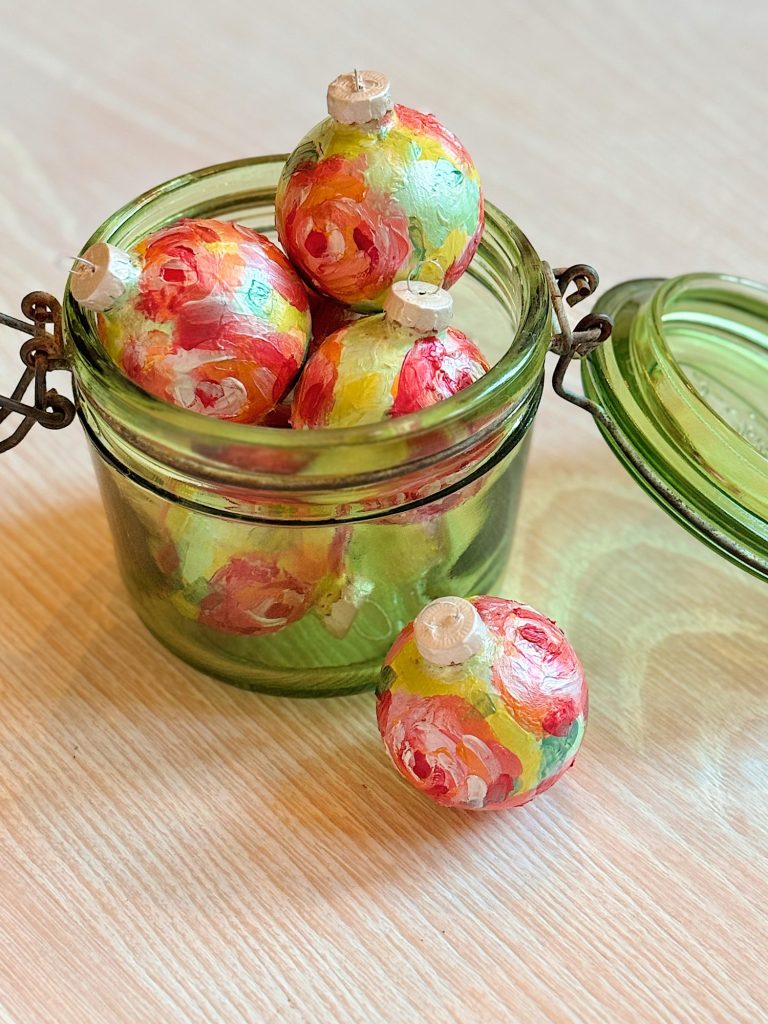
This time, I brought the design to glass ornaments—and the results are absolutely magical.
Why I Chose Hand Painted Ornaments
For this project, I wanted something bold yet soft, colorful but not over the top. The abstract rose design checked all the boxes. It’s whimsical without being fussy, and it looks beautiful on the smooth, round surface of glass ornaments.
Plus, the process is relaxing. There is no wrong way to paint these flowers, which makes it such a joyful, approachable craft. Whether you’re a seasoned painter or picking up a brush for the first time, you can create ornaments that feel like tiny works of art.
On this blog, I may sometimes use affiliate links, which means a small commission is earned if you purchase via the link. The price will be the same whether you use the affiliate link or go directly to the vendor’s website using a non-affiliate link.

Supplies I Used


For this project, I kept the supply list simple but intentional:
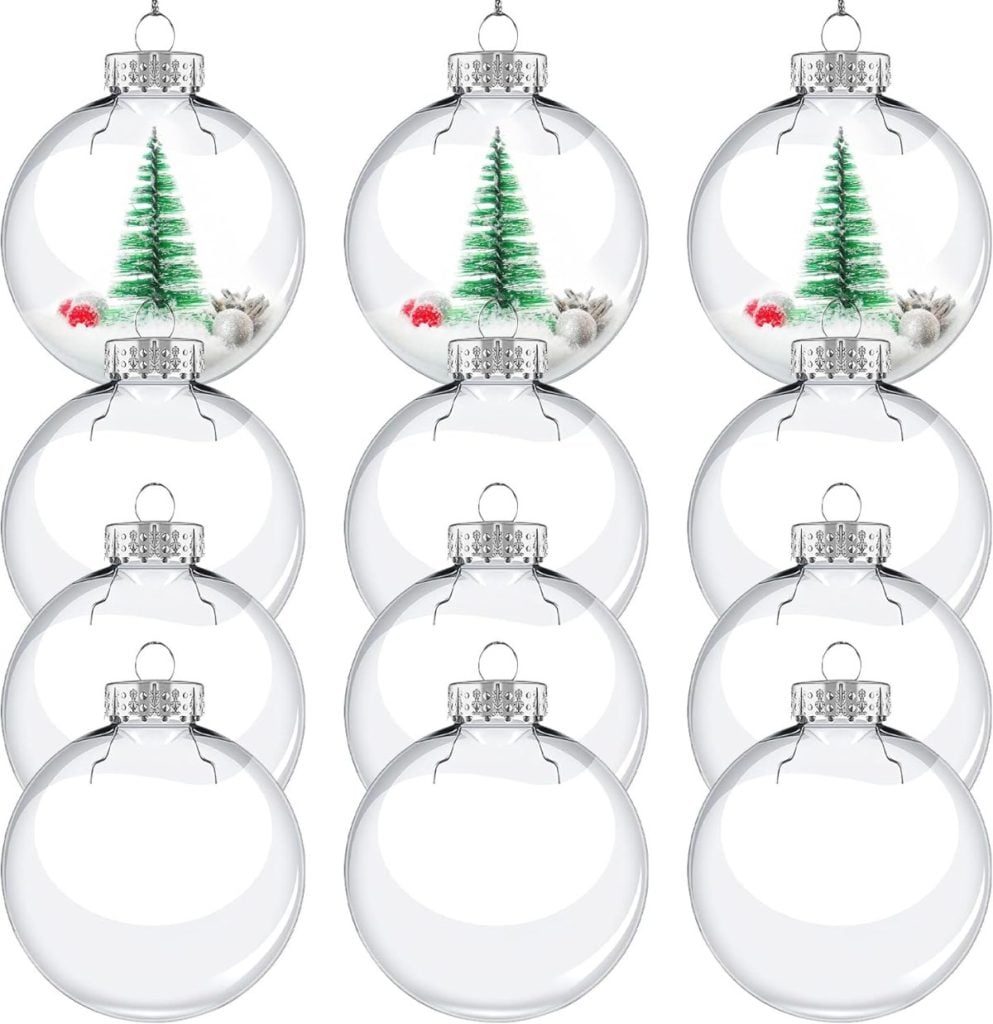
- Clear glass ornaments – I used medium-sized round glass balls, but you could try flat glass ornaments or even plastic if you prefer.
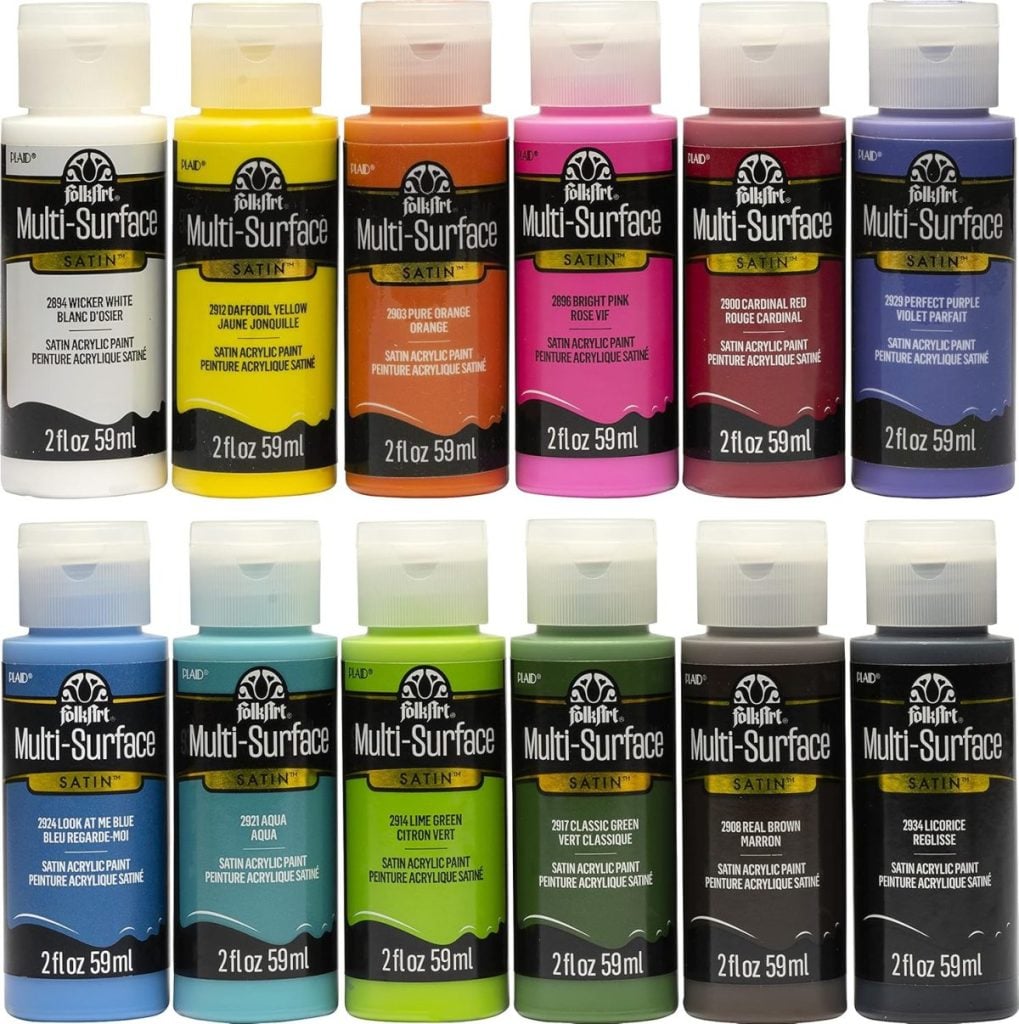
- Acrylic paint – White for the base coat, plus a mix of colors for the roses and background.
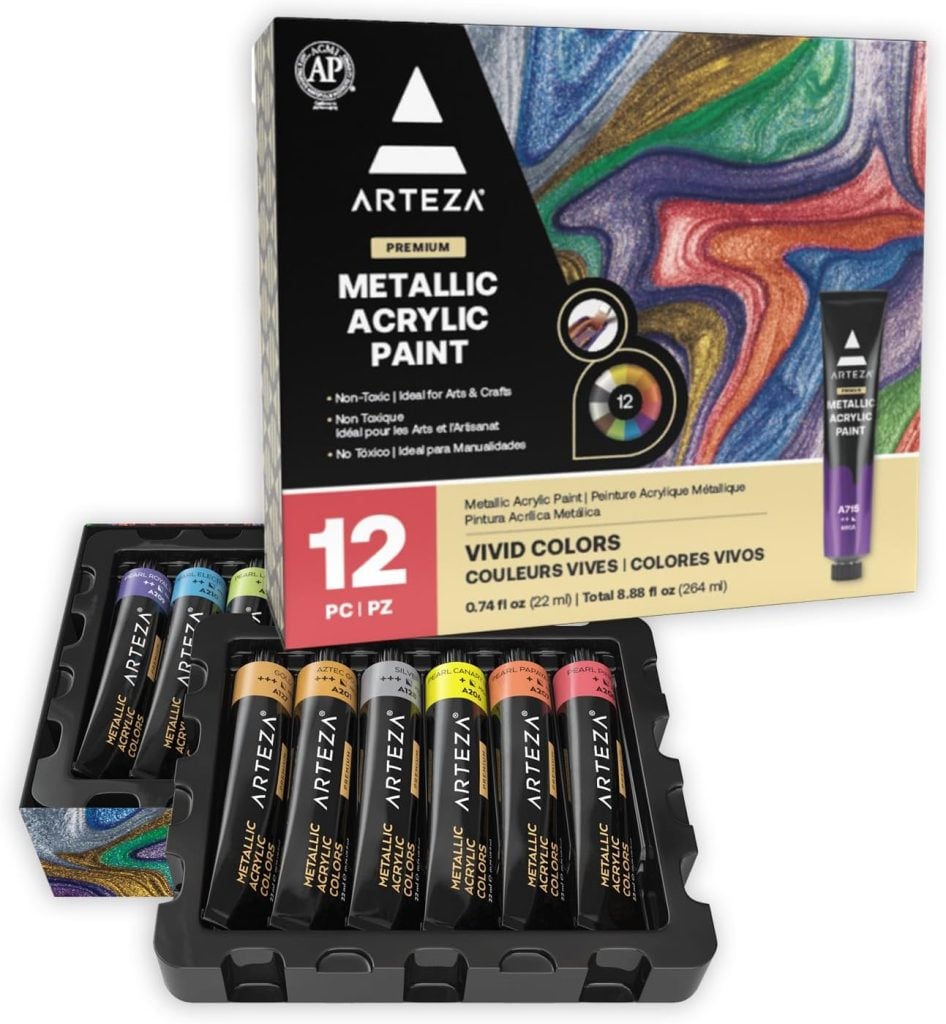
- Arteza metallic acrylic paint – These added a gorgeous shimmer and dimension to the flowers.
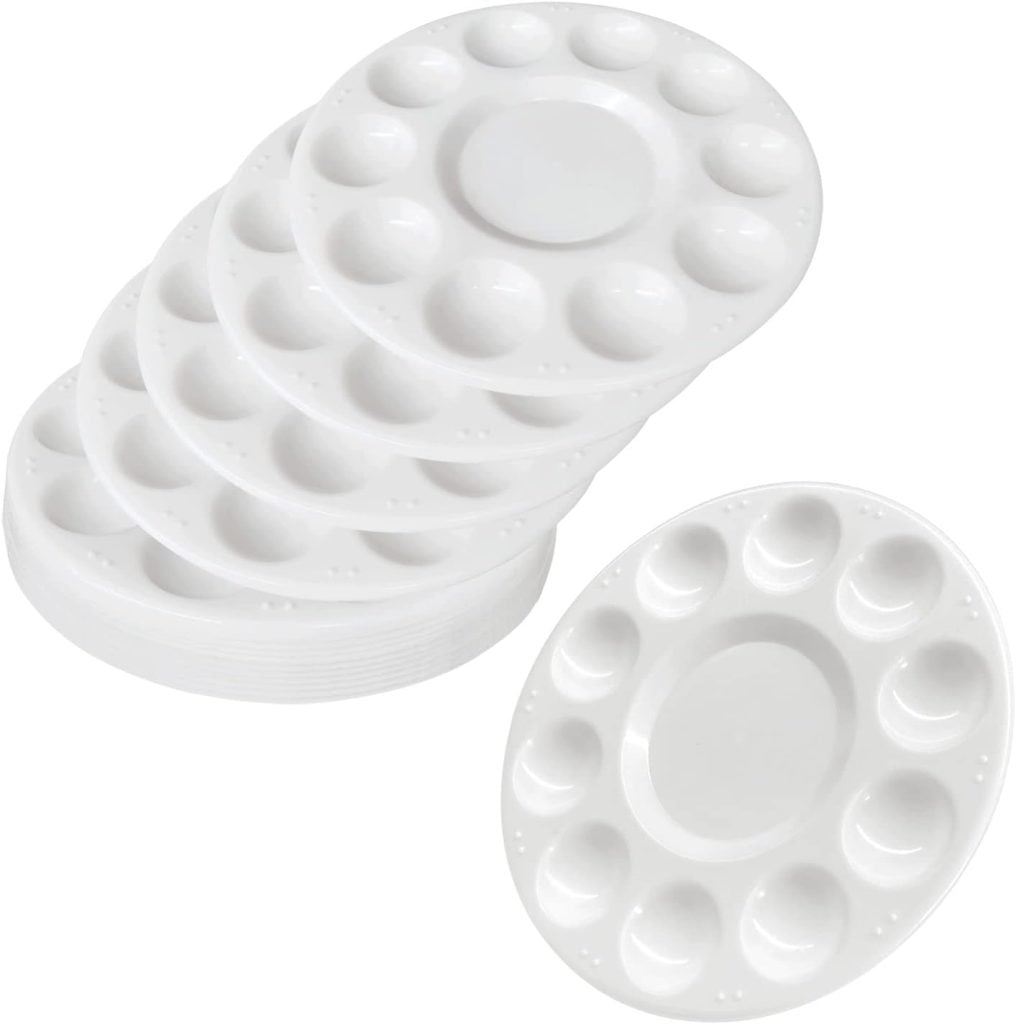
- Small paint brushes – A mix of flat and detail brushes for layering petals and adding highlights.
- Pearl metallic paint – For dipping the silver ornament hangers.
- Paper towels and water cup – For cleaning brushes between colors.

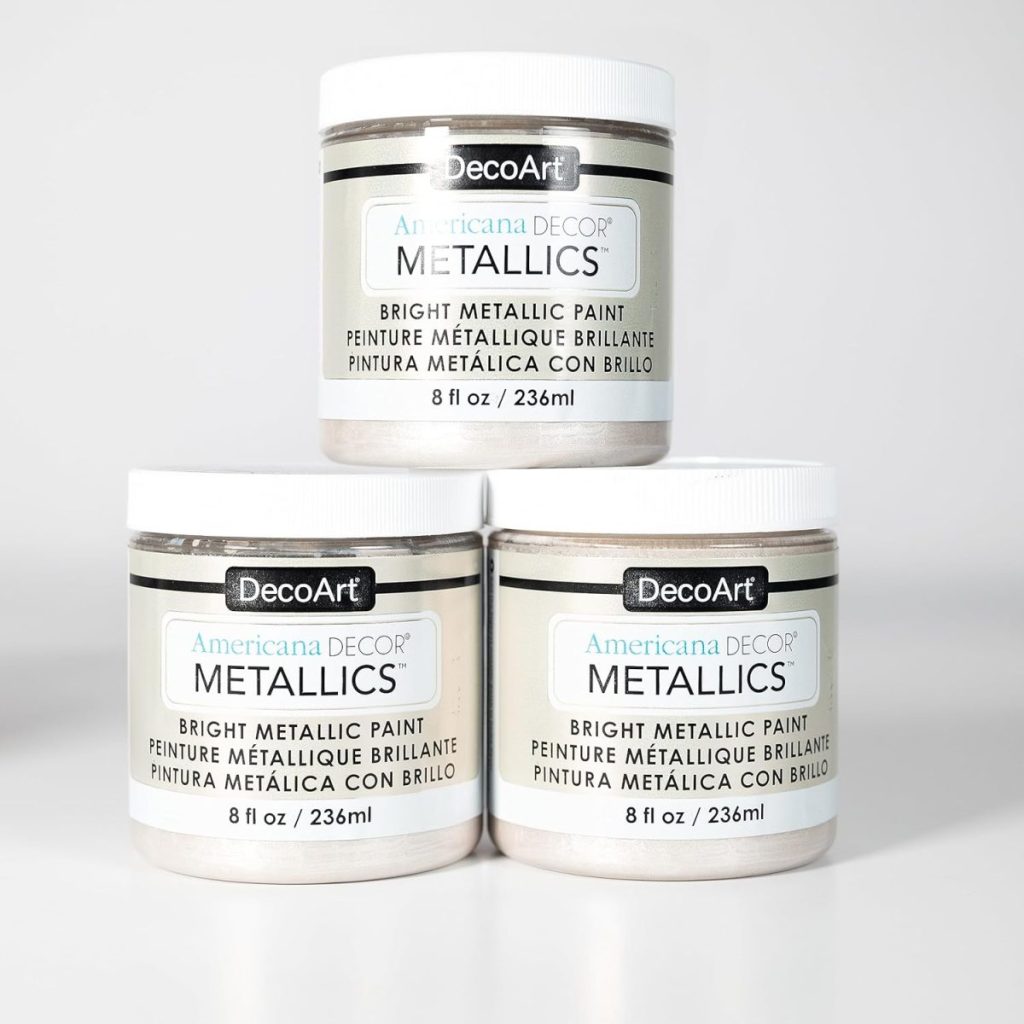
The combination of matte and metallic paints gave the ornaments so much depth. The metallic highlights catch the lights of the Christmas tree and make the flowers come alive.
Step-by-Step Instructions

Step 1: Paint the Base Coat


I started by painting each glass ornament with white acrylic paint. This step gave me a clean surface to work on and made the colors pop. I didn’t worry about getting complete coverage—the slightly uneven texture created dimension that peeked through later.
Step 2: Add the Roses


Using pinks, corals, and reds, I painted loose, circular shapes to mimic abstract roses. I love that there’s no exact formula here. The trick is to layer brushstrokes in swirls and arcs, letting the paint naturally blend. Some roses were smaller, some larger—just like in nature.
Step 3: Paint the Background


Once the roses were dry, I added a background of light blue and bright green. The blue gave a soft, sky-like feel, while the green acted as leaves and filled in the space between blooms. Together, they balanced the warmth of the roses with cooler tones.
Step 4: Add Metallic Highlights


When everything was dry, I went back with metallic acrylic paint to highlight specific areas. A swipe of gold or rose pink paint over the petals transformed them, adding sparkle and depth. I also added metallic touches to the background, which made the colors feel layered and dynamic.

Step 5: Dip the Ornament Hangers


To finish, I dipped the silver hangers in pearl metallic paint. This small step tied the whole look together. Instead of shiny silver, the hangers now had a soft, luminous finish that elevated the ornaments.
What I Love About These Ornaments

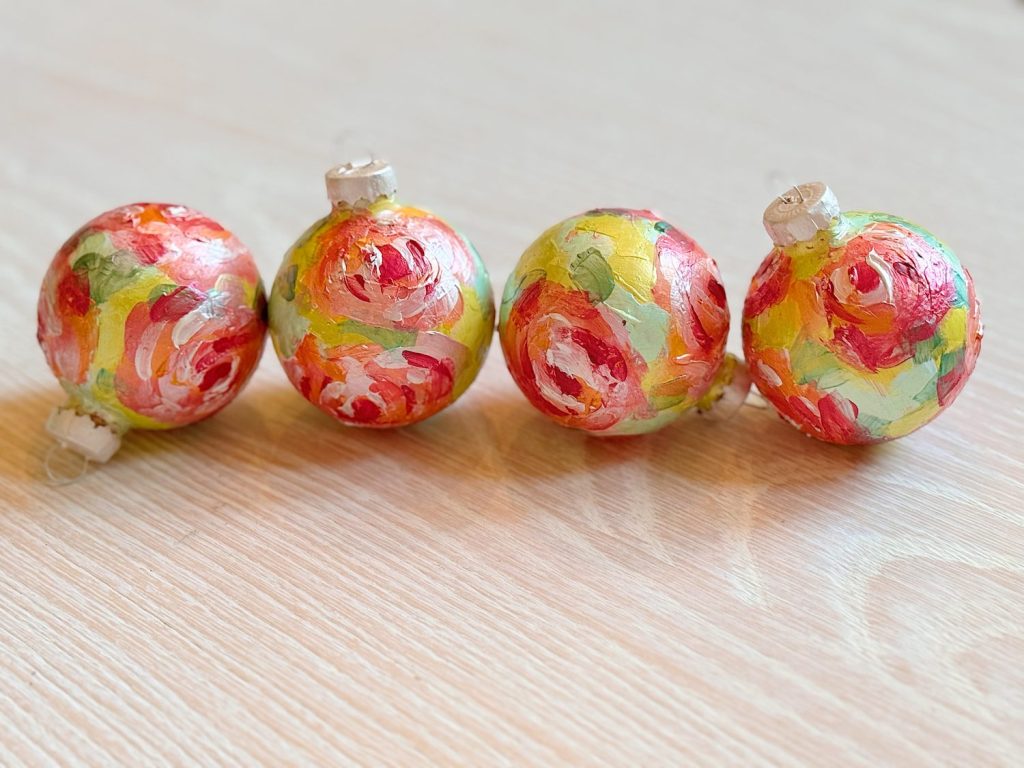
The beauty of these ornaments lies in their imperfection. Abstract roses don’t need to be precise. In fact, the looser and more playful the strokes, the better they look. Each ornament turned out a little different, and together, they make a collection that feels cohesive yet unique.

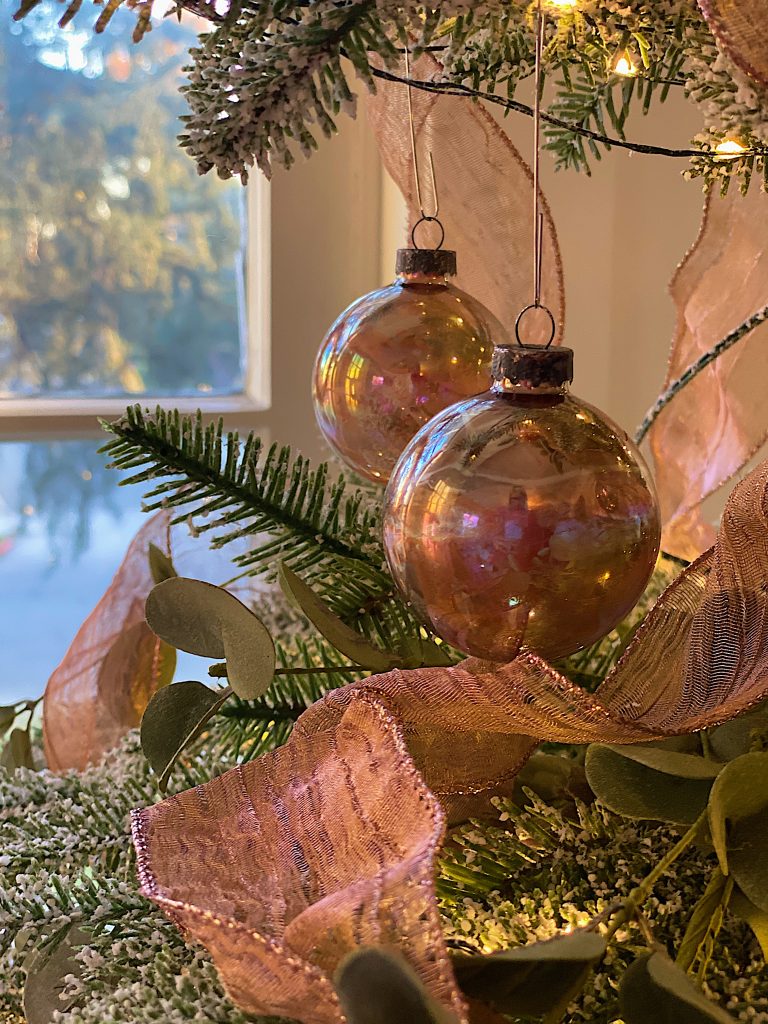
I also love how the metallic paint transformed the overall effect. When the ornaments are hung on the tree and the lights twinkle, the shimmer adds movement and makes the roses seem to glow.
And can we talk about versatility? You could adapt this technique to any color palette. Pastels for a coastal-inspired tree, jewel tones for a dramatic look, or even monochrome metallics for a modern twist.
Styling Ideas

Once the ornaments were finished, I started experimenting with where to use them. Here are a few favorite ideas:
- On a themed Christmas tree – These ornaments would be stunning grouped together on a tree decorated in coordinating colors.
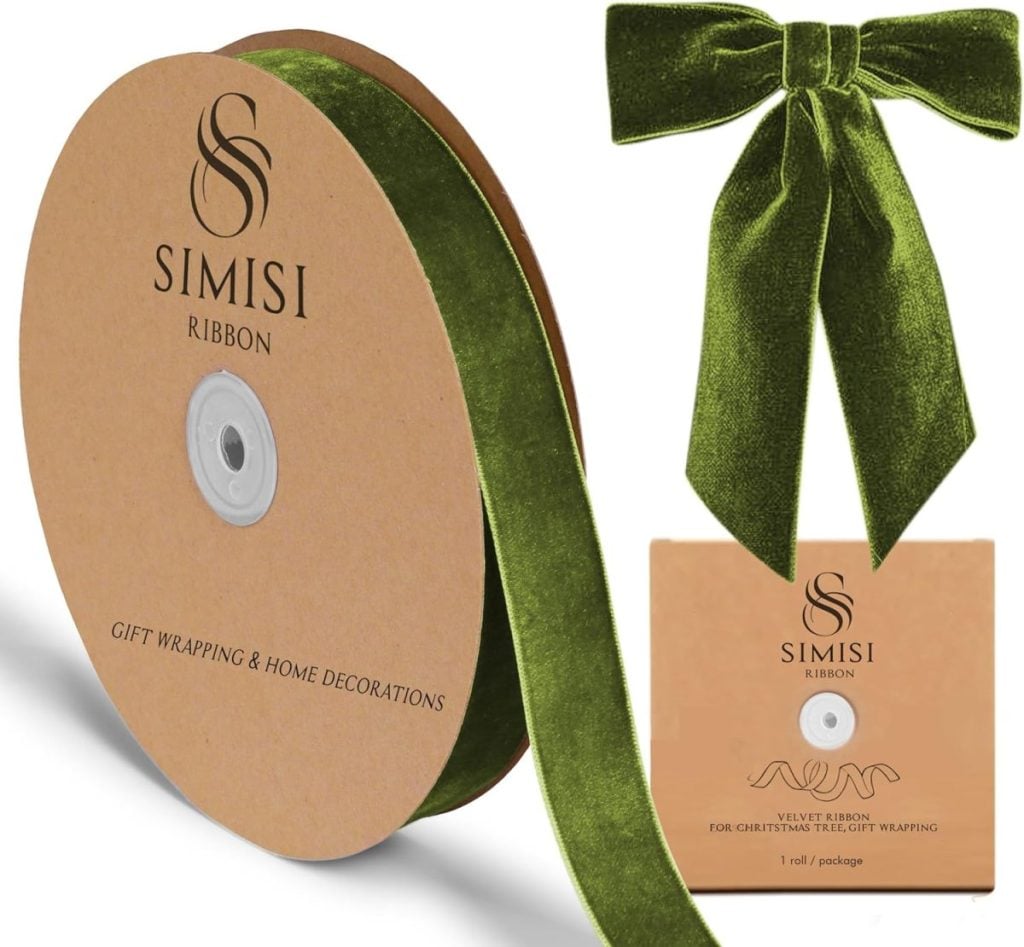
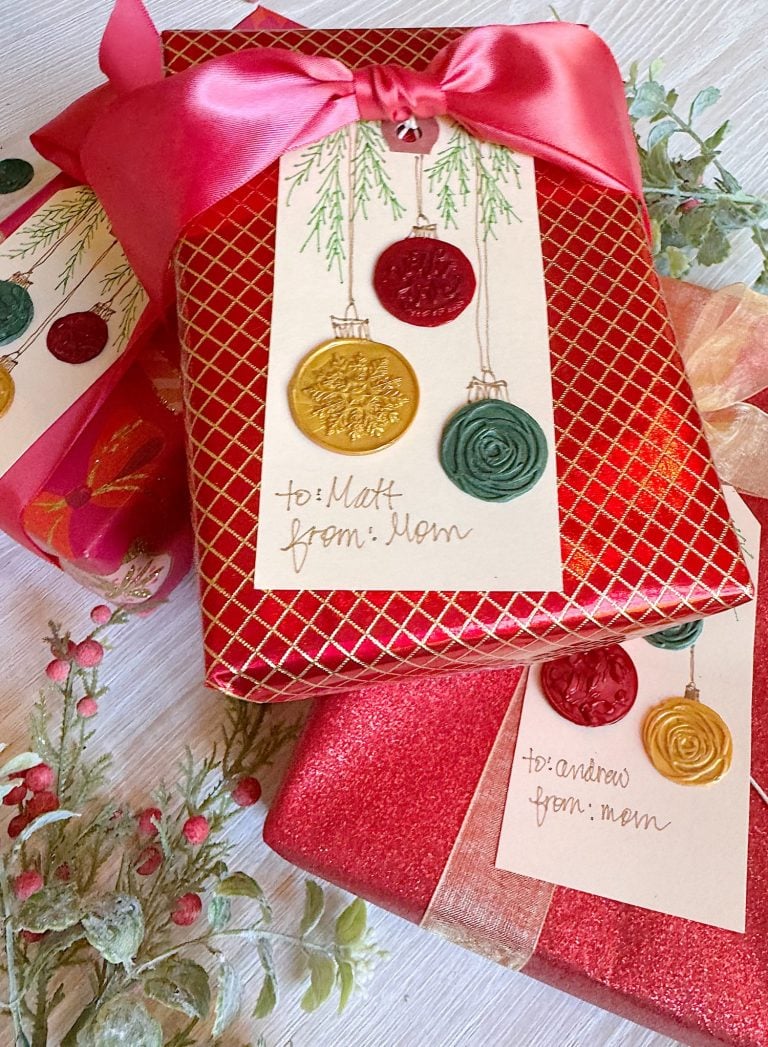
- As gift toppers – Tie one onto a wrapped package with ribbon for an unforgettable handmade touch.
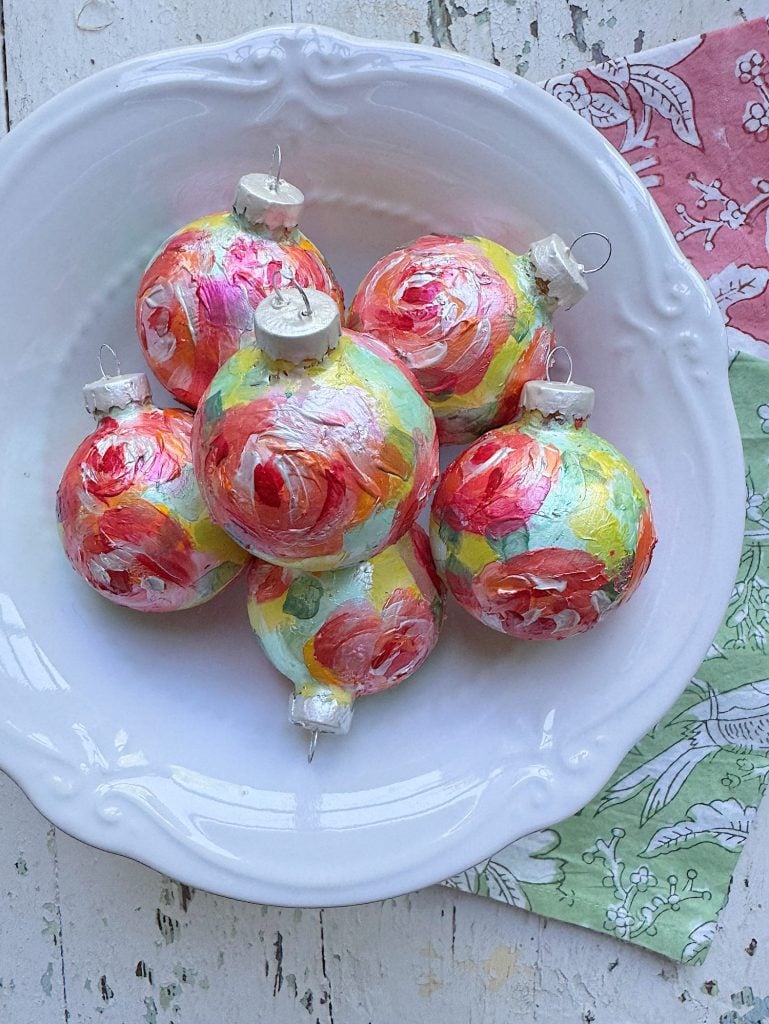
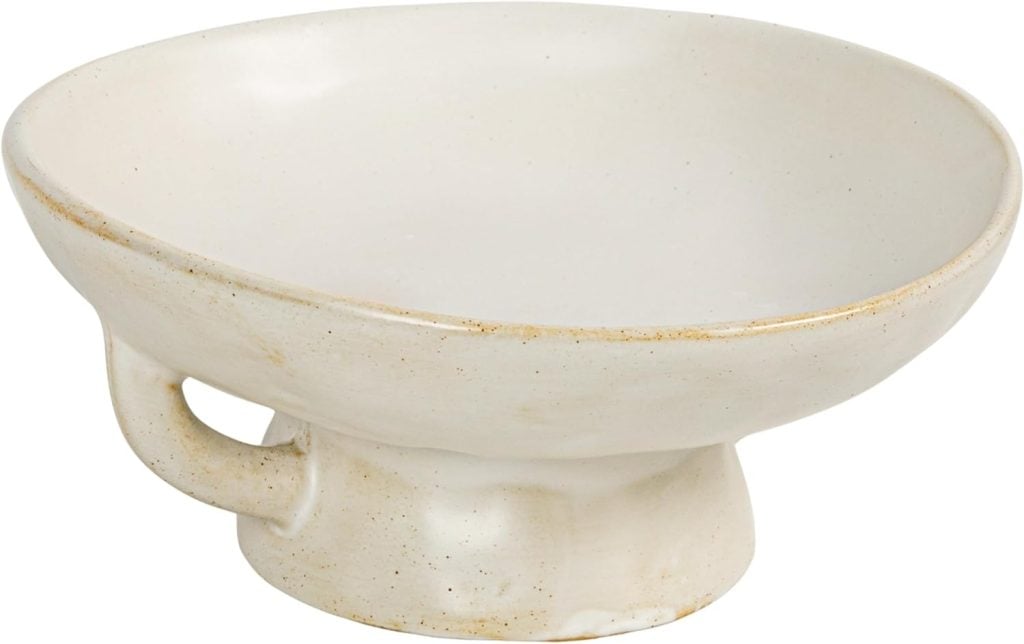
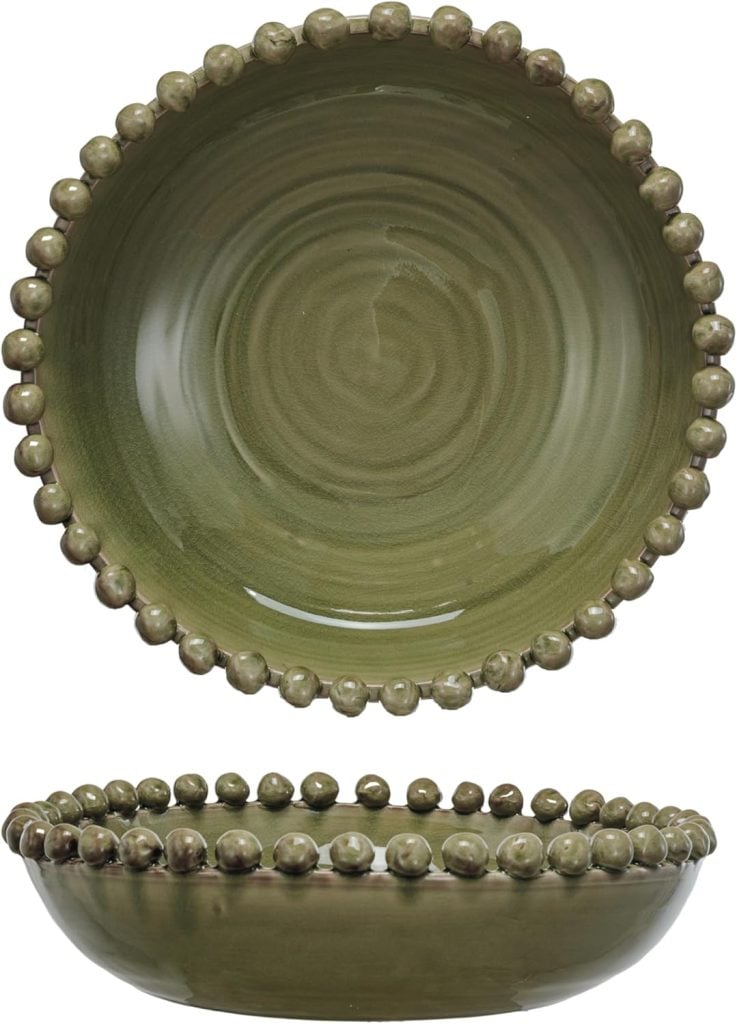
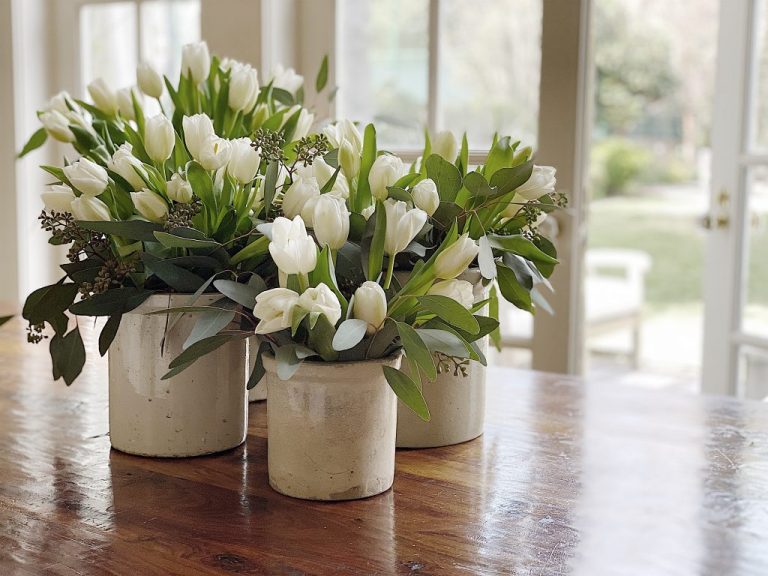
- In a bowl or tray – Display them as a centerpiece on your dining table or coffee table.
- In a garland – Tuck them into greenery for a custom holiday garland.
The possibilities are endless.


Lessons Learned

When I stepped back and looked at the collection, I couldn’t stop smiling. These ornaments look like little works of art. The pastel palette gives them a coastal, airy vibe, while the textured roses add depth and richness. Together, they make a collection that feels like it belongs on a themed Christmas tree, something romantic, coastal, and full of handmade charm.
Hanging them on a tree with twinkling lights makes them glow. The textures catch the light beautifully, and the soft colors complement the greenery in a way that feels magical but not overwhelming.
Every handmade project teaches me something new. With these ornaments, I realized how important it is to layer paint and let it dry before adding metallic highlights. The metallic paint looks best when it’s brushed lightly over dry acrylic—it catches the texture without blending into the base.

I also loved experimenting with how much of the base coat to let peek through. In some ornaments, the white created contrast, while in others, the roses completely covered it. Both versions were beautiful, and it reminded me that flexibility is part of the fun.
Part of A Handmade Christmas
This series, A Handmade Christmas, is all about celebrating the season through creativity. Each week, I’m sharing a new handmade project—something you can make to add warmth, beauty, and personal touches to your holiday.
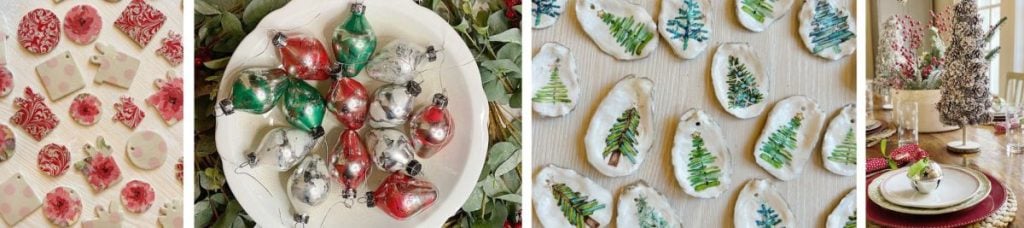
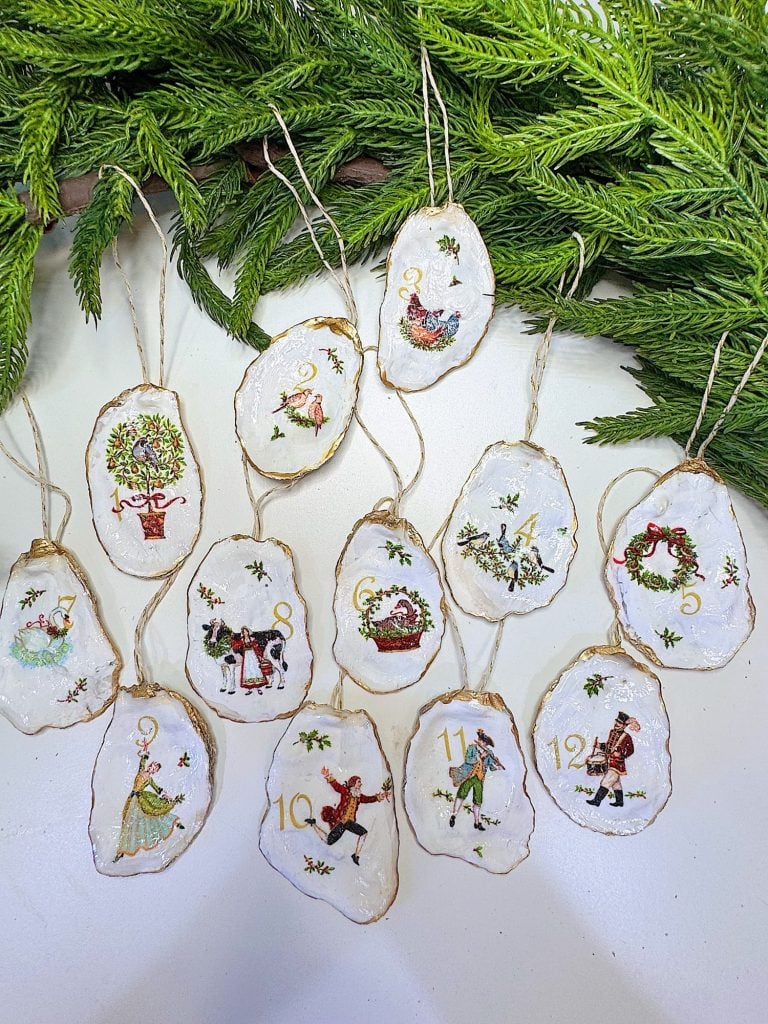
Last week, I kicked things off with 12 Days of Christmas Ornaments, and this week’s Hand Painted Flower Ornaments are a natural continuation. I’m already looking ahead to next week’s project, and I can’t wait to share what’s coming next!
Sixteen Weeks of A Handmade Christmas
- Hand Painted Flower Ornaments – Week 2 (Watch Video Tutorial Here)
- 12 Days of Christmas Ornaments: A Handmade Christmas – Week 1 (Watch Video Tutorial Here)
Final Thoughts
These Hand Painted Flower Ornaments may be one of the simplest projects I’ve done, but they bring me so much joy. They combine my love of painting, my favorite rose design, and the holiday spirit in a way that feels fresh and meaningful.
Most of all, I love that there’s no wrong way to do this. Your roses can be big or small, bold or subtle, metallic or matte. Each ornament tells its own story, and together, they make a tree—or a home—feel uniquely yours.
If you’re looking for a craft to try this holiday season, I highly recommend giving these a go. They’re fun, forgiving, and beautiful. And when you hang them on your tree, you’ll know you created something special with your own two hands.
✨ Here’s to another week of A Handmade Christmas. I hope these ornaments inspire you to pick up a paintbrush and bring a little handmade magic to your holidays.


If you enjoy my blog, you can sign up to receive my updates here.
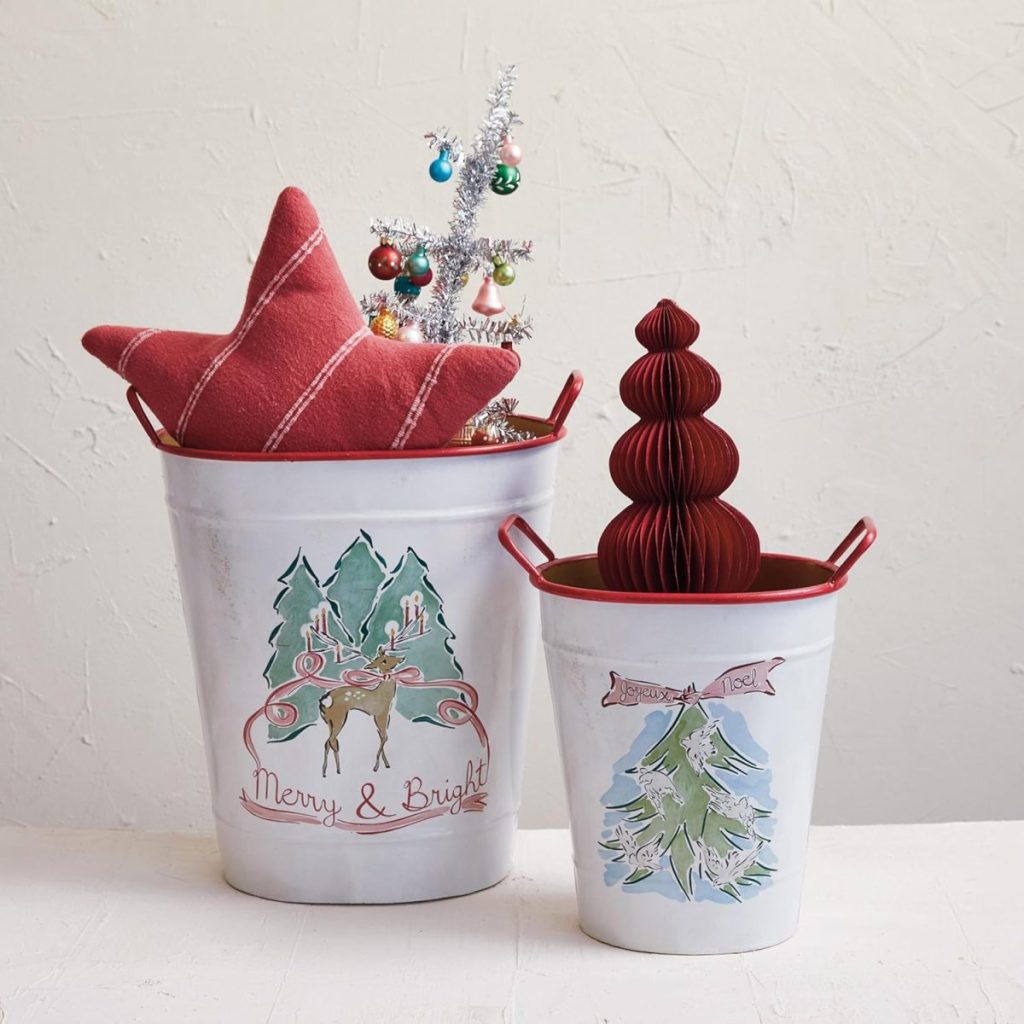
.Best Selling Christmas Decor
Designer-inspired Christmas decor that I am absolutely loving!

Latest Posts
-
Best Easter Brunch Egg Dish: Loaded French Onion Frittata
Easter brunch is one of those special meals where the table is complete, the laughter is loud, and the food is nothing short of spectacular. If you want to wow your guests with something savory, cheesy, and unforgettable, let me introduce you to your new Easter brunch hero: a Loaded French Onion Frittata.
-
The Best Spring Pillow DIY – A Handmade Spring
There are certain projects that start as an idea and quietly turn into something you love far more than you expected, and this Spring pillow is exactly that. As part of my A Handmade Spring series, I wanted to create something soft, beautiful, and full of texture, and this pillow checked every box. This pillow…
-
DIY Clay and Metallic Foil Easter Eggs
With Easter just around the corner this week, I decided to create something special and truly unique for my spring décor … handmade clay and metallic foil Easter eggs. These little works of art are soft, pastel, and subtly shimmery, and they’re a beautiful way to add a handmade touch to your Easter celebrations. While…
-
The Amazon Big Spring Sale is Here!
The Amazon Big Spring Sale is here! It runs from March 25th (today) through March 31st, and here are some of the best Amazon Deals ever! There are millions of deals available, and today I will help you find the best ones for everything you need. Now is the perfect time to shop for Spring.


My Recent Instagram Posts

You can pin the image below to your boards on Pinterest (click the Pin button in the top left corner) or follow me on Pinterest!

For more real-time updates, follow me on Instagram @My100YearOldHome
