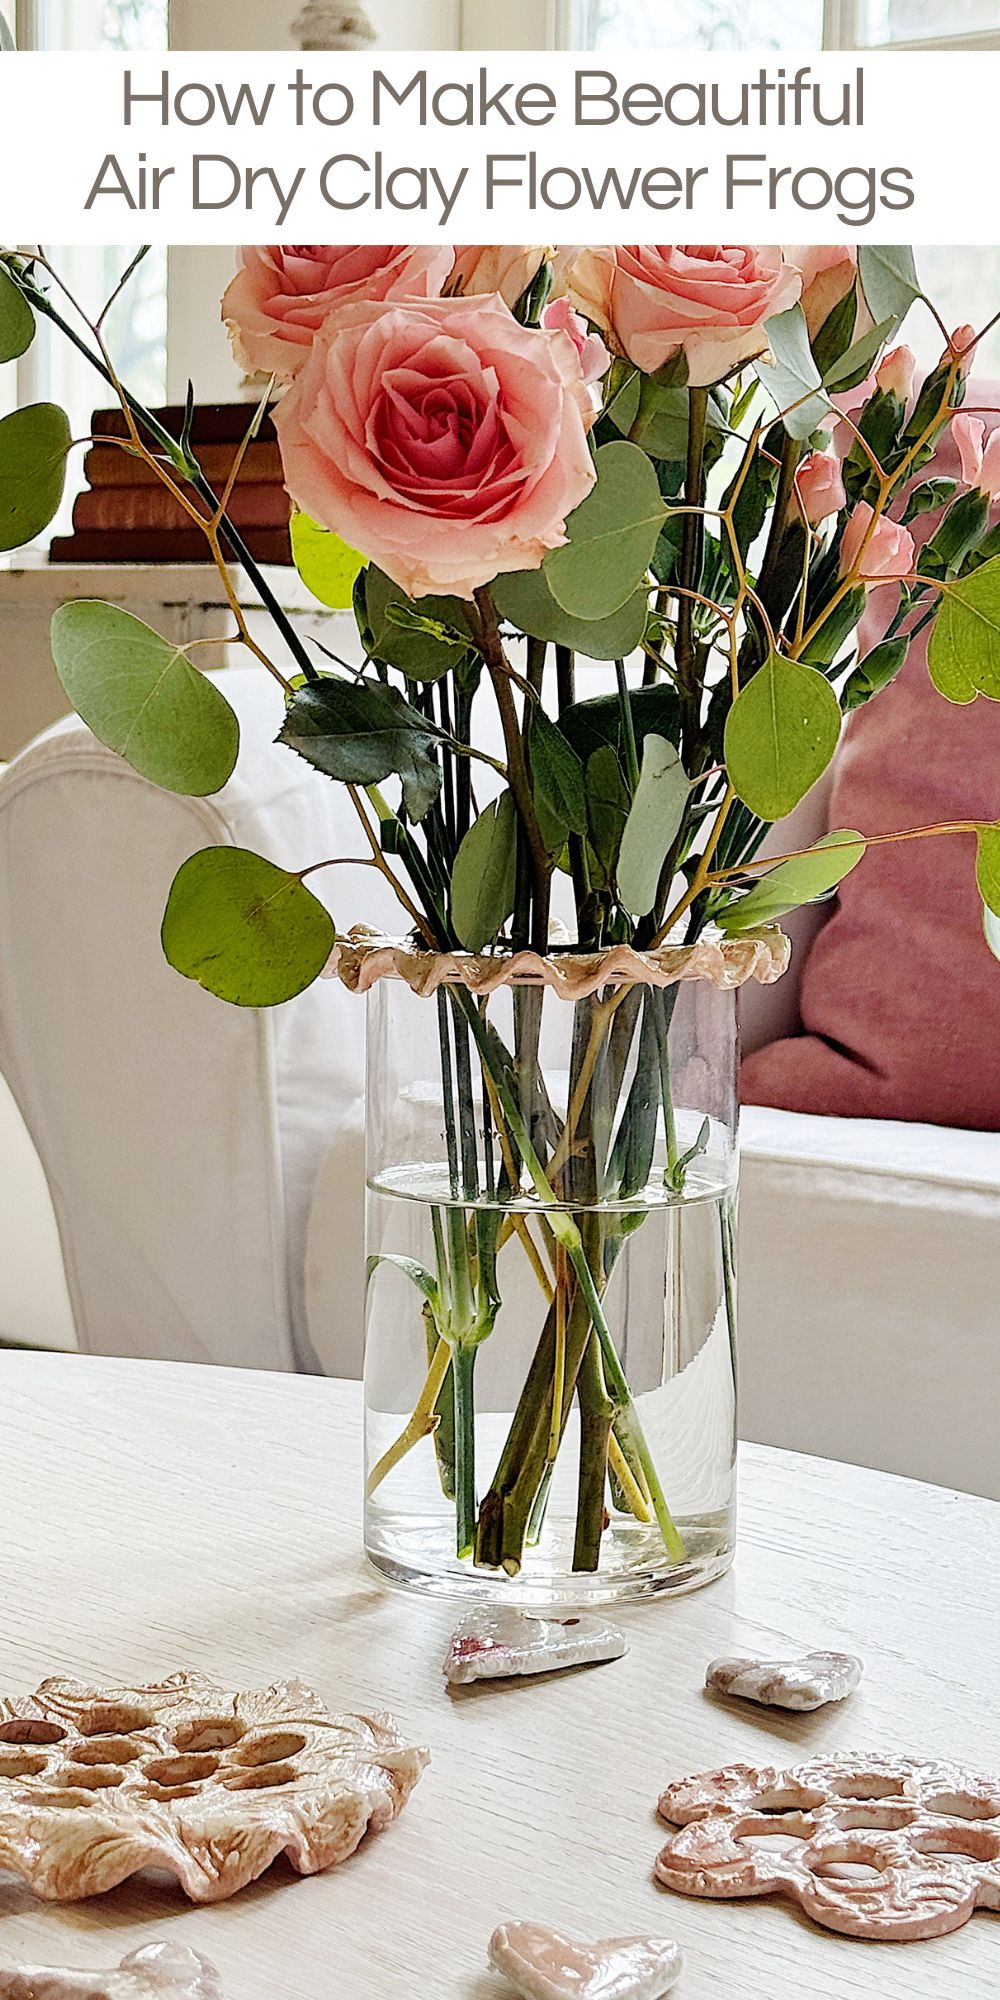
How to Make Beautiful Air Dry Clay Flower Frogs
Flower arranging is an art; having the right tools makes all the difference. If you love fresh flowers in your home but struggle to keep them in place, you’ll love these DIY air-dry clay flower frogs!
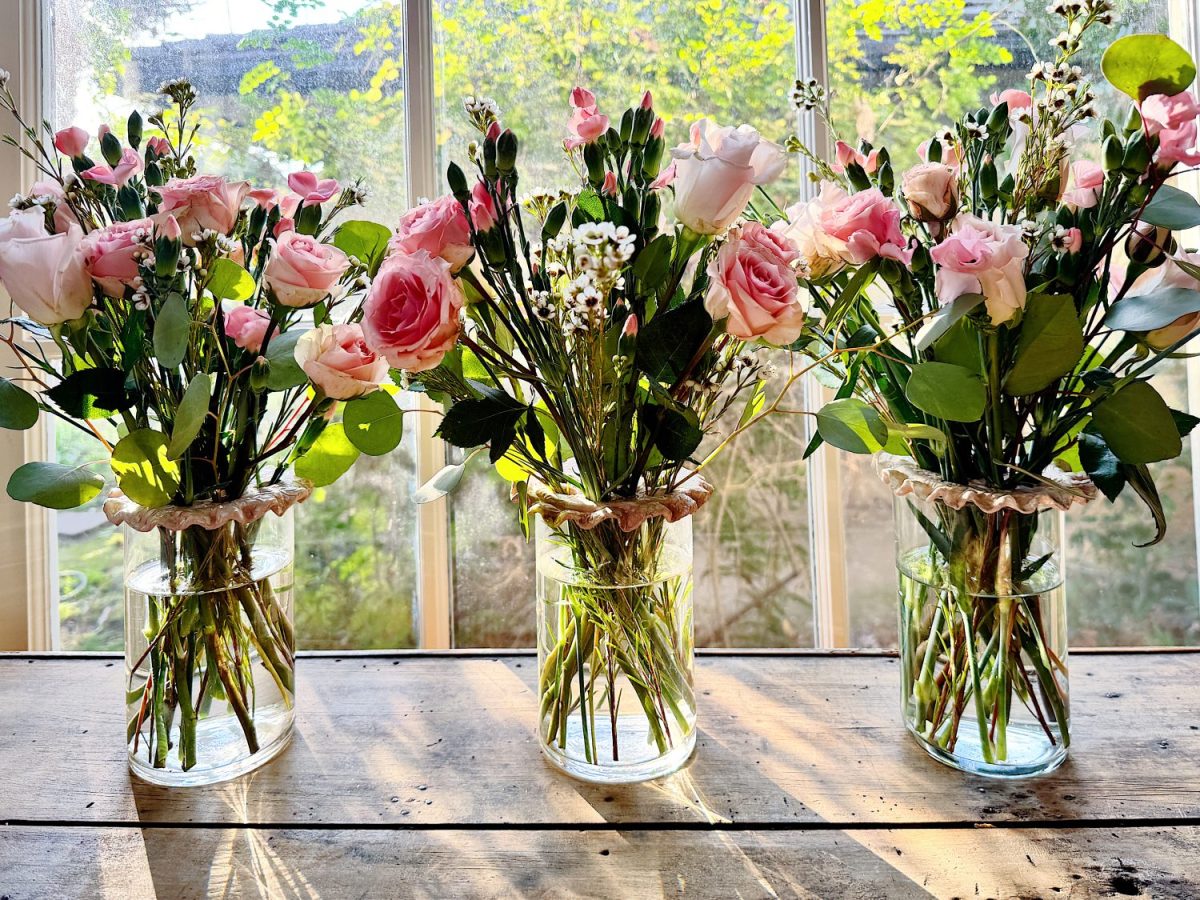
I recently made a set of these charming flower frogs, which sit on top of a vase or jar to help hold flower stems upright. They are easy to make, customizable, and adorable. They add a touch of handmade beauty to any floral arrangement while being both practical and stylish. And they make the perfect craft for spring.
Happy Valentine’s Day!


Air Dry Clay Flower Frogs for Your Vases
Today, I am sharing how to make your own air-dry clay flower frogs, from shaping to painting and sealing. If you love crafting with clay, this project is fun and rewarding!
And … if you would like to make the clay hearts, head to my blog post here.
What Is a Flower Frog?
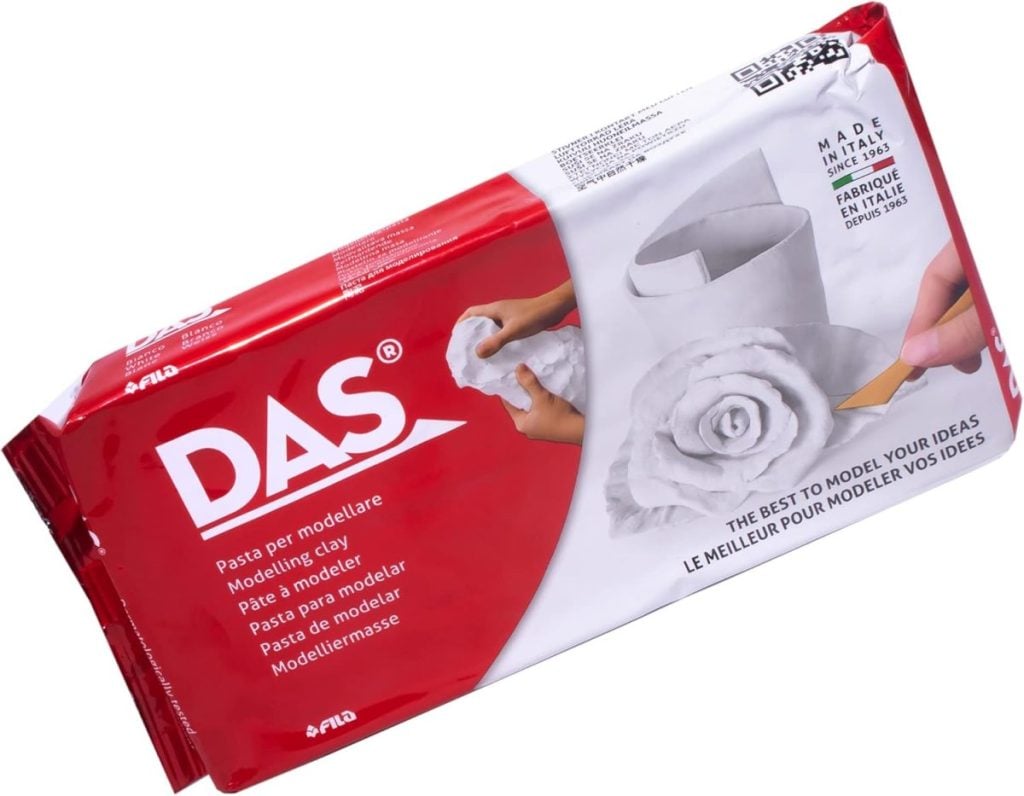
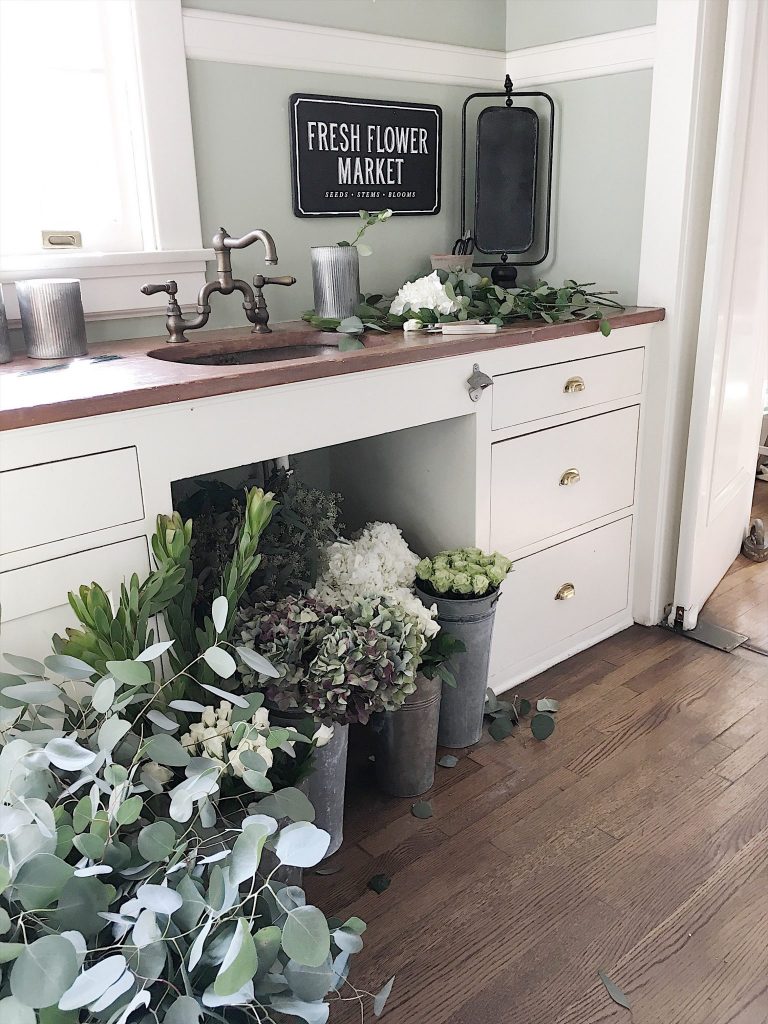
If you’re unfamiliar with the term, a flower frog is a floral arranging tool to keep flower stems in place. Traditionally, they’re made of glass, ceramic, or metal, but I made mine with DAS air-hardening modeling clay, which makes them lightweight, durable, and beautifully textured.
These clay flower frogs sit atop a vase or jar—inserting them inside is unnecessary. Once you add water to the container, the holes in the clay let you insert flower stems, keeping your blooms arranged precisely as you like.
On this blog, I may sometimes use affiliate links, which means I earn a small commission if you purchase through them. The price will be the same whether you use the affiliate link or go directly to the vendor’s website using a non-affiliate link.
Materials You’ll Need
Before we dive into the steps, here’s what you’ll need for this project:
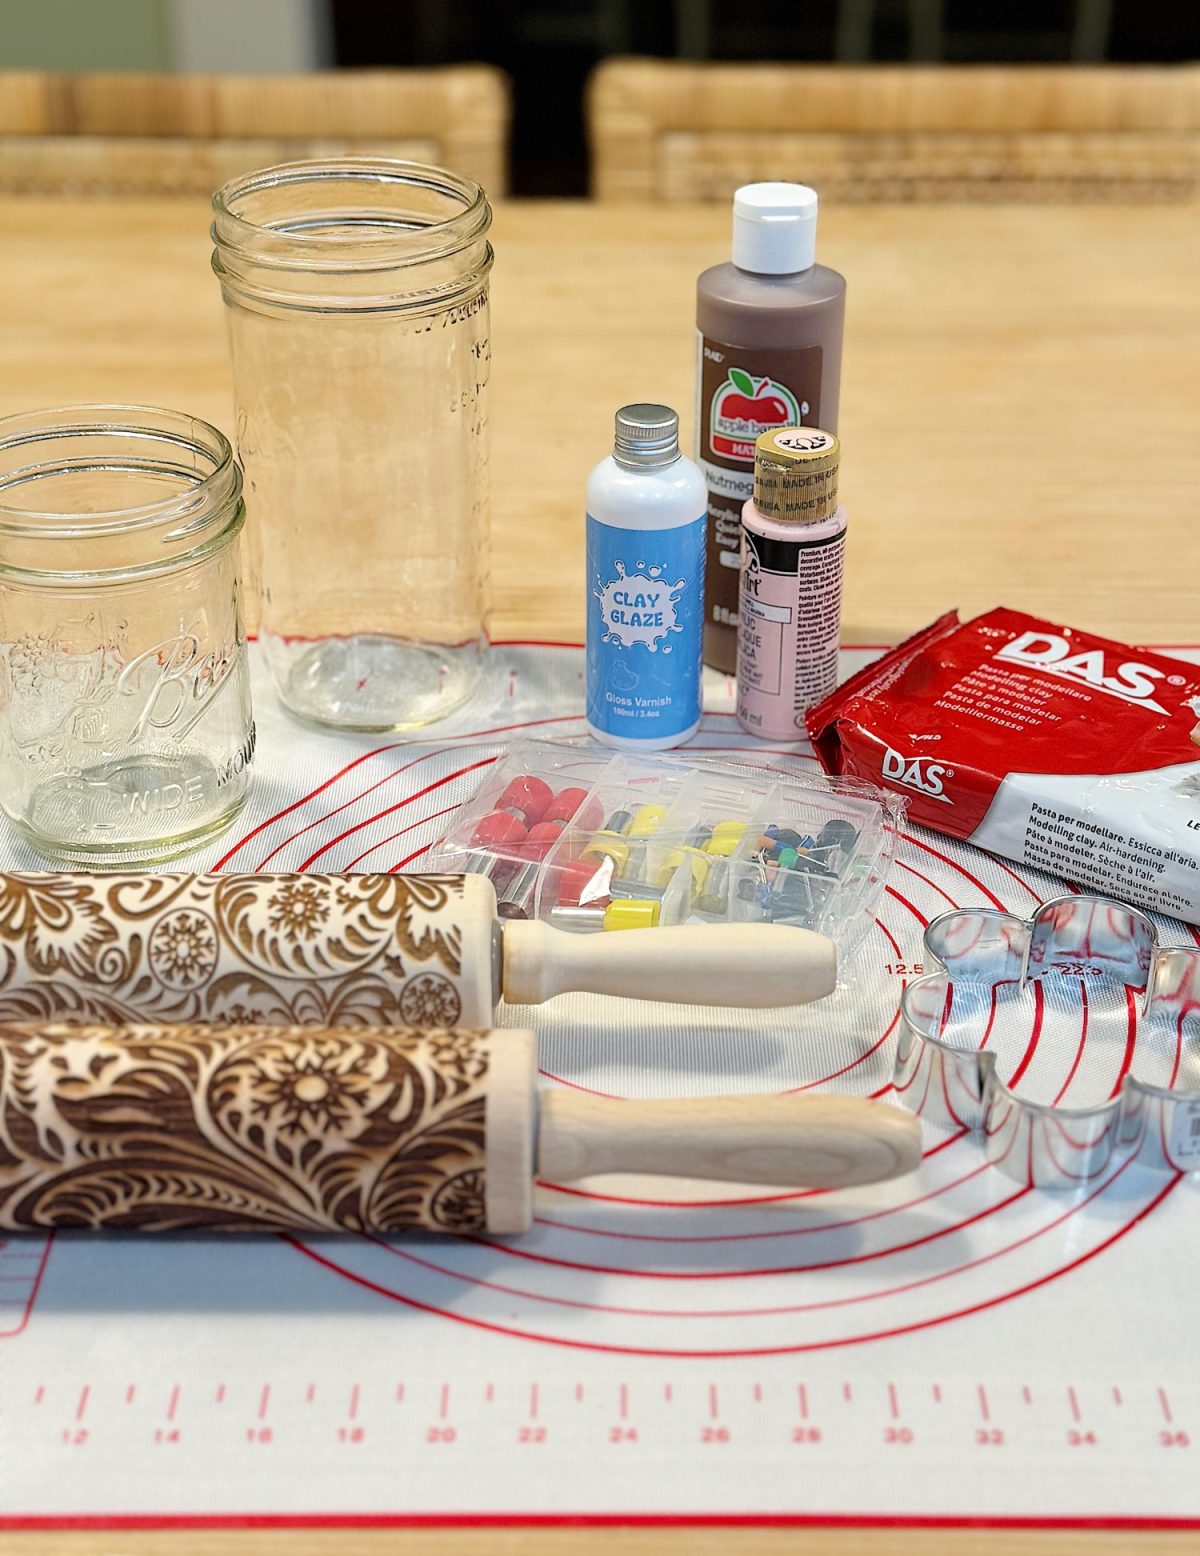
▪️ DAS Air-Hardening Modeling Clay (or another air-dry clay)
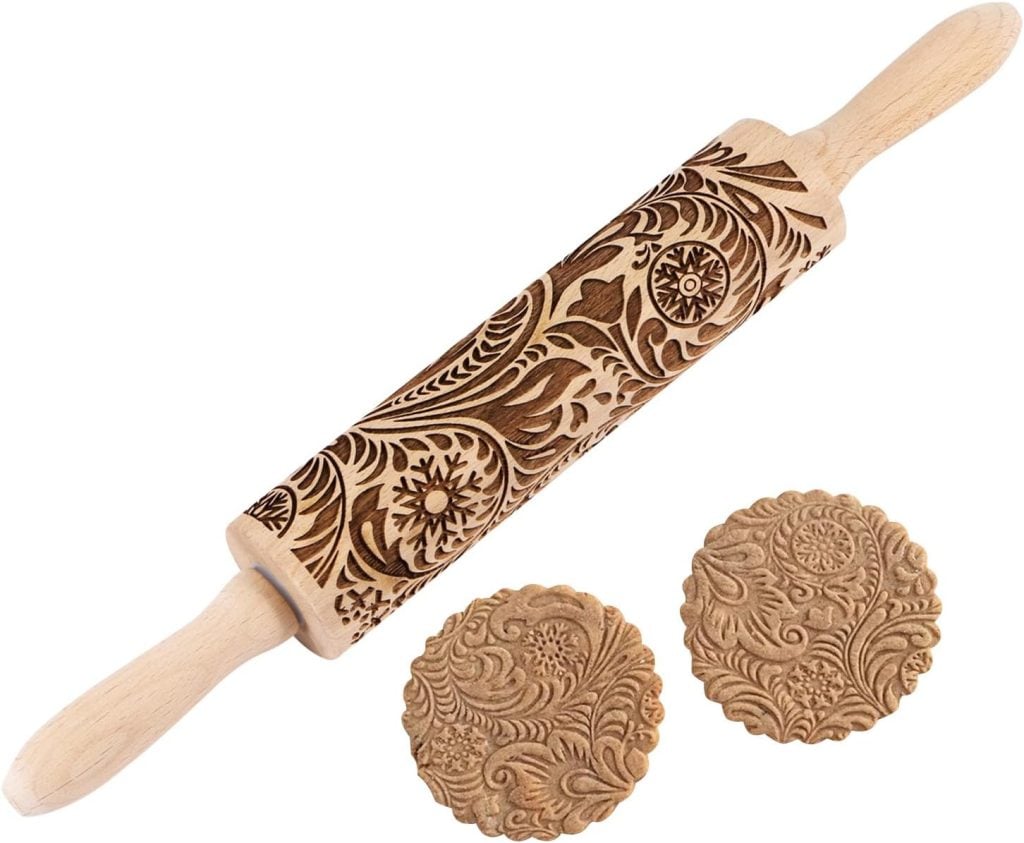
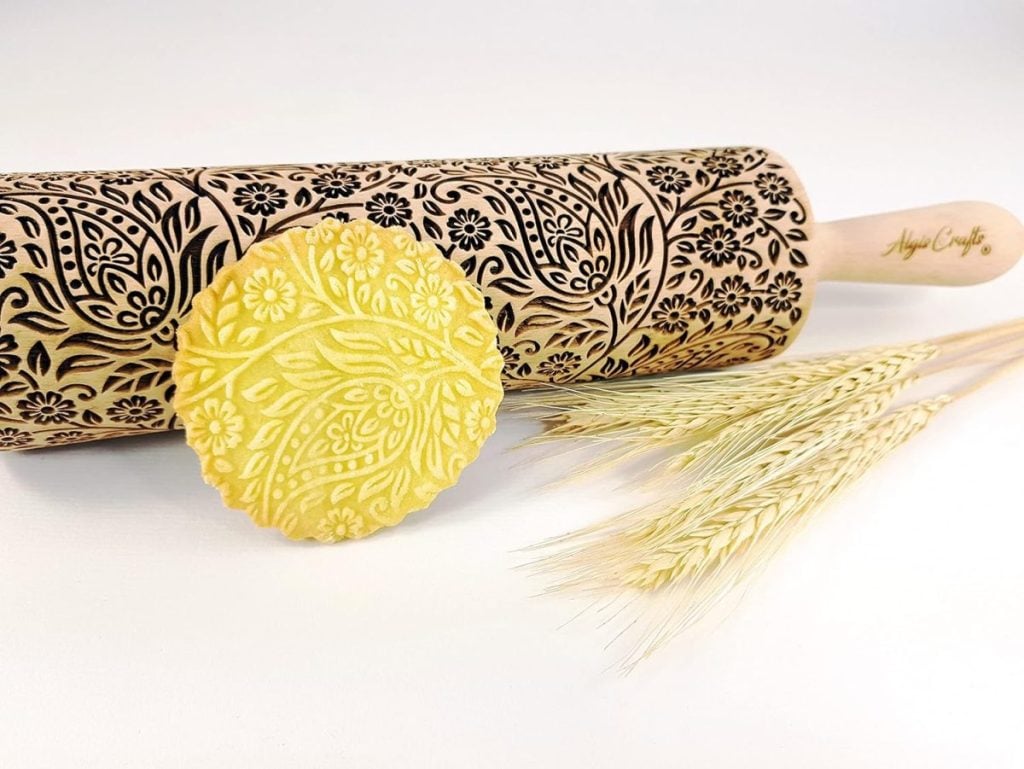
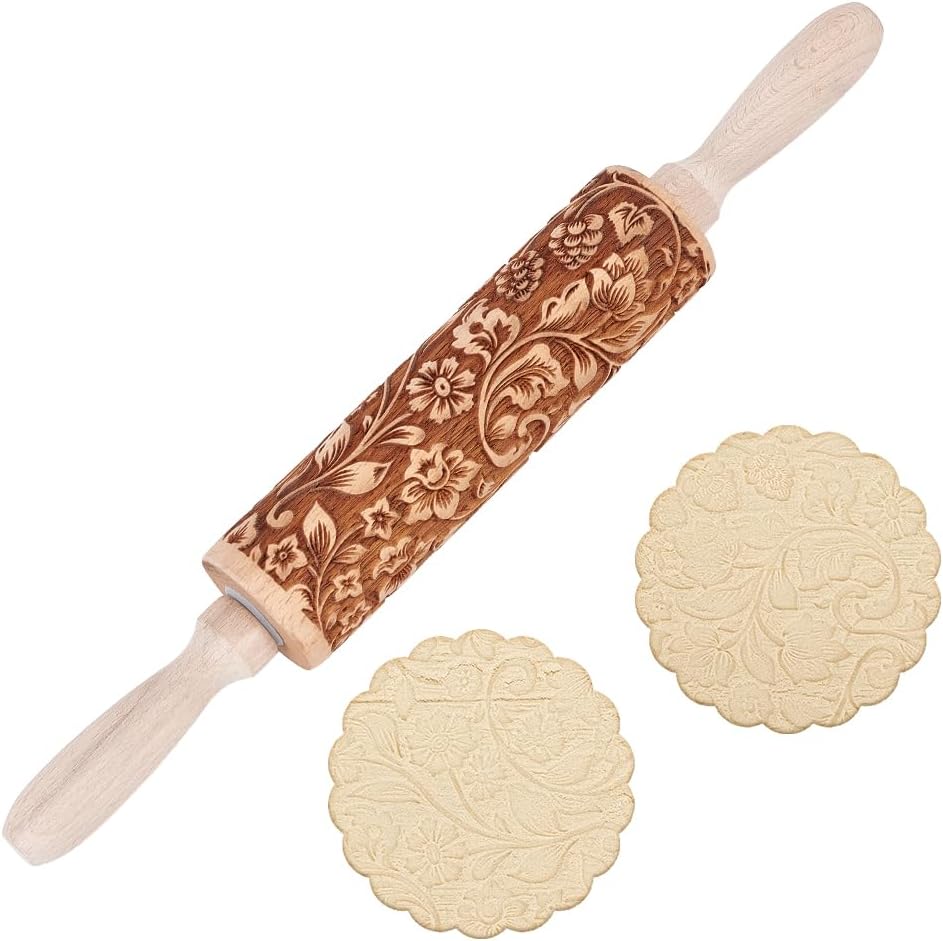
▪️ Embossed Wooden Rolling Pin (to add a decorative texture)
▪️ Scallop-Edged Flower Cookie Cutter (for one design)
▪️ Round Dish or Lid (to use as a pattern for another design)
▪️ Polymer Clay Cutters (for making stem holes)
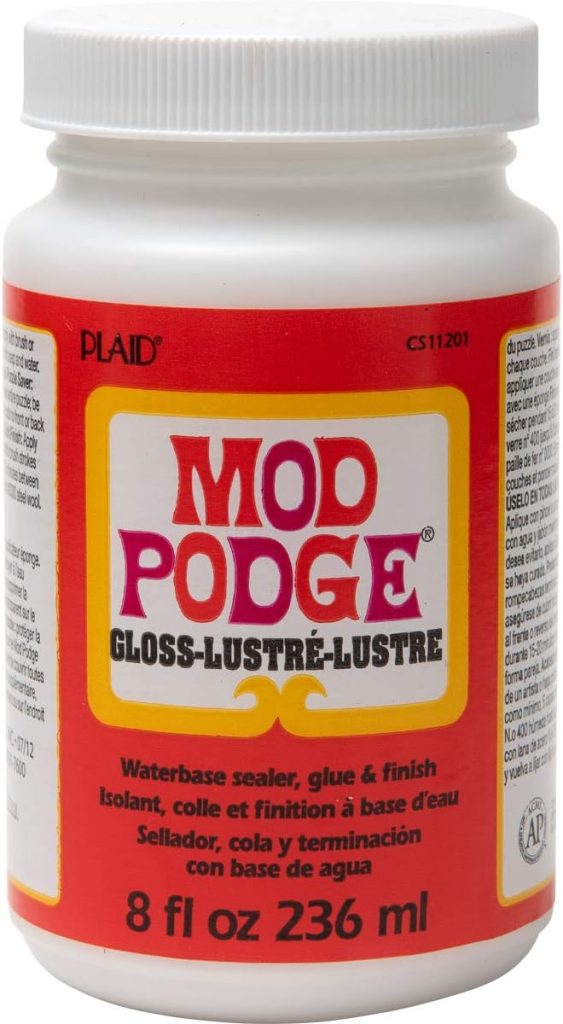
▪️ Mod Podge (for sealing before painting)
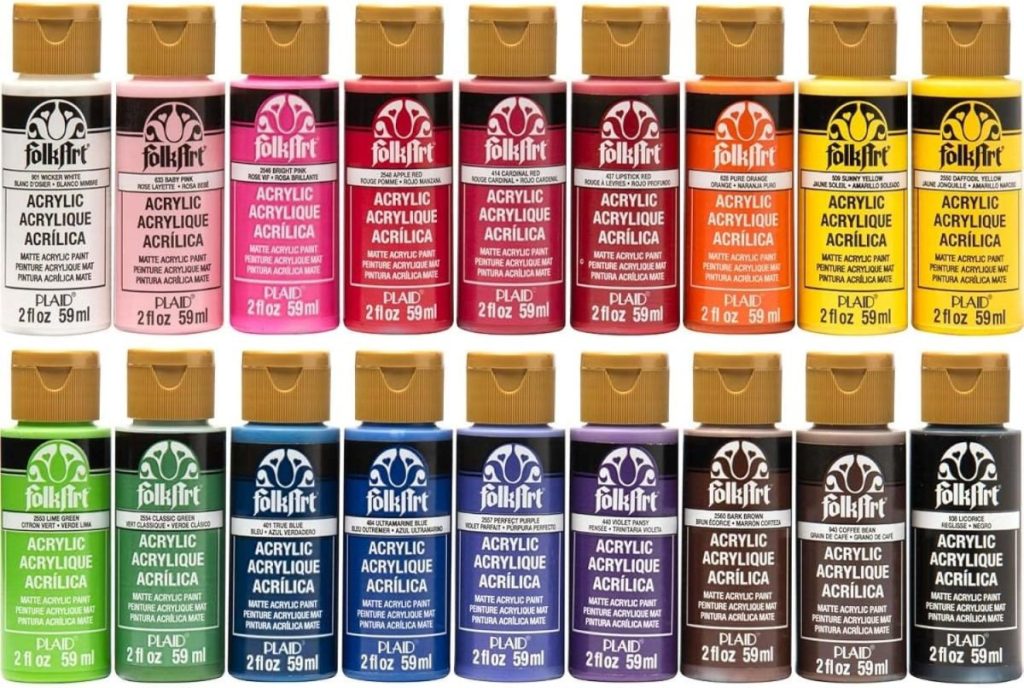
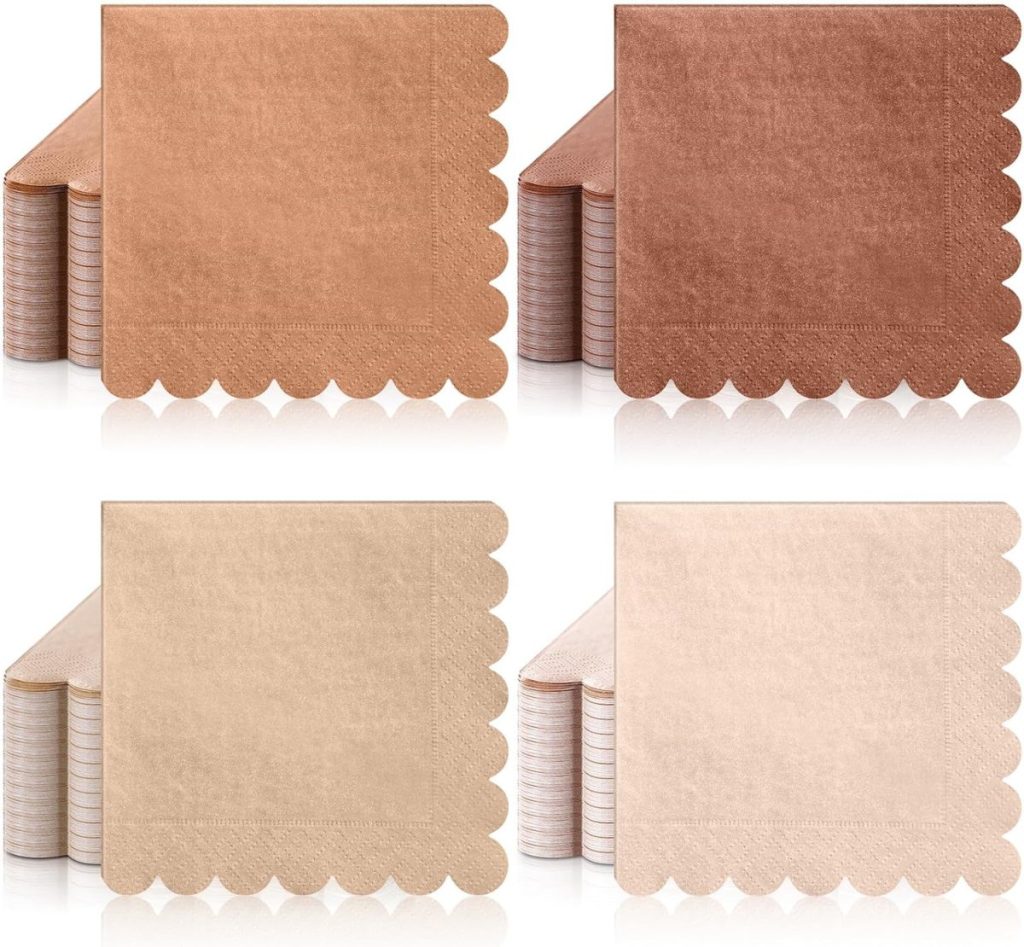
▪️ Acrylic Paints (I mixed white, pink, and brown to create a taupe-pink shade)
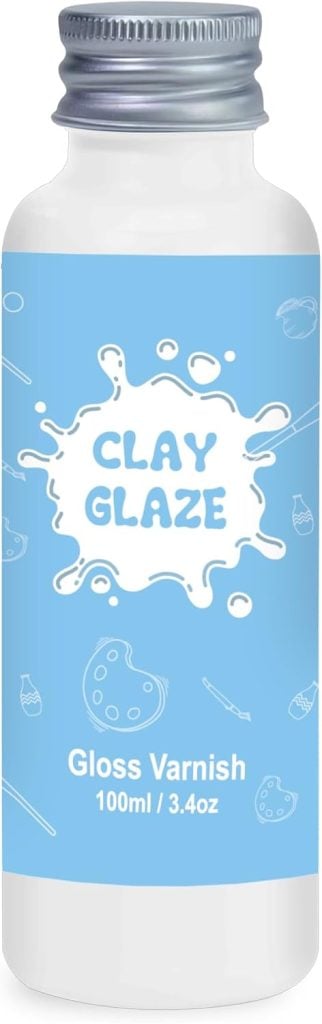
▪️ Air Dry Clay Varnish (to make it water-resistant)
▪️ Paintbrushes
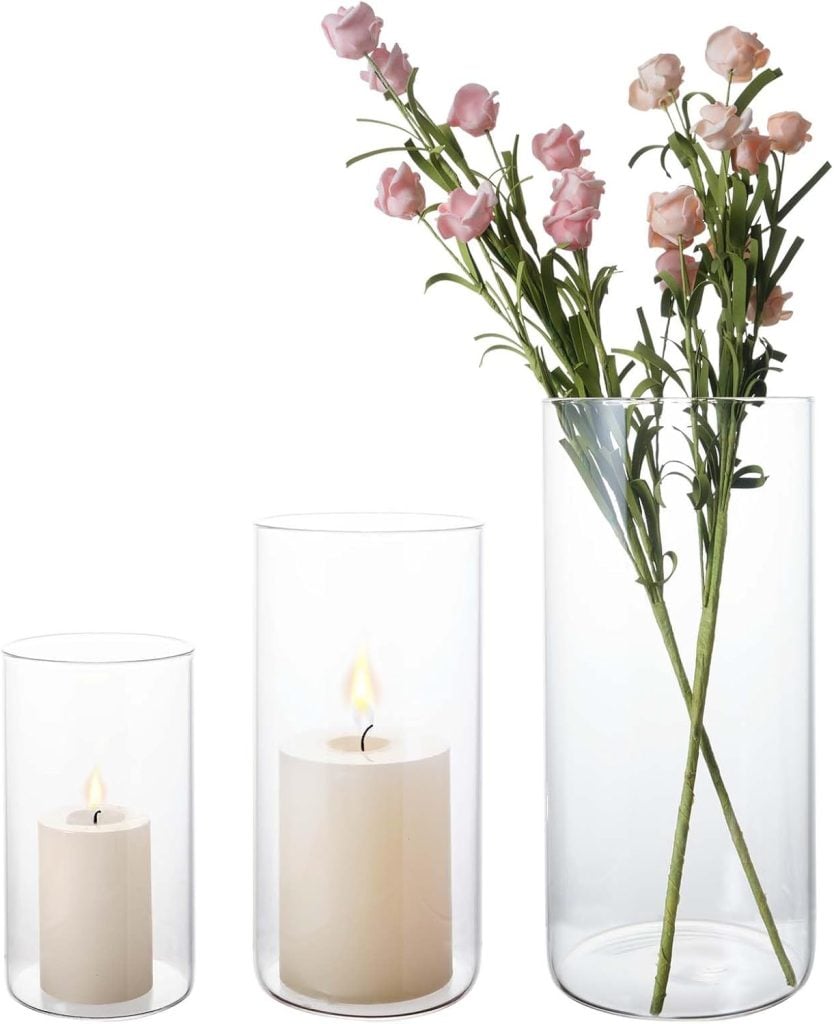
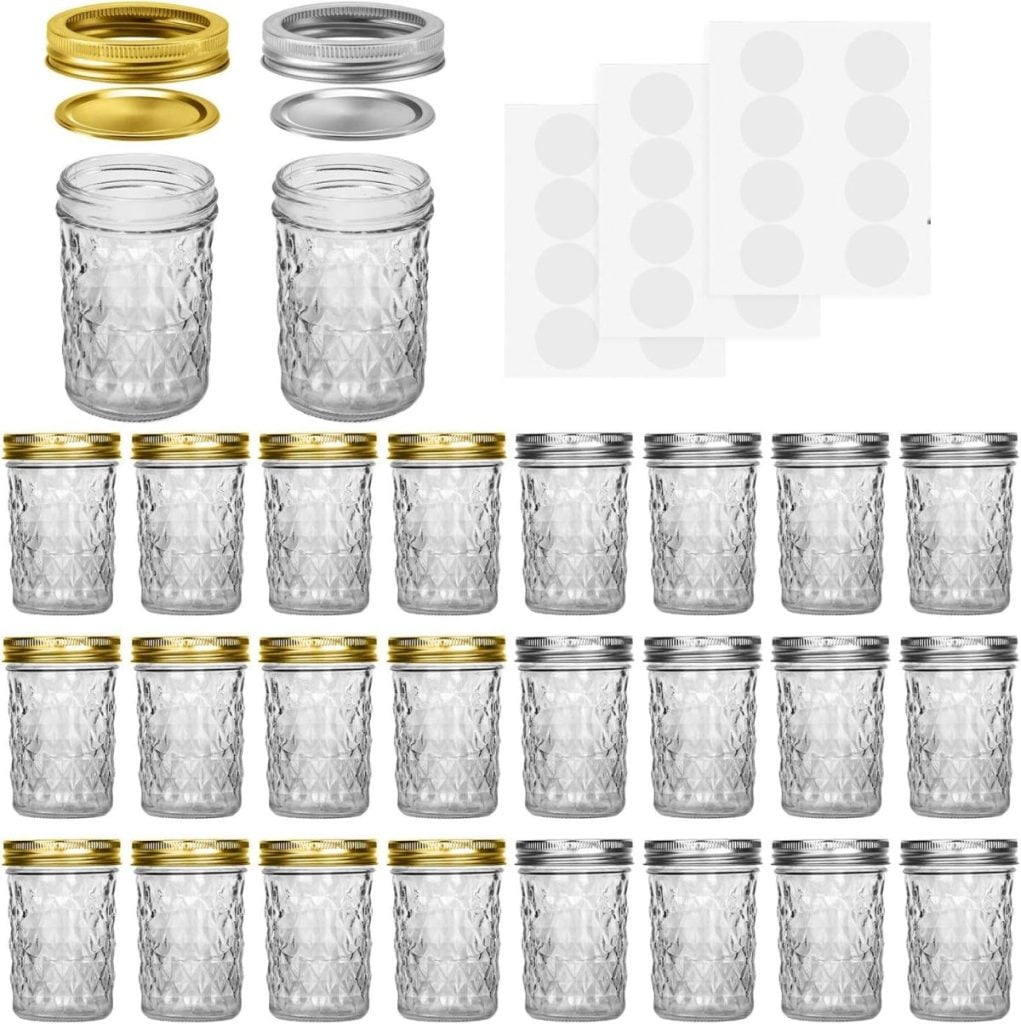
▪️ Vases or Jars (to fit your flower frogs on)

Other Pattern Options

Step 1: Rolling Out the Clay
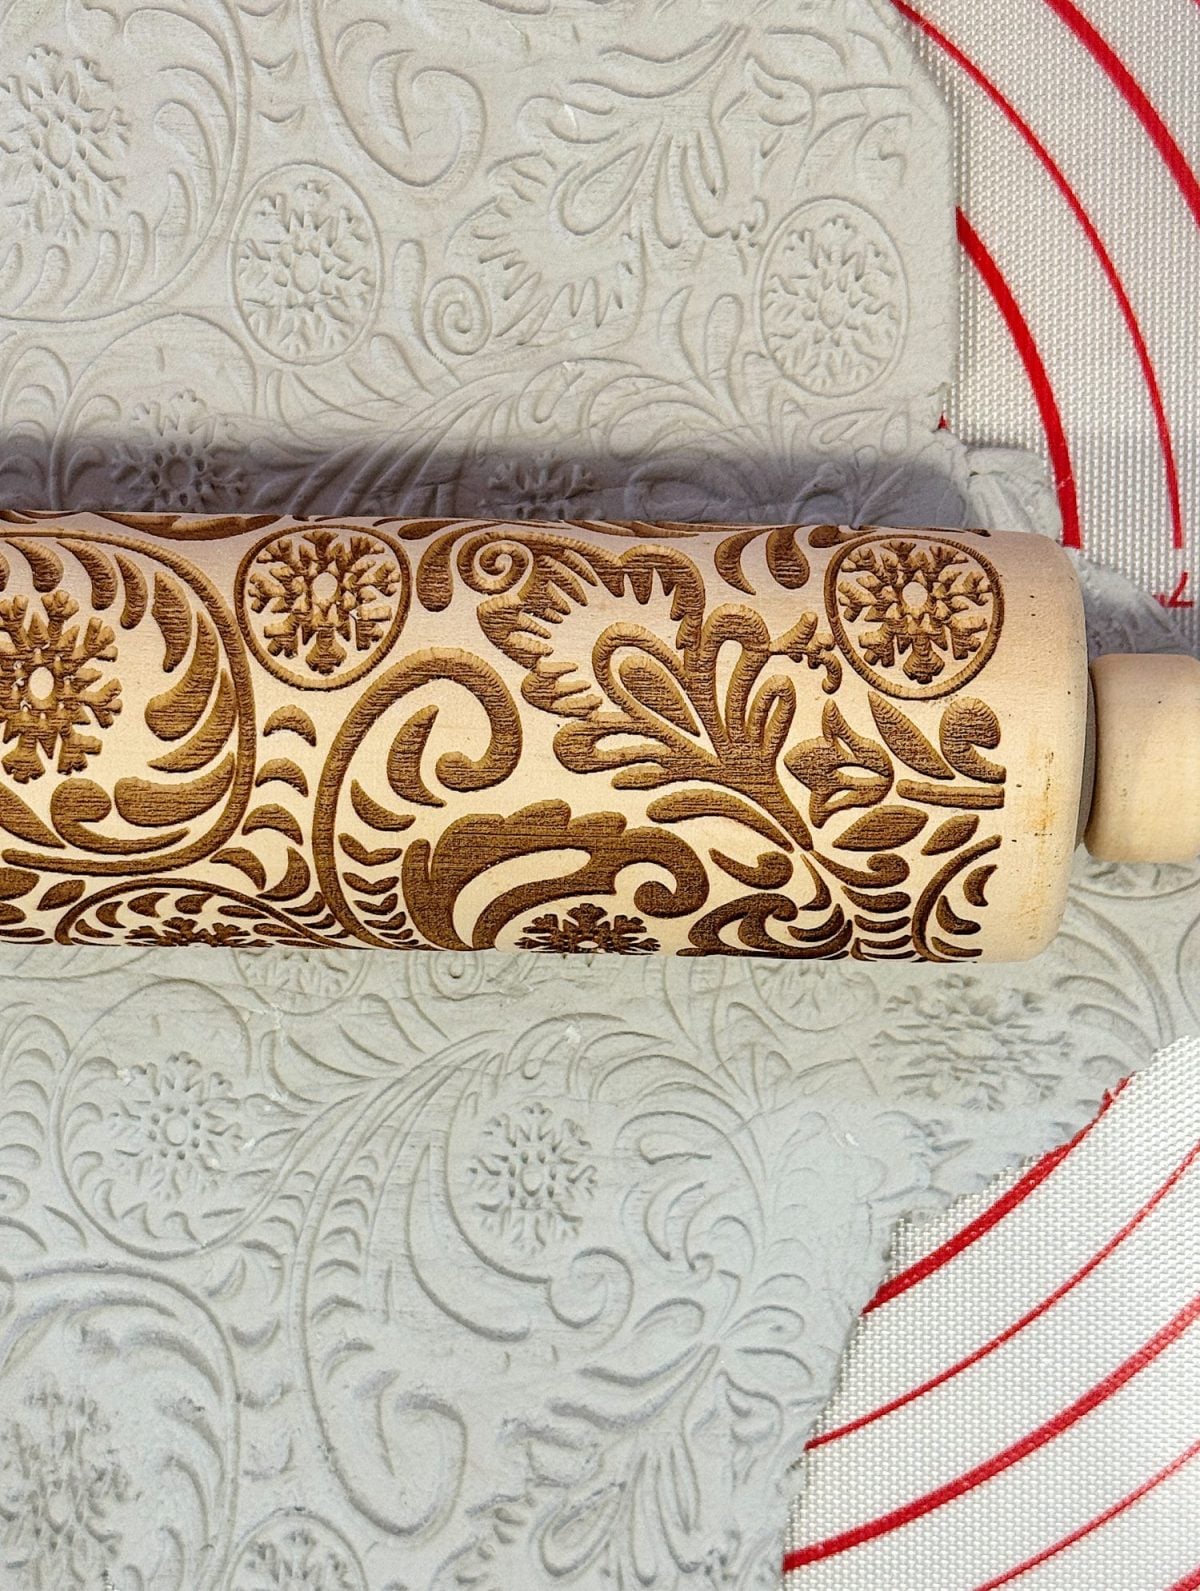
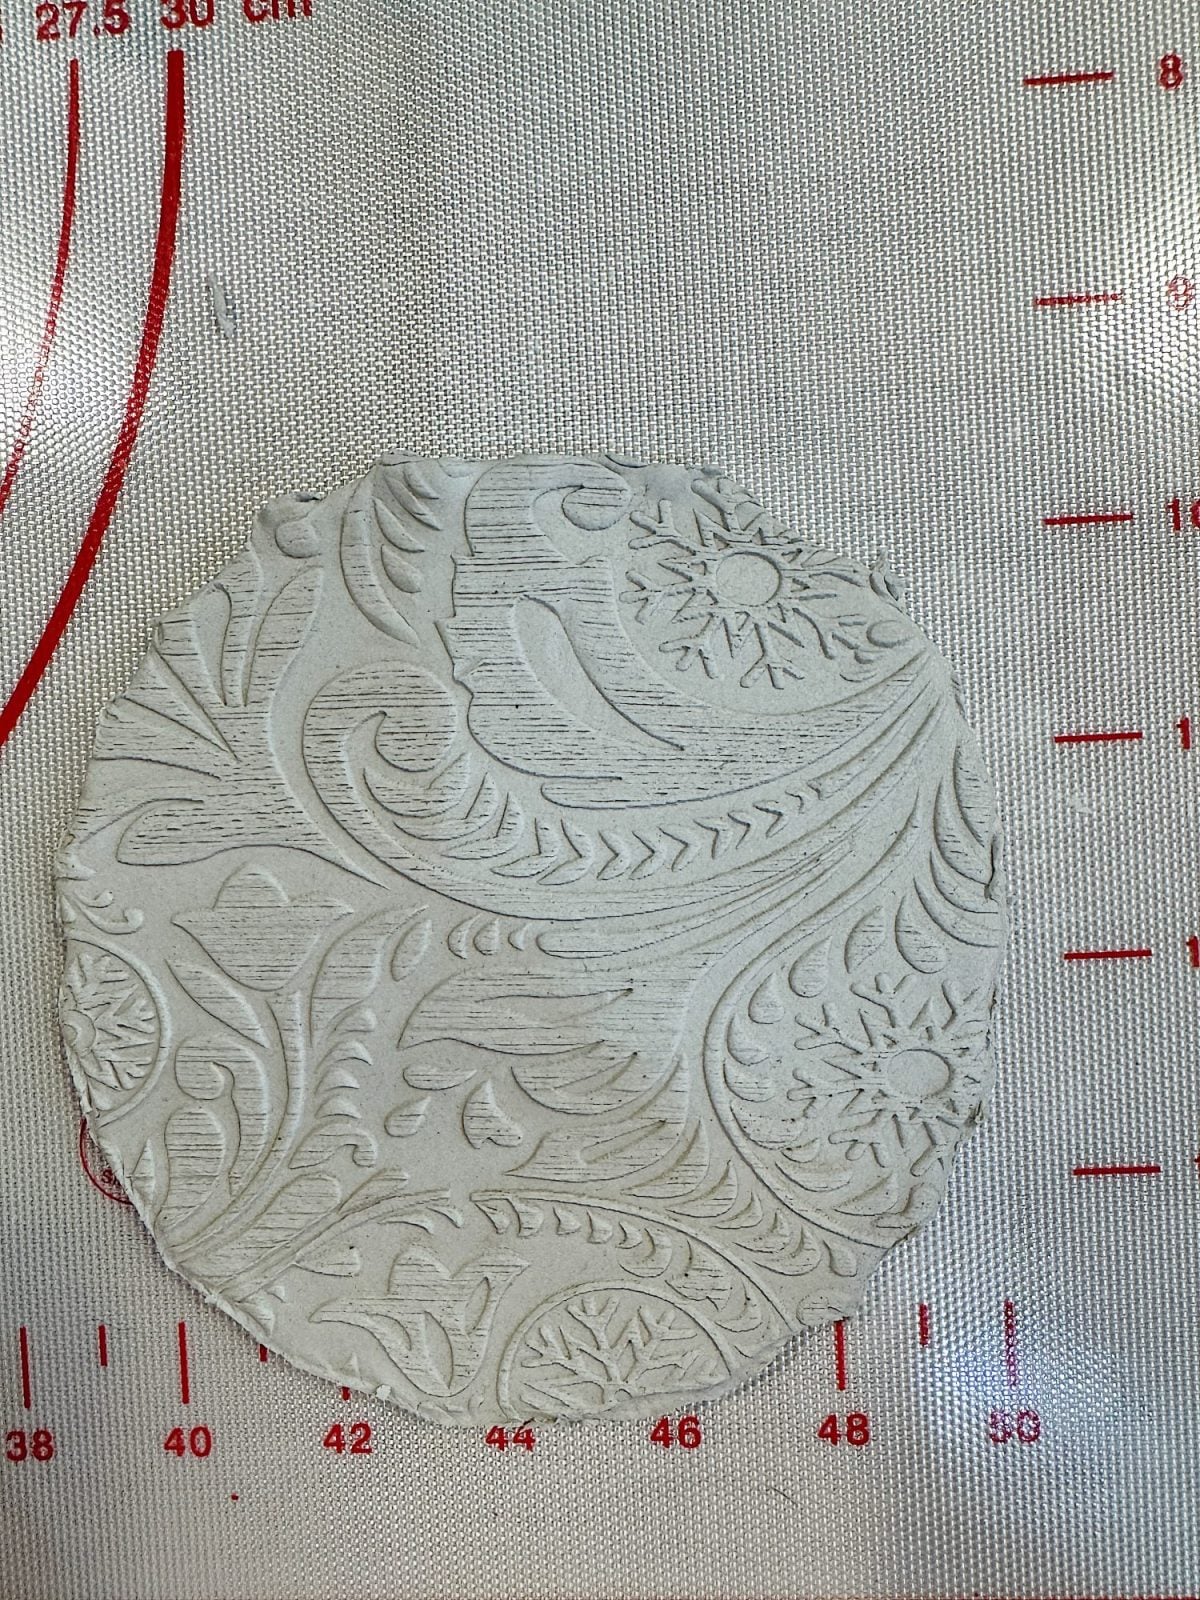
To begin, I rolled out my DAS air-hardening clay to about 3/8″ thick. This thickness provides the flower frogs with sufficient durability while remaining lightweight.
For a decorative touch, I used an embossed wooden rolling pin to create a beautiful pattern on the clay. This simple step makes a significant impact, adding a lovely textured design that stands out once painted.
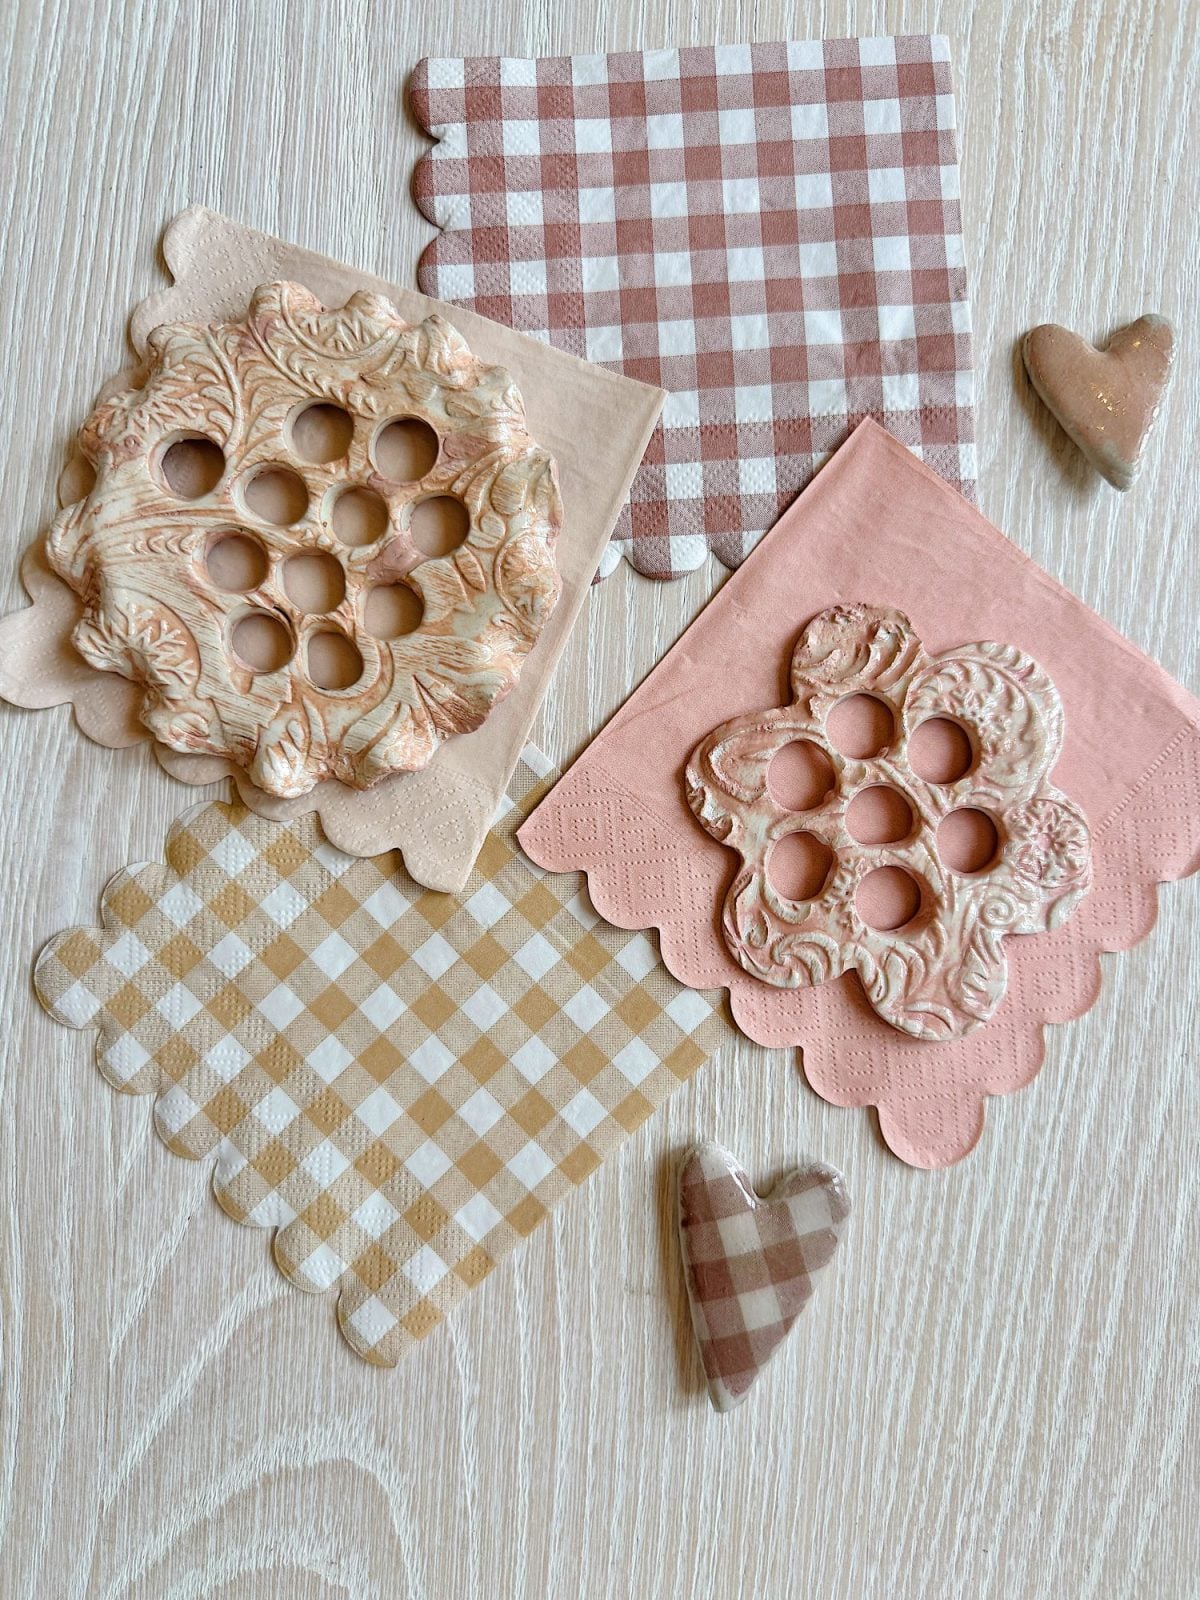
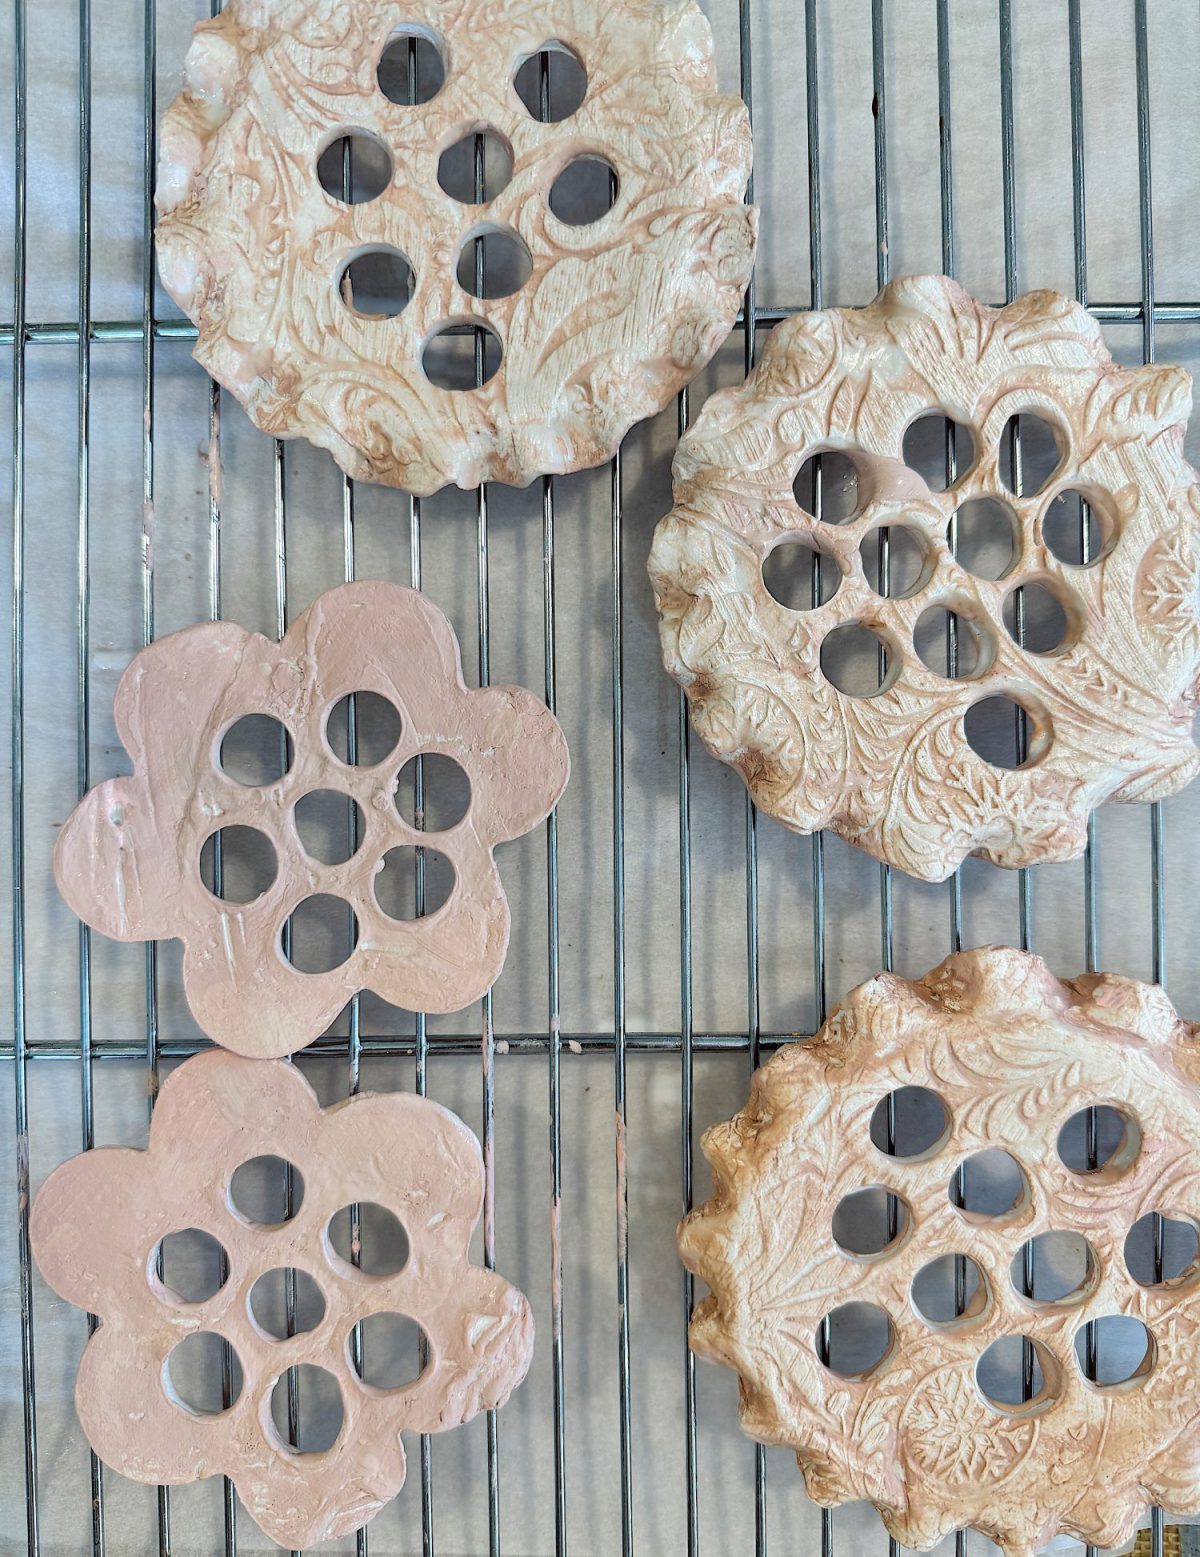
Step 2: Cutting the Shapes
I created two different styles of flower frogs:

- Scalloped Edge Design
- I used a scallop-edged flower cookie cutter to cut out one piece. The floral shape gives it a delicate, vintage-inspired look.
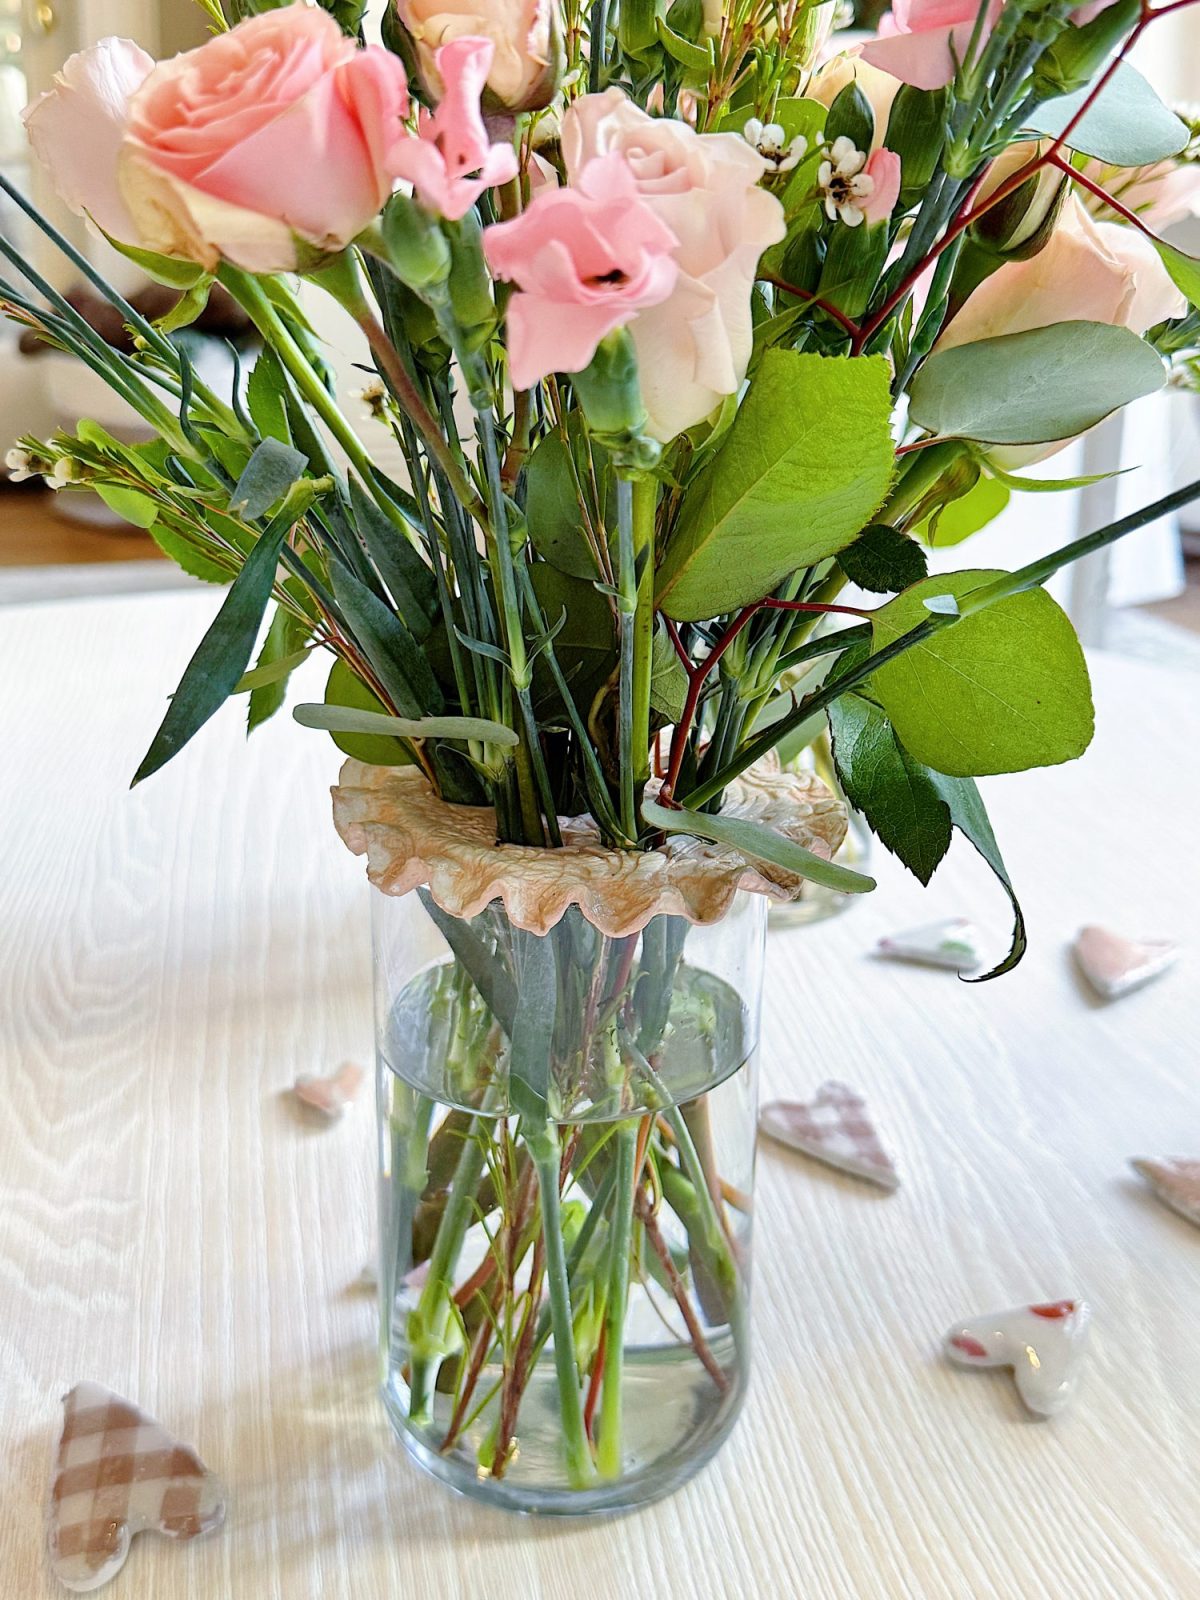
- Round Design with Fluted Edges
- For this version, I used a round dish as a template and traced around it with a sharp tool. I gently molded the clay around the top edge of a jar before it dried. This gave it a slightly curved shape to fit snugly on the jar. To flute the edges, I followed the same process I use for the pie crust’s edge. Using both hands, press your fingers to form the ruffly and continue around the edge. This version has a fun style.
Step 3: Making the Stem Holes
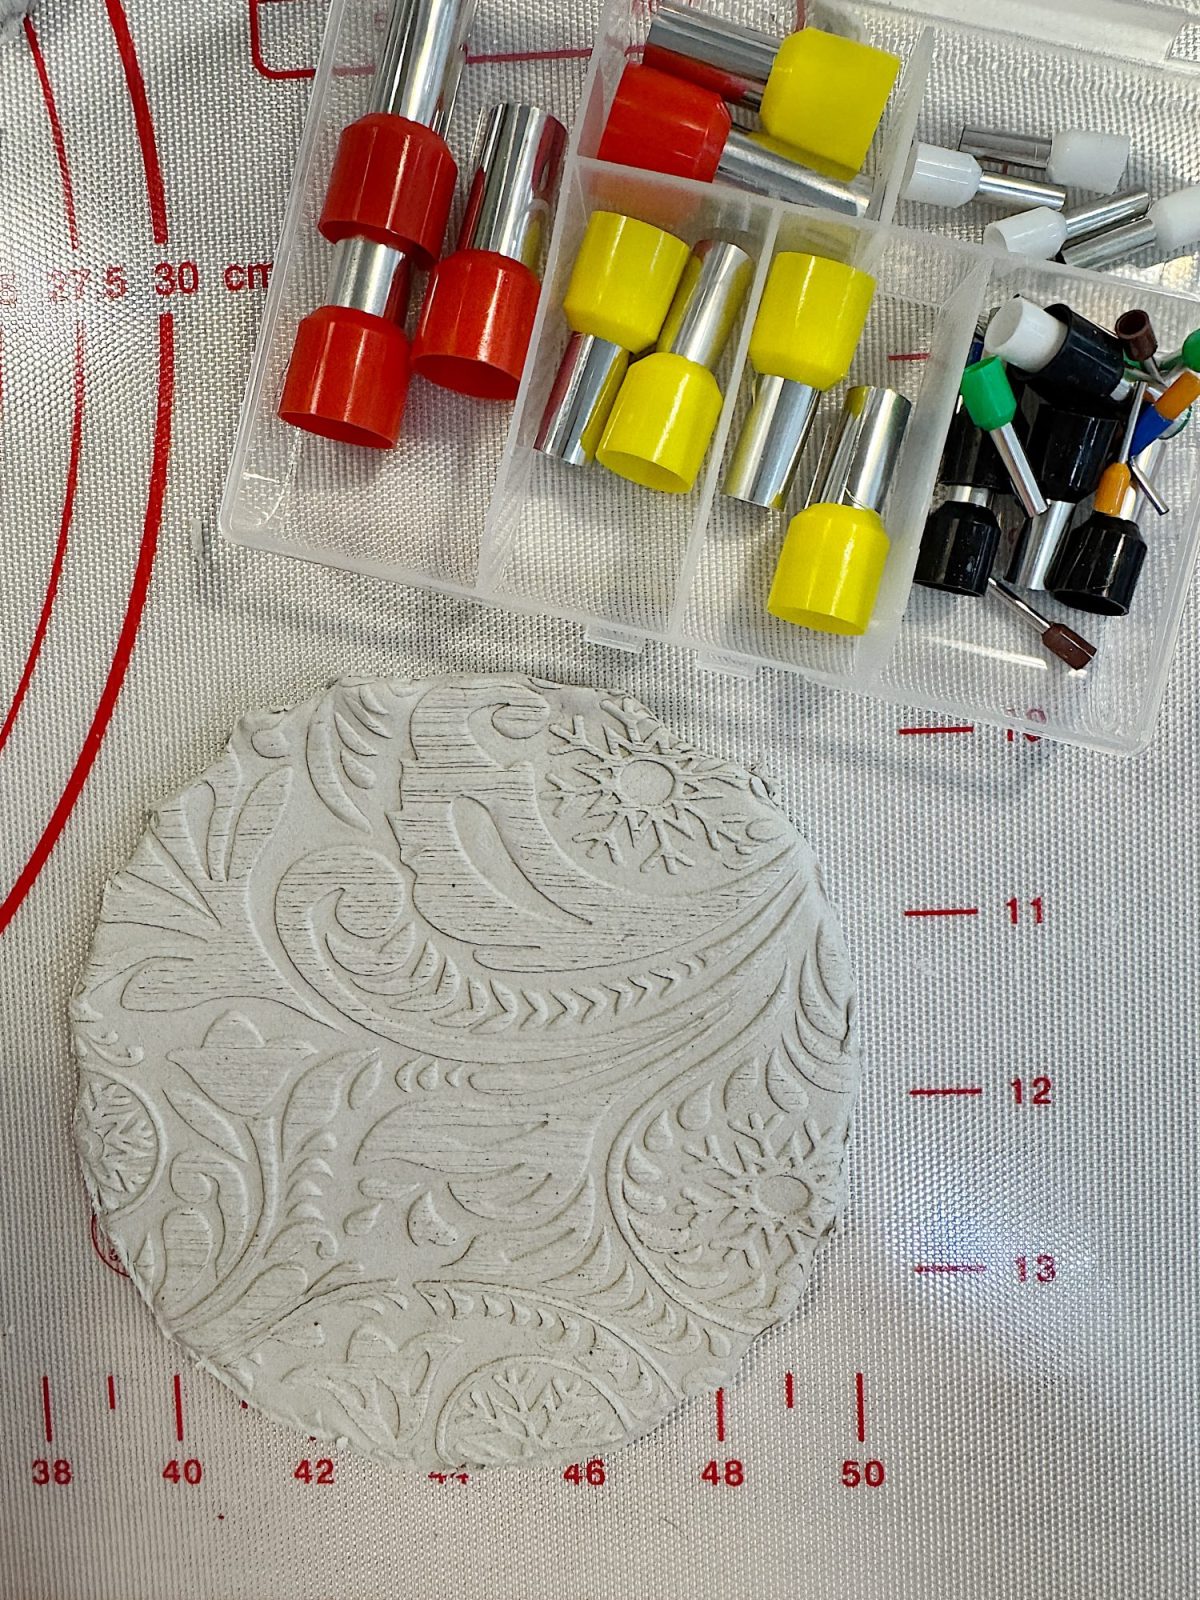
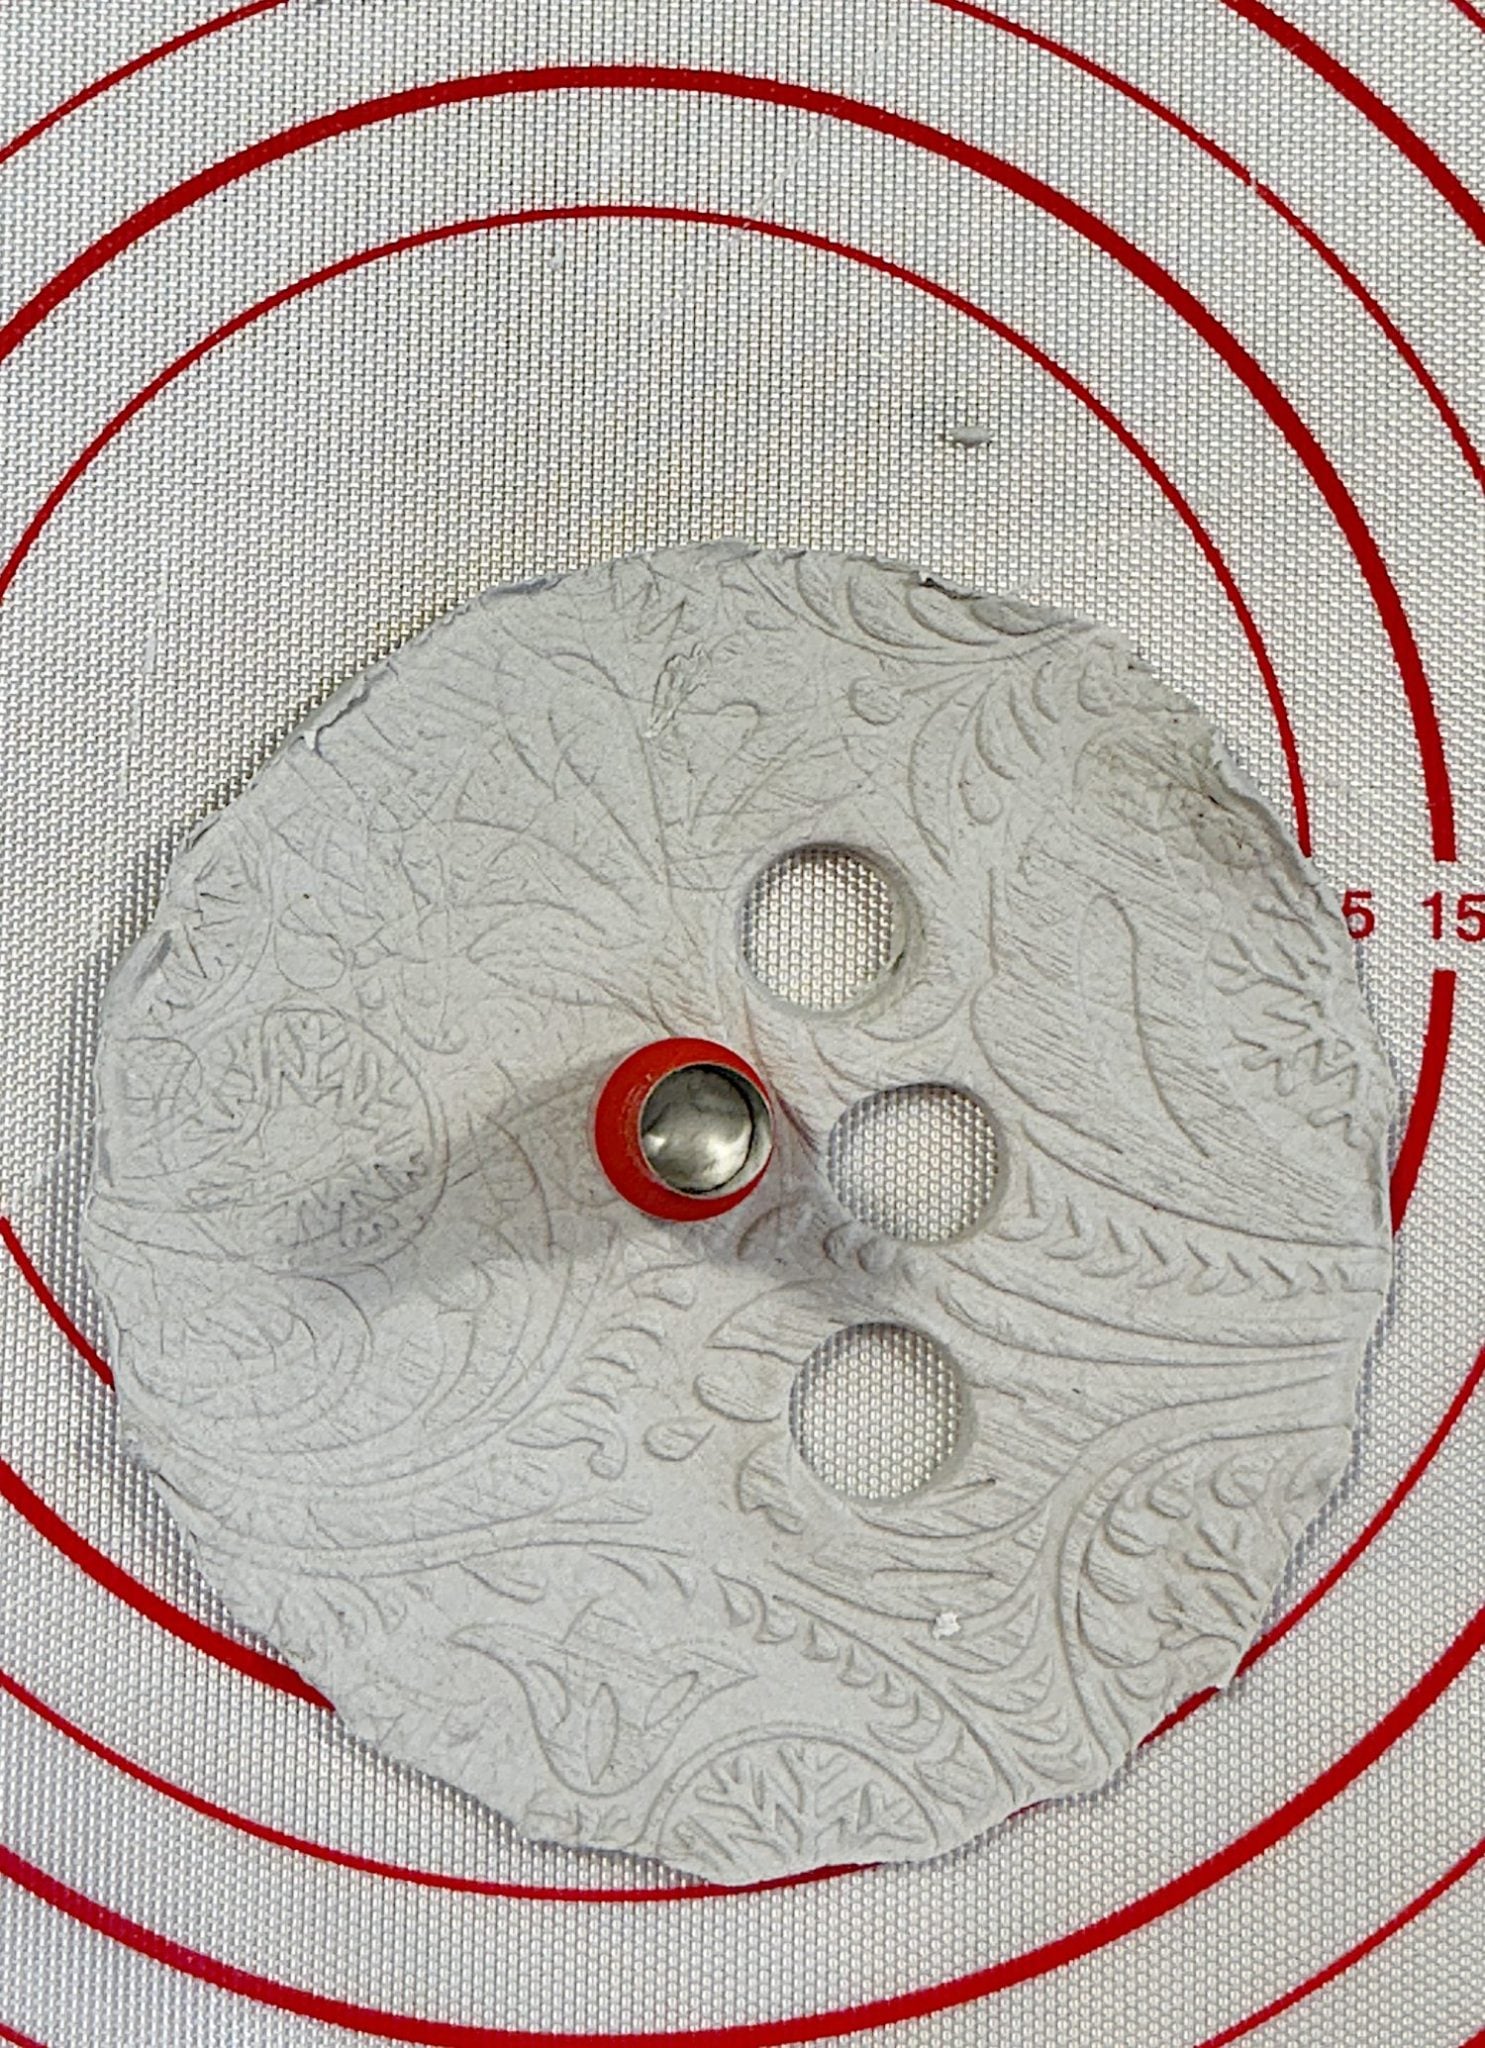
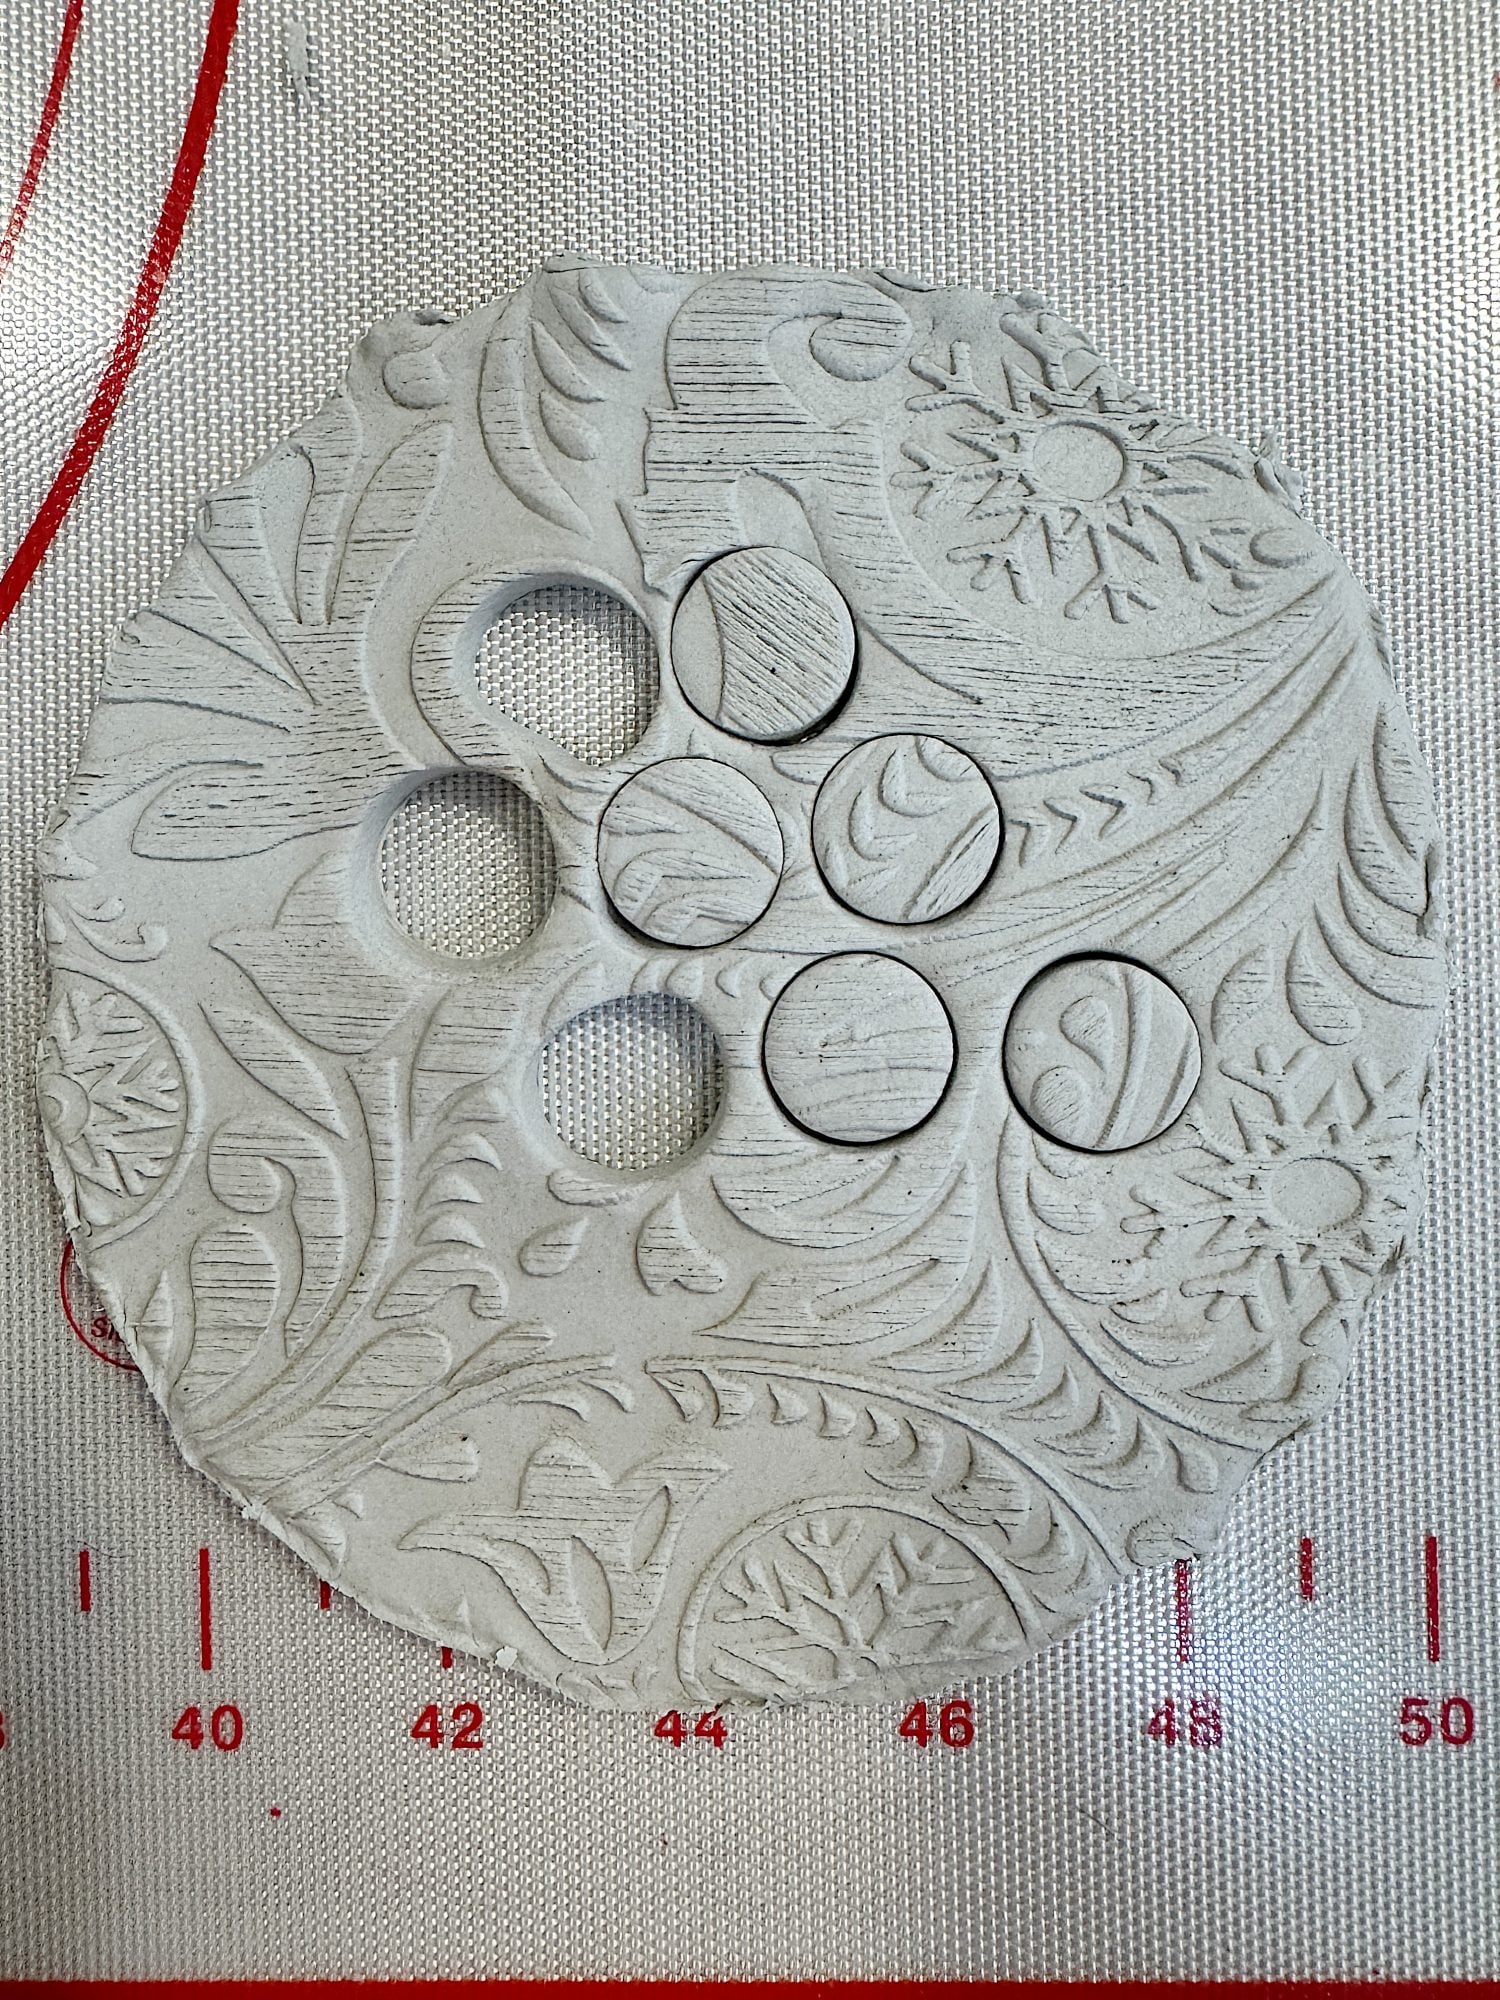
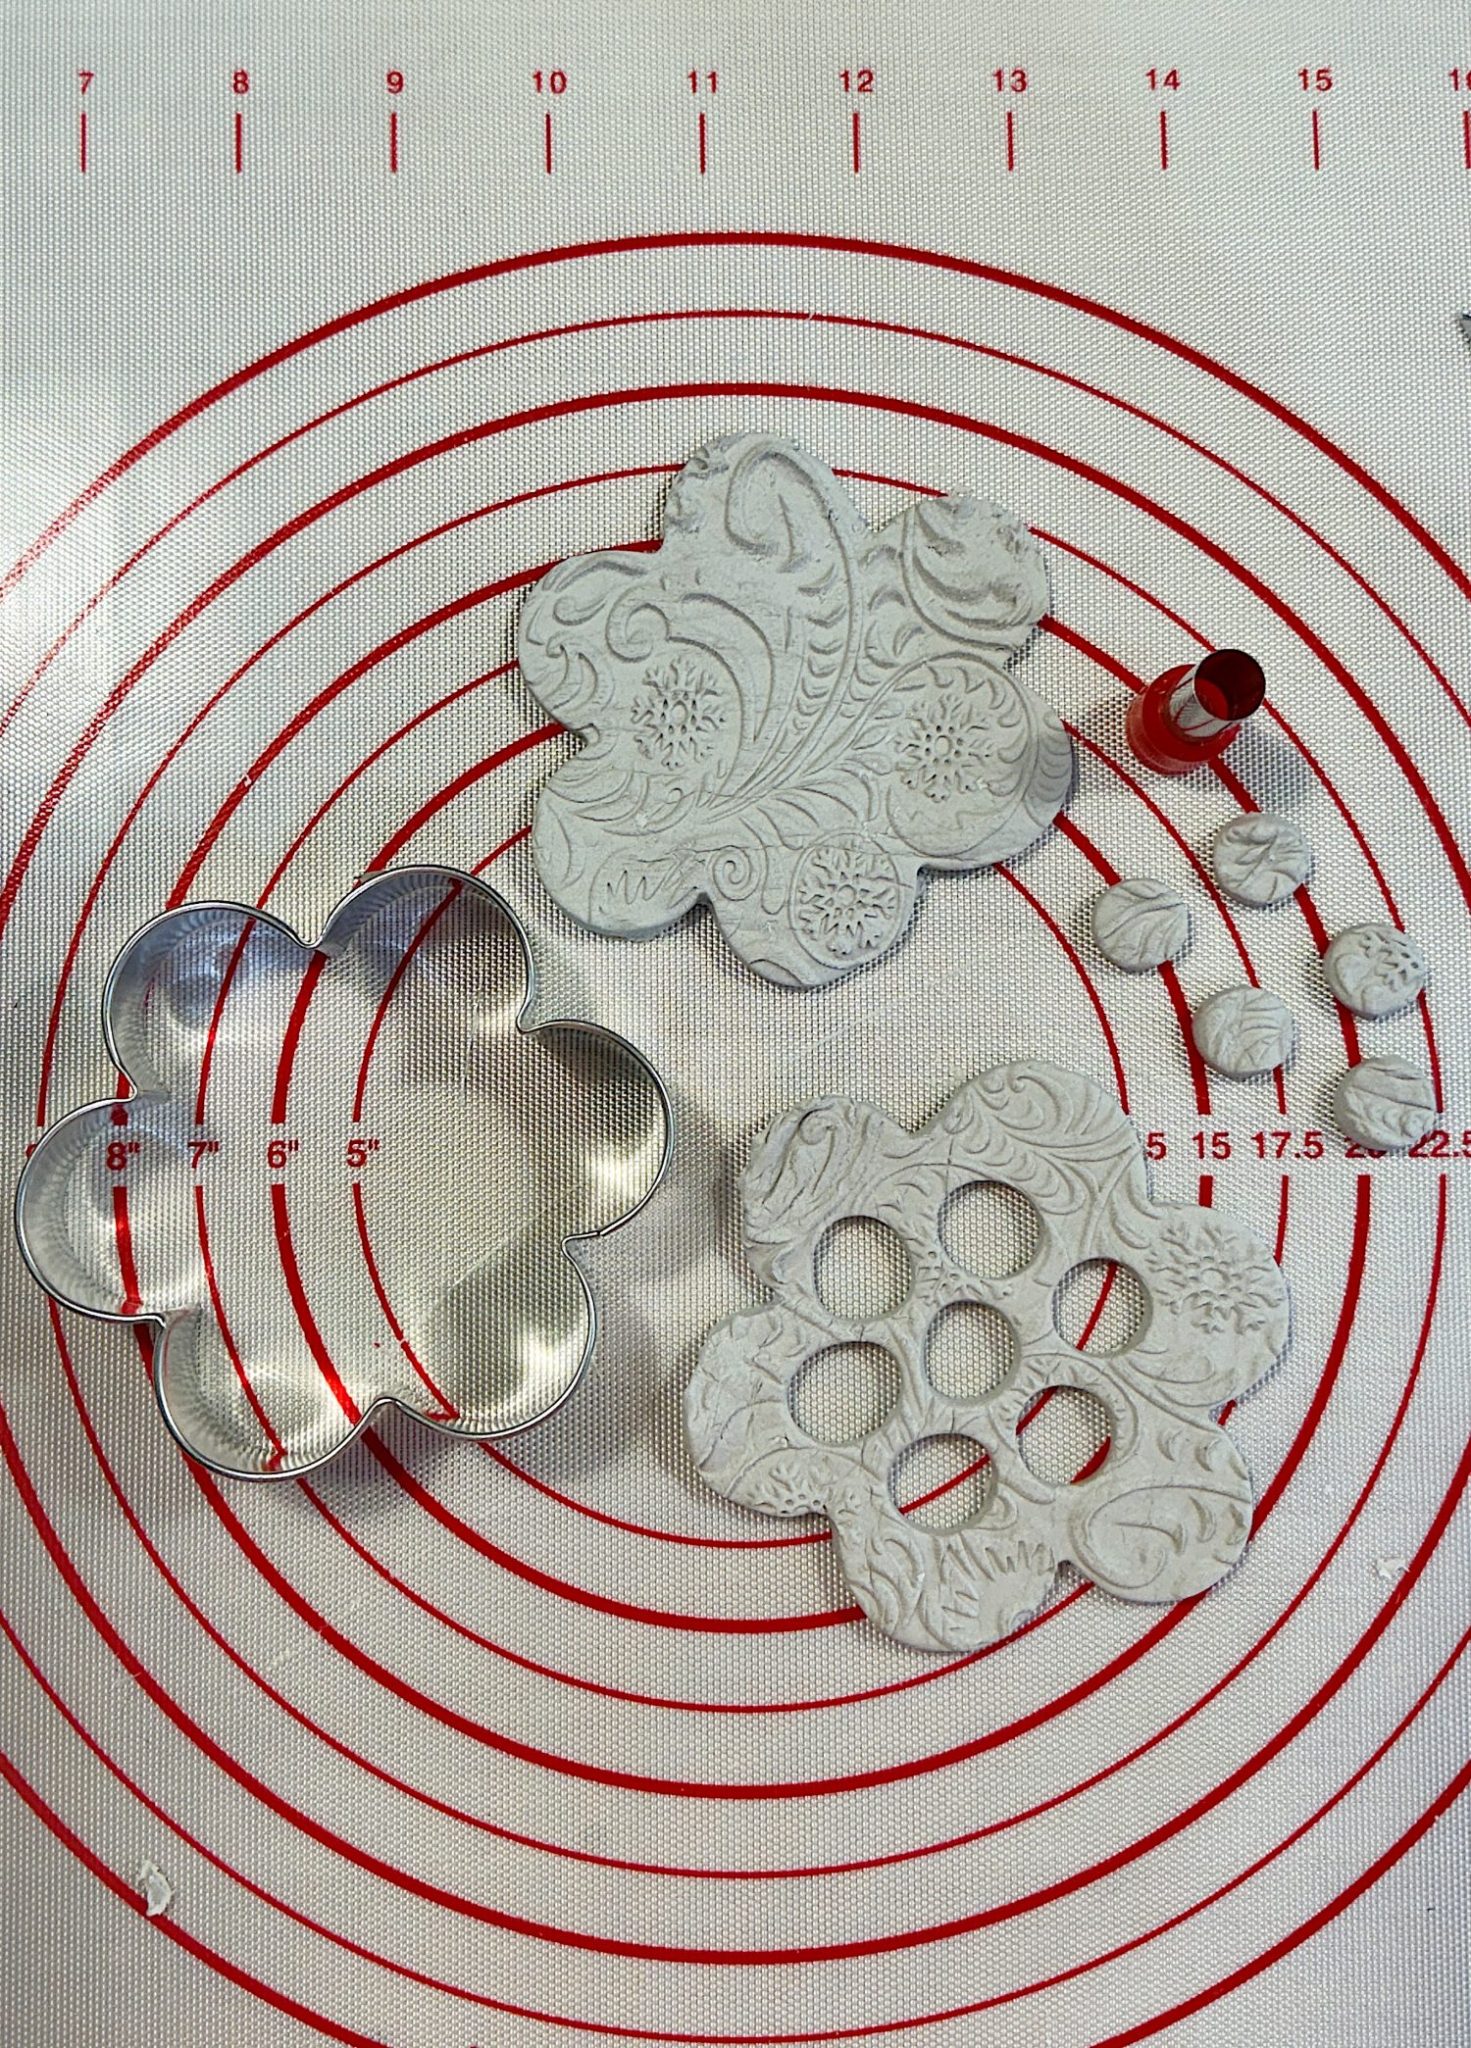
I created holes in the clay using a drinking straw to allow the flowers to stand upright.
Tips for the holes:
▪️ Space them out evenly so the flowers have room to breathe.
▪️ Make a variety of hole sizes to accommodate different stem widths.
Step 4: Drying the Clay
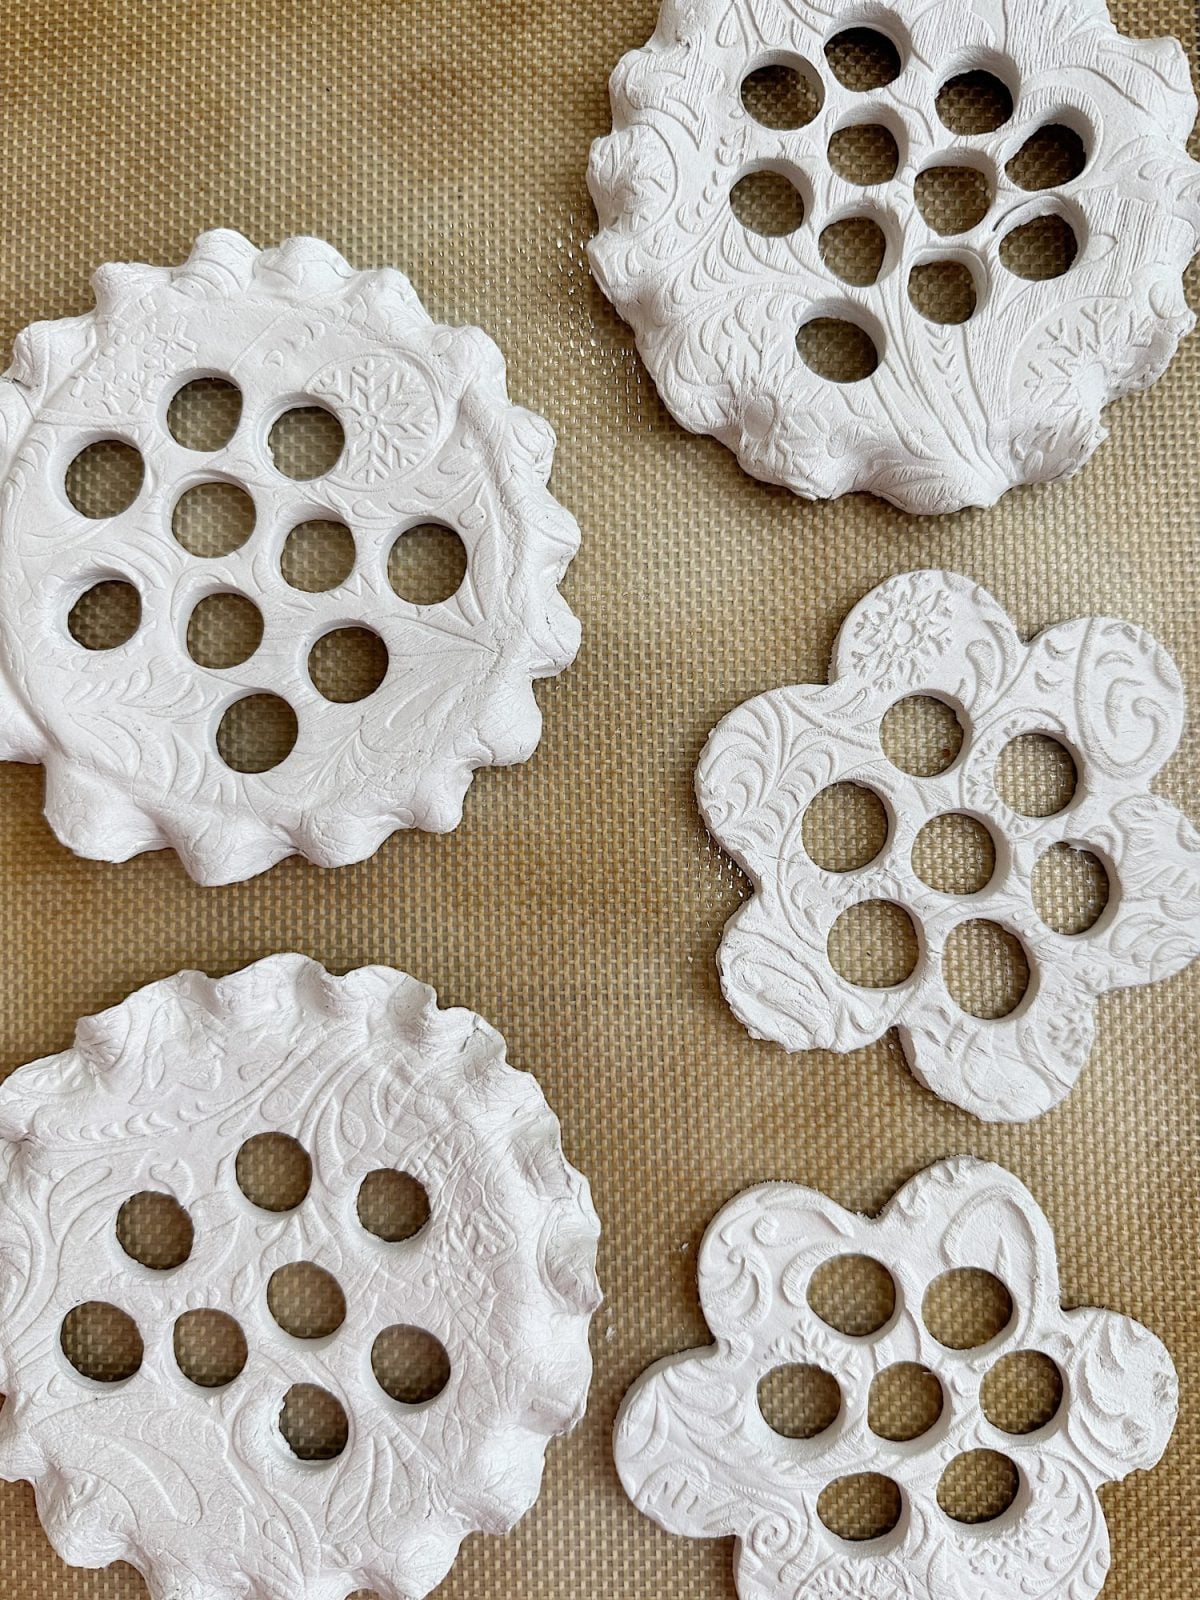
Depending on thickness and humidity, air-dry clay takes 24-48 hours to fully dry. I put mine in the oven at 225 degrees for 20 minutes. Let your flower frogs dry on a flat surface, flipping them once halfway through drying to prevent warping.
Tip: If your flower frog warps slightly, gently reshape it while it’s still slightly soft.
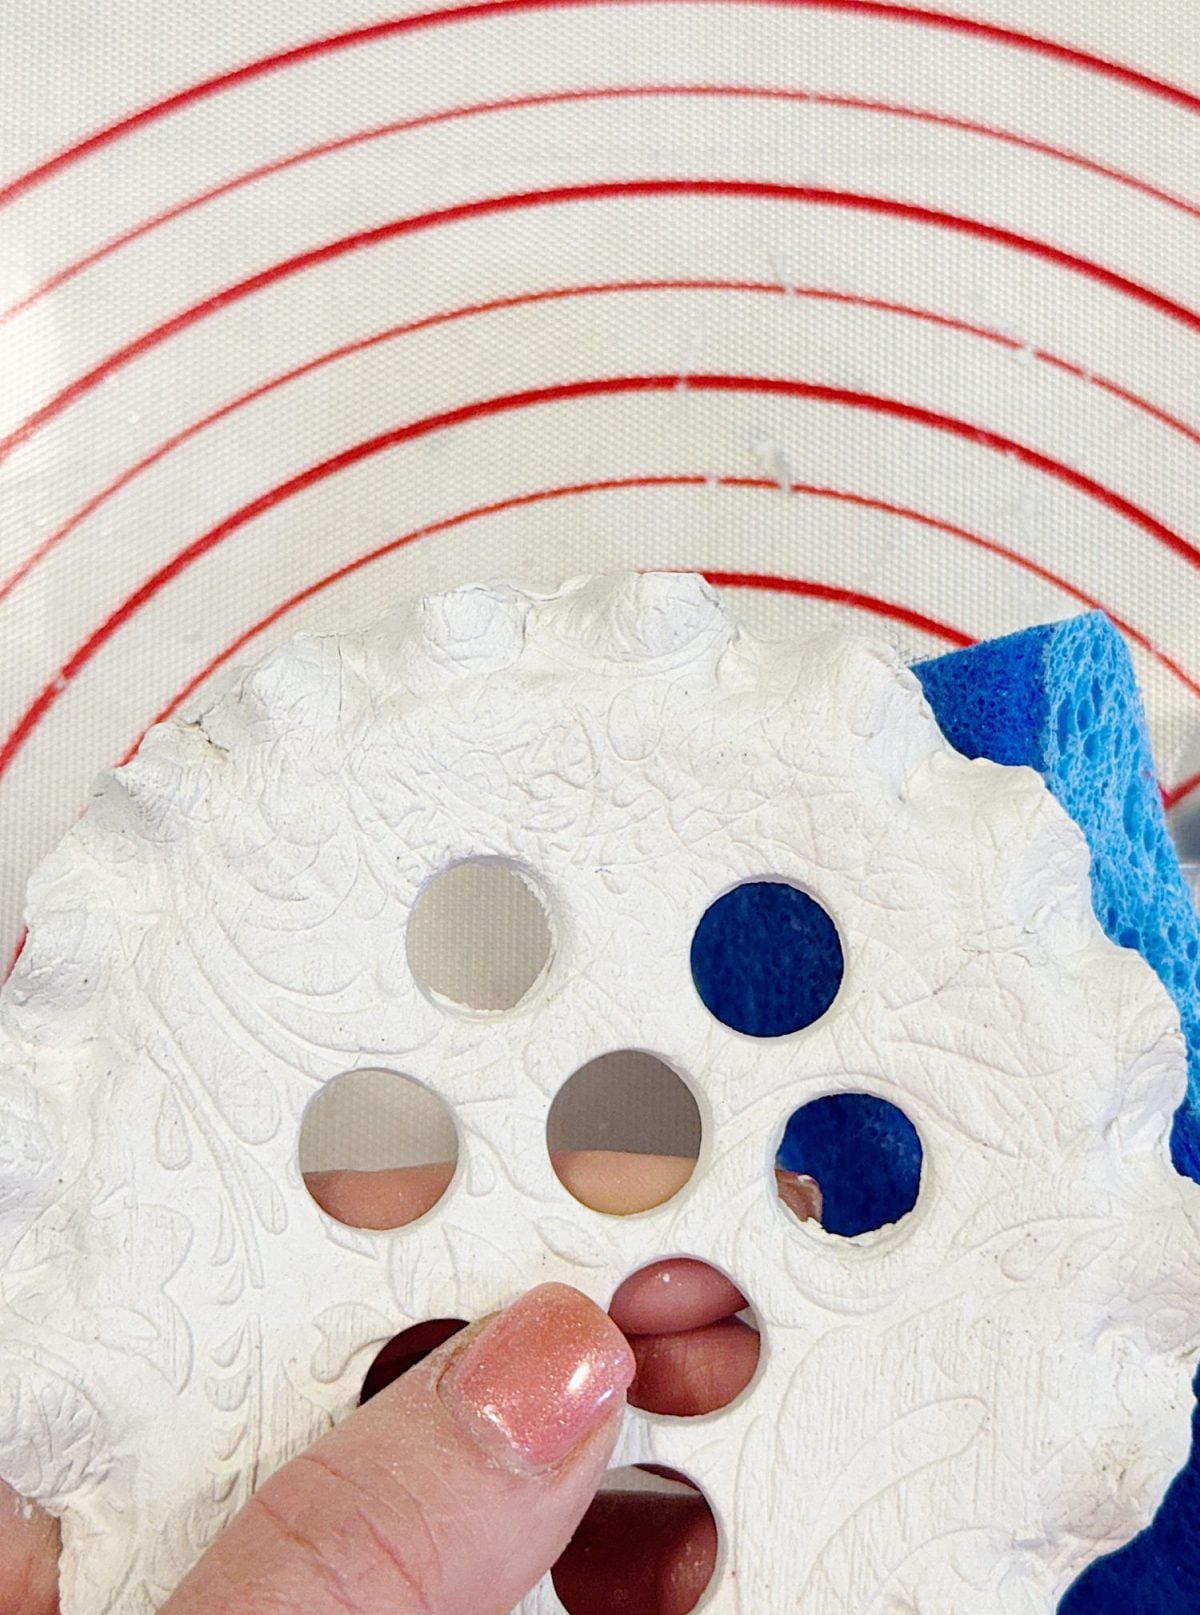
If you notice any rough edges on the flower, use the coarse side of a two-sided sponge to smooth them out.
Step 5: Sealing with Mod Podge

Before painting, I applied a layer of Mod Podge to the dry clay to create a smooth base and prevent uneven absorption of paint.
Mod Podge helps the clay become more durable, which is essential since these pieces will be used near water.
Step 6: Painting the Flower Frogs
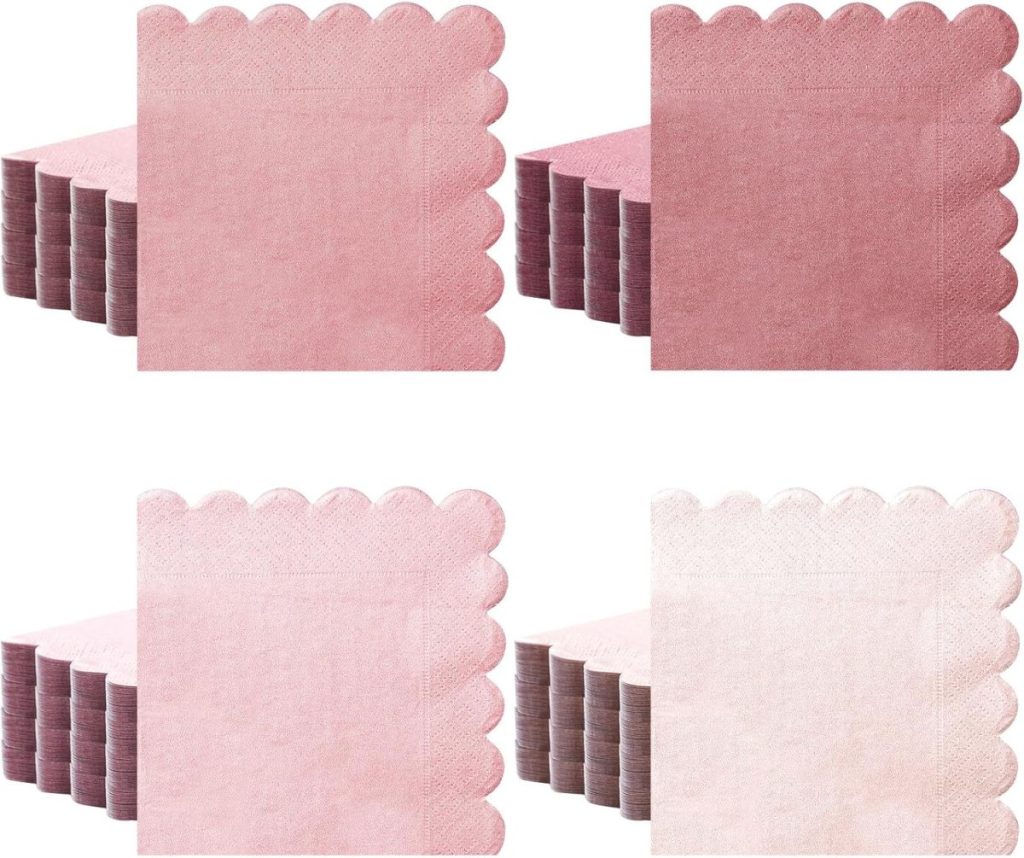
For the color, I wanted a soft, vintage-inspired taupe-pink. I mixed:
▪️ White
▪️ Pink
▪️ A touch of brown
I applied two coats of acrylic paint, letting each layer dry thoroughly before adding the next. The embossed design looked even more beautiful once painted, as the subtle shadows highlighted the intricate details.
Step 7: Sealing with Air Dry Clay Varnish
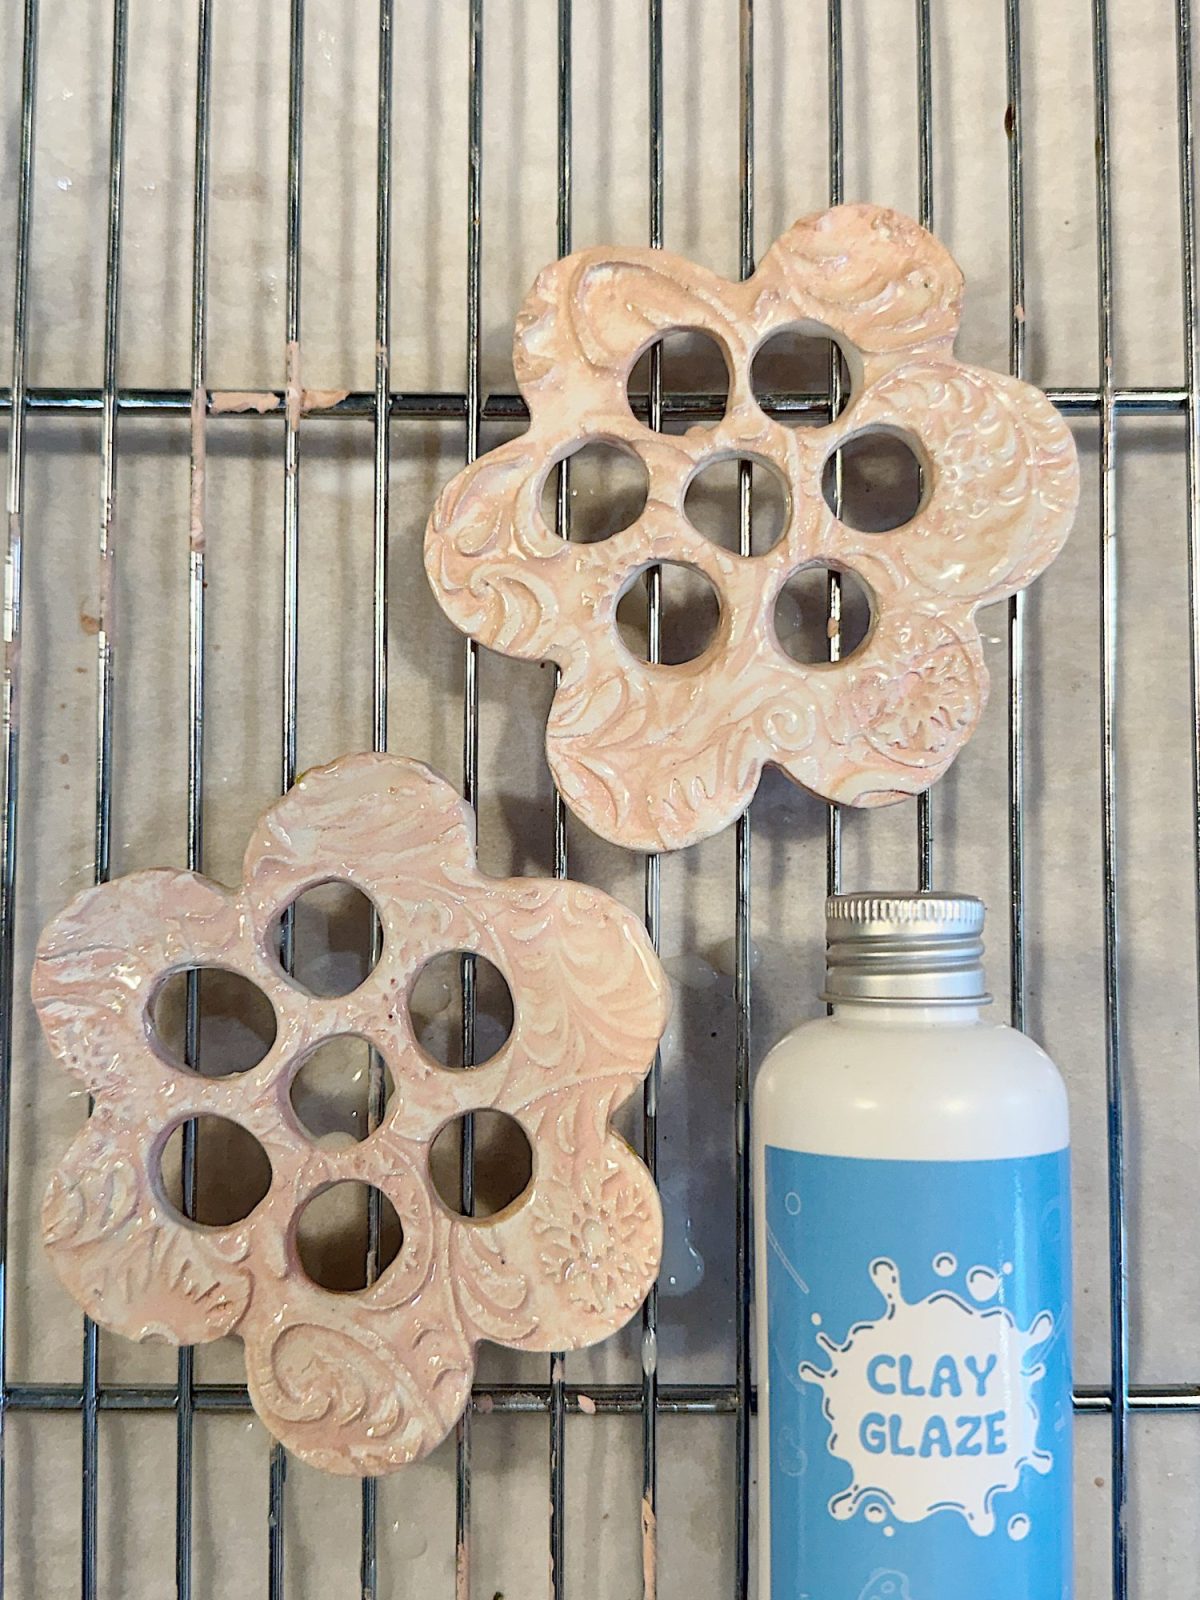
I applied a clear, air-dry clay varnish on both sides to protect the flower frogs from moisture. This seals the surface and makes it more water-resistant.
Sealing Tips:
▪️ Apply 2-3 thin coats for the best protection.
▪️ Let the varnish dry completely before using the flower frogs with fresh flowers.
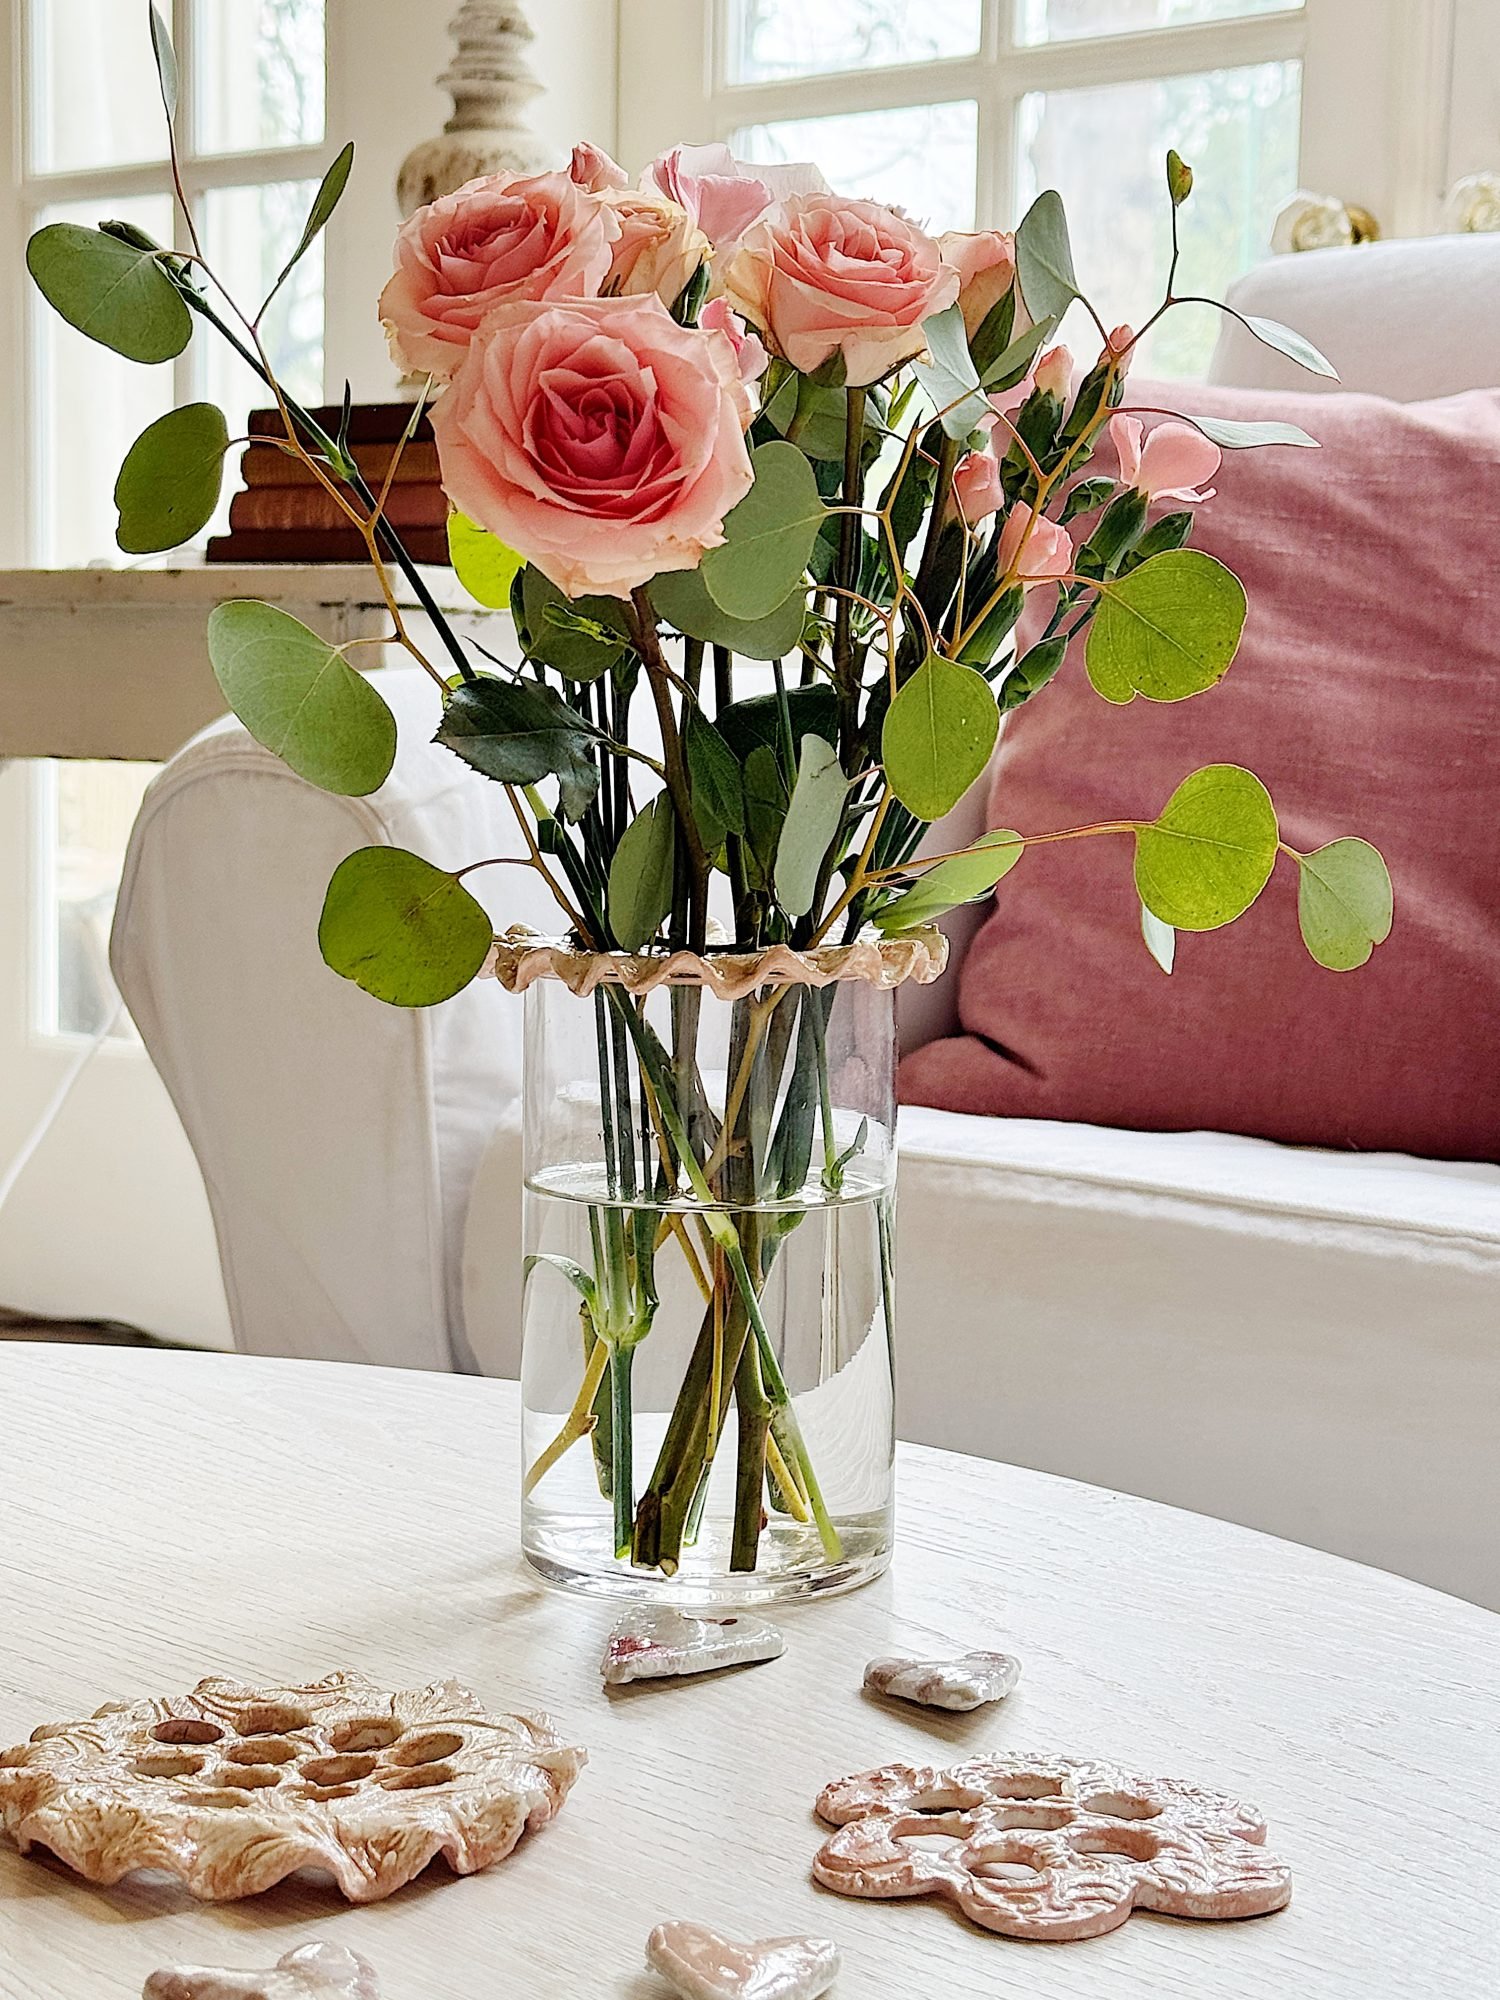
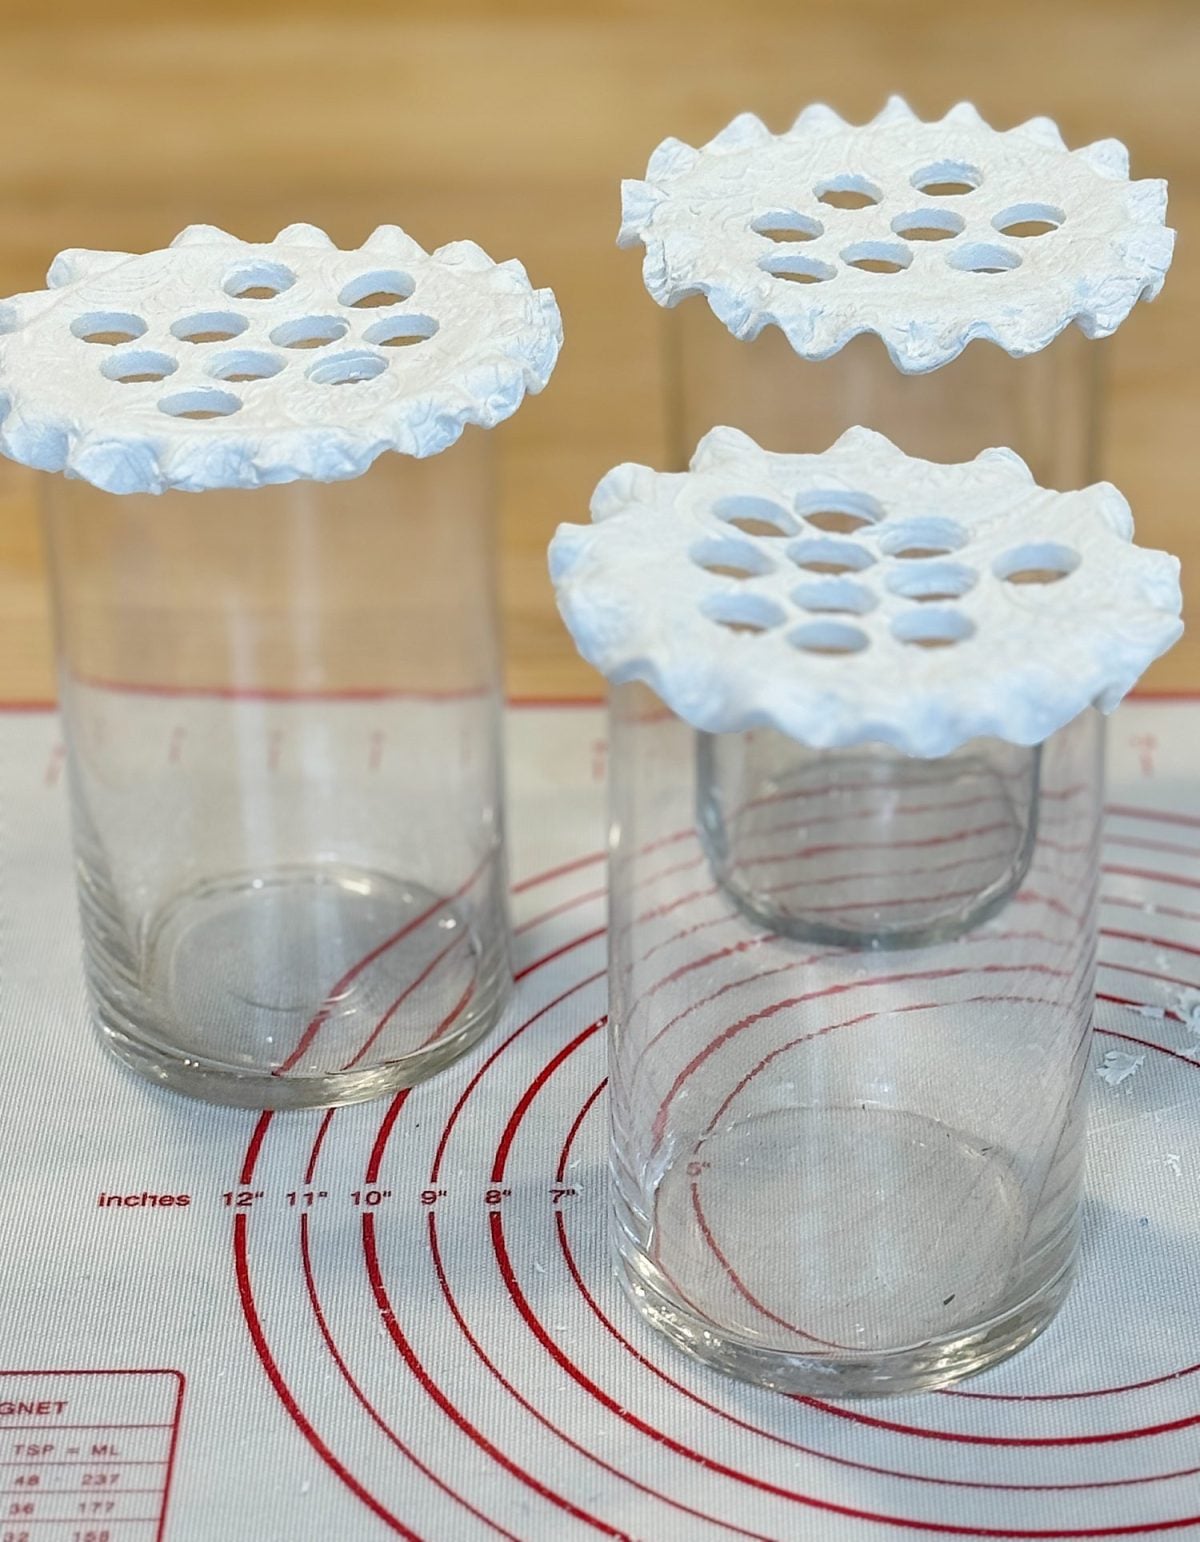
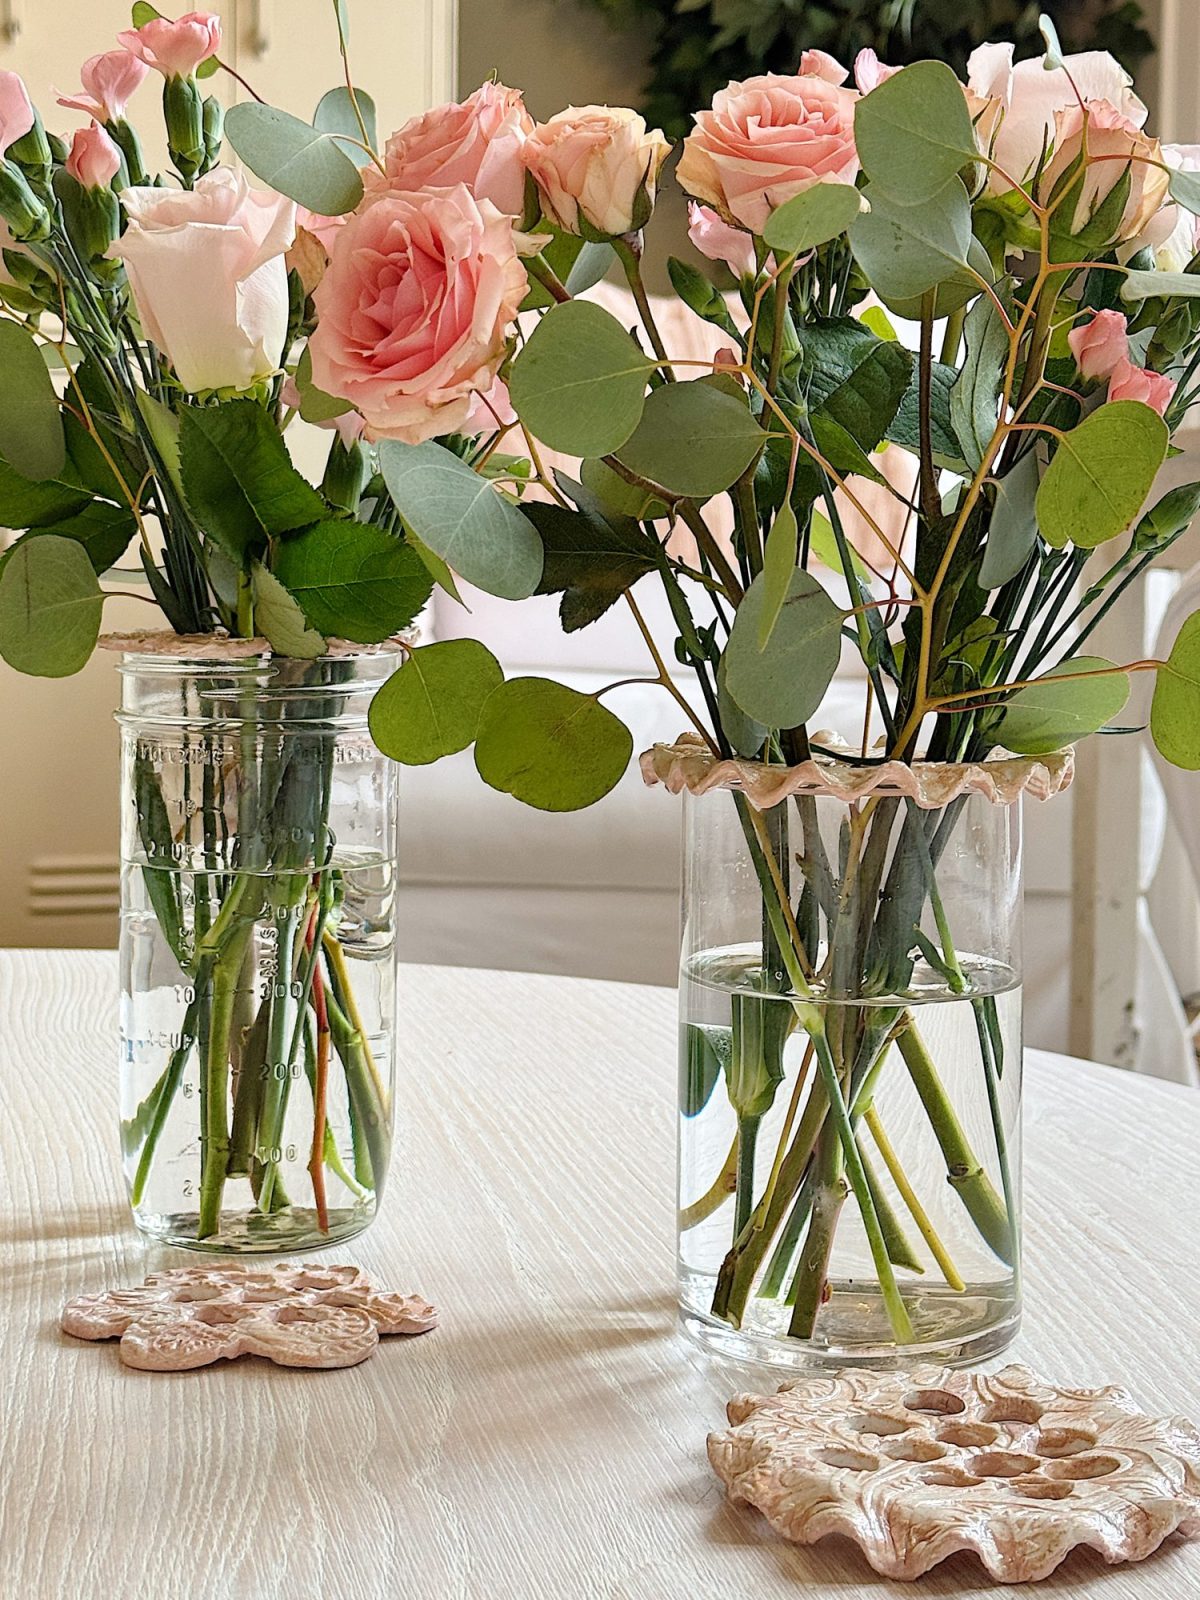
Step 8: Using the Flower Frogs in Your Arrangements

Once dry, the flower frogs were ready to use!
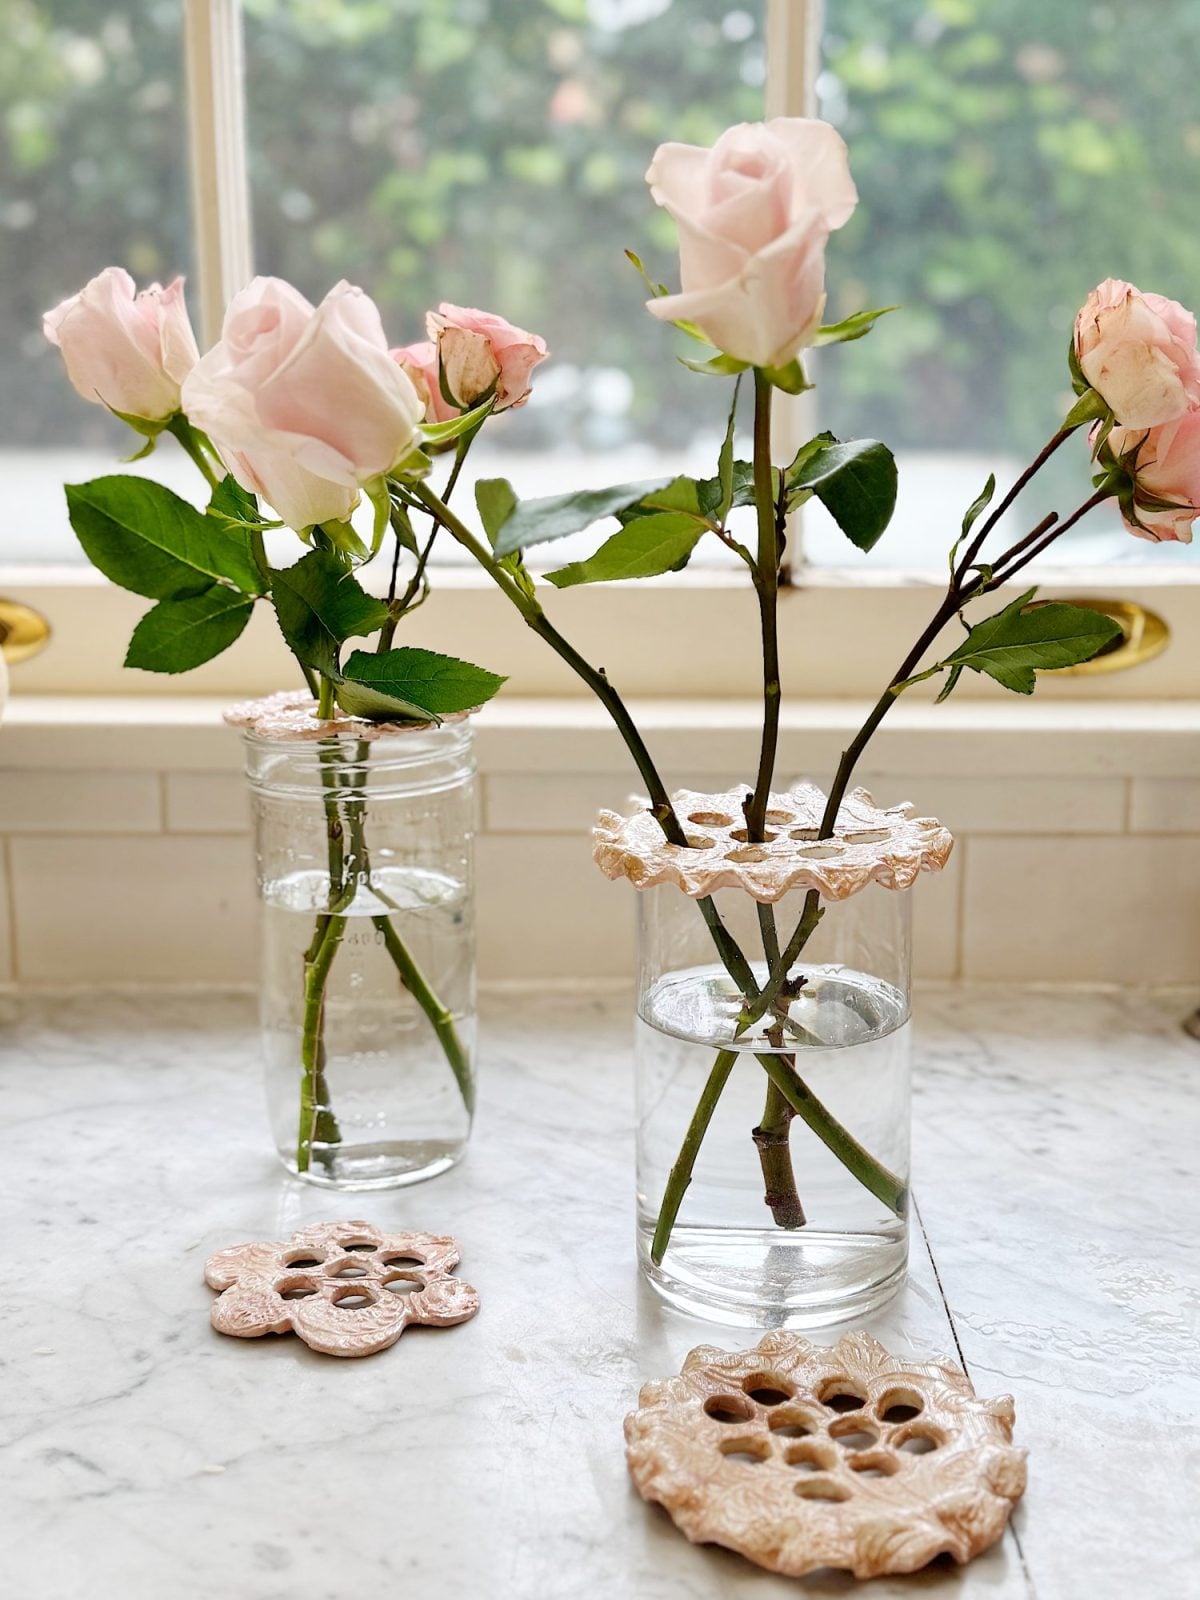
Here’s how they work:
- Fill your vase or jar with water.
- Place the flower frog on top. It should rest securely on the rim.
- Insert flower stems through the holes. The flower frog holds them in place, creating a structured, beautiful arrangement.
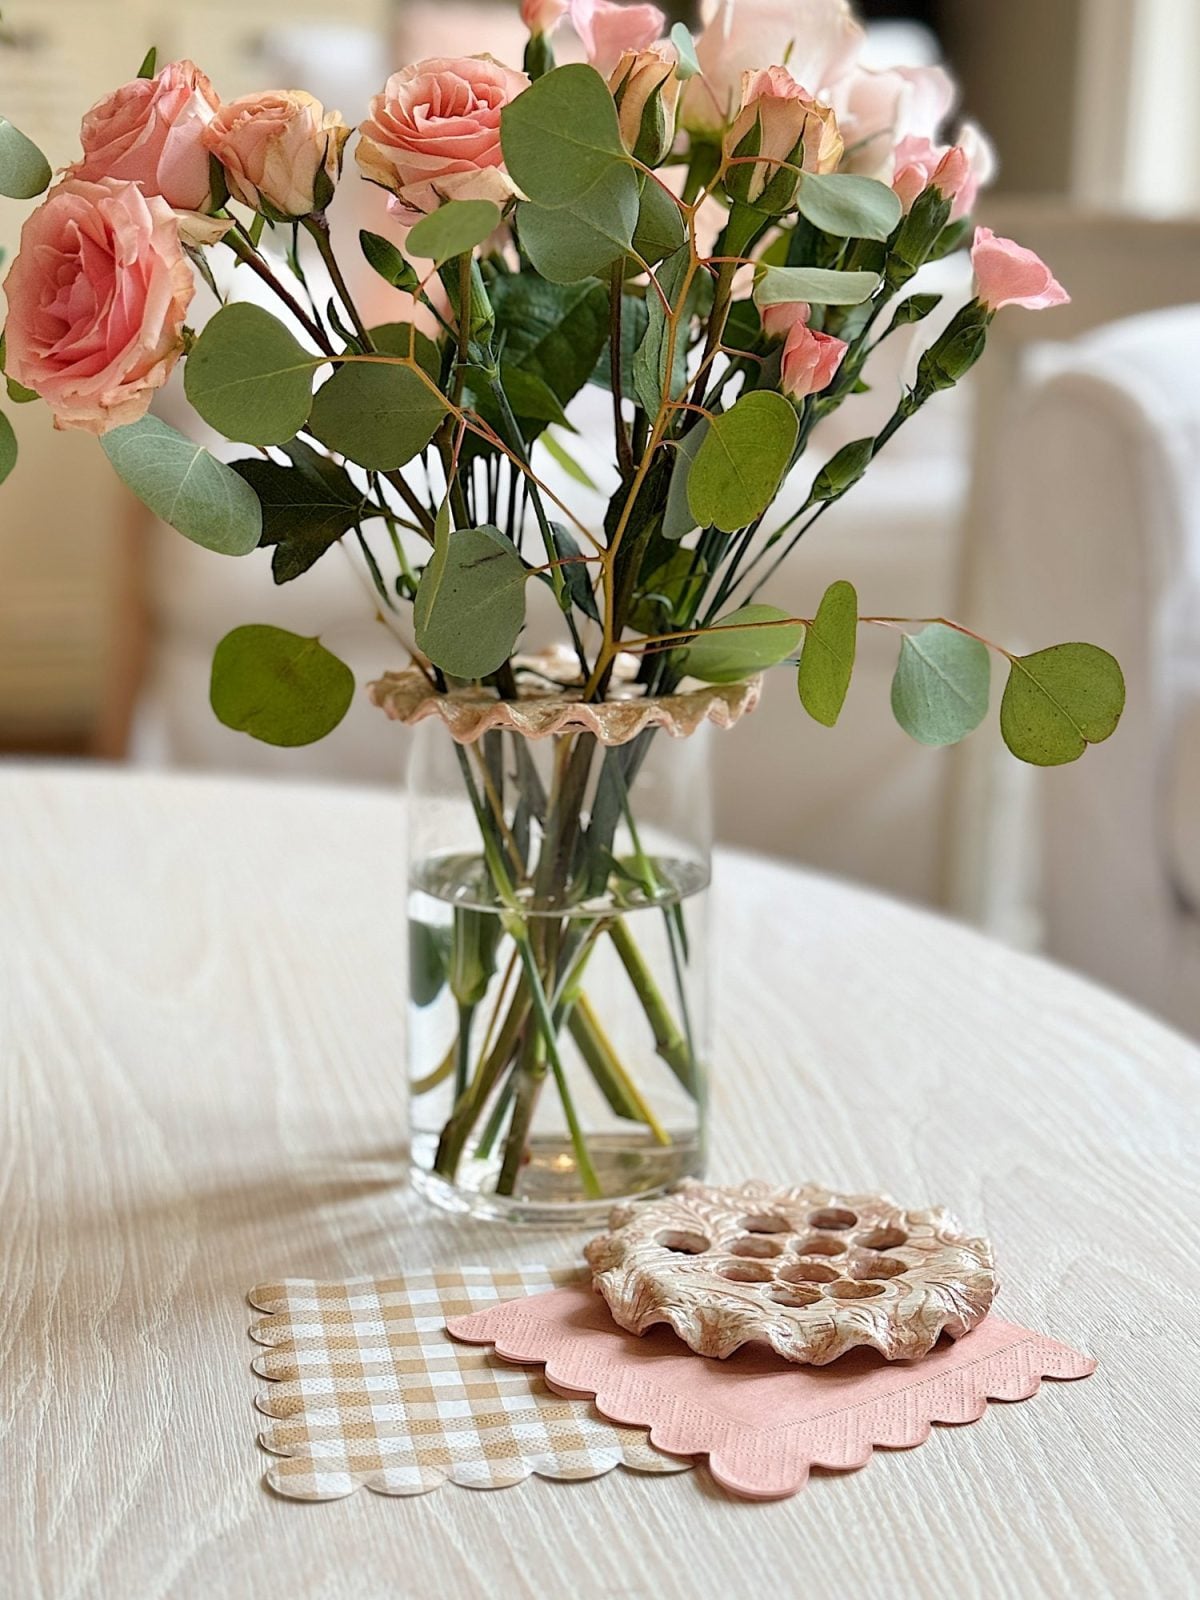
They turned out stunning! The soft taupe-pink color complements any floral arrangement, and the embossed details make them look handcrafted and elegant.
Why I Love These DIY Flower Frogs
▪️ Easy to Make – No need for a kiln or special tools!
▪️ Completely Customizable – Use different colors, shapes, and textures.
▪️ Beautiful & Functional – They elevate floral arrangements while keeping flowers upright.
▪️ Perfect for Gifts – A handmade flower frog paired with a pretty vase makes a thoughtful present!

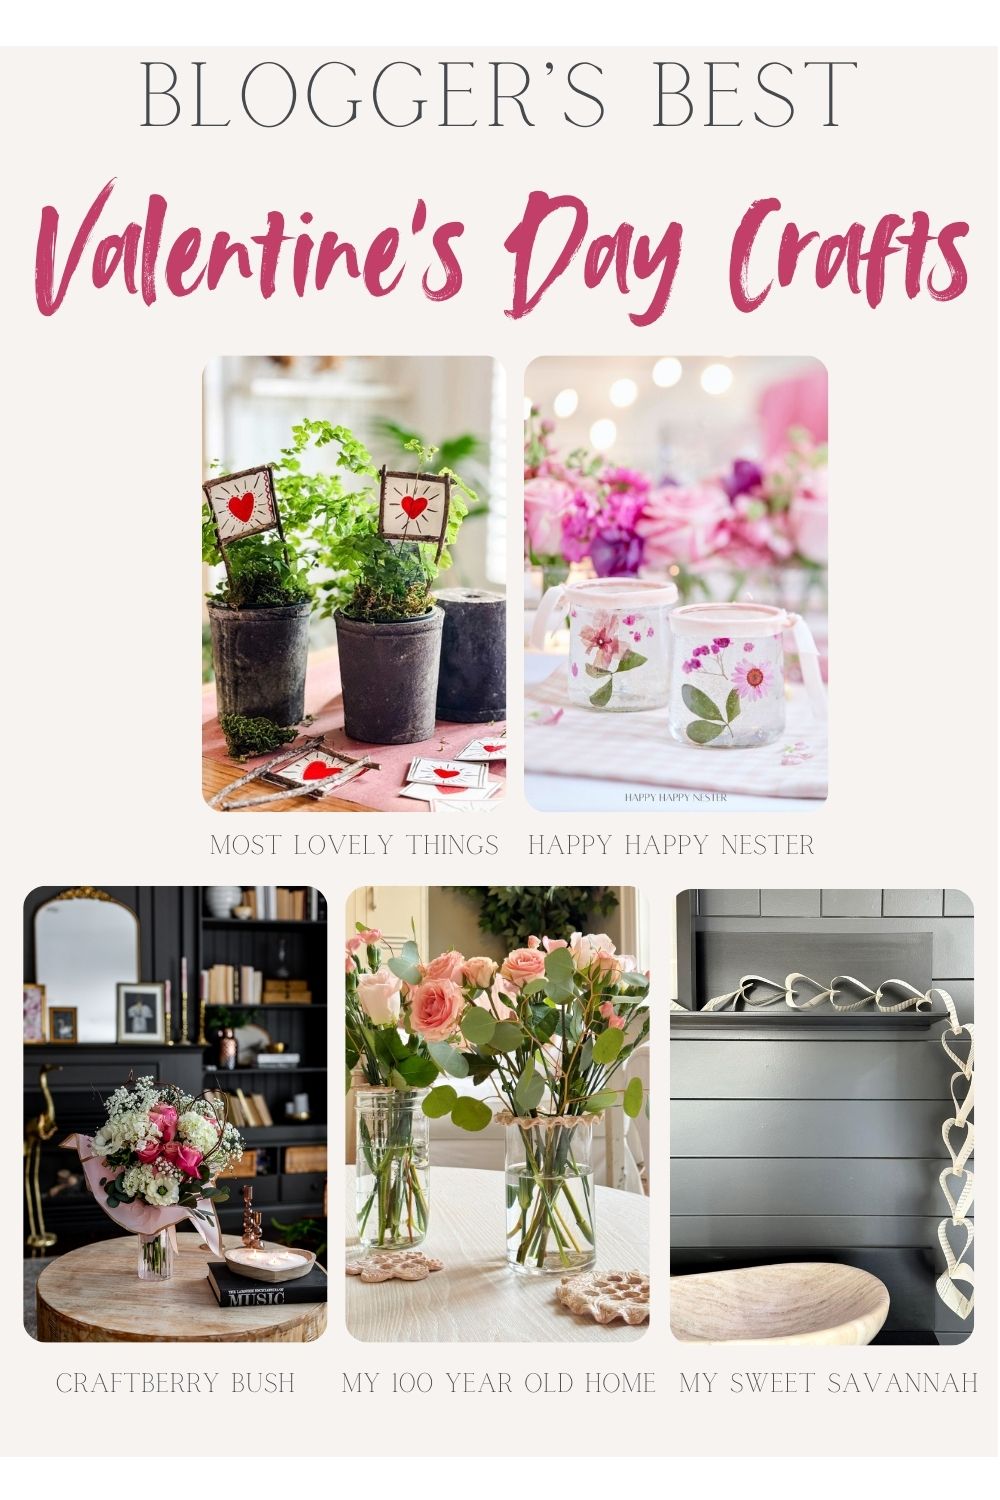
Blogger’s Best Spring Day Craft Ideas
Here are more Valentine’s Day Crafts from some of my favorite bloggers.

Make Simple Watercolor Valentine Twig Plant Stakes | Most Lovely Things
Make these simple watercolor twig plant stakes if you are gifting a plant to someone for Valentine’s Day this year. Rustic, charming and easy to make.
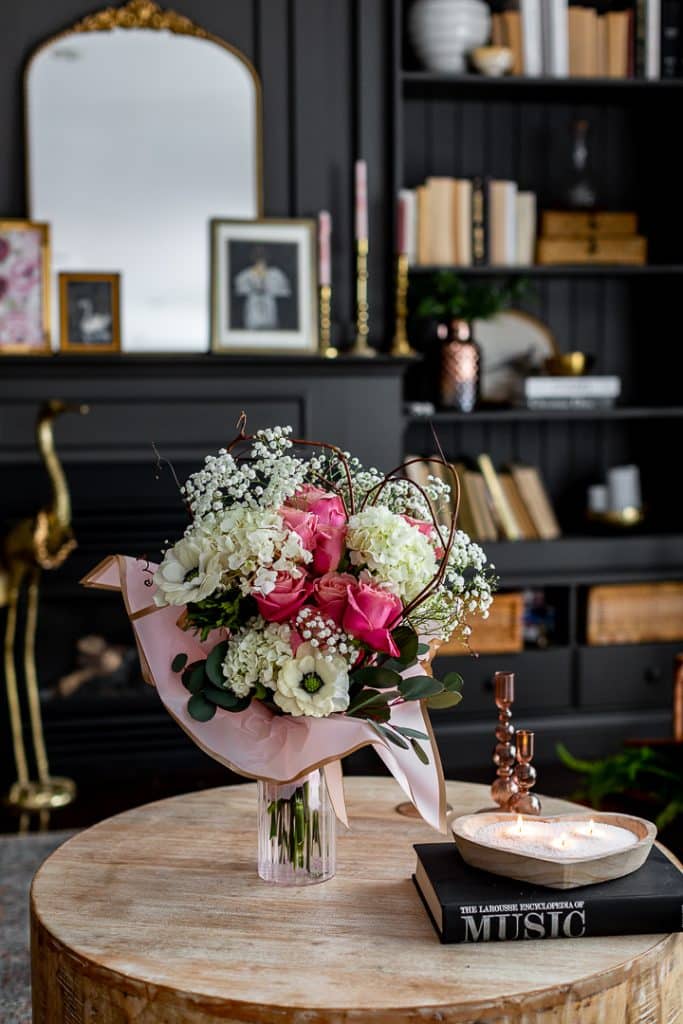
Heart Shaped Bouquet | Craftberry Bush
This beautiful Heart Shaped Rose bouquet is such a beautiful way to transform grocery store flowers into something unique and thoughtful. Perfect for Valentine’s Day or any day.
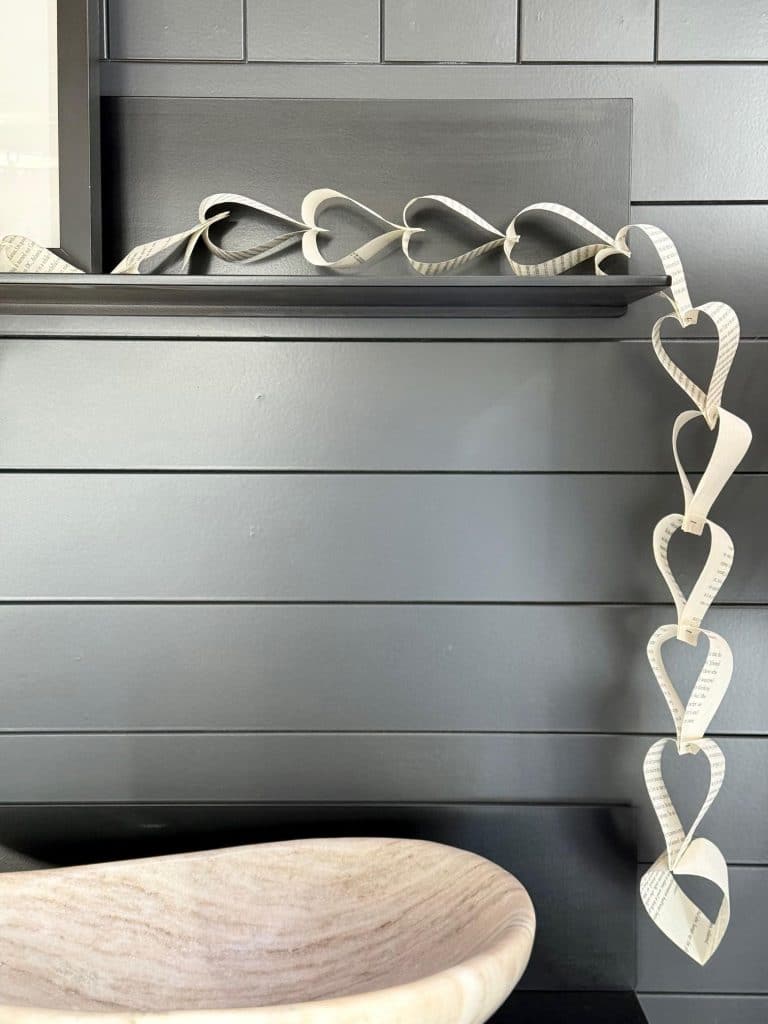
Valentine’s Day Paper Chain | My Sweet Savannah
Create a charming Valentine’s Day paper chain using recycled book pages! This easy, budget-friendly DIY craft adds a personal touch to your holiday decor with heart-shaped loops.
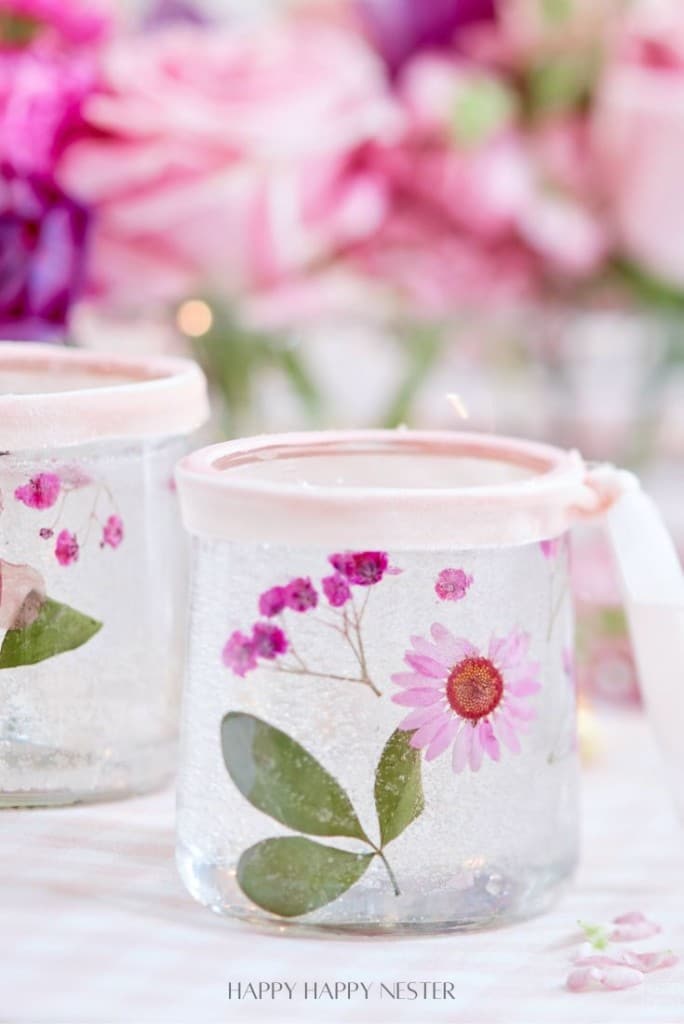
How to Make Candles With Dried Flowers | Happy Happy Nester
Making candles with dried flowers is a fun and creative way to bring a touch of nature into your home. Whether you craft them as gifts or use them to add a cozy ambiance to your space, dried-flower candles have a delicate, handmade charm that stands out.
Try This!
I loved making these DIY air-dry clay flower frogs; they’ve already become a favorite tool for my floral arrangements. They’re an easy way to add a handmade, artistic touch to any bouquet while keeping stems perfectly in place.
I highly recommend making these if you love flower arranging and DIY projects! Have you ever used a flower frog before? Let me know in the comments, and if you make your own, I’d love to see how they turn out!
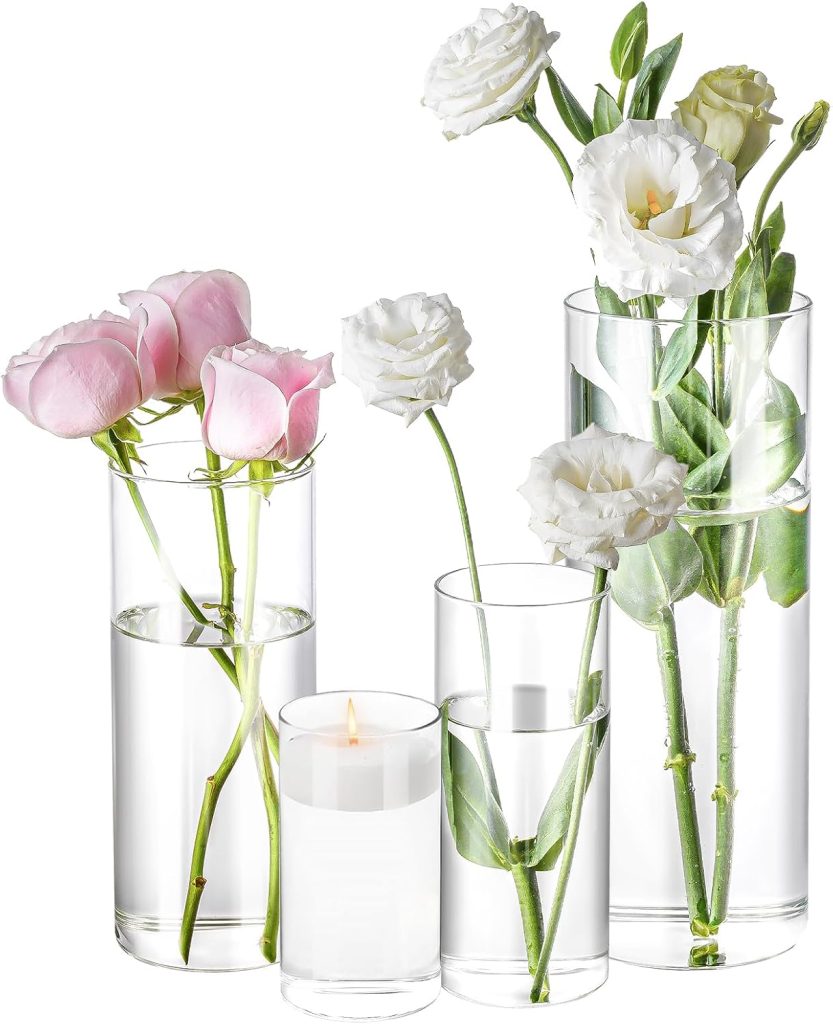
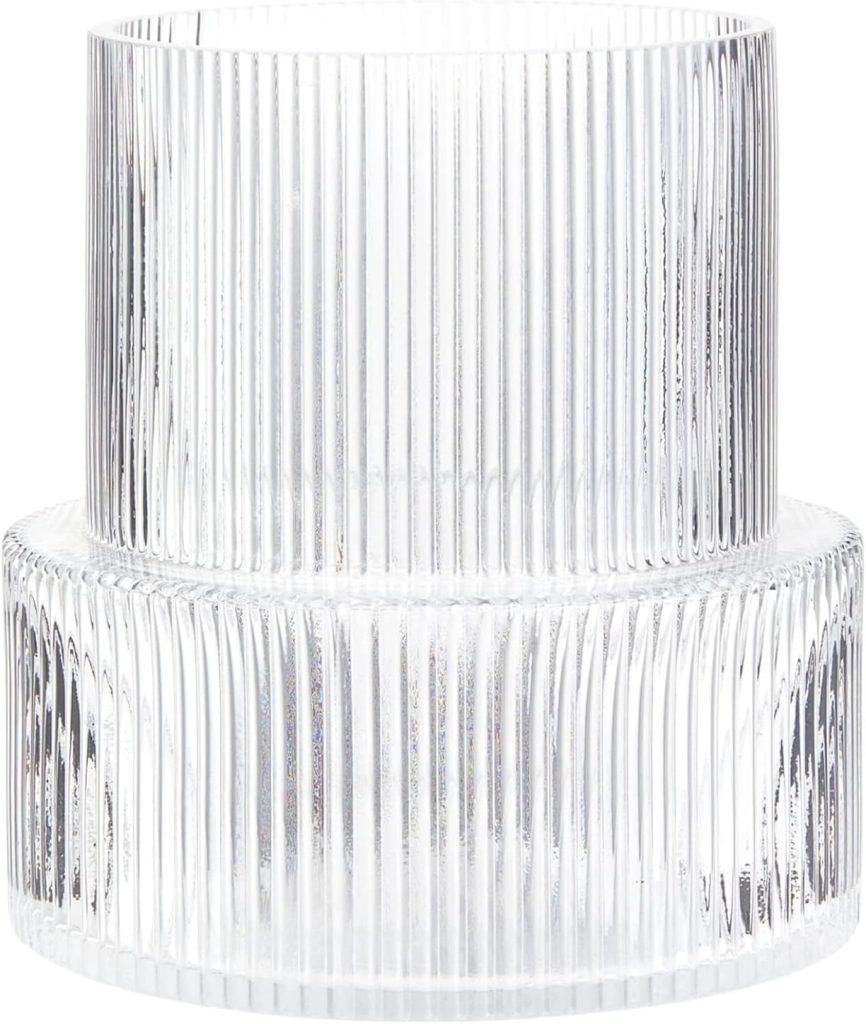
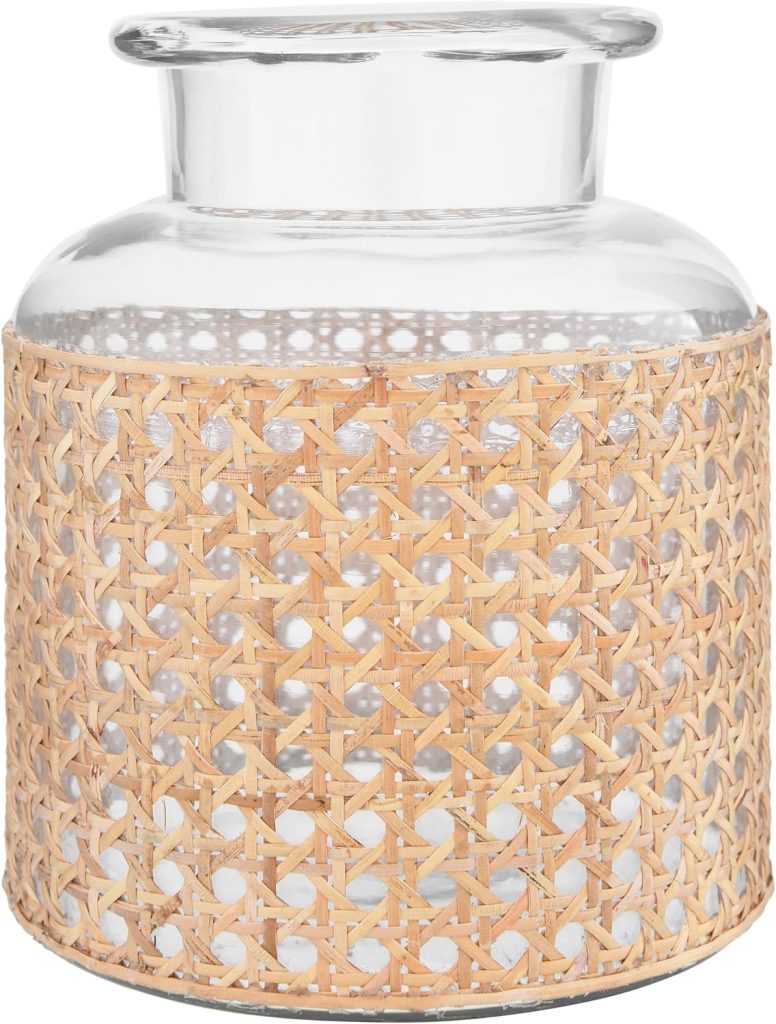
A Few of My Favorite Vases
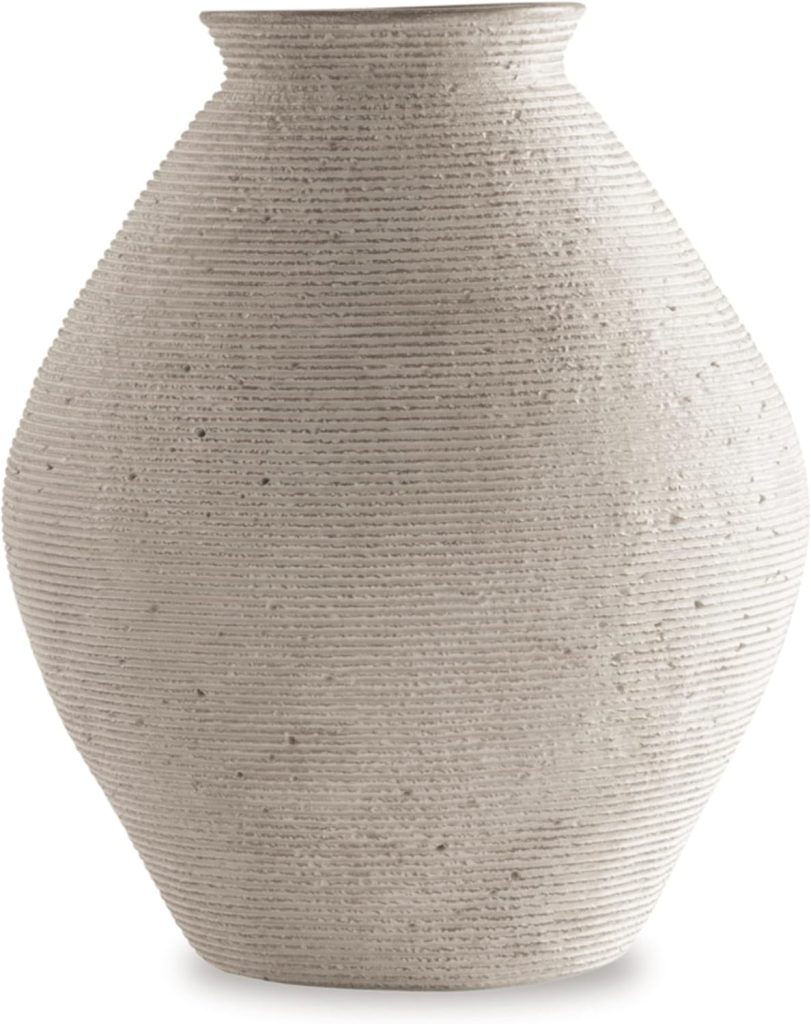
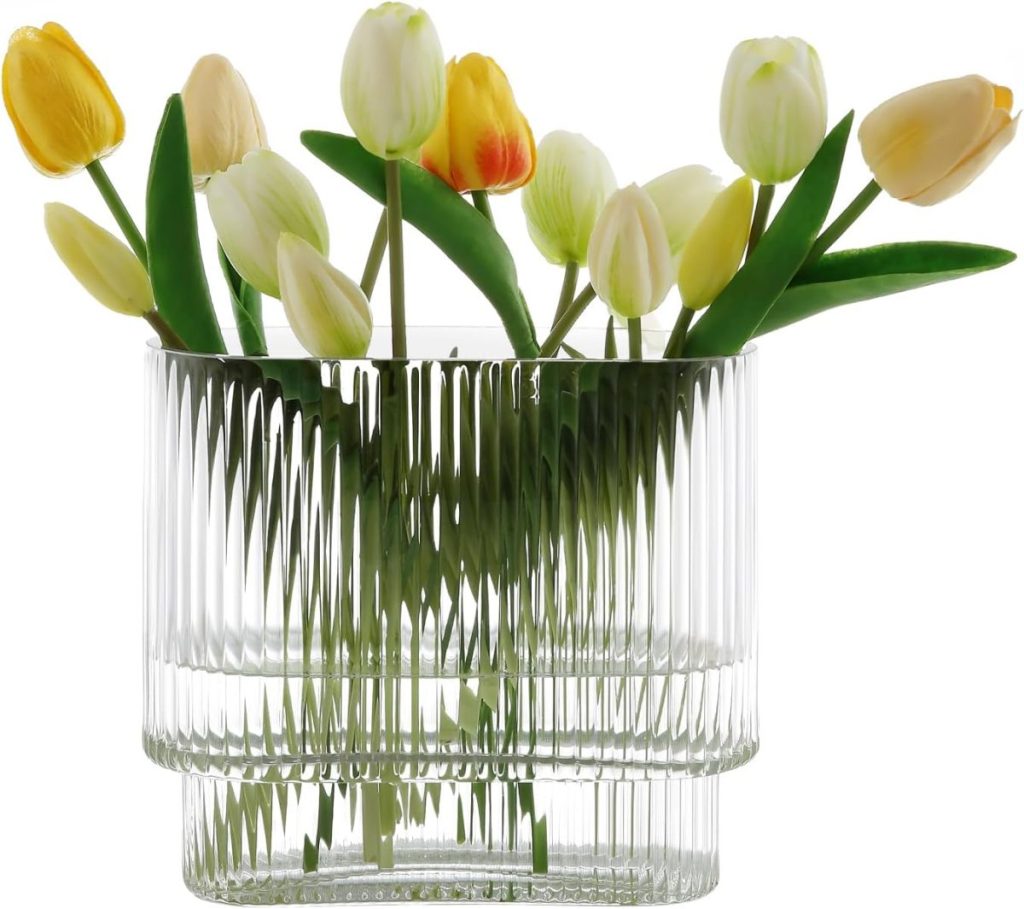
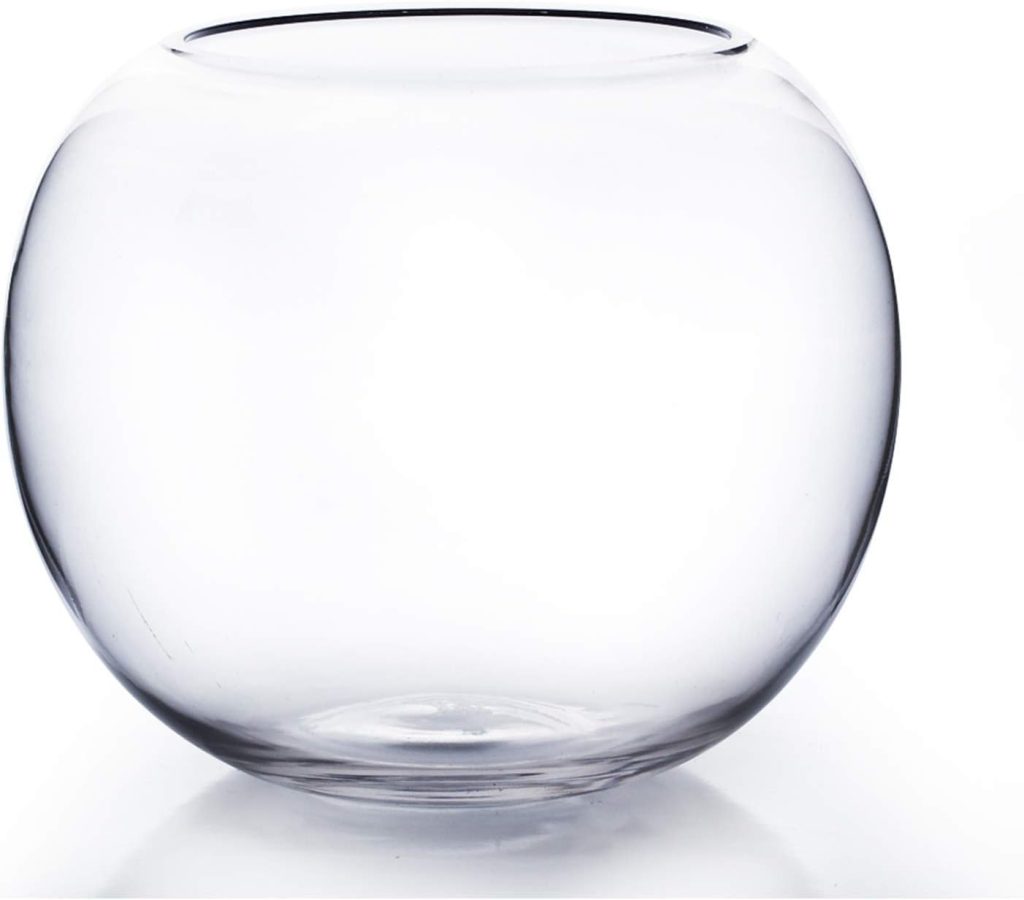
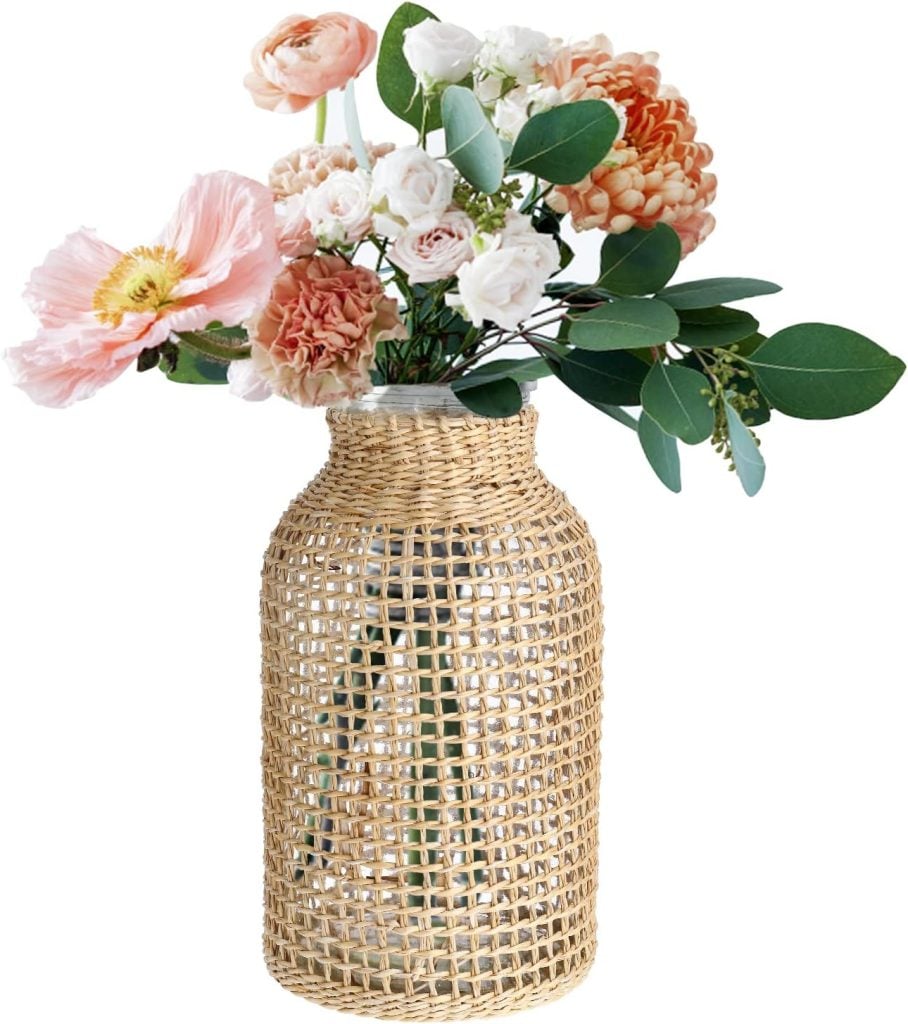
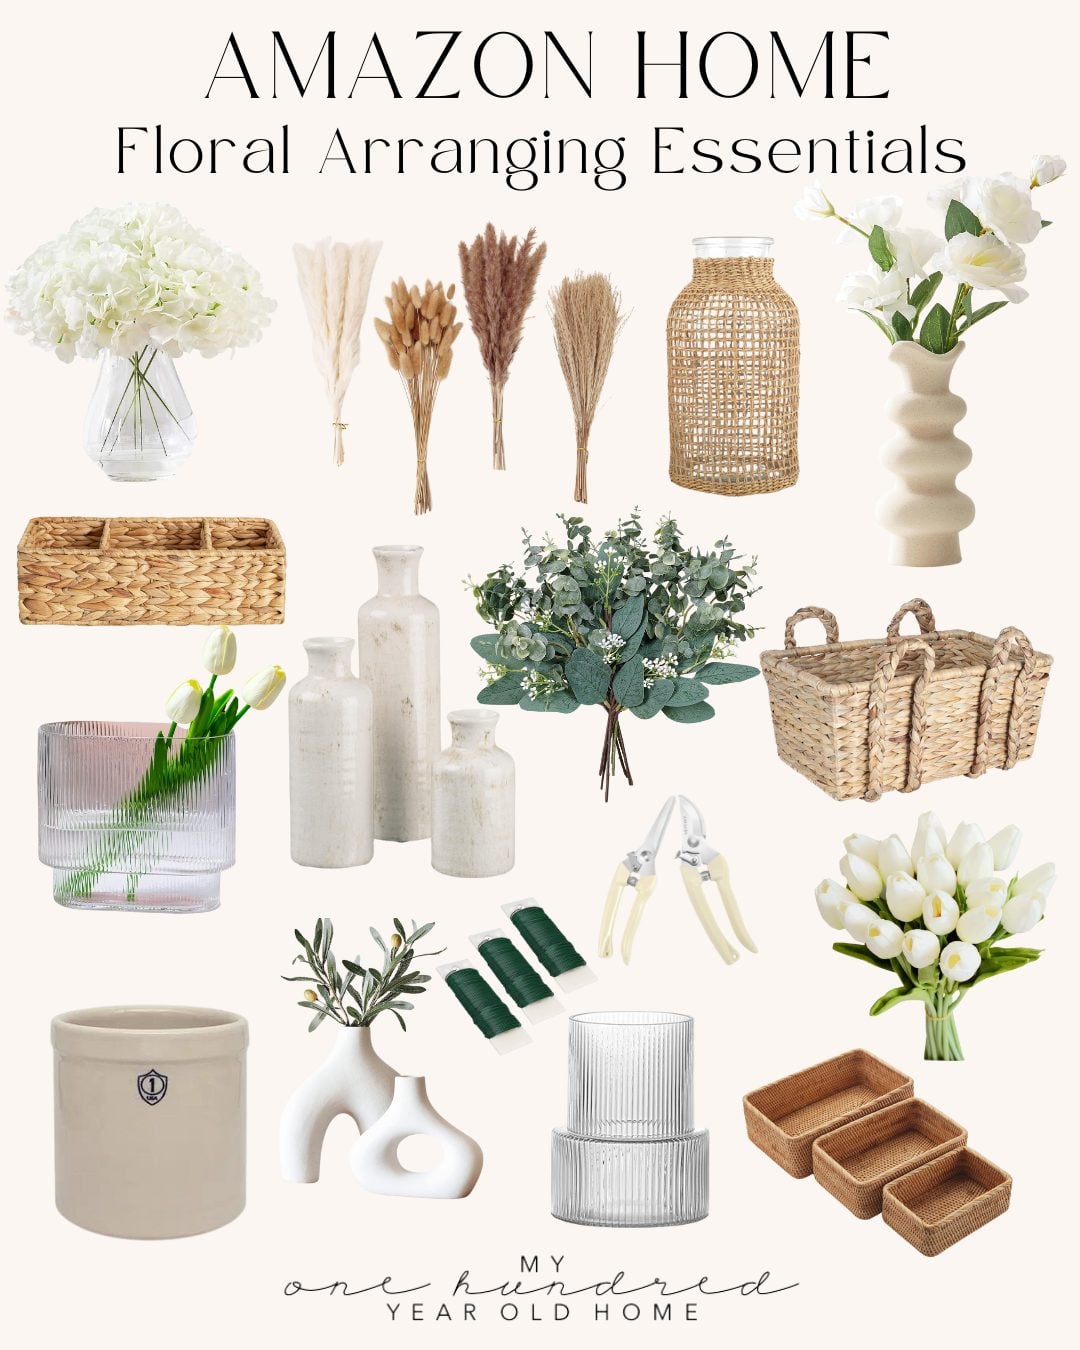
Floral Arranging Must-Haves
Latest Posts
-
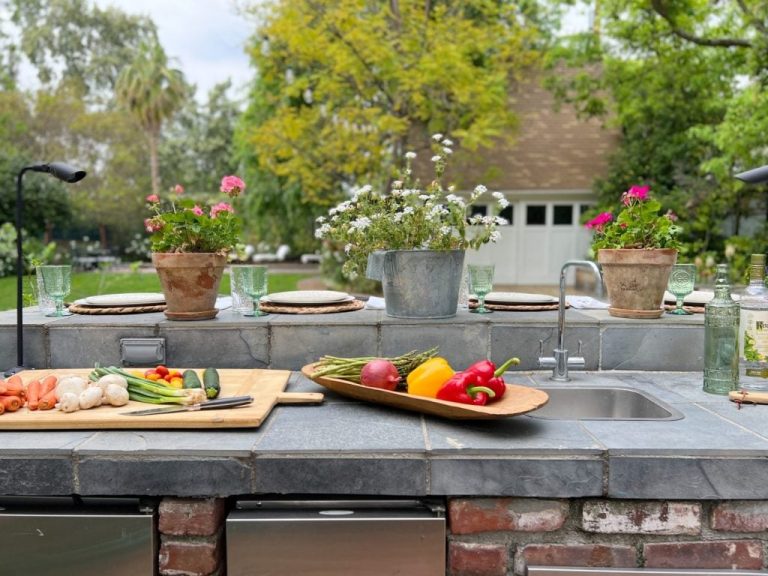
Grilling Perfectly and Tips to Use Your Outdoor Grilling Station
It’s time to fire up the grill and embark on a flavor-filled journey of outdoor cooking! It’s time to have fun with your outdoor grilling station. Planning a successful BBQ cookout is an art that combines culinary skills, creativity, and a dash of hosting finesse. I have crafted The Essential Summer Grilling Guide to help…
-
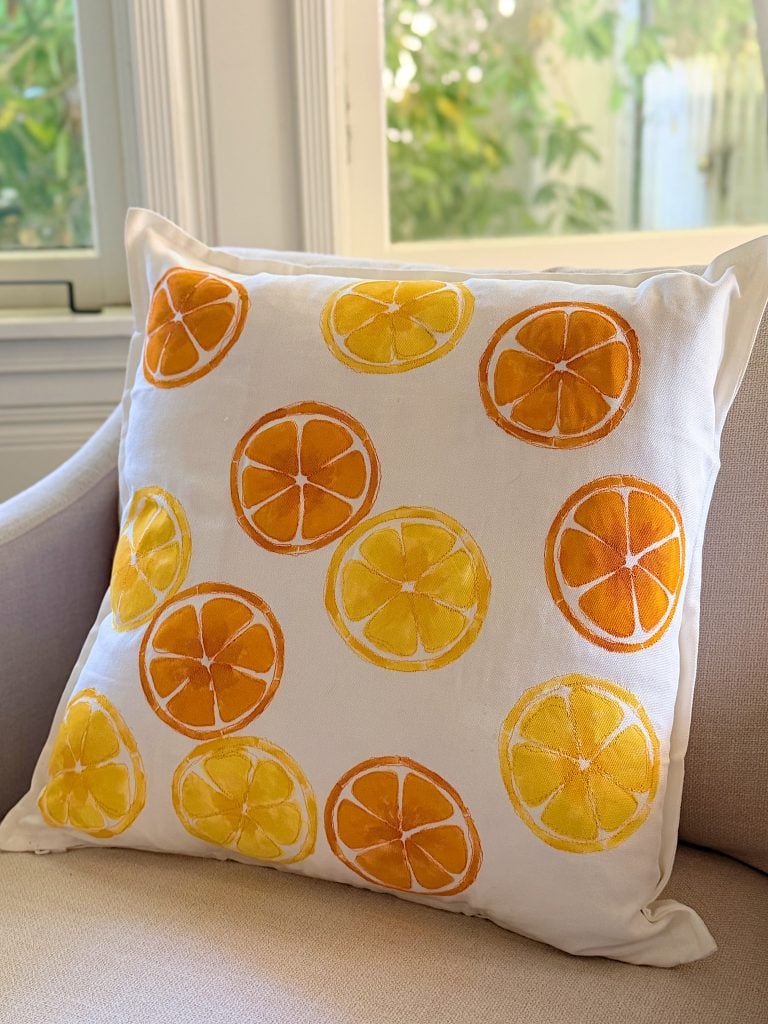
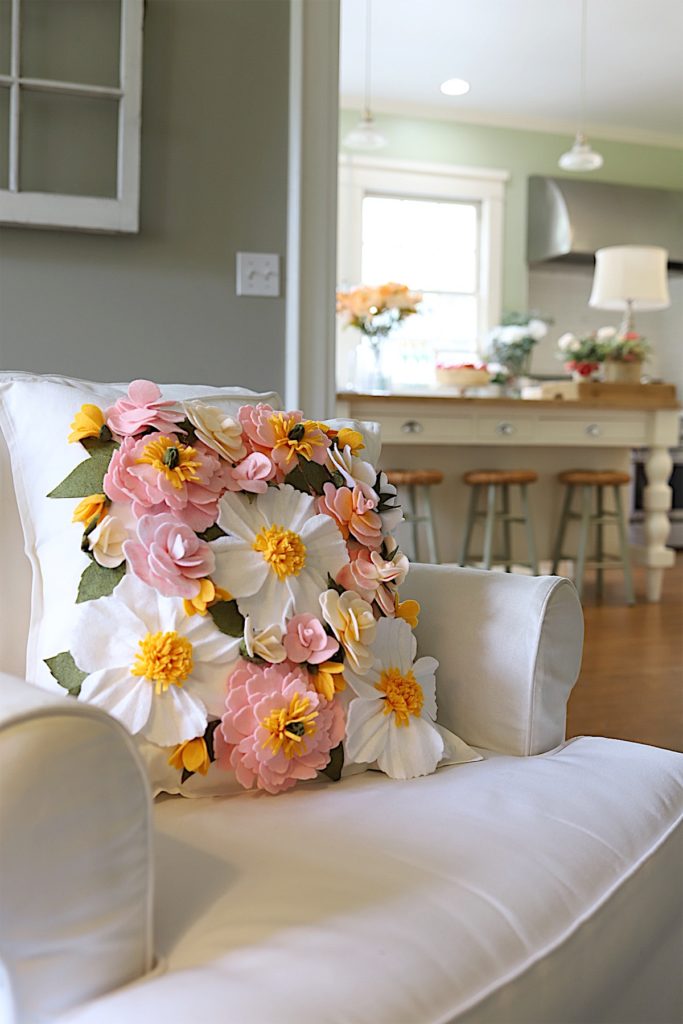
A Citrus Pillow – A Handmade Summer
A handmade pillow is one of the easiest ways to add a fresh, custom touch to your home, and this cheerful citrus design is perfect for summer. Using a simple white pillow cover, a citrus stencil, acrylic paint, and a little free-motion embroidery, you can create a one-of-a-kind accent pillow that looks boutique-made without spending…
-
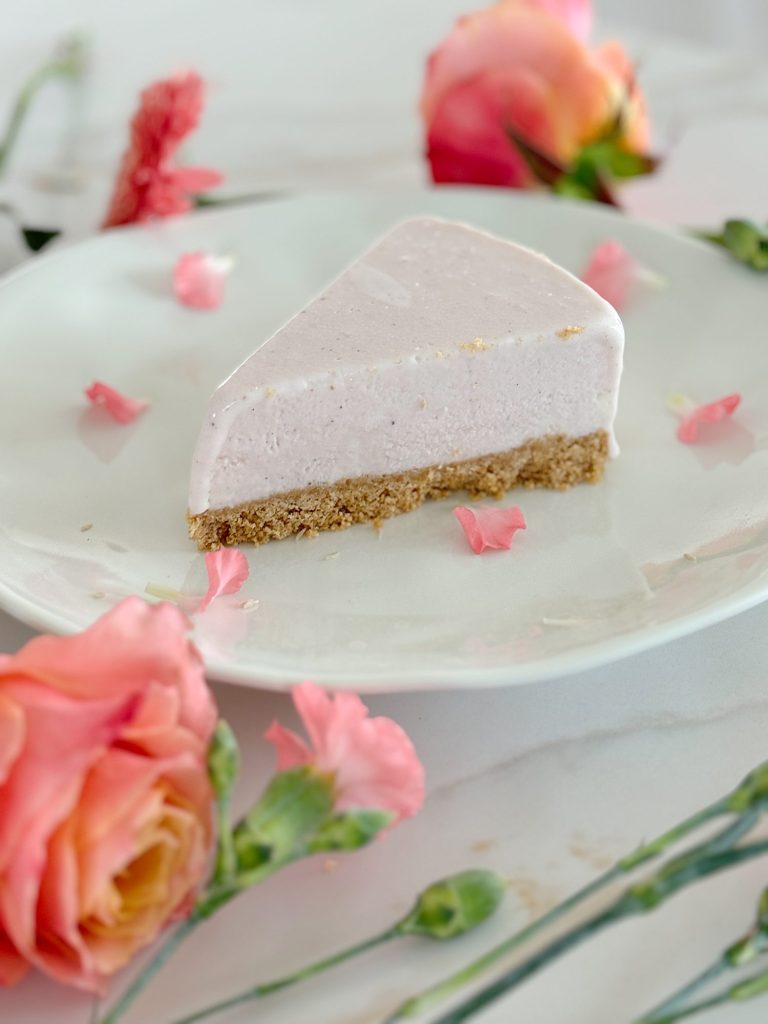
Pink Lemonade Pie
Summer is the season for refreshing and light desserts, and what could be better than a tangy, creamy, and perfectly chilled Pink Lemonade Ice Cream Pie? This delightful dessert is perfect for hot days, picnics, barbecues, or any summer gathering. Its vibrant color and mouthwatering flavor will surely be a hit for kids and adults….
-
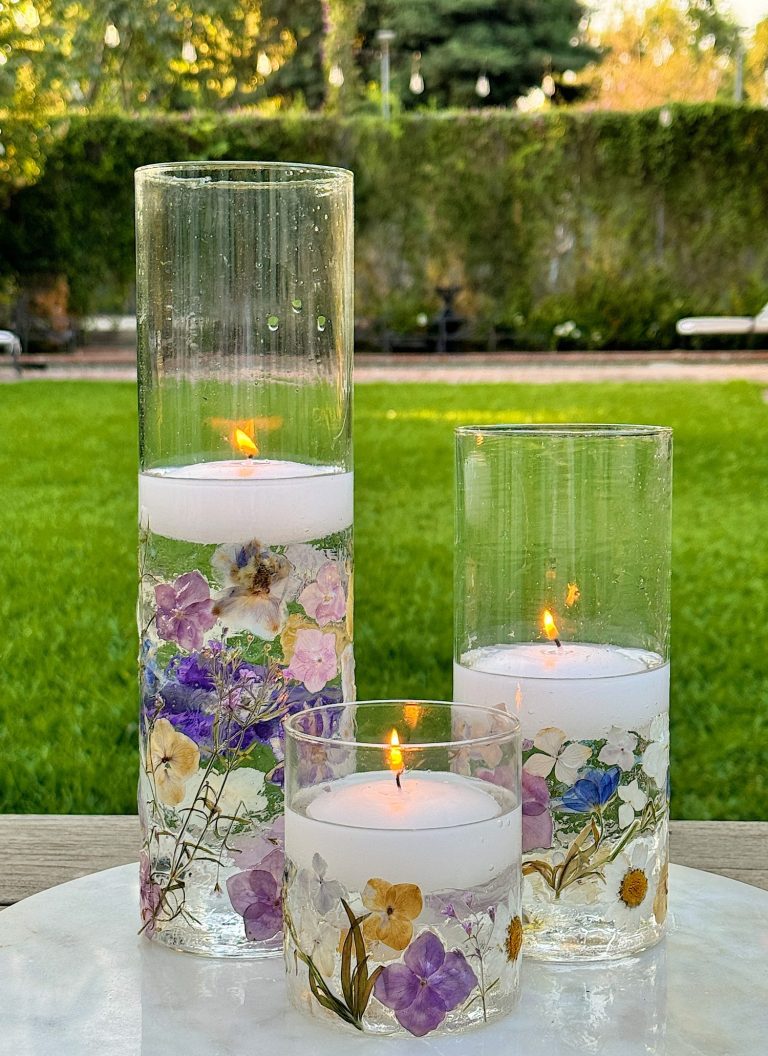
DIY Pressed Flowers
DIY pressed flowers are a beautiful and charming addition to any home decor. When made into candle holders, they are stunning. These delicate creations bring a touch of nature indoors and can be customized to fit any style or occasion. Whether you want to create a romantic centerpiece, a whimsical decoration, or a unique gift,…
My Recent Instagram Posts

You can pin the images below to your boards on Pinterest (click the Pin button in the top left corner) or follow me on Pinterest!

For more real-time updates, follow me on Instagram @My100YearOldHome
Very cool! You have given us a wonderful idea. Thank you!
Leslie, your flower frogs are so elegant! Of course they add a lovely touch for displaying flowers, but they are too pretty to put away when not in use. They would look pretty on top of a book on the coffee table. I will be making a few! Love the soft colors.
annie
Leslie, This is such a fun, simple and pretty craft project! I made flower frogs last summer with my granddaughter for her to give to her mom, my DIL. It was so much fun and it’s a very nice gift to give to someone who has a cut flower garden. I LOVE the ones you made with the “ruffled” edge. Did you shape the edges with your fingers or use a “tool”? So pretty! Thank you for this wonderful inspiration!
Barb
WHAT A CREATIVE IDEA!
Honestly, this is a fabulous, beautiful piece that you have created. All I can say is WOW. Sure beats taping a vase and it’s so decorative. The possibilities are endless. Thank you for sharing this.