DIY Table Top Christmas Trees
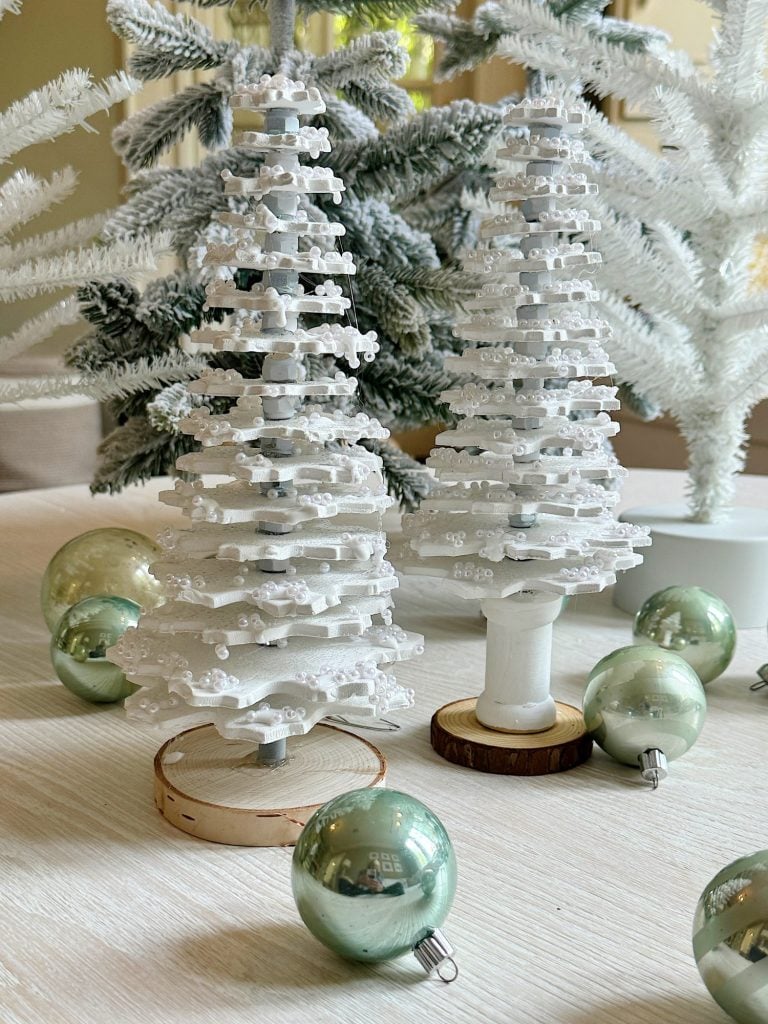
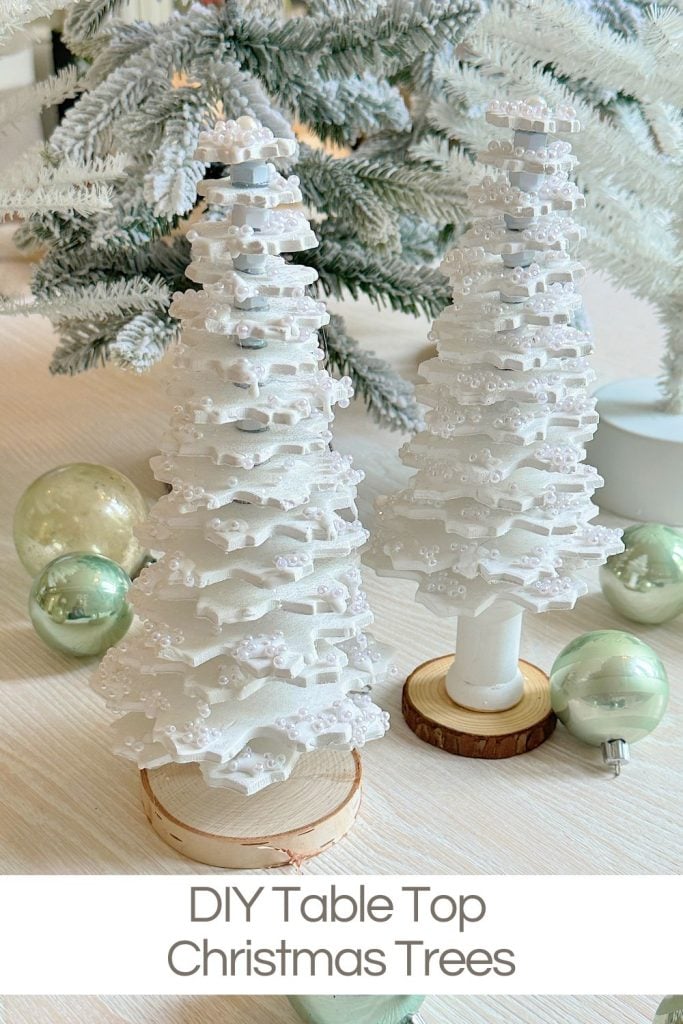
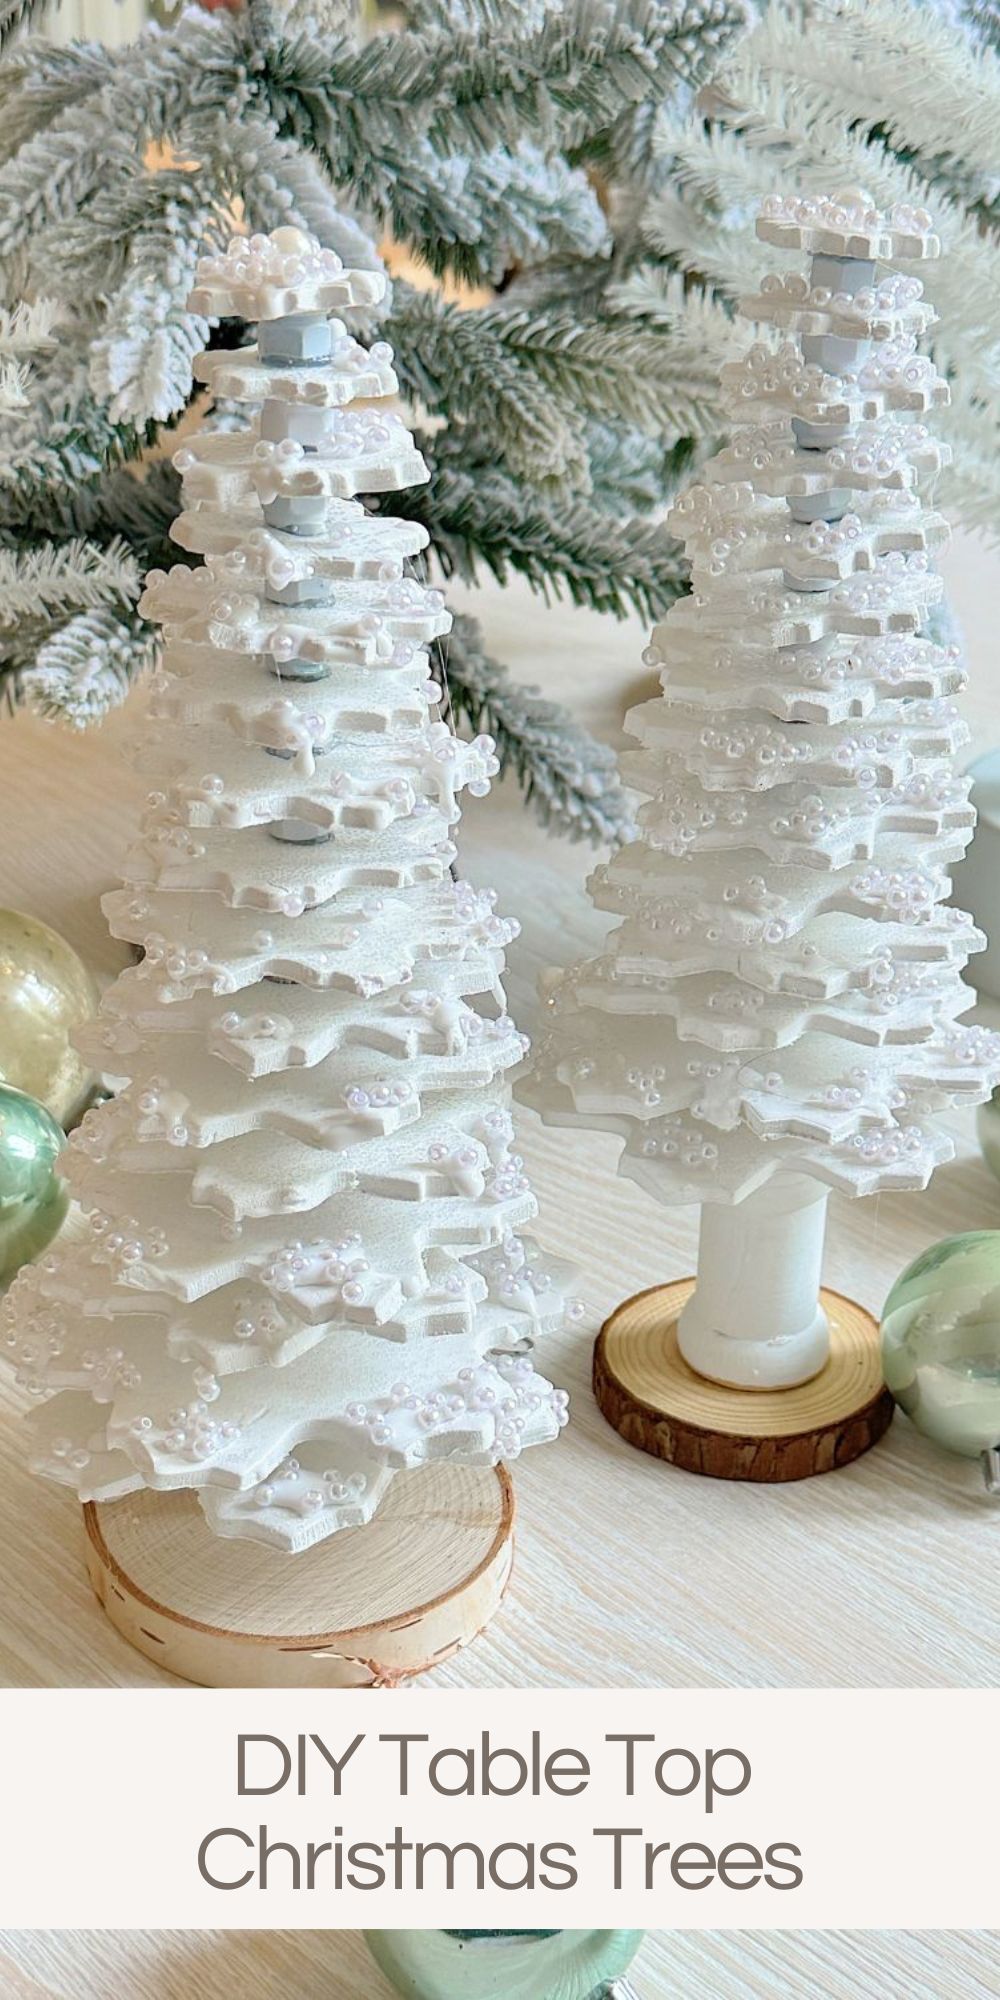
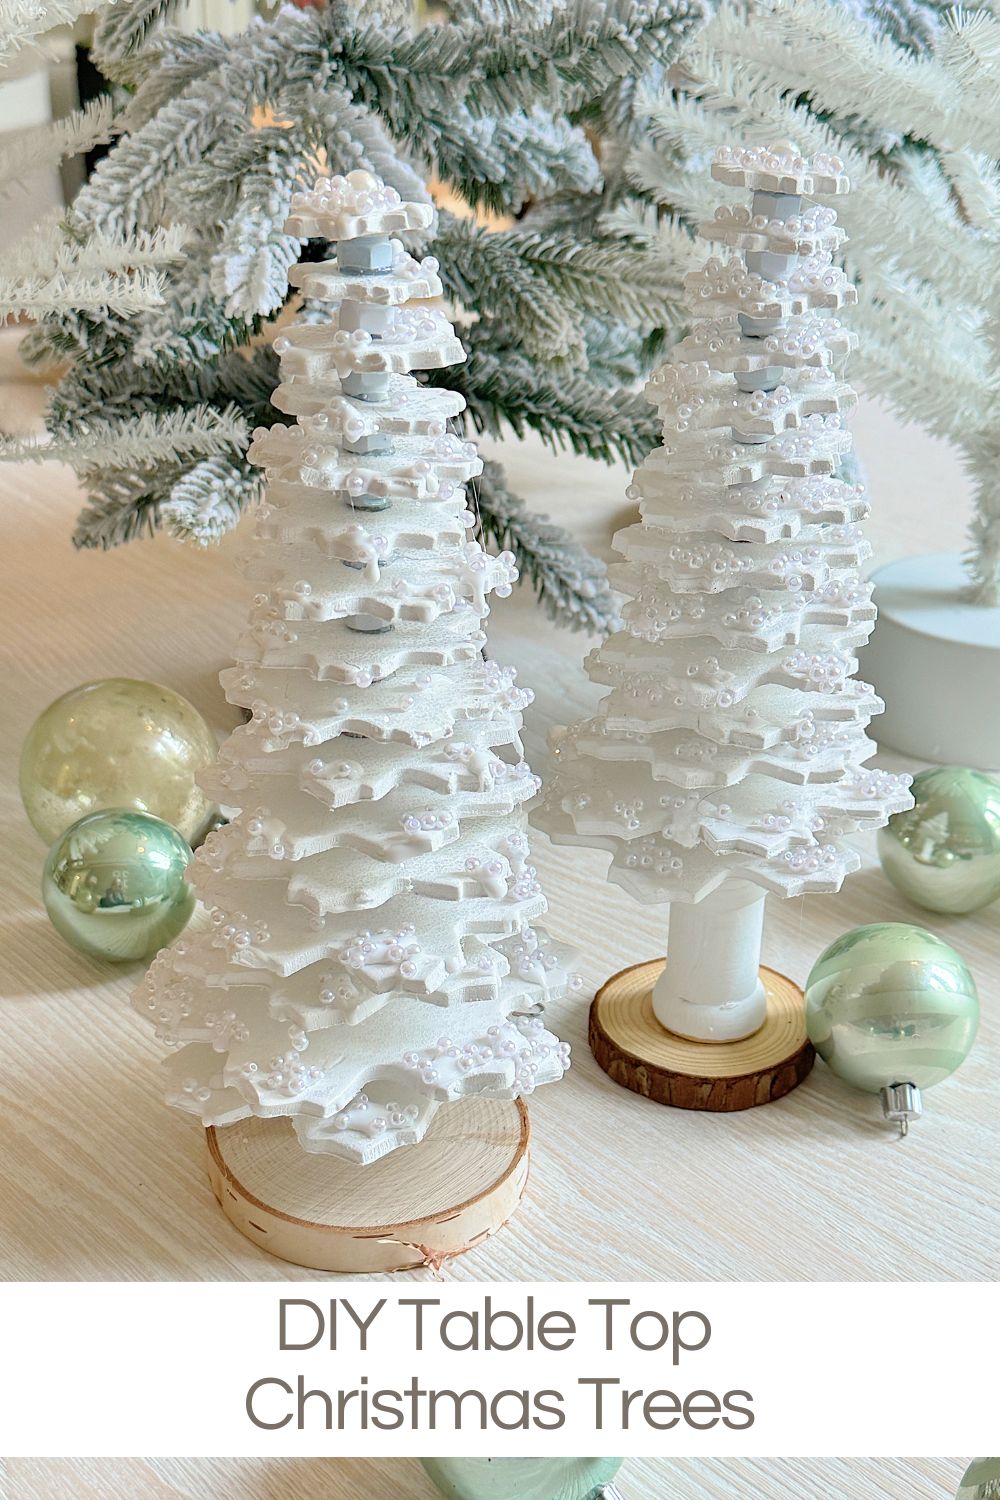
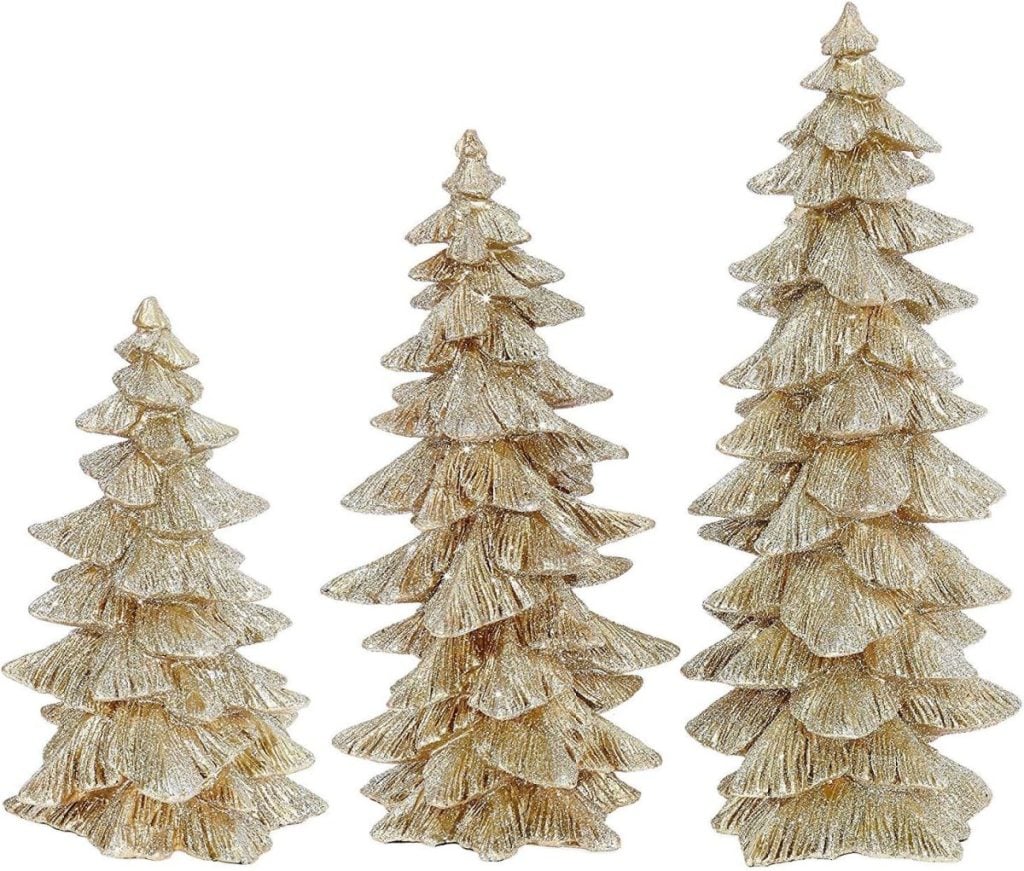
If you love holiday crafting, here’s a creative and elegant project: table top Christmas trees made from clay using a cookie cutter set.
Today is day seven of the Twelve Days of Getting Ready for Christmas, and I encourage you to start your holiday DIYs now. You may be familiar with cookie cutter sets that make layered tree-shaped cookies. This project is a delightful blend of DIY and holiday sparkle, perfect for decorating your home or gifting to friends and family.
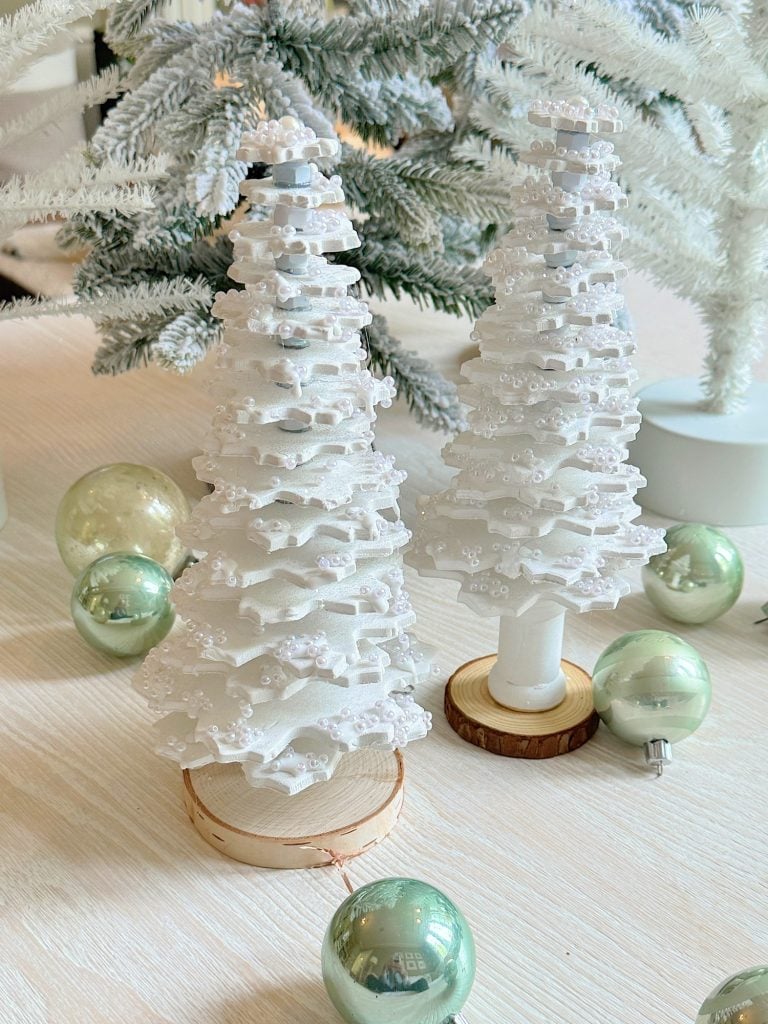


How to Make Layered Christmas Trees with a Cookie Cutter Set
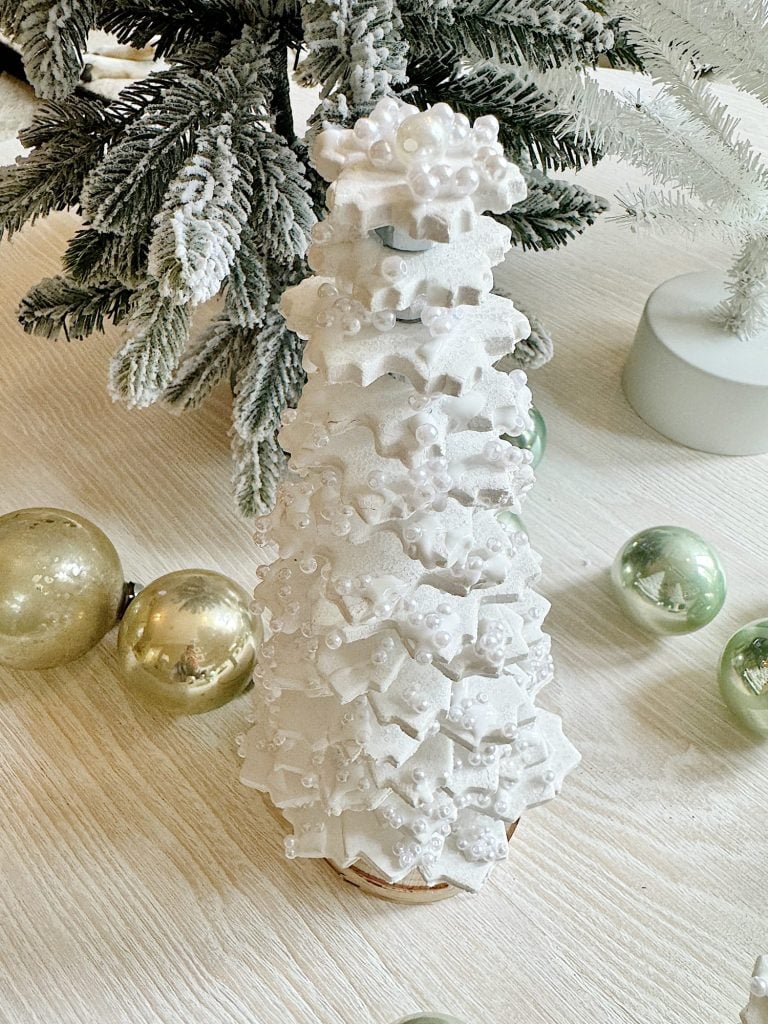
I can’t wait to share how to make these layered Christmas trees with air-dry clay, from cutting and drying to glittering and assembling. Each tree has a unique, layered look made from Christmas tree cookie cutters, with a touch of glitter and pearl accents.
I may sometimes use affiliate links on this blog, which means a small commission is earned if you purchase via the link. The price will be the same whether you use the affiliate link or go directly to the vendor’s website using a non-affiliate link.
Materials Needed
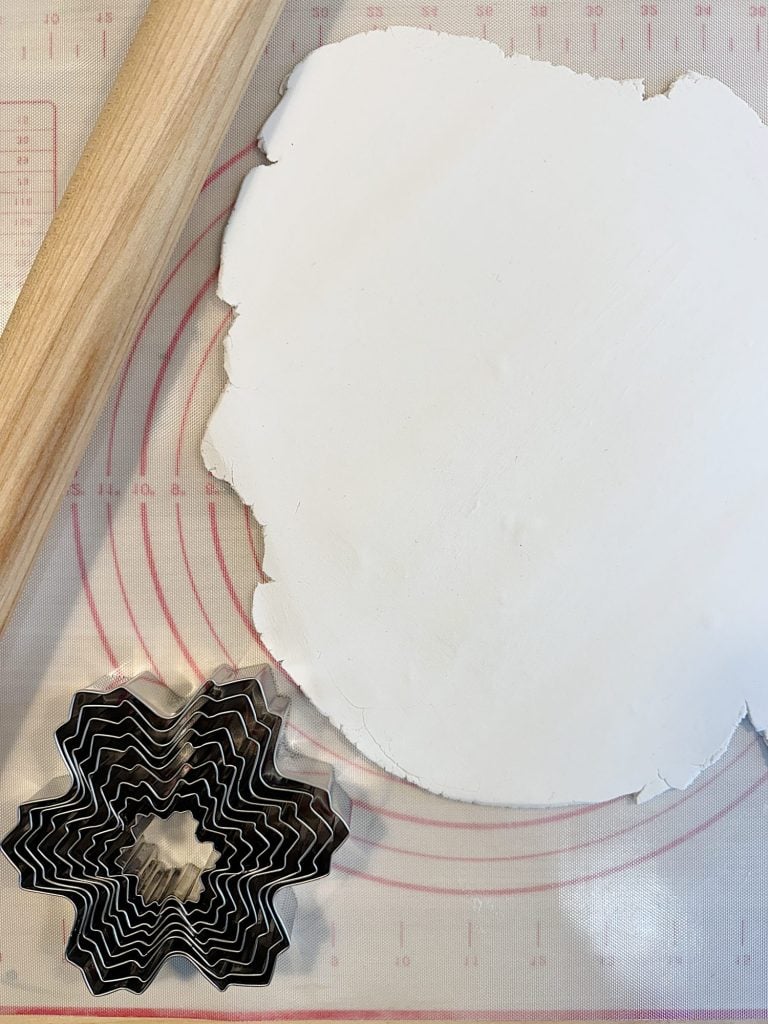
Here’s what you’ll need to get started:
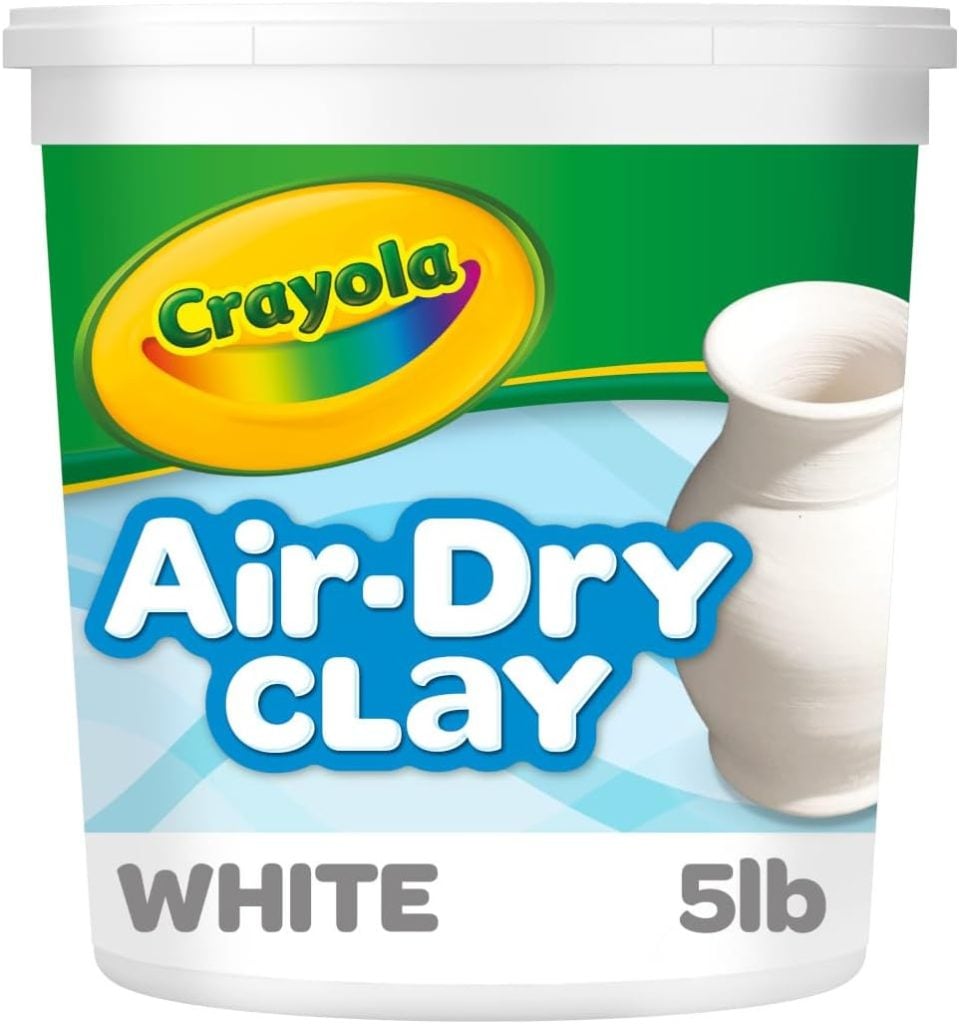
- Air-Dry Clay: Enough to create as many trees as you want.
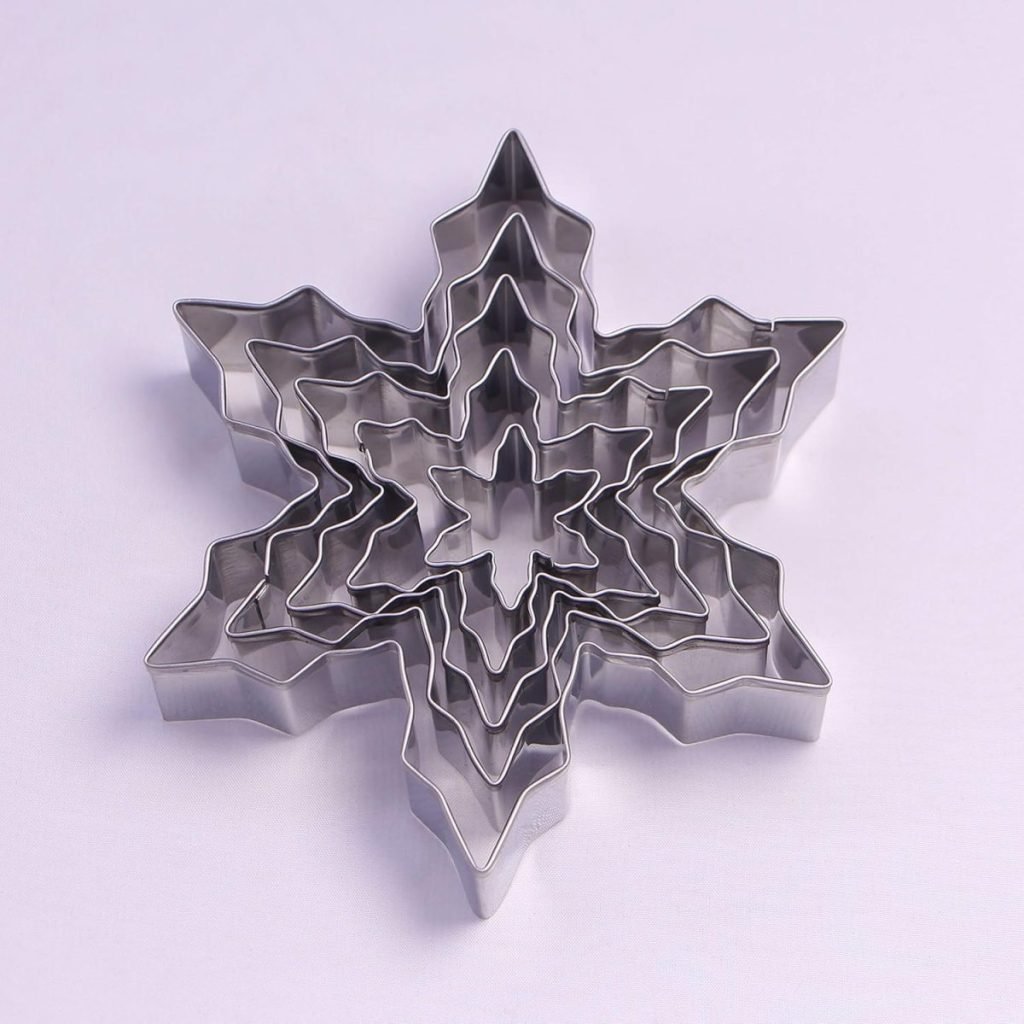
- Snowflake Cookie Cutter Set: Look for a set with multiple sizes to create a layered effect.
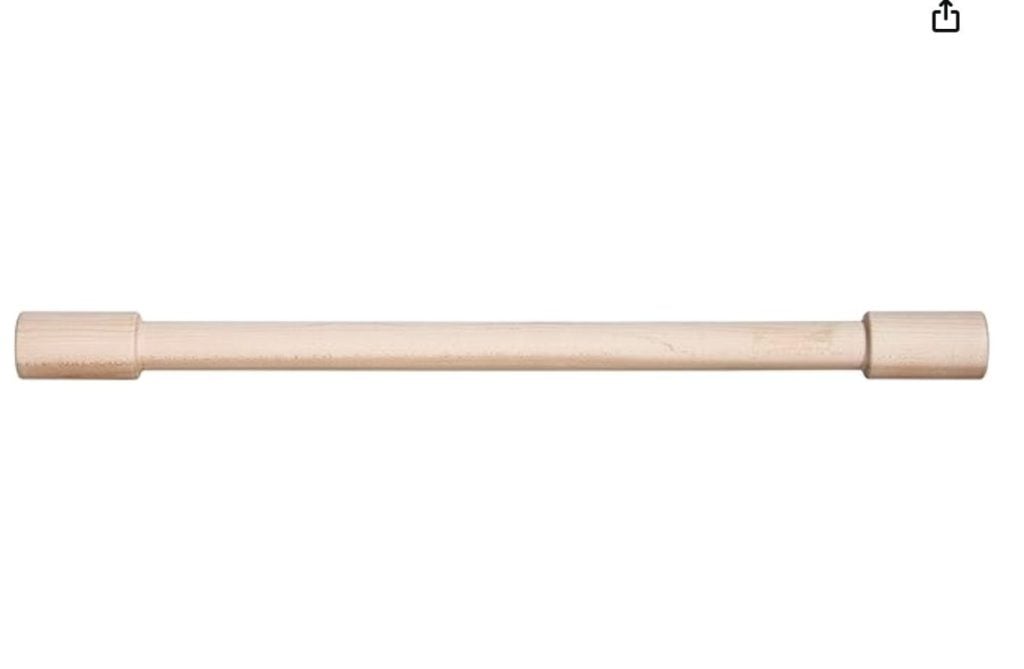
- Rolling pin with a 1/4″ guide edge.
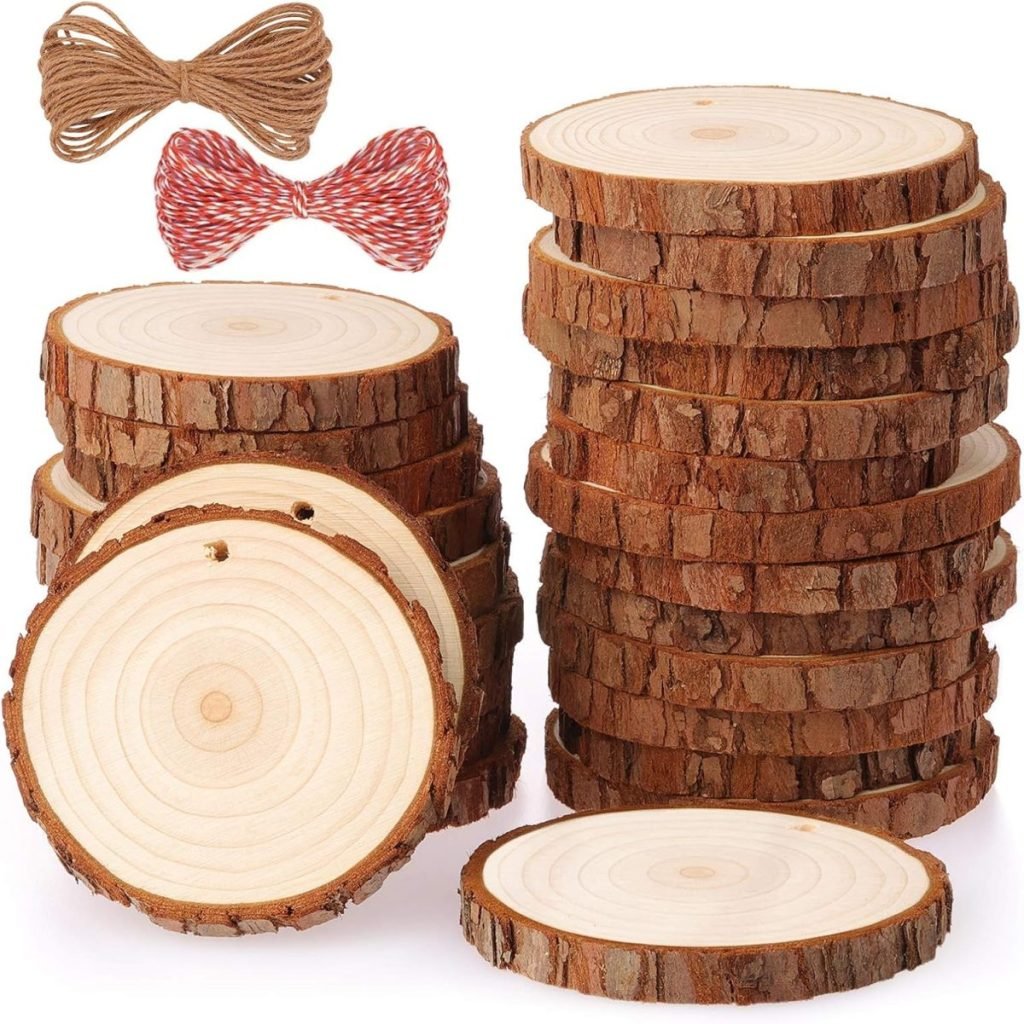
- Wooden Stand or Base: A small wooden disk works great as a stable base.
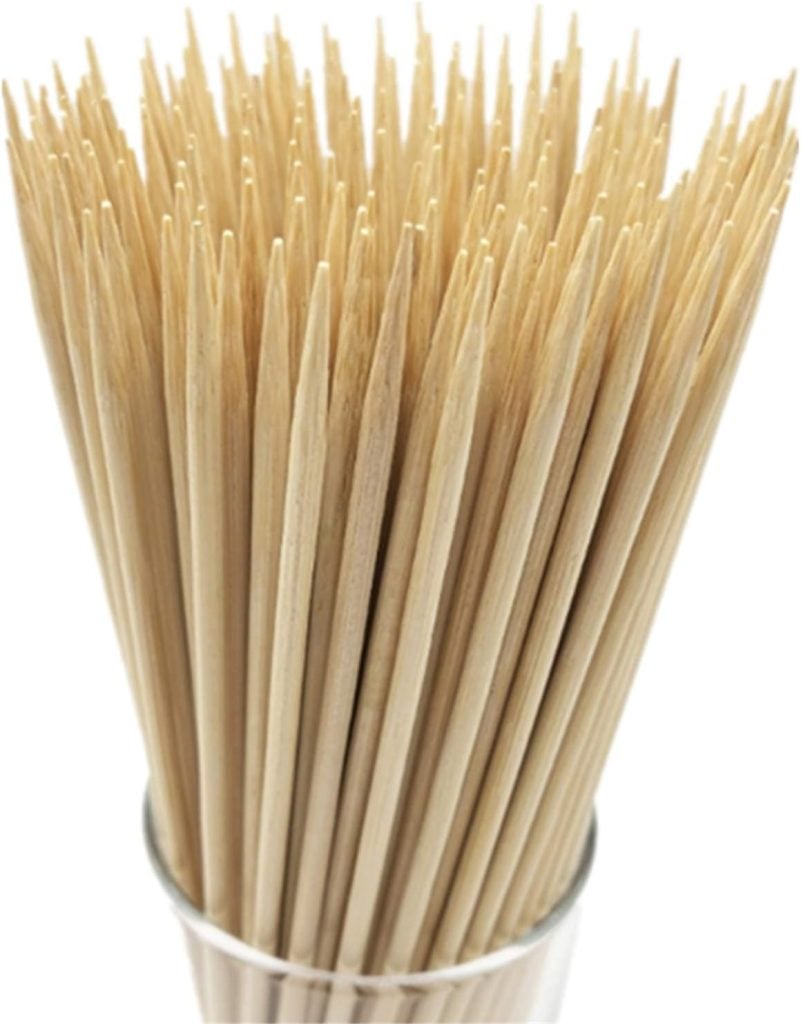
- Wooden Skewer: This will be the “trunk” of your tree, holding each layer in place.
- Hot Glue Gun: This is used to secure the layers and attach the skewer.
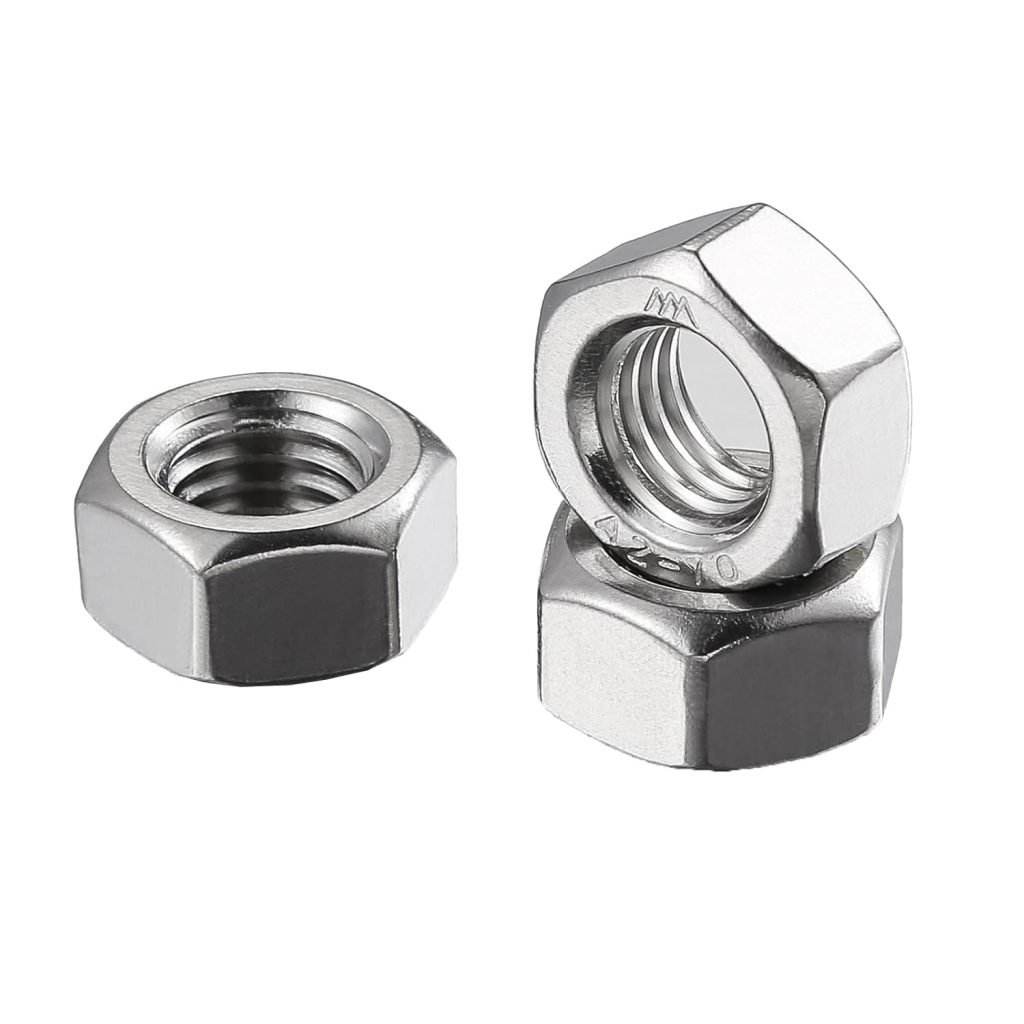
- Hex Nuts: These will be painted and used as spacers between each layer, adding dimension to your tree.
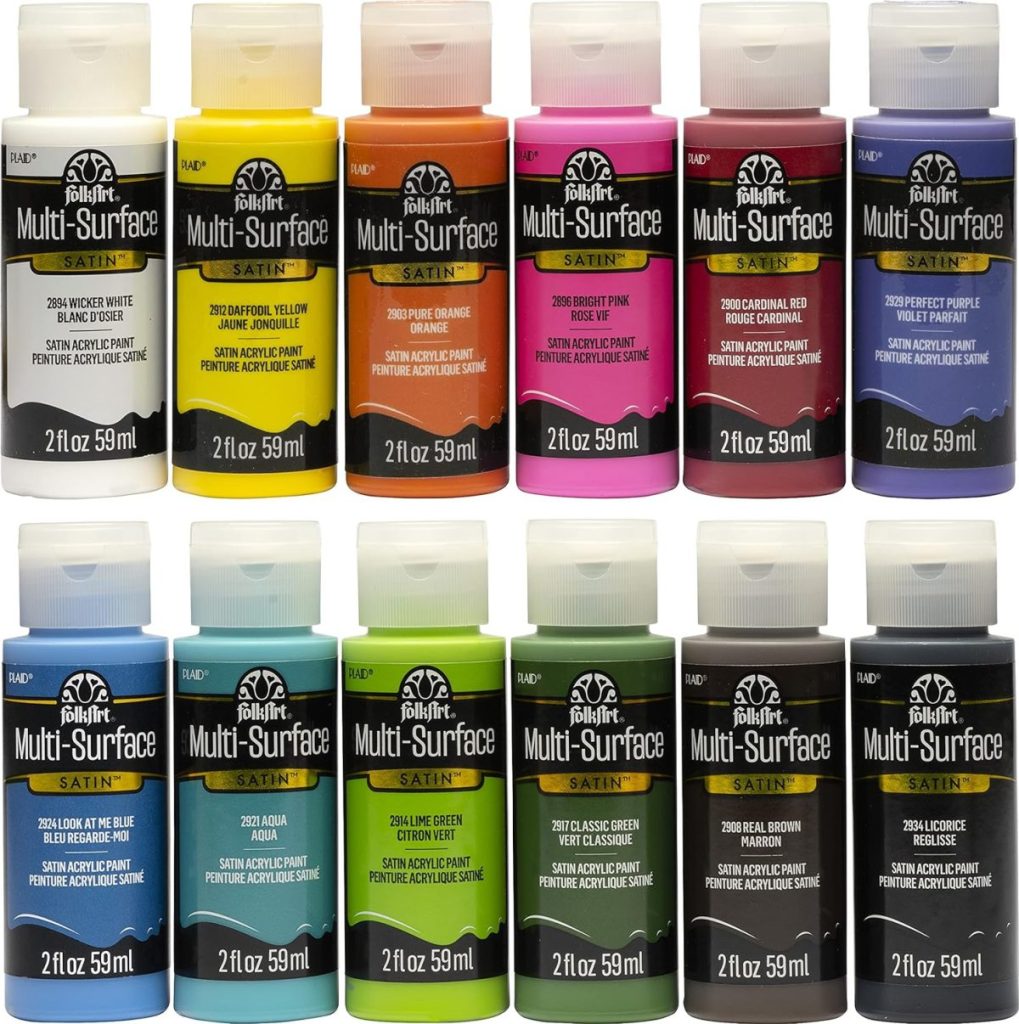
- White Paint: This is used to paint the hex nuts and make them blend seamlessly.
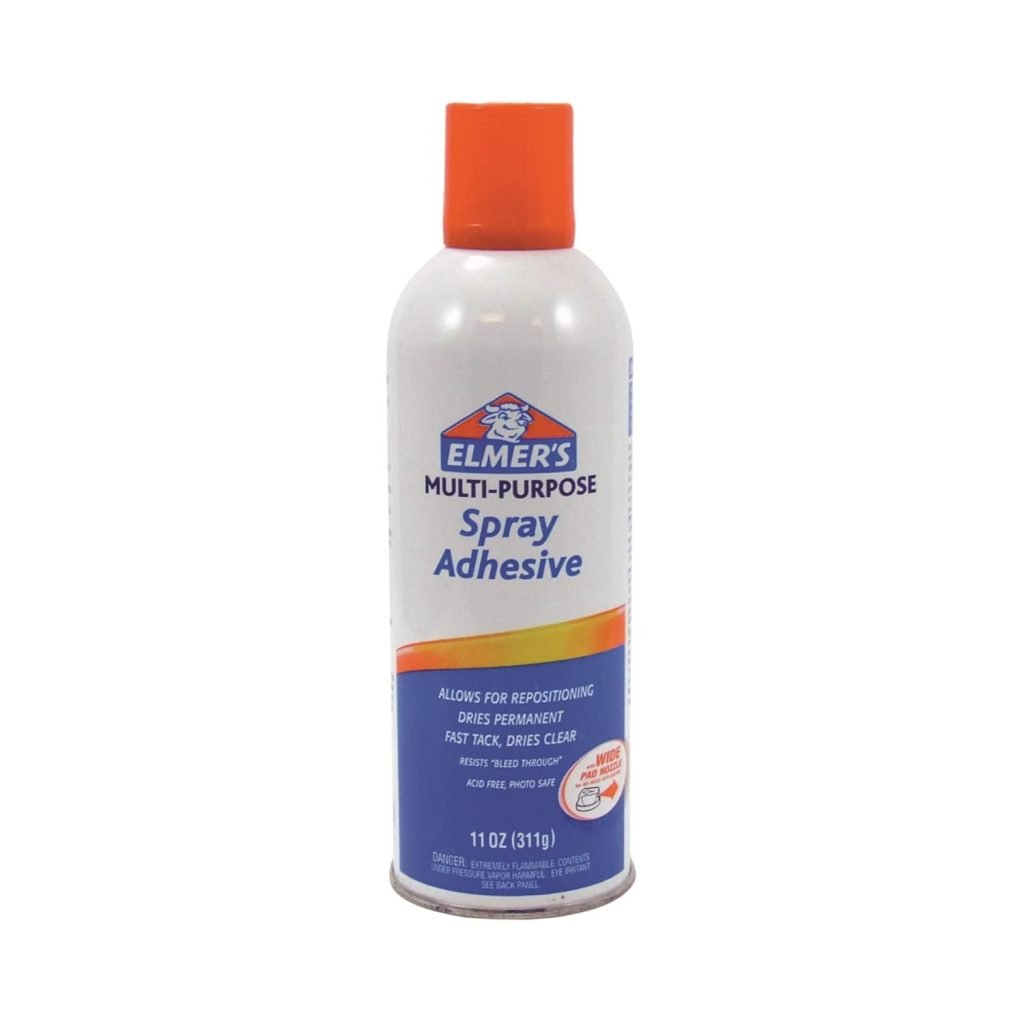
- Adhesive Spray: For applying glitter to each layer.
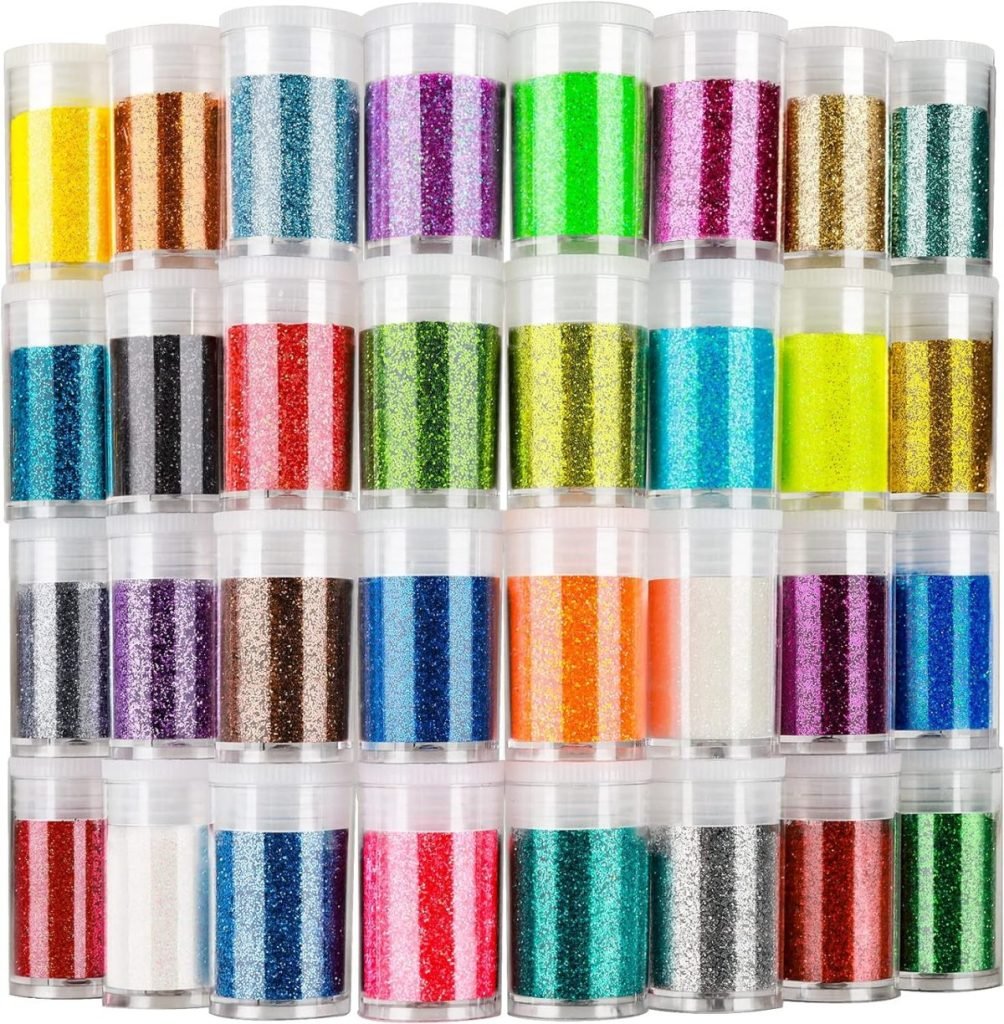
- Fine Glitter: In your color of choice (white, silver, or green are beautiful for this project).
- Pearls or Beads: These are for added decoration and extra holiday sparkle.
- Optional: Clear Sealant Spray to help preserve the trees.
Step 1: Prepare the Clay and Cut the Layers
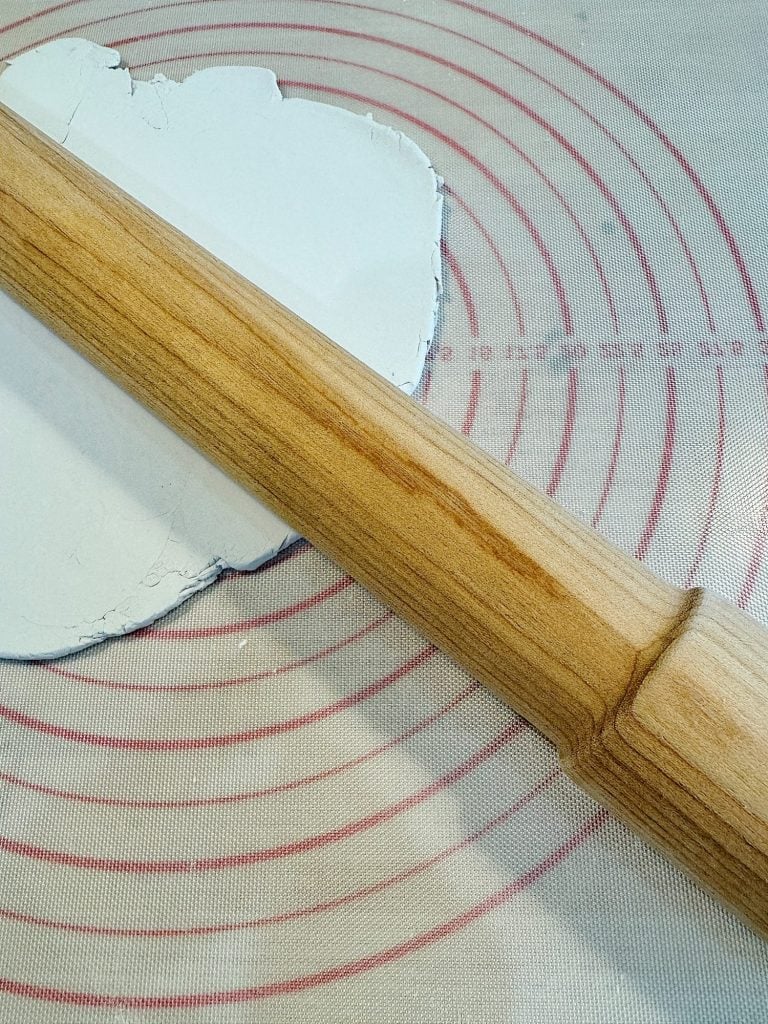
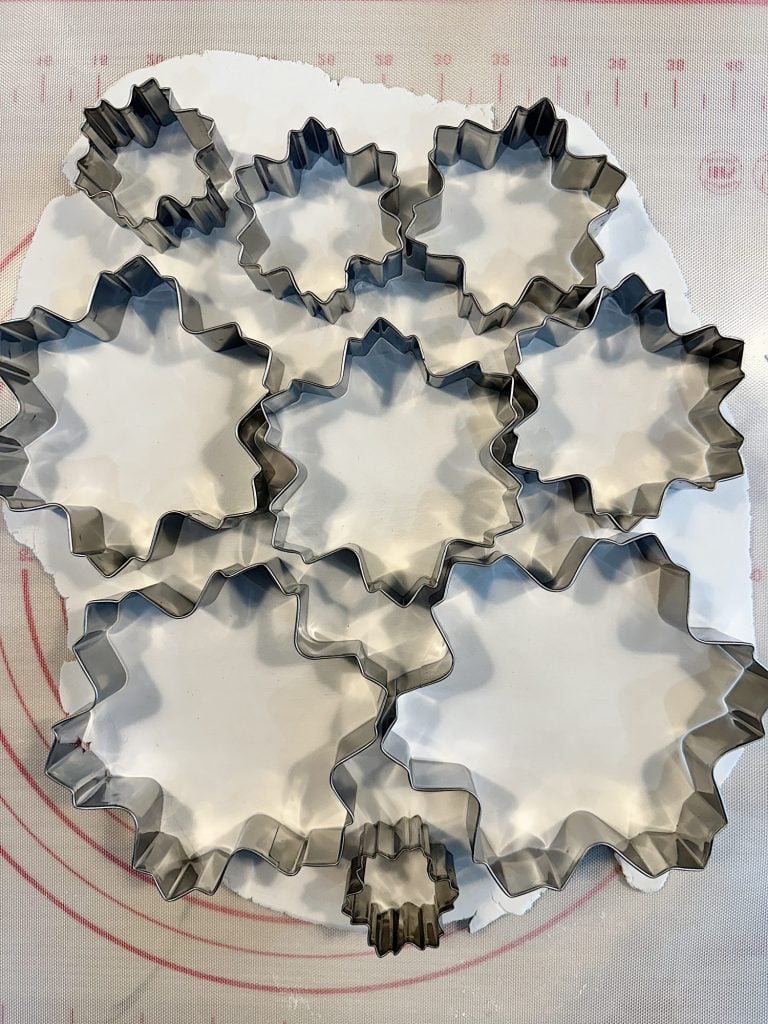
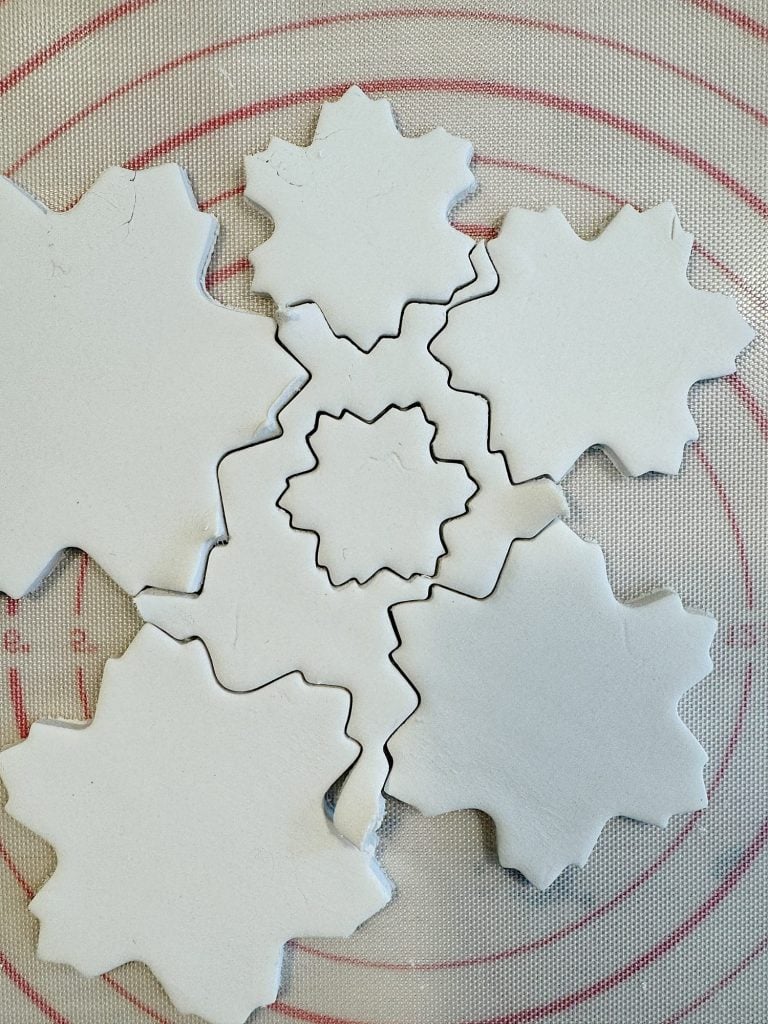
Start by rolling out your air-dry clay on a smooth, flat surface to an even thickness. To assure an even thickness, use a roller with a 1/4″ edge. About ¼ inches thick works well for these trees, providing a sturdy layer without being too heavy.
- Use the Cookie Cutter Set: Take your cookie cutter set and use each size to cut out two of each shape for every tree. The varying sizes will create a beautiful layered look.
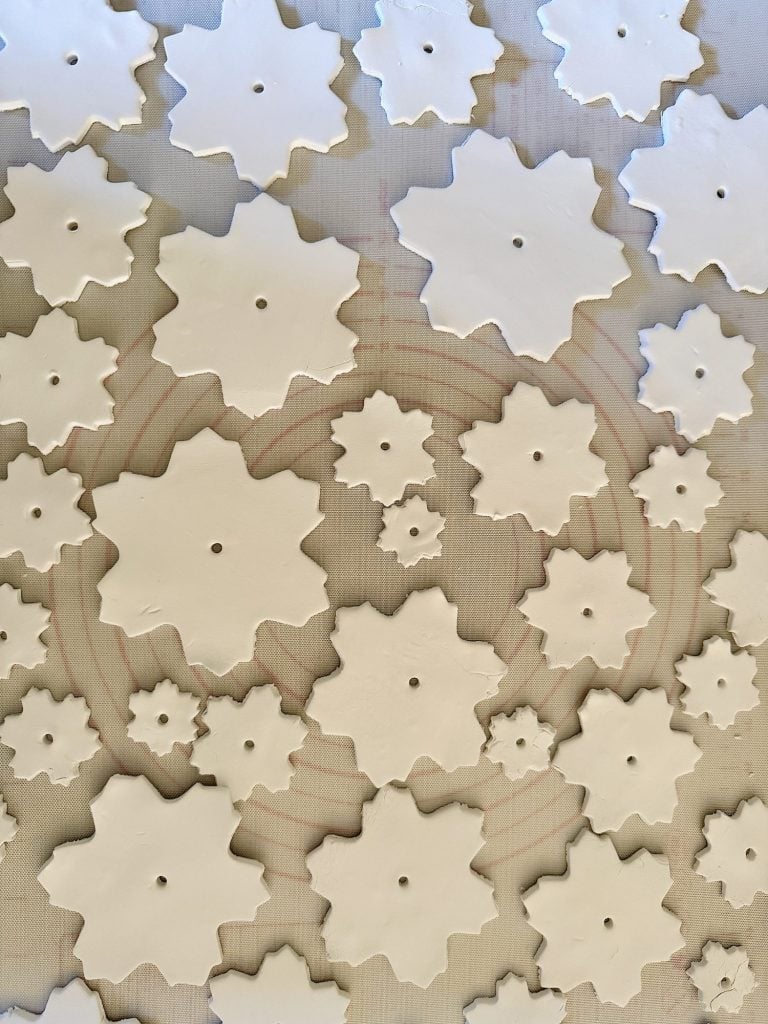
- Add a Center Hole: After cutting out each shape, make a small hole in the center of each piece. You can use the tip of the skewer or a small straw. This hole is essential, allowing each layer to be threaded onto the skewer for assembly.
- Let the Clay Pieces Dry: Place each piece flat and allow it to dry completely. This process typically takes 24-48 hours, but larger pieces may take up to three days. Be sure to flip them occasionally to prevent warping.
Step 2: Add Glitter to the Layers
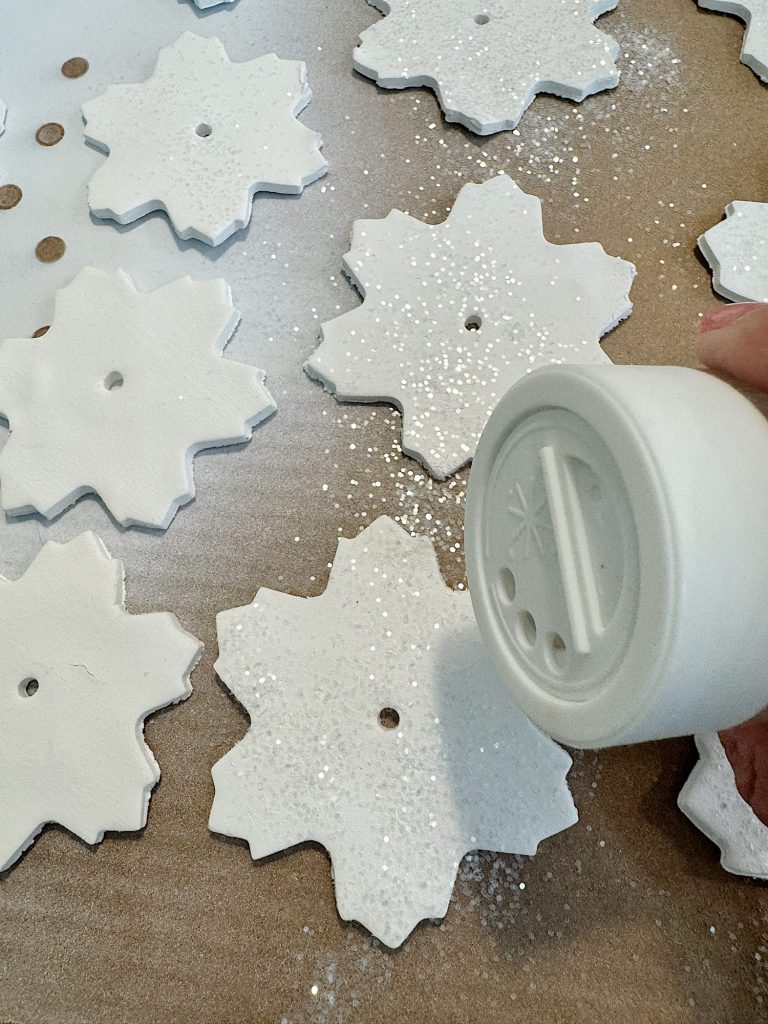
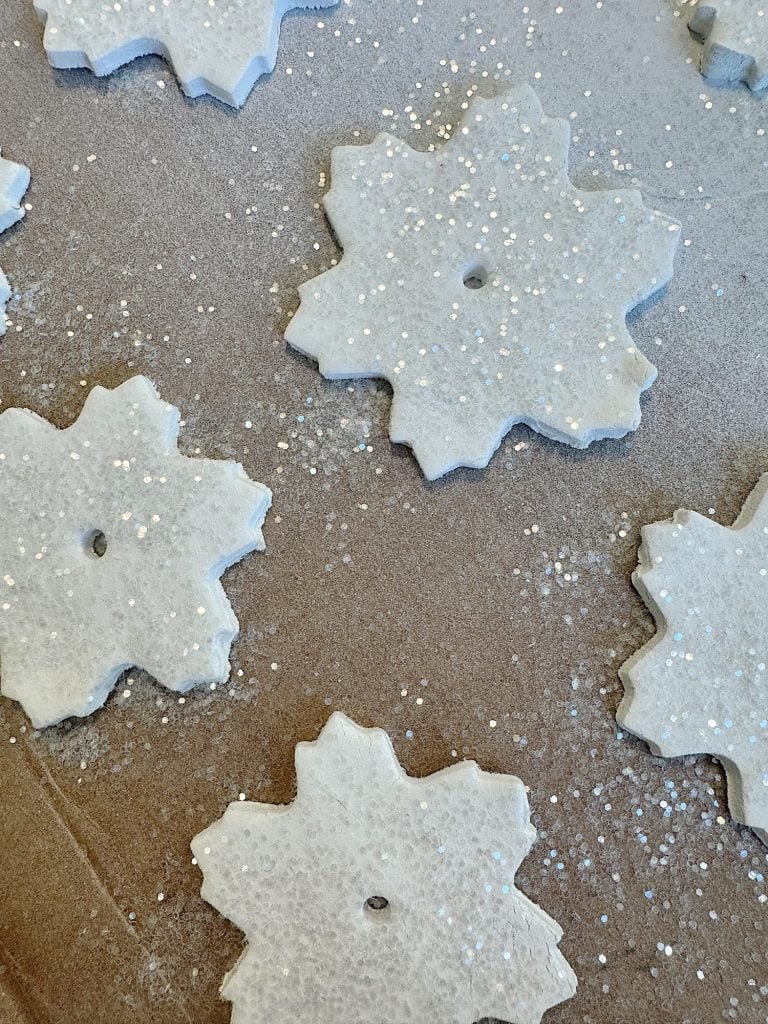
Once the clay pieces are dry, it’s time to add some holiday sparkle.
- Spray with Adhesive: Lightly spray each clay layer with adhesive spray. Ensure each piece has a smooth, even coat so the glitter sticks properly.
- Apply Glitter: Sprinkle glitter over each layer, covering only the front. White glitter gives a snowy effect, while silver and green add a classic Christmas tree look.
- Seal the Glitter (Optional): Once the adhesive has dried, add a coat of clear sealant spray to keep the glitter in place and prevent fallout. This step is optional, but it helps preserve the pieces and keeps them looking fresh.
Step 3: Assemble the Trees
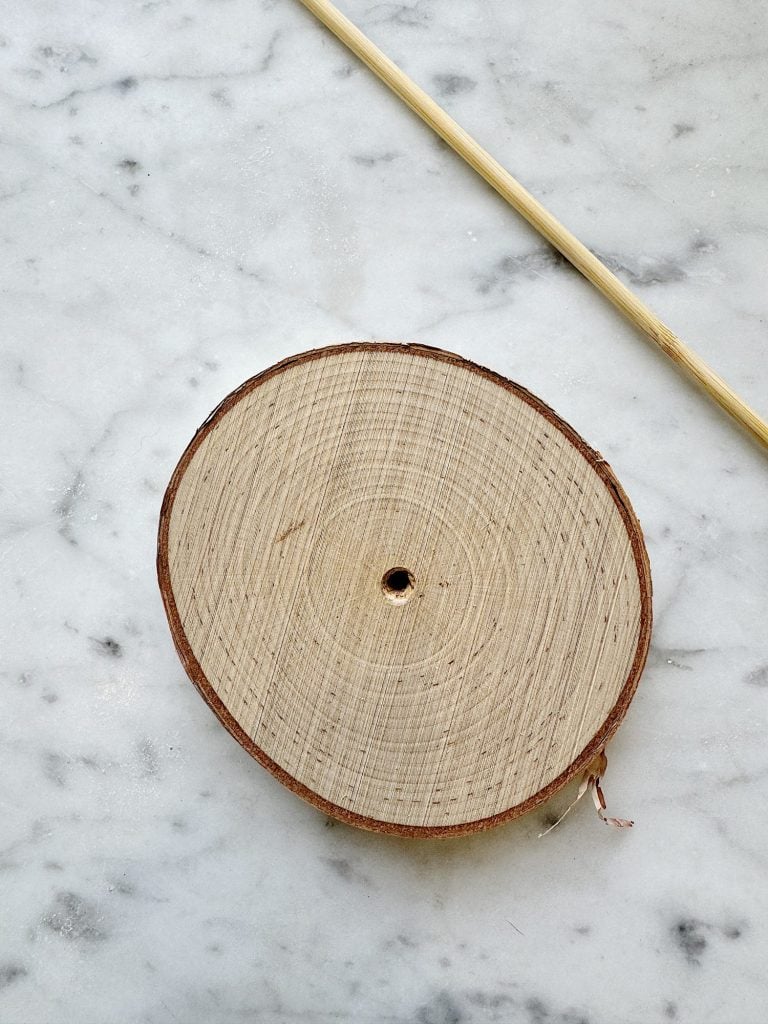
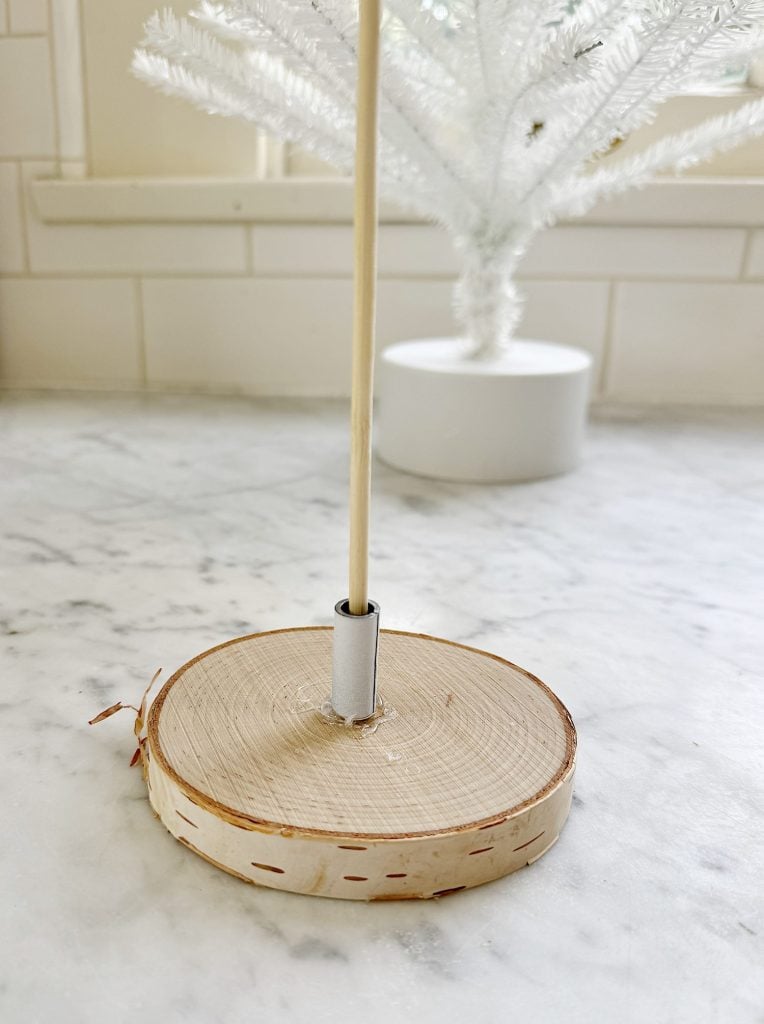
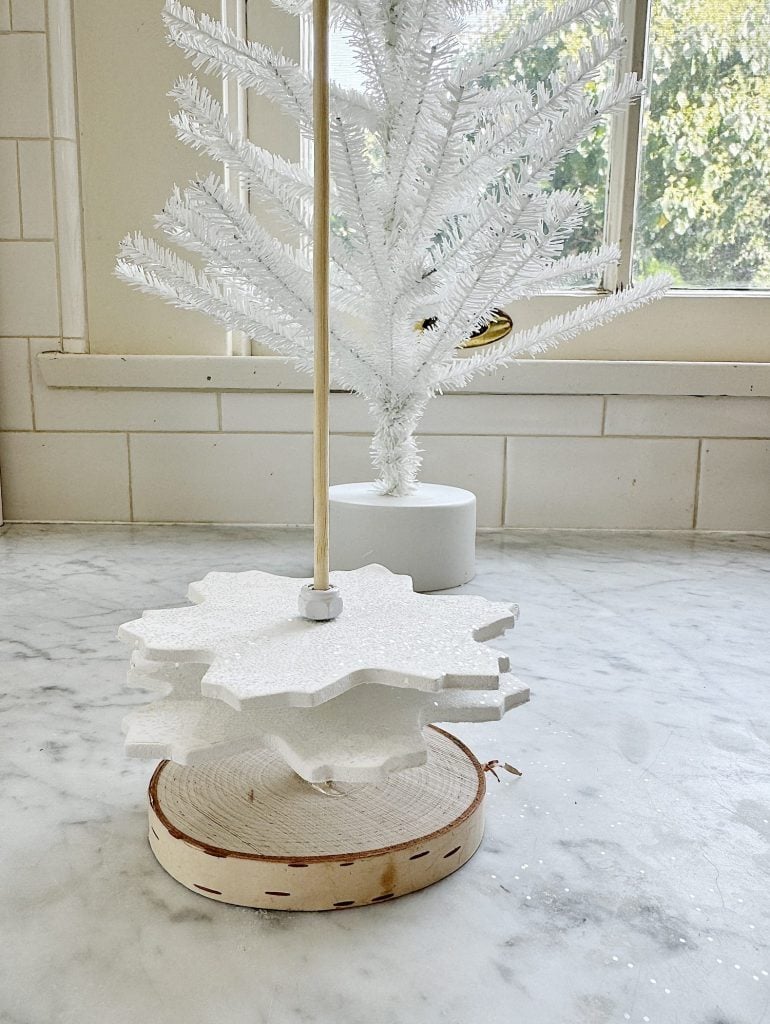
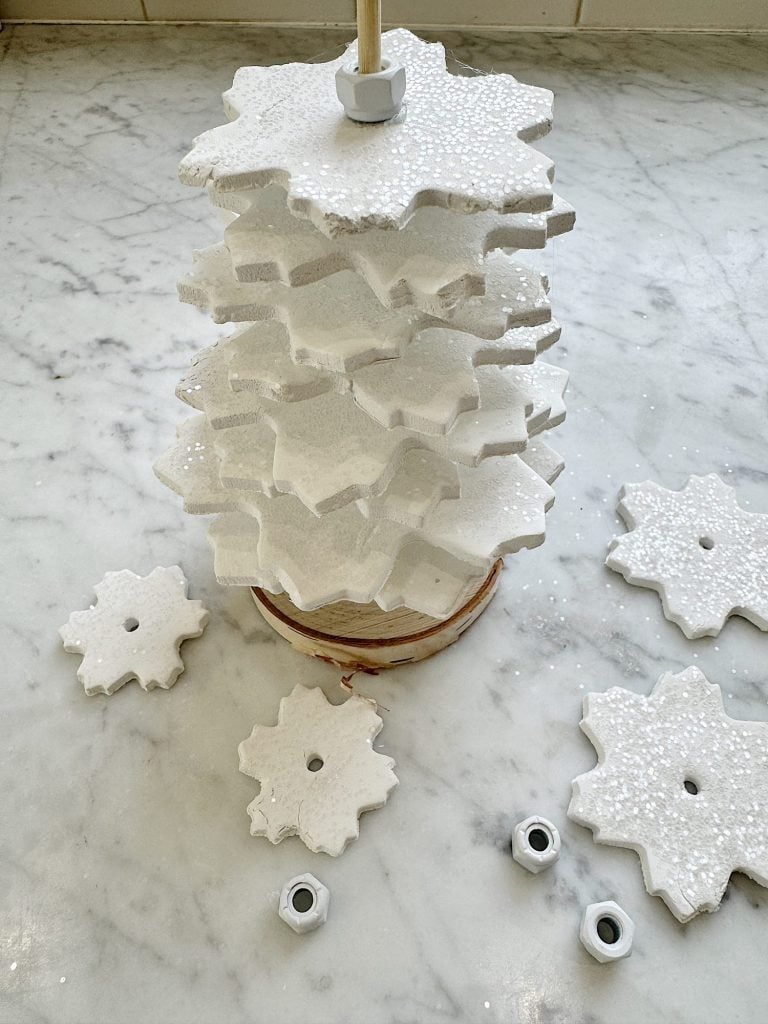
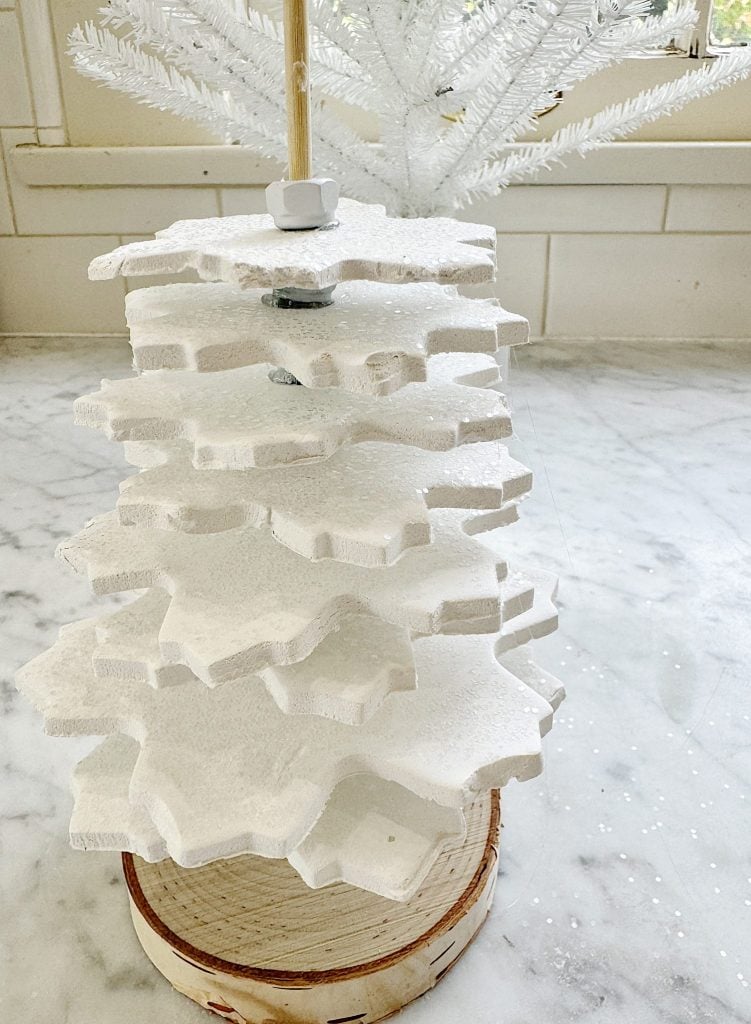
With your layers dry and glittered, it’s time to start building the trees.
- Prepare the Base: Take your wooden stand or base and drill a hole the width of the skewer. Apply hot glue to the center. Insert one end of the skewer into the base to create a stable “trunk” for your tree. Hold it steady until the glue sets.
- Paint the Hex Nuts: While waiting for the base to dry, paint the hex nuts white (or another color that complements your tree) so they’ll blend nicely between each layer. Allow them to dry fully.
- Layer the Tree: Start with the largest clay piece and slide it down the skewer to the base. Place a hex nut above it as a spacer. Add a dab of hot glue to keep the hex nut in place and secure the layer.
- Continue Layering: Alternate between clay pieces and hex nuts, going from largest to smallest as you build upwards. Each hex nut acts as a spacer, creating the layered effect of a Christmas tree.
- Secure Each Layer: Add a small dab of hot glue below each hex nut to keep each clay piece in place. This ensures stability and keeps the tree layers from shifting.
- Top Off the Tree: Once you reach the top layer, leave it as is, or add a decorative bead, small pearl, or ornament for an extra festive touch.
Step 4: Decorate with Pearls and Final Touches
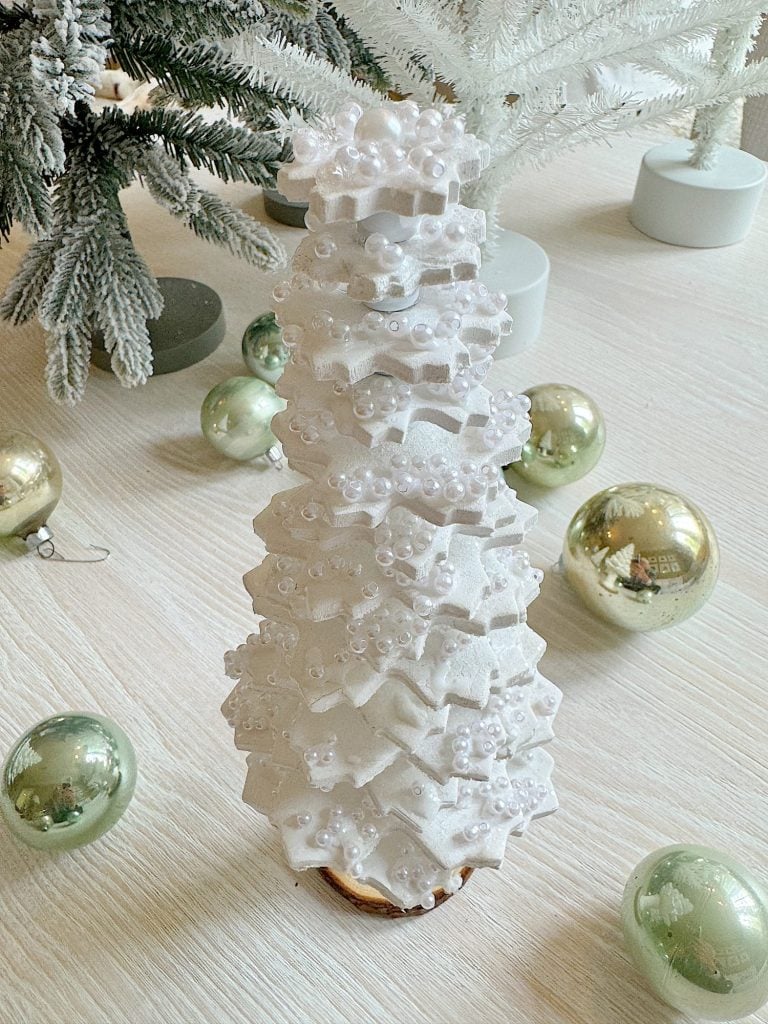
After assembling the tree, it’s time to add finishing touches to give it that polished, holiday-ready look.
- Attach Pearls or Beads: Use hot glue to place small pearls or beads on each layer, as if decorating a miniature Christmas tree. This adds texture, dimension, and a bit of extra sparkle.
- Optional: Add a Clear Coat: If you’d like, spray a light coat of clear sealant over the entire tree to secure the glitter and prevent chipping. This is particularly helpful if you plan to store the trees and use them year after year.
Displaying Your Layered Christmas Trees
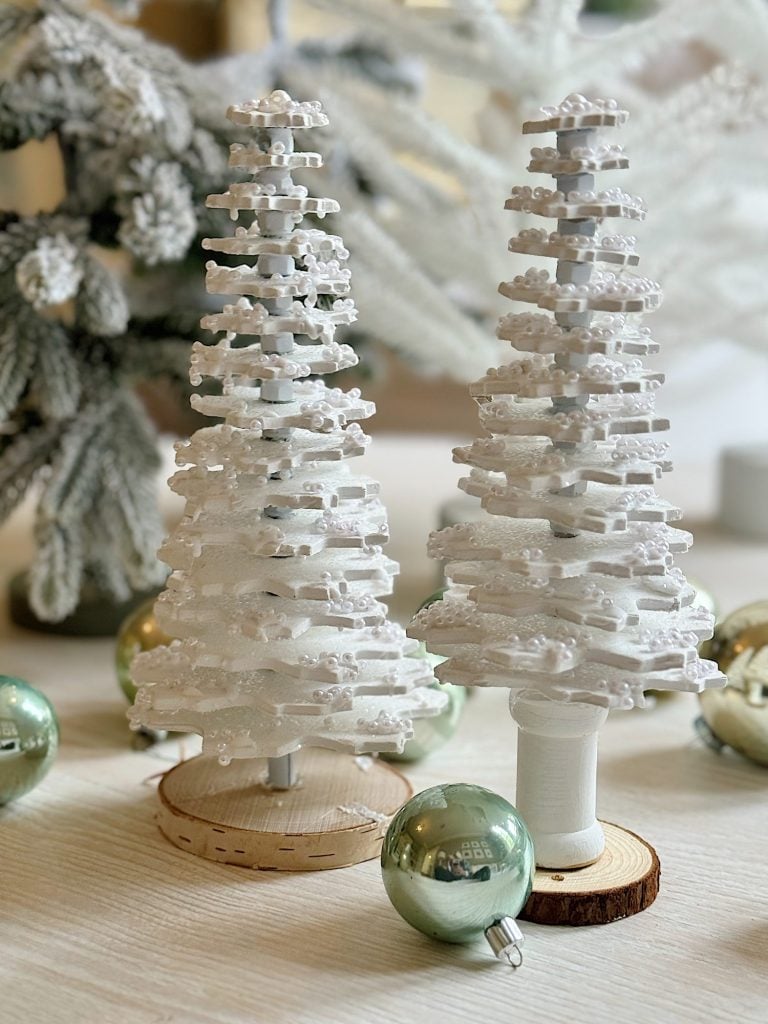
Once your trees are complete, it’s time to display them! Here are a few ideas for showcasing your creations:
- Centerpiece: Arrange a few trees of varying heights on a decorative tray or table runner for a festive centerpiece.
- Mantel Decor: Place them on your mantel among garlands, candles, and other seasonal decor for a cozy holiday look.
- Gift Toppers: If you’ve made smaller versions, these trees make beautiful, unique toppers for wrapped gifts, adding a handmade touch to your presents.
- Gift Ideas: These trees make thoughtful, homemade gifts for friends and family. Wrap them in clear cellophane bags with a festive ribbon for a beautiful presentation.
Tips for Success
- Choose the Right Thickness: Keeping the clay about ¼ inch thick ensures durability without making the pieces too heavy.
- Even Drying: Flip the clay pieces during drying to prevent them from warping.
- Customize Colors: Feel free to experiment with different glitter colors and paint finishes to match your home’s holiday decor. You can use gold, silver, or even iridescent glitter for a magical effect.
- Use Care with the Skewer: Go slowly to avoid cracking the clay pieces when inserting the skewer.
Variations and Creative Ideas
- Miniature Forest: Create trees in different sizes and colors, varying the number of layers to make a small forest display.
- Painted Layers: Instead of glitter, paint each layer in shades of green or another holiday color. You could add painted details like tiny ornaments.
Making layered Christmas trees from clay using a cookie cutter set is a creative, festive way to add a handmade touch to your holiday decor. These trees are easily made, fully customizable, and add a unique, sparkly touch to any room. Whether you place them on your mantel, gift them to friends, or use them as a centerpiece, these DIY clay trees will bring joy to your holiday season.
Happy crafting! 🎄
Blogger’s Best DIY Holiday Crafts
Here are more DIY Holiday Crafts from some of my favorite bloggers.

DIY Winter Decor: Ski Patrol Sign from an Old Dropcloth | My Sweet Savannah
Transform your space this winter with a DIY Ski Patrol sign! Using an old dropcloth, I painted a red cross and “Ski Patrol” for a rustic, festive look. With the addition of grommets for easy hanging, this simple yet charming decoration is perfect for adding a touch of winter whimsy to your home.
Air Dry Clay House | Happy Happy Nester
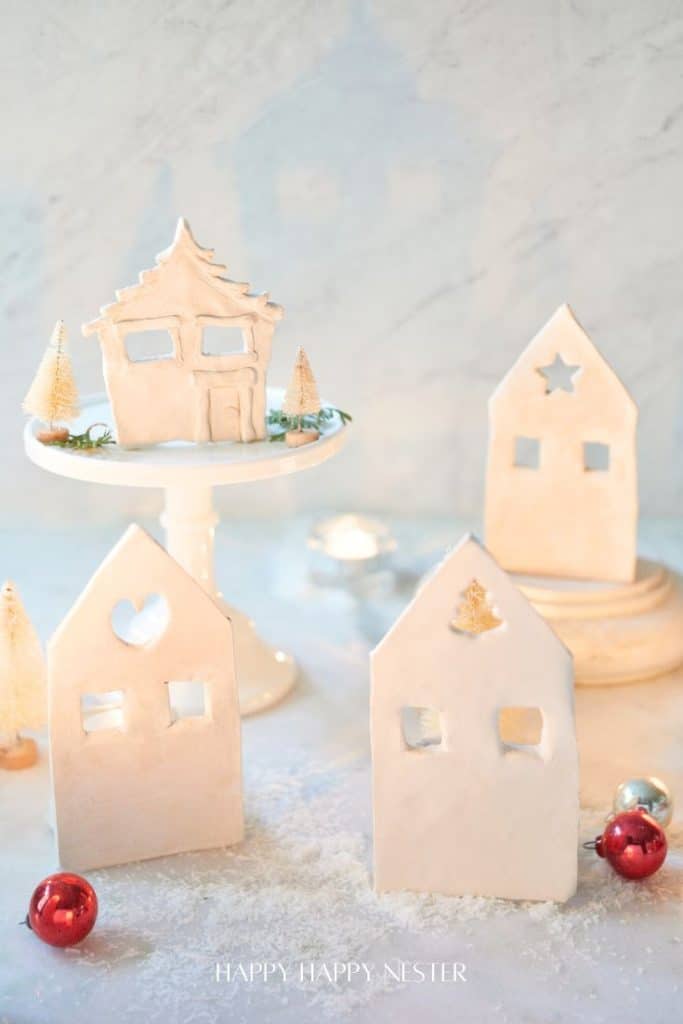
Making a cute air-dried clay house is such a fun and creative way to brighten up your Christmas decor! This clay is super easy to use, so it’s perfect for everyone—whether you’re crafting with kids or hanging out with friends. You can create all sorts of adorable little houses that can be used as candle votives, making them fantastic for holiday decorations or as gifts for loved ones. So grab your clay and have a wonderful time making these fun candle votives!
Cozy Dollar Store Christmas Centerpiece | Tatertots and Jello
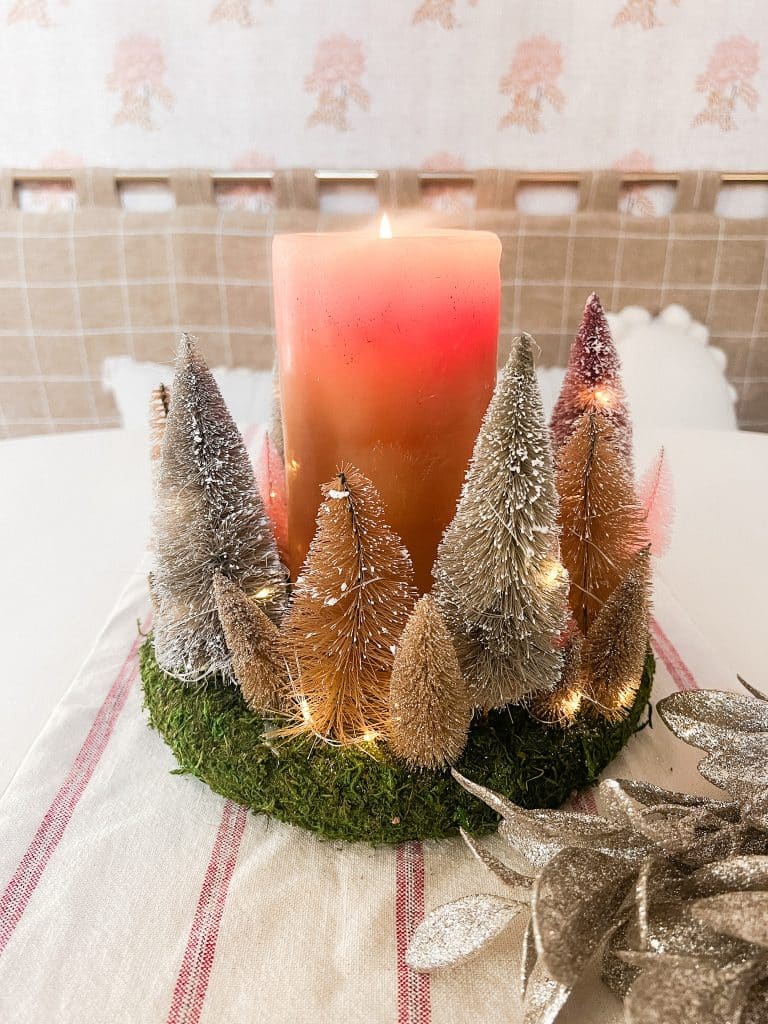
Create a Terrain-inspired holiday centerpiece on a budget with dollar store finds! This DIY project combines bottle brush trees and a moss-covered wreath form, giving a high-end look without breaking the bank. Battery operated lights glow along with a candle in the center for a cozy addition to the holiday season.

Upgrade Dollar Store Garland | Craftberry Bush
Make a Simple Star Anise Wreath | Most Lovely Things
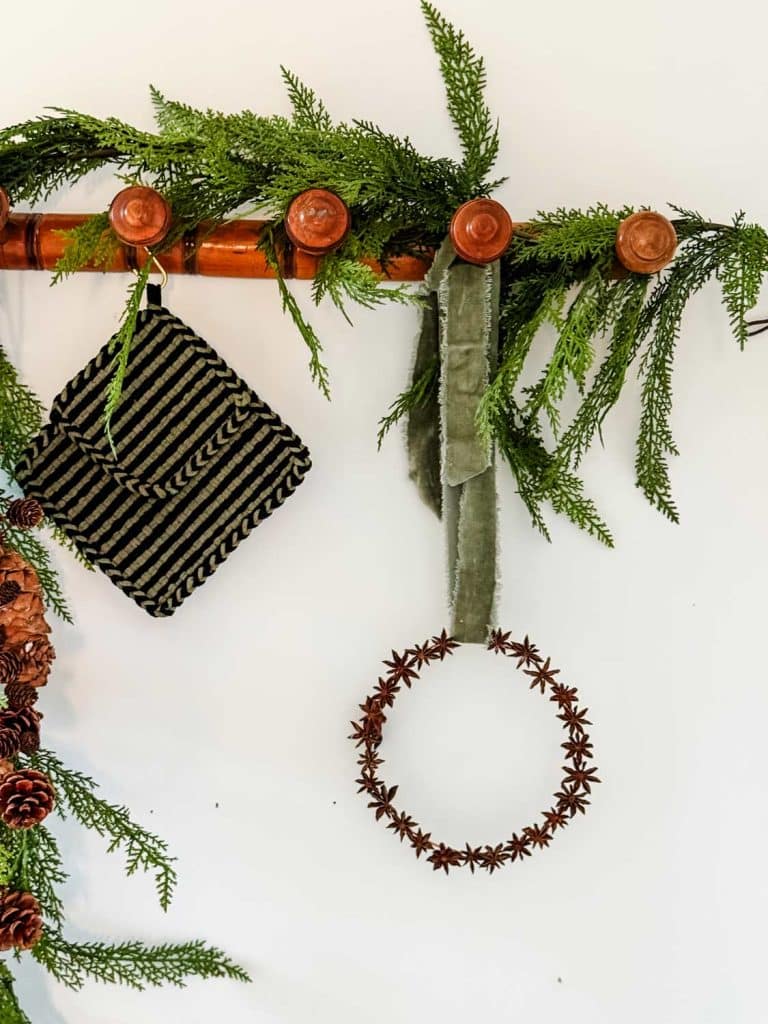
Make a simple wreath made of star anise pods to hang in your holiday kitchen.
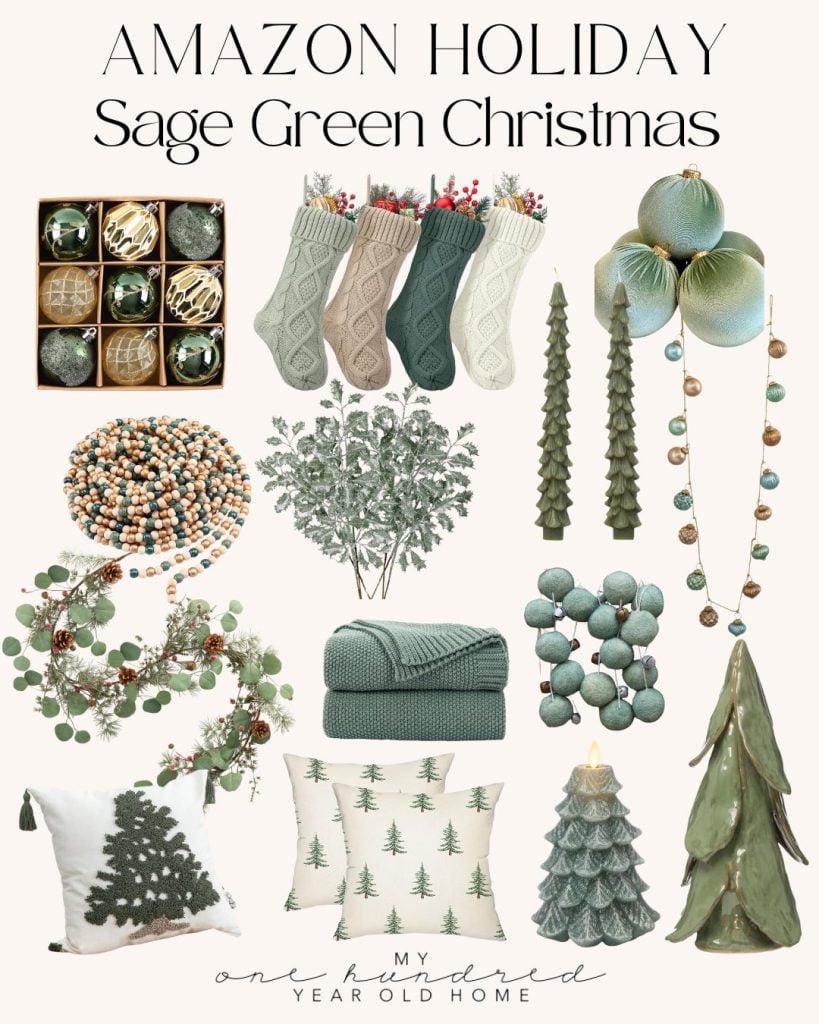
Gorgeous Sage Green Christmas Decor
If you enjoy my blog, you can sign up to receive my updates here.
.If you missed any of my Twelve Days for Getting Ready for Christmas, you can find them here:
- Day 1 – How to Choose Christmas Colors for Your Holiday Decor
- Day 2 – Stocking Stuffers for Christmas Morning
- Day 3 – Gift Wrapping Ideas and Sunday Morning Coffee
- Day 4 – Decorating with Christmas Ribbon in the Dining Room
- Day 5 – Easy Christmas Button Crafts
- Day 6 – Creative Ideas for Christmas Gift Tags
Latest Posts
- Baked Brie with Jam

- A View From Above and Sunday Morning Coffee

- How to Make Beautiful Air Dry Clay Flower Frogs

You can pin the images below to your boards on Pinterest (click the Pin button in the top left corner) or follow me on Pinterest!

For more real-time updates, follow me on Instagram @My100YearOldHome









Leslie, your trees are so elegant. They would be so pretty on a dining tablescape with all white and crystal. Magical!
Aw thank you Annie! I love these trees too ☺️ they would look so magical on a tablescape like that!
I love your trees! Air dry clay is one of my favorites to use!
It’s the best!
I love the trees. I am not a fan of spray glitter. There is a craft paint called ‘Twinkle’ that I love to use.
I also use gesso on hard to paint things like unfinished wood.
Such great ideas for Christmas!
Ooo I’ll have to check those out! Thank you Myrna!