Pink Tabletop Christmas Tree DIY
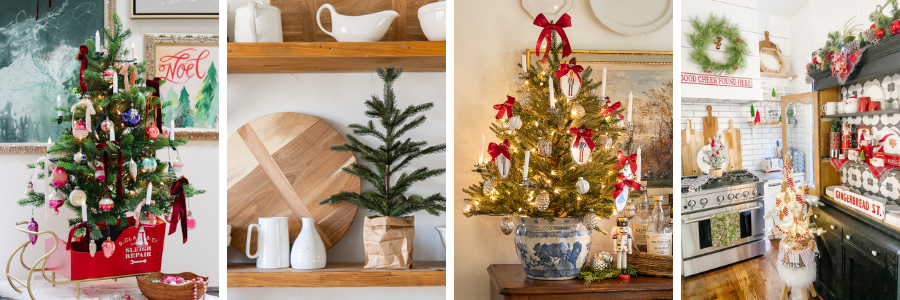
A tabletop Christmas tree is the perfect DIY for a coffee table, a kitchen counter, a sideboard, and down the center of a table. Enjoy!
You can make these tabletop Christmas trees in any color, I made mine in pink but am also going to make them in copper, green, pomegranate red, the options are endless!

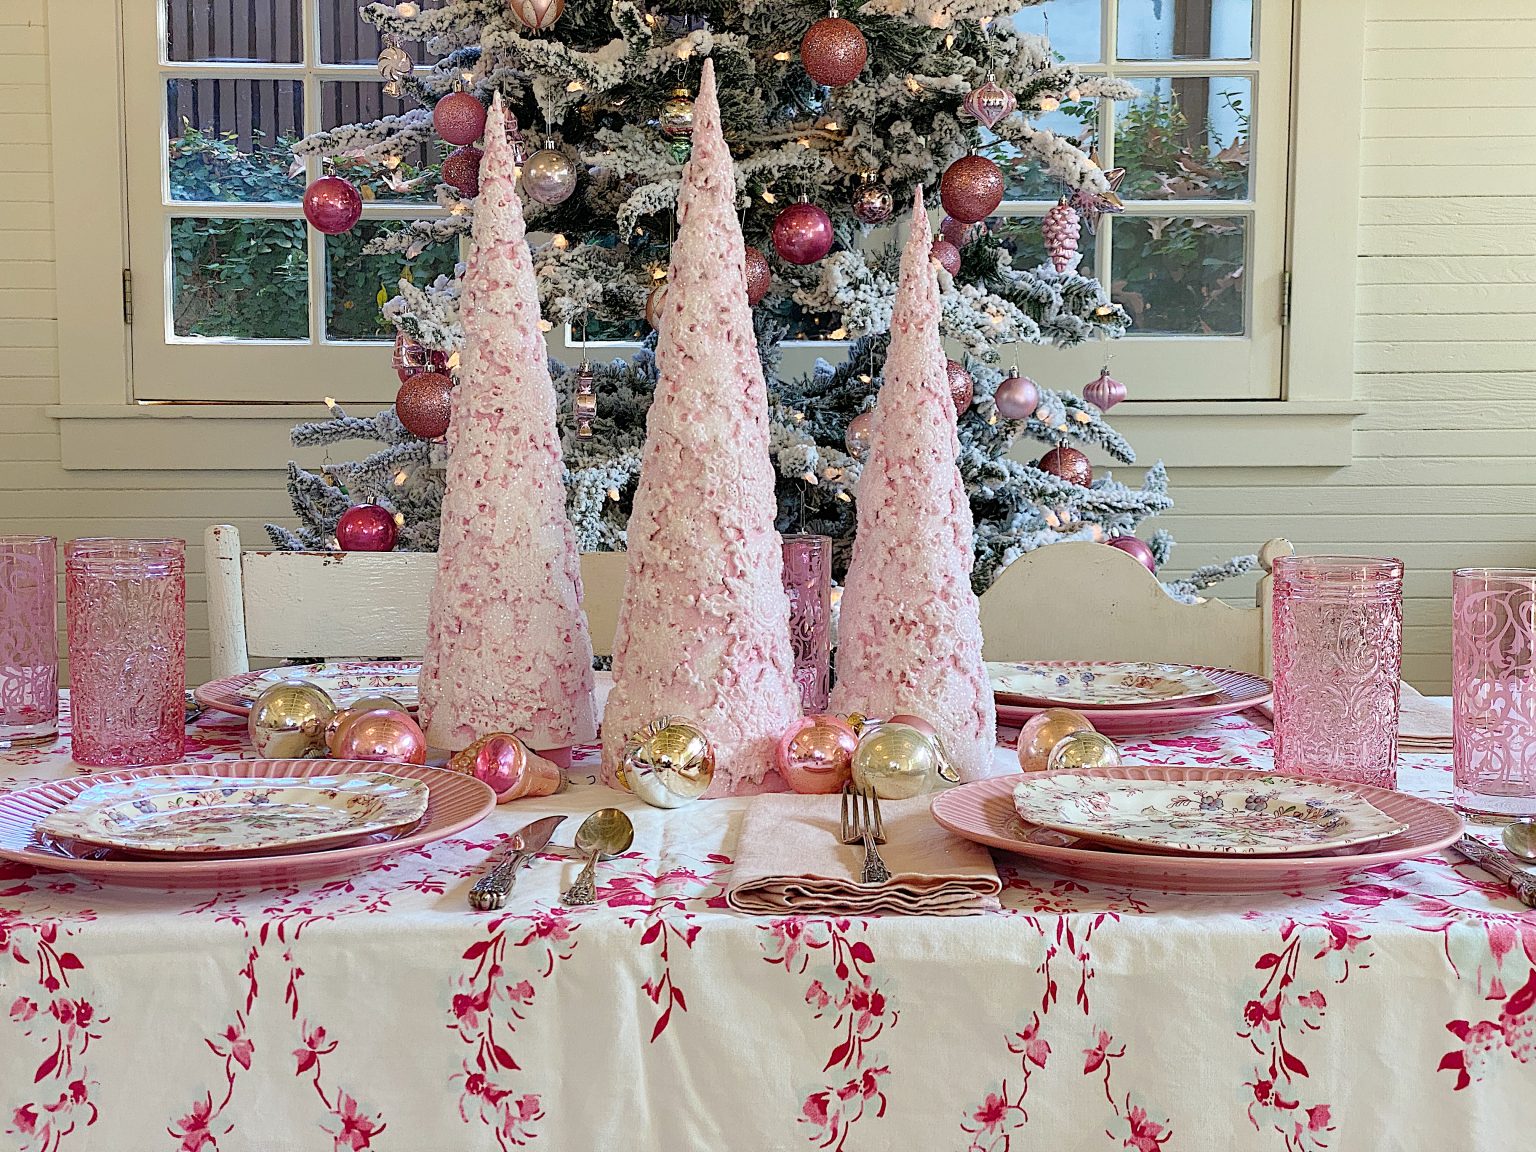
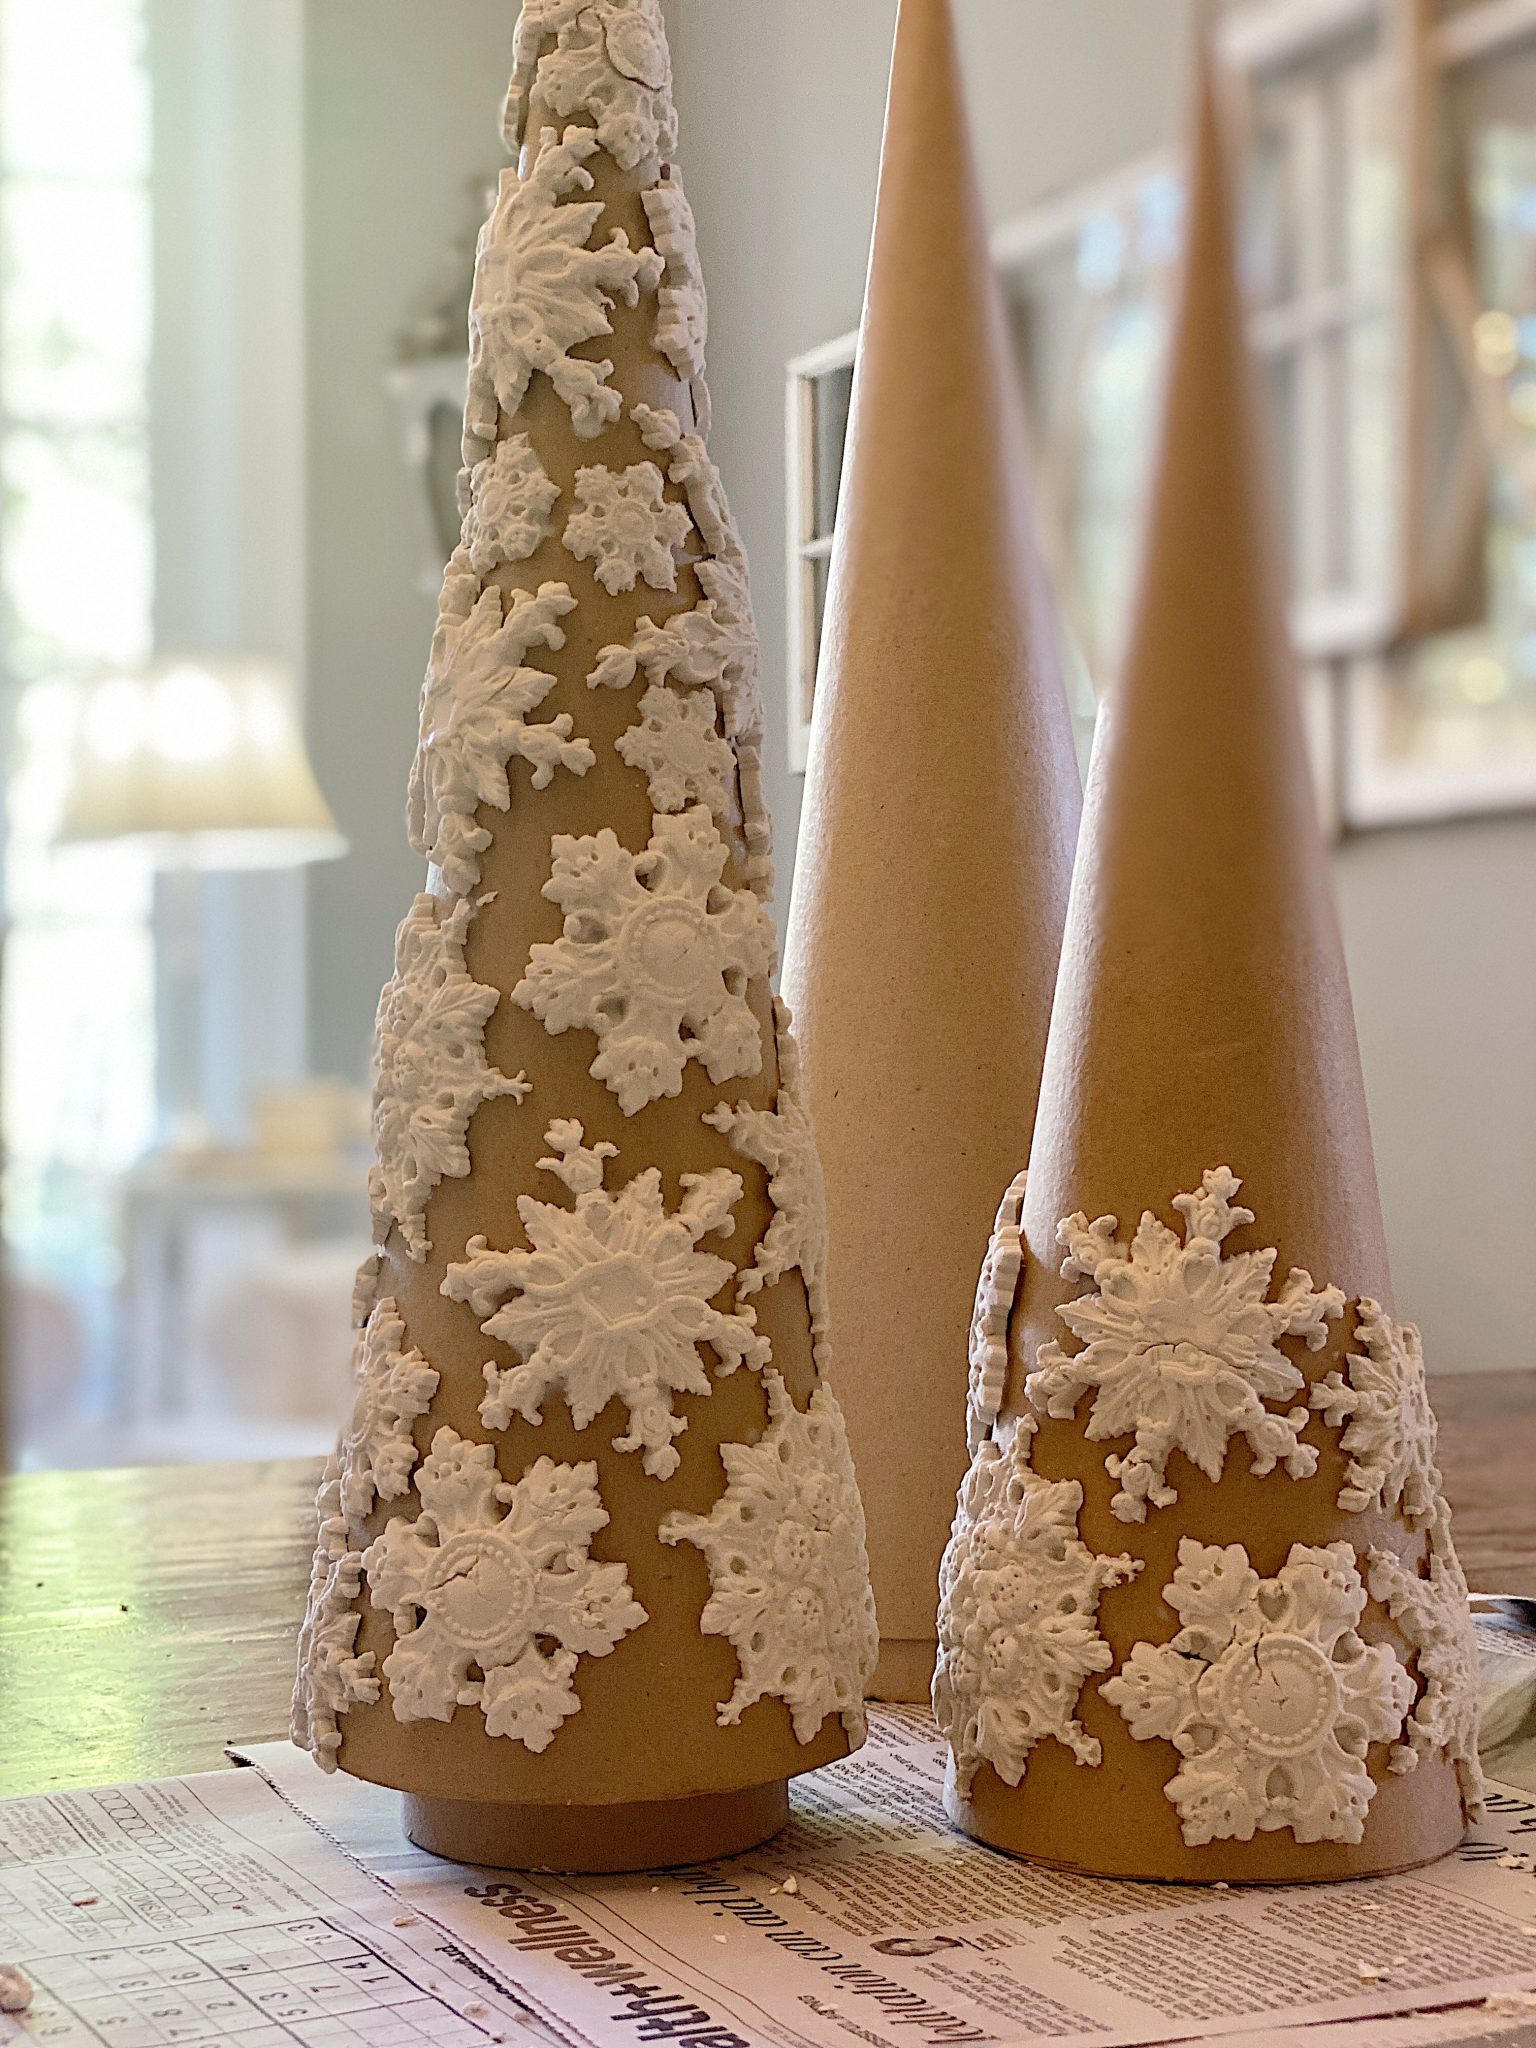
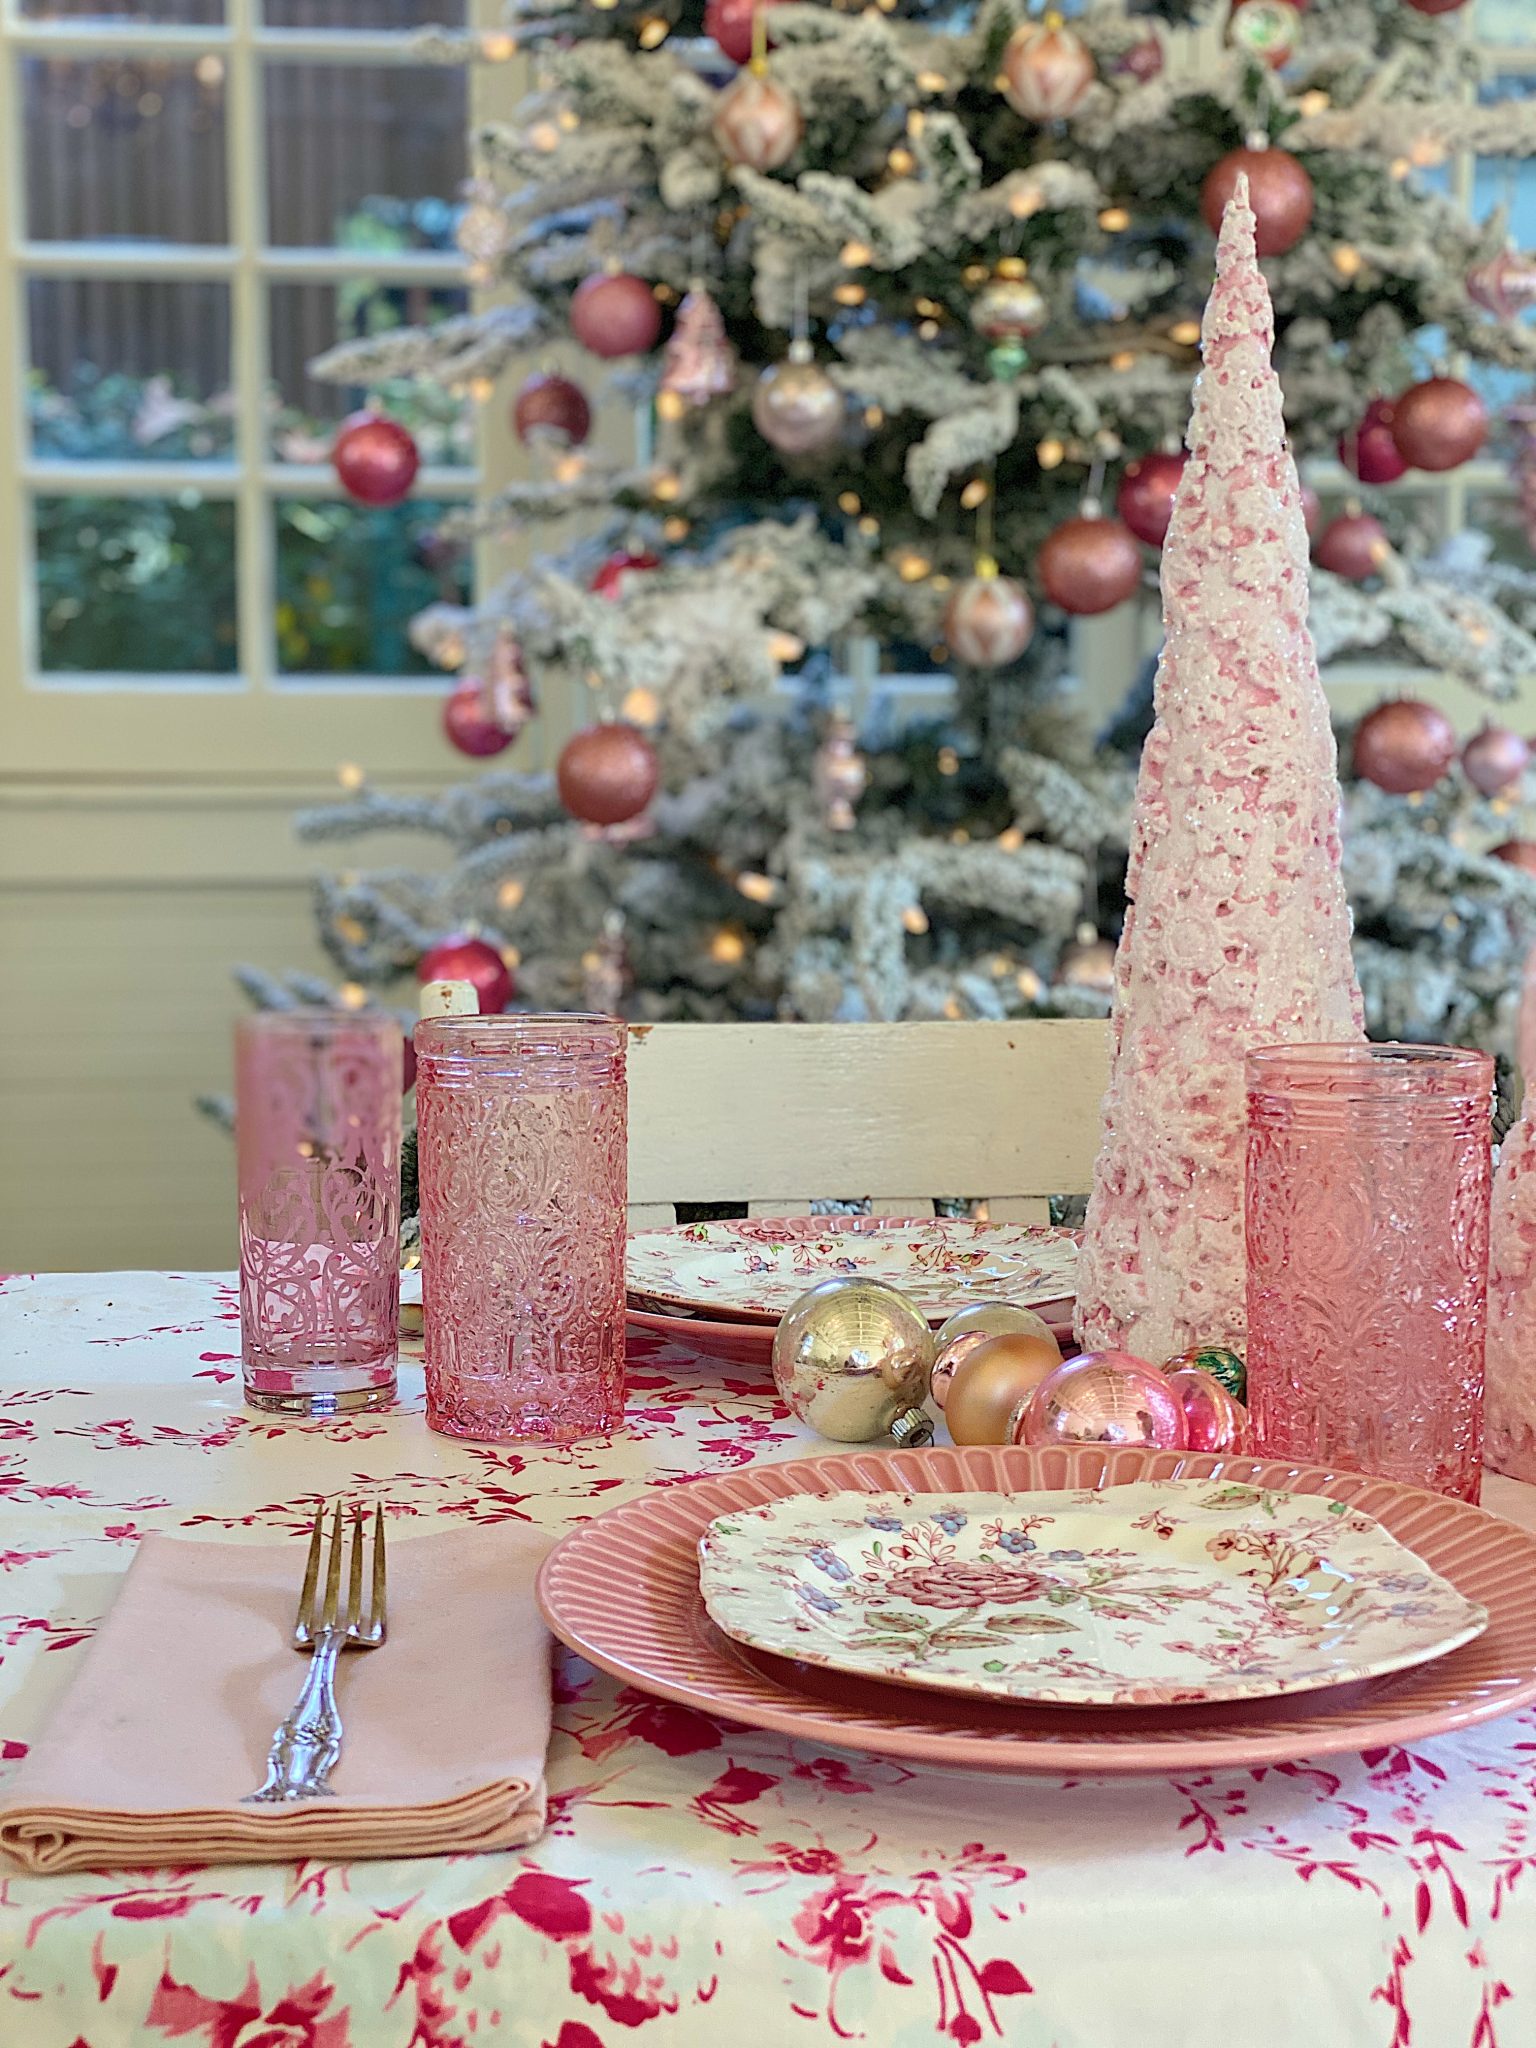
I cannot believe these Pink Tabletop Christmas Trees were made out of cardboard cones. All I did was add some snowflake clay molds, paint them pink and white, and add glitter. Don’t they look amazing?
Pink Tabletop Christmas Tree Decorations
I can’t even begin to tell you how long I have waited to set a pink Christmas table. I love Christmas tabletop trees and thought they might make the perfect centerpiece for a table. So I pulled out my Iron Orchid Design Molds and made these Pink Snowflake Trees.
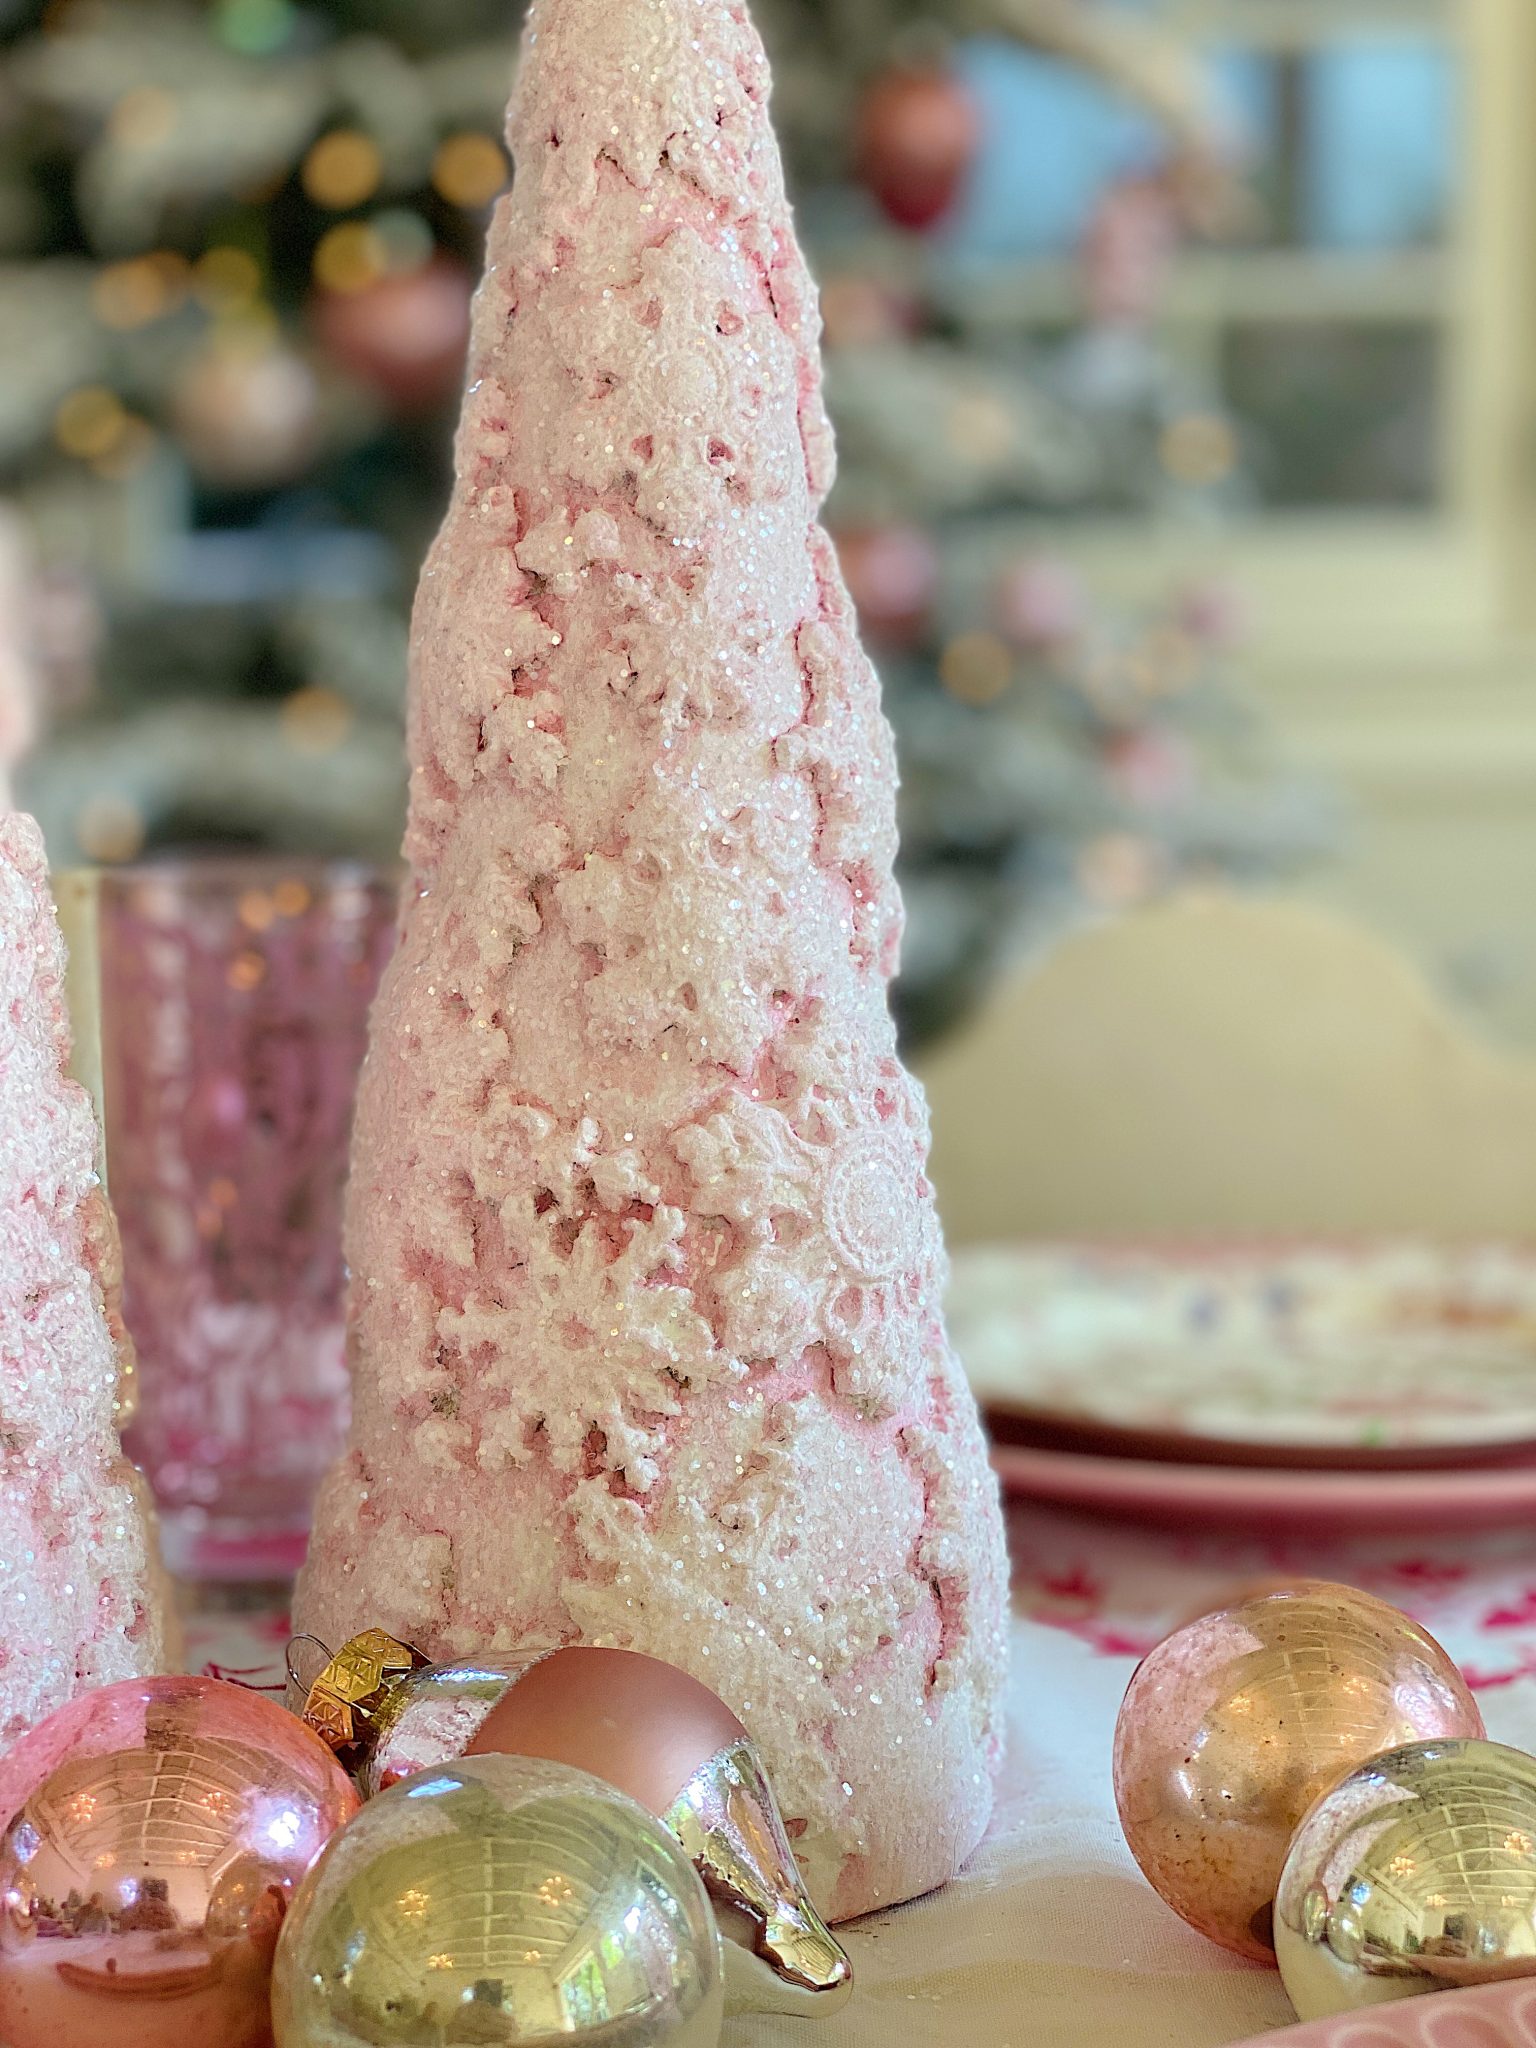
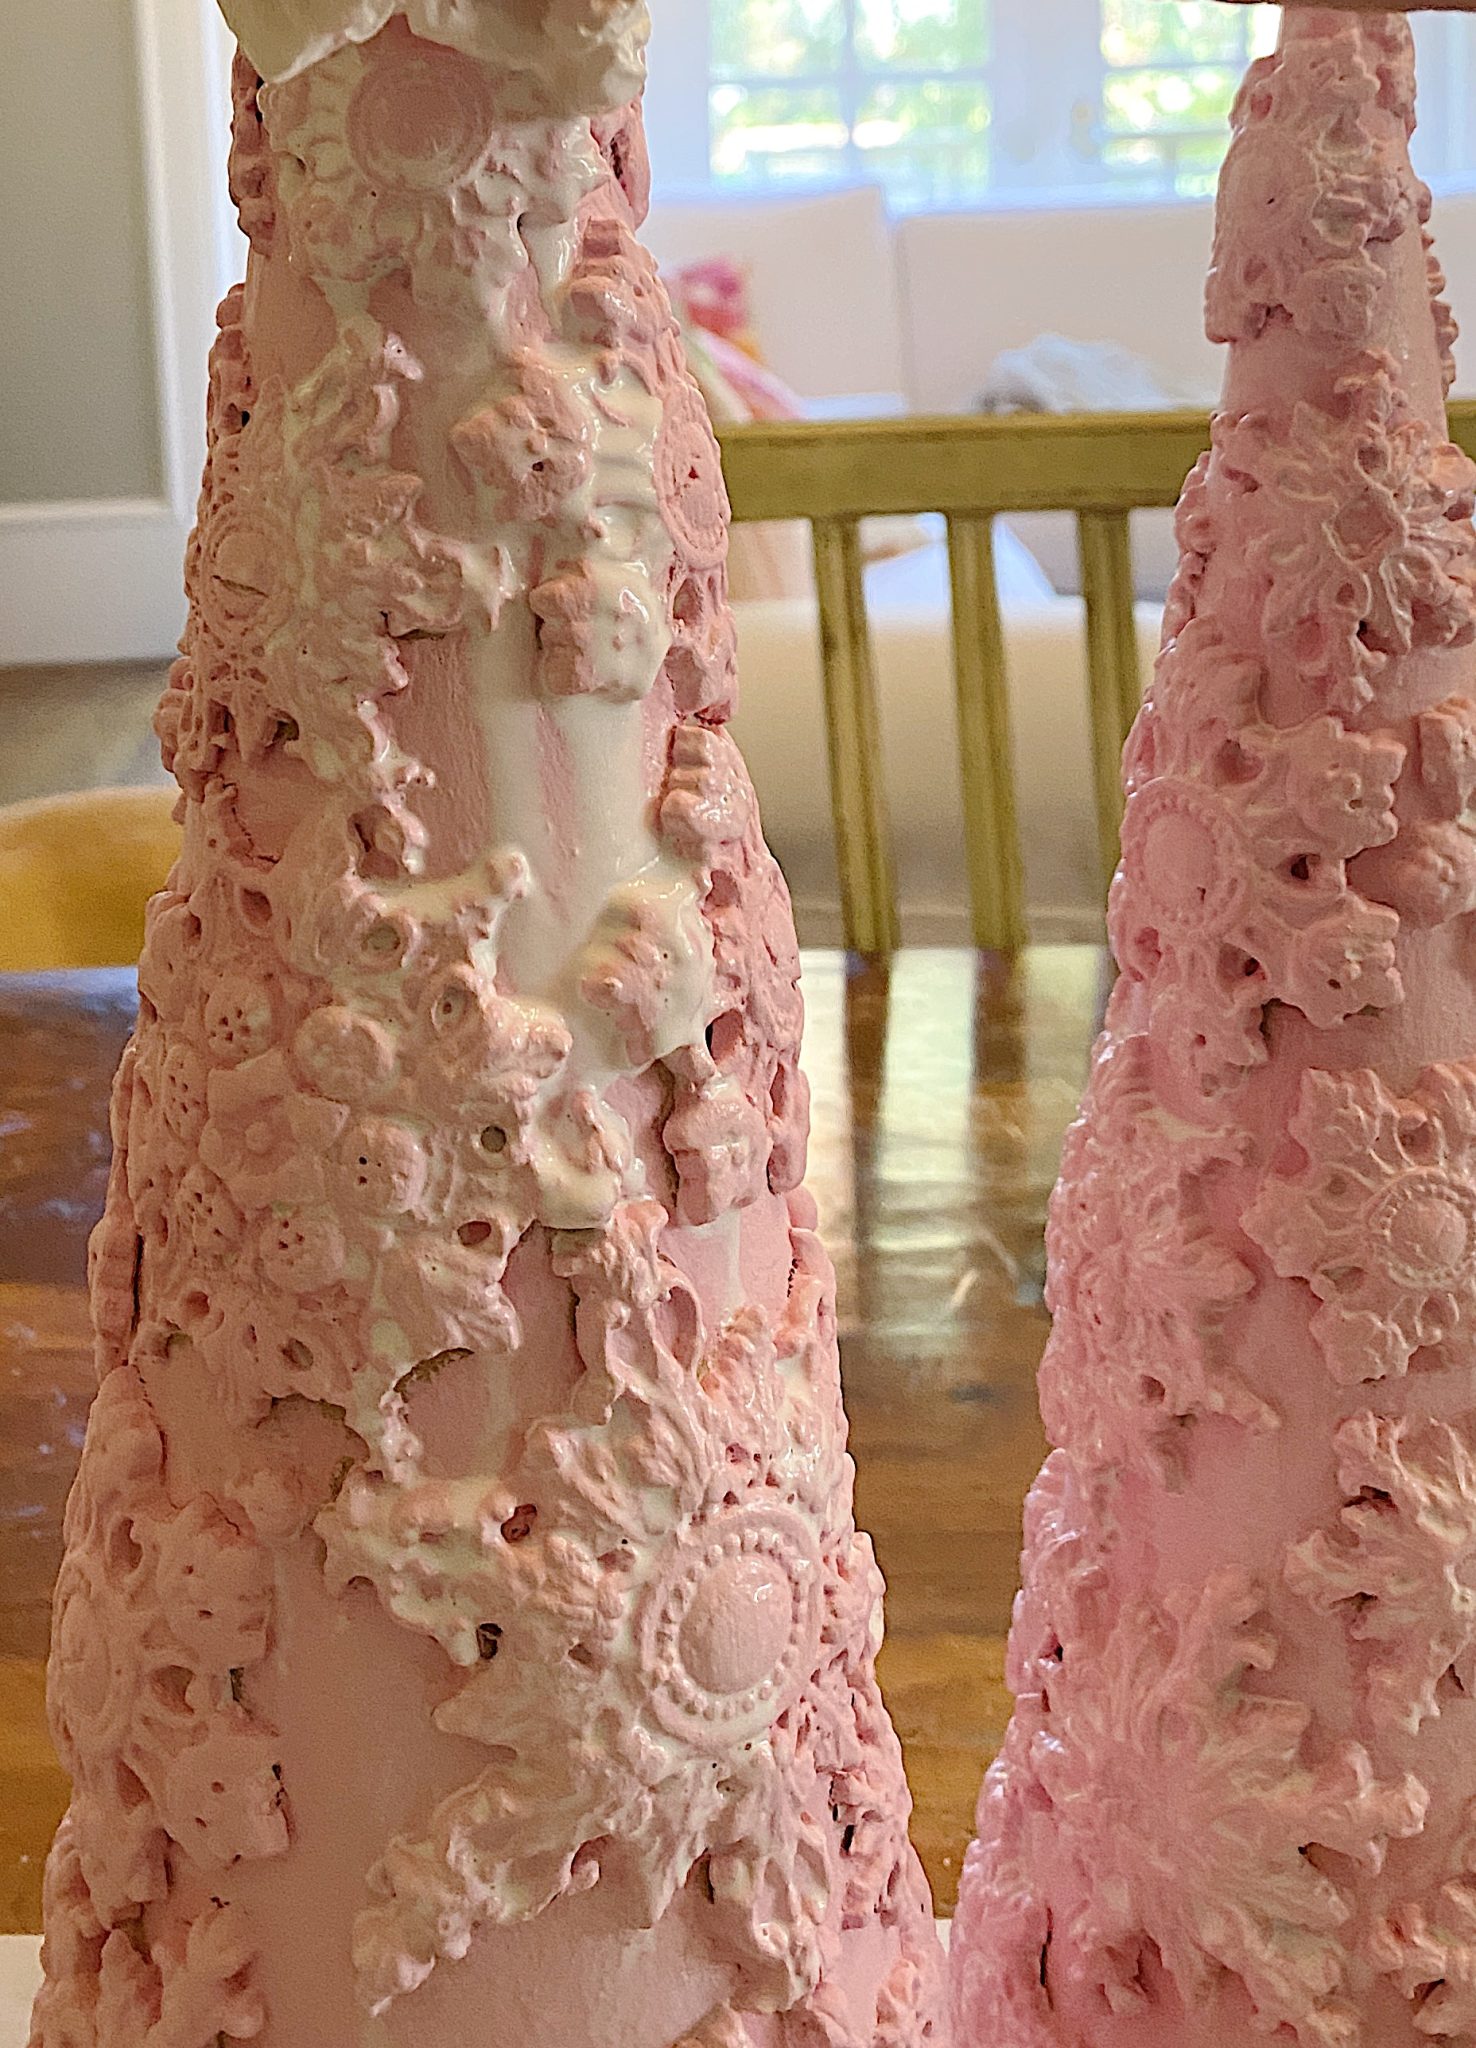
As you can see in the closeup photo, the tree has lots of different snowflake clay molds on it! I used a couple of shades of pink paint to create some depth and I love how the trees look with the glitter.
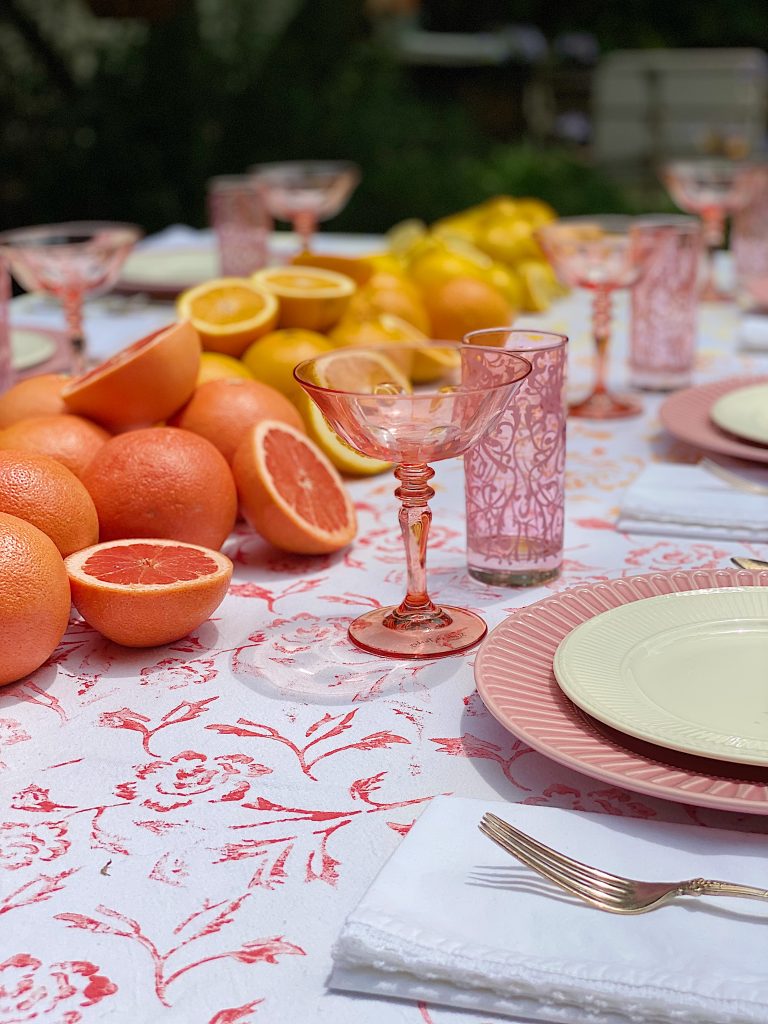
Setting a Pink Christmas Table
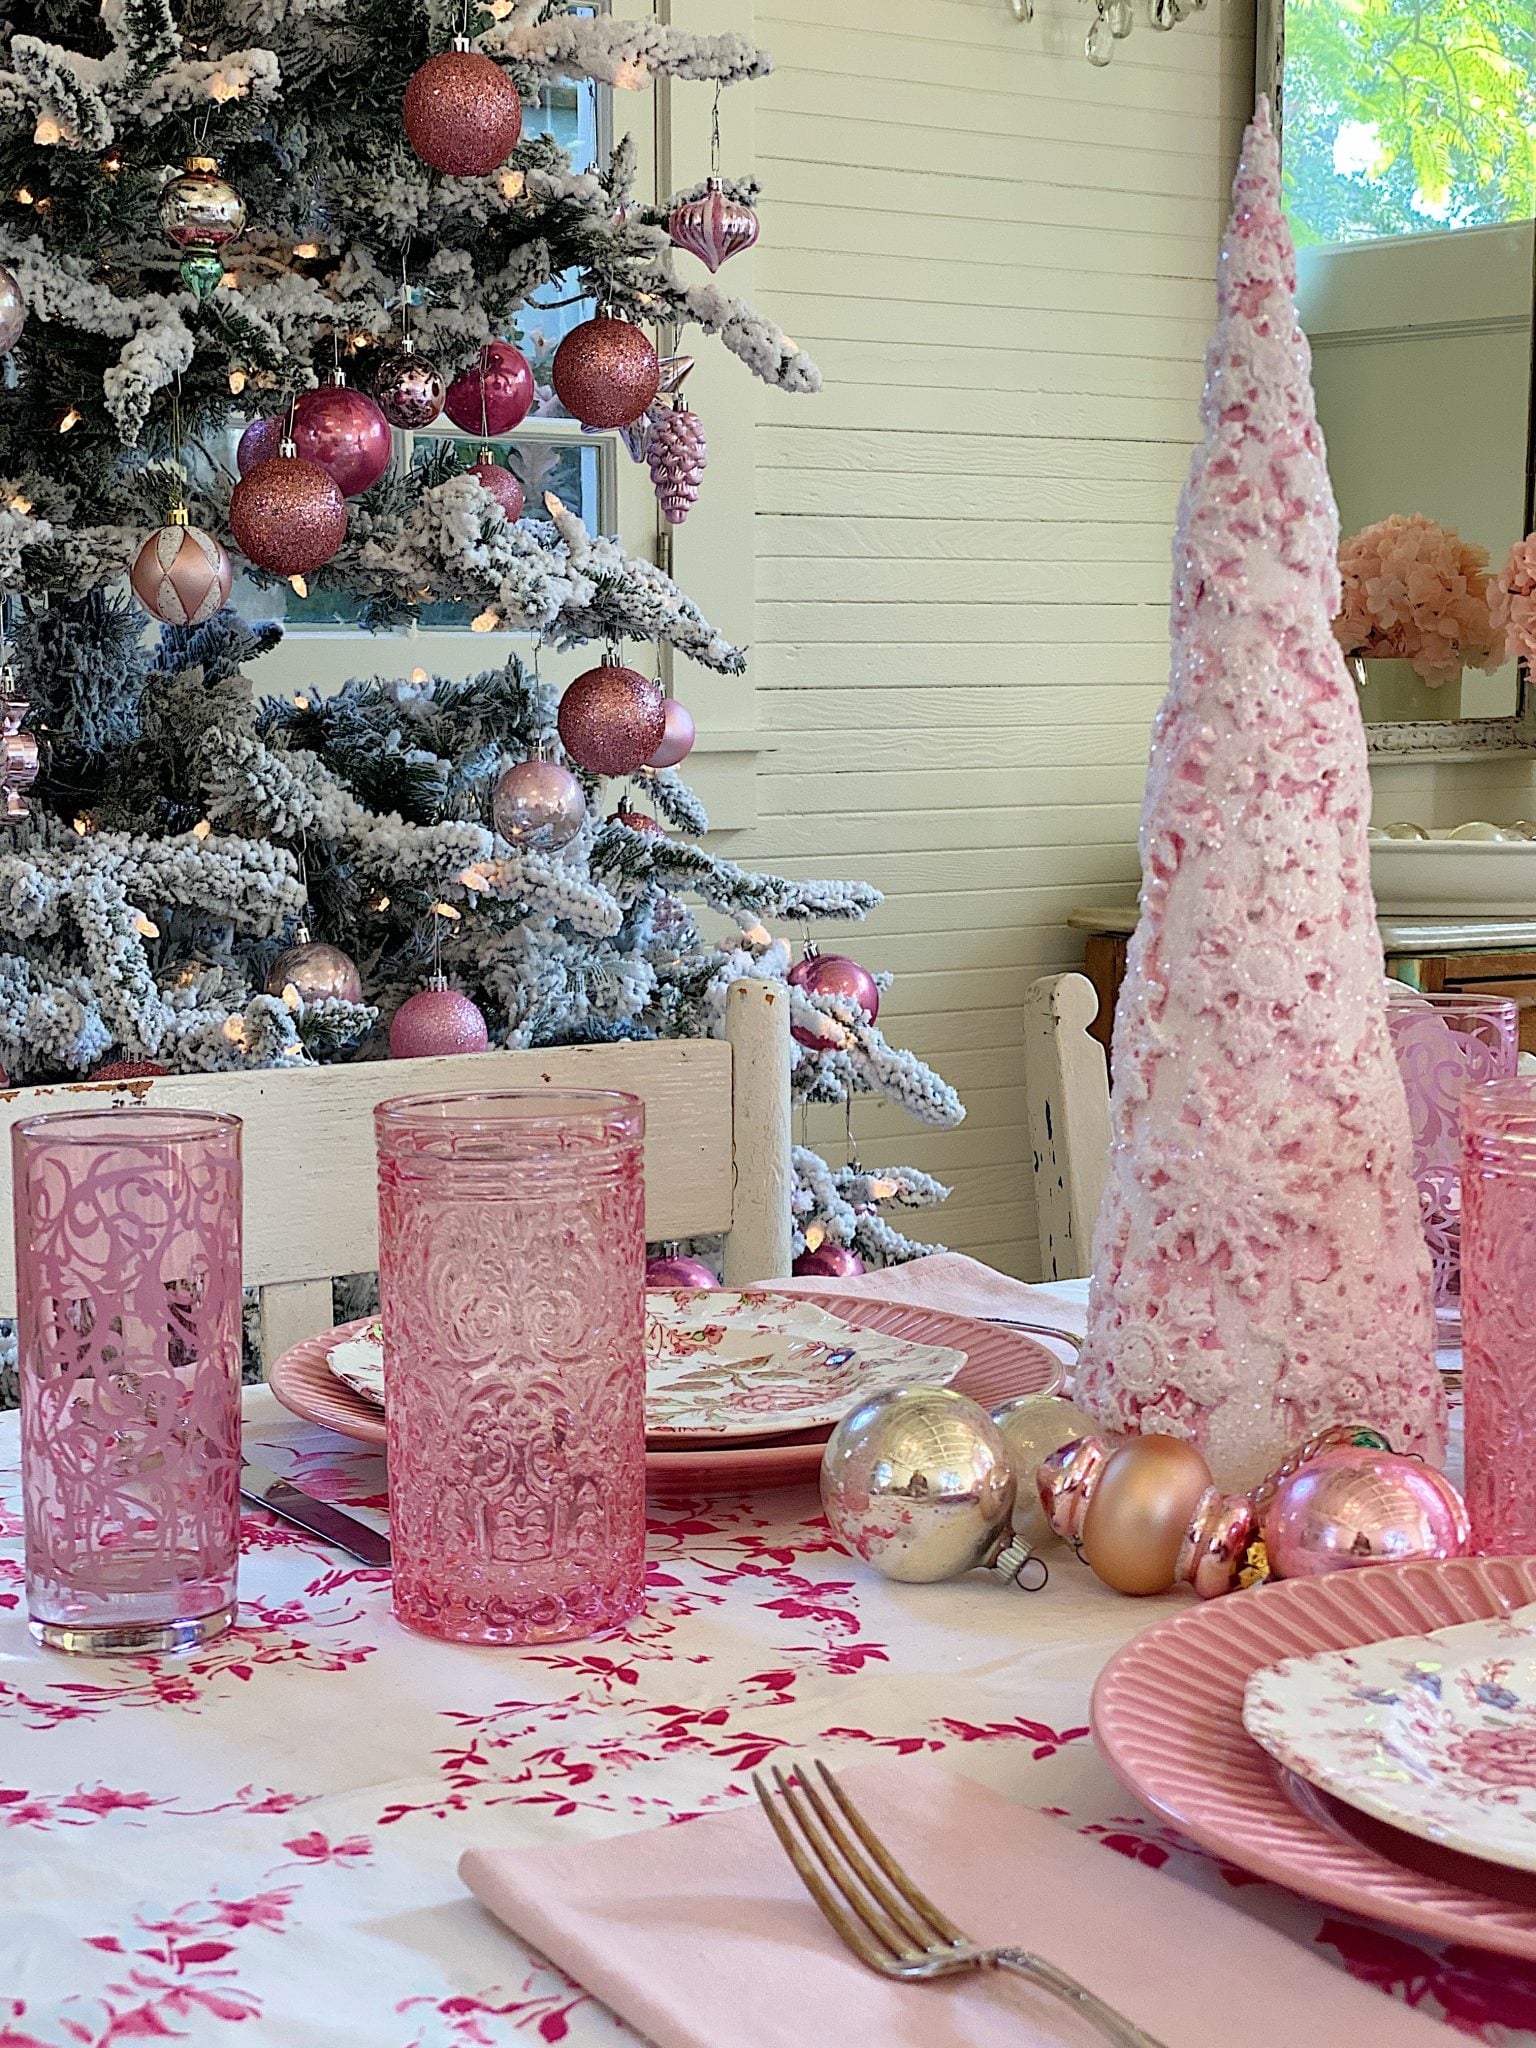
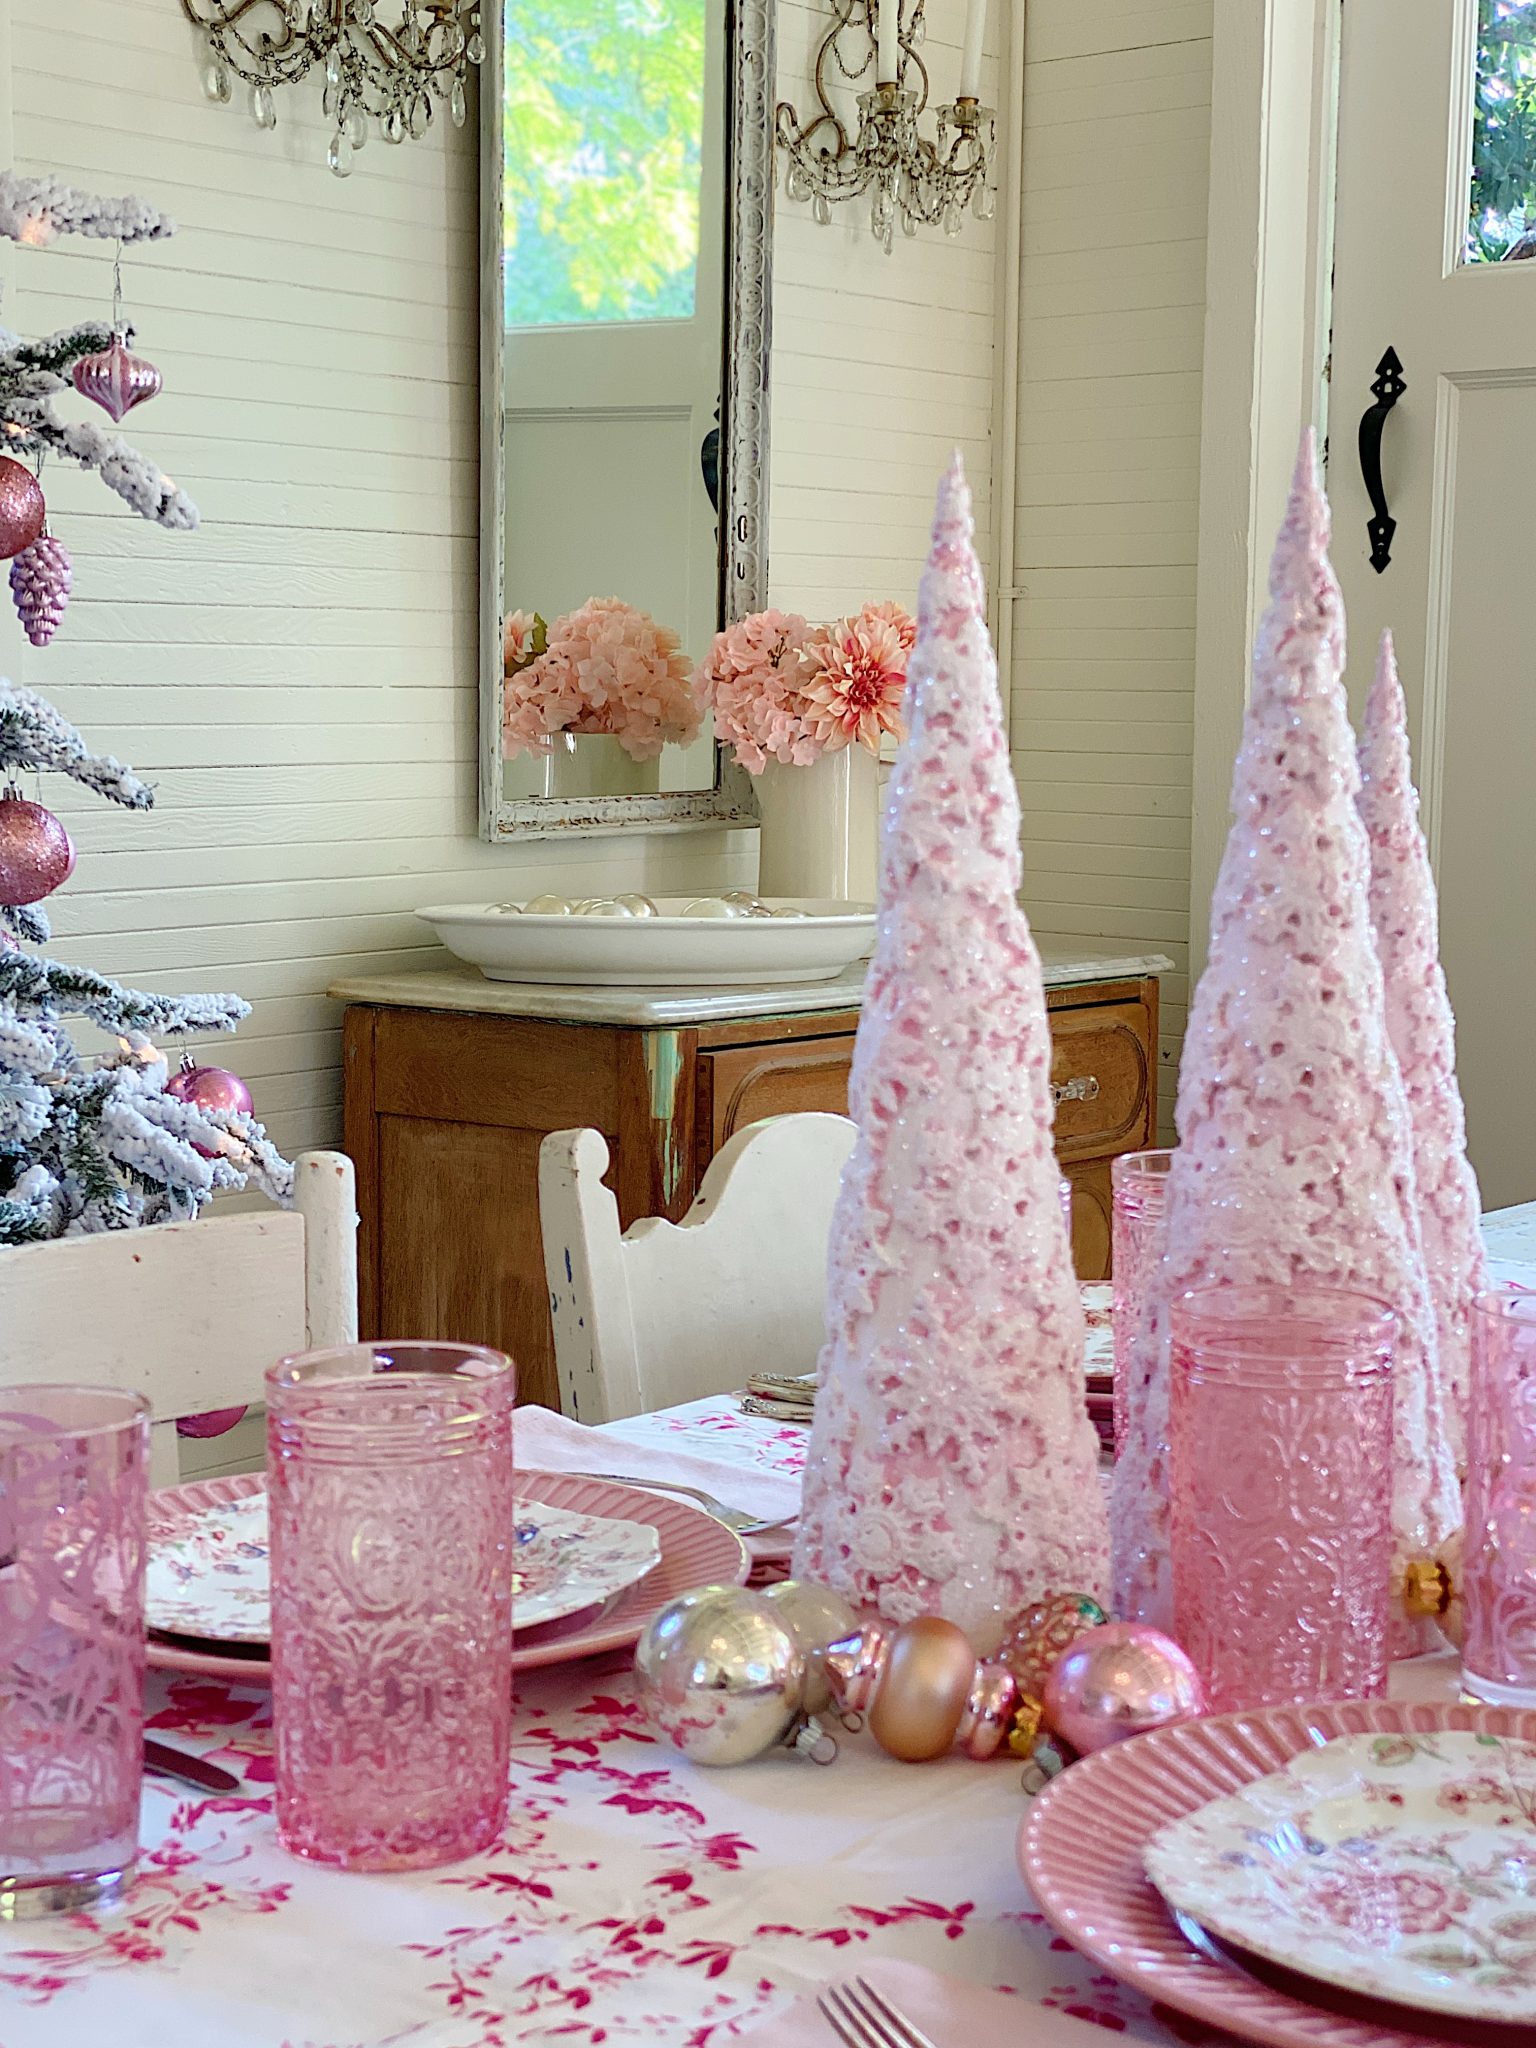
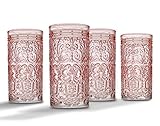
I set this table with one of my favorite vintage tablecloths, lots of pink glassware, napkins, pink plates, and Christmas ornaments. Fortunately, I already owned everything you see in the photo.
Except for the pink trees of course.
How to Make a Pink Table Top Christmas Tree
Materials List
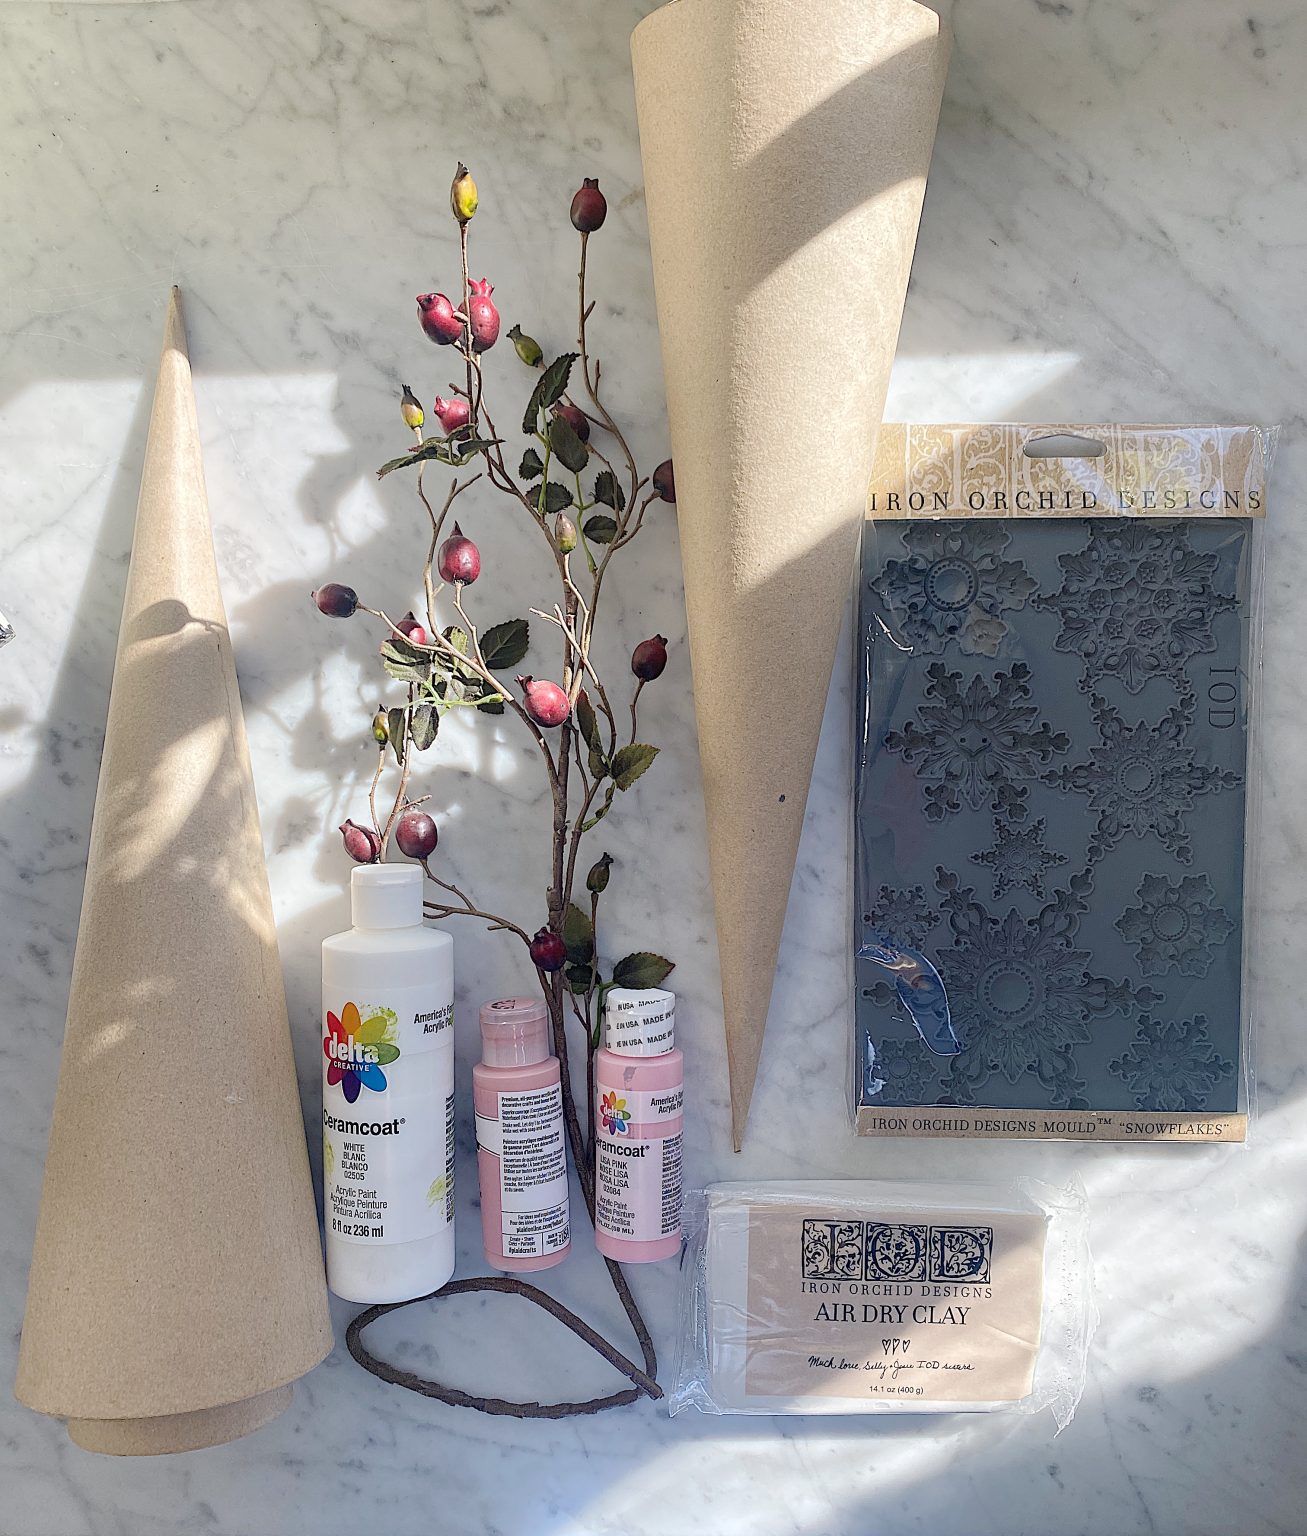
Here is what you need to make these pink snowflake tabletop trees. The Iron Orchid Designs Snowflake Mould (this is last years mould so you need to find a retailer that has it in stock). Two blocks of air dry clay, Titebond Quick and Thick glue, three paper mache cones, white acrylic paint, pink acrylic paint, paint brush, multi-purpose adhesive, white glitter.


Iron Orchid Designs
I love Iron Orchid Designs. You all know how much I love to craft and I am always looking for new ideas that look amazing and are not hard to do. Iron Orchid Designs has the most incredible products for crafts and DIYs. Their designs are so creative, they are a company of wonderful people, and their products will easily help you to discover amazing new DIYs and crafts.
If you go to the IOD website you will find “DIY tools and tutorials to inspire your creative soul”. They have decor moulds, decor stamps, and decor transfers to make fabulous items for your home. Today I get to share how I made these chargers for my fall table!
Where can you buy Iron Orchid Designs products? Just click here to find a retailer near you! (You can also order online from some of the retailers.)
Step-By-Step DIY Instructions

- one – If you want to adjust the height of your trees, just draw a line on the bottom and cut off however much you want to make it shorter. Some cones have bases (which I don’t suggest that you cut.) Others have an open bottom and cut easily. I actually used both types.
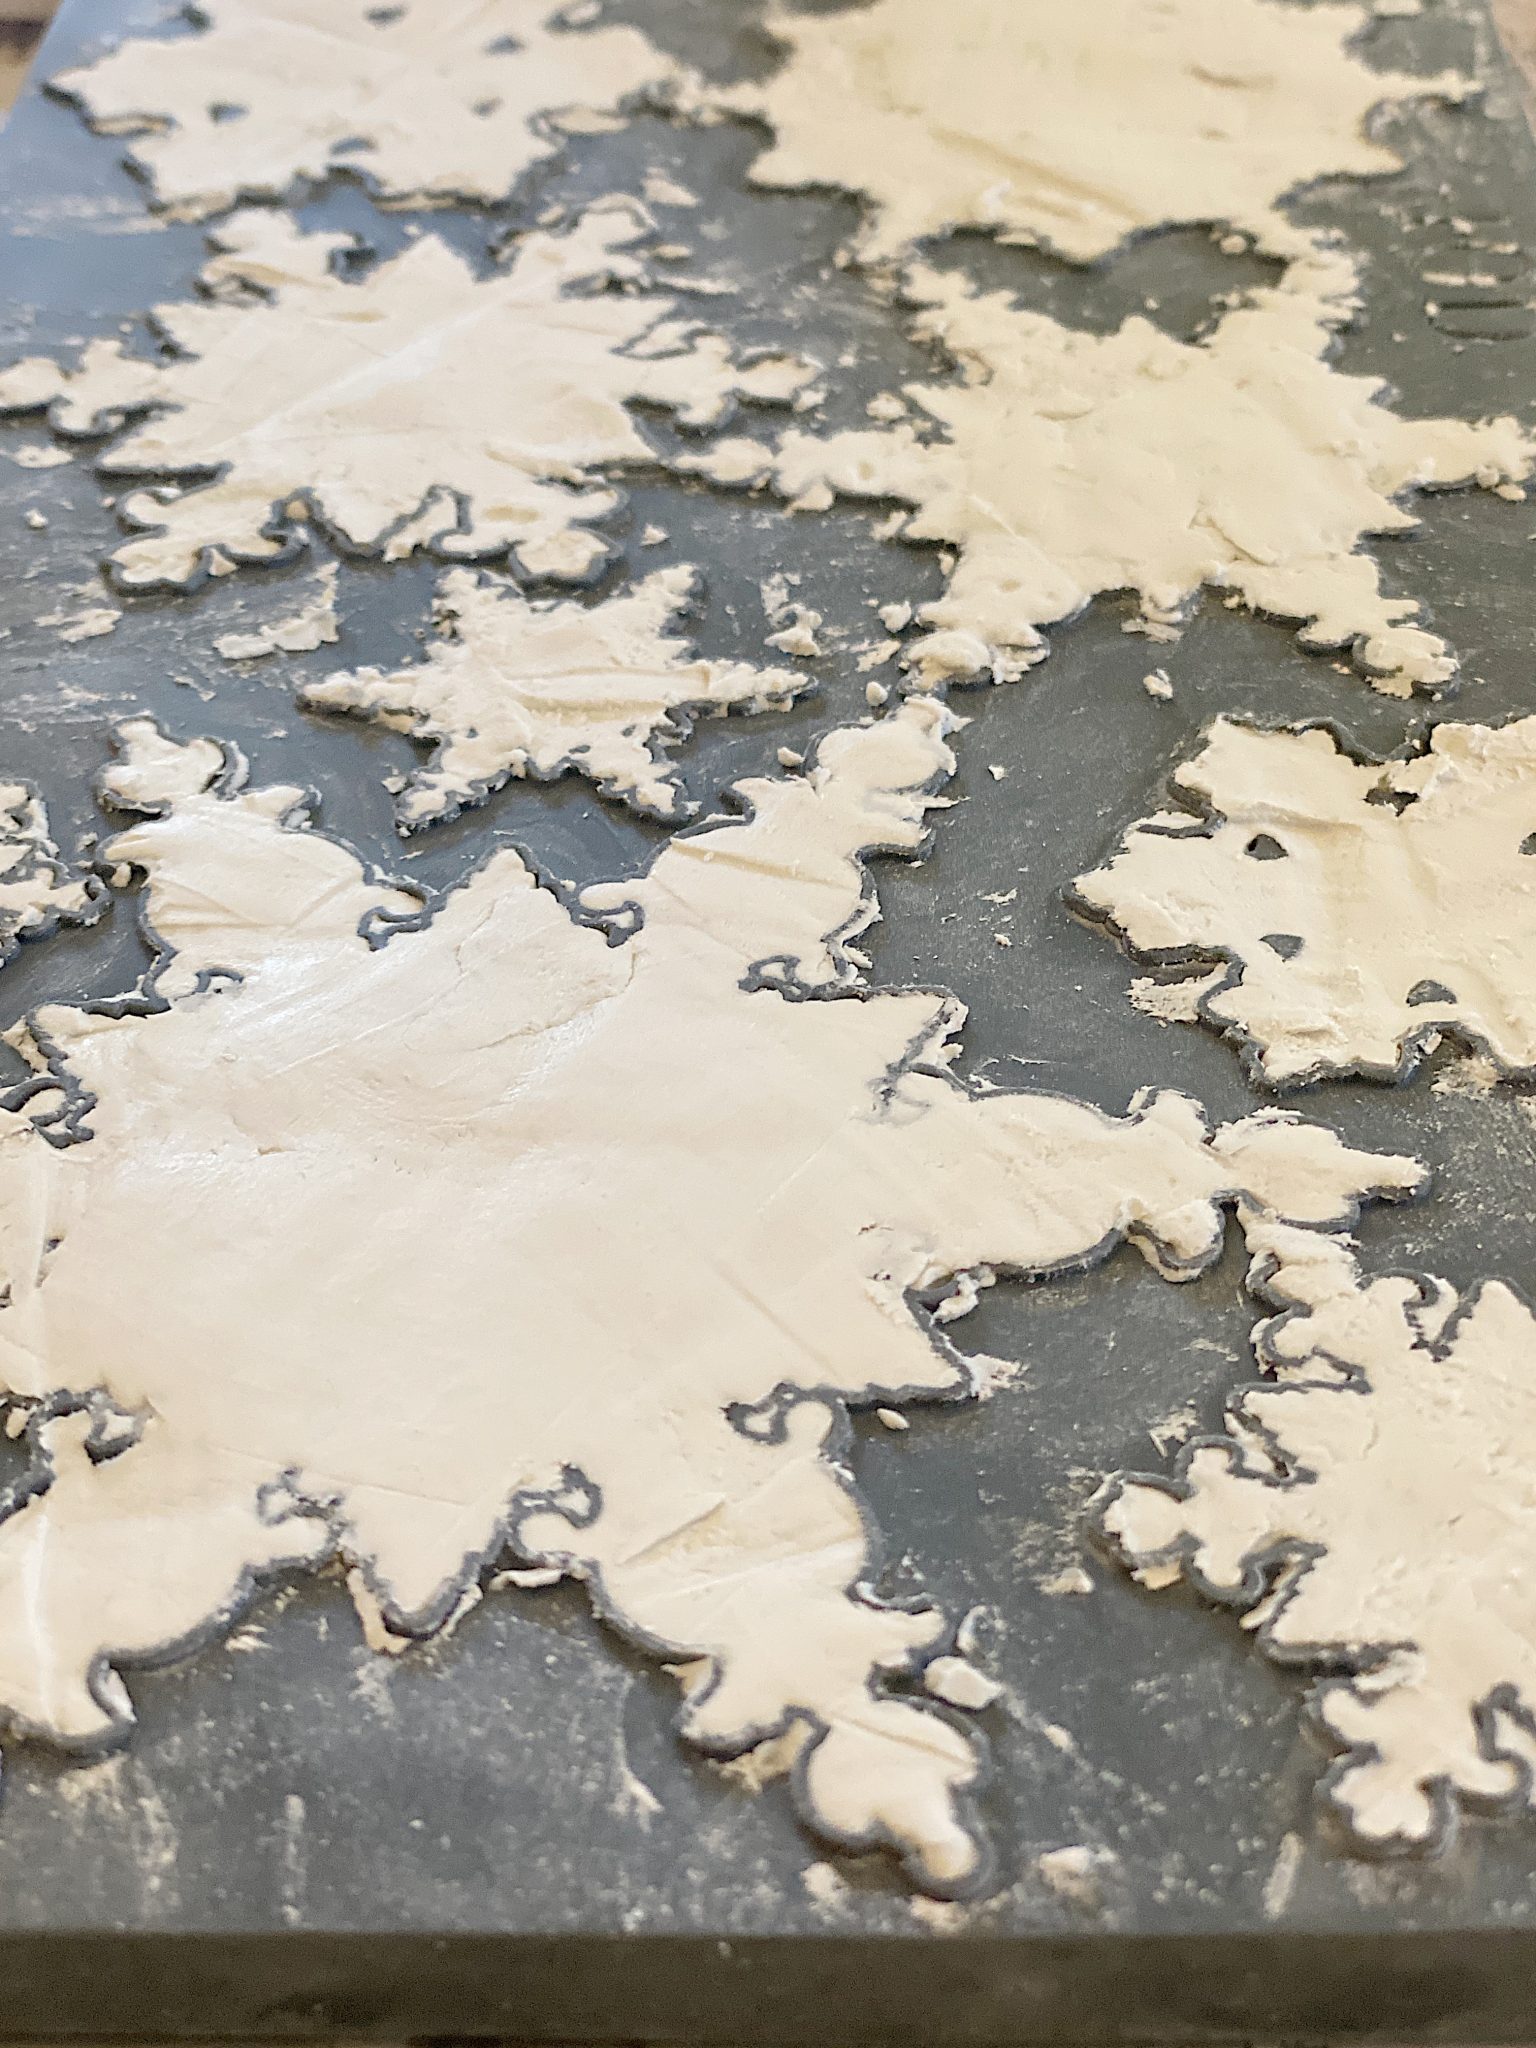
- two – Place the clay in the moulds and use a straight edge across the top to remove the exces clay.
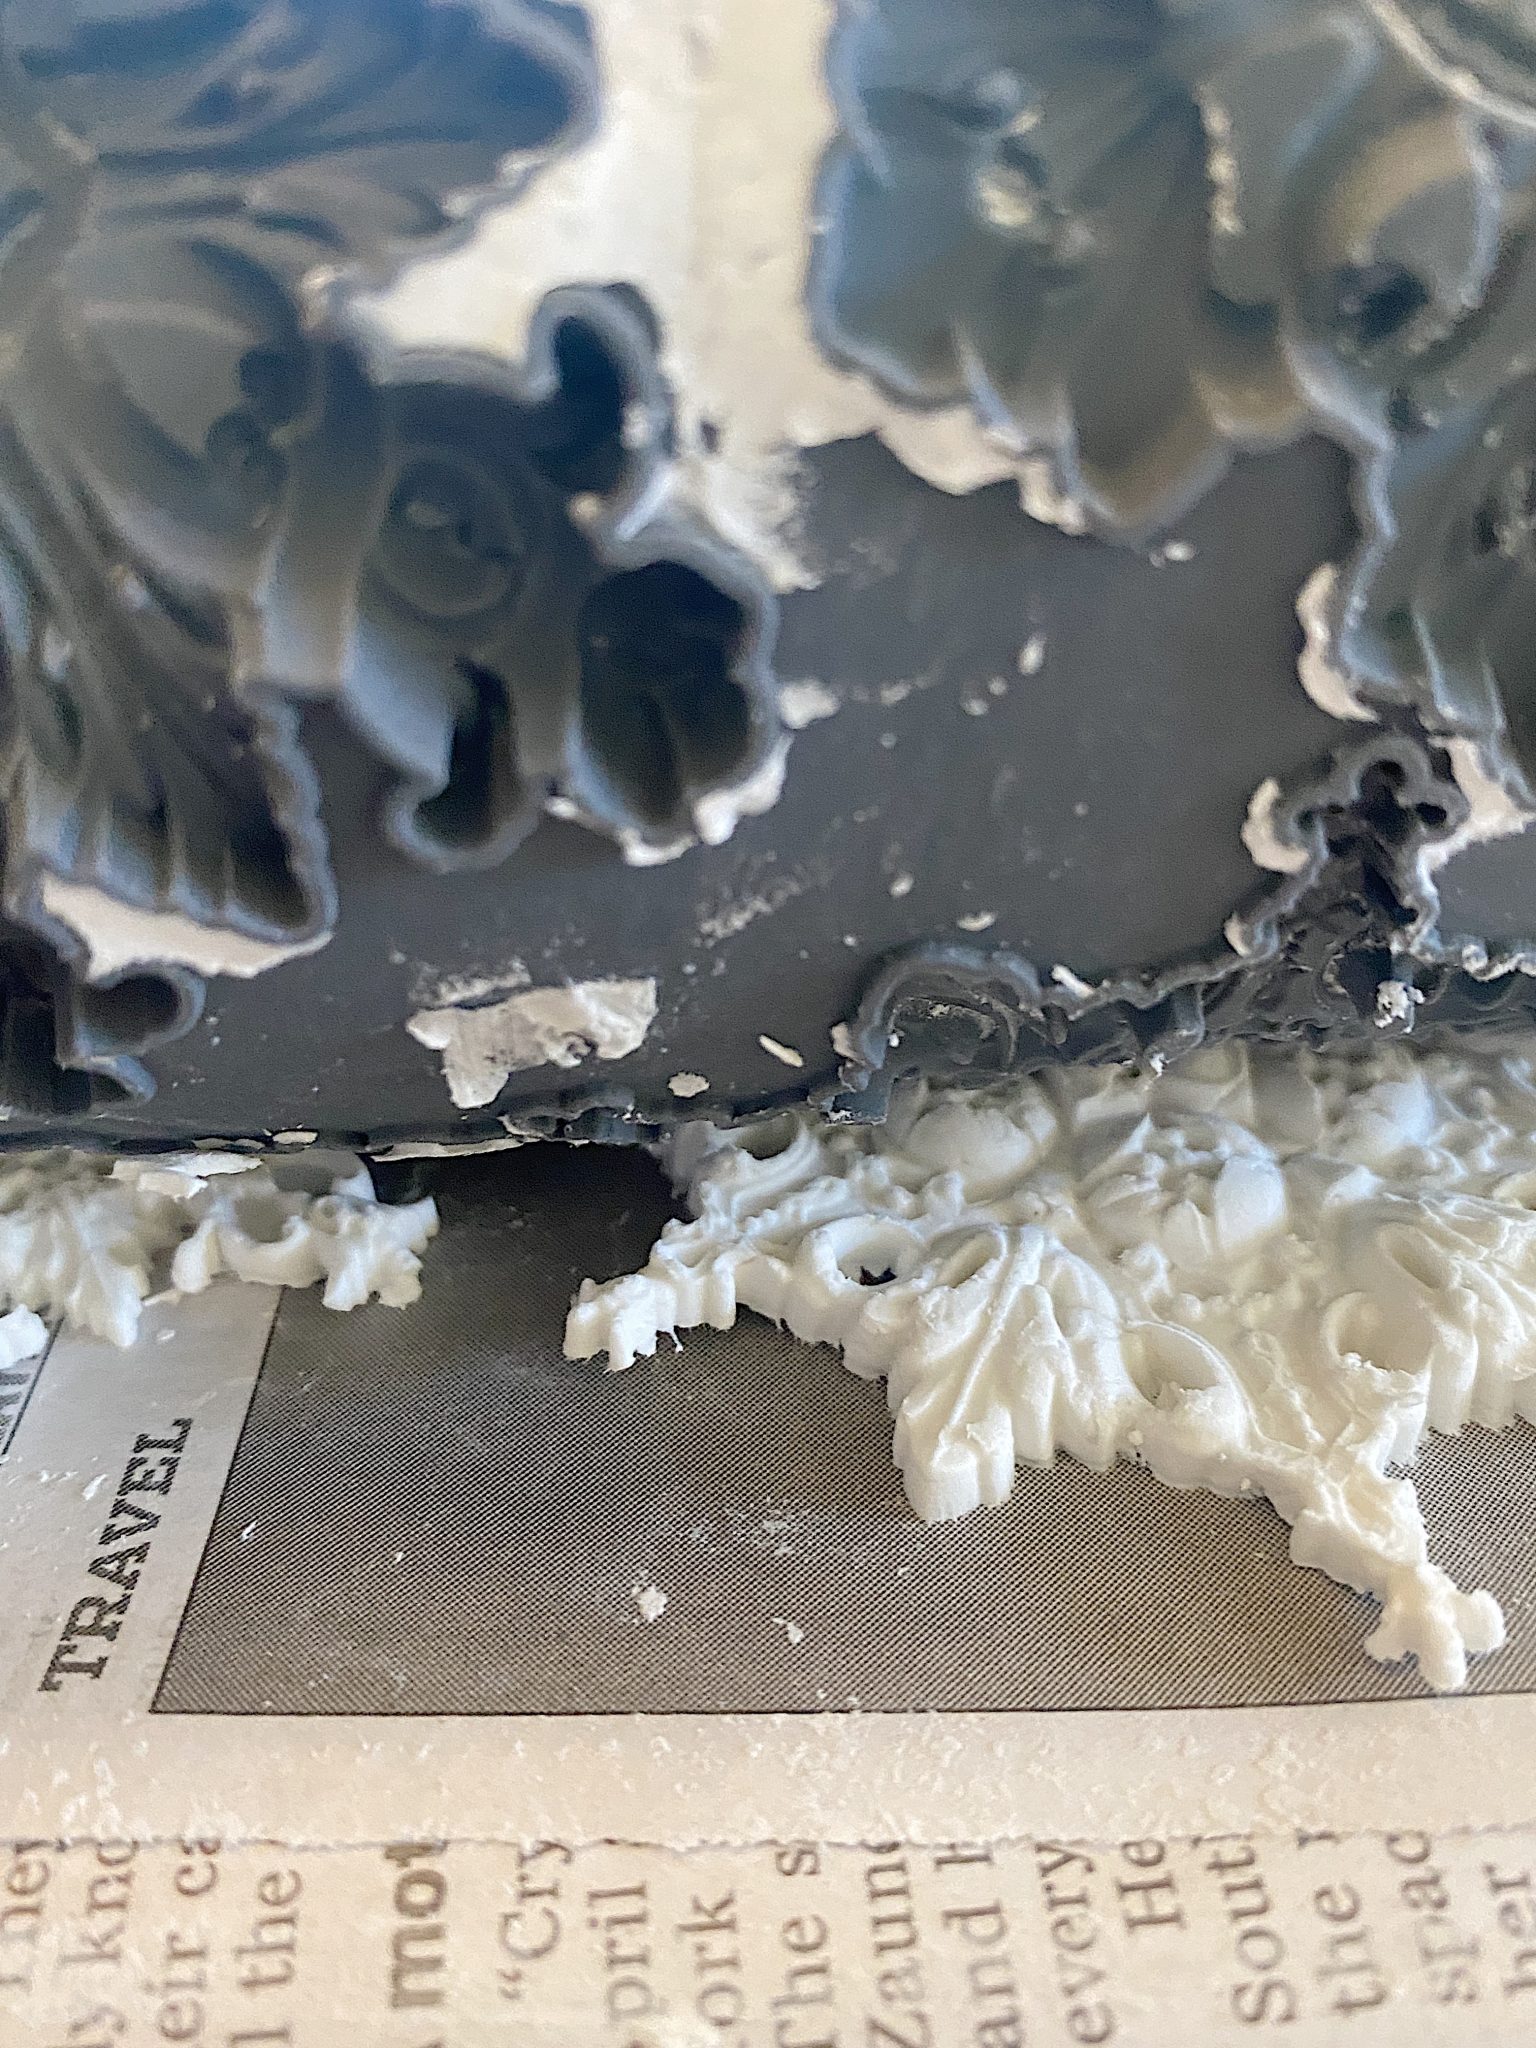
- three – Because the snowflakes are quite detailed, I highly suggest you put the moulds in the freezer. If you put them in for about 20 minutes they will pop out of the mould so easily! (If you don’t put them in the freezer it will be hard to remove the clay.) Trust me, I know!
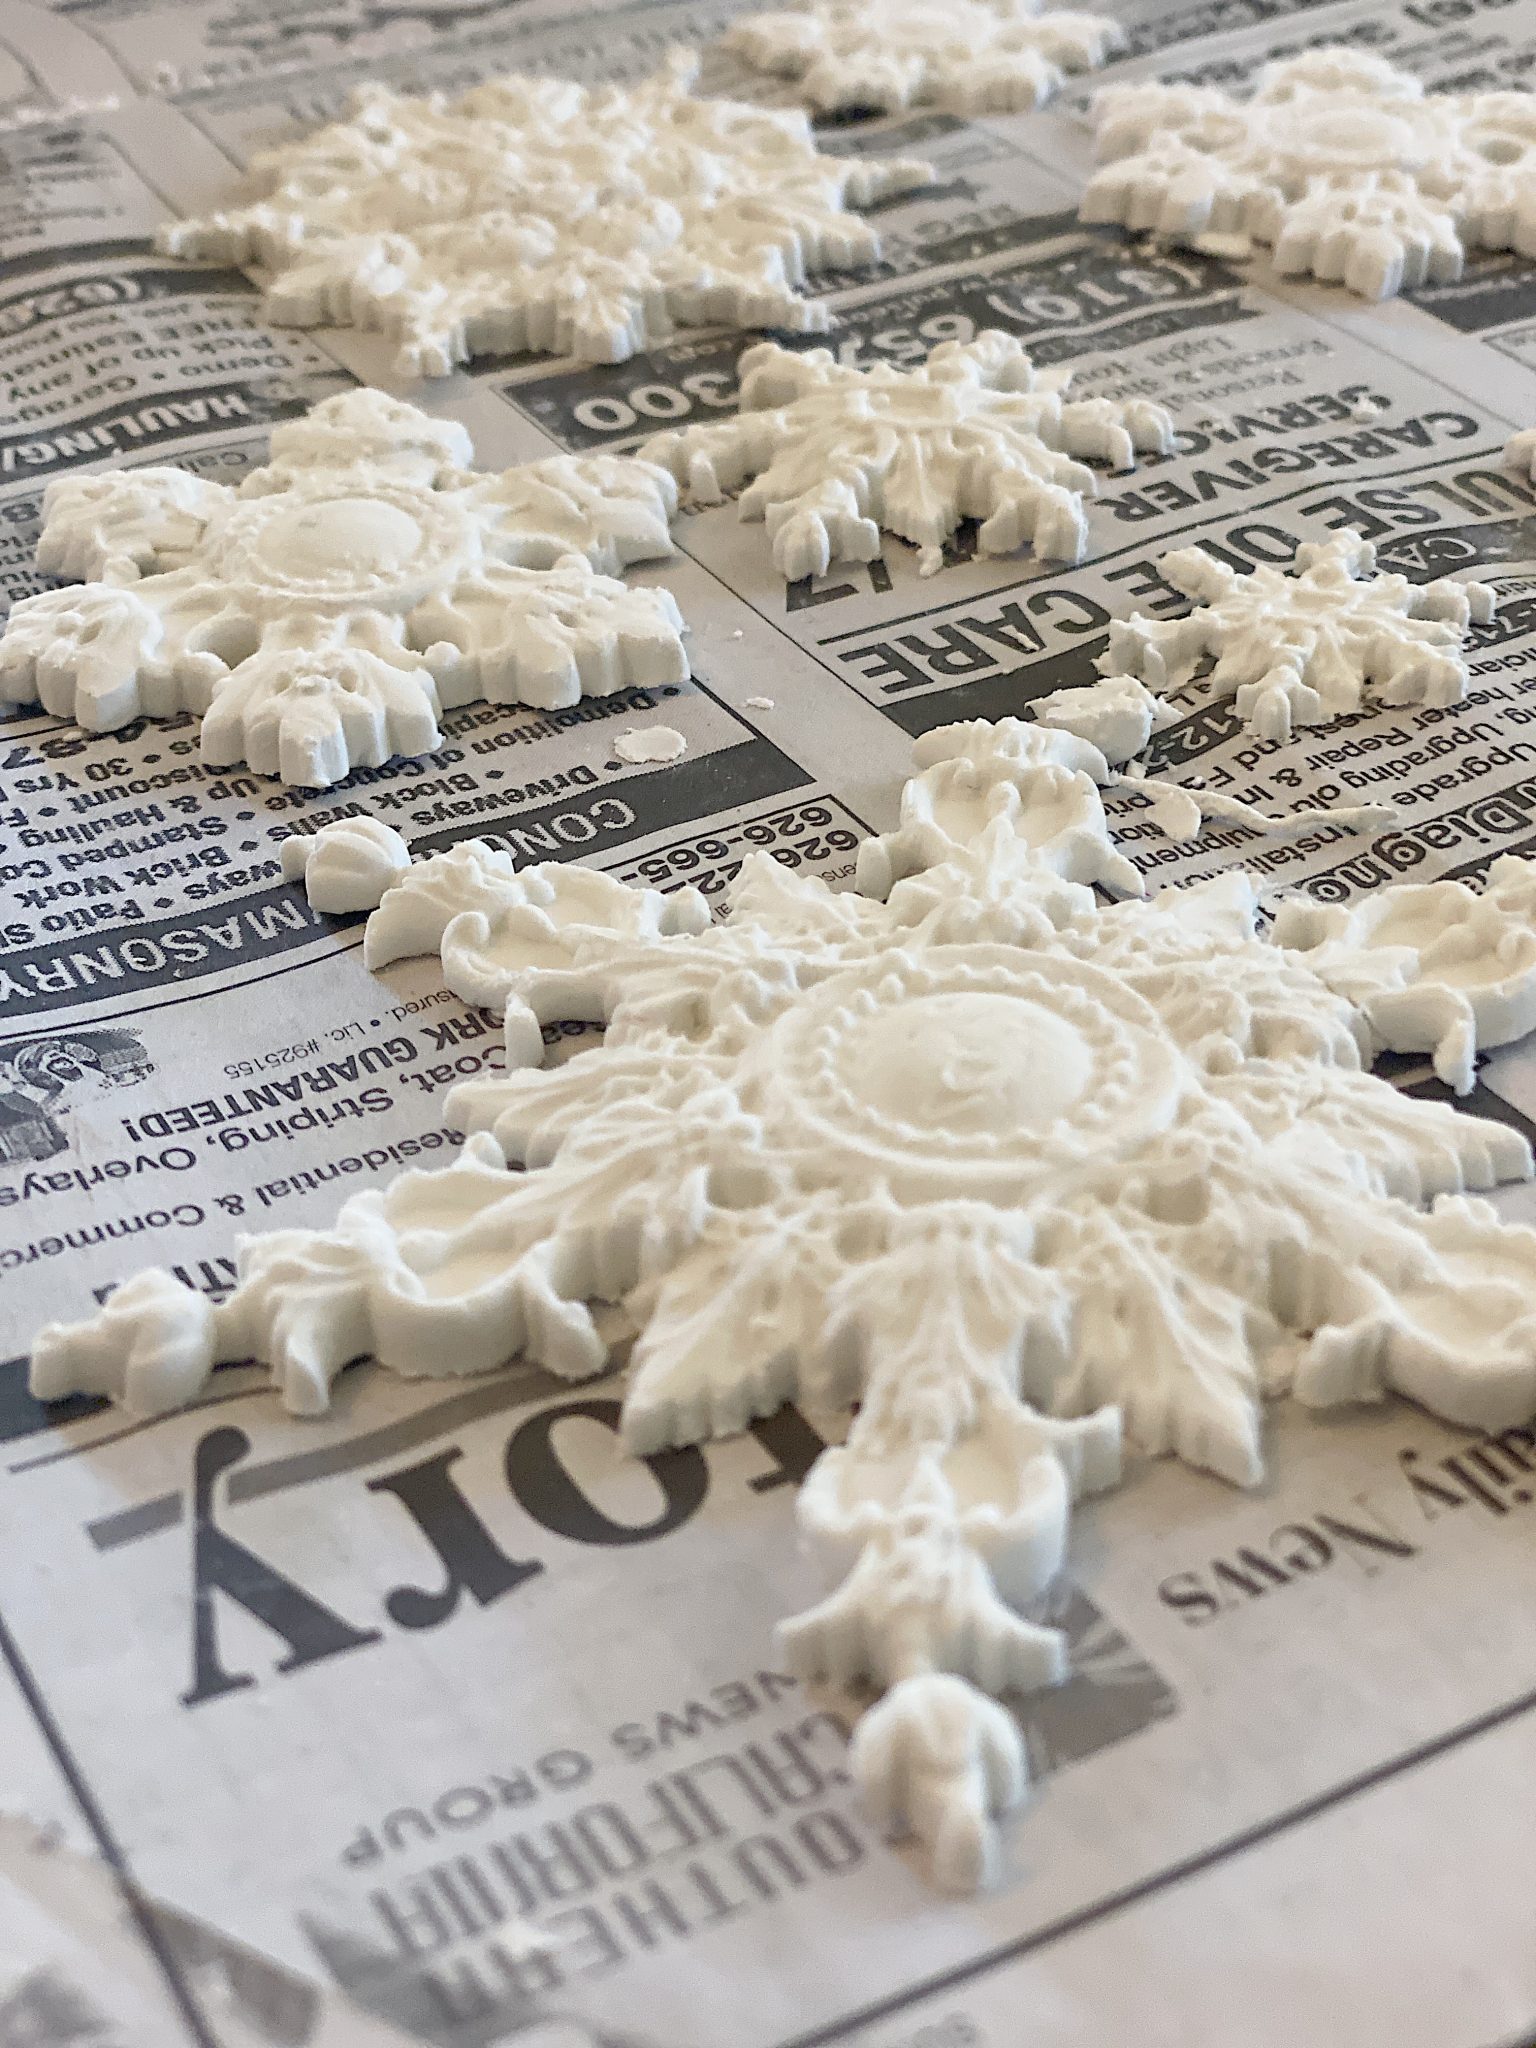
- four – Let the snowflakes thaw out for a bit (about ten minutes).
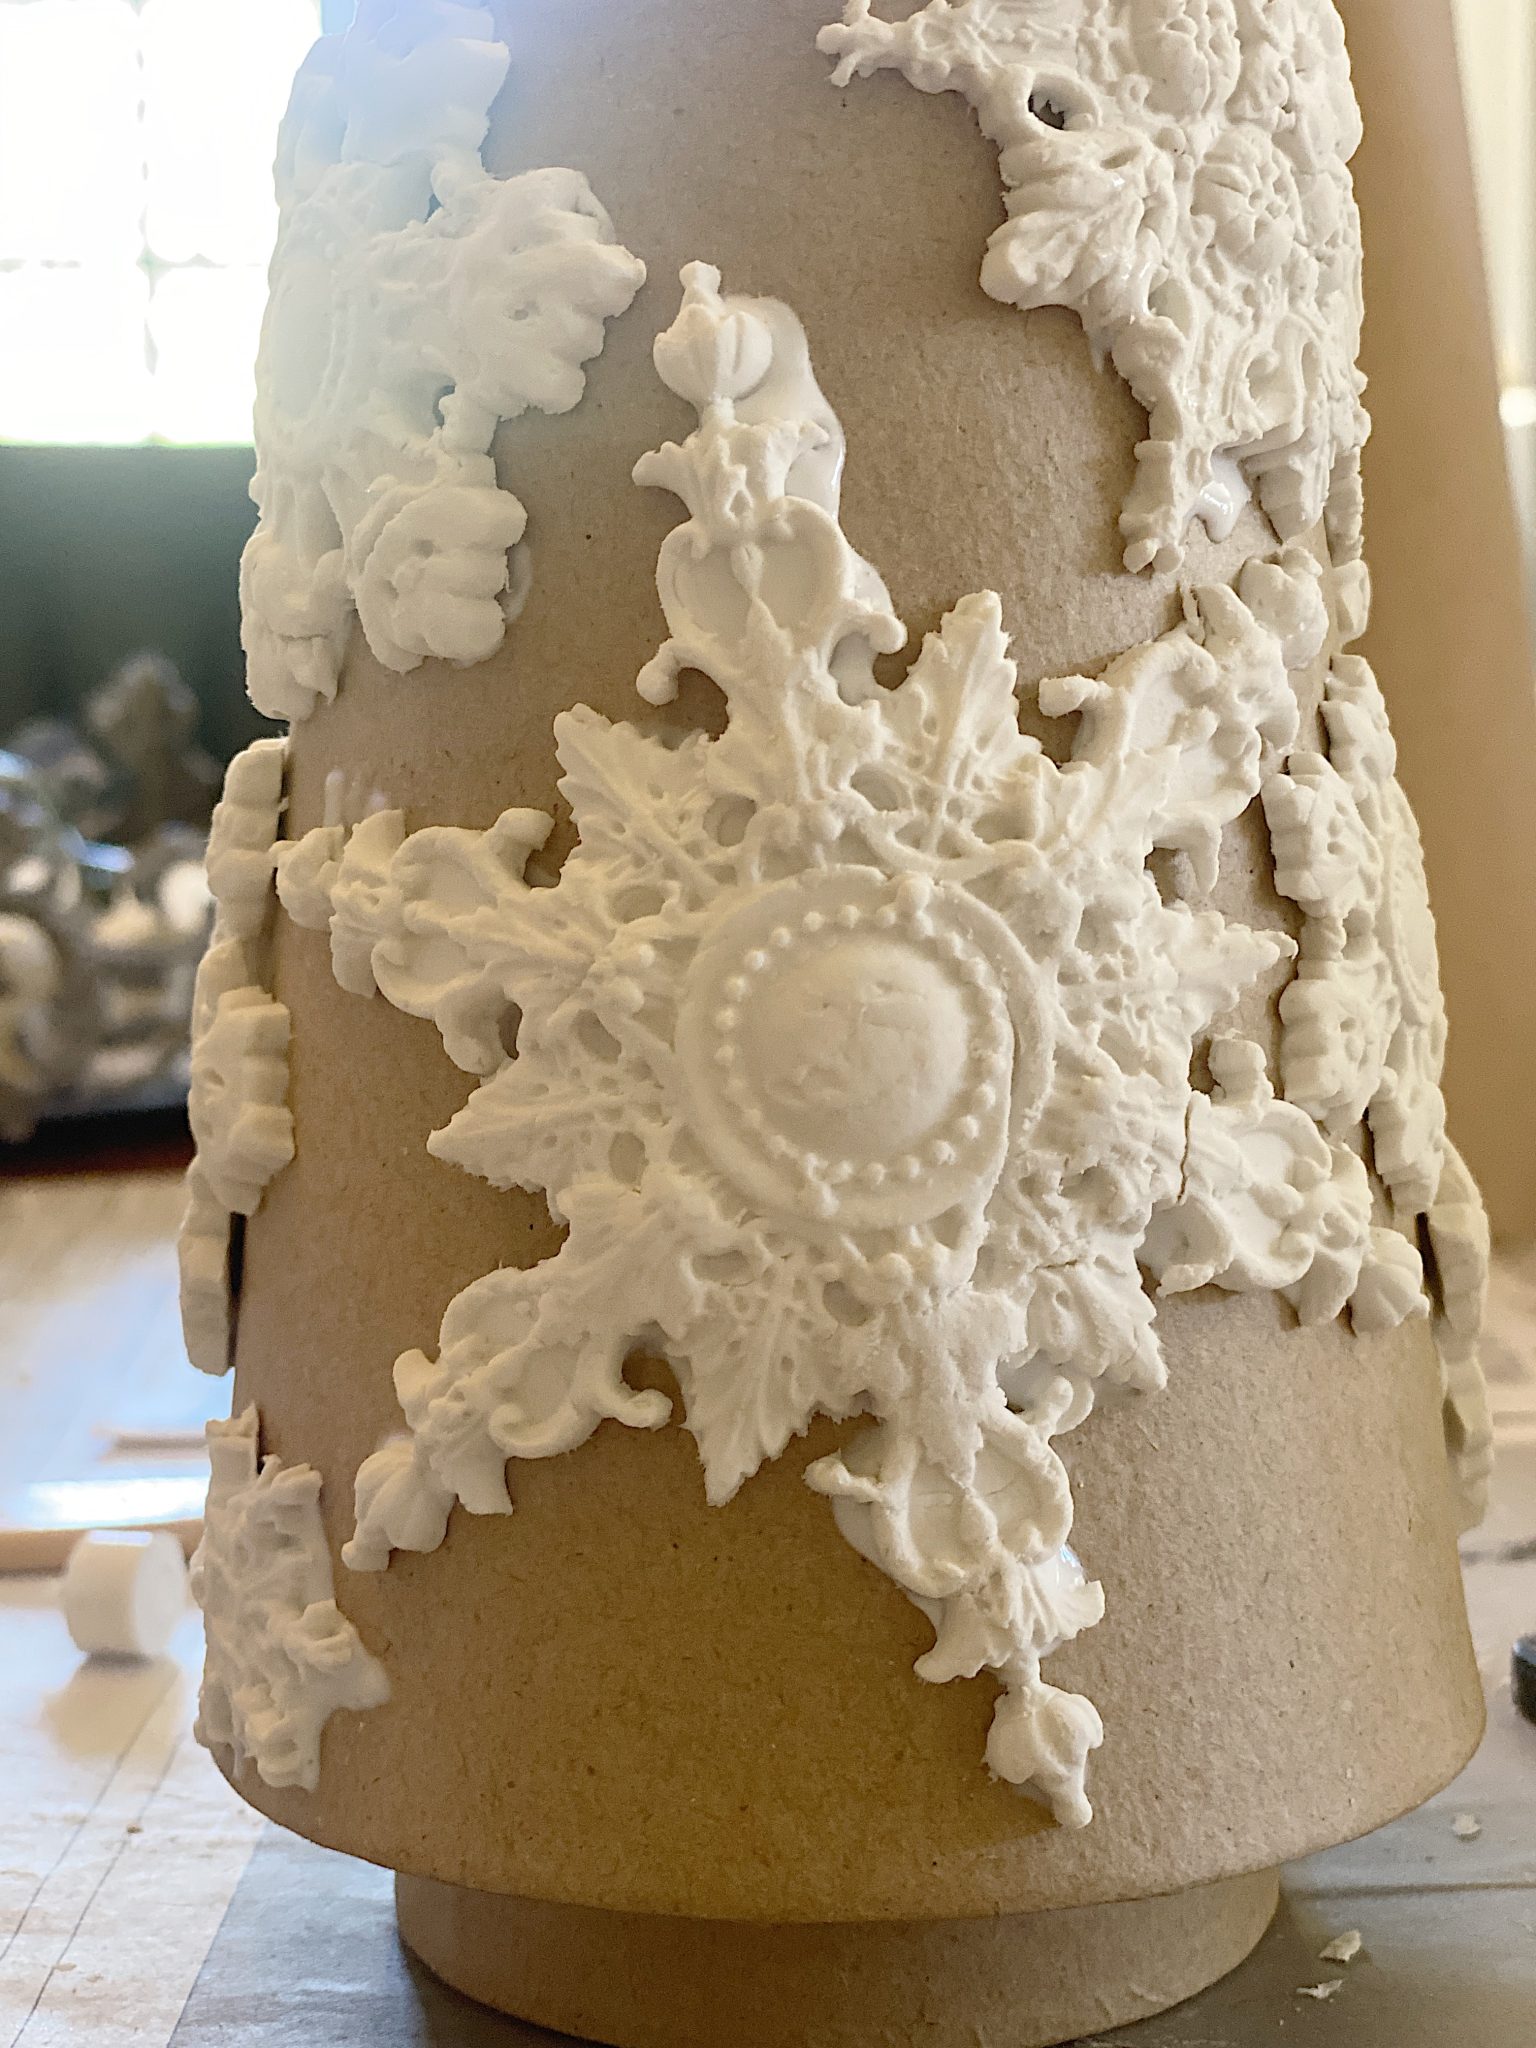
- five – Gluethe snowflake moulds to the cones, holding them for about twenty seconds to adhere and not slip.
- six – I placed the larger moulds on the bottom and smaller ones toward the top.
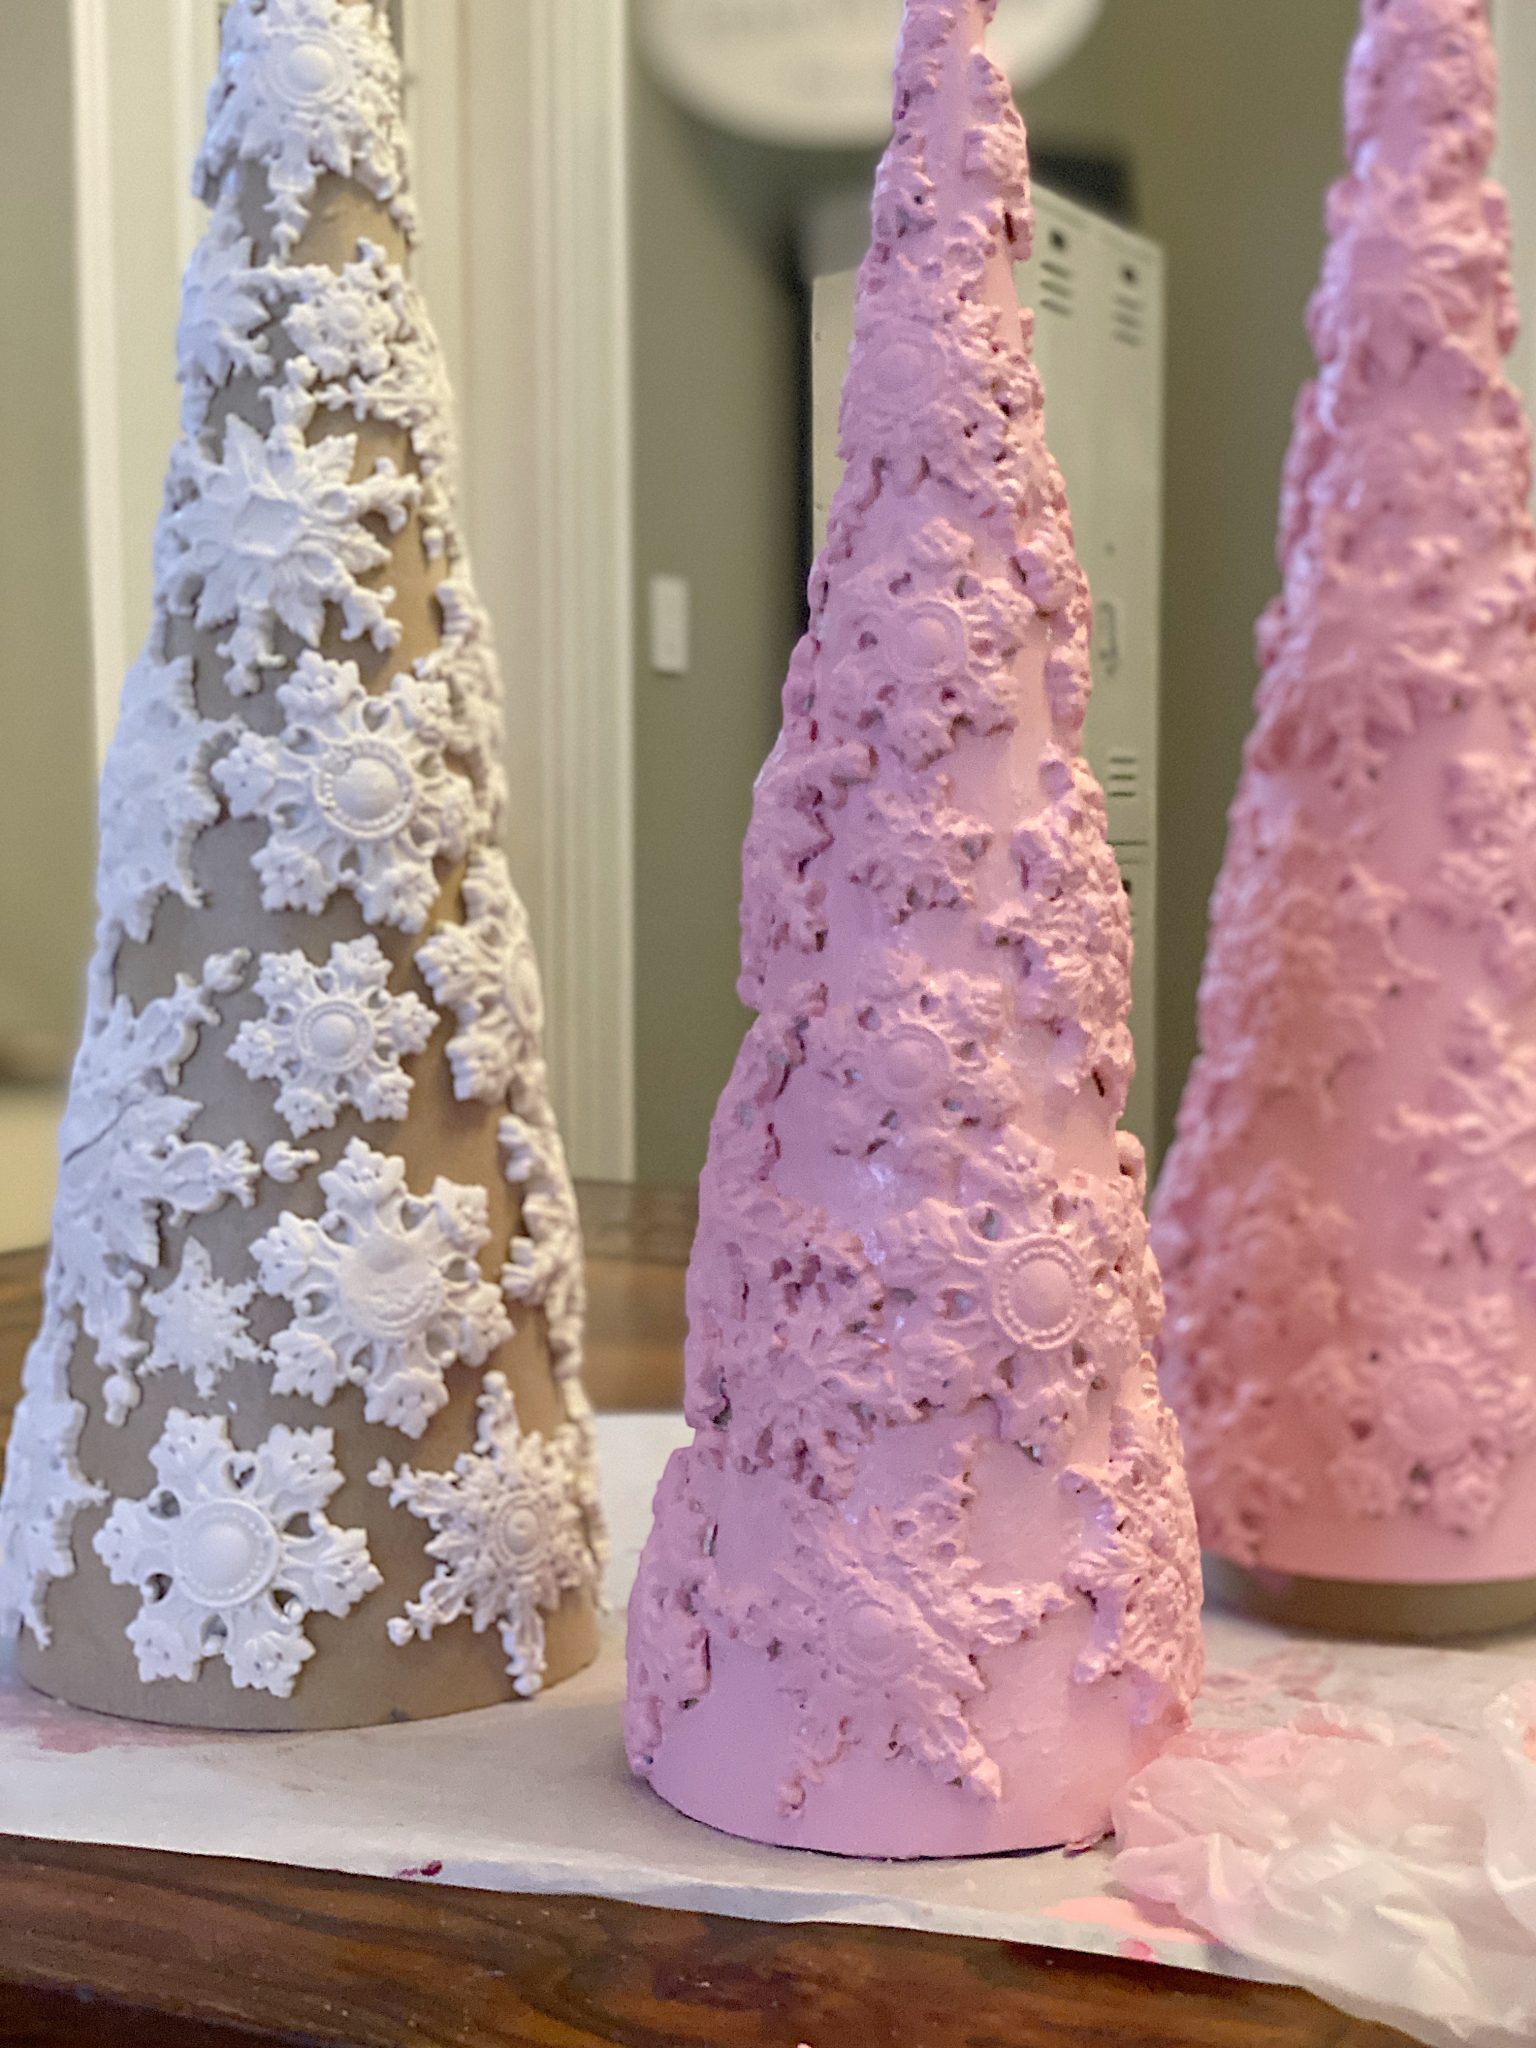
- seven – While the glue on the trees is not quite dry, paint them with the desired color. I started with a darker pink because wanted to create some depth. Let the paint dry.
- eight – Add a lighter color on top. I used a white wash. You can see the watered down paint running down the sides of the tree. Use a brush to spread the wash on the outside of the tree.
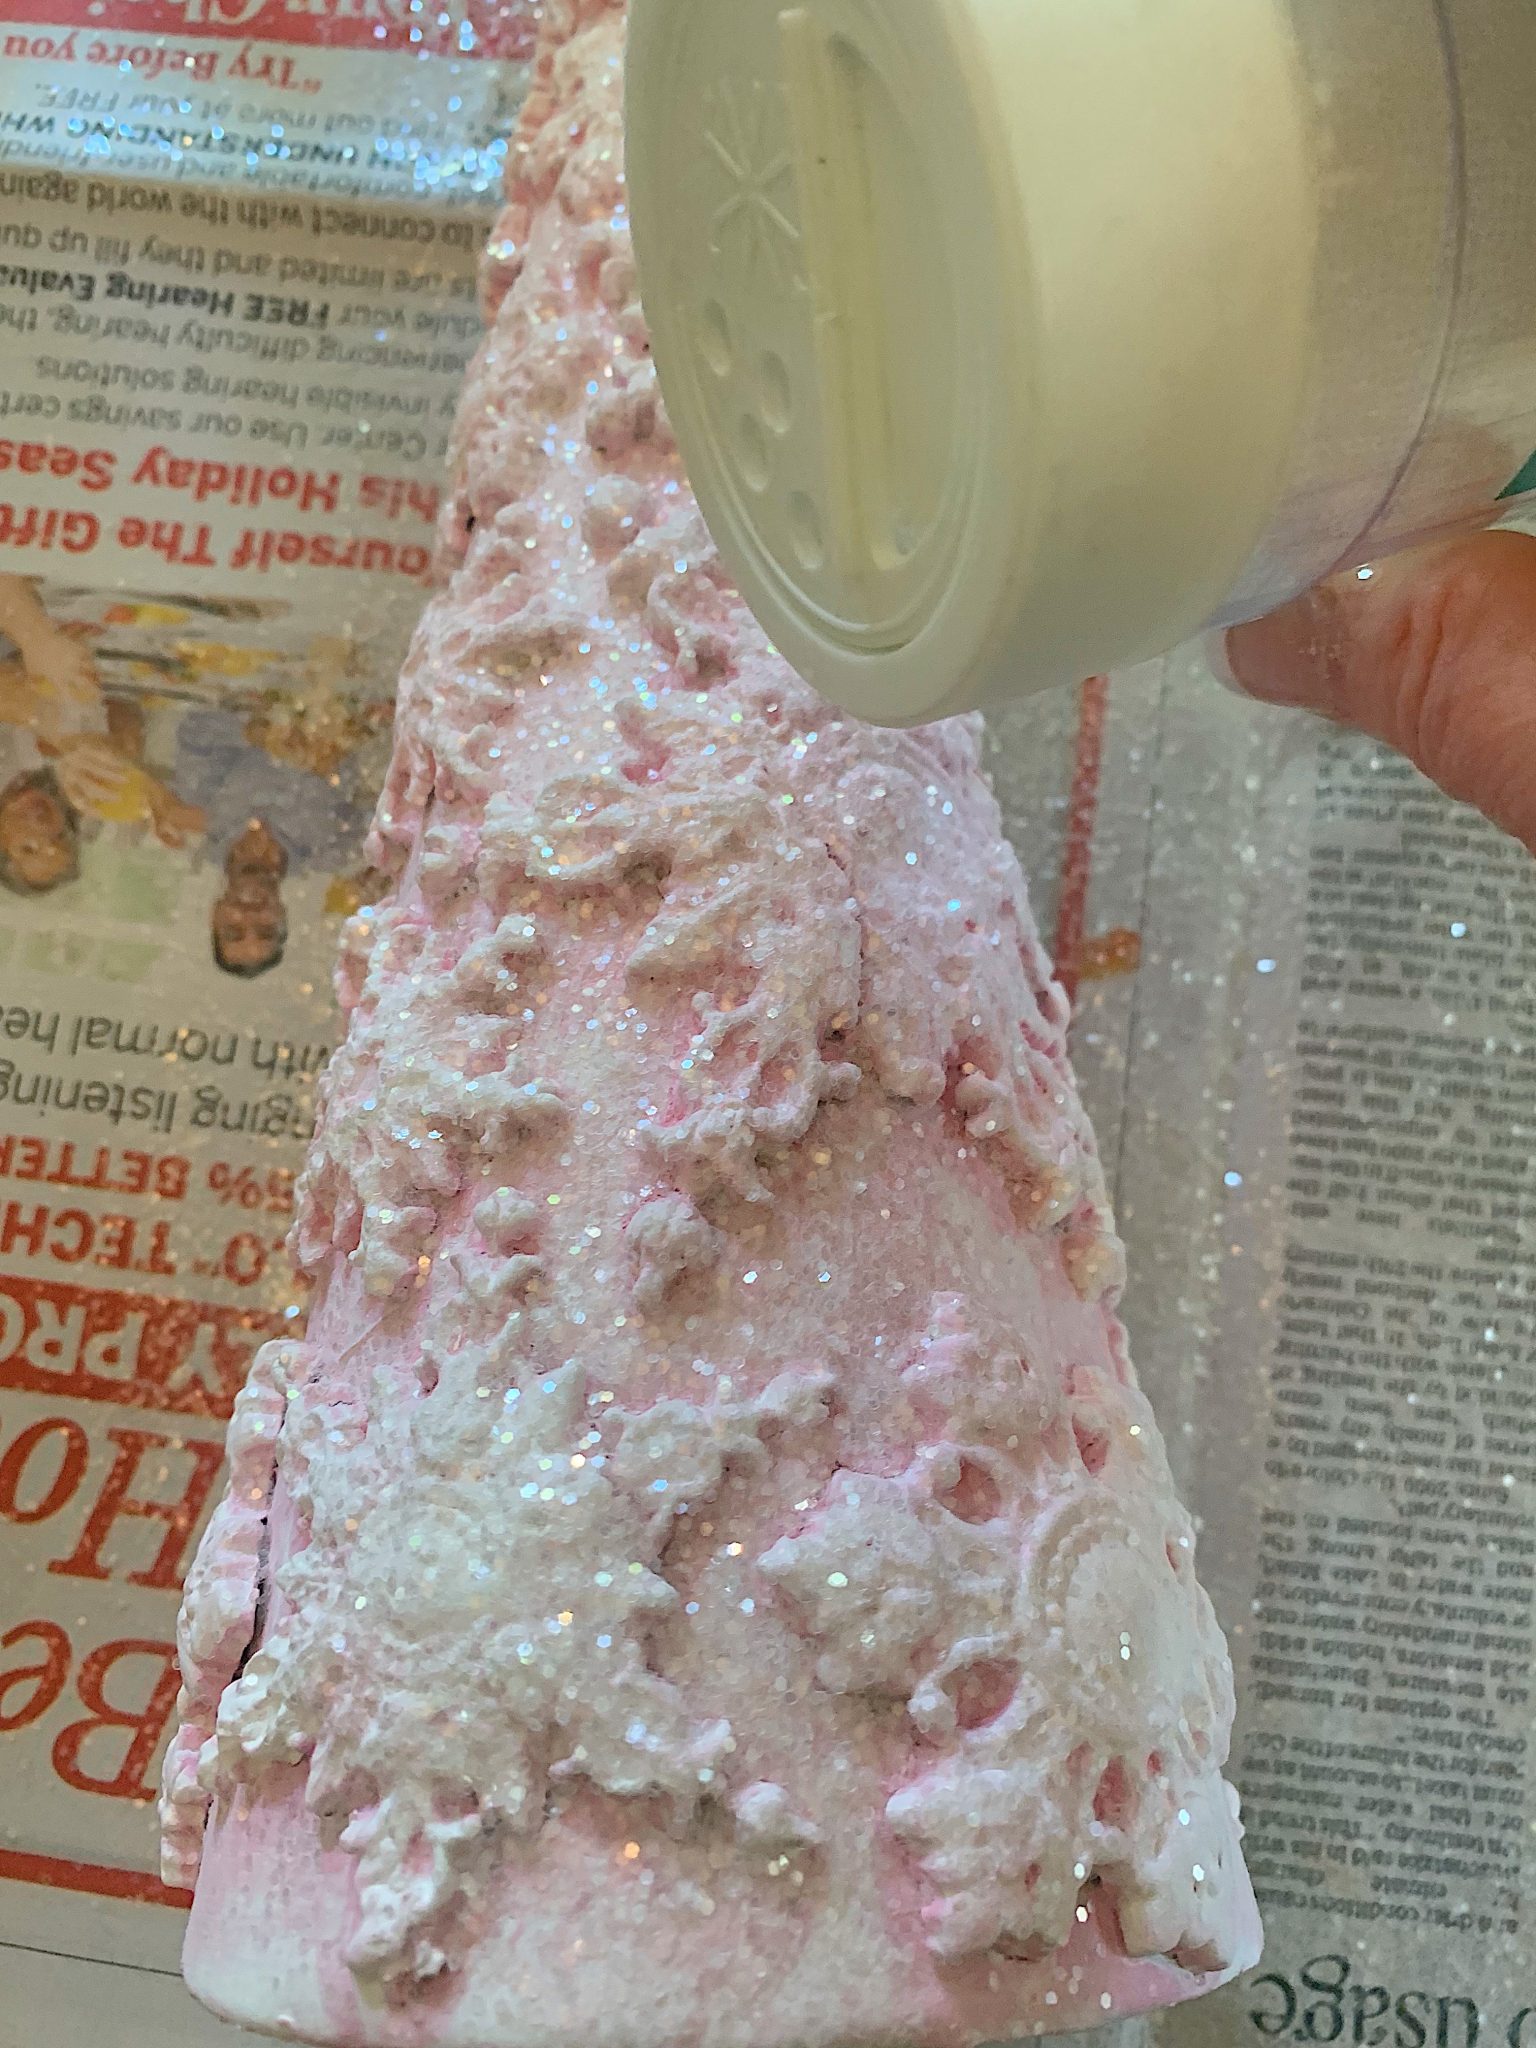
- nine – Let the trees dry completely. Spray with the adhesive and sprinkle with the glue.
I decided to put the trees down the center of the table and I didn’t even think to use flowers which is amazing. I never do that!
If you are enjoying my blog, you can sign up to receive my blog updates here.
.
There are so many different clay molds you can use for these trees. I considered using stars, roses, leaves, and poinsettias! How fun is that!
These trees were easy and fun to make! Below is everything you need to set a pretty pink Christmas table and make these trees!


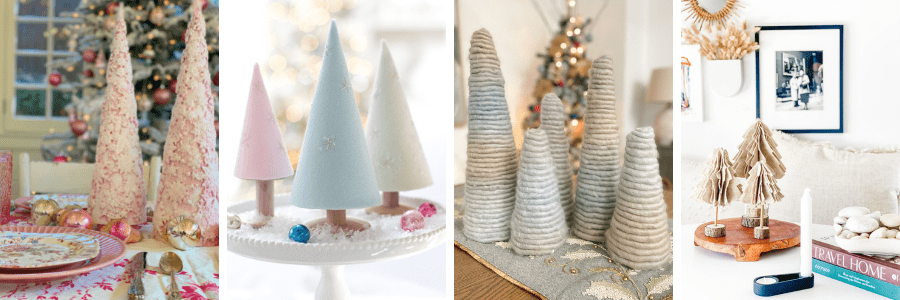
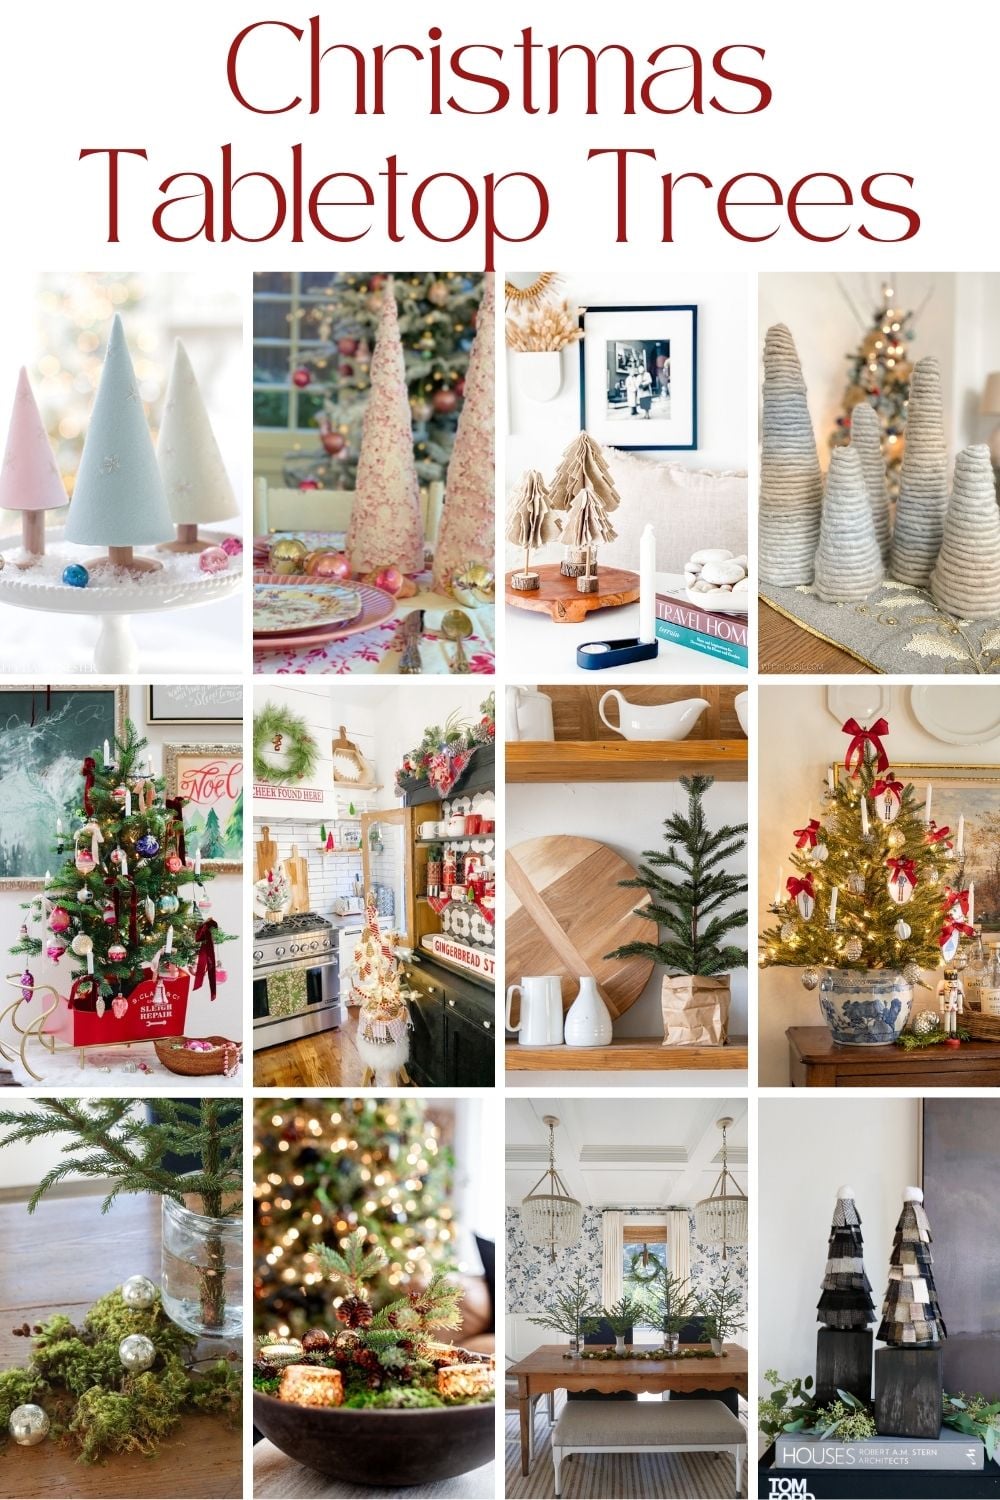
More Tabletop Tree Ideas
I partnered with ten other bloggers and we all created a Tabletop Tree DIY idea for Christmas.
Just type on the links to see more!
Pink Tabletop Christmas Tree DIY // My 100 Year Old Home
Felt Tabletop Christmas Tree (DIY) // Happy Happy Nester
Cozy Tabletop Christmas Tree DIY // The Happy Housie
How to Make Scandinavean Felt Trees // Most Lovely Things
Vintage Ornament Tree // Modern Glam
Easy and Inexpensive Tabletop Tree Decor Hack // Twelve On Main
Vintage Inspired Nutcracker Tabletop Tree // Sincerely, Marie
Gingerbread Men Tabletop Tree // Tatertots & Jello
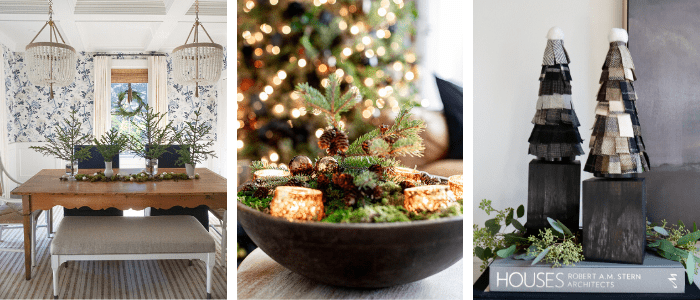
Tabletop Trees Inspired by the Forest // Finding Lovely
Natural Christmas Arrangement // Craftberry Bush
Scrap Fabric Tabletop Trees // My Sweet Savannah
Pin the image below to your decor boards on Pinterest (just click the Pin button in the top left corner). You can also follow along with me on Pinterest!
For more real-time updates, follow me on Instagram @My100YearOldHome

Leslie,
Hope your feeling better each day! The snowflake trees are gorgeous. Snowflakes are so magical to me, I love the idea. I have found a store not far from where I live that has the IODs, have purchased one mould already-looks like I will be making a return visit! ❤️
Thank you for your thoughtfulness!
Leslie, your table is absolutely beautiful. Those trees are so pretty. You’re amazing.
Thanks so much Rose!
Your posts never fail to bring joy to my day! I am awed by your talent and the beauty of your home!
Blessed holiday wishes, Leslie!
Thanks Elle!
I always love your crafts. And you have my mother’s china in your table setting💗
Thank you!
GORGEOUS!
Thanks Rebecca!
Another win!! So beautiful and wonderful easy to follow instructions.
Thank you Paula!
Looks gorgeous! Hope you are feeling better. Happy Thanksgiving to you and your family.
These trees are amazing! SOOOO pretty. I love pink and have a pink and crystal tree in my formal living room. Thanks for sharing.
Thanks!
How do you shape a flat snowflake onto the cone?
Love love love this ideal! Your table was gorgeous. Thank you so much. I’m headed to hobby lobby right now!
Omg yay! So happy to read this LuLu. You are so welcome 💕
Gorgeous trees! I make them every year and I’m always looking for new ideas. (You might want to change “sprinkle with glue” to “sprinkle with glitter” in the last step. 😉) Also, thank you for the idea of making snowflakes with air-dry clay. I can use them on the gingerbread house I’m making from an old dollhouse. 🎄❄️☃️
hi I just come across your blog.
The trees are beautiful.
Someone already asked the same question but i didn’t see an answer, please tell us I how do u shape a flat snowflake onto a curved surface . Thank you .
The clay is still soft when you glue it to the cone, so it bends easily! 🙌🏻☺️
Where did you purchase your Paper Mache cones from? I’m wanting one like in your pictures. One that has a molded stand and are closed on bottom. The cones listed on Amazon are open and cut flat on bottom. Your work is gorgeous…thank you for sharing.