An Easy and Gorgeous Fall Tablecloth DIY
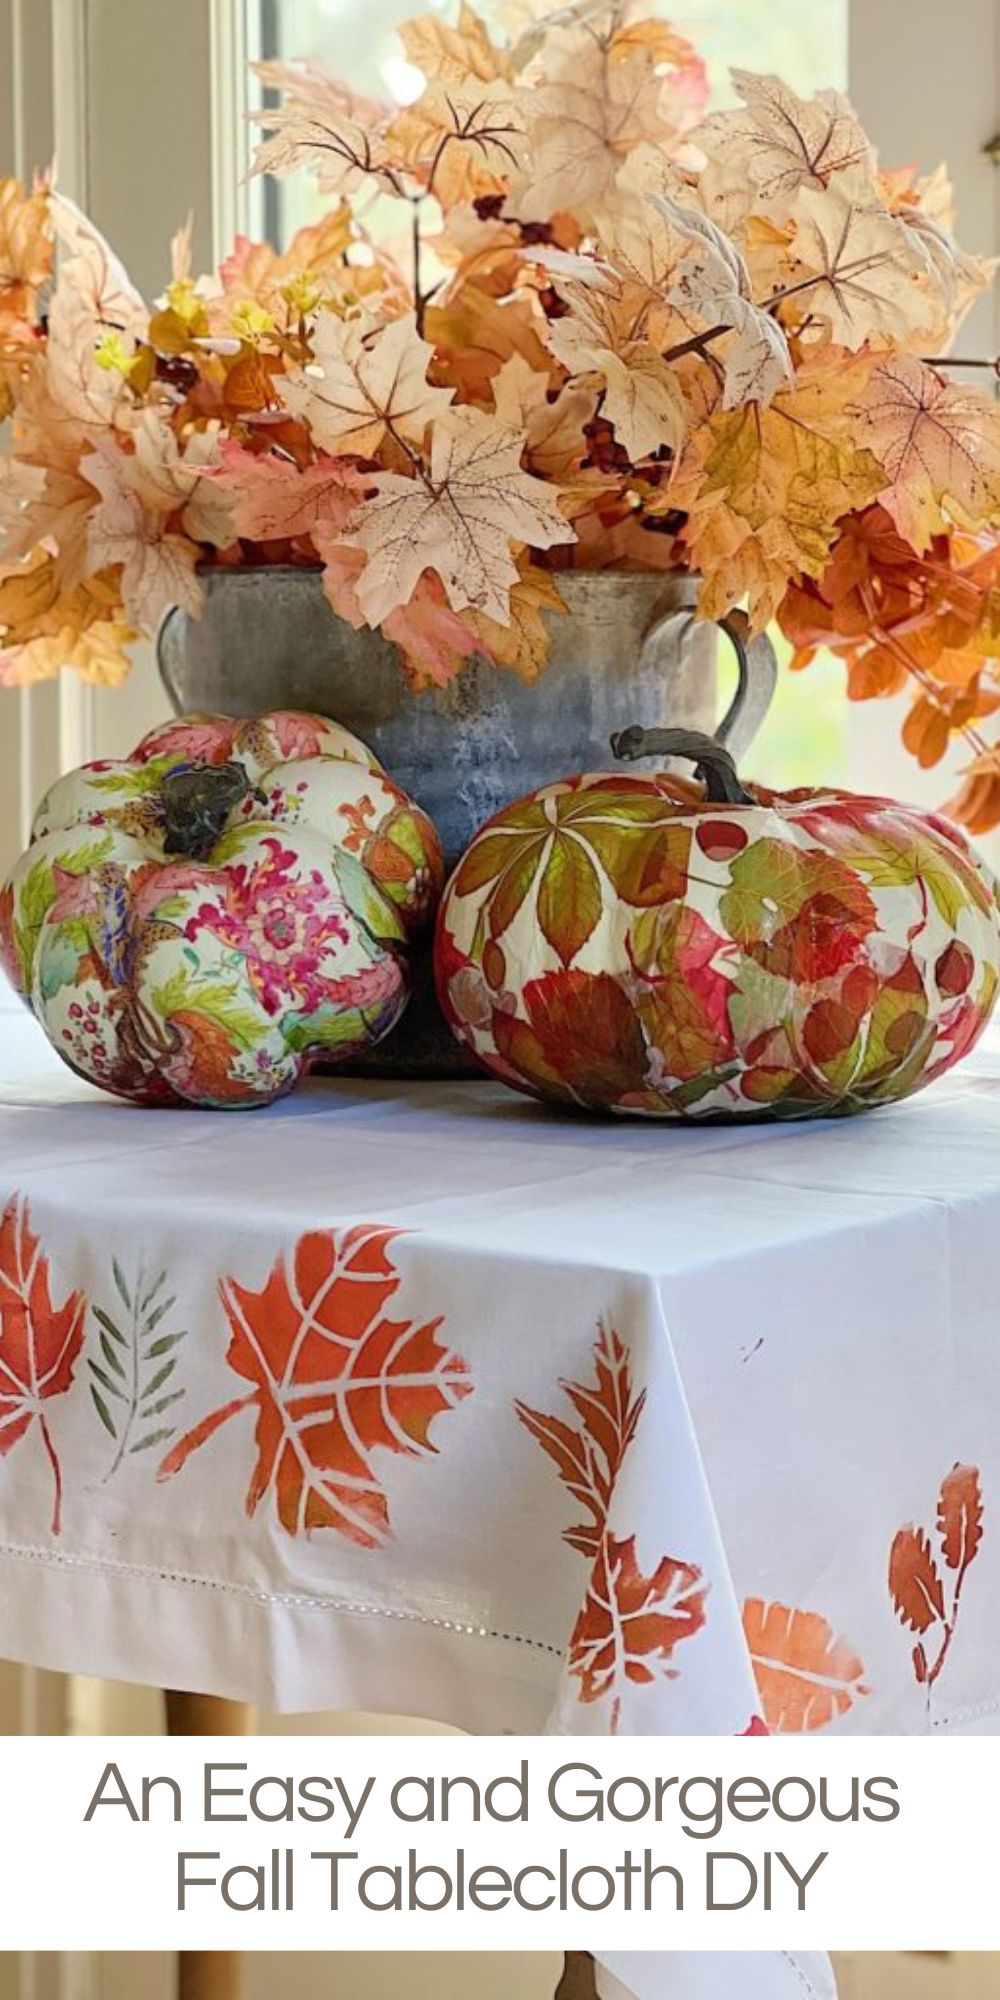
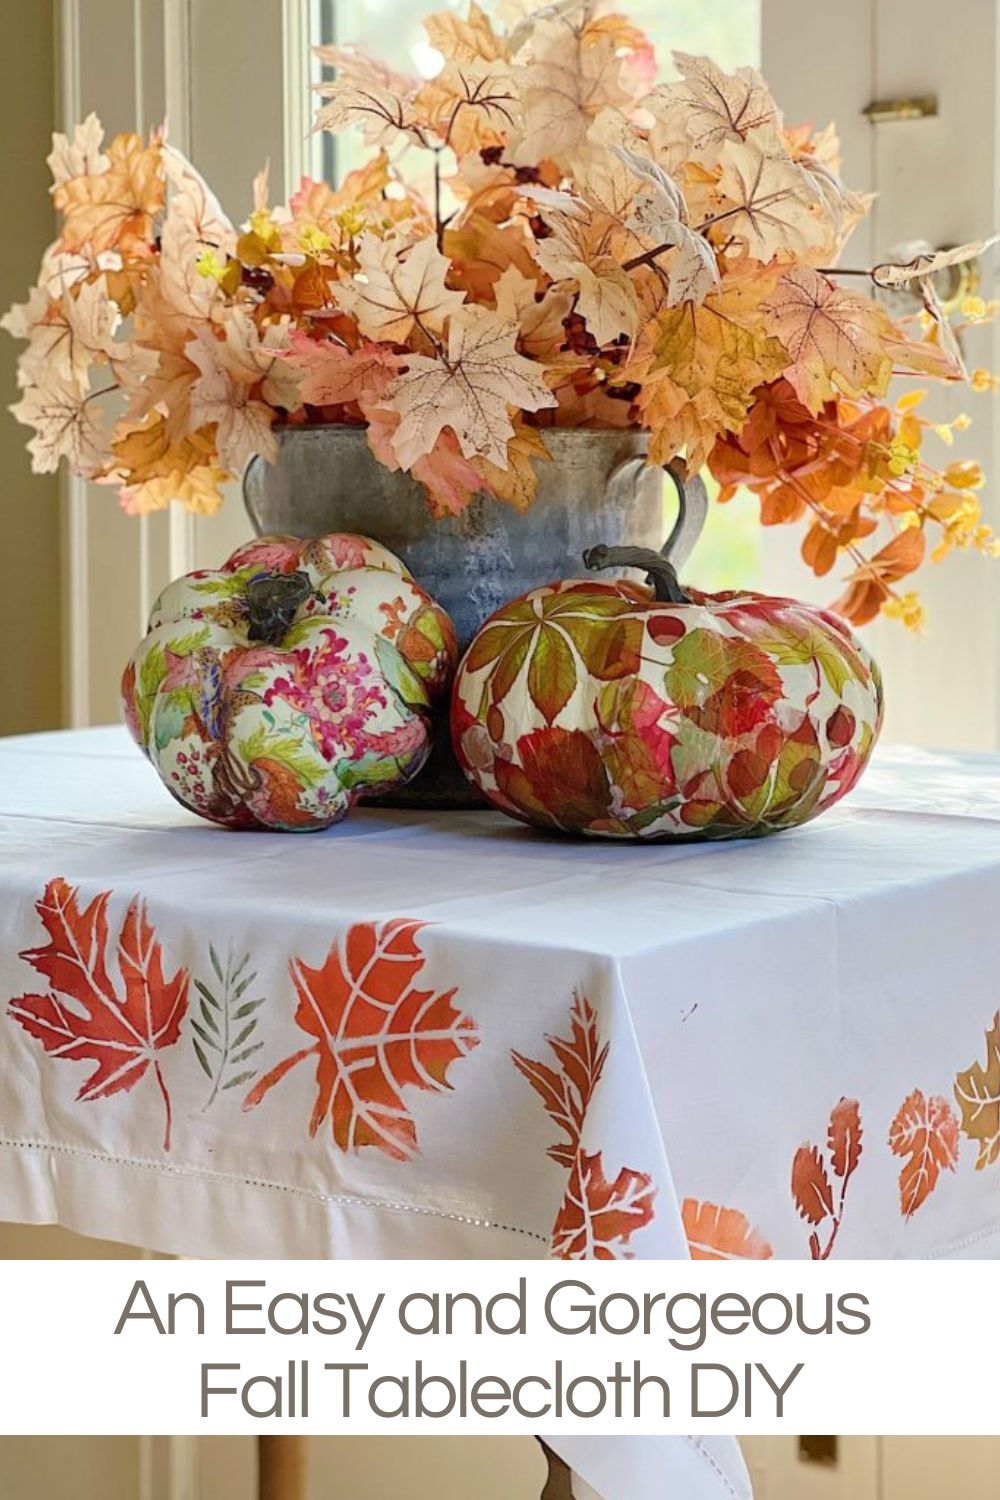
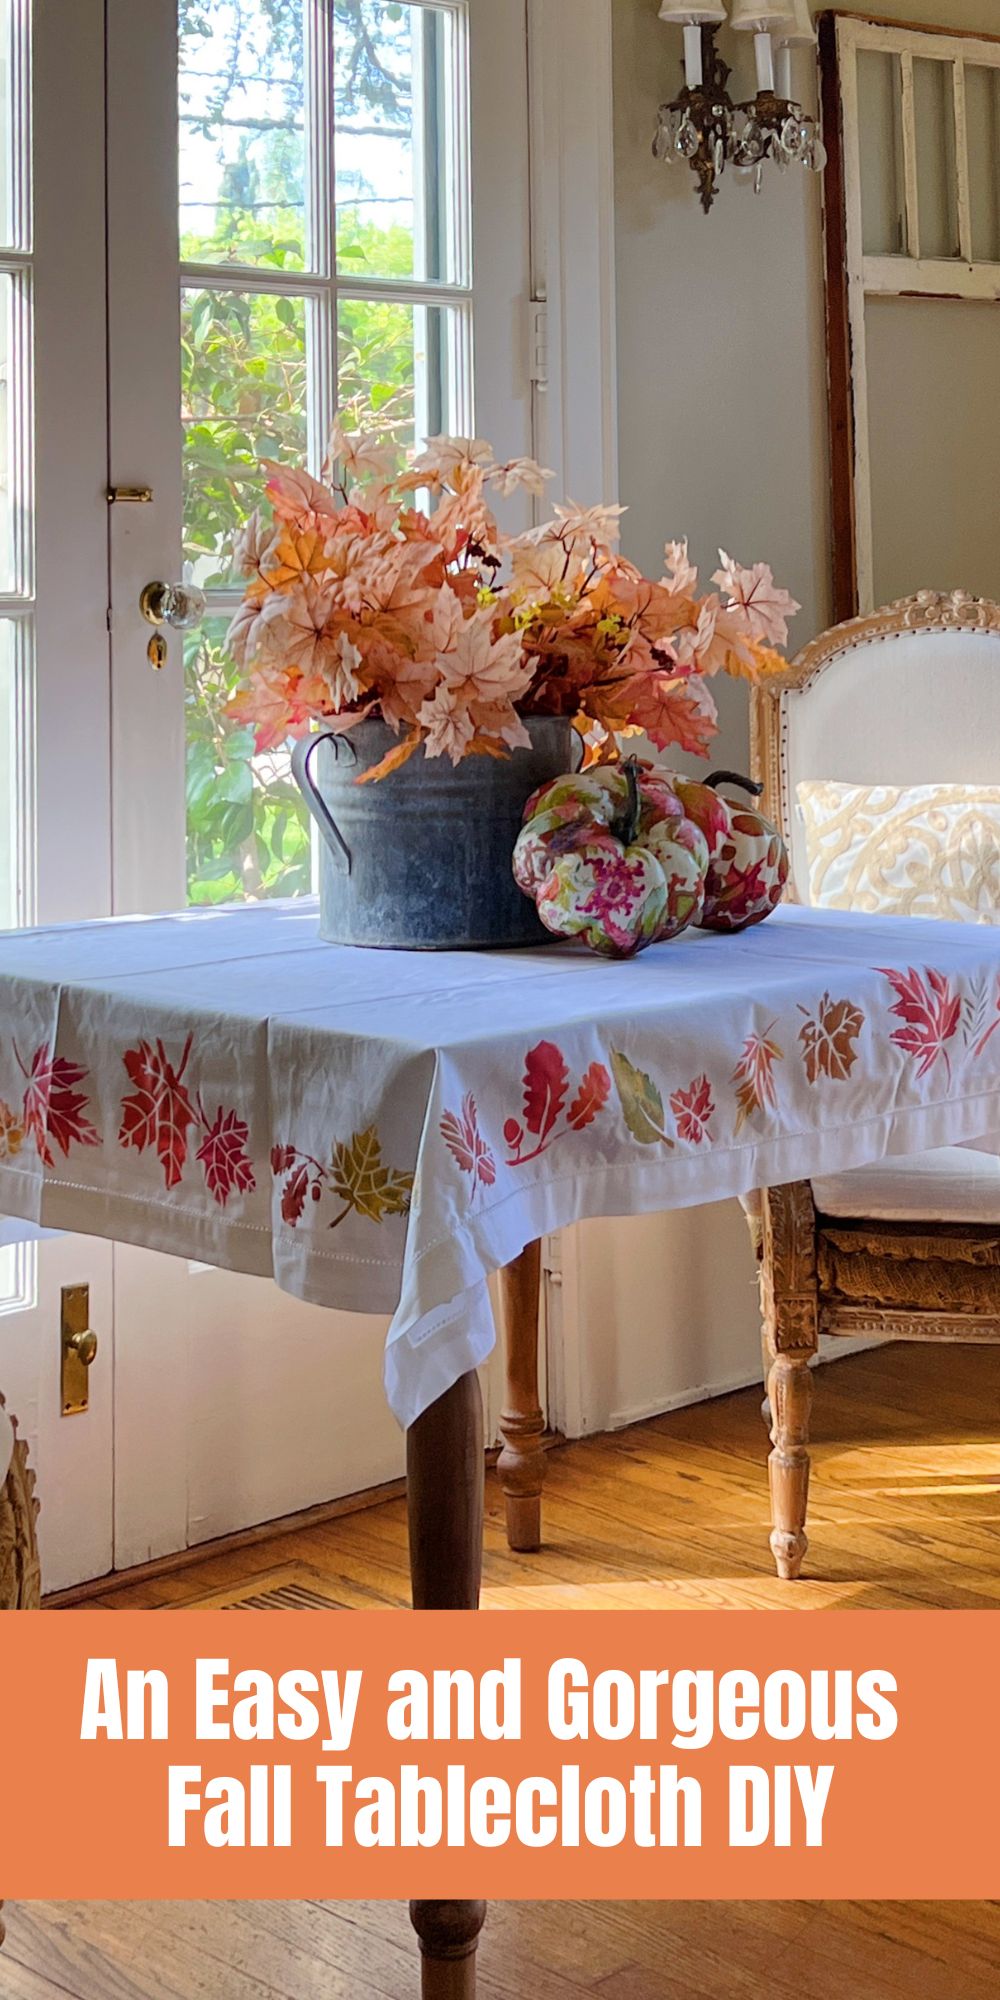
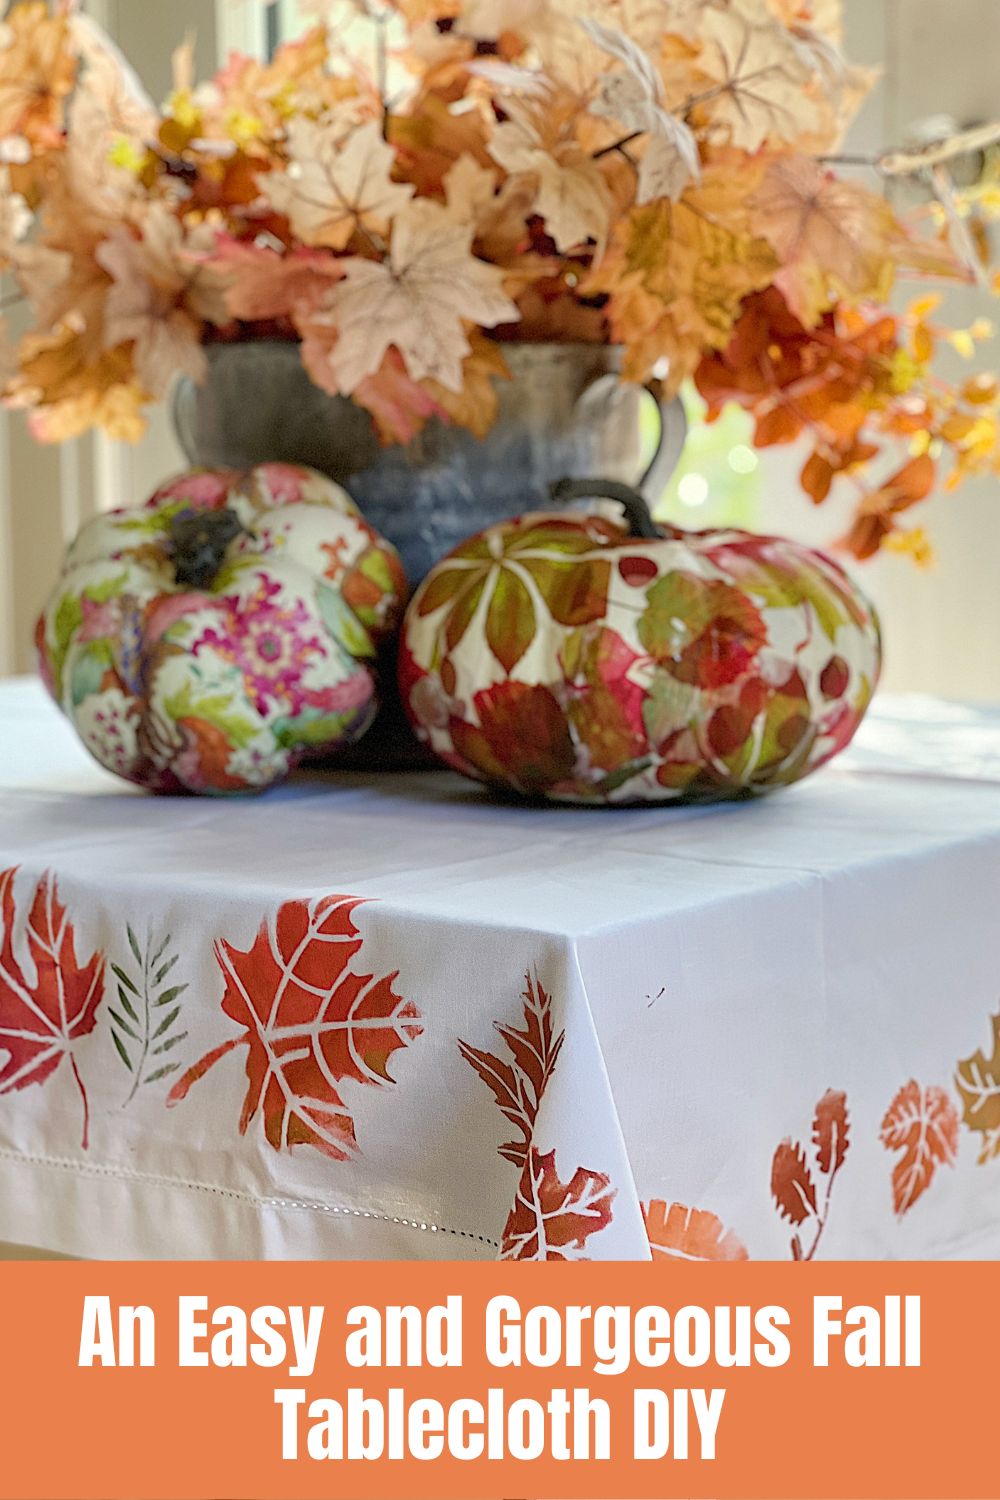
I have never made a fall tablecloth and decided to make one using stencils and metallic paint. I am so happy with how this turned out!
This was an easy DIY because I used leaf stencils, a paint roller, and metallic paint. I cannot wait to share how much fun this fall tablecloth was to make.
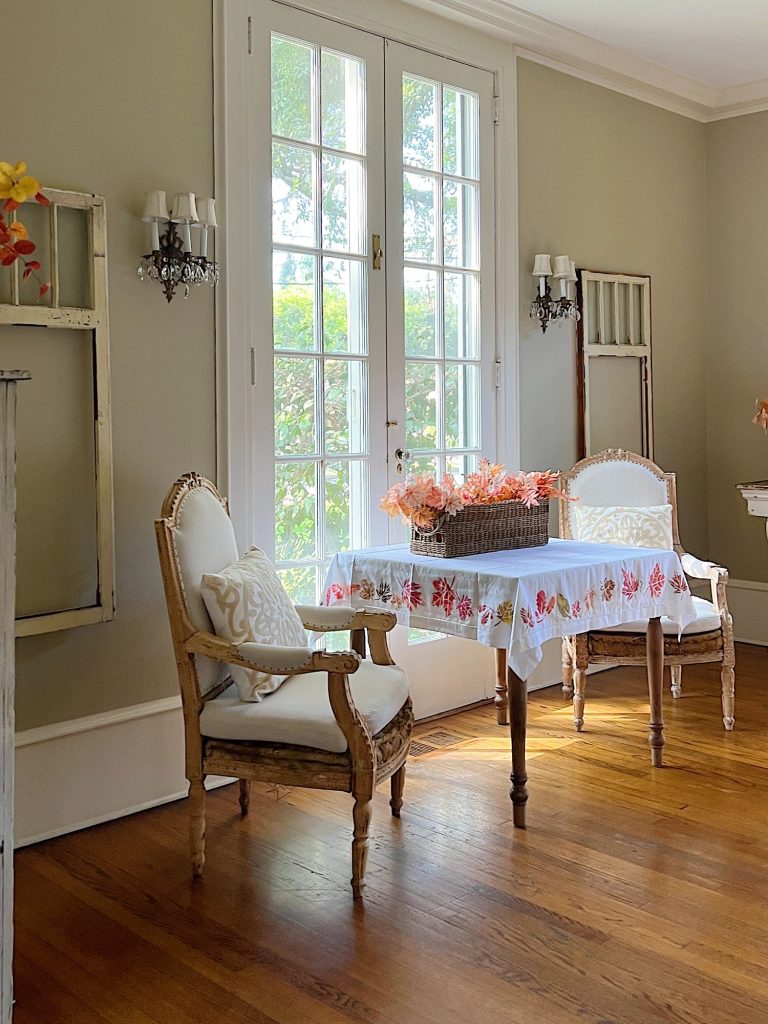


A Fall Tablecloth DIY
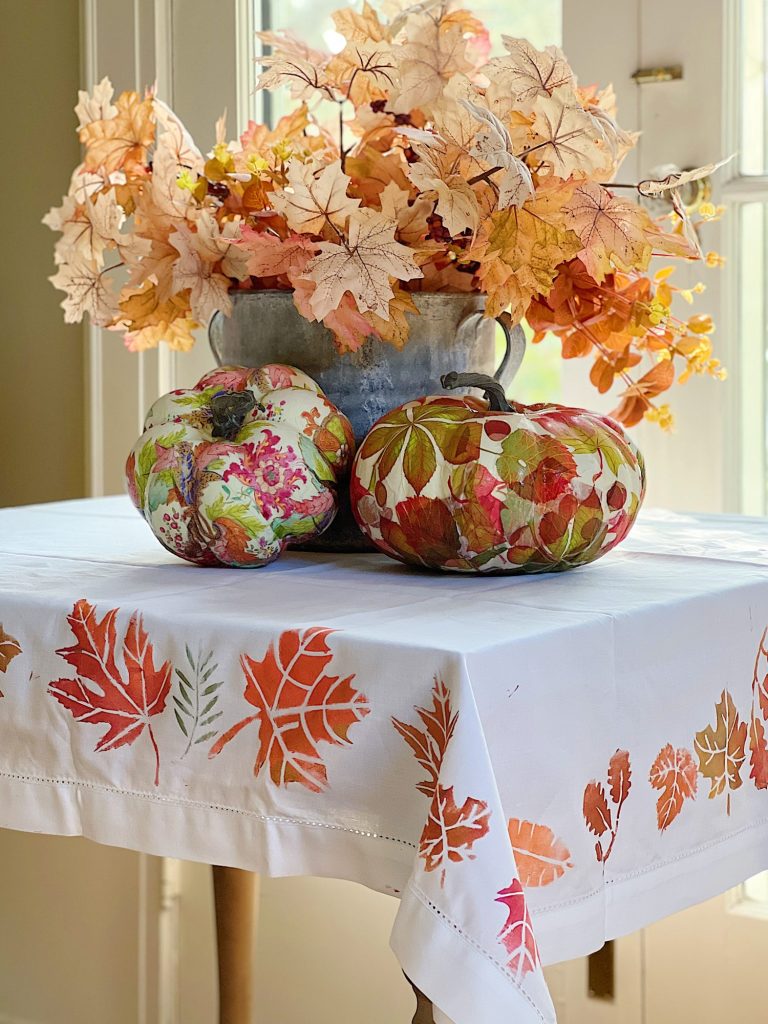
I love easy DIY crafts and anything that brings more color into our home.
For quite some time, I have wanted to make a tablecloth for this table in our living room. I just didn’t know what kind of tablecloth to make.
I was inspired by the leaf-stamped table runner I made last year and decided to make a full tablecloth.
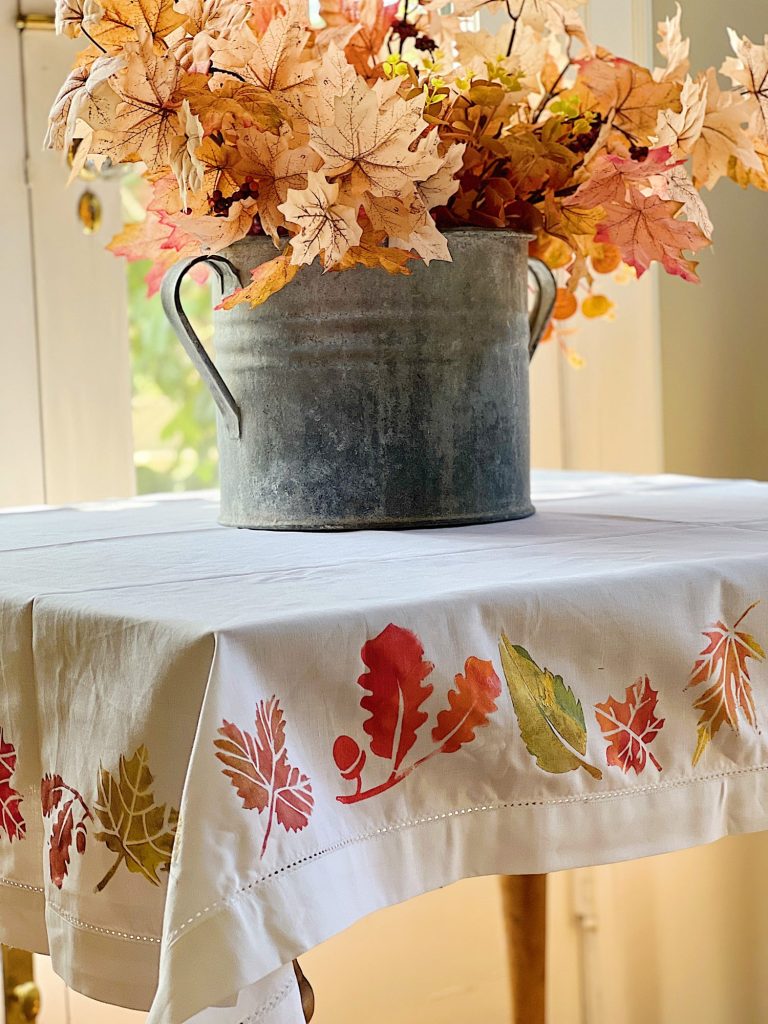
When I found this tablecloth on Amazon (it is 60″ wide) I knew exactly what to make. I want to make a rectangle one next, for our dining room table. I think I am going to make one for Christmas.
On this blog, I may sometimes use affiliate links, which means a small commission is earned if you make a purchase via the link. The price you pay will be the same whether you use the affiliate link or go directly to the vendor’s website using a non-affiliate link.
Materials Needed to Make a Fall Tablecloth

The only items I had to purchase were the tablecloth and leaf stencils. I already owned the Arteza metallic paints and paint rollers. These are very high-quality paints and I love all of the colors. I have never seen this many different metallic paints in a set anywhere! (They come in a set of 12, 36, 50, or 60!)
How to Make a Fall Tablecloth
This is what I refer to as a “fool-proof DIY” because the stencil does all of the work. Just be sure to keep extra paint off the tablecloth. Just don’t drip any extra paint. It helps if you set the tablecloth out flat on a large workspace with paper underneath. The less you have to move the tablecloth, the less likely you are to smear any extra paint.
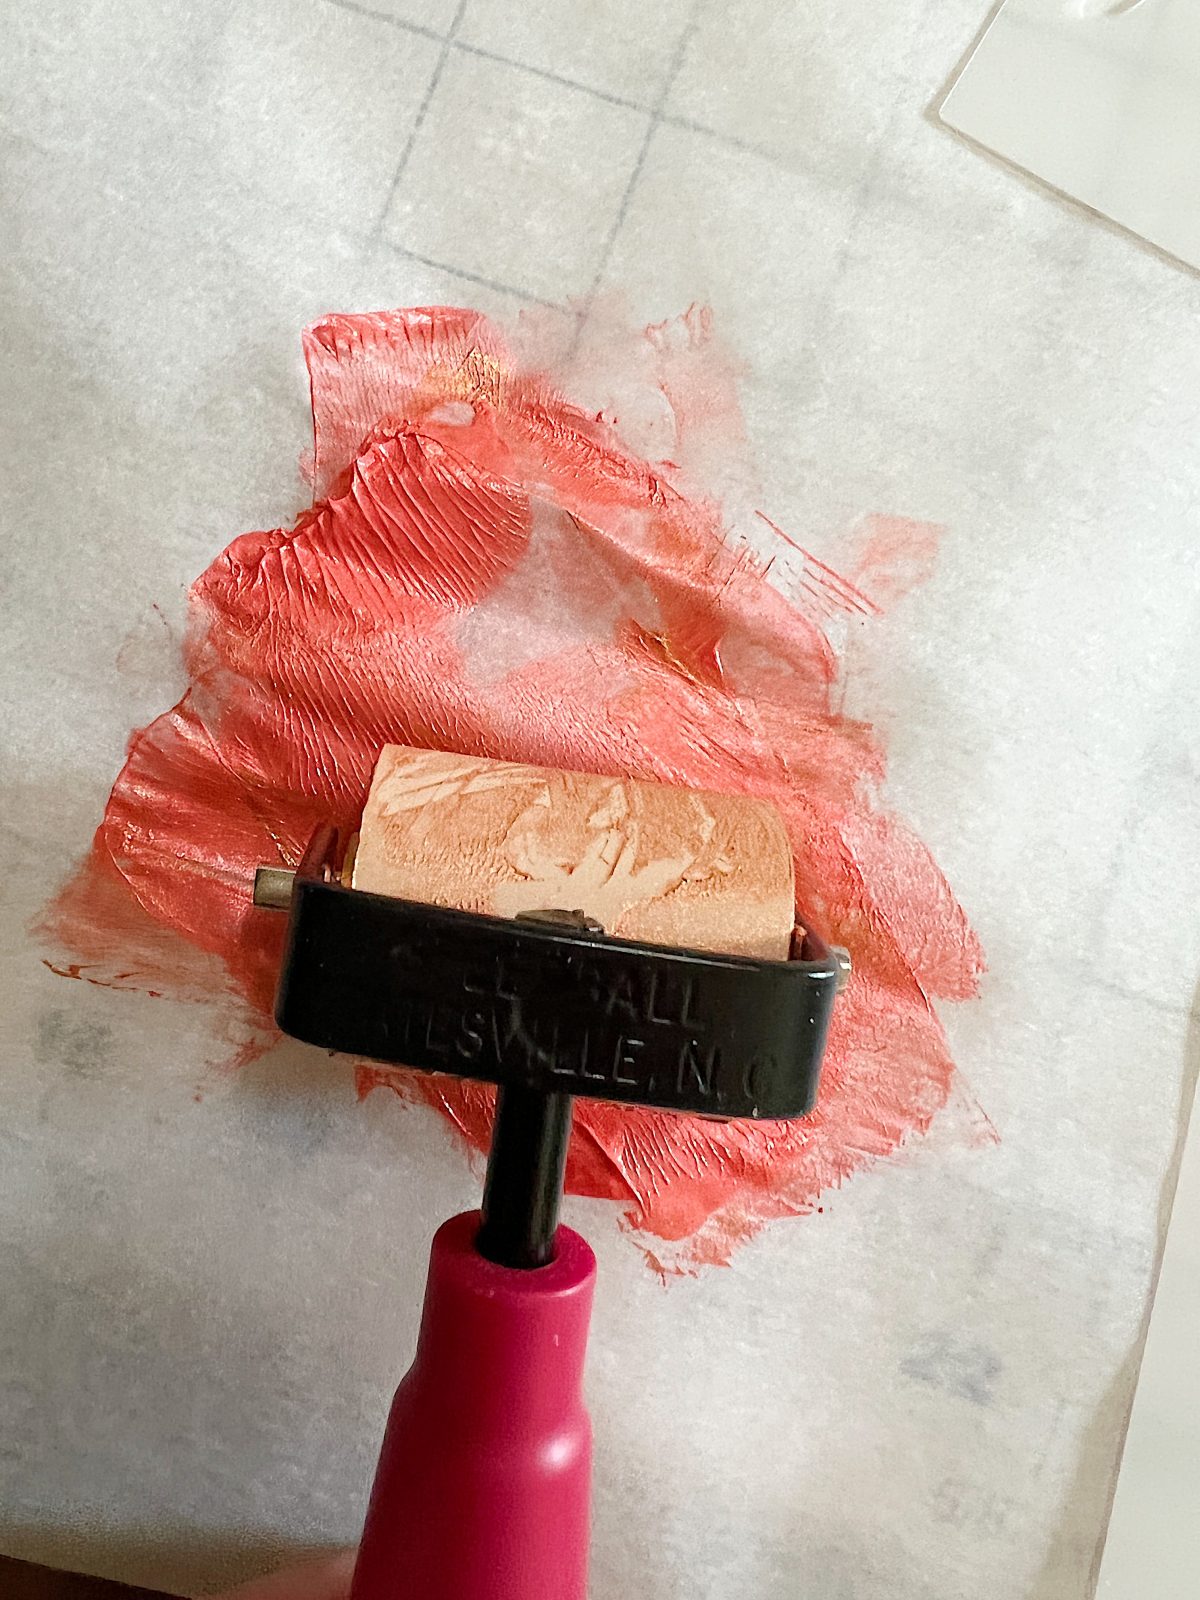
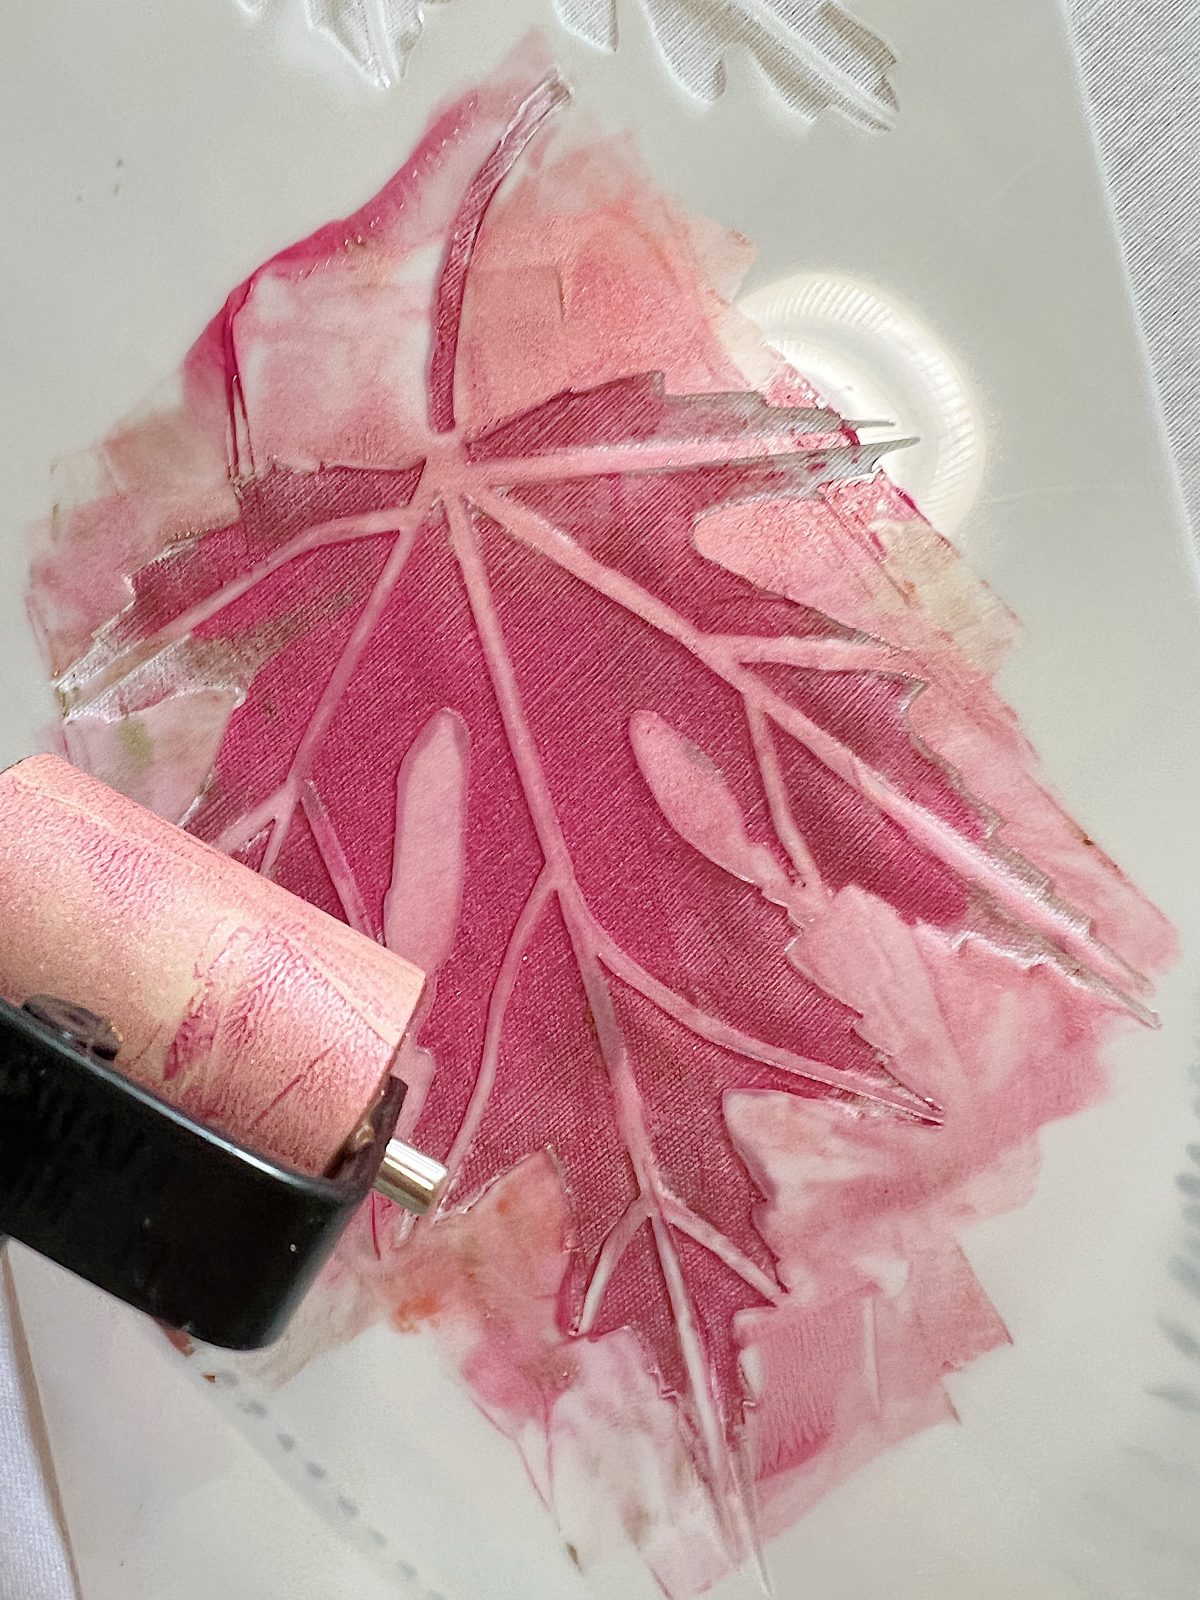
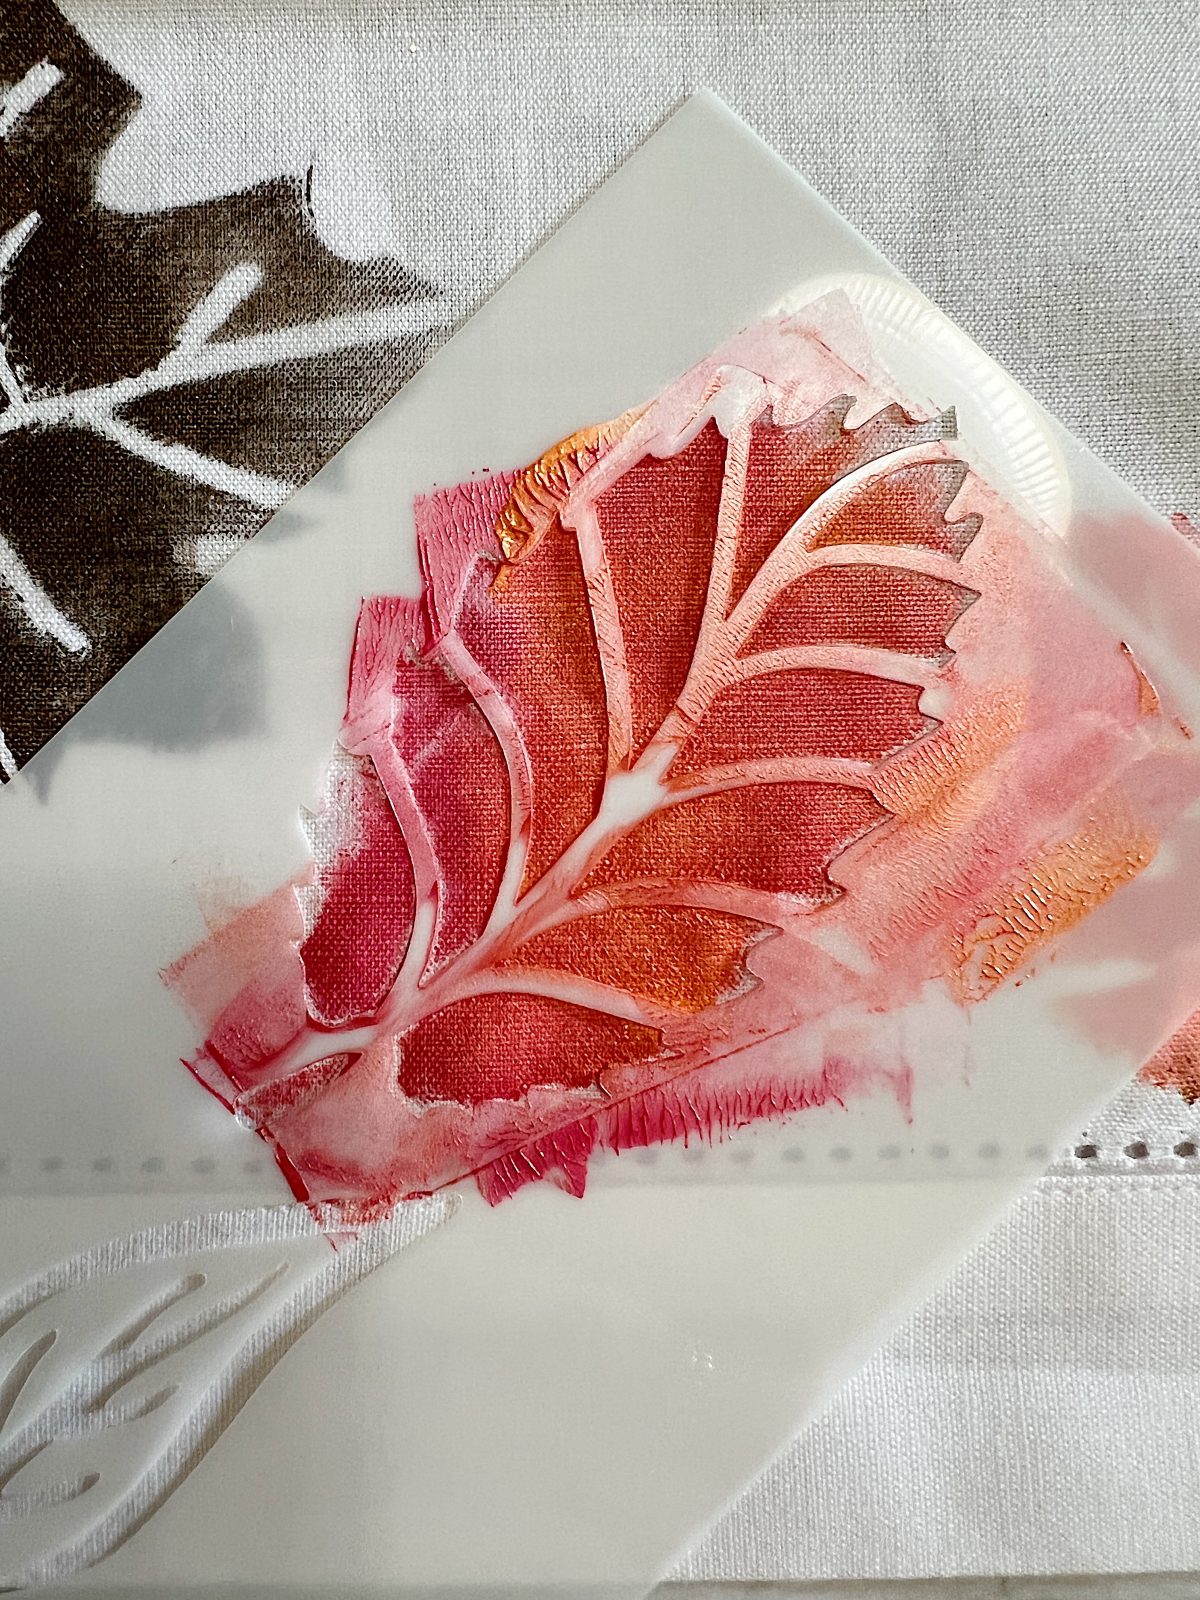
- one – Pick your colors for the tablecloth. I put three colors out at a time on some parchment paper and used the roller to spread the paint on top of the stencils.
- two – Place the stencil where you want it on the tablecloth. Roll the paint on top of the stencil. You may need to refill the paint on the roller but don’t put it on too thick.
- three – I figured out quickly that I liked the leaves that had multiple colors. So I rolled one color of metallic paint on part of the leaf stencil and then used another metallic paint to cover the rest.
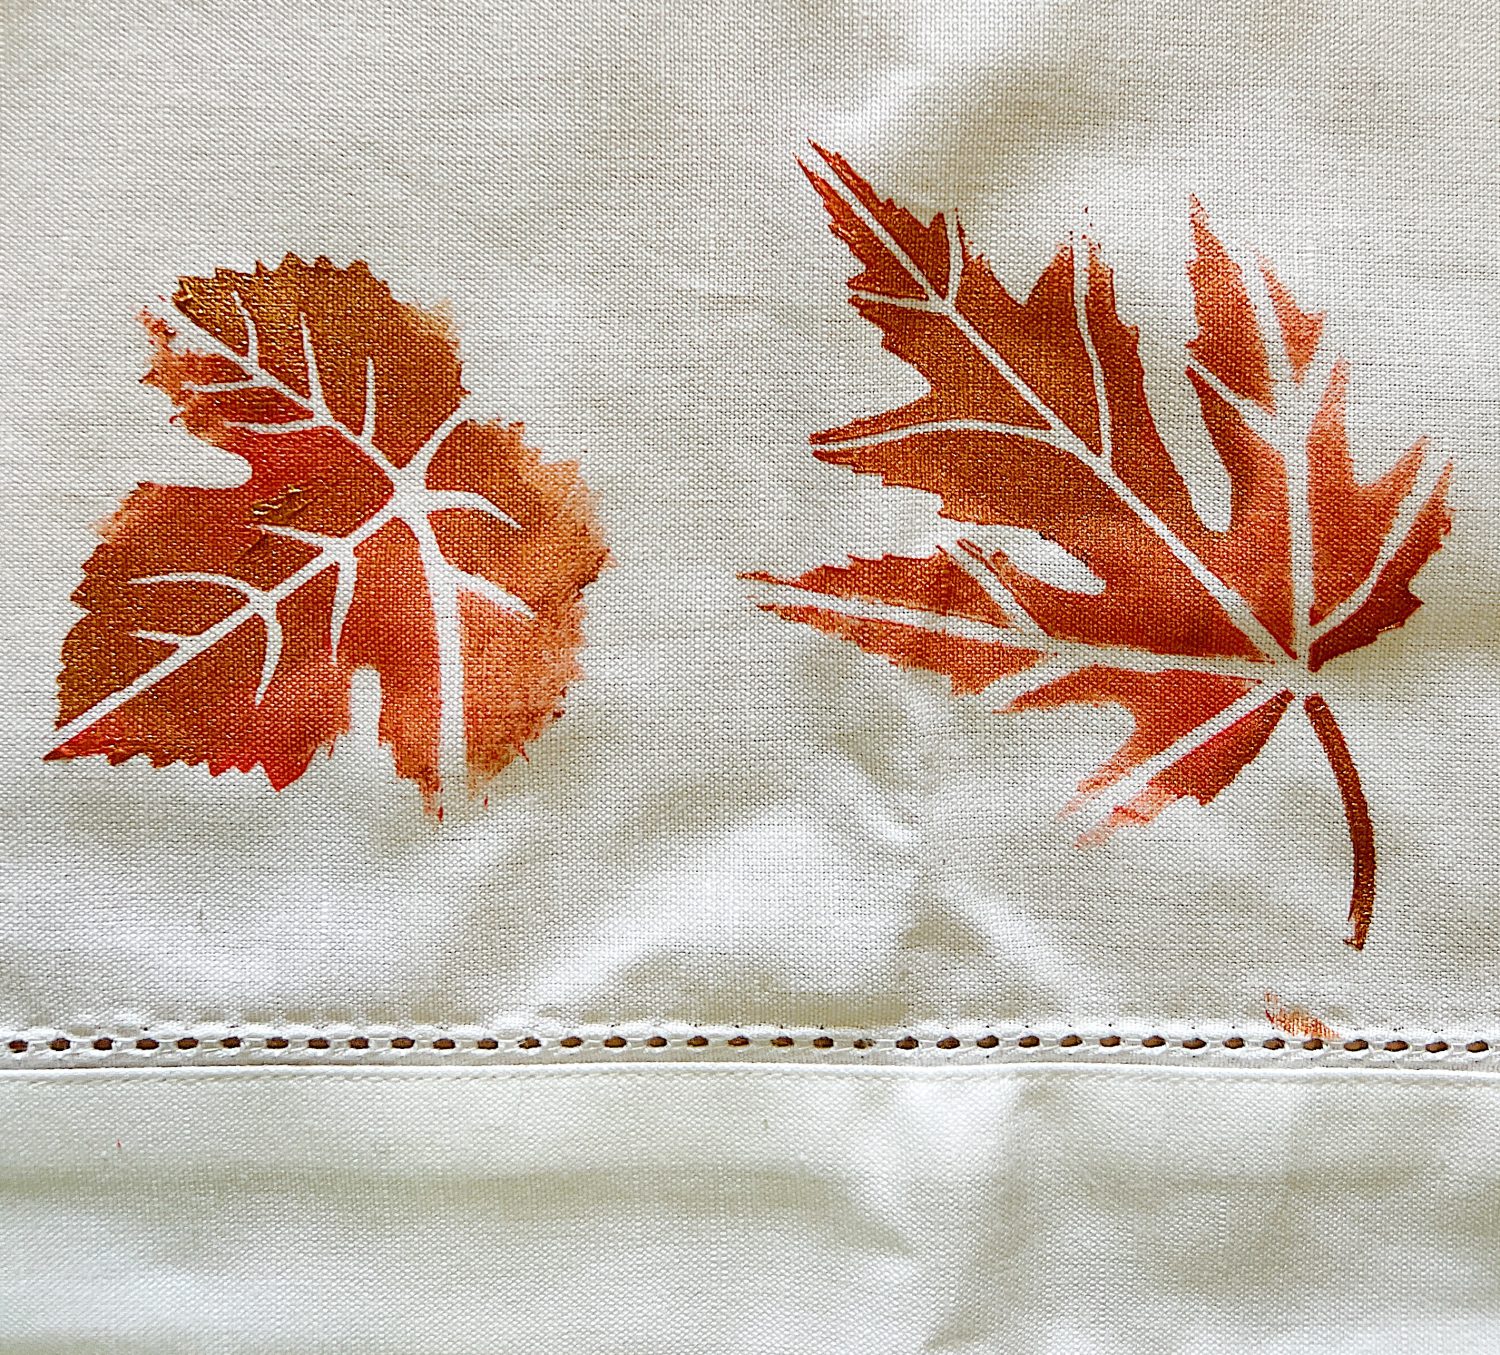
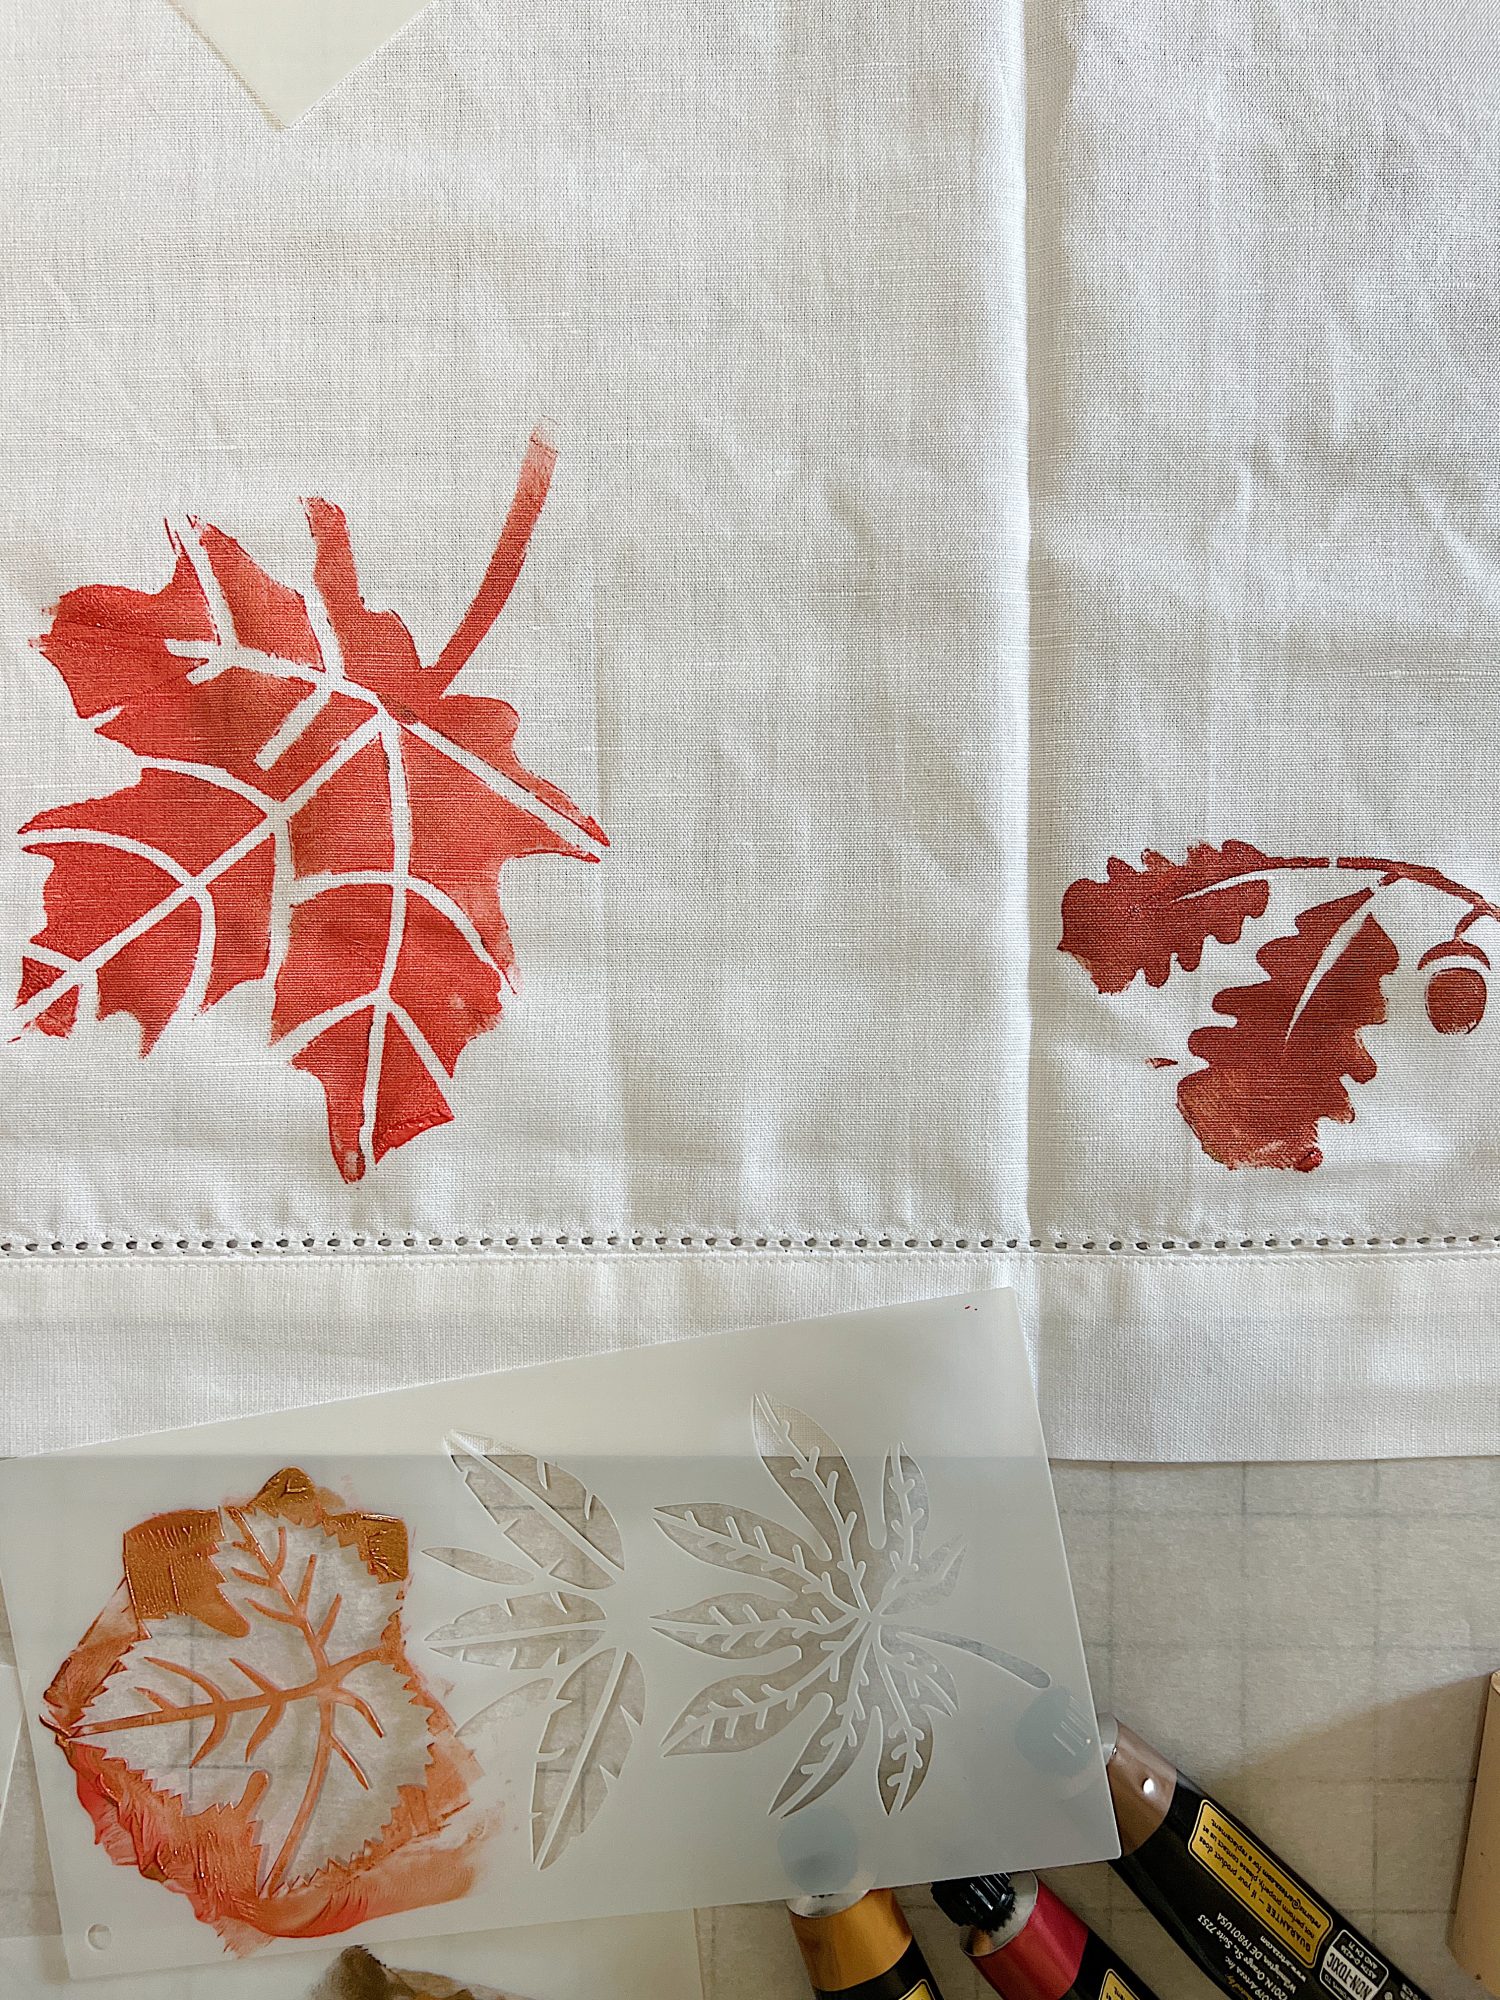
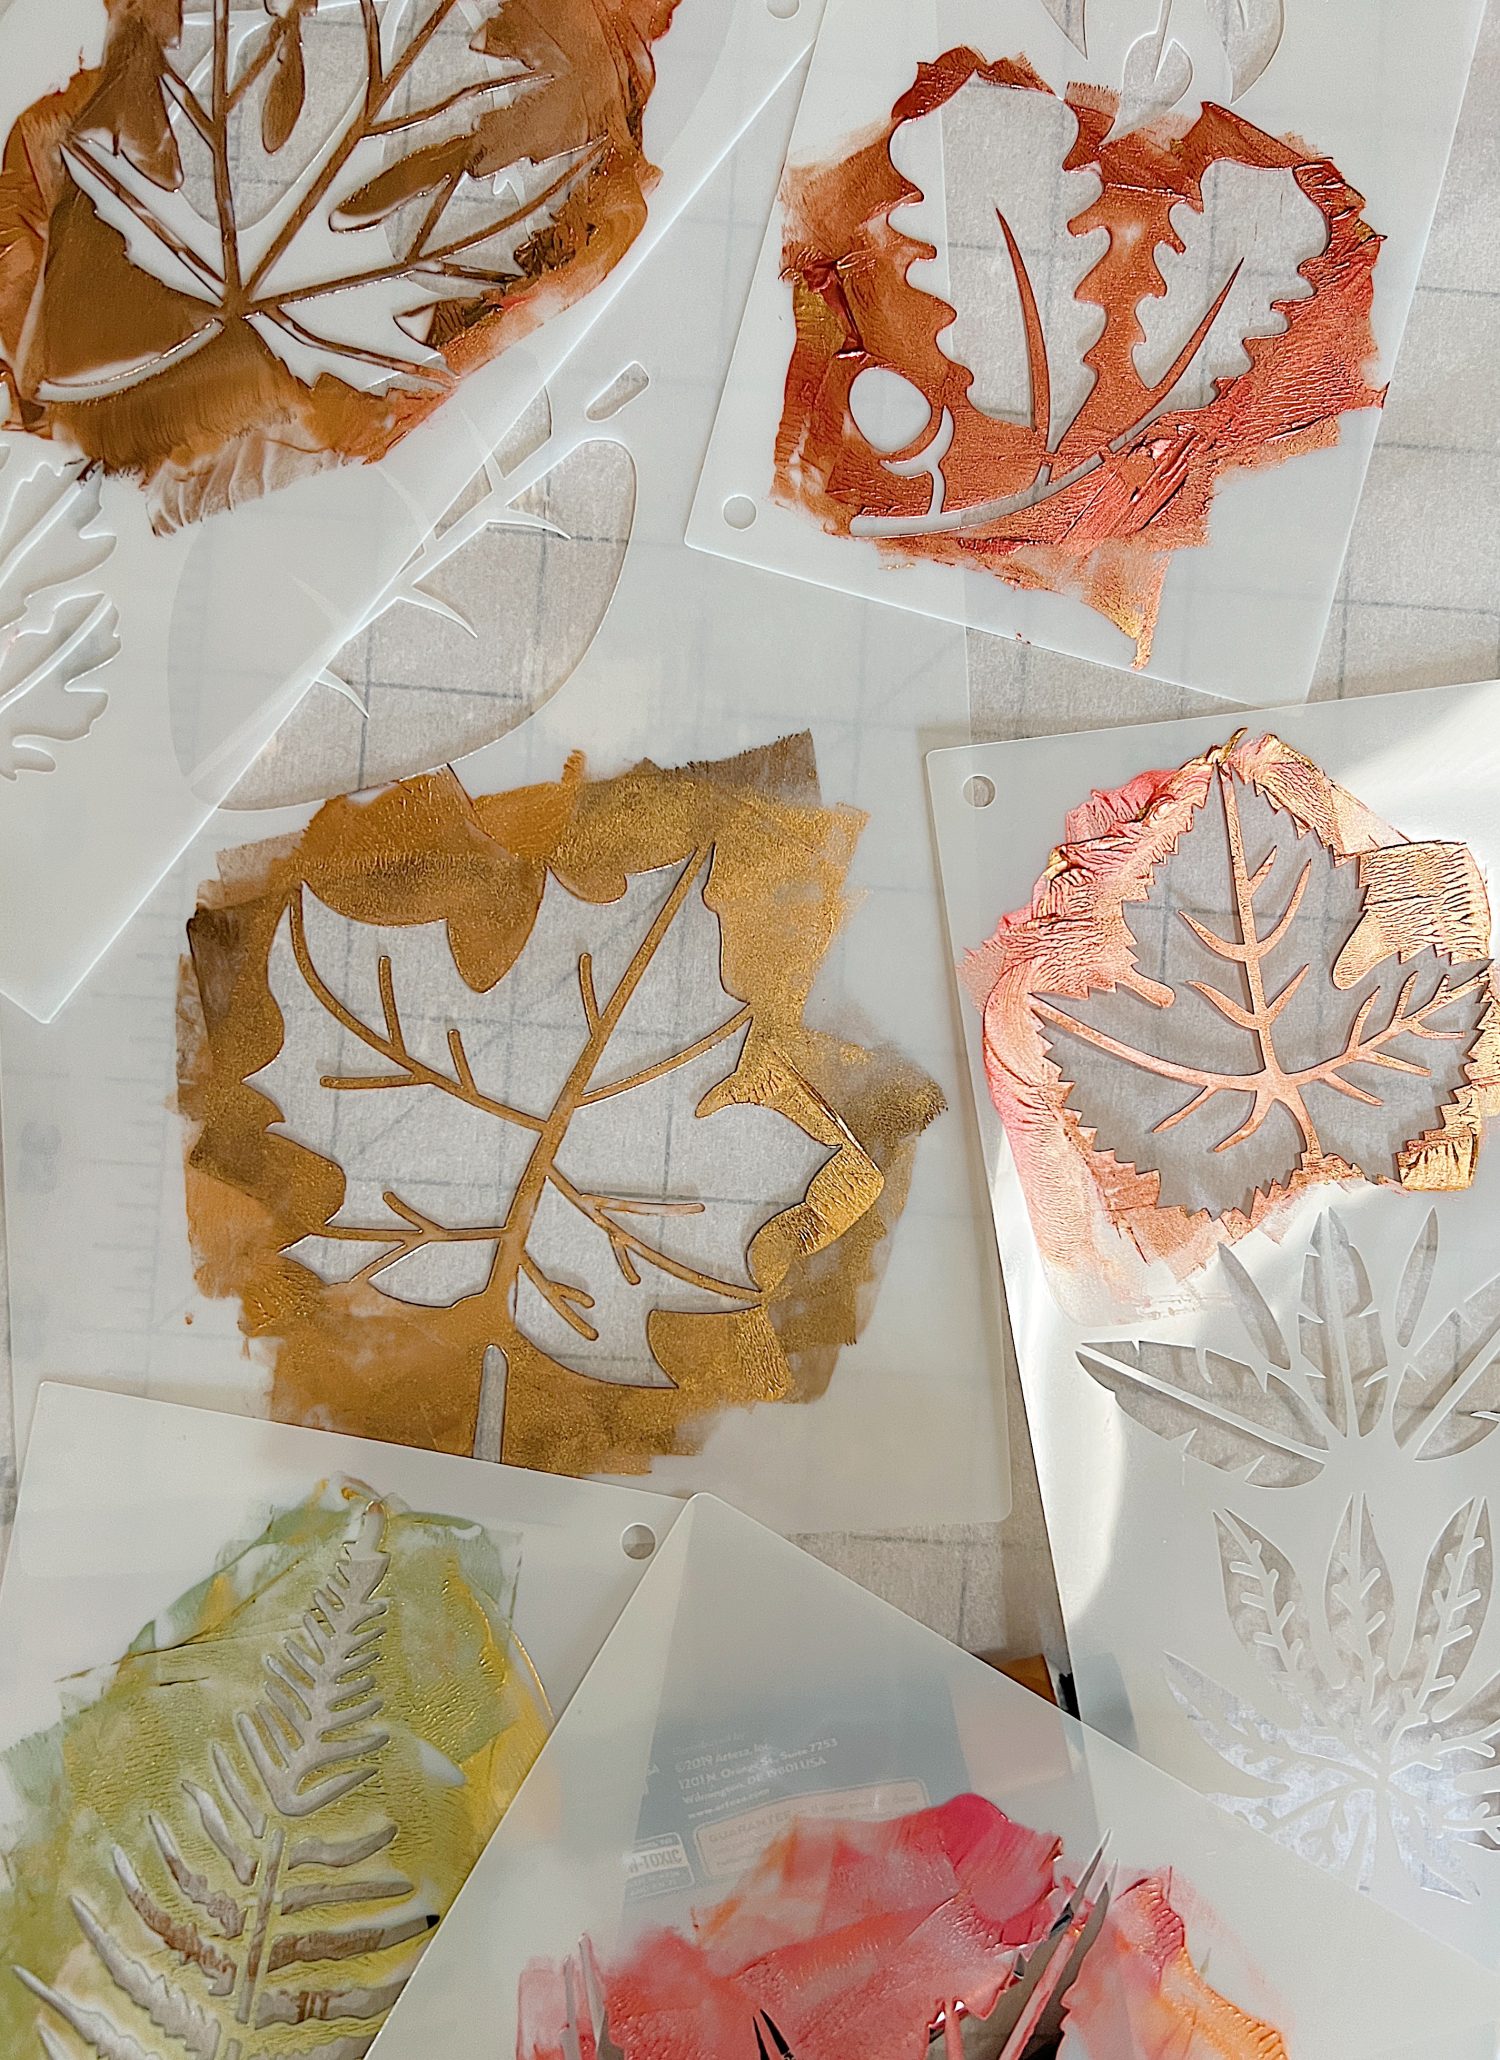
- four – Gently pull off the stencil and that’s it!
- five – I mixed up the colors, leaf patterns, and the direction of the leaves as I continued around the outside of the tablecloth.
- six – The paint dries fairly quickly but I didn’t bother to try to clean the stencils. I used the same ones multiple times and they worked perfectly.
The last step is to let the tablecloth dry completely and then, using a light cloth, cover the painted design and iron the tablecloth with a medium temp iron. The heat will seal the paint.
The Finished Fall Tablecloth
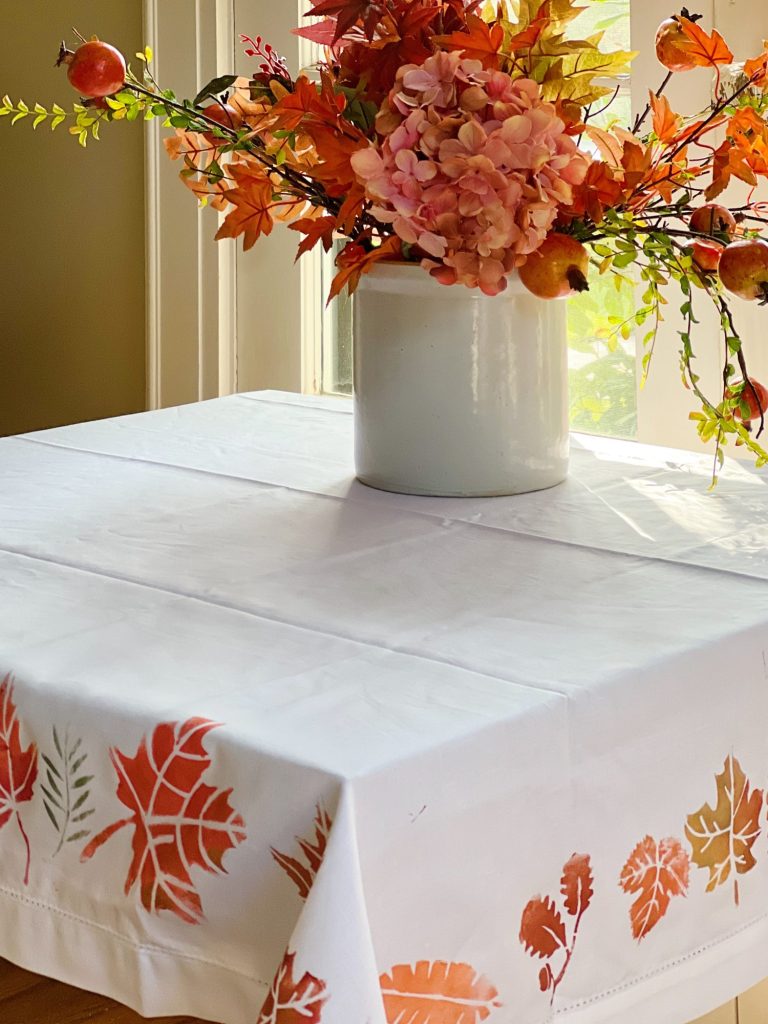
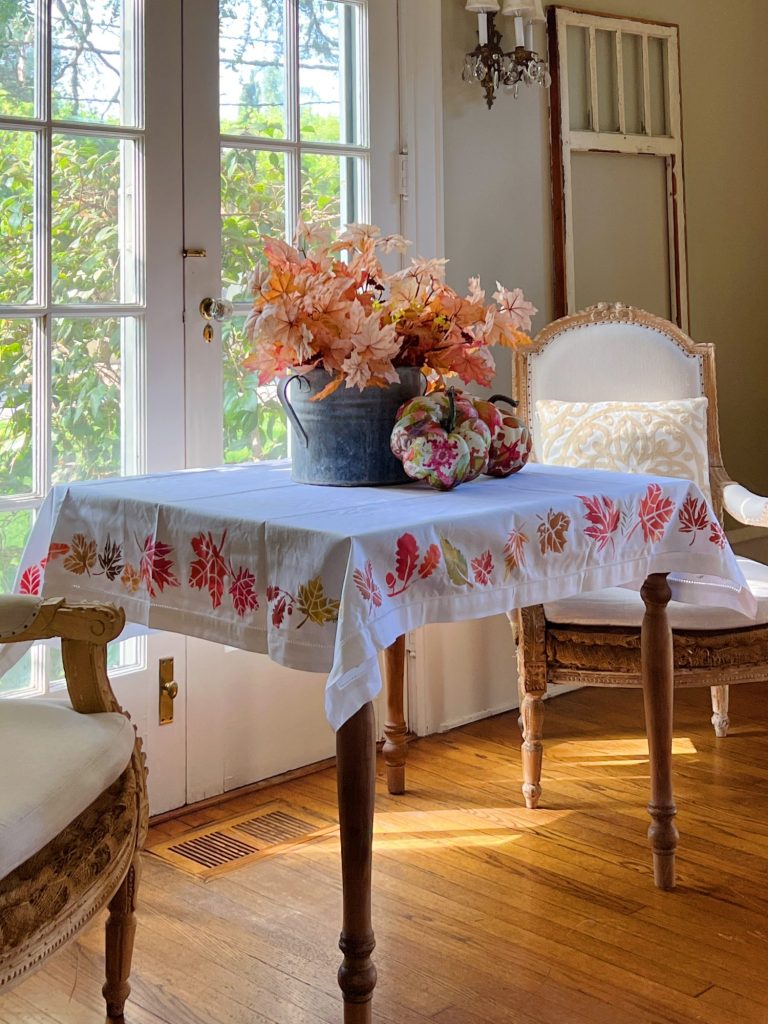
If you are enjoying my blog, you can sign up to receive my blog updates here. .
Watch My Amazon Live
Click here to watch any of my Amazon Live shows. All shows are recorded.
I thought you might like this show, Get Your Kitchen Ready with Fall Deals. It airs live TODAY anytime after 12:00noon PST.

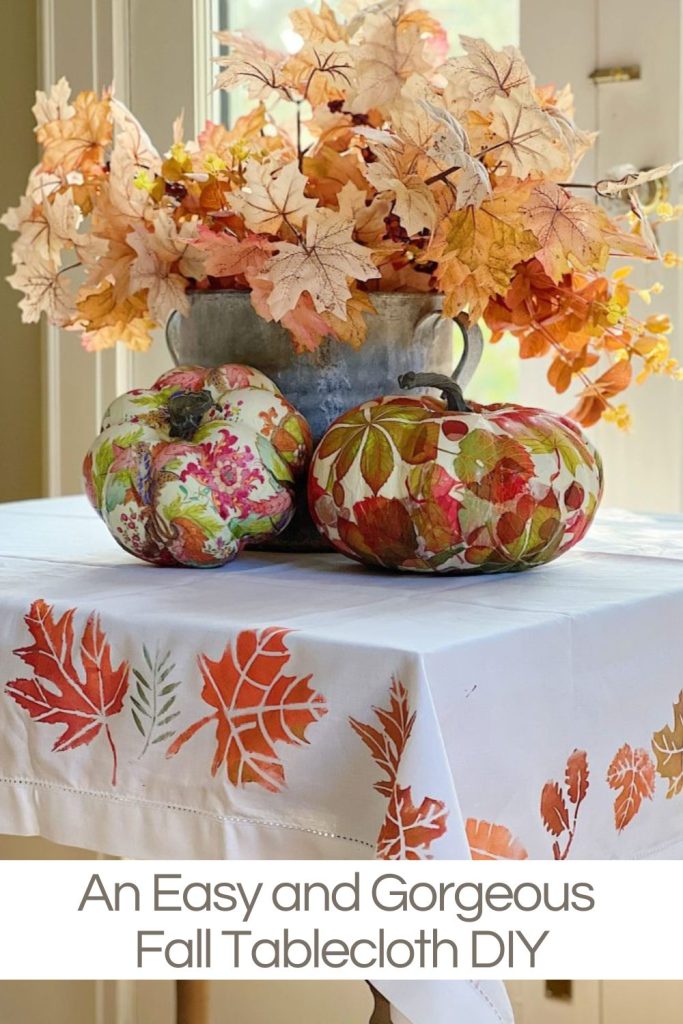
Pin the image below to your boards on Pinterest (just click the Pin button in the top left corner). You can also follow along with me on Pinterest!
For more real-time updates, follow me on Instagram @My100YearOldHome







leslie are your makings on tableclothes and napkins and pillows in your book or do i have to keep printing them out? joyce dodd, one of your old paintings students on canvas.