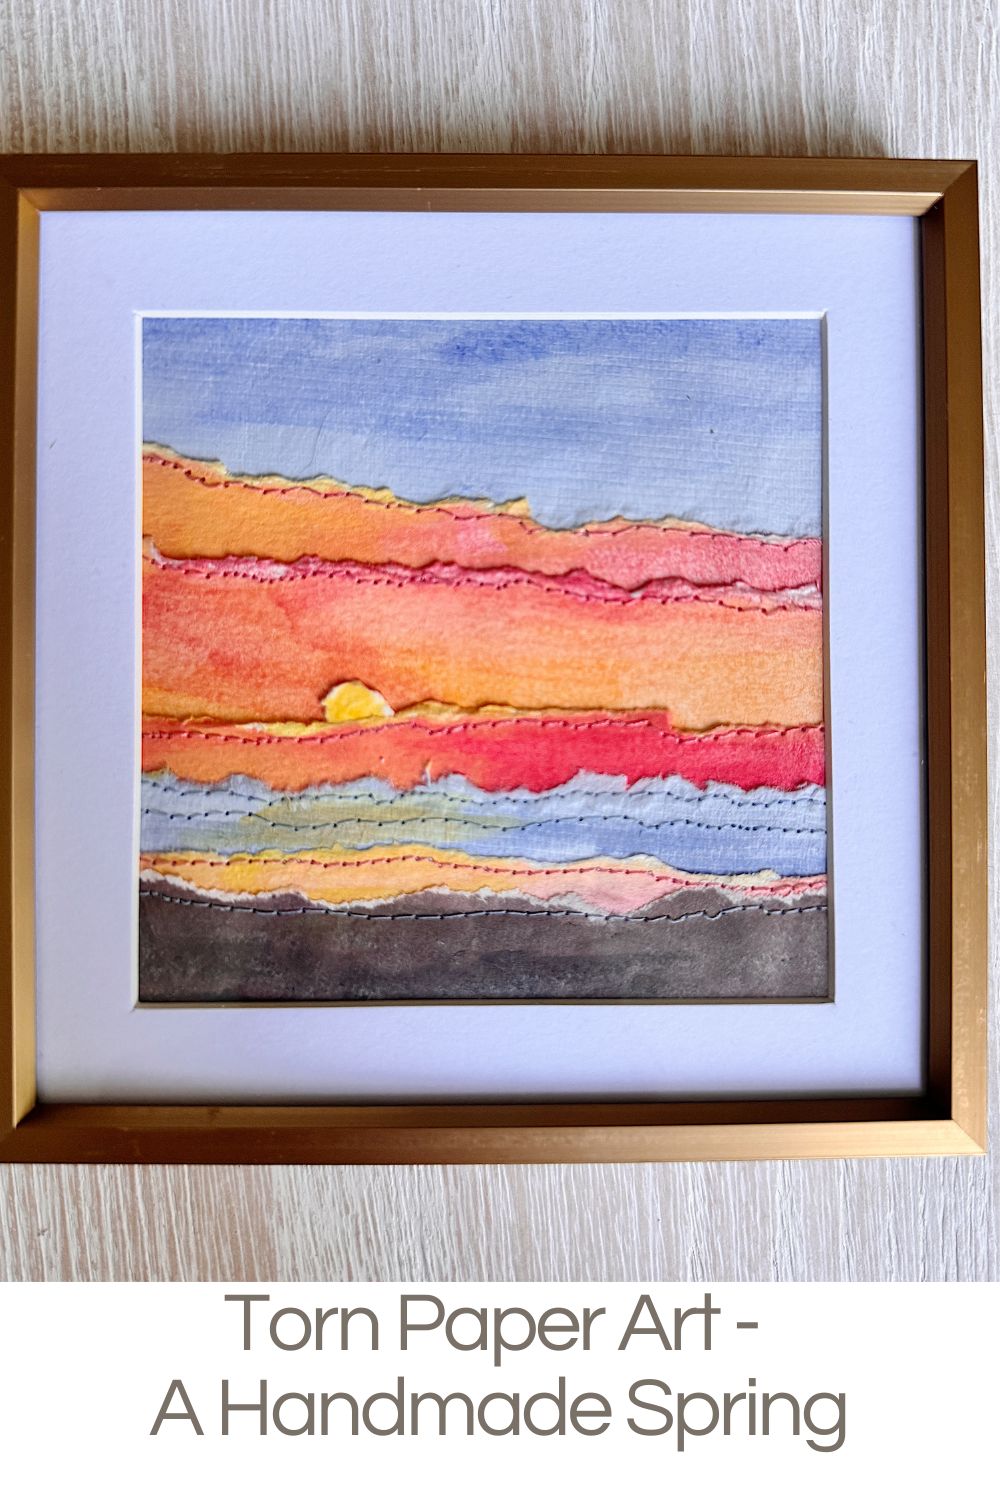
Torn Paper Art – A Handmade Spring
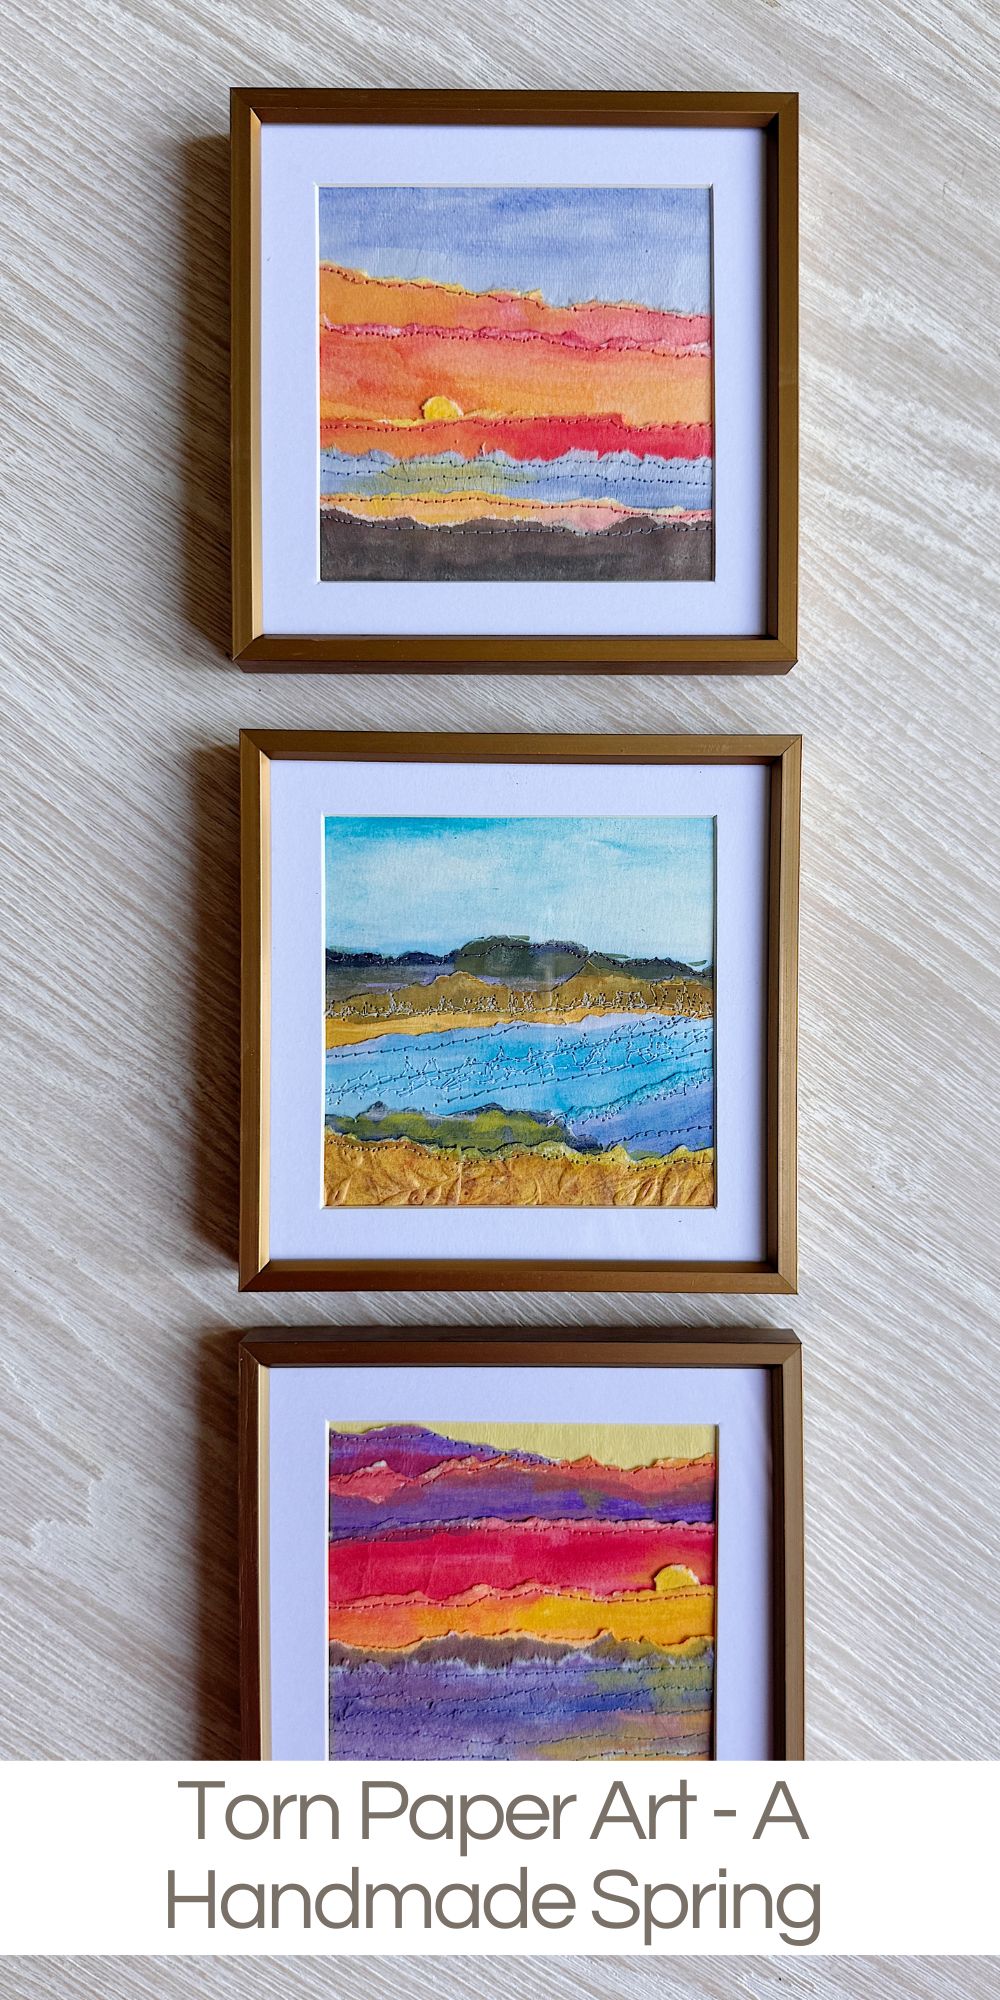
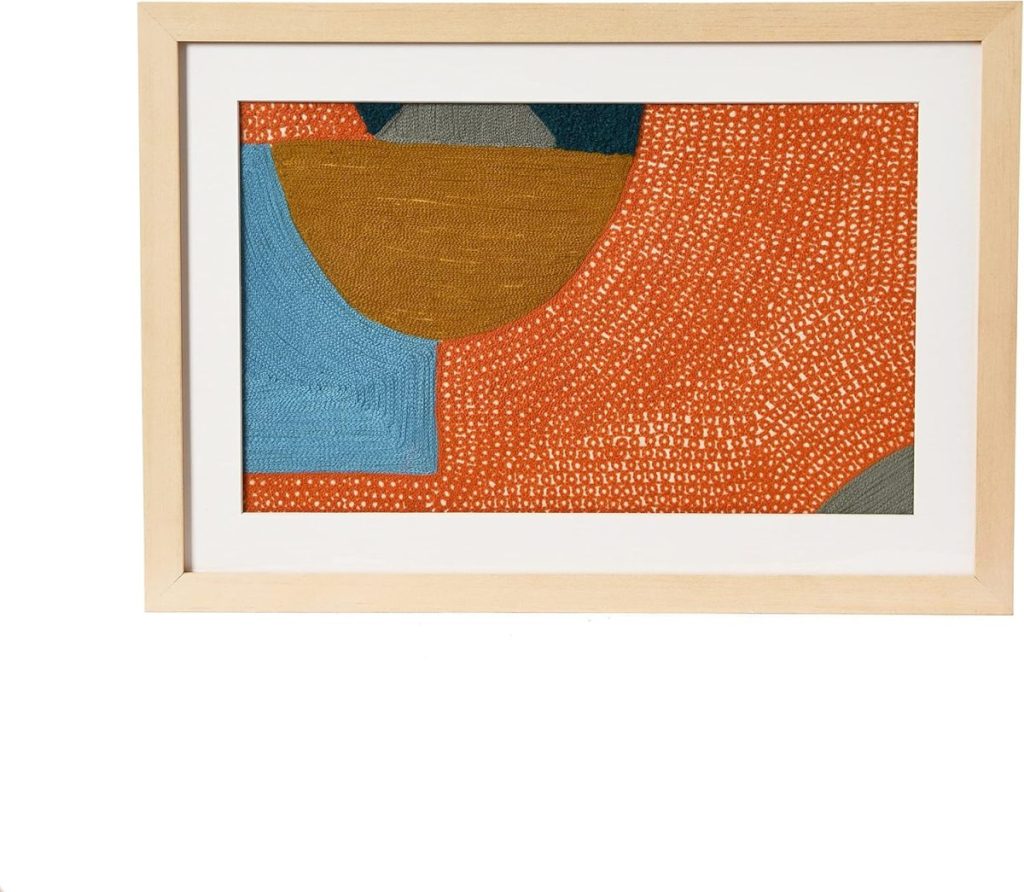
Paper art can capture the beauty in a simple, unexpected way. The ocean views at our Ventura beach house inspired layered, textured designs made with torn watercolor paper.
What I love most about paper art is how it allows you to interpret a moment rather than copy it. By combining painted paper, organic torn edges, and a bit of stitching, this project brings together color, texture, and creativity in a way that feels both relaxed and meaningful.


Torn Paper Art
I love the ocean views at our Ventura beach house, and this project started with a simple thought. What if I could capture those colors and layers in a completely different way?
Not with paint on a canvas, but with paper.
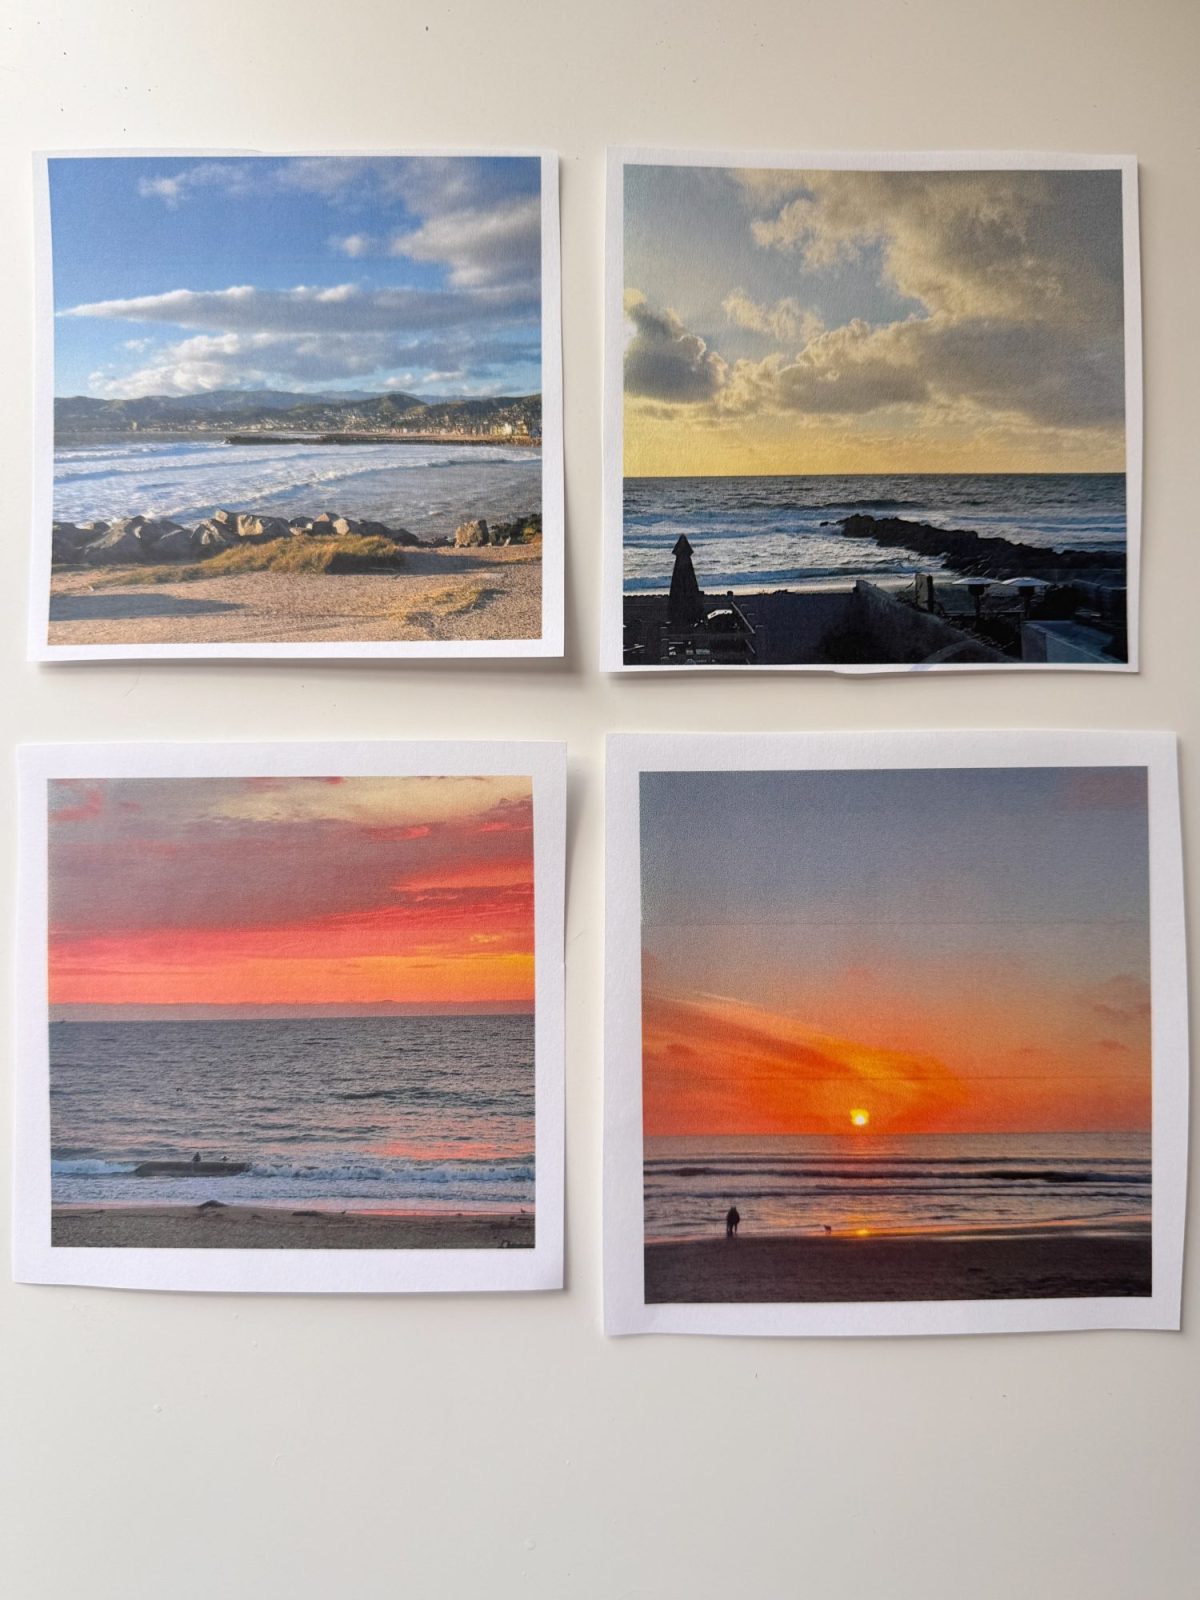
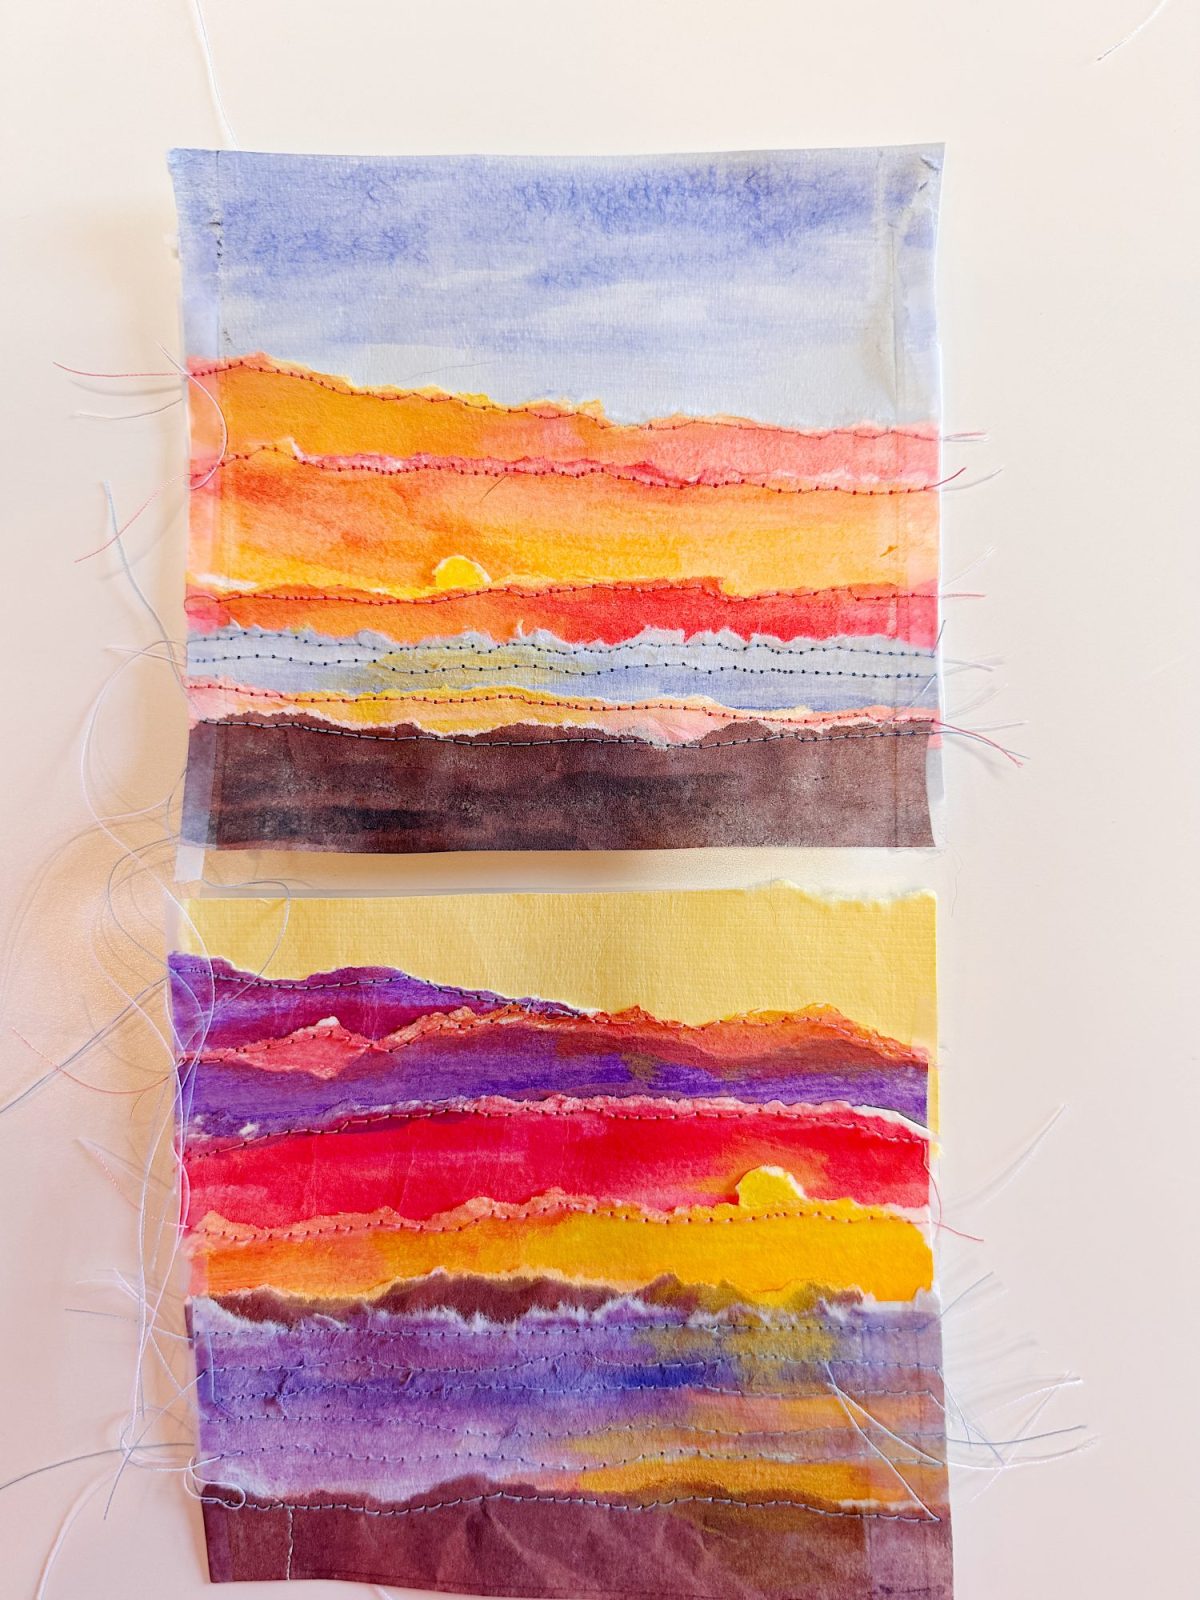
For this project in my A Handmade Spring series, I created layered paper art inspired by four photos I took at the beach. The results are textured, colorful, and just a little unexpected. And honestly, that is what makes them so much fun.
Finding Inspiration
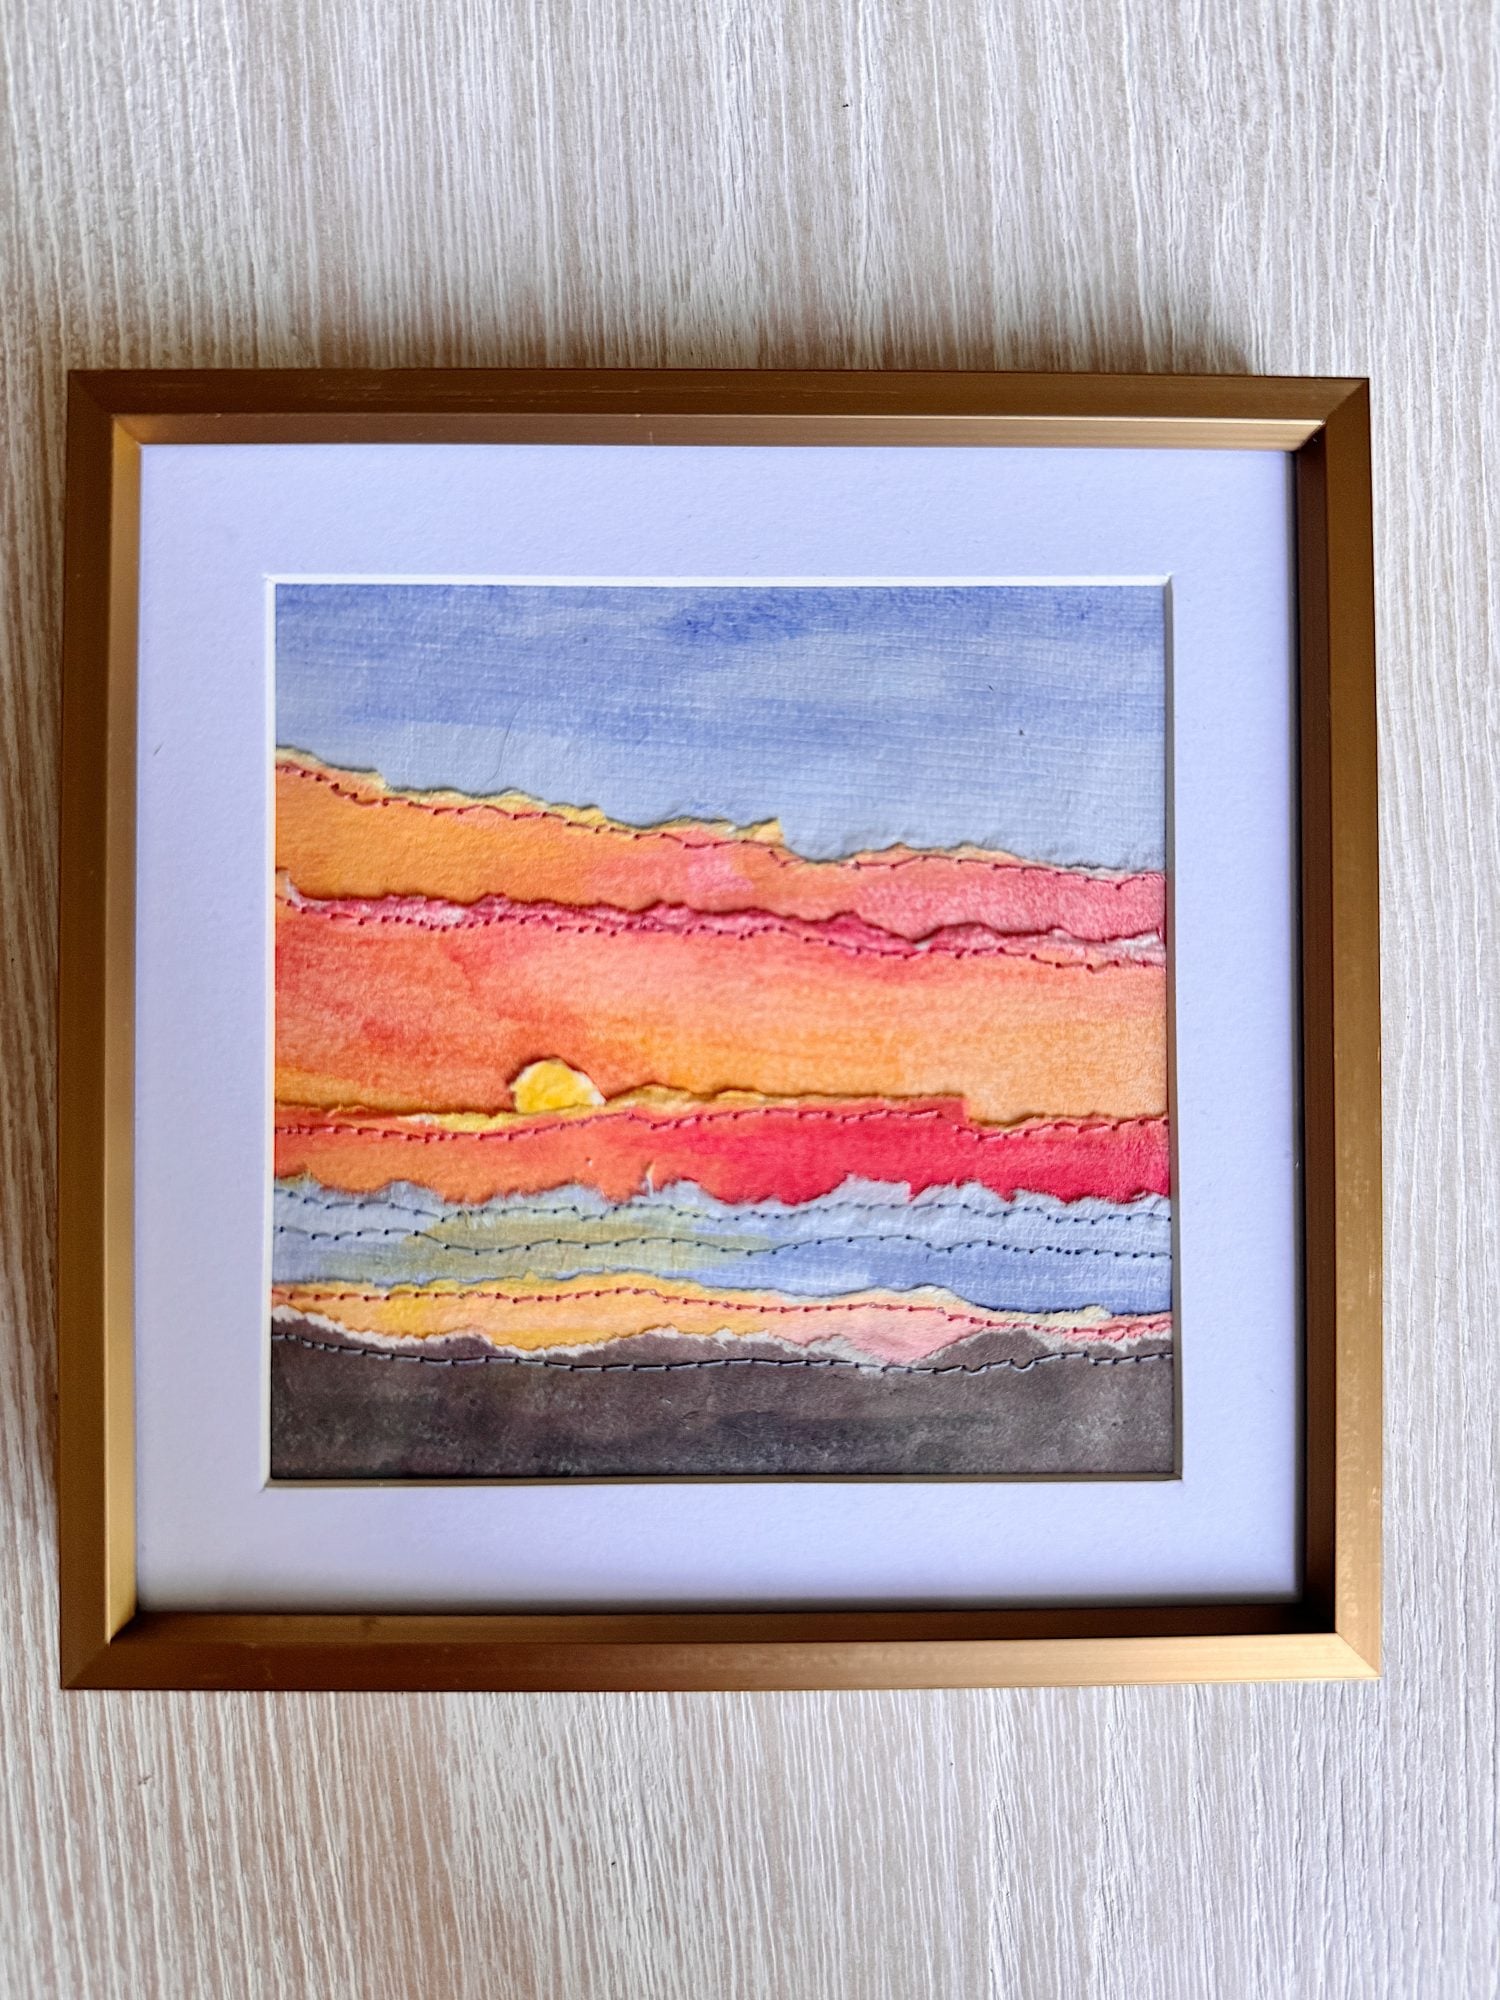
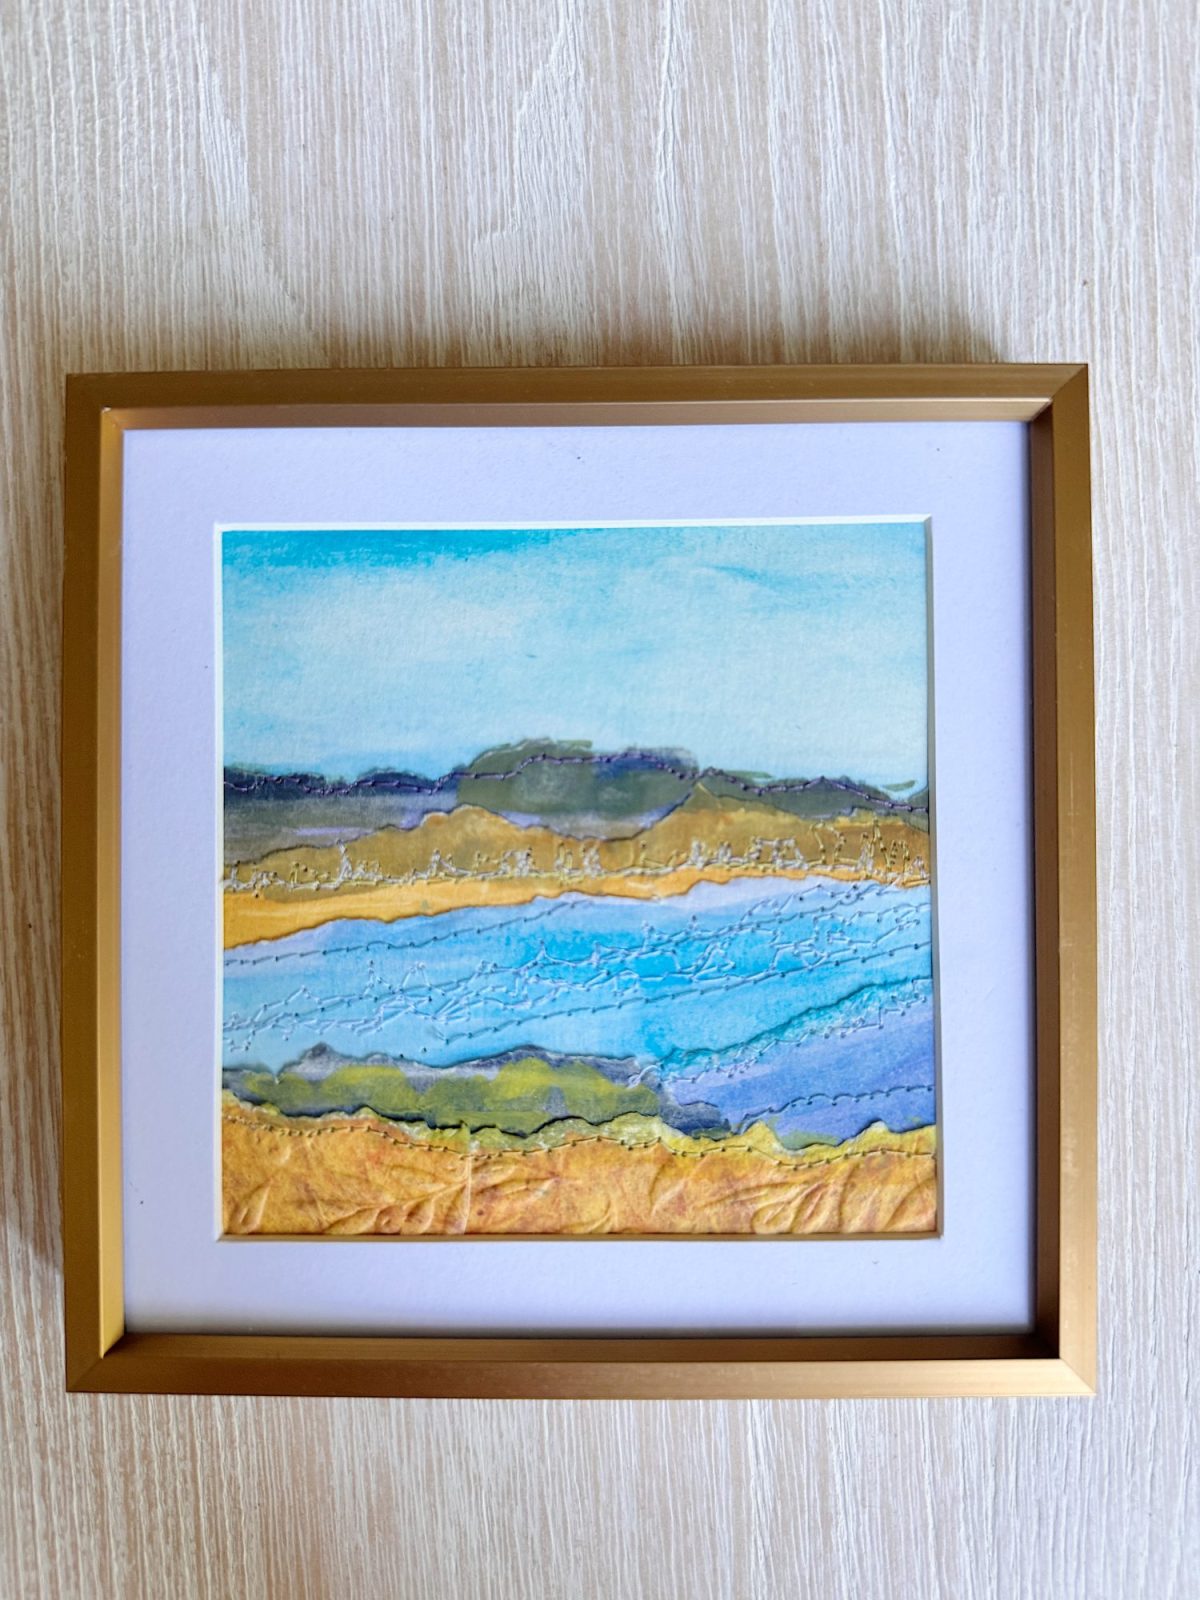
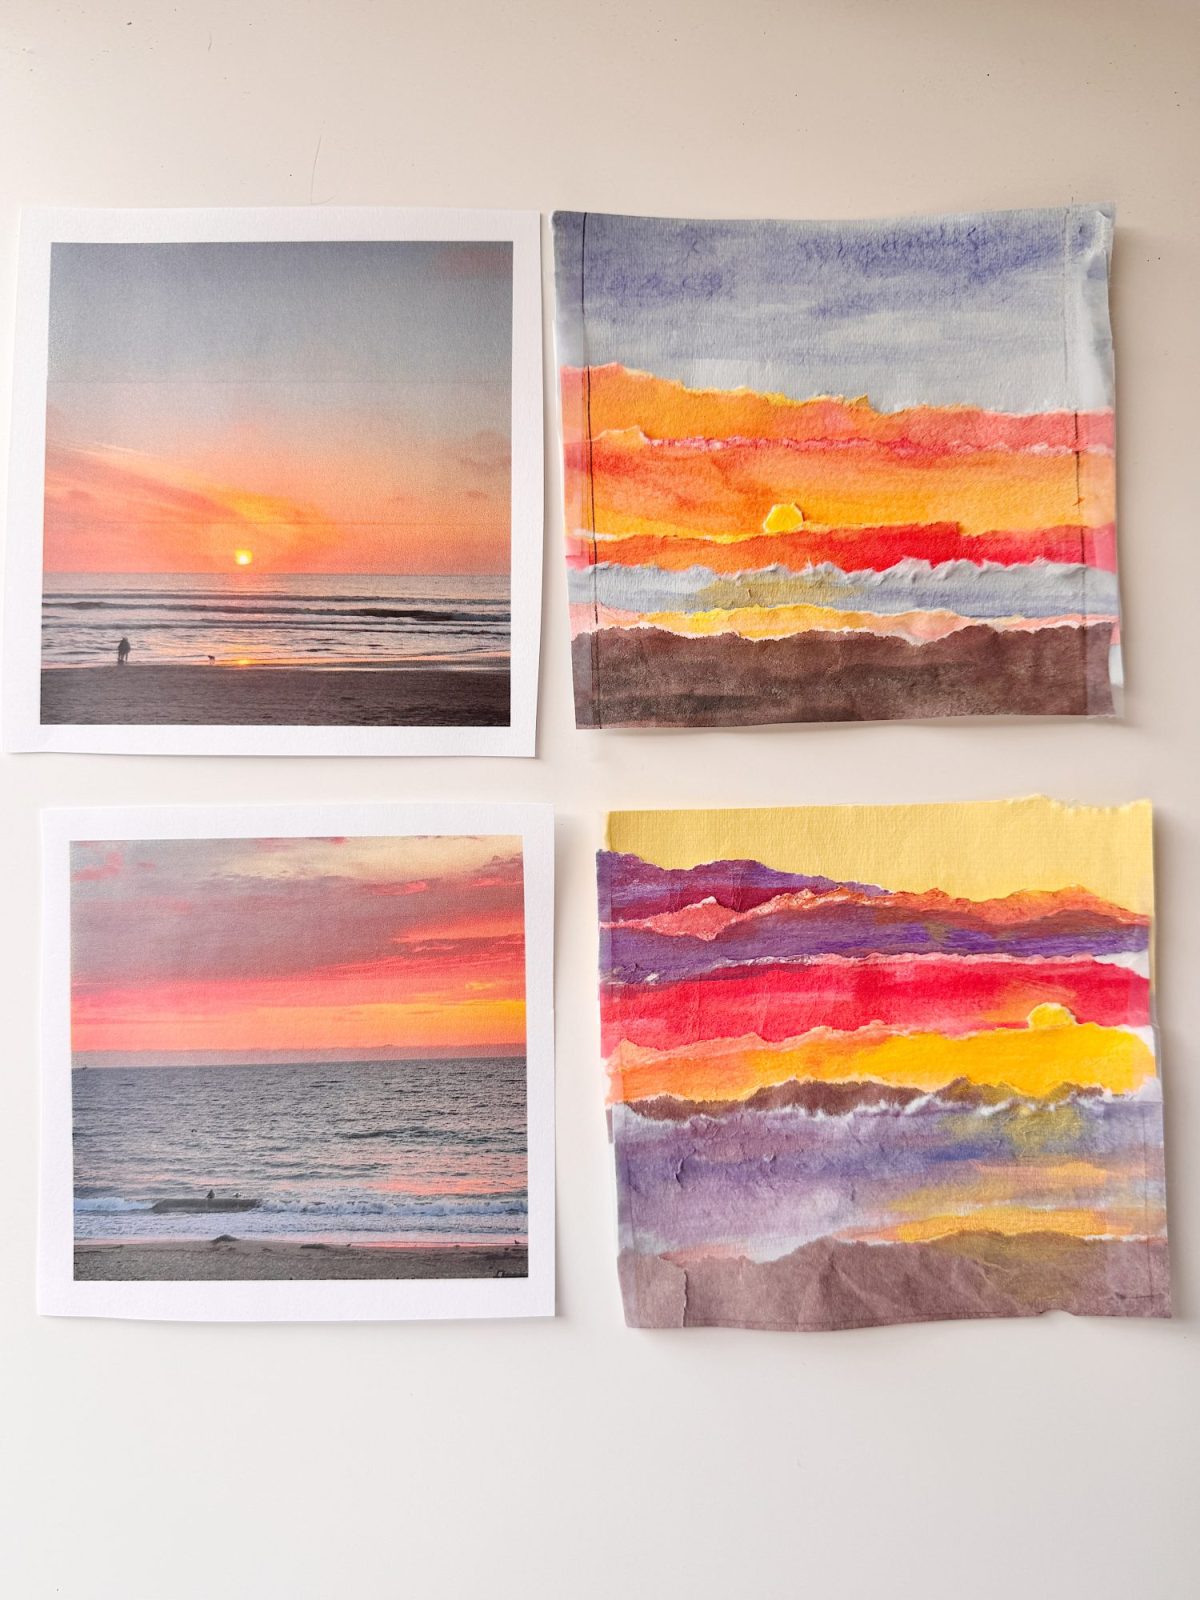
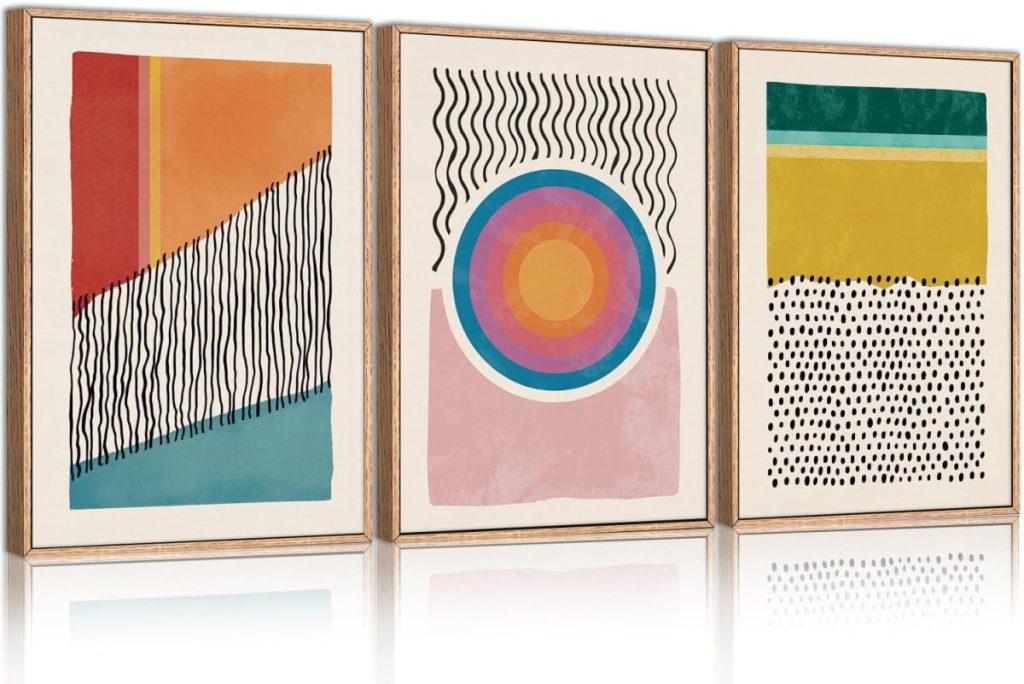
I started by scrolling through photos on my phone and choosing four that really stood out. Each one had strong color bands. Soft blues, deep navy, warm golds, and those incredible sunset pinks and oranges.
What I loved most was how the ocean naturally creates layers. Sky, clouds, horizon, water, and sand. It already feels like a collage before you even begin.
That made it the perfect inspiration for paper art.
Materials I Used
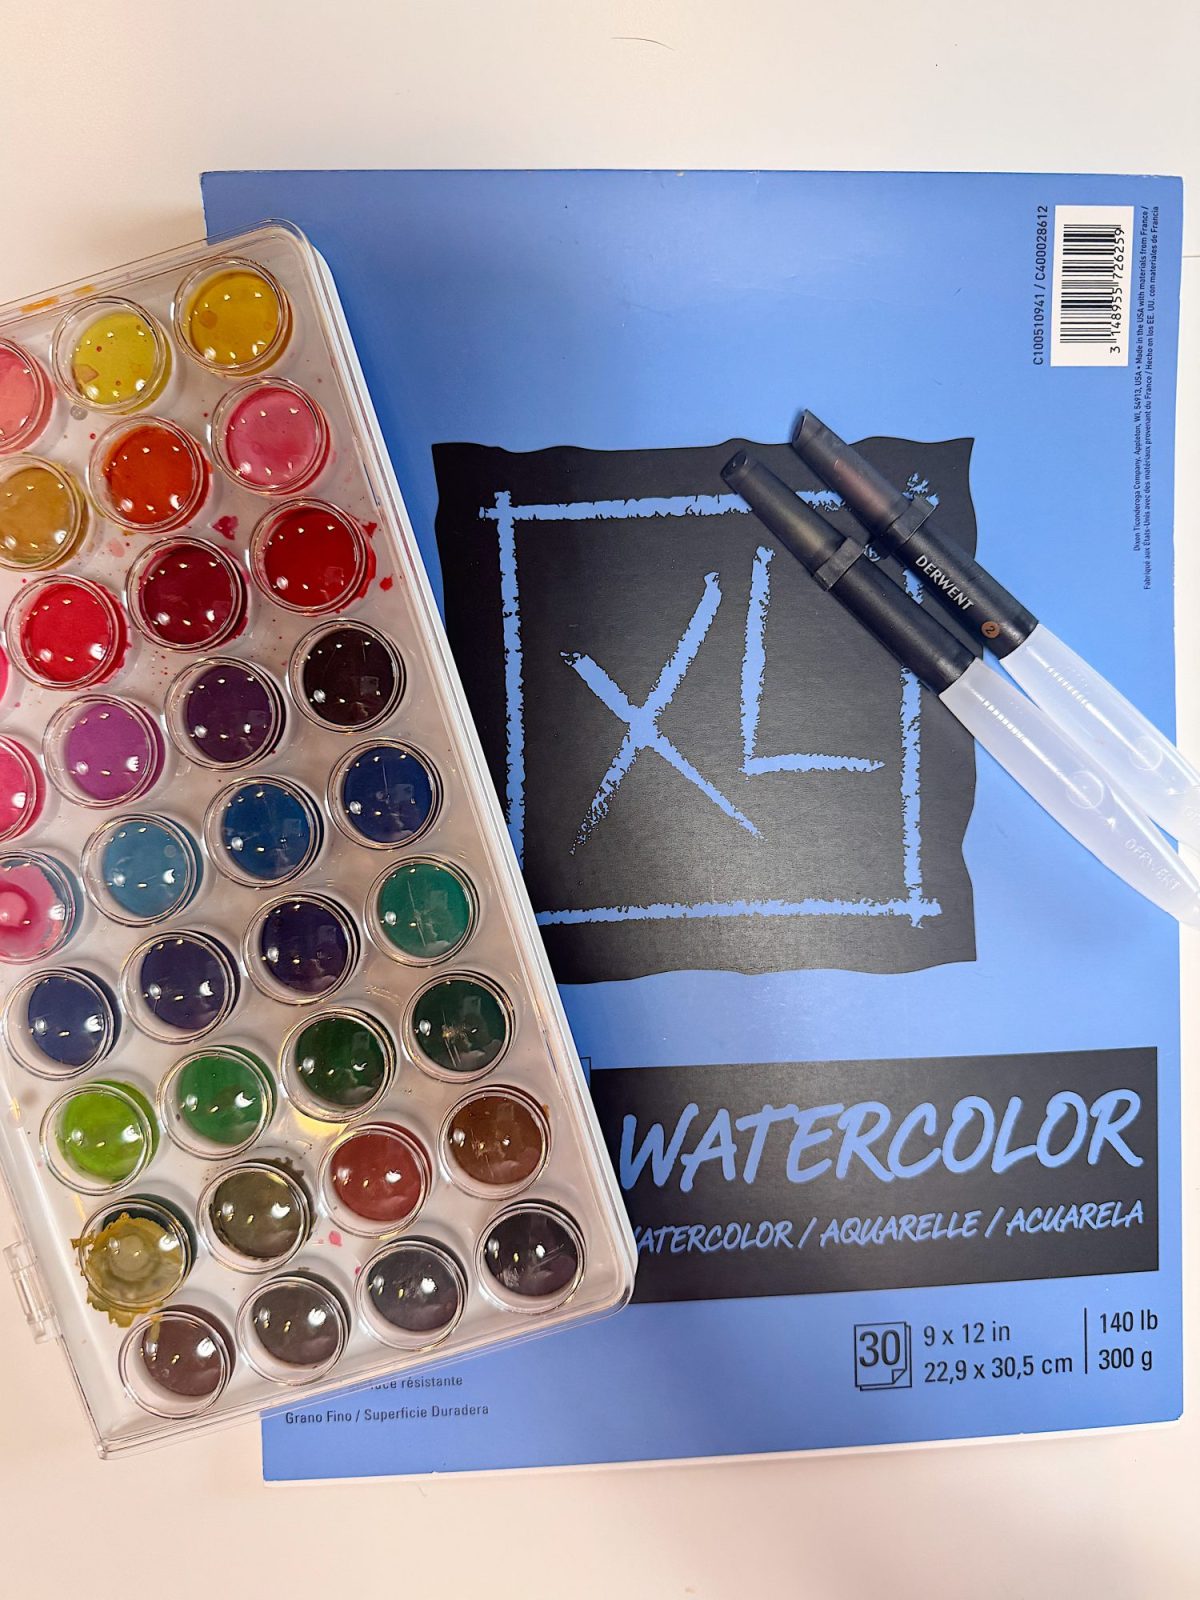
This project is surprisingly simple in terms of supplies.
- Watercolor paper in pastel colors
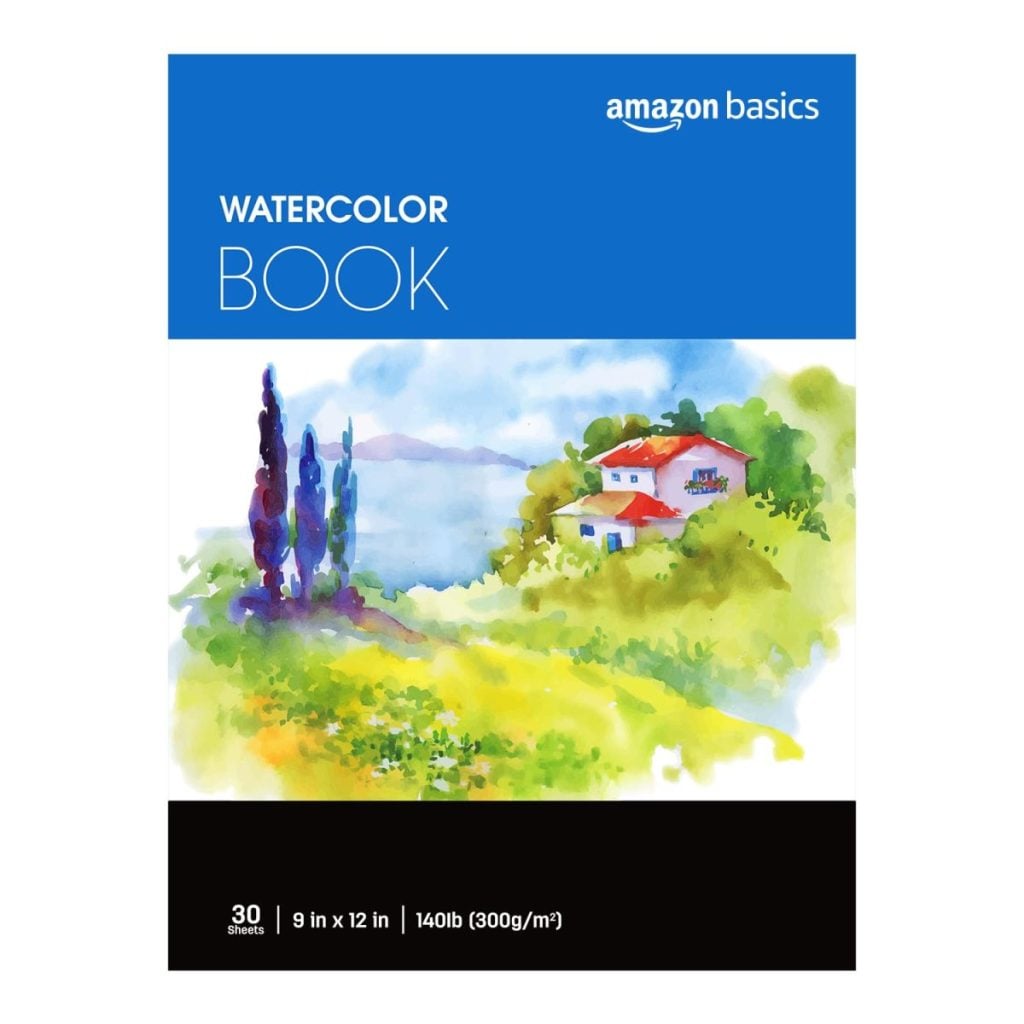
- A watercolor paper pad to paint my own colors
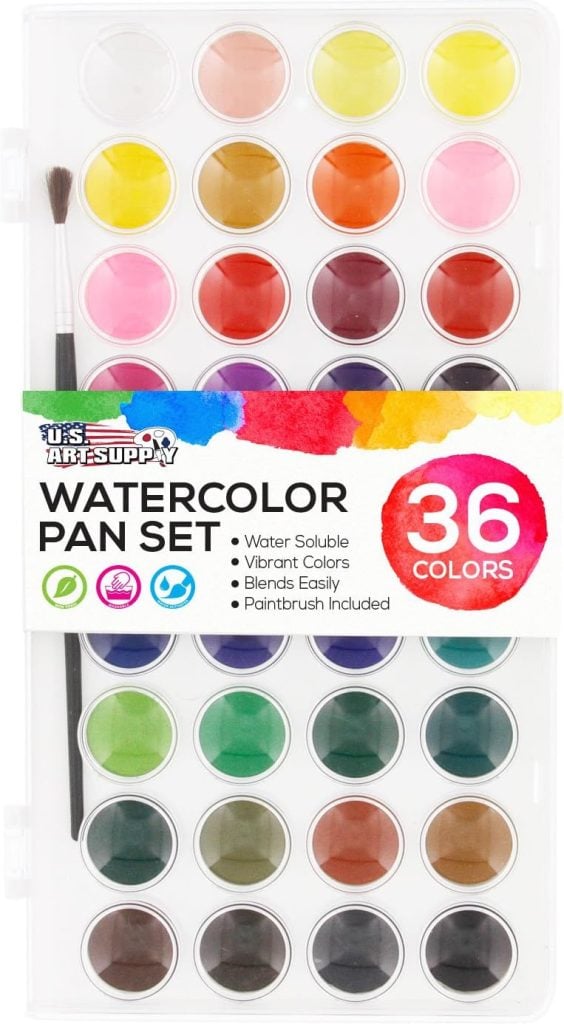
- Watercolor paints
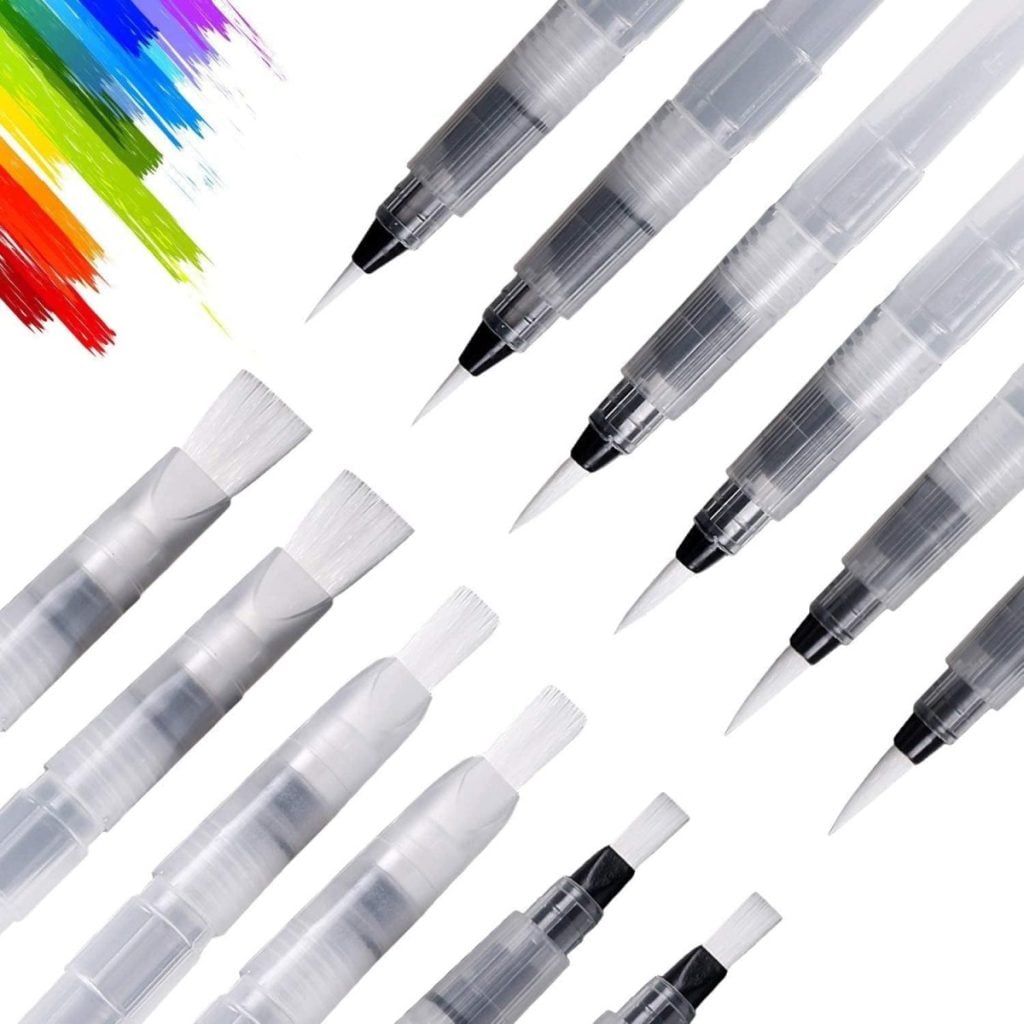
- Water brush pens
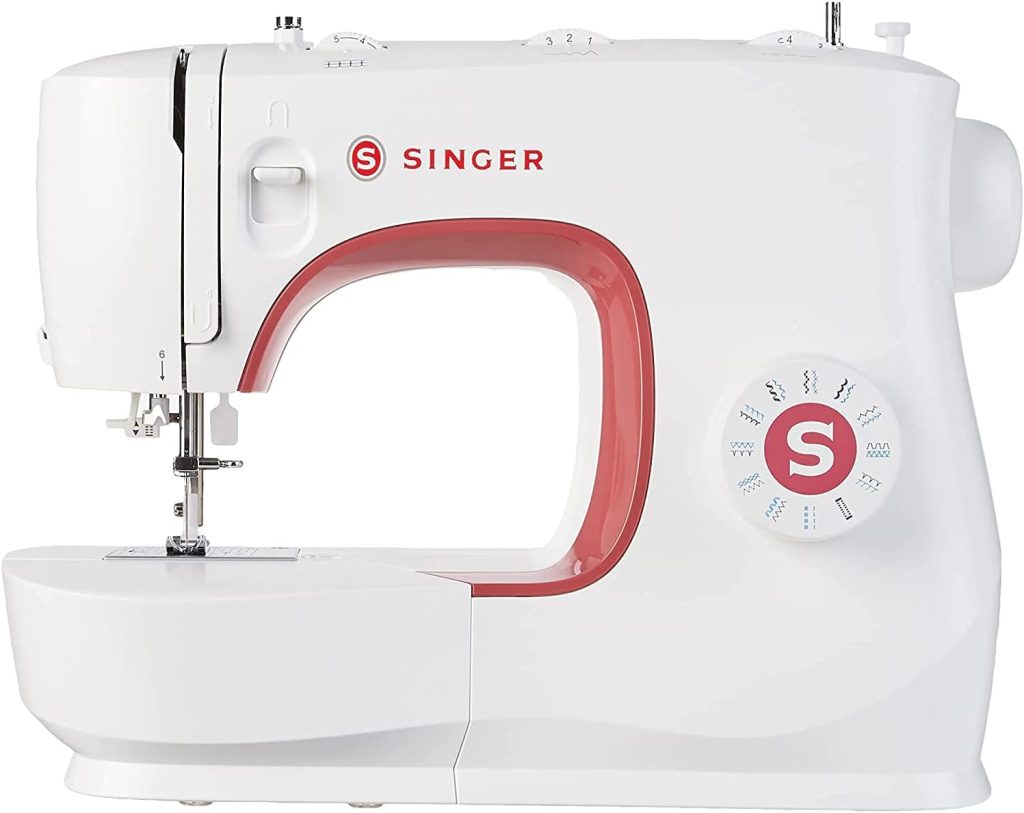
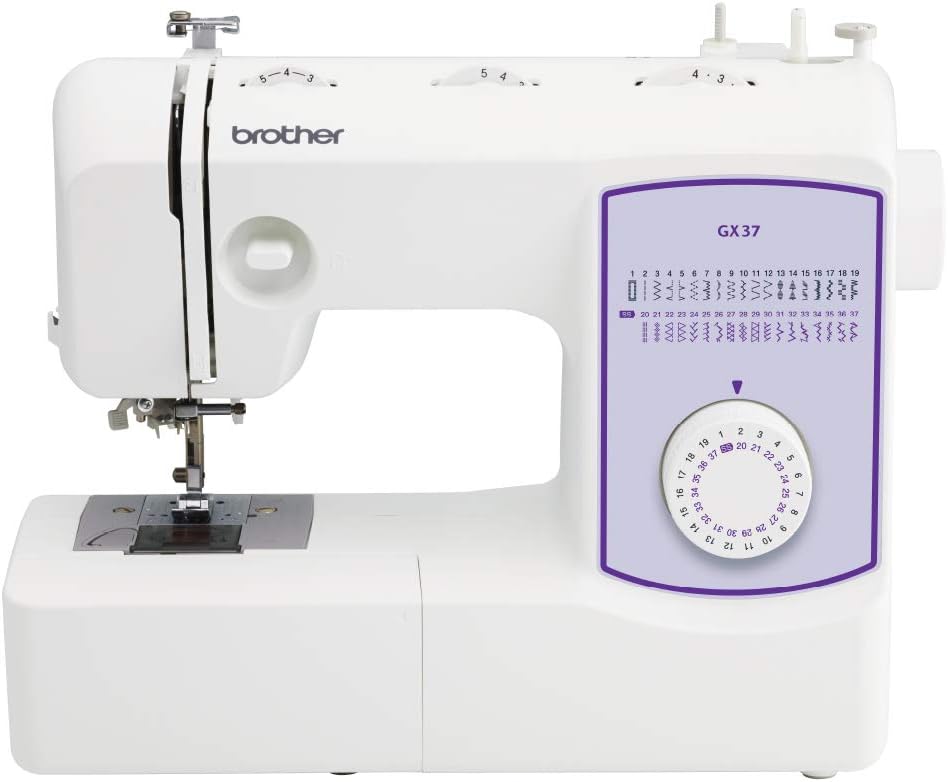
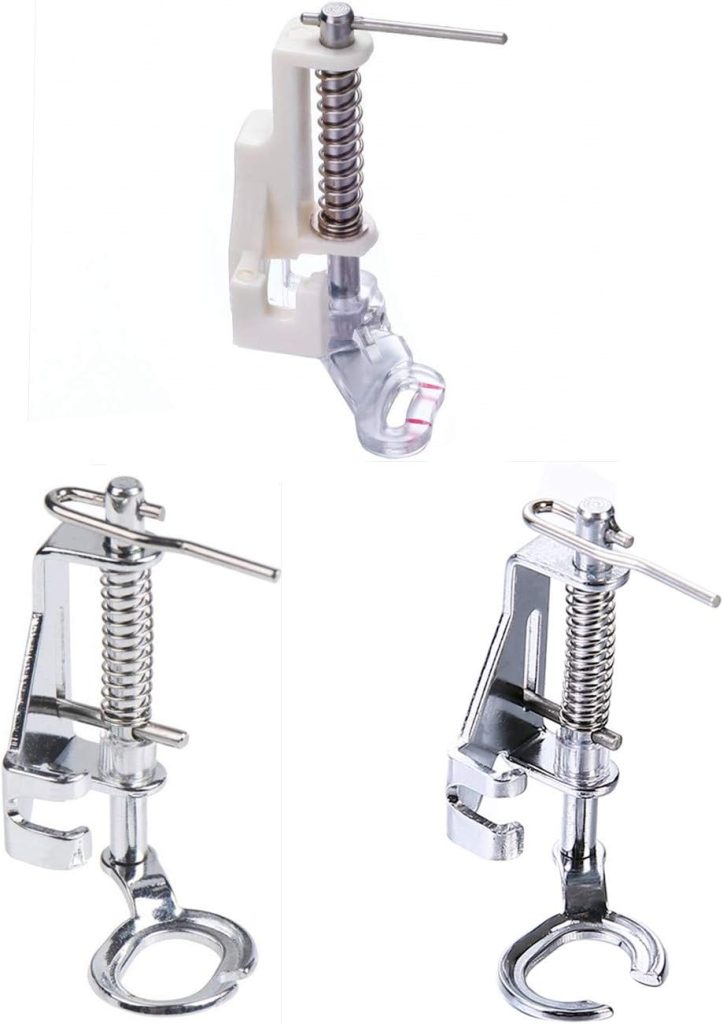
- Sewing machine with free motion capability
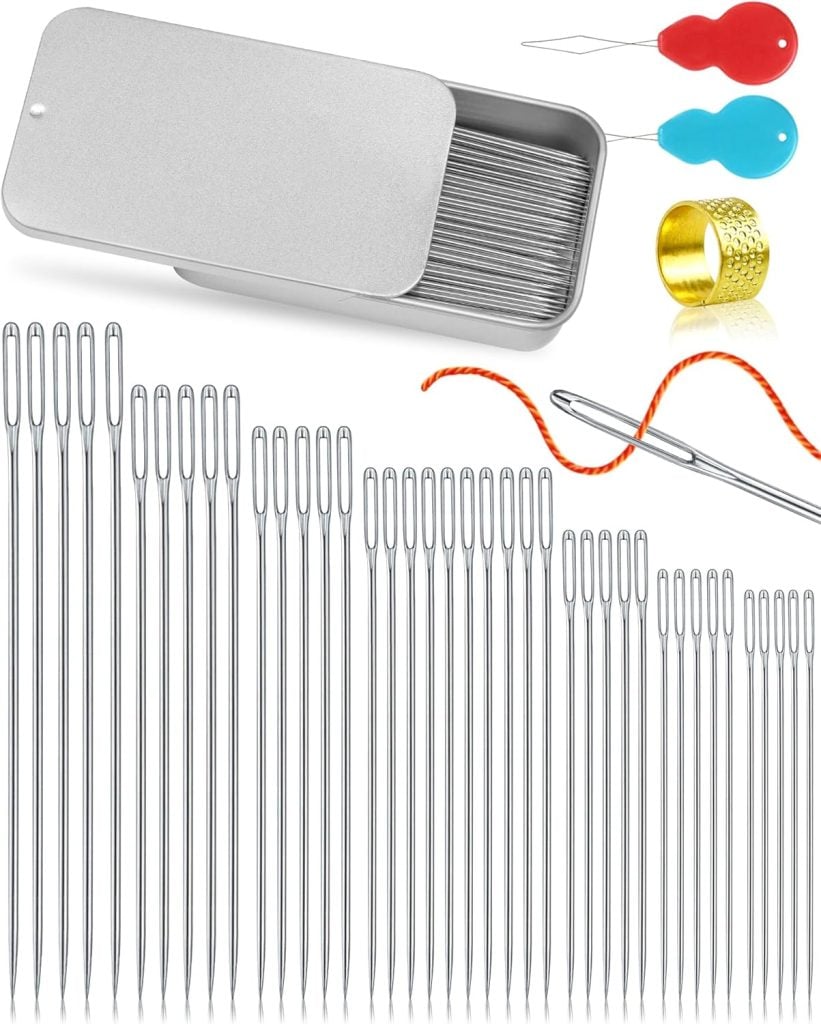
- Size 10 – 12 machine needle
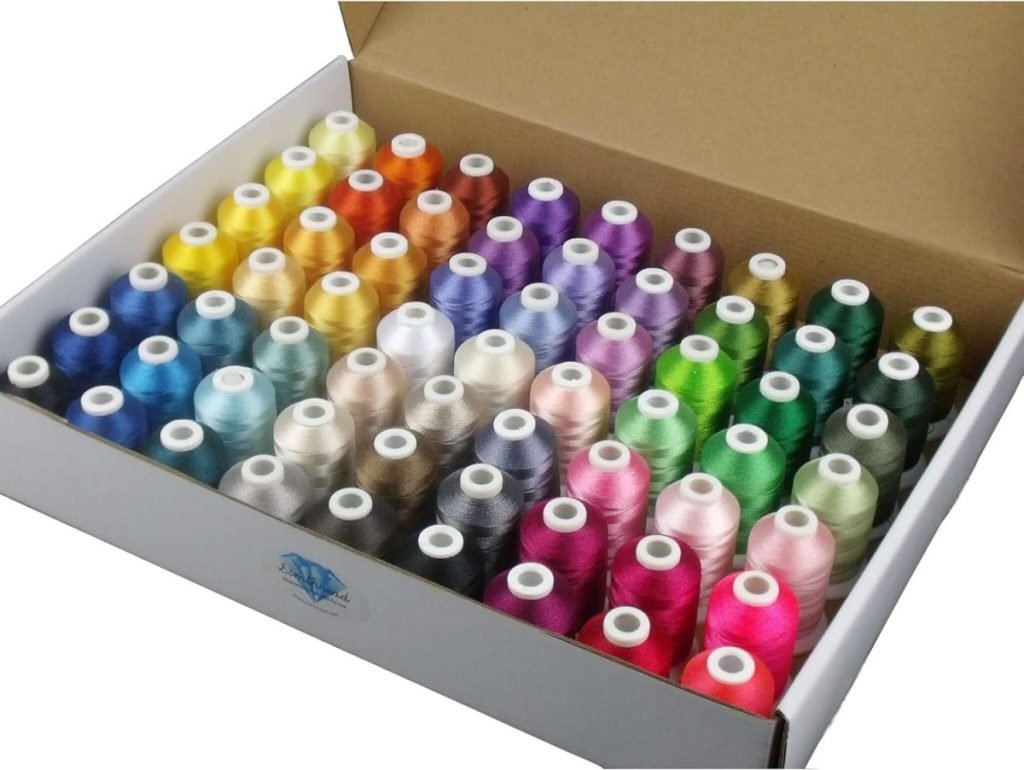
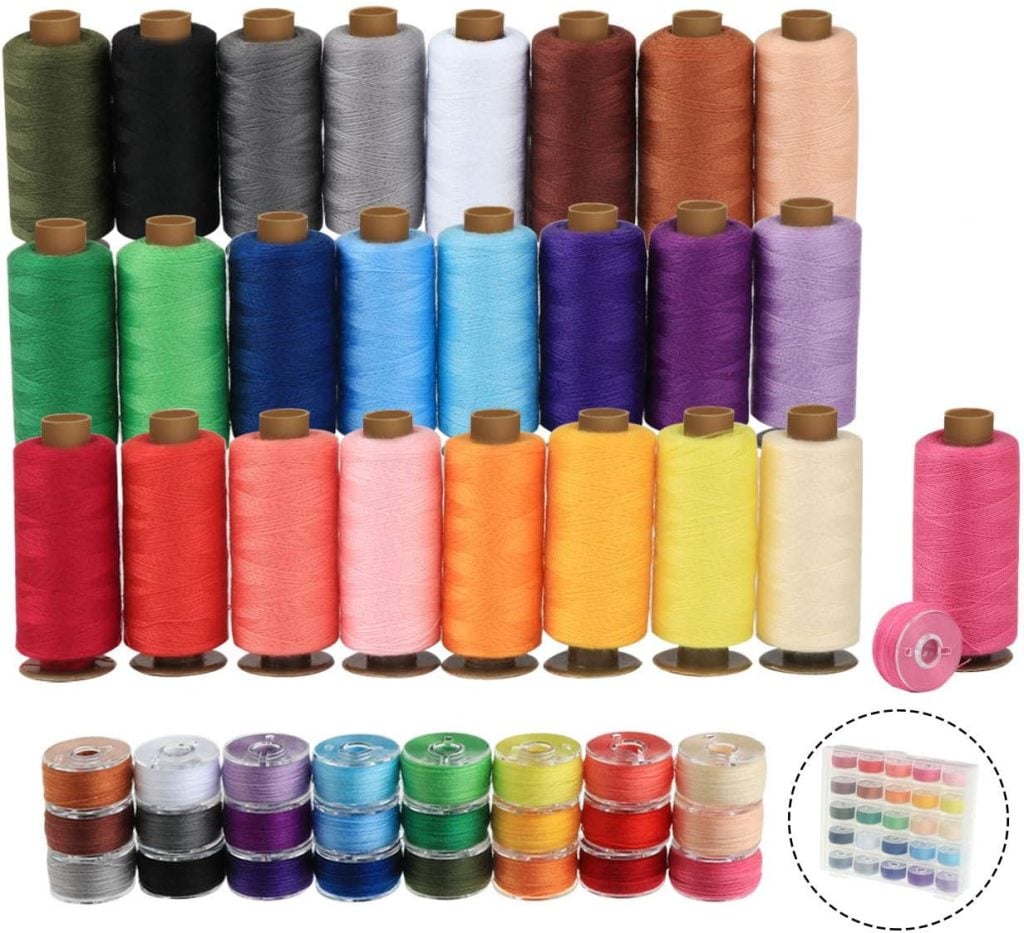
- Thread in coordinating colors
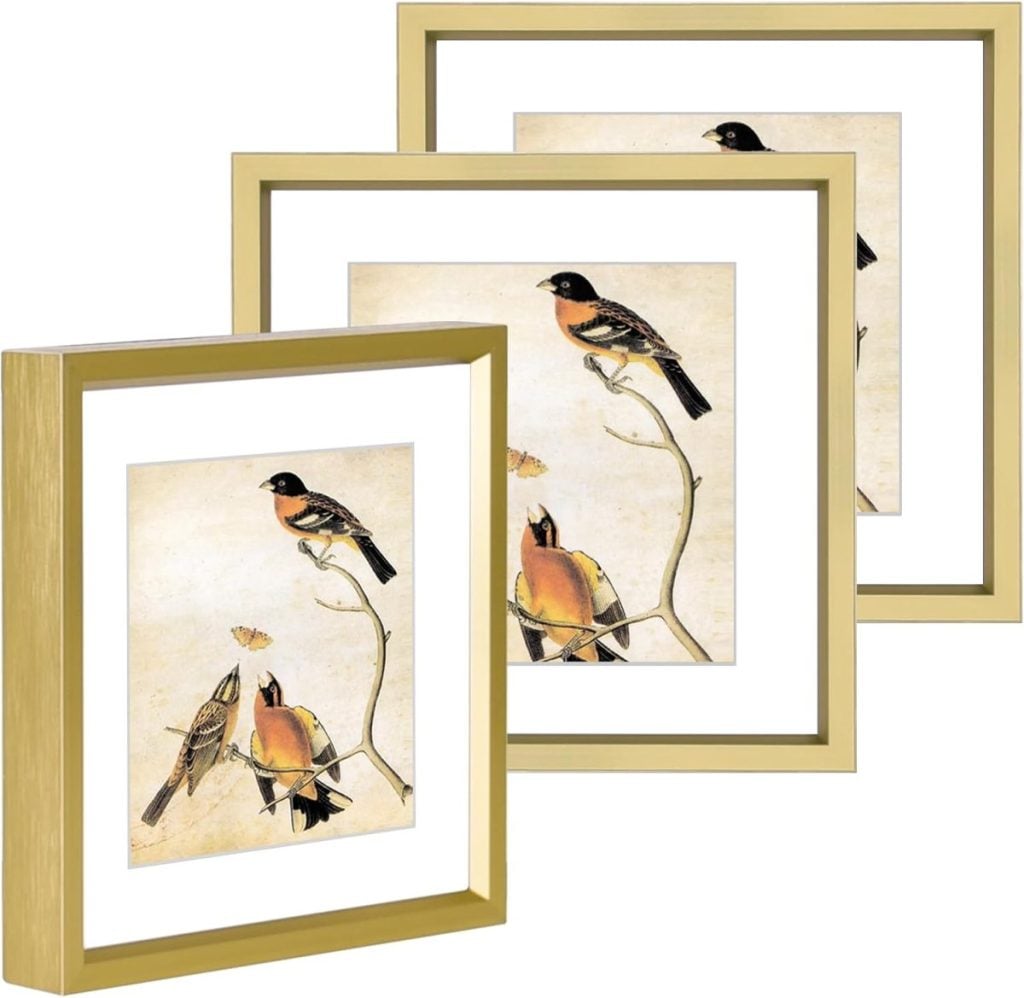
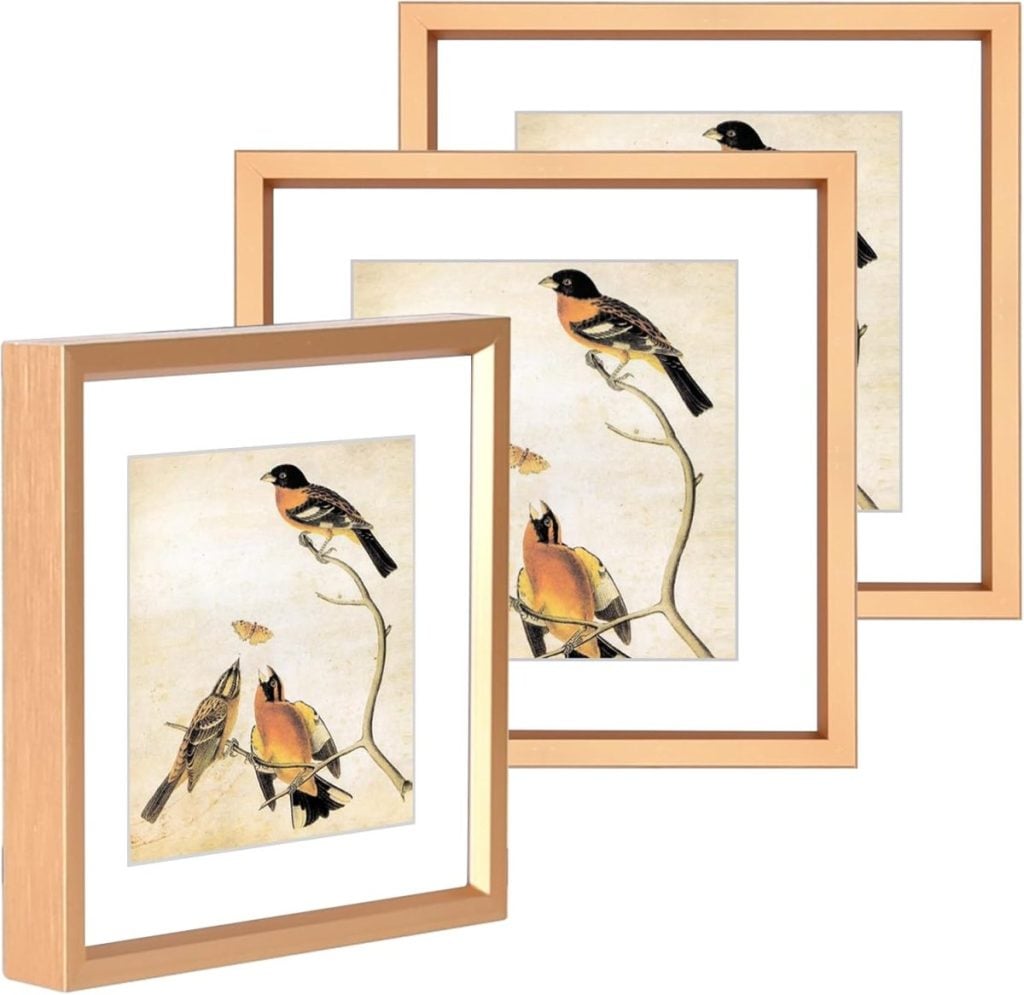
- Small frames (5″ square with a 4″ x 4″ opening)
I may use affiliate links on this blog, which means I earn a small commission if you make a purchase through them. The price will be the same whether you use the affiliate link or go directly to the vendor’s website using a non-affiliate link.
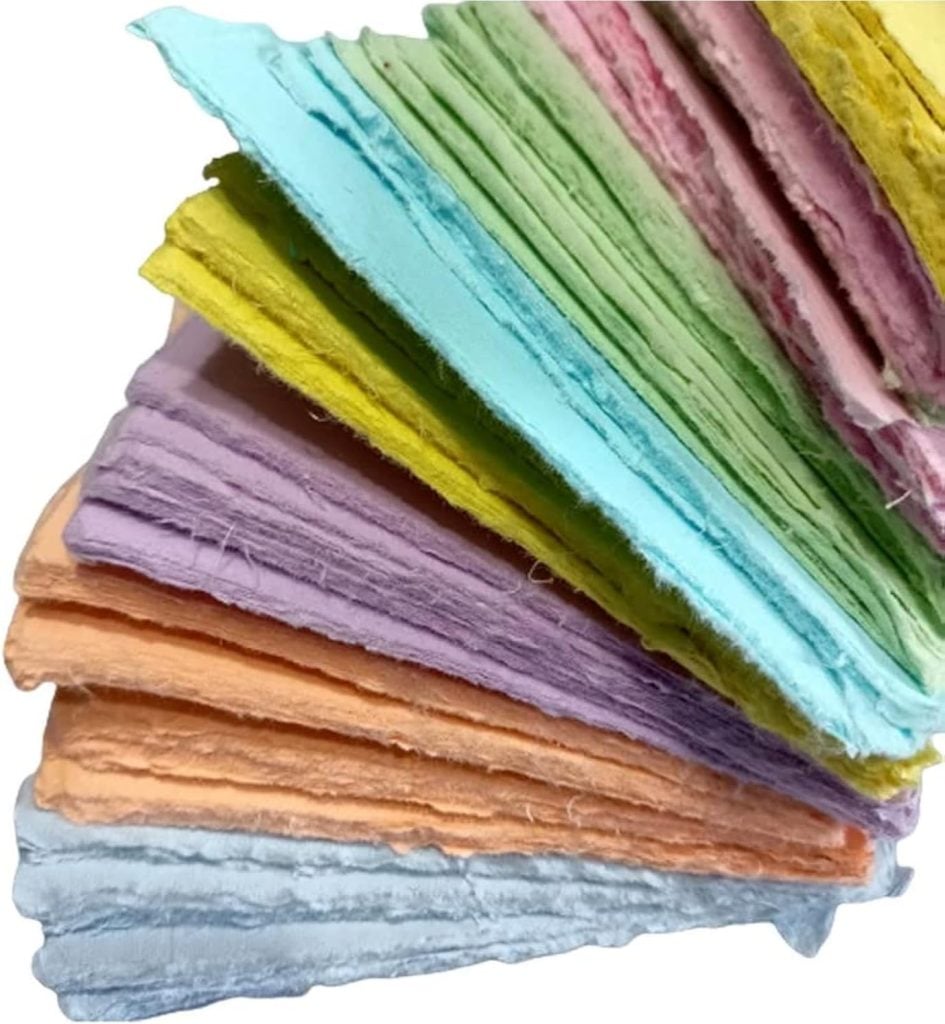
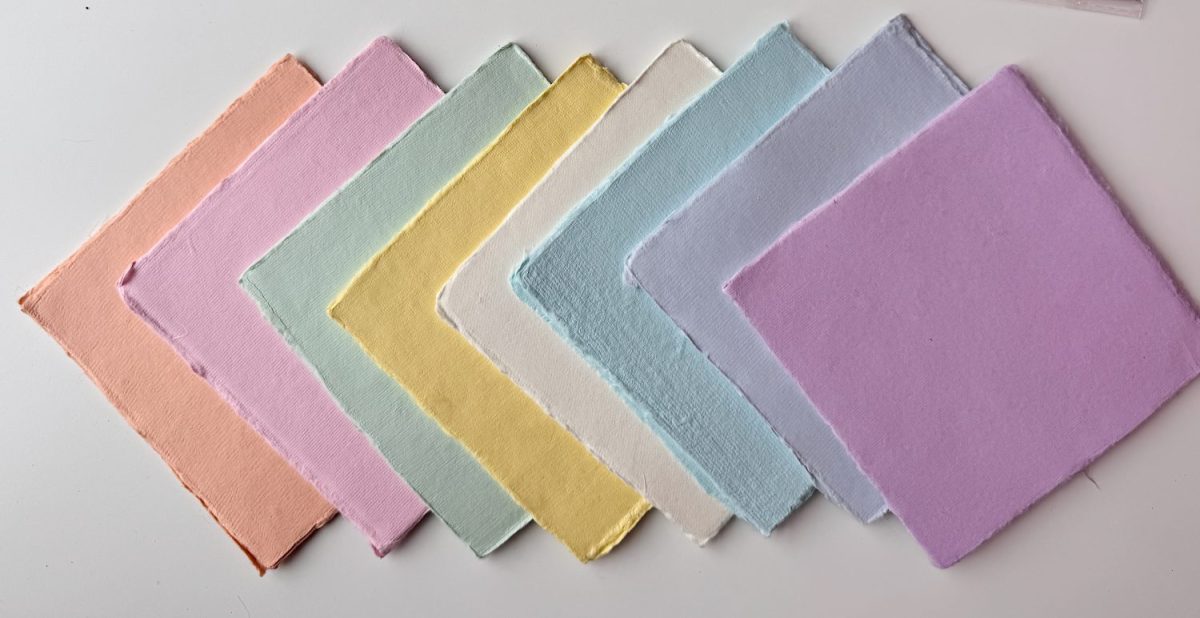
I used two types of paper. One was pre-colored in soft pastels, which saved time and gave me beautiful muted tones. The other was plain watercolor paper that I painted myself.
Painting the Paper
This might have been the easiest and most relaxing part of the entire project.
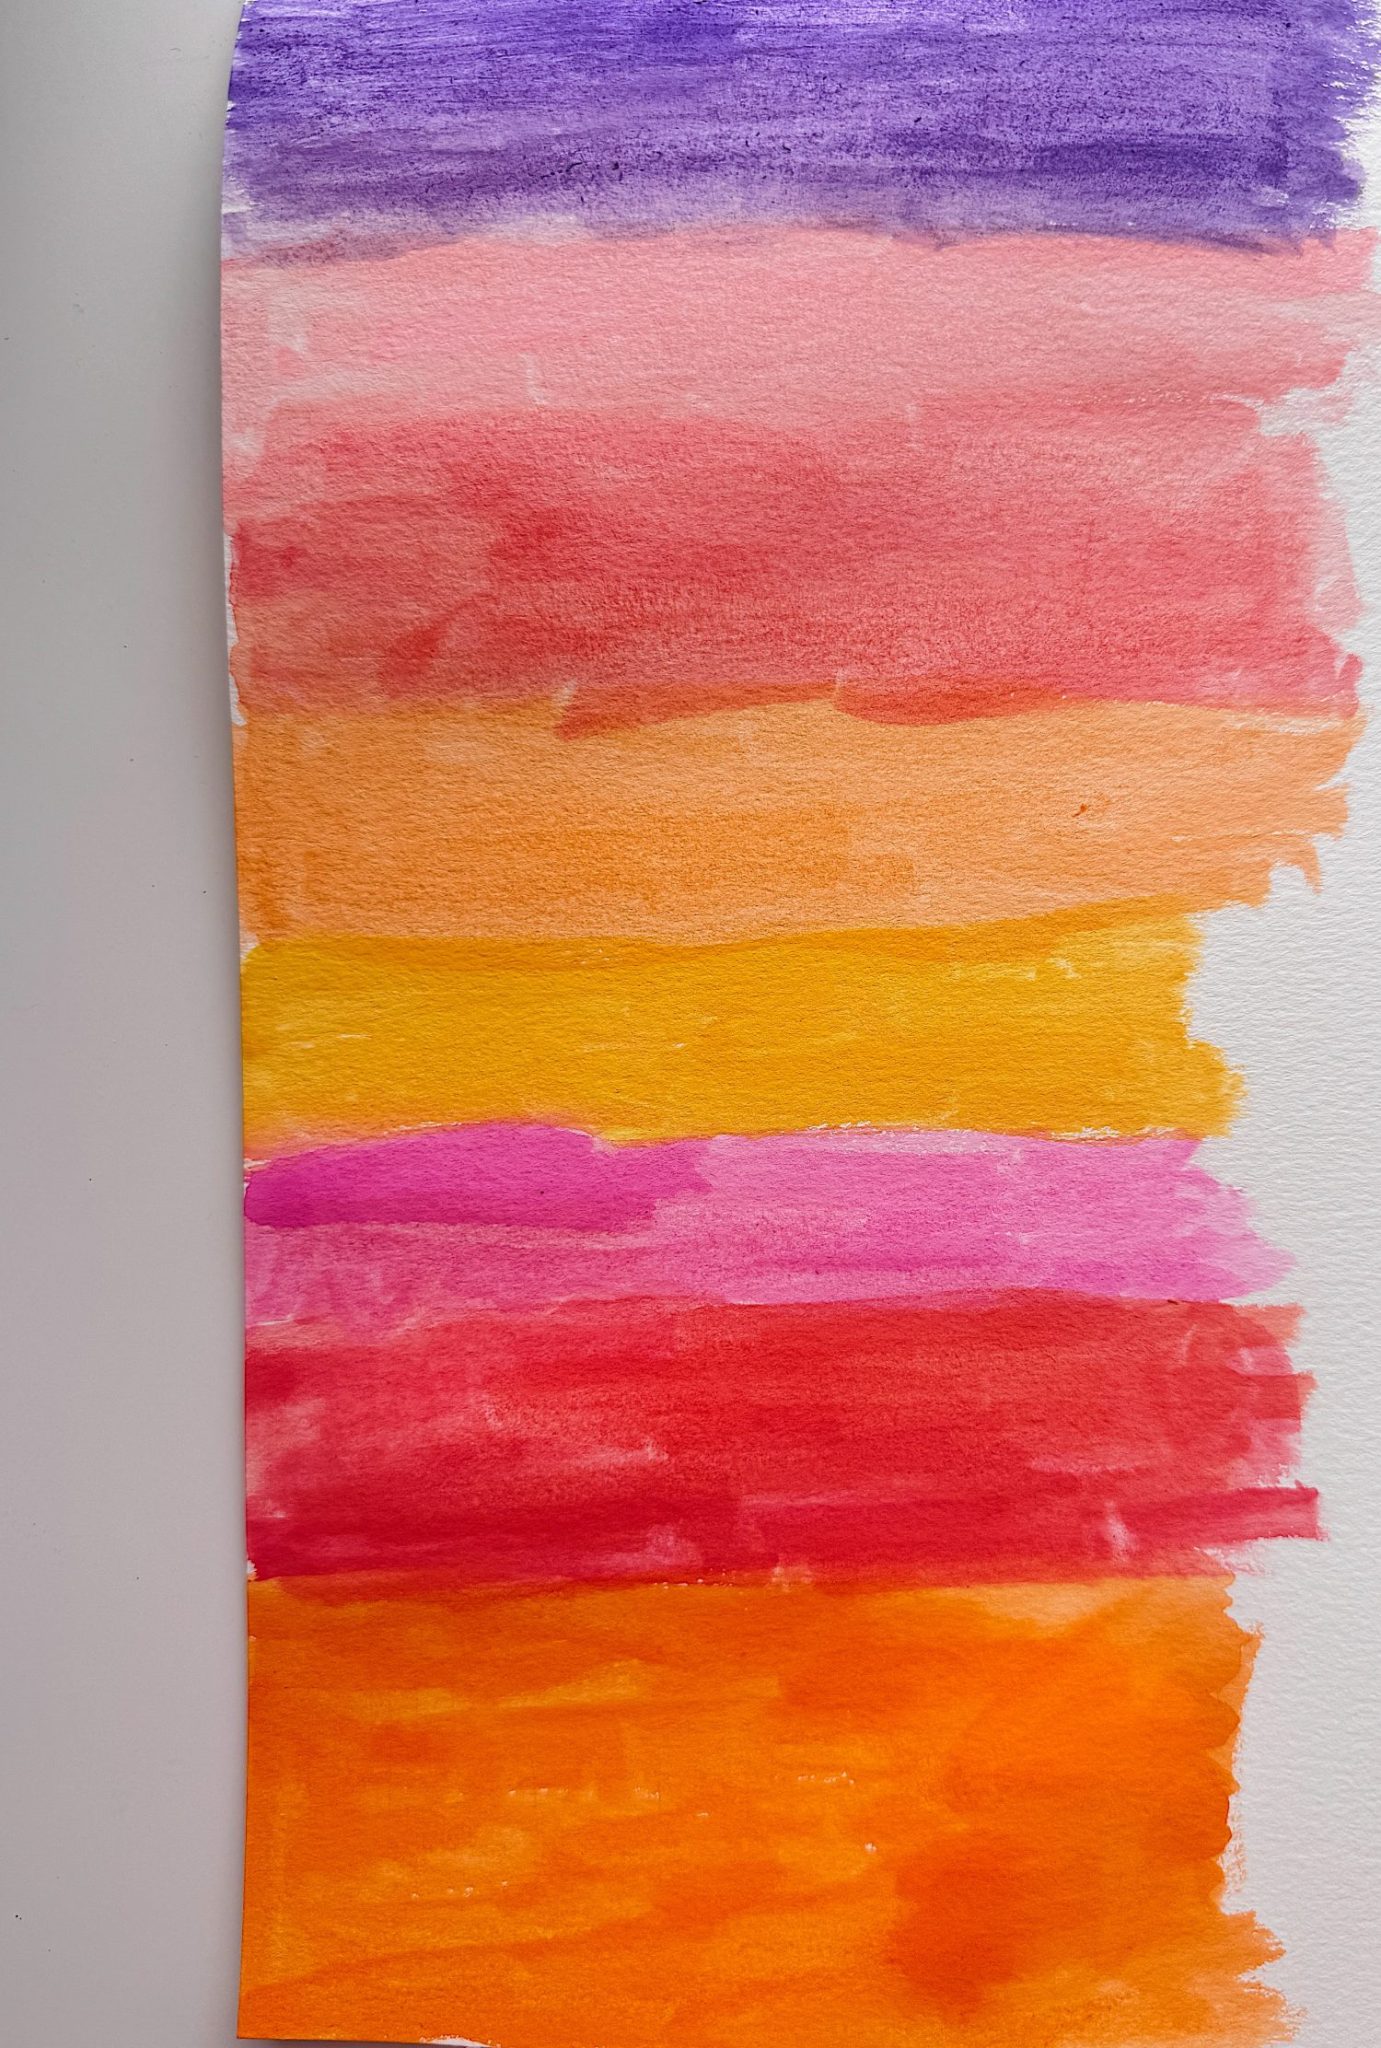
I simply painted broad stripes of color across the paper. No detail. No pressure. Just color.
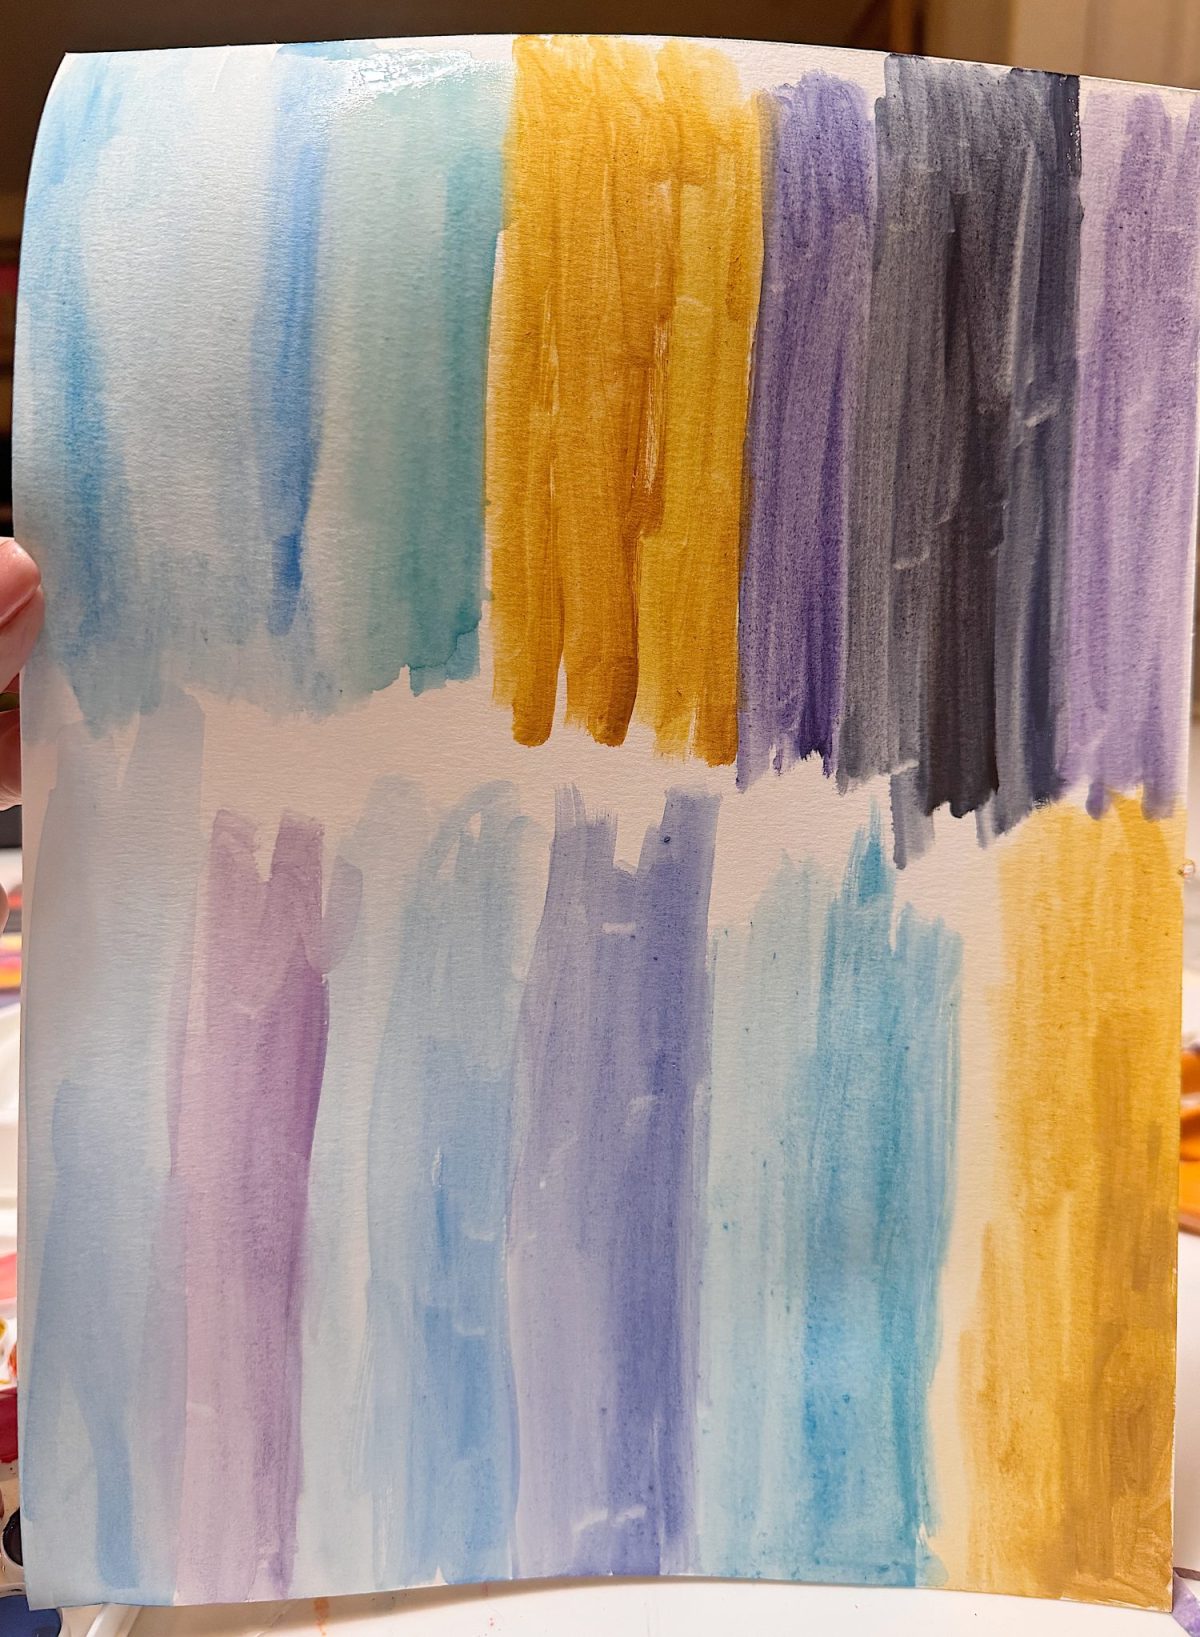
I loosely matched the tones from my photos, not exactly. That is important. You are not trying to recreate the photo perfectly. You are capturing the feeling.
Some papers were bold and saturated. Others were soft and washed out. I let them all dry completely before moving to the next step.
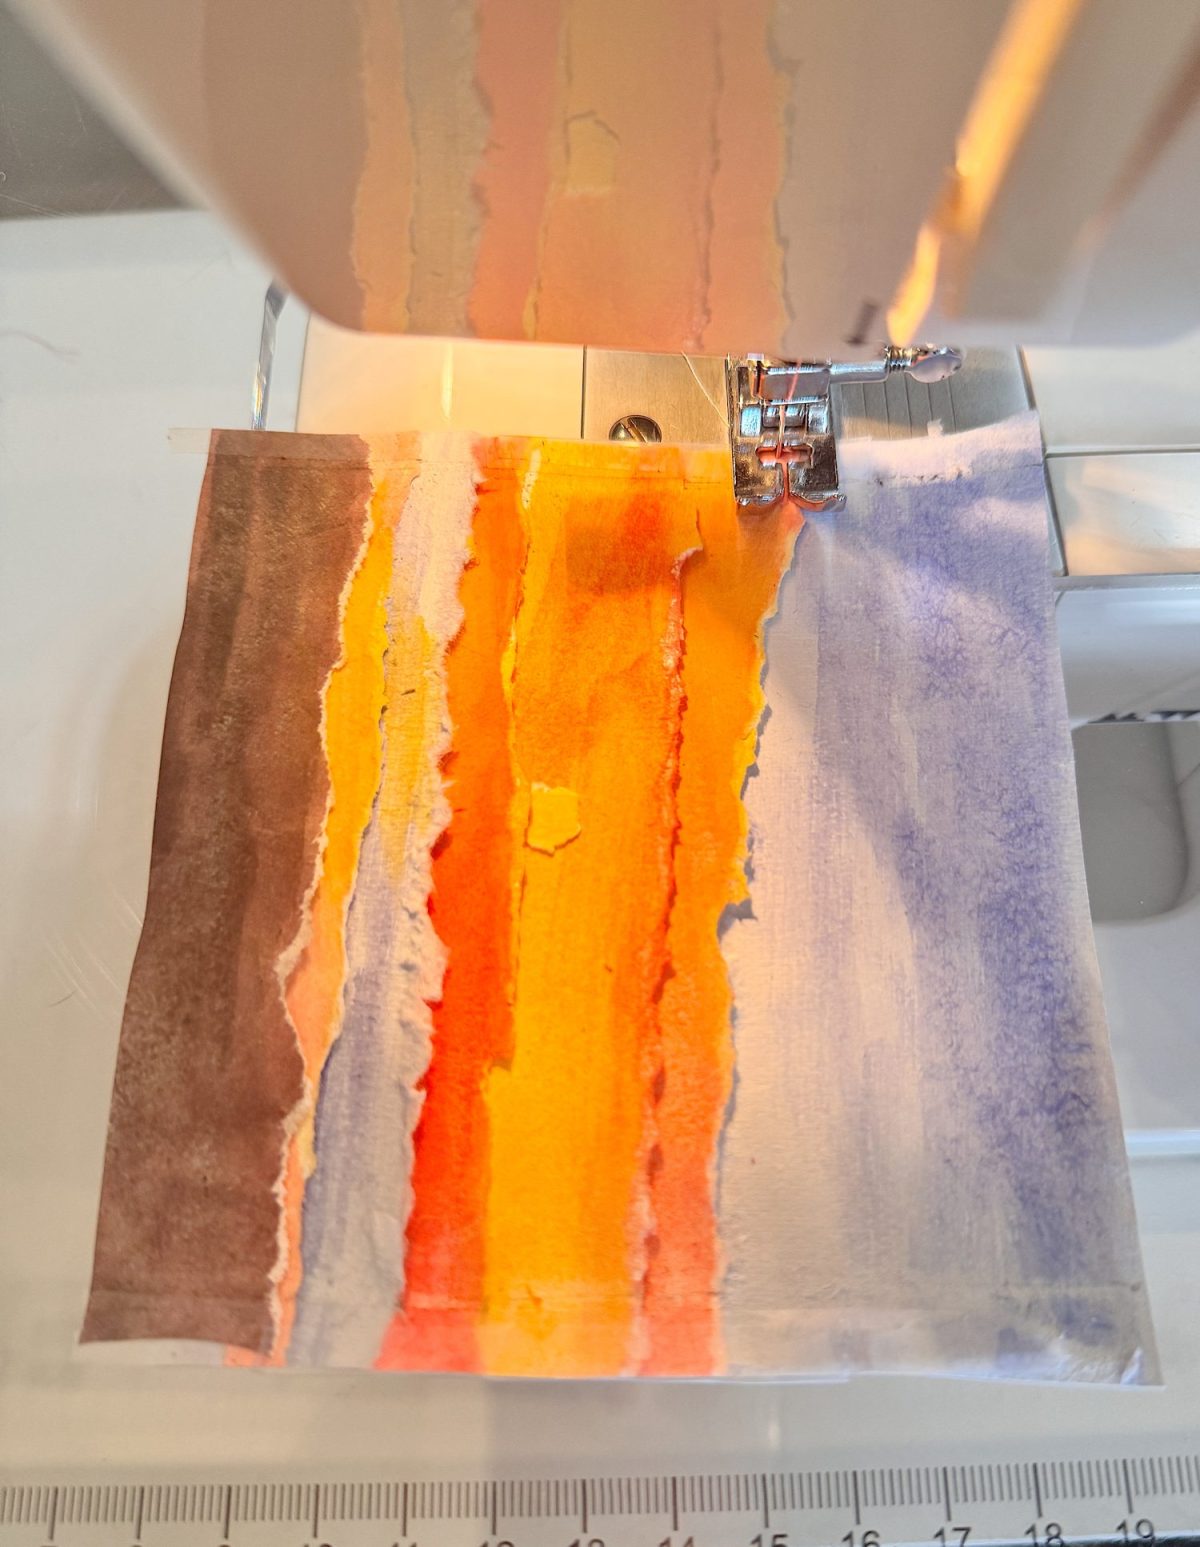
Tearing the Paper

This is where the magic happens.
Instead of cutting the paper, I tore it.
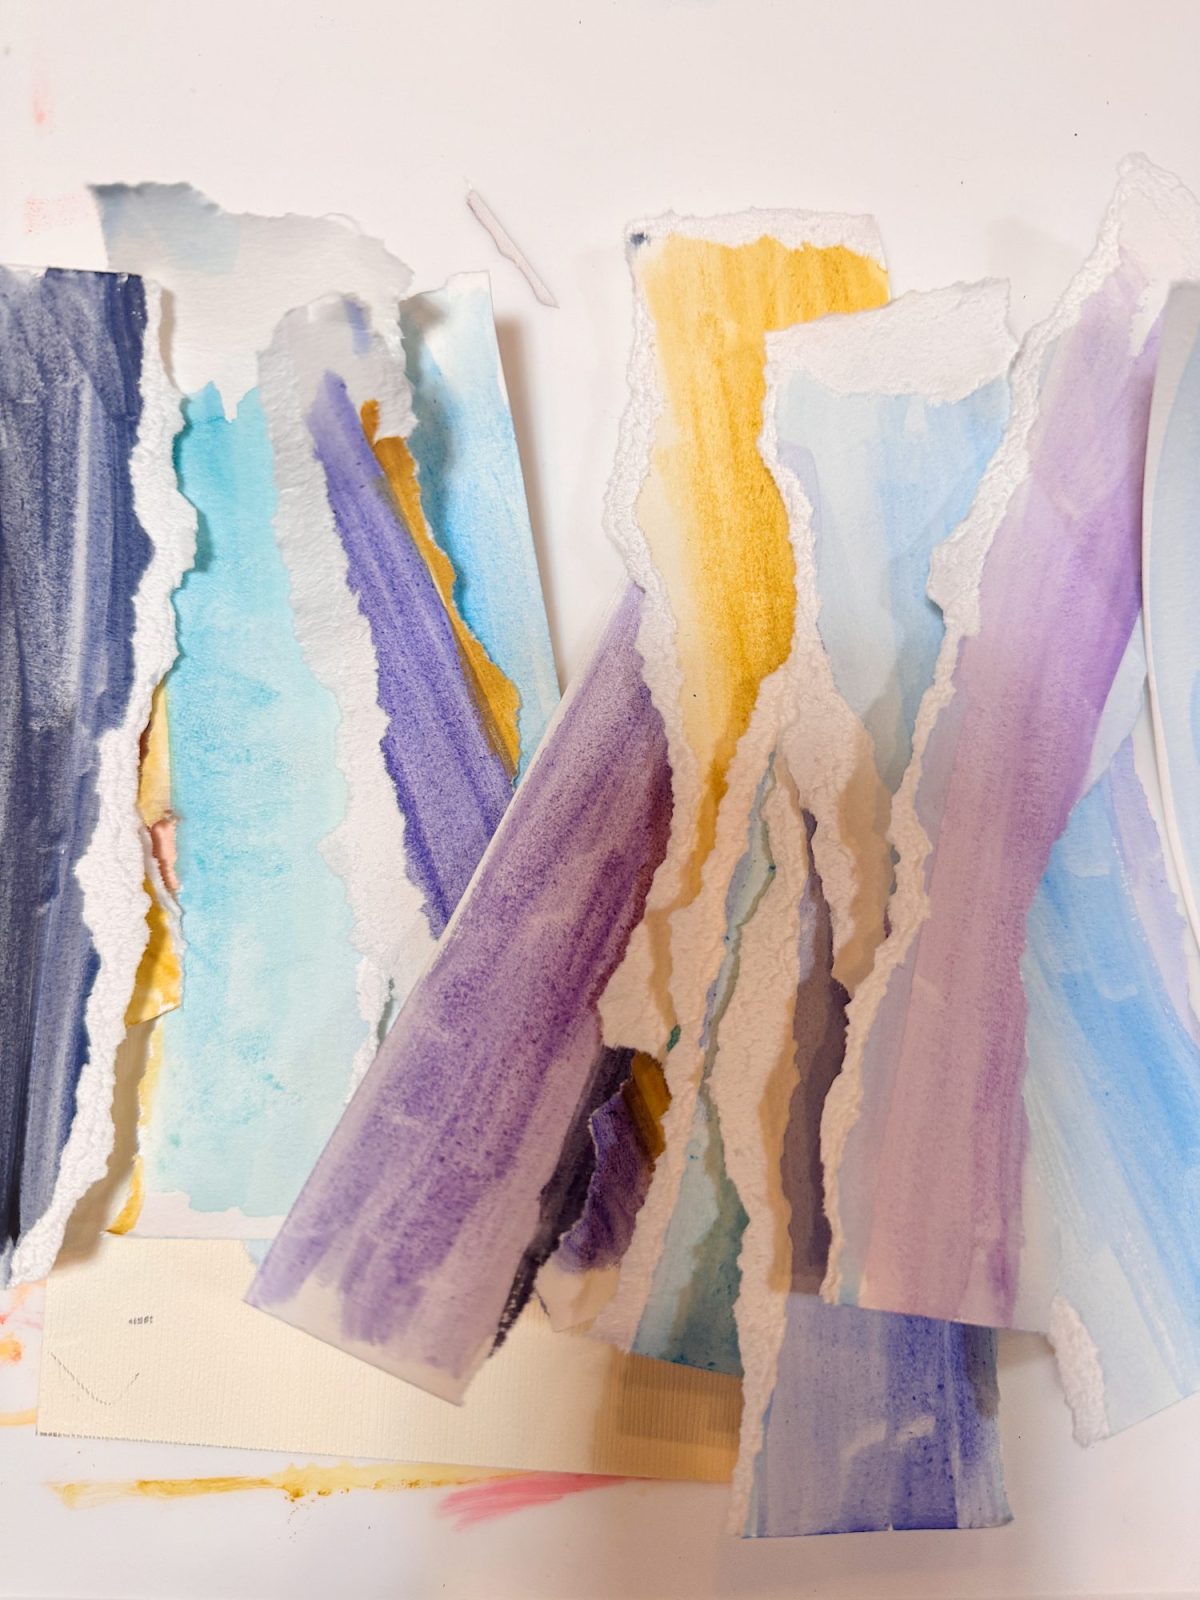
And there is a trick here that I absolutely loved experimenting with.
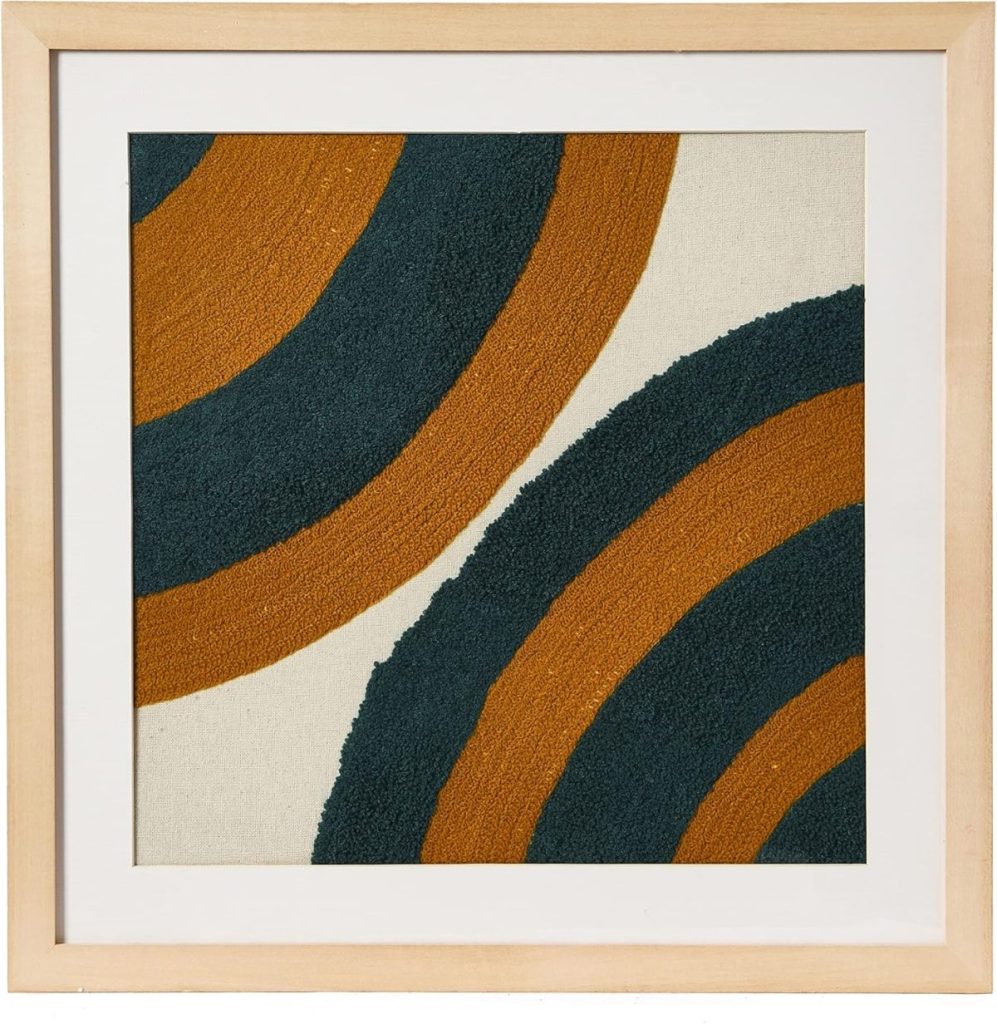
If you tear watercolor paper in one direction, you get a soft white edge. If you tear it the opposite way, you lose that edge and get a more blended look.
I used both techniques intentionally.
The white torn edges mimic the look of waves or light hitting the horizon. It adds depth and contrast without any extra effort.
Each strip became a layer in my landscape.
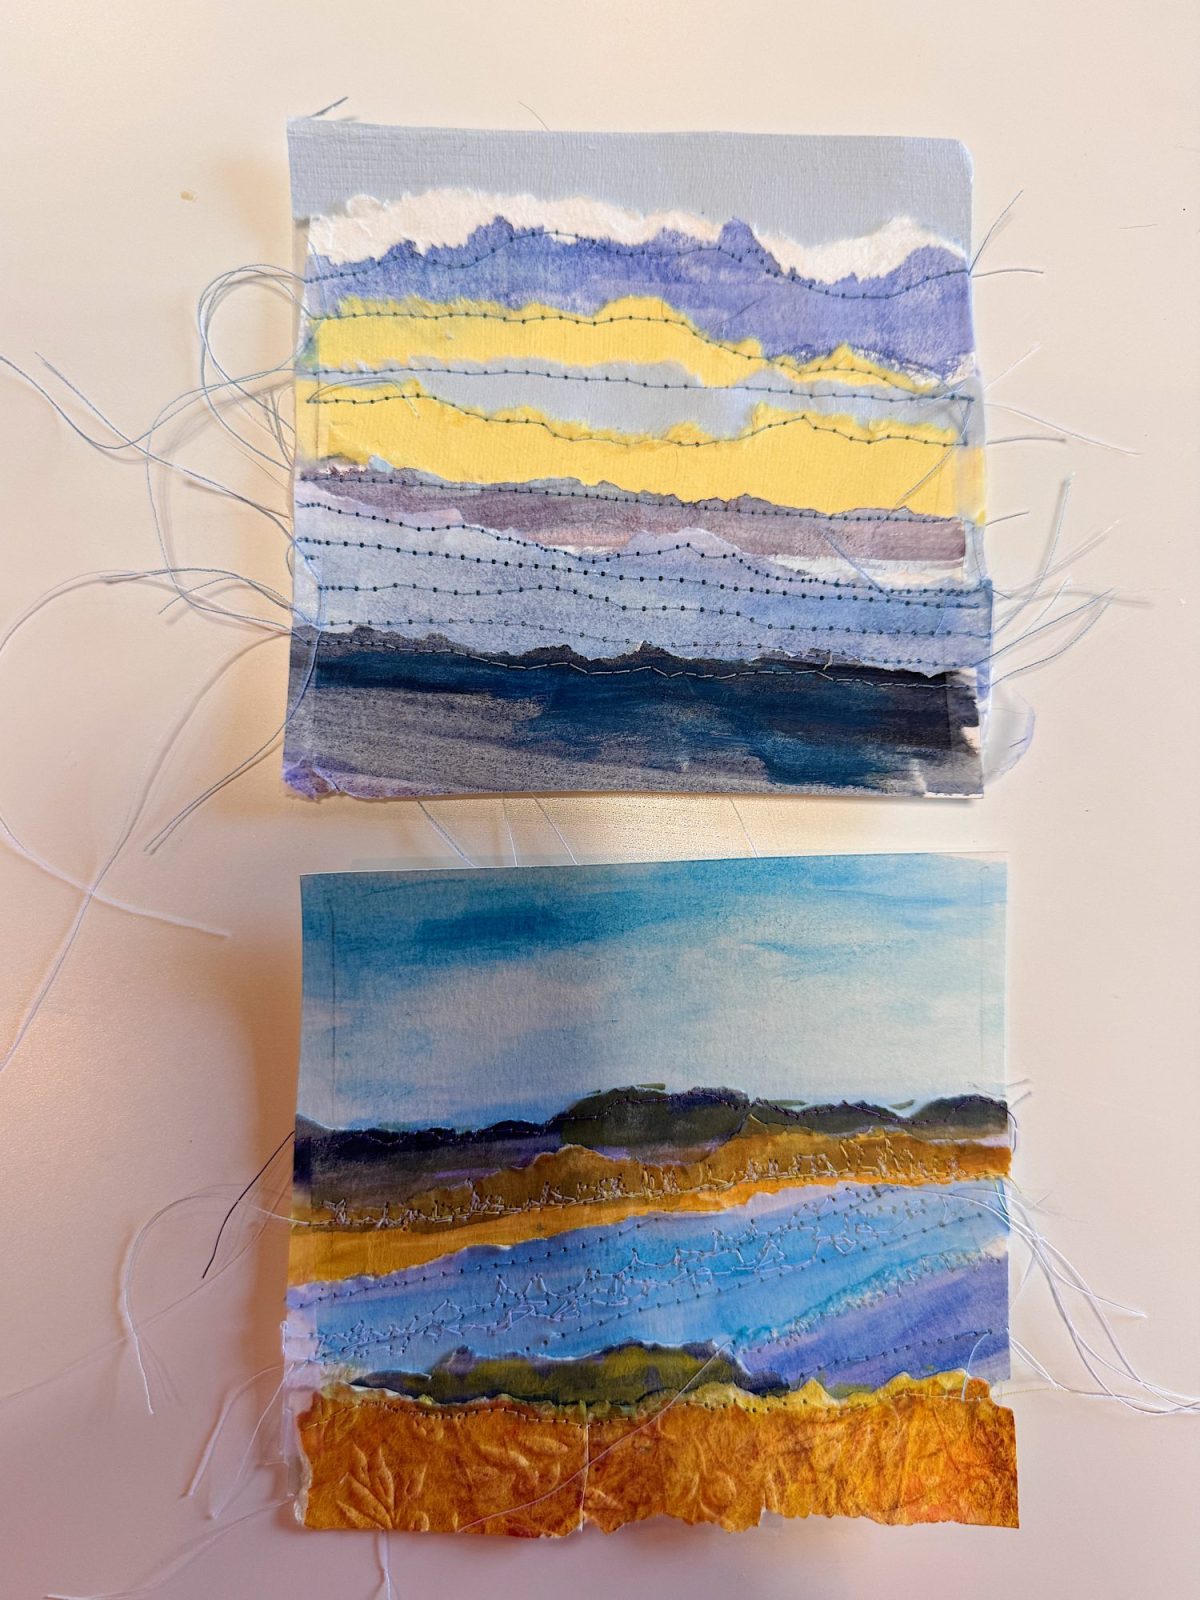
Creating the Artwork

Once I had my strips torn, I began arranging them.
I worked one piece at a time, using my photos as a guide. I layered the paper from top to bottom, just like a landscape.
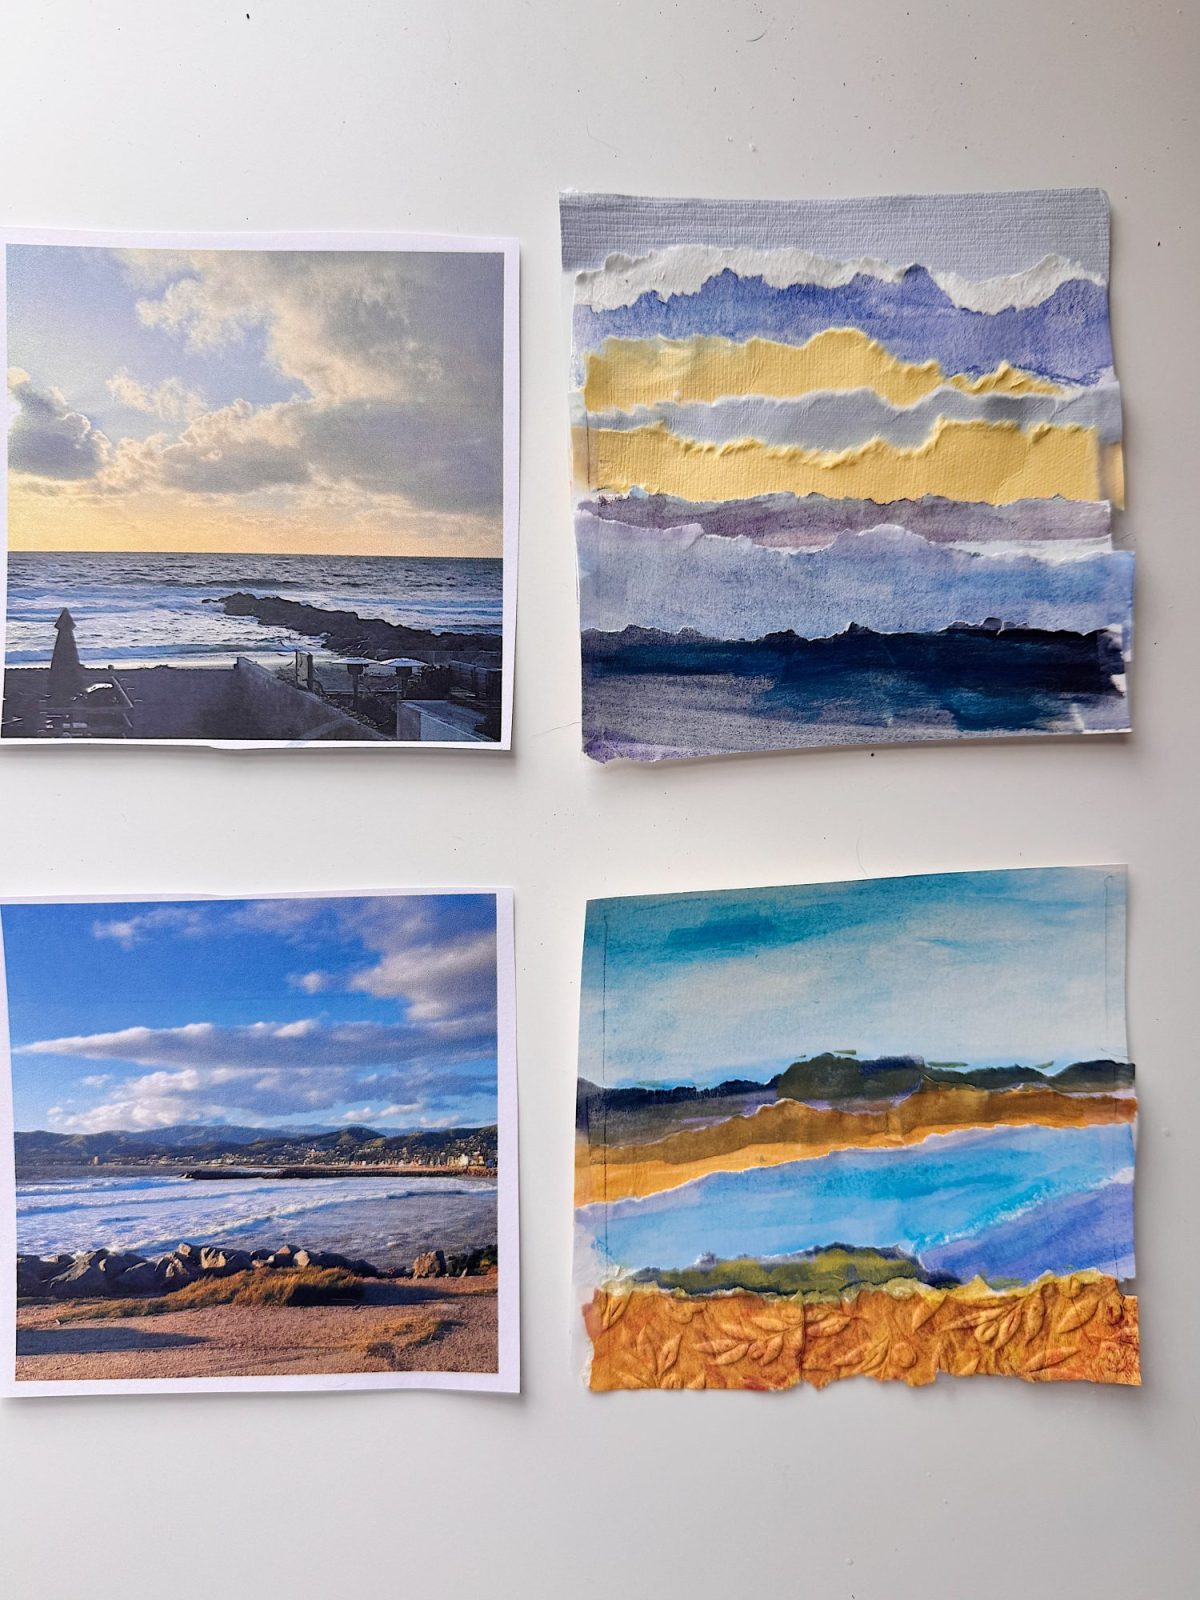
Sky first. Then clouds. Then the horizon line. Then the ocean. And finally, the foreground.
To hold the paper in place, I taped the backside with scotch tape.
Each piece was trimmed and adjusted to fit a 4″ x 4″ space so it would fit perfectly inside my frames.
The goal was not perfection. In fact, the slight variations are what make each piece so special.
No two are exactly alike, and I love that.
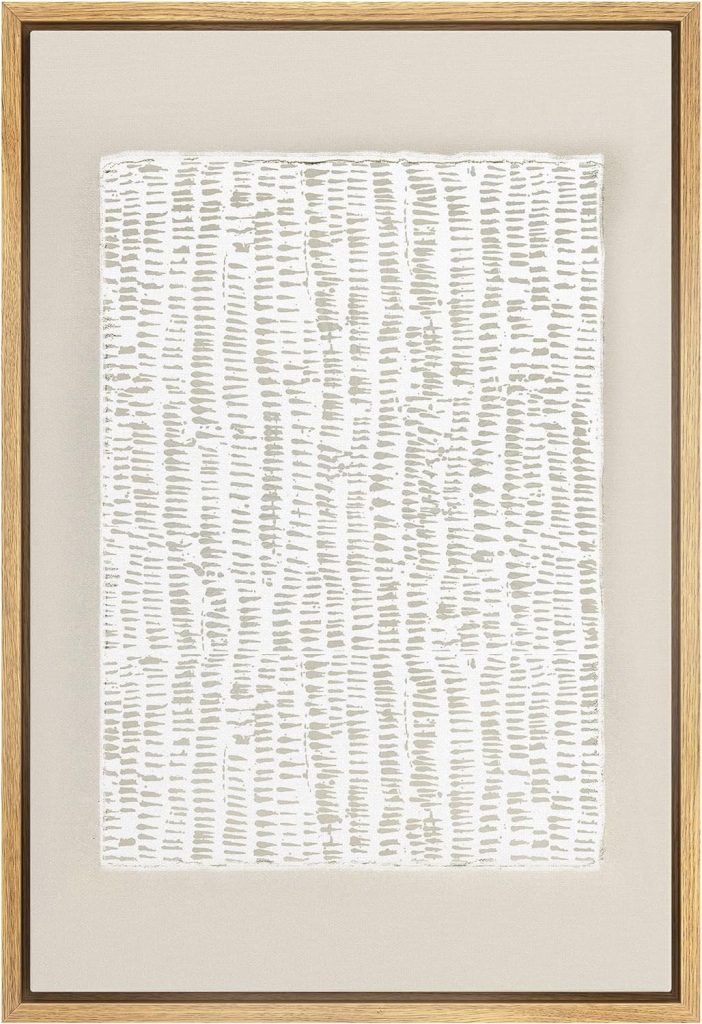
Adding Stitching
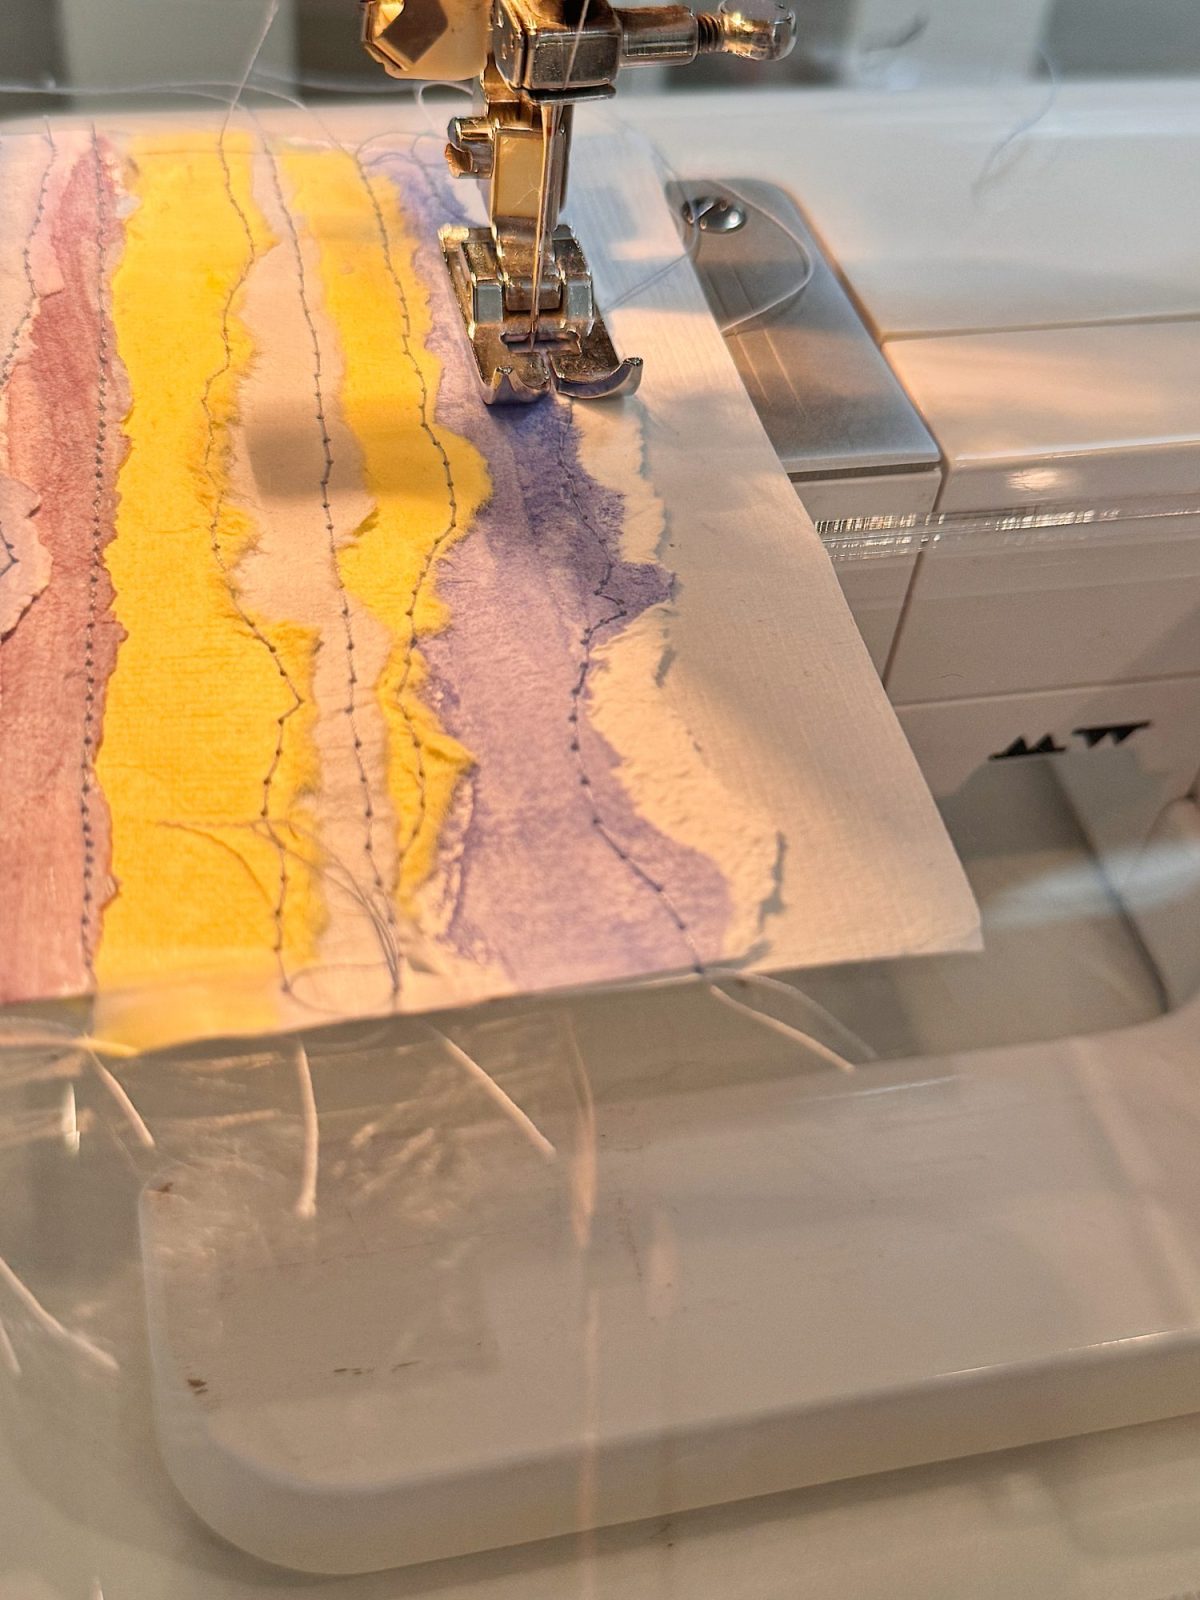
Now for the part that might sound a little crazy.
I sewed on the paper.
Using my sewing machine and slightly freer stitching, I added simple stitched lines to enhance the design. Think horizon lines, subtle movement in the water, or even just texture.
I didn’t do this with free-motion embroidery. I just used a regular straight stitch, but pulled the paper and moved it around a bit.
It adds a completely different dimension to the piece.
A few tips if you try this:
- Use a smaller needle, like a size 10
- Go slowly
- Keep your stitching simple
- Do not overthink it
The smaller needle is important because it creates smaller holes in the paper and helps prevent tearing.
And honestly, this step is just fun. It feels like drawing, but with thread.
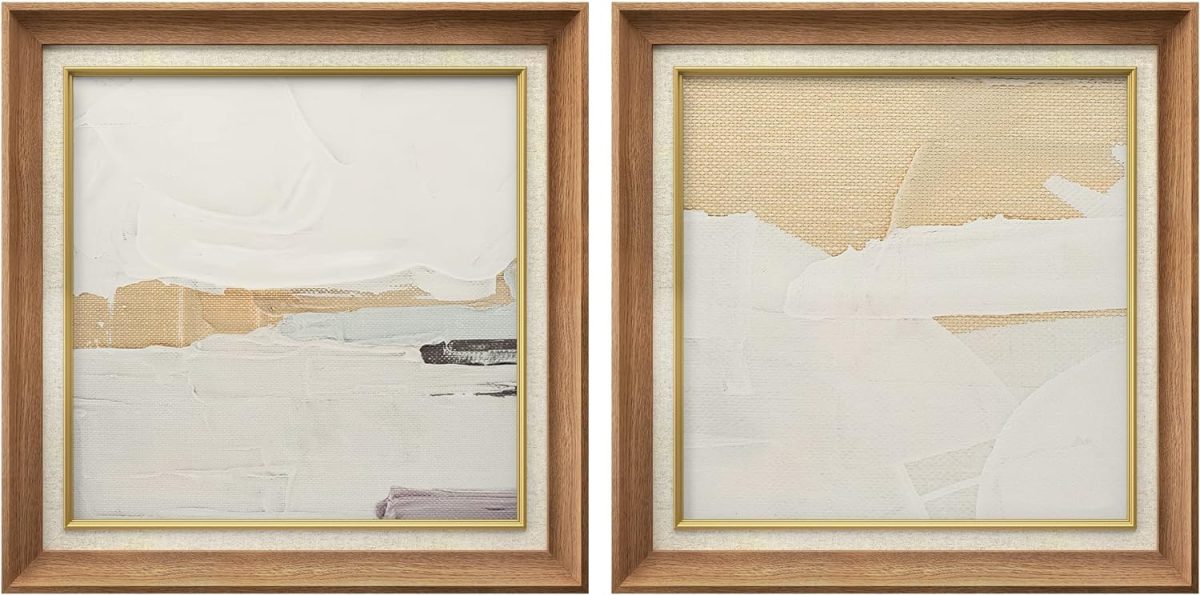
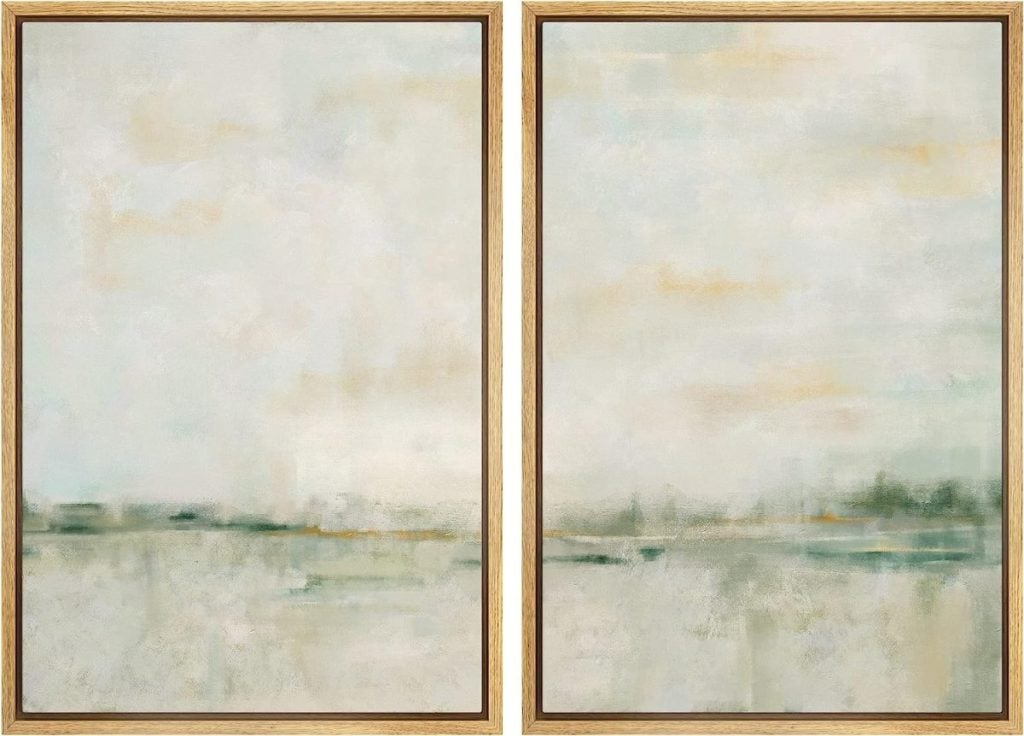
Framing the Artwork
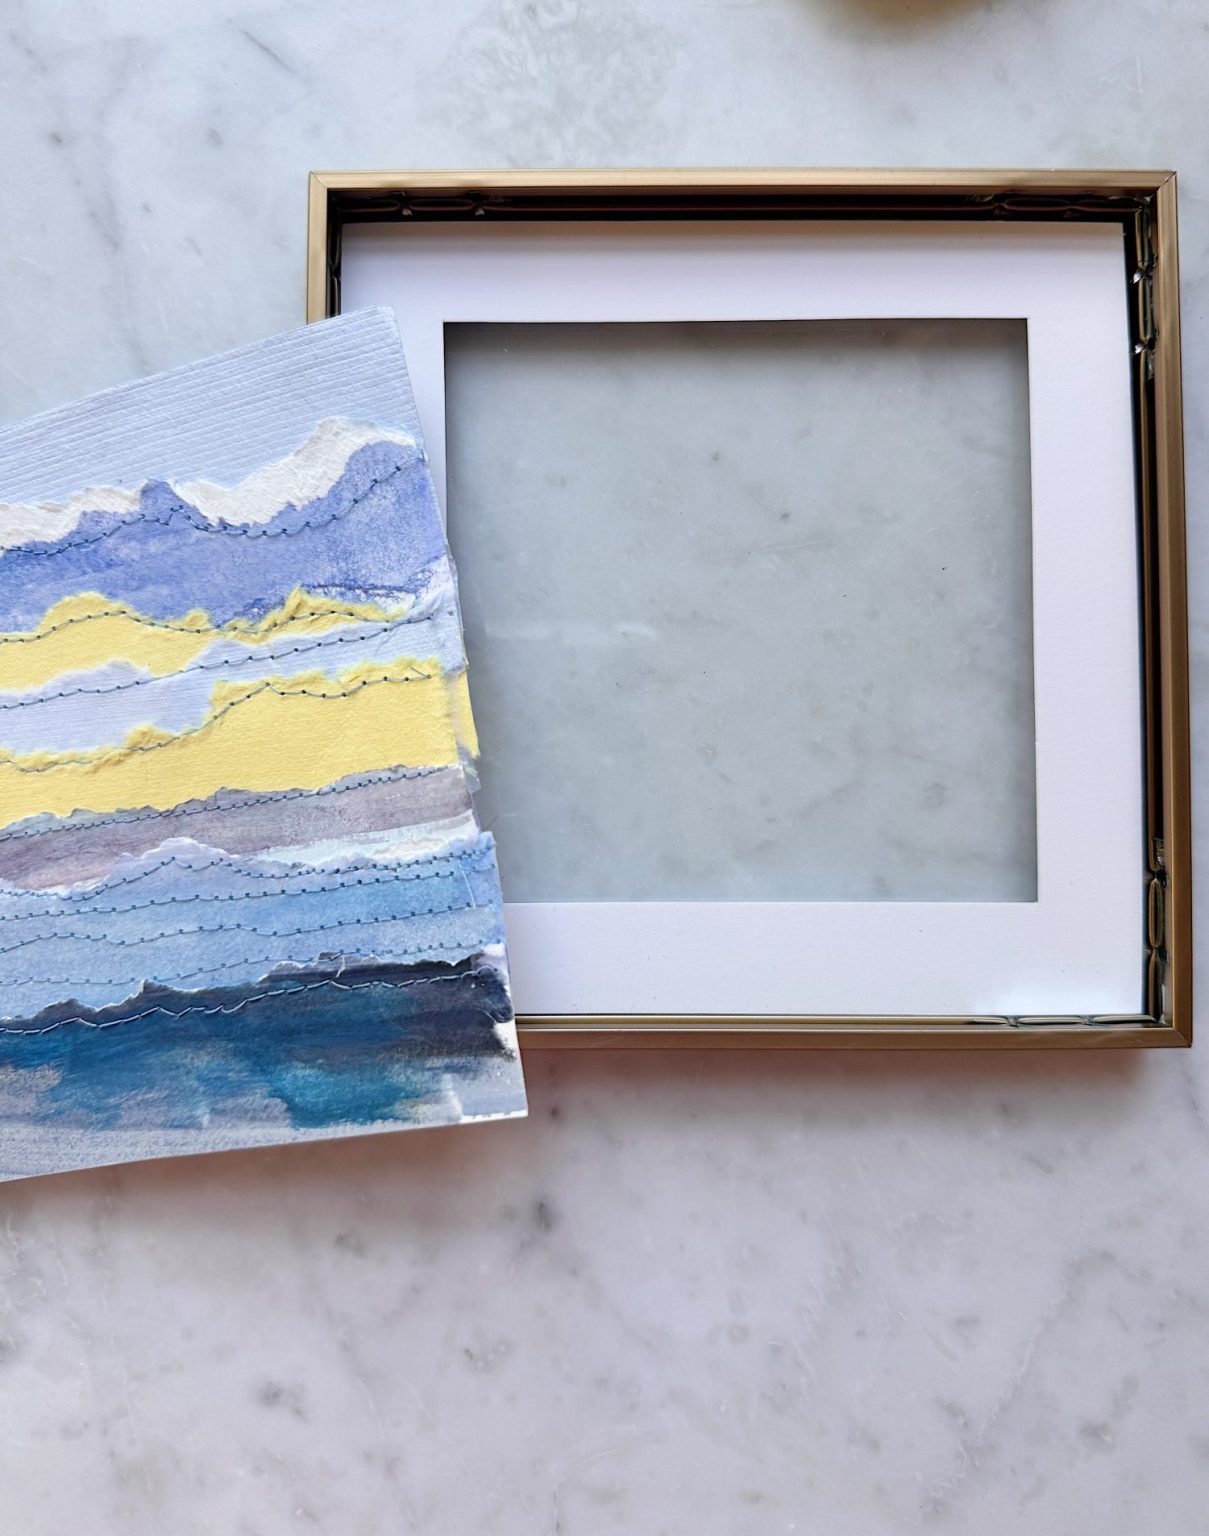
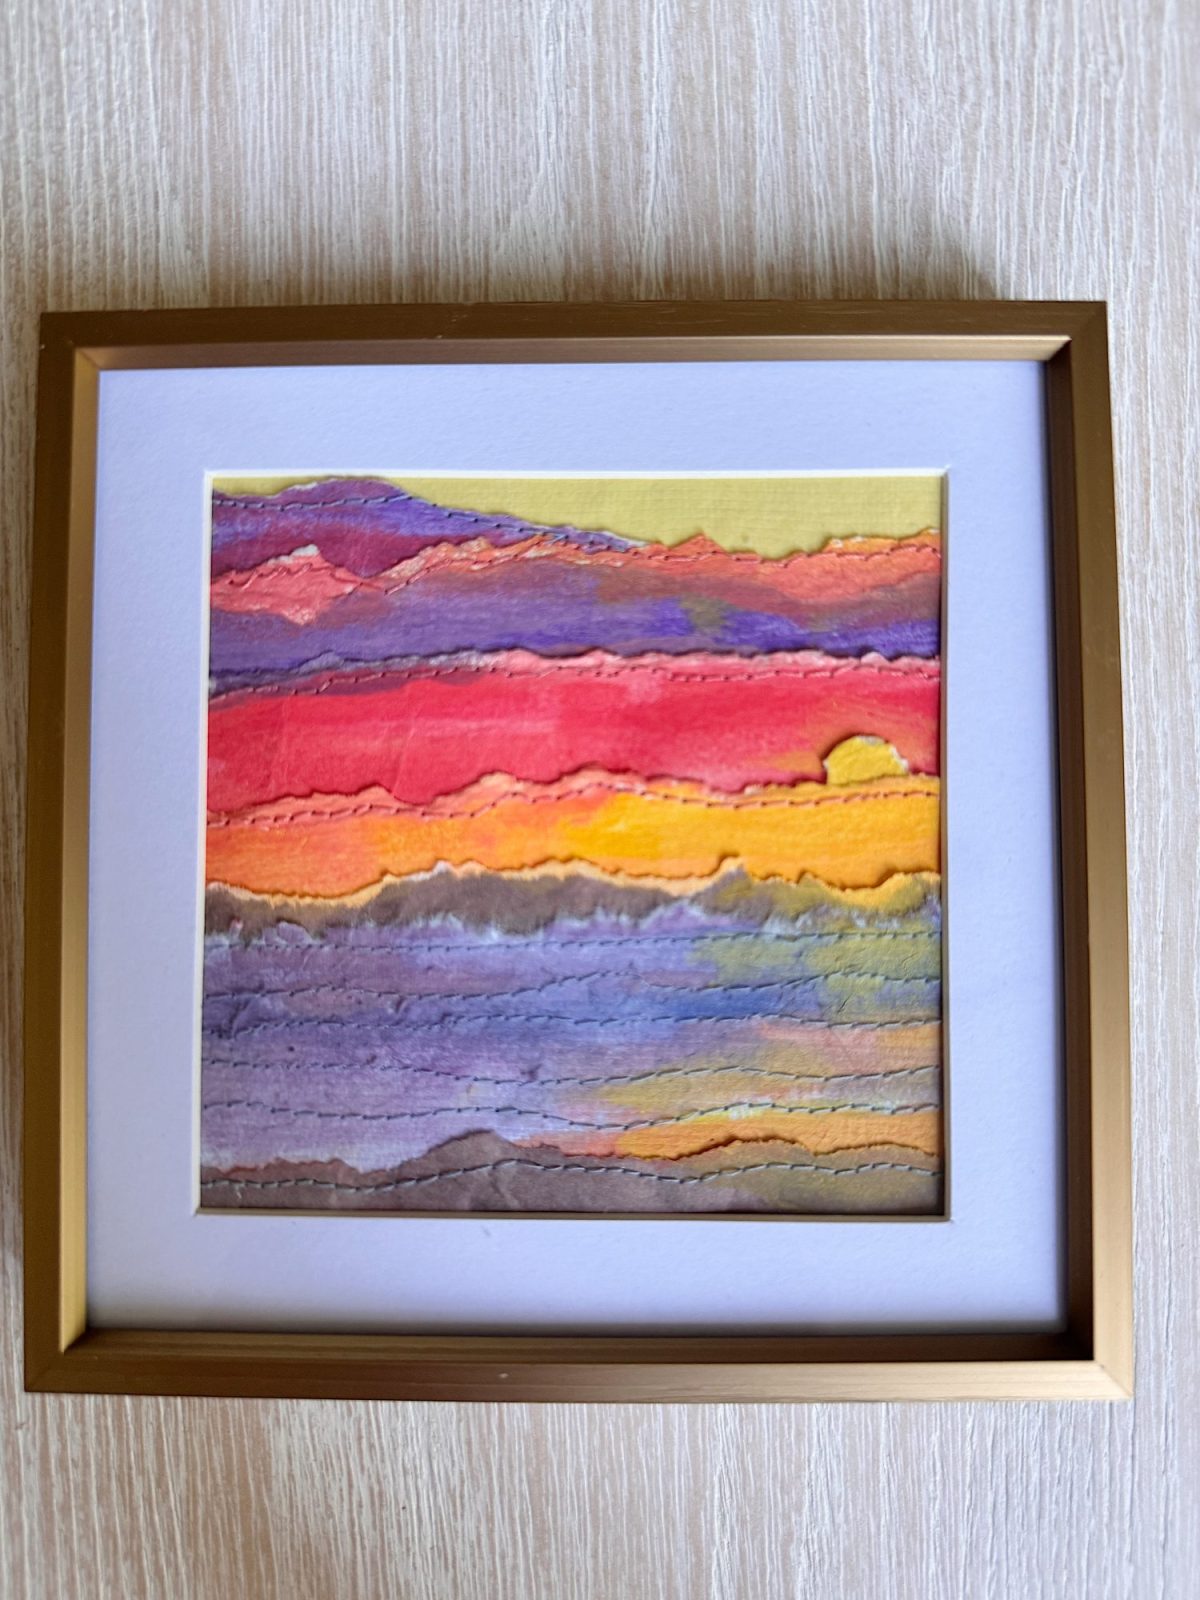
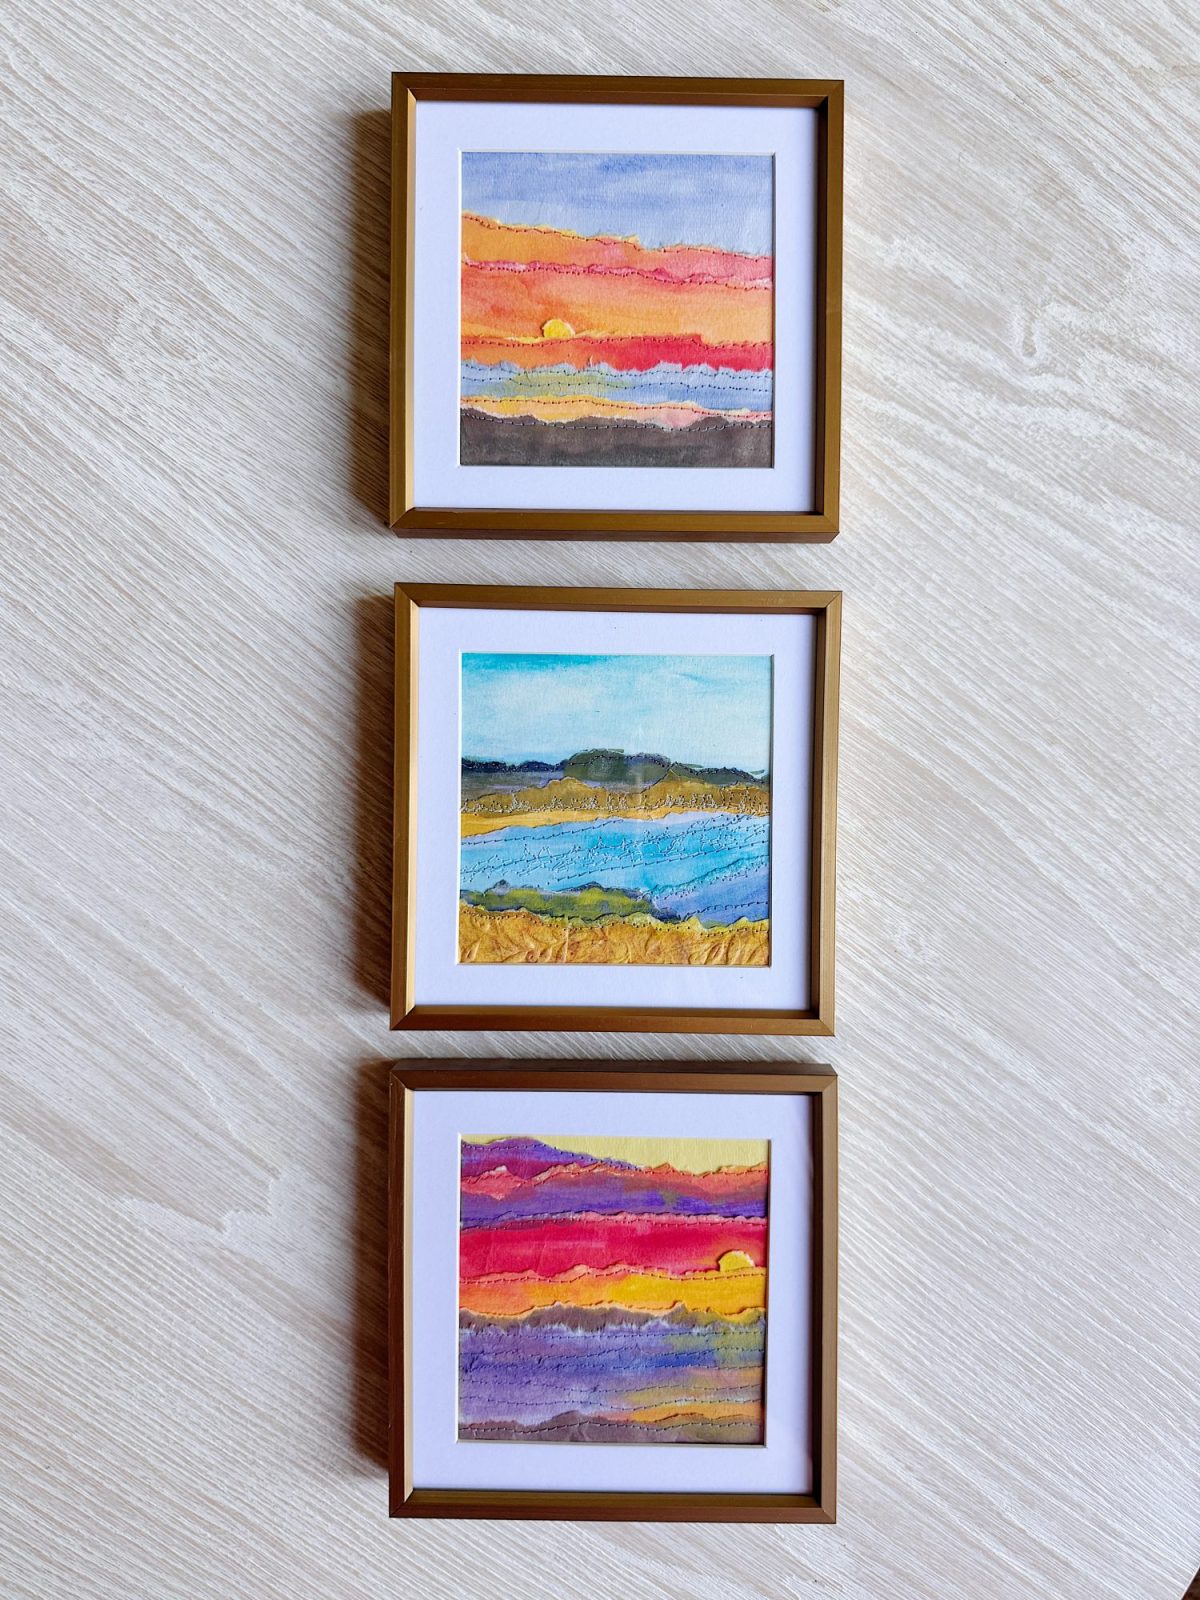
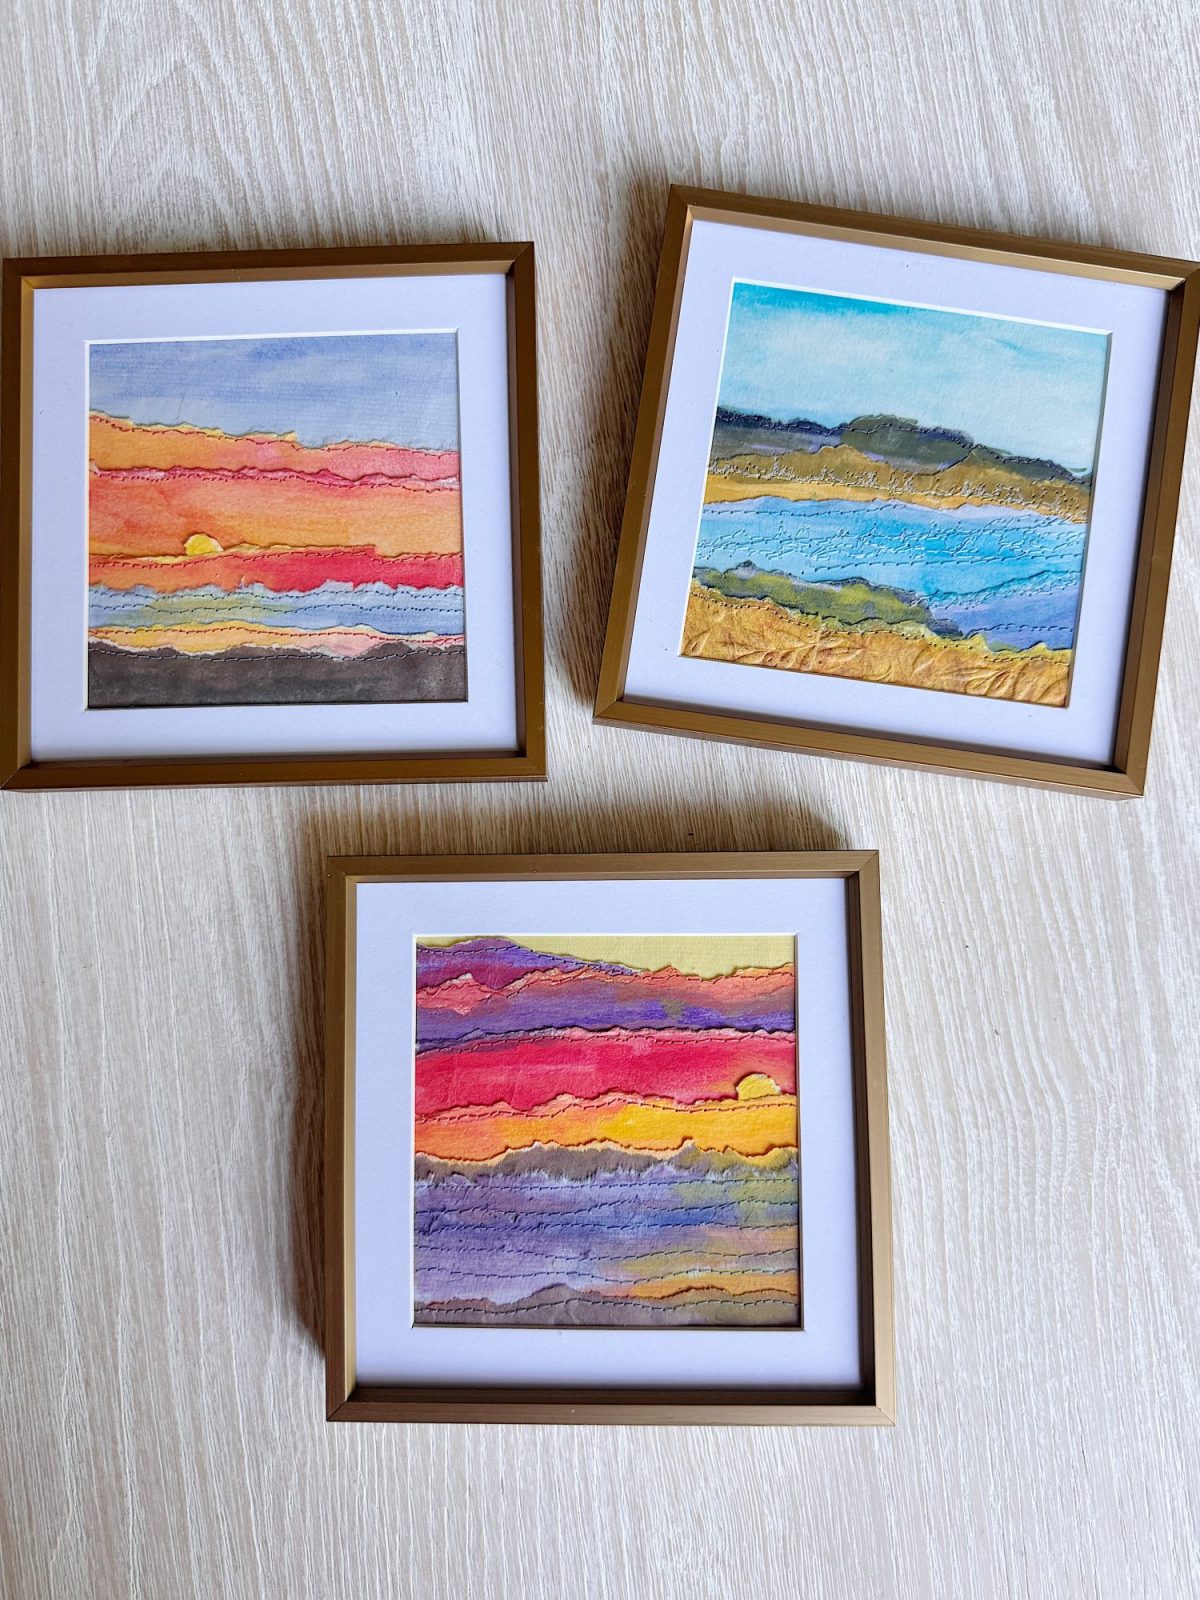
Once all four pieces were complete, I placed them into my frames.
I chose 5″ square bronze frames with a 4″ x 4″ opening. They are small, simple, and let the artwork shine.
Seeing them framed is when it all came together.
They feel like tiny windows to the ocean. Each one is slightly different, but all are connected.
Why I Love This Project
There is something about this project that feels very freeing.
It is not precise. It is not complicated. And it does not require advanced skills.
But the result feels thoughtful and artistic.
I also love that it combines so many techniques.
Painting
Tearing
Arranging
Stitching
Each step is simple on its own, but together they create something really unique.
And most importantly, it is personal.
I can’t wait to hang these in our beach house.
These pieces were inspired by places I love. Views I see often. Moments I wanted to remember.
Tips for Success
If you want to try this project, here are a few things to keep in mind:
- Choose photos with strong color layers
- Do not overpaint. Keep it simple
- Experiment with tearing direction
- Lay out your pieces before sewing
- Use a small needle for stitching
- Let each piece be slightly different
This is not about perfection. It is about exploration.
A Handmade Spring
This project fits perfectly into my A Handmade Spring series.
It is creative and simple, bringing a little bit of beauty to your home without needing a lot of materials or time.
And it reminds me of something I truly believe.
You do not have to follow the rules to make something beautiful.
Sometimes the best projects start with a simple idea.
What if I tore the paper instead of cutting it?
What if I stitched on it?
What if I just tried?
And sometimes, those moments turn into something you absolutely love.
I cannot wait to see what you create.
How to Follow Along With A Handmade Spring
Each week, a new spring craft will be shared here on the blog. I will also be sharing behind-the-scenes moments, progress videos, and finished projects on Instagram so you can see each craft come to life.
You can jump in at any point. There is no need to start at the beginning or complete every project. Choose the ones that speak to you and make them your own.
If you love seasonal crafting, this series is designed to inspire you throughout spring.
Here are all of the A Handmade Spring craft projects so far. I can’t wait to share all twelve.
Here are all of the A Handmade Spring craft projects so far. I can’t believe there are only two more weeks. And I can’t wait to share all twelve.

Latest Posts
-
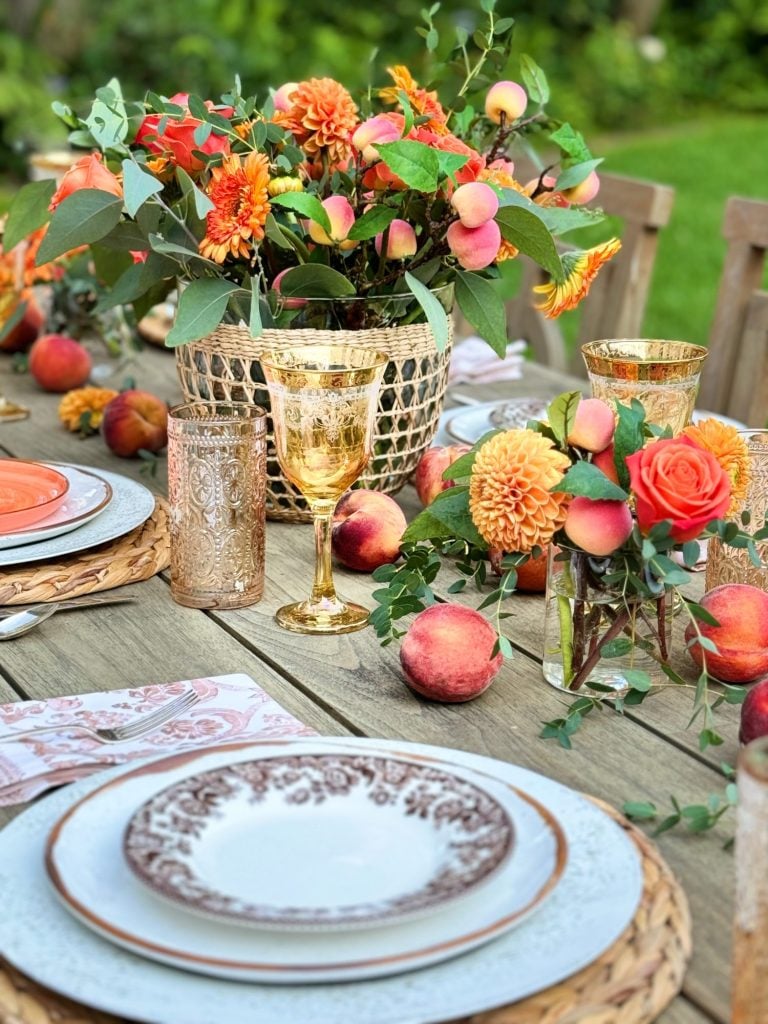
Summer Outdoor Table Decor Ideas
I created summer outdoor table decor ideas that blend natural elements with elegant touches and my favorite summer fruit, peaches. I decided to transform our back patio into a picturesque setting for alfresco meals inspired by the vibrant and luscious peaches of the season. It’s perfect for summer entertaining, and this table embraces the joy…
-
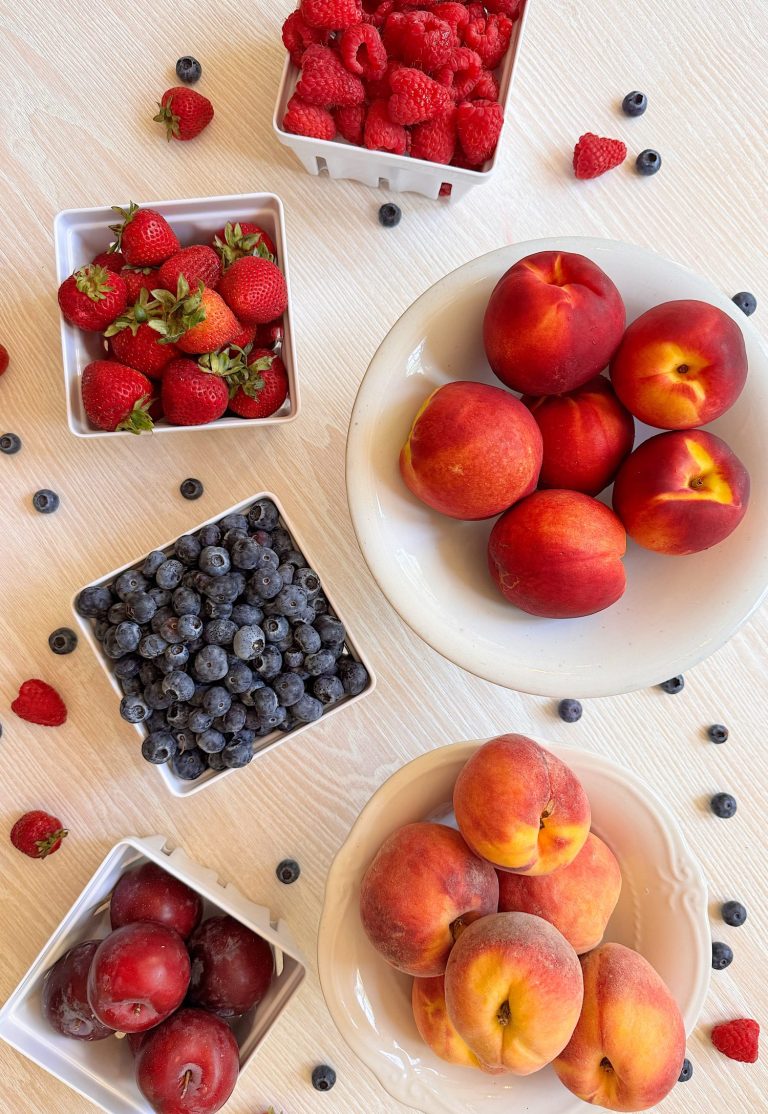
Summer Fruits: How to Clean, Store, and Bake Them
One of the greatest joys of summer is the abundance of fresh, juicy summer fruits. Peaches, plums, raspberries, strawberries, blueberries, and blackberries are the best. But as we fill our kitchens with nature’s candy, a question always comes up: What’s the best way to clean summer fruits to remove pesticides and prevent mold? It turns…
-
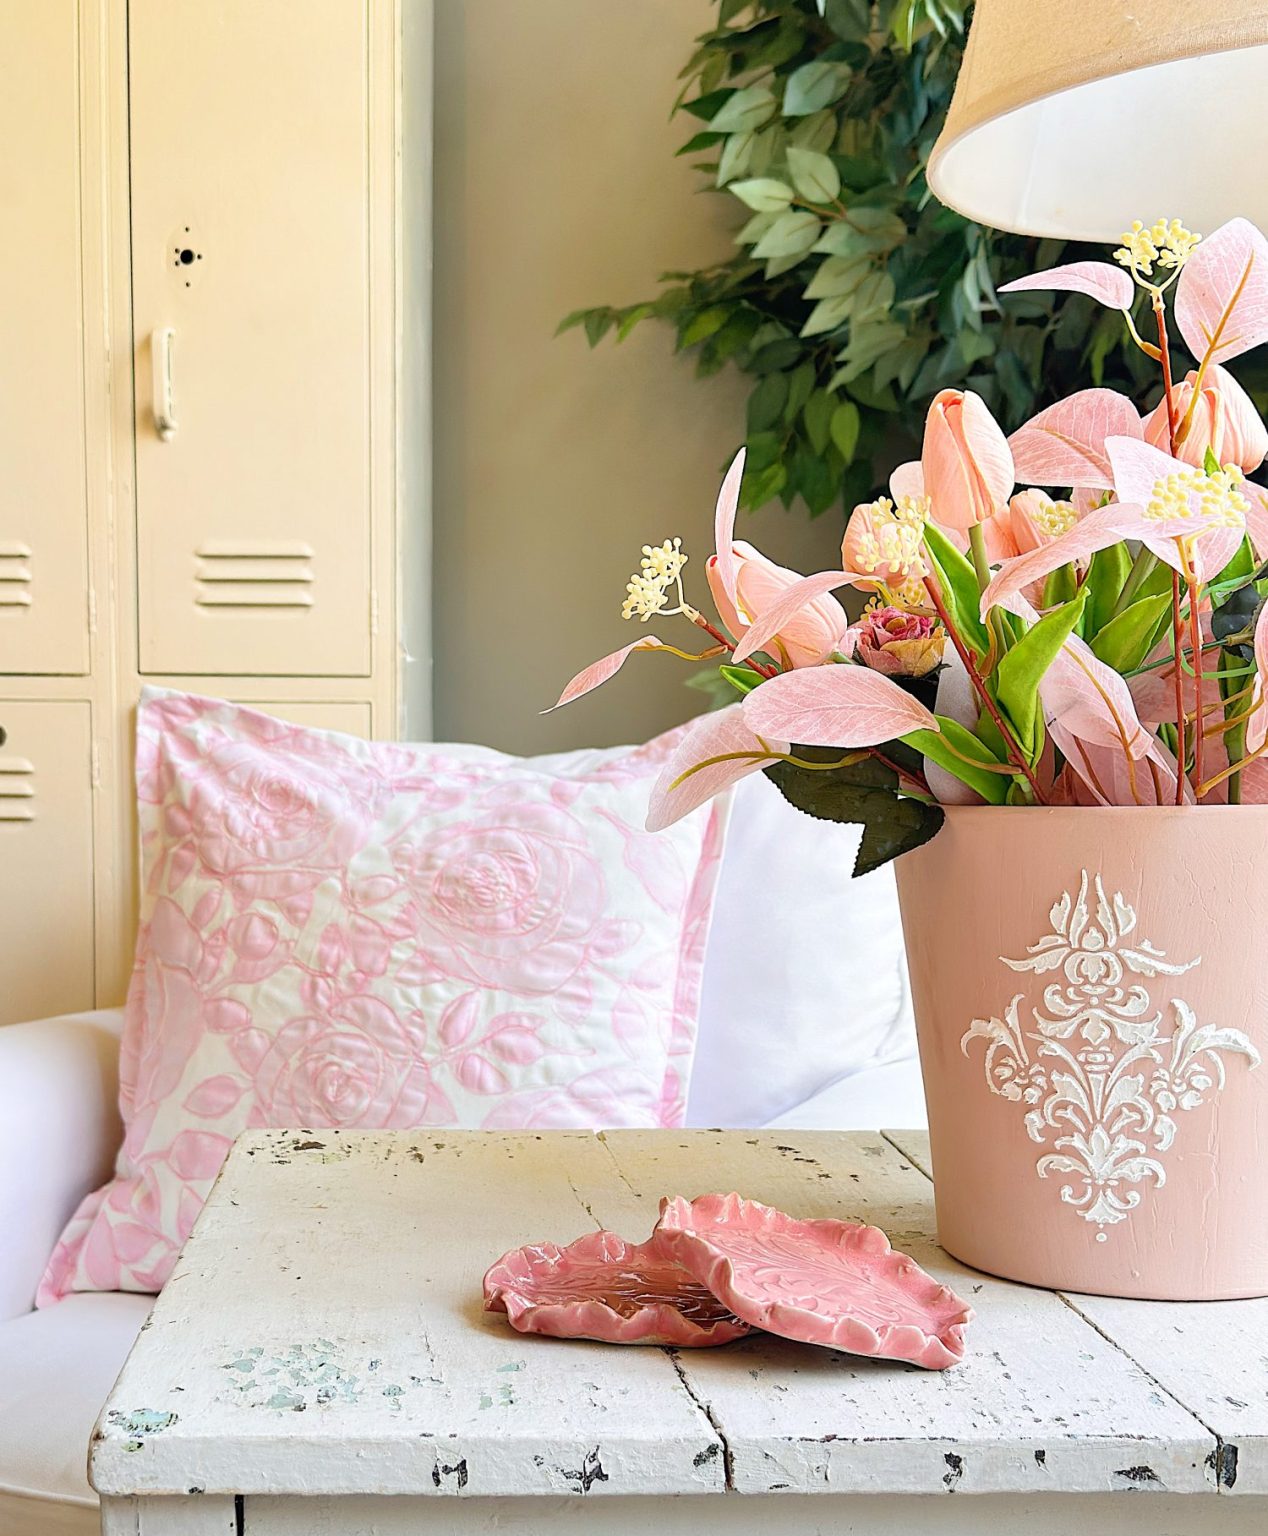
How to Use Paper Clay
I discovered a new product for paper crafting! Paper clay is very easy to use, and I can’t wait to share my DIY pot. I have made many clay crafts before, but I have to be honest, until a while ago, I wasn’t even aware of paper clay. The best news? Paper clay was fun…
-
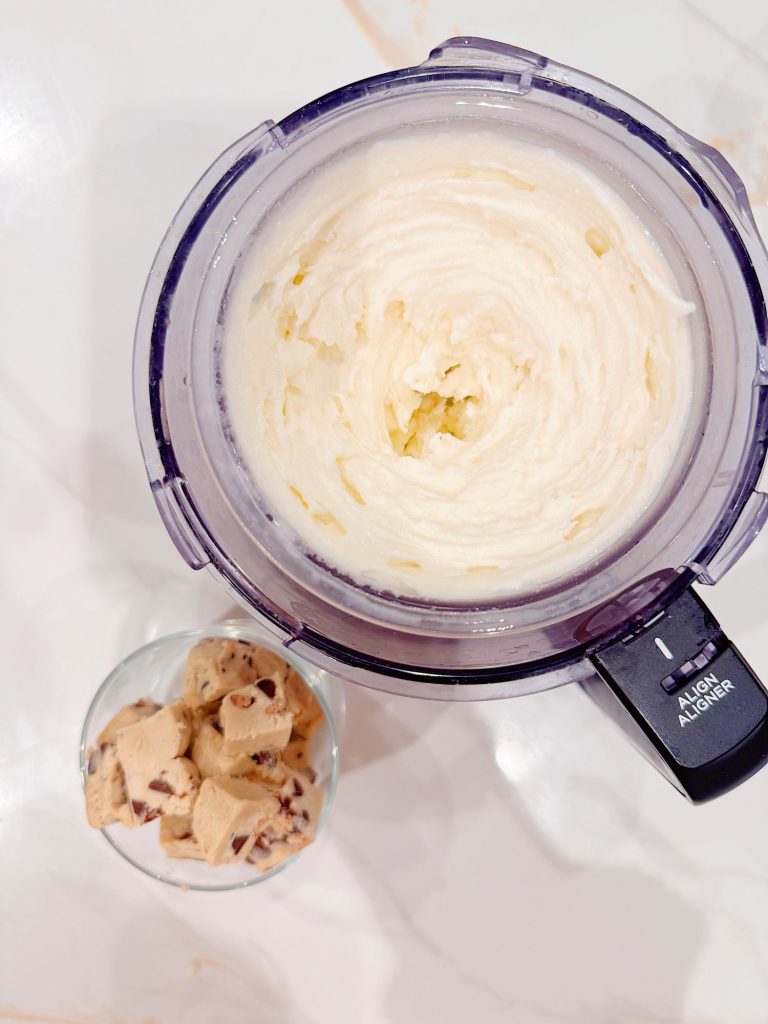
My Favorite Ninja Creami Protein Ice Cream
Let’s talk about one of my favorite kitchen gadgets: the Ninja Creami. And my favorite protein ice cream! If you haven’t discovered this magic machine yet, you need to know that it is the appliance that has completely changed the way I make frozen desserts and drinks at home. Whether you’re into healthy treats, indulgent…

My Recent Instagram Posts

You can pin the image below to your boards on Pinterest (click the Pin button in the top left corner) or follow me on Pinterest!
For more real-time updates, follow me on Instagram @My100YearOldHome

Lovely
You’re right, the stitches really add to the affect