How to Make Vintage Garden Pots
I love vintage garden pots, but they are difficult to find and often expensive. I can’t wait for you to see how I made my new terra cotta pots look old.
All you need to do this is a simple gardening product. And about thirty minutes.
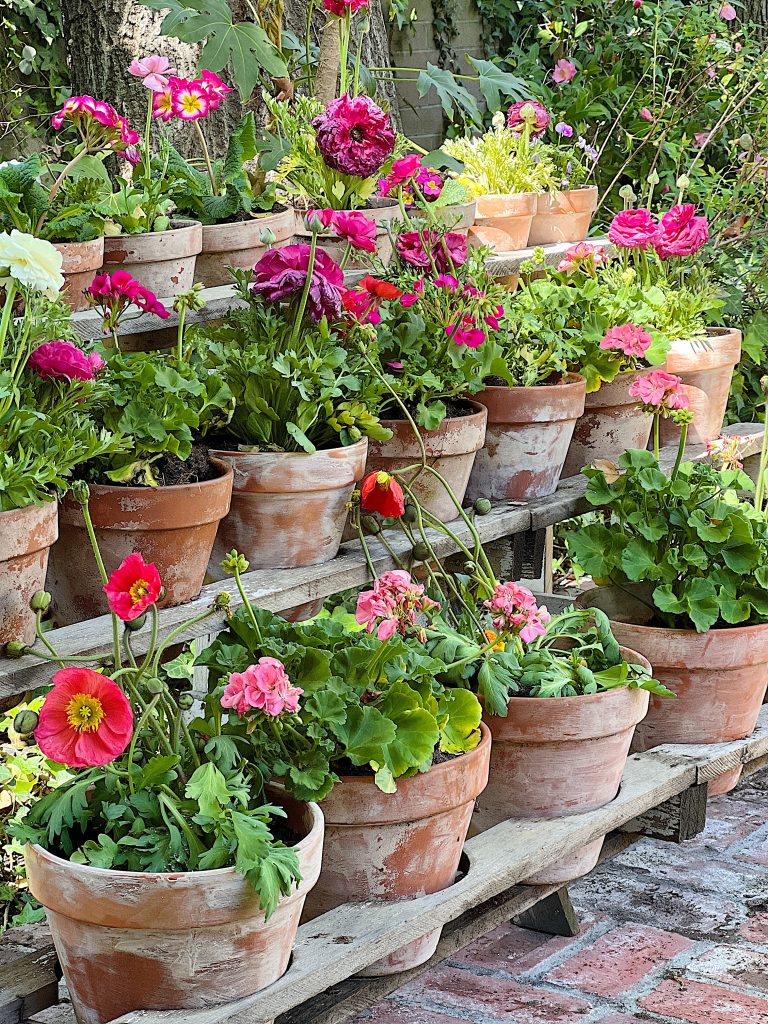


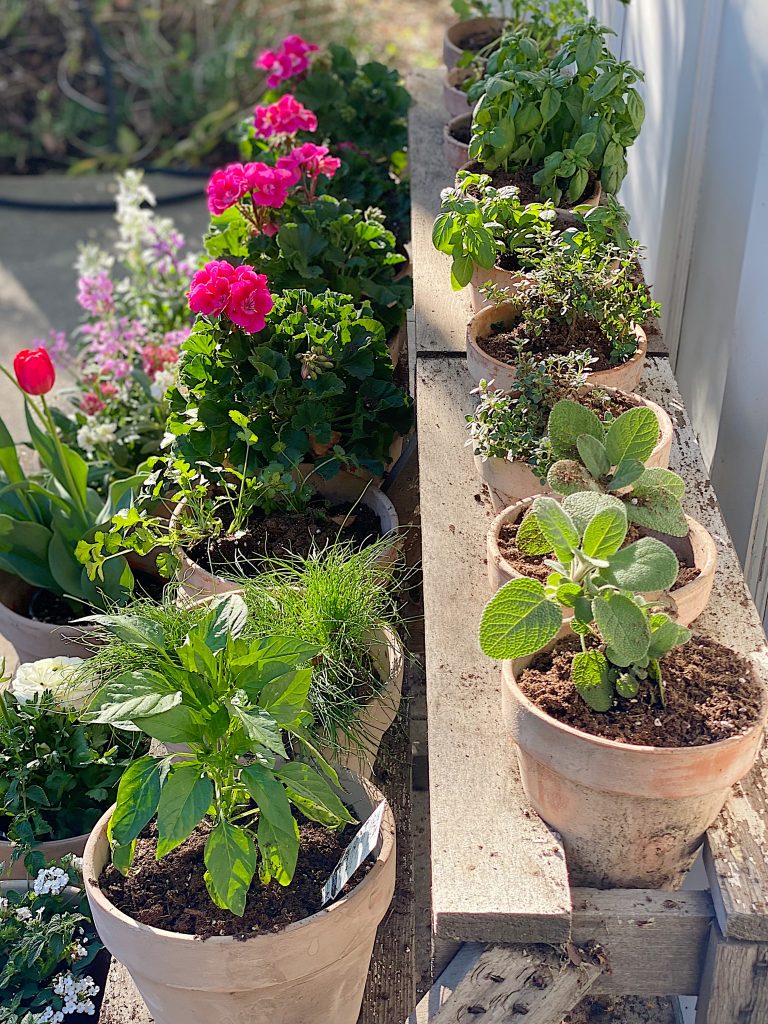
I love everything vintage, including everything that is vintage gardening. But vintage garden pots can be pricey.
I decided to make my own.
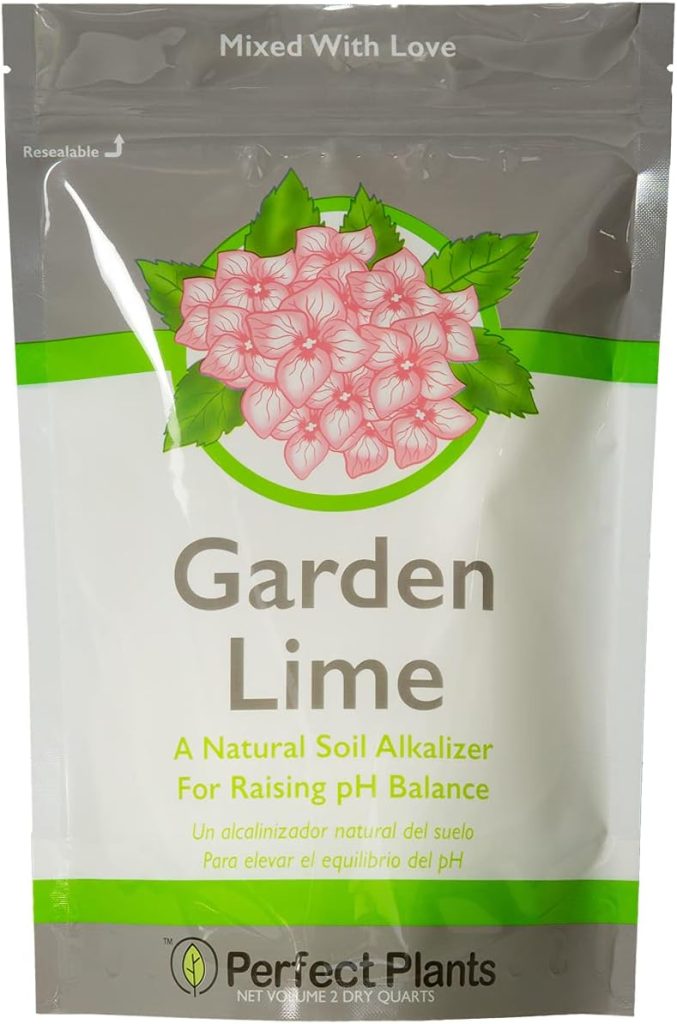
Believe it or not, I made them using Garden Lime.
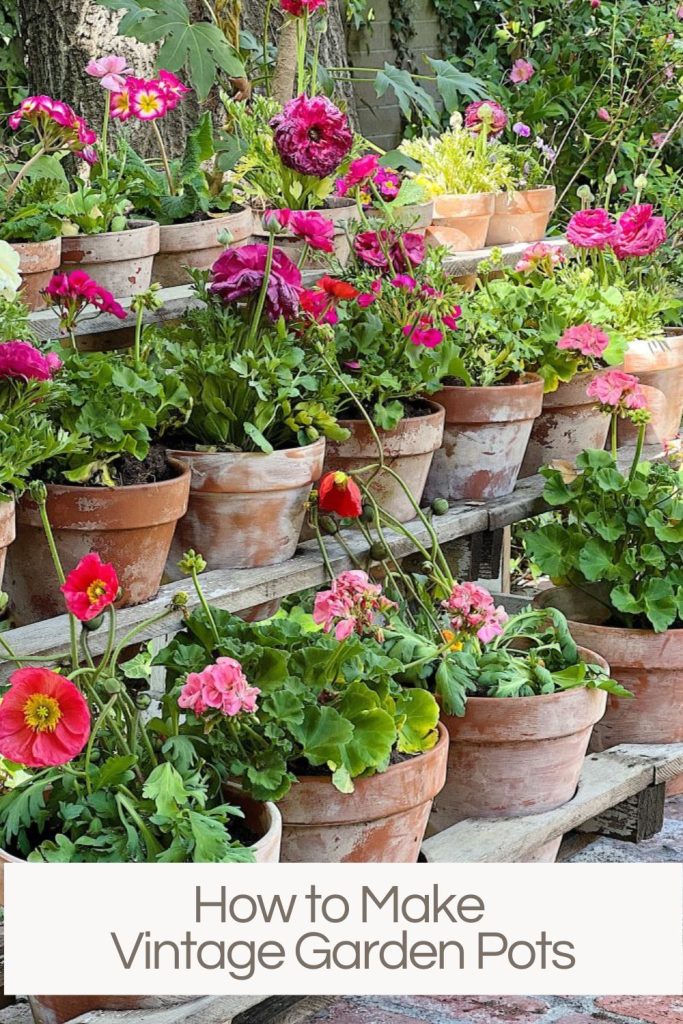
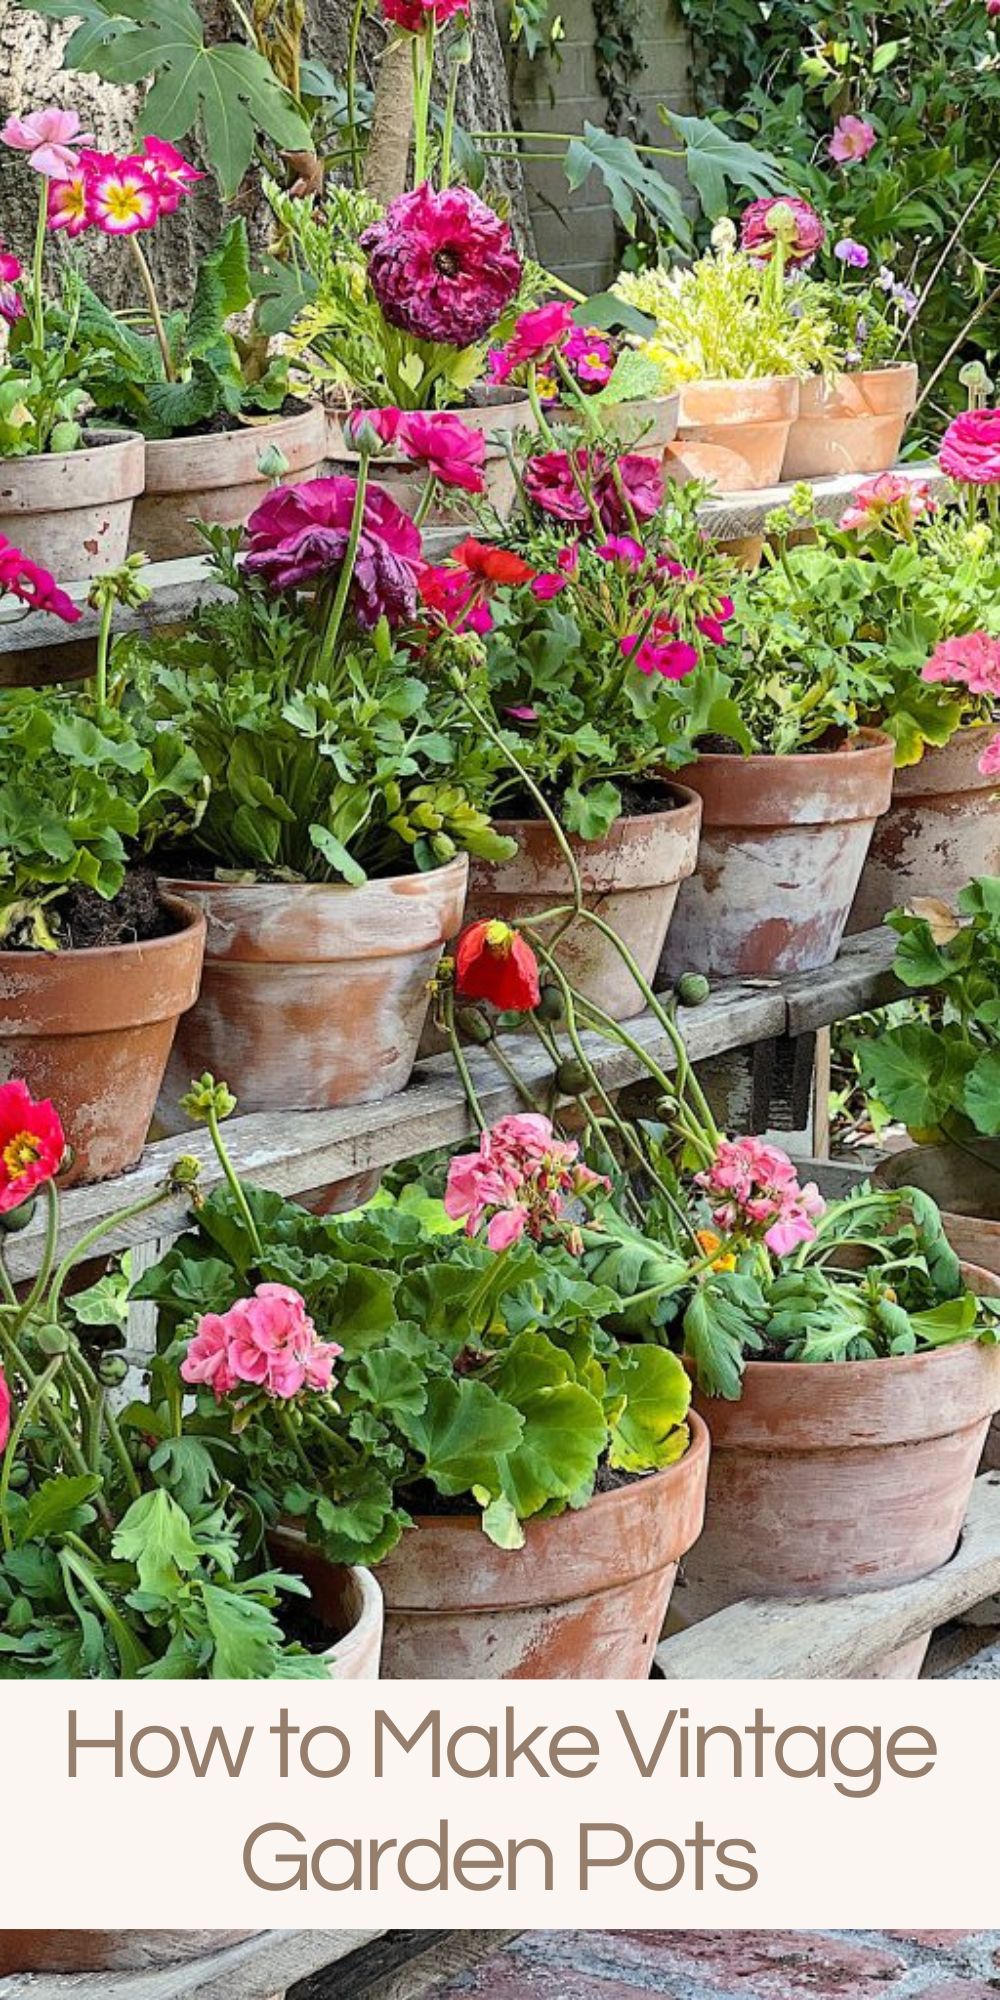
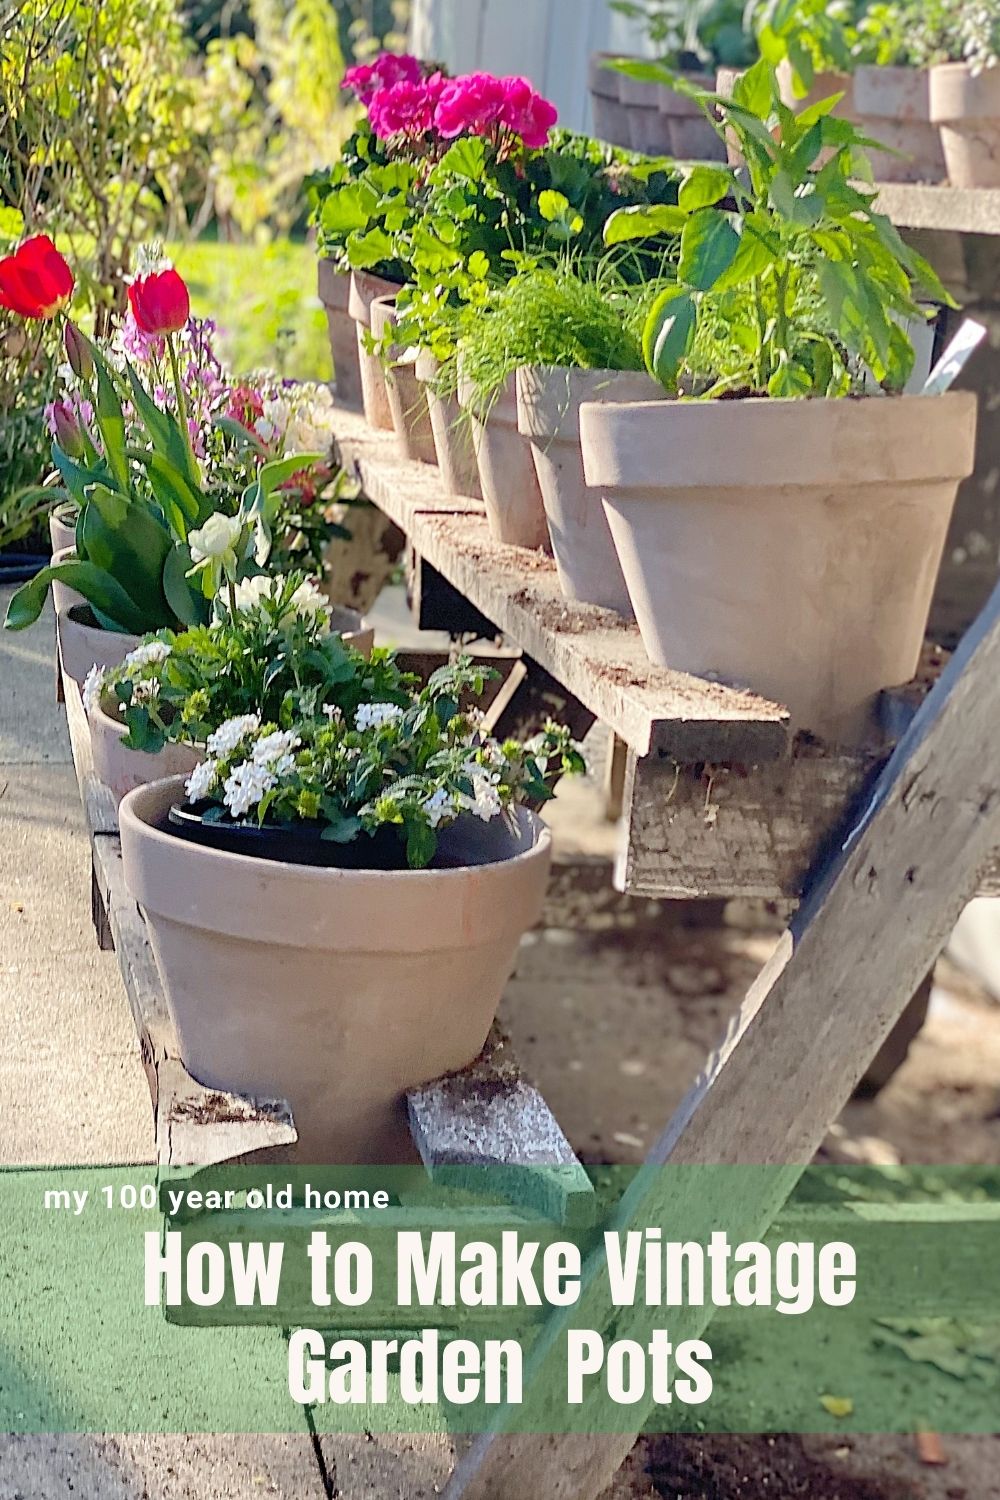
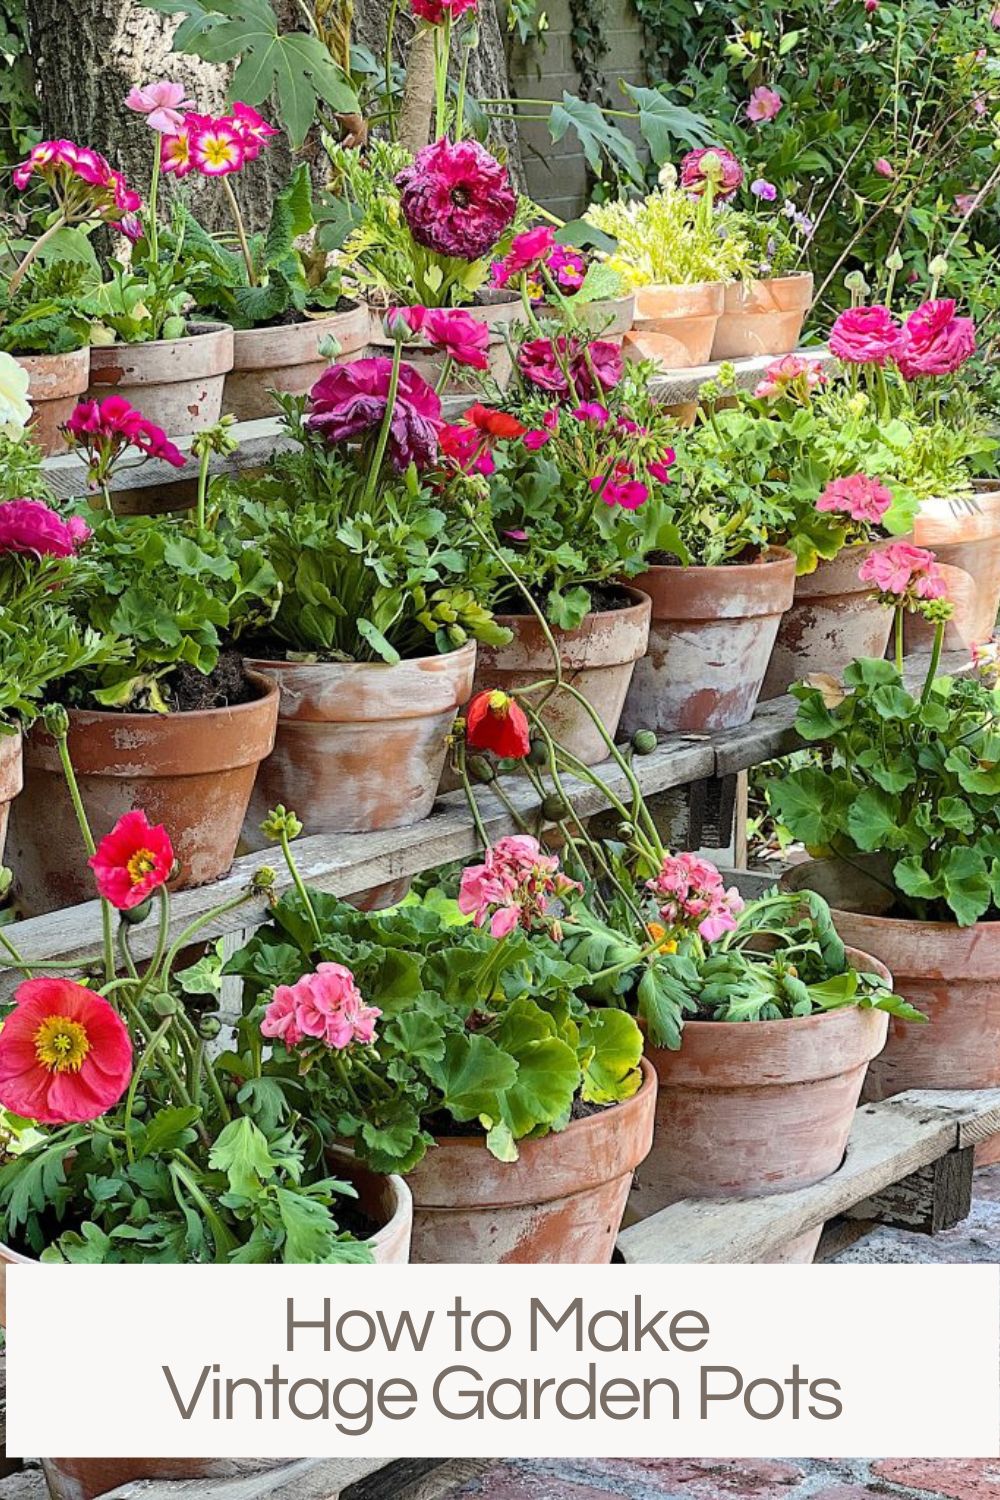
You can see how great my pots look. Don’t my terra cotta pots look like they have been around for a long time?
Garden Lime Vintage Garden Pots
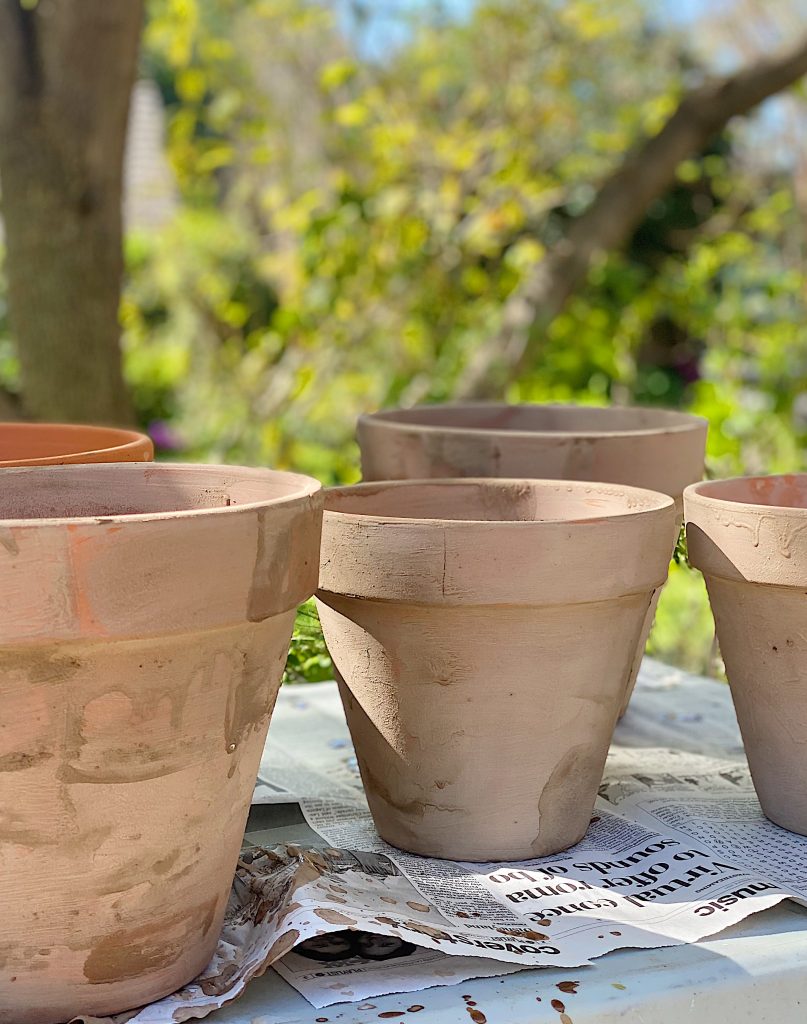
As I mentioned, I painted terra cotta red pots with Garden Lime, and they look fantastic!
It took me about five minutes to paint all of these pots.
A few years ago, I reorganized our backyard because we were hosting a wedding at our home.
My only responsibility was to make sure the backyard looked amazing.
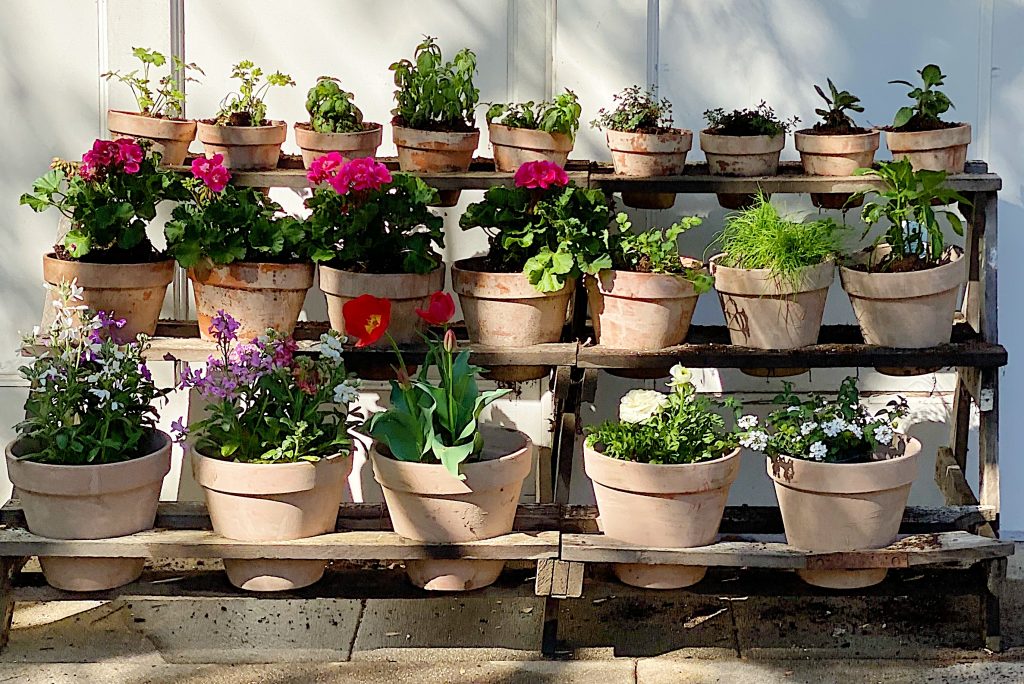
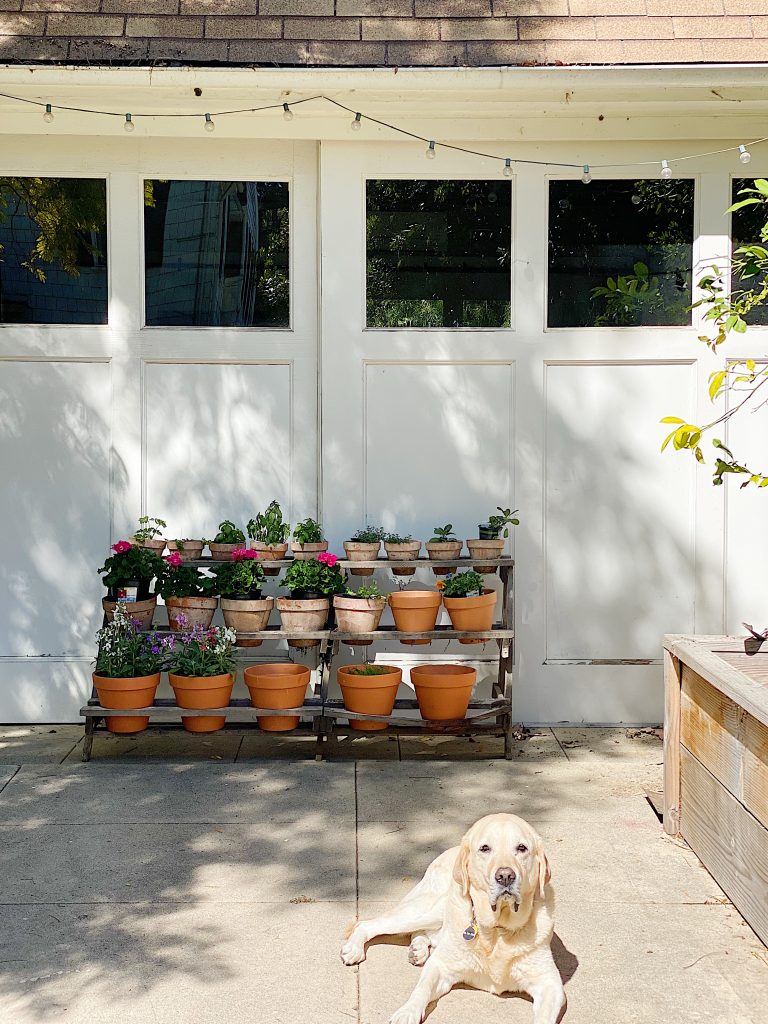
I have a vintage wooden pot holder that holds twenty-one pots. Vintage terra cotta pots look so much better than brand-new ones.
There was one problem. I didn’t have enough vintage pots—okay, I only had about half.
So I went to The Home Depot and bought enough to fill the entire wood plant stand.
All that was left to do was paint the terra cotta red pots to look like vintage garden pots. (Sport looks ready to help. Ok, maybe not!)
I may sometimes use affiliate links on this blog, which means a small commission is earned if you purchase via the link. The price will be the same whether you use the affiliate link or go directly to the vendor’s website using a non-affiliate link.
How to Paint Terra Cotta Red Pots to Look Like Vintage Garden Pots
What You Need
- One bag of Garden Lime
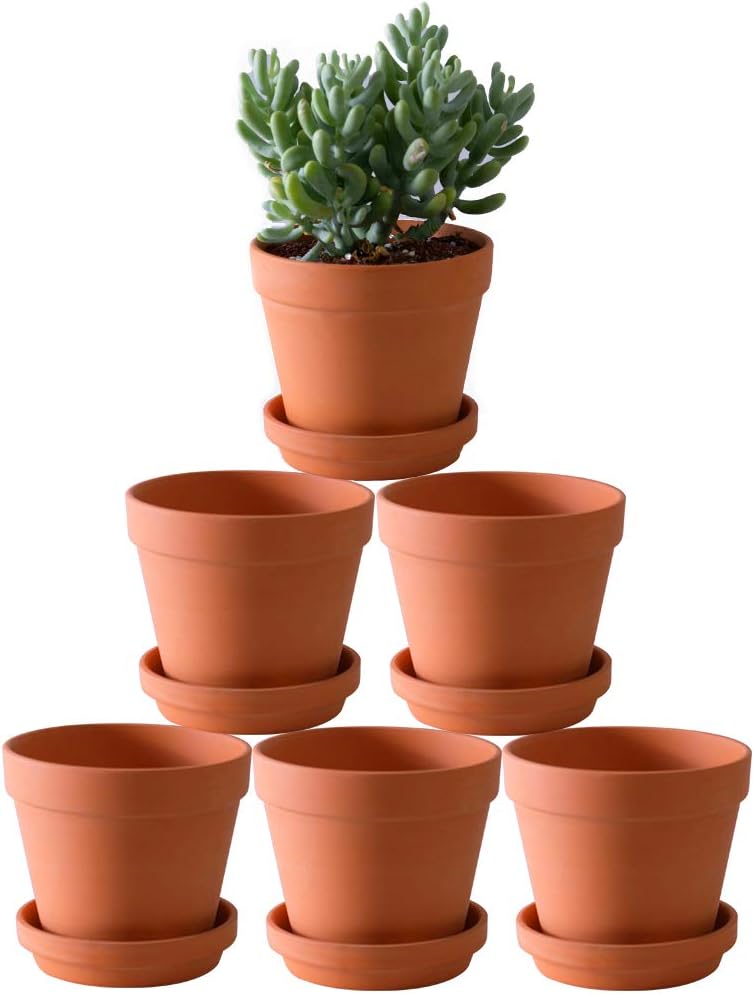
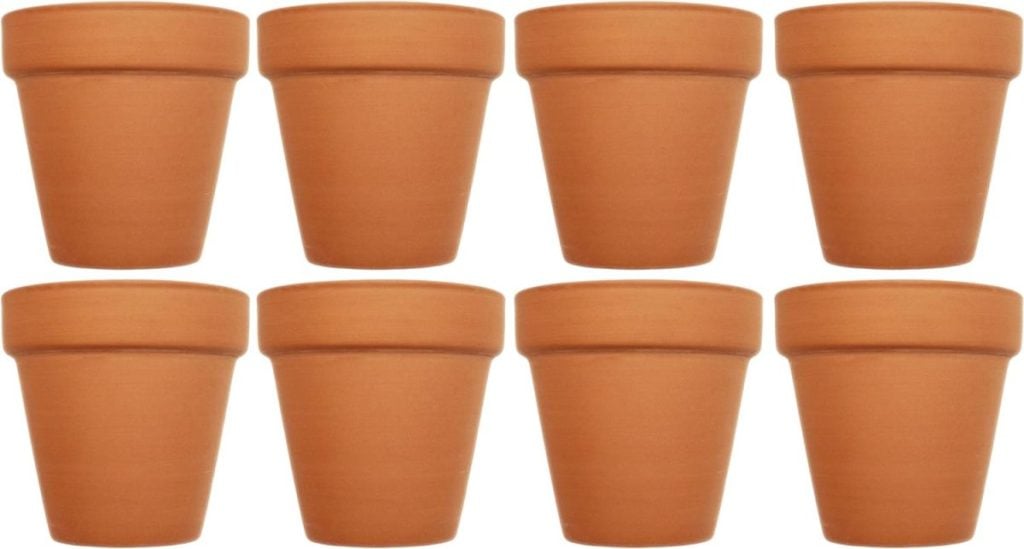
- Terra Cotta pots
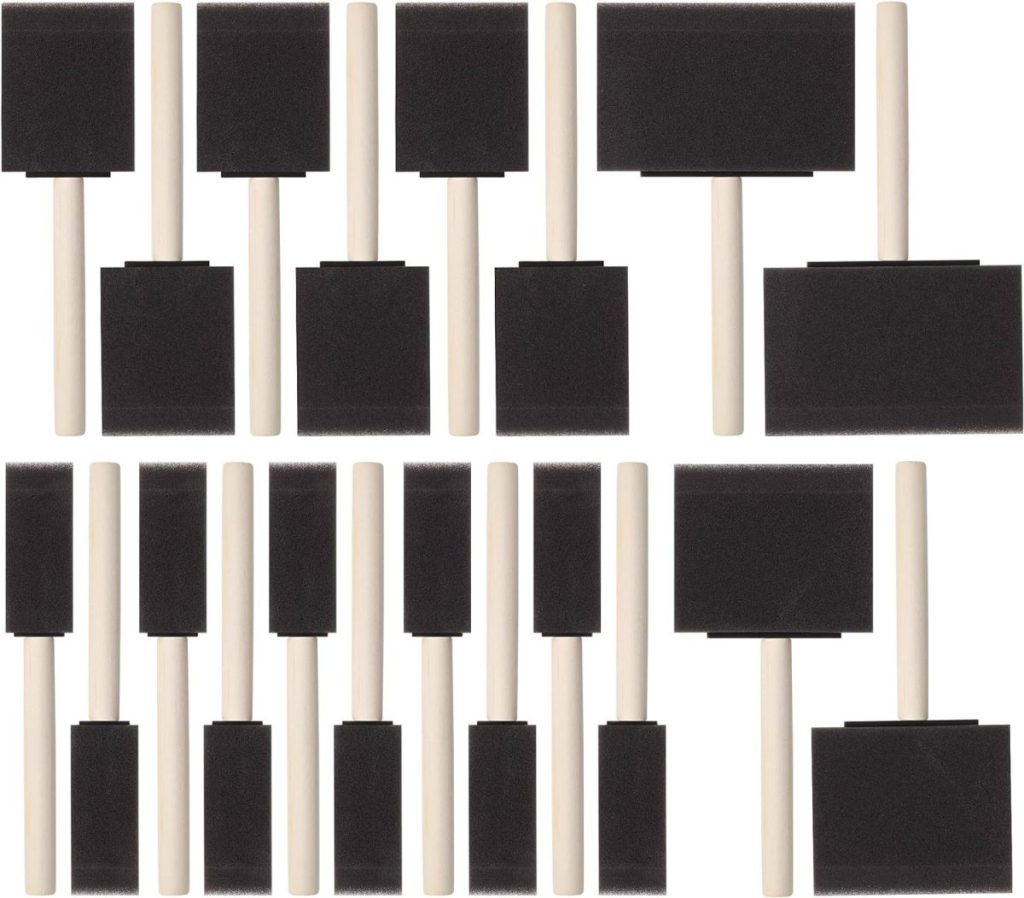
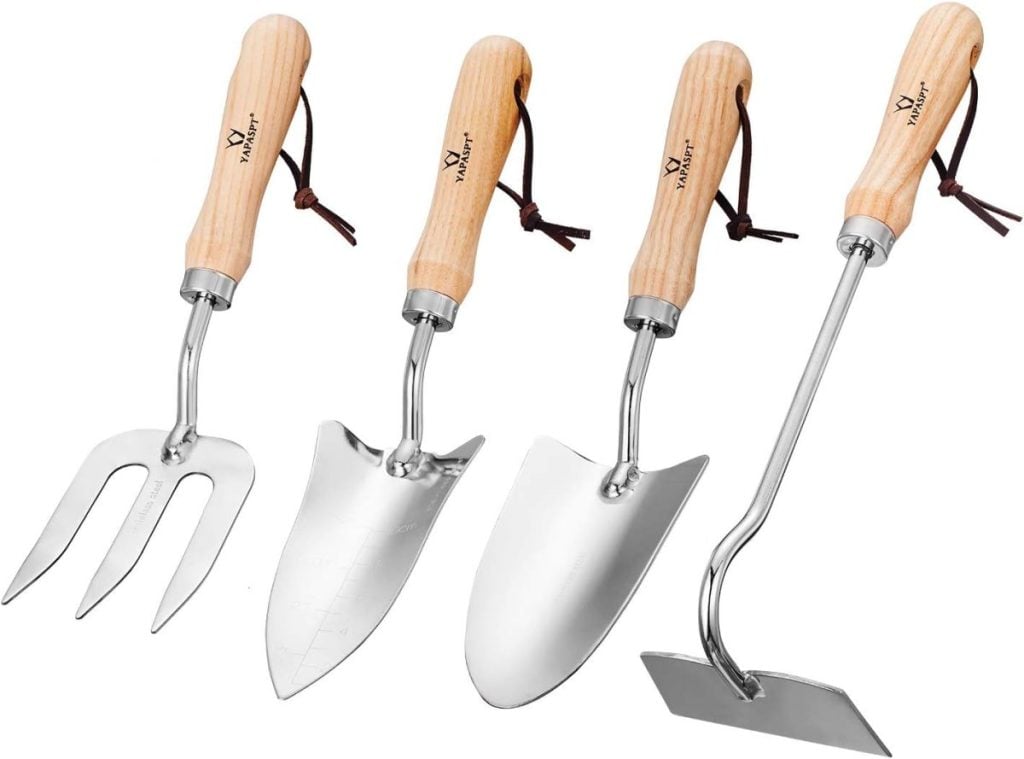
- Sponge Brushes
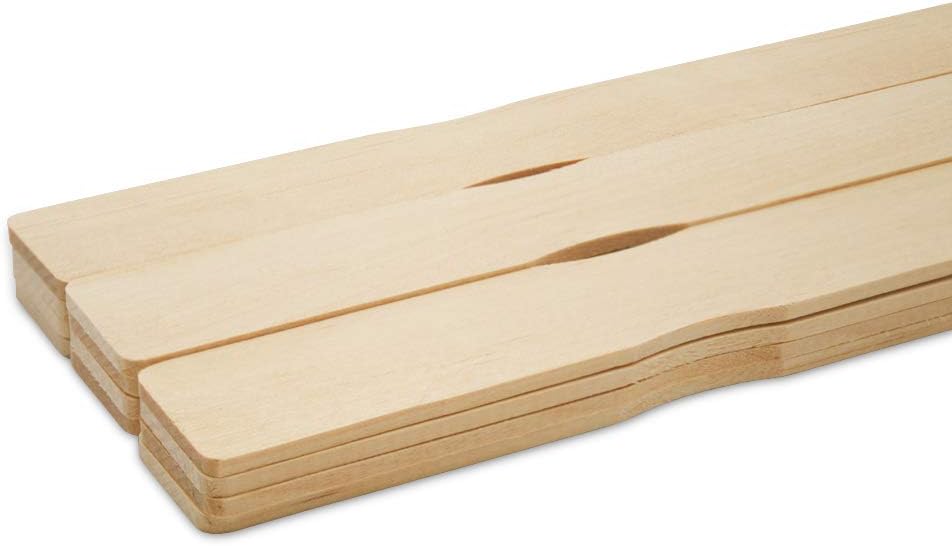
- Paint stirrers
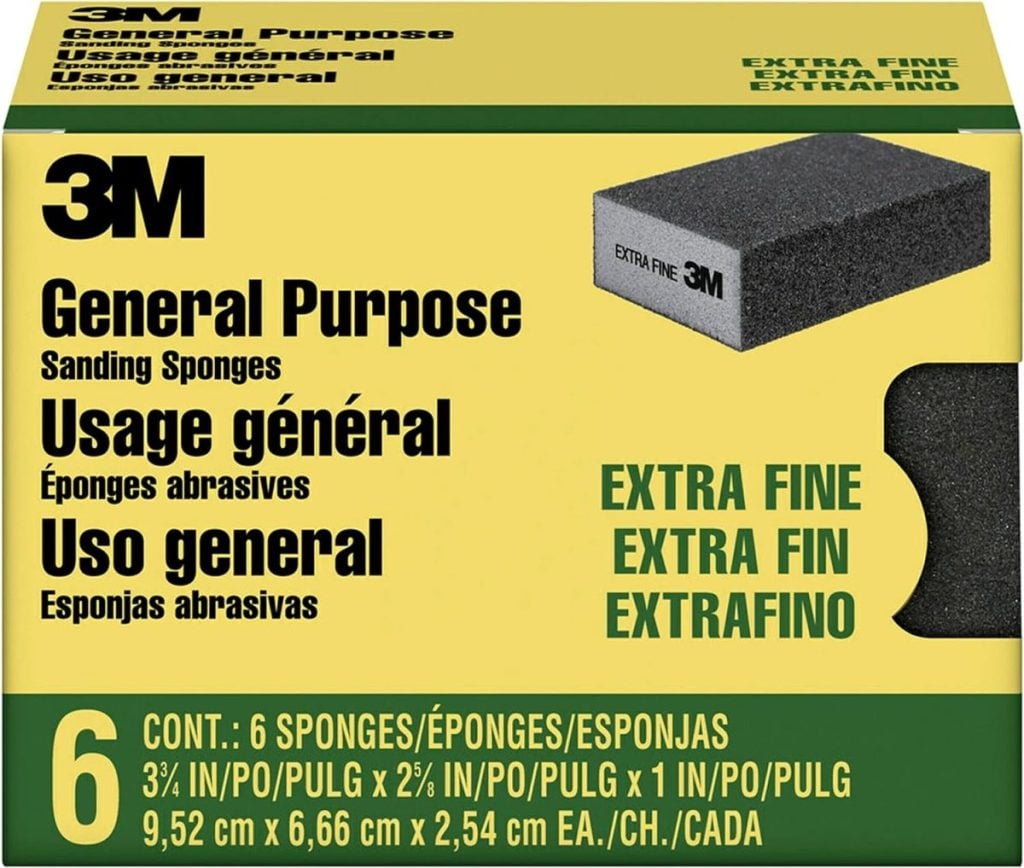
- Fine sandpaper
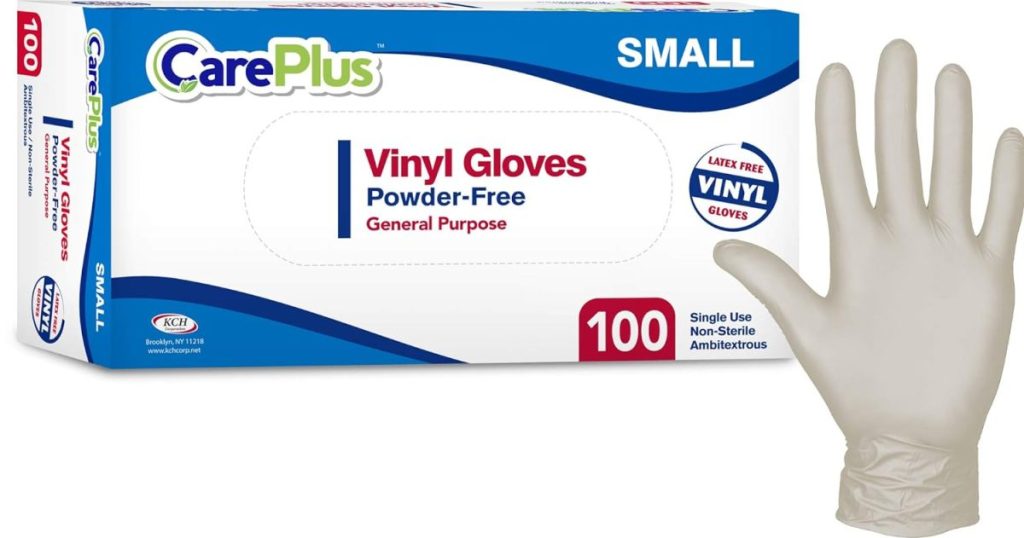
- Gloves
- Plastic bowl
- Polycrylic sealer
Step One
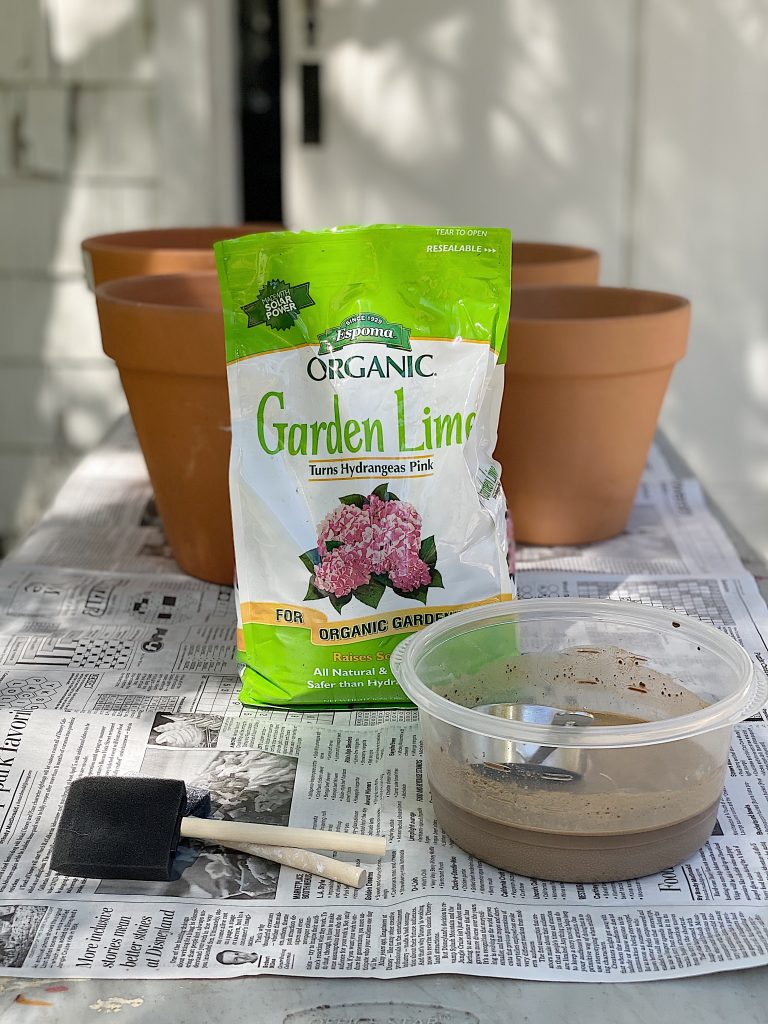
To age clay pots, mix two cups of garden lime with one-half cup of water. Stir thoroughly (and continue stirring throughout the entire time).
The Garden Lime may look like tiny pebbles. Stir it, let it sit, and then stir again. The pebbles will dissolve.
Step Two
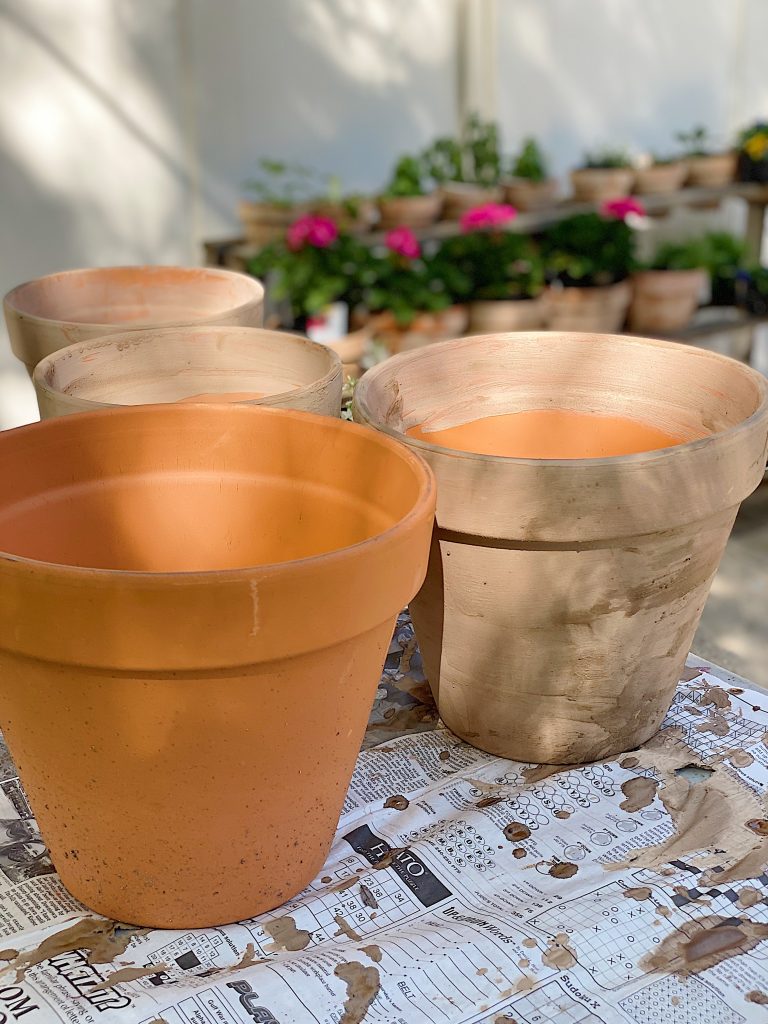
With a sponge brush, paint over pots with a thick coat of garden lime. Add a second coat if necessary. Paint inside the pots about two to three inches from the top.
Step Three
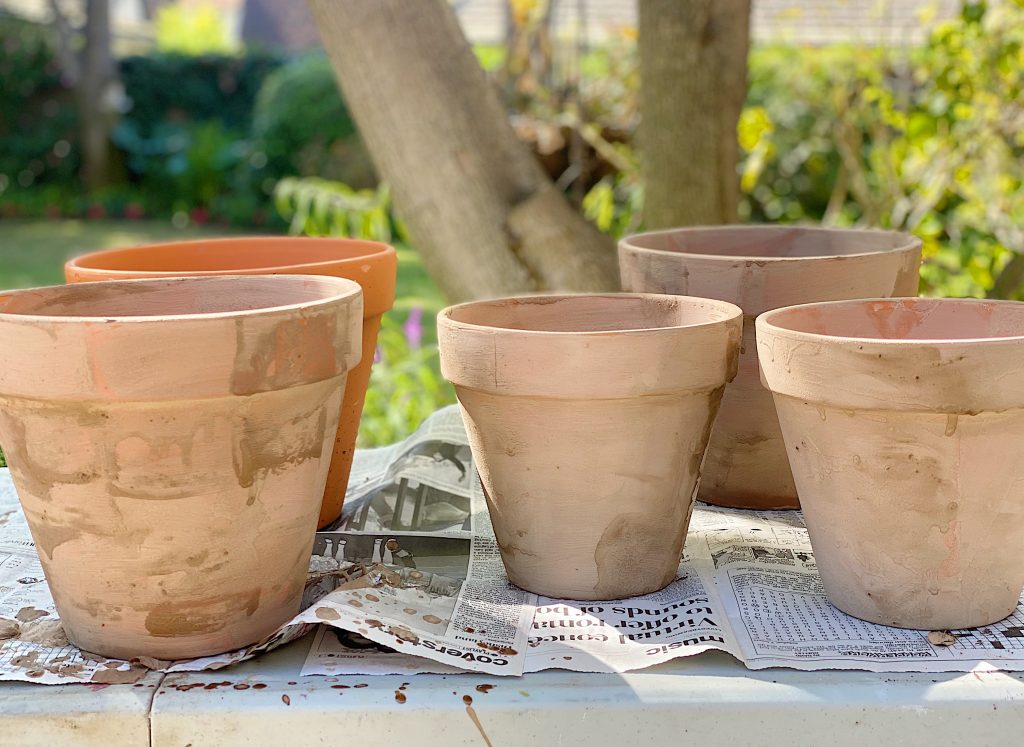
Let dry. Sand lightly with sandpaper to create aging spots.
Step Four
Spray lightly with Polycrylic sealer (inside and outside of pots.) Can you believe how easy it is to age terra cotta pots?
Don’t they look old?
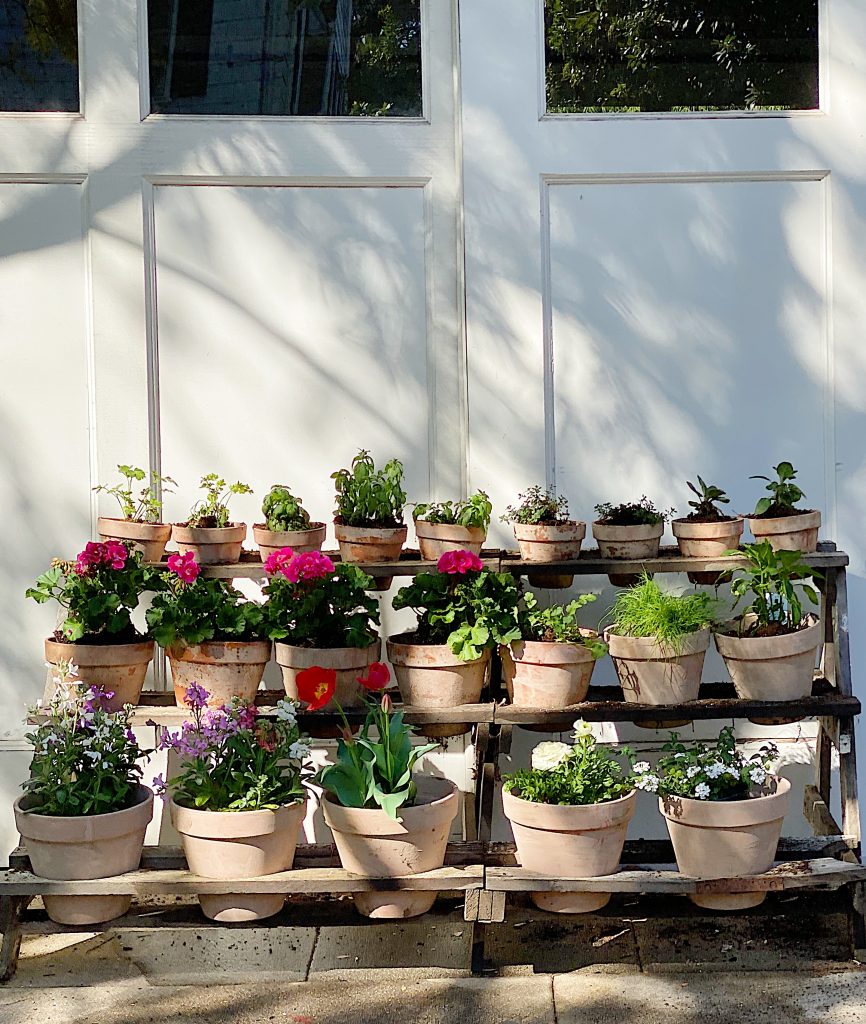
I cannot believe how easy these were to make.
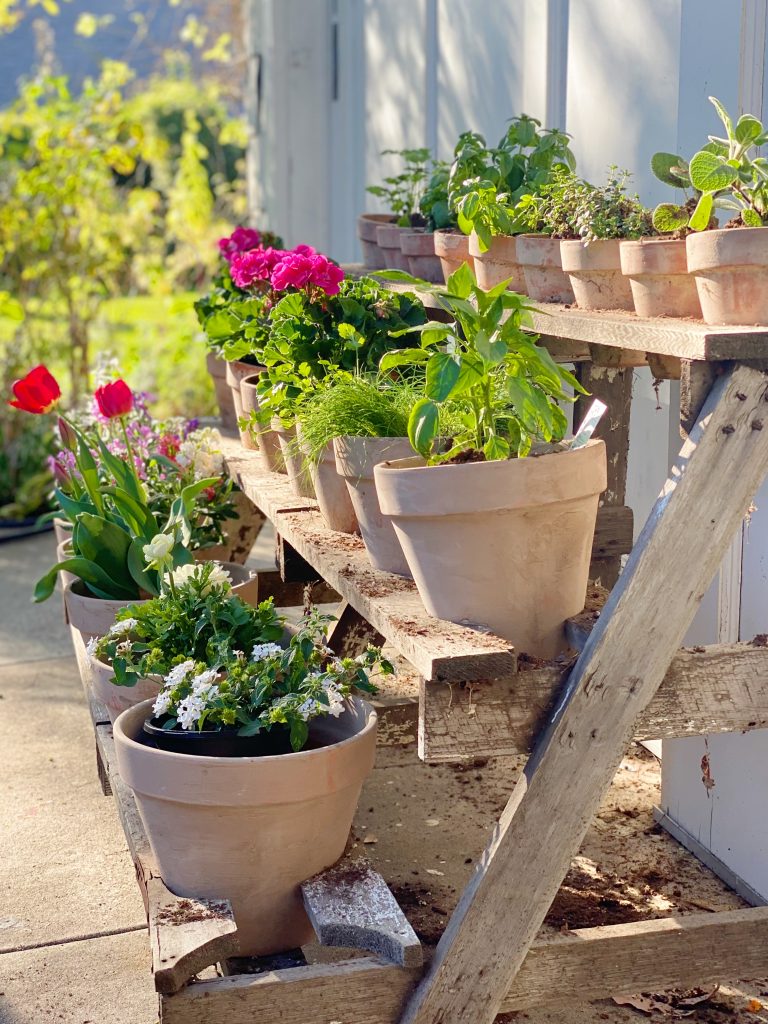
As soon as the sealer was dry, I planted the pots!

If you enjoy my blog, you can sign up to receive my updates here.
.Watch My Amazon Live

Click here to watch any of my Amazon Live shows. All shows are recorded.
This live show is titled Home Improvement and Remodeling Items.
Frequently Asked Questions
Lime is a rock powder that serves as a soil conditioner. While it does contain nutrients like calcium and magnesium, it’s not a fertilizer. It reduces the effect of elements like manganese, aluminum, and iron, which are acidic and toxic to plants.
I see them at vintage flea markets all of the time. You can also find them online, but shipping can be expensive.
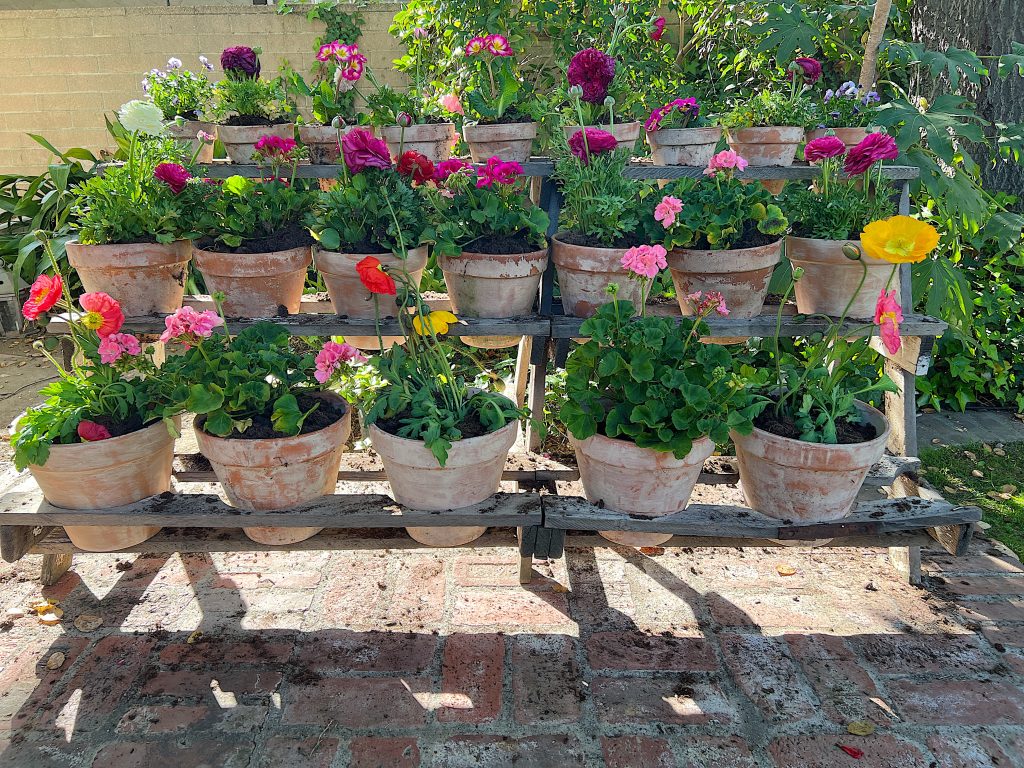
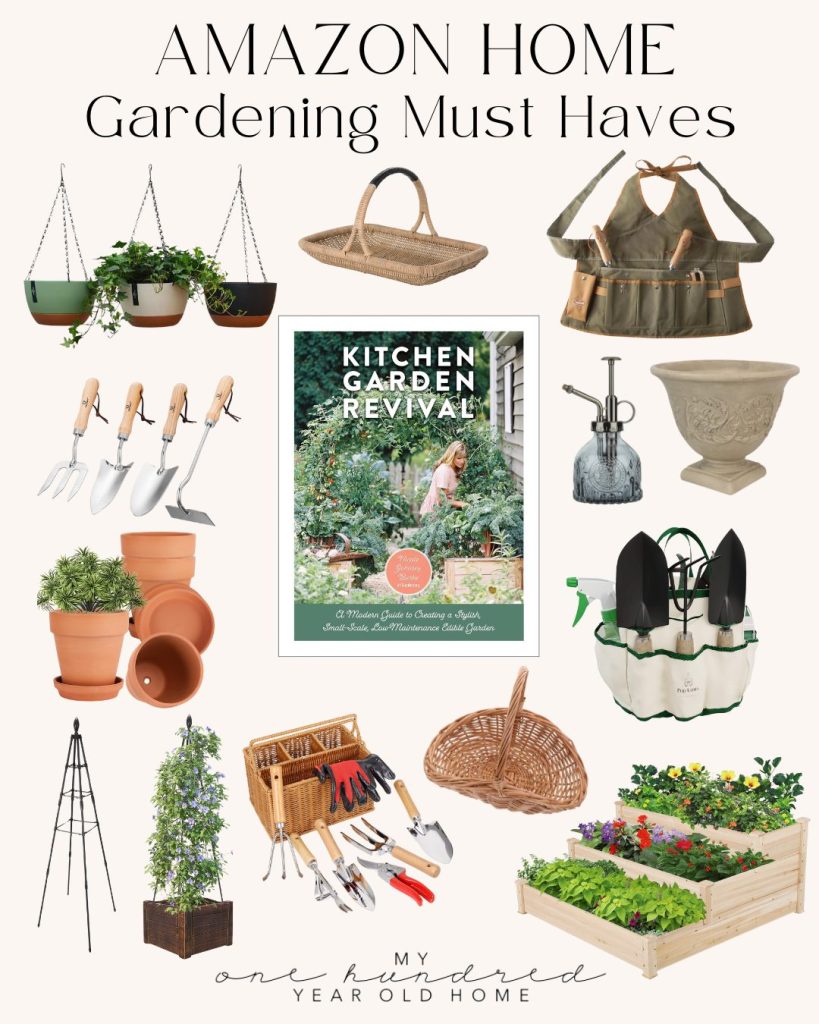
My Gardening Must-Haves
Similar Posts
You can pin the image below to your Gardening boards on Pinterest (just click the Pin button in the top left corner) or follow me on Pinterest!
For more real-time updates, follow me on Instagram @My100YearOldHome









Beautiful! I love, love, love this entire diy. So fabulous, and I must put it on my ‘ this summer’ diy list. Thank you so much for sharing
Leslie .. YOU ARE TOTALLY AMAZING 💯💖💝
Is there NOT ONE THING YOU CANNOT DO ??
The BEAUTY YOU BRING TO YOUR HOME , AND FOR OTHERS TO FOLLOW . YOUR FAMILY IS SO BLESSED TO HAVE YOU IN THEIR LIVES . Such a BEAUTIFUL WOMAN. THANK YOU FOR BEING ON INSTAGRAM SHARING YOUR MANY TALENTS WITH US FOLLOWERS . WOULD LOVE TO STAY AT YOUR AIR B&B ONE DAY . THANK YOU FOR YOU 🥰
I love your vintage-looking clay pots! I have never been a fan of the orangey-red of terra-cotta pots, but I love the look of vintage clay pots! I will be trying your method on the pots I already have. Thank you for sharing!
They look really nice.
I especially love your cute little model!
Our dogs love to sun bathe too!
This is great! I am definitely going to give this a try…
Those look incredible. I love vintage everything too. I will certainly be trying these. Thank you, Leslie.
Thankyou for this great idea. It seems more permanent than just painting the pots.
Love this idea Leslie! I may have missed it, but could you share details on the matte sealer you used? Thank you!!
This technique meets my need for seeing immediate results. (I tried “Martha’s method” for making moss covered pots years ago, but it didn’t work.)
I also was wondering about the sealer you used.
Darlene, I used aa Matte Clear Spray to seal. Here is a link if you want to check it out: https://amzn.to/2OHZEBi
Can you give directions on how to create moss covered pots or statues? Any cottage garden tips would be appreciated. I really enjoy your blog. Thank you for sharing such awesome ideas.
Hi Kay – thank you for reaching out. Check out this blog post on aging terra cotta pots (https://my100yearoldhome.com/make-it-yourself-aging-terra-cotta-pots/). The first way to age pots is garden lime, the second is to use yogurt. I’m so glad that you enjoy what I share. Good luck with your pots/statues!
Do you have to seal the pots after using the lime and if so what purpose does it serve?
Leslie, That distressed plant holder is fabulous also! Why don’t you do a tutorial on making that…maybe on a smaller scale?! Have a great time hosting the wedding! How blessed the bride and groom are to have such a gorgeous environment!!
Thank you for your wonderful and inspiring ideas.
Another way to age pots or anything you want is to use buttermilk and live moss from your yard or forest . First mis. The buttermilk moss mixture in a blender or whatever. Coat your pot ,clay or concrete, with the mixture and then put them in the shade in an area where you can mist them to keep them slightly damp. In a few days? You will have moss growing on your pots. This can be done with benches and statuary also to give them an aged look. Love your posts!
Such a great idea! I love it. Happy gardening!
Aw thank you Renae! These pots are great and make gardening more fun! 🙌🏻
These look fabulous! Also, would love to see the details of how you prepared for the wedding you’ll be hosting. We’ll be hosting our daughter’s wedding next year and are so excited but a bit overwhelmed. Please do a bride mama a favor and share! You’re the best Leslie!
Love, love the pots & the vintage rack!! Do you have a pic of the rack empty so I could try to recreate? Ideas or suggestions?
Love your blog & ideas, you are so creative!
Love this idea . Since I have a similar rack and put plants in it, I tried painting my pots. I was not able to make a paste like paint. Tge lime would not dissolve. Perhaps it was because I used agricultural lime and not garden lime??? Your thoughts. Please help. TYIA