How to Age Terra Cotta Pots
I love terra cotta pots but I don’t like the bright orange color. I wanted to create aged terra cotta pots that looked authentic. So today I am going to share two great ways to age terra cotta pots.
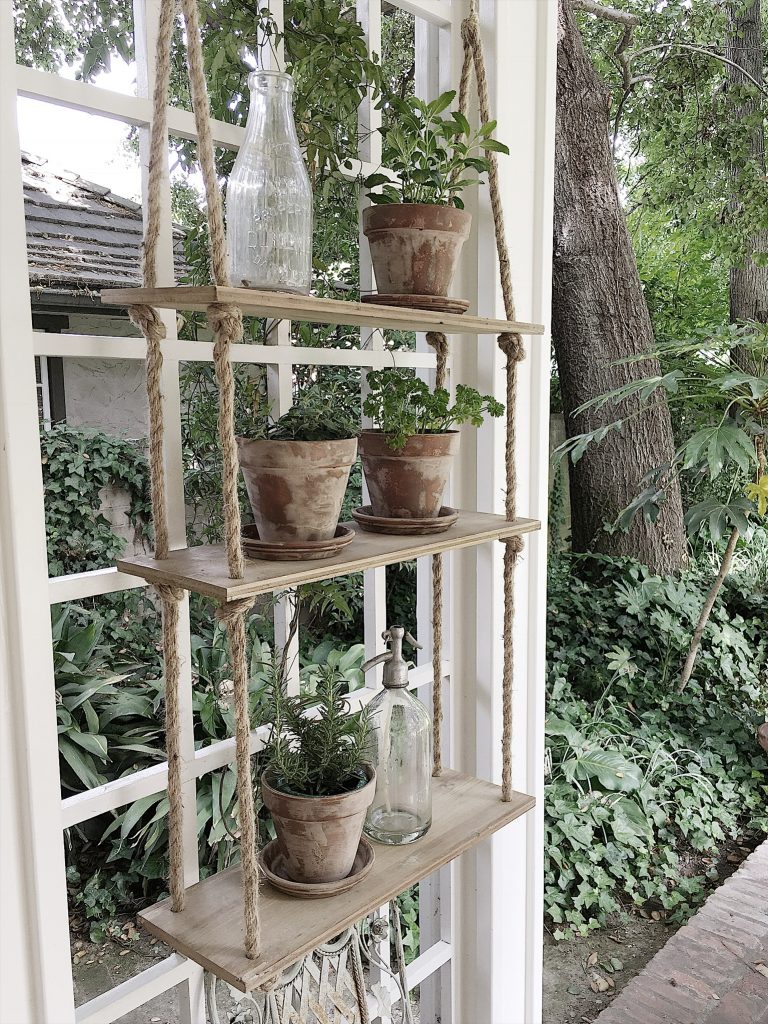
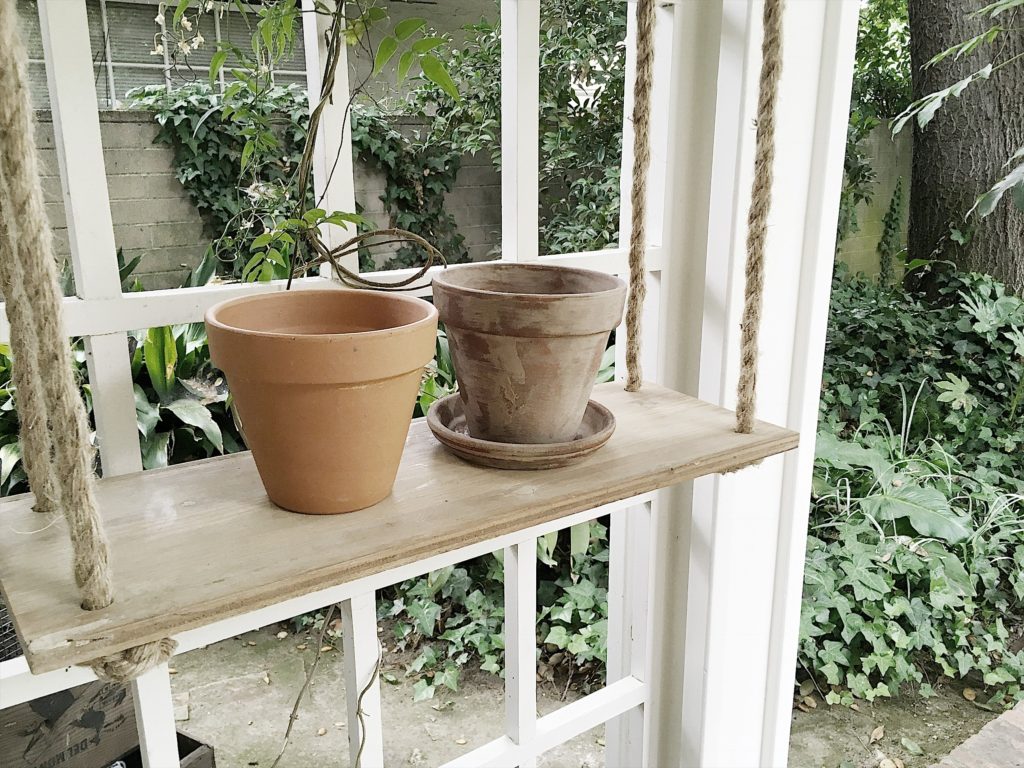
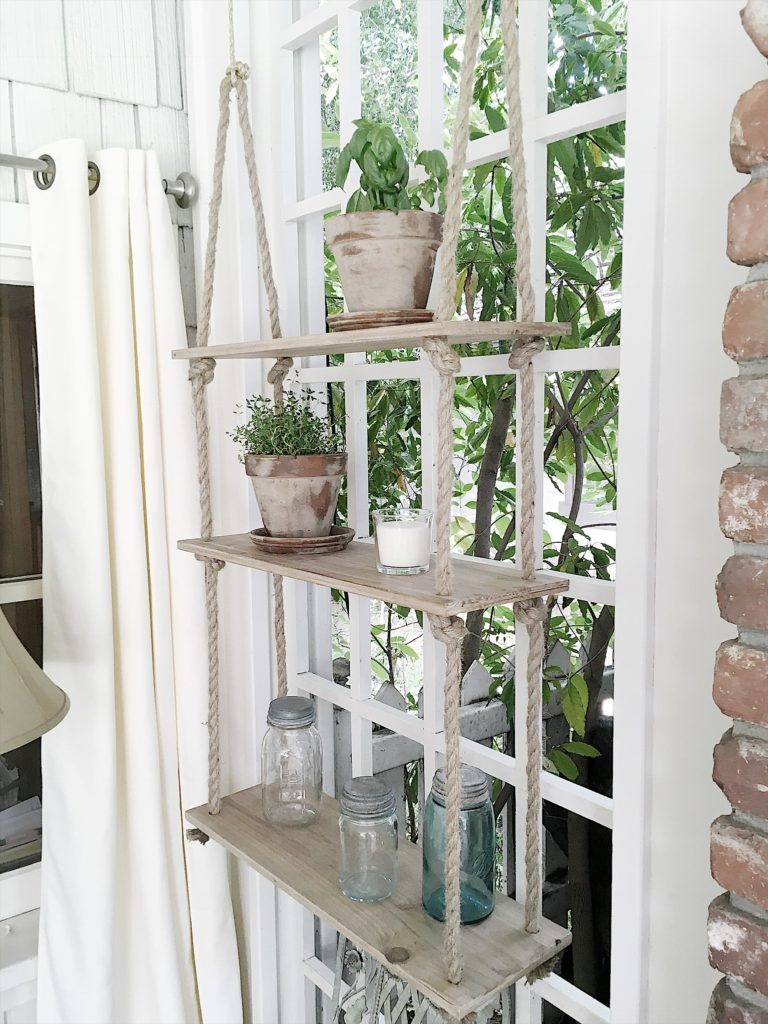
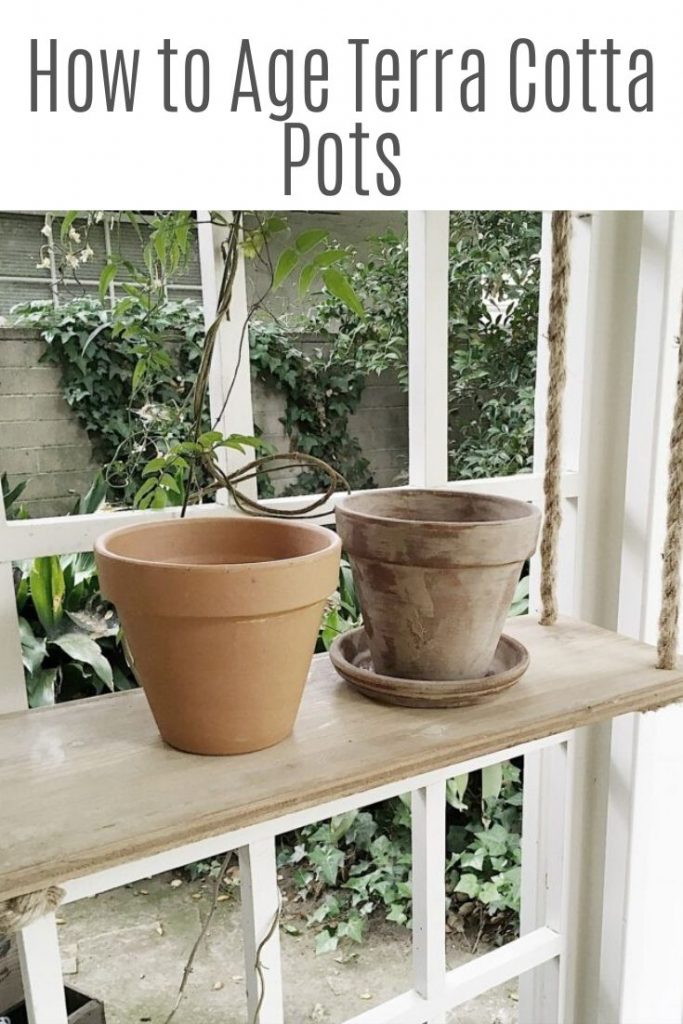
I love these hanging shelves I put up on our back porch. I decided the hanging shelves would look great with some small clay pots and plants. I found these terra cotta pots at Home Depot for $1.29 but knew they needed some TLC. I am not a fan of the bright orange color (as seen below on the left). I have also never “aged terracotta pots” before but knew I wanted them to actually “look old”, not look like they were “painted to look old”. Today I am sharing how to age clay pots using the “garden lime” method and the “yogurt method”.
How to Age Terra Cotta Pots Method #1 Garden Lime
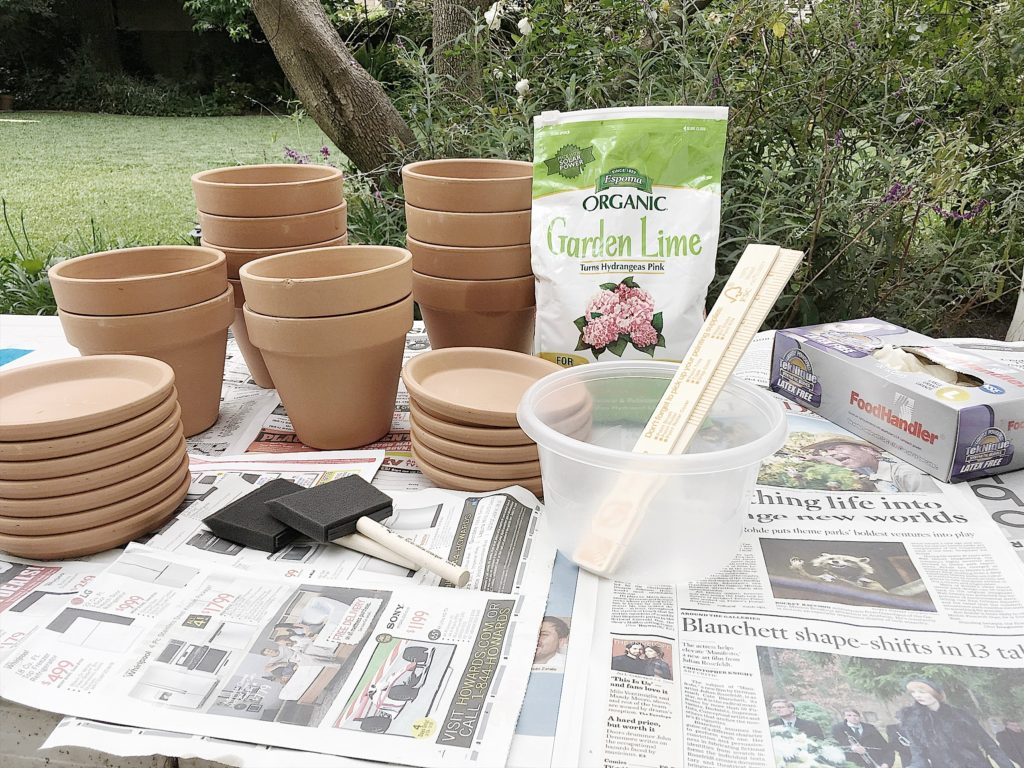
What You’ll Need
Fine sandpaper, gloves, old plastic bowl
Step By Step
STEP #1
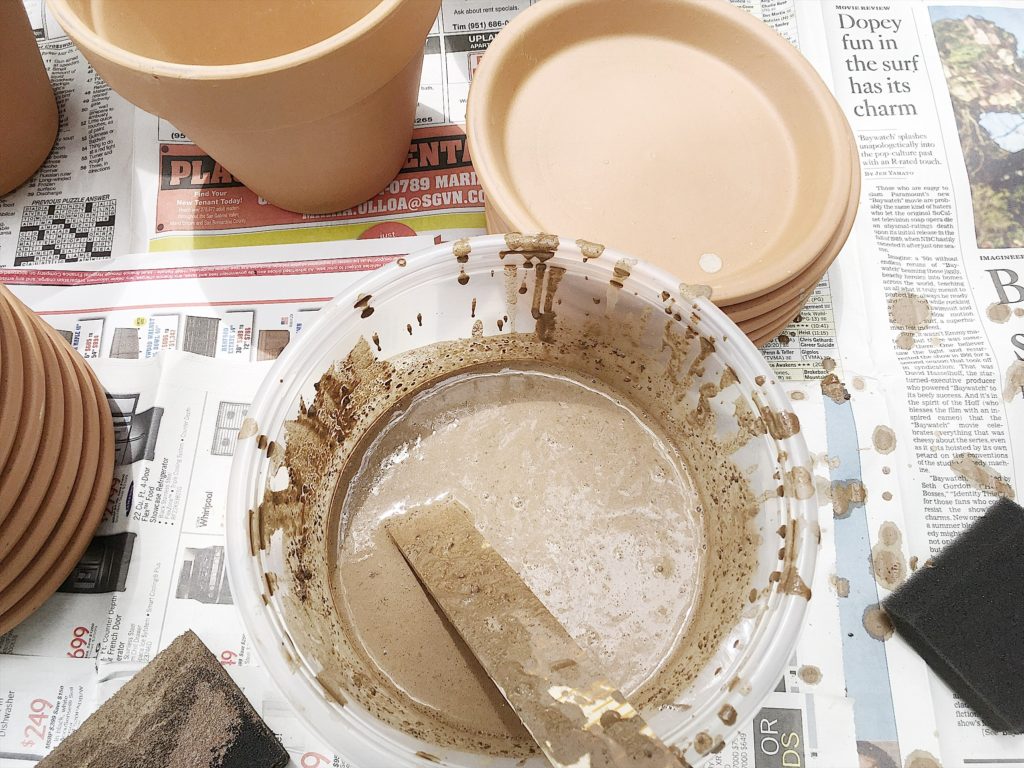
To age clay pots, mix two cups of garden lime with 1 1/2 cups water. Stir thoroughly (and continue stirring throughout the entire time).
STEP #2
With a sponge brush, paint over pots with a thick coat of the lime. Add a second coat if necessary.

STEP #3
Let dry. Sand lightly with sandpaper to create aging spots.
STEP #4
Spray lightly with clear matte sealer (inside and outside of pots.) Can you believe how easy it is to age terra cotta pots?

STEP #5
When completely dry add plants.
Method # 2 – Aging Terracotta pots with Yogurt
What You’ll Need
Plain Yogurt
Step By Step
Aged terra cotta pots are easy to achieve with yogurt. Since yogurt works only with porous materials, a terra cotta pot is perfect! After it is painted, the pot will have a green patina effect.
STEP #1
Soak a new, dry terra cotta pot in a bowl of water for 15 minutes.
STEP #2
Apply the yogurt on the pot with a sponge brush, using roughly one cup per pot. Don’t worry about painting it perfectly because uneven painting looks best. In fact, you should paint these pots unevenly!
STEP #3
Keep the pot in a cool moist place for about a month. (Do not store indoors as it will smell.) Plant the pots after four weeks. You will love the look of these pots!
Update: It’s been a few years since I shared how to age terra cotta pots and they all still look exactly the same! I think it’s great that they have lasted so long and stayed “old”. Even the ones I left outside still have an older aged terra cotta pot appearance. I think it just might be time to try this again with some larger pots! I hope you will try this.
Pin the image below to your Gardening or Spring decor boards on Pinterest (just click the Pin button in the top left corner). You can also follow along with me on Pinterest!
For more real-time updates, follow me on Instagram @My100YearOldHome


Love this! I actually just turned a pot I got (the plant die haha I do not have a green thumb) into a rae Dunn inspired pot with a little chalk paint and vinyl! This idea would be fun too! Thanks for sharing!
That’s awesome! Did you post a photo? I’d love to see!
Hi Leslie
Many thanks for this. 2 questions te the lime wash: your ilustration looks as if there may have been some brownish- beige colour added to the lime-water mixture – was there, or would you recommend pure lime?
Second: what is the durability of the lime coating on large outdoor pots (Italian terracotta tubs)?
Thank you!
Download and watch for FREE the movie : A star is born (2018) HD 1080p.In the movie “A Star Is Born,” Bradley Cooper and Lady Gaga fuse their considerable talents to depict the raw and passionate tale of Jack and Ally, two artistic souls coming together, on stage and in life. Theirs is a complex journey through the beauty and the heartbreak of a relationship struggling to survive. In this new take on the iconic love story, four-time Oscar nominee Cooper (“American Sniper,” “American Hustle,” “Silver Linings Playbook”), makes his directorial debut, and also stars alongside multiple award-winning, Oscar-nominated music superstar Gaga in her first leading role in a major motion picture. Cooper portrays seasoned musician Jackson Maine, who discovers and falls in love with struggling artist Ally. She has given up on her dream to become a successful singer, until she meets Jack, who immediately sees her natural talent.You can download for FREE the movie: A star is born (2018) HD 1080p from here : https://tinyurl.com/y2x8gvow
Where did you get the hanging shelves? Or did you make them yourself? Love the entire look!
Thank you!
Excellent tips Leslie – and so easy! Sure beats my current method of banging them around in the yard for 20 years! 🤣 Thanks for the easier ways! 💛
You are so welcome! Thanks for following along.
I haven’t done this in many, many years, but our “old timers” trick was to use buttermilk and lay the pots in a woodsy area where moss grows. The buttermilk culture allows some moss and lichen to attach and start growing that mossy, old pot look. I’ve lived in texas for the last 30 years and don’t have the beautiful mossy forest floors anymore. But those “old” pots were beautiful.
Love the hanging shelves….can you share where you found this?
I found a similar way but different ingredient… bone meal (bought at Home Depot). I wondered about it because it is so full of calcium. I took a bag and made a paste with water, and covered the outside of brand new terracotta pots with a sponge brush. I turned them upside down and left them in the sun for about two weeks. I then planted plants and watered. It looked like all the “white” came off with the water, but when they dried, it left a lot of reside and it turned out to be a lovely, off white, calcium looking patina. I would probably go a little thicker next go round to see if I can get a thicker patina, but they still look older and natural. That was a week ago they are looking great with watering, getting wet, and drying. Thanks, Amber
Great idea, Amber! I am so glad it worked out so well. Great work!