Valentine’s Day Decor Ideas
I love painting pillows, and this is my favorite Valentine’s Day pillow ever. I love pink heart pillows! If you’re like me, you’re probably looking for Valentine’s Day decor ideas. Well, look no further!
Today, I will show you how to make a super easy and adorable Valentine’s heart pillow. You only need a few basic supplies and a few hours of your time. So grab your supplies, and let’s get started!
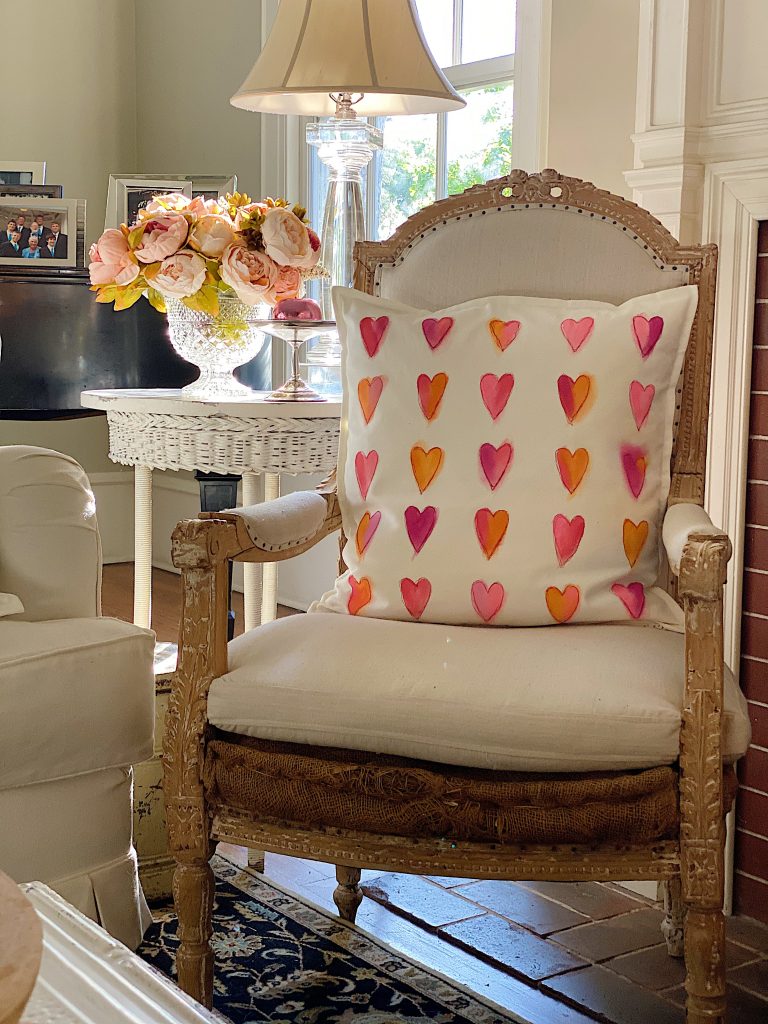


A Valentine’s Day Heart Pillow
You probably aren’t surprised that I decided to share another pillow for my Valentine’s Day Decor.
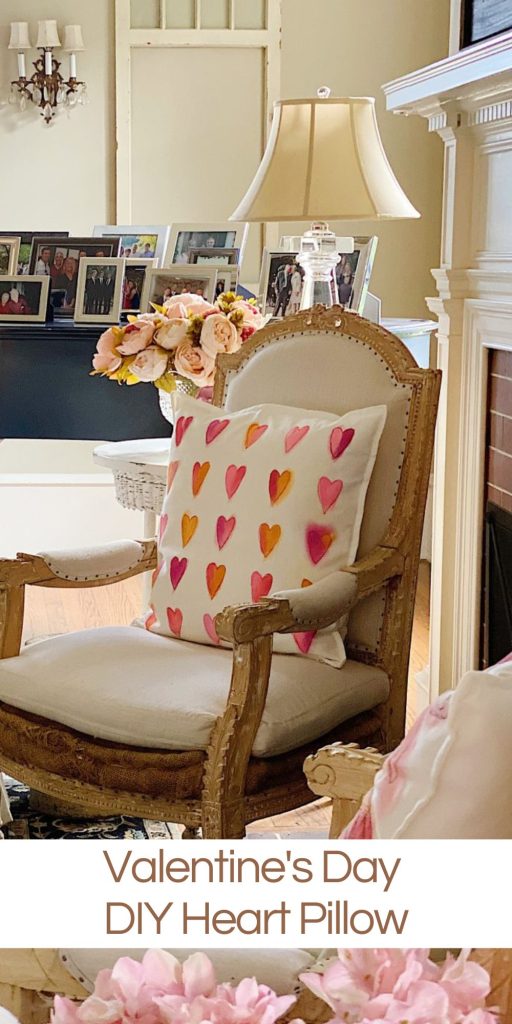
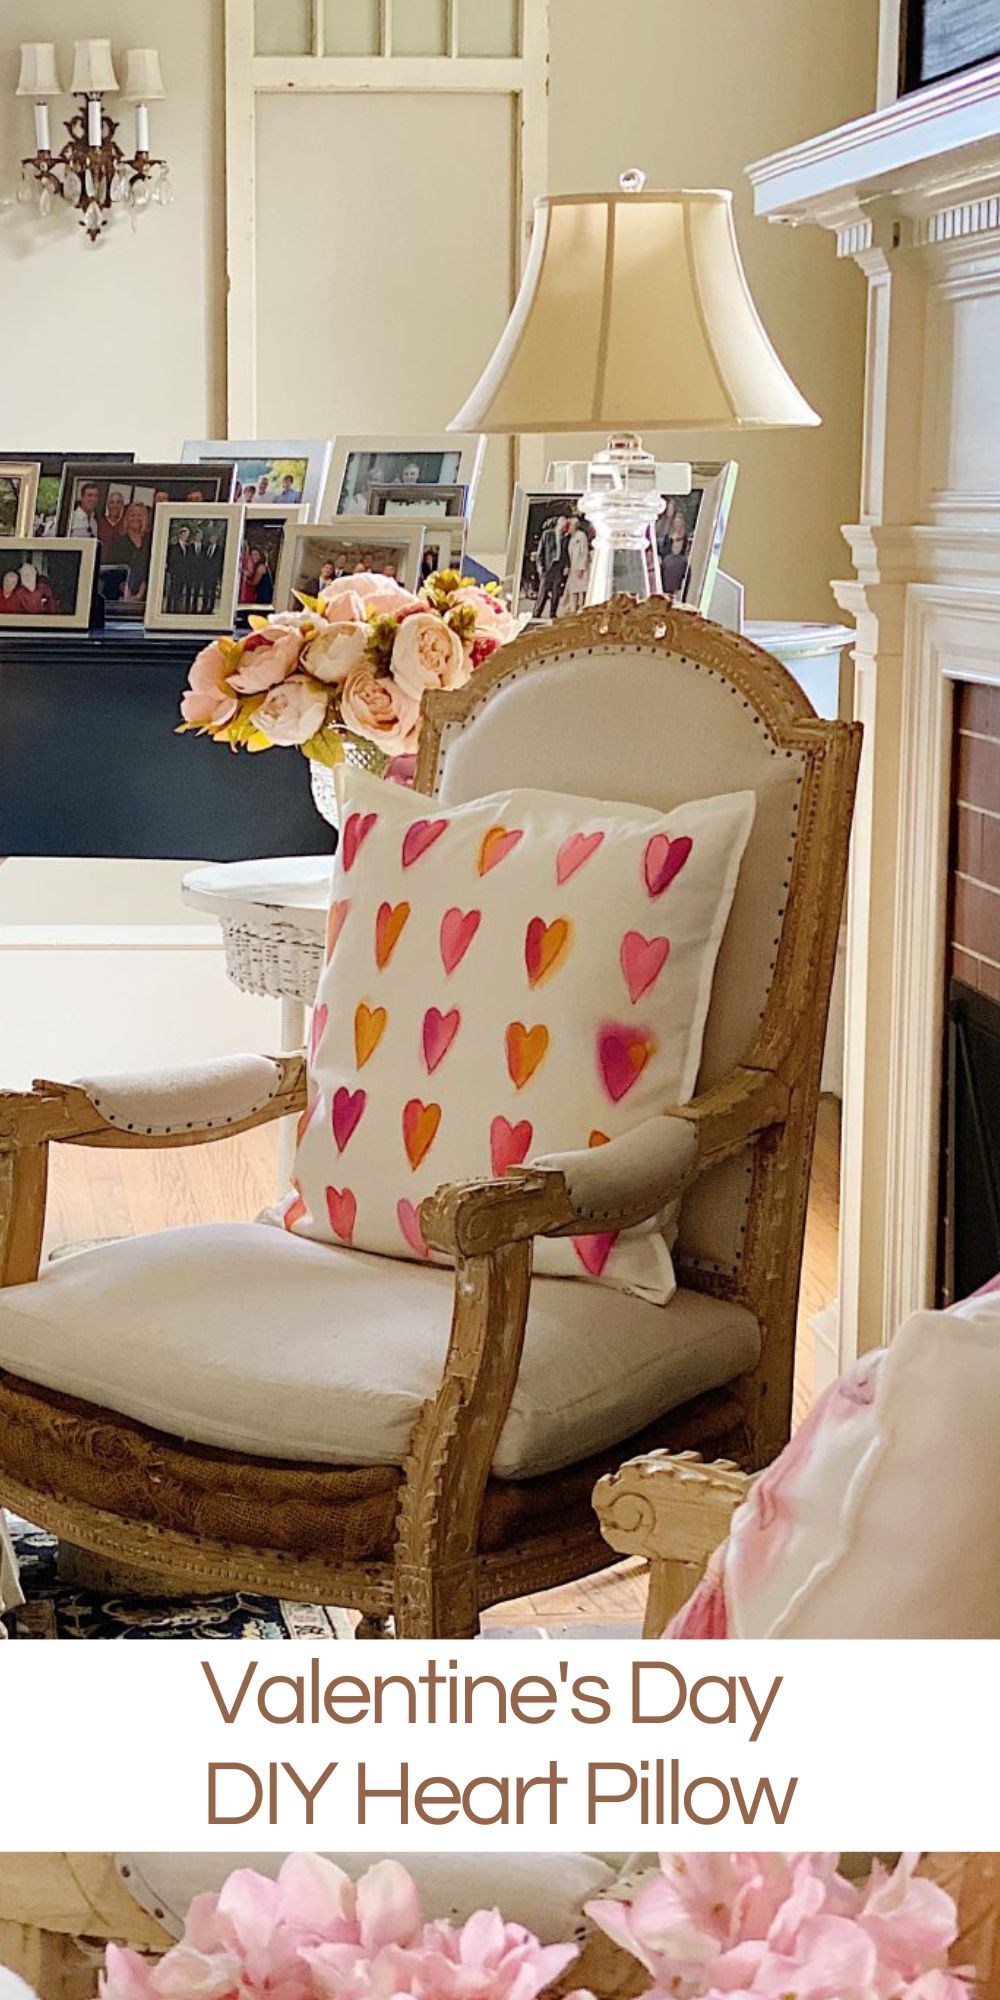
And is this not the cutest pillow ever?
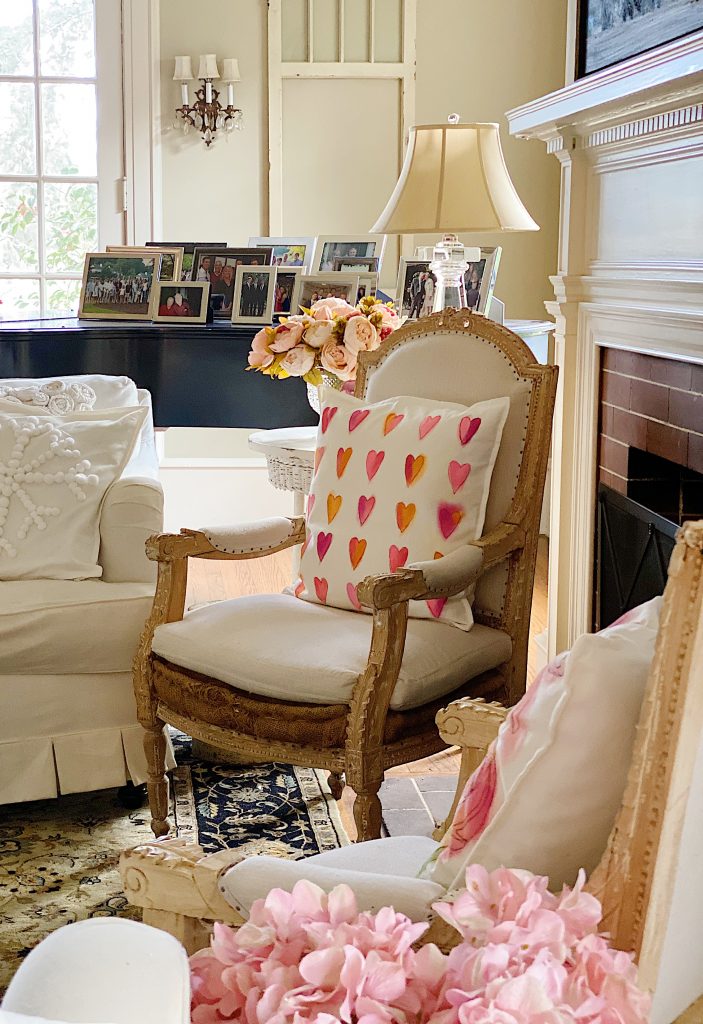
I love painting pillows and adding free stitch embroidery. I have shared free stitch embroidery projects for a few years now on my blog.
Can I assume that some of you have been intimidated to try this?
I have good news. This time I added an option to make it even easier to do!
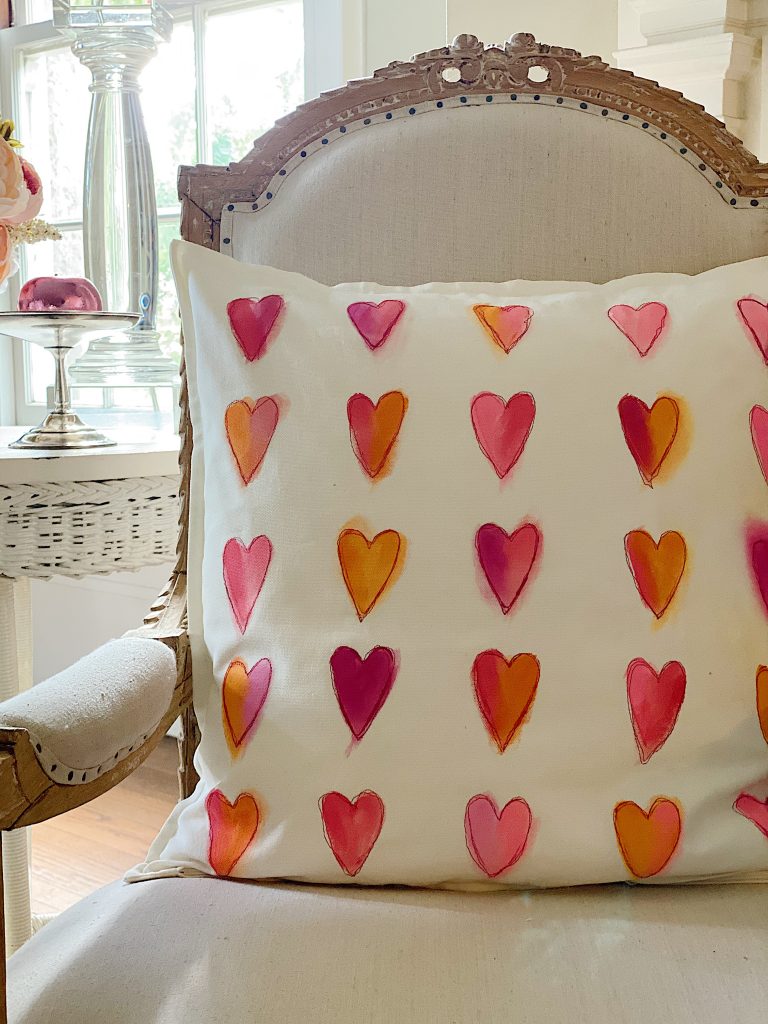
Every year I make a heart pillow for Valentine’s Day Decor. Usually, that includes a free-motion stitch embroidery pillow. After all, it is my favorite and best technique to use during this time of year.
It has long been my tradition to spend the month before Valentine’s Day crafting different projects that represent love in some way or another. This one was especially fun because I got to paint it!
It really is quite easy to make. I painted hearts on a pillow cover and then stitched a heart on top of the painted hearts. Easy peasy.
The “stitching part” is called Free Motion Embroidery. But don’t let that scare you! All it means is that you pull out your sewing machine, (dust it off first), lower the pressure feed, and add a darning foot.
When you start sewing, the fabric doesn’t move until you move it. So you just pull and push it in the direction you want it to go. In this case, the motion would be heart shape.
Guess what the best part is? It looks better if you sew outside the lines.
I promise!
So … what if you don’t know how to sew. Or what if you don’t have a sewing machine? Keep reading.
On this blog, I may sometimes use affiliate links, which means a small commission is earned if you make a purchase via the link. The price you pay will be the same whether you use the affiliate link or go directly to the vendor’s website using a non-affiliate link.
Some of My Free Stitch Embroidery Projects
In the past few years, I have made quite a few Free Stitch Embroidery projects. I have made pillows, placemats, and coasters.
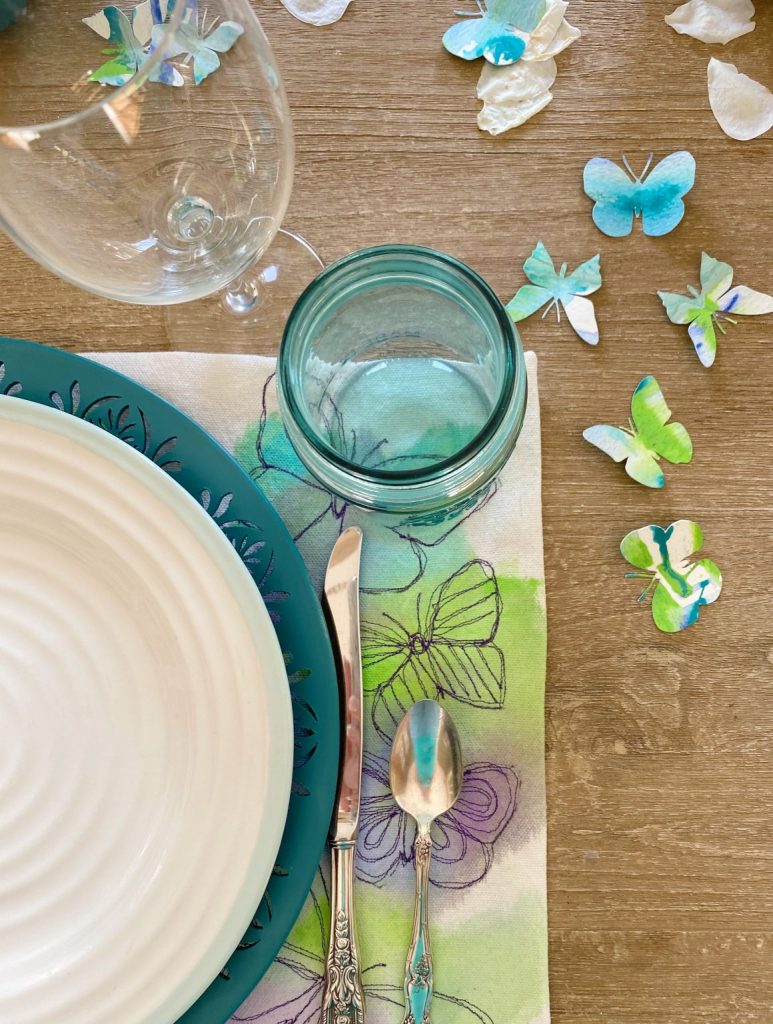
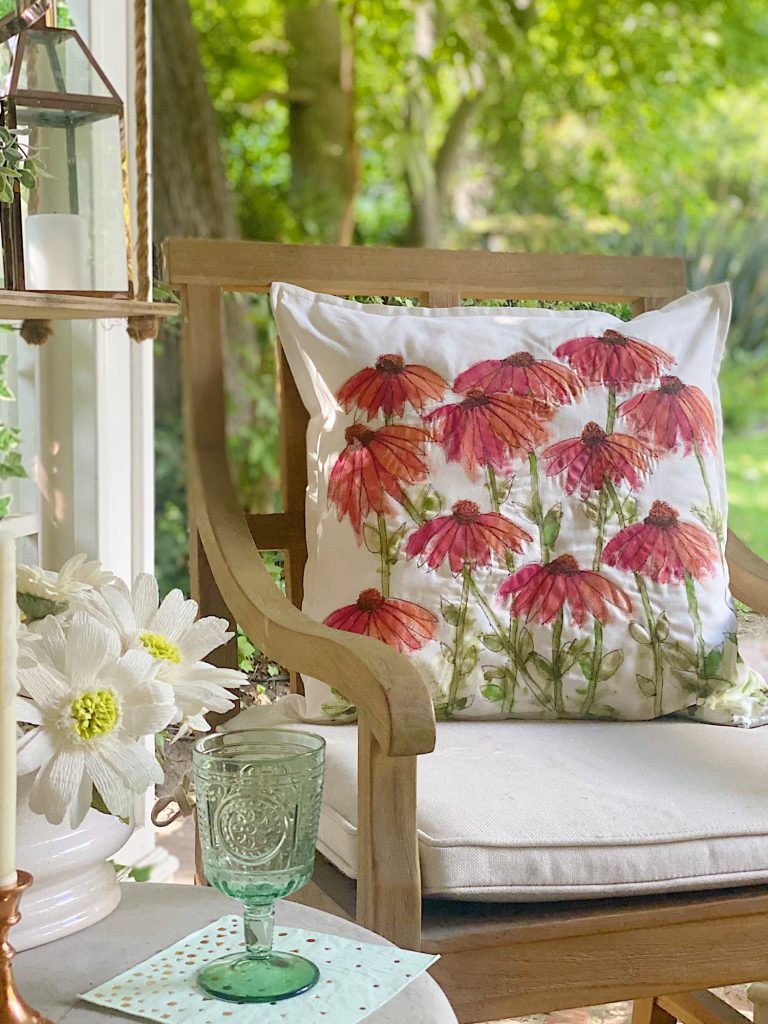
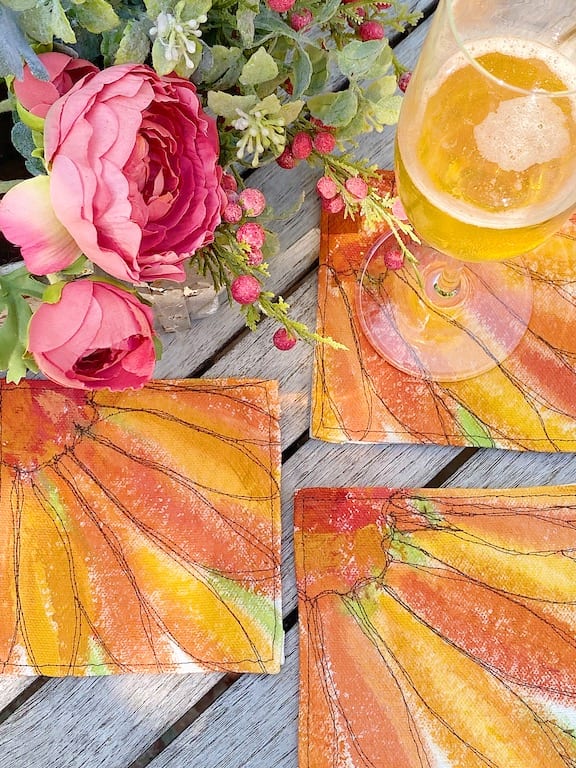
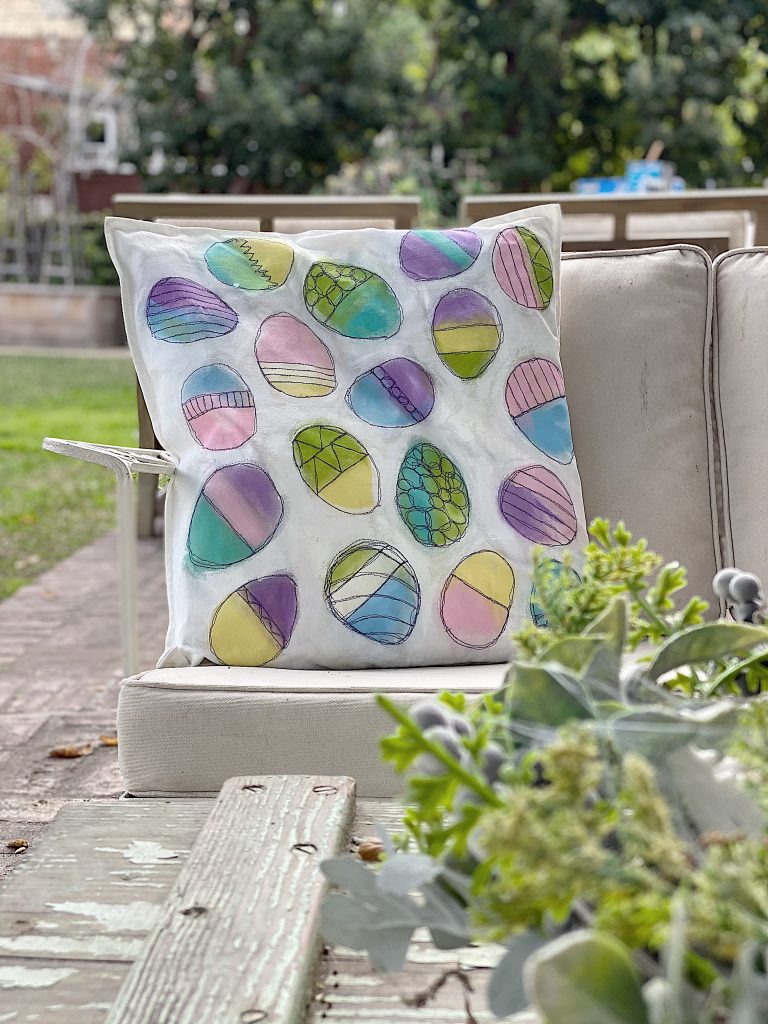
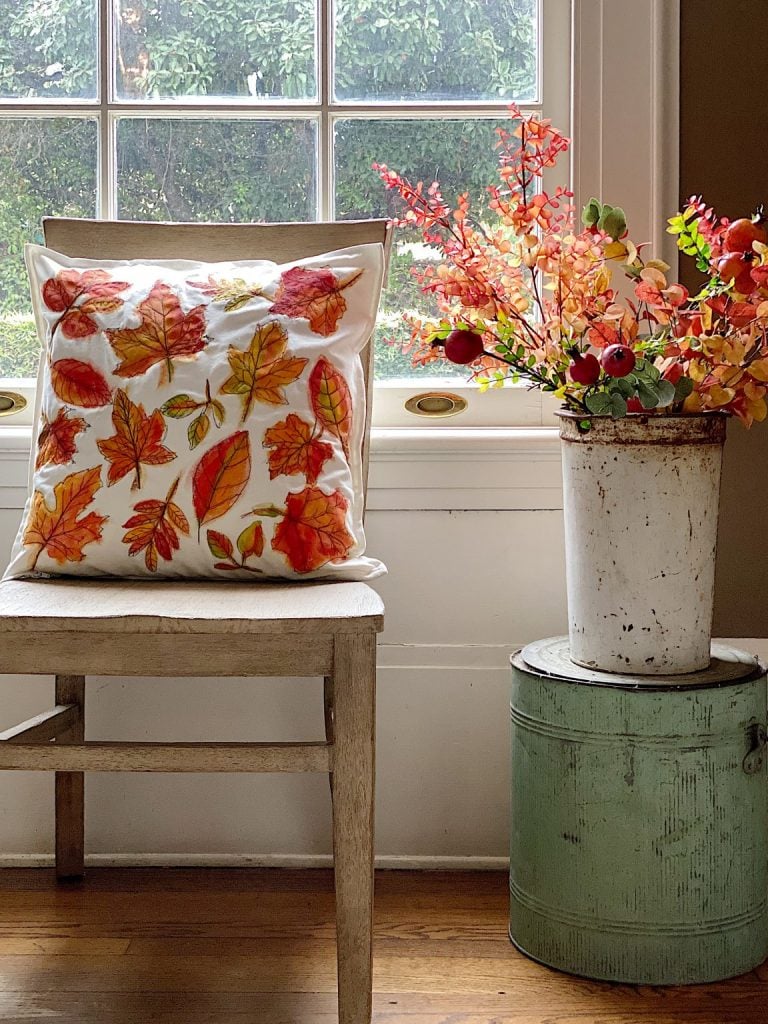
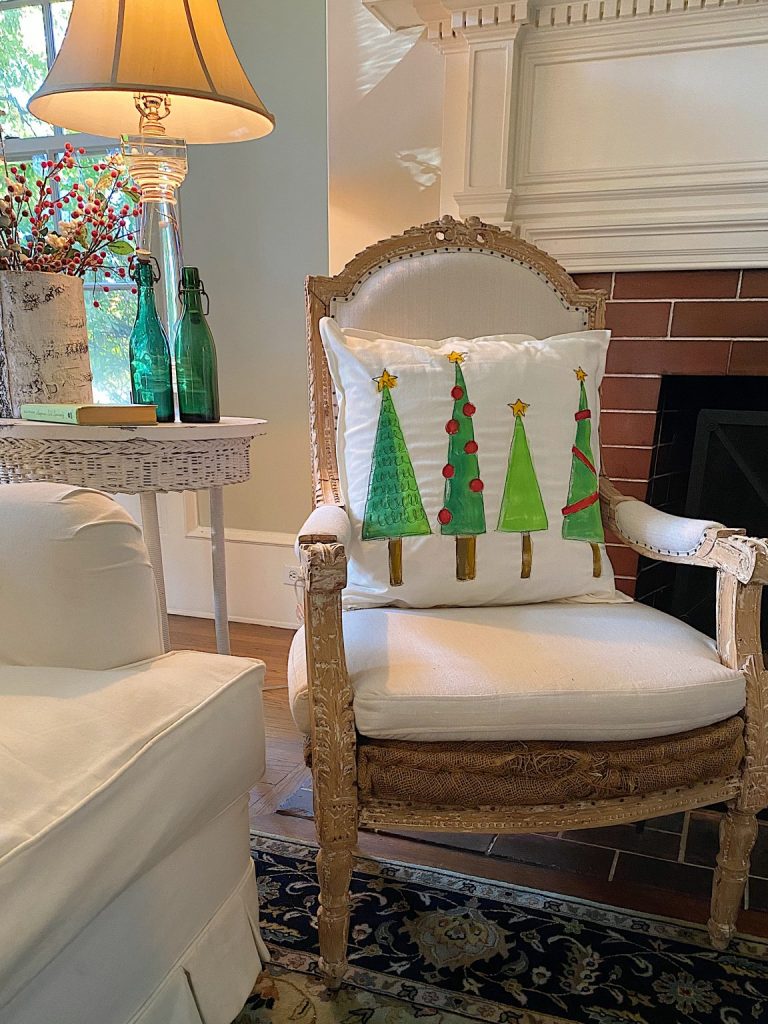
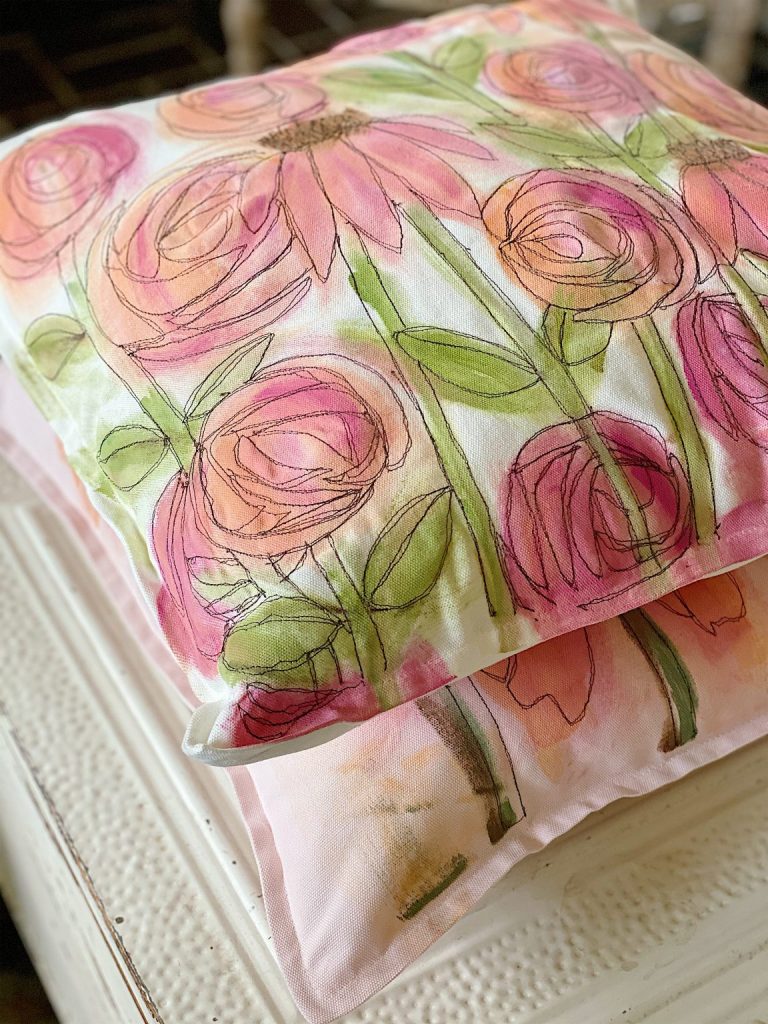
If you are enjoying my blog, you can sign up to receive my blog updates here.
.How to Make a Valentine’s Day Heart Pillow
Difficulty Rating: Easy/Medium
Estimated cost: $15
What You Need to Make This Machine Stitch Embroidery Thread Painted Pillow
(Links to products I used are included)
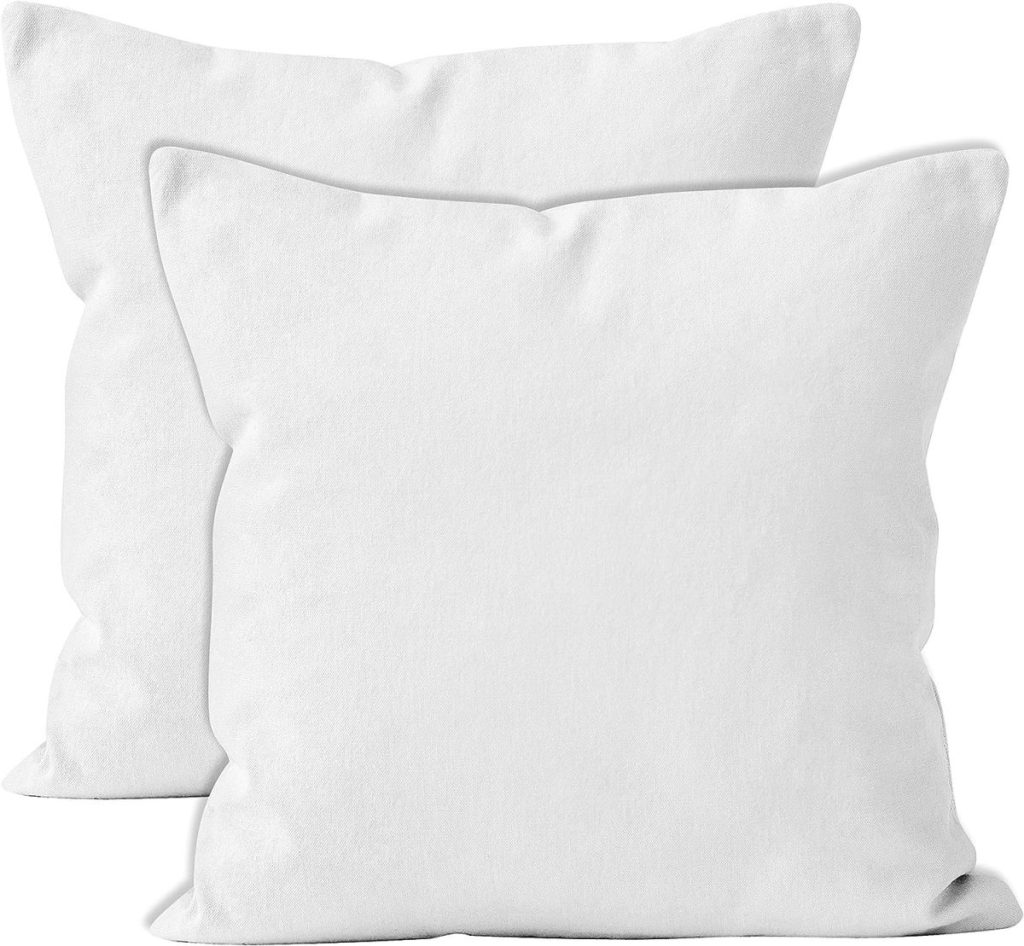
- Pillow cover (I use Ikea Gurli which are 20″ or these 20″ covers.
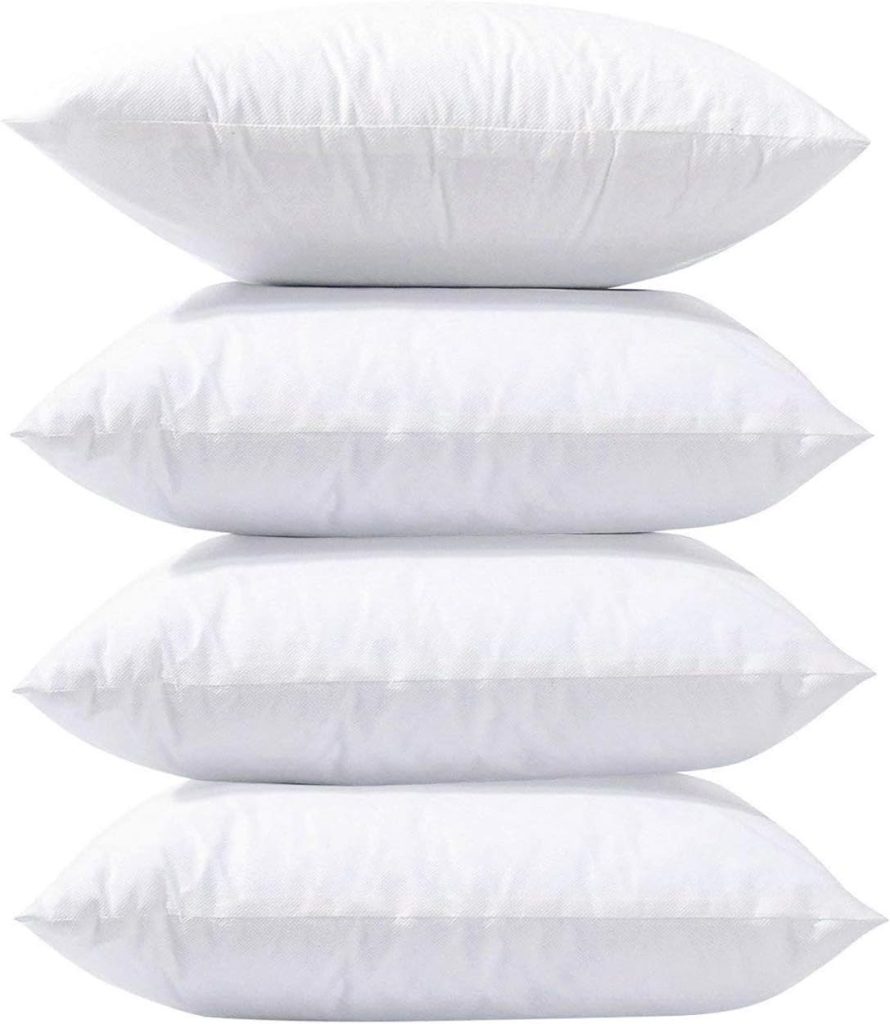
- Pillow insert (20″ x 20″)
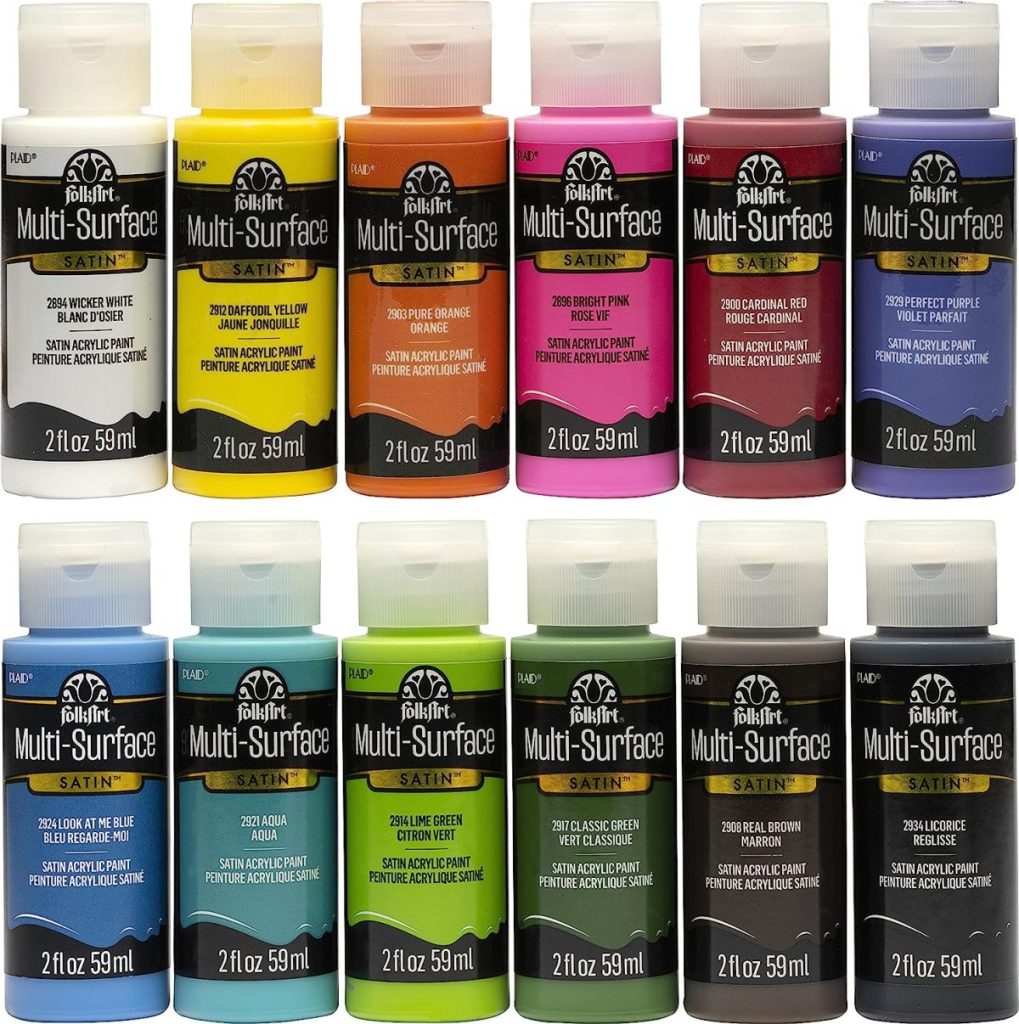
- Acrylic paint
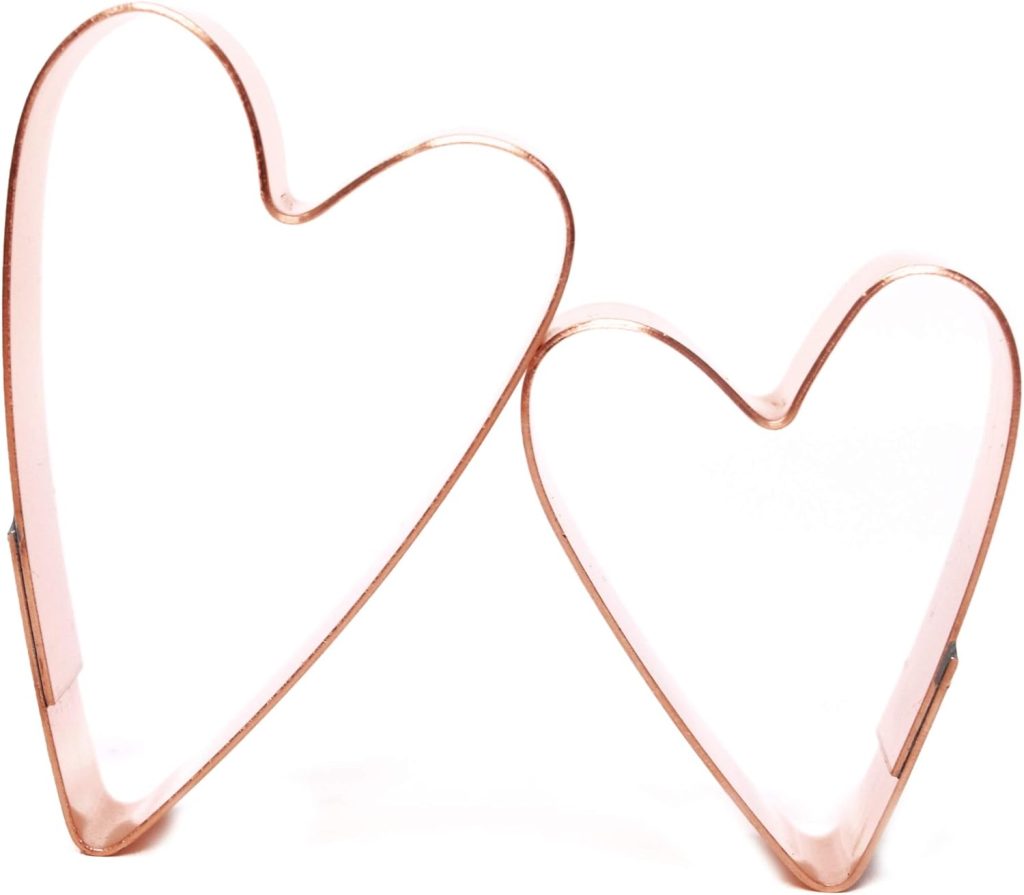
- Heart shaped cookie cutter
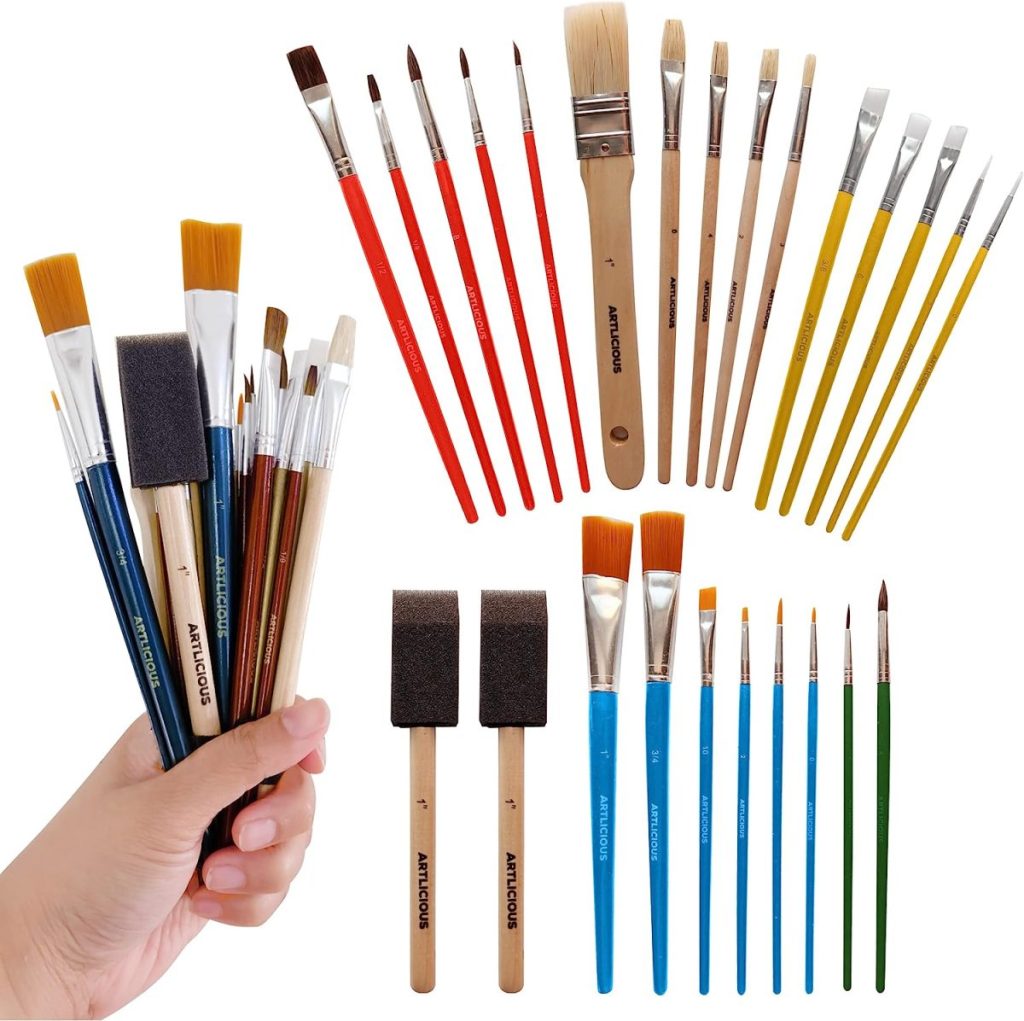
- Paint Brush
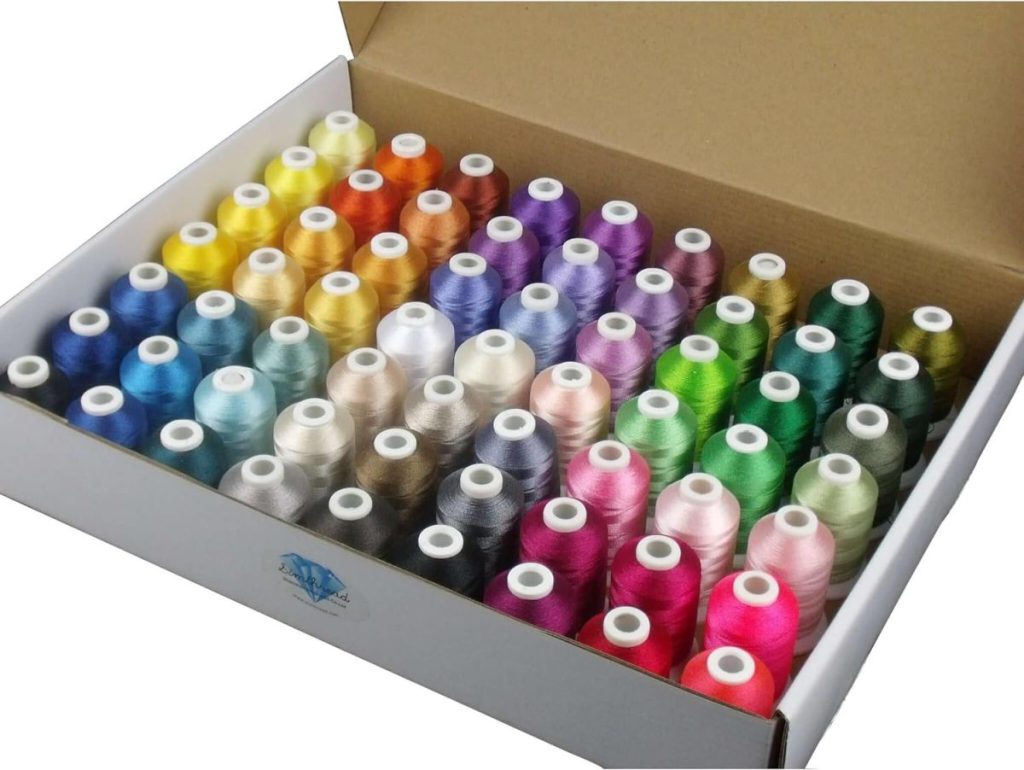
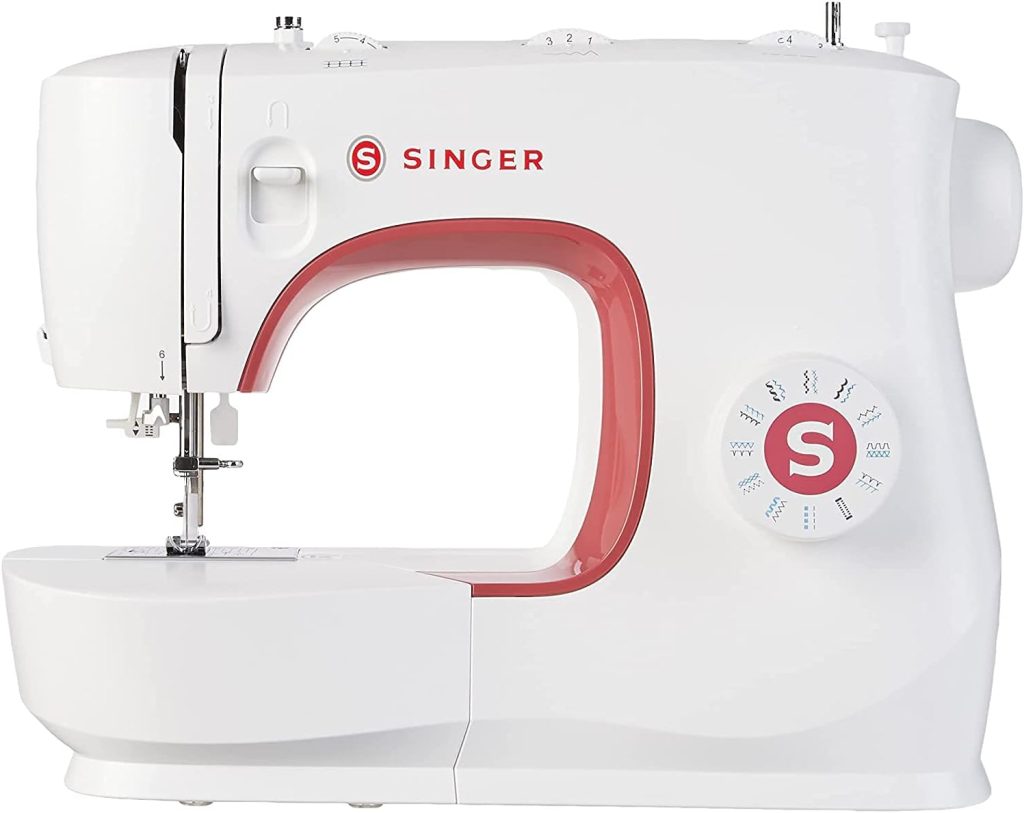
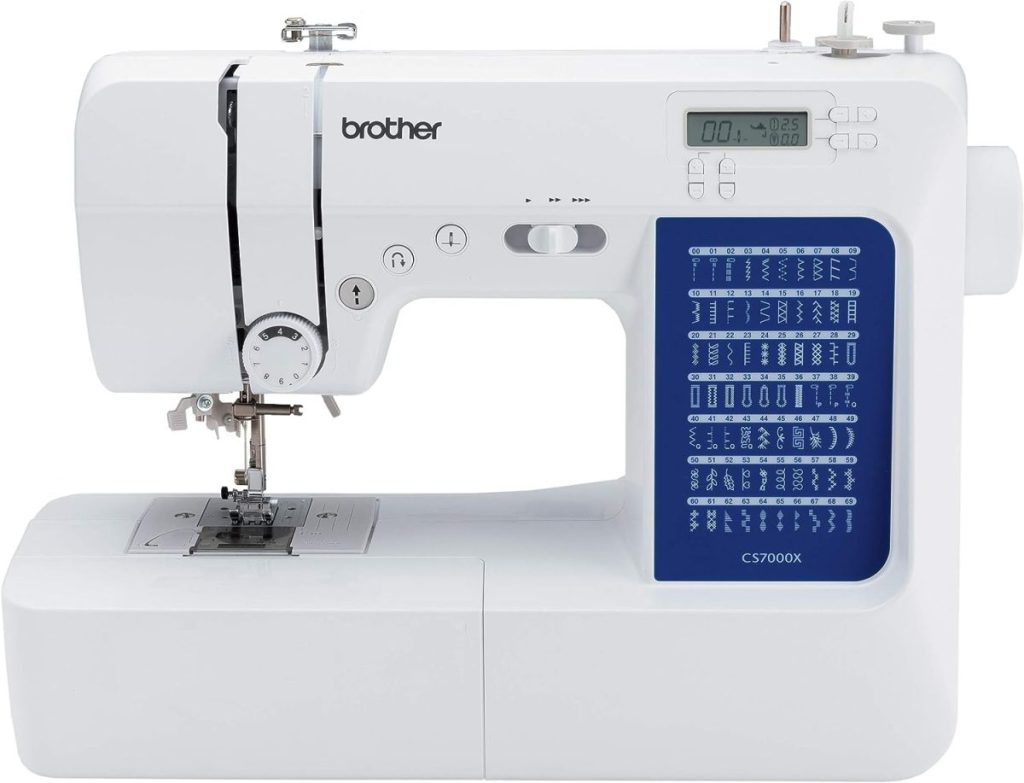
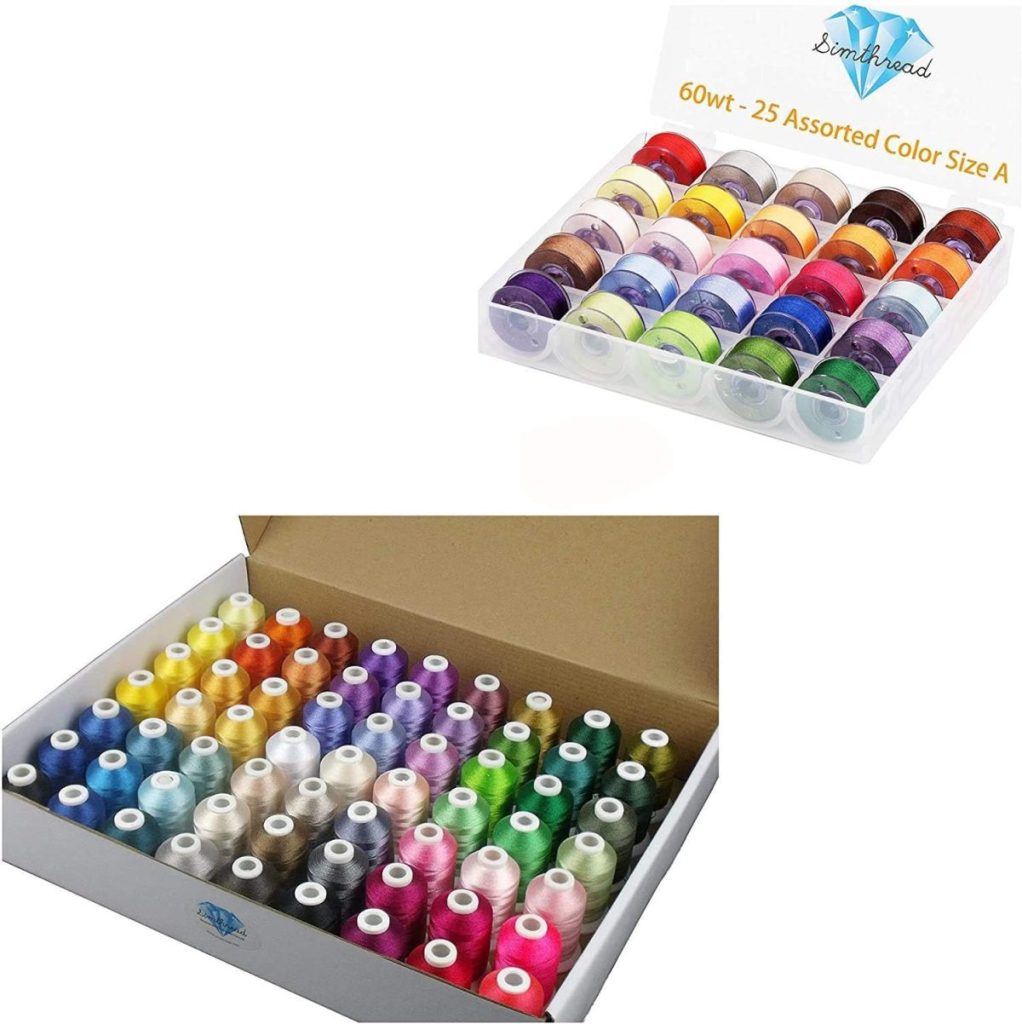
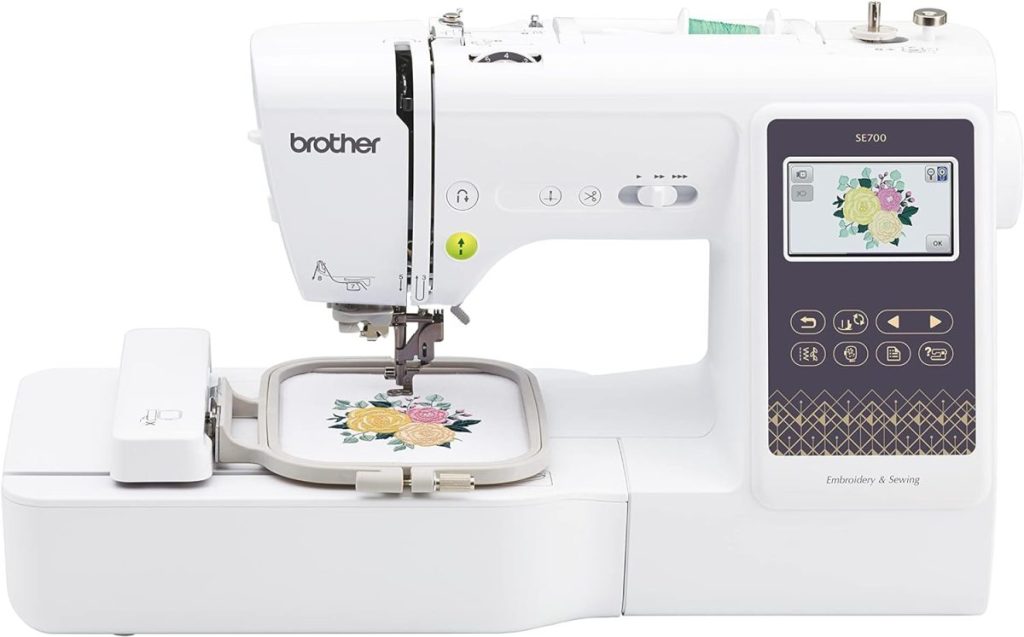
- Sewing Machine and Embroidery Thread
- Parchment paper or cardboard to fit inside the pillow while painting.
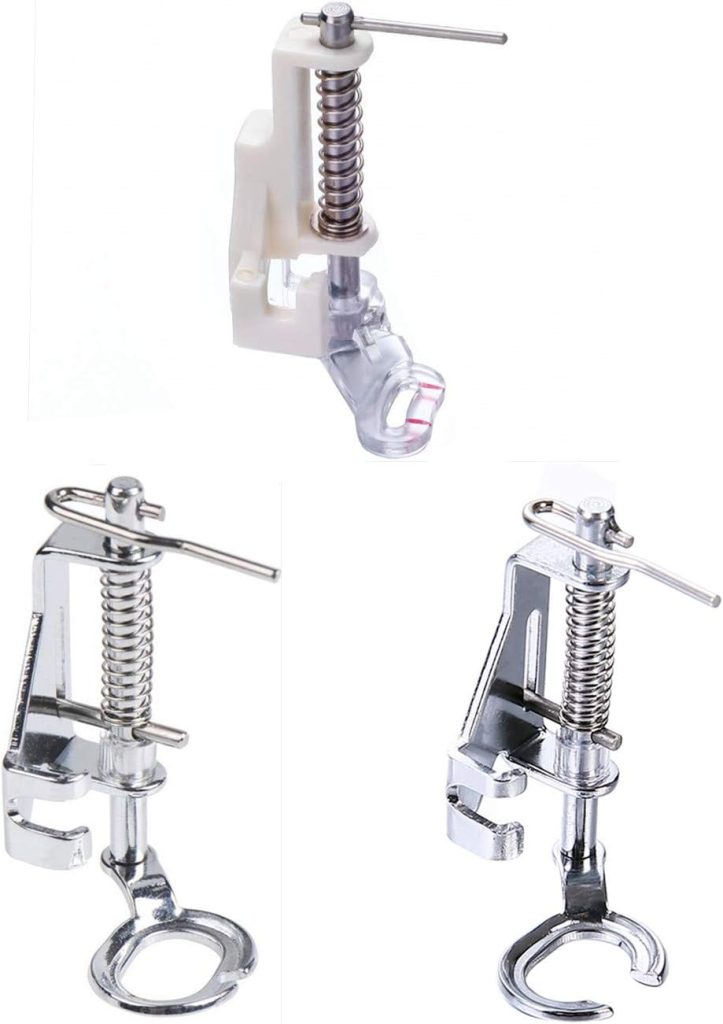
- Free motion (or darning) sewing foot for your machine
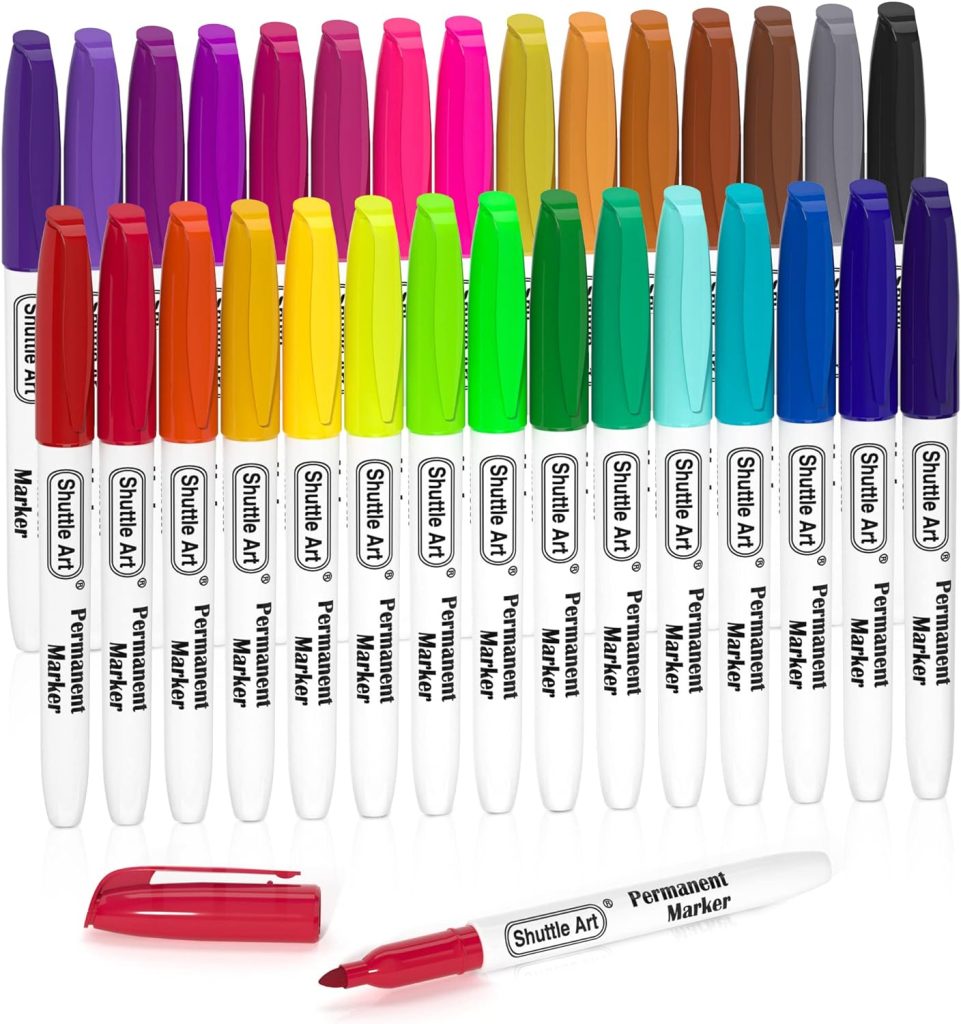
- If you don’t have a machine, you can use a permanent fine tip marker to mimic the sewn stitches. You do not need a sewing machine or a darning/sewing foot for your machine.
Change Up The Design!
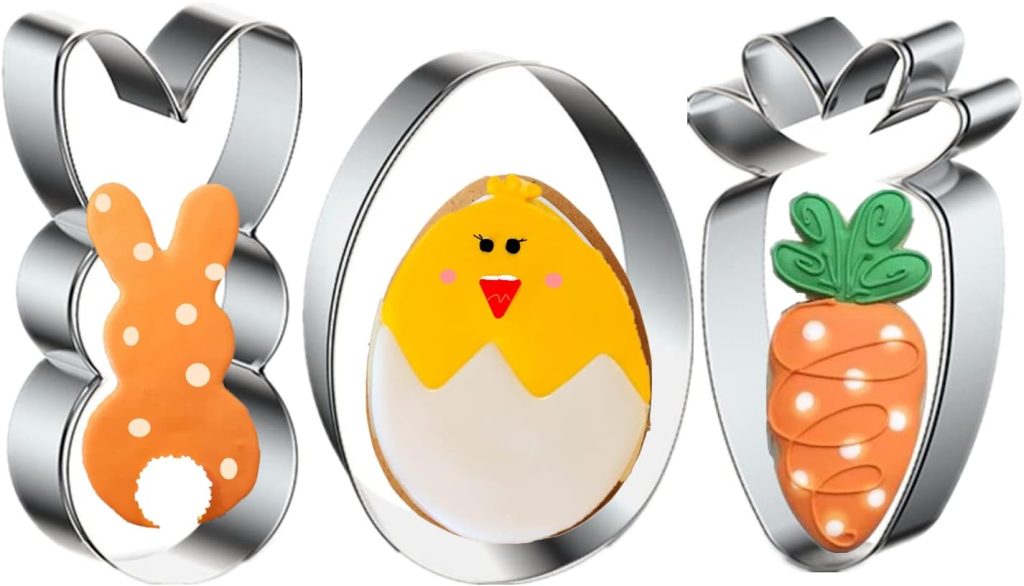
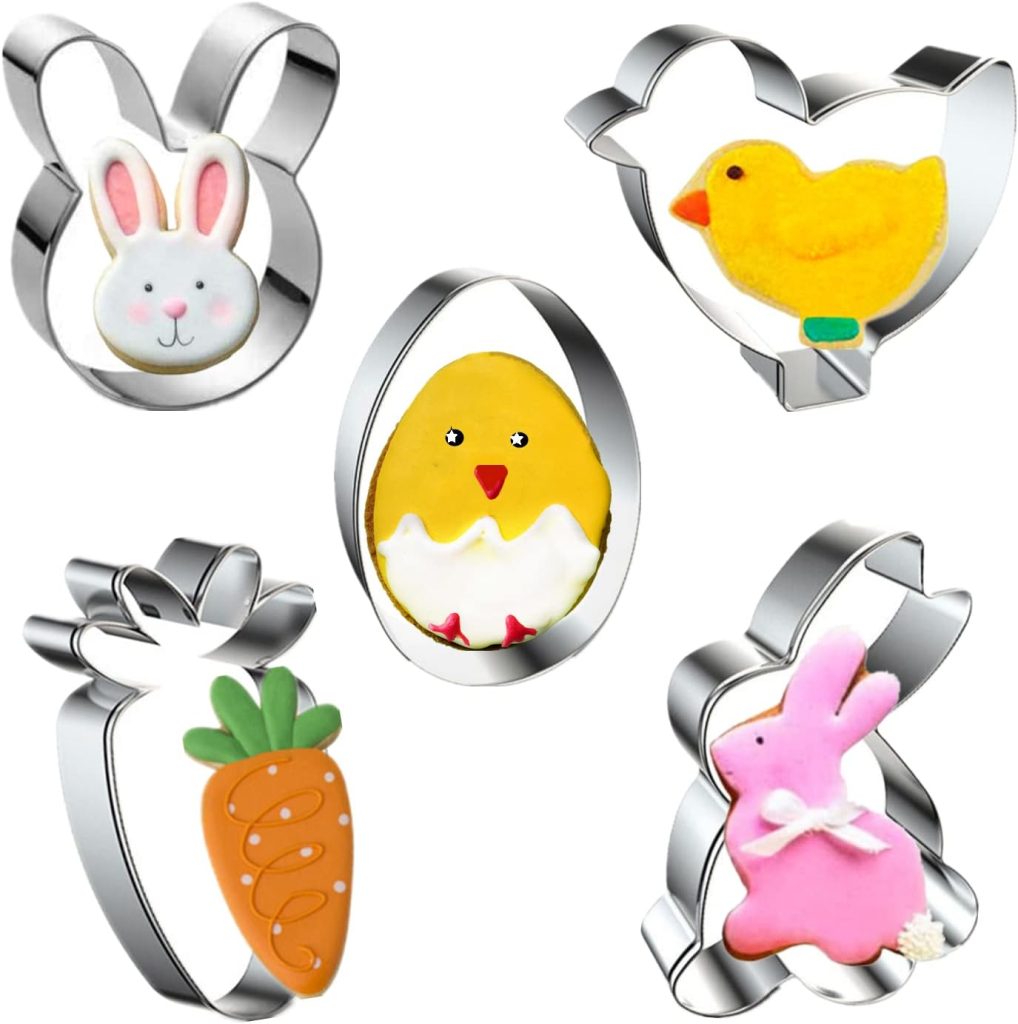
The design possibilities for this pillow craft are endless. I’ve selected some Easter inspired cookie cutters to make a gorgeous Easter pillow cover.
You will need a free-motion foot for your machine. This foot may vary based on your type of machine, but I linked it to a “universal” one.
I read a lot about lowering the “feed dogs” on your machine when stitching free-motion embroidery. Feed dogs are the little teeth on your sewing machine that feed your fabric evenly through the machine. These teeth are essential because they help us produce perfectly spaced, even stitches whenever we sew garments, piece quilts, or applique shapes on our machine.
Most people (including me!) recommend that you lower the feed dogs for free-motion embroidery. That is because with free motion stitch embroidery you want to be able to move the fabric in any direction while sewing.
If your machine doesn’t let you lower the feed dogs (my lever is near the bobbin) then you just need a feed plate for your machine to cover up the feeds.
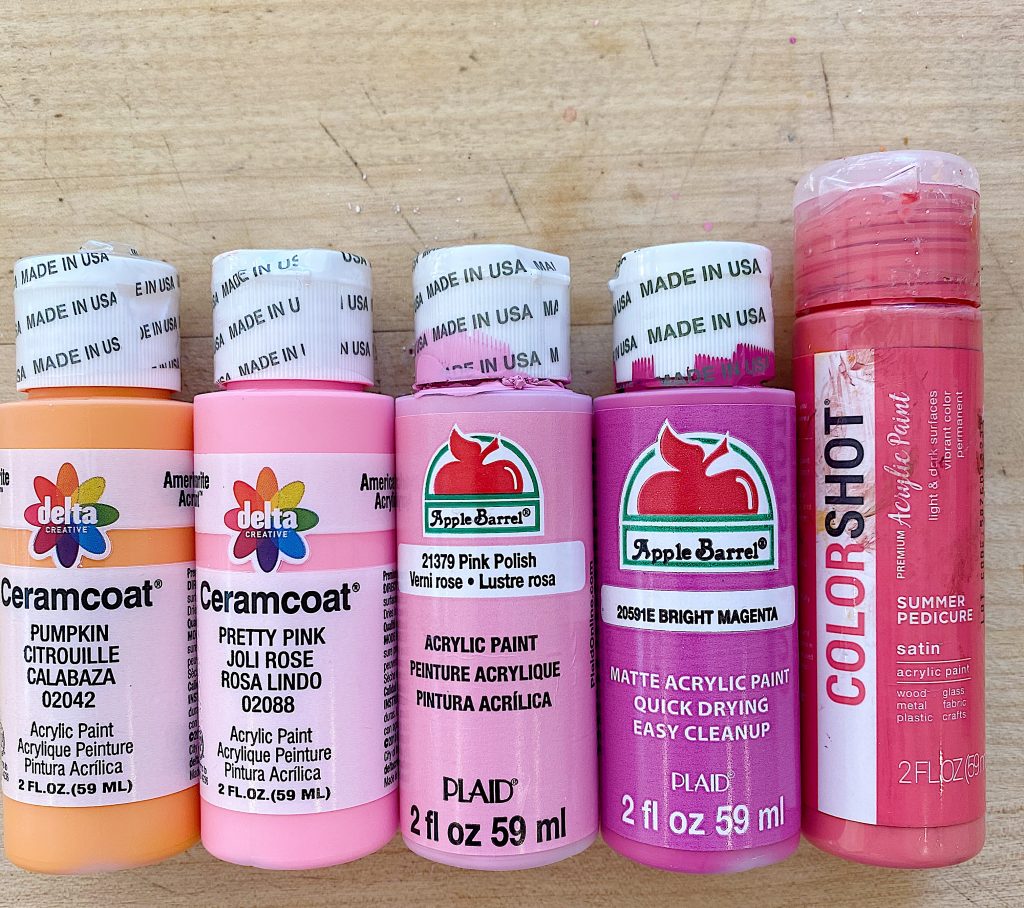
Here are the paint colors I used. You can use any similar colors or completely change them It is up to you.
I like to use acrylic paints. I iron them to set them so they are ok to wash. If you want to, you can use fabric paint.
I decided it would be much easier to make this pillow if I showed you how to start with a heart pattern to use as a guide for the machine embroidery.
Before you start, place a piece of parchment paper or cardboard inside the pillow cover. This prevents the paint from seeping through the pillow cover’s backside.
I used a cookie cutter, dipped it in paint, and placed heart outlines on the pillow. I didn’t measure anything; I just eyeballed it.
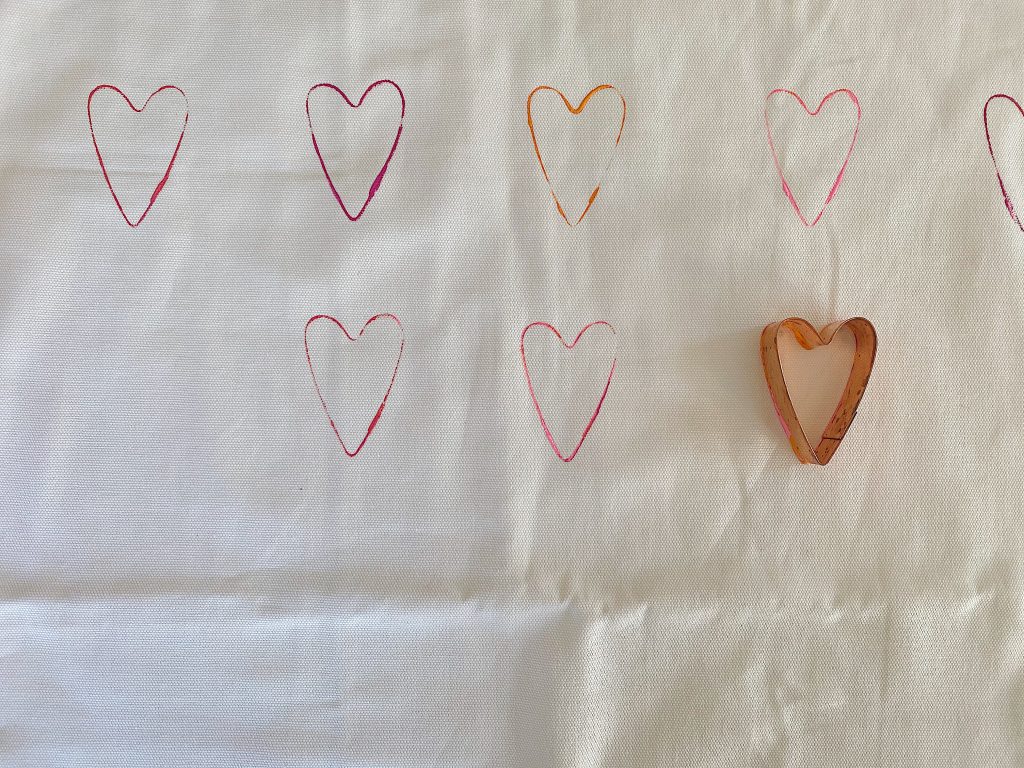
Here are the paint colors I mixed. Any shades of pink (and orange if you want) look good.
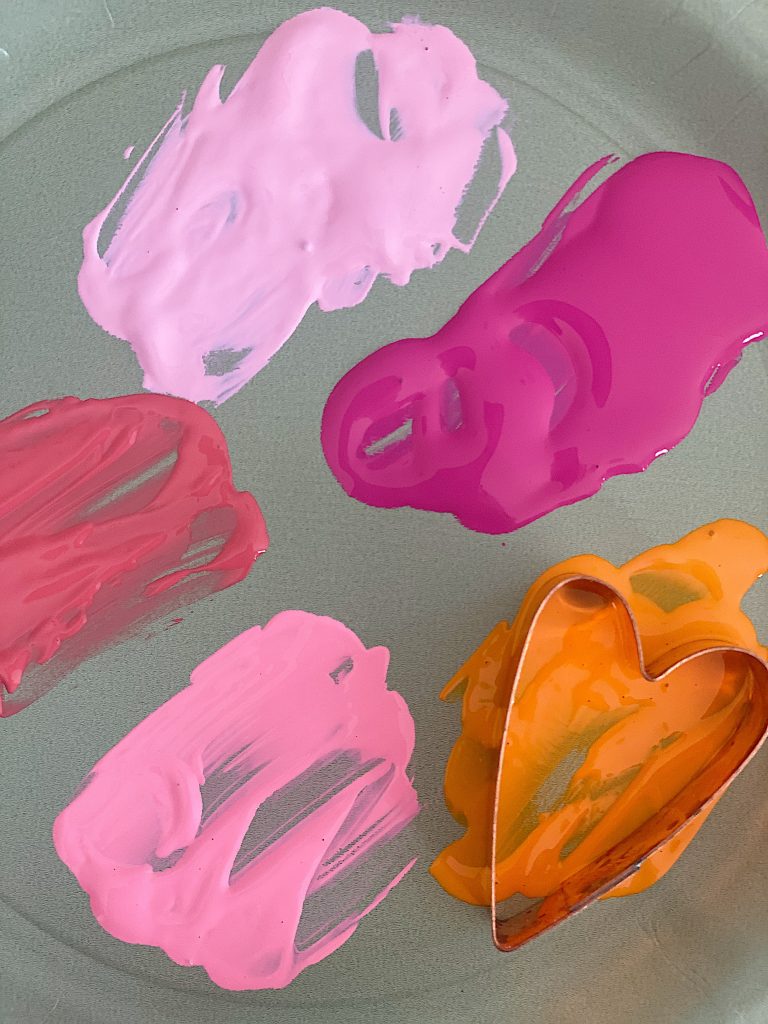
In hindsight, you could just use one color for the heart stamps. Use a darker color as you will be using the outline as a guide to paint and stitch your hearts.
Let the paint dry.
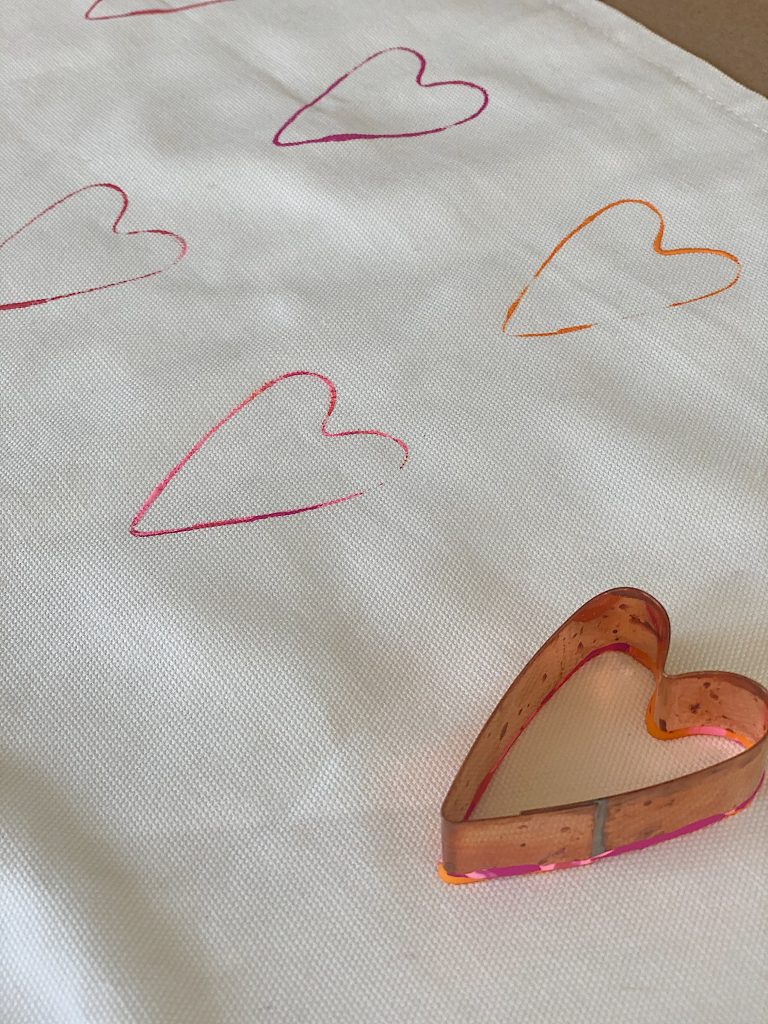
Paint each heart with a small brush. I thinned out the paint so it wasn’t quite so opaque. Don’t let it get too runny, or else it will bleed. Don’t worry about painting within the lines. I think it looks better if you don’t.
I used two different paint colors on some of the hearts to add variation.
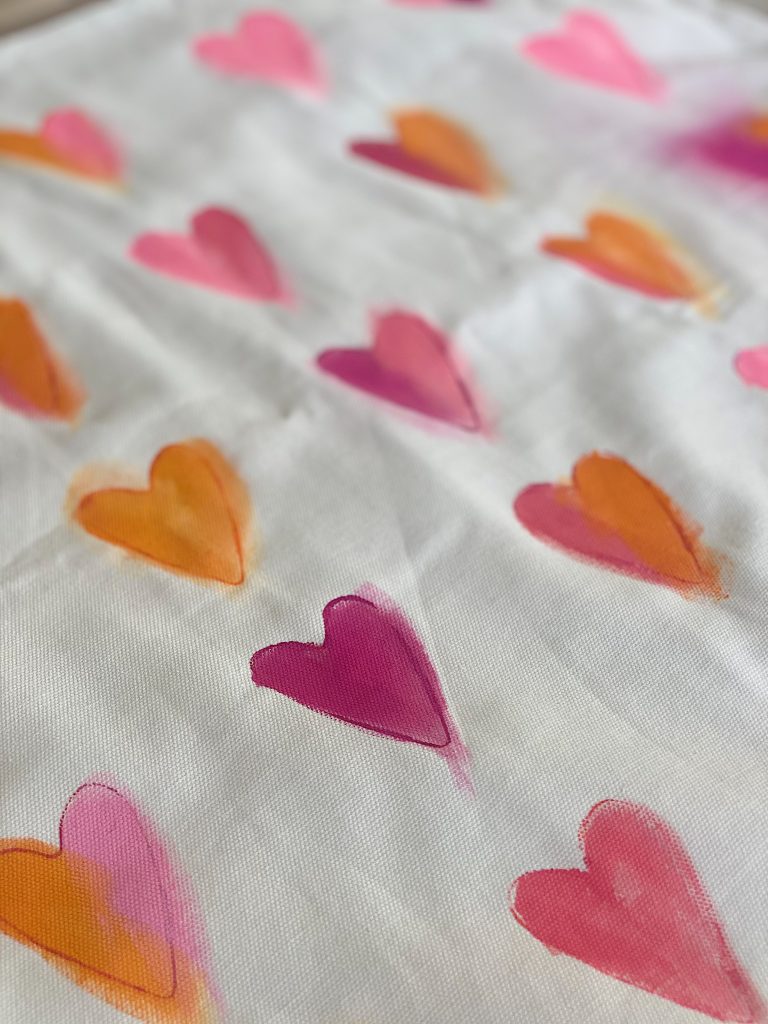
Let the paint dry. I usually iron the pillow cover to remove wrinkles and set the paint before I start sewing.
Now, it is time to start the free-motion embroidery.
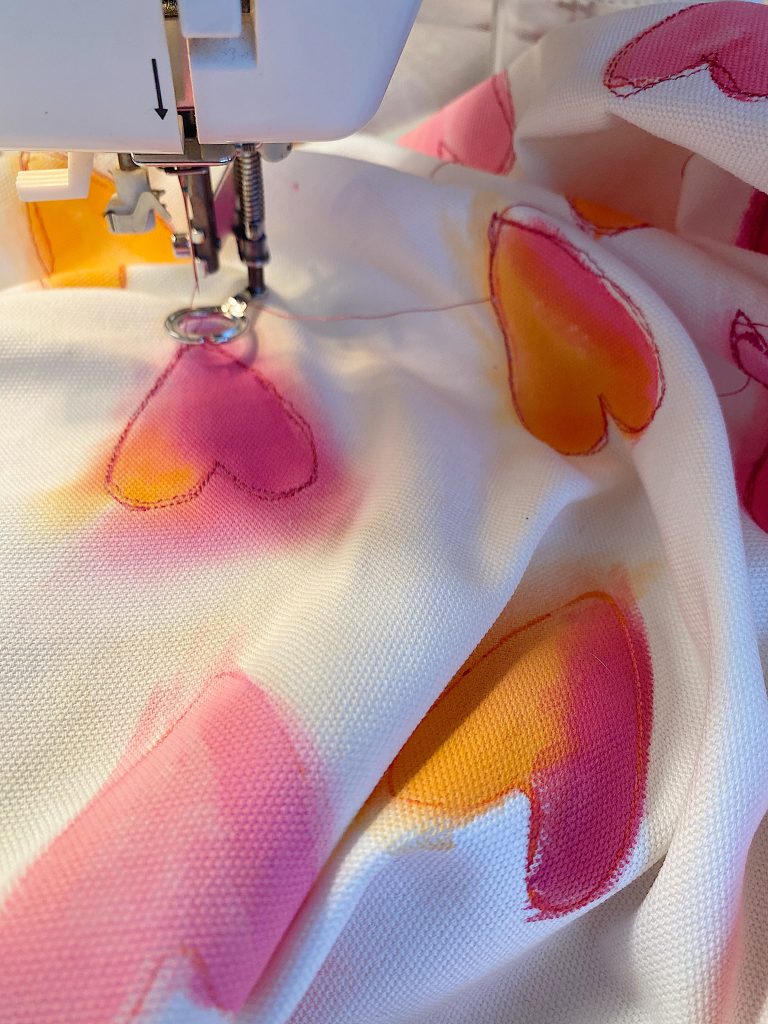
Attach the darning foot to your machine, and lower the feed dogs. (The feed dog is what moves your fabric forward. If you lower it then you can move the fabric in any direction you want.)
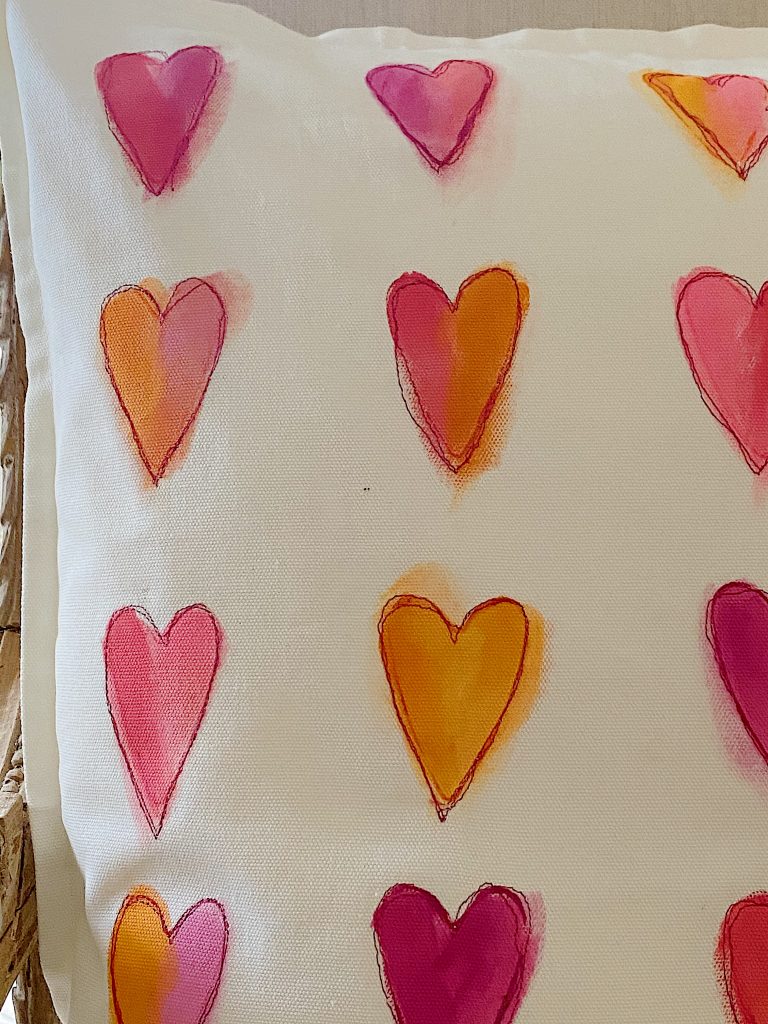
Sew three times around each heart and DO NOT try to sew perfectly. Just follow the line of the cookie cutter. It’s so easy. I think that messy is good … within reason. Haha.
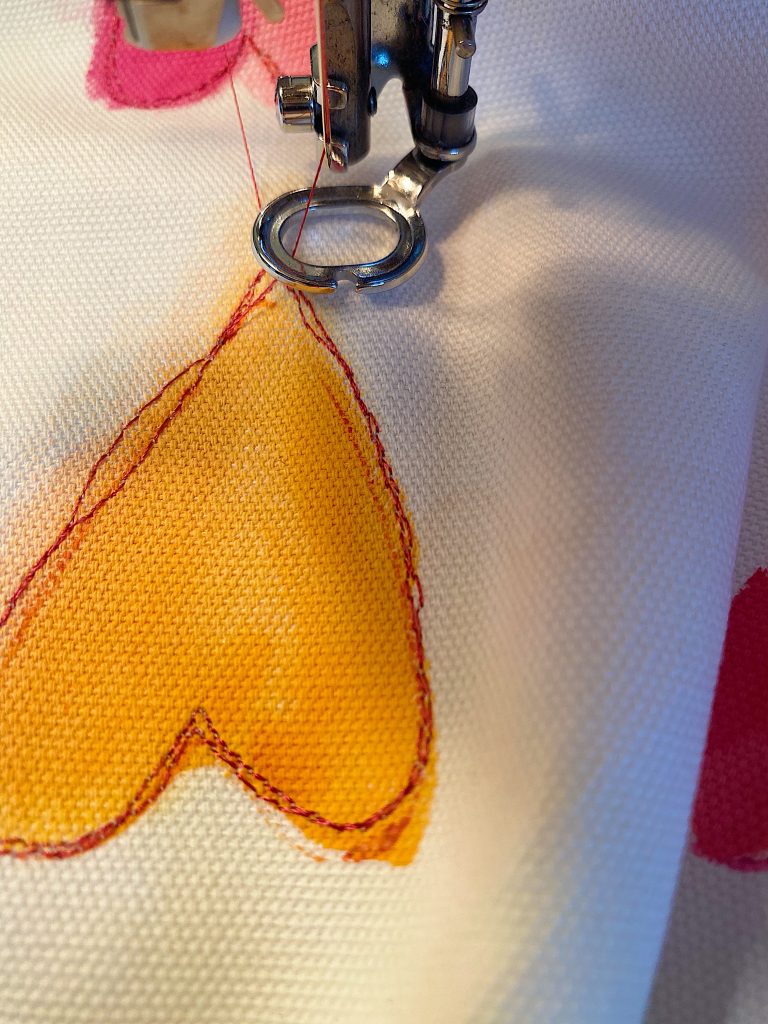
Diy Video
Watch this video to see exactly how to make this pillow.
Here is a close-up of the free-stitch embroidery on the hearts on my pillow.
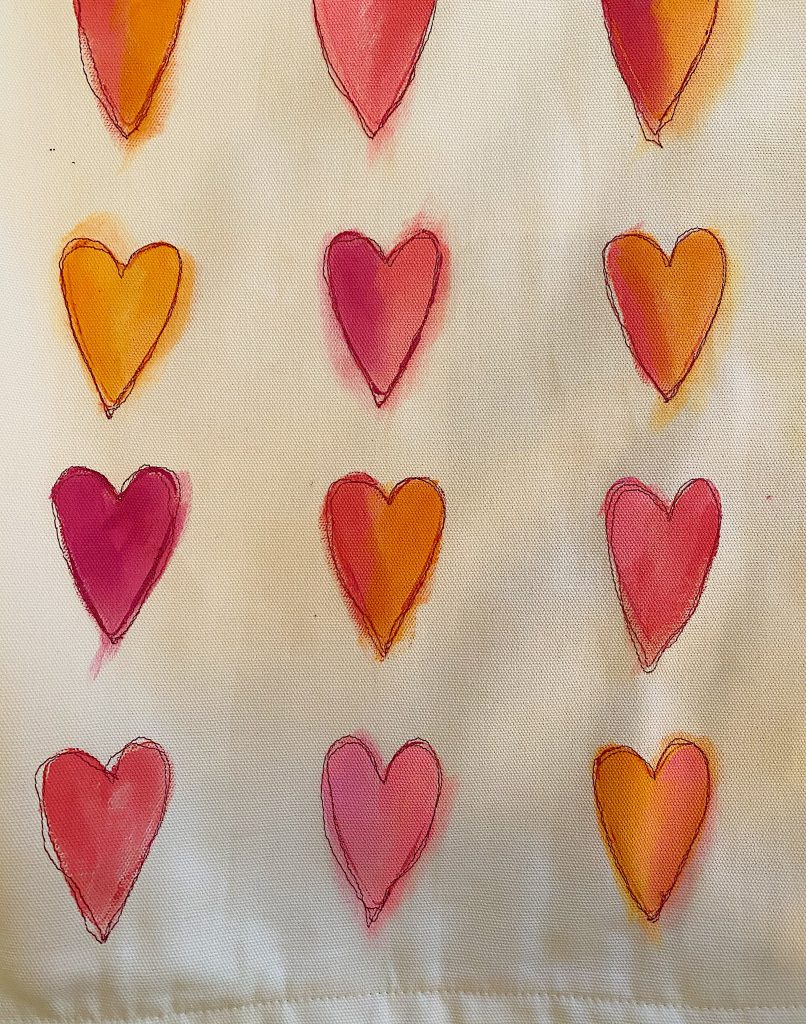
How to Make This Valentine’s Day Heart Pillow Without Sewing
I promised I would offer an option to make this pillow if you didn’t have a sewing machine. Or just wanted an easy version. Instead of sewing, use a fine-point permanent marker. It works, looks good, and will save you much time!
Frequently Asked Questions
Free motion machine embroidery is a type of sewing that you do on a regular sewing machine, but you can move the material in any direction while sewing it on your machine. Usually, when you sew, the machine automatically moves the fabric forward. When you sew free-motion embroidery, you get to move the fabric so you determine precisely where you want to sew. You can move sideways, forward, backward, and create any shape you want. All you need is a quilting foot.
Use a medium-heavy fabric for free-motion embroidery. Attach the darning foot to your machine, and lower the feed dogs. (The feed dog is what moves your fabric forward. If you lower it, you can move the fabric in any direction.)
Sew your design two times so the stitching is more predominant. DO NOT try to sew perfectly. It’s so easy; don’t worry if you make a mistake here and there. It looks better that way.
Yes, you can do free-motion embroidery using a regular sewing machine. You will want to use a darning foot and lower the feed dogs to allow you to move the fabric in any direction you want.
I want to add Valentine’s decor to my home that is more pink, red, and hearts than Valentine’s Day. I add flowers (fresh and faux), pillows, throws, and many other decor items to give our home a romantic feel to celebrate Valentine’s Day.
It’s up to you! I like adding pink to our home every year. With subtle changes, I have eased into Valentine’s Day very easily. My decor is more based on colors than “Happy Valentine’s Day” decor. I usually save that decor for a few days before.
I think this pillow would look great in your home and make a great Valentine’s Day gift, too.

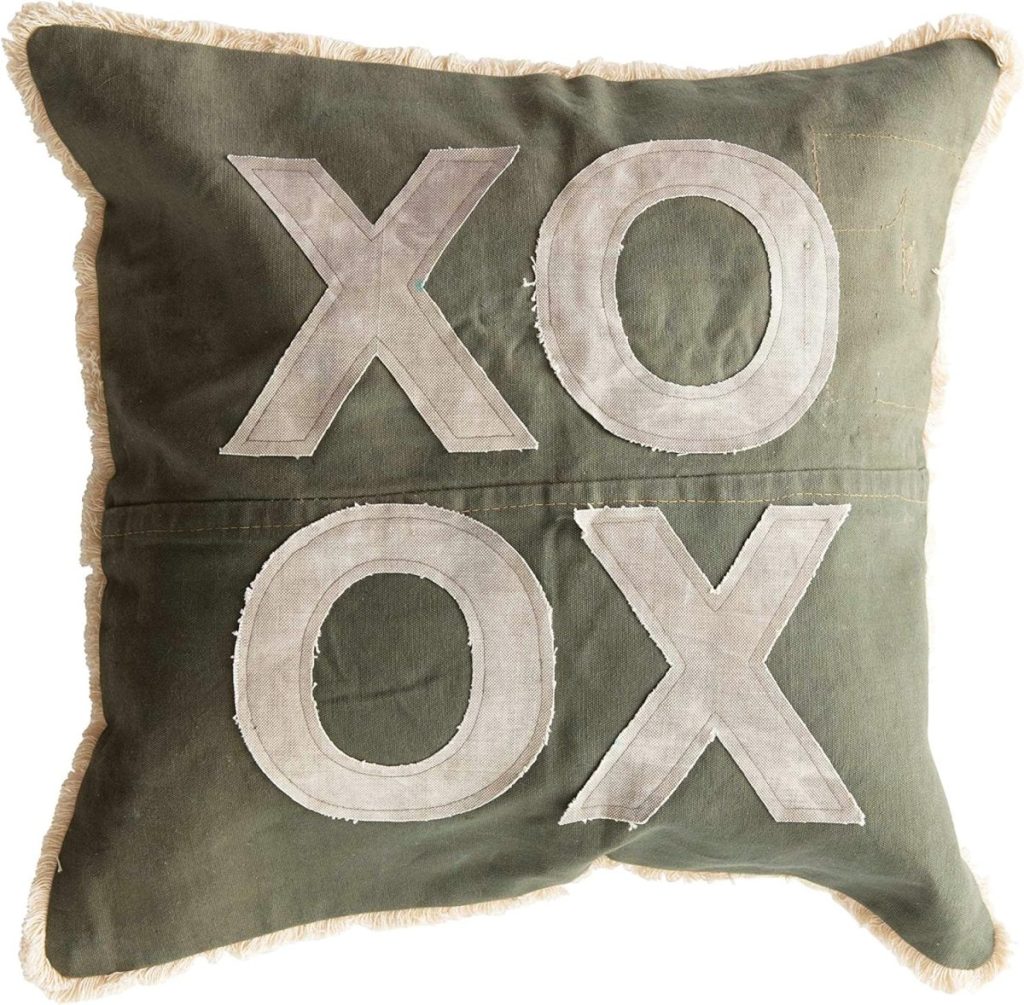
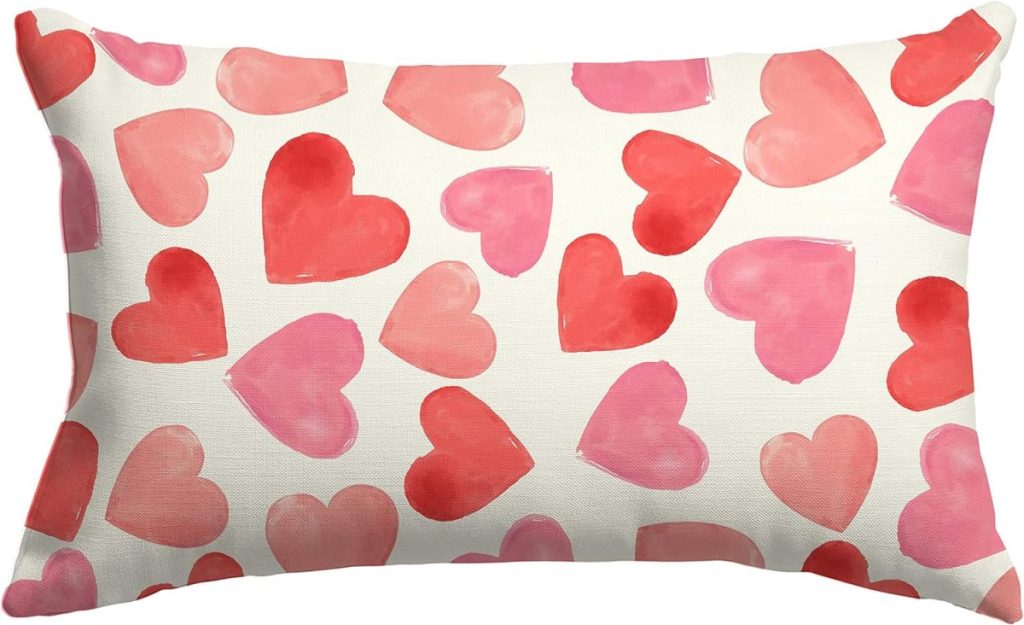
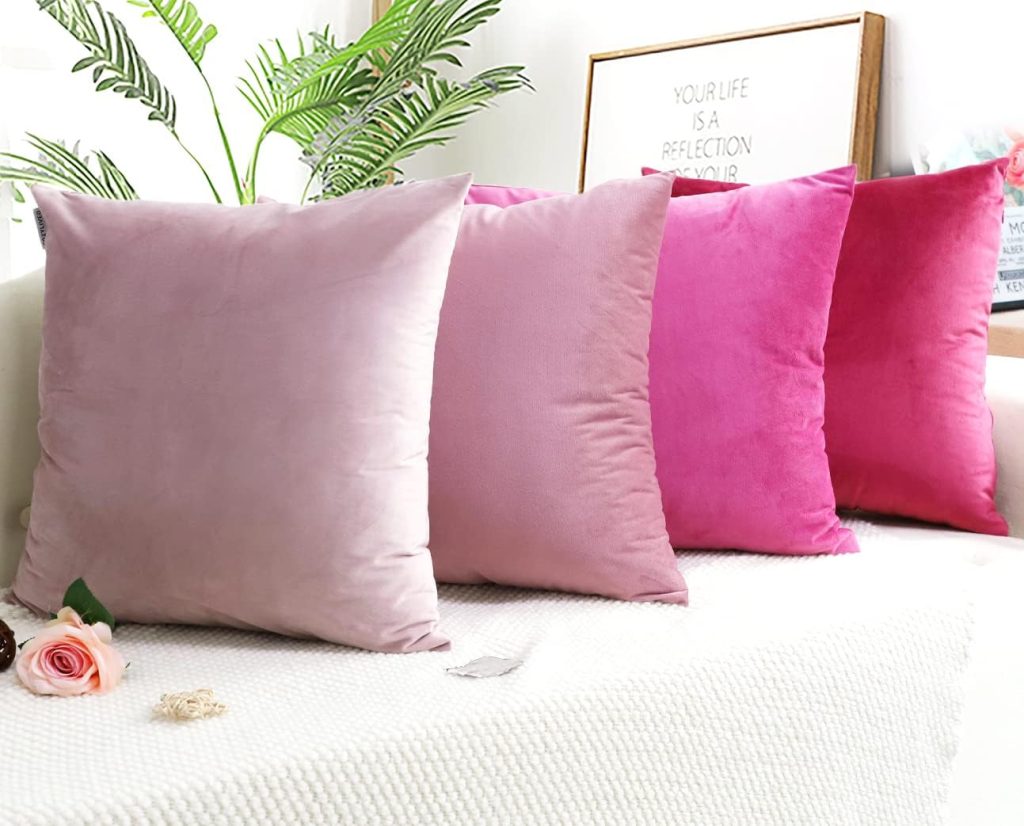
Shop all my favorite Valentine’s Day pillow covers!
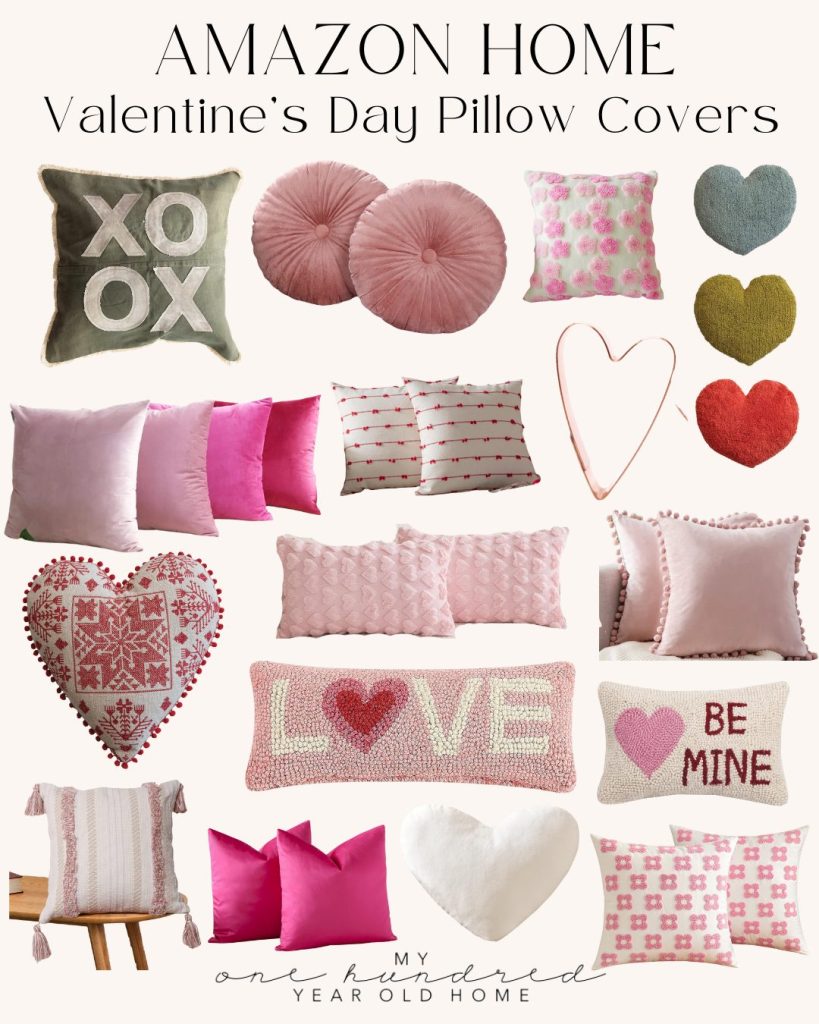
Favorite Pink Accent Decor
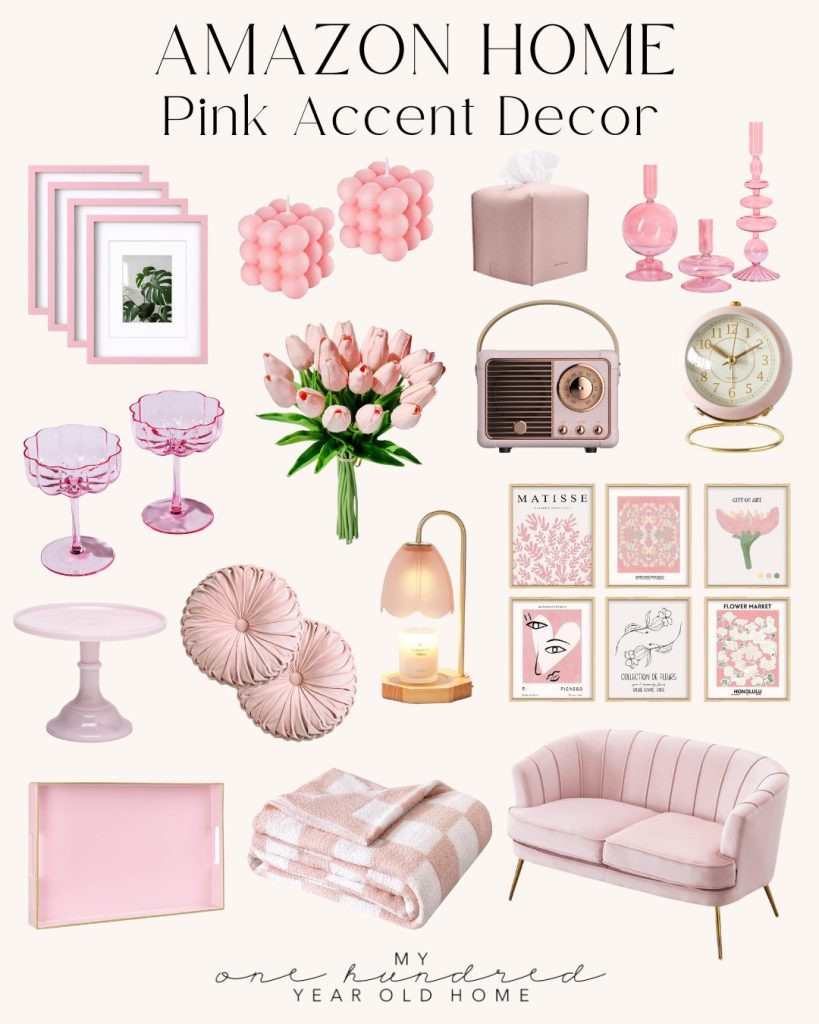
Watch My Amazon Live
Click here to watch any of my Amazon Live shows. All shows are recorded.
This live show is titled Easy But Amazig Crafts You Can Make.
10 Best Valentine’s Day Projects

Dollar Store Triple Heart Valentine’s Day Wreath // Tatertots & Jello
Valentine’s Day Heart Tree Tutorial // Happy Happy Nester
DIY Perfume Roller with Essential Oils // Most Lovely Things
Valentine’s Day Decor Ideas // My 100 Year Old Home
Valentine’s Day DIY: Clay Heart Napkin Holders // Zevy Joy

Heart Topiary DIY // Craftberry Bush
Pipe Cleaner Heart Garland // Modern Glam
Home Is Where The Heart Is FREE Printable // My Sweet Savannah
Polymer Clay Marbled Heart Ornaments // The DIY Mommy
Blooming Branches DIY // Finding Lovely
Pin the images below to your boards on Pinterest (just click the Pin button in the top left corner). You can also follow along with me on Pinterest!
For more real-time updates, follow me on Instagram @My100YearOldHome





Leslie, I think I remember you doing watercolor valentines cards once maybe last year? I can’t find them on your web site and was hoping to make some for a few special people this year. They had hearts on them. Any help is appreciated.
Pat
Hi Pat! We just did a post on this today- I’ve added the link 🤗
https://my100yearoldhome.com/paint-your-own-valentines-day-cards-diy/
Awesome decoration ideas for valentines day! Thanks for sharing 🙂