4th of July T-shirts – A Handmade Summer
If you’re looking for an easy patriotic craft, this 4th of July T-shirt is one of the most fun projects we’ve made all summer.
Using a child’s handprint, a few star stickers, and some paint, you can create a festive keepsake that is both adorable and meaningful.


Fourth of July T-Shirts
A Handmade Summer
One of my favorite things about summer is finding projects that are simple enough to make in an afternoon but meaningful enough to remember for years. Sometimes those projects are beautiful pieces of pottery or embroidered gifts.
Other times, they are as simple as a child’s handprint on a white T-shirt. This Fourth of July craft falls into that second category, and I have to admit, it may be one of my favorite projects from this year’s A Handmade Summer series.
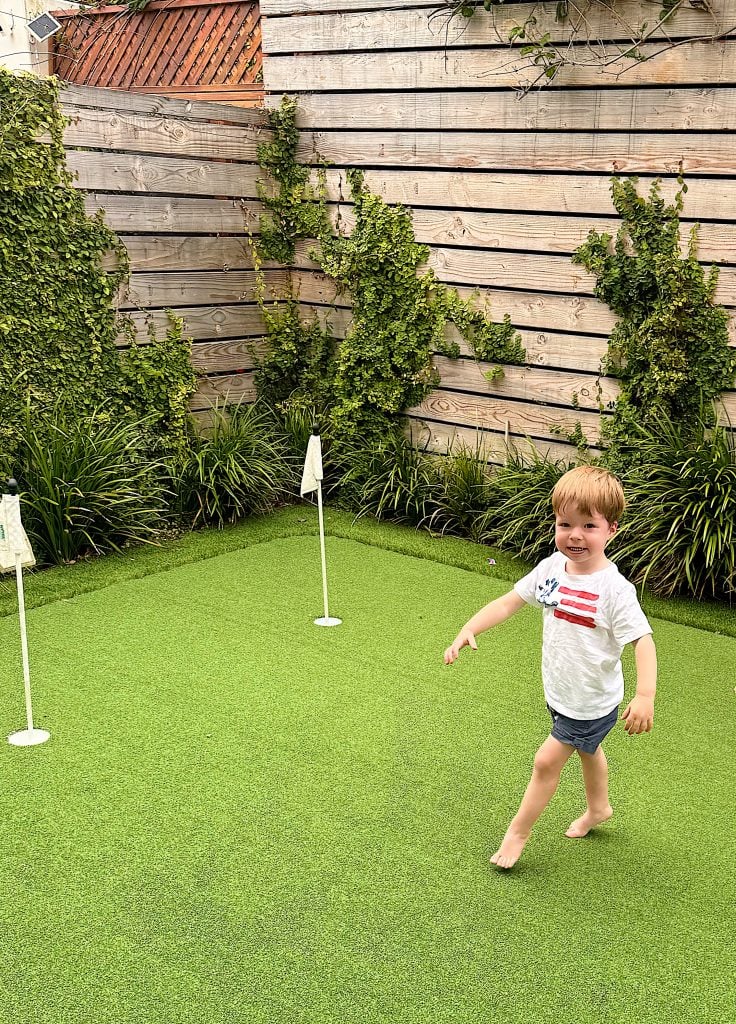
Whenever our family gathers at the beach house, I look for activities everyone can enjoy. I love projects that bring people together, especially when they involve the grandchildren.
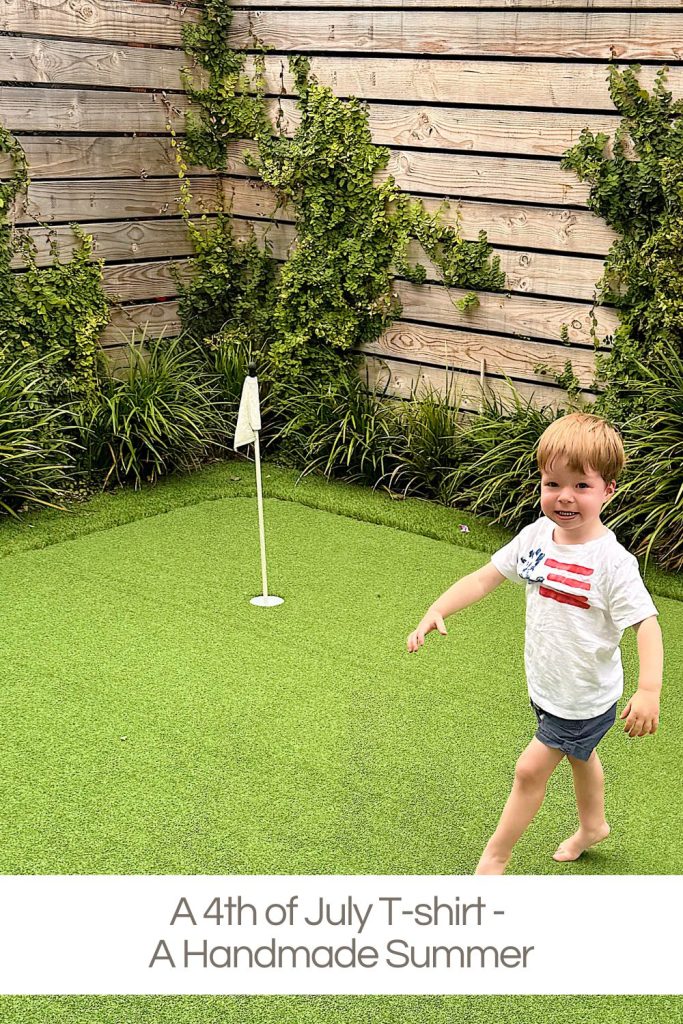
As we were getting ready for the Fourth of July, I wanted to make something festive that would be fun for Graham and create a keepsake. The moment I thought of turning his handprint into an American flag, I knew we had a winner.
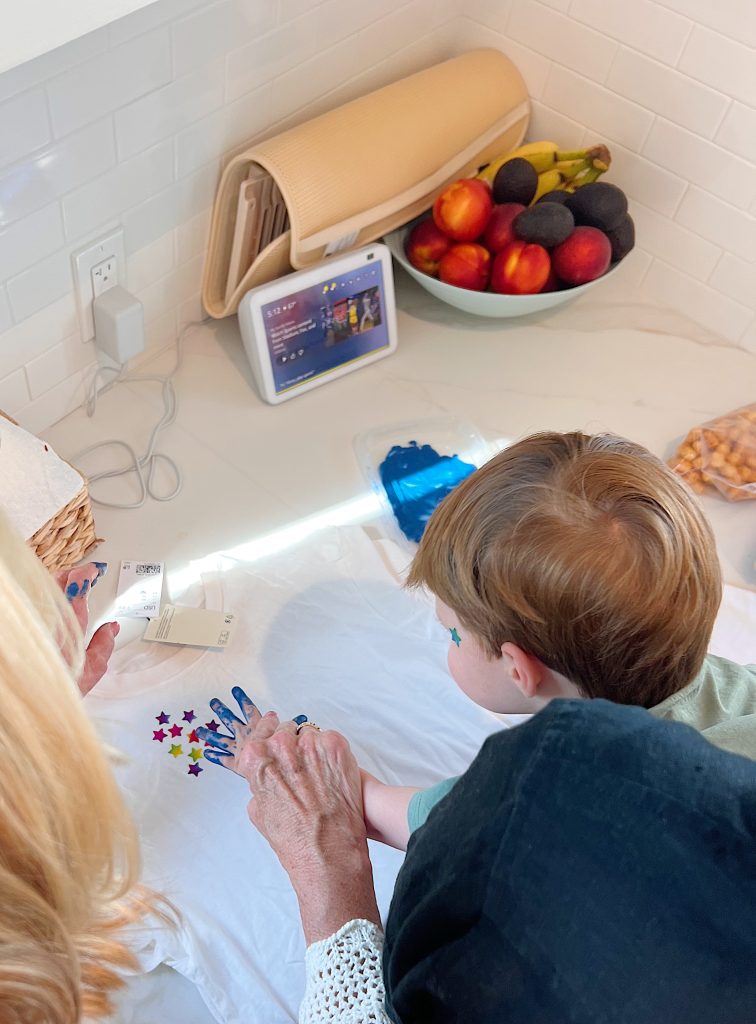
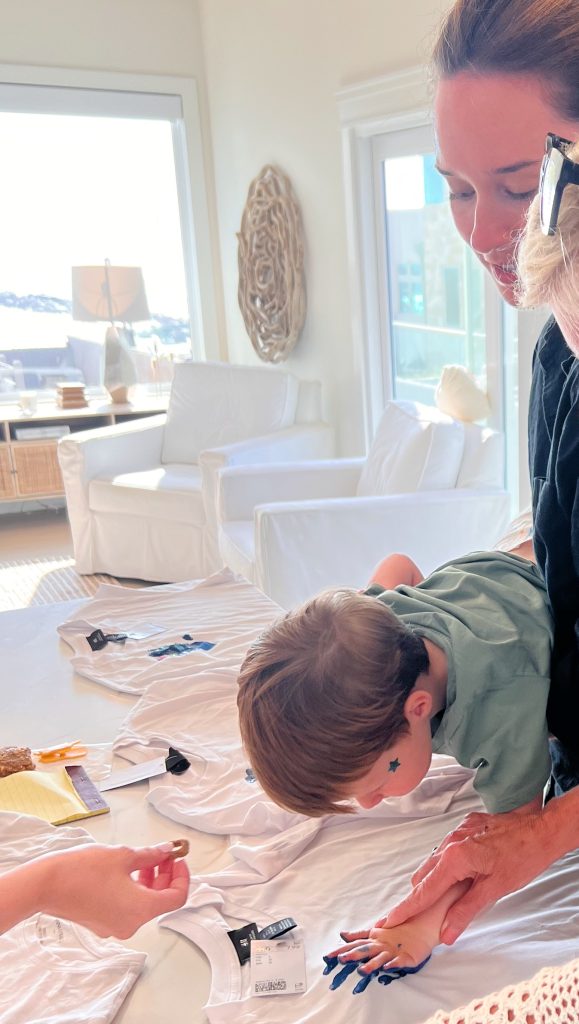
Of course, the actual crafting process was even more entertaining than I expected. There is something about a toddler with paint-covered hands that guarantees a memorable afternoon.
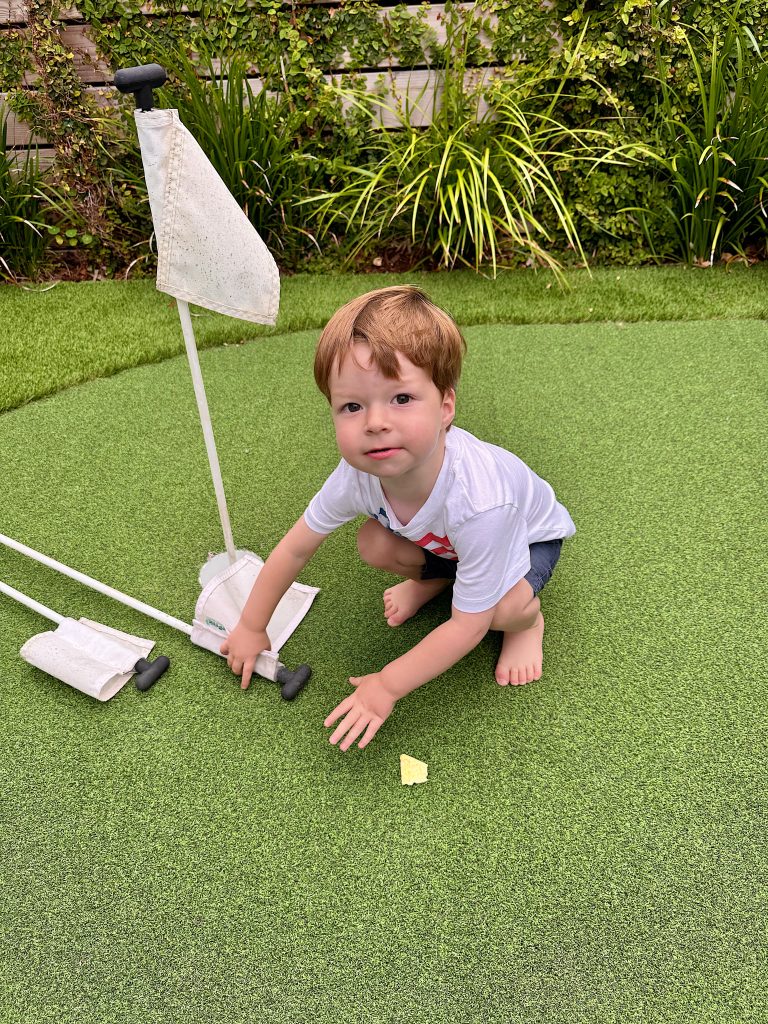
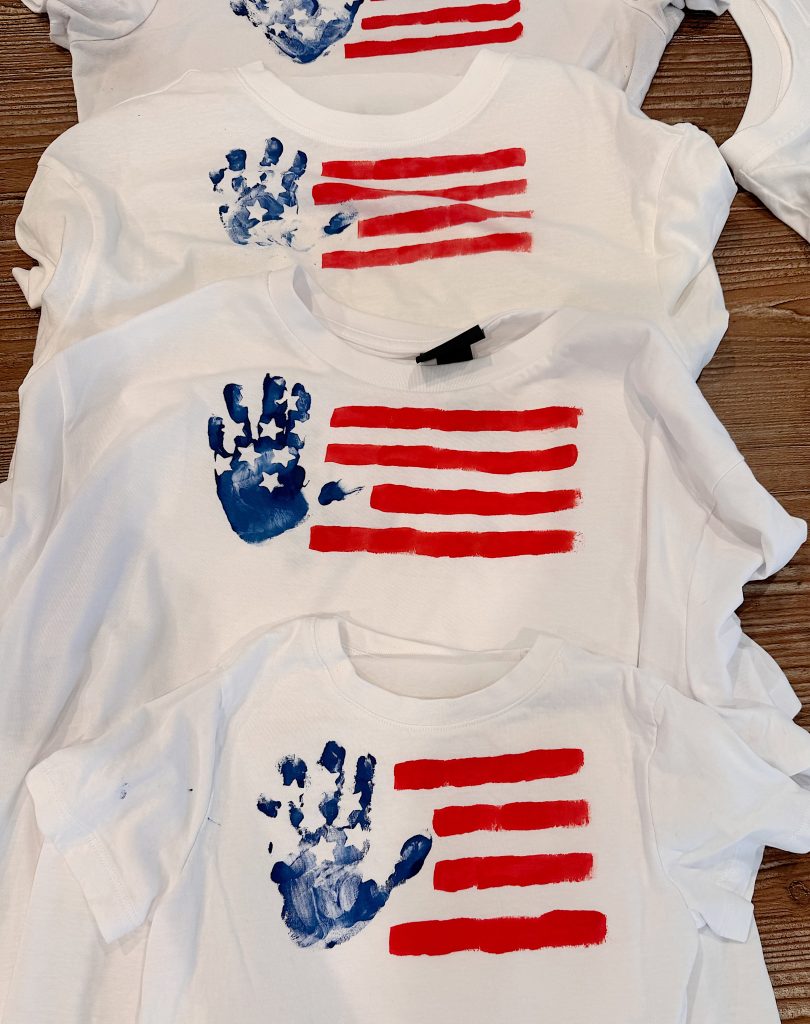
Graham was completely fascinated by the blue paint and took his role as the official handprint artist very seriously. We laughed our way through the project, and before long, the kitchen island was covered with patriotic shirts drying.
What I love most about these shirts is that they capture a moment in time. Children’s hands change so quickly. One day, they fit perfectly in yours, and before you know it, they are running around independently, growing up far too fast. These shirts preserve a tiny piece of childhood in a way that is both practical and sentimental.
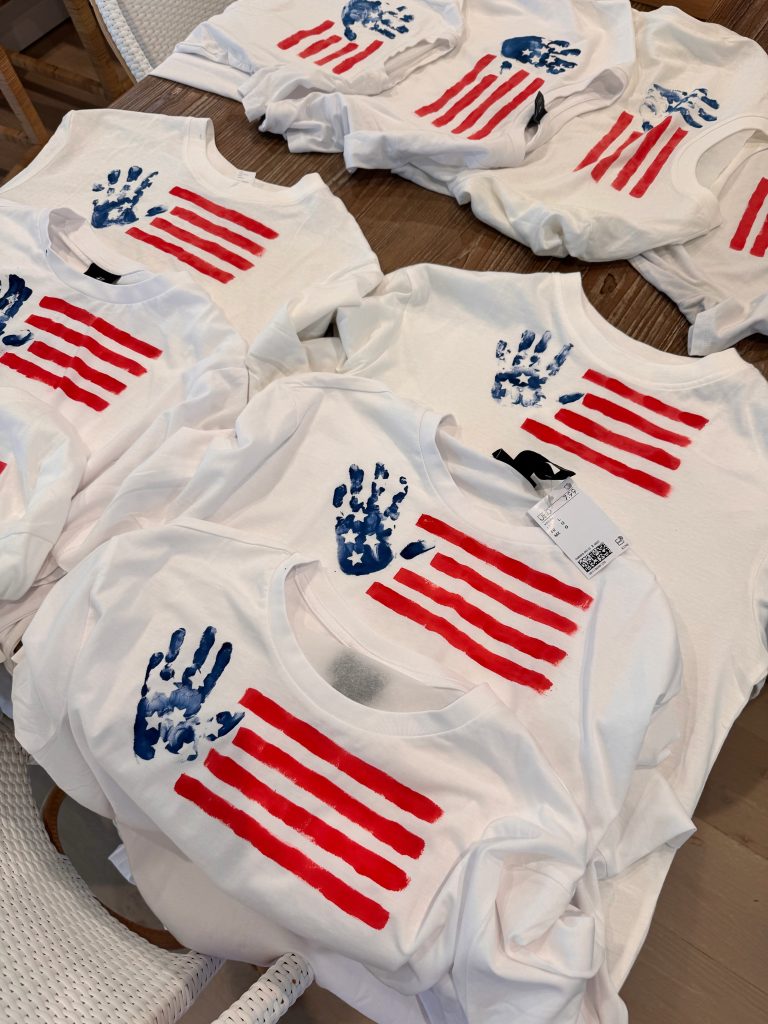
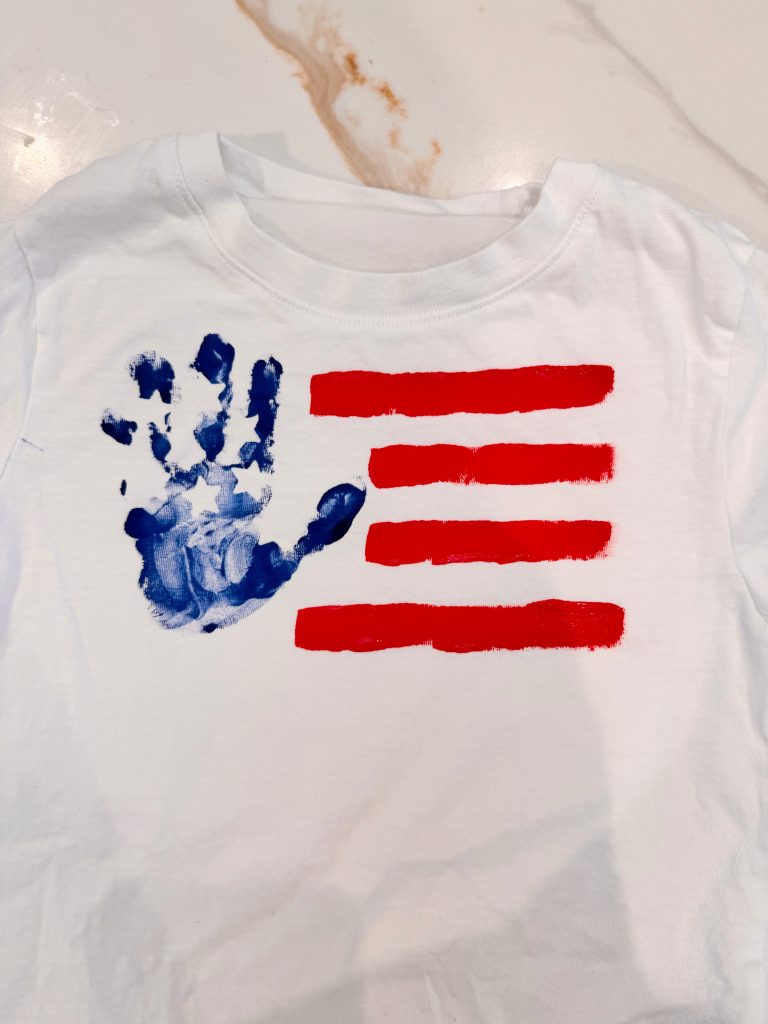
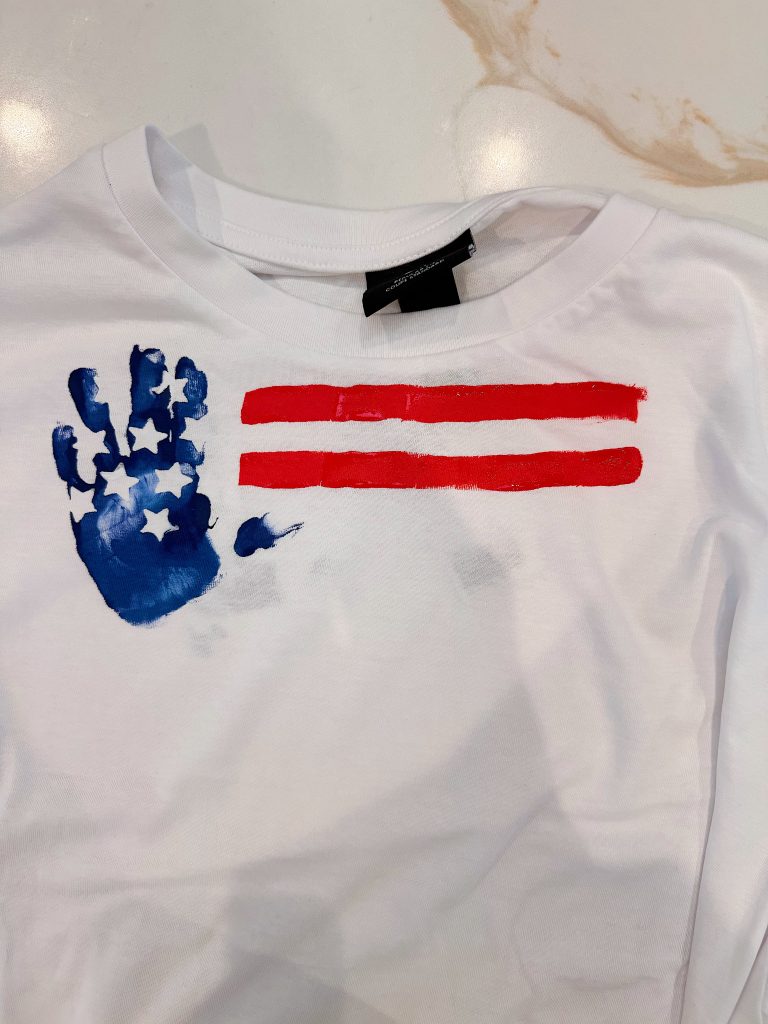
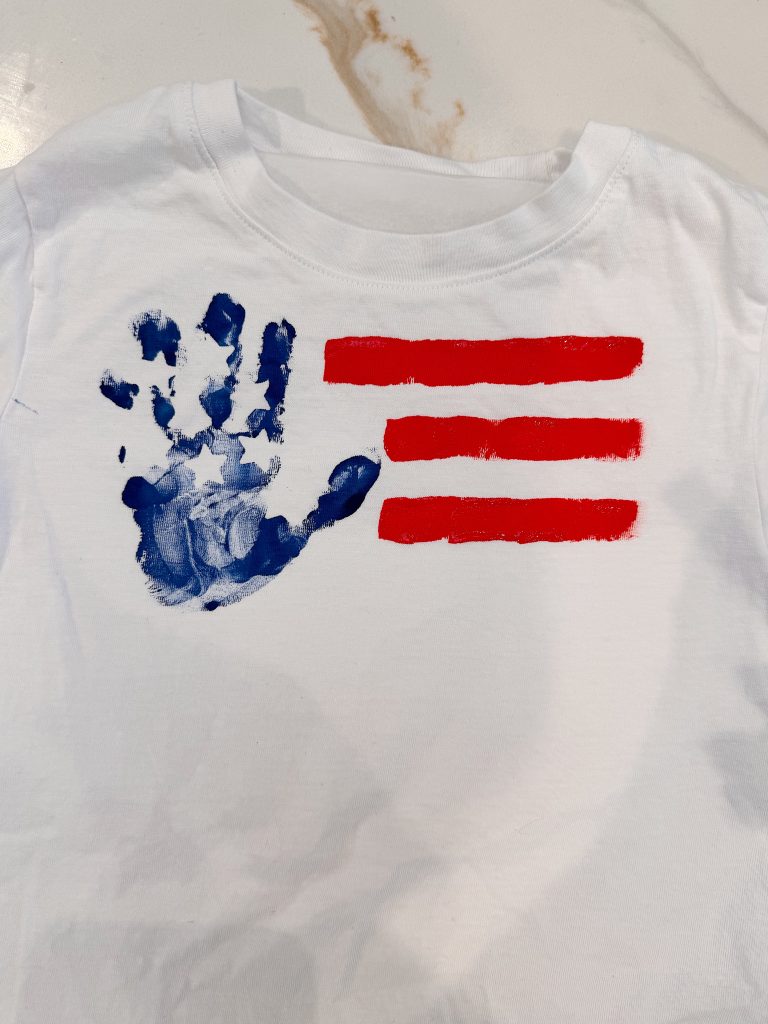
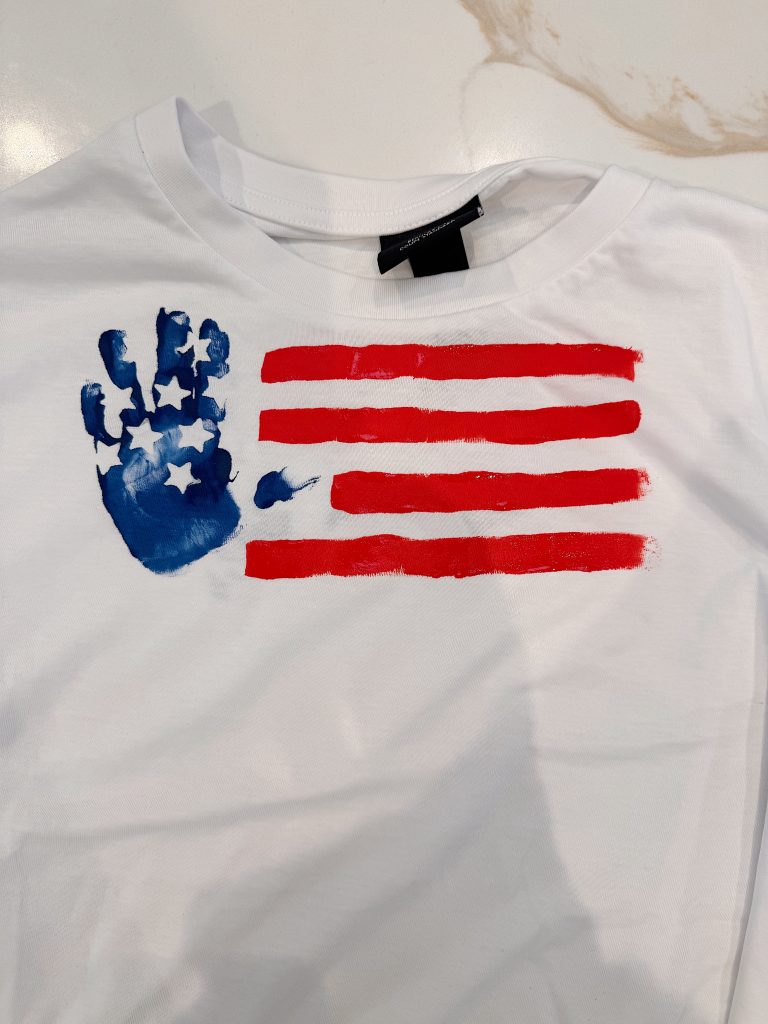
The finished design couldn’t be simpler. A navy-blue handprint becomes the blue field of the American flag, white stars appear where stickers protected the fabric beneath, and a few hand-painted red stripes complete the look. The result is adorable, patriotic, and completely unique because every handprint is different.
Even better, this project requires very few supplies and no special crafting skills. If you can place a sticker, paint a hand, and brush a few stripes onto a shirt, you can make these. In fact, they are so easy that you may find yourself making them for the entire family. That’s exactly what happened at our house. We started with one shirt and somehow ended up with a whole collection.
Why You’ll Love This Craft
There are plenty of patriotic projects you can make for the Fourth of July, but this one has become a favorite for several reasons.
First, it’s inexpensive. The supplies are simple and easy to find.
Second, children can actually participate in making the shirts. So many crafts designed for kids end up becoming projects completed entirely by adults. This one truly belongs to them.
And finally, these shirts become keepsakes. Long after the fireworks are over and summer has passed, you’ll still have something that reminds you of this particular season and this particular stage of life.
I have a feeling these shirts will find their way into a memory box someday.
Supplies
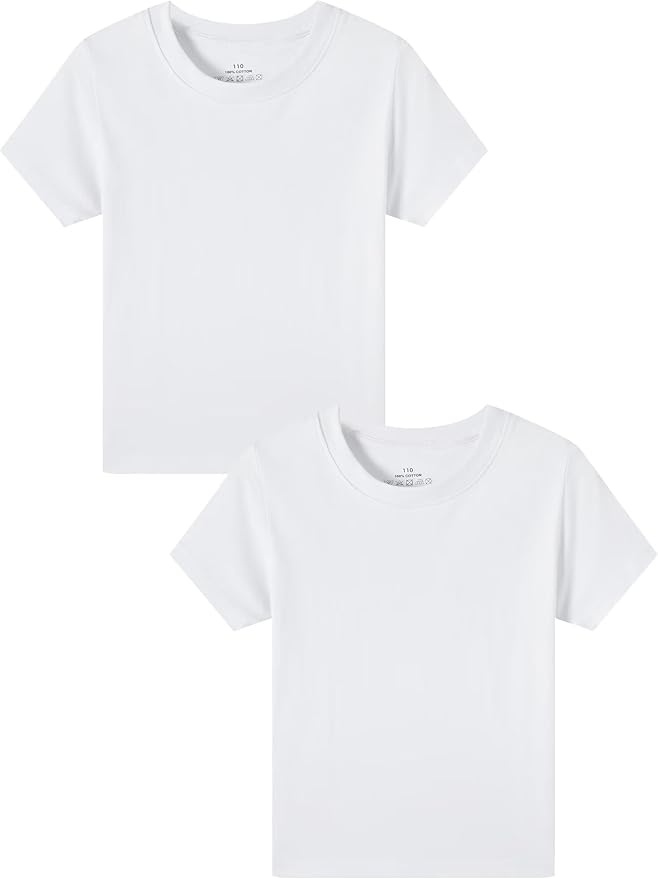
- White cotton T-shirts
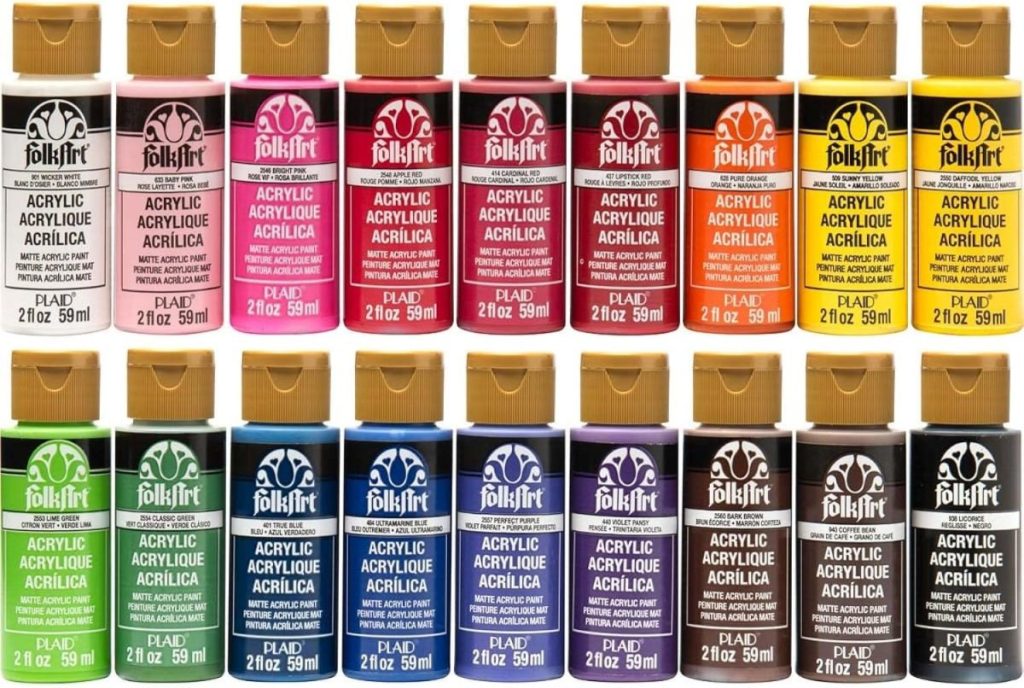
- Navy blue acrylic craft paint
- Red acrylic craft paint
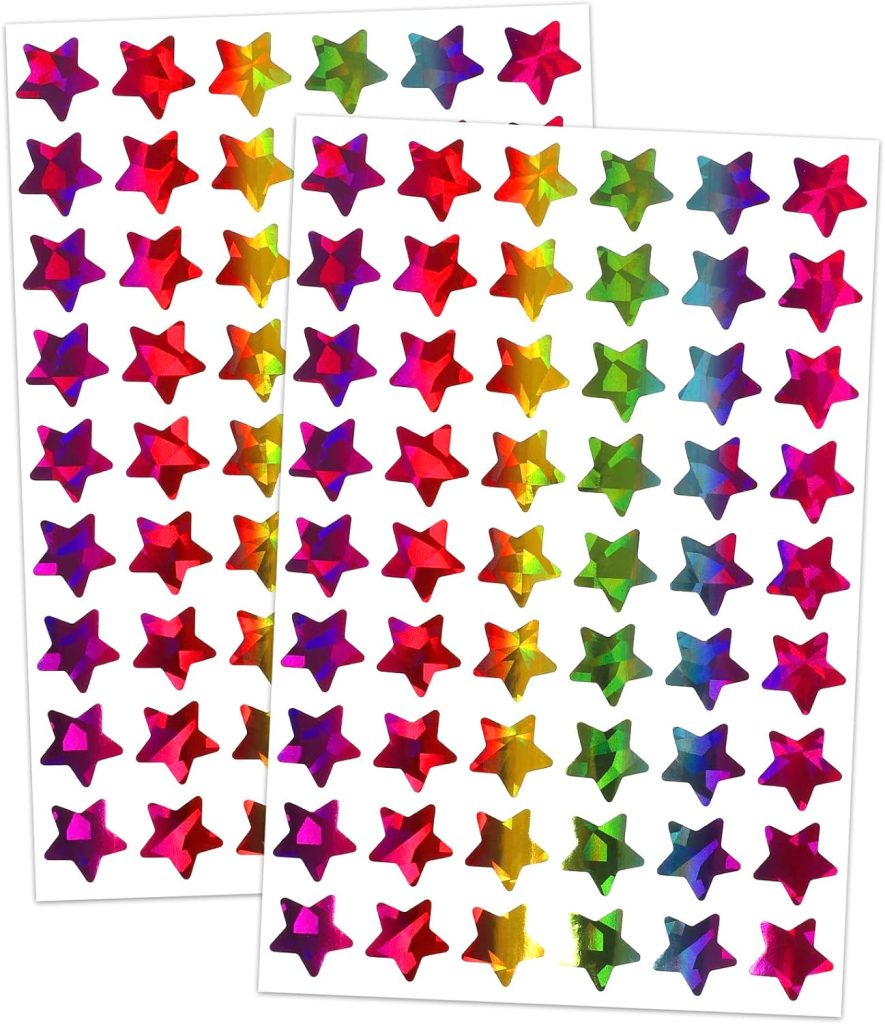
- Star stickers
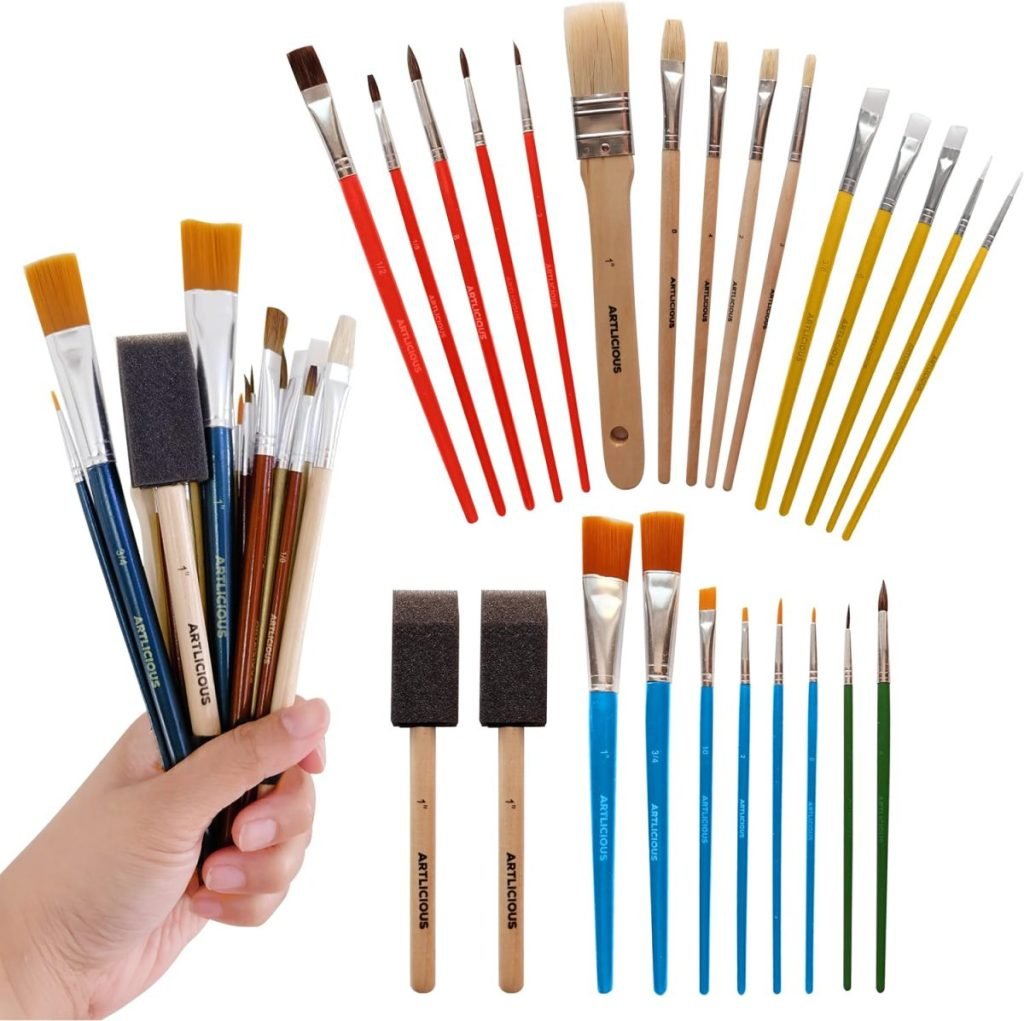
- Foam paint brush
- Small paint tray or paper plate
- Cardboard or freezer paper
- Iron
- Pressing cloth or parchment paper
I may sometimes use affiliate links on this blog, which means I earn a small commission if you make a purchase through them. The price will be the same whether you use the affiliate link or go directly to the vendor’s website using a non-affiliate link.

Preparing the Shirts
Before you begin, wash and dry the shirts. New fabric often contains finishes that can affect how paint adheres to the surface. Starting with freshly laundered shirts gives you the best results.
Place a piece of cardboard inside each shirt to prevent paint from soaking through to the back. Smooth the fabric so there are no wrinkles where the design will be placed.
I positioned the handprint near the upper left chest area and painted the stripes extending toward the right. The placement resembles a simple American flag and works beautifully on both children’s and adult shirts.
Step One: Add the Star Stickers
This is the step that creates the magic later.
Place several star stickers directly onto the shirt where the handprint will be positioned. These stickers will remain in place while the handprint is created, eventually revealing the white stars hidden underneath.
There is no exact formula for placing the stars. Some of our shirts had five stars, while others had a few more. The random placement actually makes the finished design feel more authentic and handmade.
Press each sticker firmly against the fabric, so paint doesn’t seep underneath.
Step Two: Create the Handprint
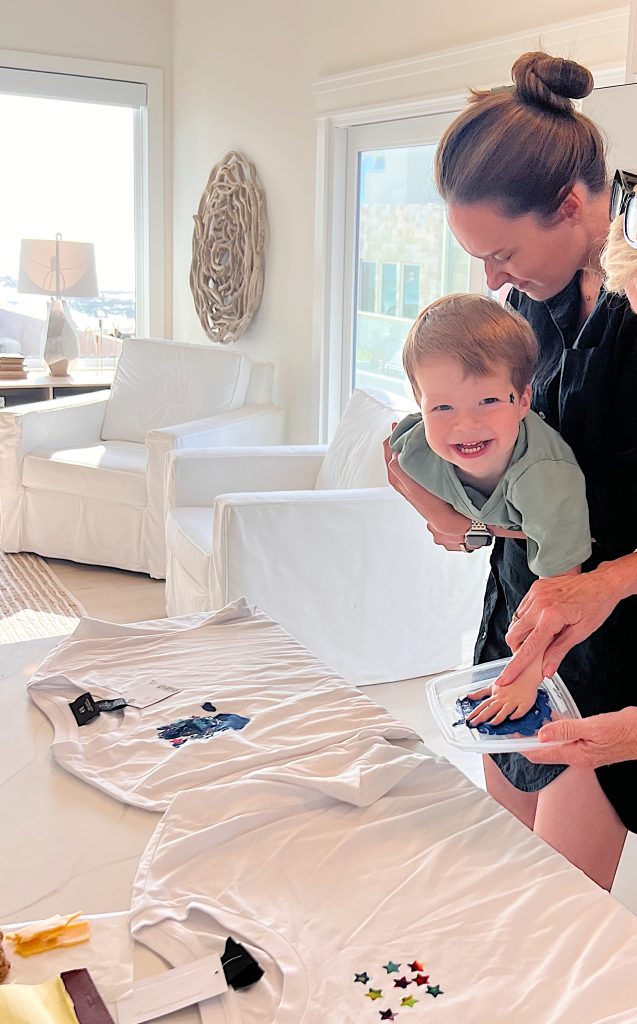
This is where having an enthusiastic volunteer comes in handy.
Pour a small amount of navy blue acrylic paint onto a plate or paint tray. Using a foam brush, apply an even layer of paint to the child’s palm and fingers. You want enough paint to create a clear impression without using so much that the details disappear.
Then carefully guide the painted hand onto the shirt directly over the star stickers.
Press gently but firmly so the entire hand makes contact with the fabric. Pay special attention to the fingertips and thumb.
When the hand lifts away, the design immediately comes to life.
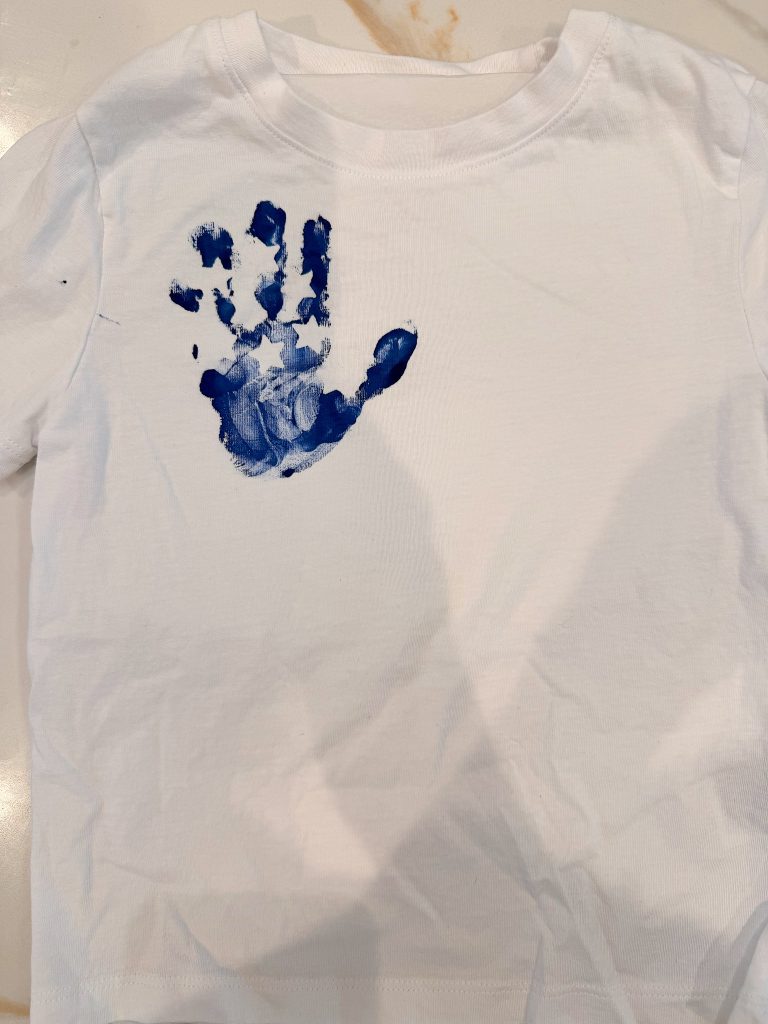
Some of our handprints were crisp and perfect. Others were slightly smudged. And honestly, I loved every single one of them. Those little imperfections are what make handmade projects so special.
Step Three: Paint the Red Stripes
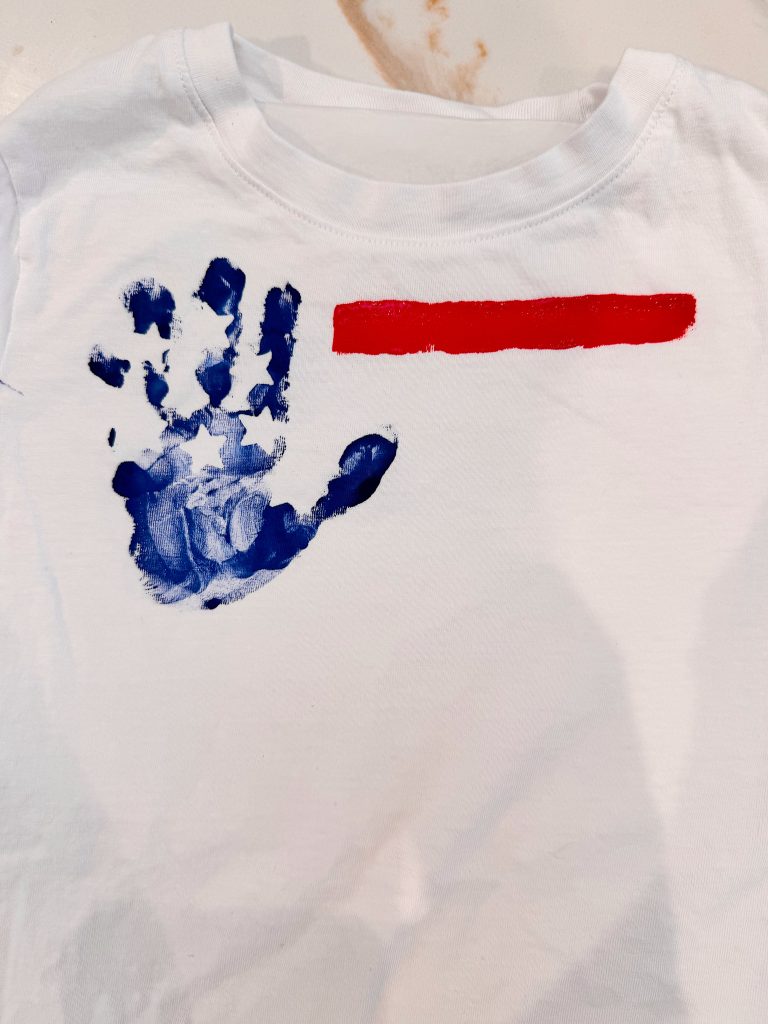
Once the handprint is complete, it’s time to add the stripes.
Using red acrylic paint and a foam brush, paint four horizontal stripes extending from the handprint toward the right side of the shirt.
I intentionally painted mine freehand because I wanted them to feel handmade rather than manufactured. The slightly uneven edges add charm and personality to the design.
If you prefer perfectly straight stripes, you can certainly use painter’s tape as a guide. But personally, I think the freehand version is what makes these shirts feel special.
By the time we finished painting the stripes, the shirts already looked adorable.
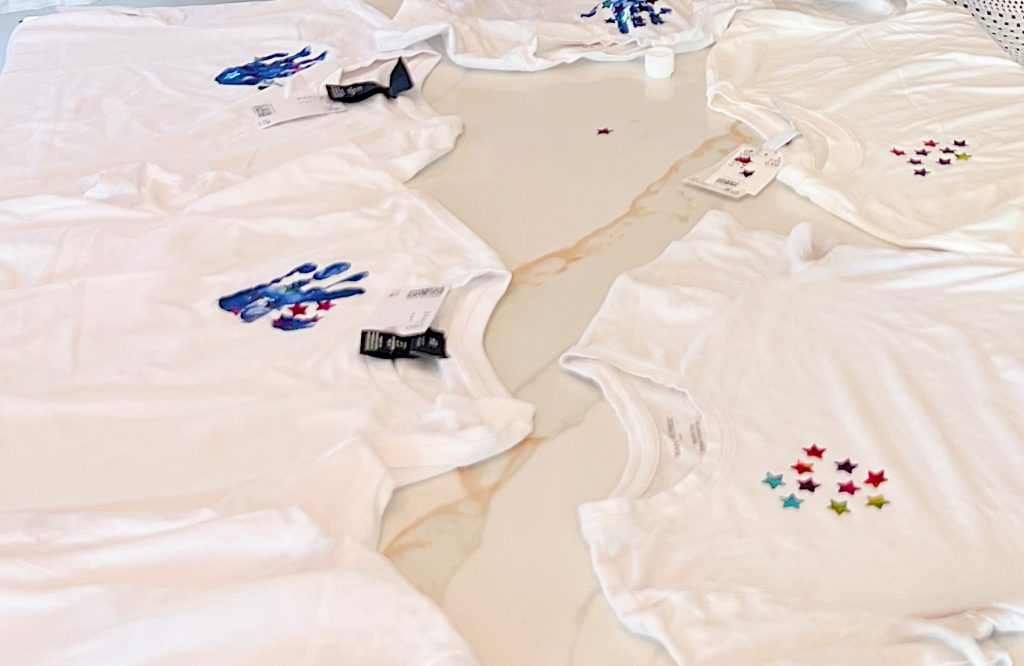
Step Four: Let Everything Dry
This is the hardest part.
Allow the paint to dry completely before touching the design or removing the stickers.
We spread our shirts across the kitchen island and left them to dry while we moved on to other activities. Every time I walked by, I found myself stopping to admire them.
It’s amazing how something so simple can turn out so cute.
Step Five: Remove the Star Stickers
Without question, this was my favorite part of the project.
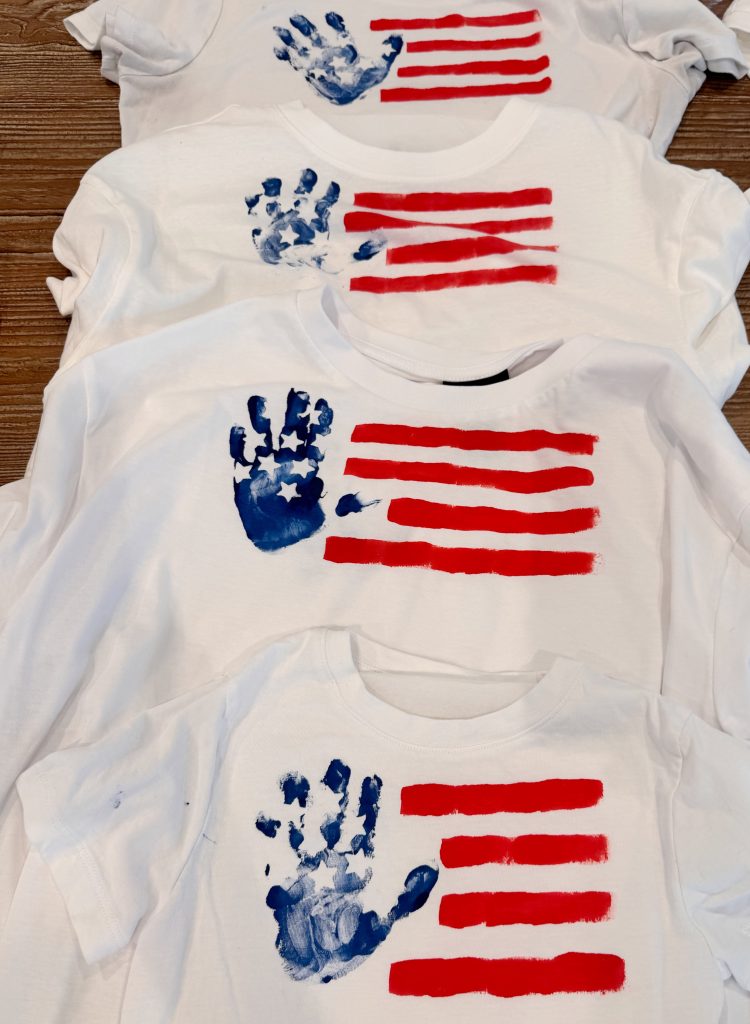
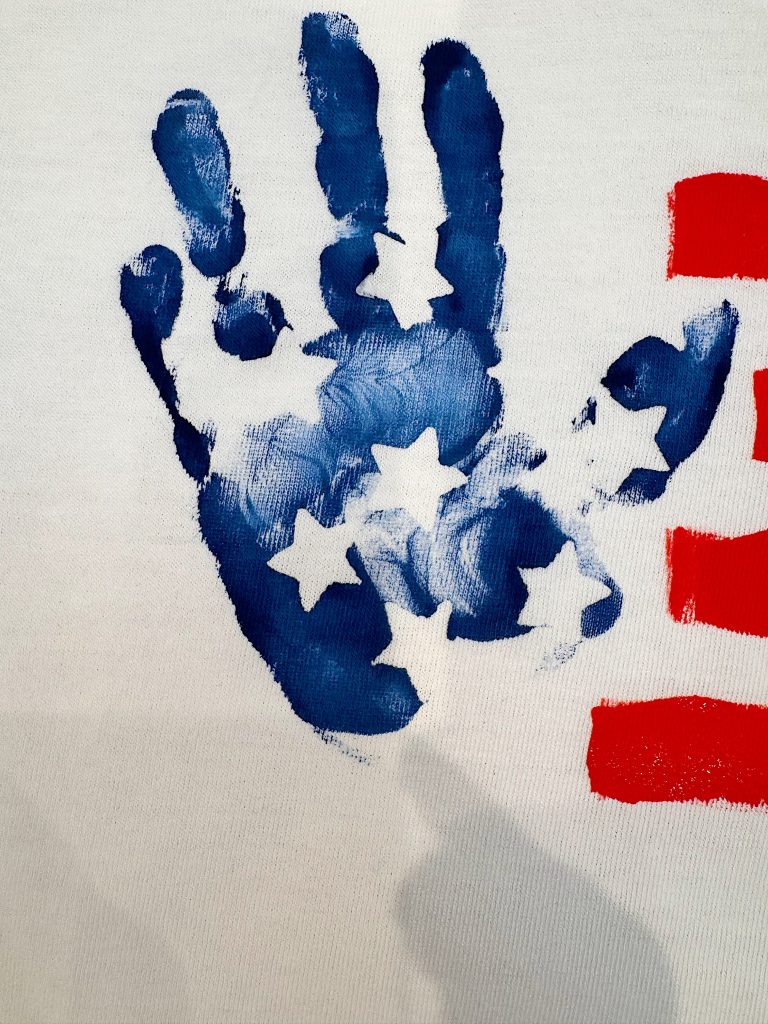
Once the paint had completely dried, we carefully peeled each star sticker away. As the stickers lifted off the fabric, bright white stars appeared beneath the blue paint.
Every single shirt felt like a little surprise.
The contrast between the navy handprint and the crisp white stars is what transforms the handprint into a flag design. It is such a simple idea, but the finished result is remarkably effective.
I think I smiled through this entire step.
Step Six: Heat Set the Paint
The final step ensures that your shirts can be enjoyed for years to come.
Once the paint is completely dry, cover the design with parchment paper or a pressing cloth and iron according to the paint manufacturer’s directions.
Heat setting helps secure the paint to the fabric, making the shirts much more durable when washed.
Because these shirts are keepsakes, I definitely recommend taking a few extra minutes to complete this step.
More Ideas for Personalizing Your Shirts
Once we finished making the flag shirts, I started thinking about all of the different ways this technique could be adapted.
You could add the year to the sleeve or lower hem with fabric paint.
You could create matching family shirts using children’s handprints.
You could use different colored handprints for other holidays throughout the year.
You could even create a collection of shirts over several summers and watch how much those little hands grow.
As a mom and grandmother, I especially love that last idea.
Can you imagine comparing handprints from year to year?
What a wonderful way to preserve those fleeting childhood moments.

Why Handmade Memories Matter
One of the reasons I started A Handmade Summer was to encourage all of us to slow down and create something with our hands. Not because every project needs to be perfect, and certainly not because every project needs to become a family heirloom.
I simply believe that making things creates memories.
When I look at these shirts, I don’t just see paint and fabric. I remember Graham giggling as we painted his hand. I remember trying to keep little blue fingerprints off every surface in the kitchen. I remember the family gathered around the island watching the project come together.
Those are the moments that matter.
The shirts are adorable, but the memories are even better.
And isn’t that what summer is all about?
I hope you’ll try making these Fourth of July T-shirts with your family this year. They are easy, inexpensive, and filled with personality. Most importantly, they create the kind of memories that last long after the fireworks have faded and summer has ended.
Happy crafting, and happy Fourth of July!

How to Follow Along With A Handmade Summer
Each week, a new spring craft will be shared here on the blog. I will also be sharing behind-the-scenes moments, progress videos, and finished projects on Instagram so you can see each craft come to life.
You can jump in at any point. There is no need to start at the beginning or complete every project. Choose the ones that speak to you and make them your own.
If you love seasonal crafting, this series is designed to inspire you throughout the summer.
Here are all of the A Handmade Summer craft projects so far.
Latest Posts
-
Pink Lemonade Pie
Summer is the season for refreshing and light desserts, and what could be better than a tangy, creamy, and perfectly chilled Pink Lemonade Ice Cream Pie? This delightful dessert is perfect for hot days, picnics, barbecues, or any summer gathering. Its vibrant color and mouthwatering flavor will surely be a hit for kids and adults….
-
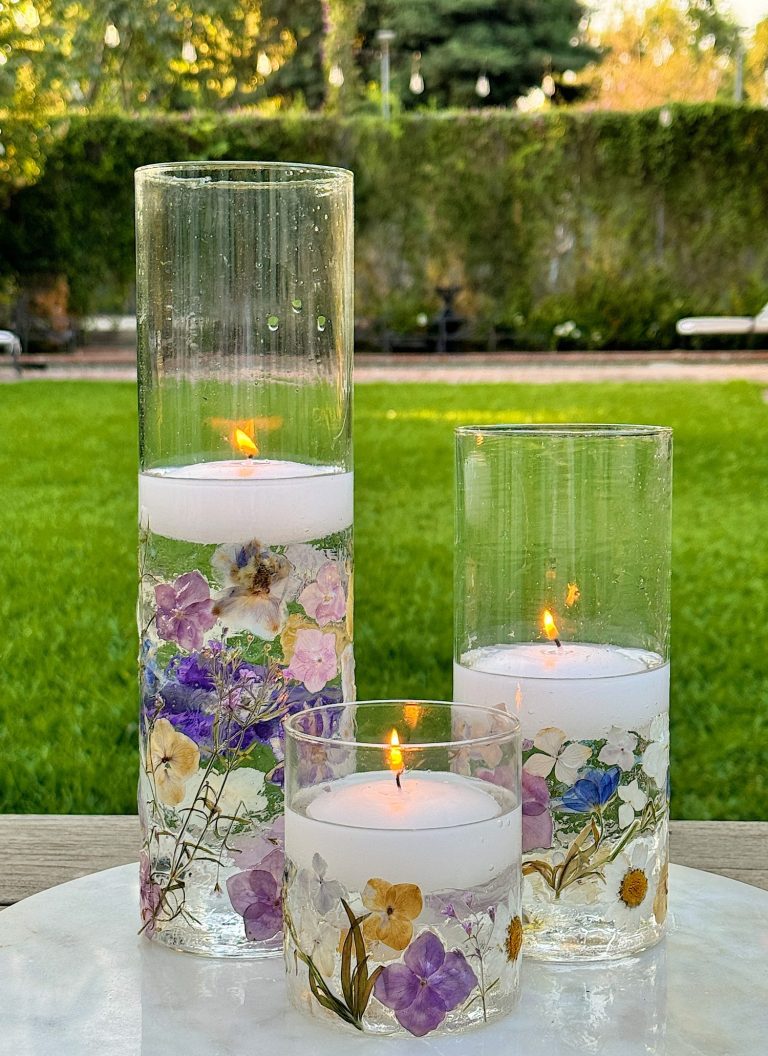
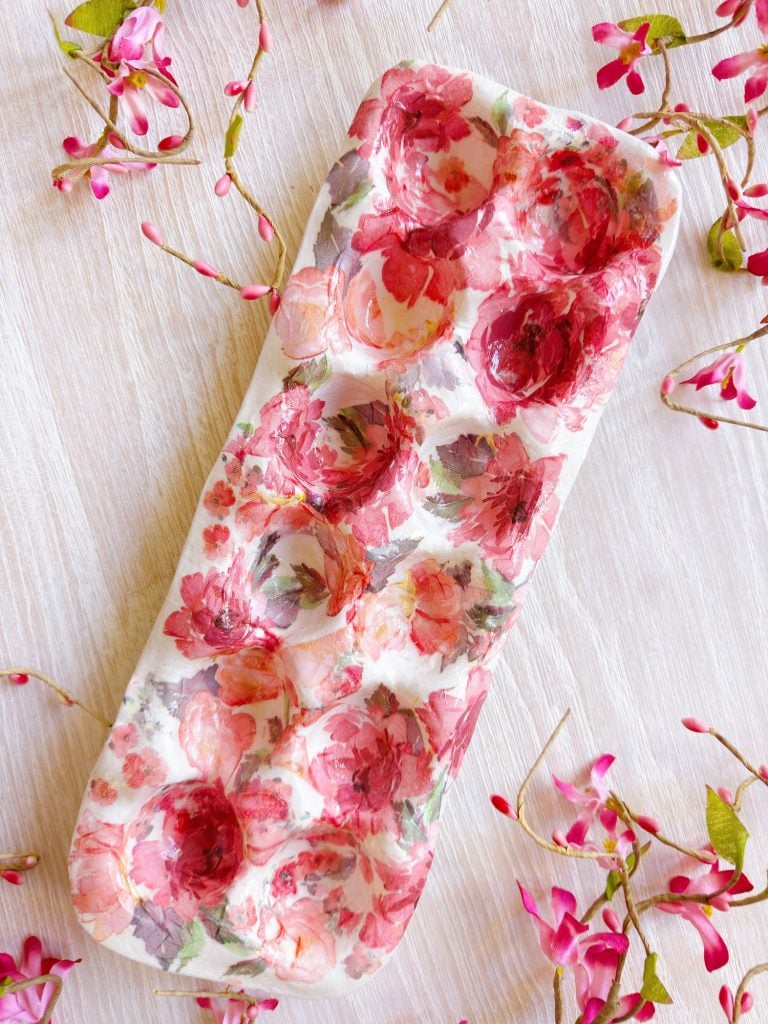
DIY Pressed Flowers
DIY pressed flowers are a beautiful and charming addition to any home decor. When made into candle holders, they are stunning. These delicate creations bring a touch of nature indoors and can be customized to fit any style or occasion. Whether you want to create a romantic centerpiece, a whimsical decoration, or a unique gift,…
-
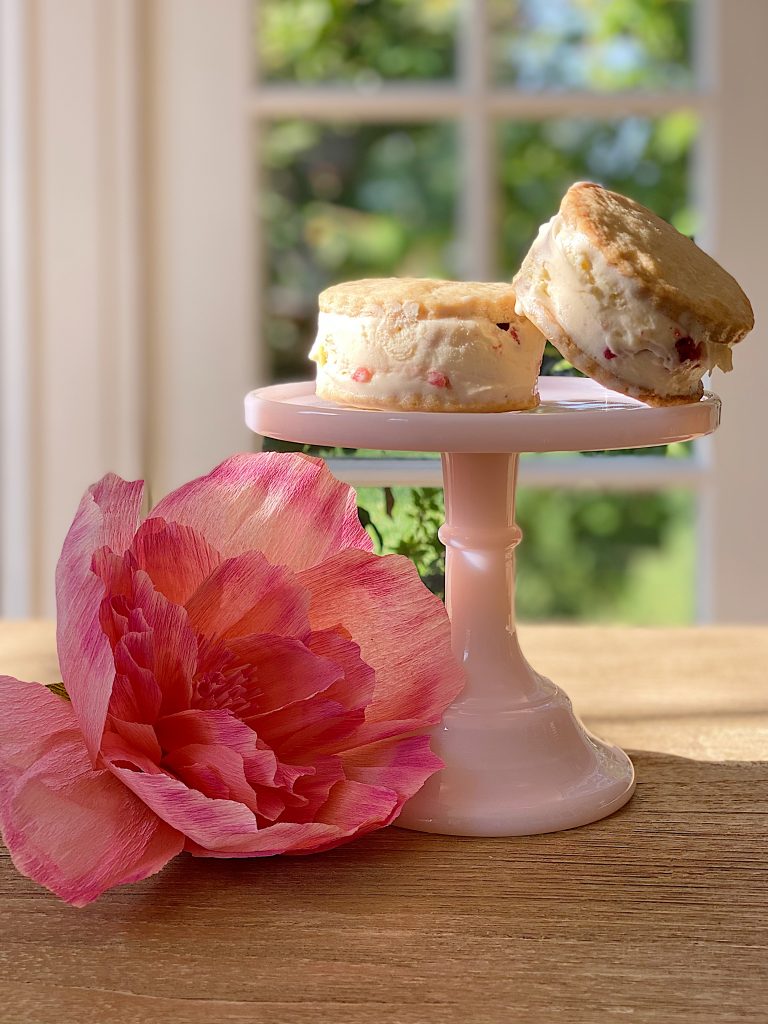
How to Make Strawberry Shortcake Ice Cream Sandwiches
Today, I am sharing my strawberry shortcake ice cream sandwiches. It’s strawberry season, so what could be better? These strawberry shortcake ice cream sandwiches are easy to make and taste amazing. Can you think of anything better for a hot summer day?
-
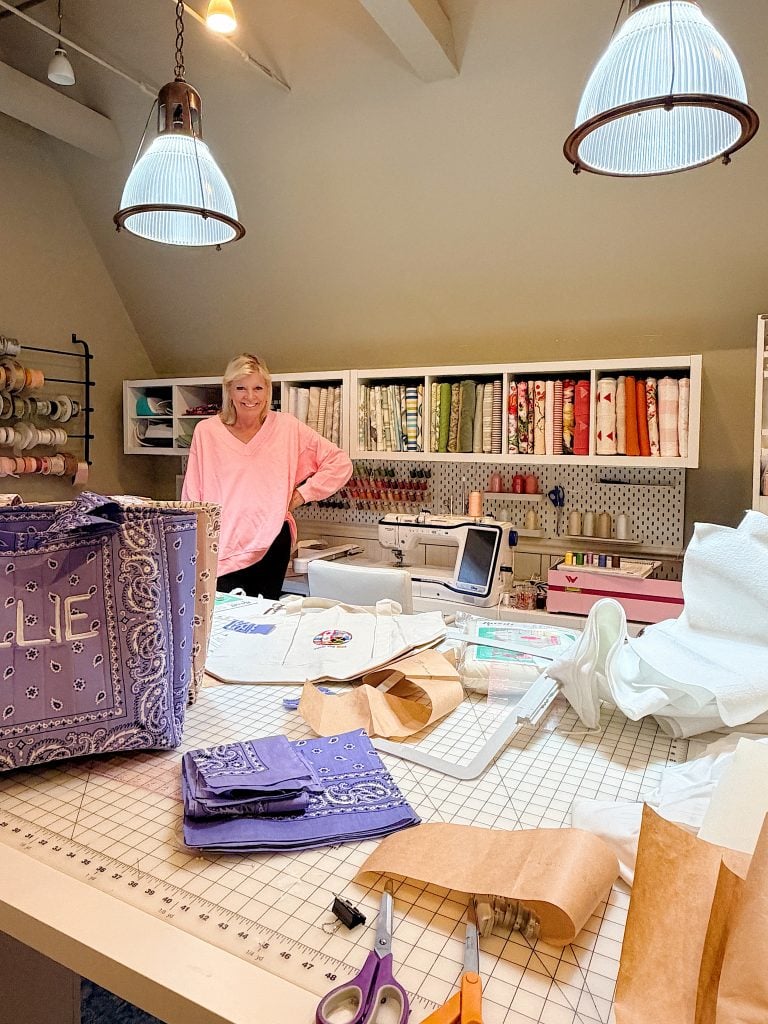
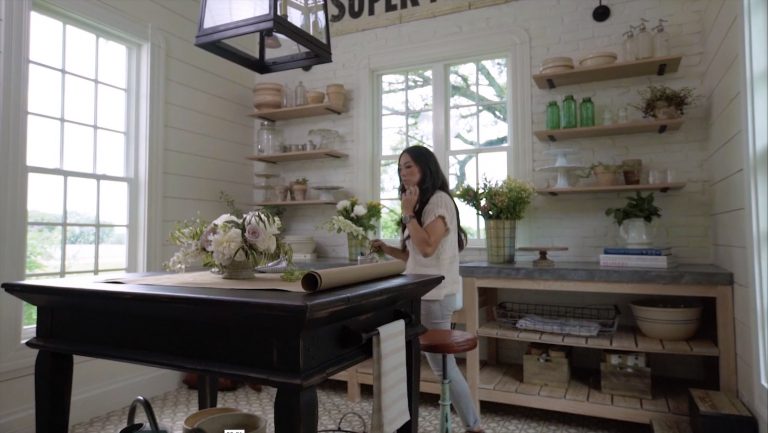
What’s on My Summer Craft Room Table Now – Mondays in the Craft Room
If you’ve ever wondered what my craft room really looks like in the middle of a busy creative season, today is your lucky day. Spoiler alert: it isn’t picture-perfect! Right now I have embroidery projects, sewing projects, and supplies covering just about every work surface, and I wouldn’t have it any other way. Today I’m…
My Recent Instagram Posts

You can pin the image below to your boards on Pinterest (click the Pin button in the top left corner) or follow me on Pinterest!
For more real-time updates, follow me on Instagram @My100YearOldHome
Leslie, the shirts are just beyond cute! I can’t believe how much Graham looks like his dad!
Thank you. And you are so right! He is a mini Andrew!
L
Made these yesterday with my grandchildren. Your directions were so easy to follow and the shirts are adorable! Happy Fourth!
Oh that is wonderful to hear! Enjoy.
Leslie