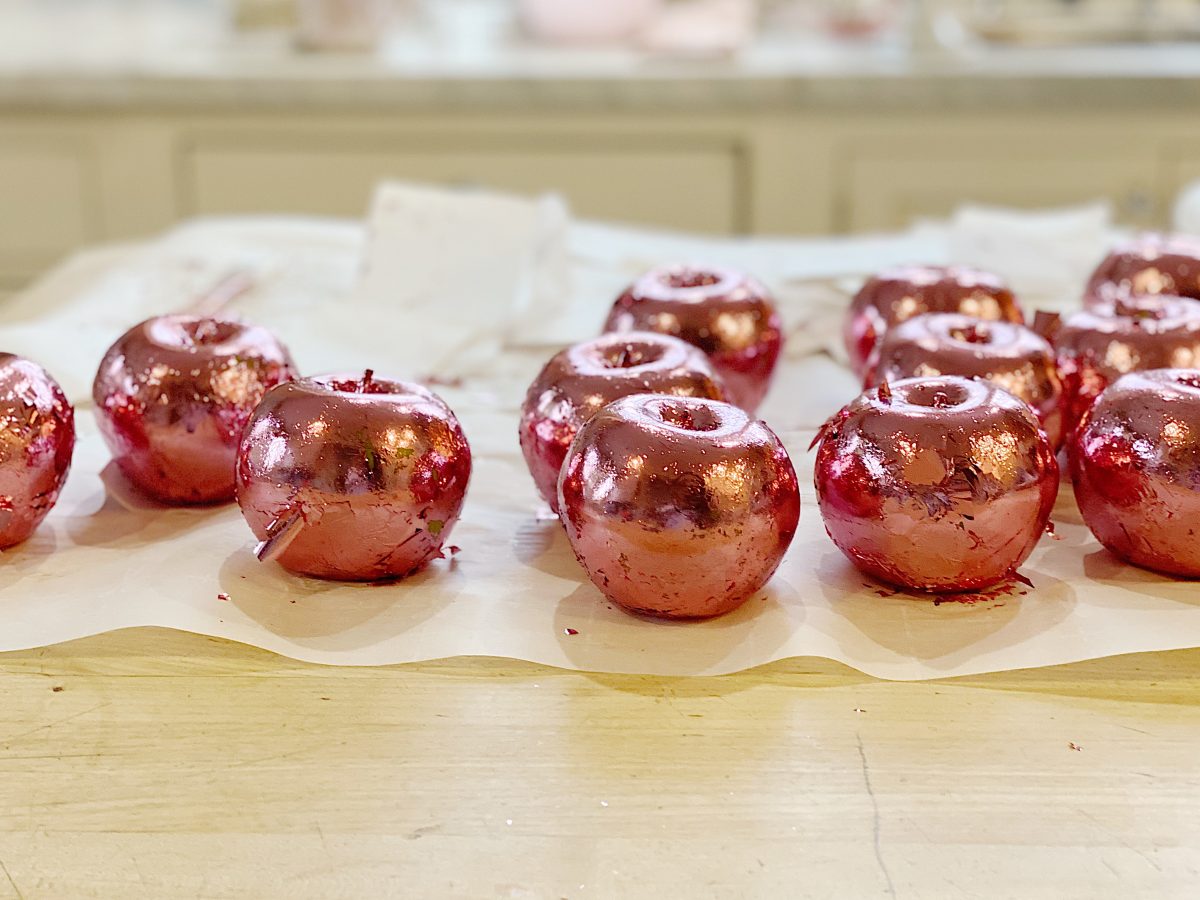
Pink Apples Valentine’s Day Craft
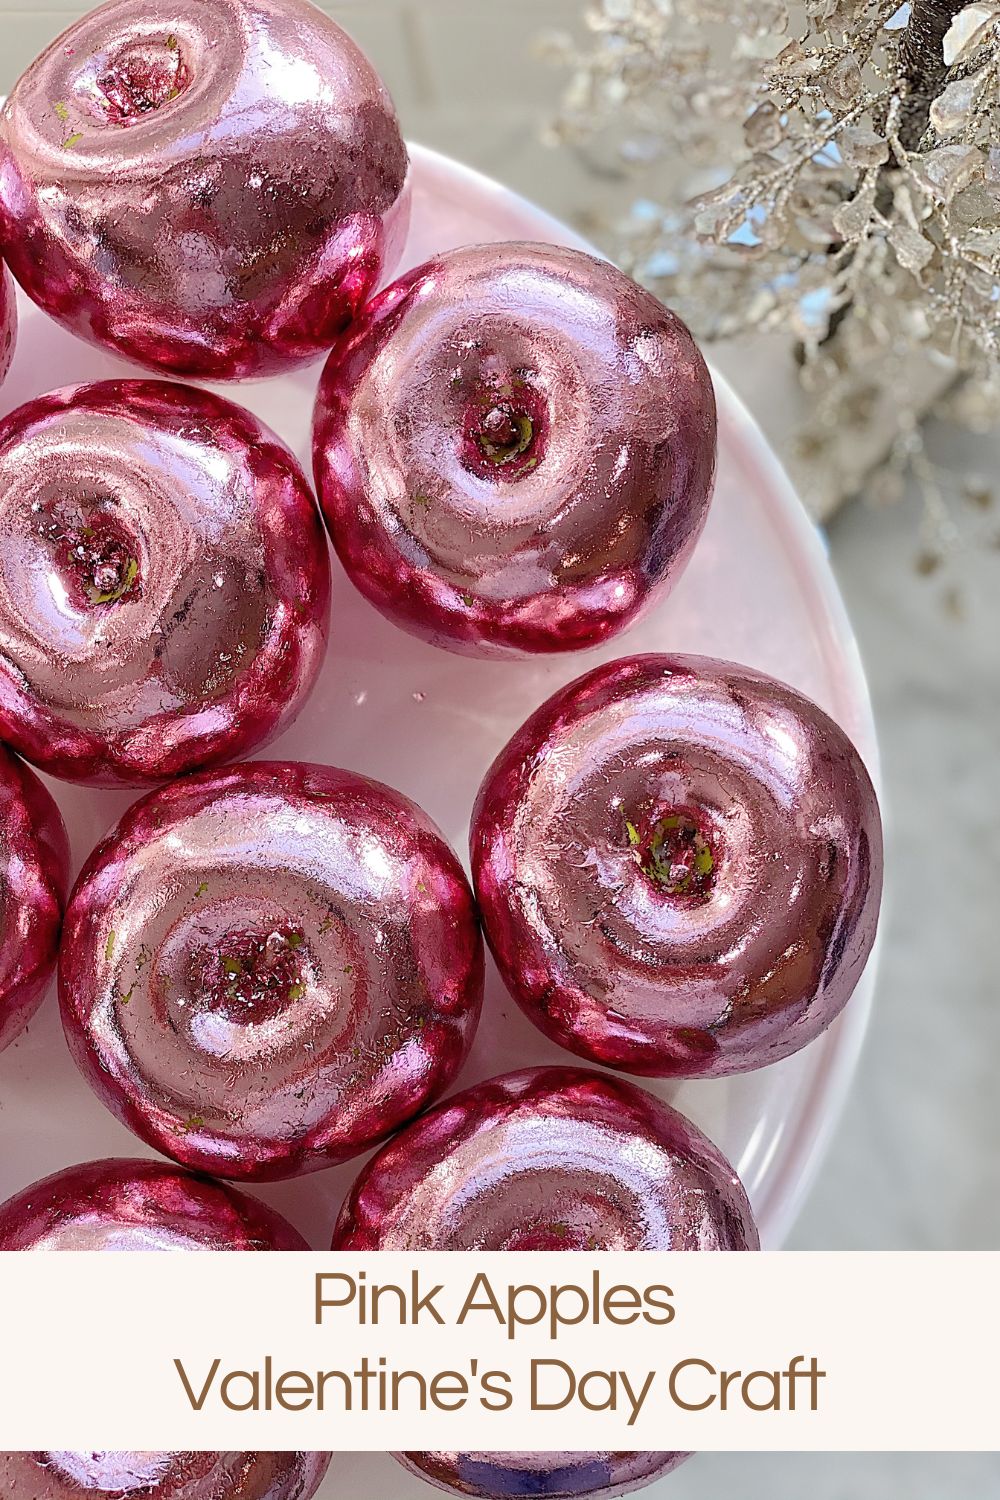
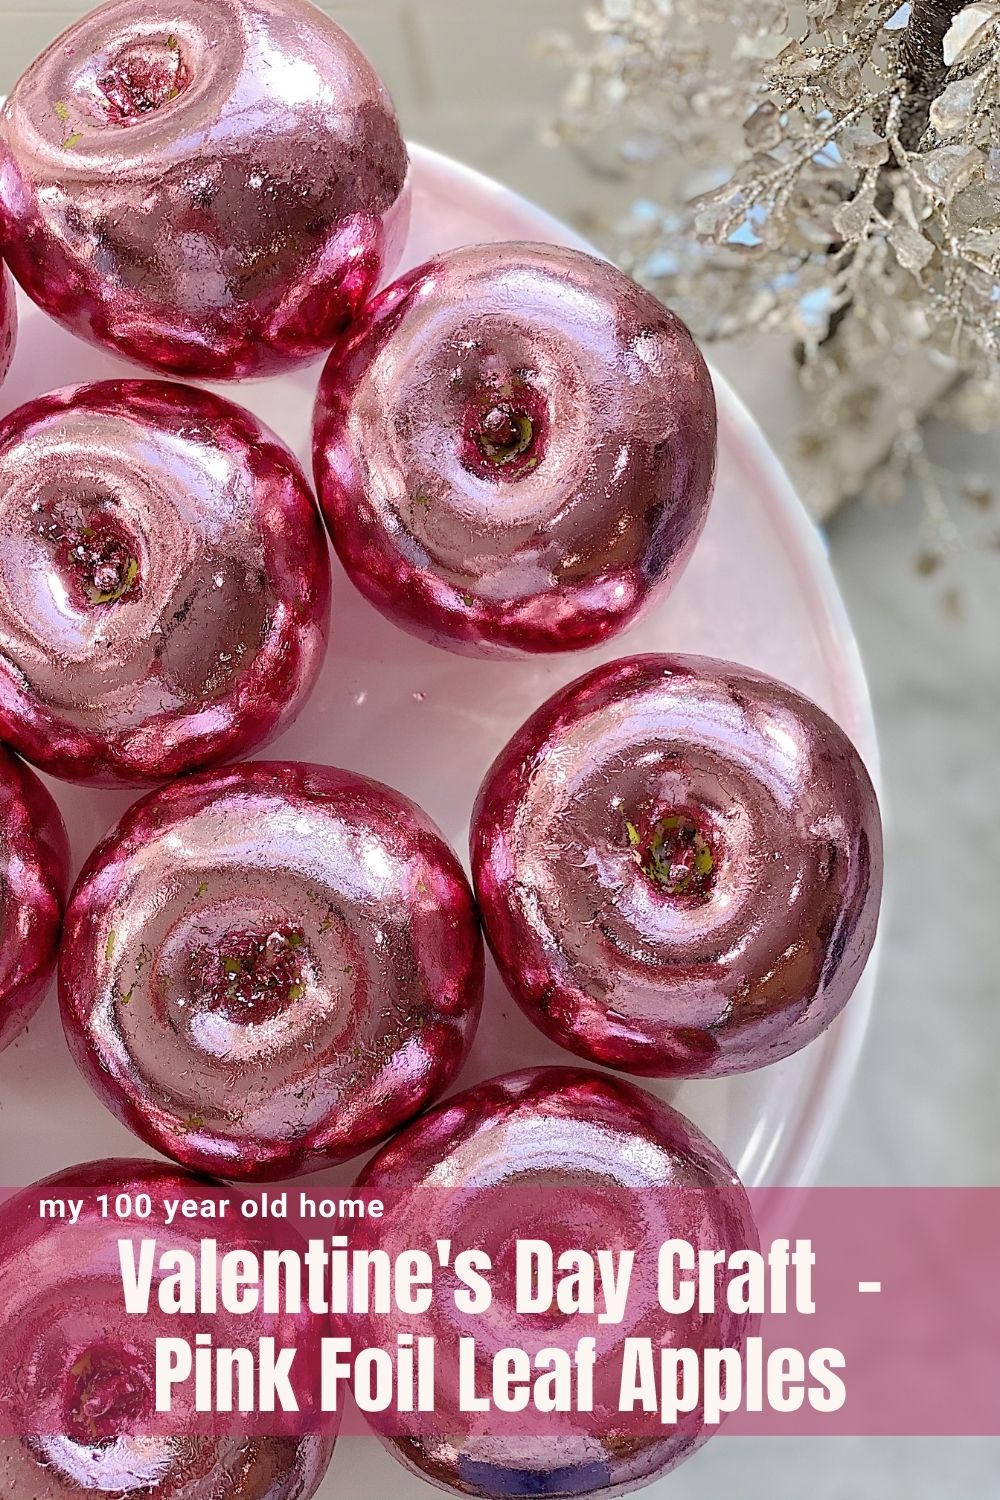
This DIY Valentine’s Day Craft is so easy. Add pink foil leaf to create beautiful, shiny pink apples in less than thirty minutes.
If you want a fun and easy craft project, try making these pink foil apples! They’re perfect for a Valentine’s Day craft. Today, you will learn how to add a little sparkle to faux apples with pink foil leaf.


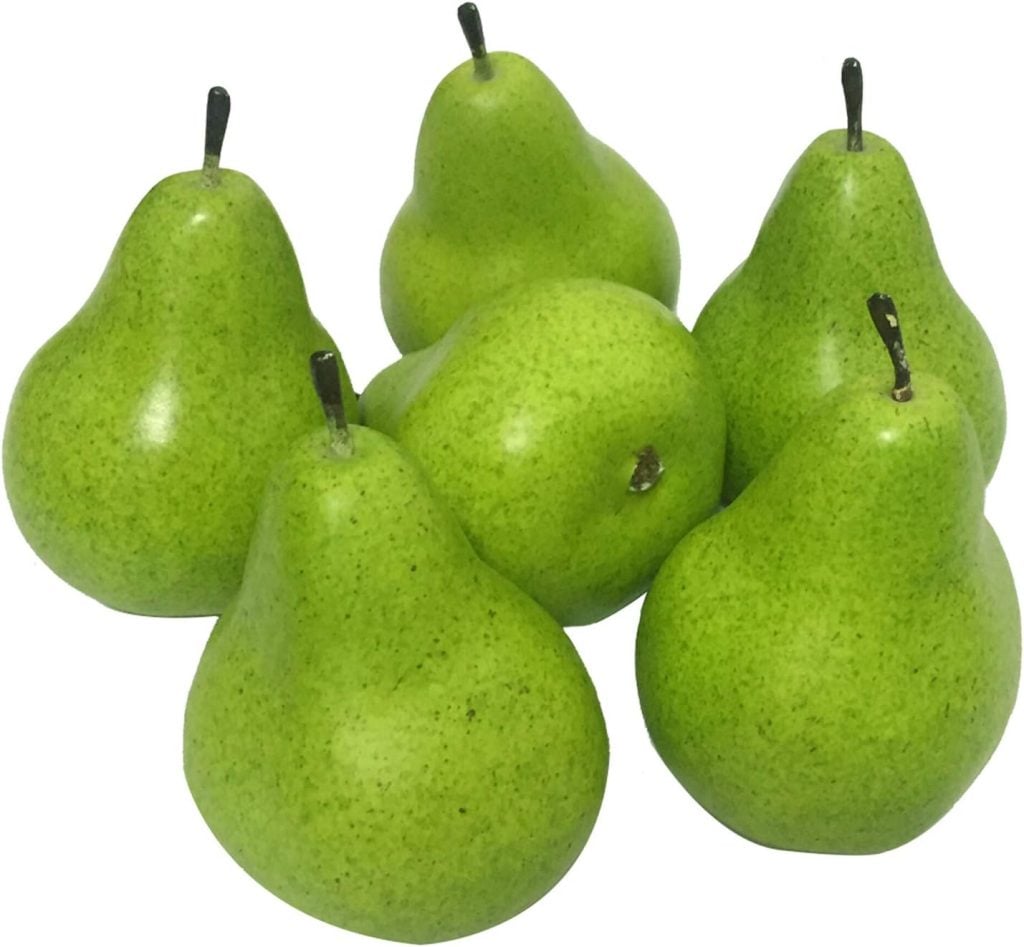
You might remember the gold and silver leaf pears I made for Christmas. I loved them so much, and I knew I wanted to make some more. When I did some research, I discovered that foil leaf comes in a lot of colors. So I made pink foil apples for a Valentine’s Day craft.
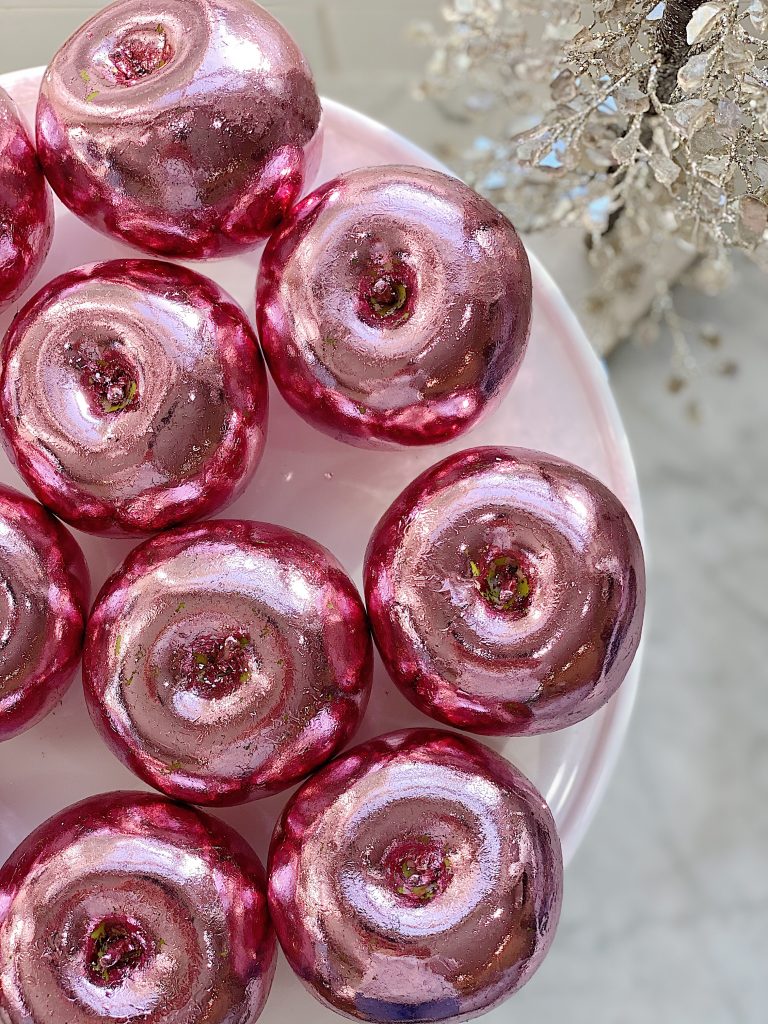
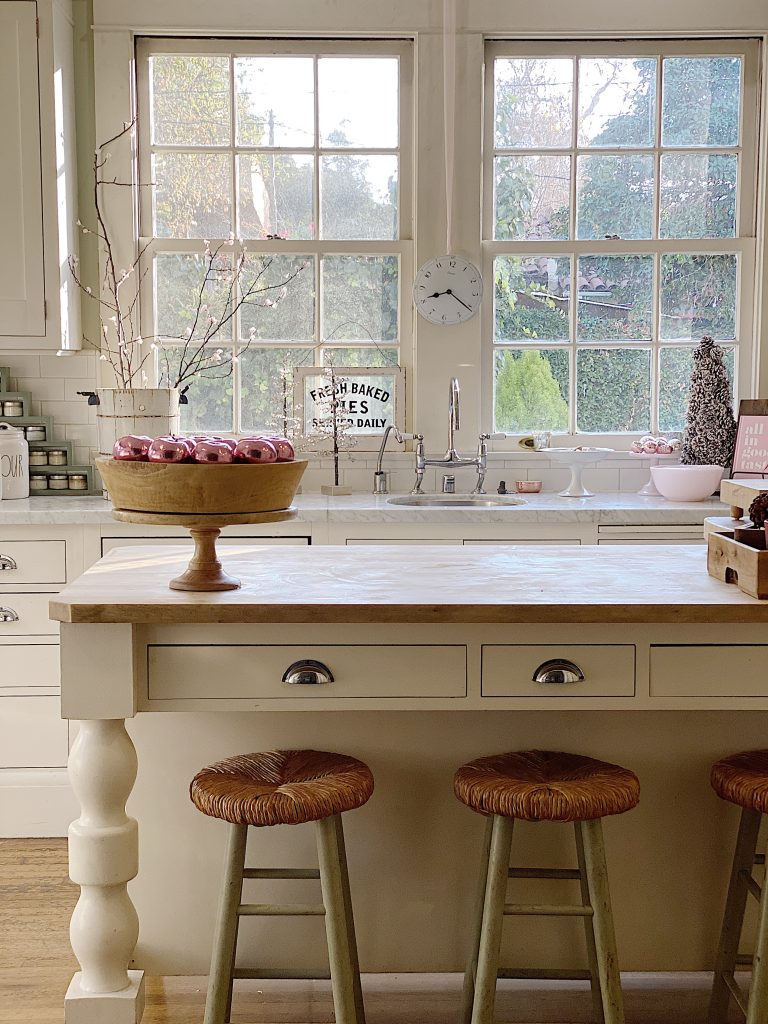
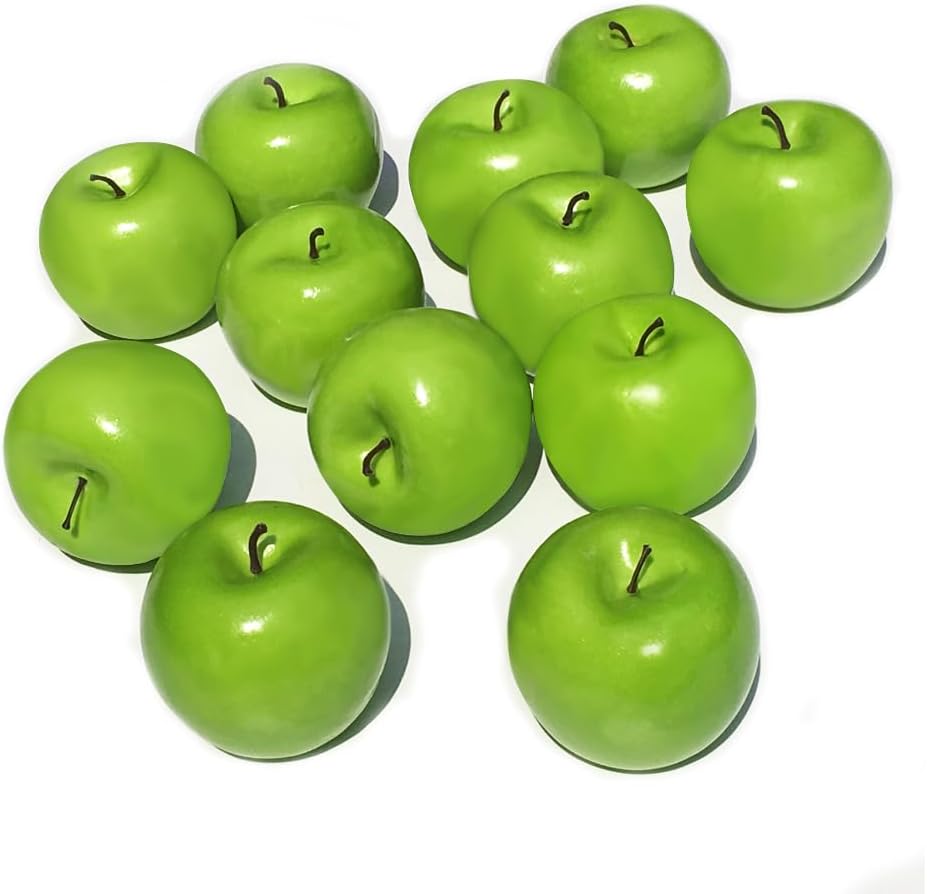
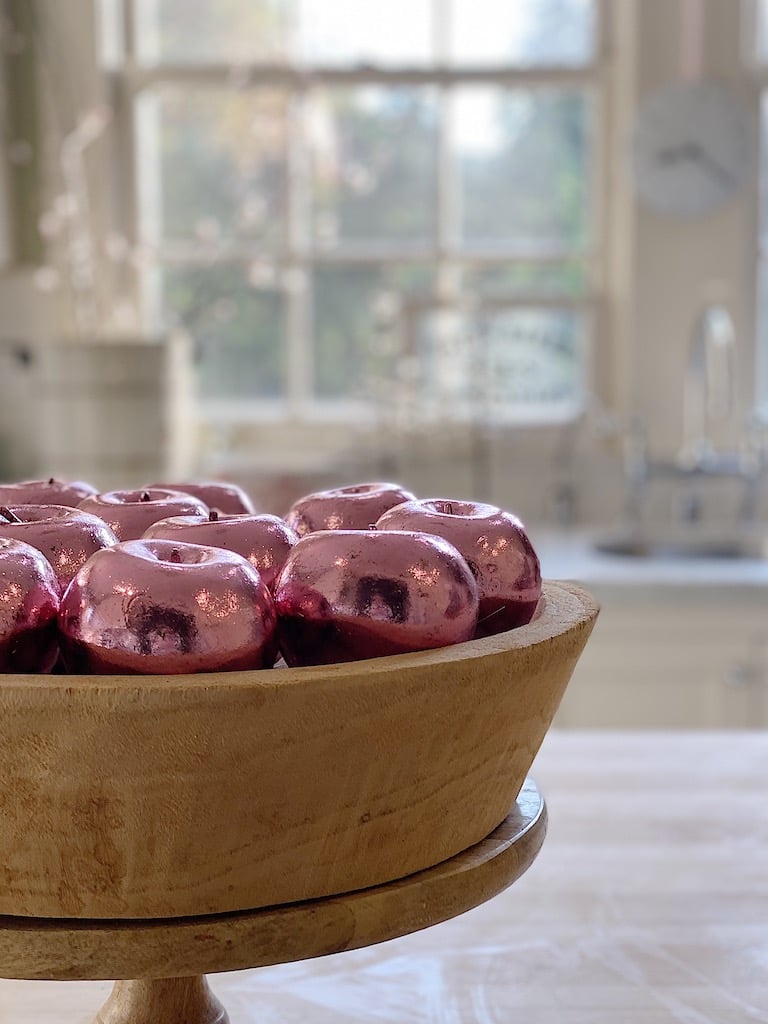
Don’t these pink foil faux apples look amazing?
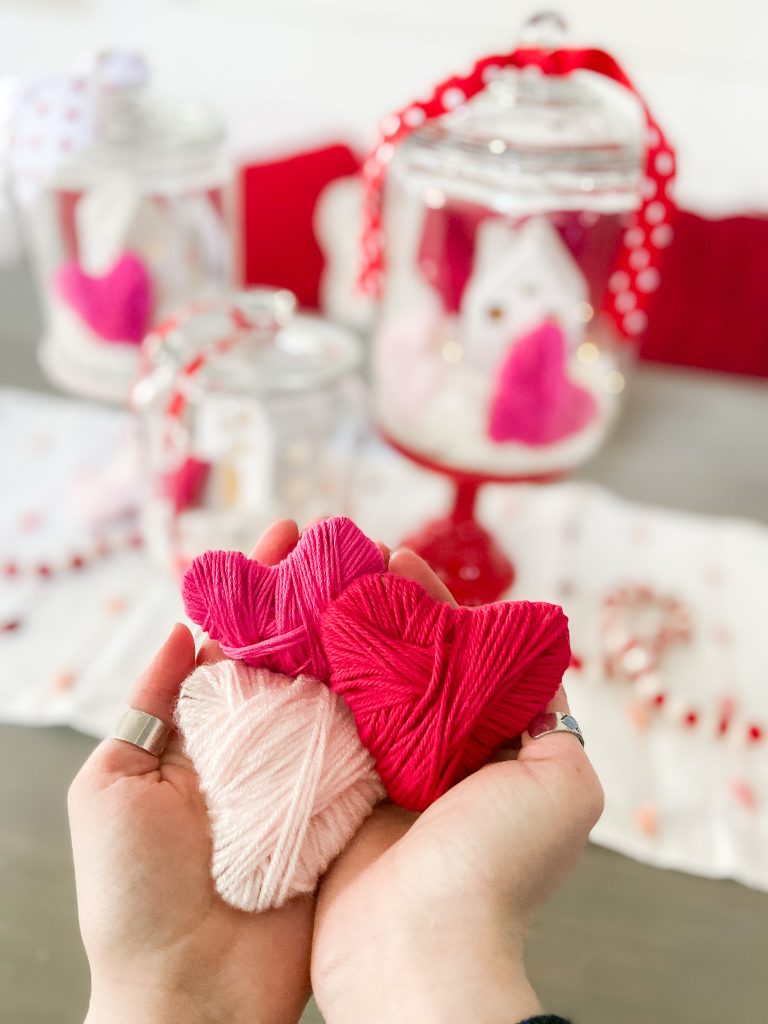
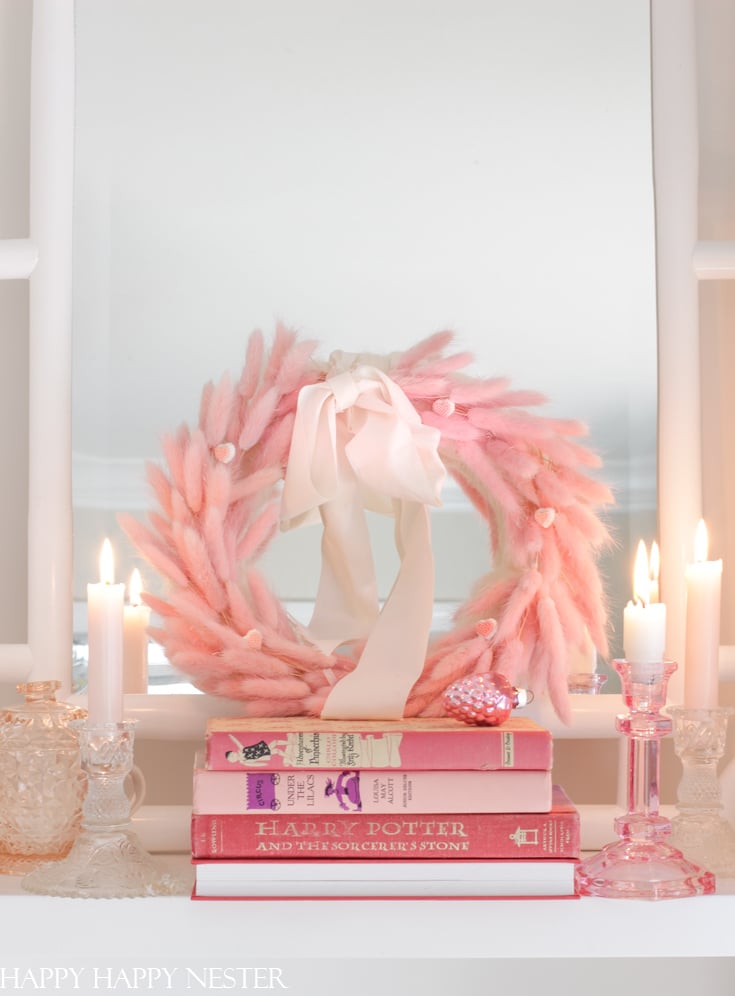
I also teamed up with some of my favorite bloggers, Thistlewood Farms, Happy Happy Nester, Tatertots and Jello, and The DIY Mommy. We are all sharing a 30-minute Valentine’s Day Craft. Be sure and scroll to the bottom to see their crafts.
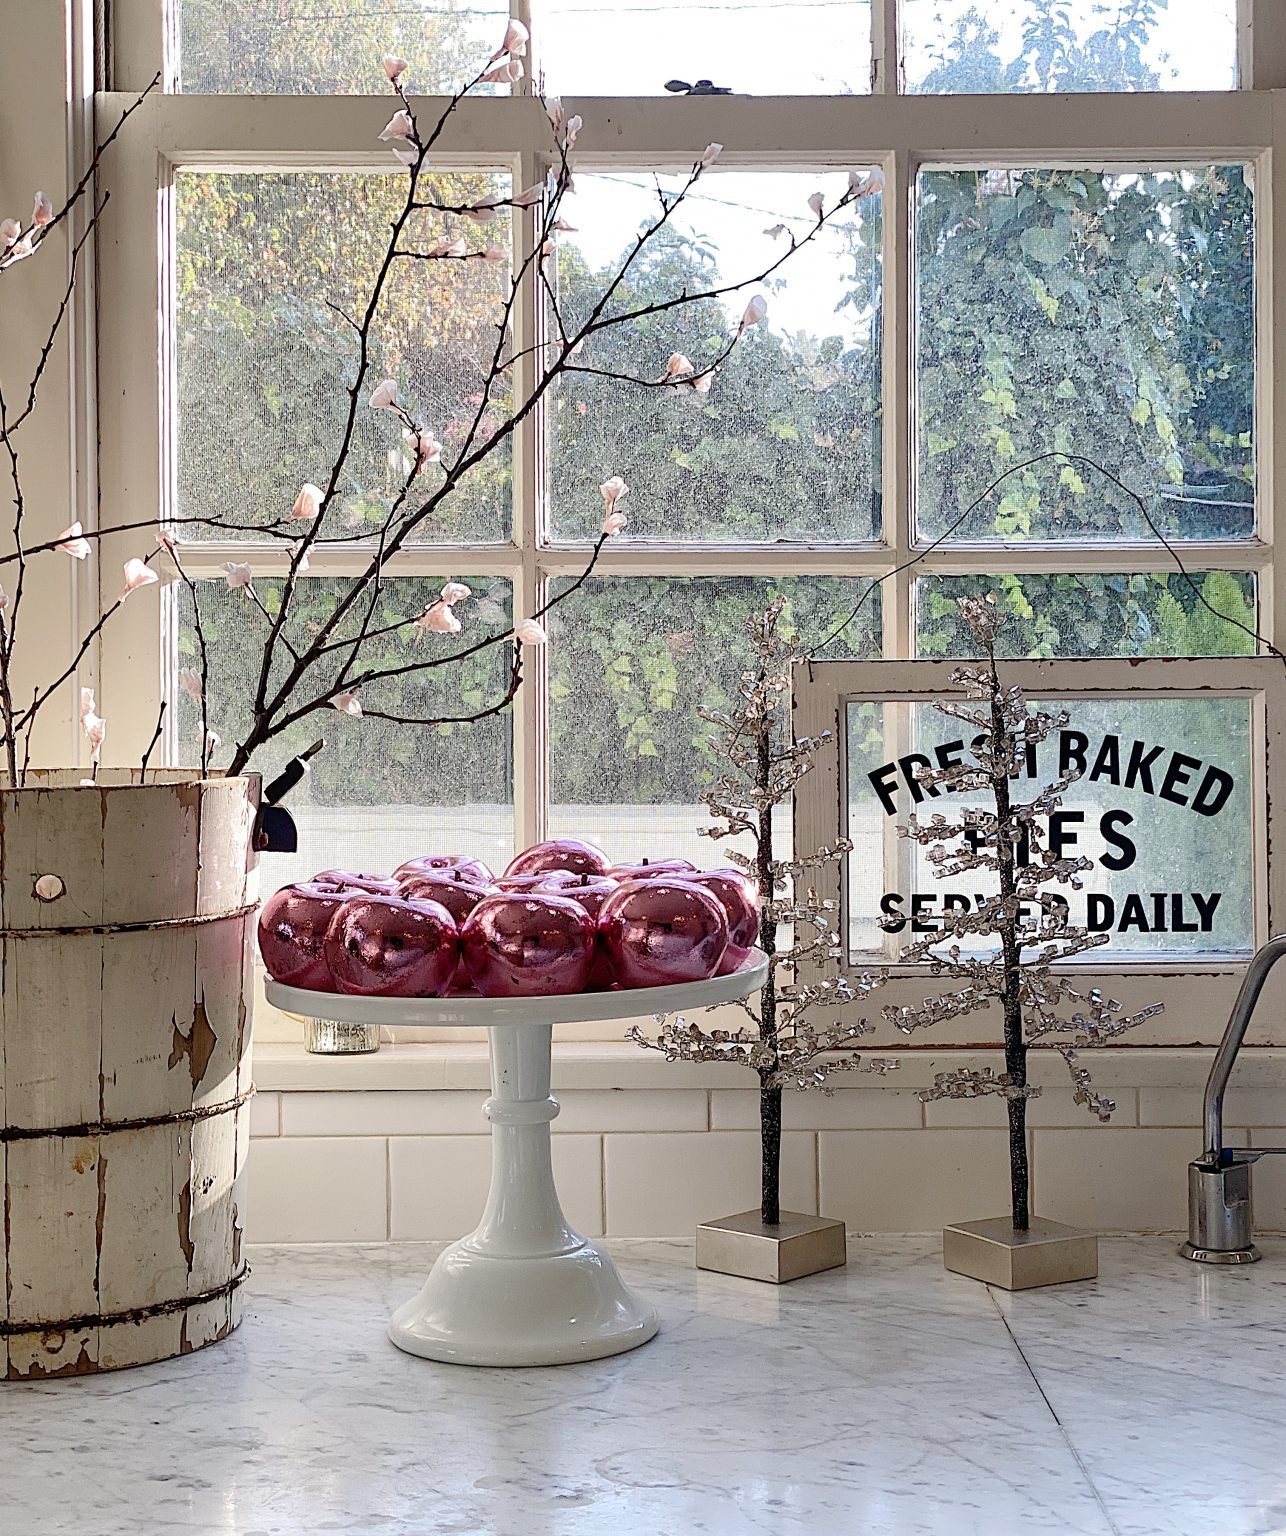
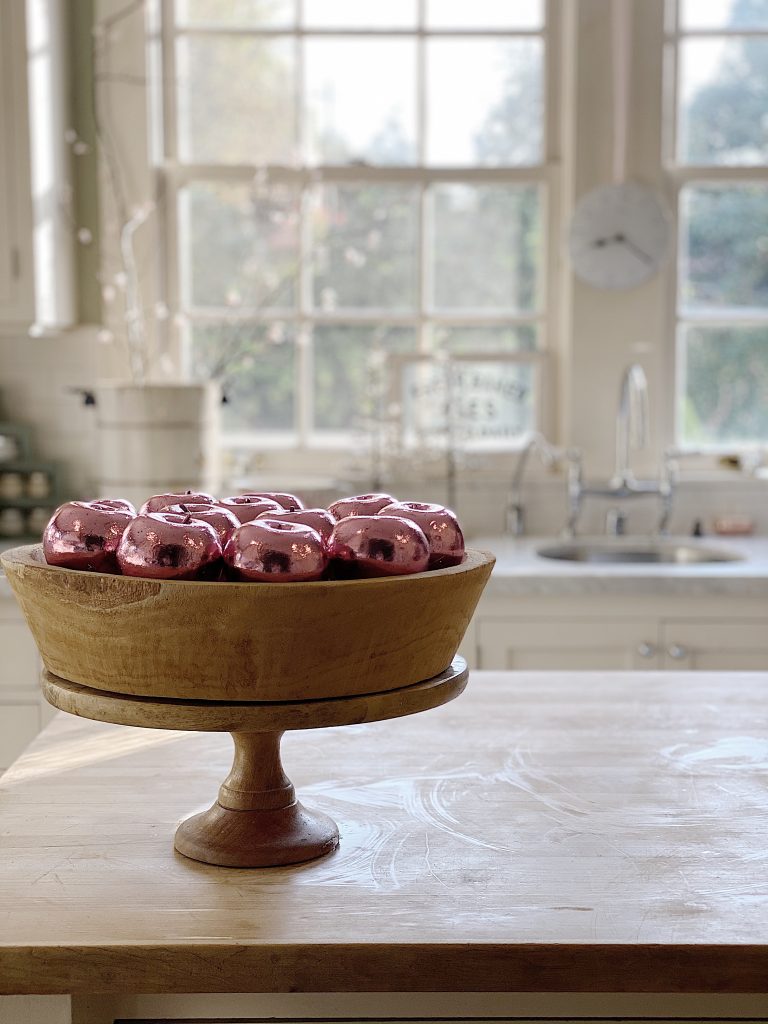
These apples are bright and colorful and look fabulous in my kitchen. They look incredible and I will probably move them all around the house. Don’t be surprised when you see them in another room!
These apples are a thirty-minute craft. While you can’t make twelve of them in thirty minutes, you can make a few. I love doing a craft that is easy and inexpensive but looks fantastic.
How to Make Pink Foil Apples Valentine’s Day Craft
Difficulty Level: Medium*
(It’s not that this craft is complicated. The foil is fragile and requires a bit of patience.*)
Approximate cost: $3.00 per apple
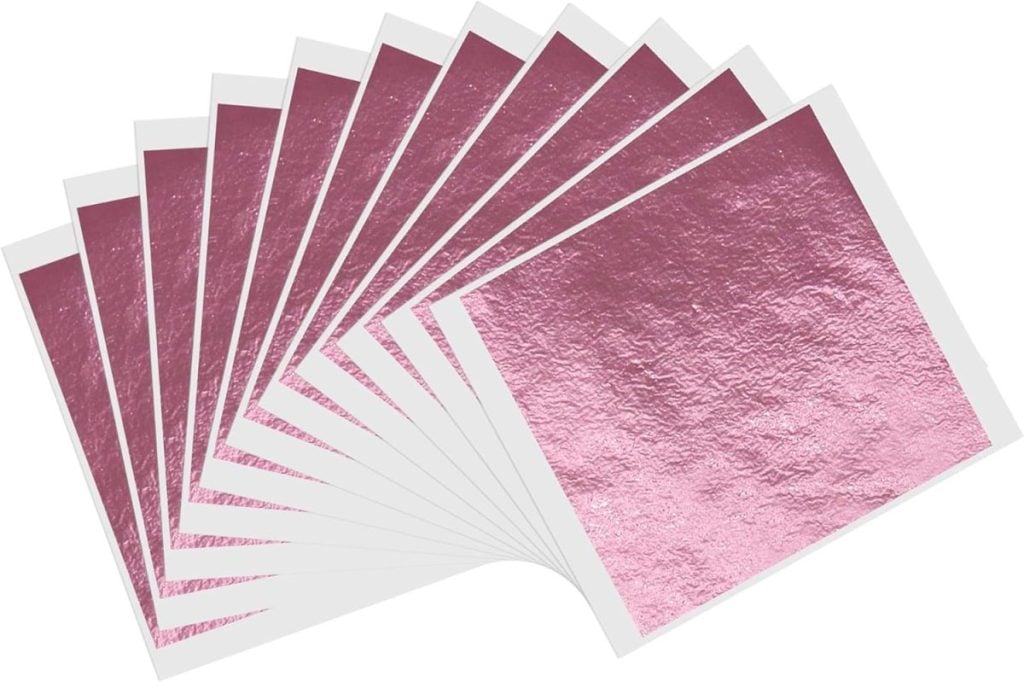
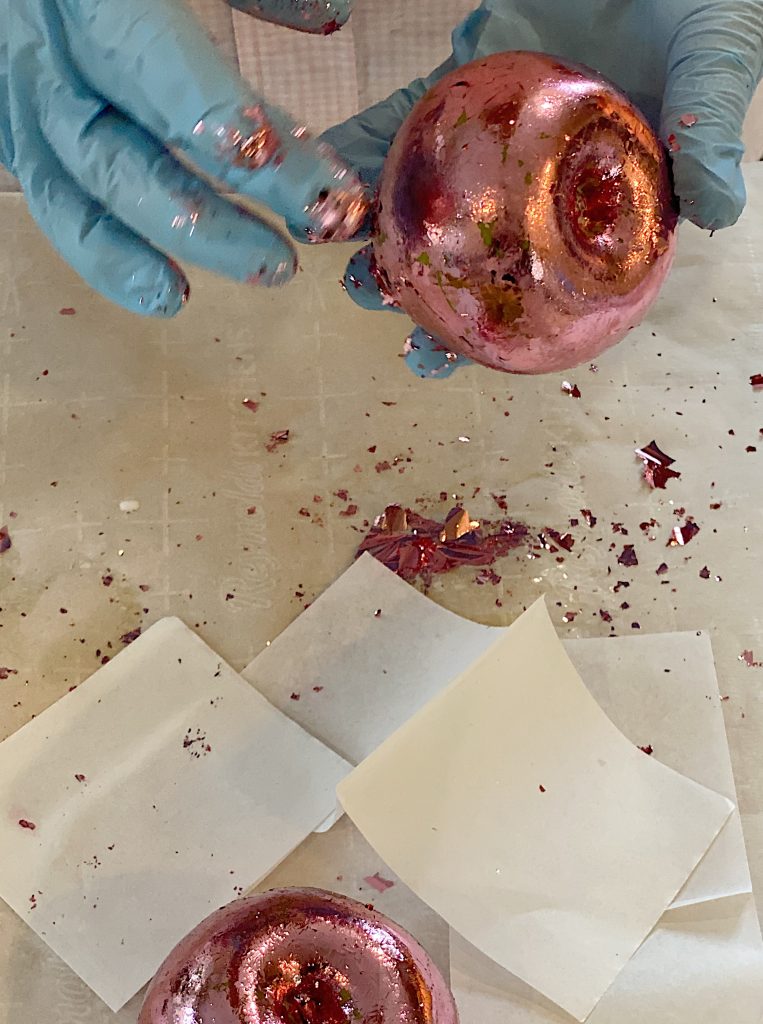
*Before we start, I want to say that foil leaf is incredibly delicate and thin! You can’t pick it up with your fingers, so instead, you can pull off one side of the outside paper and press the foil directly onto the piece of fruit. The nice thing about foil leaf is that you can use a lot of sheets. If you place a sheet on the fruit and there are a lot of missing spots, use another one over the area that needs coverage. Don’t expect to apply the foil leaf perfectly. Just use as many sheets as you need to cover the fruit.
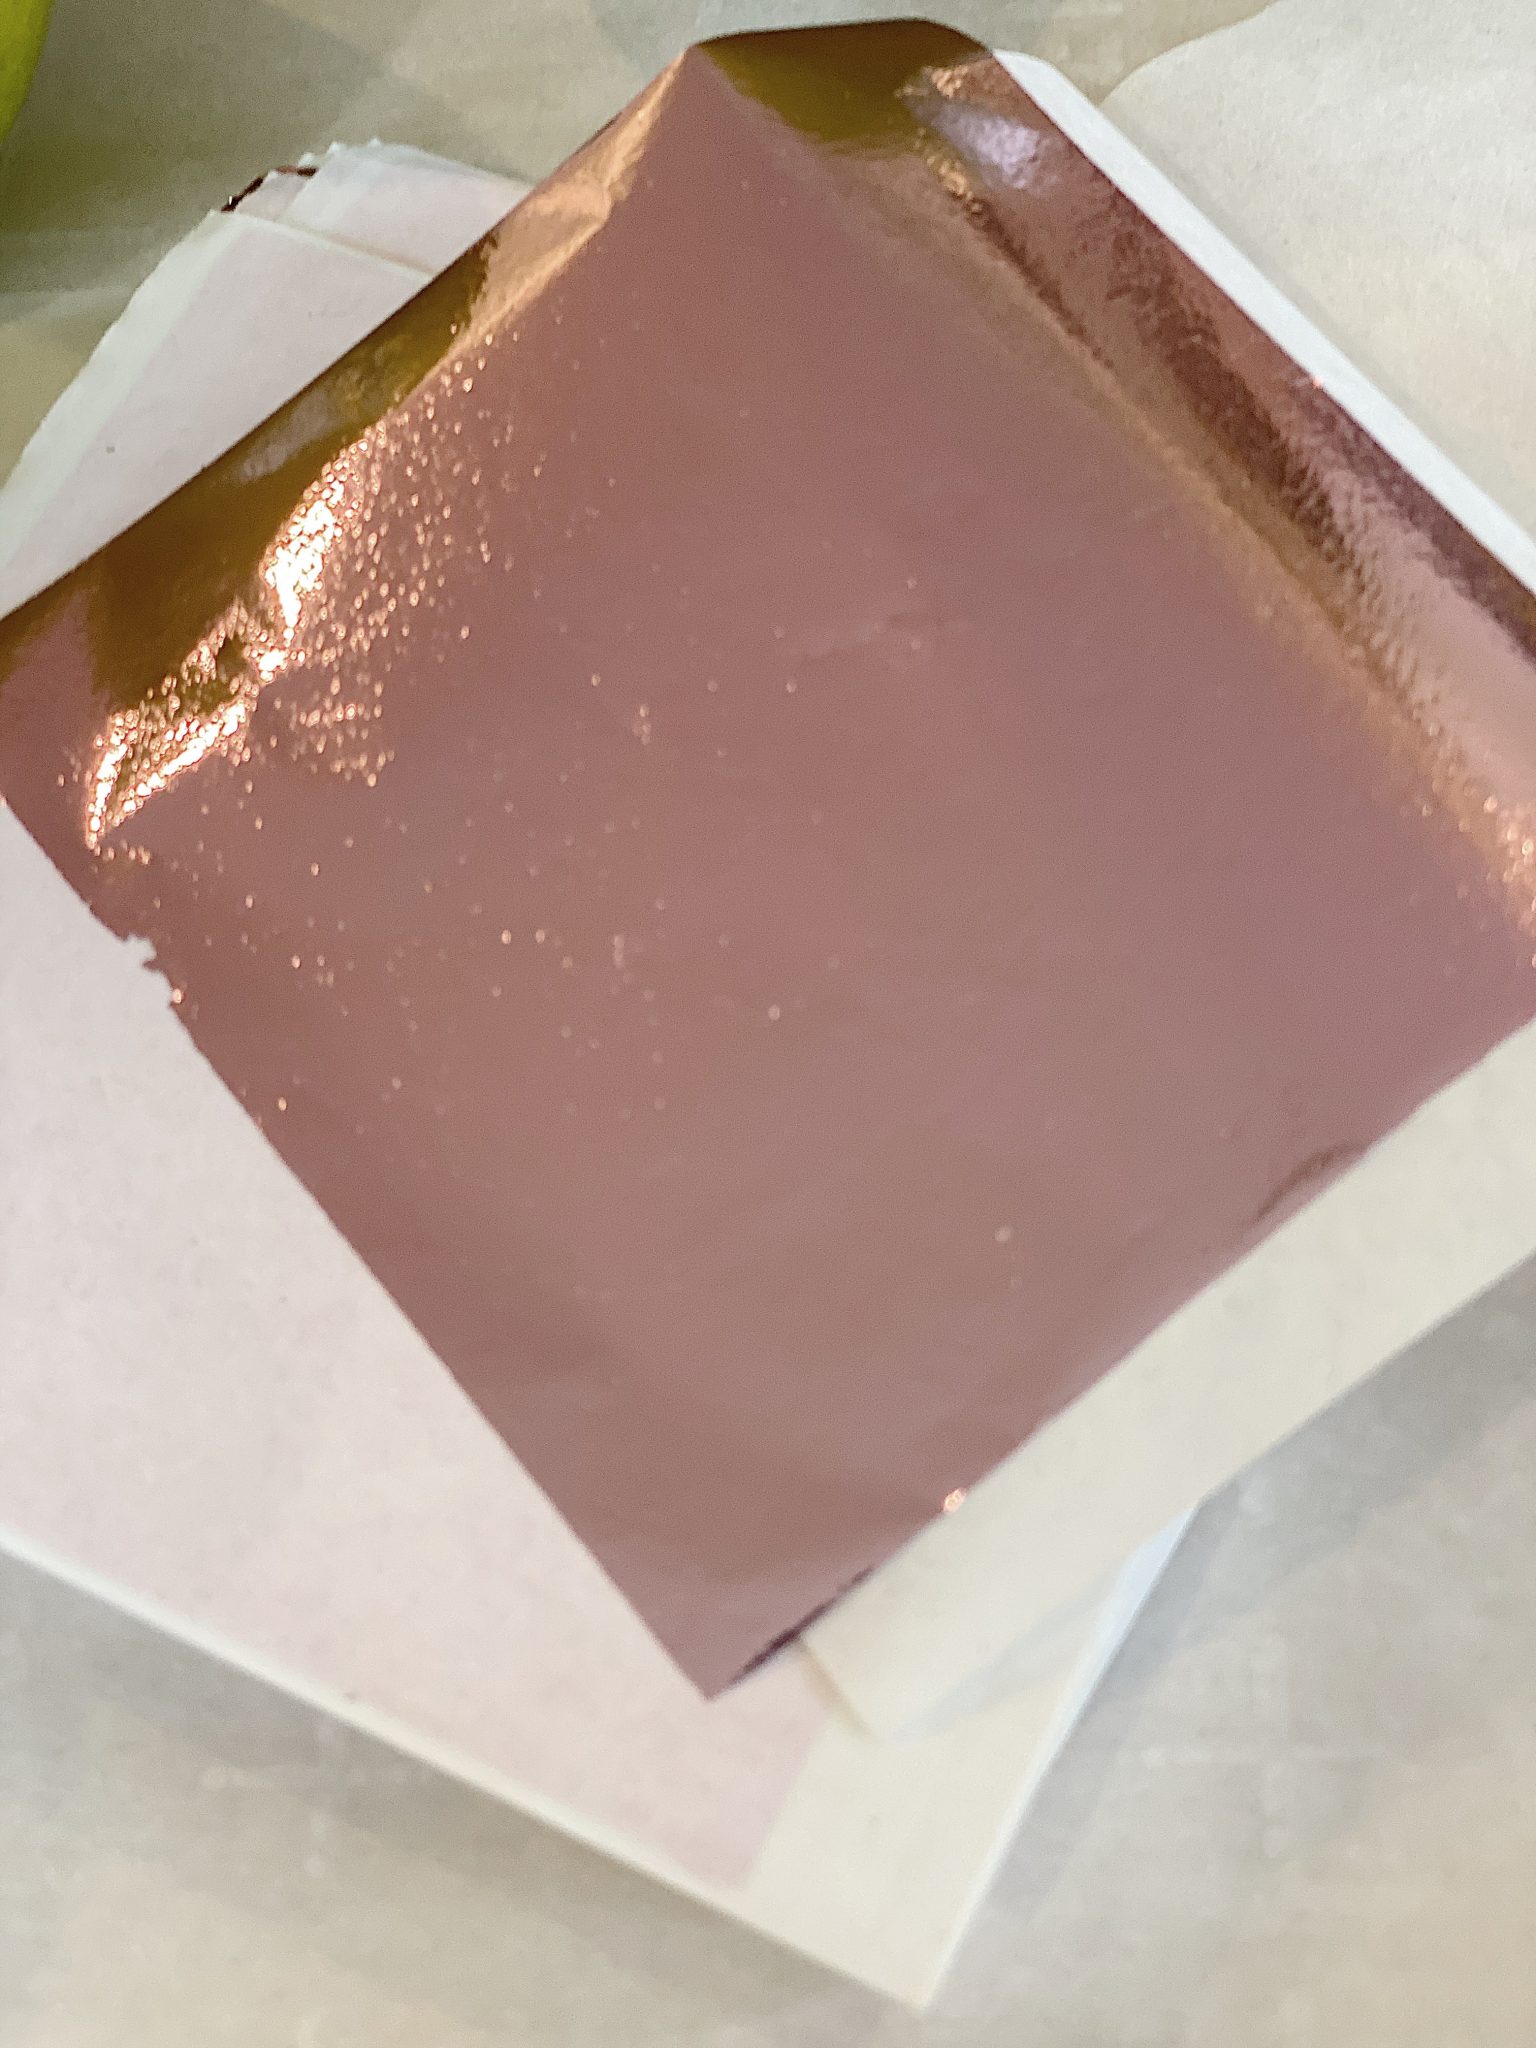
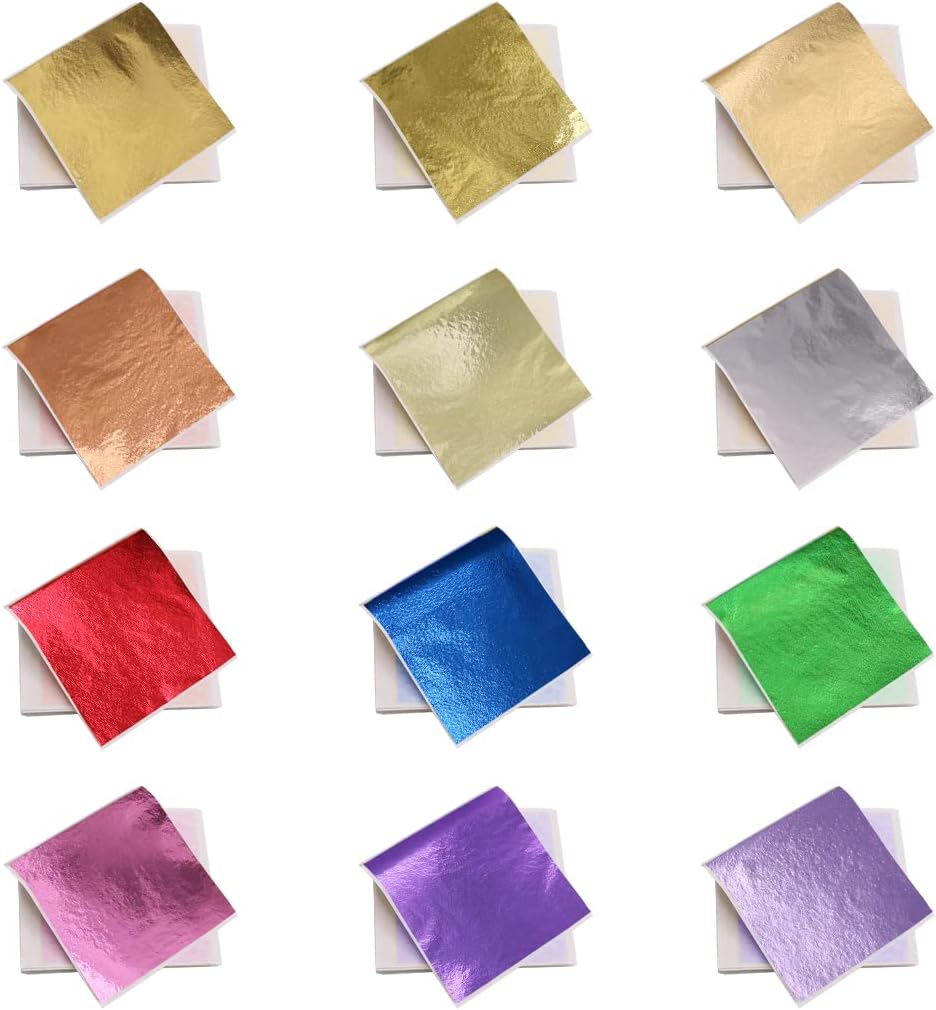
Foil leaf comes in a lot of different colors. I have used rose gold, silver, and gold. I discovered more colors (these come in a set): blue, gold, pink, purple, red, cyan, peach purple, gold, and rose red.
For this project, I used pink. (This link has 100 sheets of single colors.) I made twelve pink apples with 100 sheets.
Materials List to Make Pink Foil Apples
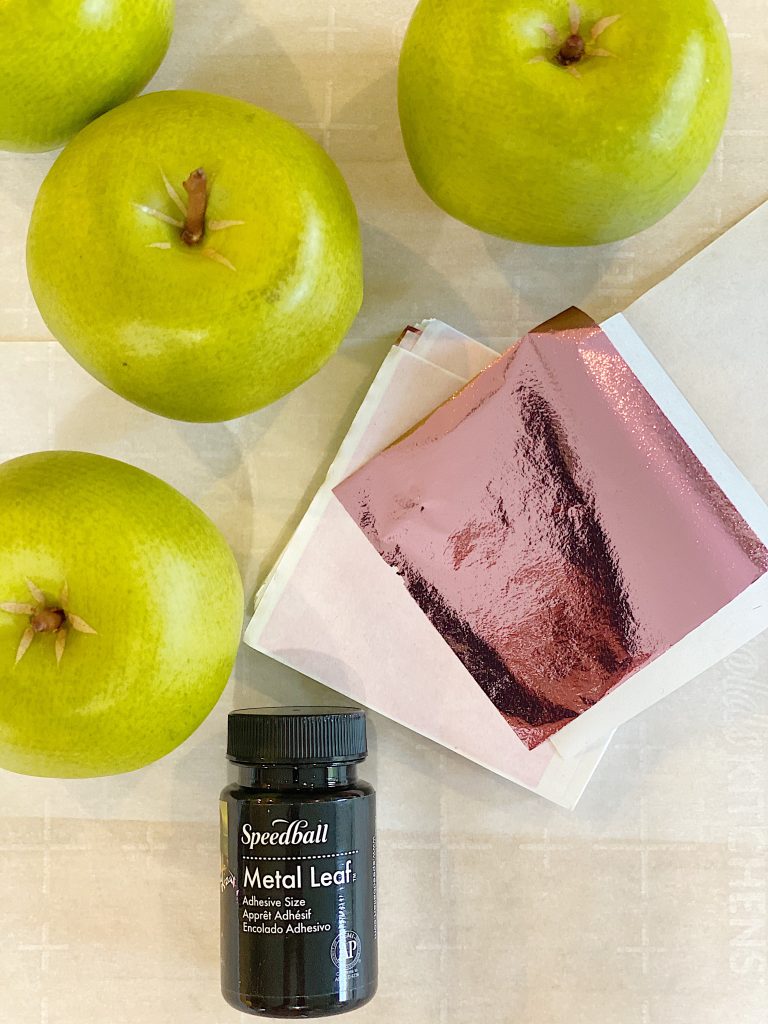
Here is what you need to make these apples.
Faux fruit. (I used apples, but I have also used pears.)
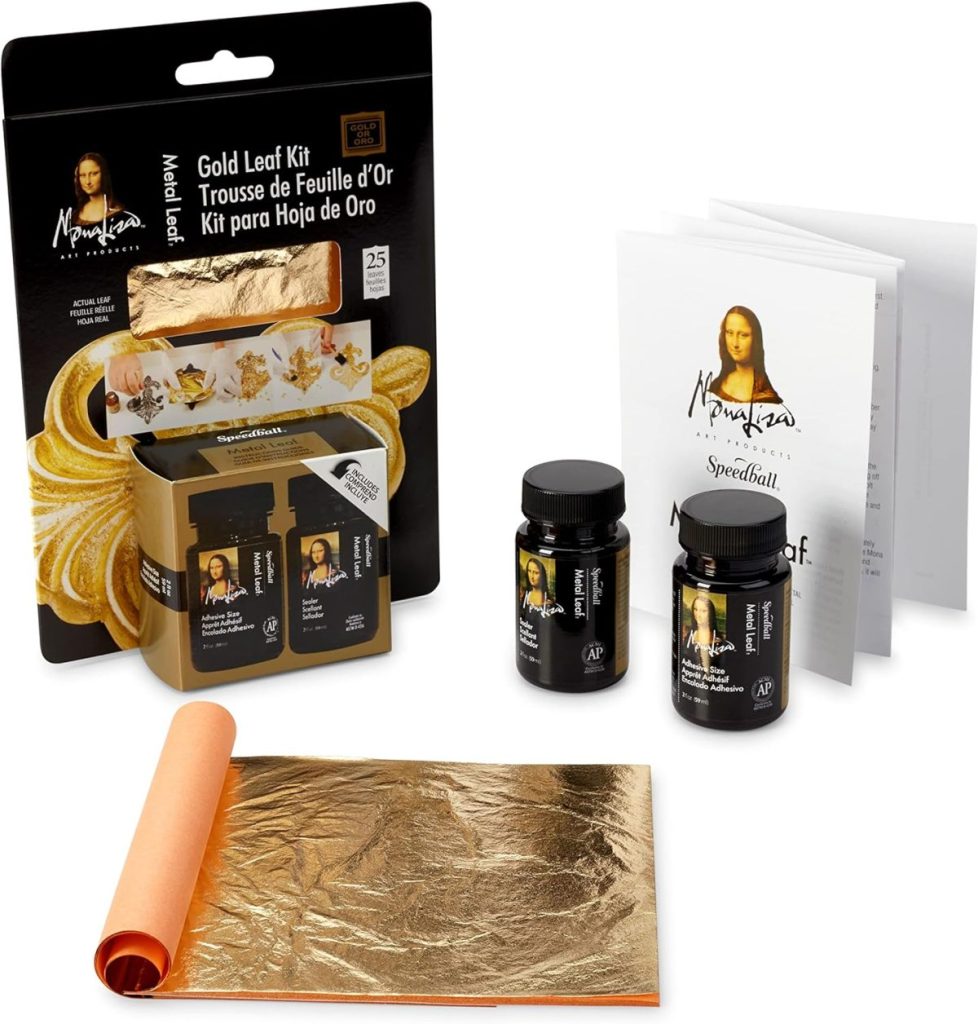
Speed Ball Metal Leaf Adhesive
Metal Leaf Foil (100 sheets covered 12 apples. I used Rose Red.)
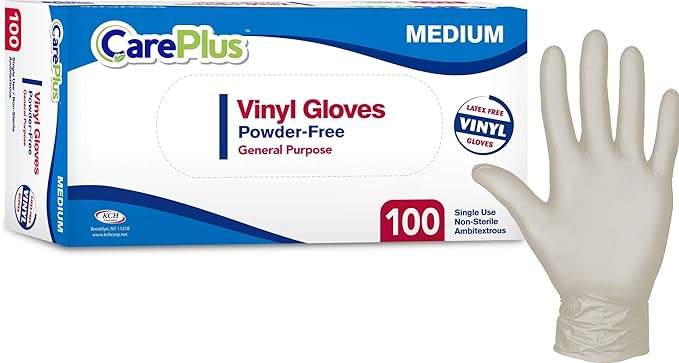
Paint Brush and disposable gloves
I may sometimes use affiliate links on this blog, which means a small commission is earned if you purchase via the link. The price will be the same whether you use the affiliate link or go directly to the vendor’s website using a non-affiliate link.

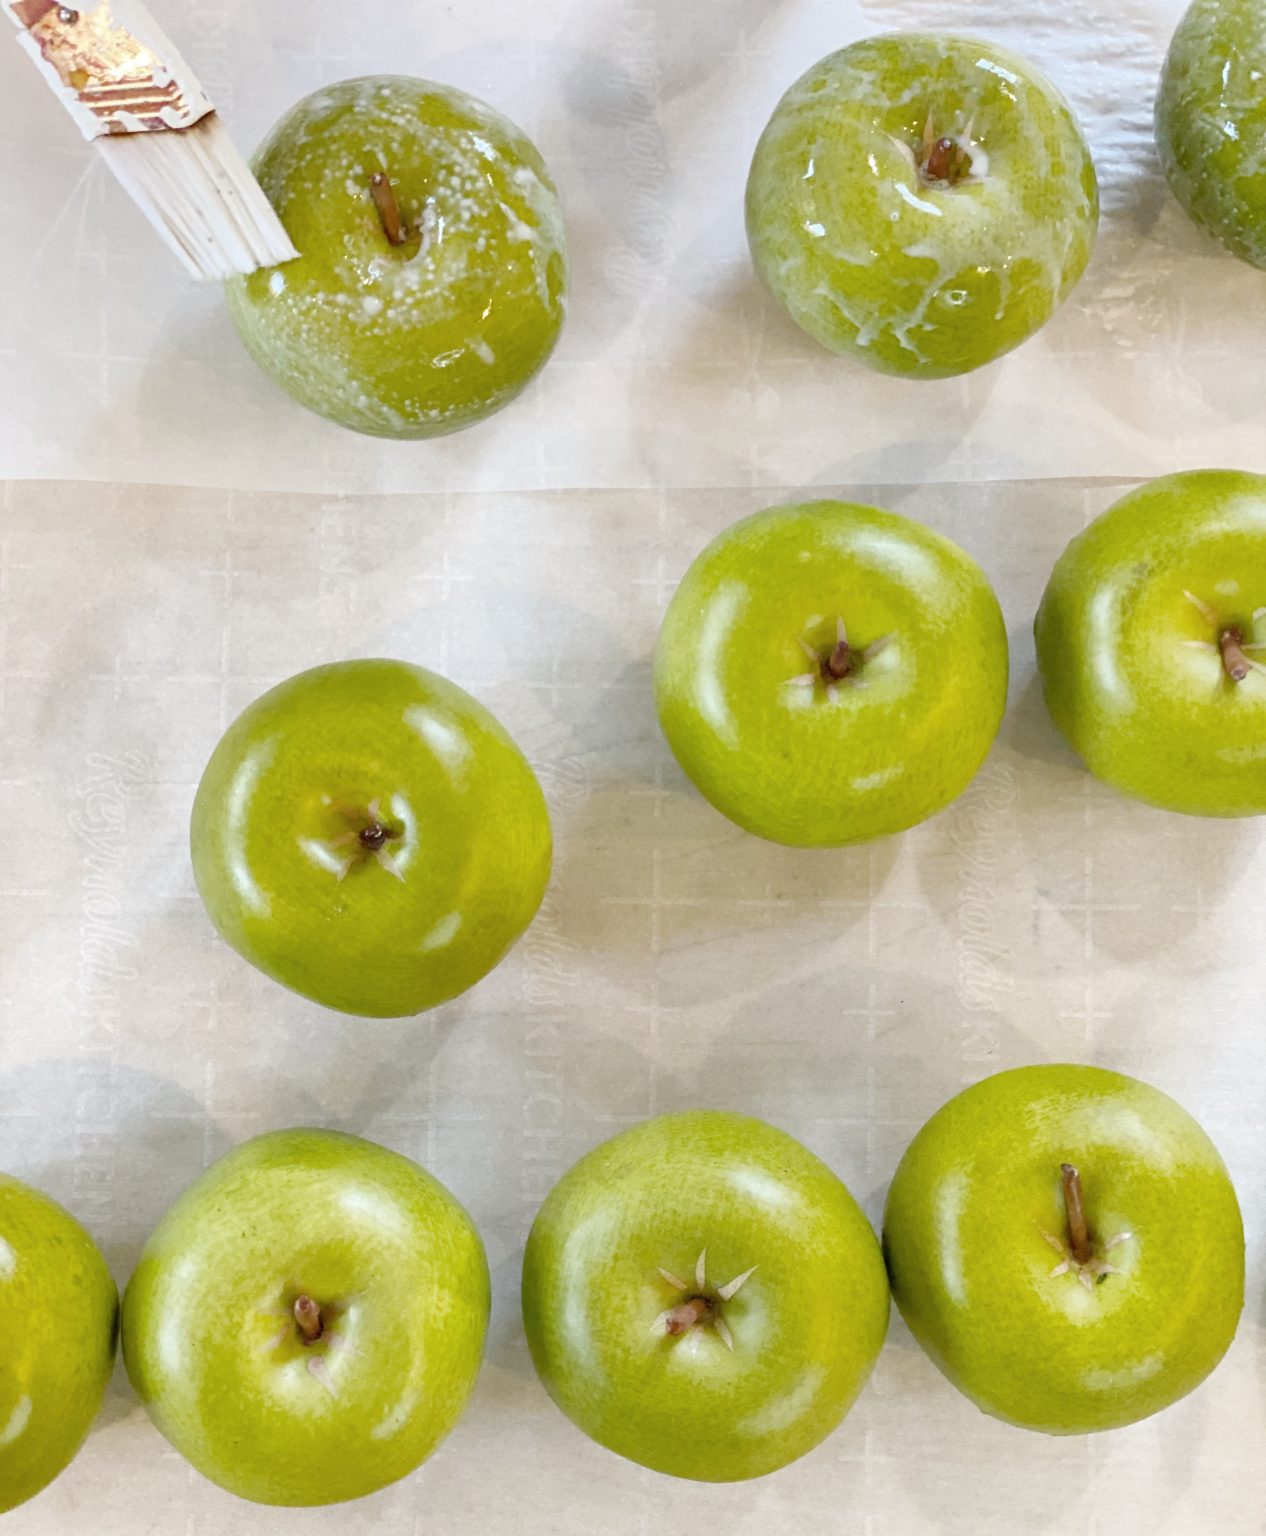
Step 1: Paint the outside of each of the apples with the Metal leaf adhesive. Let it sit for about 15 minutes. (By the time you have finished painting them you can start adding the foil.)
Step 2: Carefully remove one side of the foil cover and lay it on top of the apple.

See how easily the metal leaf adheres to the fruit.
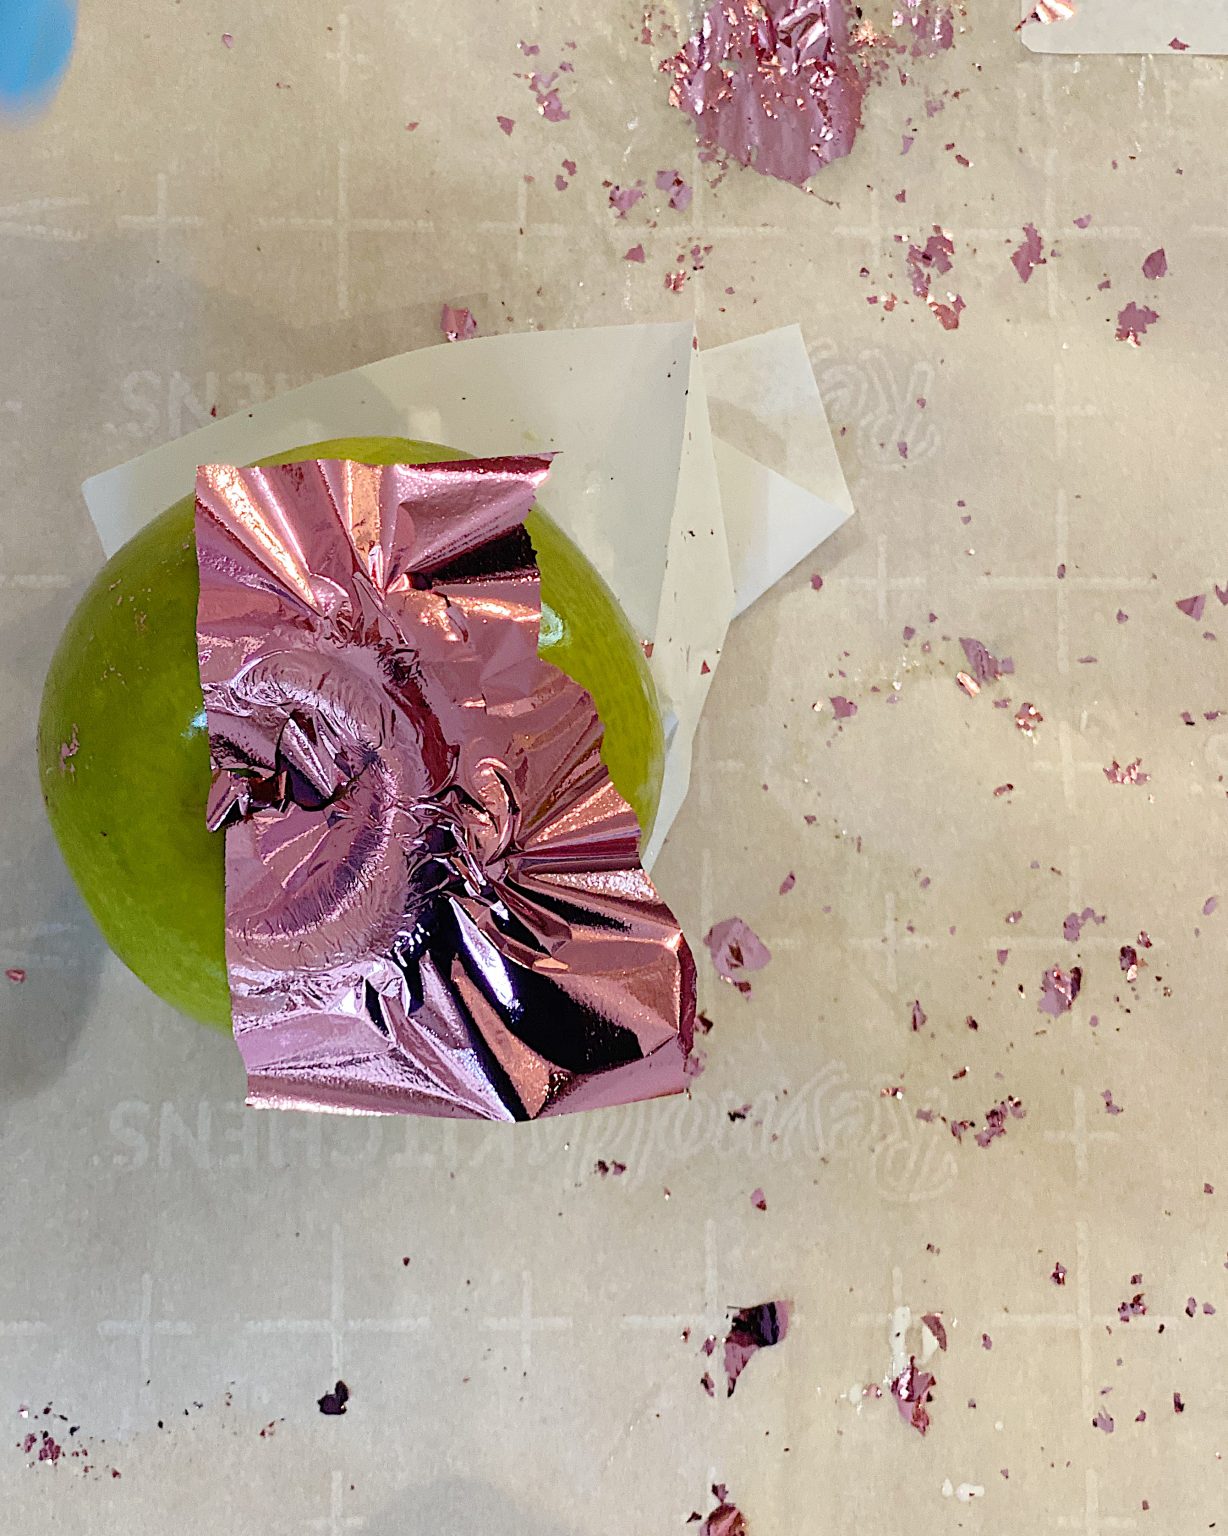
Step 3: Carefully press the foil to the sides of the apple.
Step 4: Add more foil to the apple. Press down the foil with your fingers (or the paper if your fingers get sticky.)
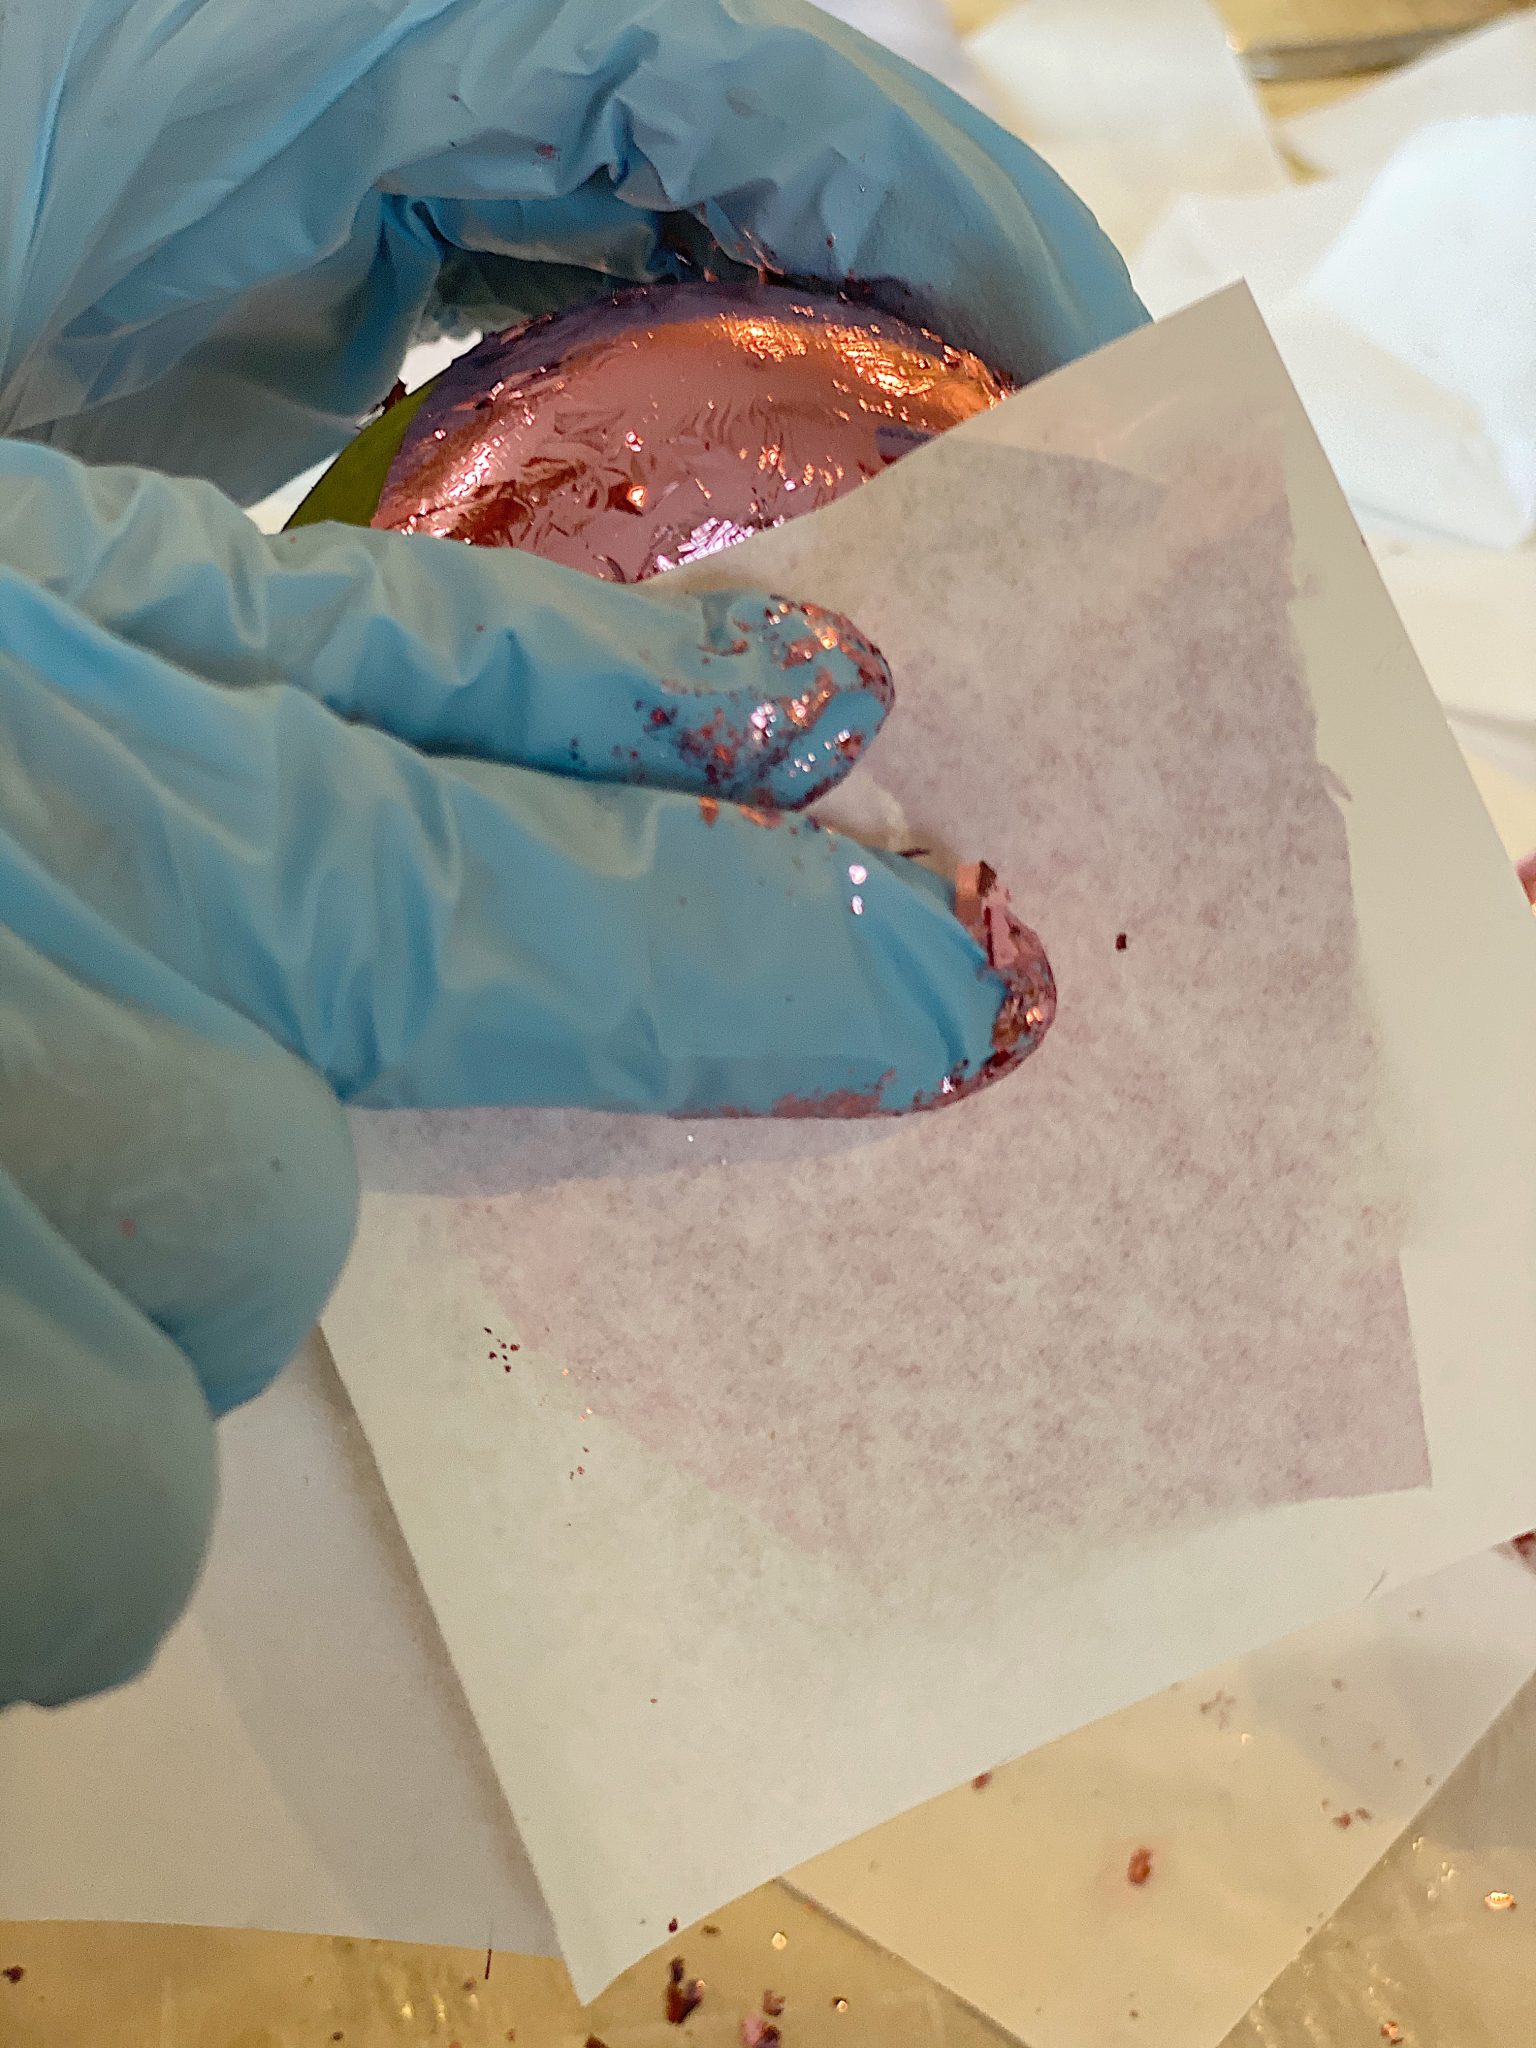
Step 5: Continue the same process until the apple is covered.
I kept adding more foil until they were almost covered completely.
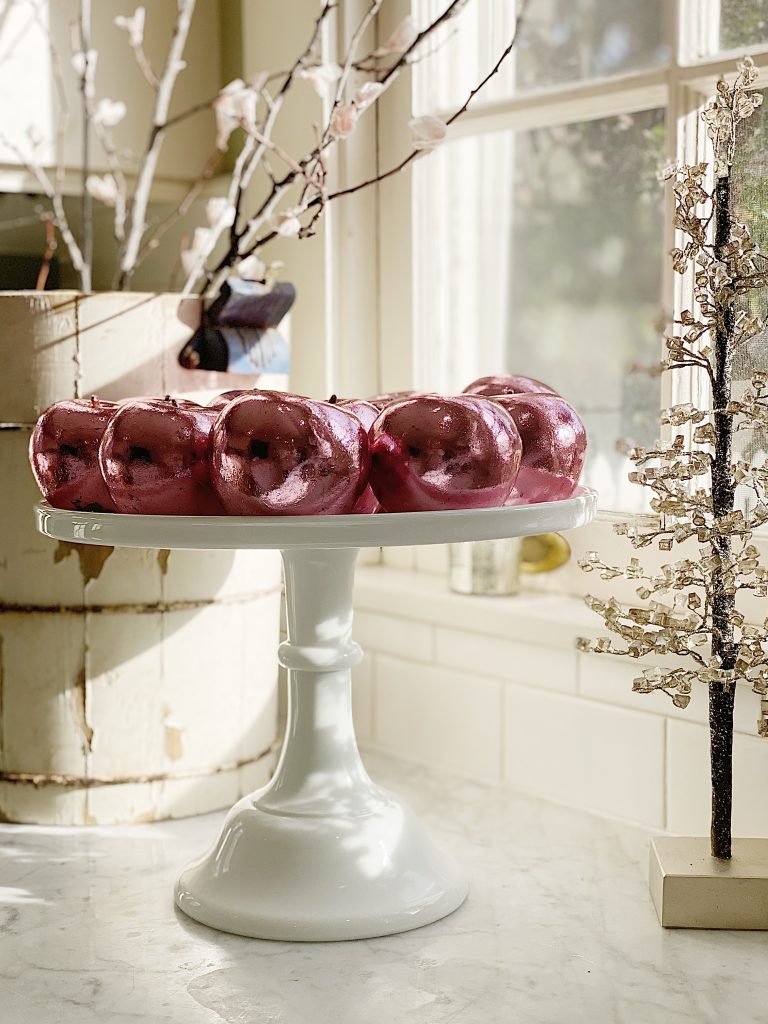
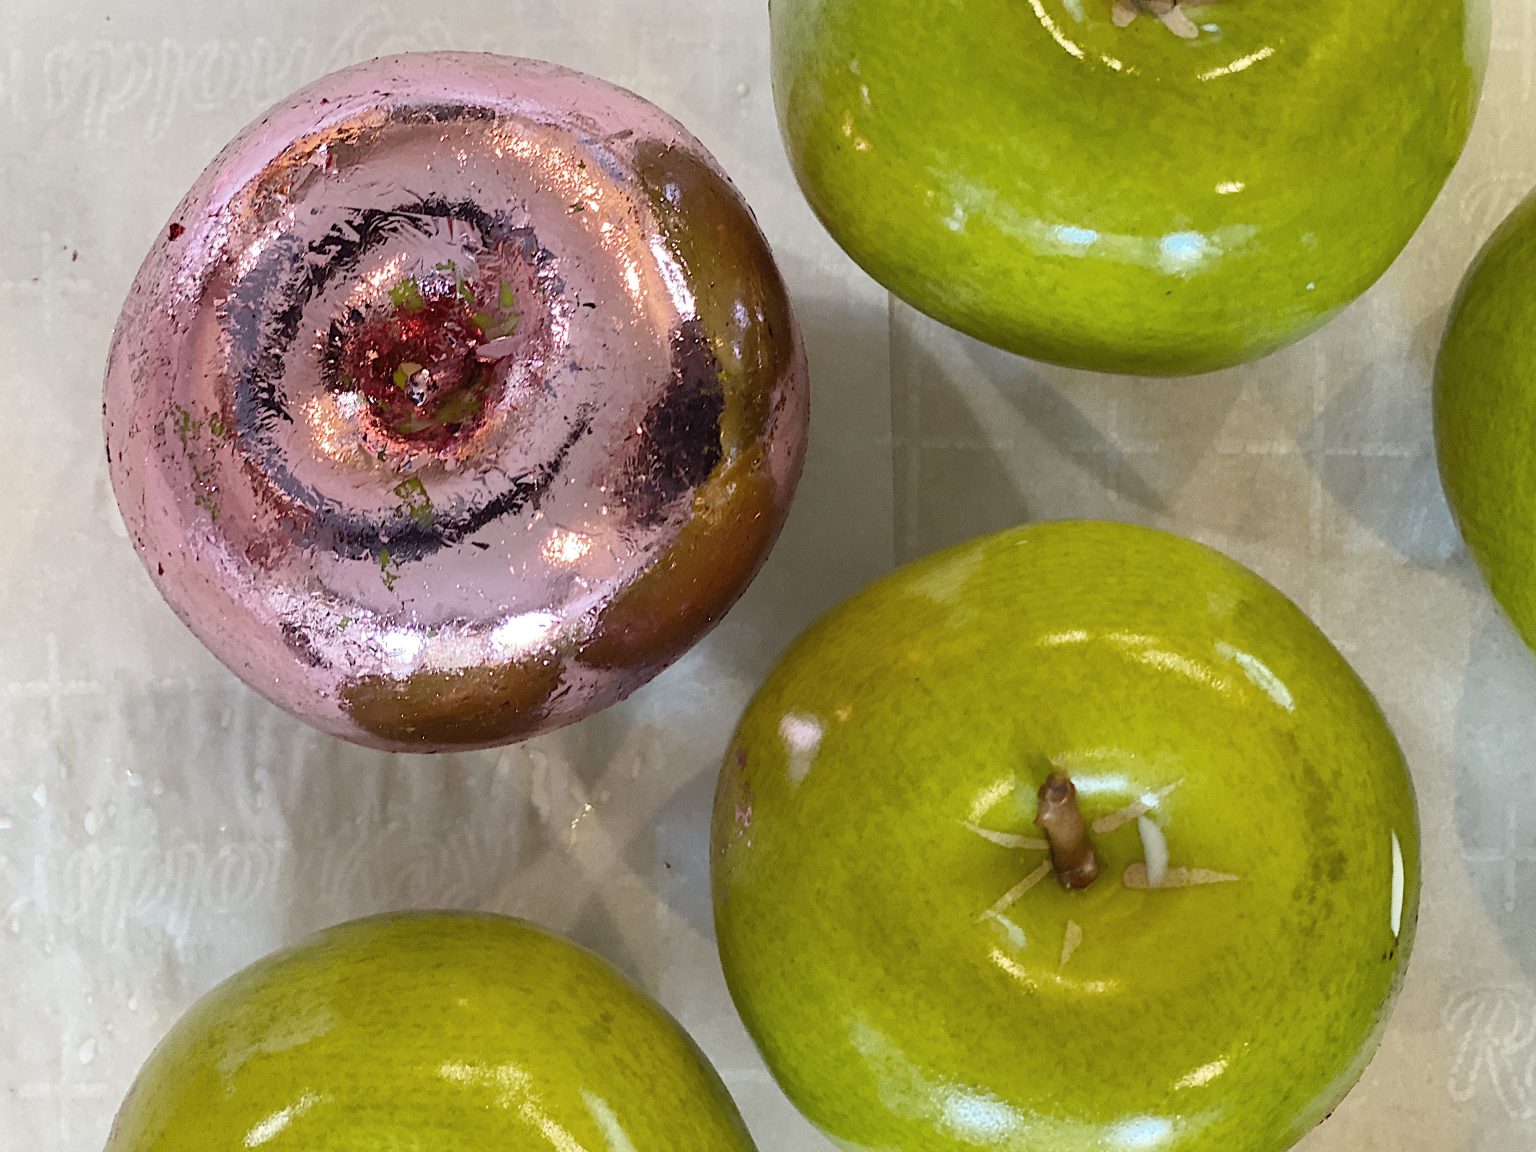
You can compare the difference between green and pick apples here.
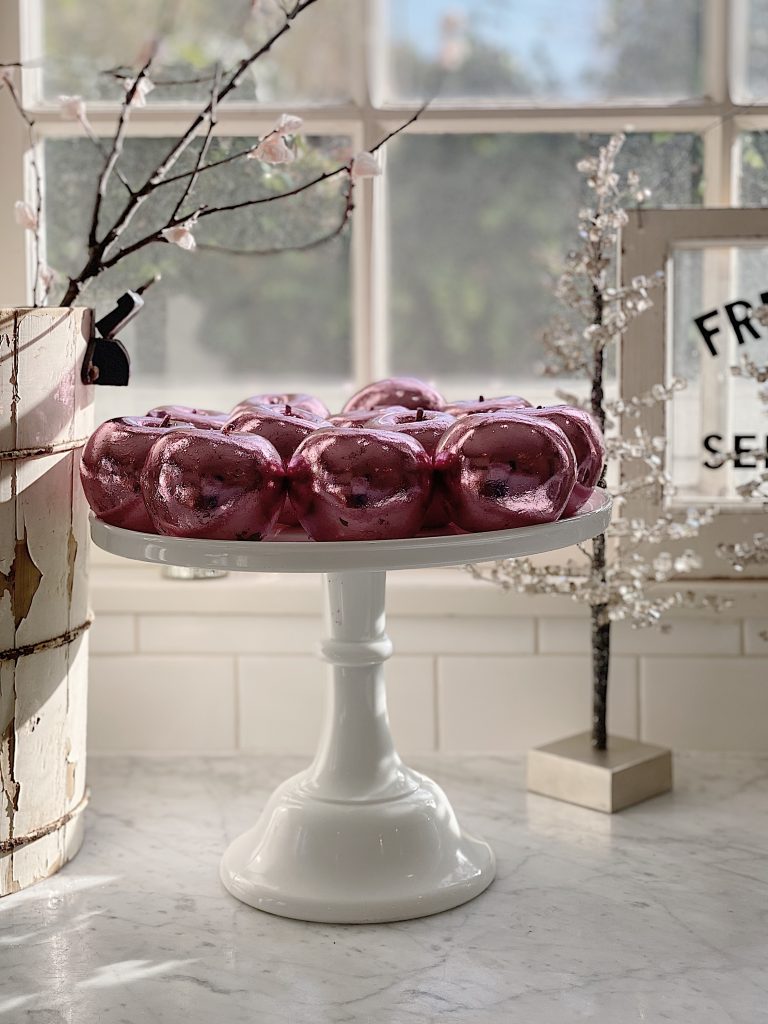
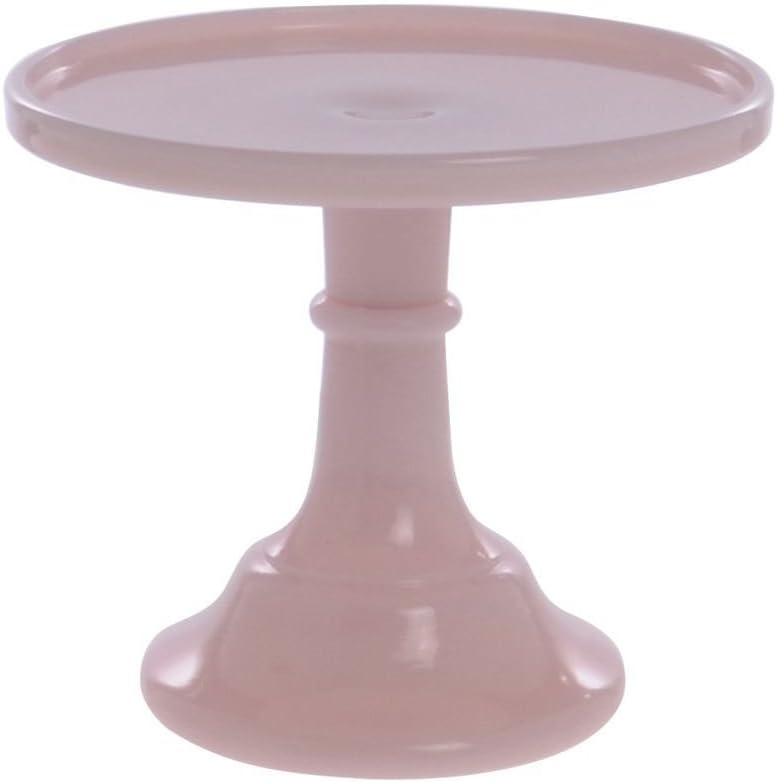
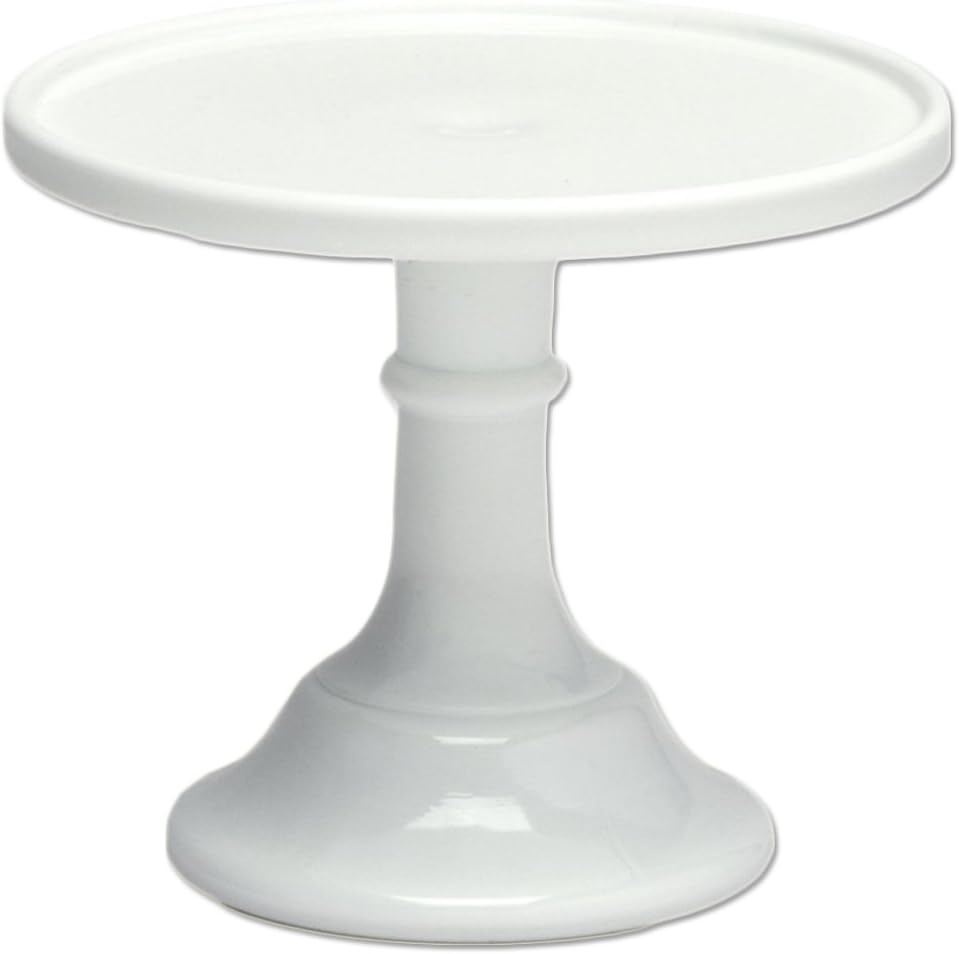
Don’t the apples look amazing sitting atop my new white Mosser glass cake stand?
So grab some glue and foil leaf, and get crafting!
It is so quick, inexpensive, and fun to do.


Other Ways to Change the Color of Faux Fruit
Changing the color of faux fruit can be a fun and easy way to customize your decor and make it more personal. Here are a few ways to change the color of faux fruit:
- Paint: Use acrylic or spray paint to change the color of the faux fruit. Make sure to use a paint that is specifically designed for use on plastic or foam surfaces.
- Dye: Use fabric dye or dye specifically made for plastics to change the color of the faux fruit. Mix the dye according to the package instructions and submerge the faux fruit in the dye for a few minutes.
- Markers or pens: Use permanent markers or paint pens to color the faux fruit. This method is excellent for small details or for creating patterns on the fruit.
- Glitter or glitter paint: Use glitter or glitter paint to add a touch of sparkle and shine to the faux fruit. You can use glitter glue or spray adhesive to apply the glitter.
- Mod Podge: Use Mod Podge to change the color of the faux fruit. Mix the Mod Podge with acrylic paint to create a paint that can be brushed onto the fruit. Or cover them with napkins and secure them with Mod Podge.
It’s important to note that you should always do a small test on a small area of the fruit before applying the colorant, to make sure it will not melt or damage the surface.
Watch Video to Learn More
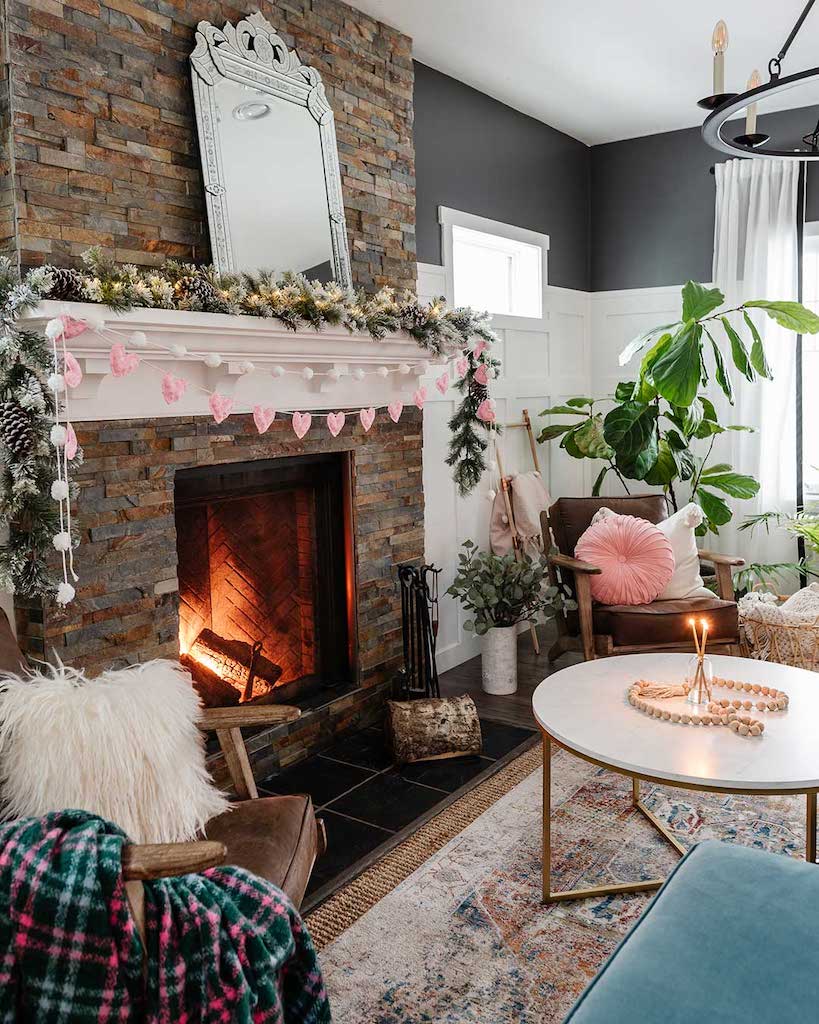
A Little (or a lot) of Pink This Valentine’s Day!

30 Minute DIY Crafts
My 100 Year Old Home | Pink Apples Valentine’s Day Craft
This DIY Valentine’s Day Craft is so easy. This is a fun way to add pink foil leaf to any faux fruit in less than thirty minutes.
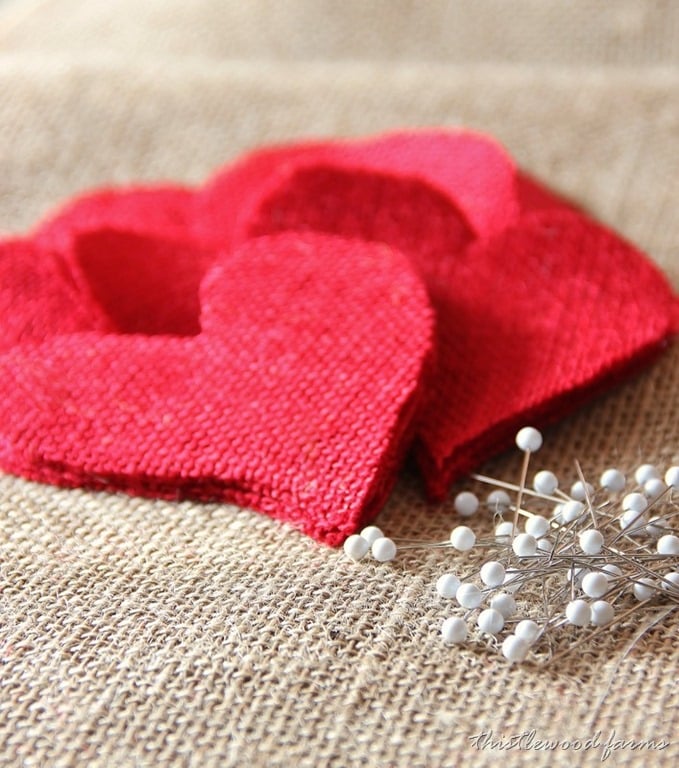
Thistlewood Farms | DIY Valentines Heart Pillow
Make this simple pillow to brighten up your February! All you need is an hour and extra fabric!
The DIY Mommy | DIY No-Sew Fabric Heart Banner for Valentine’s Day
This DIY no-sew heart banner is a sweet decor accent for Valentine’s Day. The best part? It only takes 30 minutes to make and it doesn’t require any sewing at all.
Pin the image below to your boards on Pinterest (just click the Pin button in the top left corner). You can also follow along with me on Pinterest!

A Home to Share
by Leslie Saeta

For more real-time updates, follow me on Instagram @My100YearOldHome


Who knew !
Thanks for this great find, the apples look amazing!
Thank Diane! I hope you give this a try! Happy Friday to you!
Do you need to seal the finished apples or does the foil stay firmly on once dry?
Pam, there is a sealer that is recommended, but not required. I did not use it on the apples that I made and the foil is firmly in place. I hope you give this a try!
Your link does not lead to light pink foil leaf😢
Just fixed it, so sorry Mildred!
Such a pretty idea, Leslie! I love how they look in your kitchen. I shared it to my Valentine’s Day board. Thanks for sharing it with us!
xoxo
I absolutely love your pink apples! What a great Valentine’s Day project! Ok, I pinned your post too!
Ouaaaaaaaou.They look amazing. What a beautiful project.thank you Leslie .
Thank you so much Barbara!
These apples are stunning! I can’t wait to make them. I’ve used gold and silver leaf before but didn’t know it came in colors. Perfect Valentine’s Day gift!
I love gold leaf! I’m going to try this! Sometimes a gal needs pink and bling at the same time, especially during winter!
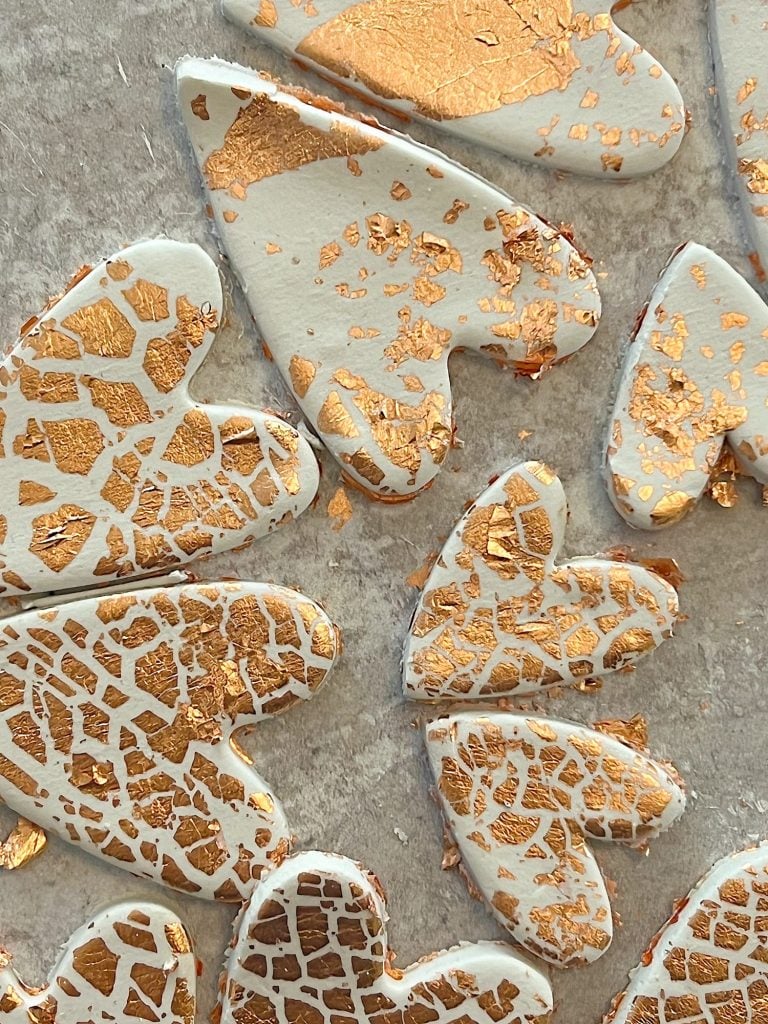
I just ordered the pink, dark pink, and red foil. Can’t wait to get started. I will do paper mache heart ornaments. Very excited.
These are stunning! The link in the materials goes to an Amazon listing for metal leaf, but there isn’t an option for the pink color…is it the wrong link, or is it that they are out of the rose red color? Thanks!
It looks like they may be out of pink right now. Keep checking until they restock the pink (they call it rose red)! 😍
I look forward to seeing your beautiful ideas!
I like to find quite time to see what you are up to. You are sweet to take time to show us these wonderful ideas. You are so gifted!
Thank you so much Linda! The pink apples turned out so mucch better than I had even hoped for. I appreciate that you reached out and commented. Have a great rest of your weekend!
Let be this fun idea with the apples.. thank you for the tip on the “foil”… I ordered it thru Amazon and the glue. Can’t wait to do this craft. I will post a pick soon…
Blessings,
Denise J
I’m so happy you are going to make these Denise! I can’t wait to see how yours turn out. Let me know! have a great week!
Loved this project! Had so much fun doing it! They turned out great!
Yay! Holly I am so happy that you made them and that they turned out great! Thank you for letting me know!
OMGeee – these pink apples are the most gorgeous things I’ve ever seen – I can’t get the materials to make some fast enough. So glad I found your blog. You have some awesome craft projects. Looking forward to taking in all the content, Thanks for sharing! 🙂
Oh Linda, I am so happy that you found my blog! These apples were so much fun to make, please let me know how yours turn out! I do have a ton of crafting content (I love to make crafts that look expensive, but are not!) Thank you for being here and for following along!
I am so excited I found you , it is the sun in my day to read your blog daily . You are truly a talented , sharing , person !
Your homes are beautiful and when covid is over you are on my bucket list to to go to Texas . Amazing blog love it !!!
Oh my gosh Sandi, thank you so much! I cannot begin to tell you how much your kind and thoughtful comment means to me. I am so happy that you found me. I have so many amazing projects planned for 2021 that I can’t wait to share with you! I also can’t wait to get back to Texas. You are going to LOVE it!!!
I have the items and plan to do this soon. I wondered about areas where the foil doesn’t stick and you have to apply more foil. Do you cover areas that are already foiled to cover the bare spots or do you just cover the bare spot with a small piece of foil. Just trying to figure out if I add more adhesive over foil to add more foil? I want to trouble shoot before I run into the issue. Thanks! They are gorgeous.
I am so excited that you are going to make the pink foil apples April. When I made mine, I covered bare spots with a small piece of the foil. It is not an exact science. You can also add adhesive around the bare area but on top of existing foil and then add additional foil to the area. Both work! Let me know how your turn out!
Oh my gosh Leslie these are amazing I love them. I’m going to share them in a Valentine’s round-up on the blog coming soon!
These pink apples are perfect!! Loved reading how to do them! I’ve always been intimated by the leafing products but as always, you make it look and sound so easy!! Your IG posts and Sunday morning coffee and daily blog are a highlight to my day!! Thank you for giving of yourself to the enjoyment of others!! 💖
Thank you so much! You made my day
Where did you get your white cake stand? Is it 10 inch or 12 inch? Thankyou
These are beautiful! I find leafing a relaxing process.
You always give great tips!
Aw thank you!