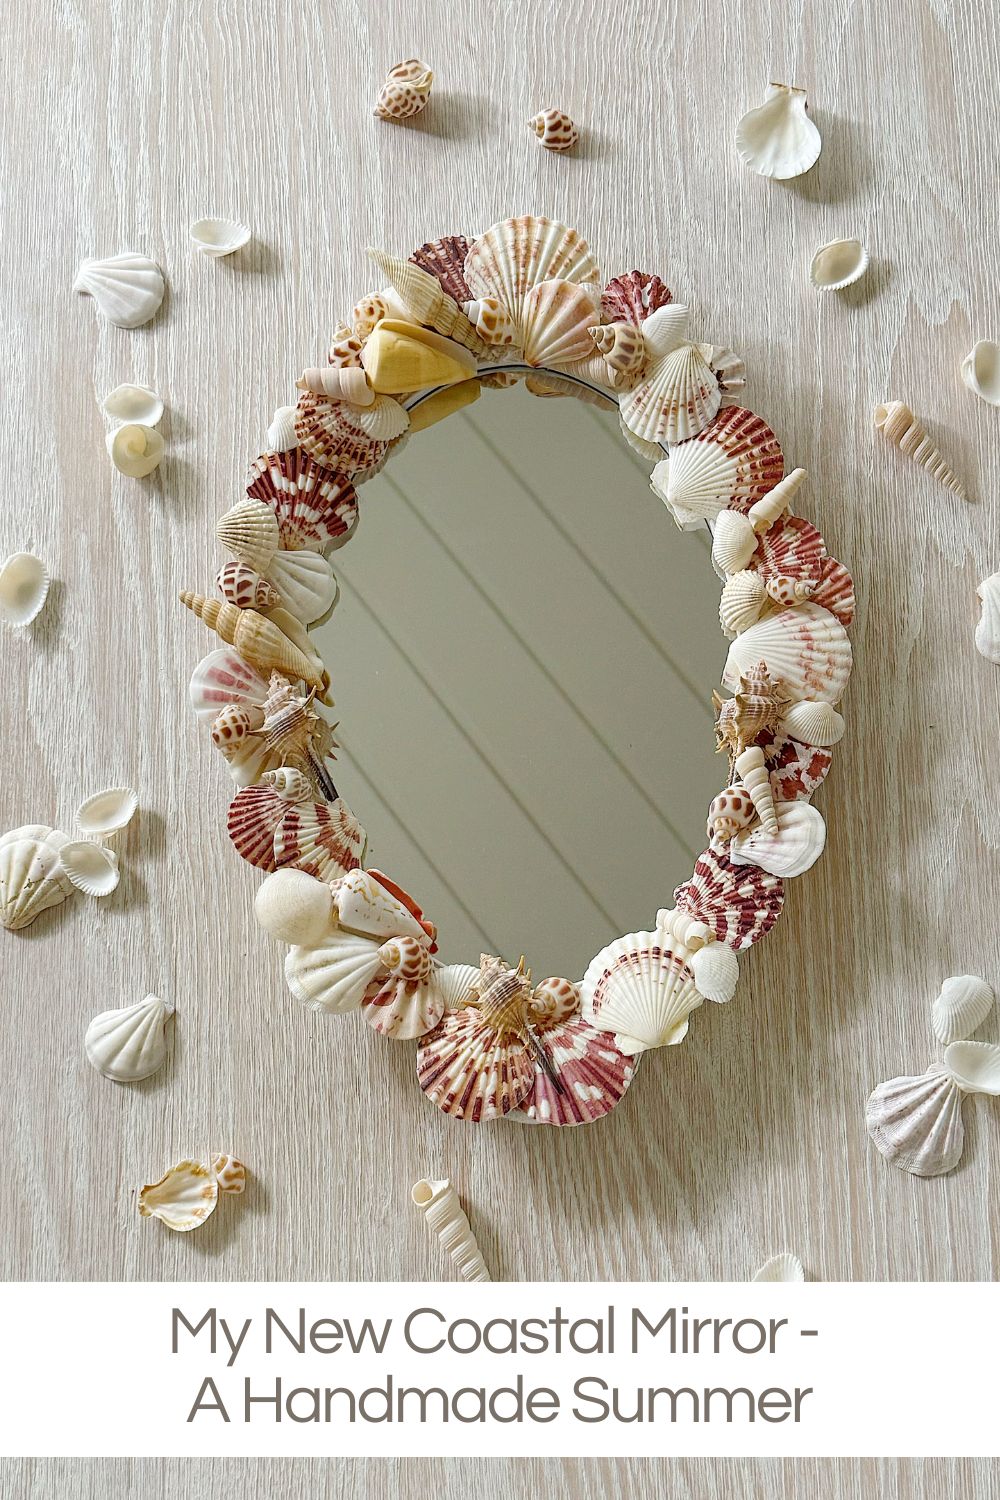
My New Coastal Mirror – A Handmade Summer
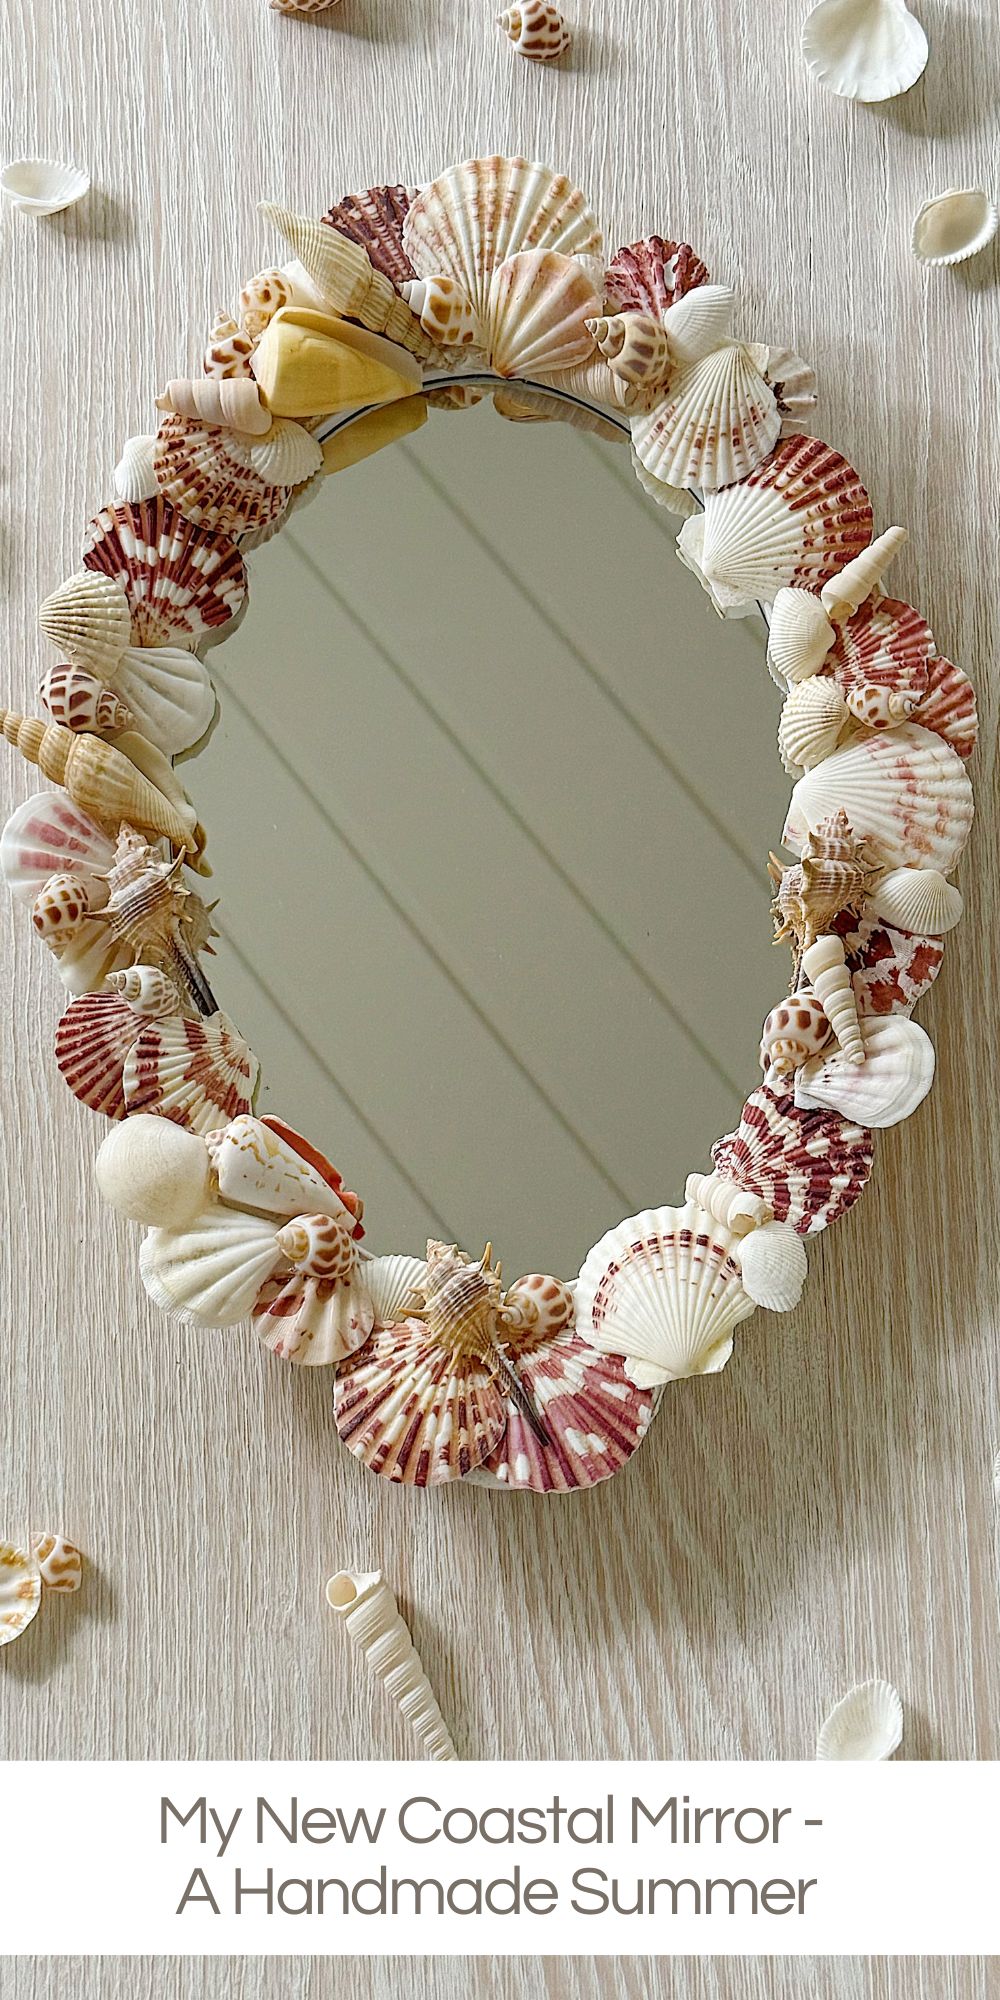
This coastal mirror is one of the easiest and most satisfying DIY projects I have created, transforming an inexpensive find into a beautiful, custom-looking coastal mirror with just paint, shells, and a glue gun.
In my A Handmade Summer series, I love sharing projects like this coastal mirror that feel approachable, creative, and truly special. By layering shells of different sizes and using a cordless glue gun for ease, you can create a one-of-a-kind piece that adds texture, charm, and a relaxed summer feel to your home without spending a fortune.


A Coastal Mirror
There is something so satisfying about taking a simple, inexpensive piece and turning it into something that looks custom, collected, and completely unique, and that is exactly what happened with my new coastal mirror.
Welcome to another project in my A Handmade Summer series, where I am leaning into easy, creative DIYs that feel relaxed, beautiful, and inspired by the season. This coastal mirror might be one of my favorite transformations yet.
What You Need to Make This Mirror
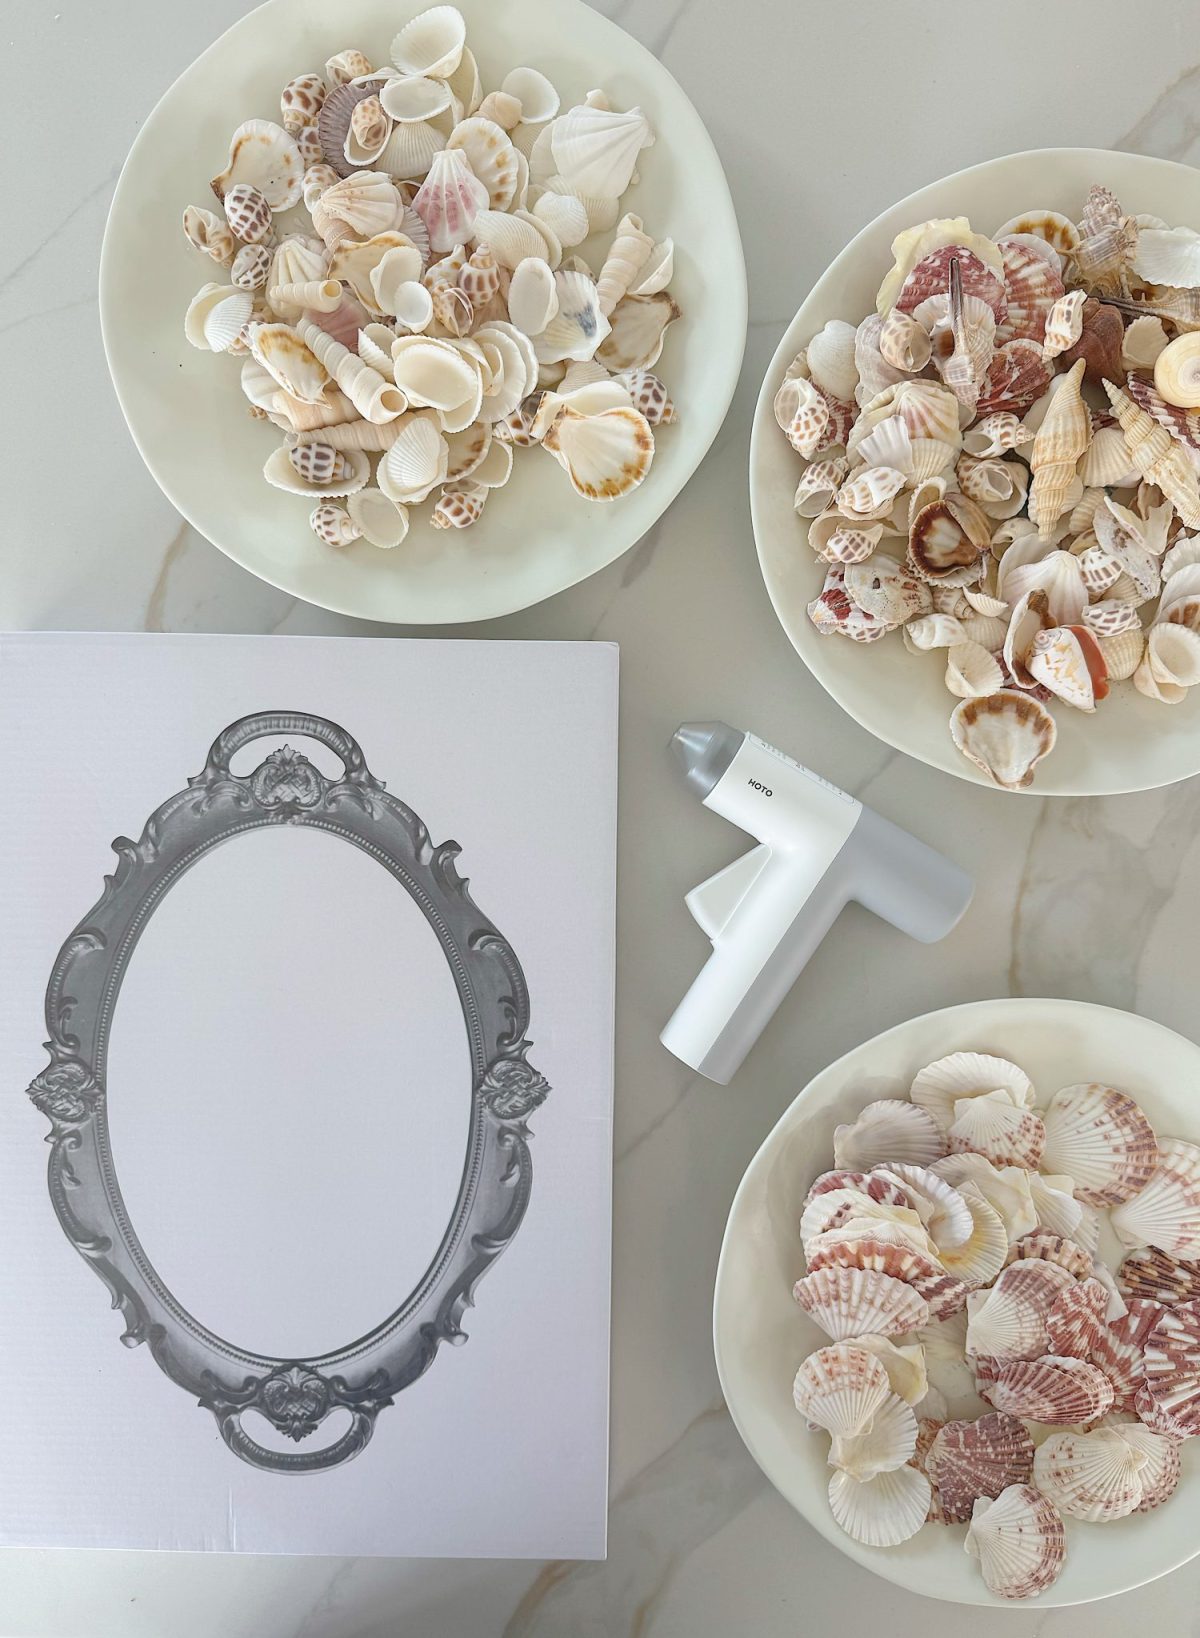
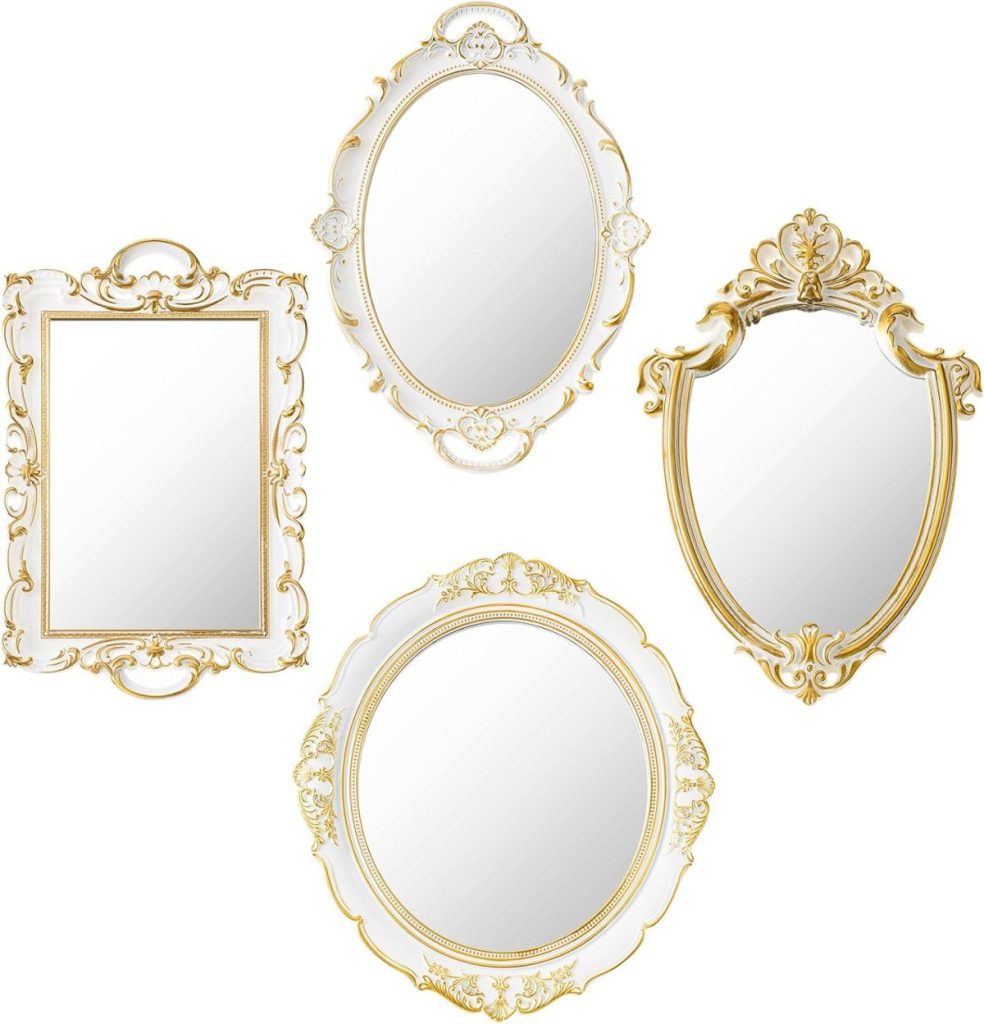
- Mirror frame – You can buy an inexpensive frame or use one you own or a vintage mirror.
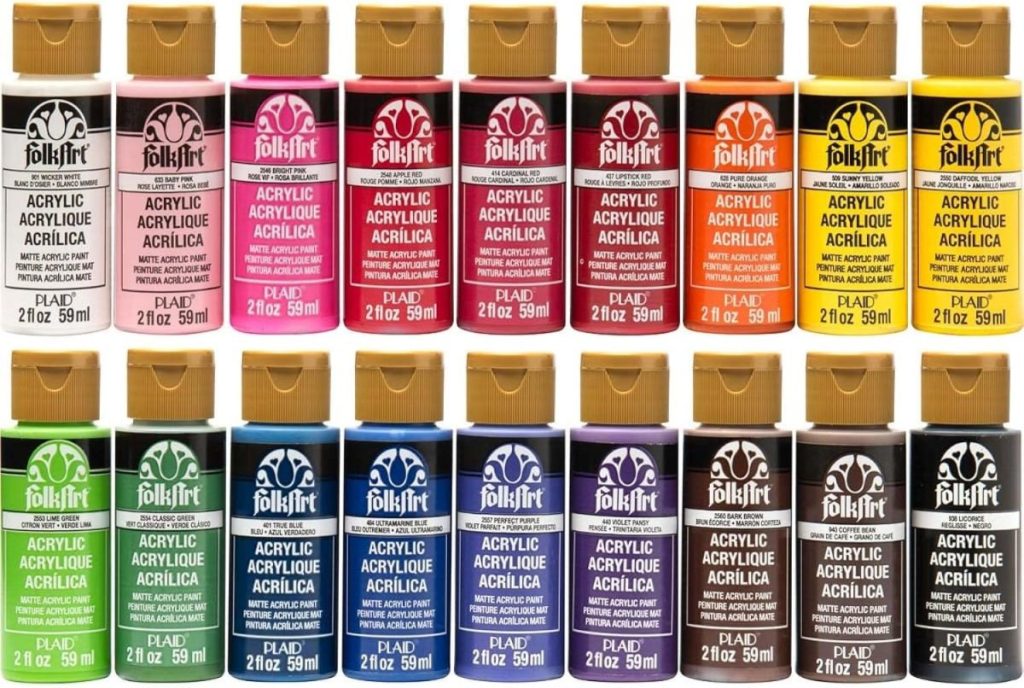
- White paint
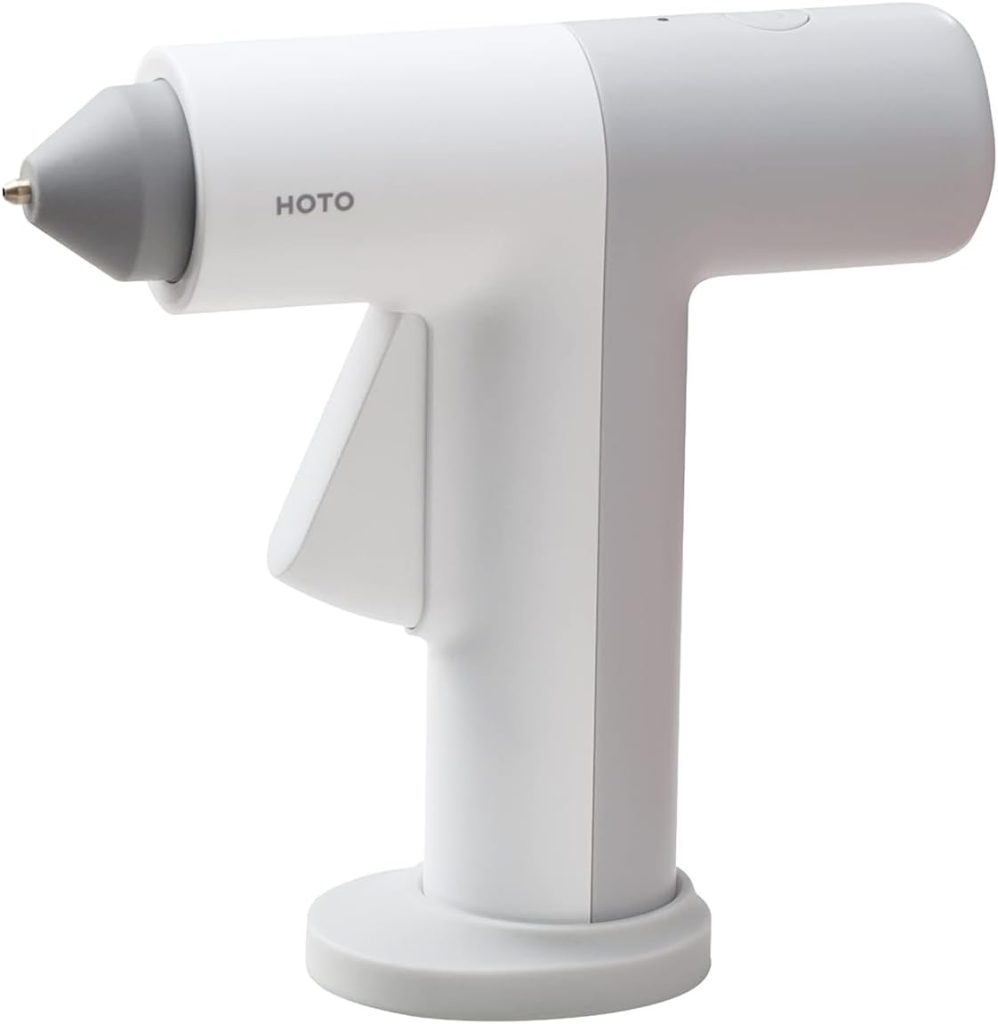
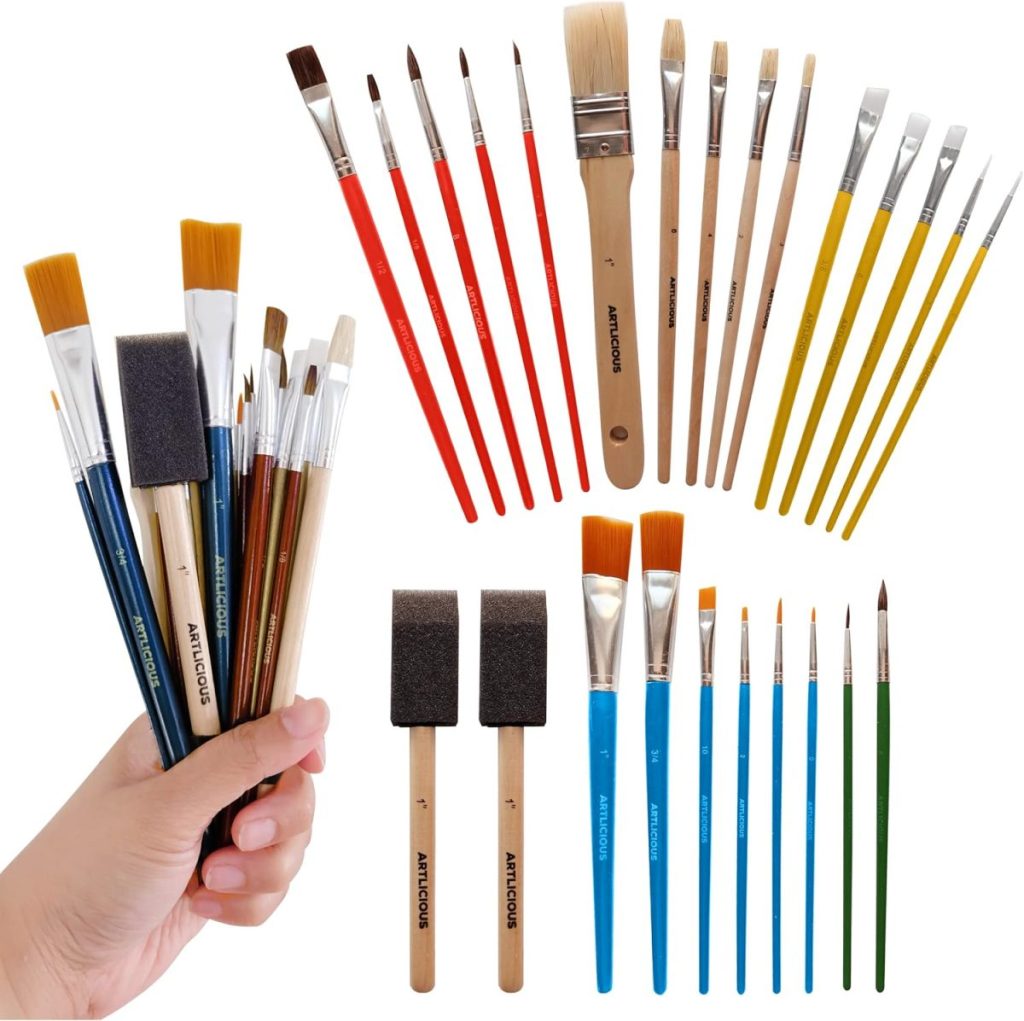
- HOTO glue gun
- glue sticks
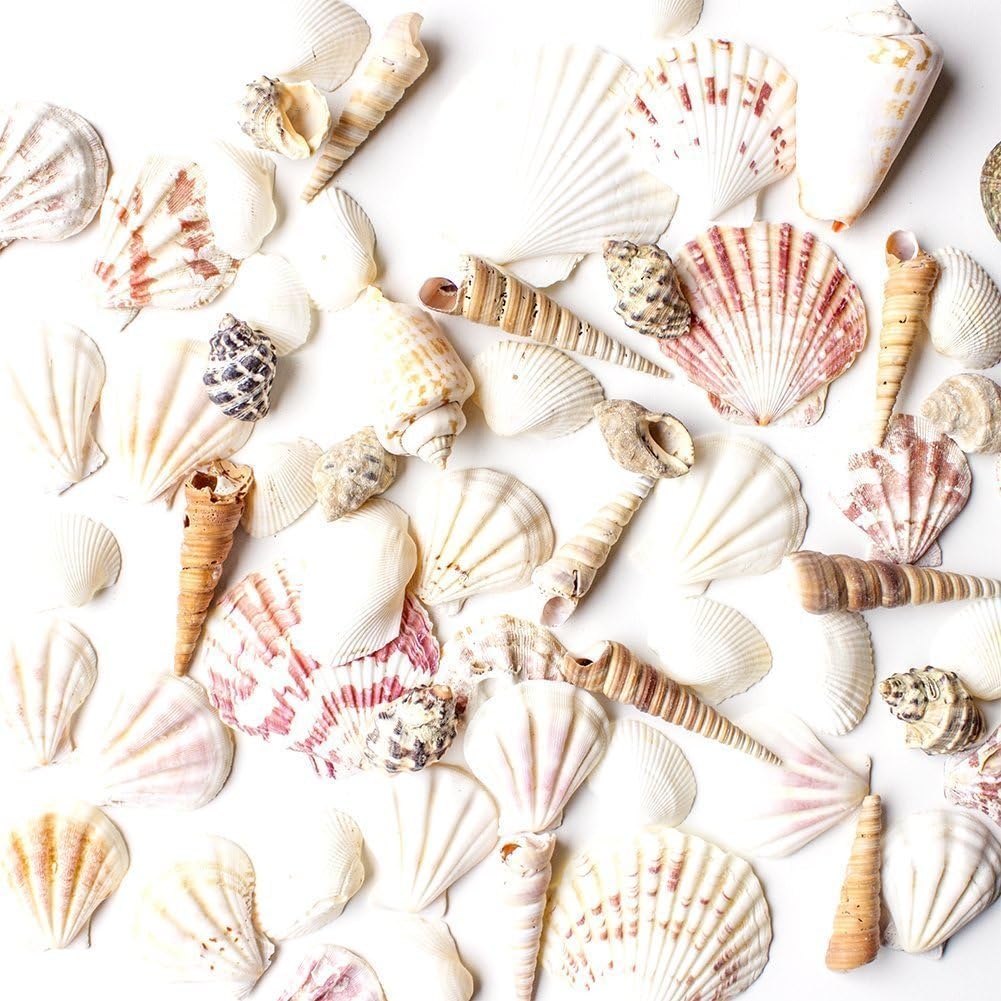
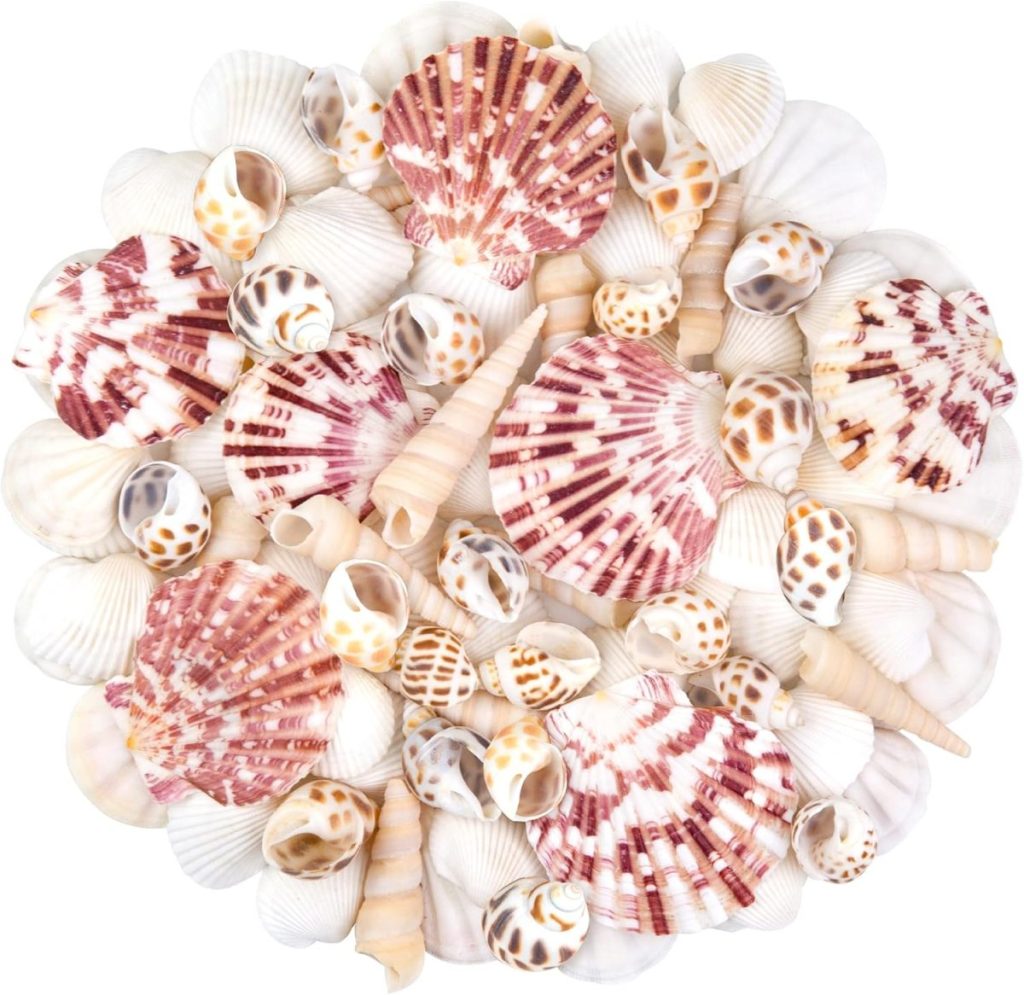
- Assorted sea shells
I may use affiliate links on this blog, which means I earn a small commission if you make a purchase through them. The price will be the same whether you use the affiliate link or go directly to the vendor’s website using a non-affiliate link.
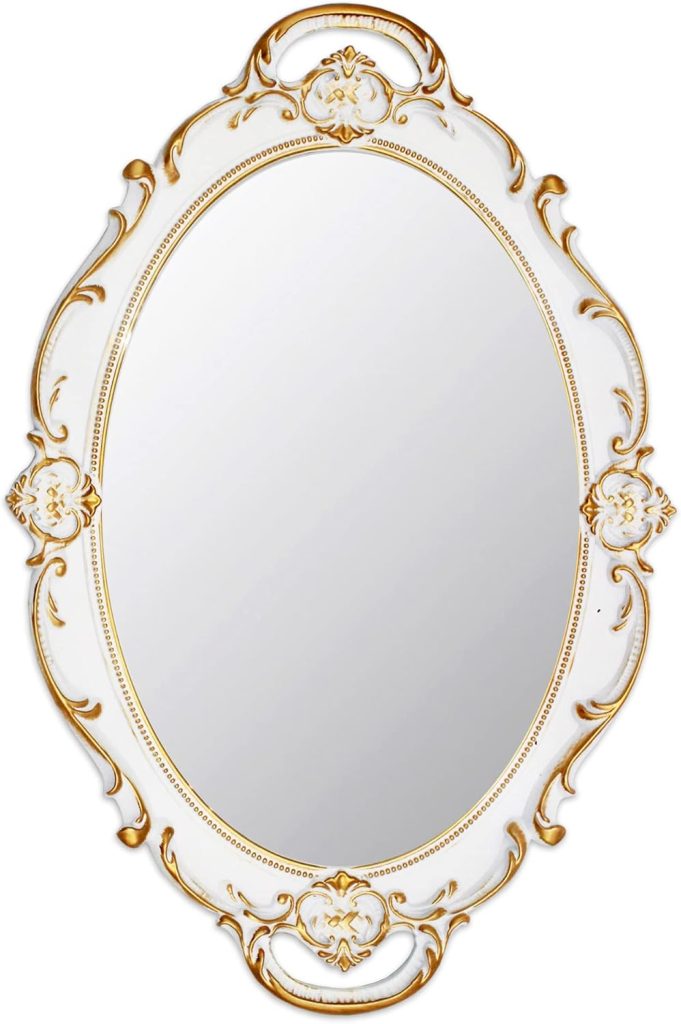
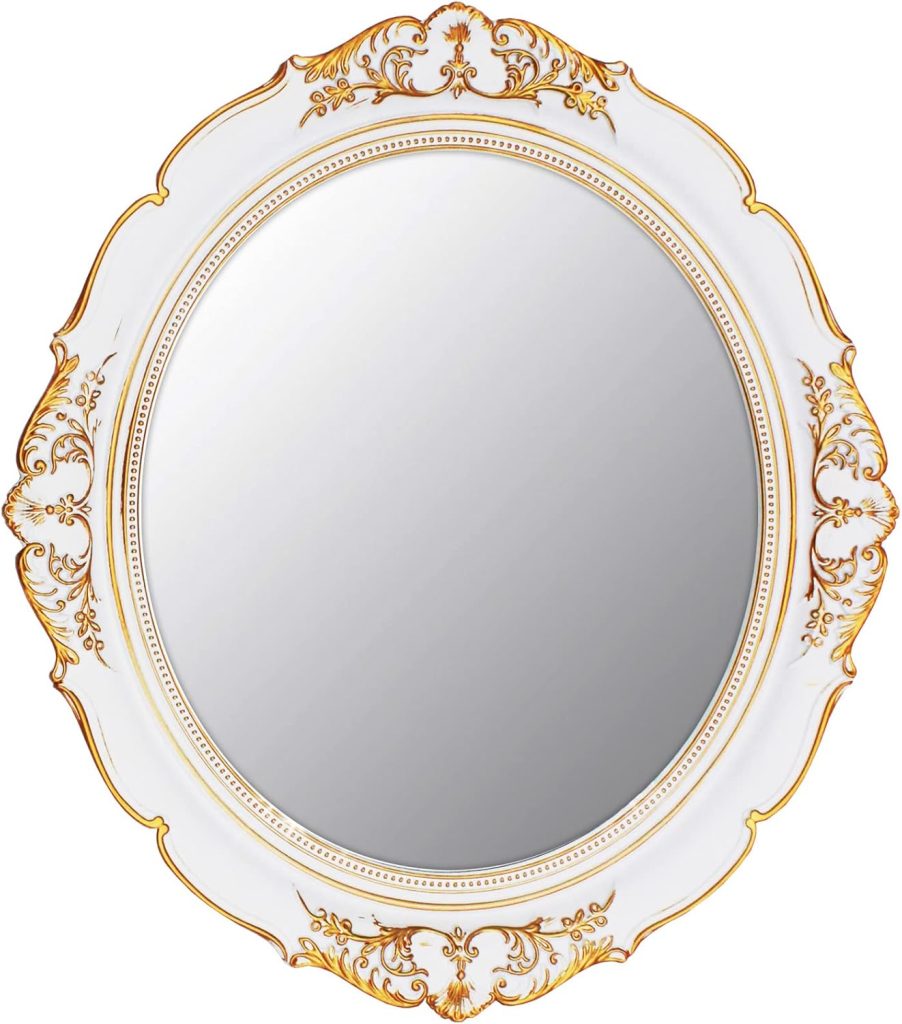
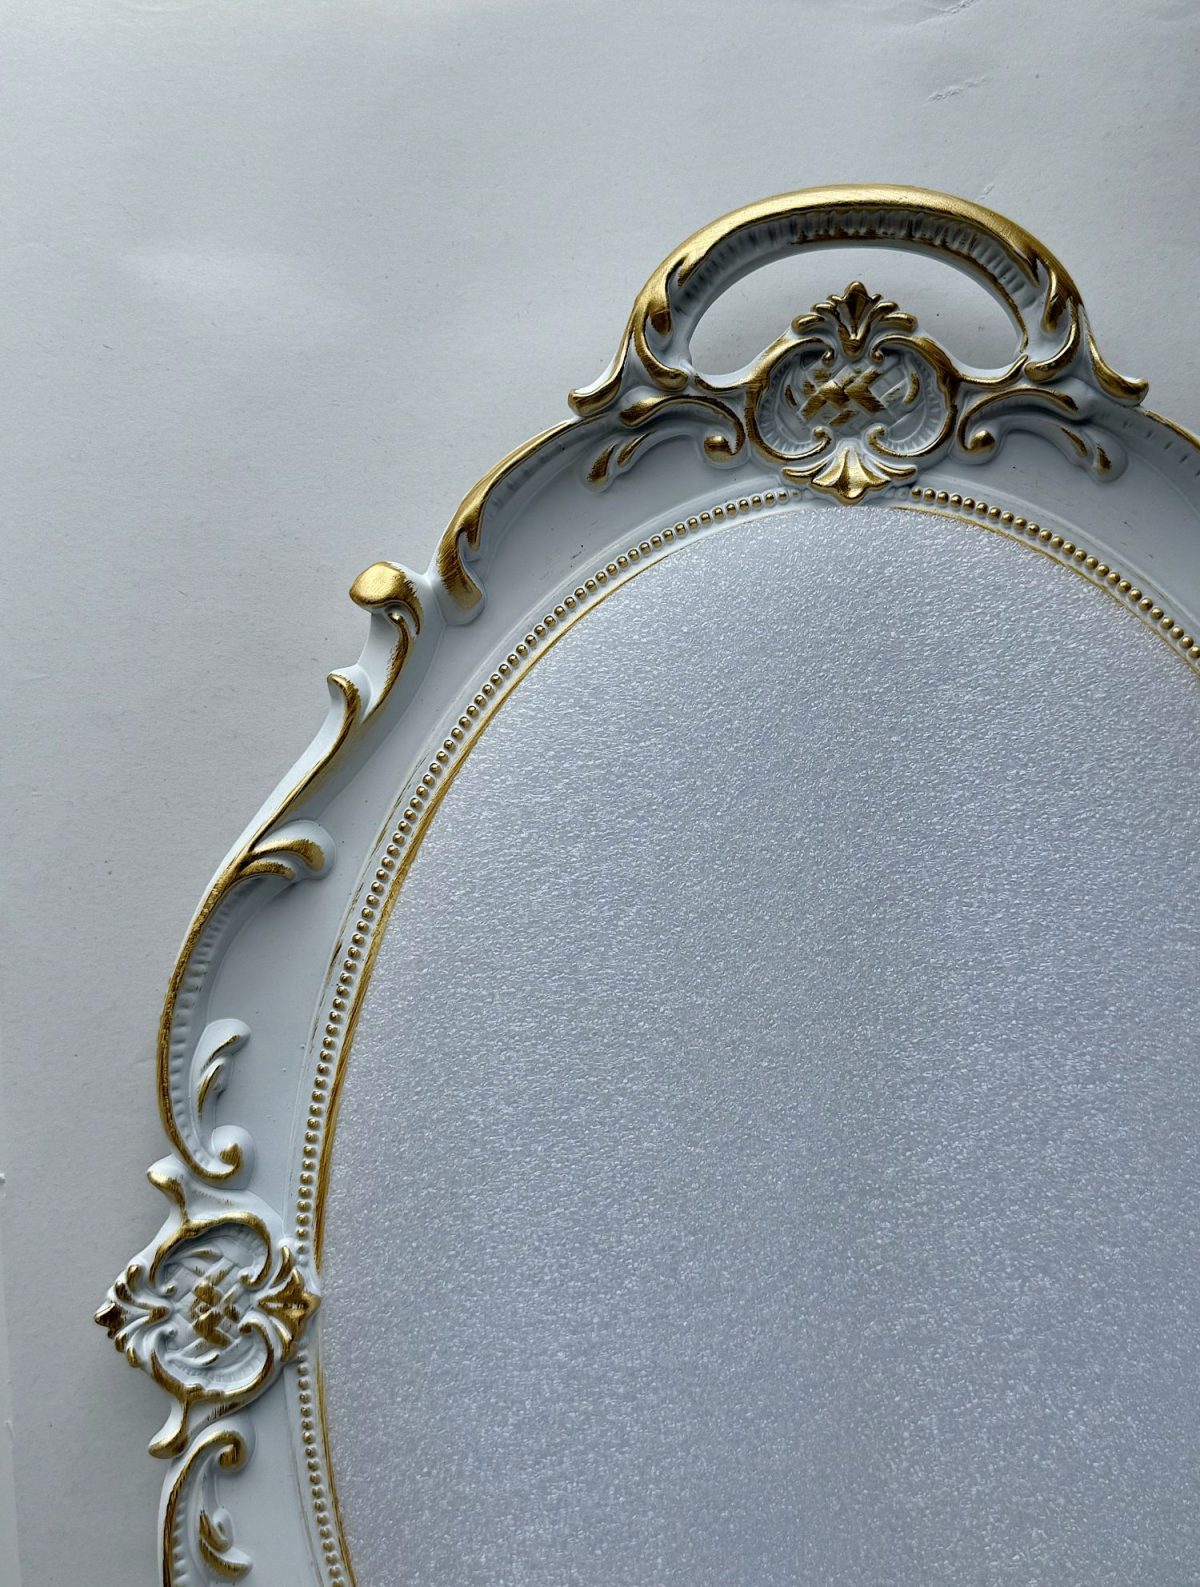
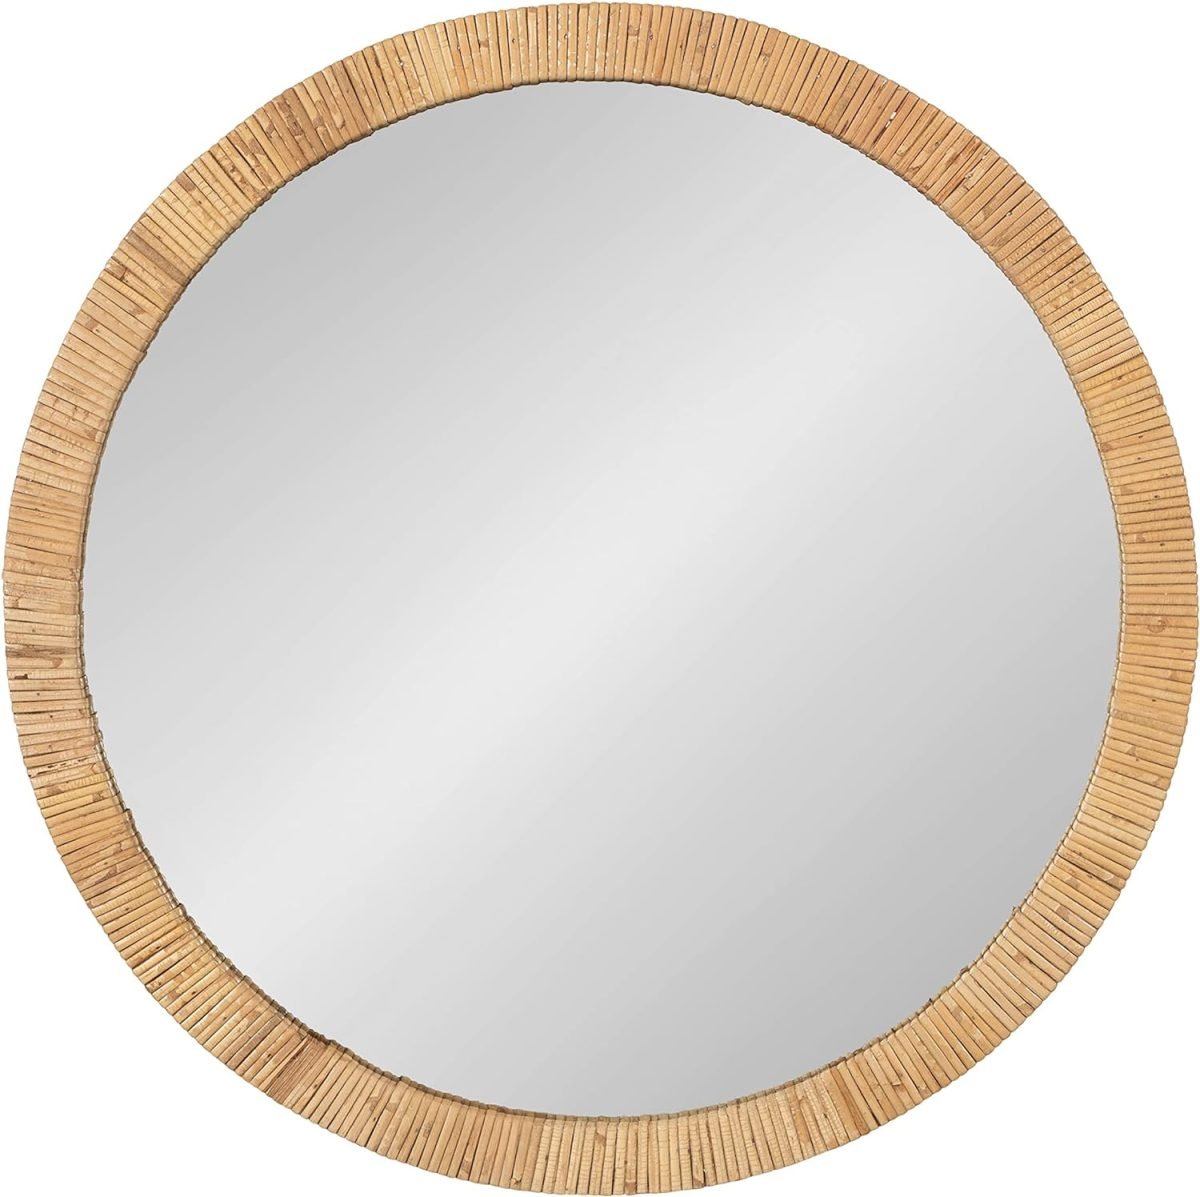
I started with a very basic mirror I found on Amazon. It had a pretty shape but didn’t feel special or elevated, which is exactly what I look for in a good DIY base. If the bones are there, you can create something amazing. The frame had some detail, but the finish wasn’t quite right for the light, coastal feel I wanted in our home, especially at the beach house. So I decided to completely transform it.
How to Make a Coastal Mirror
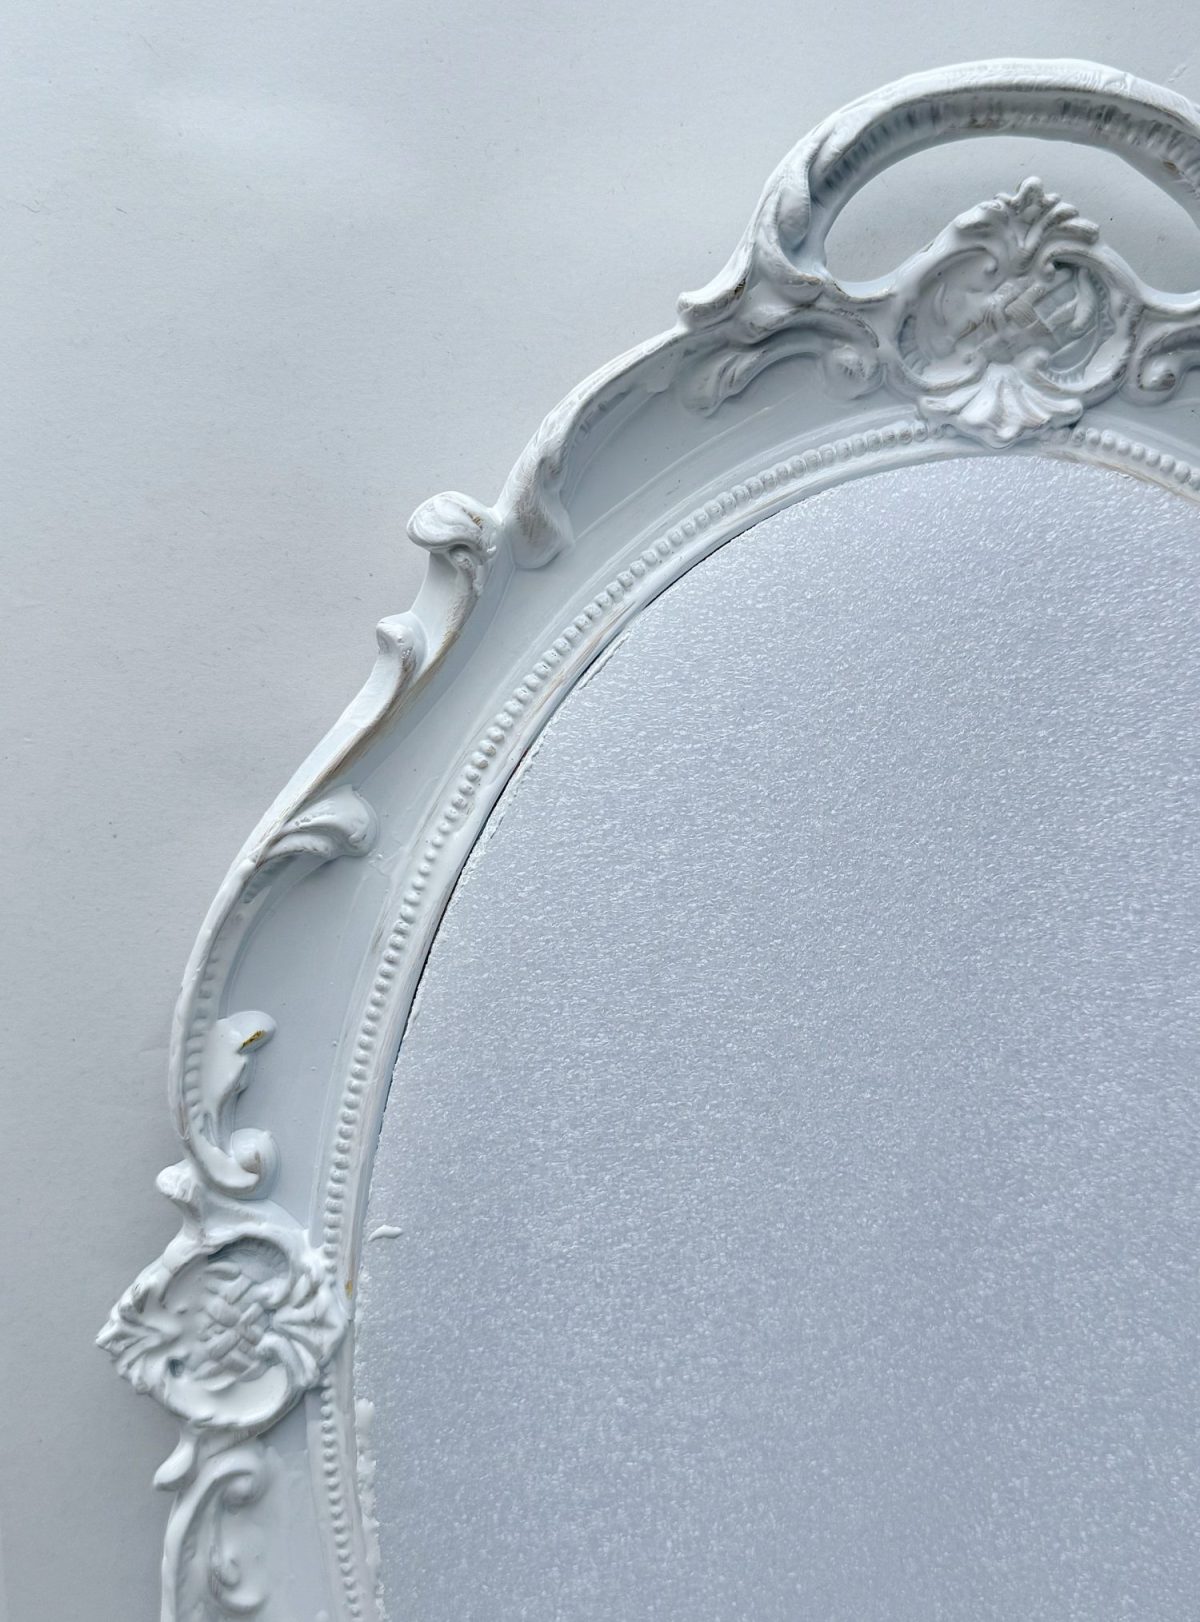
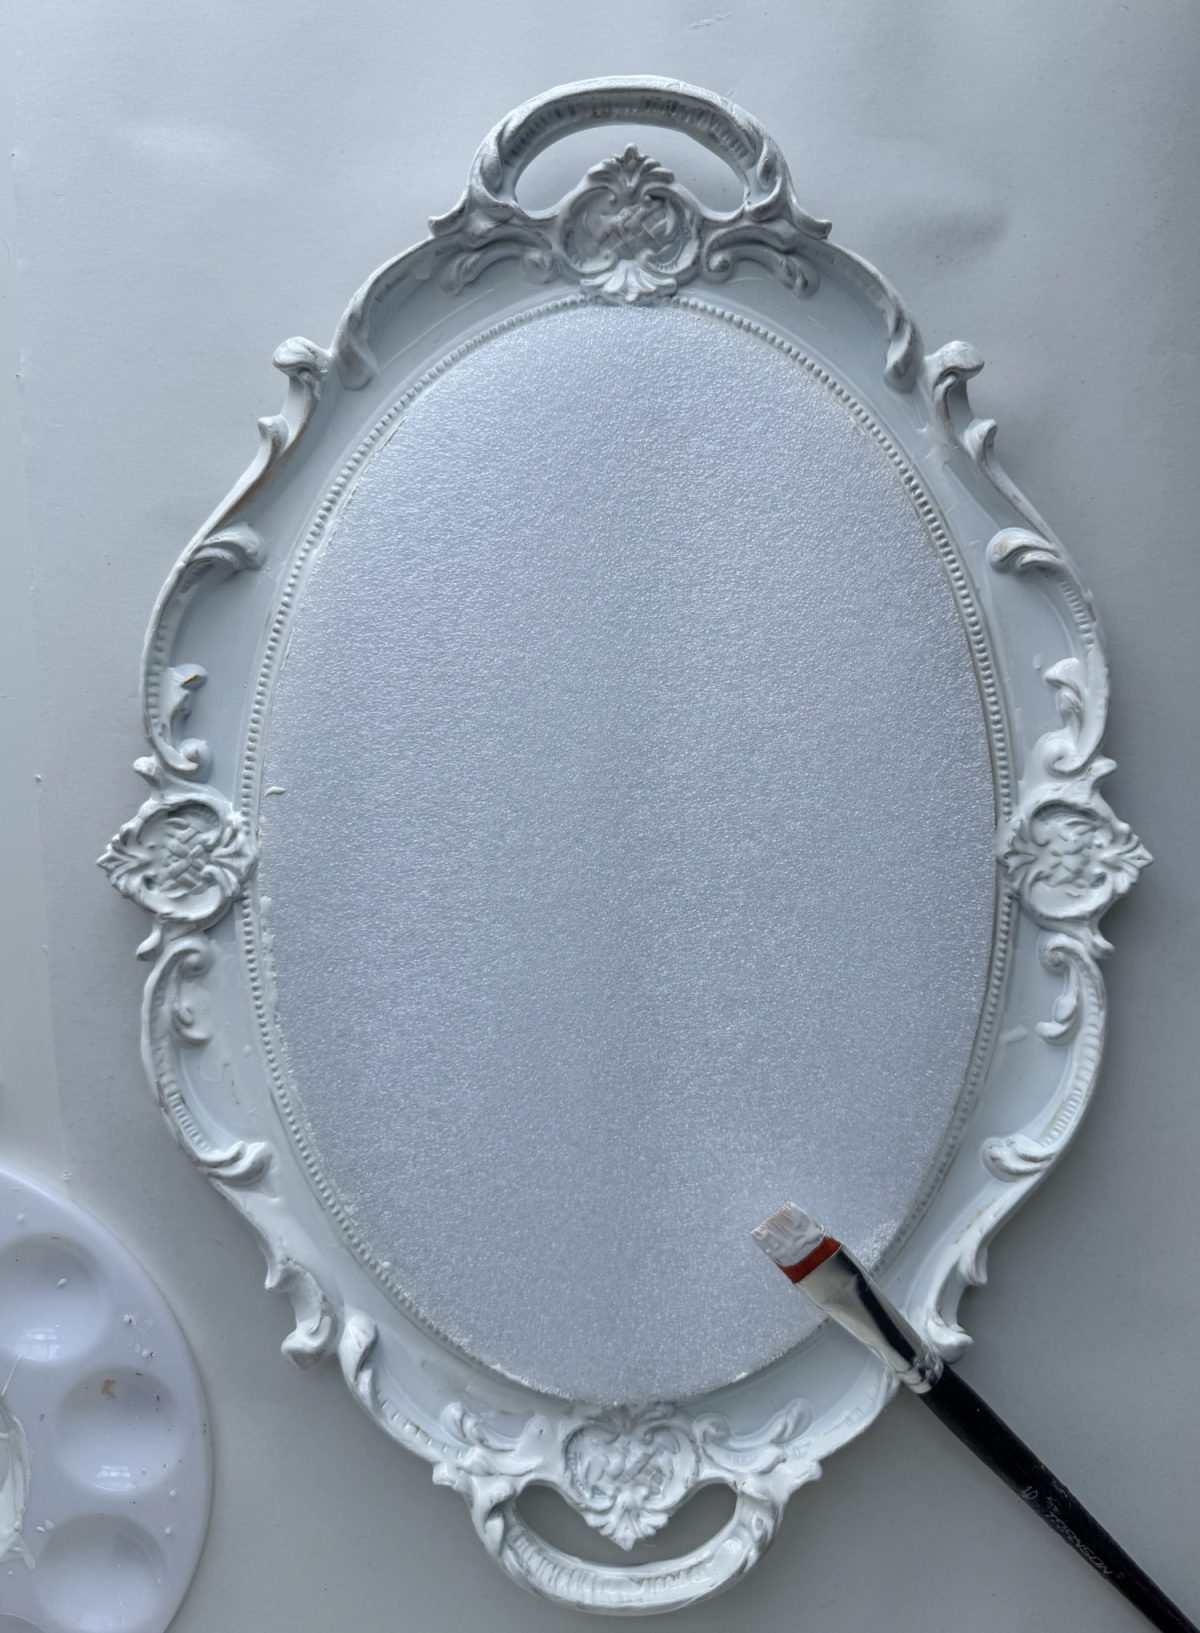
The first step was simple but made a huge difference. I painted the entire frame white. This instantly gave it a fresh, clean look and created the perfect neutral backdrop for what I had planned next. White is always my go-to for coastal projects because it reflects light beautifully and lets natural textures, like shells, really stand out.
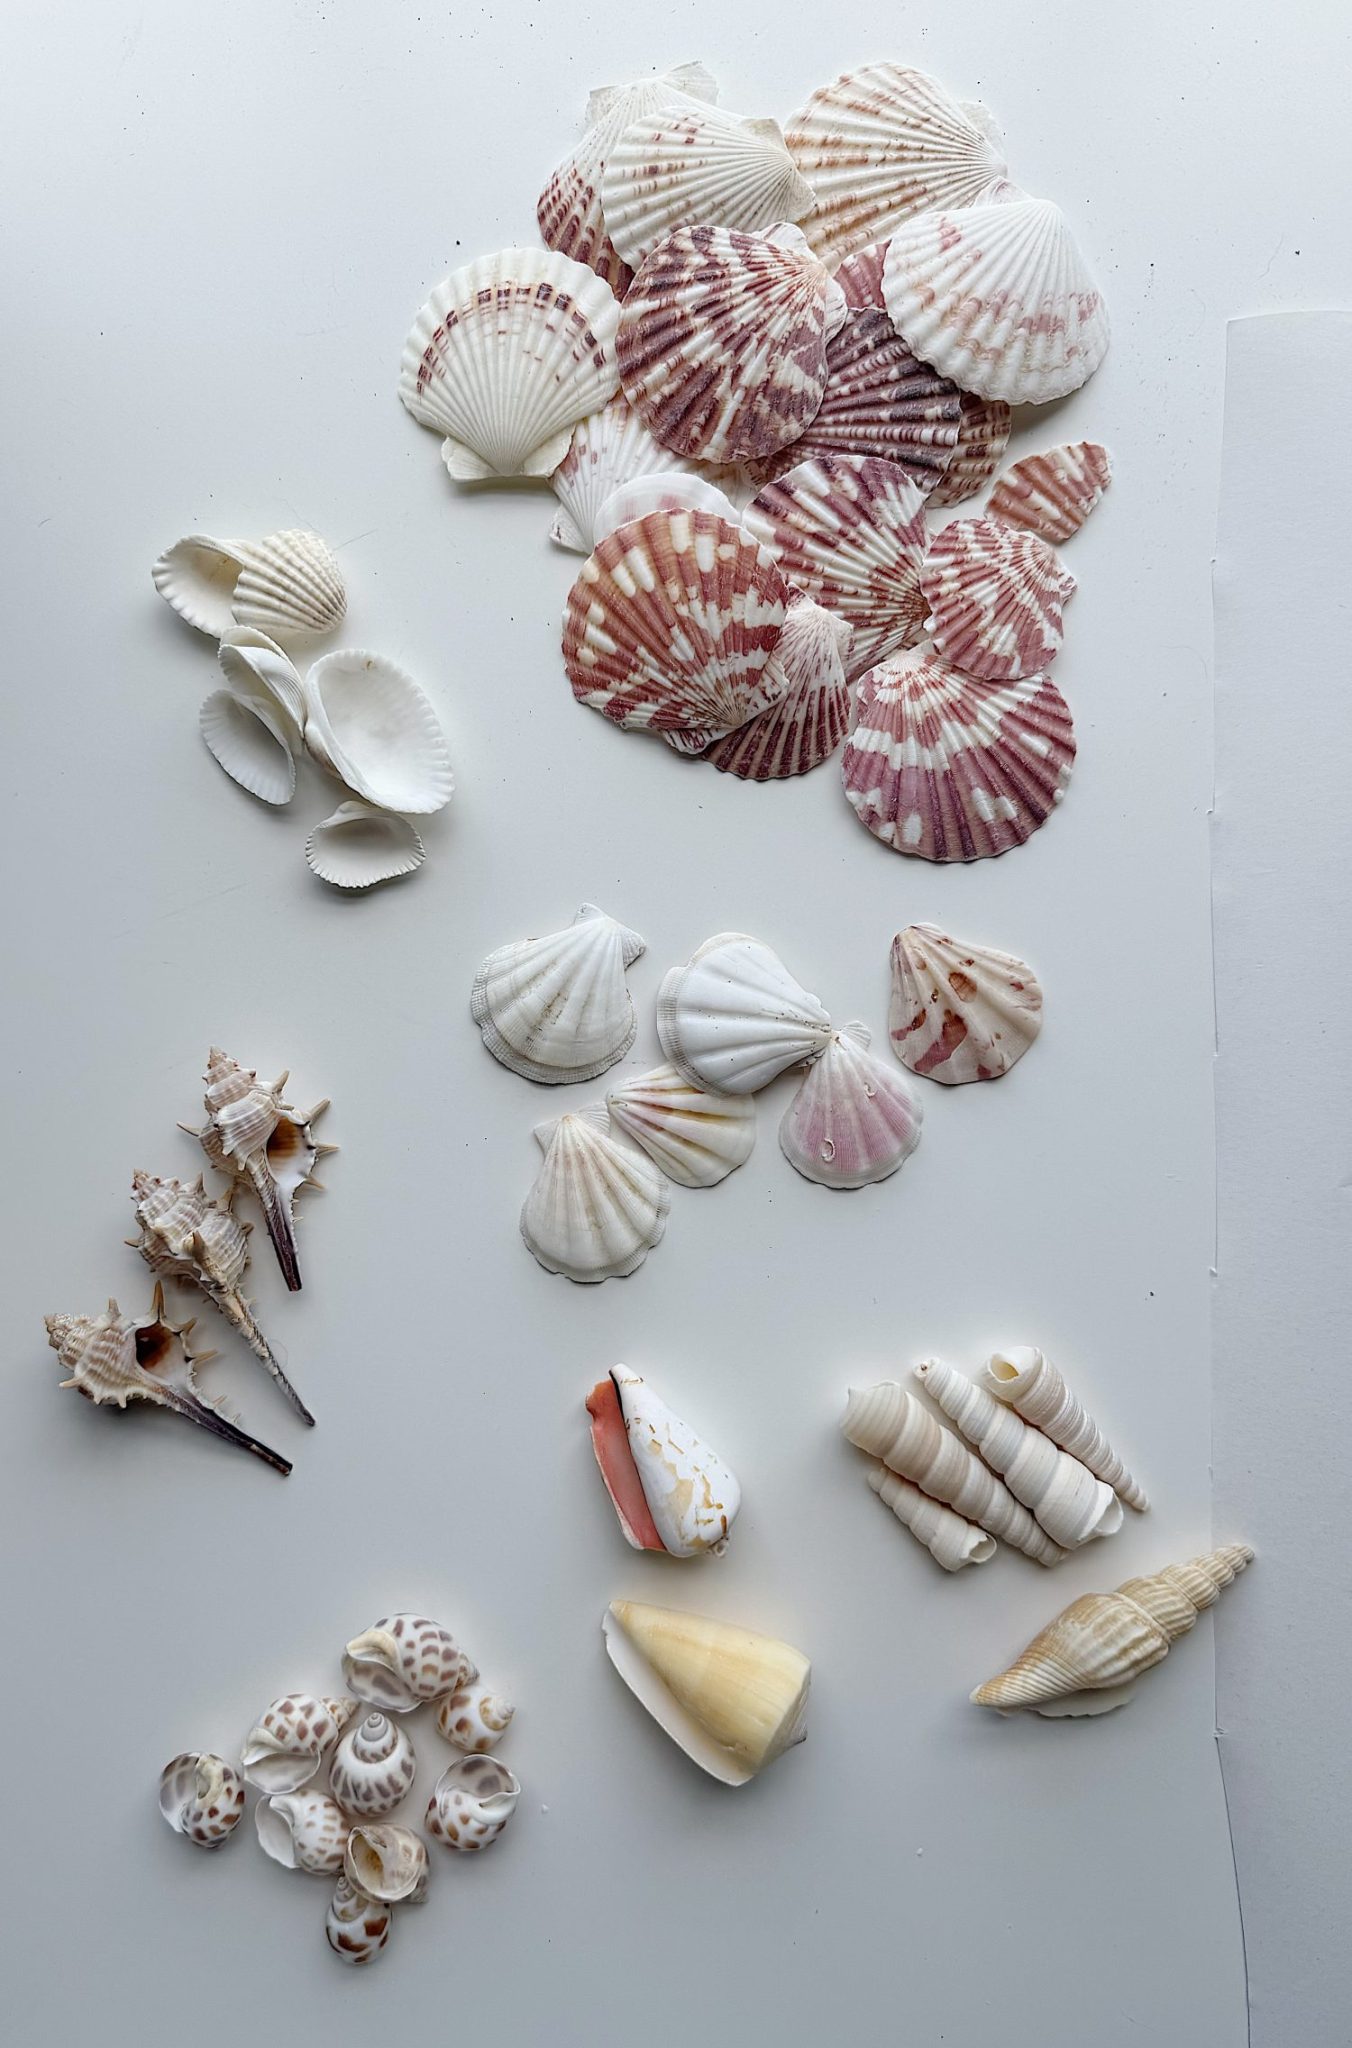
Once the paint was dry, it was time for the fun part. I had been collecting shells for a while from my beach walks, but I didn’t have enough. So I purchased them, and I sorted them into groups by size, shape, and color. This step is important because it helps you visualize the final design and makes the process of attaching them much smoother.
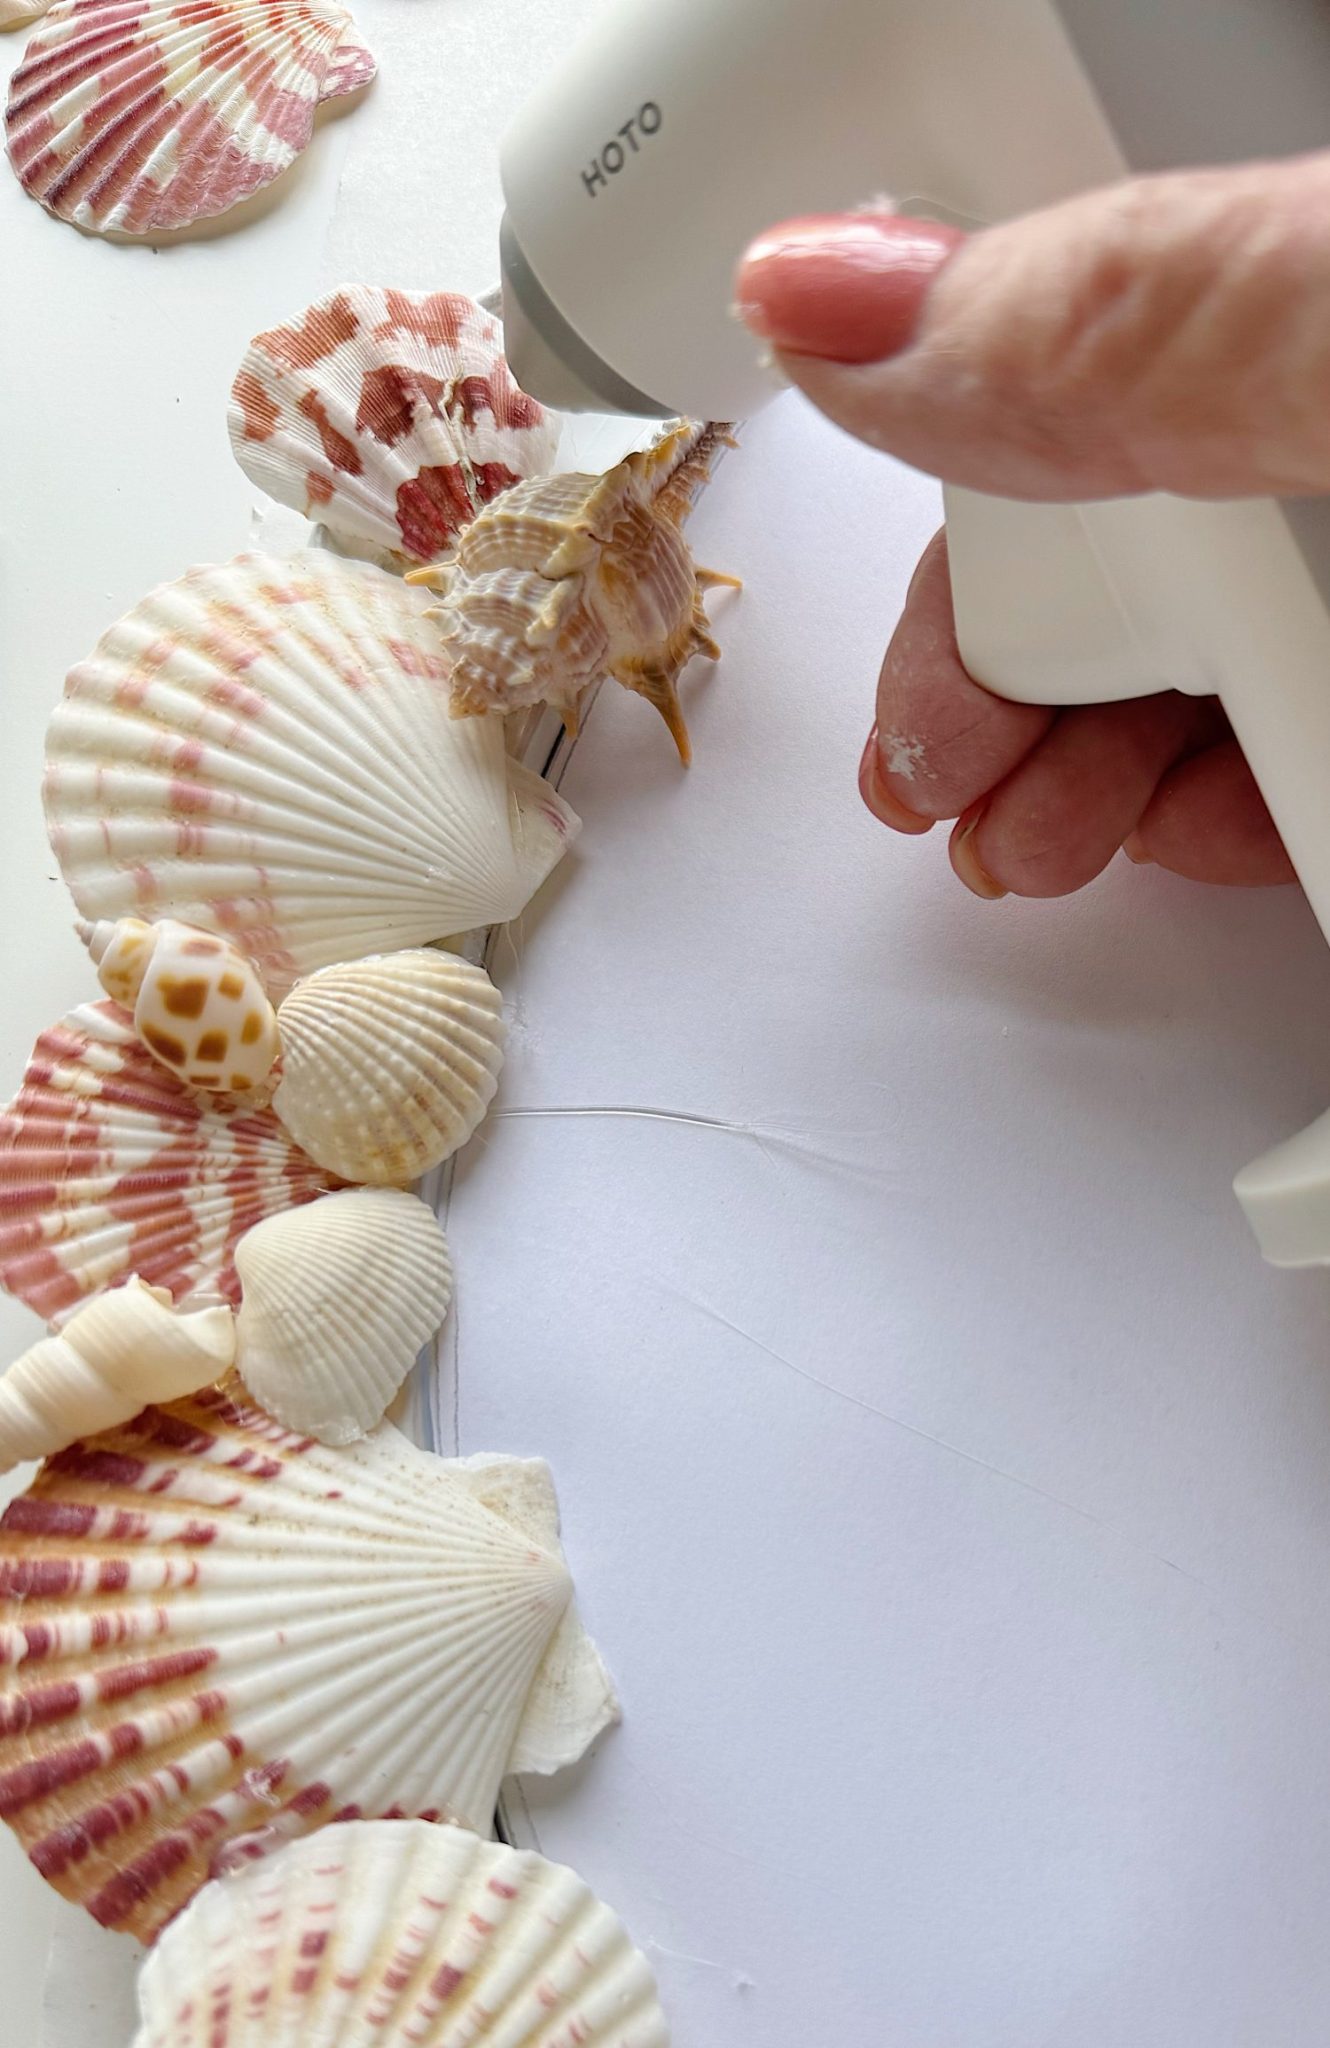
I used my favorite tool for this entire project, my HOTO cordless glue gun. I cannot say enough good things about it. The fact that it is cordless makes such a difference. There is no cord to drag across your workspace, no worrying about where to plug it in, and no interruptions when you are in the middle of placing something perfectly.

It heats up quickly, holds a steady temperature, and is just incredibly easy to use. For a project like this, where you are constantly moving around the frame, turning it, adjusting your angle, and layering pieces, not having a cord is a game-changer.
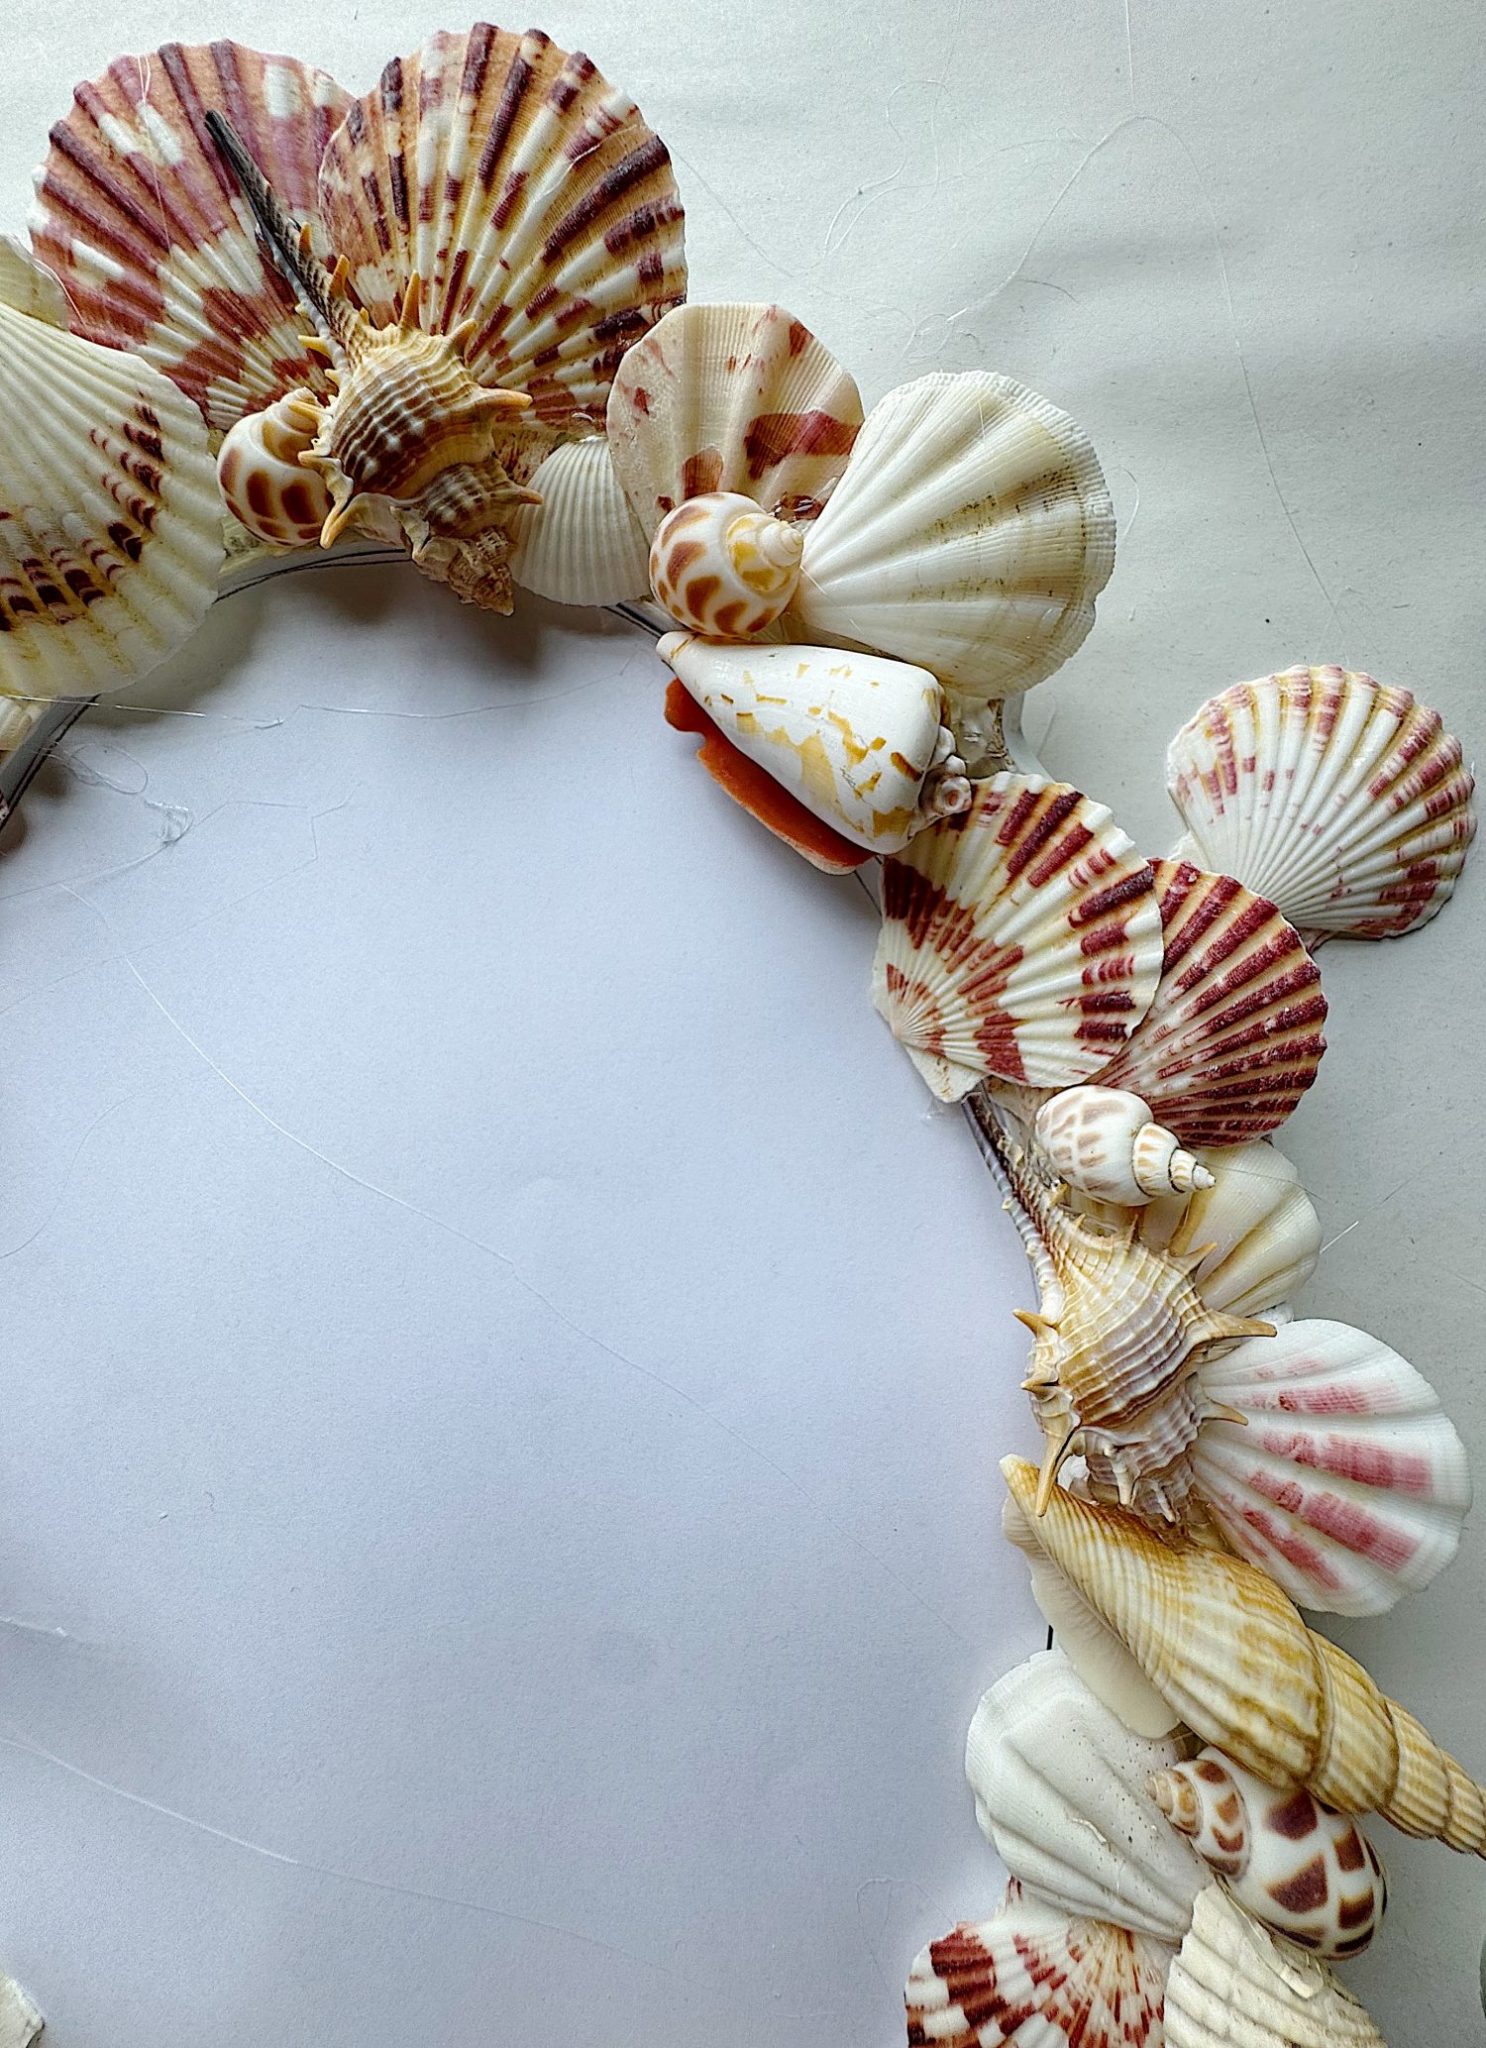
The frame came with a plastic center cover, so I used it to make a paper cover for the mirror. This helped to keep off paint and glue.
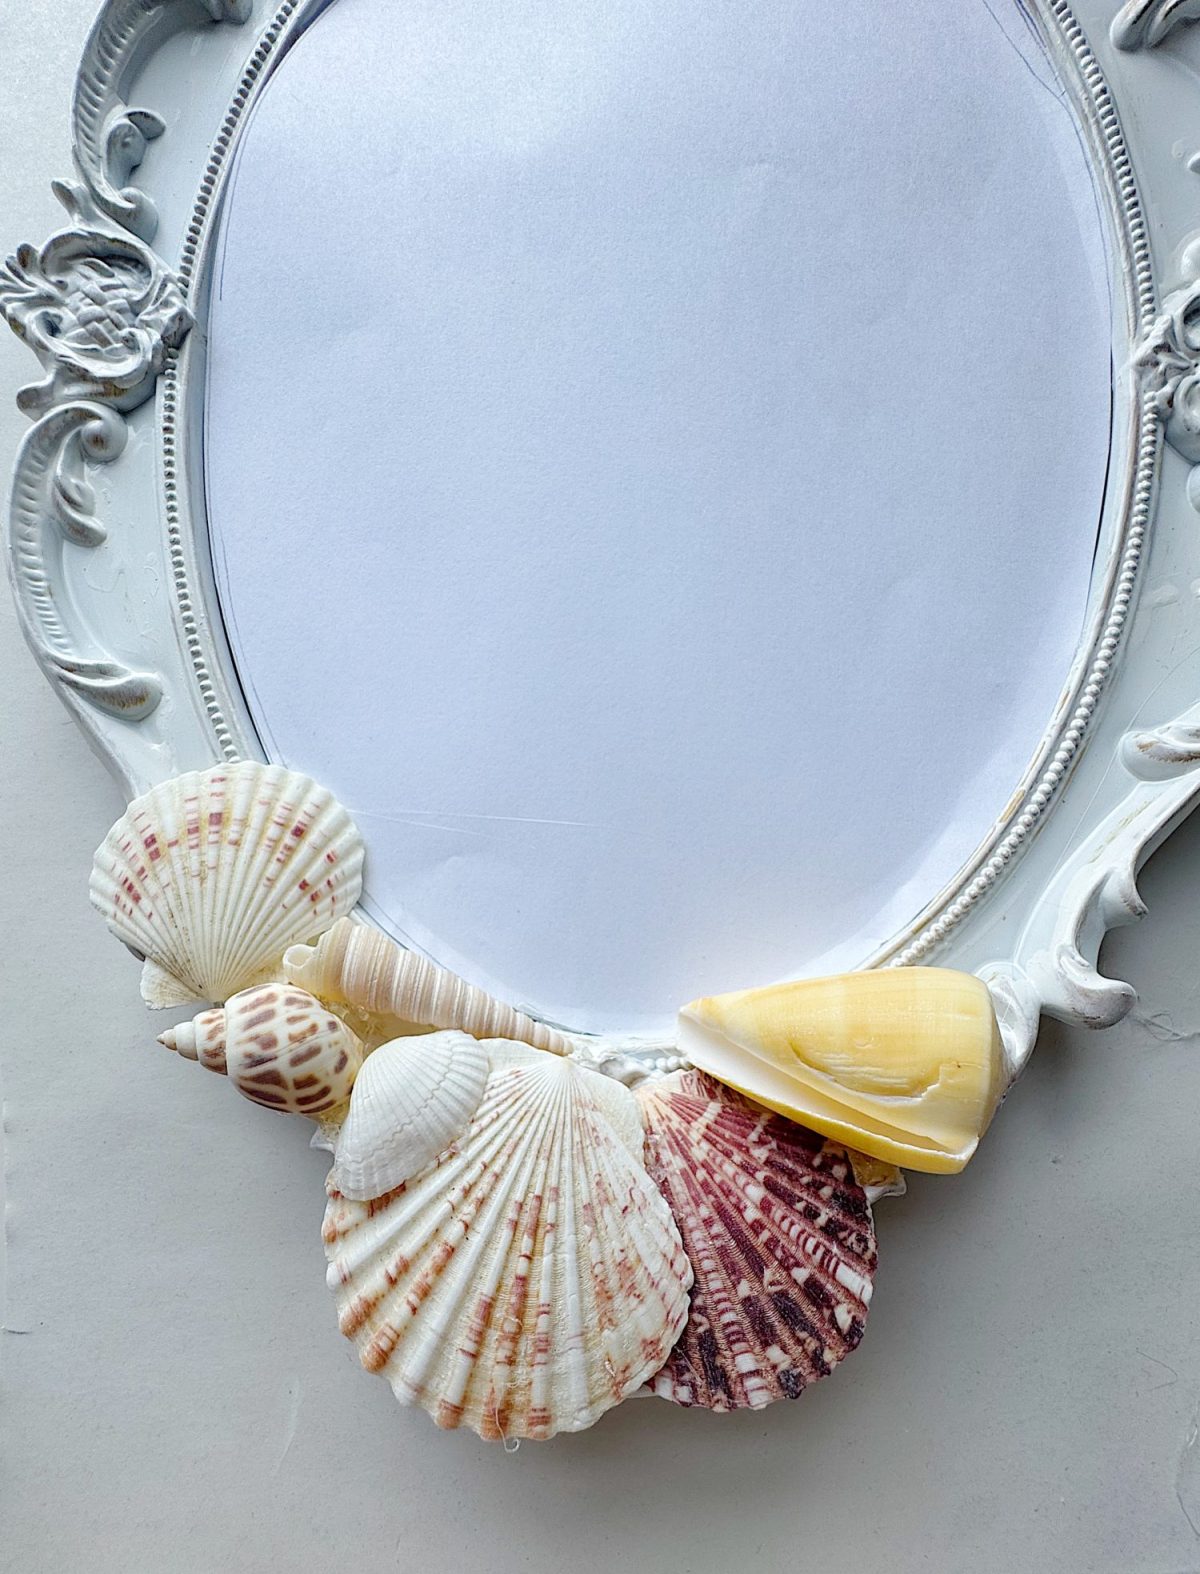
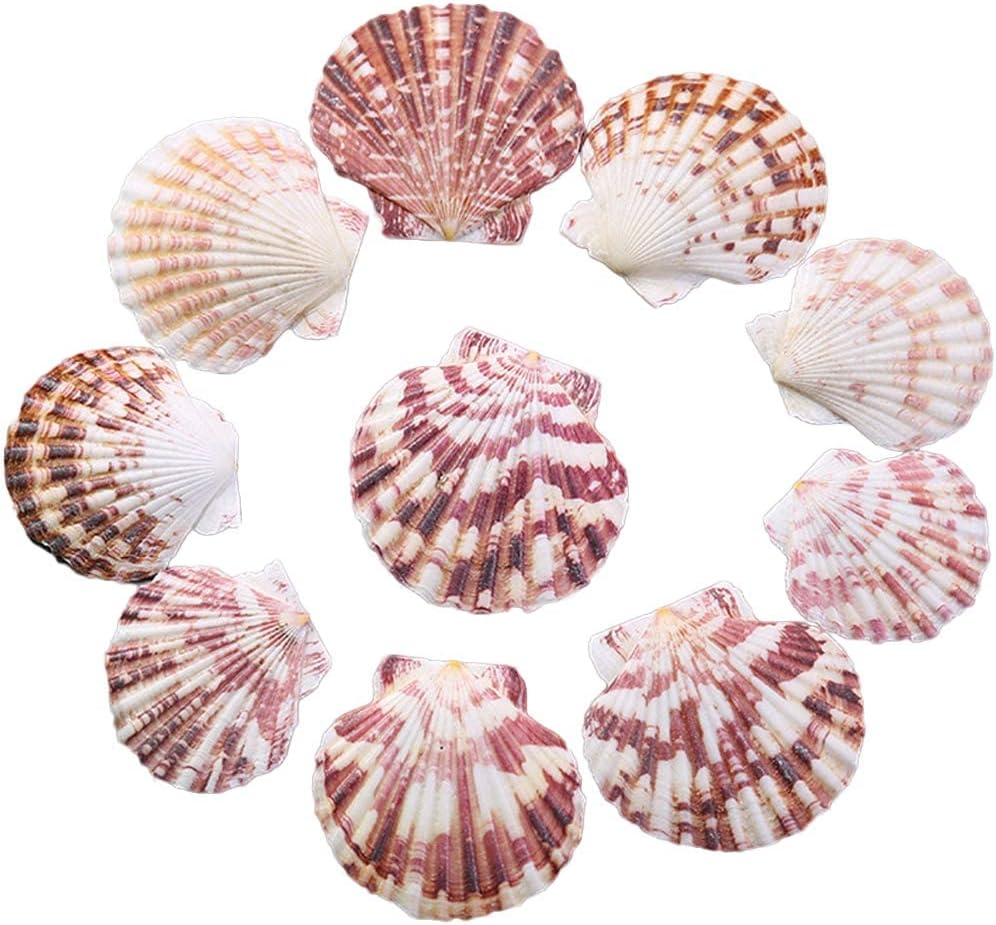
I started at the bottom by placing the largest shells first. These act as anchors for your design and help define the overall look. I didn’t want the mirror to feel too uniform or overly symmetrical, so I focused on creating a natural, organic arrangement. I placed a few larger scallop shells at the top and bottom of the frame and then added a few more along the sides, spacing them out in a way that felt balanced but not predictable.
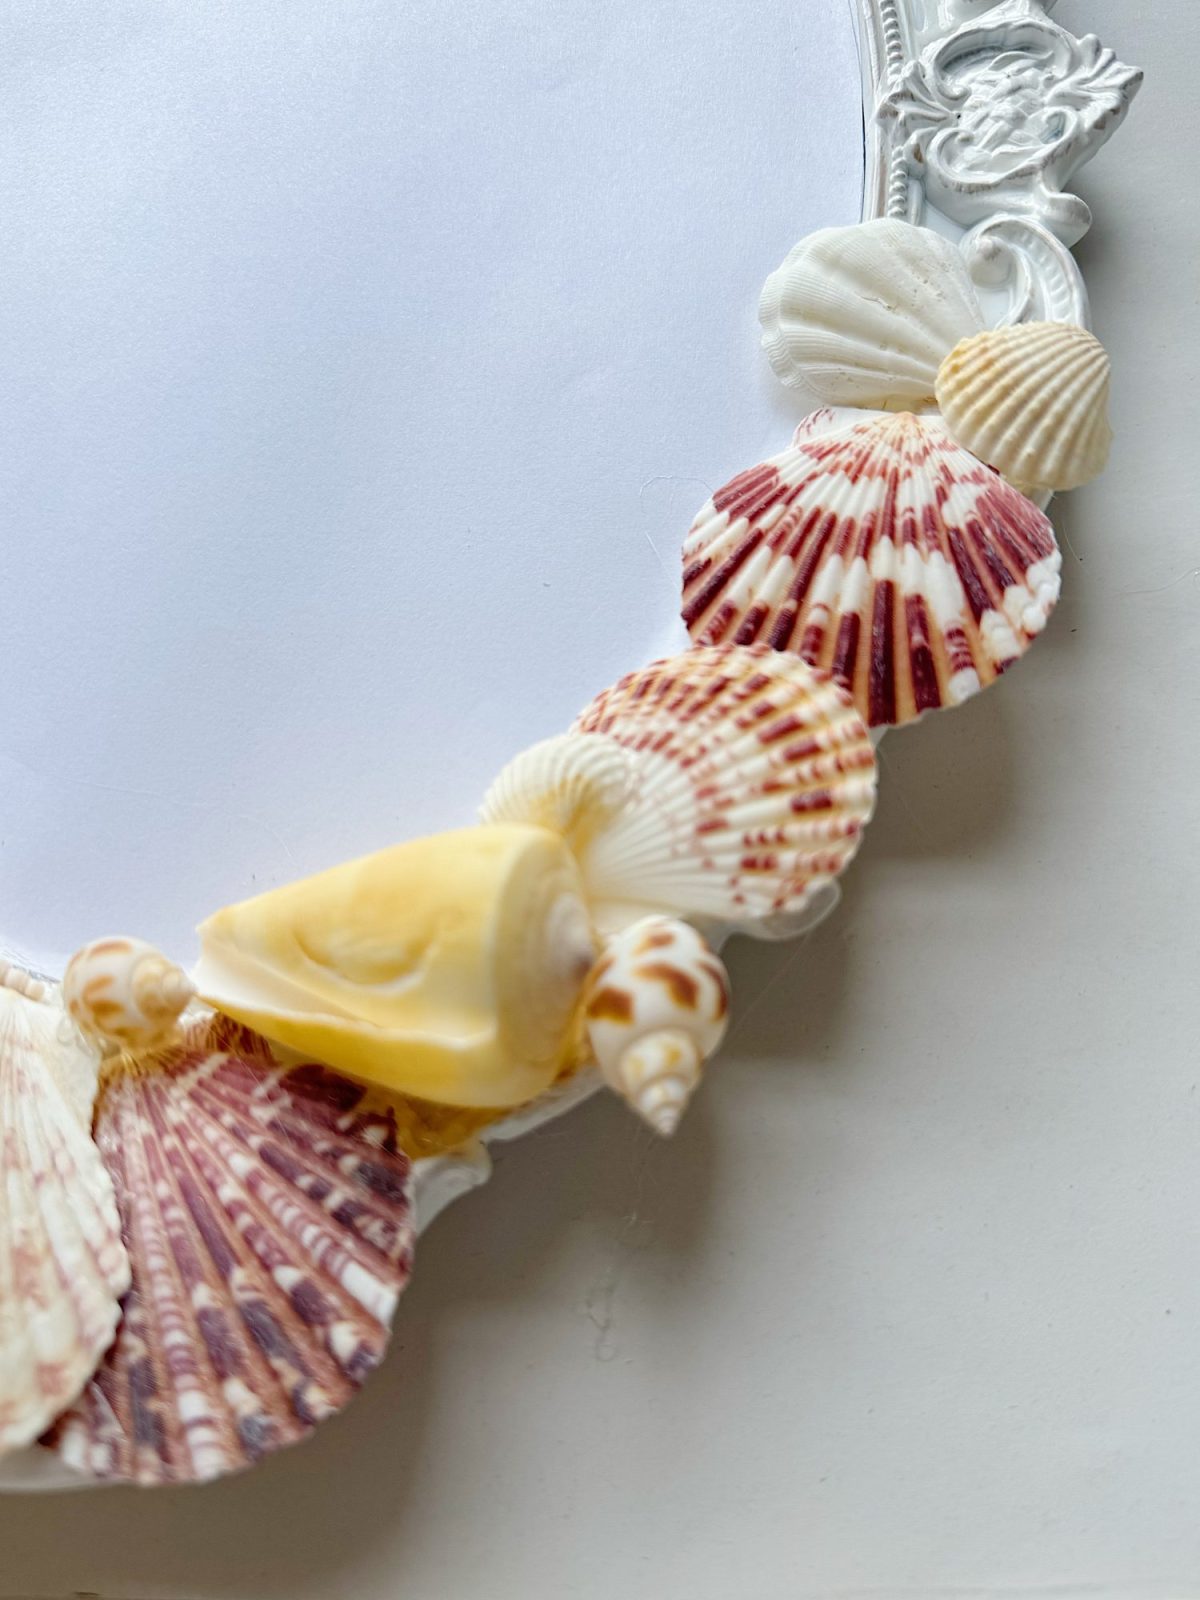
Once the larger shells were in place, I began filling in with medium-sized shells. This is where the design really starts to come together. I layered them slightly, tucked them in around the larger pieces, and varied the direction they faced so everything felt dynamic and interesting. I paid attention to color here as well, mixing the soft pinks, creams, and warm neutrals so nothing looked too clustered or heavy in one area.
As I continued around the frame, the mirror started to take on a wonderful coastal feel.
After that, I used the smallest shells to fill in any gaps. These little pieces are what make the mirror look finished and polished. They soften the edges, hide any visible glue, and create that full, collected look that makes the piece feel intentional rather than random. Some of my favorite details are actually in these smaller shells. They add so much texture and dimension.
As I worked, I kept stepping back to look at the mirror from a distance. This is something I always recommend with any design project. It helps you see the overall balance and catch any areas that might feel too heavy or too sparse. A quick adjustment here and there can make a big difference.
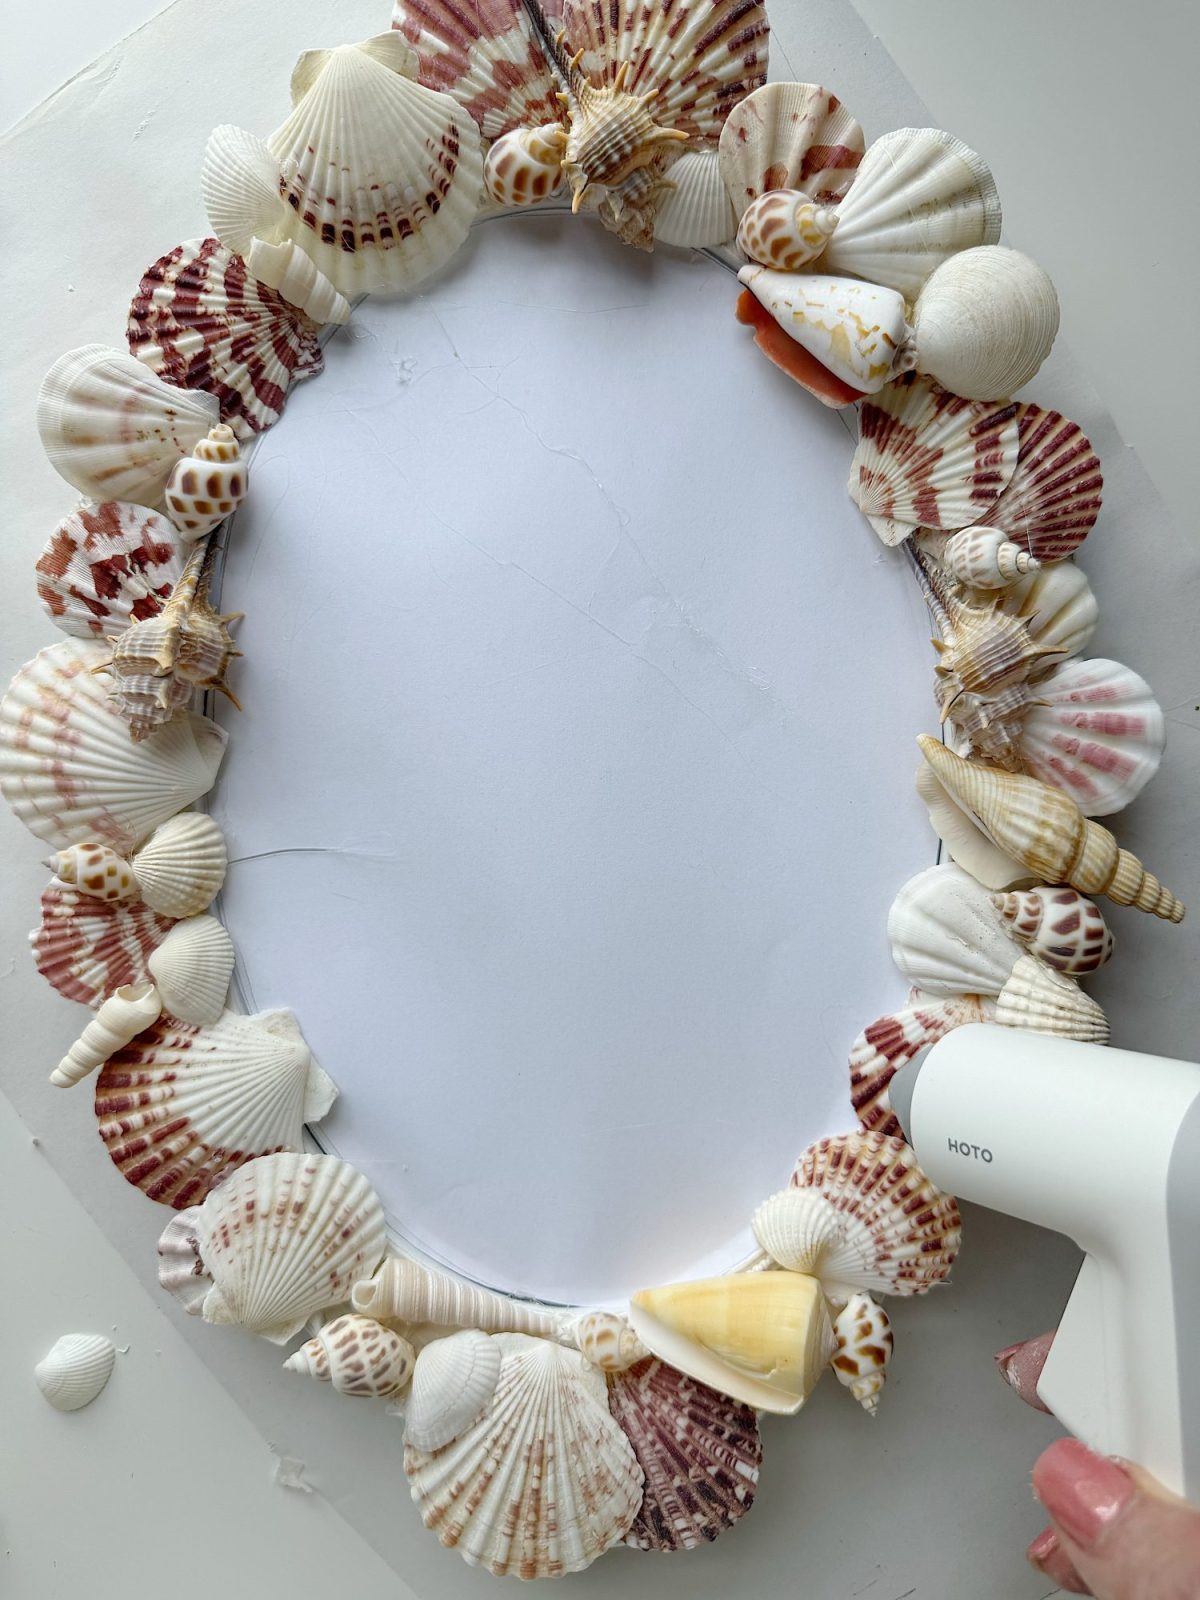
Once I added the shells all the way around, I went back and added more. I also turned the mirror over and added more glue to secure the shells even better.
Quick Step-By-Step Guide
For those of you who love a quick step-by-step guide, here is exactly how to make your own coastal shell mirror.
- Start with a mirror that has a frame you can glue onto. Clean it thoroughly and make sure it is dry. If needed, lightly sand the surface so the paint will adhere better.
- Paint the frame white or your preferred color. I recommend a satin or semi-gloss finish for durability. Let it dry completely before moving on.
- Sort your shells by size and shape. Lay them out on your work surface so you can easily see what you have and grab what you need.
- Begin placing your largest shells on the frame without glue. This helps you plan your layout before committing. Once you are happy with the placement, start gluing them down using a hot glue gun.
- Add medium-sized shells next, working around the larger ones. Slightly overlap them and vary the angles to create a natural look.
- Fill in gaps with small shells to create a cohesive design. Take your time with this step, as it really brings everything together.
- Allow the glue to fully set before moving or hanging the mirror.
- Optional: You can lightly seal the shells with a clear matte or satin sealer to protect them and enhance their natural beauty.
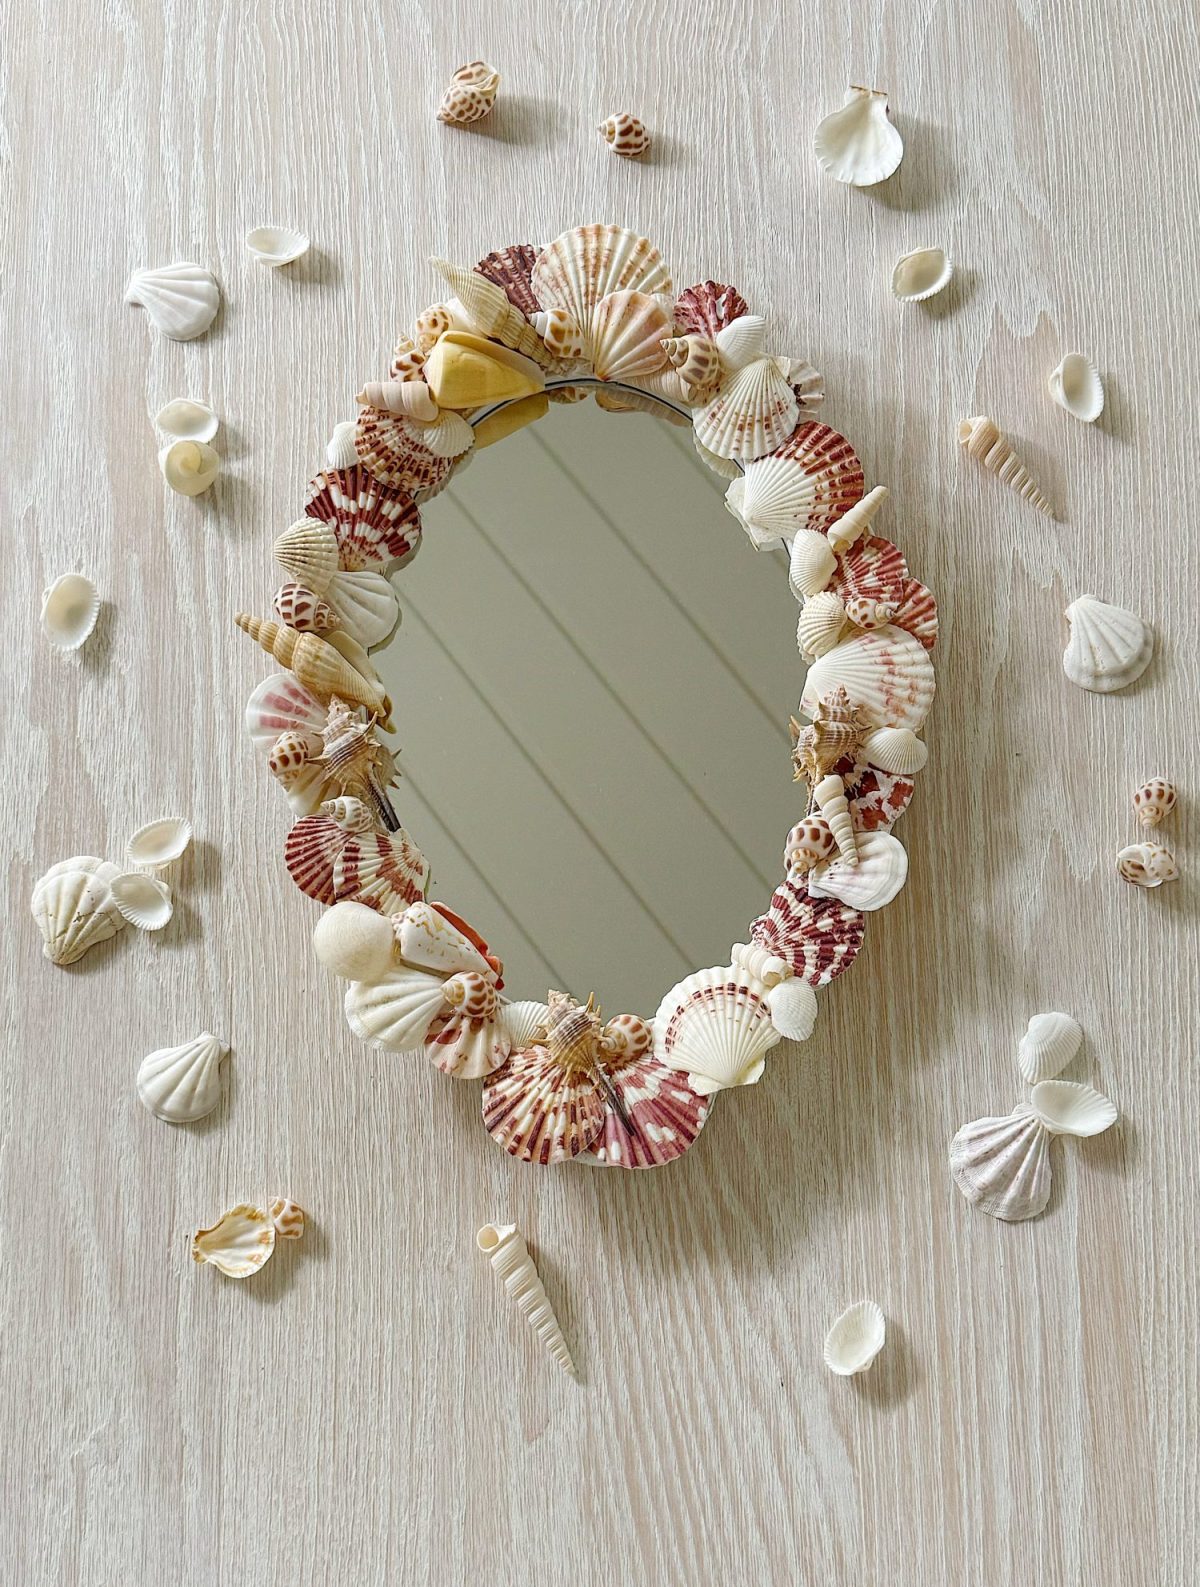
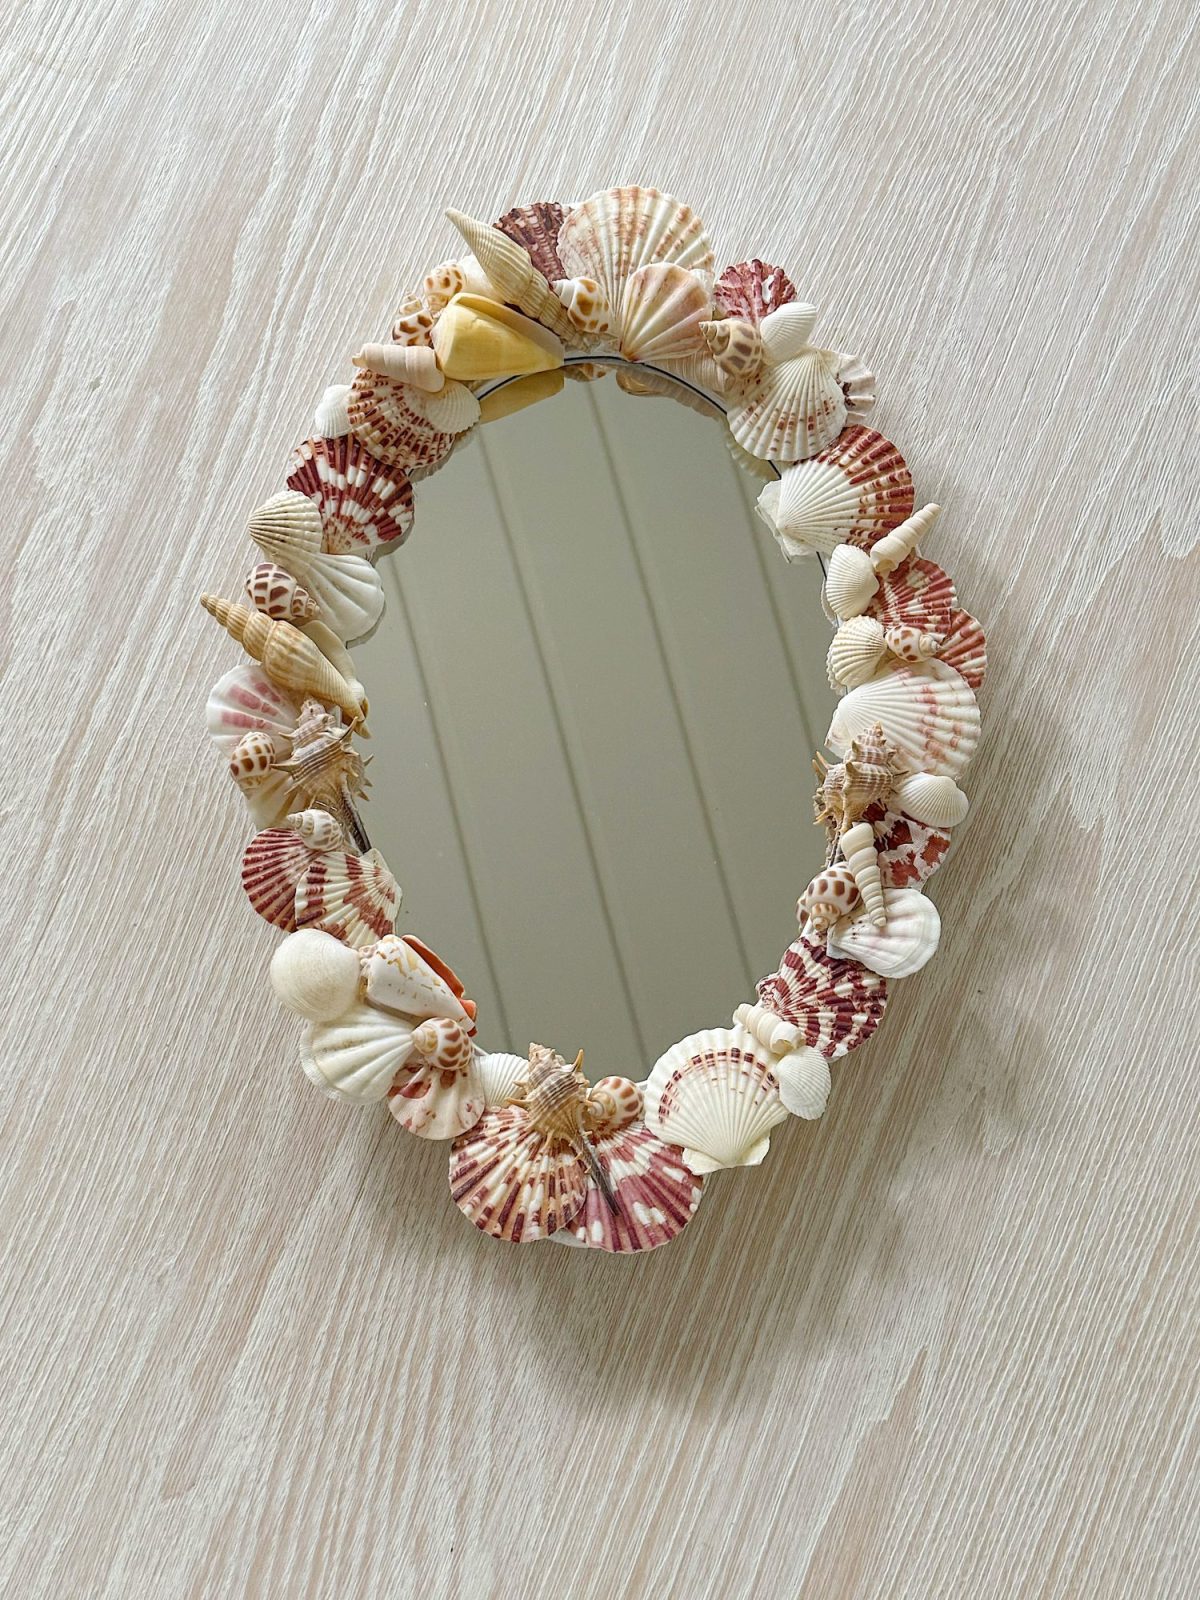
The Finished Coastal Mirror
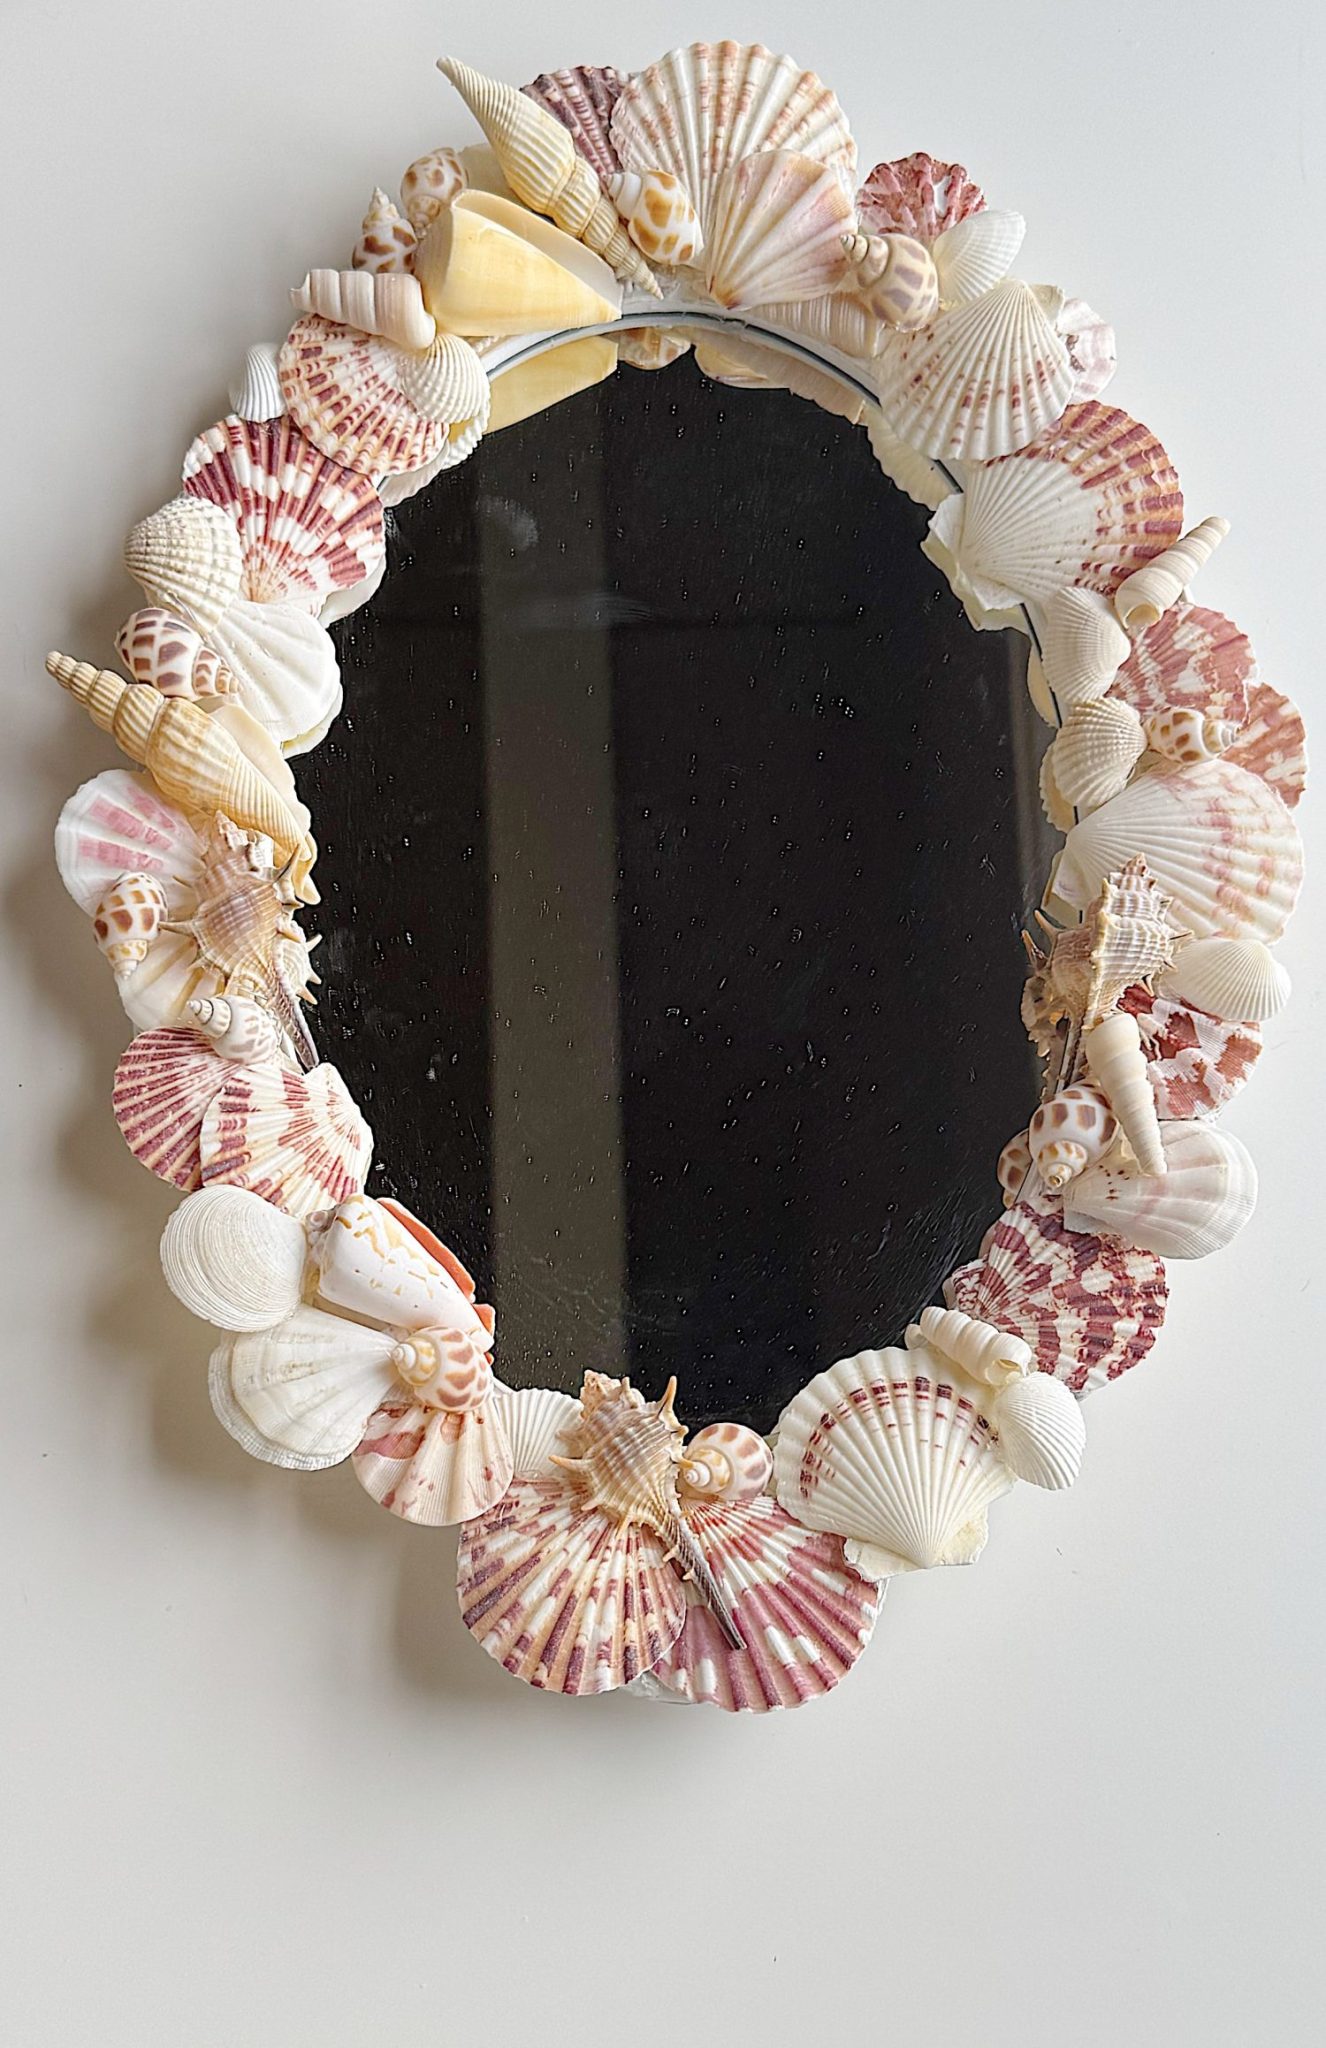
When I finished, I honestly could not believe the transformation. What started as a simple, inexpensive mirror now looks like something you would find in a high-end coastal boutique. It has texture, interest, and a story behind it, which is always my favorite kind of decor.
One of the things I love most about this project is that there is no right or wrong way to do it. Every mirror will look different depending on the shells you use and how you arrange them. That is what makes it feel special and one of a kind. It truly becomes a reflection of your own style.
The entire process was actually very relaxing. There is something about working with your hands and creating something beautiful that feels incredibly satisfying. It is also a project you can do in stages. You can start the layout one day, glue a section the next, and come back to it as you have time. There is no rush.
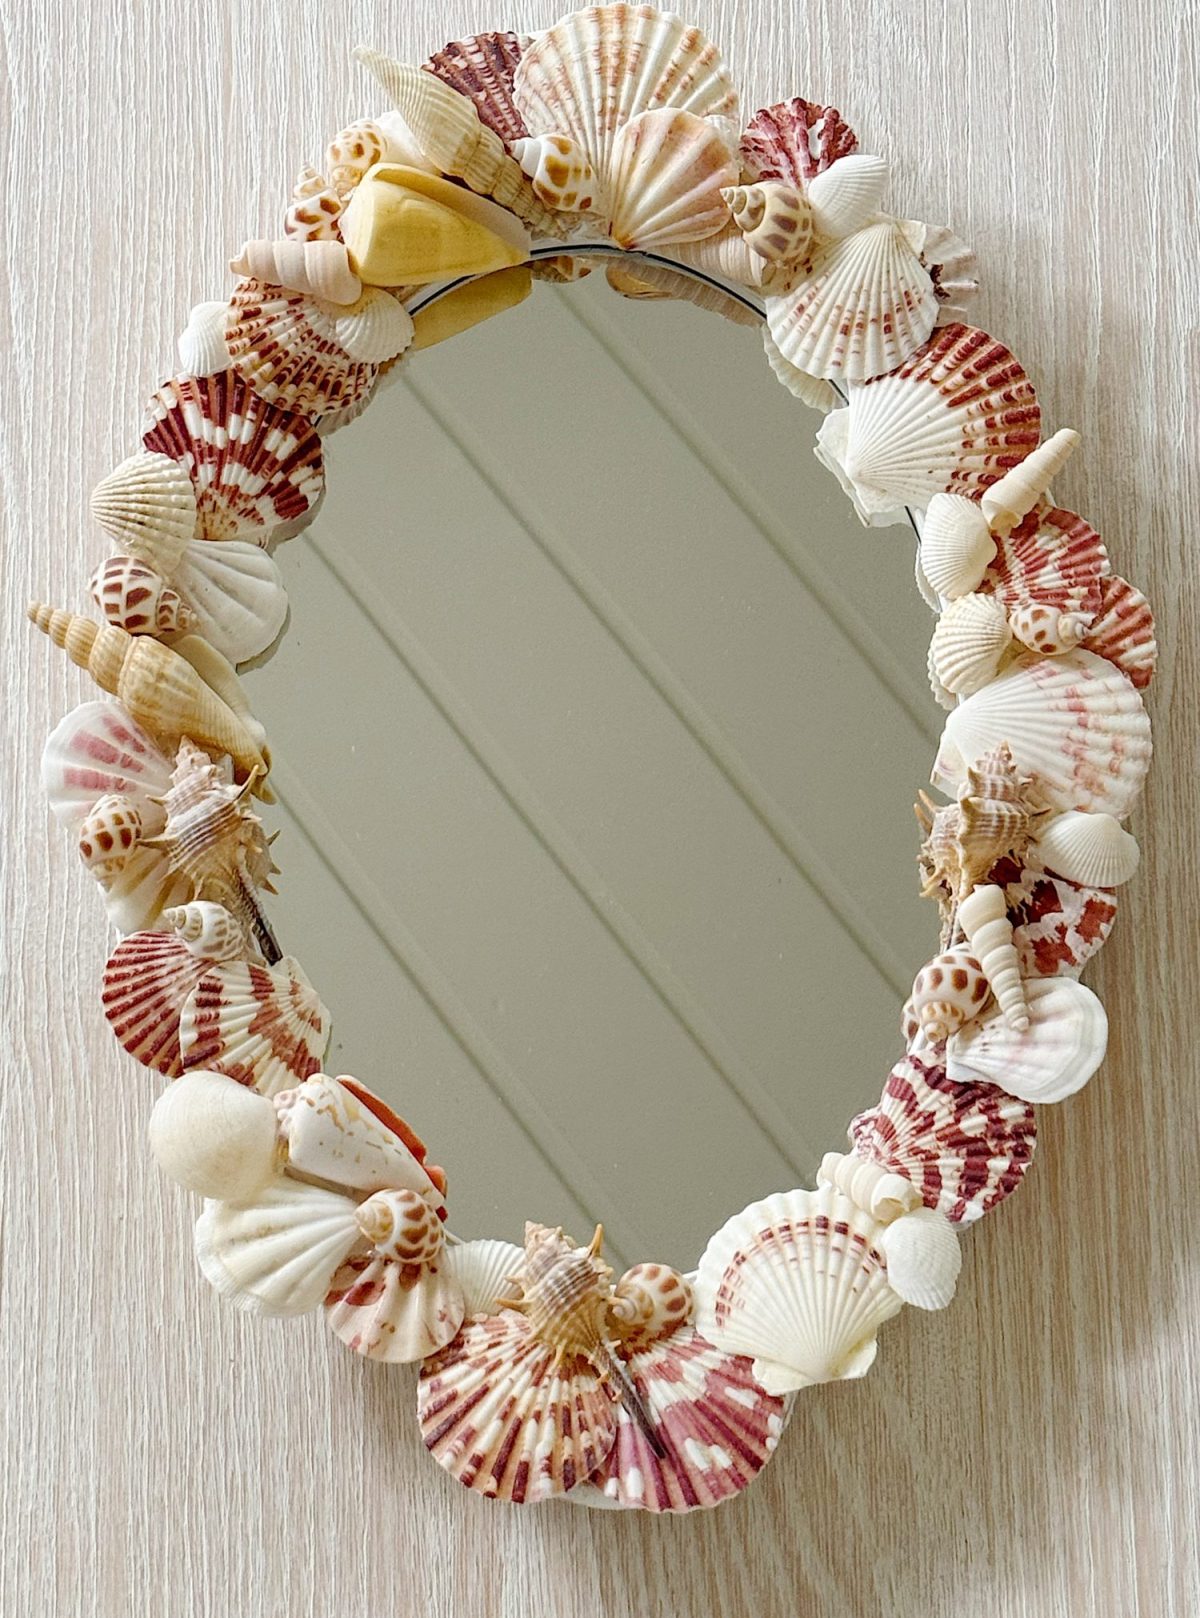
And the best part is the cost. With the mirror and shells, this project comes in at around thirty-five dollars, with lots of leftover shells, which is incredible for a piece that looks so custom and elevated. If you can find an old mirror to use, you can make it for less. You could easily spend several hundred dollars on something similar in a store, and it still wouldn’t have the same personal touch.
This mirror is now the perfect addition to our beach house. It brings a coastal feel without being overly themed, and it works beautifully with the rest of our decor. It feels light, fresh, and just right for summer.
If you are looking for a project that is both creative and practical, this is such a good one to try. It does not require many specialized tools, is very forgiving, and yields a result you will use and enjoy every day.
This project is a perfect example of what A Handmade Summer is all about. It is simple, creative, and results in something beautiful and useful. It encourages you to look at everyday items differently and see the potential in transforming them into something special.
I also love that this mirror tells a story. Whether your shells come from your own beach trips or a craft store, they represent summer, memories, and time spent creating something with your own hands. That is what makes it meaningful.
If you decide to make one, I would love to see it. Every version will be unique, and that is what makes this project so fun.
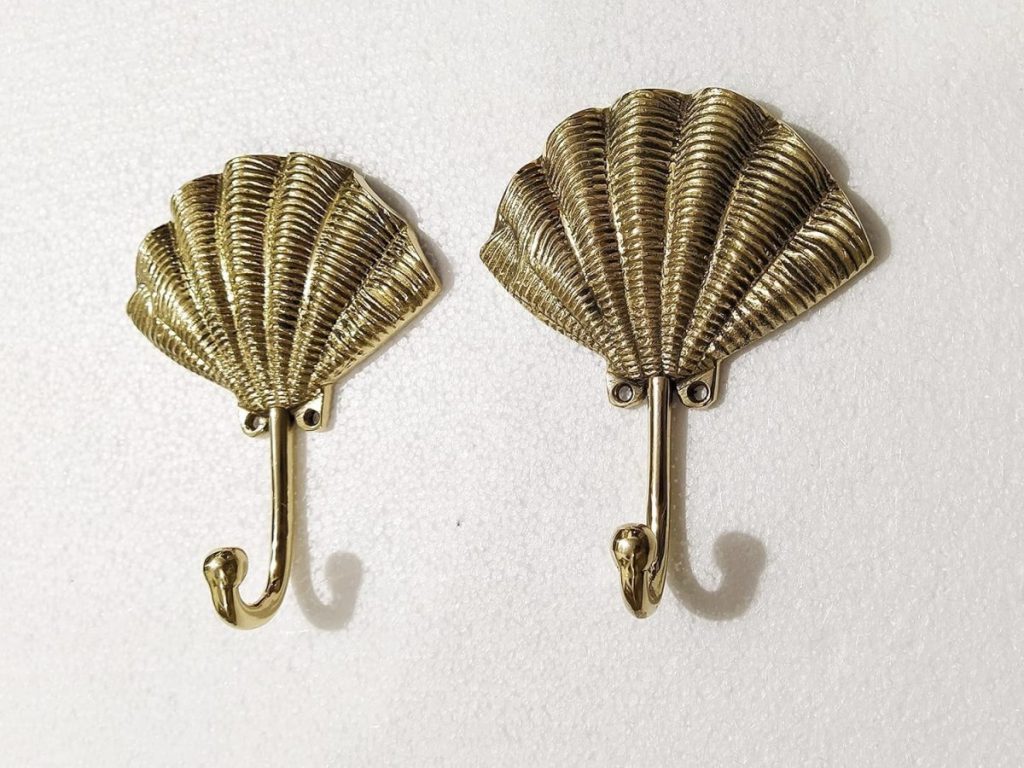
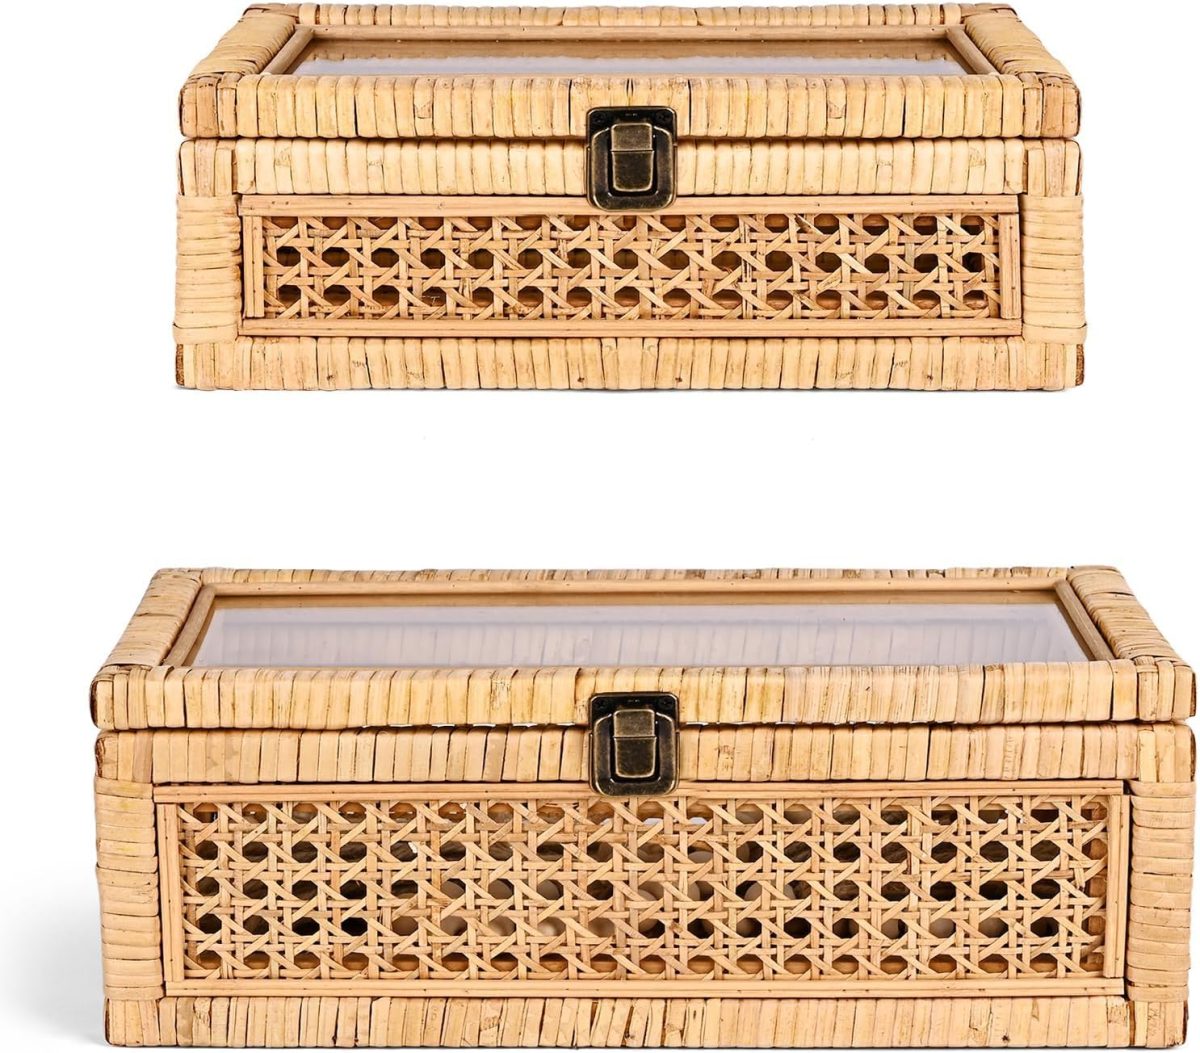
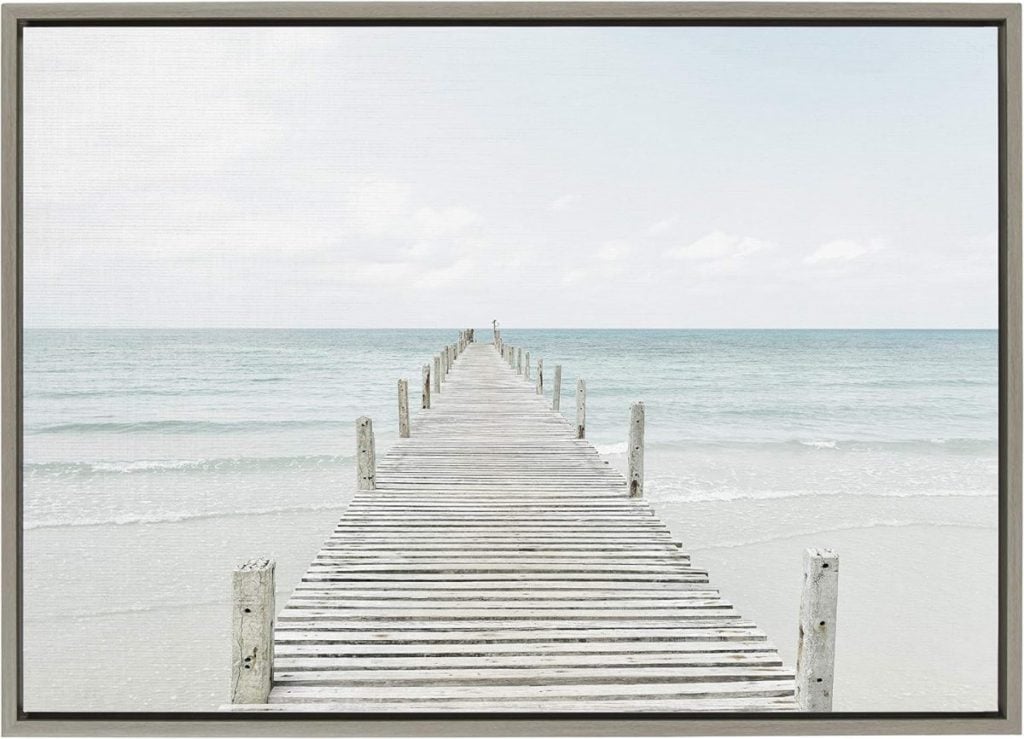
Coastal Inspired Decor I’m loving right now…


Watch the Video
How to Follow Along With A Handmade Summer
Each week, a new spring craft will be shared here on the blog. I will also be sharing behind-the-scenes moments, progress videos, and finished projects on Instagram so you can see each craft come to life.
You can jump in at any point. There is no need to start at the beginning or complete every project. Choose the ones that speak to you and make them your own.
If you love seasonal crafting, this series is designed to inspire you throughout the summer.
Here are all of the A Handmade Summer craft projects so far. I can’t wait to share them all.
Latest Posts
-
The Truth About Being “Crafty” – Mondays in the Craftroom
One of the most common things people say to me is, “I’m just not crafty.” But the truth is that creativity isn’t something you’re born with. It’s something you learn. Today I’m sharing why being crafty has much less to do with talent and much more to do with curiosity, practice, and simply being willing…
-
Summer at the Beach and Sunday Morning Coffee
Welcome to another Sunday Morning Coffee! Summer is flying by, and I have to say, it has been the busiest and happiest summer at the beach we’ve had in a long time. We’ve spent nearly every weekend at our beach house with family and friends, which is exactly why we bought and remodeled it all…
-
Grilling Perfectly and Tips to Use Your Outdoor Grilling Station
It’s time to fire up the grill and embark on a flavor-filled journey of outdoor cooking! It’s time to have fun with your outdoor grilling station. Planning a successful BBQ cookout is an art that combines culinary skills, creativity, and a dash of hosting finesse. I have crafted The Essential Summer Grilling Guide to help…
-
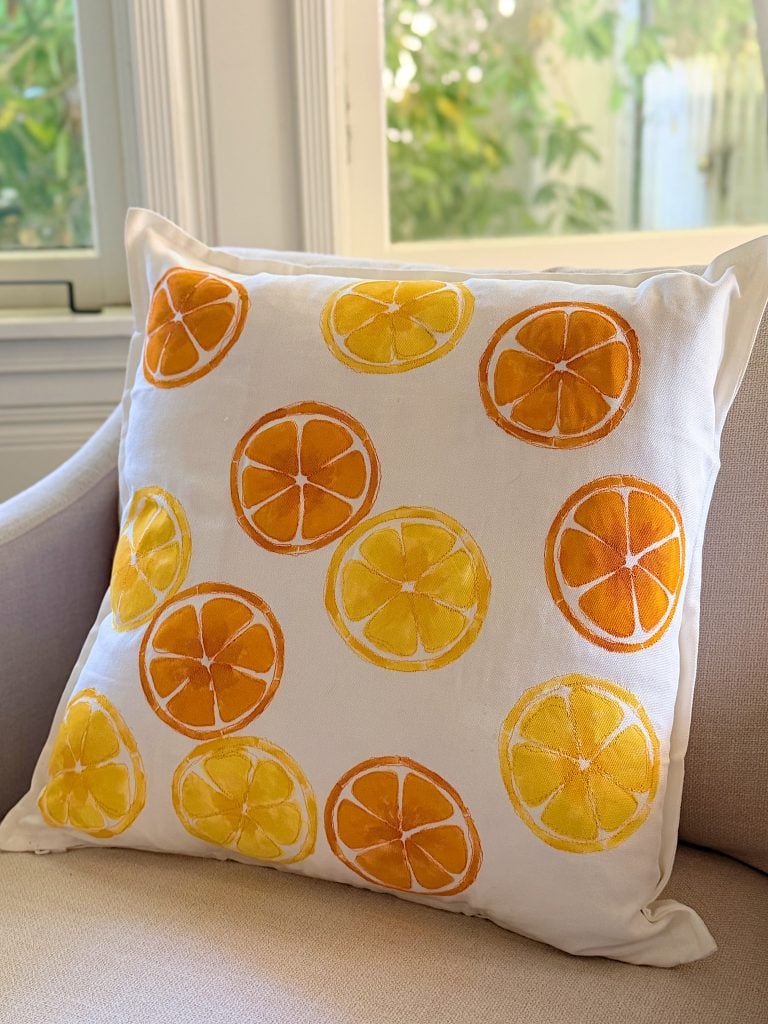
A Citrus Pillow – A Handmade Summer
A handmade pillow is one of the easiest ways to add a fresh, custom touch to your home, and this cheerful citrus design is perfect for summer. Using a simple white pillow cover, a citrus stencil, acrylic paint, and a little free-motion embroidery, you can create a one-of-a-kind accent pillow that looks boutique-made without spending…
My Recent Instagram Posts

You can pin the image below to your boards on Pinterest (click the Pin button in the top left corner) or follow me on Pinterest!
For more real-time updates, follow me on Instagram @My100YearOldHome
