My Favorite Flocked Christmas Tree Craft and Black Friday DAY!
Black Friday DAY is here; we have more deals and a giveaway for you today! I am also sharing how to make my favorite flocked Christmas tree.
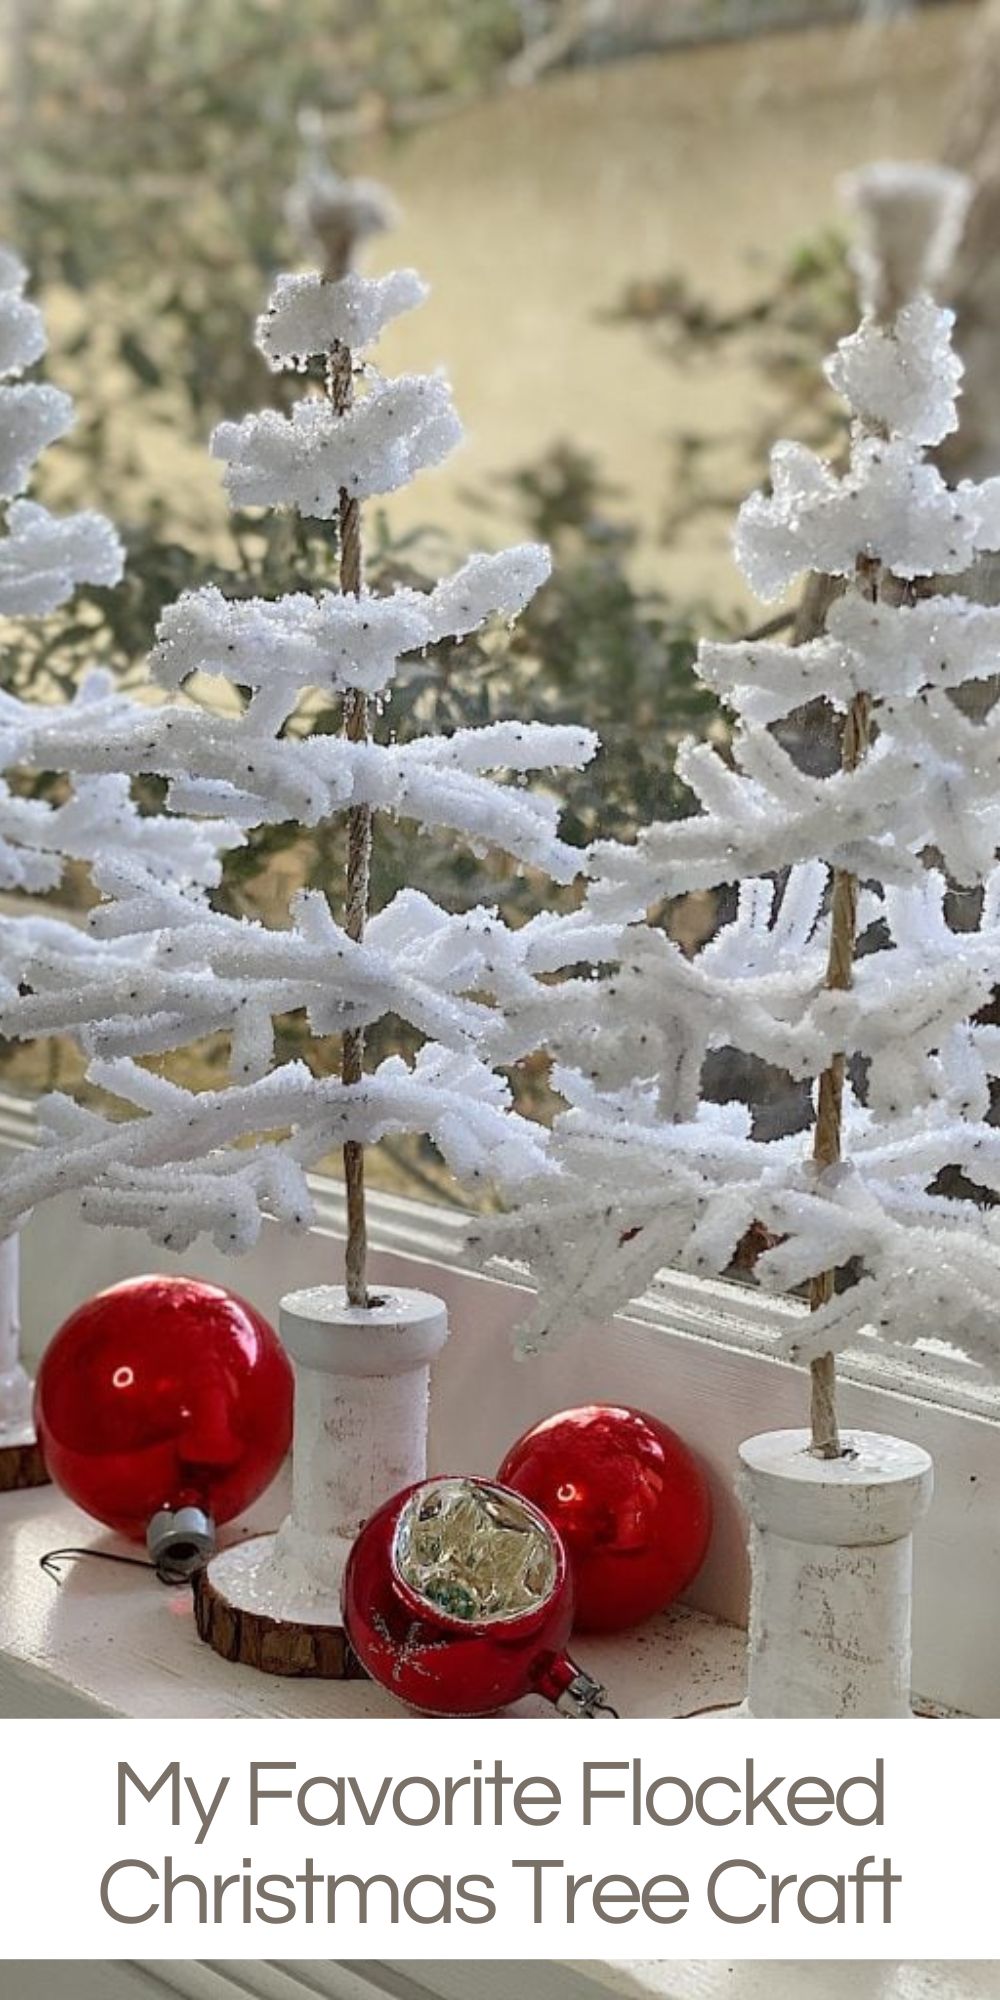
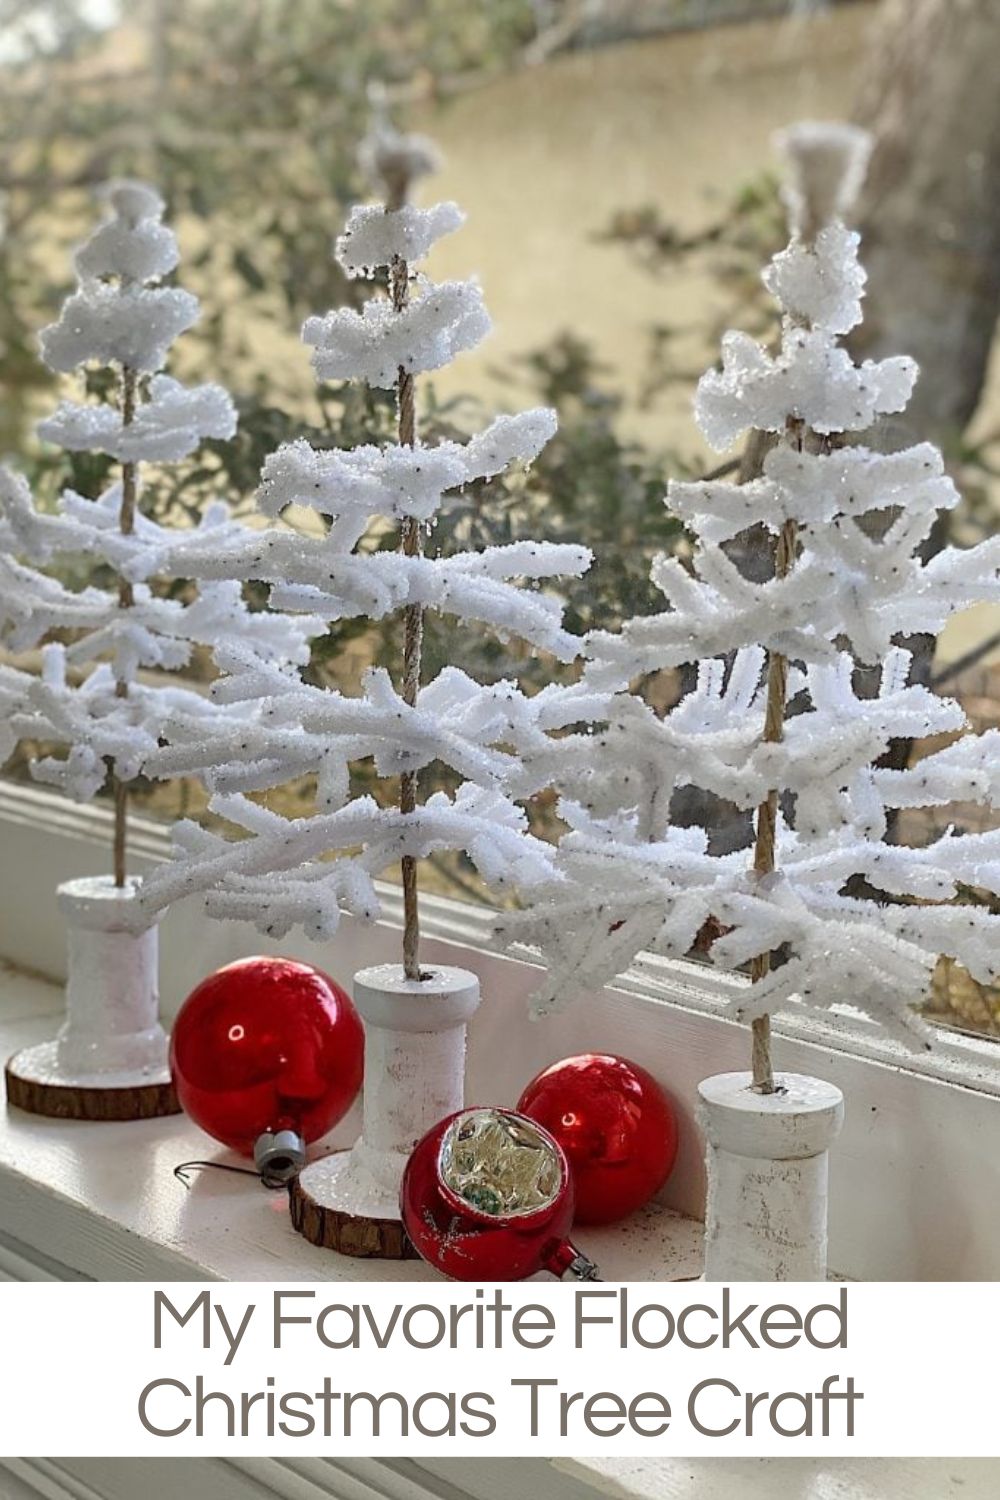
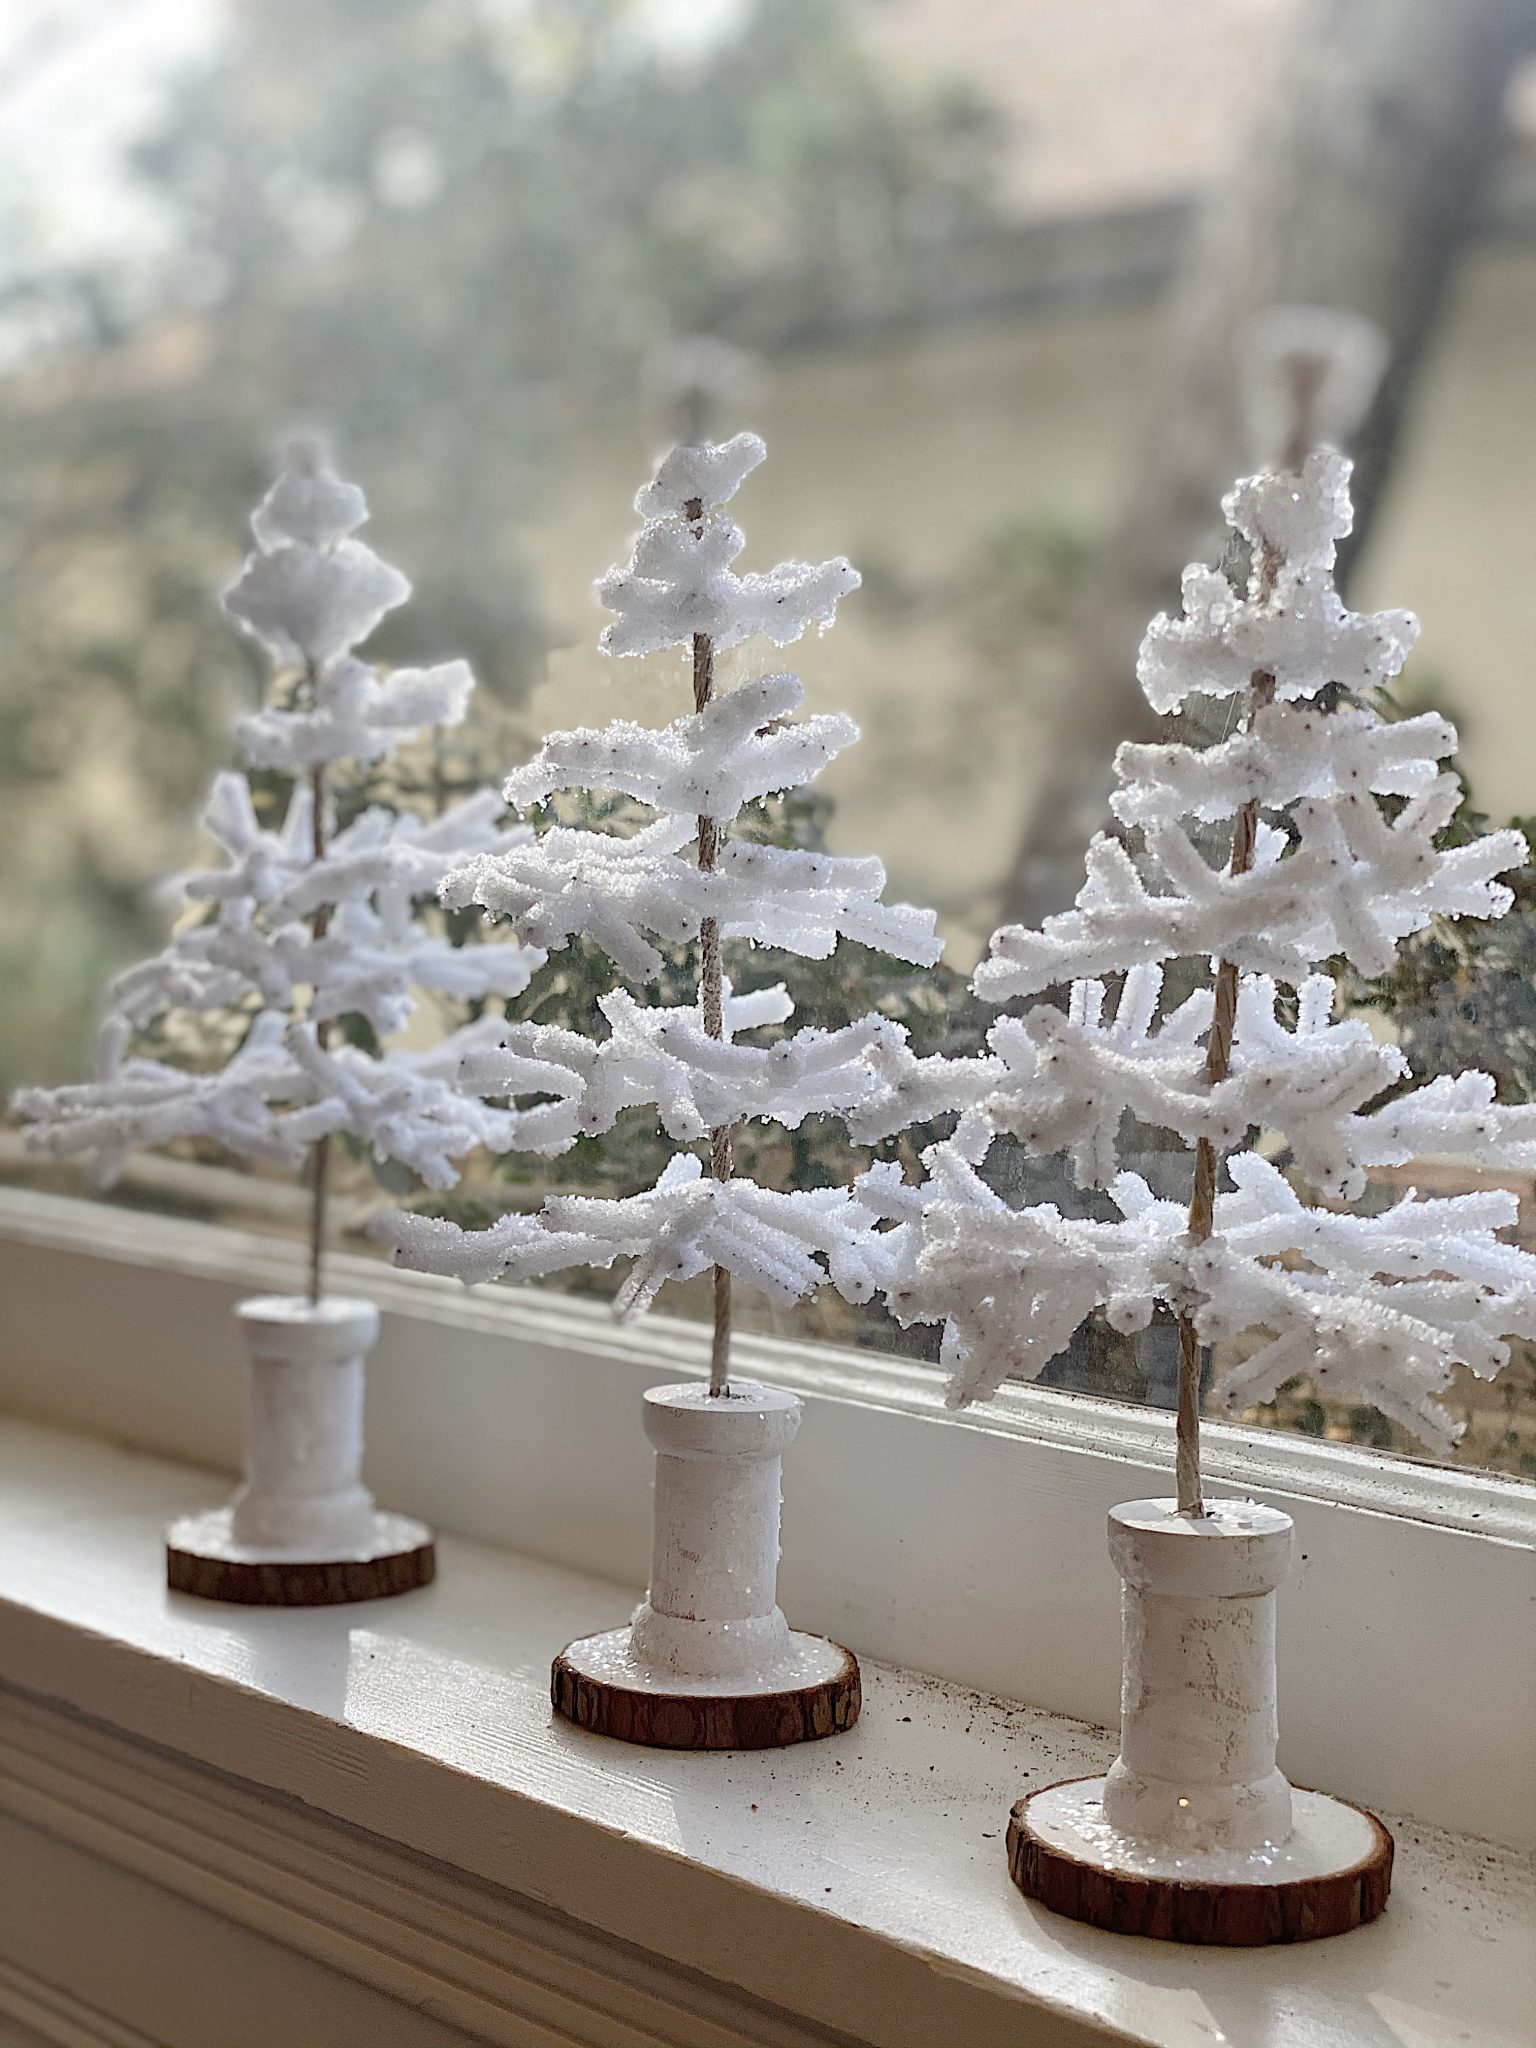
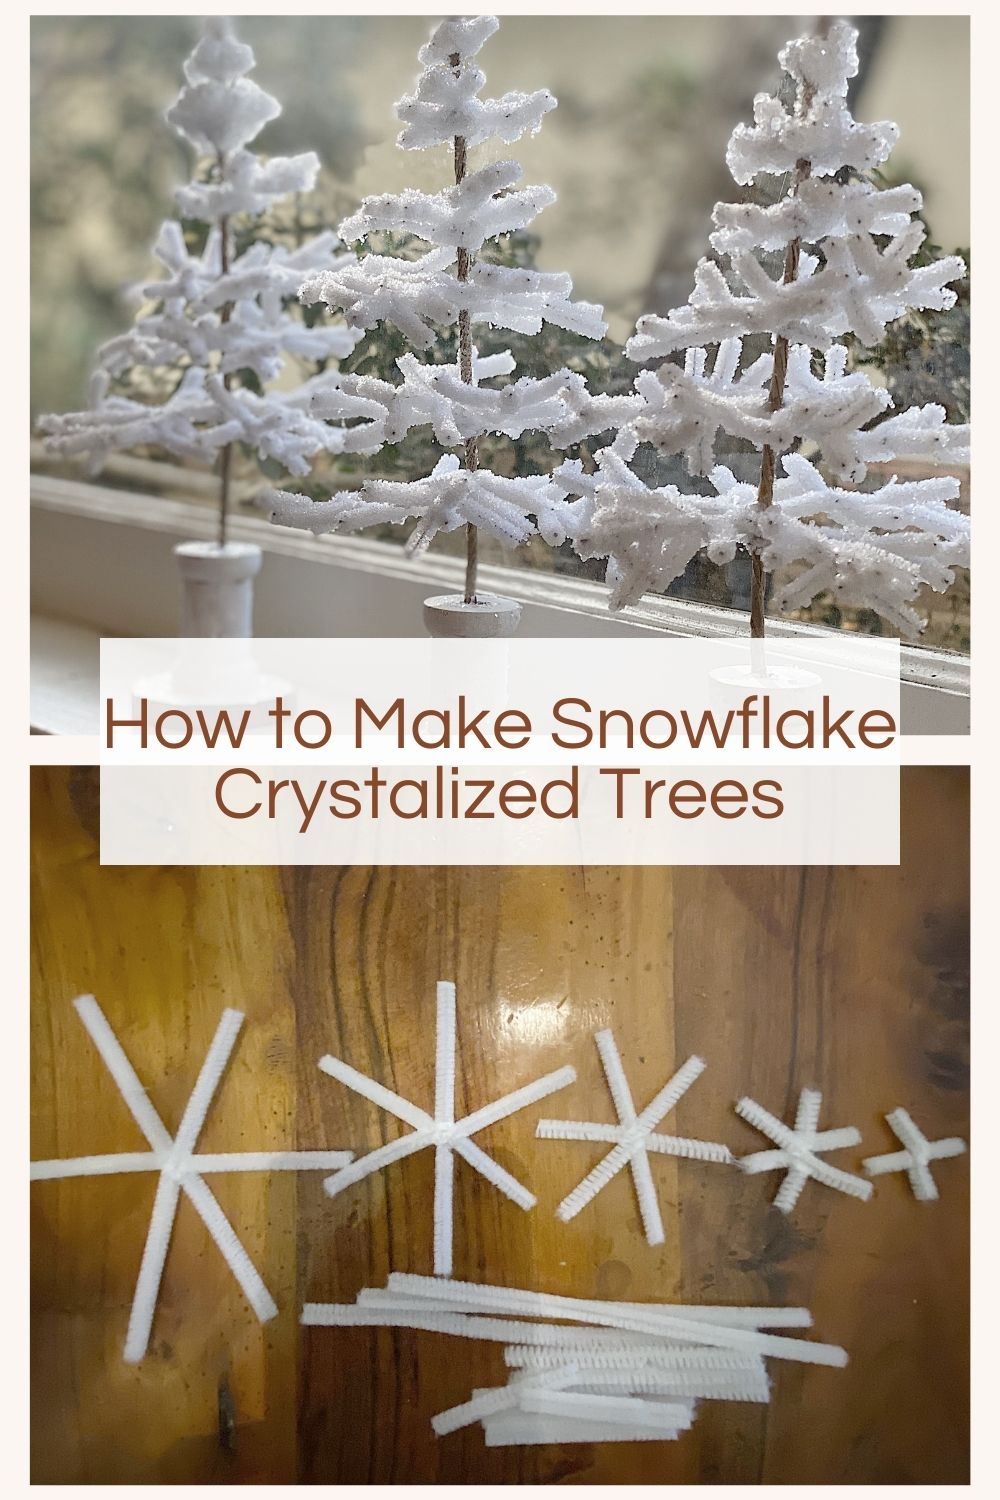
Flocked Christmas trees are a little bit magical—the way the light catches and creates a little sparkle. I used pipe cleaners to create snowflakes and then shaped them into trees. I loved making these flocked Christmas trees, and since we don’t have snow in Southern California, I get to have some Christmas snow magic in our house!

Black Friday DAY is Here!


Black Friday Day Giveaway – Win a $500 Gift Card!

Once again, Amazon gave me TWO $500 gift cards to give you!
Two lucky followers will win a $500 gift certificate to shop all things Amazon.
You can enter to win two ways! One gift card will be given to one of you who comments on this blog post. Let me know which Black Friday deal you are the most excited about.
The second gift card will be given to one of you who comments on my Instagram post this afternoon. Sign up using the instructions! Winners for both $500 gift cards will be announced next week!

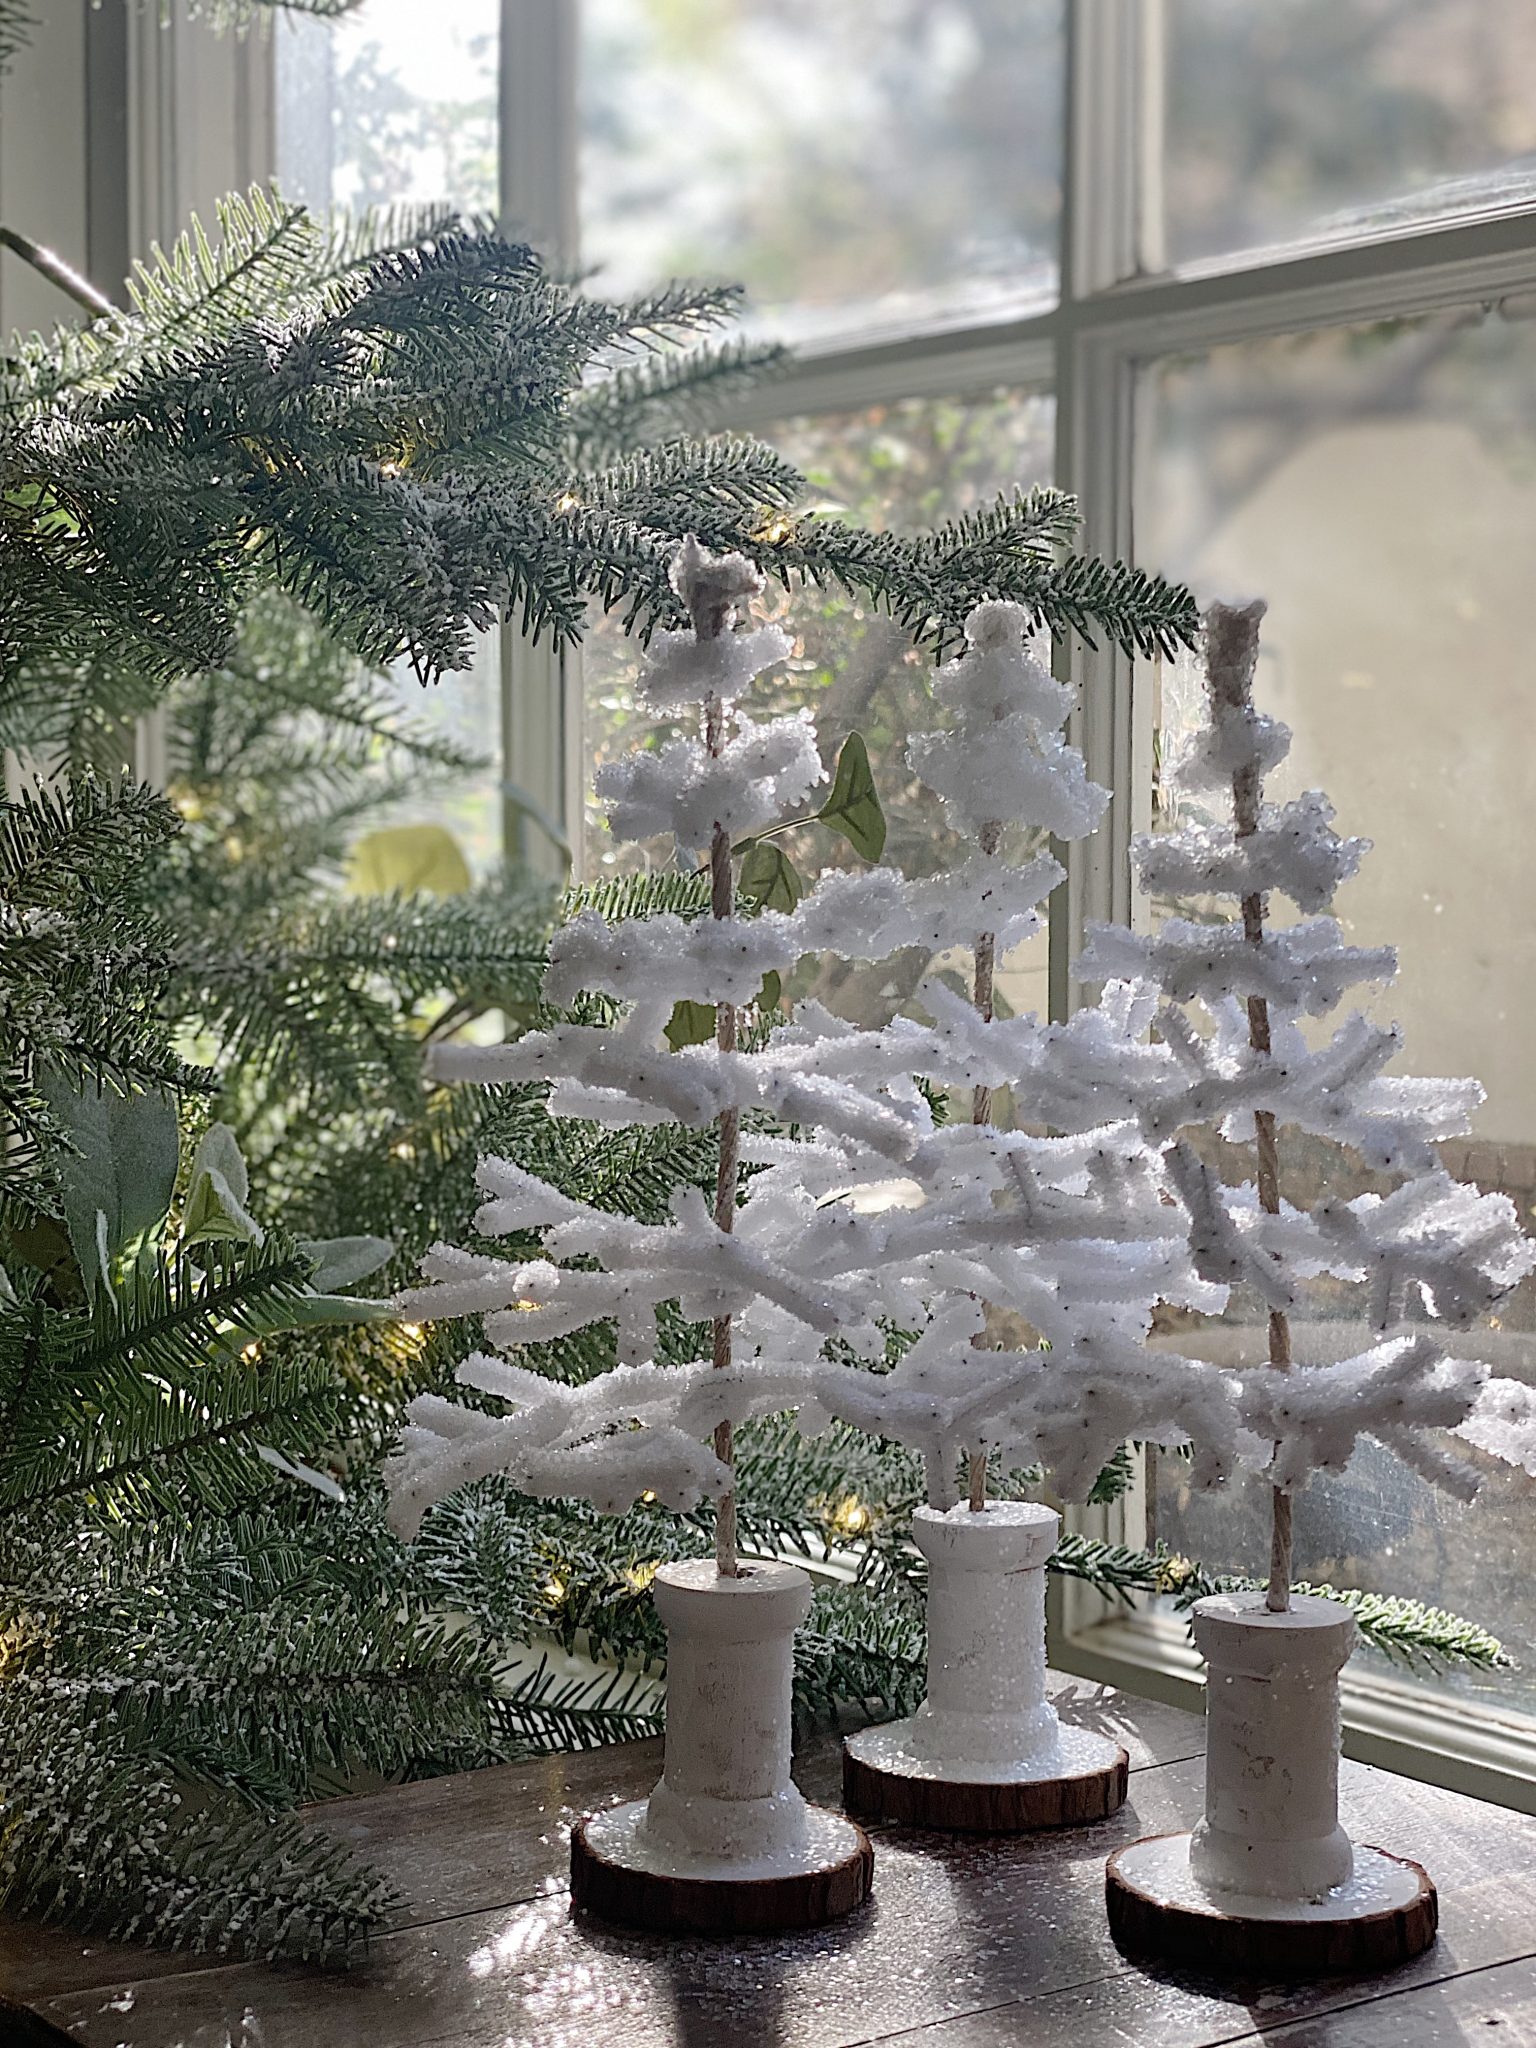
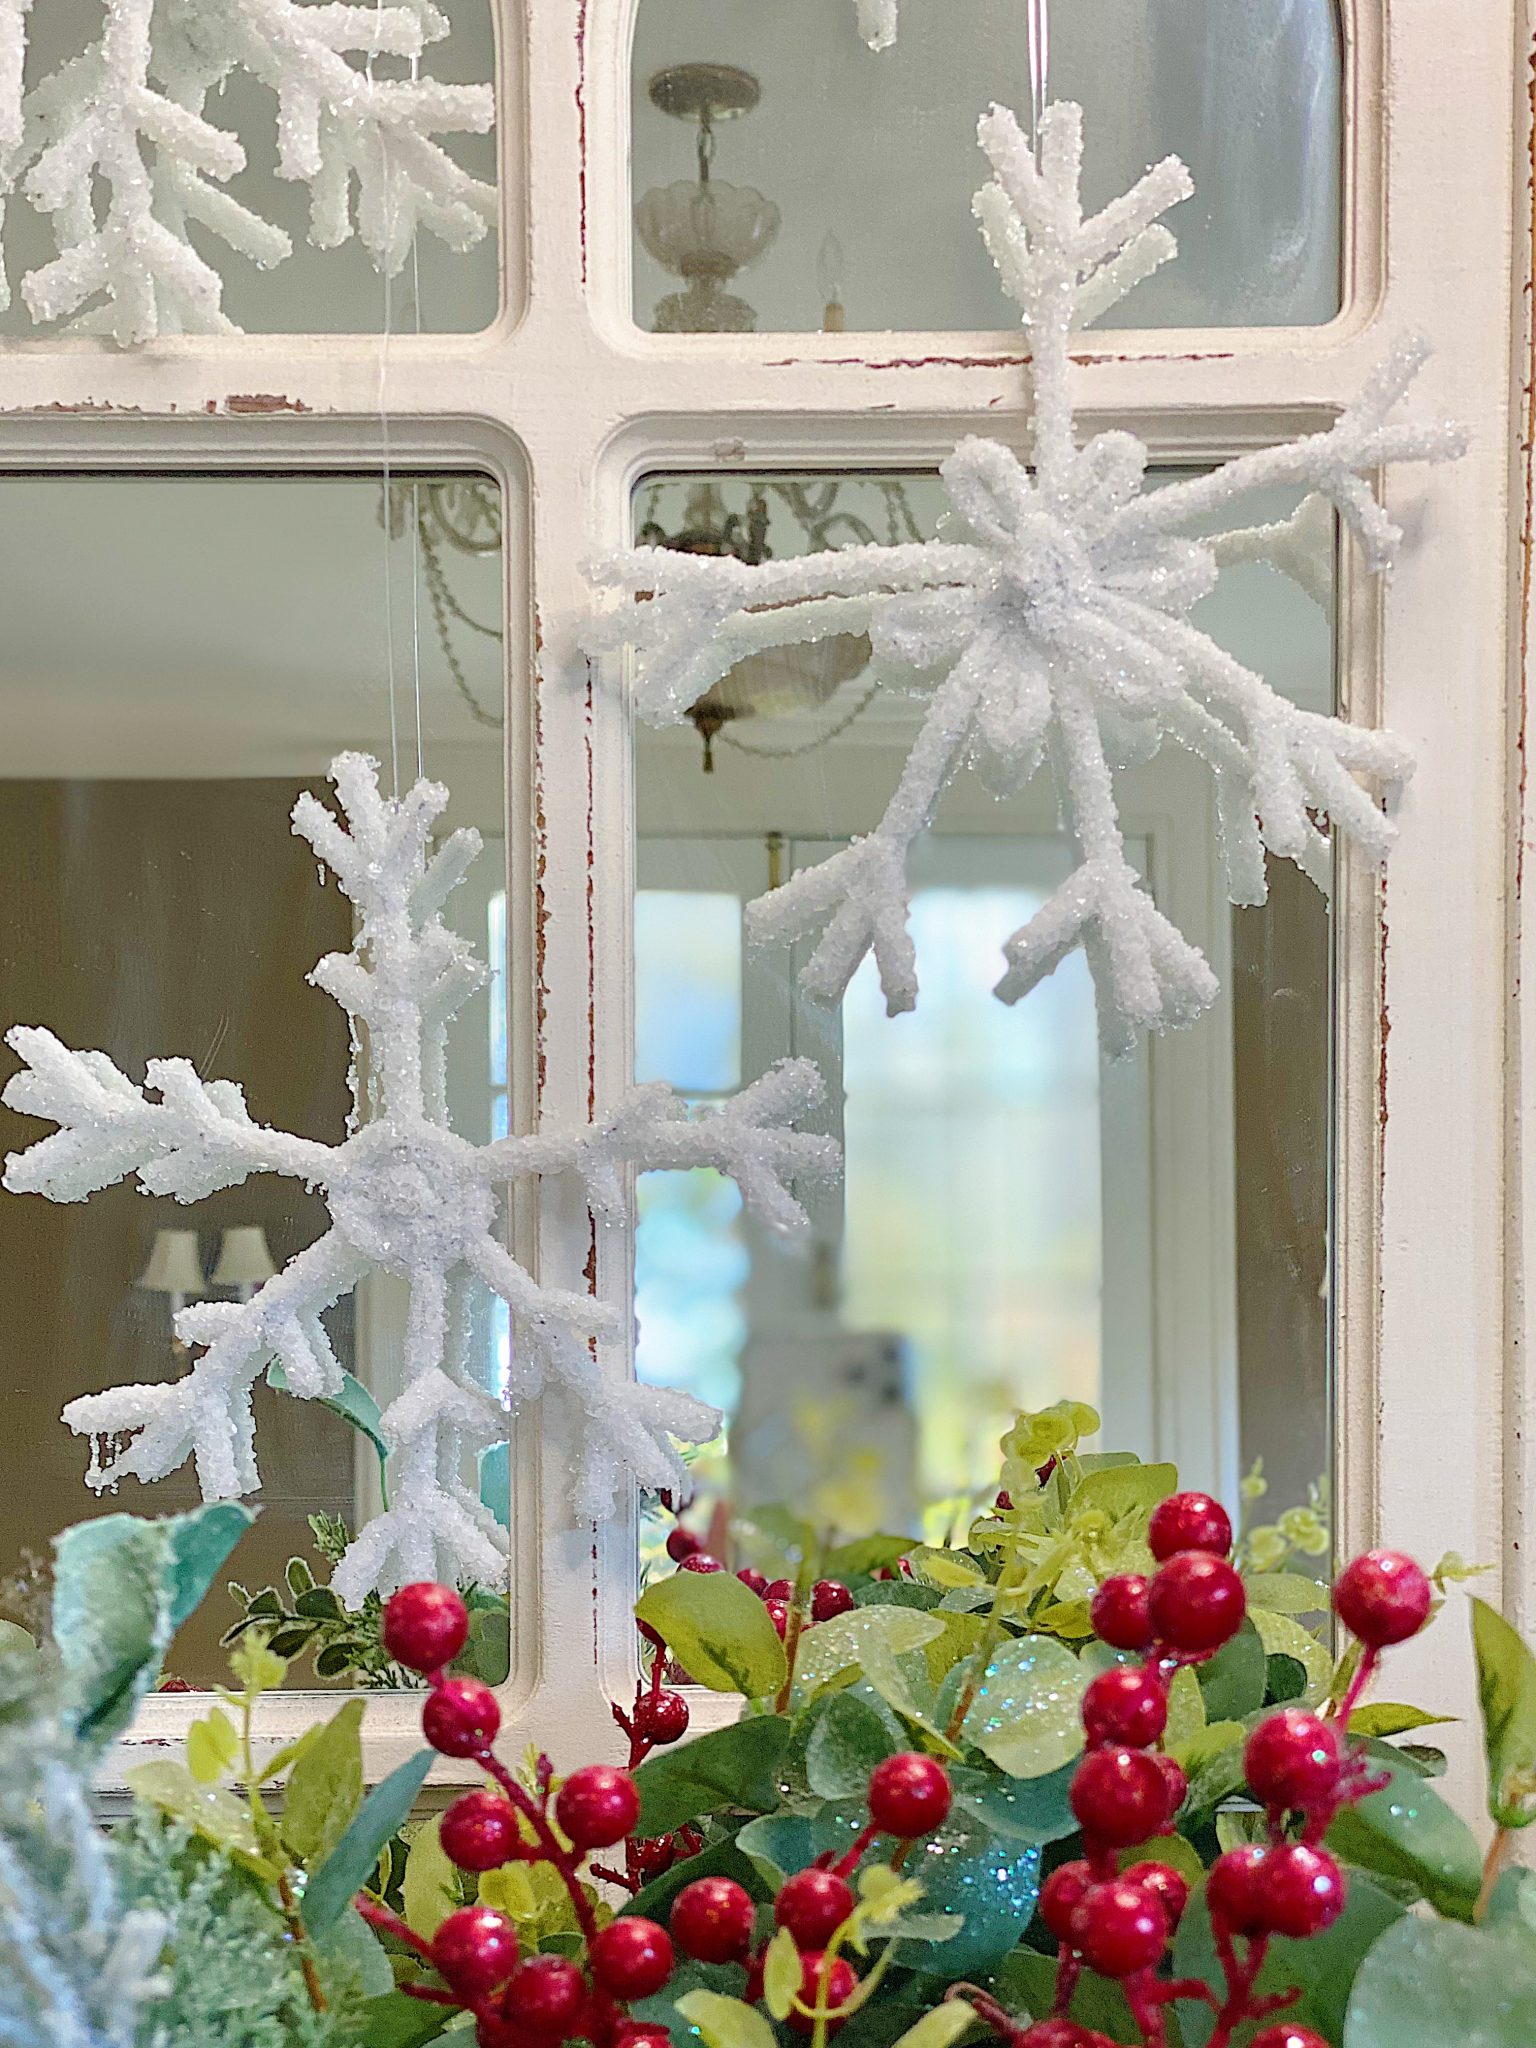
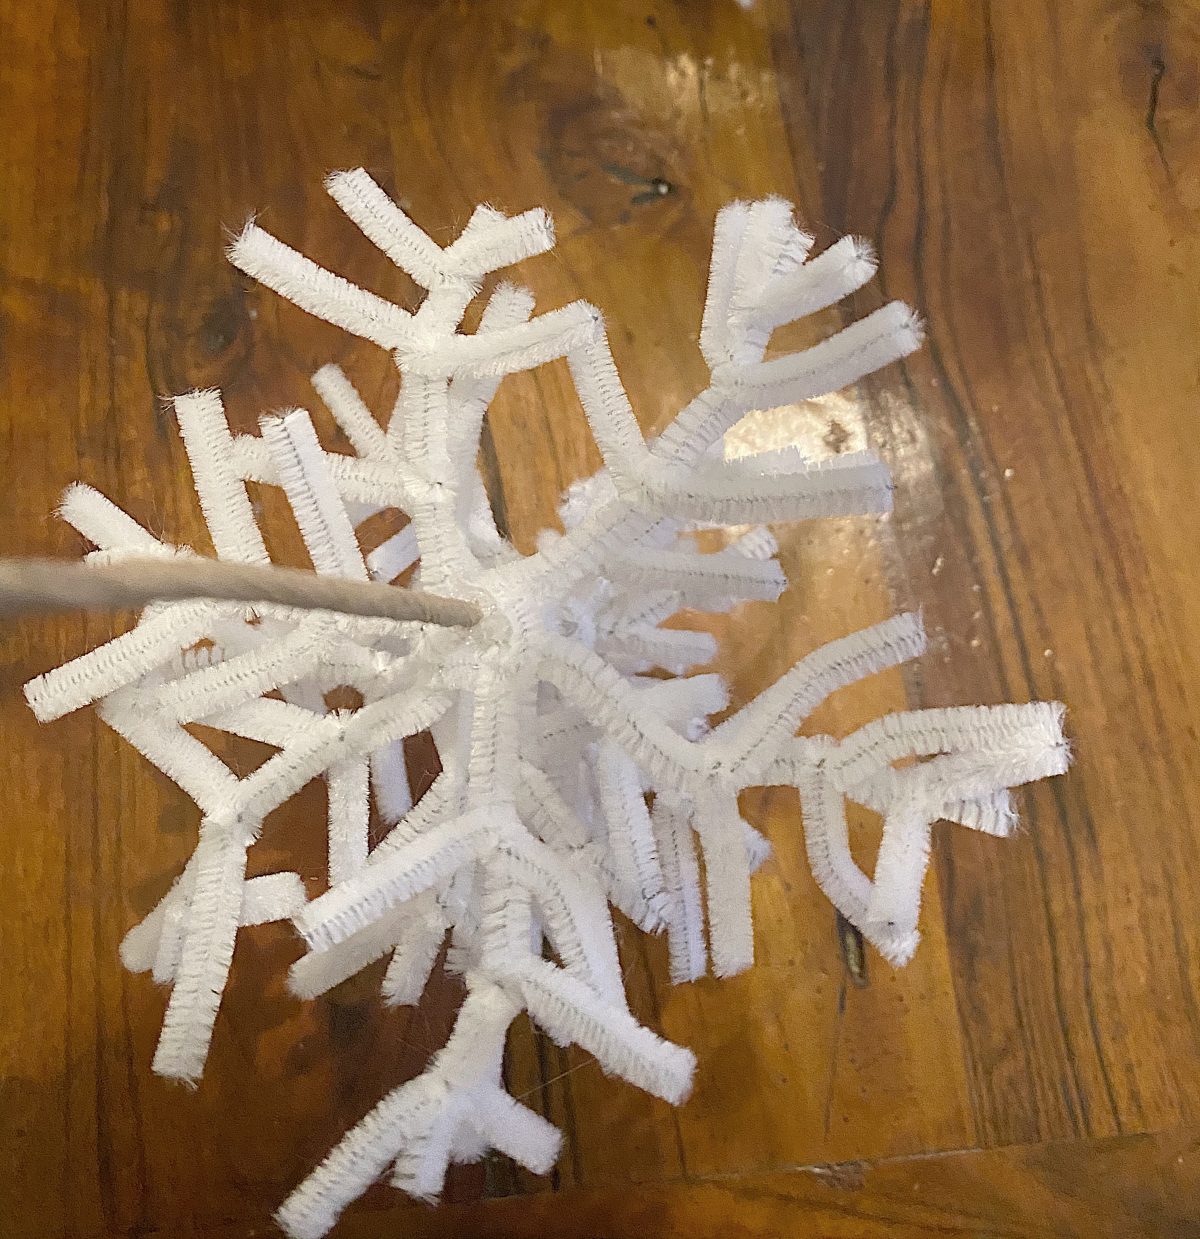
These flocked Snowflake Trees are my favorite. They are made from pipe cleaners, and I used Borax to crystallize the trees.
I have seen trees like this made from pipe cleaners, but I added a twist and added the snowflake crystalizing. Aren’t these Christmas tree crafts magical?
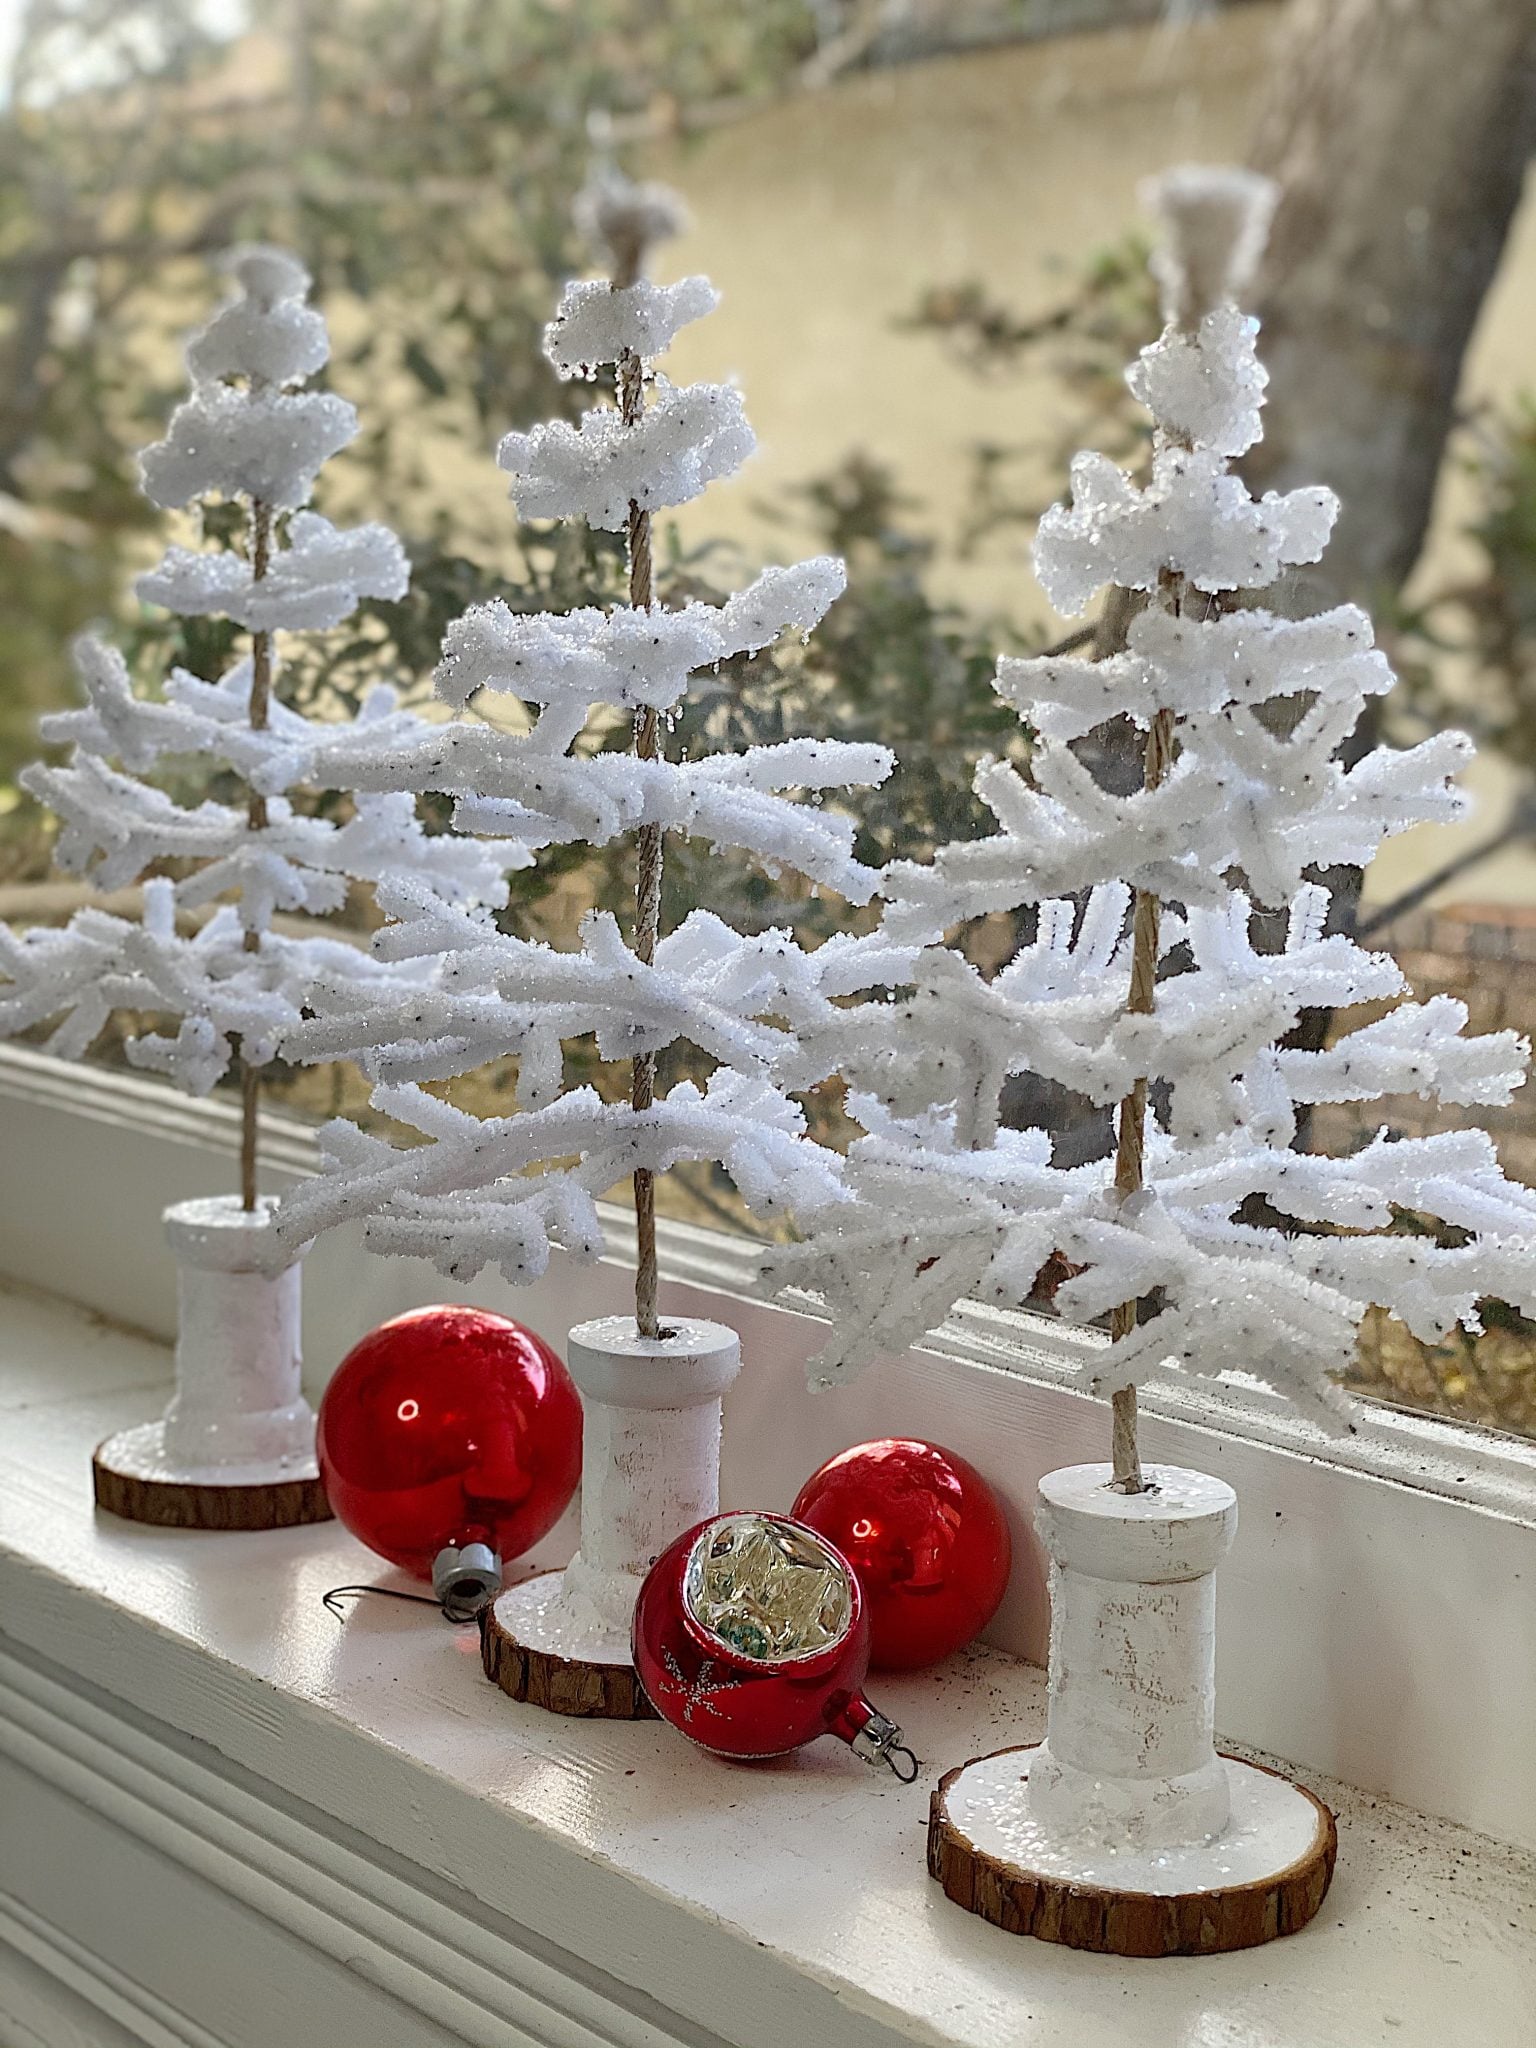
You might remember the snowflakes I made using this crystalizing method. These trees are made by creating snowflakes as branches!
Watch the Video How to Make The Flocked Christmas Trees Here
Here is the video of my Live Facebook demo to learn how to make the Snowflake Trees.
These trees are easy to make and perfect for the holidays and winter season.
How to Make My Favorite Flocked Christmas Trees
The tree is made of five snowflakes in graduated sizes.
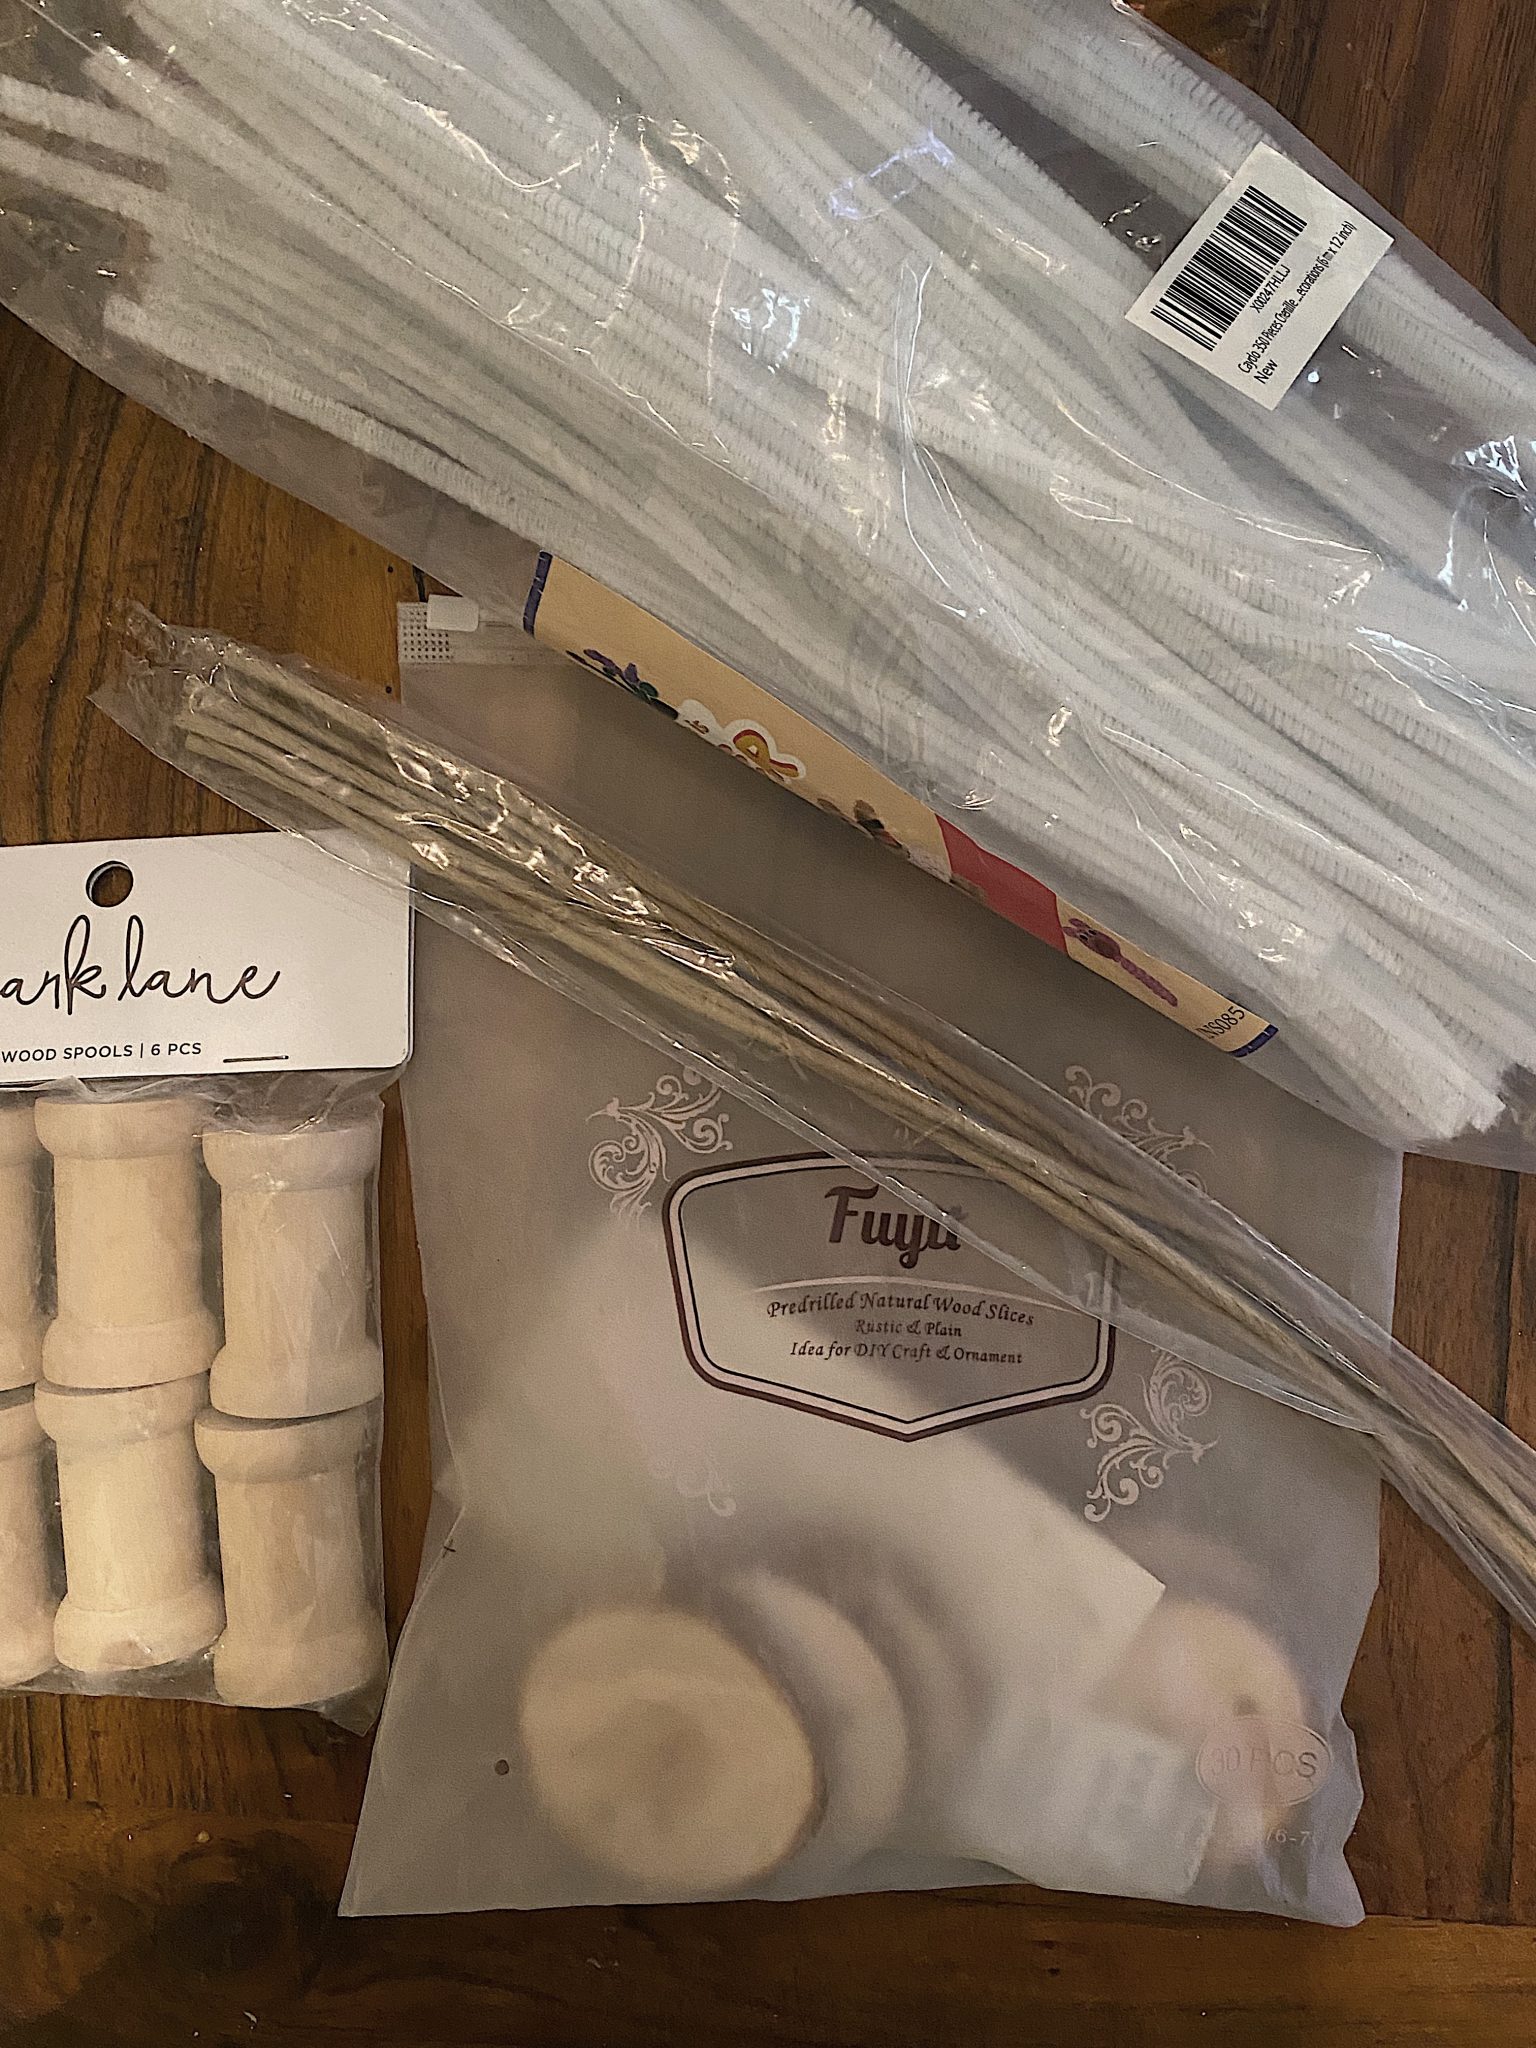
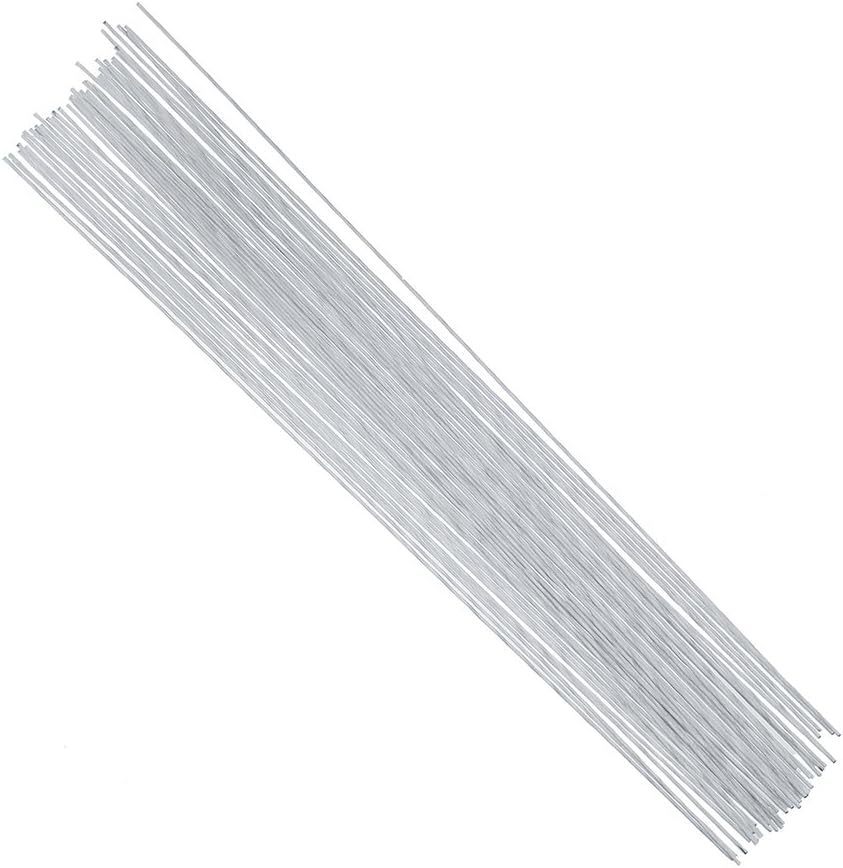
What You Need to Make Flocked Christmas Trees
- White pipe cleaners
- Wire cutters
- Needle nose pliers
- 18 gauge wrapped floral wire
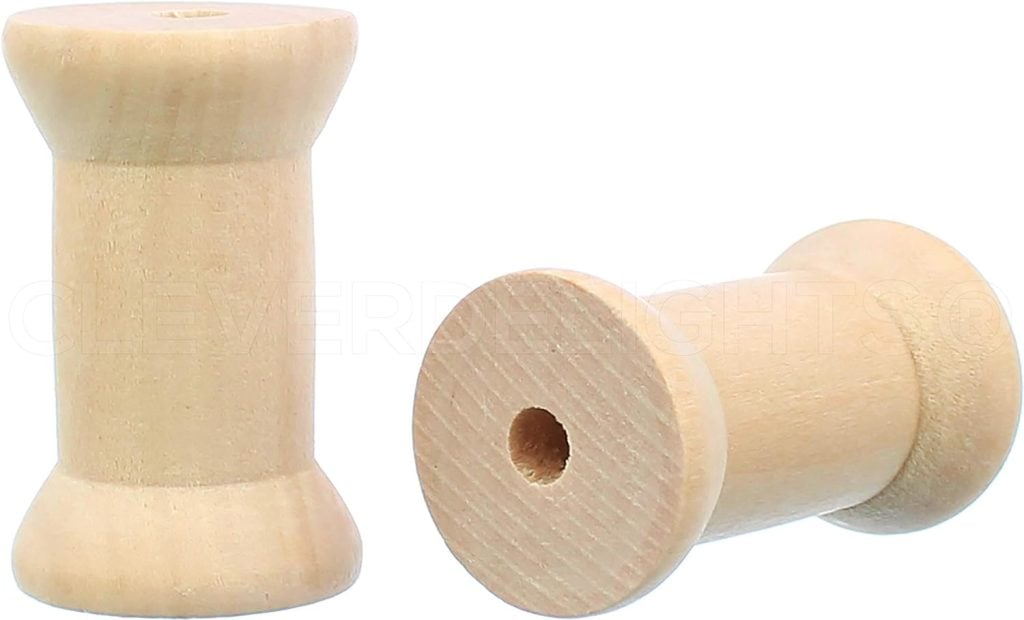
- Wooden spools
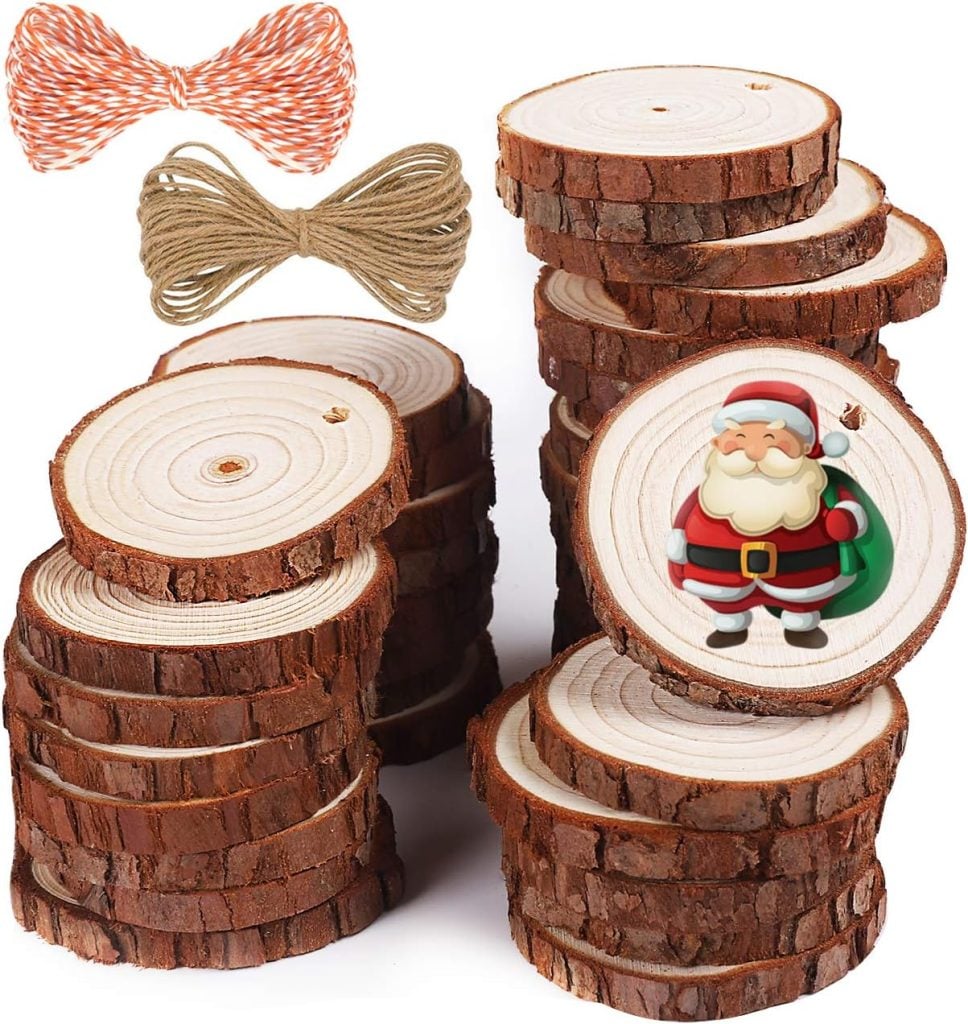
- Birch bases
- white acrylic paint
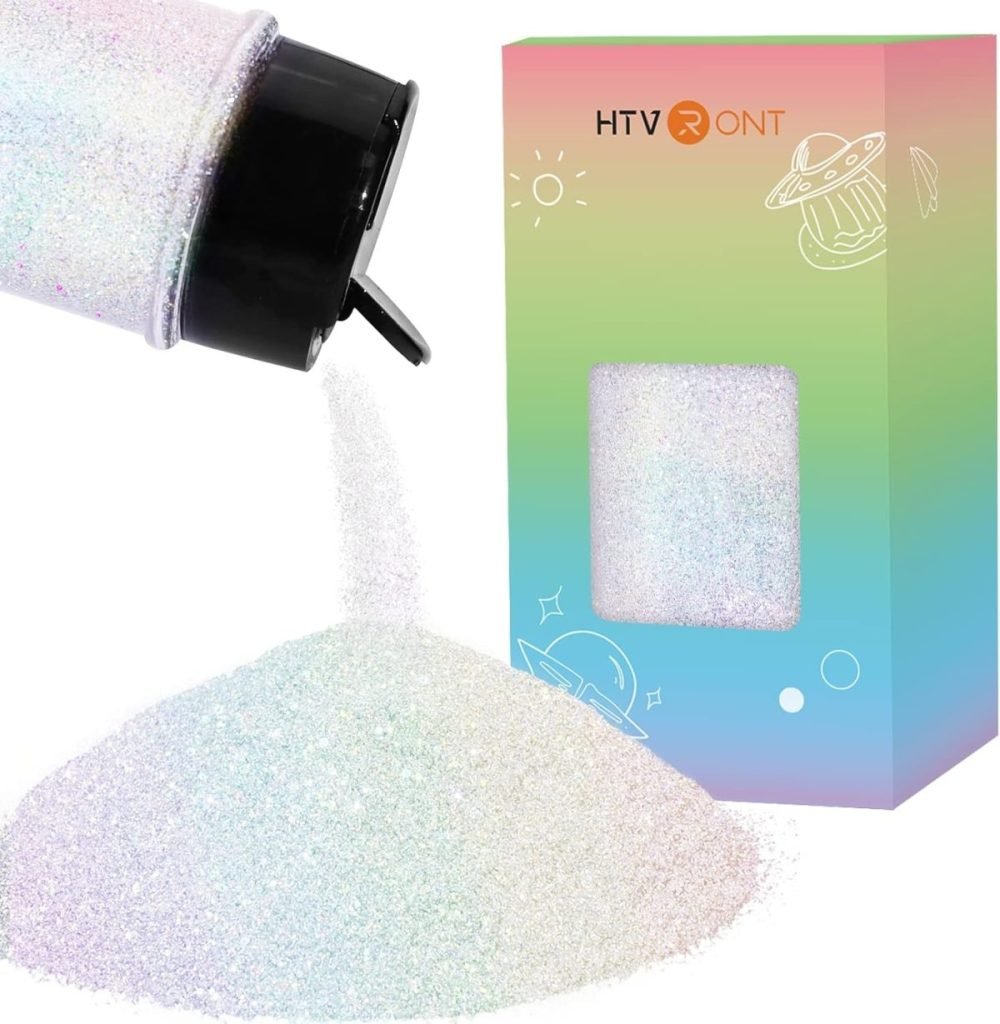
- white glitter
- Hot glue gun
- Borax
I may sometimes use affiliate links on this blog, which means a small commission is earned if you purchase via the link. The price will be the same whether you use the affiliate link or go directly to the vendor’s website using a non-affiliate link.


Step by Step Instructions to Make Flocked Christmas Trees

- Start with the largest snowflake (it gets harder to work with the snowflakes the smaller they are). Using a wire cutter, cut three 6-inch lengths of pipe cleaner. Twist the three lengths together in the middle to make a six-pointed star.
- For each spoke of the star, cut the following lengths of pipe cleaner, two 2-½ inch lengths, one 2-inch length, and one 1-½ length. Starting with the 2-½ inch lengths, twist one of the lengths onto the first spoke at the midway point. Use needle-nose pliers to twist tightly onto the spoke. Twist the second 2-½ length slightly closer to the end of the spoke like you twisted the first, using needle-nose pliers, twisting tightly onto the spoke. Twist the 2-inch length slightly closer to the end of the spoke and finally the 1-½ length closest to the end of the spoke.
- Ensure that all of the smaller lengths are tightly twisted onto the spoke. Cut and twist smaller lengths onto all six of the spokes of the largest star to create a snowflake.
- For the next snowflake, cut three 5-inch lengths of pipe cleaner. Twist the three lengths together in the middle to make a six-pointed star. For each spoke of the star, cut the following lengths of pipe cleaner: one 2-½ inch length, one 2-inch length, and one 1-½ inch length. Follow the directions above to add the smaller lengths to each spoke of the star to create the 5-inch snowflake.
- For the next snowflake, cut three 4-inch lengths of pipe cleaner. Twist the three lengths together in the middle to make a six-pointed star. For each spoke of the star, cut the following lengths of pipe cleaner: one 2-inch length, one 1-½ inch length. Follow the same directions above to add the smaller lengths to each spoke of the star to create the 4-inch snowflake.
- For the next snowflake, cut three 3-inch lengths of pipe cleaner. Twist the three lengths together in the middle to make a six-pointed star. For each spoke of the star, cut the following lengths of pipe cleaner, one 1-1/2 inch long. Follow the exact directions above to add the smaller lengths to each spoke of the star to create the 3-inch snowflake.
- For the next snowflake, cut three 2-inch lengths of pipe cleaner. Twist the three lengths together in the middle to make a six-pointed star. For each spoke of the star, cut the following lengths of pipe cleaner, one 1-inch length. Follow the same directions above to add the smaller lengths to each spoke of the star to create the 2-inch snowflake.
- For the tree topper, cut two 1-inch lengths and twist them into a cross.
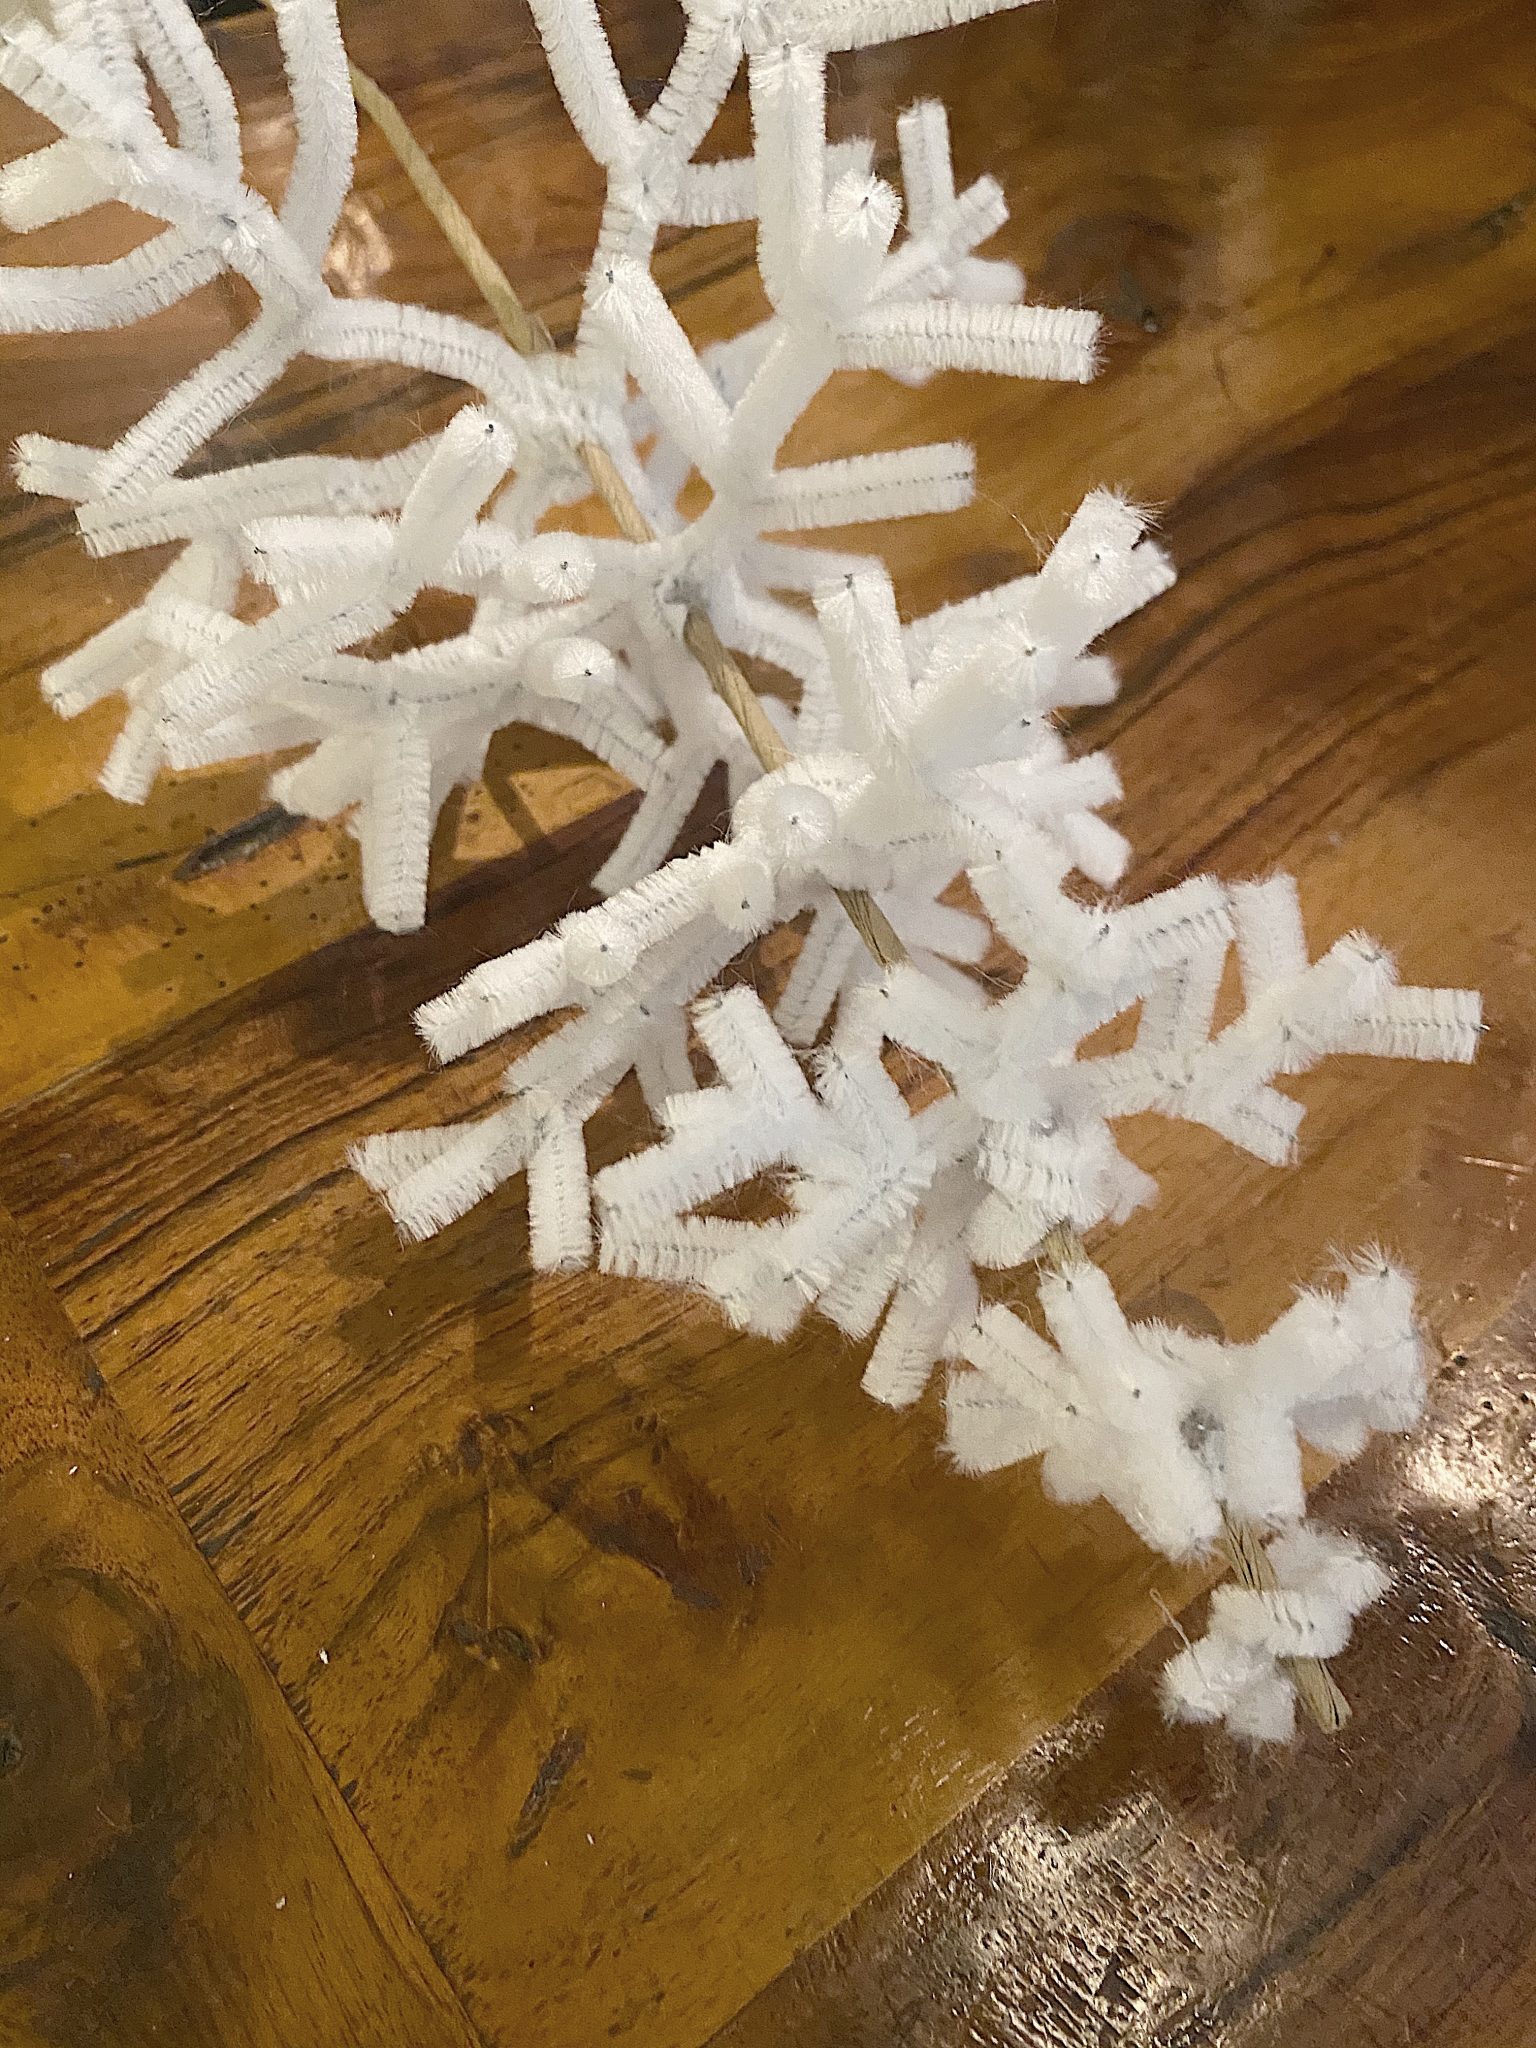
- Once all of the snowflakes have been created, take the 18 gauge floral wire (or a small wooden dowel), and starting with the largest snowflake, measure out where the snowflakes will go on the floral wire with about 1-2 inches (spacing evenly to end with the cross at the top of the floral wire. Using the hot glue gun, glue the largest snowflake onto the floral wire.
- Glue the next smallest snowflake onto the floral wire about 1-2 inches (spacing evenly to end with the cross at the top of the floral wire) in length. Starting with the largest snowflake, wrap the pipe cleaner over and under the spokes at the glue to secure the snowflake onto the wire. Use a 4-inch length for the next snowflake and a 2-inch length for the final snowflake.
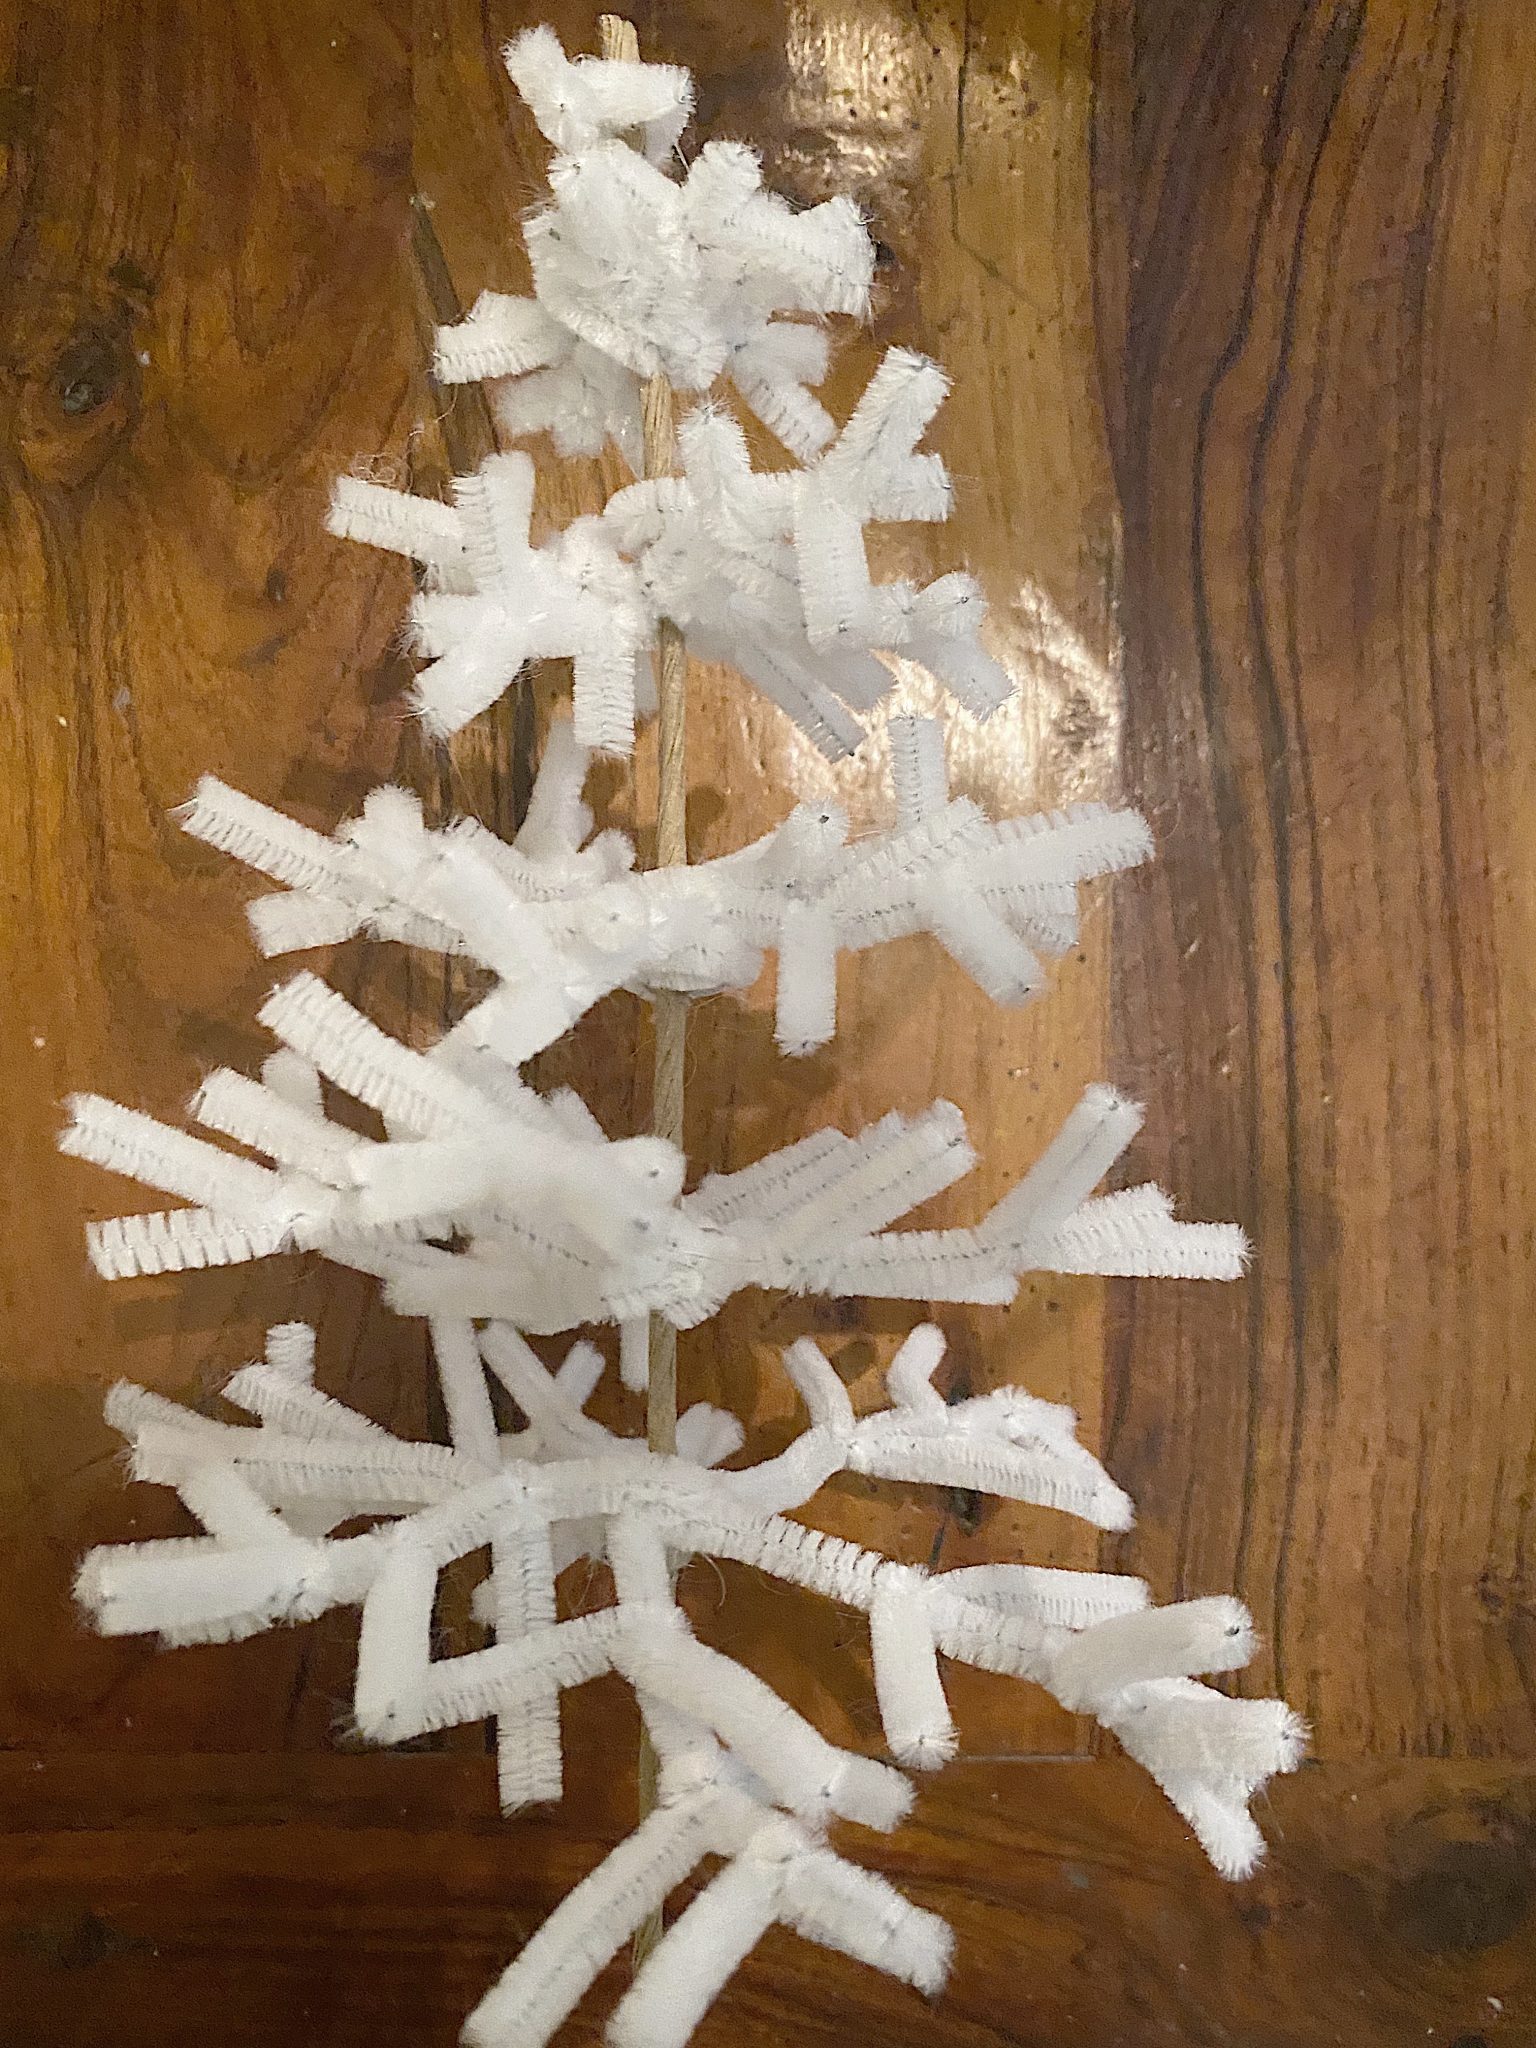
Mix Borax with boiling water in a sealed container. (Use 1 1/2 cups or borax per 8 cups of boiling water.) I used some large glass vases. Hang (or place) the trees upside down in the Borax/Water. Leave overnight.
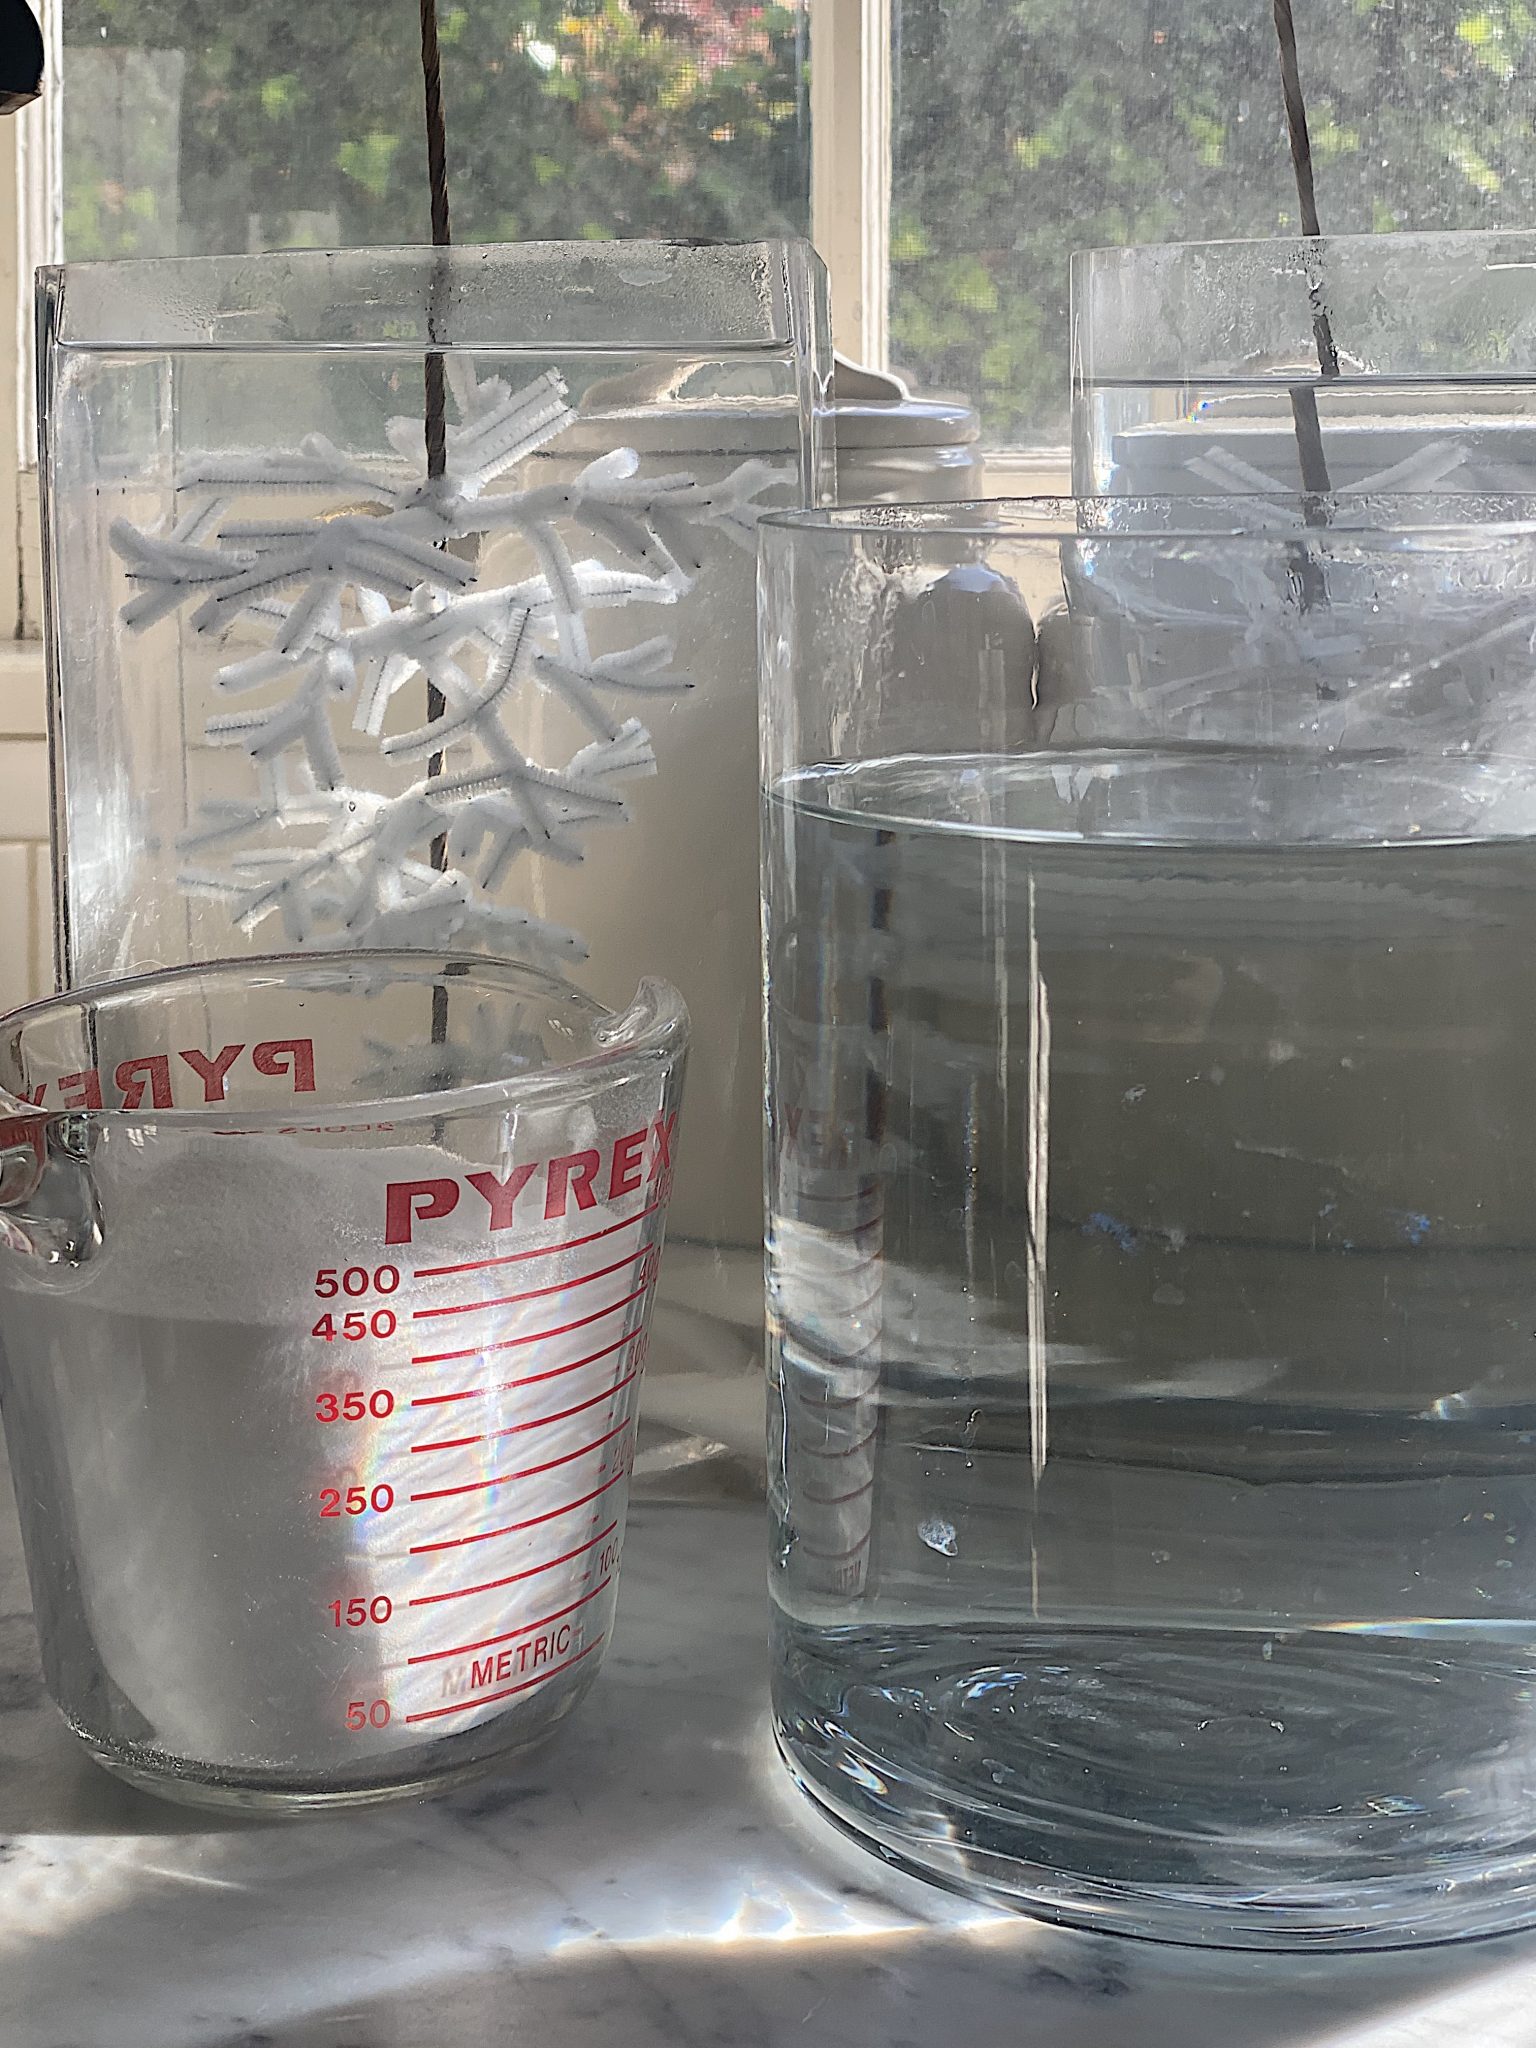
The trees crystalize and are gorgeous! If the branches stick together, lightly pull them apart.
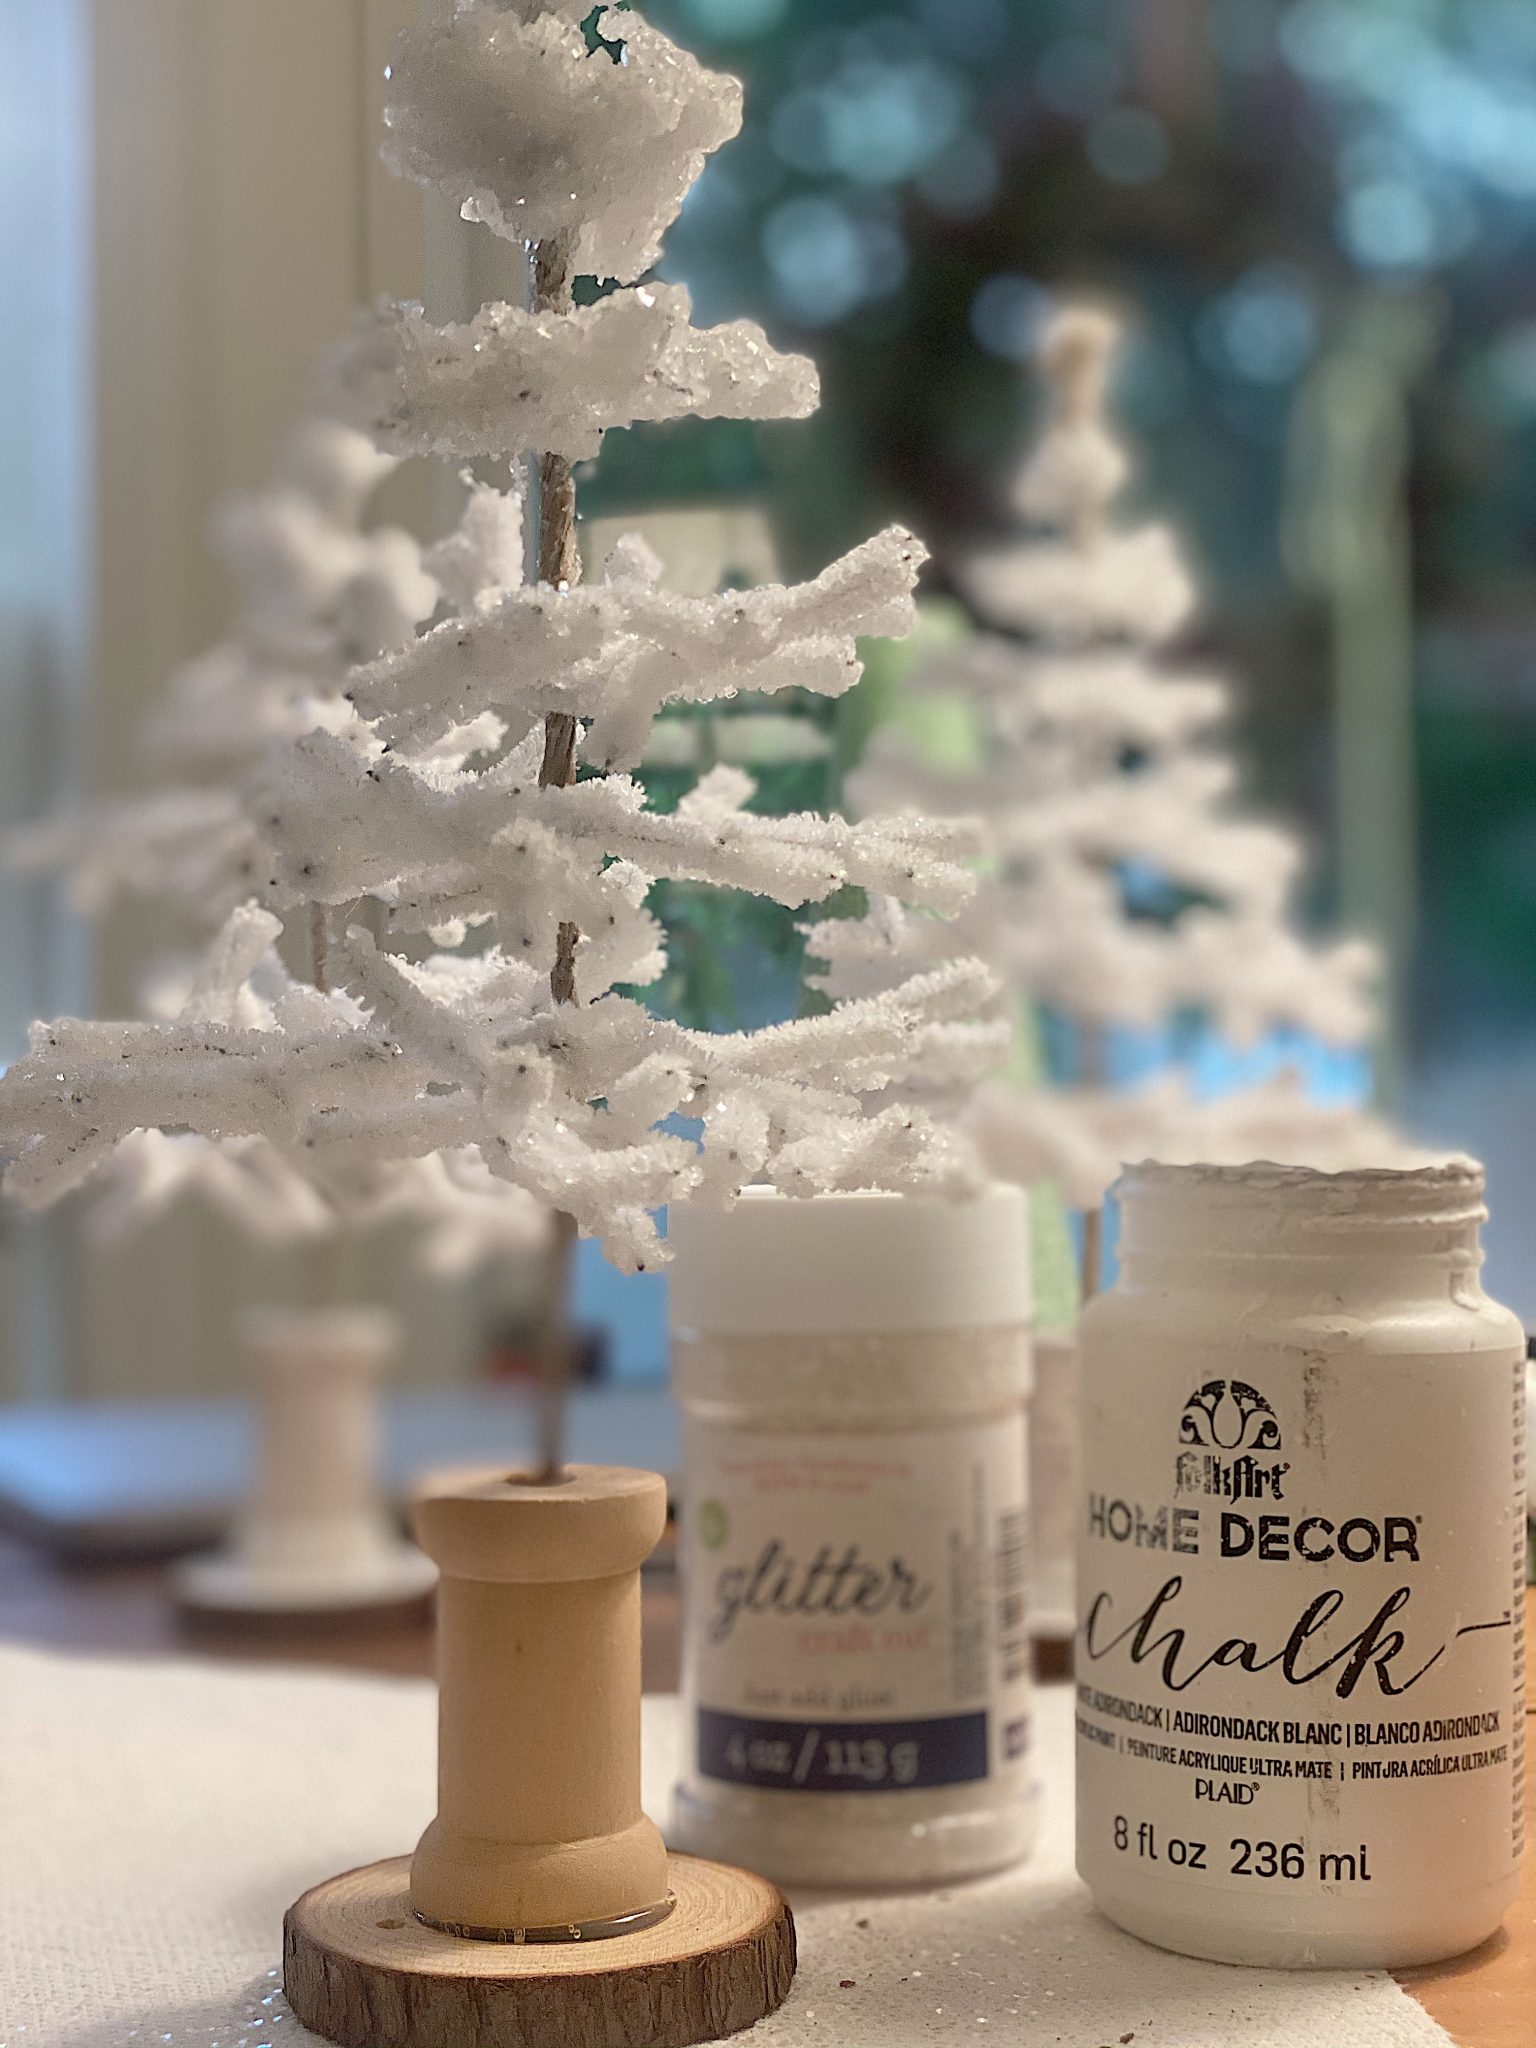
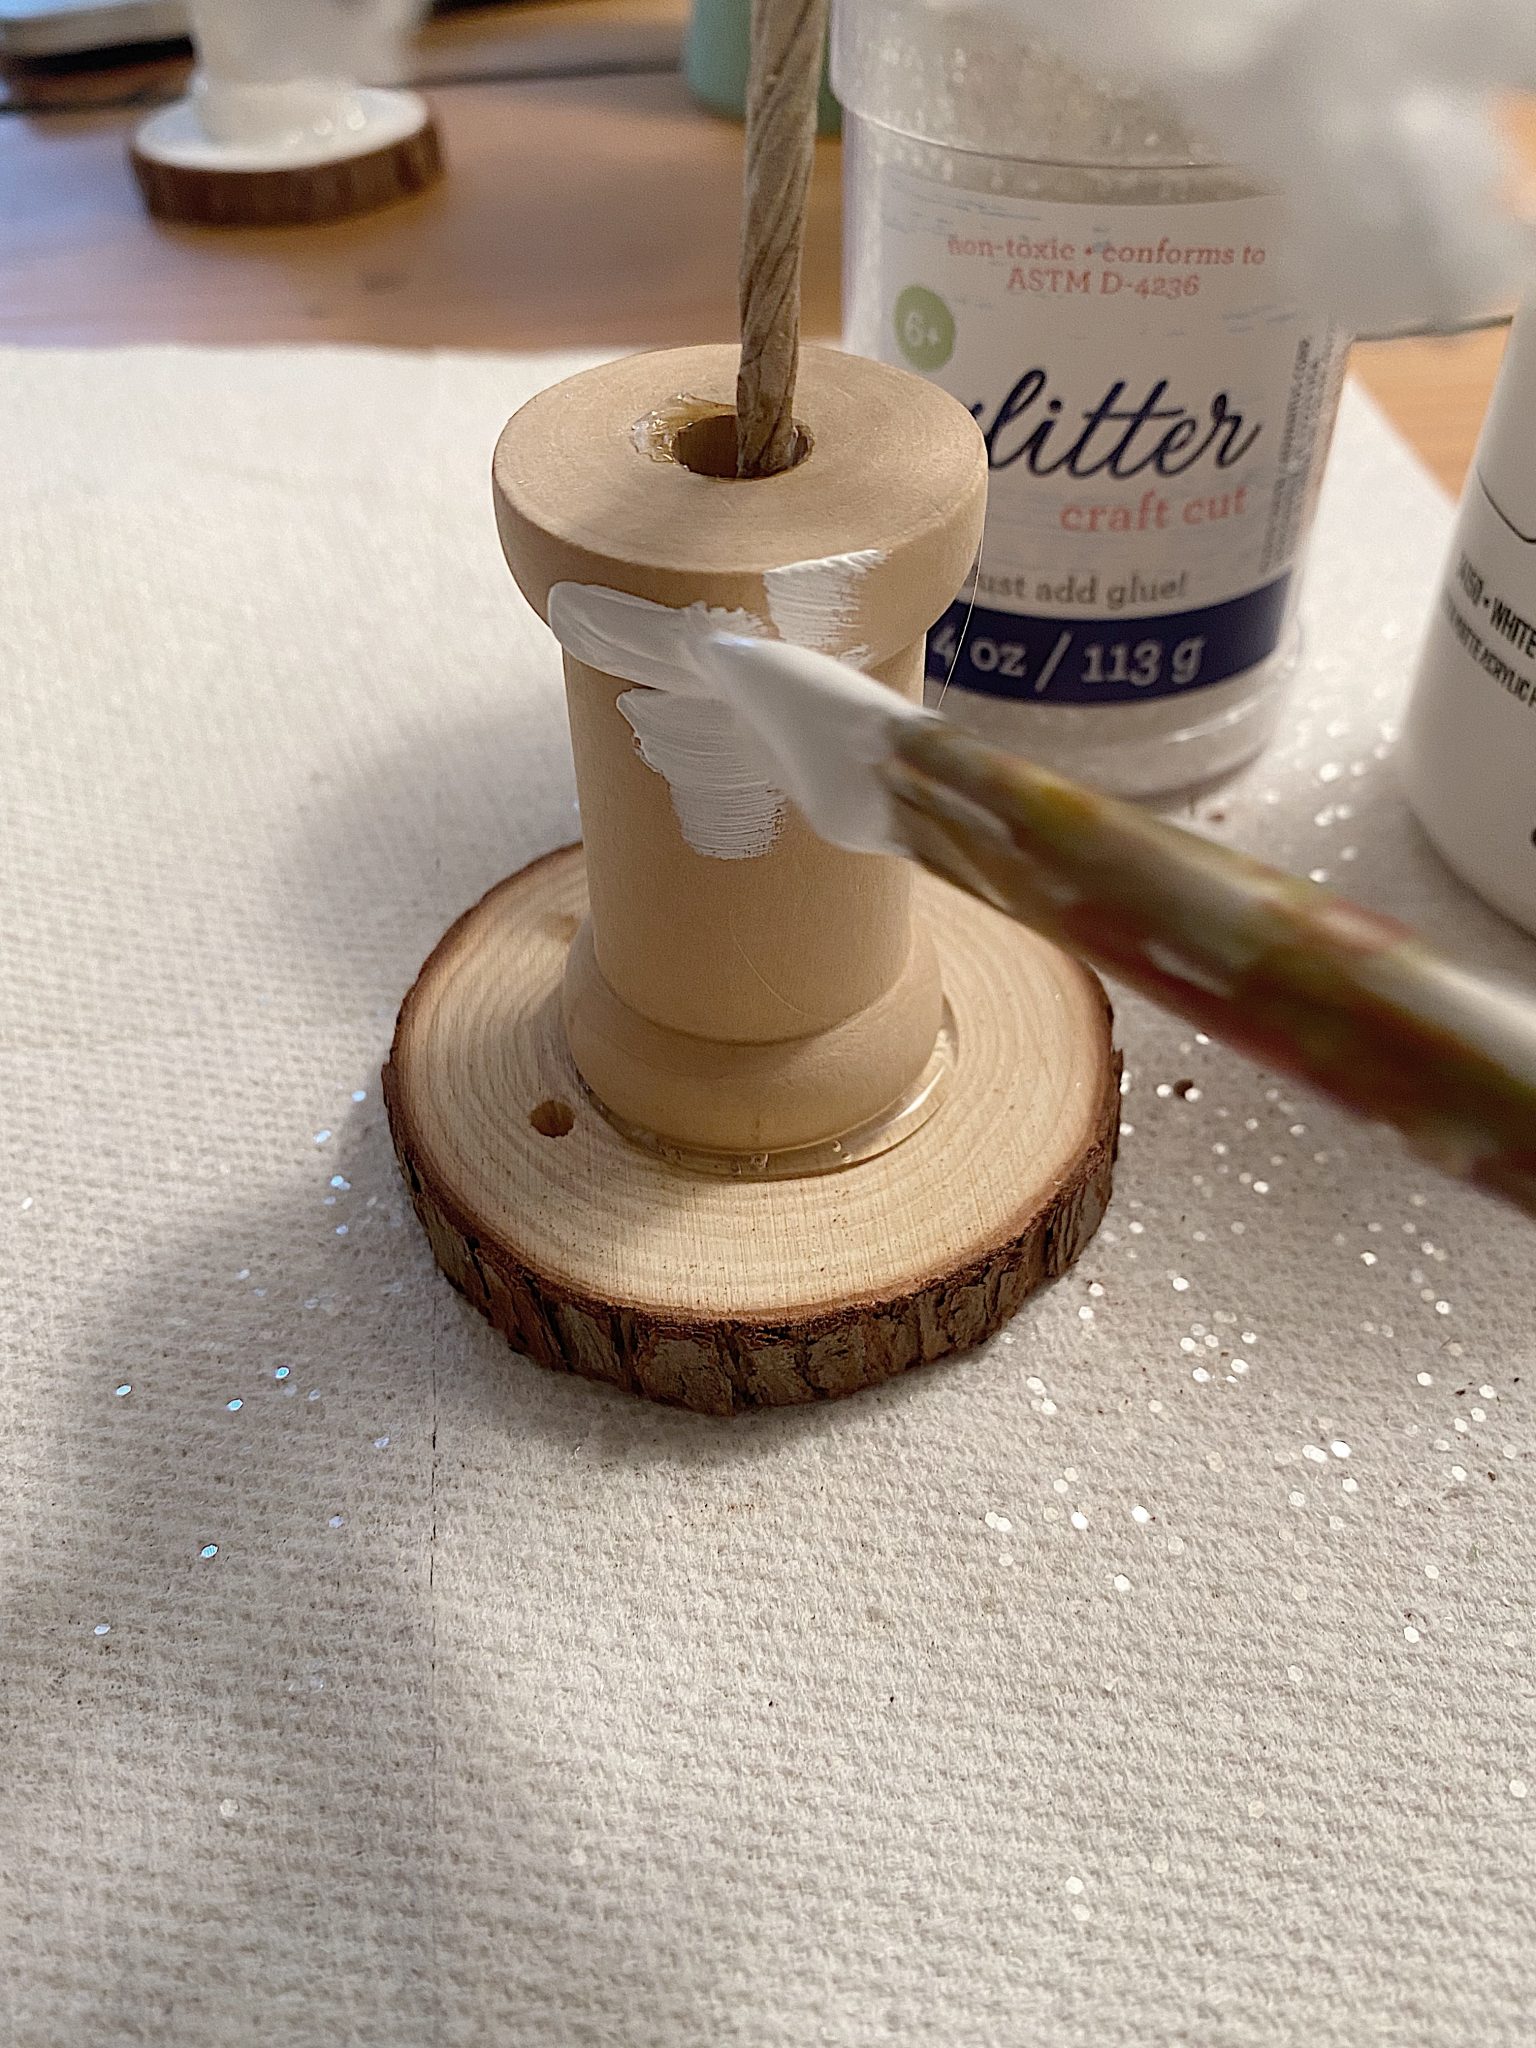
To keep the trees upright, I made a base with a wooden spool and a birch base.
Using a hot glue gun, attach the spool to the birch base. Fill the hole about half full with hot glue and add the tree’s stem. Hold in place until secure.
I wanted the bases to be white, so I painted them with chalk paint.
Before the paint dried, I added some white glitter.
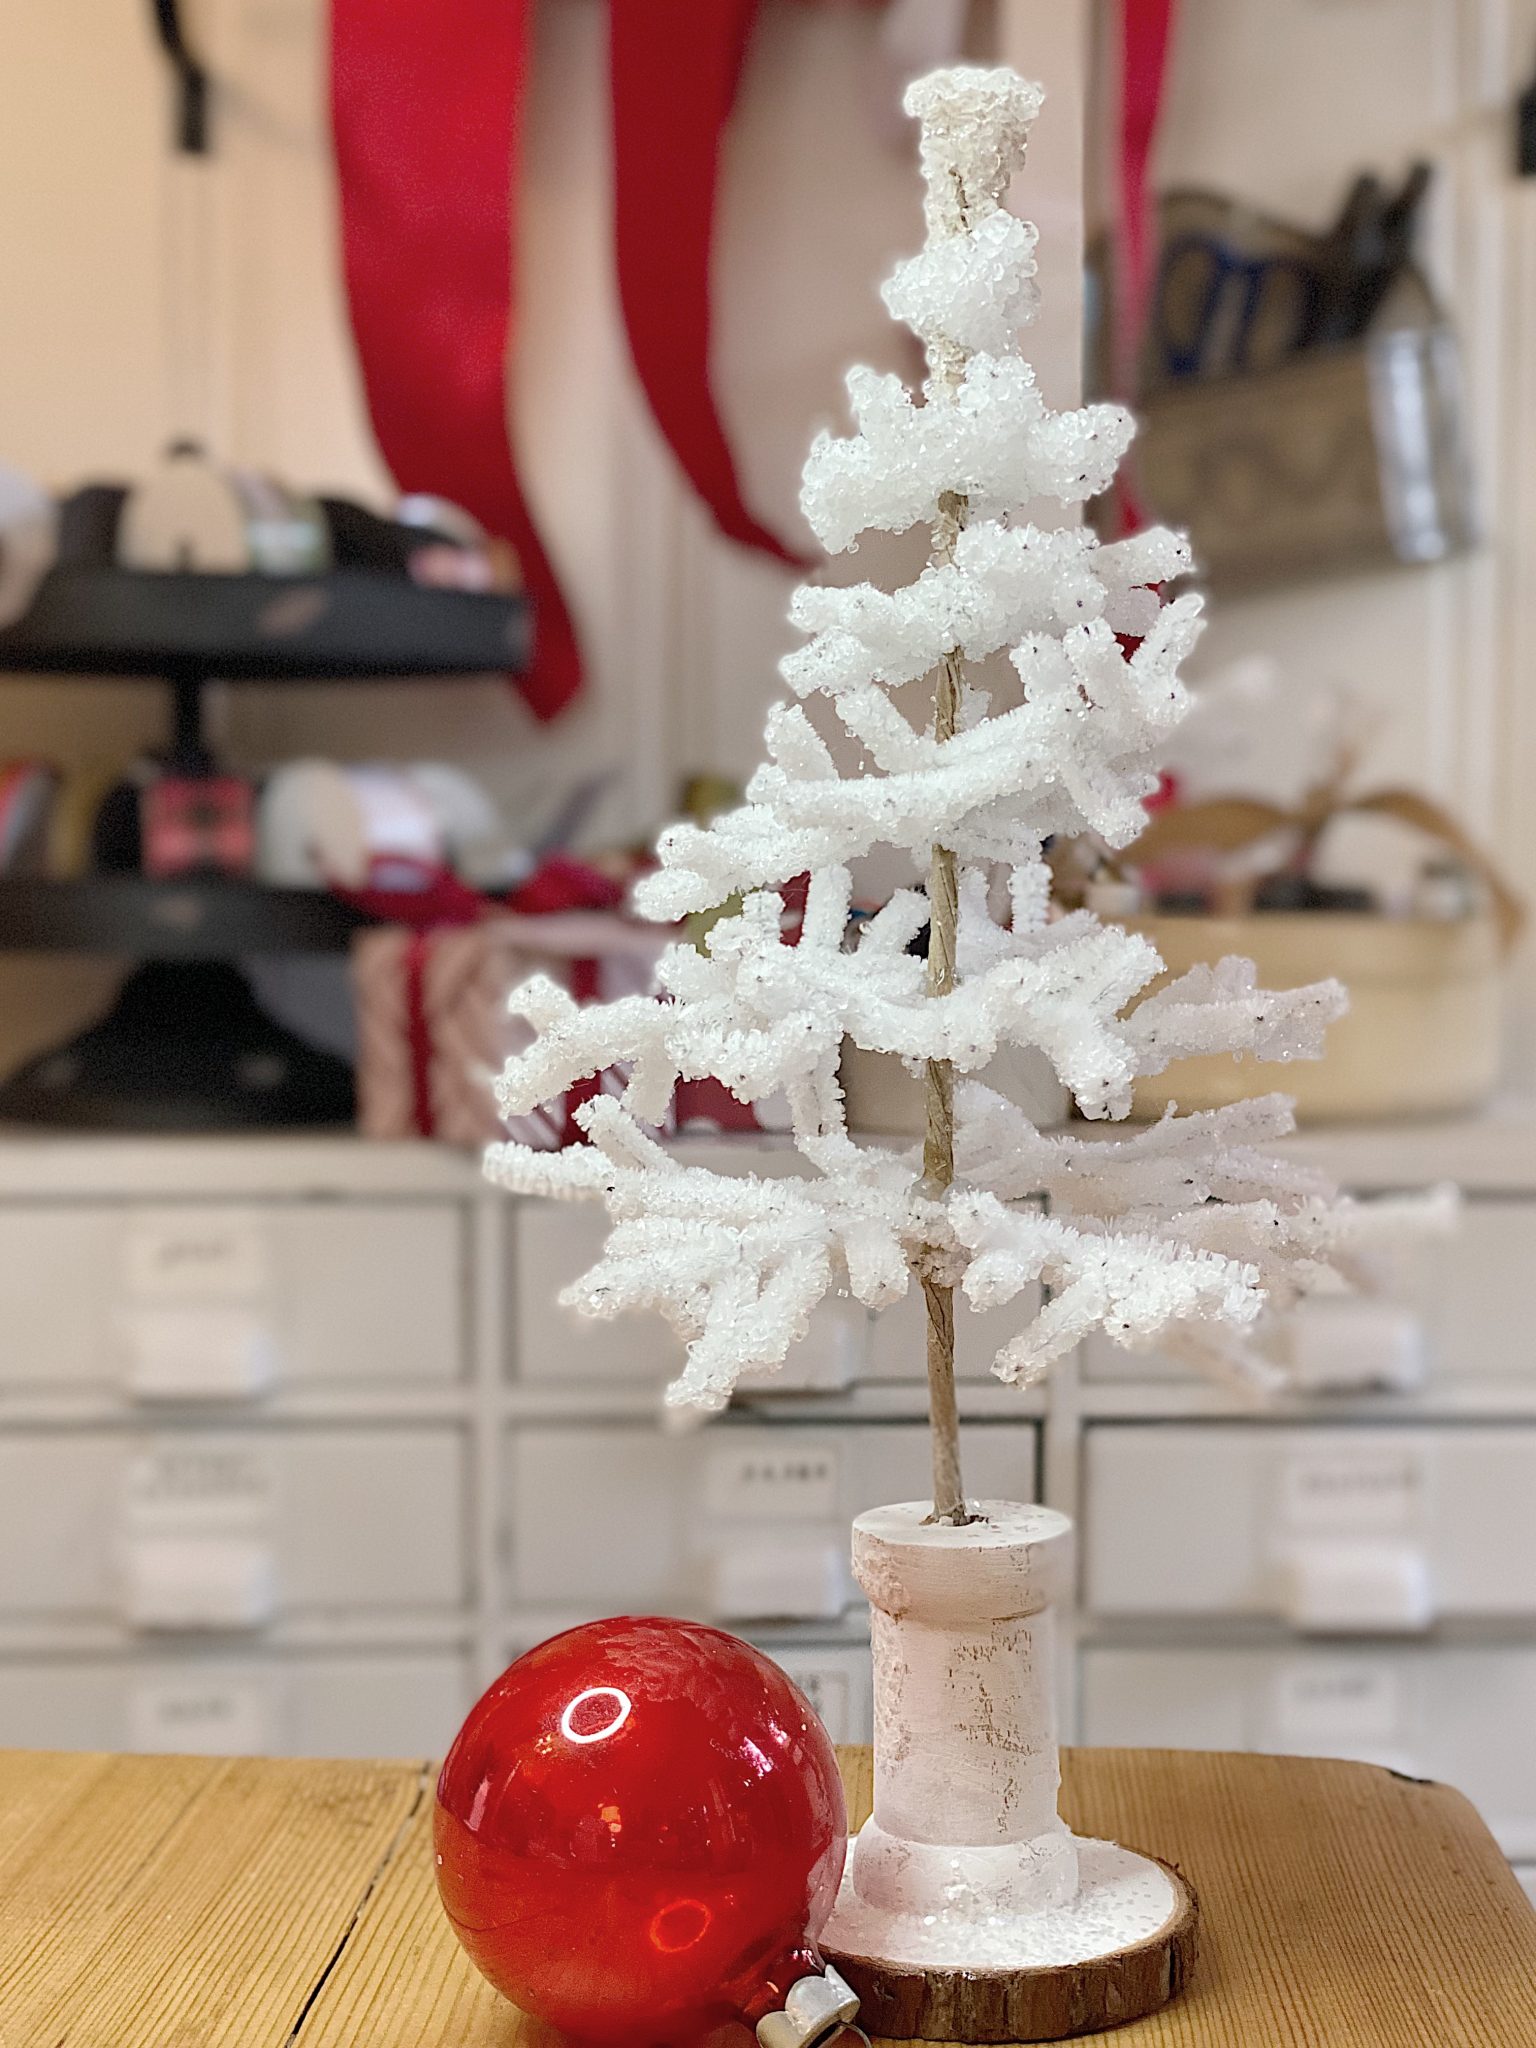
I think these trees are so magical!


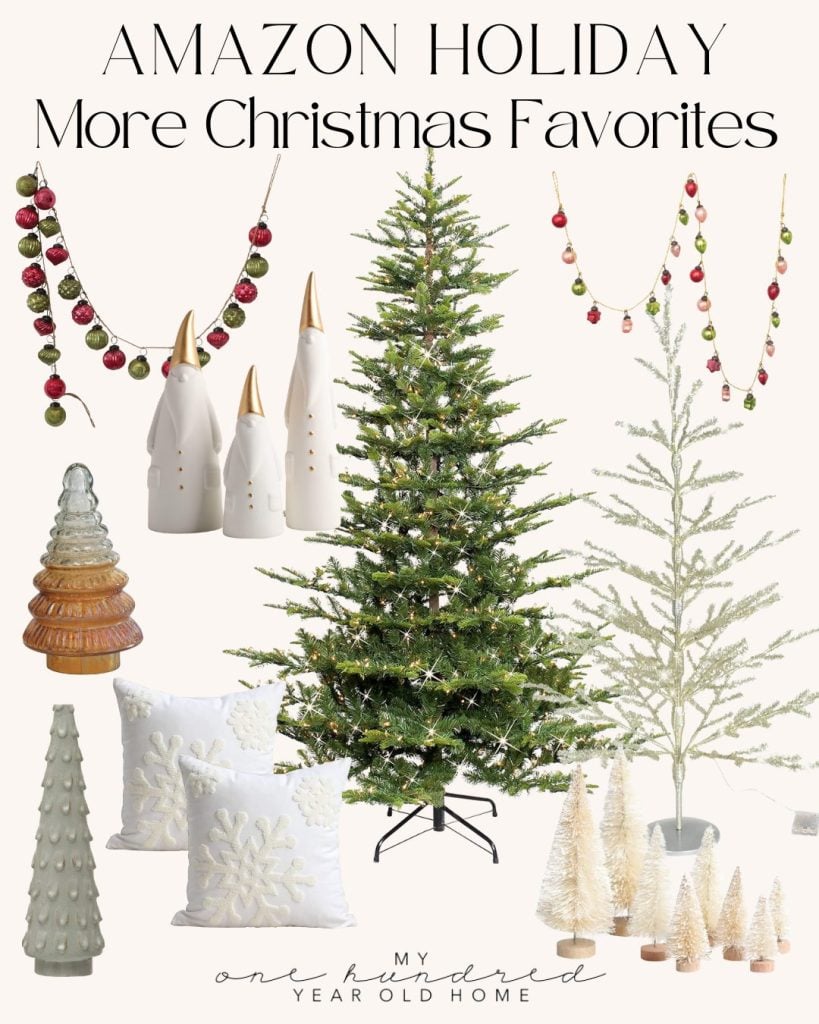
If you aren’t crafty and want to purchase Christmas decor, or if you are crafty but also love to buy new decor each year, I have you covered! Check out the prices on some of these beauties!
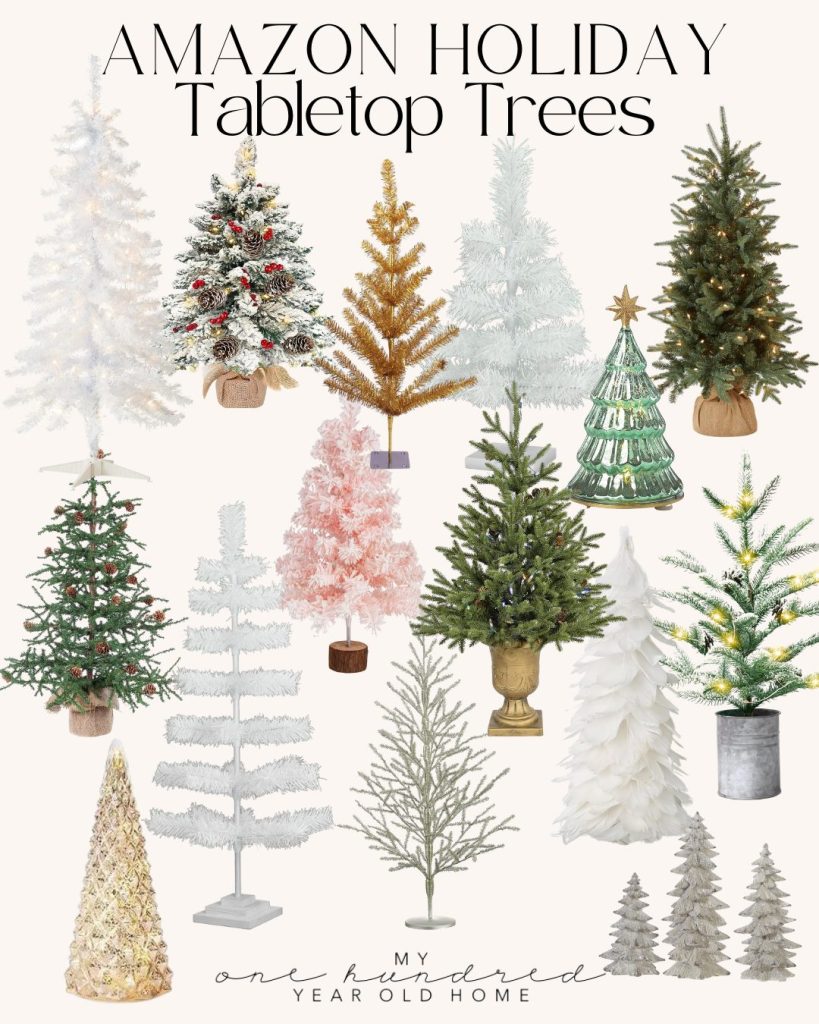
These artificial trees are beautiful AND pre-lit.
We have a tradition of going together as a family to the tree lot to choose our fresh tree together. But to be honest, these artificial trees have gotten so good-looking and so affordable, that I think I might love them more than the tree lot trees.
Shhh, don’t tell my family because we will still go to the tree lot together!


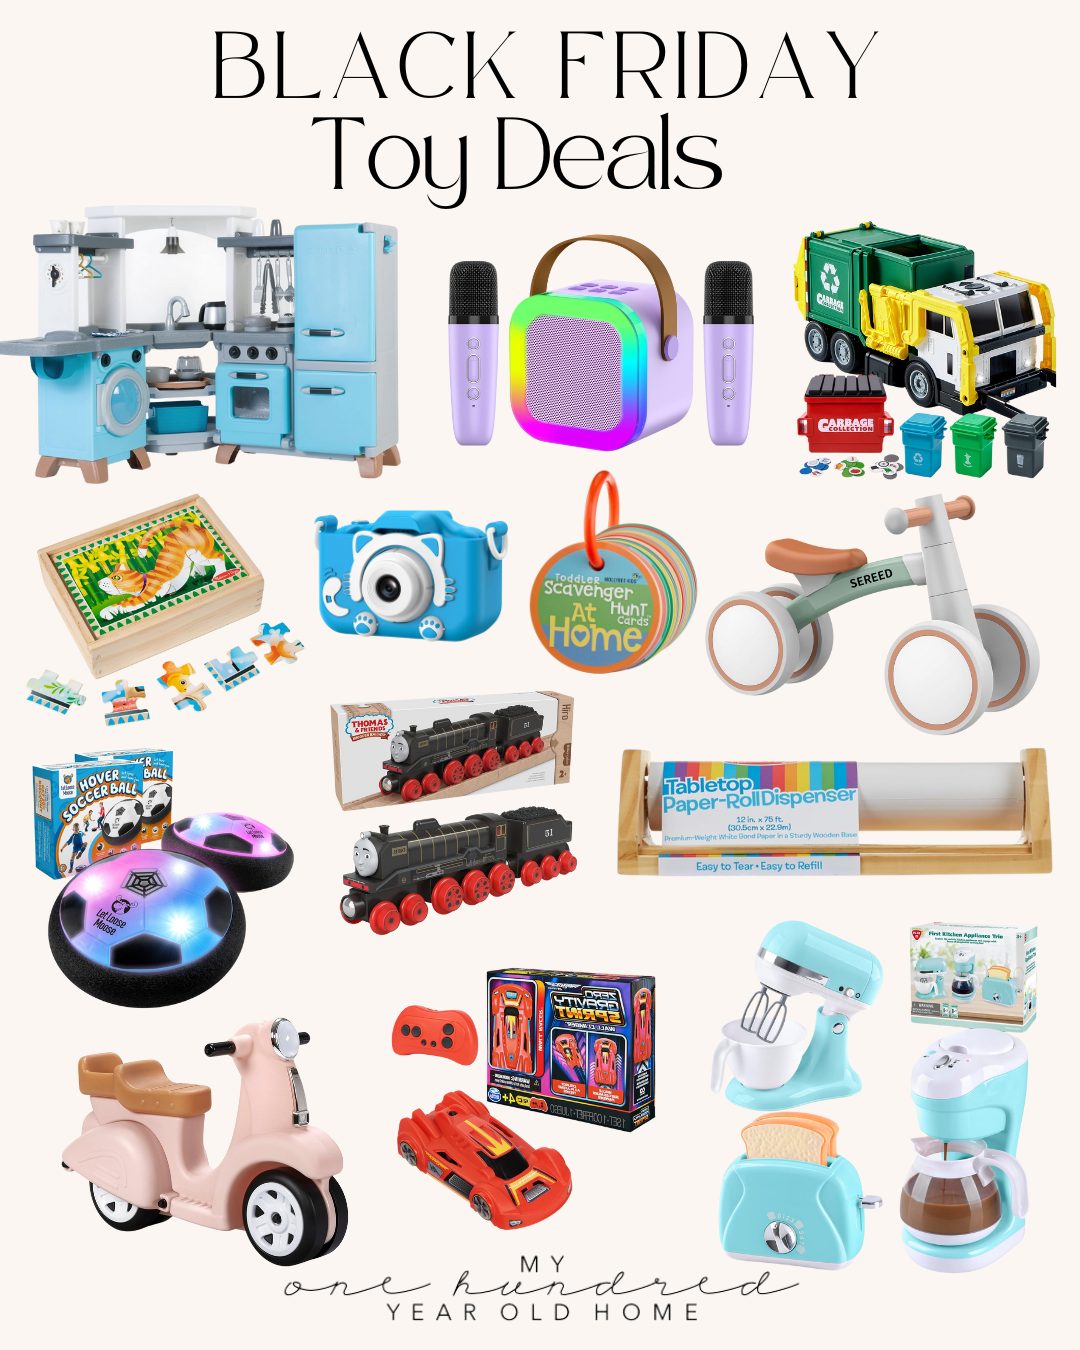
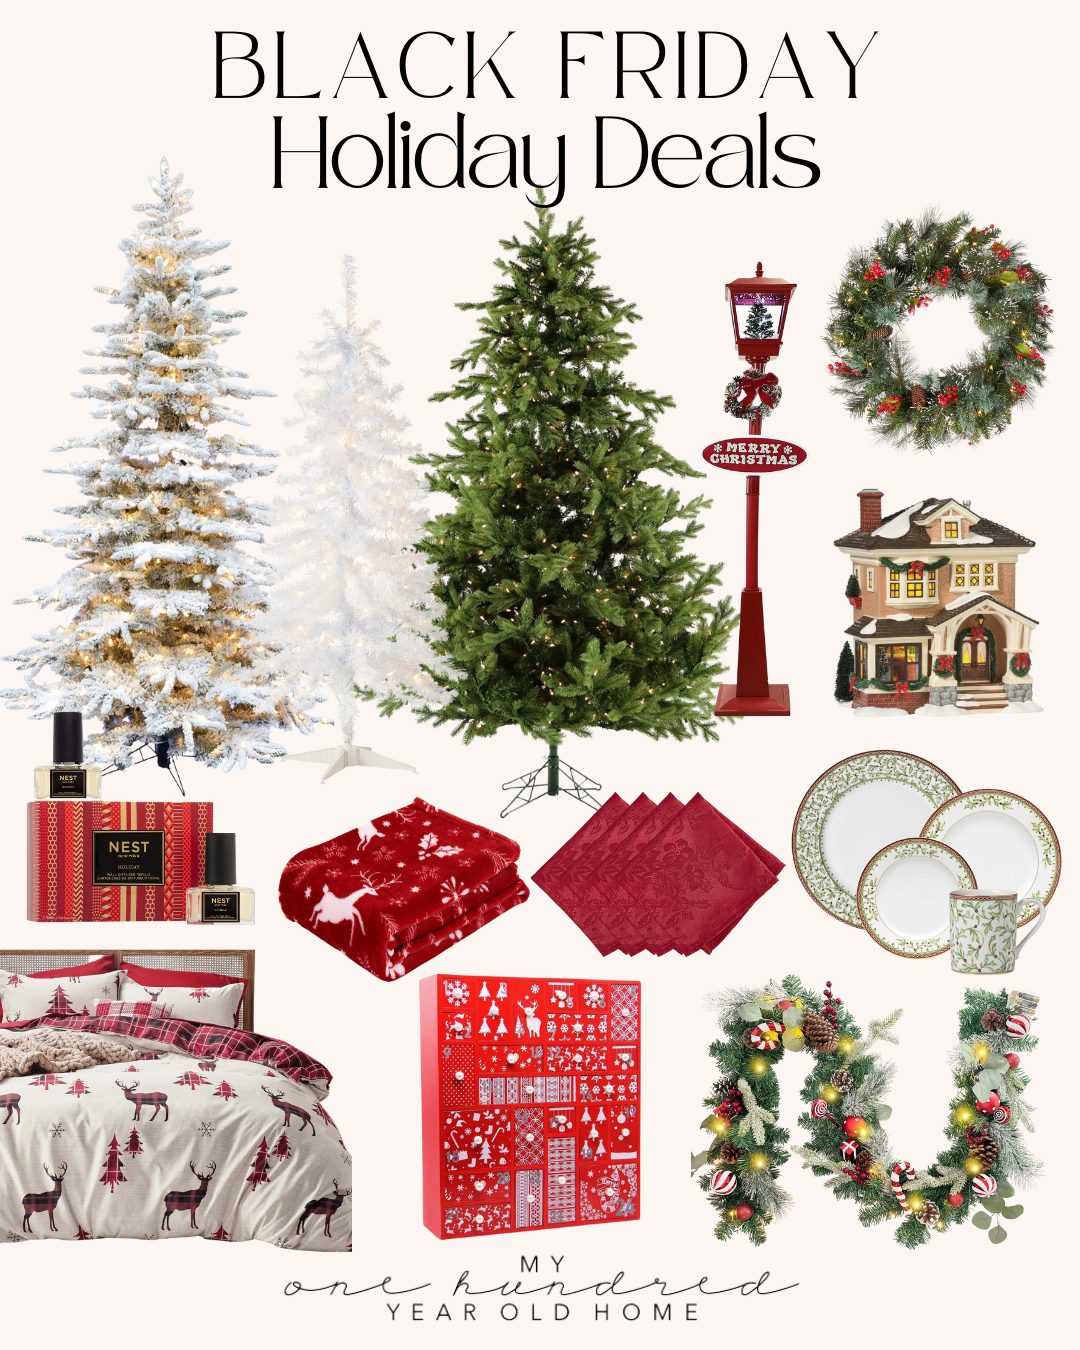
My Favorite Black Friday Deals – Click on a Category!


Latest Posts
- Strawberry Coconut Mini Tart Recipe

- The Truth About Being “Crafty” – Mondays in the Craftroom

- Summer at the Beach and Sunday Morning Coffee


You can pin the image below to your Craft or Christmas decor boards on Pinterest (just click the Pin button in the top left corner) or follow me on Pinterest!
For more real-time updates, follow me on Instagram @My100YearOldHome


I am excited about the Amazon Black Friday deal on the Dyson V11 Cordless vacuum. I have one and my daughter has been wanting one as well. With a 39% off deal I can surprise her for Christmas with one. That’s a better deal than I was able to get from another retailer when I purchased mine last year.
A great vacuum is a fabulous gift! The Dyson ones are so good!
I am loving the Amazon Black Friday Deal on the Horimote Home 100% Cotton Velvet Quilt. It is a nice savings on it, and it has good reviews. It is in my shopping cart.
So many to choose from. My practical side says the Dyson cordless vac. My pampering side is intrigued by the two-piece lounge sets and new bedding (for our bed) is high on my list.
Ooooo some great choices! I hope you treated yourself hehe
I love the pipe cleaner trees but not clear on how to attach them to covered wire. Do you use a piece of pipe cleaner somehow?
Def most excited for the hexclad pans. They’ve been on my list awhile.
They’re the best! I love mine.