MAKE IT YOURSELF // Book Covers

The bookshelves in our family room needed a lot of help since they were way too dark. I mean the first tenant of farmhouse style is all white everything, right?
I tried turning the books backwards but I could not convince my husband that they looked better “inside out”. So I decided to make white book covers for all of my books.

Back in junior high school (I know, this totally makes you all realize how old I am since I didn’t call it middle school) we had to cover our books. It’s a very simple process and takes just a few supplies.
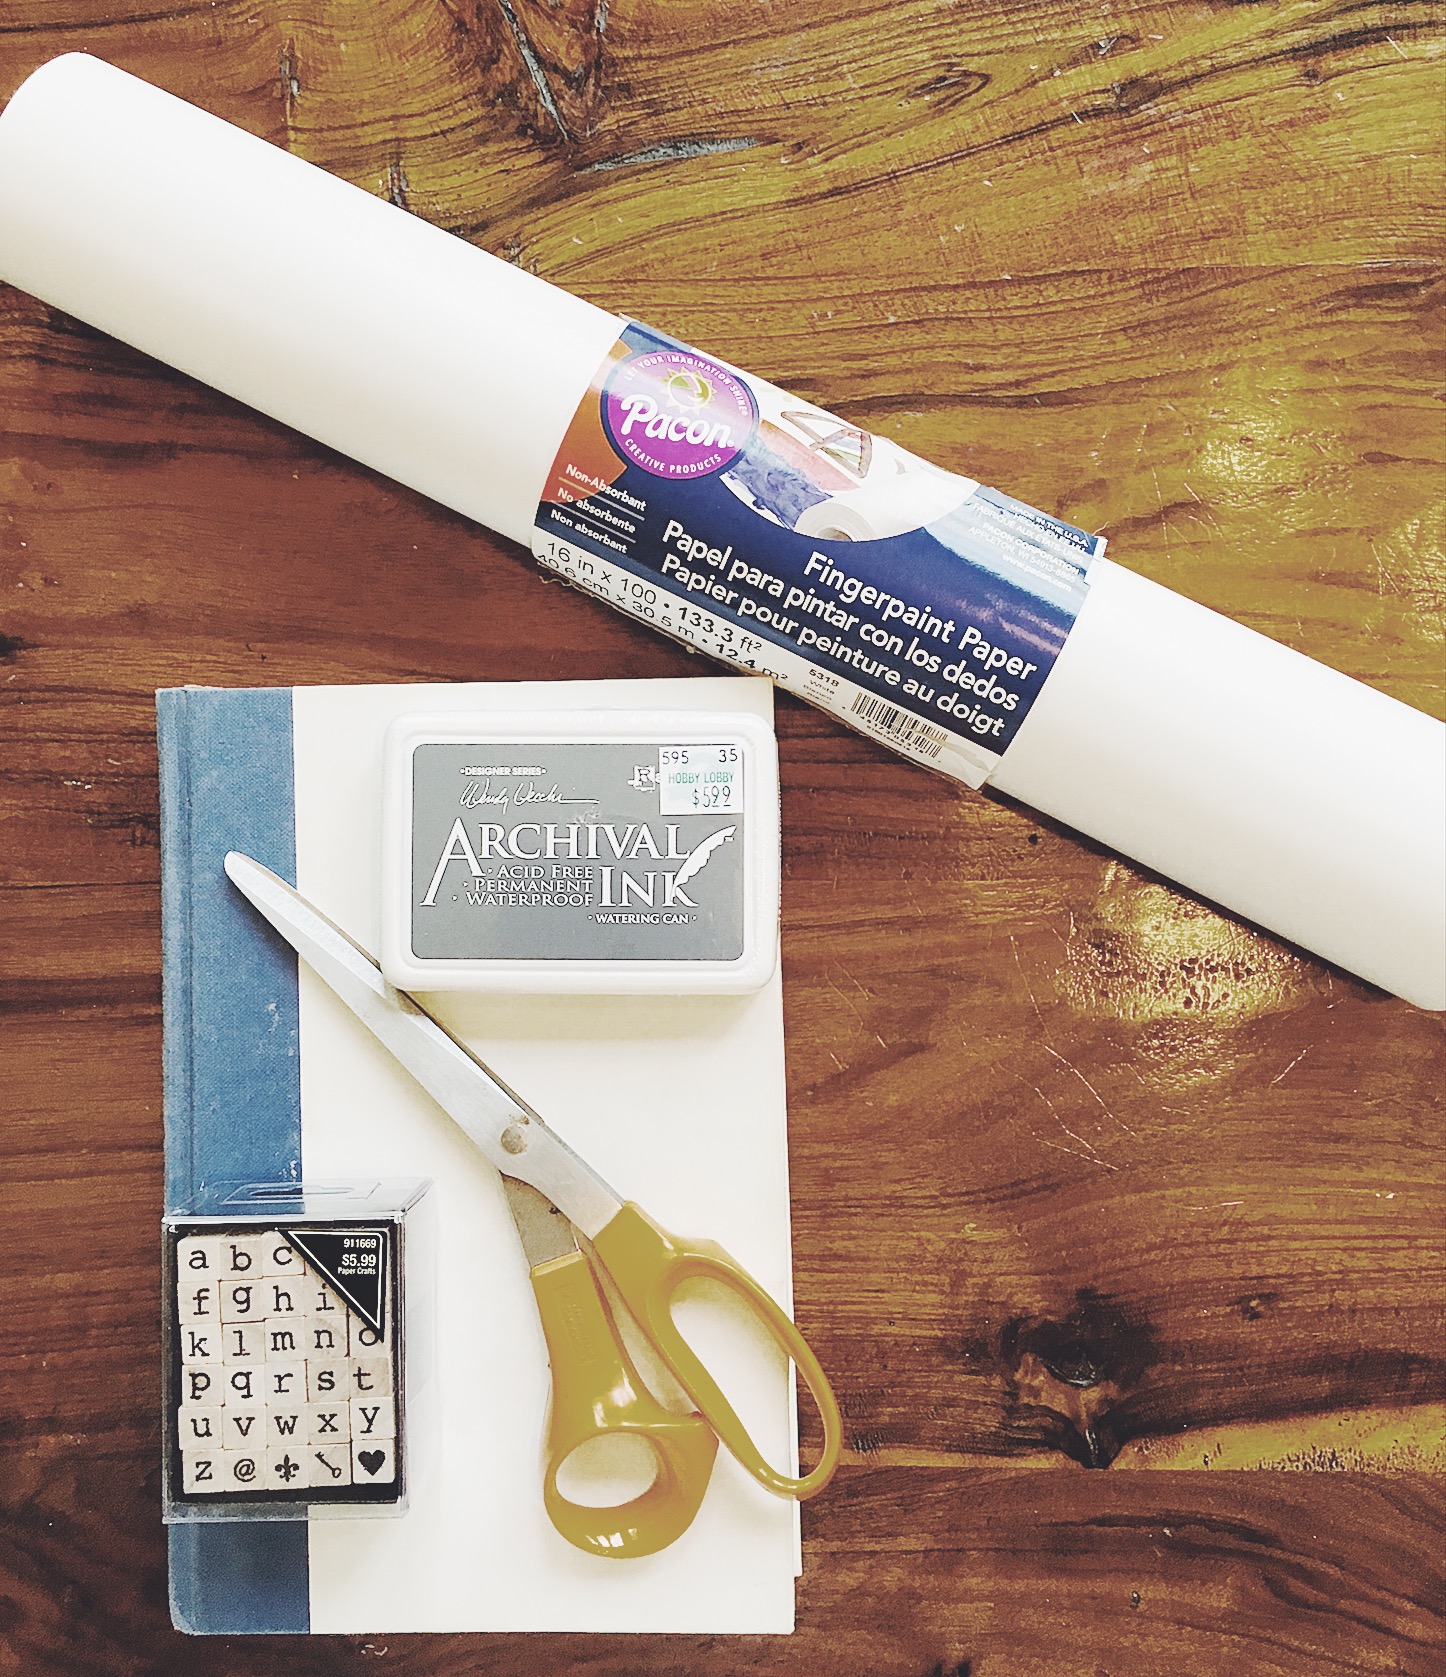
W H A T Y O U ‘ L L N E E D:
- White paper
- Scissors
- Grey stamp pad
- Alphabet stamps
- White artist’s tape (not pictured)
S T E P B Y S T E P:
STEP #1
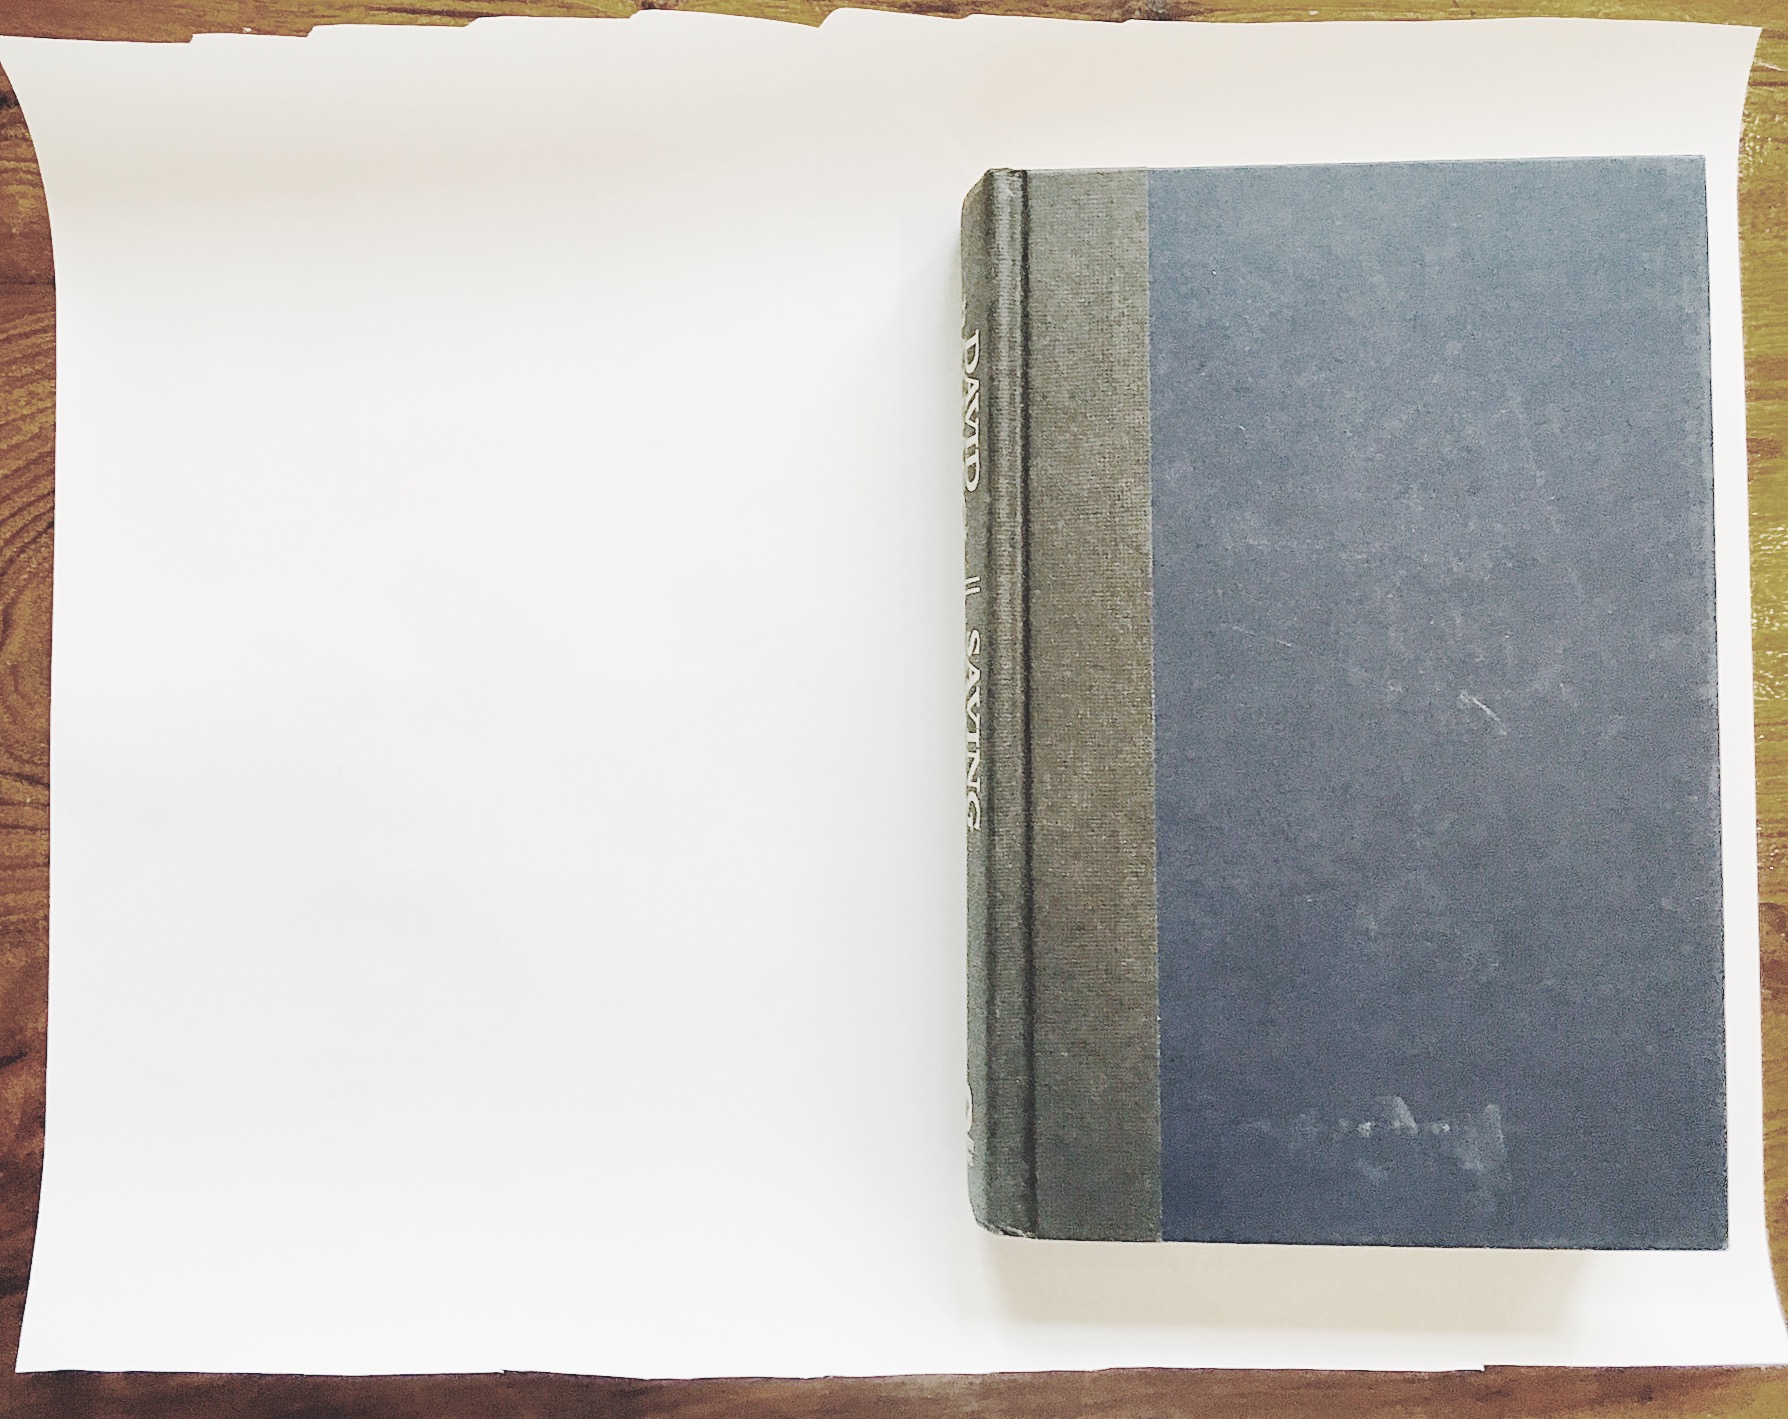
Cut paper large enough to have a 1 ½” – 2” border around all sides.
STEP #2
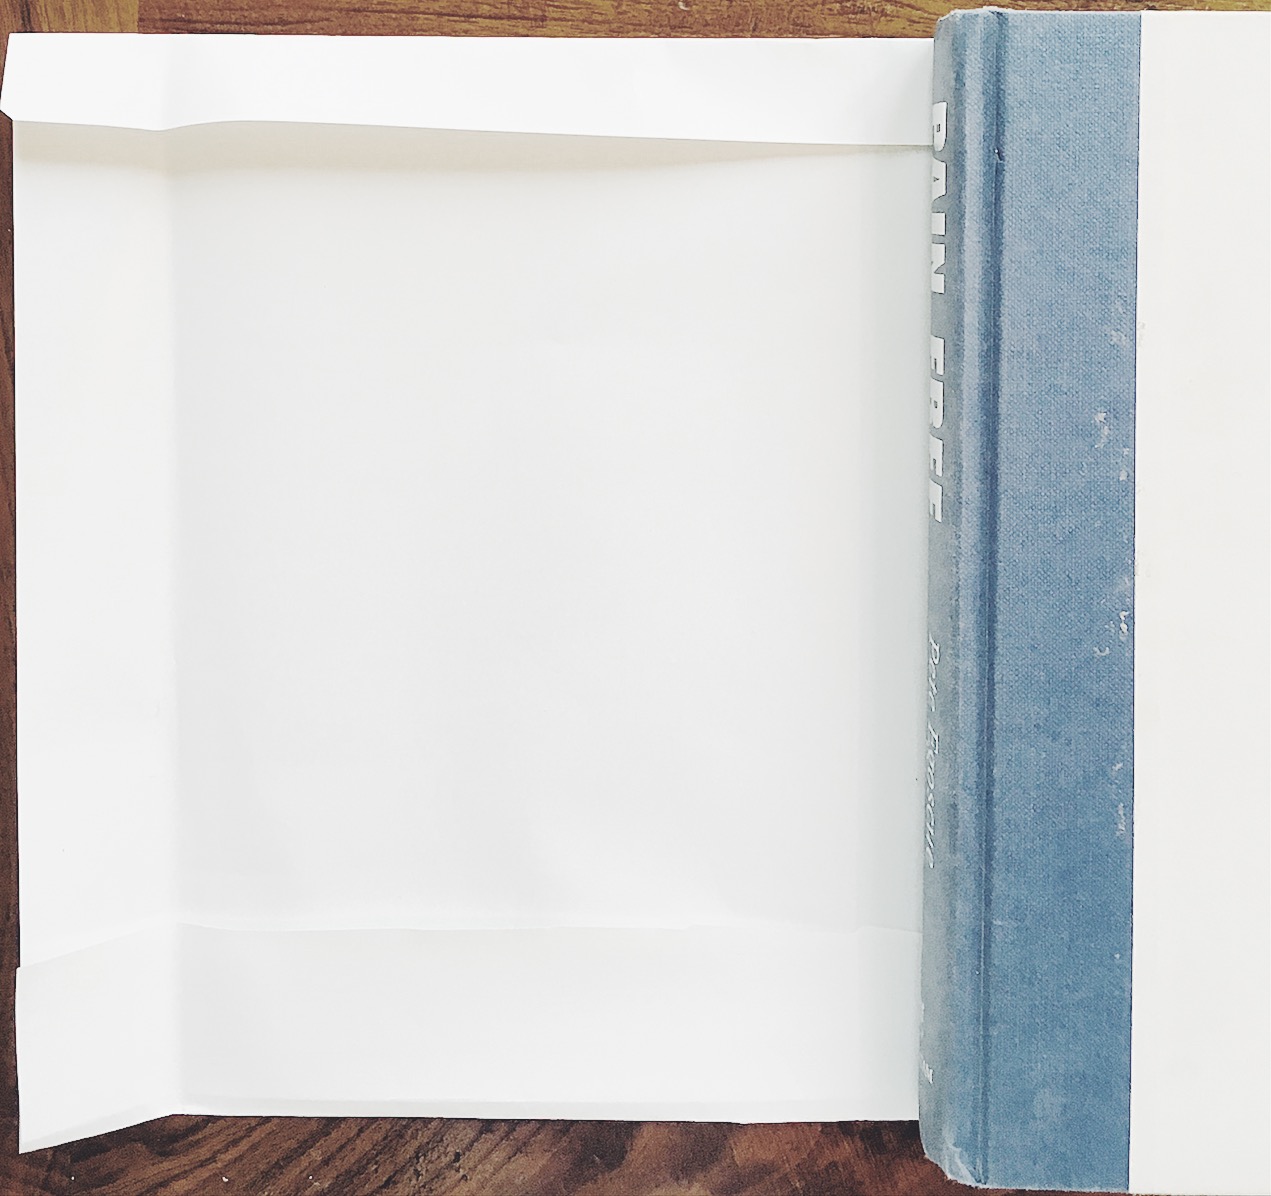
Fold over the lengthwise edges so the book is covered to the edge. Fold the ends over the edge and then form a crease with your fingers to define the end of the book.
STEP #3
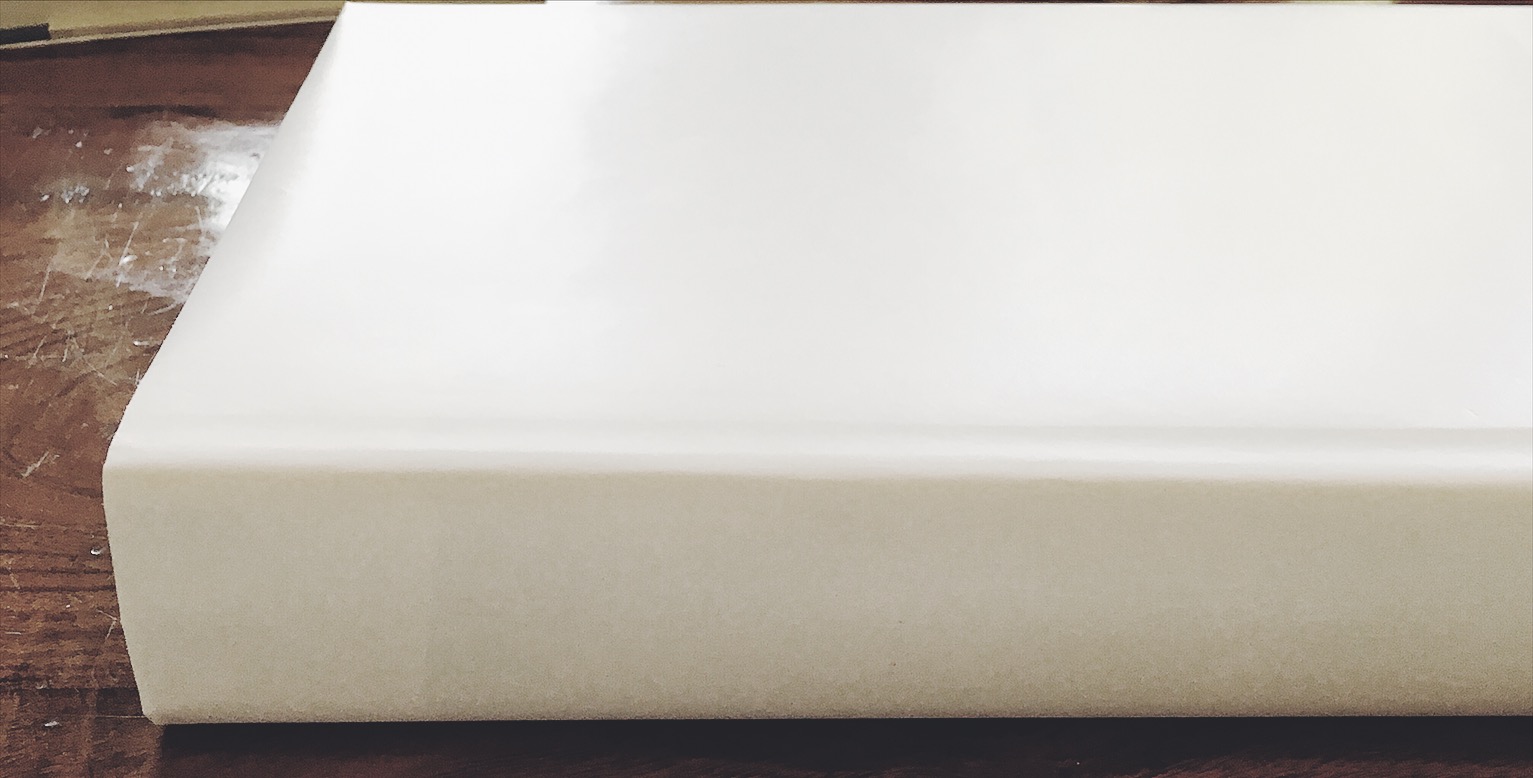
This helps align where you should stamp the book title.
STEP #4
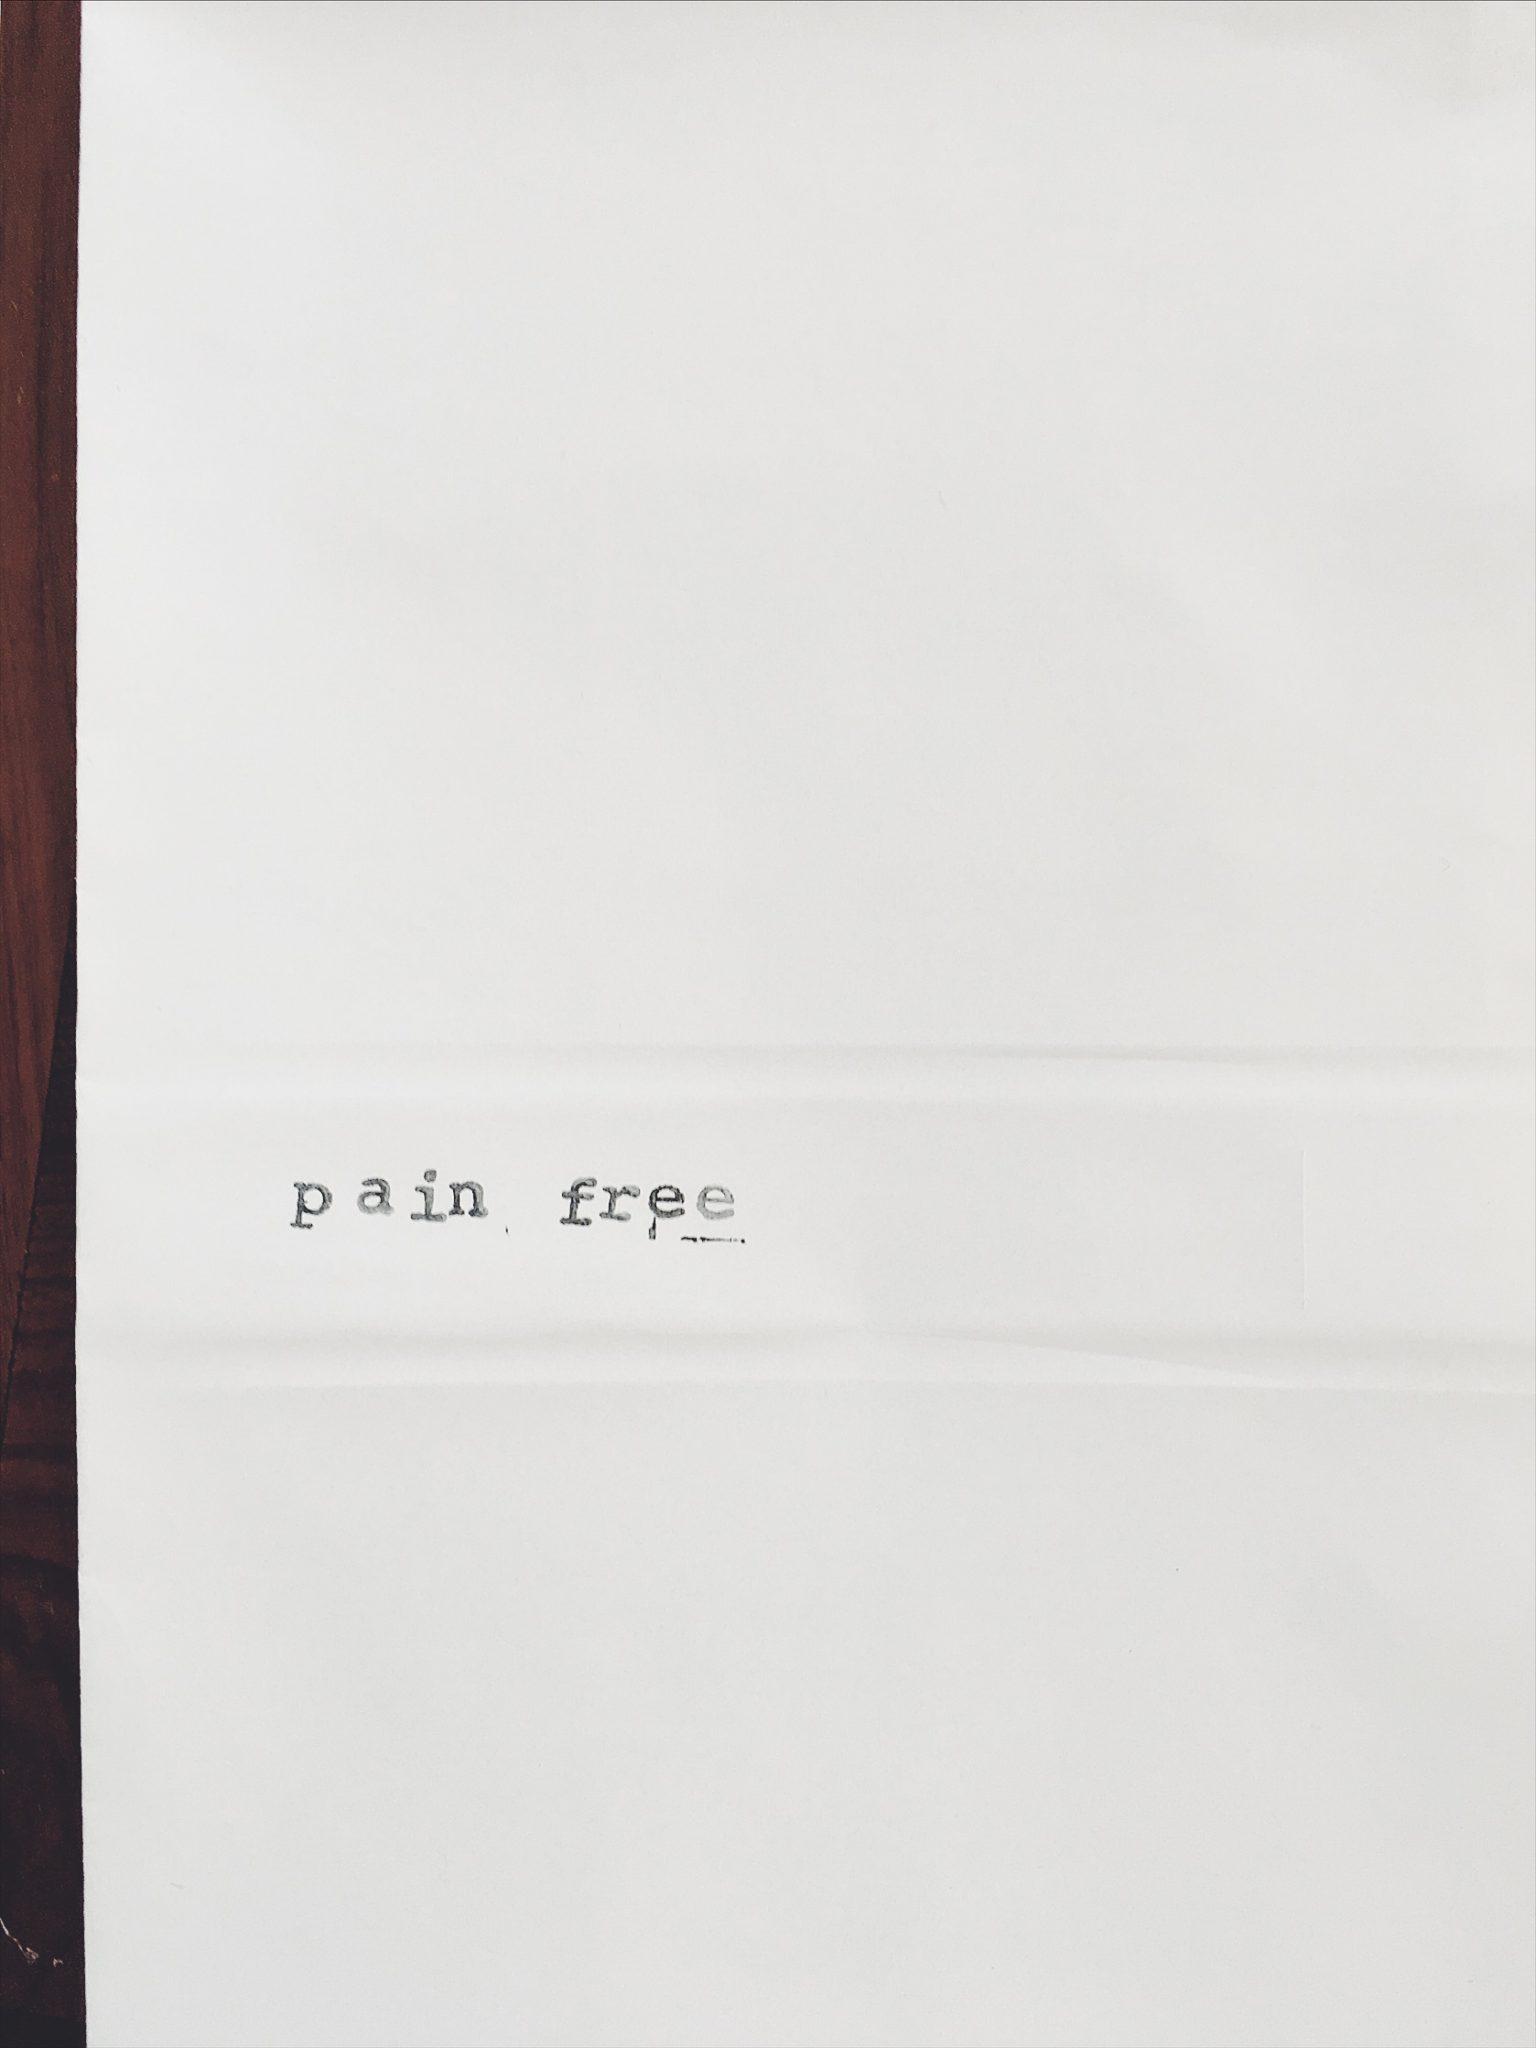
Stamp the title of the book on the binding edge and measure about 1 ½” from the top edge. Don’t worry if it is perfect. It looks better if it is not.
STEP #5
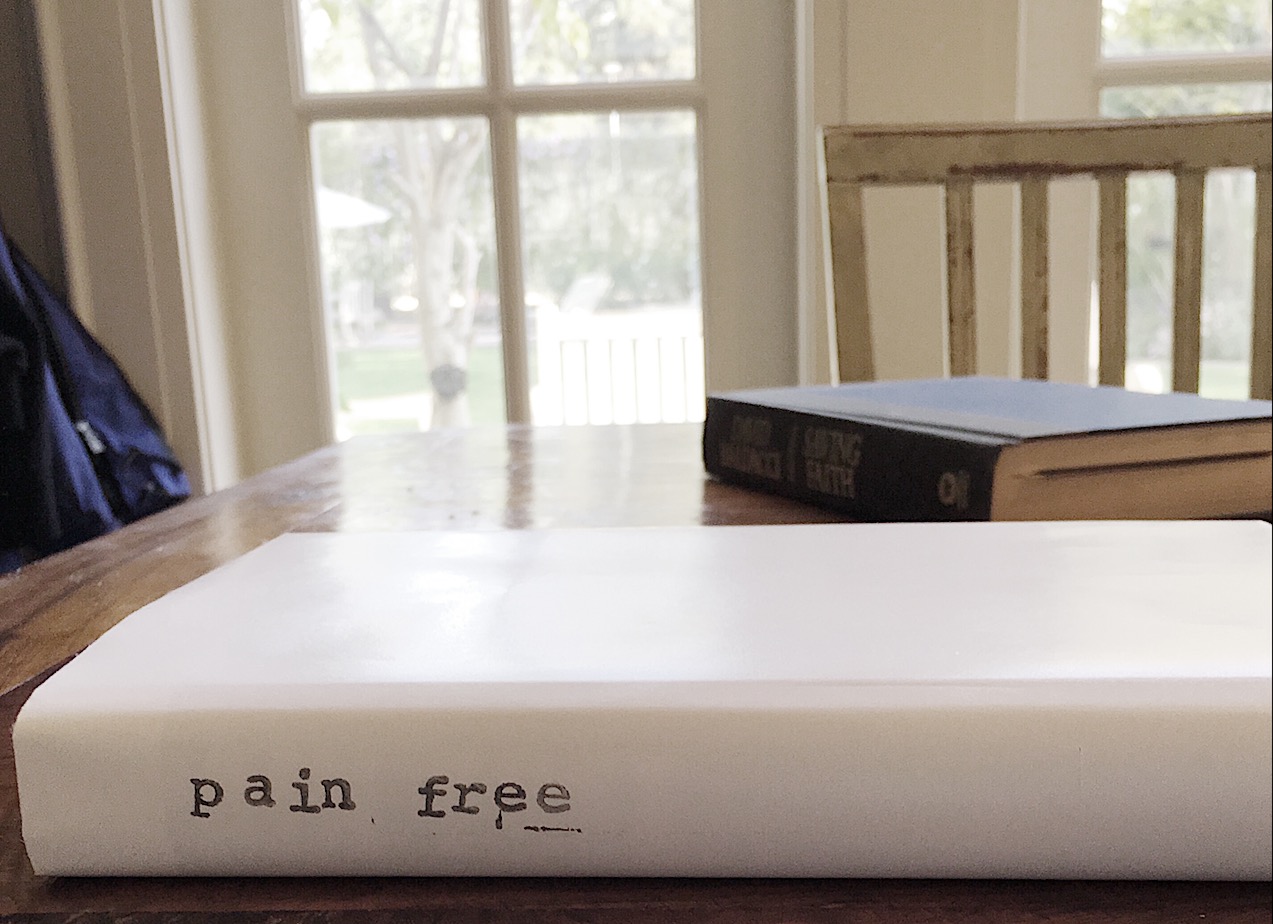
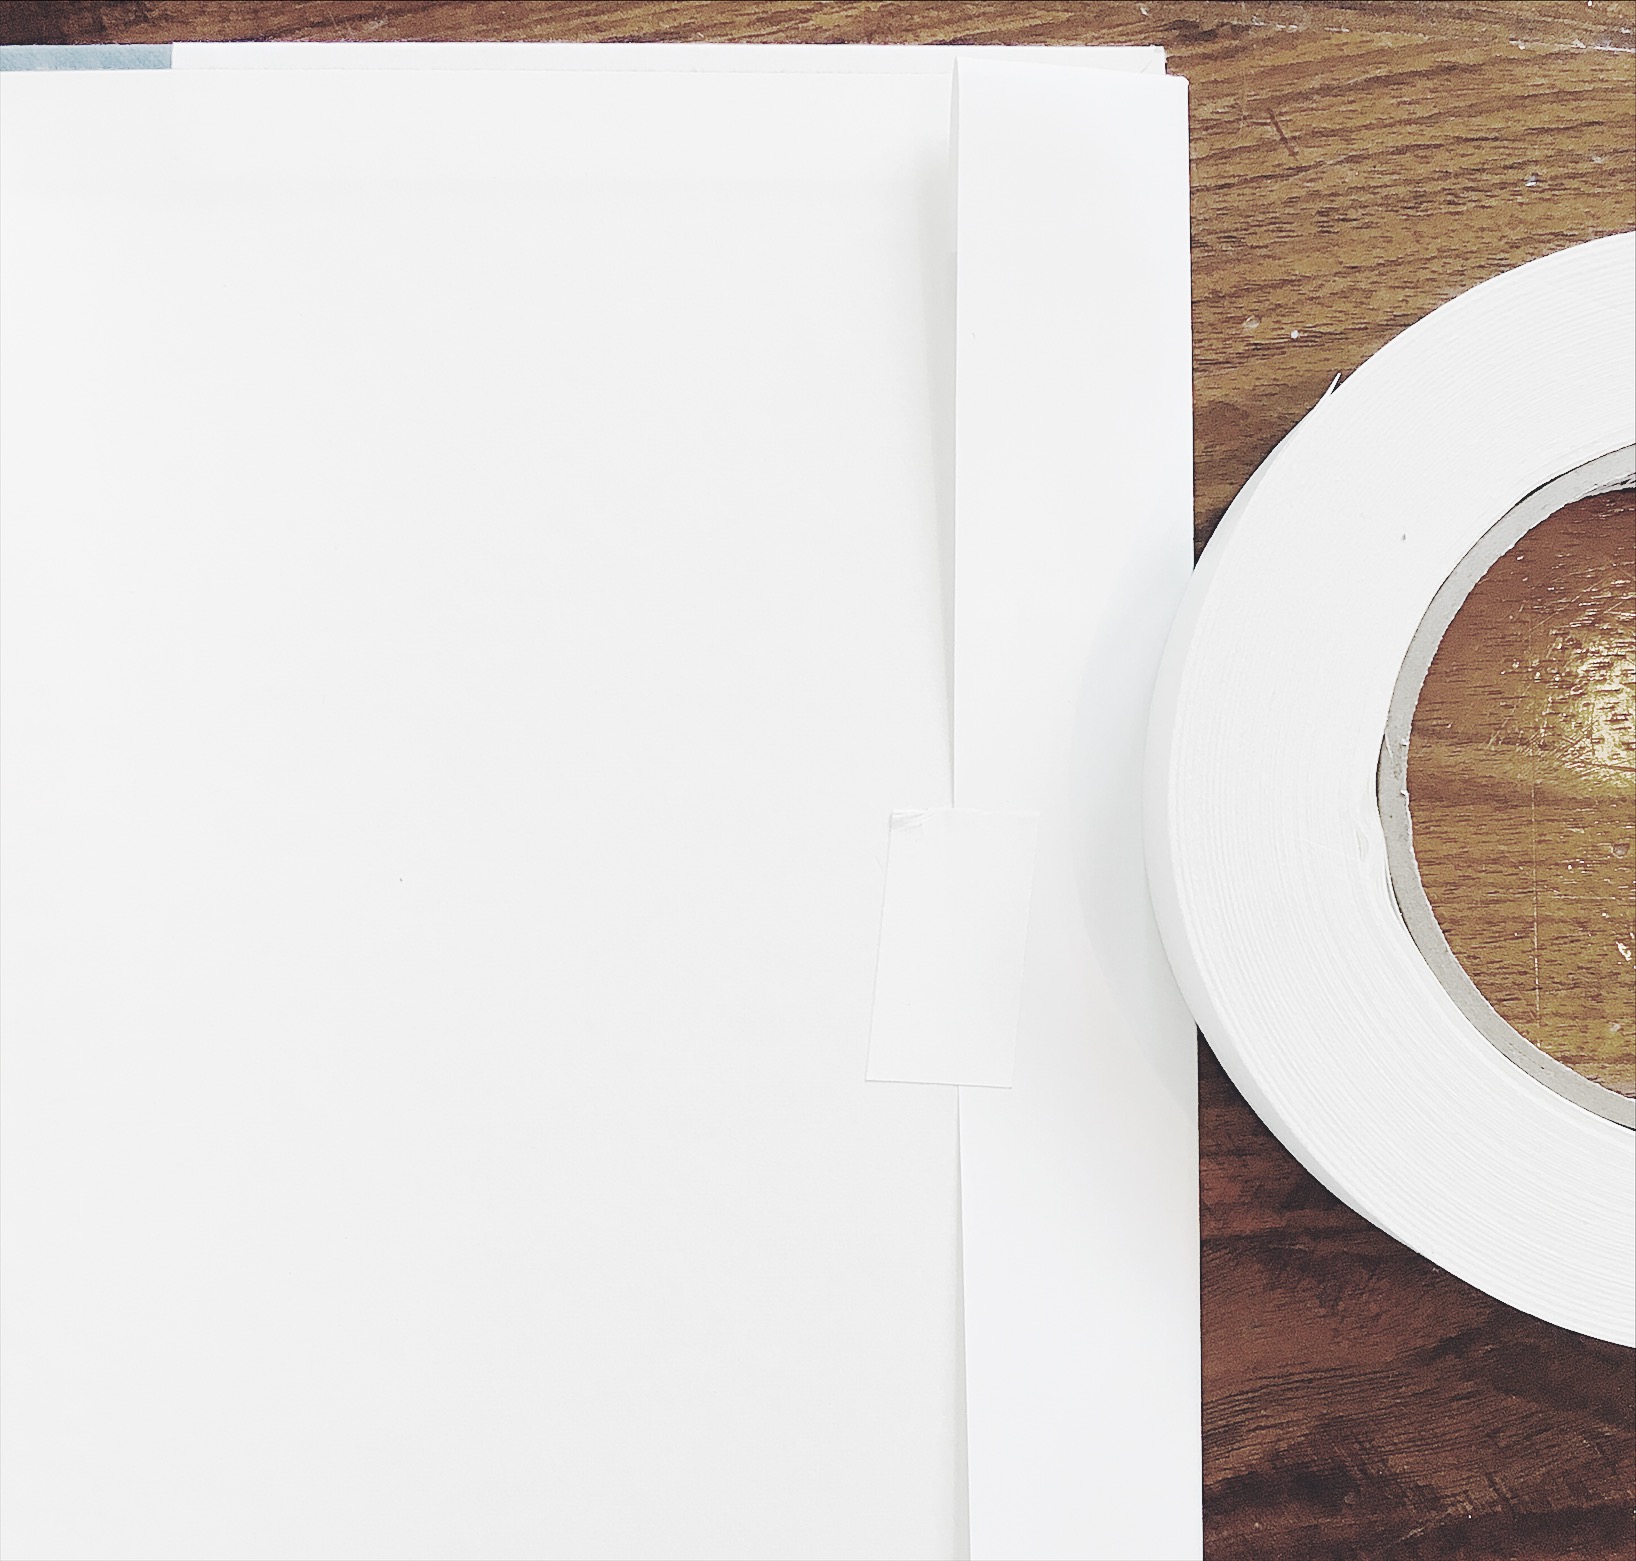
Peace the book in the cover and tape the inside of each edge to secure the cover on each book.
STEP #6
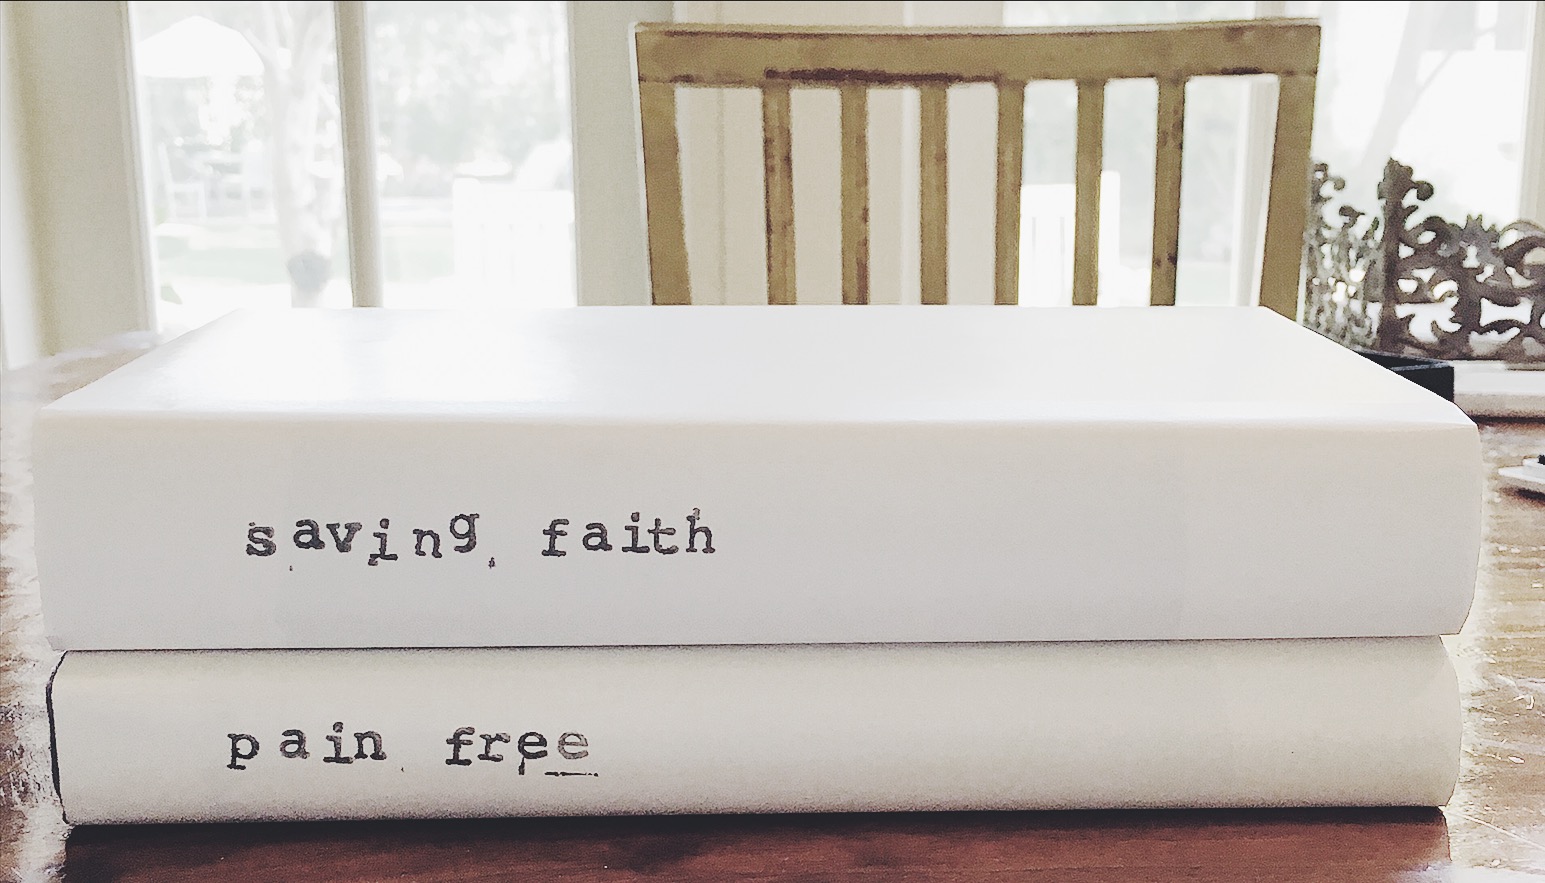
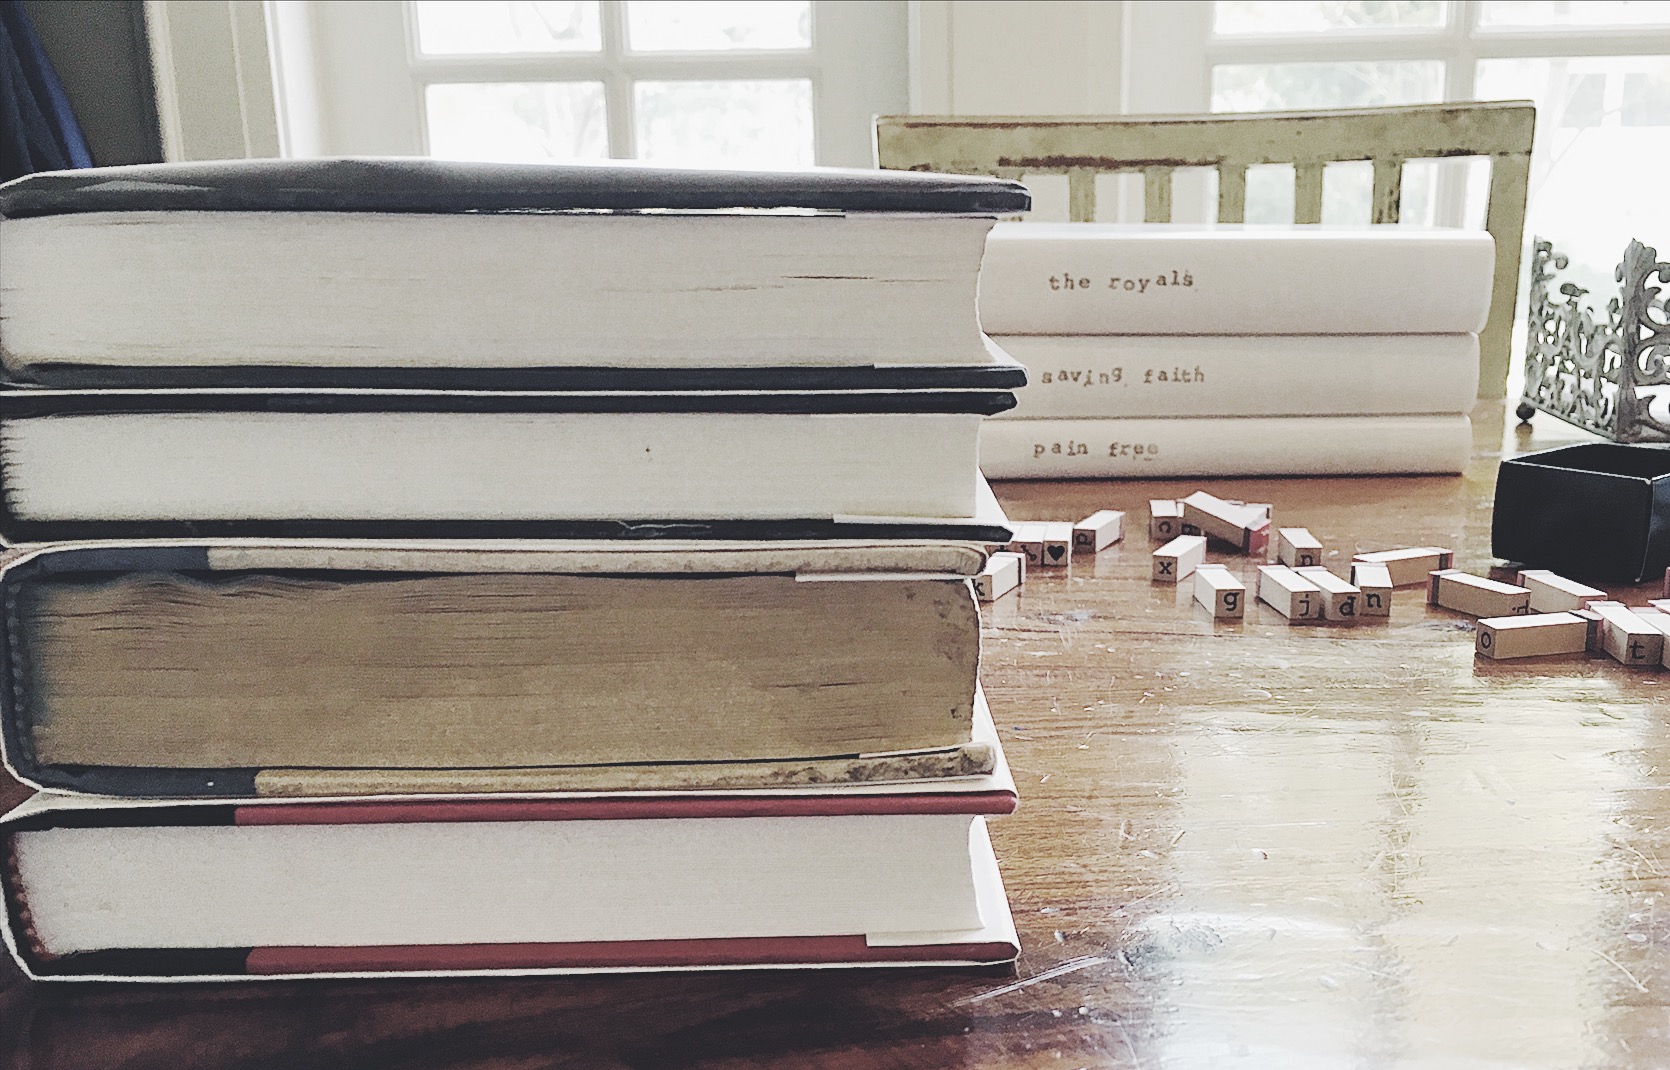
Make additional covers for all of your books and stack them in your bookshelves and you’re done!

For more real-time updates, follow me on Instagram @My100YearOldHome



I especially enjoyed the way you weave personal anecdotes into the narrative, adding a unique touch.