How to Set Up a Craft Space in Any Room of Your House – Mondays in the Craftroom
You don’t need a dedicated craft room to be creative. A functional craft space can be as simple as a closet, a guest room corner, a dining room nook, or a folding table.
Today I’m sharing how, over the years, I’ve created a craft space that works, along with simple tips for organizing supplies, setting up stations, and making room for the crafts you love.


How to Set Up a Craft Space in Any Room of Your House
One of the comments I receive most often whenever I share my craft room is:
“I wish I had a space like that.”
And every single time I read those comments, I smile because I remember exactly where I started.
It certainly wasn’t in a beautiful, dedicated craft room.
In fact, my first craft space was a tiny closet.
A very tiny closet.
For years, I crafted anywhere I could find space. Sometimes it was the kitchen table. Sometimes it was a corner of a guest room. And sometimes it was a folding table set up temporarily for a project. I learned very quickly that creativity isn’t about having a perfect craft room.
It’s about creating a space that works for you.
The craft room I have today didn’t happen overnight. It evolved over more than twenty-five years as my hobbies, my needs, and my available space changed.
So if you’ve been telling yourself that you can’t be creative because you don’t have a dedicated craft room, I want to encourage you today.
You absolutely can.
Because a great craft space isn’t defined by square footage.
It’s defined by functionality.
A Craft Space Can Be Almost Anywhere – My Craft Room Journey
My craft room journey didn’t happen overnight. In fact, it took more than twenty-five years.
I started with a small closet to store supplies and worked at the dining room table whenever I had a project. Eventually, I took over a spare bedroom, which felt like a huge upgrade at the time.
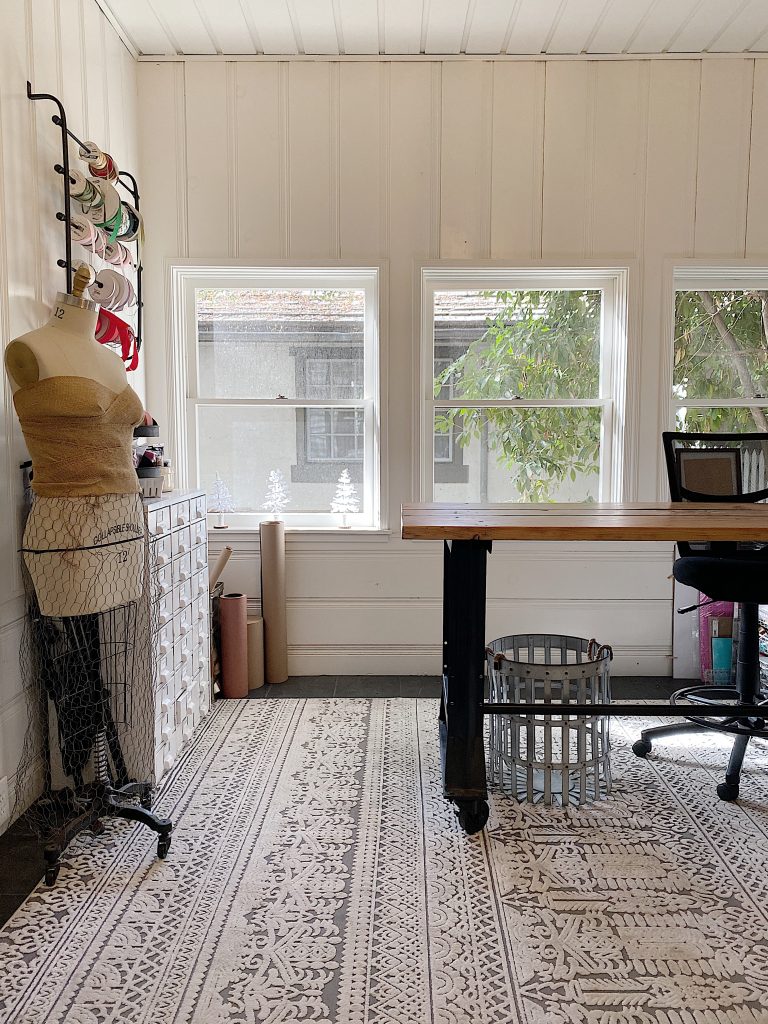
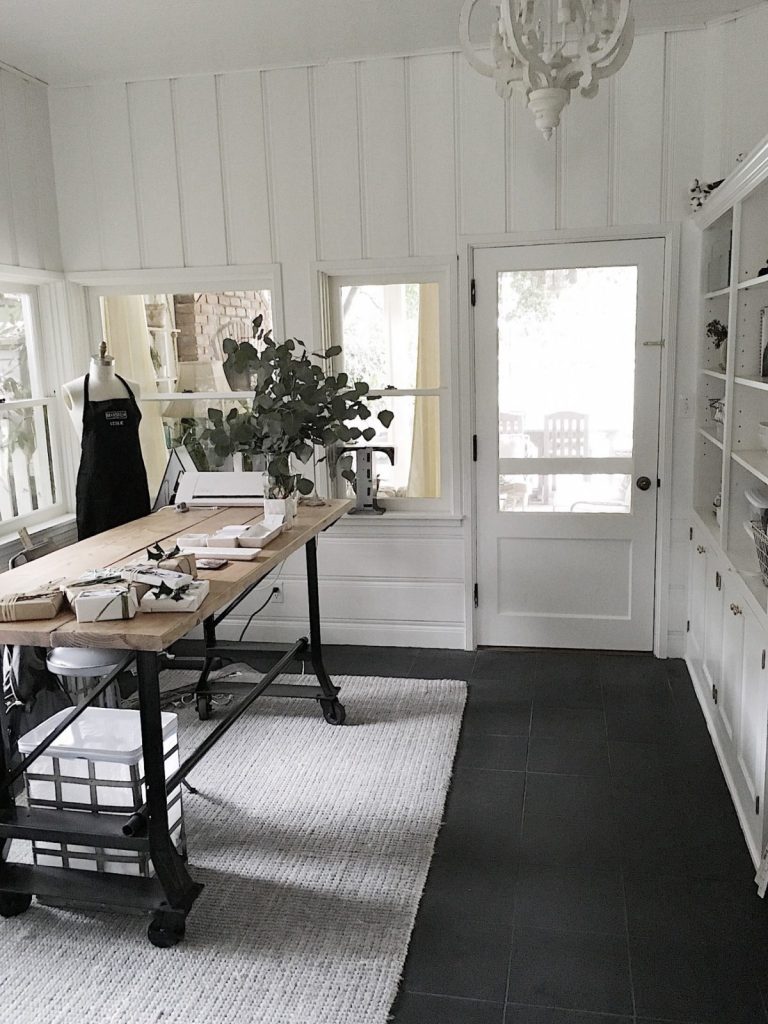
Later, I converted an office adjacent to our family room into my first true craft room. With a few coats of white paint, the removal of some dark window treatments, and a large worktable, it became a bright and inspiring space where I spent countless hours creating.
As my hobbies grew, so did my need for space, and I eventually moved into the Carriage House. It had wonderful natural light, a huge worktable, and plenty of room to spread out and work on larger projects.
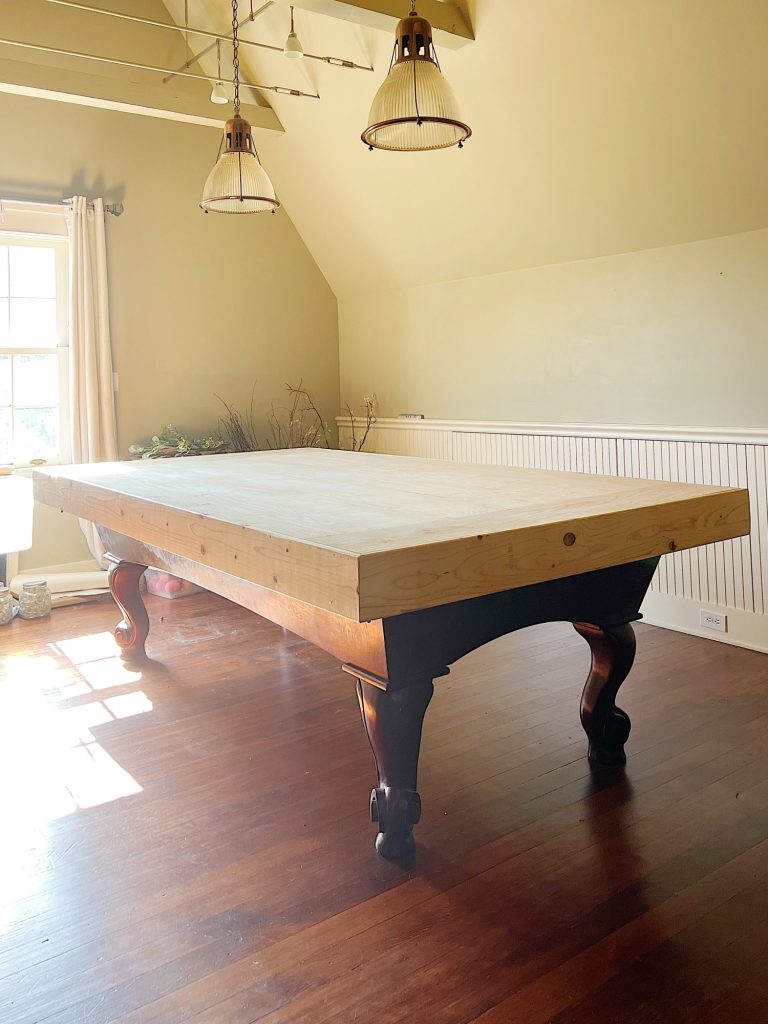
A few years later, my creative headquarters moved again, this time to the third floor of our home, where I transformed an old pool table into an oversized craft table. It worked surprisingly well and gave me the room I needed for sewing, crafting, and creating.
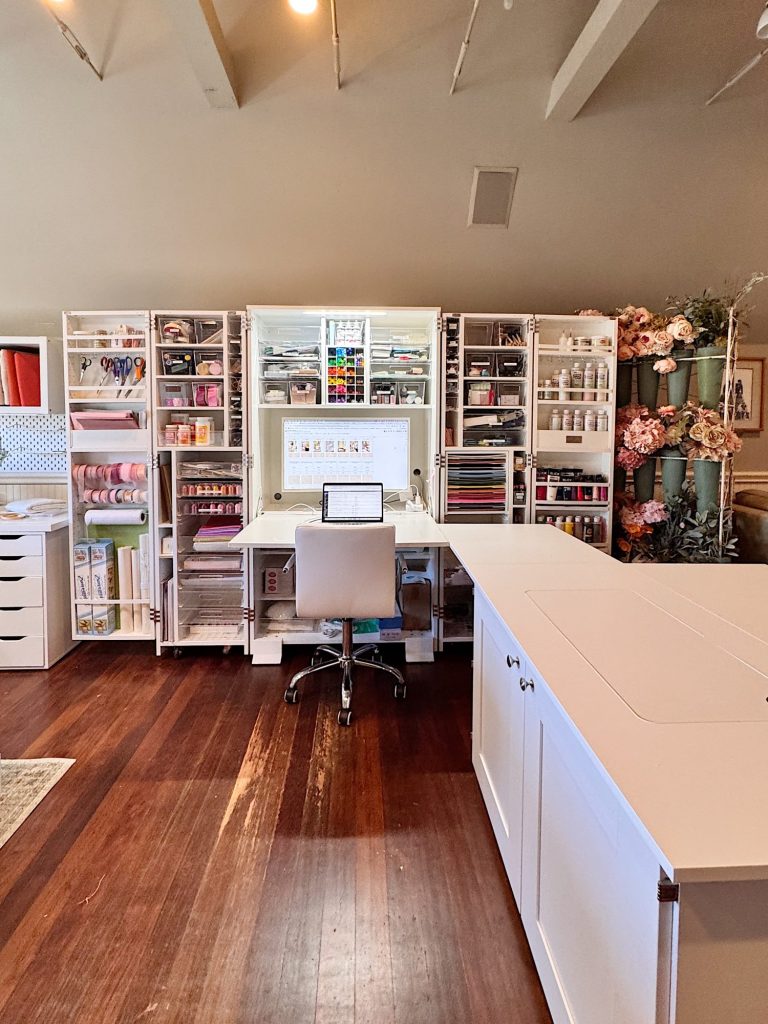
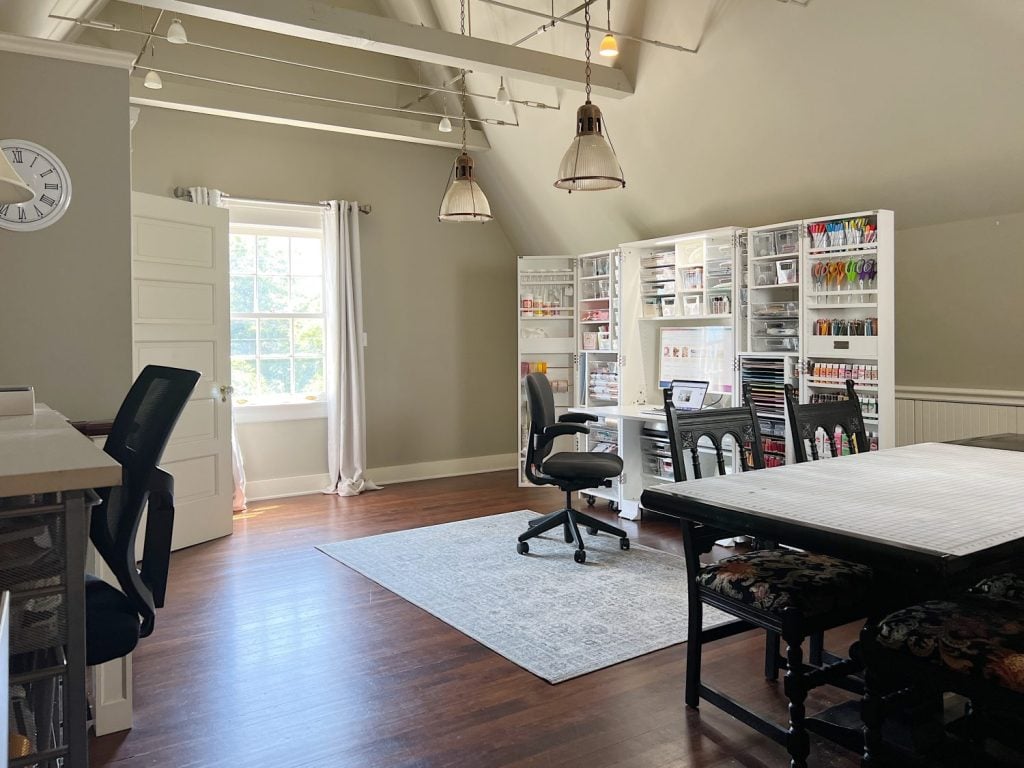
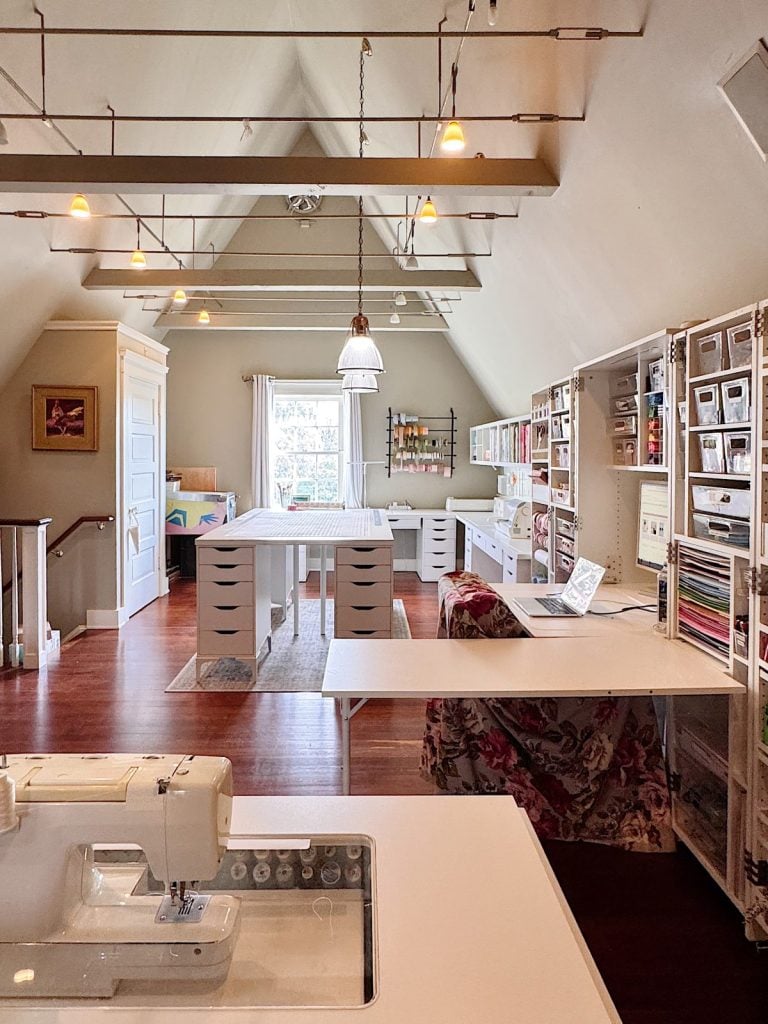
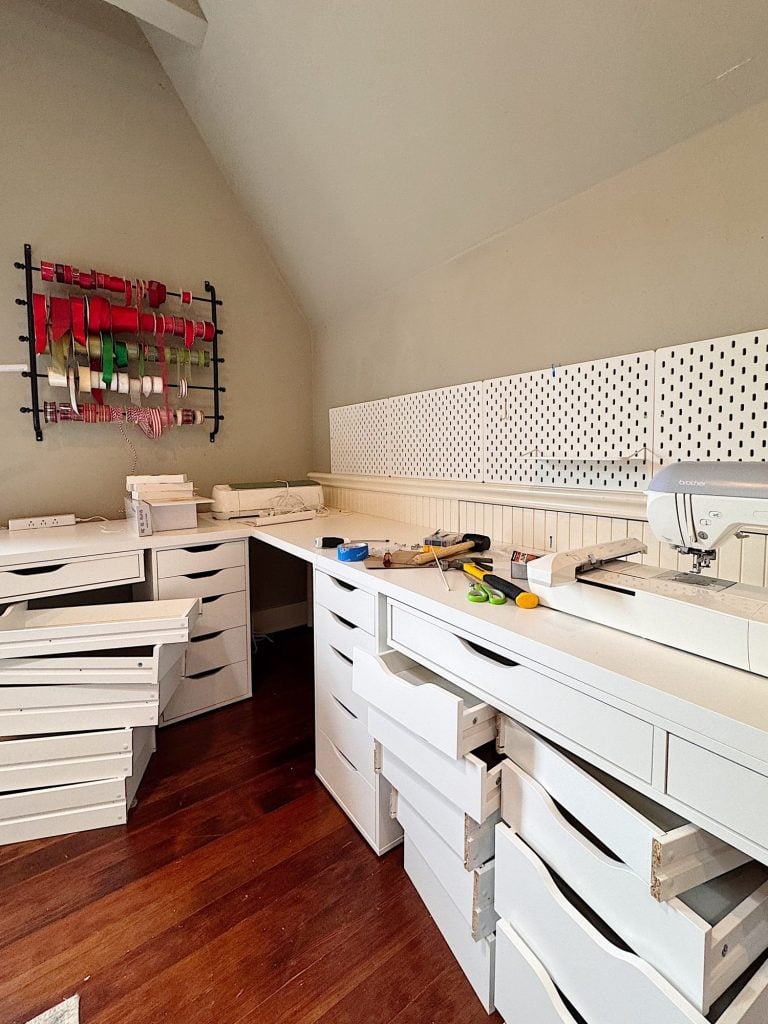
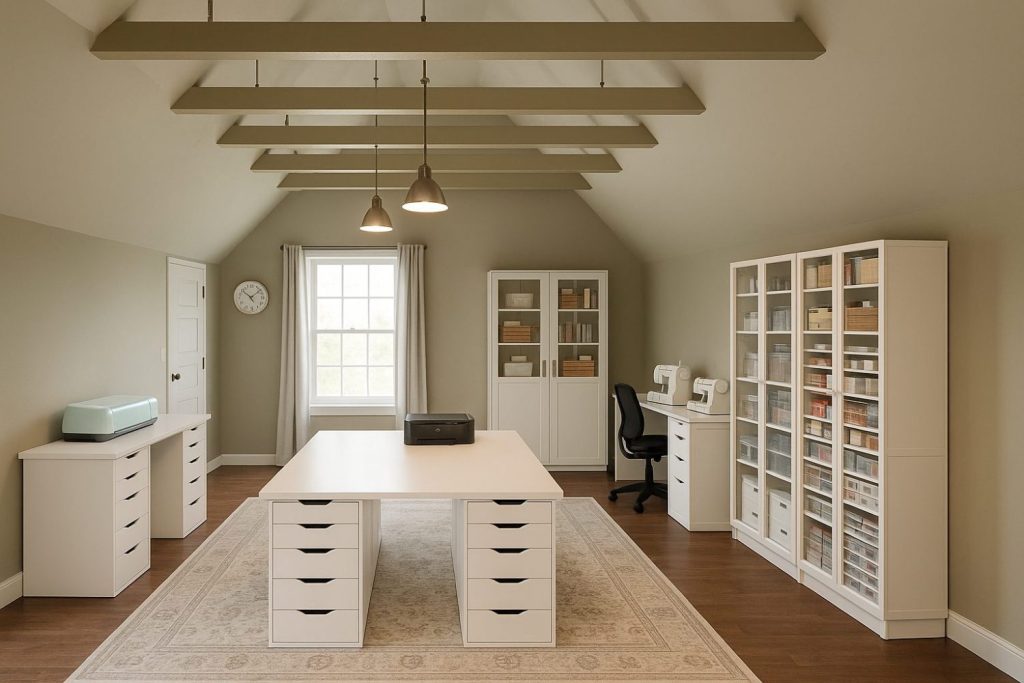
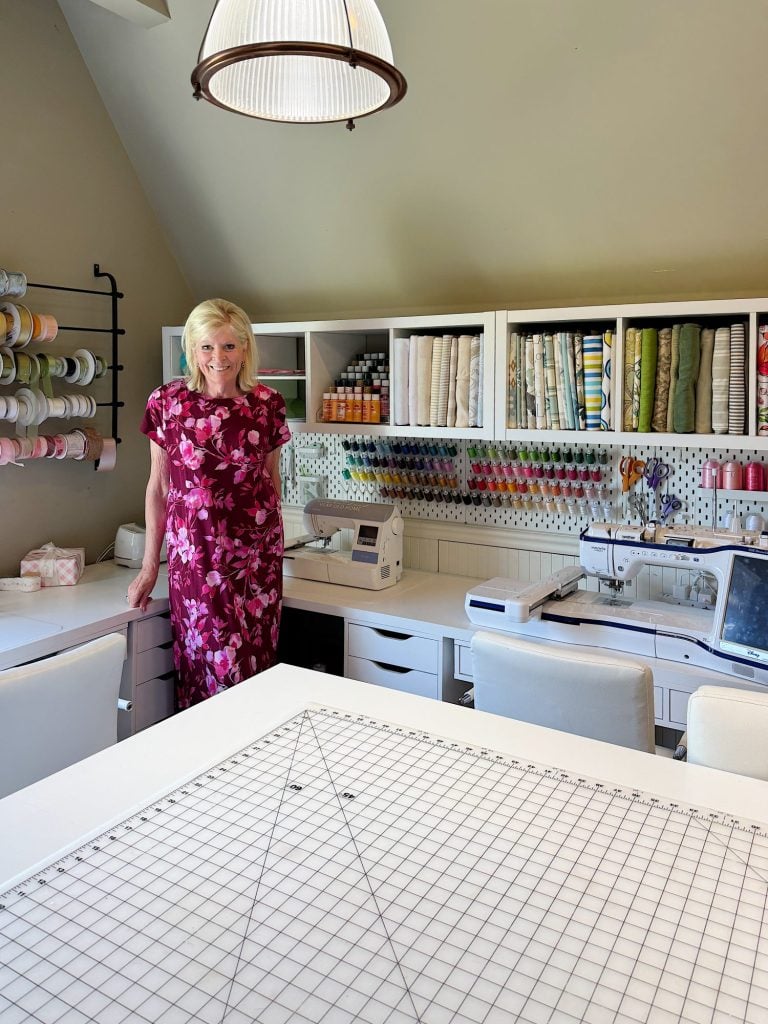
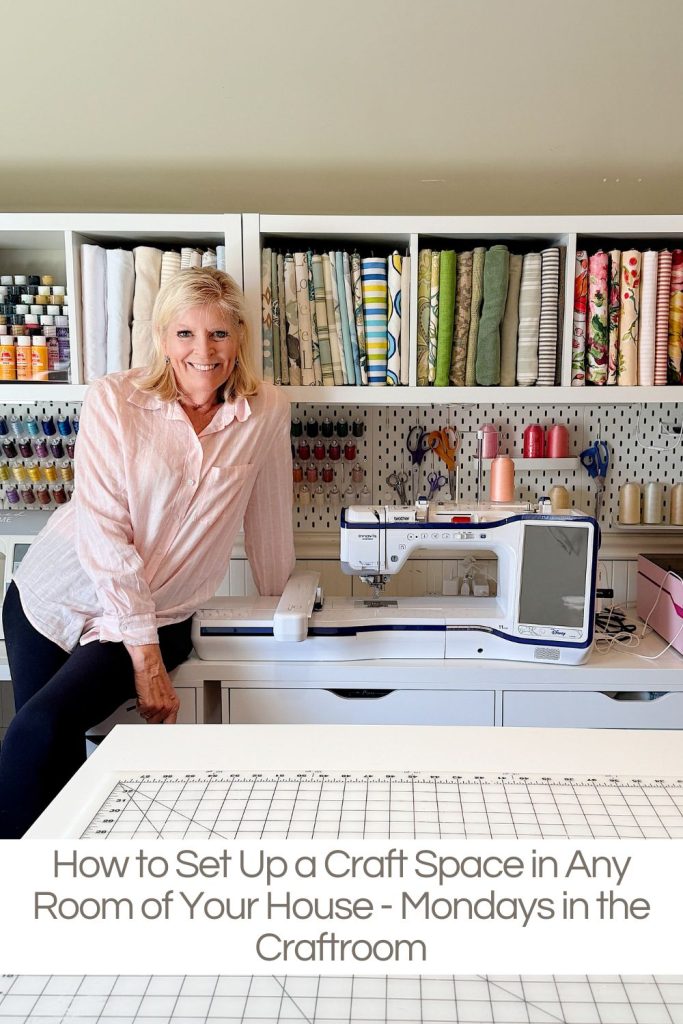
Then, earlier this year, I finally decided it was time to design the craft room I had always dreamed about. After years of learning how I like to work, I created dedicated stations for embroidery, sewing, clay projects, paper crafts, and more.
Every supply has a home, every craft has a workspace, and the room functions exactly the way I always hoped it would.
Looking back, each space taught me something valuable, and I wouldn’t trade the journey because it helped me create the craft room I’ve been waiting for all these years.
One of the biggest myths about crafting is that you need an entire room.
You don’t.
Some of the most creative people I know work in very small spaces.
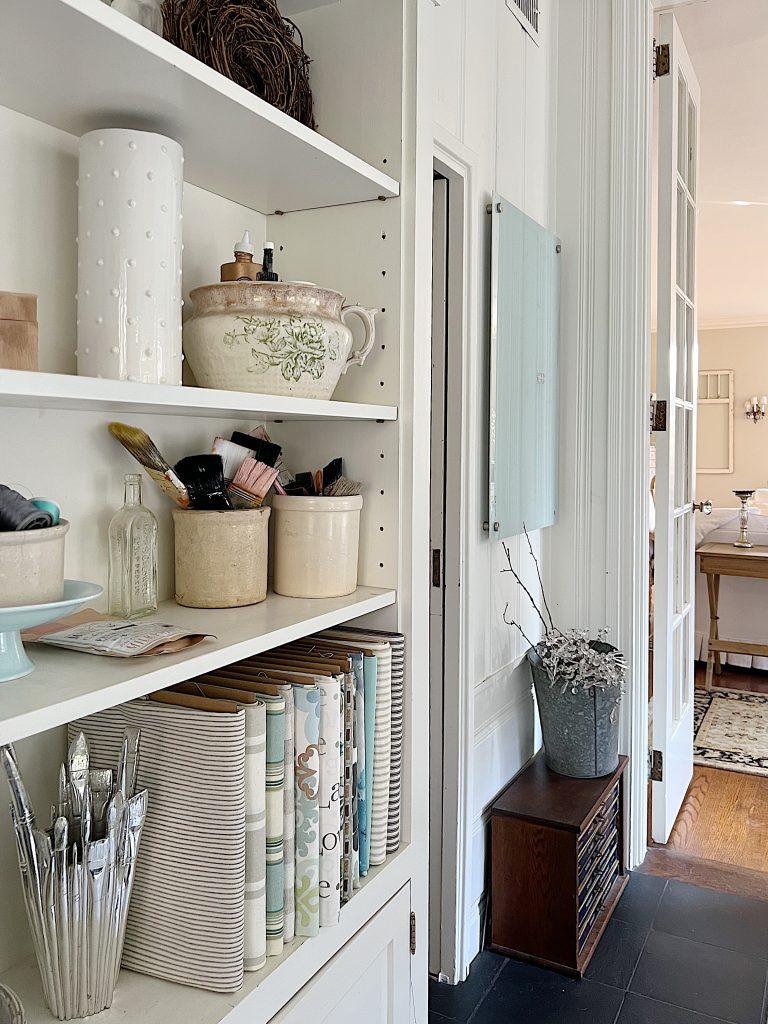
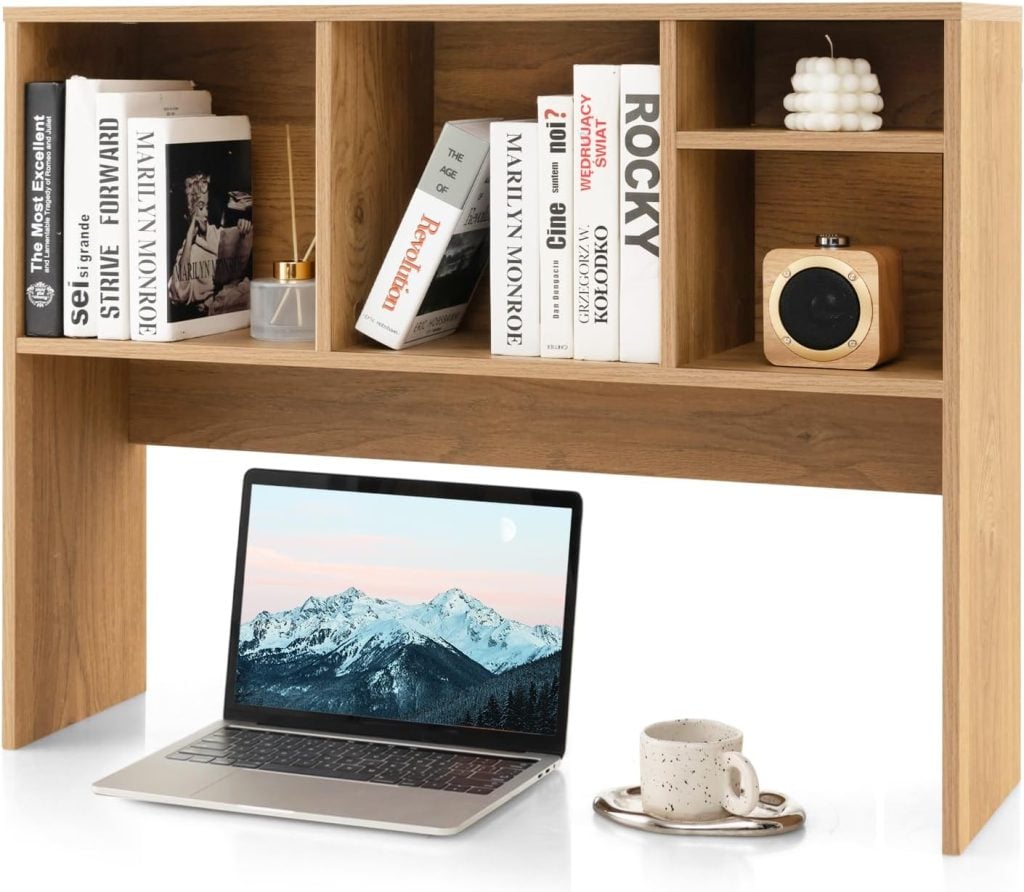
#1 – A Closet
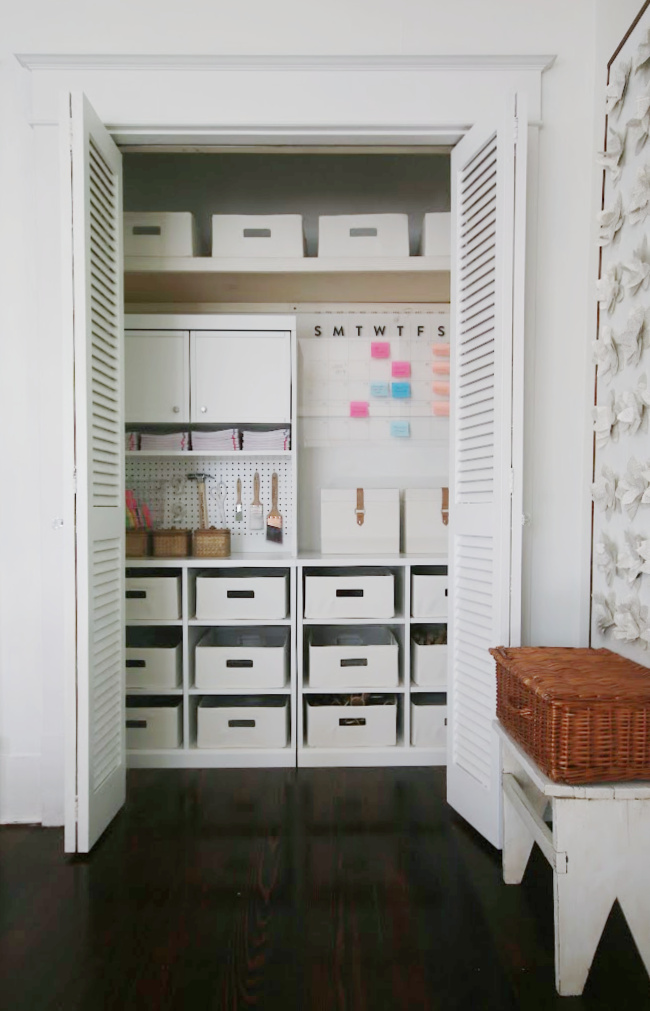
This is similar to where I started. Craft storage has always been important, and when the kids were younger, crafting usually happened during naps, after baths, and at bedtime. All I wanted was a closet to store my materials, and a table somewhere where I could set my sewing machine and enjoy some “me time”.

This table was my crafting area for years, and there is still glitter and paint stuck to the table top to prove it!
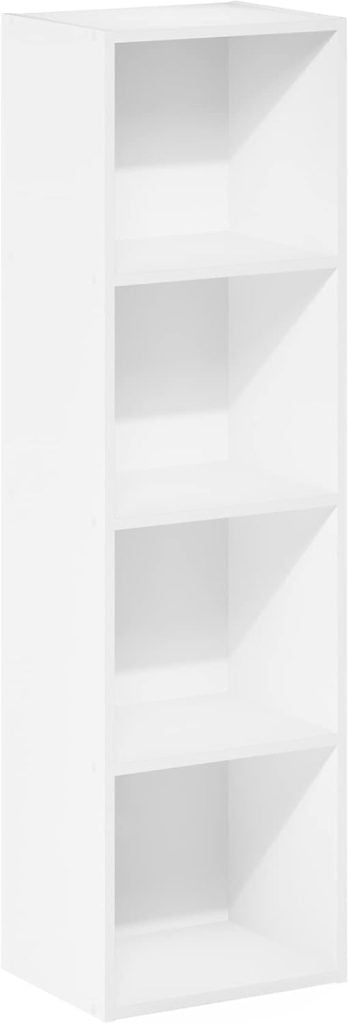
A closet is a great way to become more organized with your crafting. It can have:
- supply storage
- a fold-down work area
- shelving for tools
- project organization
With a few shelves and good lighting, a closet can be surprisingly effective.
I may use affiliate links on this blog, which means I earn a small commission if you make a purchase through them. The price will be the same whether you use the affiliate link or go directly to the vendor’s website using a non-affiliate link.
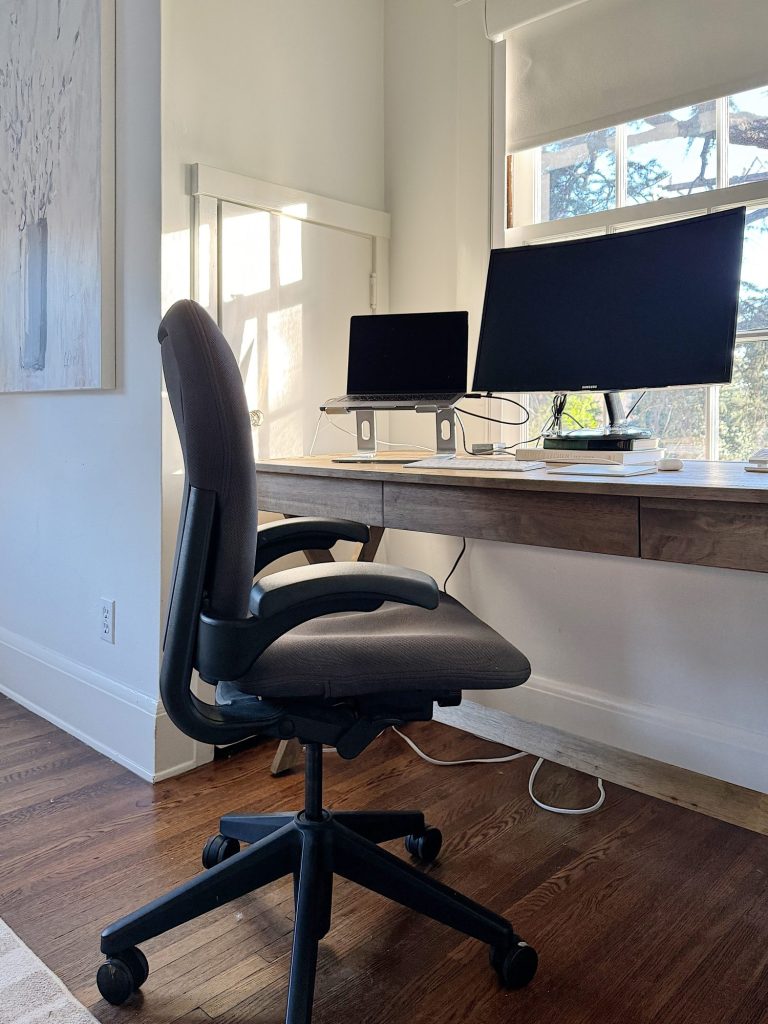
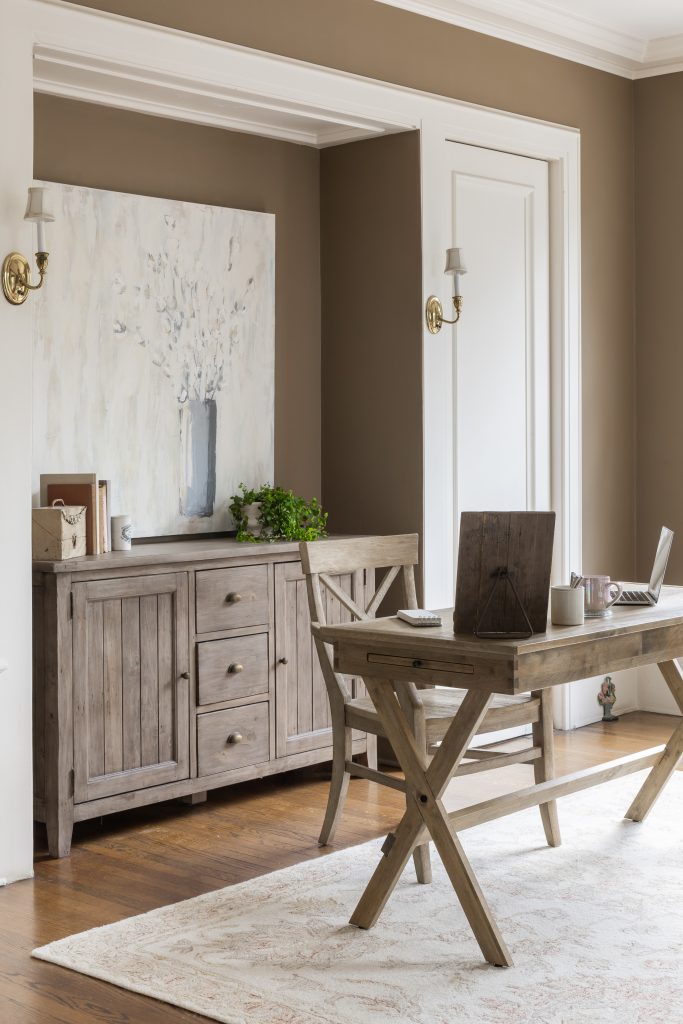
#2 – An Office
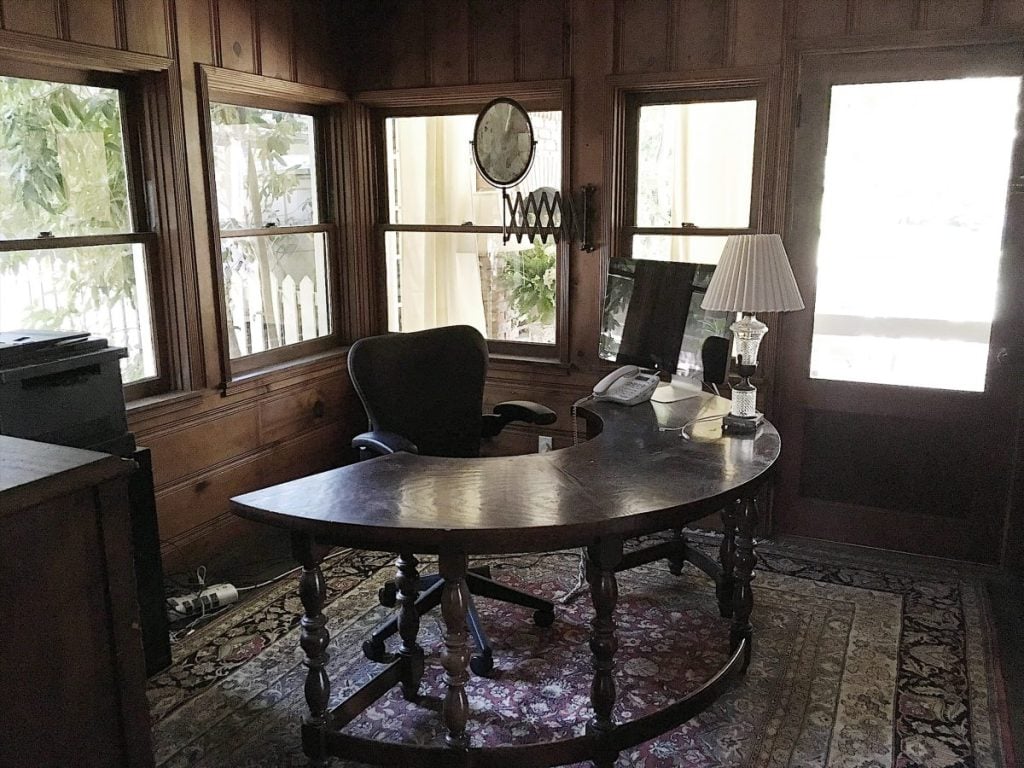
My first official craft room was in the home we currently live in. I actually converted the office located just off our family room. At the time, the room had dark wood paneling and heavy window treatments, and it felt more like a den than a creative space.
I decided to transform it by painting all of the paneling bright white, removing the window coverings to let in as much natural light as possible, and adding a tall worktable that became the heart of the room.
It wasn’t large or filled with custom storage, but it felt like a dream compared to crafting at the kitchen table or in a closet. For years, that room served as my creative headquarters where I sewed, painted, crafted, and worked on countless projects.
Looking back, it was the first space that truly belonged to my creativity, and it taught me that a great craft room is more about function and inspiration than square footage.
Many crafters use:
- a small desk
- a rolling cart
- wall storage
- floating shelves
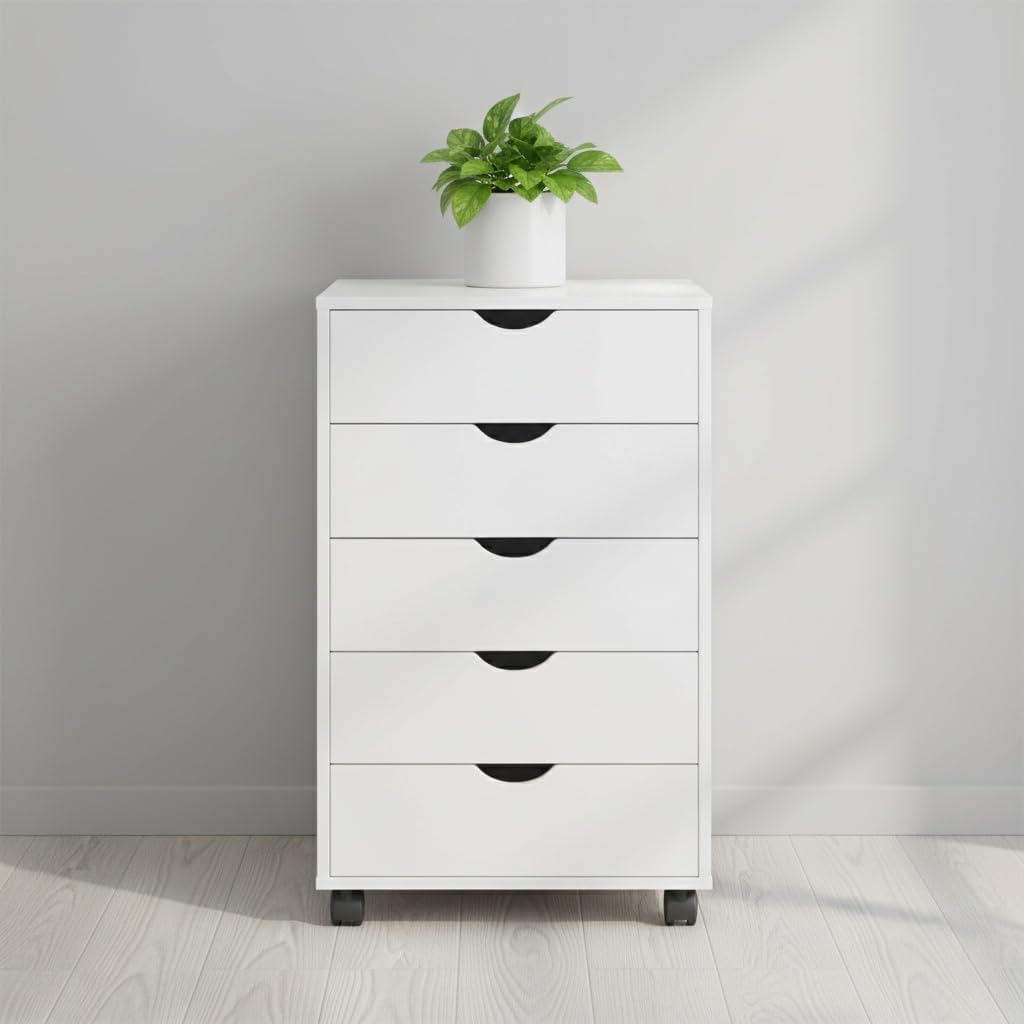
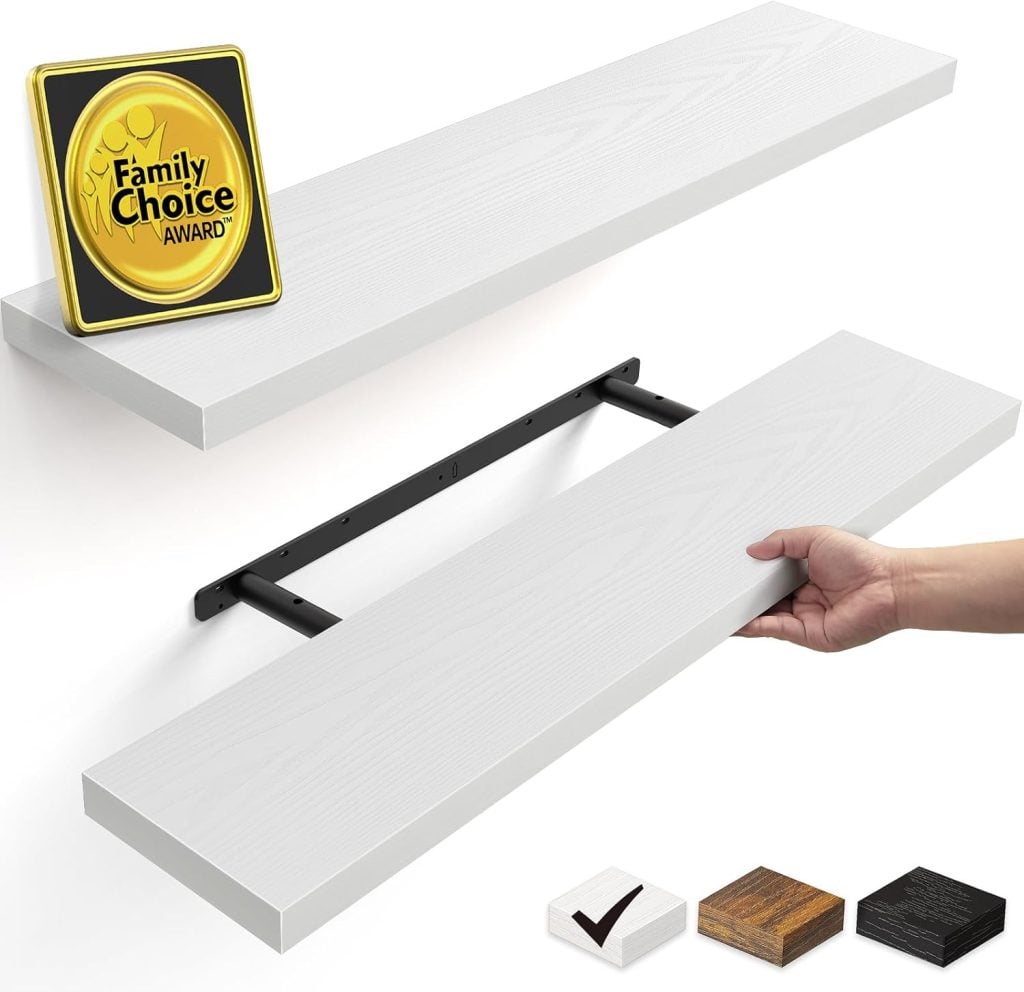
Everything stays organized and accessible without taking over the entire room.
#3 – The Carriage House
Over the years, our Carriage House has served as a storage room, dining and entertaining area, workout room, and craft room.
The light is perfect, the table is huge, and it’s tucked away so messes don’t need to be cleaned up every time the room is used.
I loved this space as a craft room. But we decided to turn it into a full-time gym, and that is when my craft room moved upstairs.
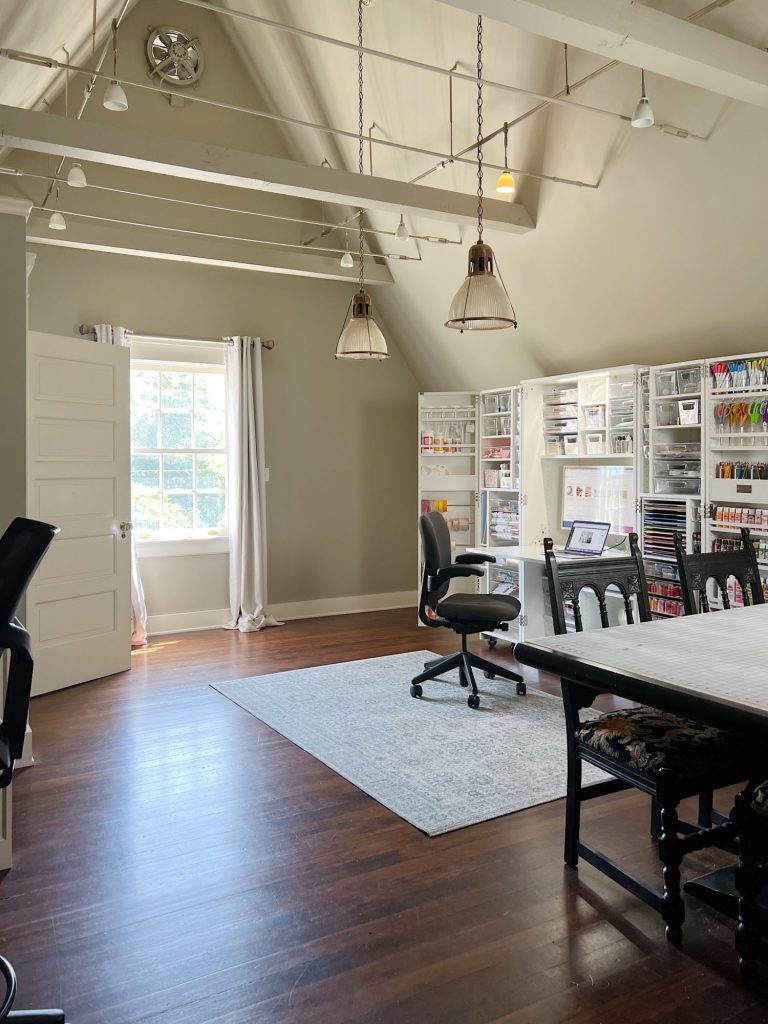
#4 – The 3rd Floor

My next move in the craft room was to the third floor. This area was not often used, so it seemed like it made sense to relocate to an area in the house, but away from everything.
I first converted one of the eaves into a craft storage area. I thought it made sens to also craft in here but there wasn;t enough space. So I got rid of the game room since the boys were all at college, and it was never used.
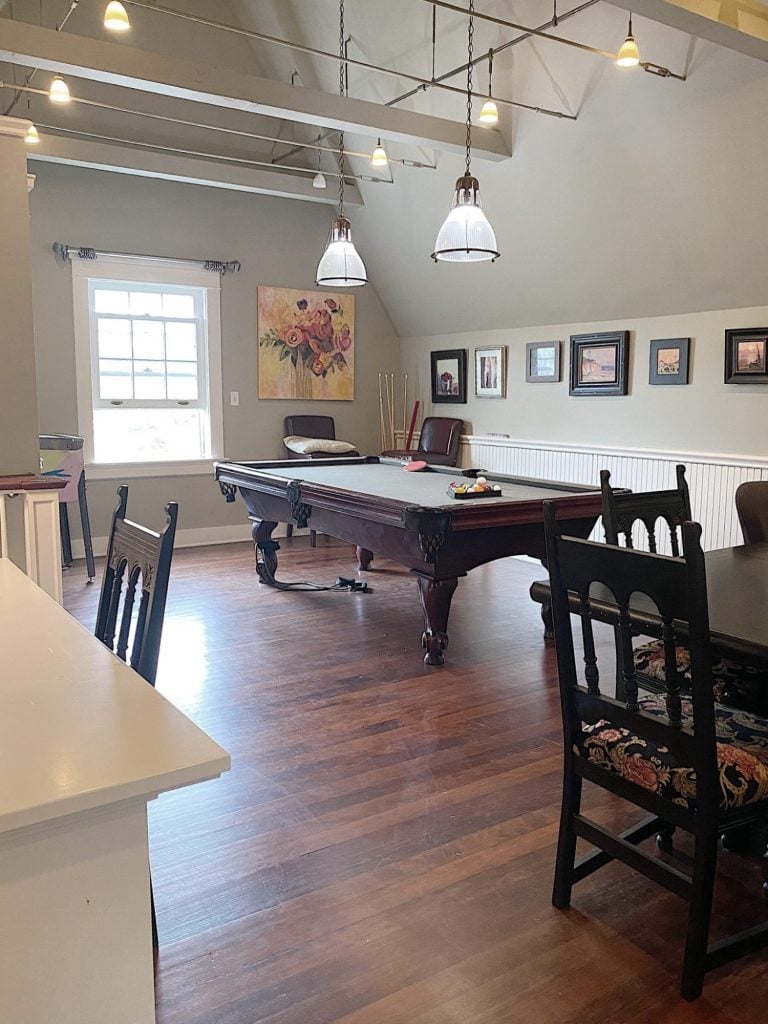
The first thing I did was convert a pool table to a craft table. I made a wooden tabletop and slipped it over the pool table. (For those of you with an unused pool table, this is a great idea!)
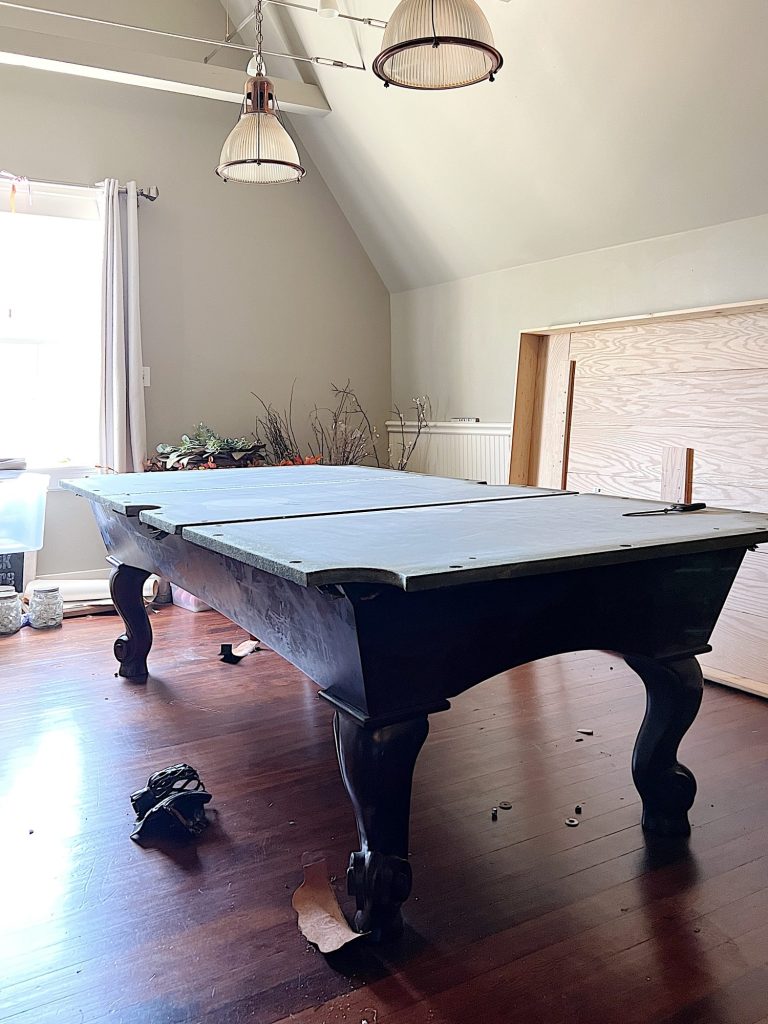

Slowly, I began to grow into the space, and I was happy with my third-floor craft room for many years.
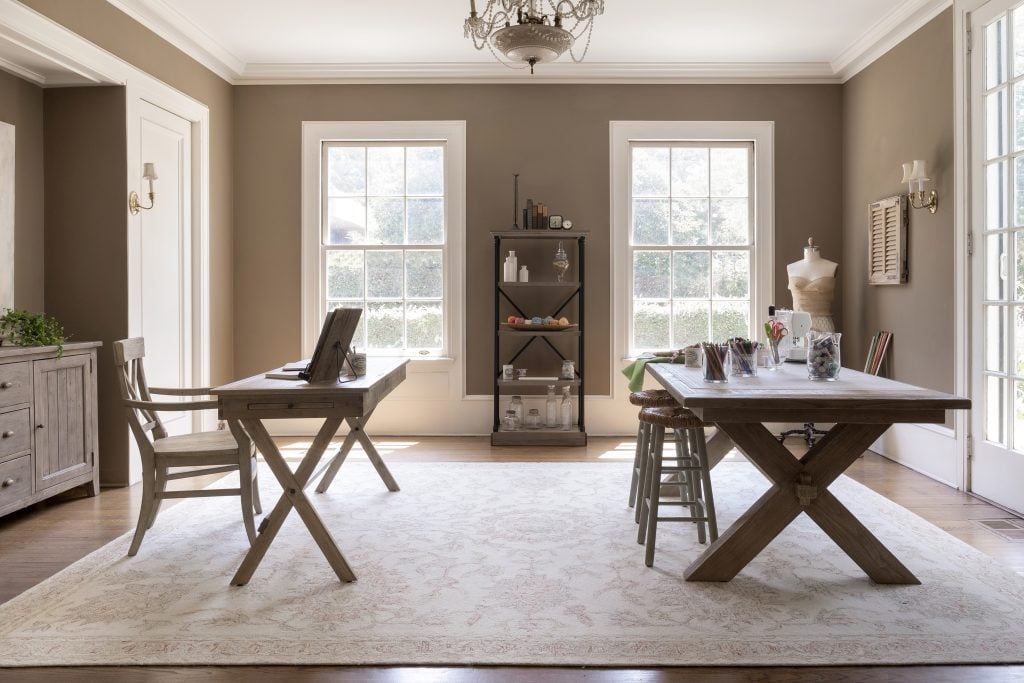
#5 – My Dream Craft Room
It took twenty-five years, but I finally have my dream craft room.
Last Christmas I decided the only gift I wanted was a bright, white craft room with six work stations and a huge work table to accomodate my crafts.
I spent a few thousand dollars and mostly used IKEA for the work table, drawers, and counter space all throughout the room.
Here are a few blog posts I have written about my dream craft room:
- The Craft Room Organization and Makeover Reveal
- A Craft Room Planning Guide – How to Design the Best Craft Room
- Craft Room Essentials – Mondays in the Craftroom
More Places to Set Up a Craft Room in Your Home
You would be amazed at how many places you can set up a craft room in your home.
A Guest Room
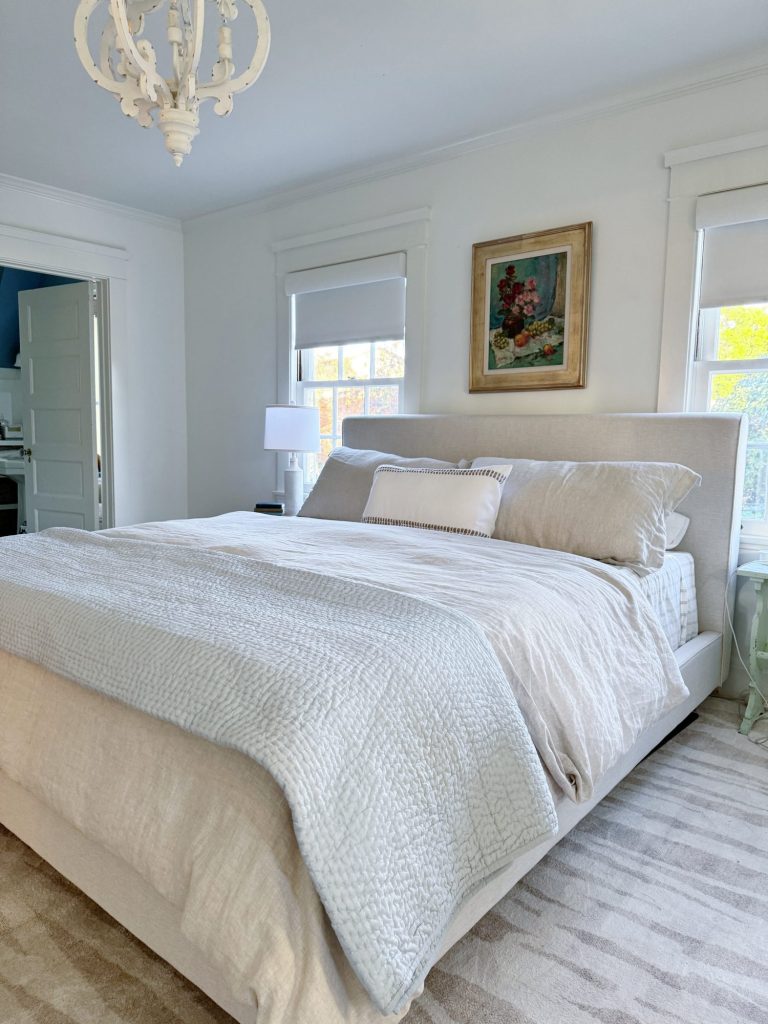
This is one of my favorite solutions.
Many guest rooms sit empty most of the year.
Adding:
- a work table
- storage cabinet
- shelving
can create a dual-purpose space that functions beautifully.
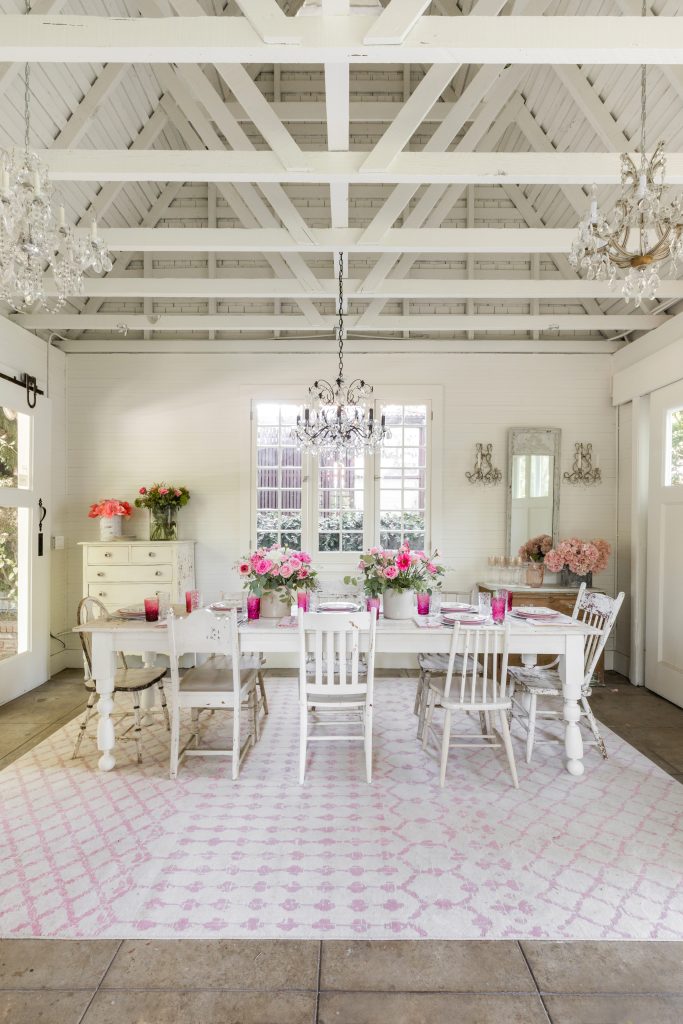
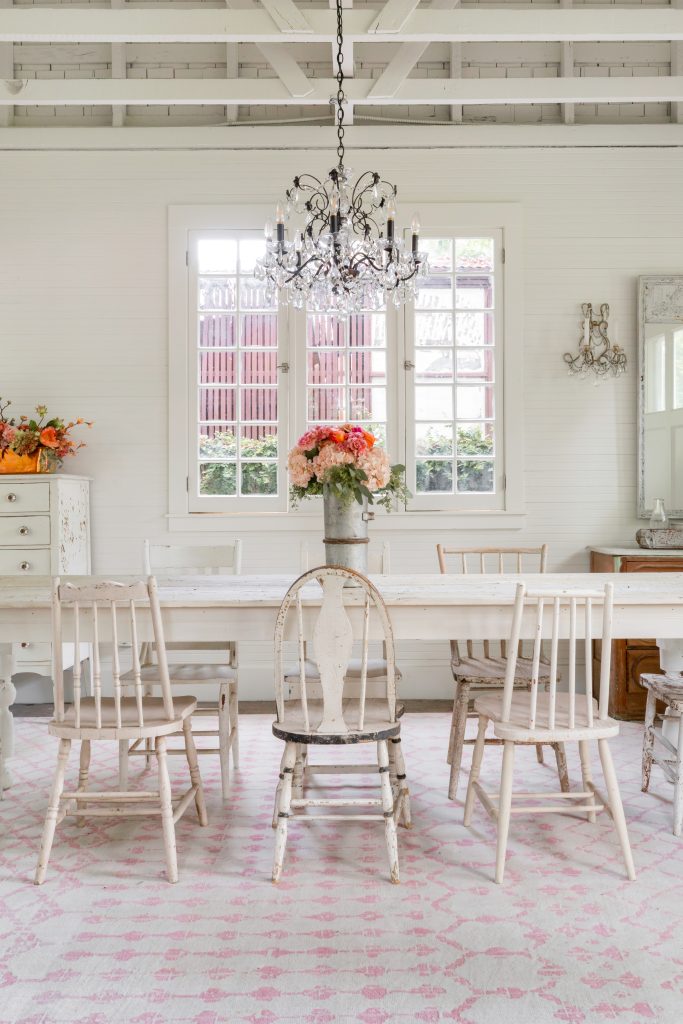
A Dining Room
One of the best places to create a craft space is actually your dining room. Think about it.
For many families, the dining room is one of the least-used rooms in the house, often reserved for holidays and special occasions. The rest of the year, that large table sits empty, making it the perfect work surface for crafting.
Whether you sew, scrapbook, paint, work with clay, or create Cricut projects, a dining room offers plenty of space to spread out and work comfortably.
Add a rolling cart, a cabinet, or a few storage baskets nearby, and you can easily create a functional craft area that can still be transformed back into a dining room whenever needed.
I know many people who create amazing projects from a dining room workstation.
The key is using storage that can be tucked away when not in use.

Start With the Crafts You Actually Love

If you’re lucky enough to have a room devoted entirely to creativity, that’s wonderful.
But remember that even dedicated craft rooms work best when they are organized intentionally.
Bigger isn’t always better.
Smarter is better.
Before you buy storage bins, furniture, shelving, or organizational systems, I think there is one very important question to answer first.
What crafts do you actually enjoy doing?
I see people make this mistake all the time.
They create a space for every possible hobby before they even know which ones they truly love.
Instead, I recommend starting with the activities you find yourself returning to again and again.
Maybe that’s:
- sewing
- embroidery
- paper crafting
- Cricut projects
- painting
- quilting
- knitting
- jewelry making
- clay projects
You don’t need a space designed for twenty hobbies.
You need a space designed for your hobbies.
The more specific you are about your interests, the easier it becomes to create a functional workspace.
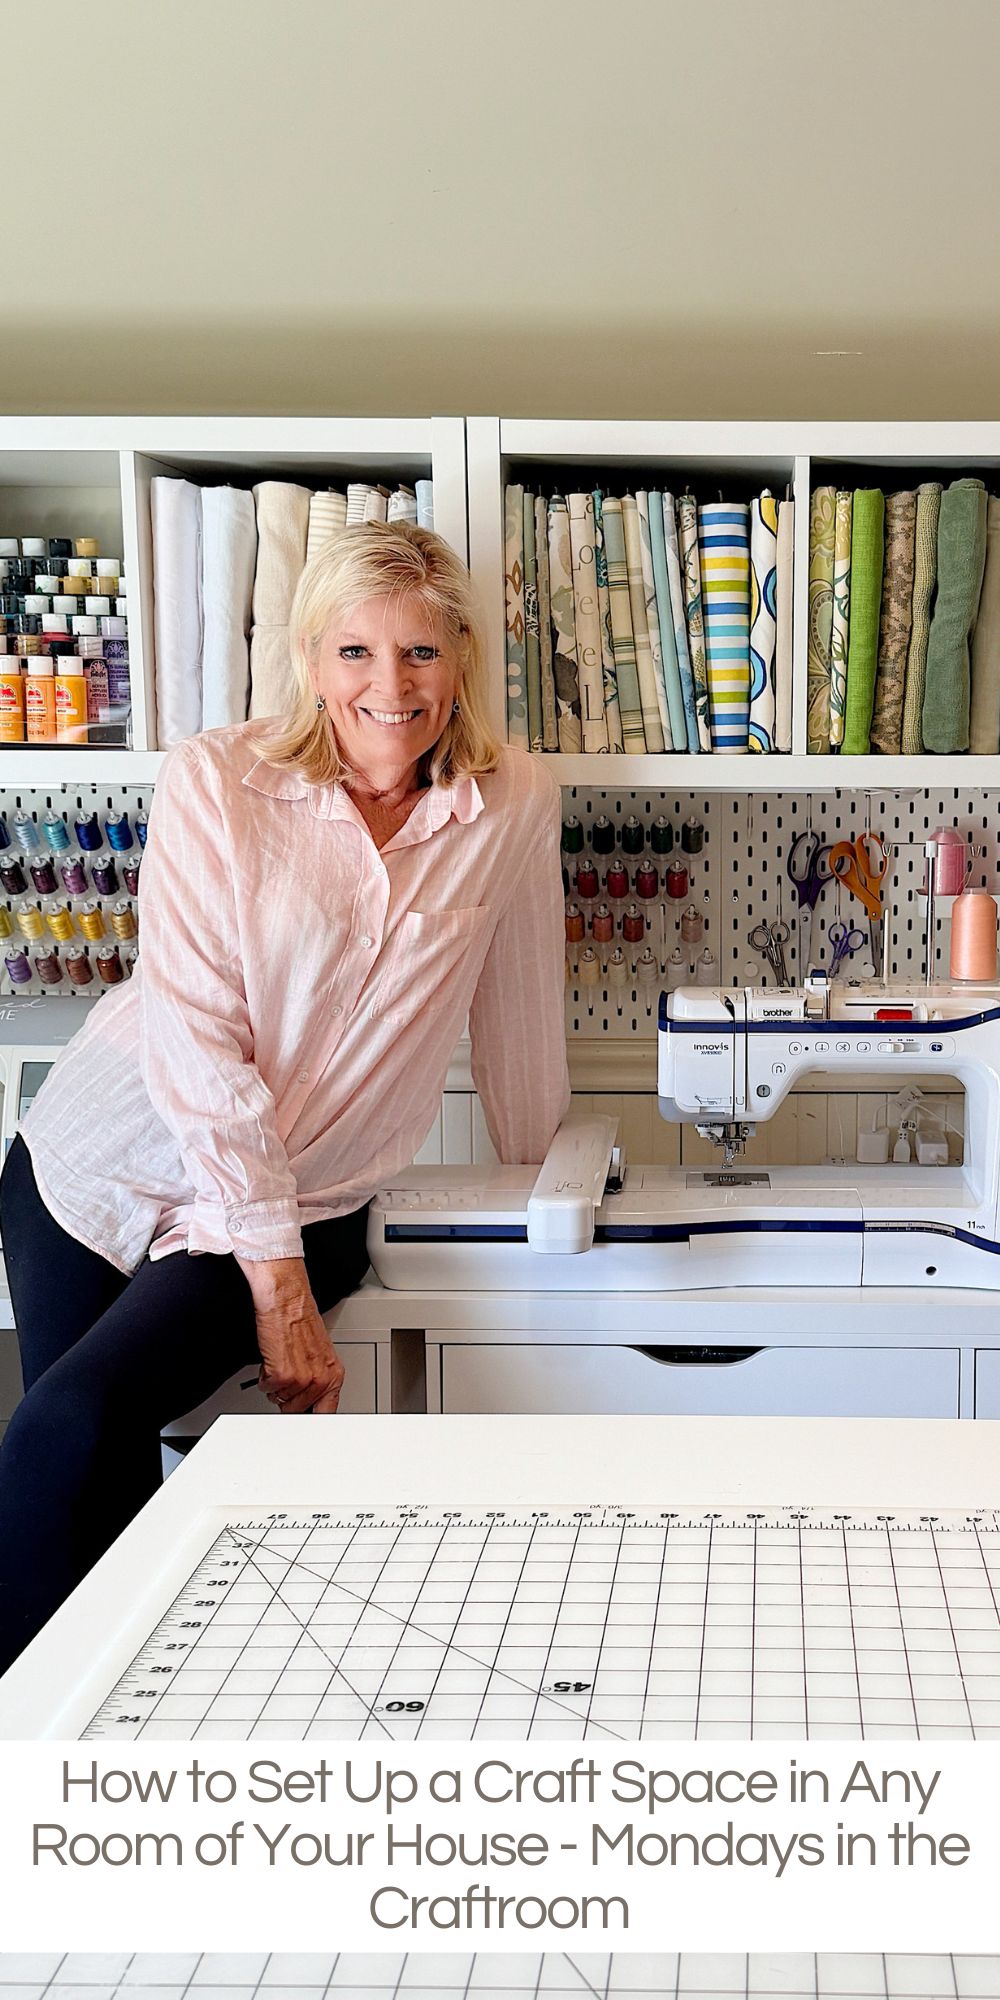
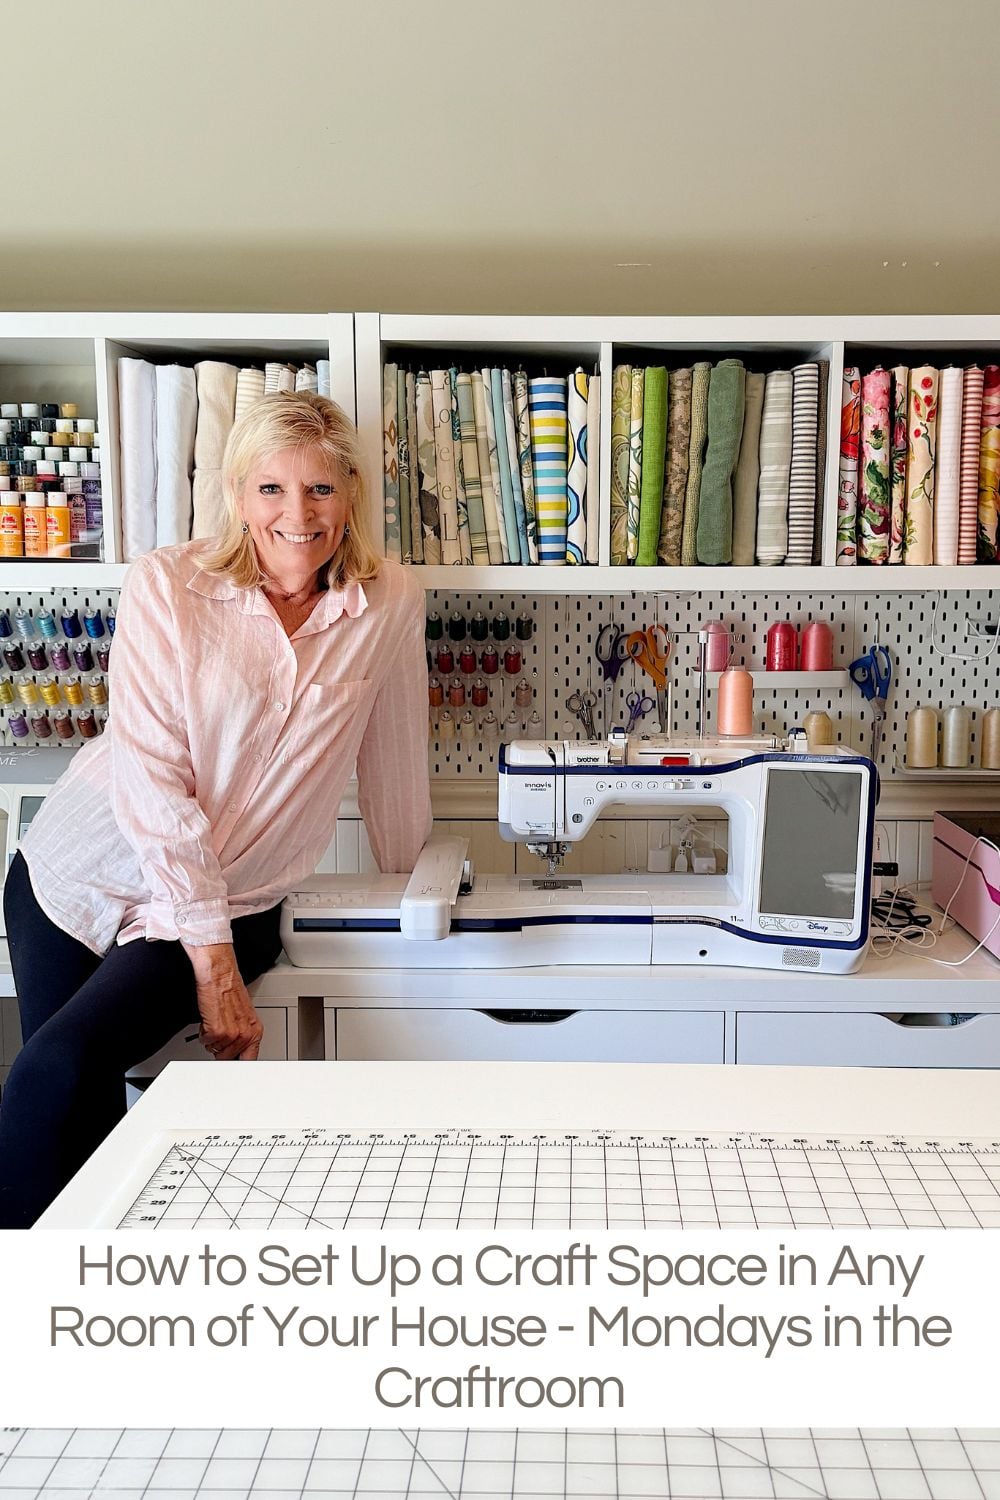
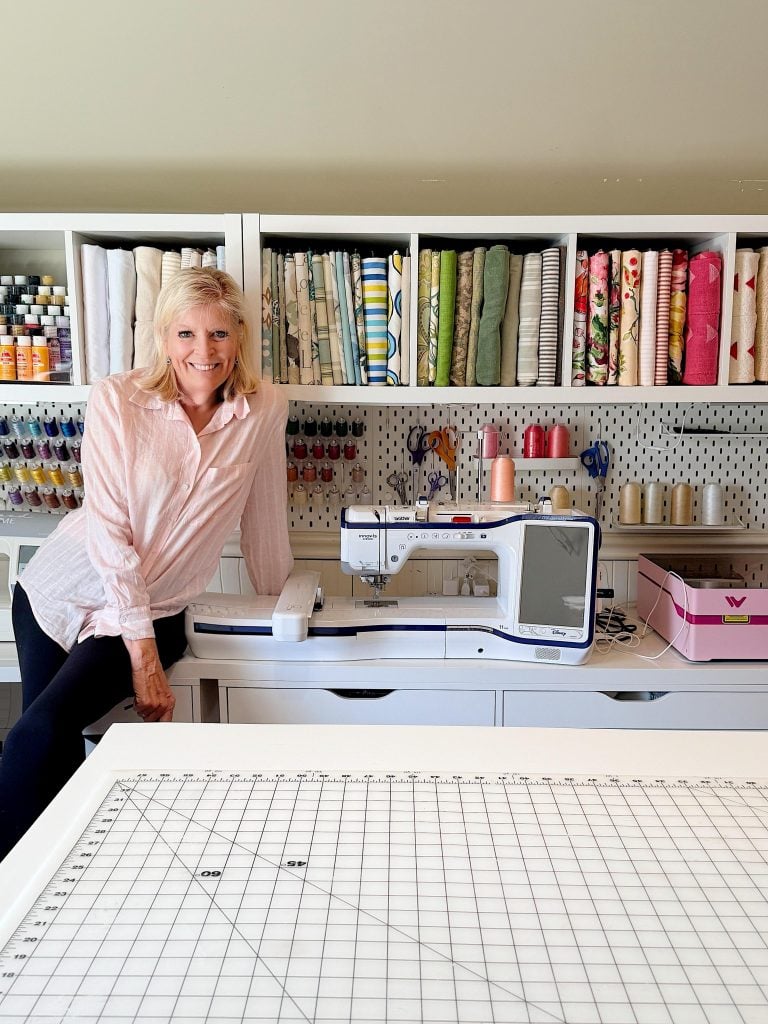
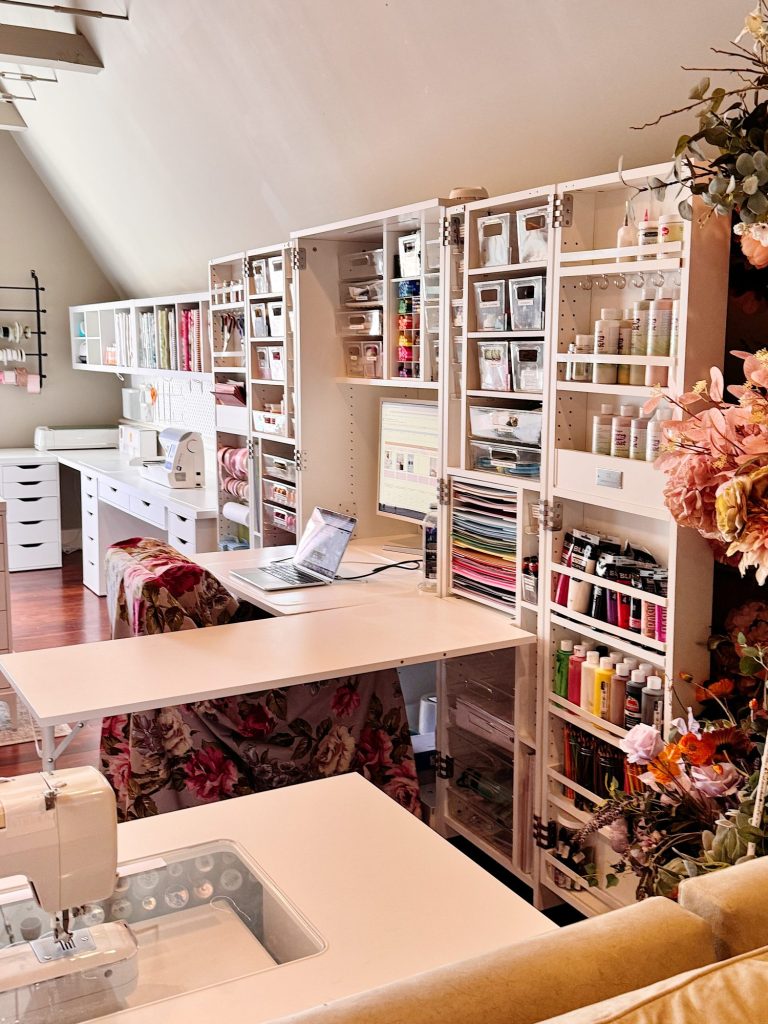
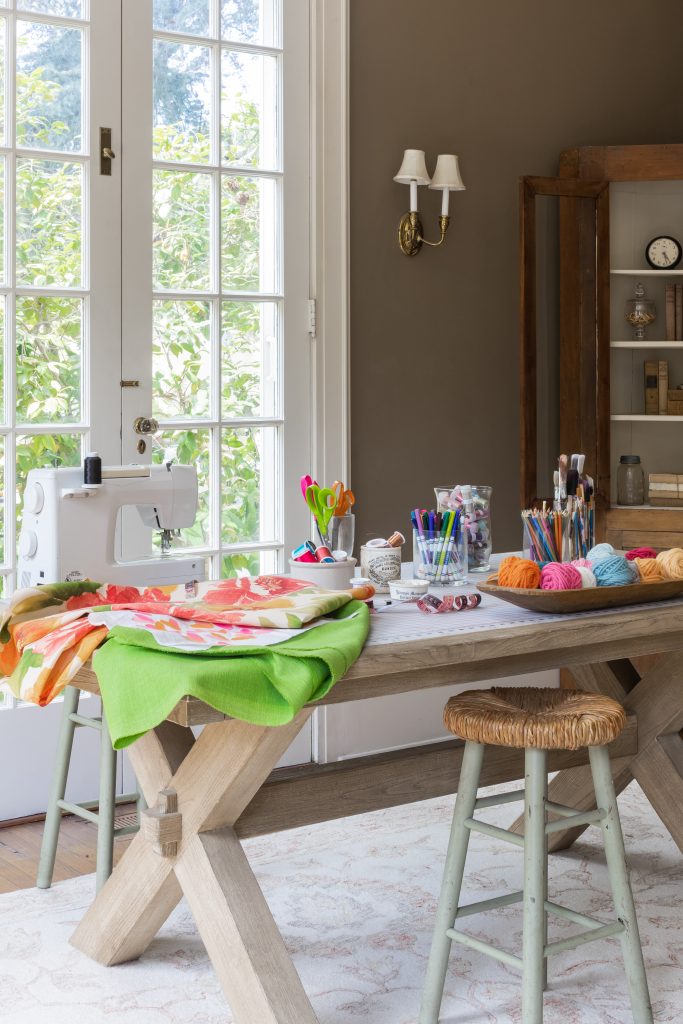
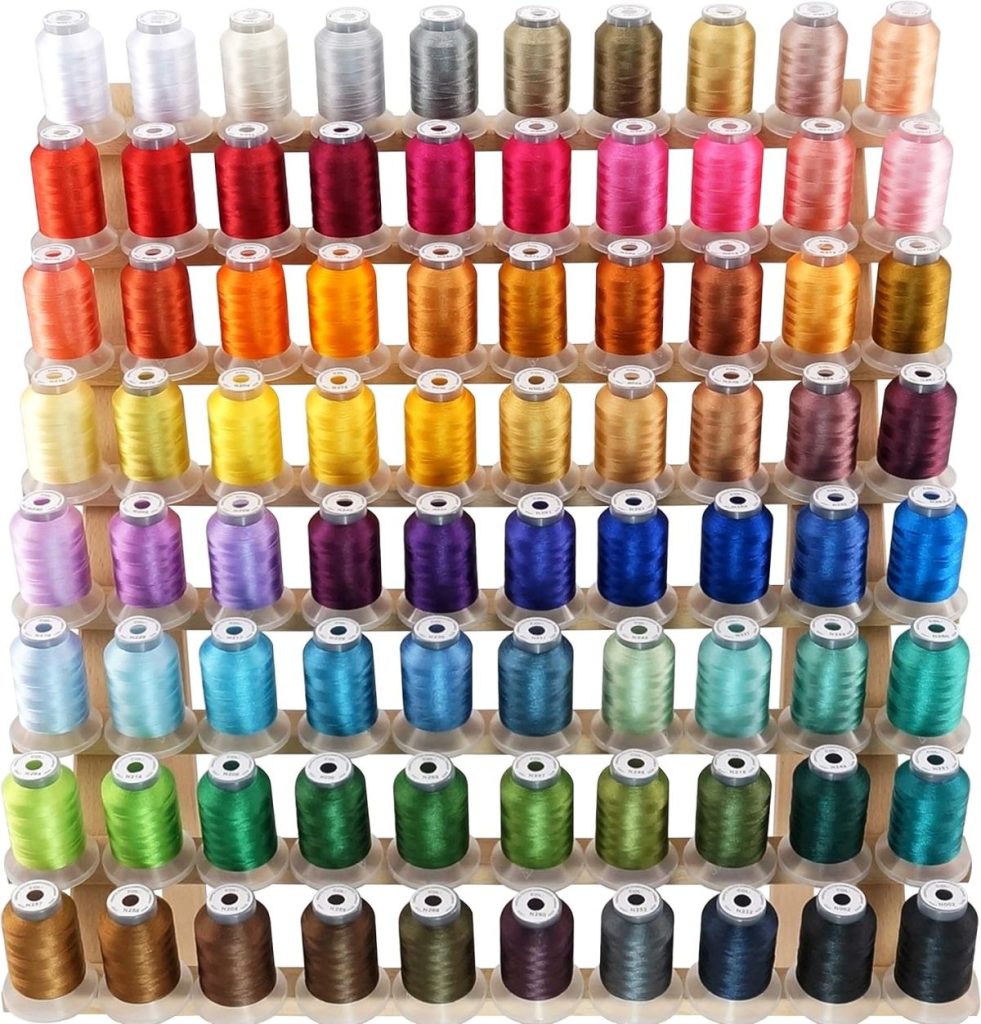
My Sewing and Embroidery Station
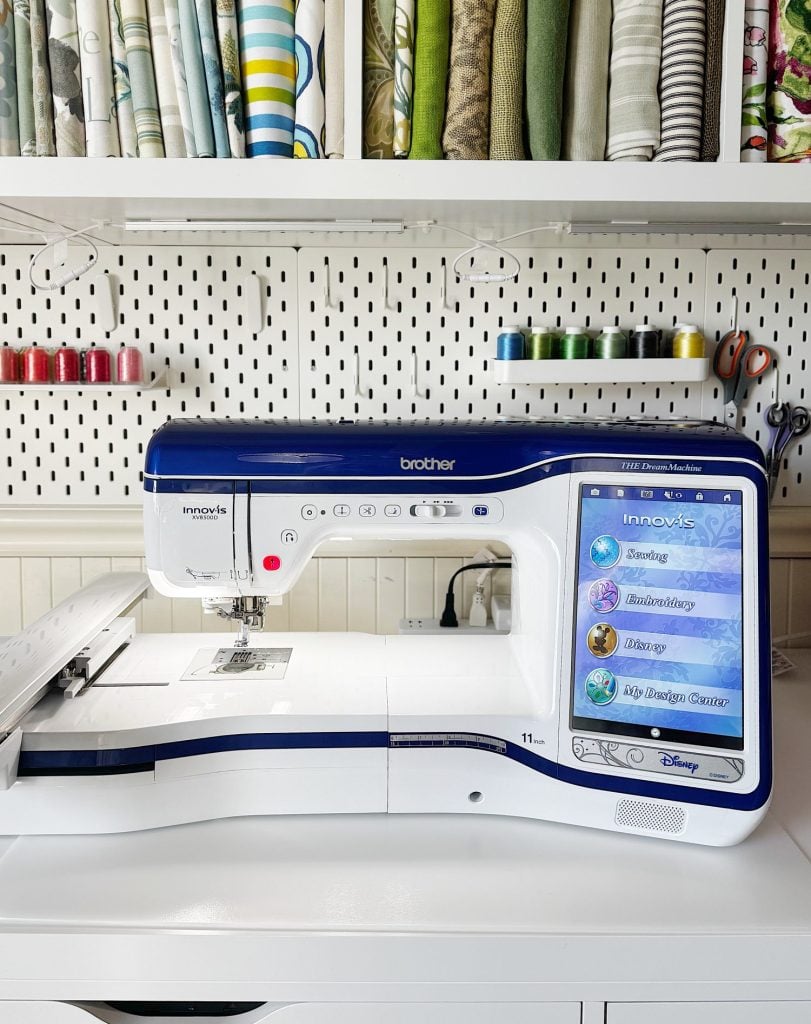
This area contains:
- embroidery machines
- sewing supplies
- thread
- stabilizers
- hoops
- scissors
- measuring tools
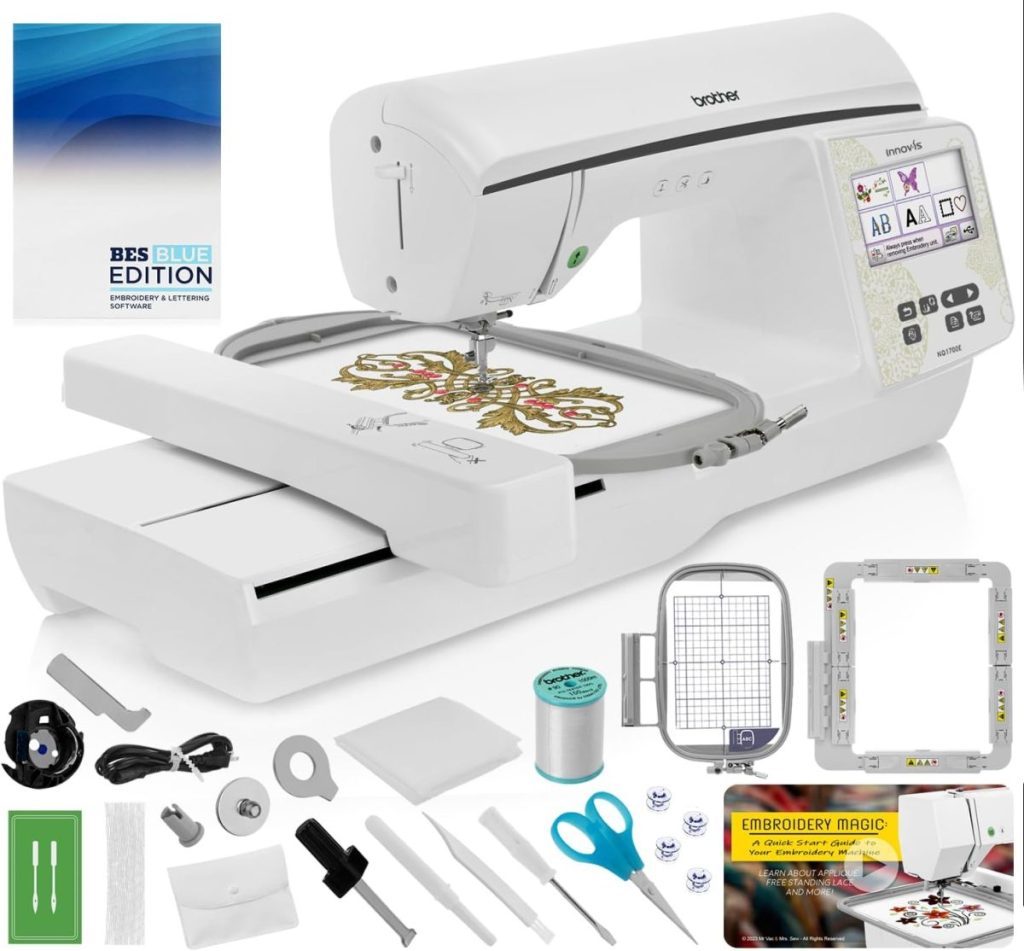


Everything I need for sewing and embroidery stays together.
I don’t have to hunt for supplies.
Everything is within reach.
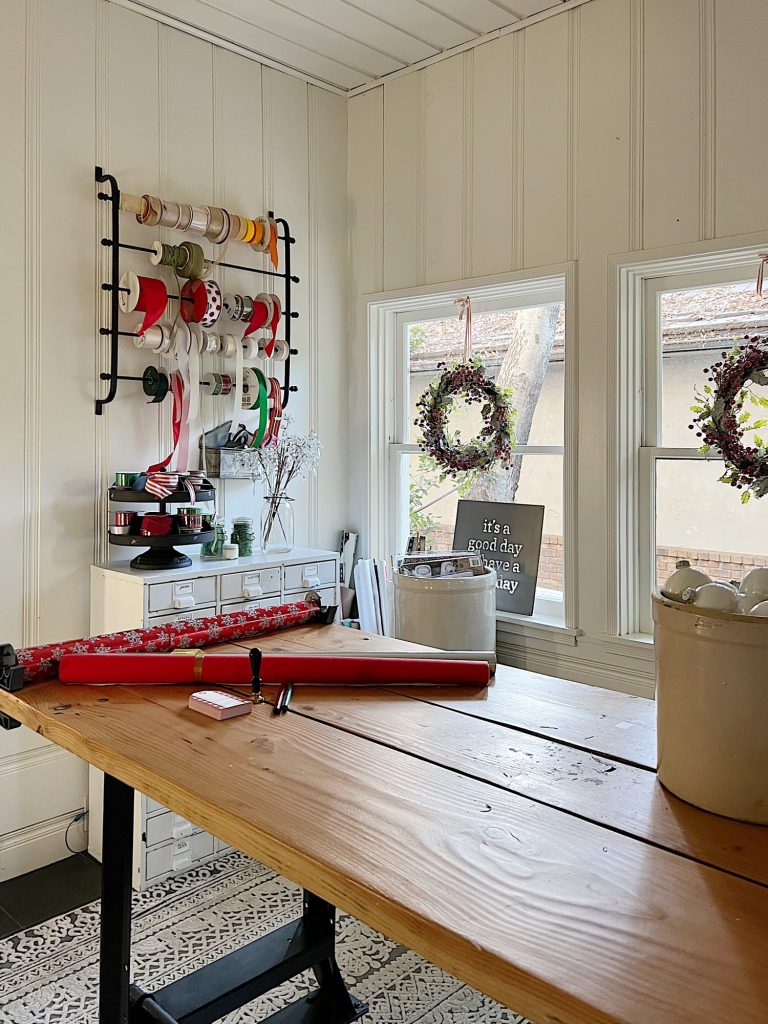
My Paper Crafting Station
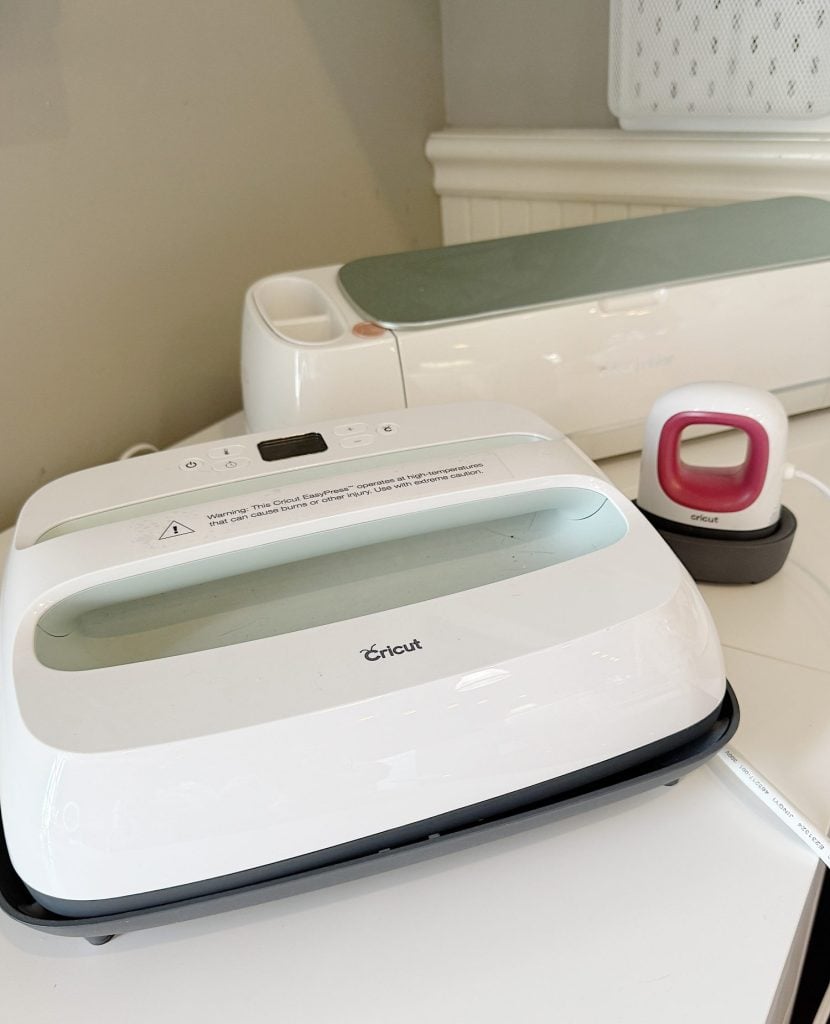
This includes:
- Cricut supplies
- cardstock
- vinyl
- cutting tools
- adhesives


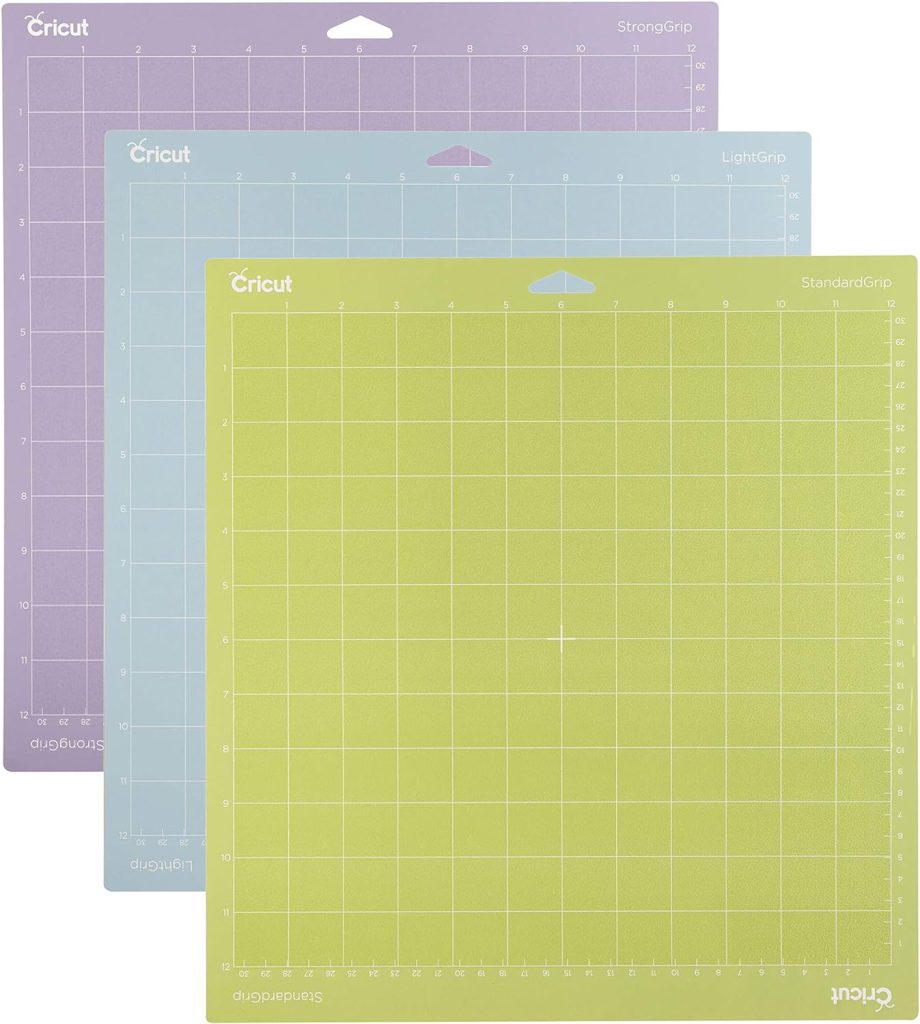
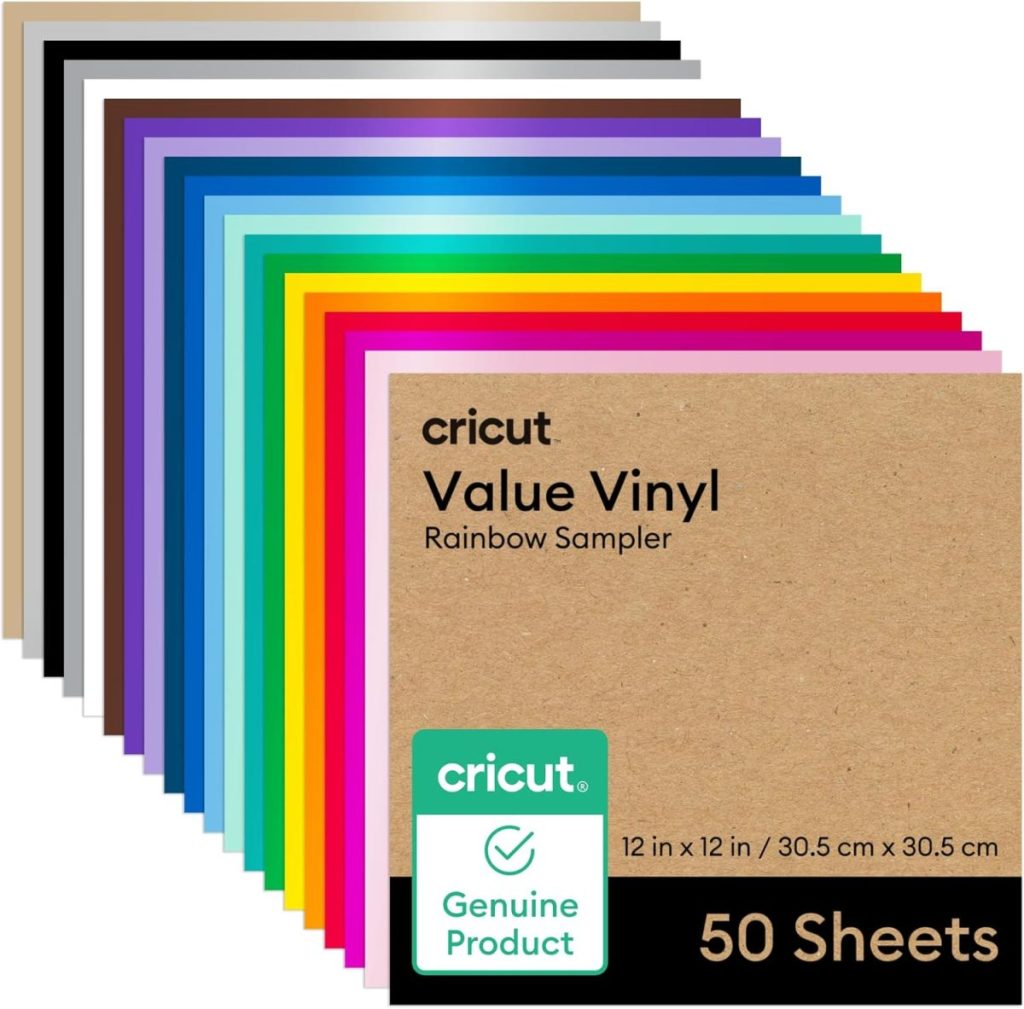

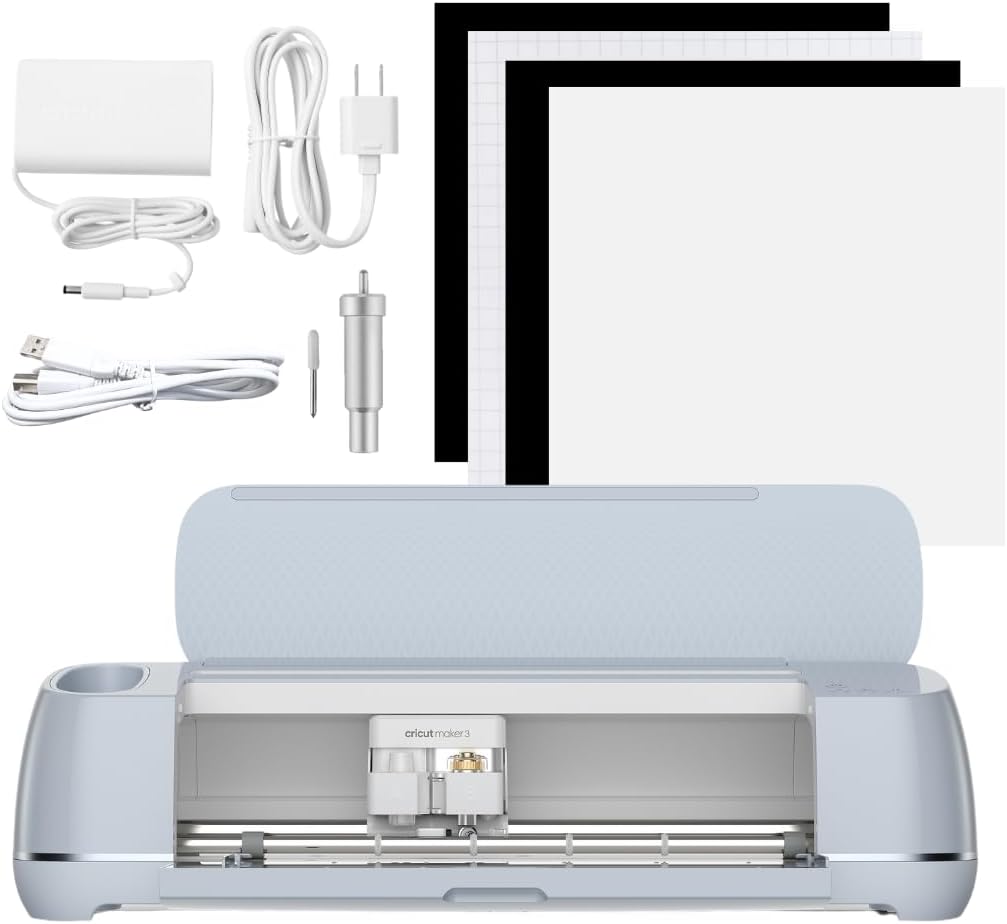
When I work on paper projects, everything I need is already there.
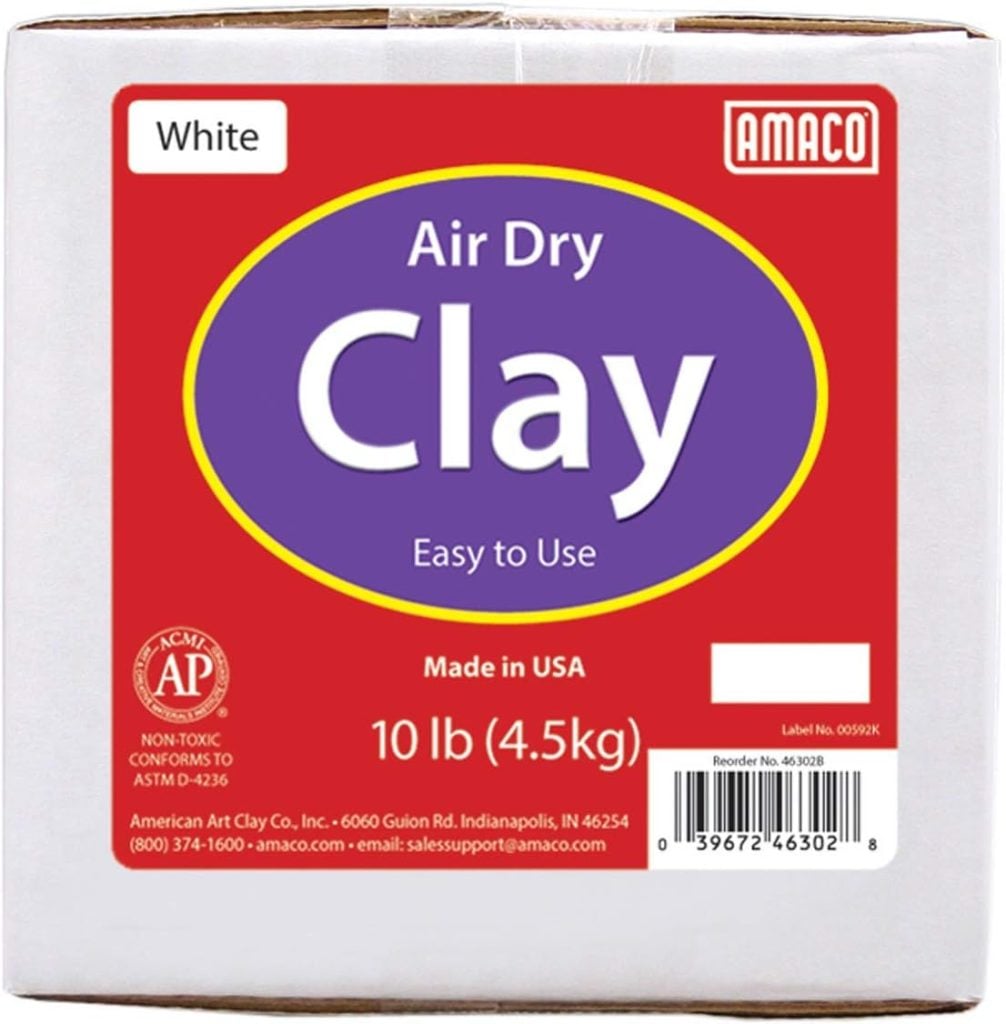
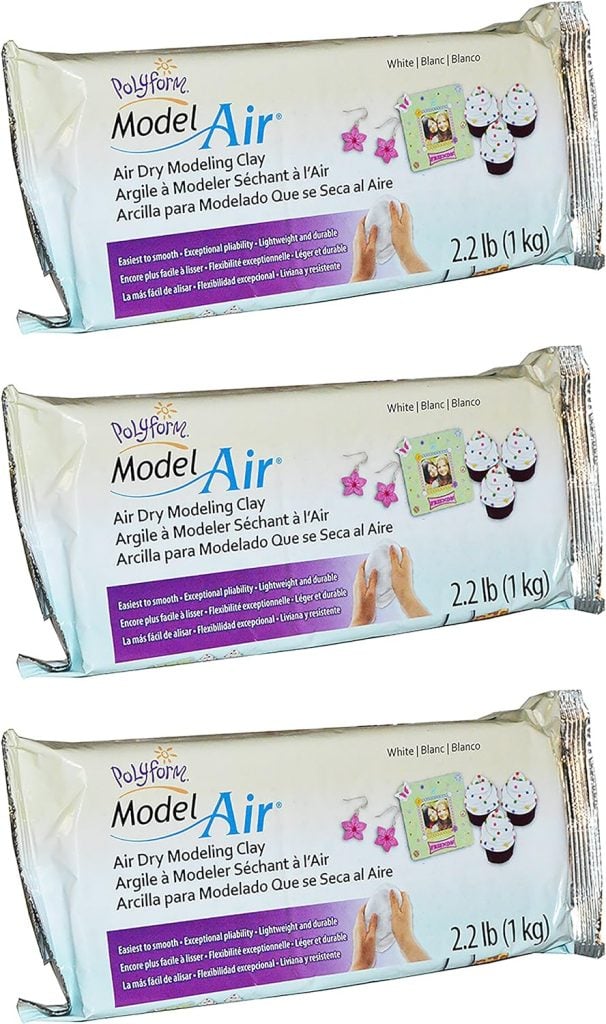
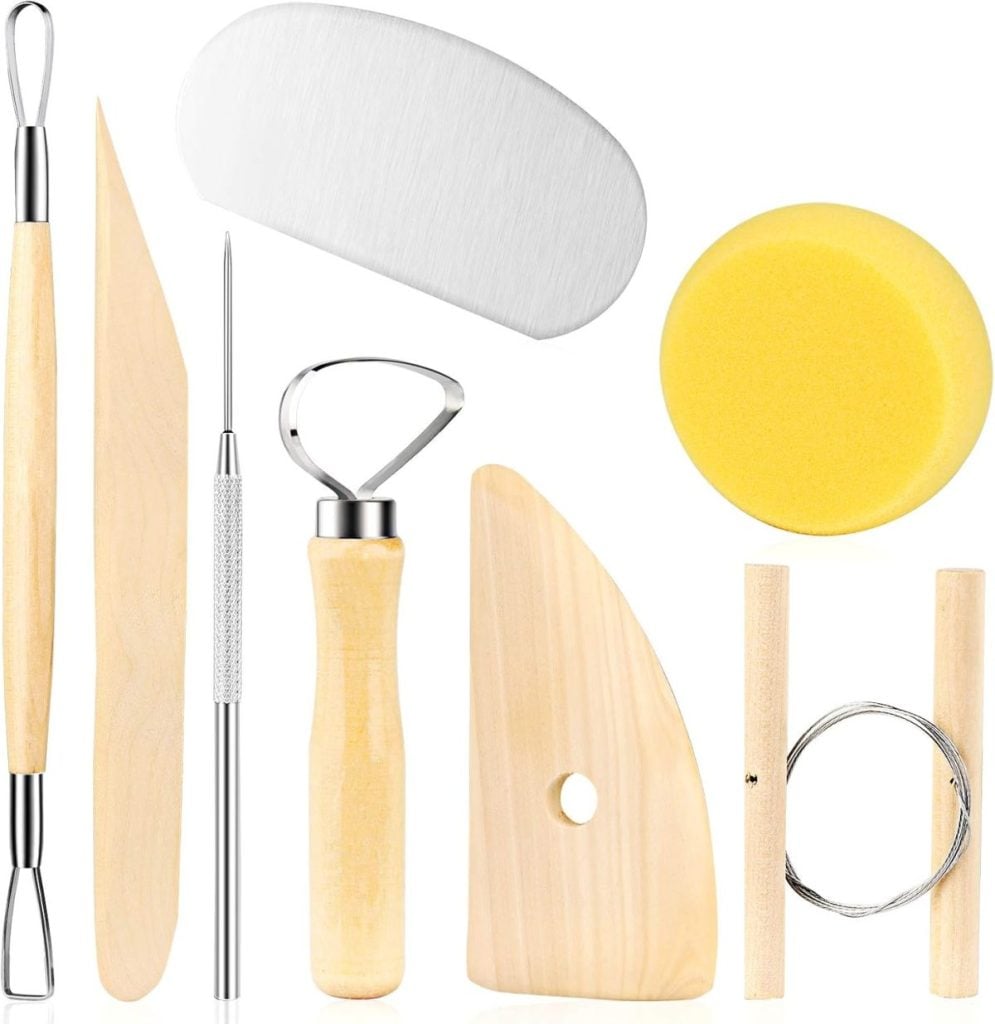
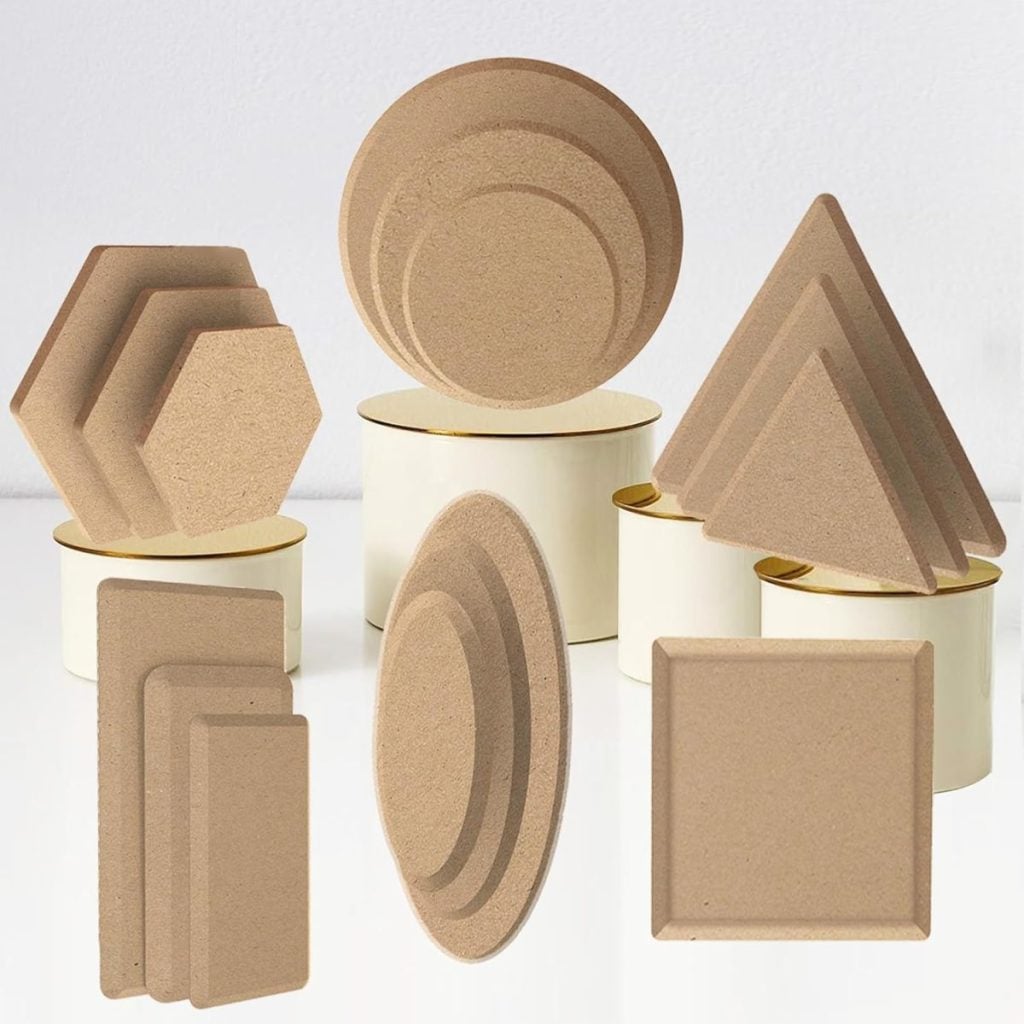
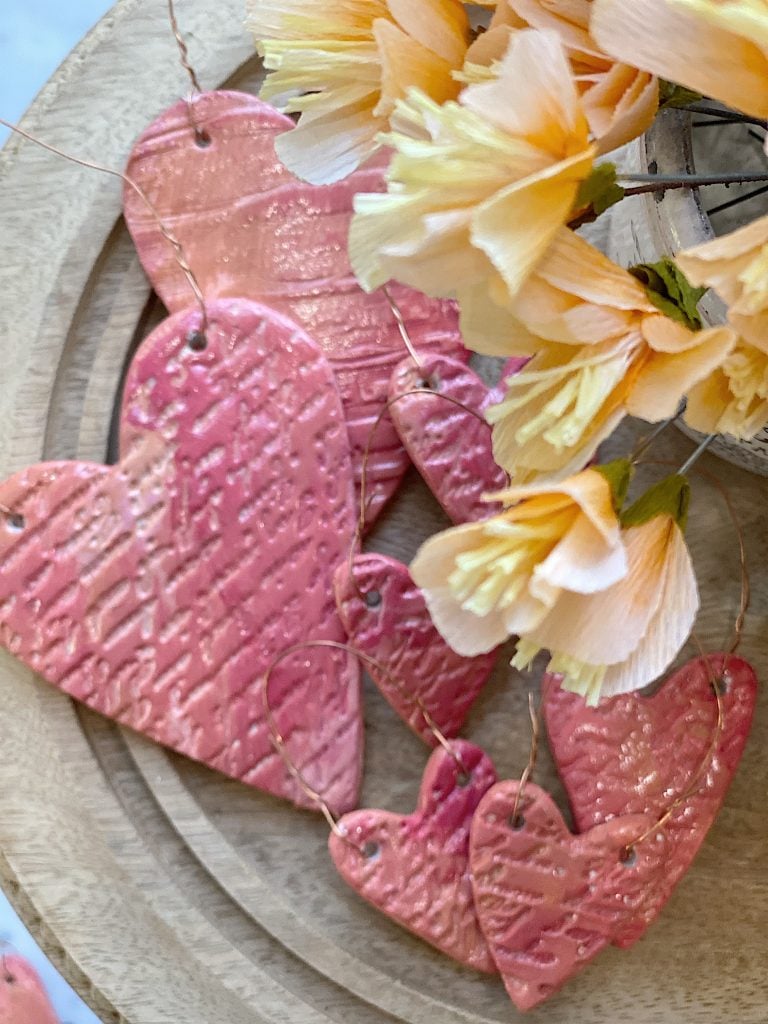
My Clay Station
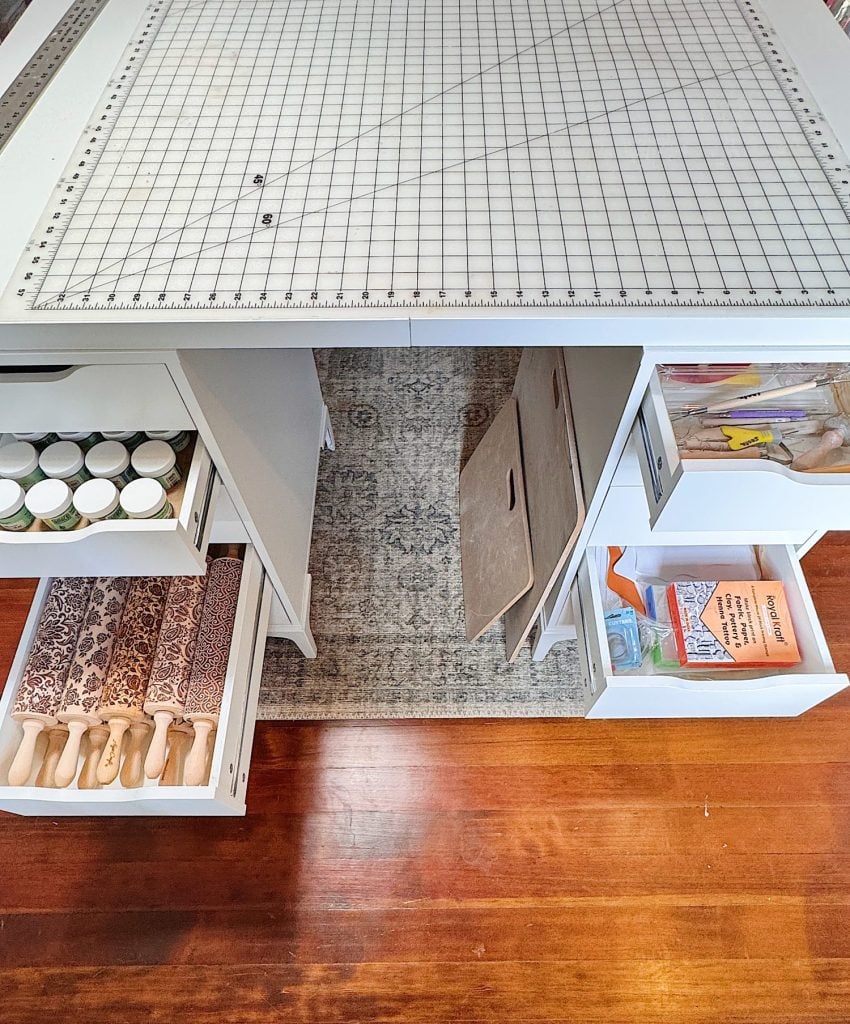
For air-dry clay and polymer clay projects, I keep:
all together.
The easier supplies are to access, the more likely you are to actually use them.


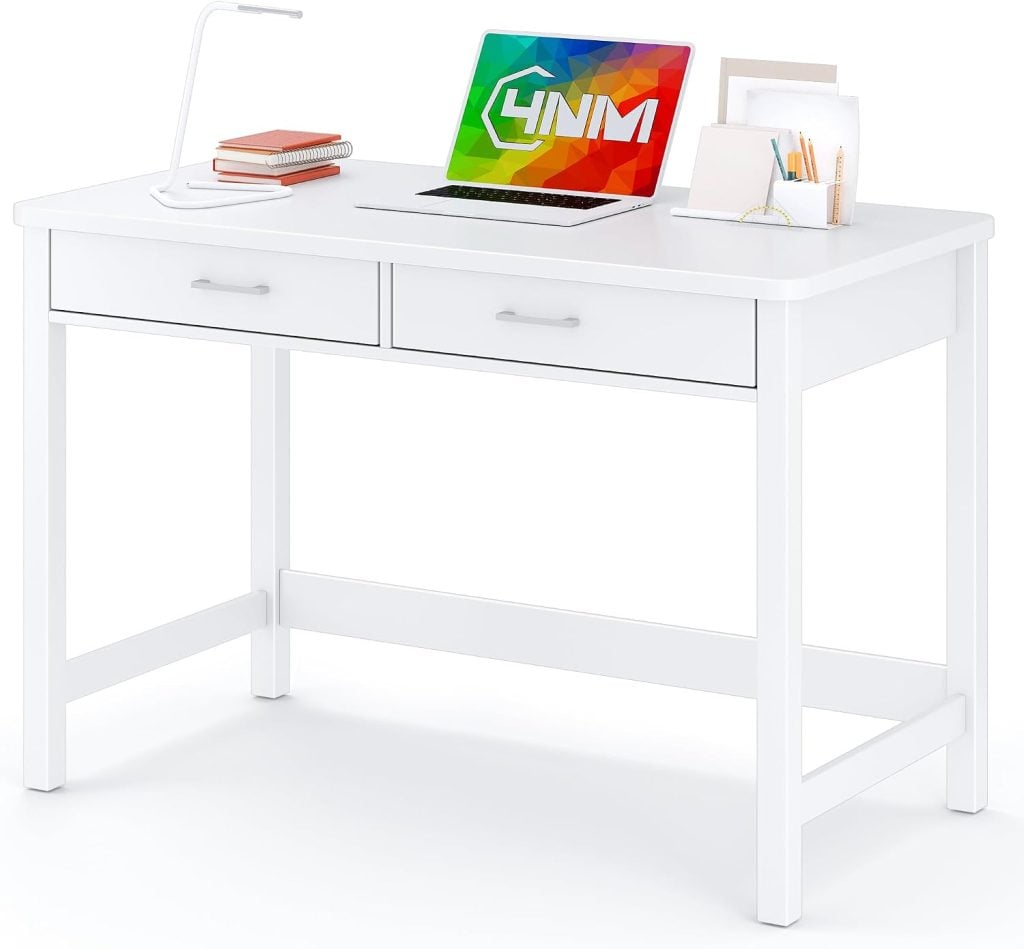
Create One Good Work Surface
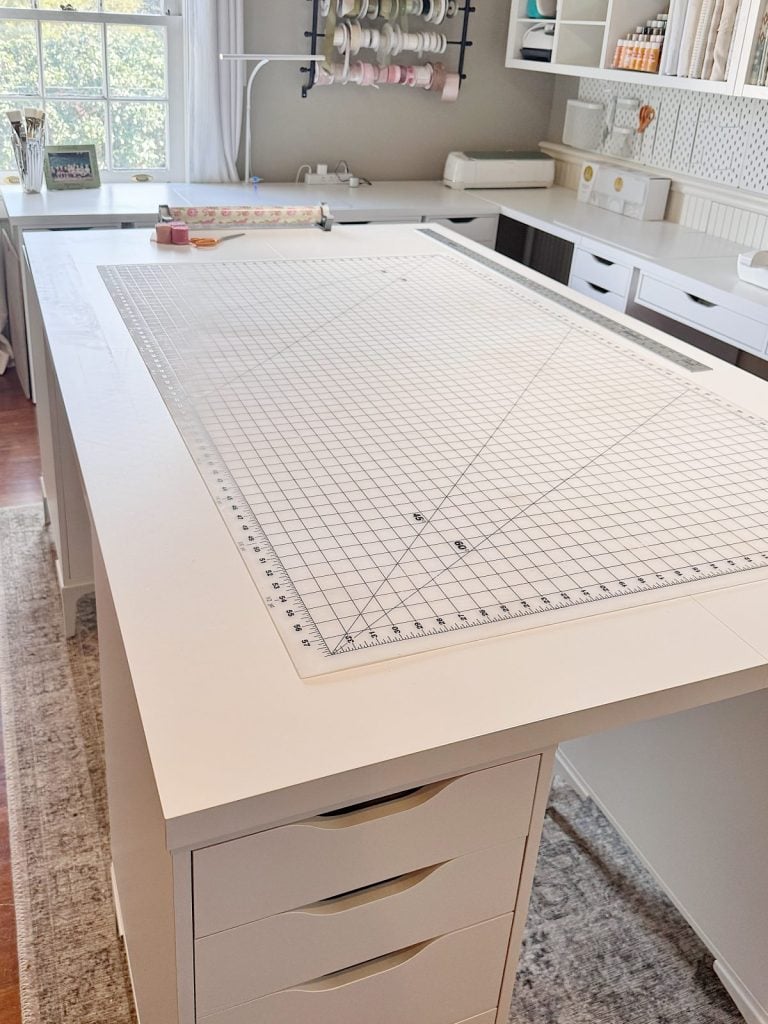
You do not need multiple tables.
You do not need a giant room.
But you do need one good work surface.
That might be:
- a desk
- a folding table
- a dining table
- a workbench


The important thing is that it gives you enough room to comfortably work on projects.
If I had to choose between a large room and a large work surface, I would choose the work surface every time.
Most creative work happens at the table.
Good Lighting Changes Everything
This is one area where I encourage people not to compromise.
Good lighting makes:
- sewing easier
- painting easier
- embroidery easier
- reading instructions easier
And honestly, it makes crafting more enjoyable.
Natural light is wonderful when possible.
But I also recommend:
- task lighting
- adjustable lamps
- overhead lighting
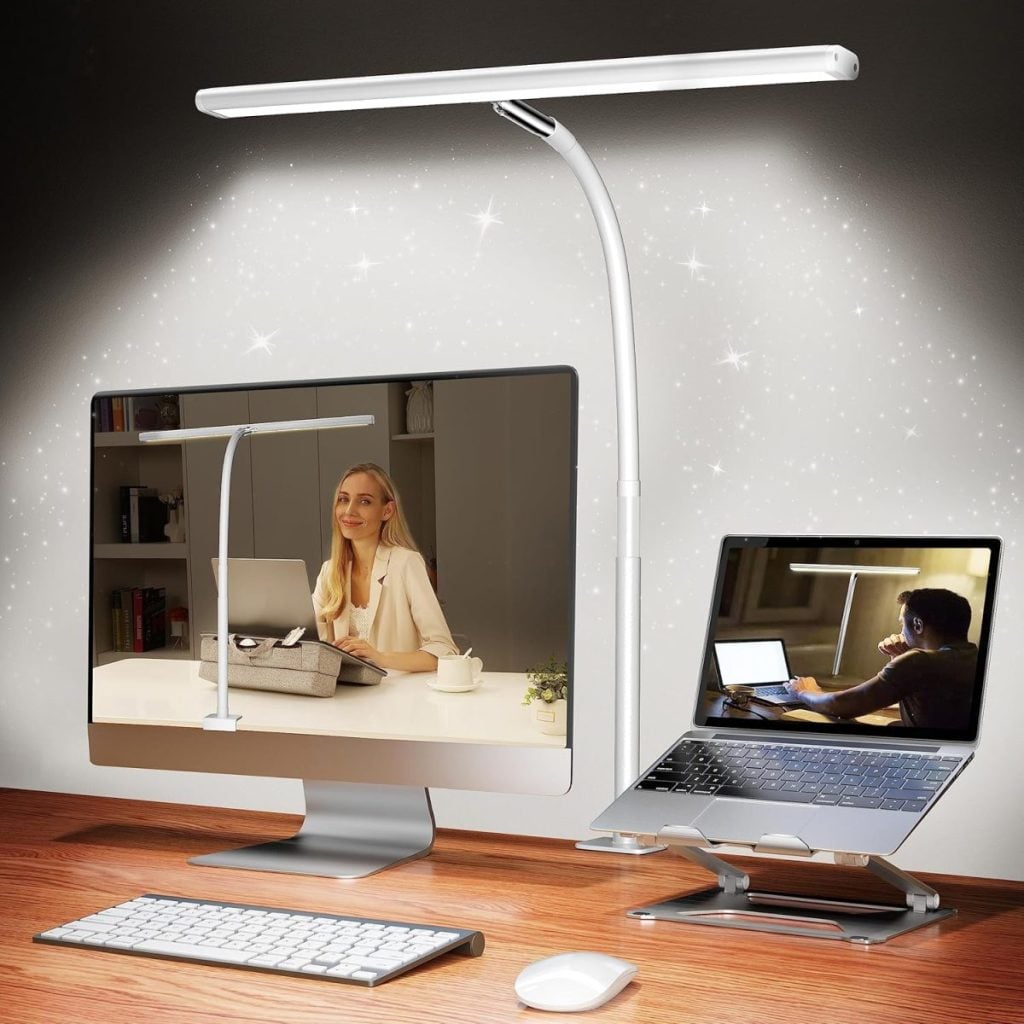
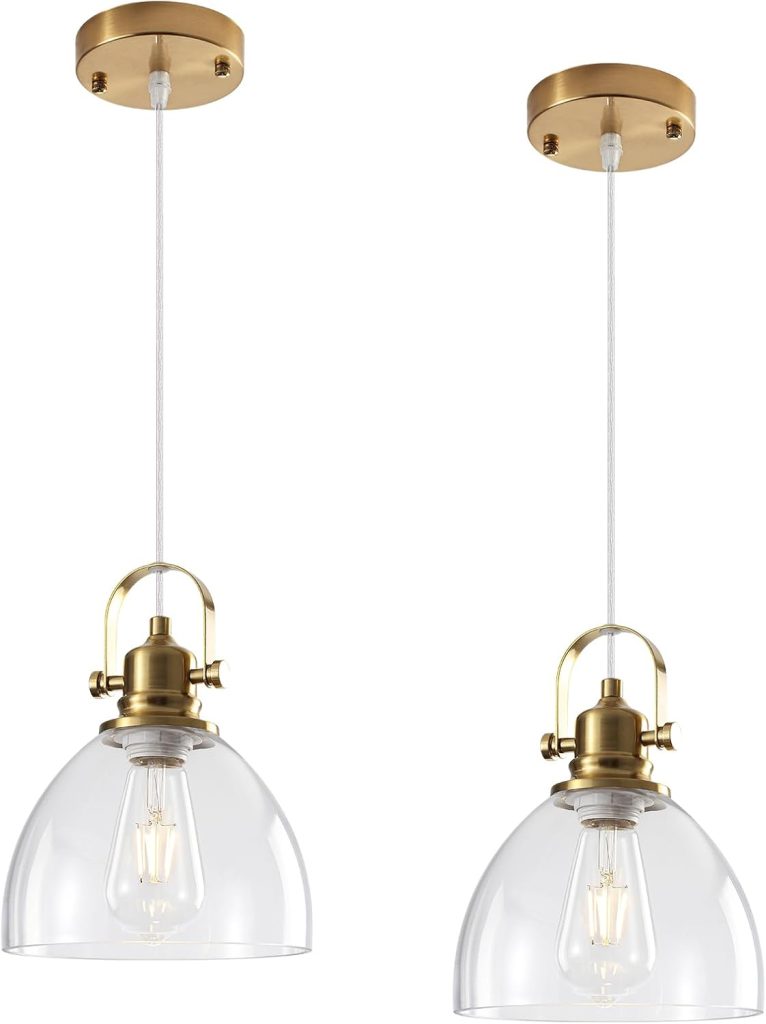
Your eyes will thank you.
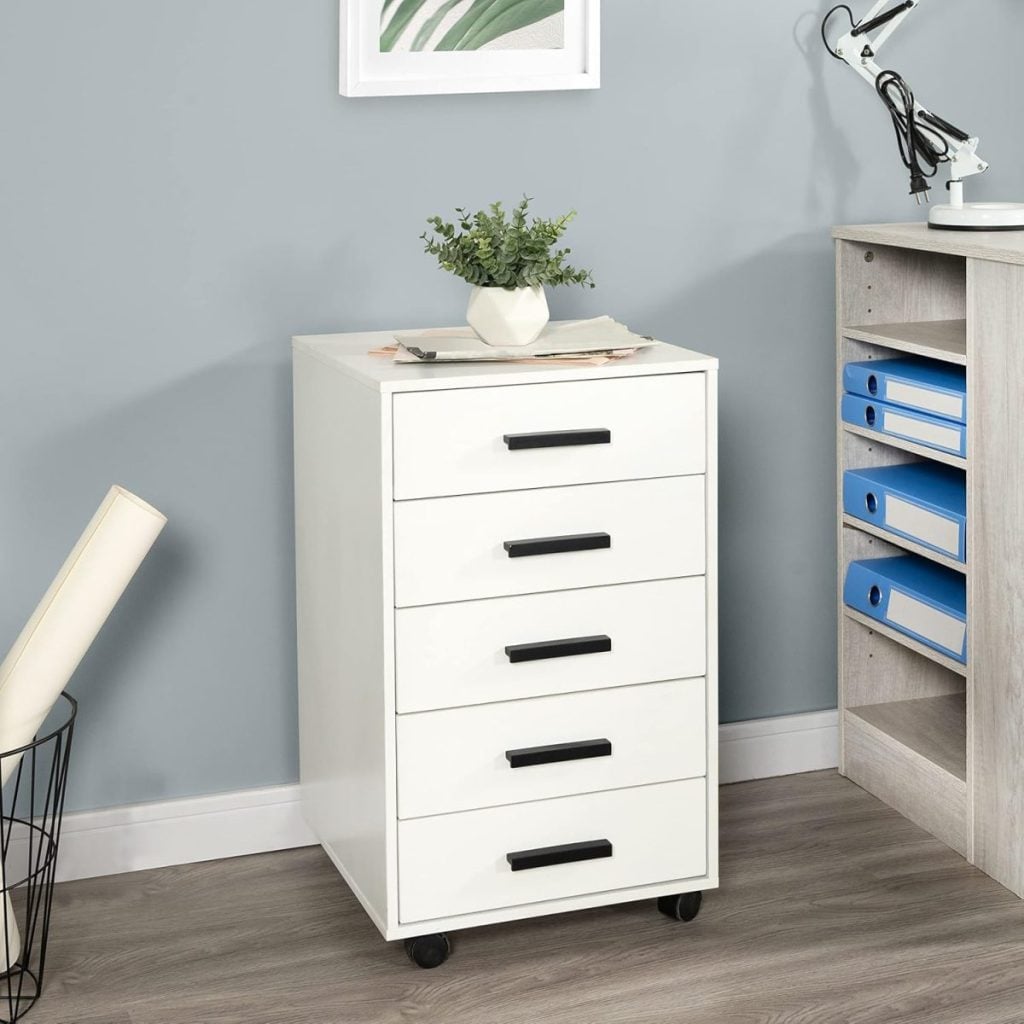
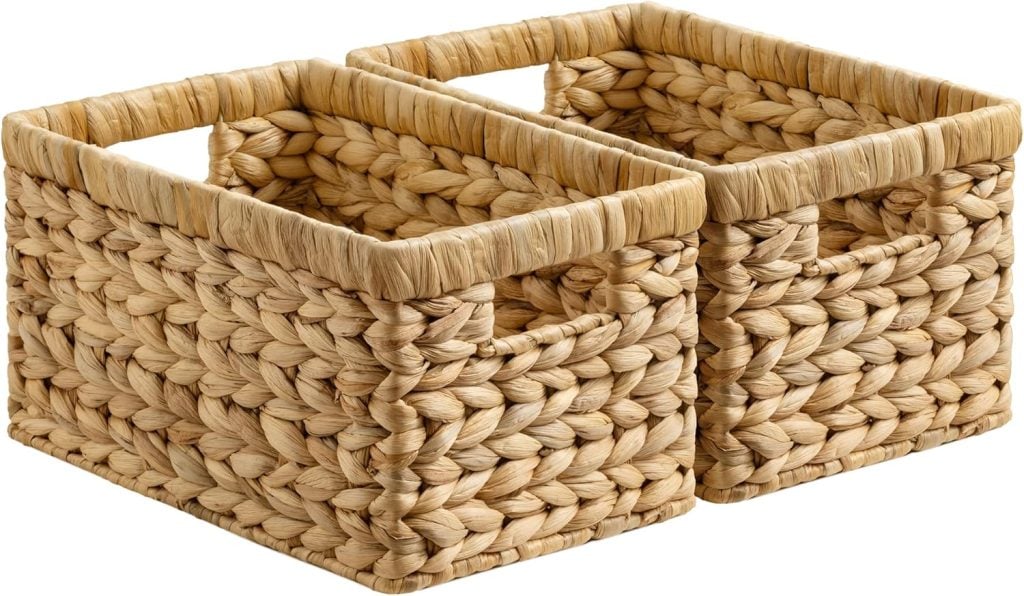
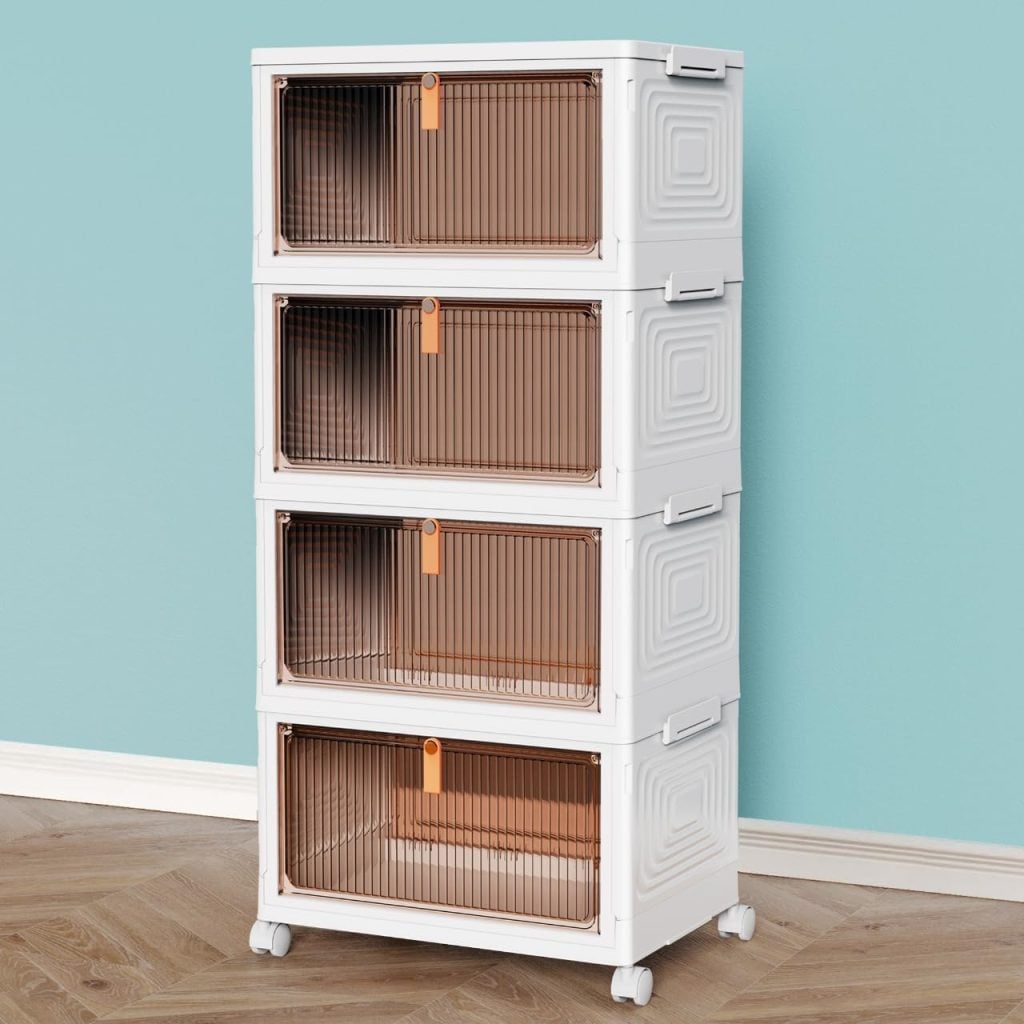
Storage Doesn’t Have to Be Expensive
One thing I wish I had learned earlier is that expensive organization systems are not required.
Some of my favorite storage solutions include:
- IKEA drawers and cabinets
- clear plastic bins
- rolling carts
- drawer units
- baskets
- shelf organizers
- labeled containers
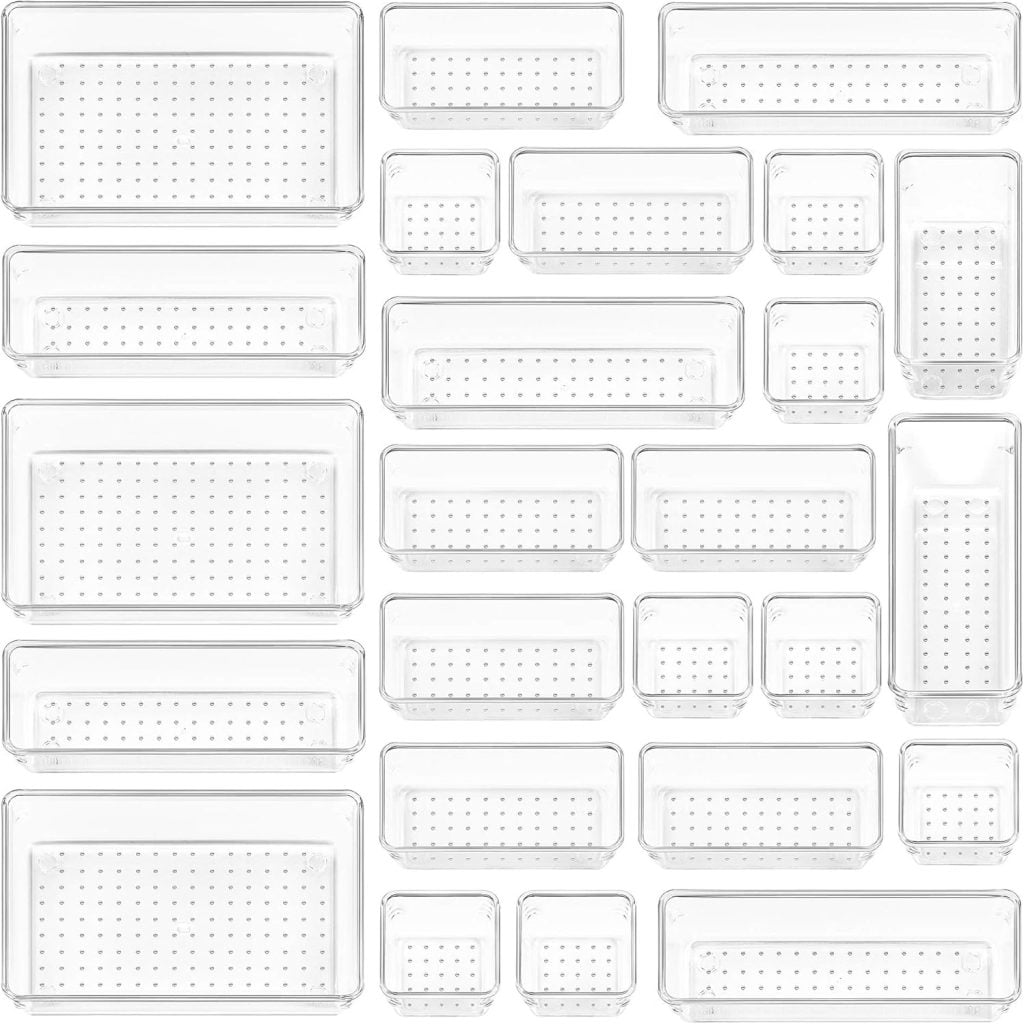
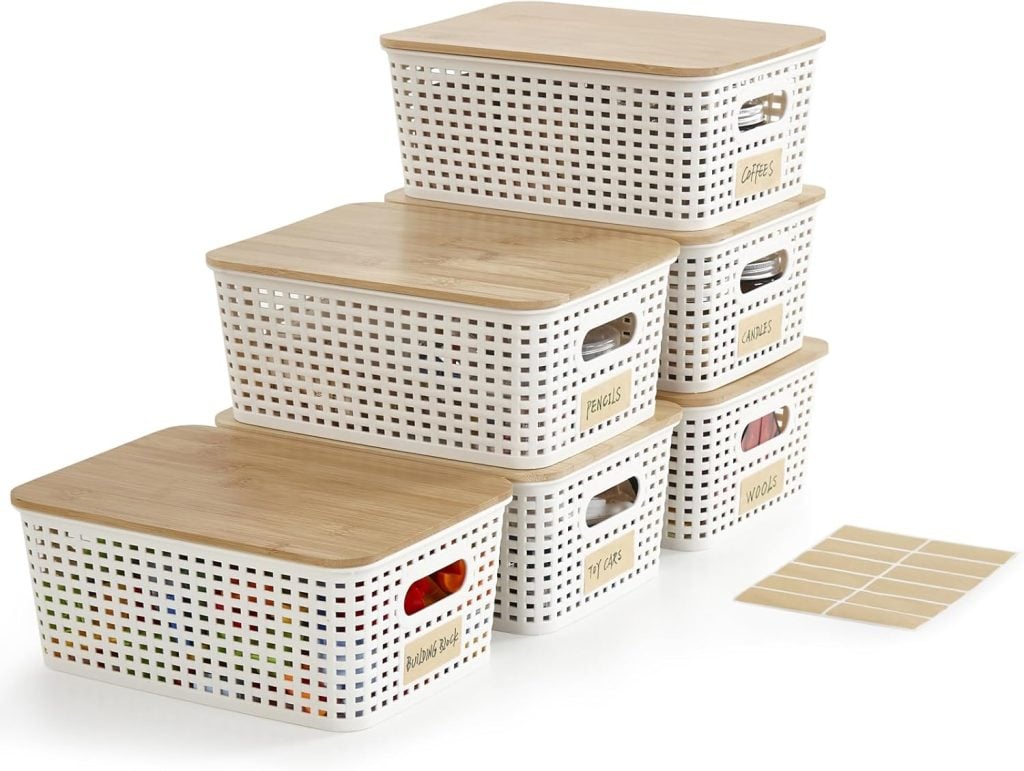
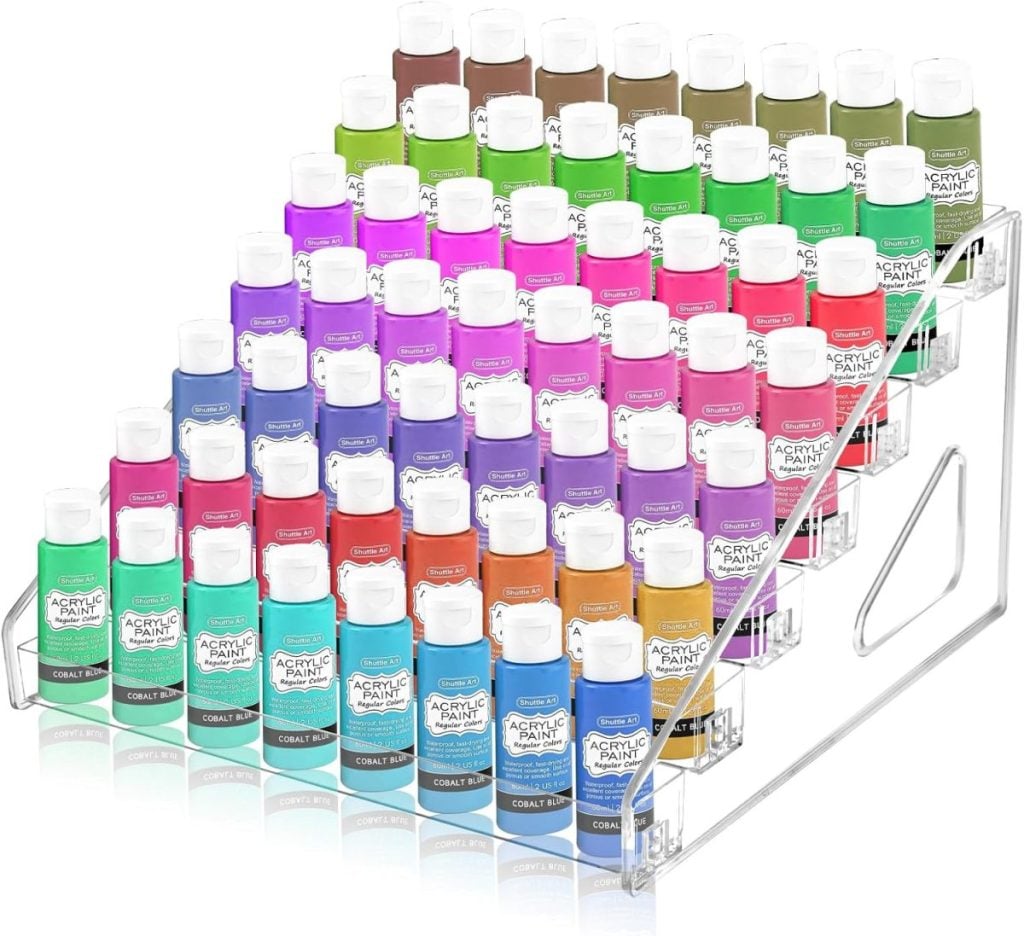
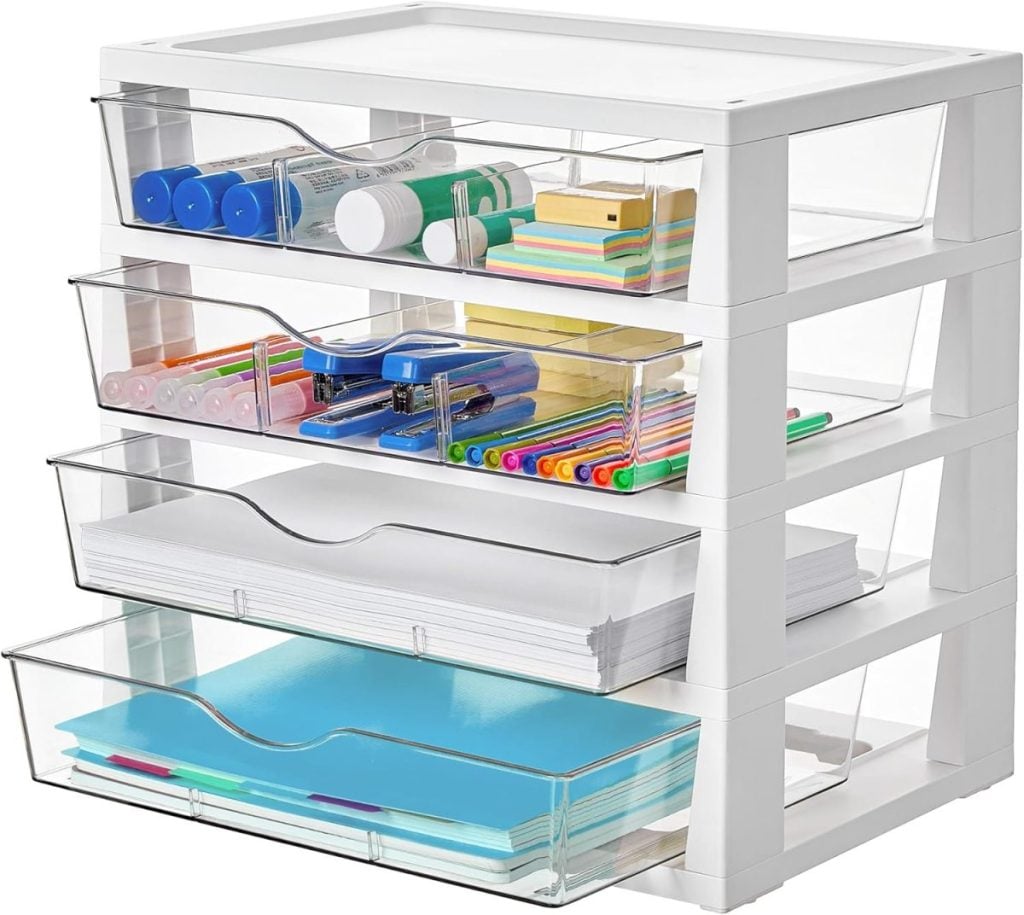
The goal isn’t perfection.
The goal is to know where things are.
If you can quickly find what you need, your system is working.
Keep Your Most-Used Supplies Visible

This is a simple trick that has made a huge difference in my creativity.
The supplies I use most often stay visible. And my Dream Box is the perfect way to organize everything.
For me, that includes:
- scissors
- rulers
- cutting mats
- embroidery supplies
- thread
- clay tools
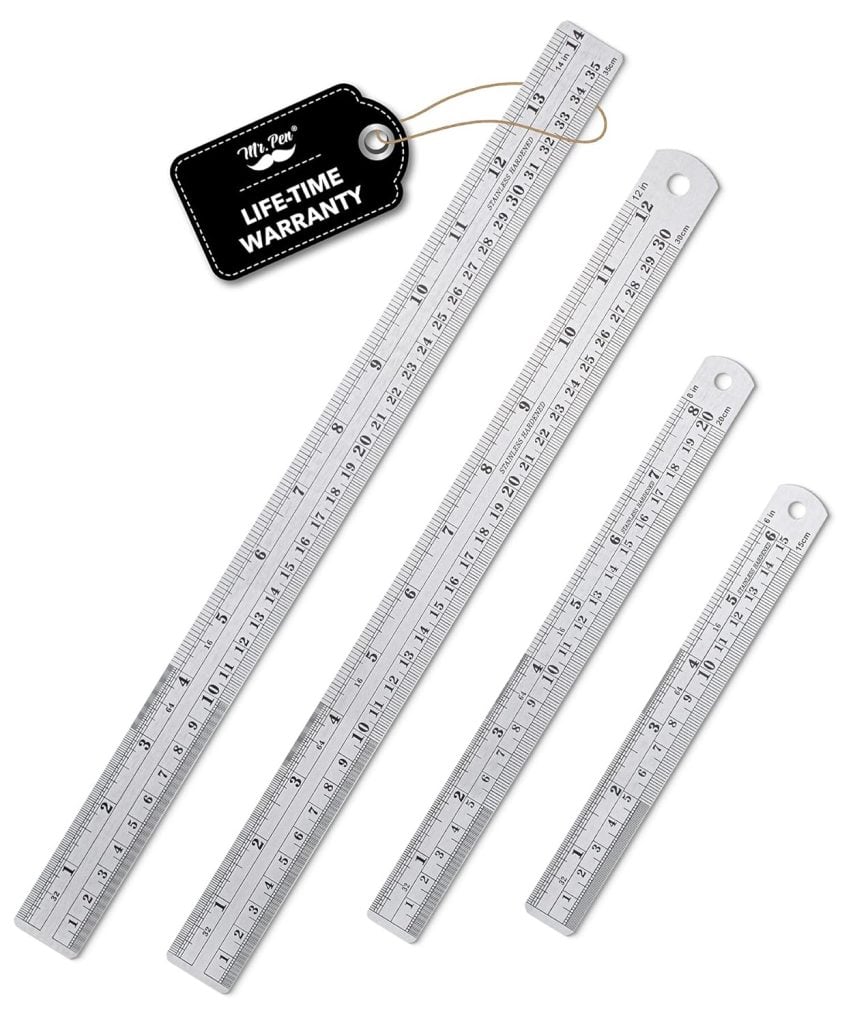


When supplies are easy to see, they’re easier to use.
When they’re buried in a cabinet, they often stay there.
Think of your craft space as an invitation to create.
Let Your Space Evolve
One of the biggest mistakes people make is trying to create their forever craft room immediately.
Your creative interests will change.
Mine certainly did.
Twenty-five years ago, I wasn’t embroidering.
I wasn’t making clay projects.
I wasn’t using a Cricut.
And, I wasn’t designing Favorite Things shirts.
Your space should evolve as your hobbies evolve.
Allow yourself the flexibility to adjust.
A craft room isn’t a finished project.
It’s an ongoing one.
Progress Matters More Than Perfection
If there is one thing I hope you take away from today’s post, it’s this:
Do not wait for the perfect craft room.
Start with what you have.
A closet.
A corner.
A desk.
A folding table.
Creativity doesn’t care how big your room is.
It cares that you begin.
Some of the projects I’m most proud of were created long before I had the craft room I enjoy today.
And honestly, learning to create in small spaces taught me skills that still help me now.
Final Thoughts
When I look around my craft room today, I feel incredibly grateful.
But I also remember the tiny closet where it all started.
That little space taught me something important.
You don’t need a dream craft room to be creative.
You simply need a place to begin.
Whether your craft space is a closet, a guest room, a dining room corner, or an entire room dedicated to creativity, what matters most is that it supports the things you love to make.
Start small.
Create stations that fit your hobbies.
Keep your favorite supplies close by.
And give yourself permission to let your space grow alongside your creativity.
Because the best craft room isn’t the biggest one.
It’s the one that inspires you to sit down and make something.
Latest Posts
-
The Best Paper Napkin Crafts – Mondays in the Craft Room
Paper napkin crafts are among my favorite ways to create beautiful handmade projects without spending a fortune or requiring advanced artistic skills. It’s amazing how a simple decorative paper napkin can transform clay, terra cotta, ornaments, pumpkins, and so much more into something that looks hand-painted. Today I’m sharing some of my favorite paper napkin…
-
Weekend Trips and Sunday Morning Coffee
This summer has been one of my favorites, as our weekends have been filled with family, dear friends, and little adventures that have reminded me how wonderful it is to simply get away for a few days. I’m also sharing some of the handmade hostess gifts I’ve been creating in my craft room because nothing…
-
A Top Trend – Rattan Furniture and Accessories
A decor trend taking the interior design world by storm this year is rattan furniture and accessories. These timeless materials bring warmth, texture, and natural beauty to any space. From its historical roots to modern applications, rattan furniture and accessories can be easily incorporated into home decor for a stylish, vintage-inspired look. I have used…
-
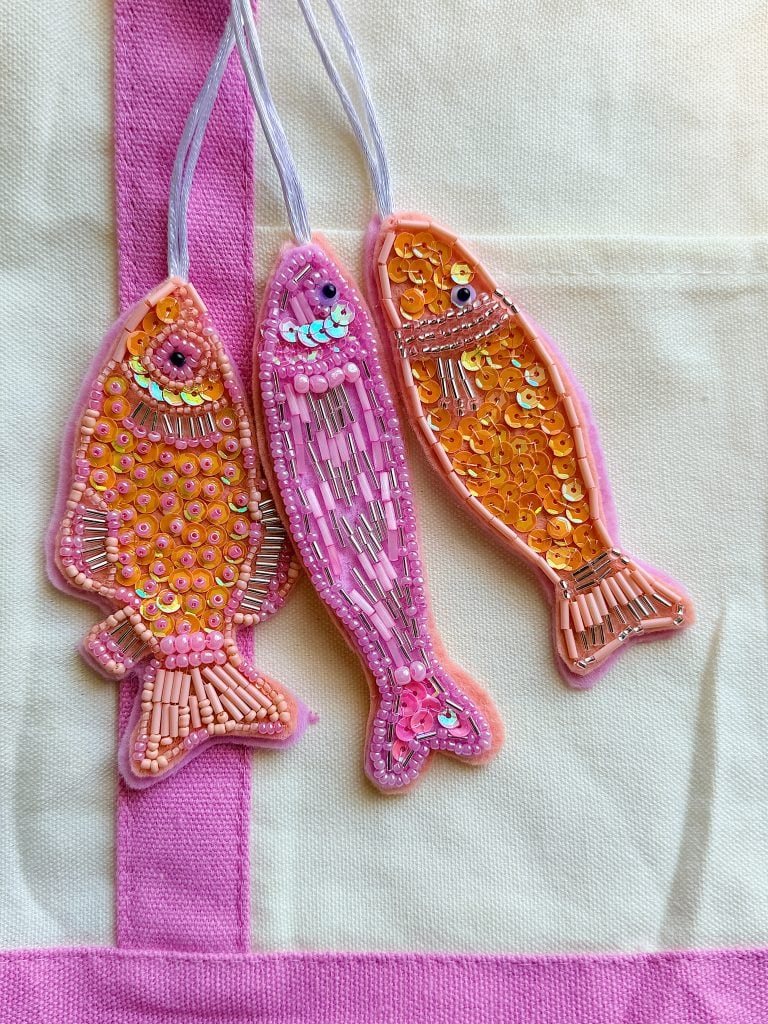
Beaded Bag Charms – A Handmade Summer
If you’ve been looking for a fun way to add personality to your favorite tote bag, you’ll love these Beaded Bag Charms. This colorful project is the perfect combination of creativity and sparkle, using seed beads, sequins, tube beads, and felt to create handmade accessories that look like they came from a boutique. Whether you…

My Recent Instagram Posts

You can pin the image below to your boards on Pinterest (click the Pin button in the top left corner) or follow me on Pinterest!
For more real-time updates, follow me on Instagram @My100YearOldHome