How to Decoupage Terra Cotta Pots
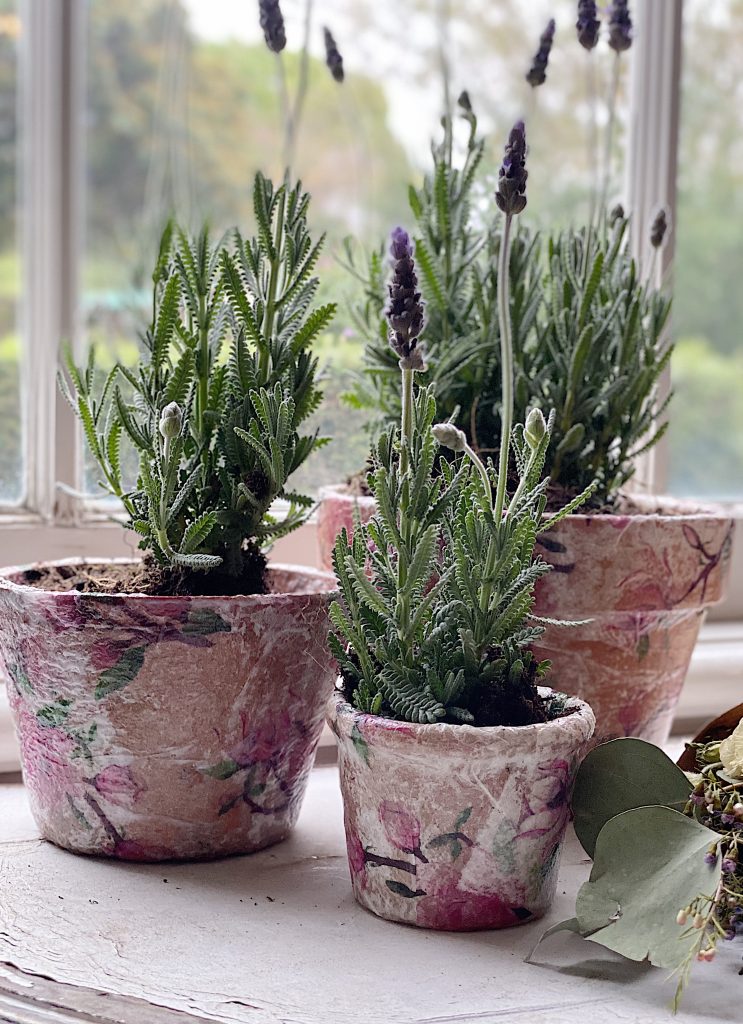
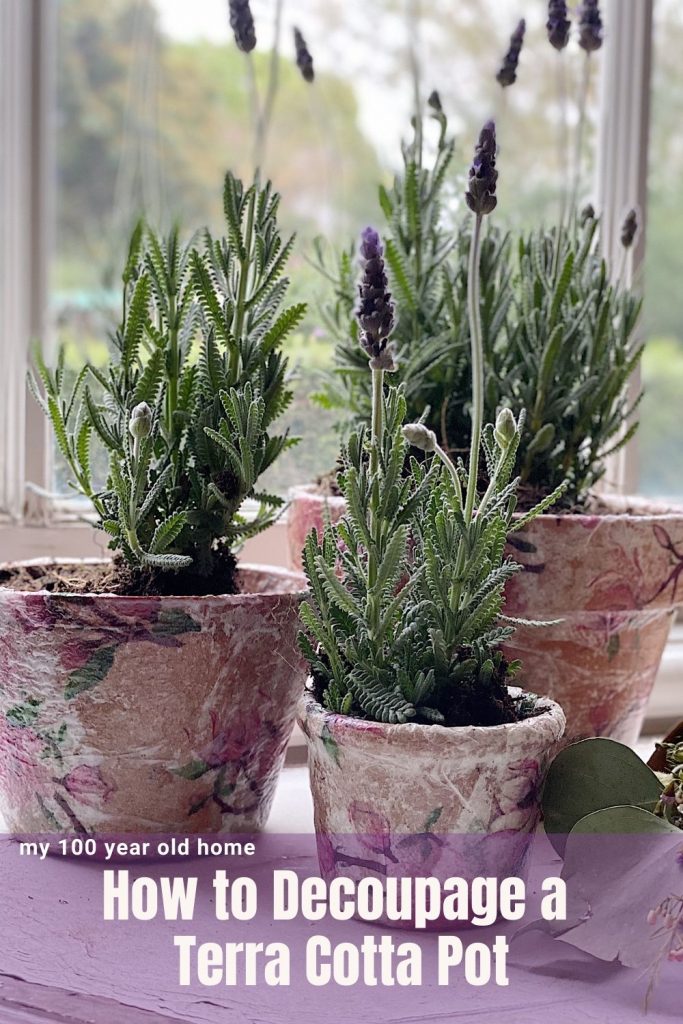
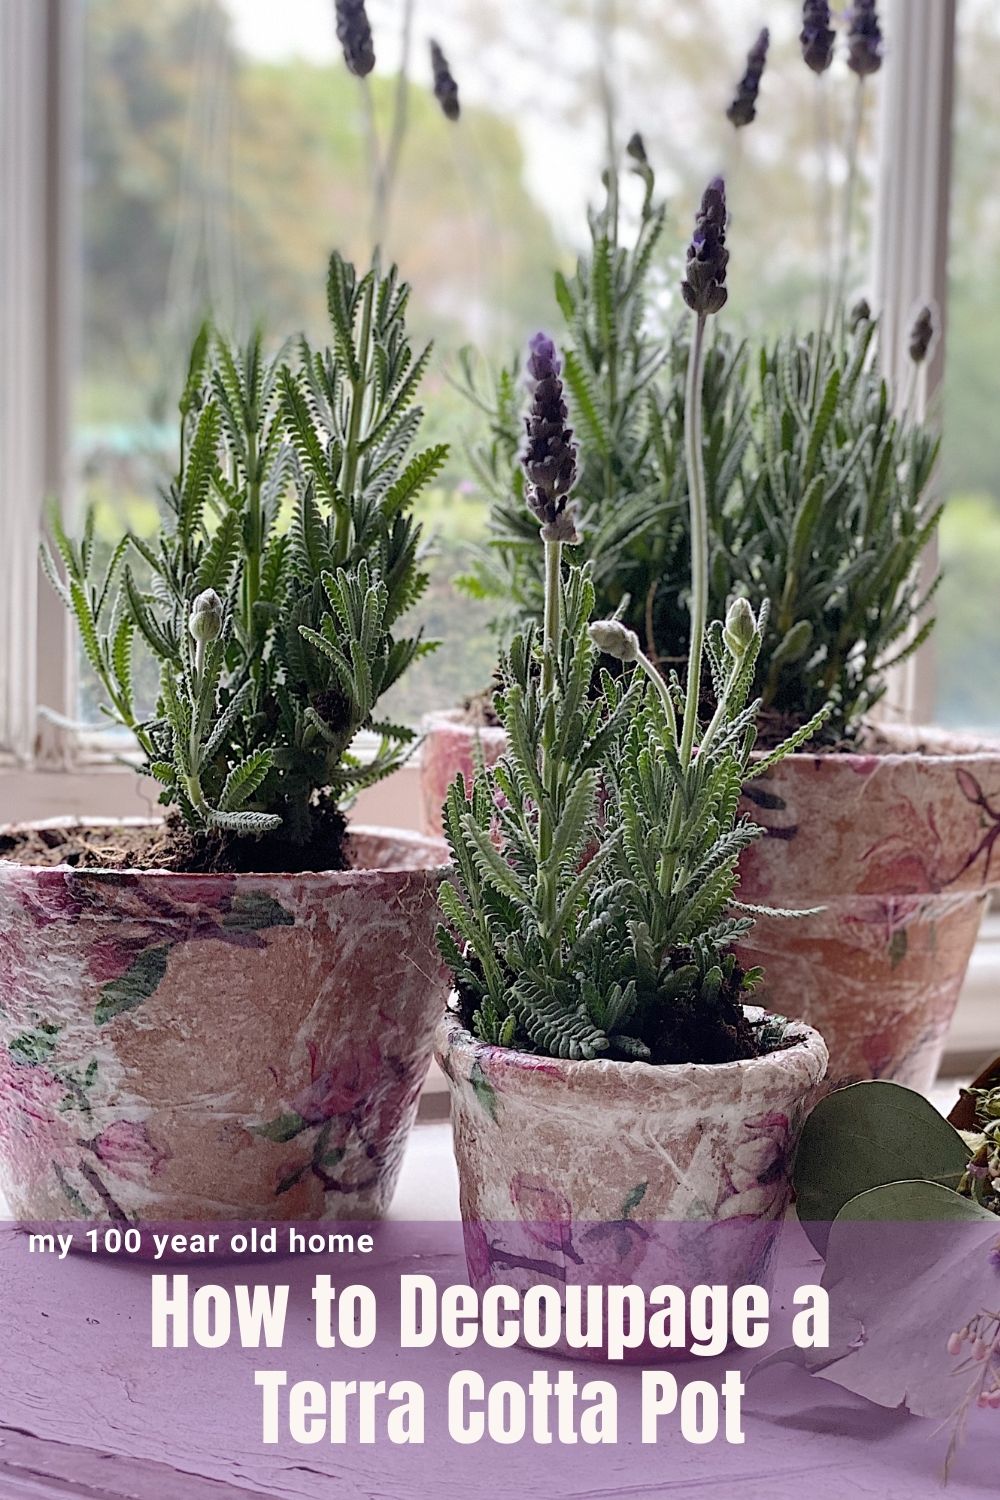
I love terra cotta pots and I thought it might be fun to try a decoupage project with some napkins. I used some old terra cotta pots and made these adorable pots to hold some fresh lavender.
Looking for a fun and easy project to spruce up your home décor? Try decoupaging Terra Cotta pots! You can use this technique to create beautiful containers for flowers, plants, or even just as unique desk organizers. Keep reading for instructions on how to get started.
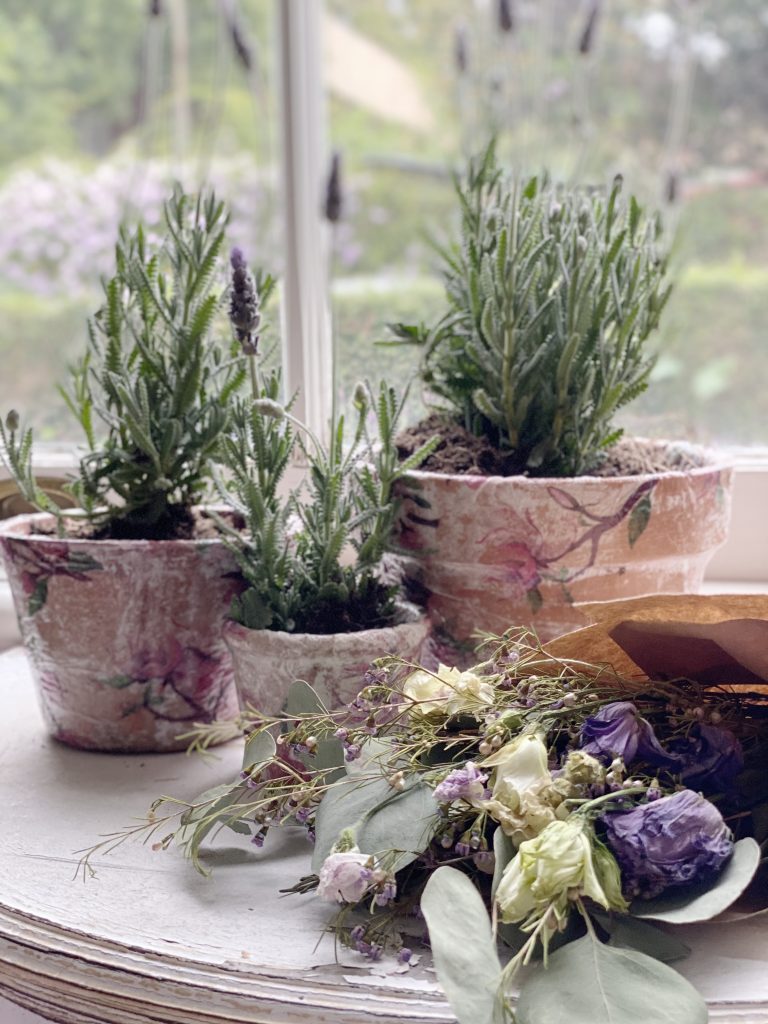
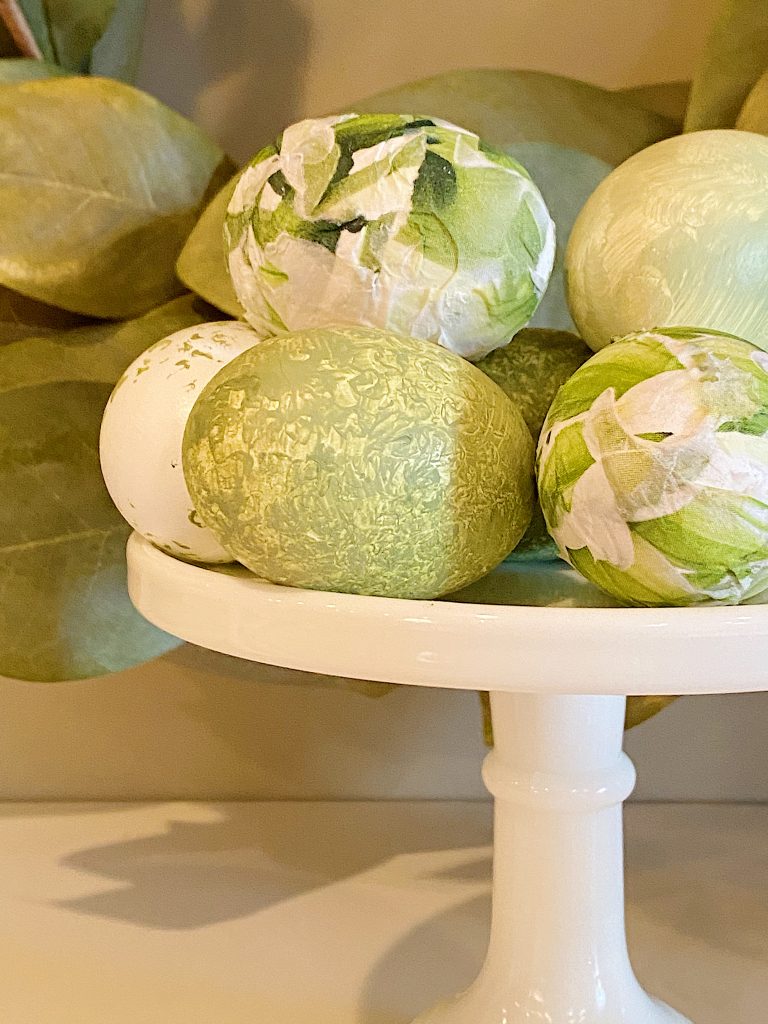
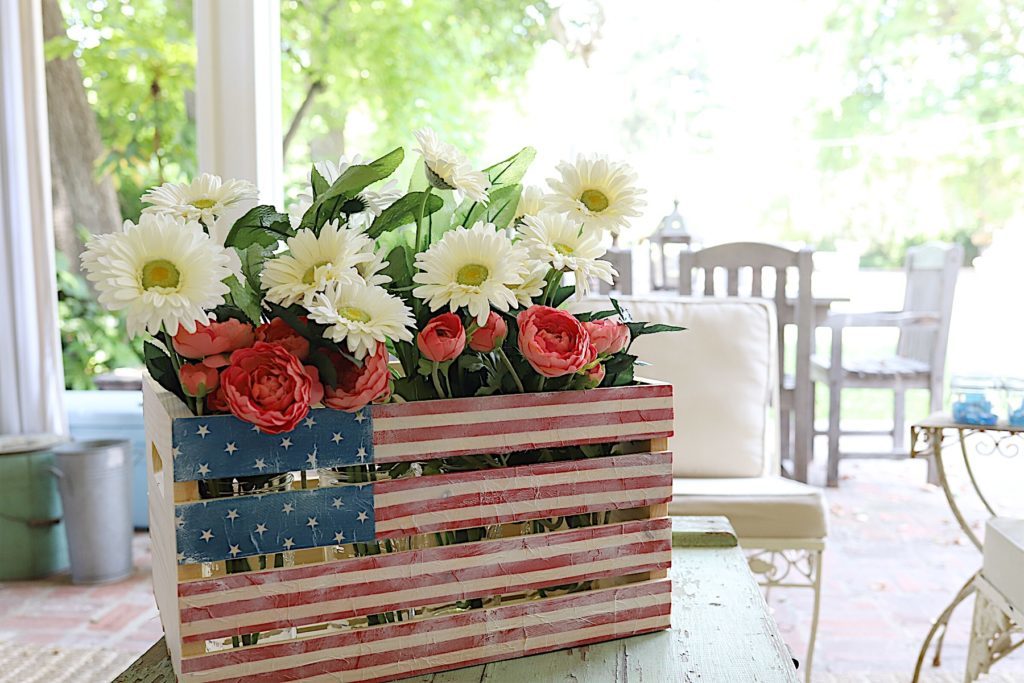
I love using paper napkins for craft projects. Previously I have used paper napkins on a Valentine’s wooden crate, easter eggs, and a 4th of July wooden crate. Today I am sharing how I decorate terra cotta pots with pink flowered paper napkins. This is a very easy DIY craft.
Steps to Decoupage Terra Cotta Pots with Napkins
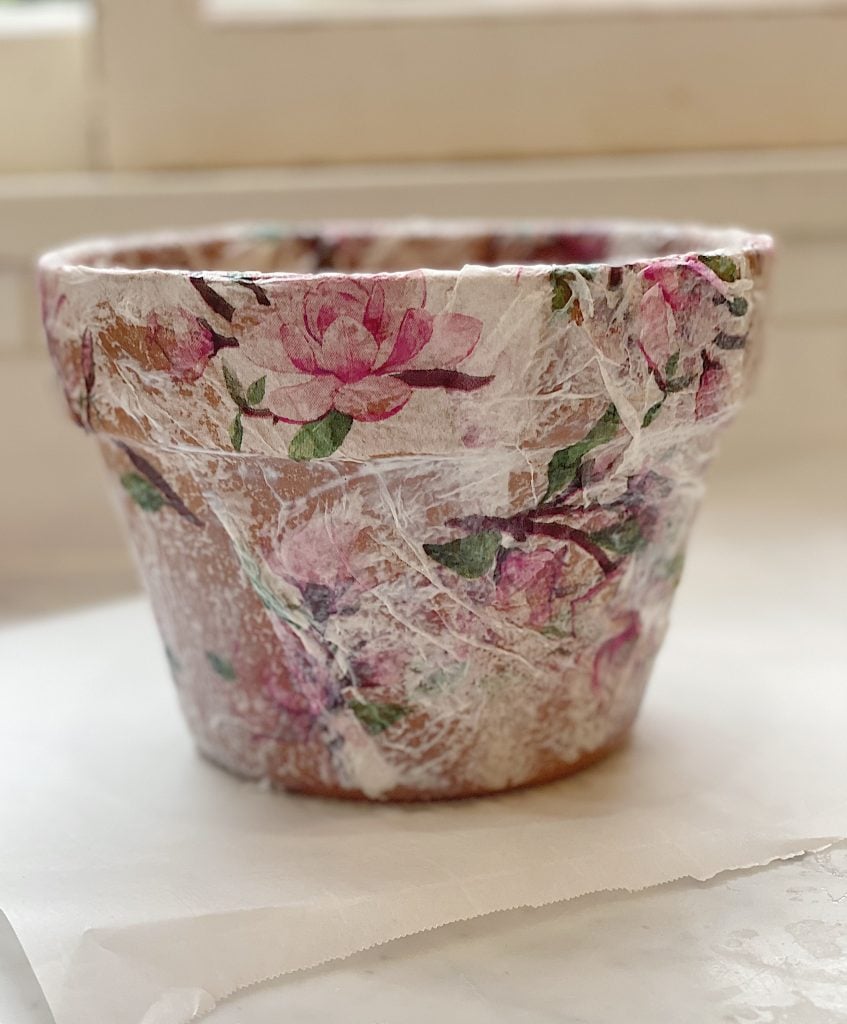
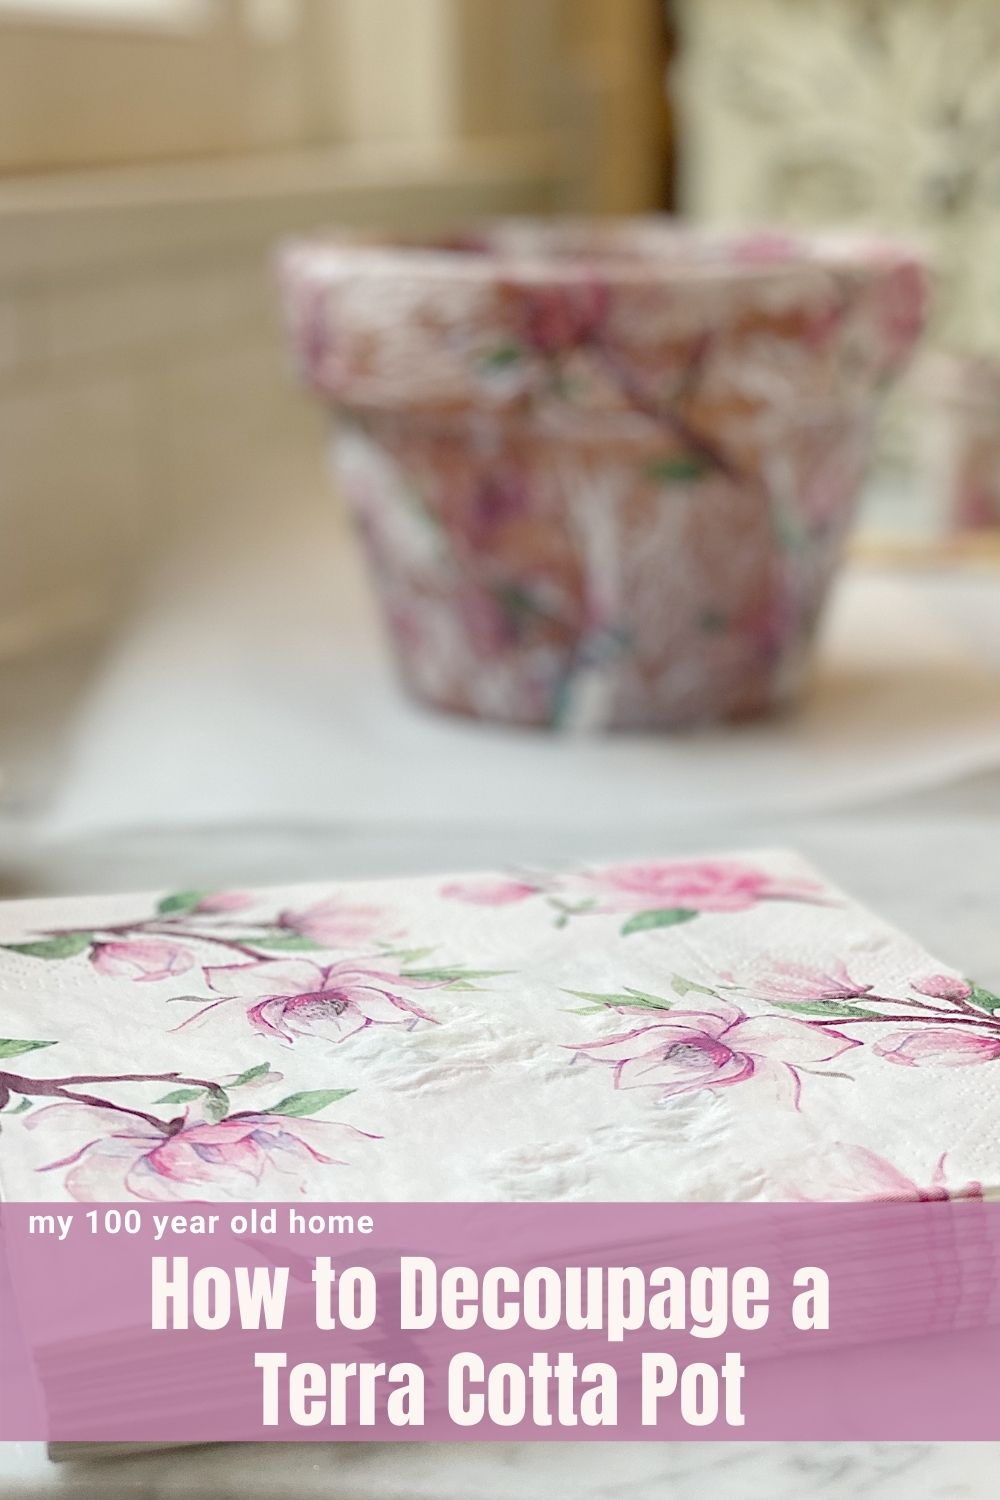
Here you can see one of my pots up close. This was before the Mod Podge had actually dried, so it has more white showing than when it was completely dry.
This is a very easy DIY craft because all you need to do is lay the paper napkin on top of the Mod Podge on the clay pot. It doesn’t have to be perfect, as all you do is just press it down (as you can see below). This is a very “forgiving” DIY craft. I promise!
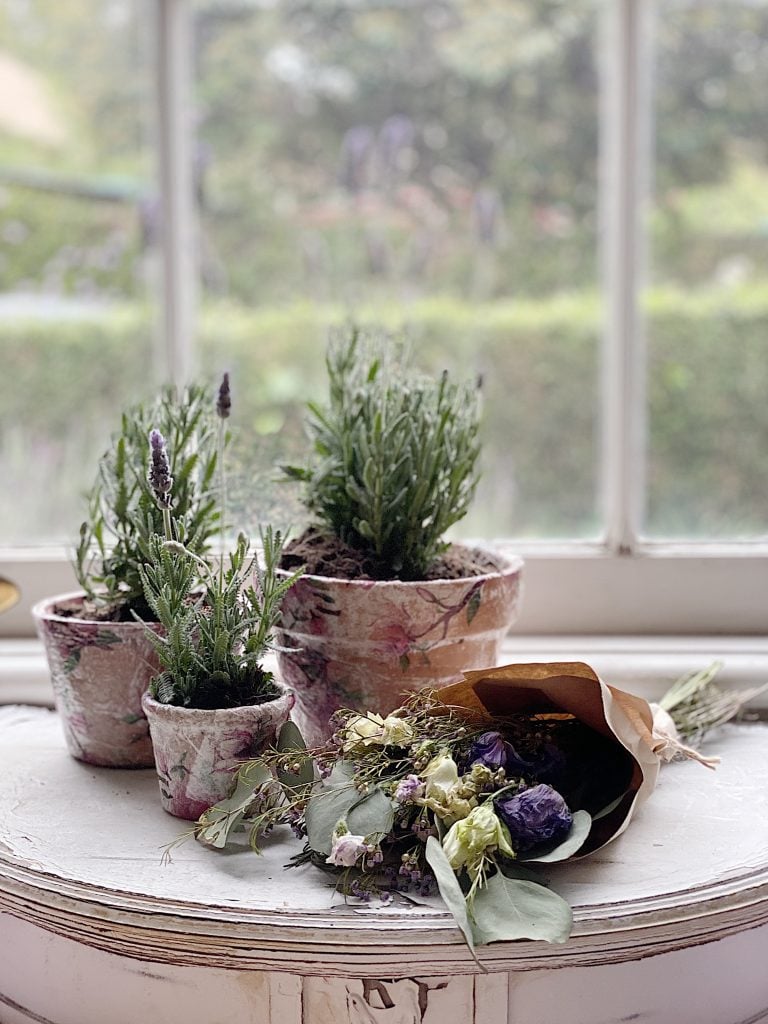
Once the pots dry you can plant them or use them for storage. I wanted to plant an indoor lavender garden so I planted lavender in all three pots.
Don’t they look wonderful?
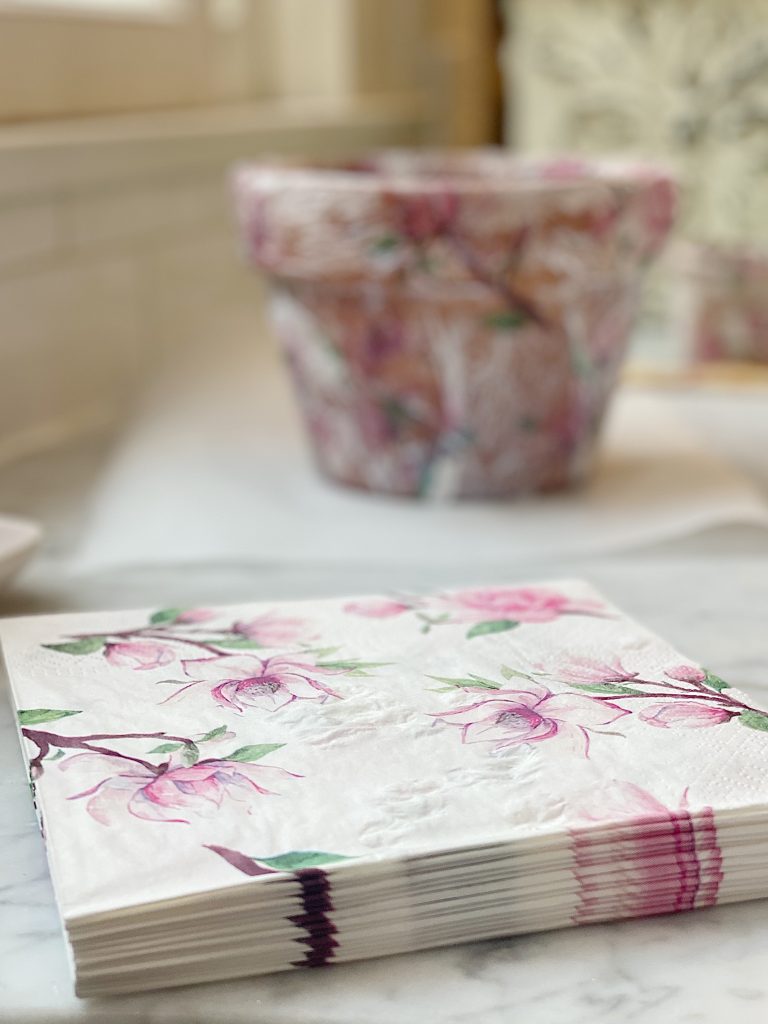
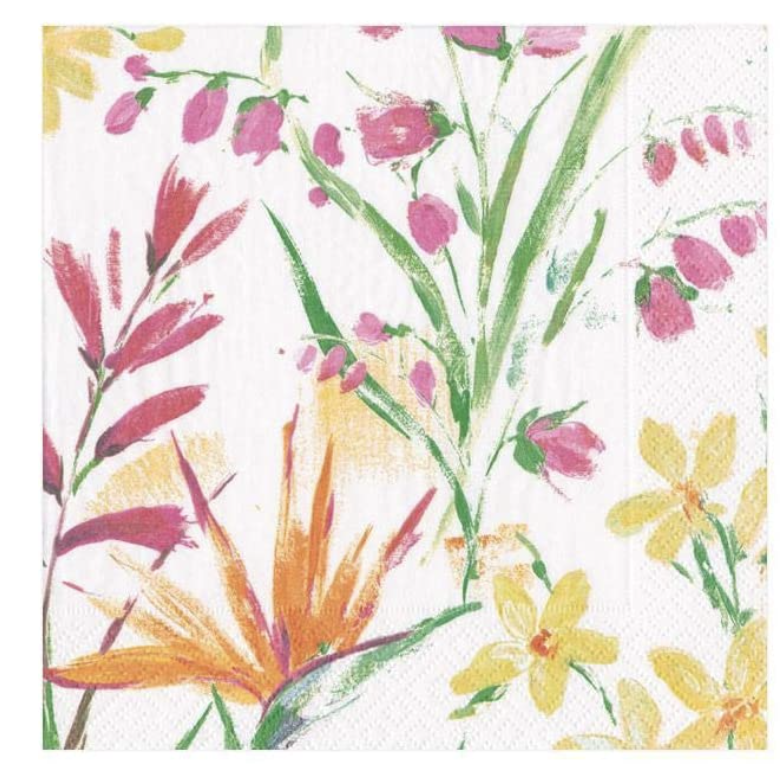
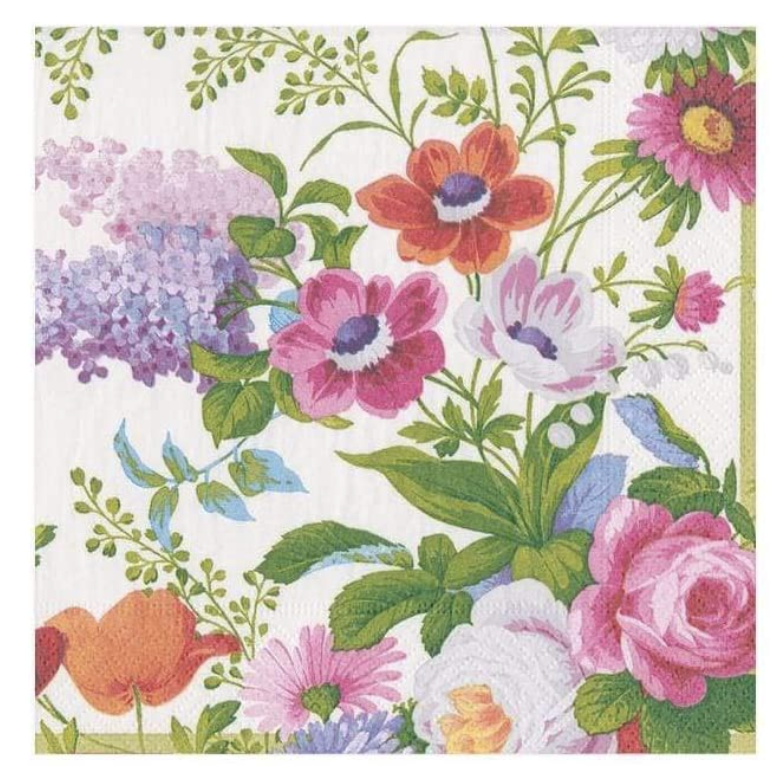
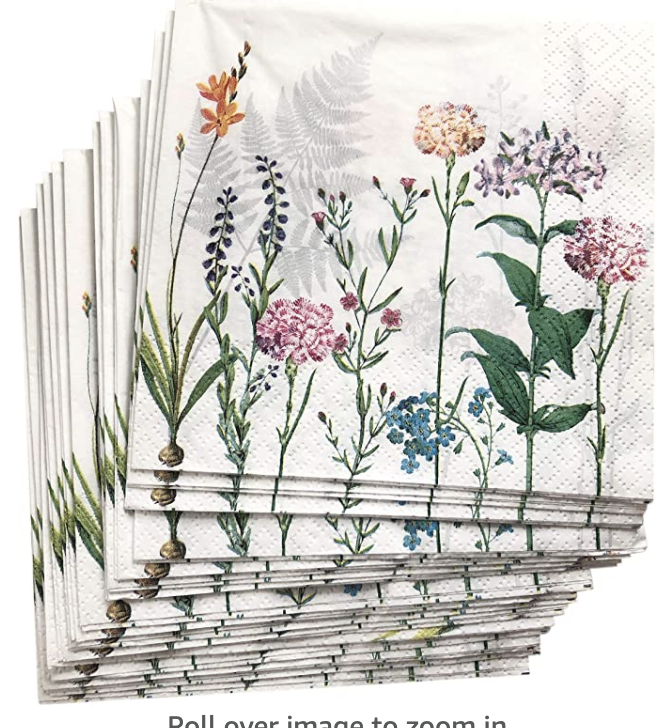
I love printed paper napkins and these are some of my favorites. They are printed on all the entire unfolded napkins. Most paper napkins are dual-ply, so you do need to peel off the backing before you glue them to the pots.
What You Need to Make Flowered Terra Cotta Pots
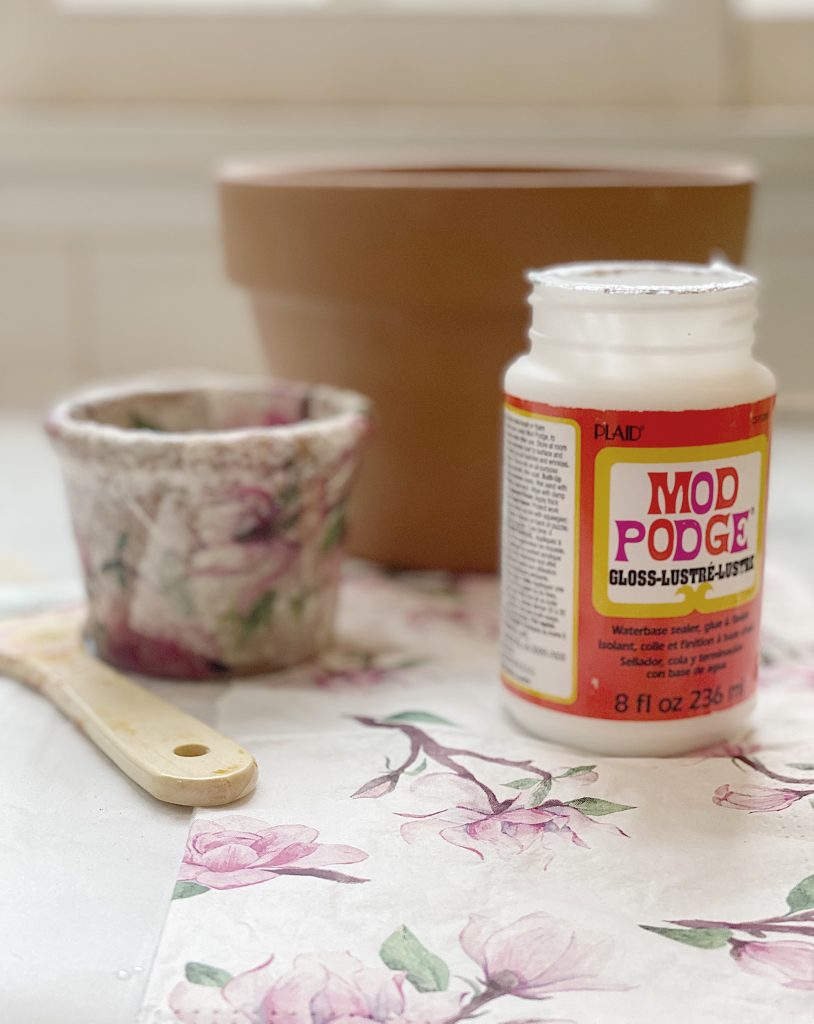
- Paper napkins, separated into one-ply (You can find the napkins I used for these pots here.)
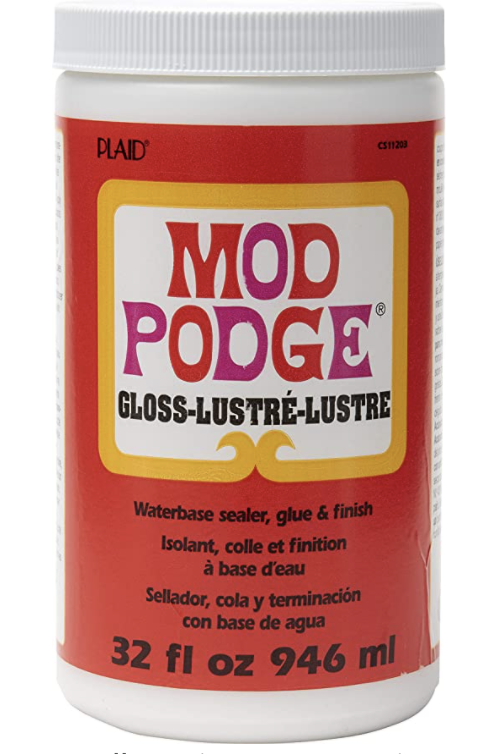
- Mod Podge Gloss
- Terra cotta pot
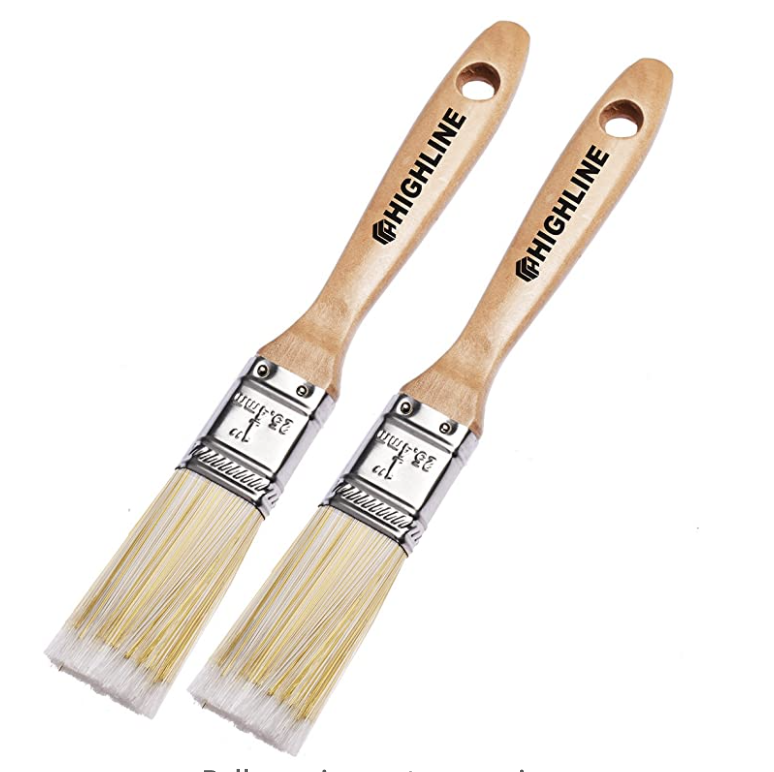
- Paint Brush
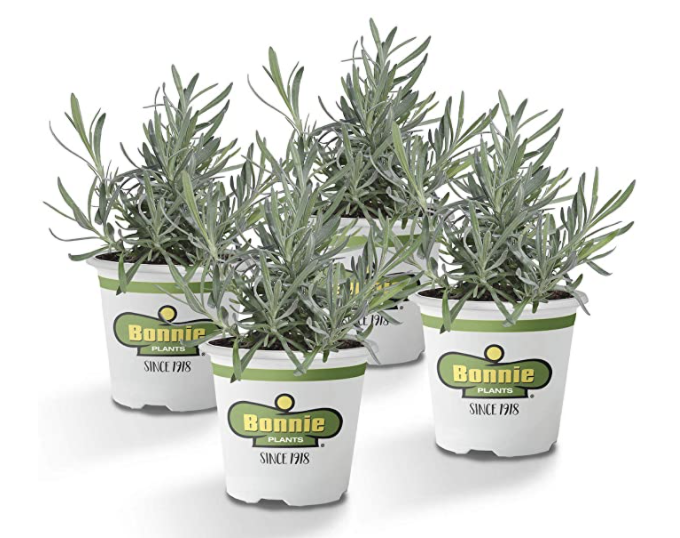
- Plants
If you are enjoying my blog, you can sign up to receive my blog updates here.
.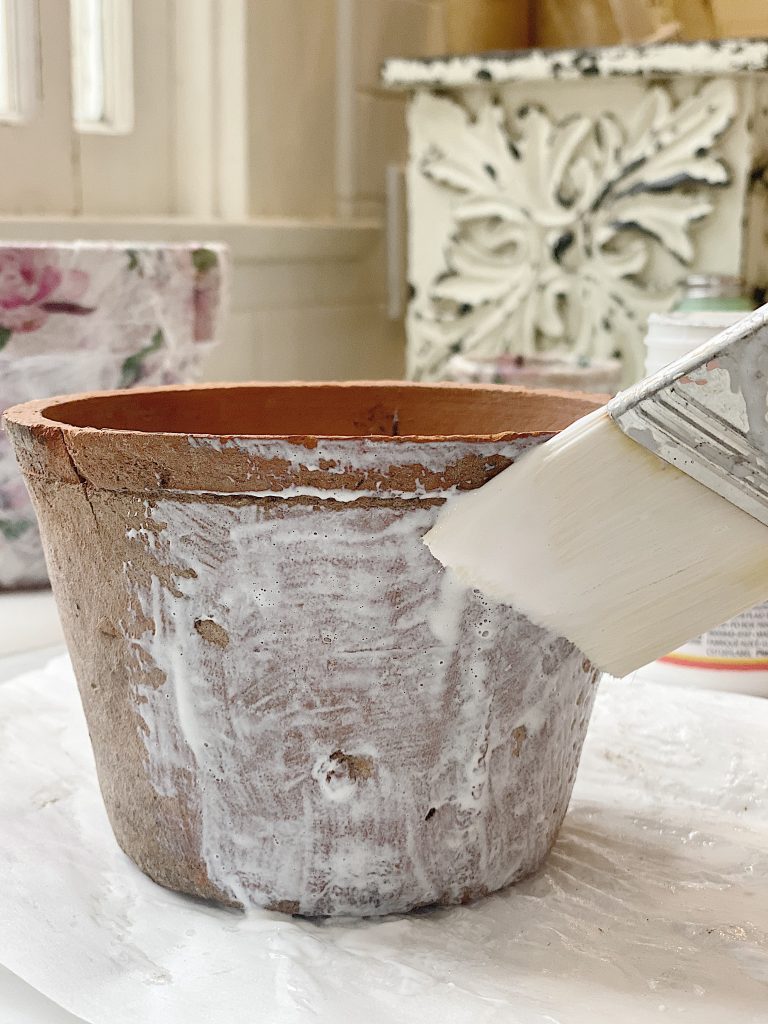
To begin, generously apply the Mod Podge to the outside of the terra cotta pot. Be sure to paint the Mod Podge on the top rim and about one inch down on the inside of the pot.
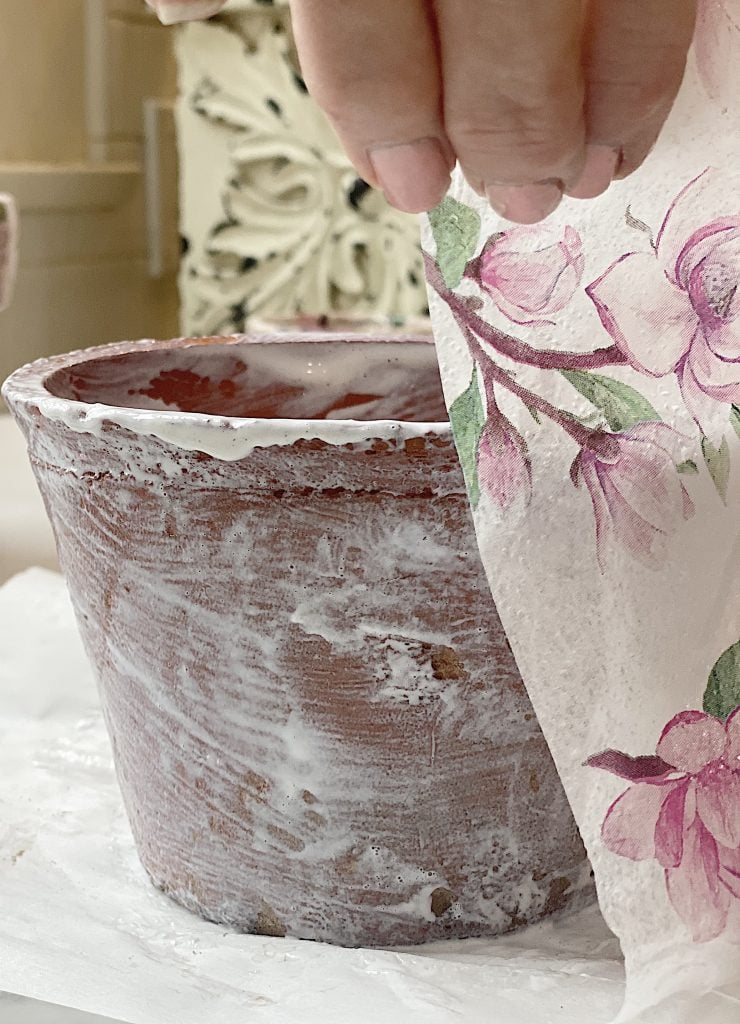
Place the napkin around the outside of the pot. Be sure to place the napkin so that it is flush to the bottom of the pot.
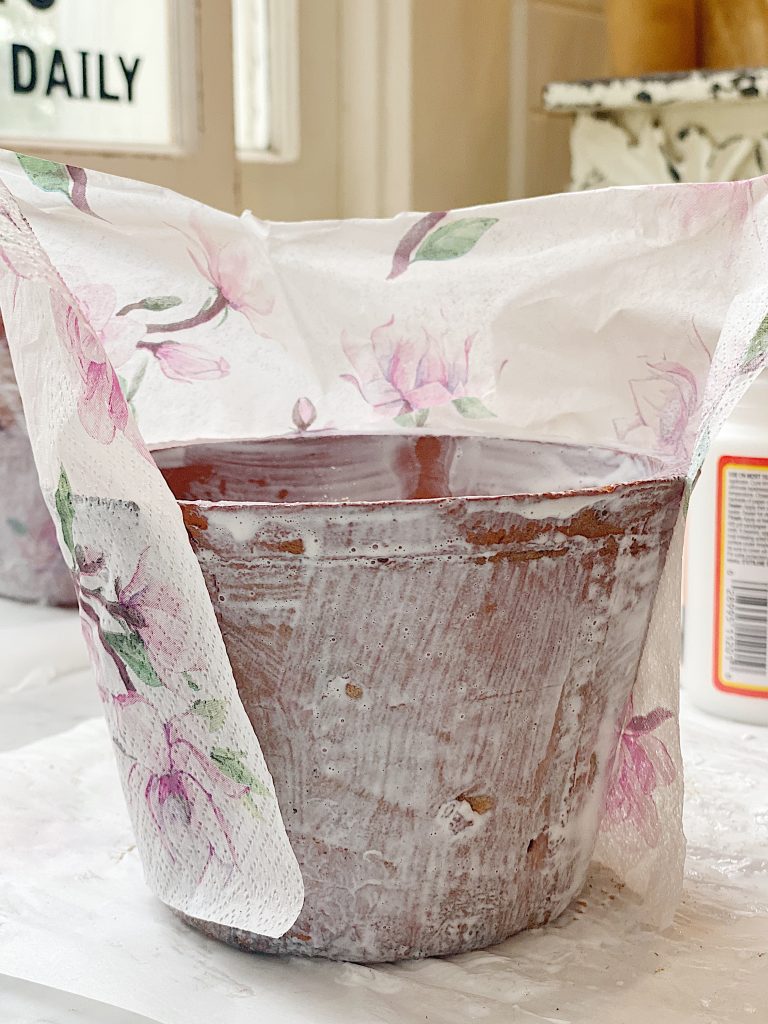
Use your fingers to tap the napkin so that it adheres to the pot, starting at the bottom of the pot.
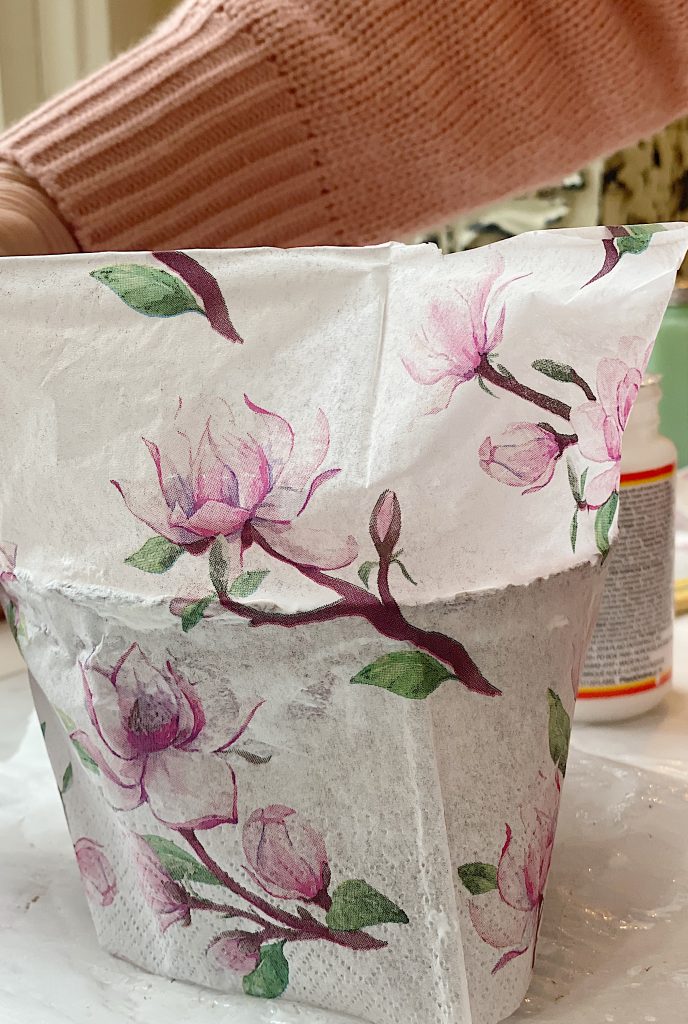
Add any additional napkins needed to fill any gaps. Cut the top of the napkin about 1″ taller than the pot.
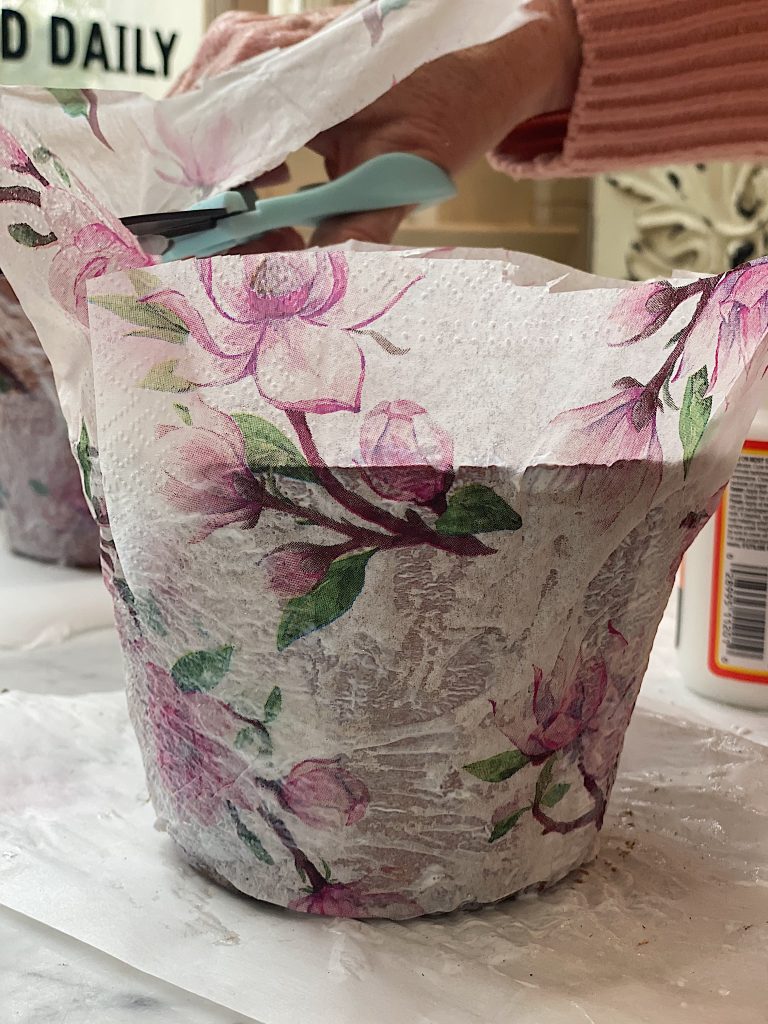
Fold the napkin over the top edge of the pot and fold and adhere the napkin to the inside of the top of the pot.
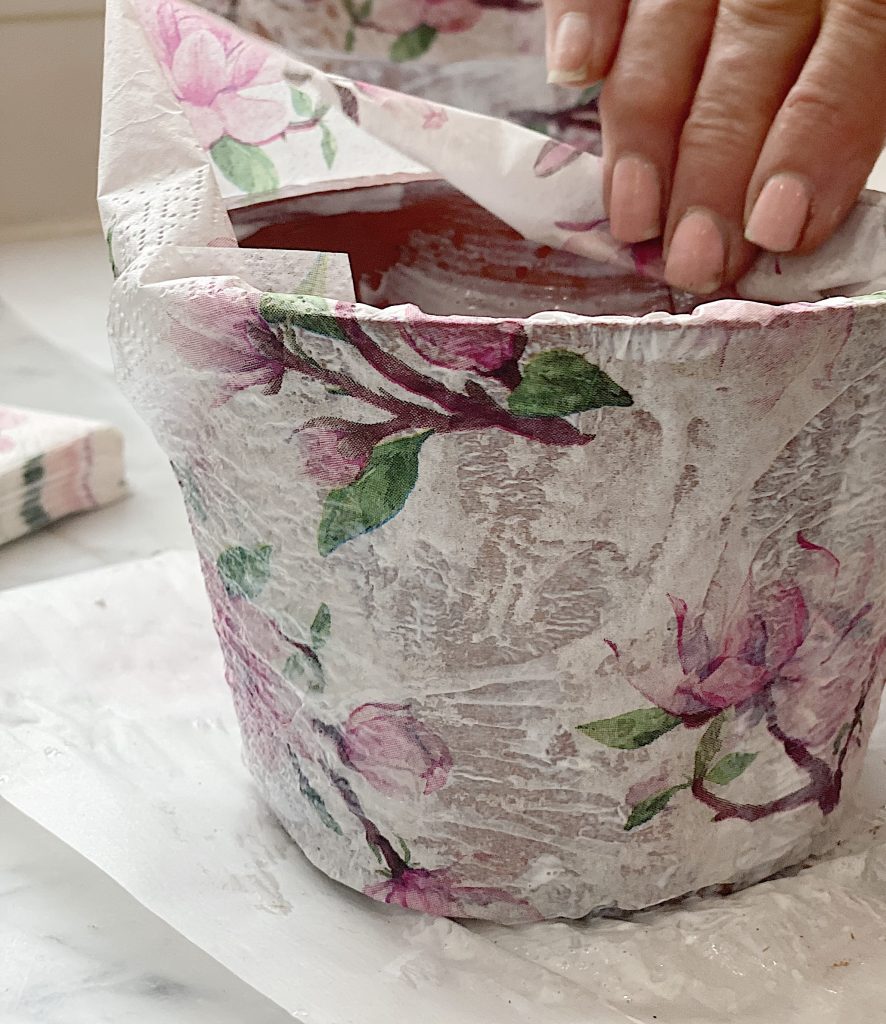
Let the napkin pot dry for about one hour. If you would like to speed up the drying process, you can use a hairdryer. I placed a hairdryer (on its side) and let it sit there, turning frequently. It dried the pot in less than fifteen minutes.
At this point, I will tell you how I dried the smallest pot. Please do not do this as I don’t want you to have any issues. It worked for me, but this IS NOT recommended.
Ready for how I dried my pot? In the air fryer! Crazy, right? Well, it might sound crazy, but it worked! I stood right in front of the air fryer, checking it frequently, to make sure it didn’t get too hot. I am afraid that if you do this the pot could get too hot and perhaps ruin your air fryer. SO DON’T DO THIS. I always want to share all of my crazy ideas and this one was probably one that went ok but could have exploded or something. Seriously!
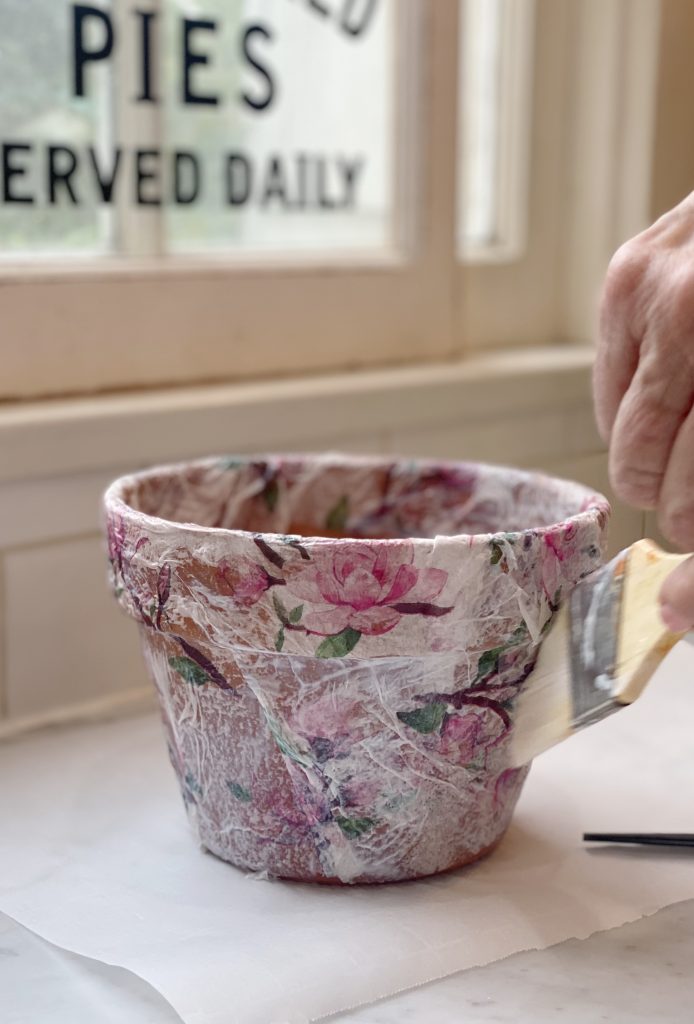
The last step is you will need to cover the entire area of the napkin with another full coat of Mod Podge. This will protect and seal the paper napkin.
Frequently Asked Questions
Decoupage is a process where you use a special glue to adhere decorative types of paper to an object and then cover the object with coats of the glue. There are many different types of glue used to decoupage and Mod Podge is one of those types of glue.
Almost all types of paper can be used for decoupage, including paper napkins, crepe paper and tissue paper.
I hope you will try this craft. It is so much fun, very affordable, and I just love the end result. The pots are not weather safe, so I will keep them inside or under our back porch. Mod Podge does make an outdoor glue, but I have not tried it so I can’t say for sure that it would create a waterproof clay pot.
Links to the Items Shown in This Post
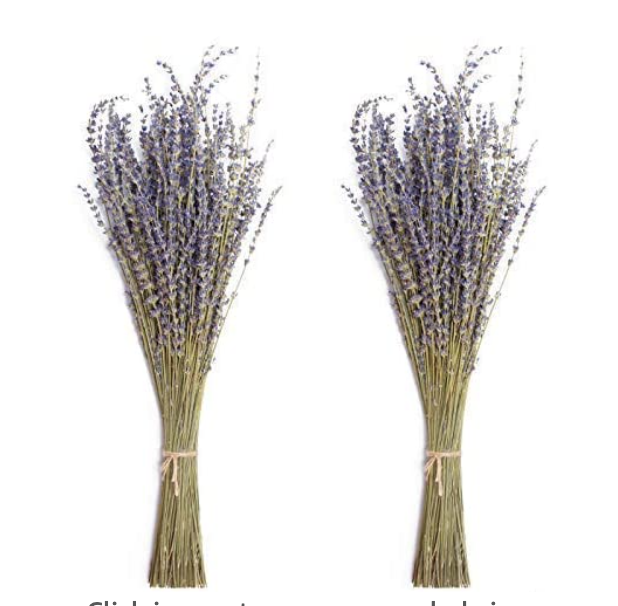
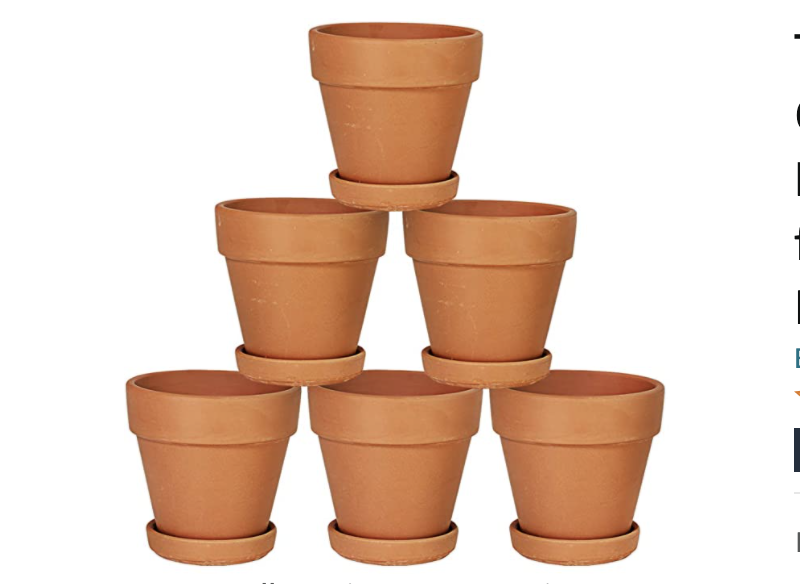
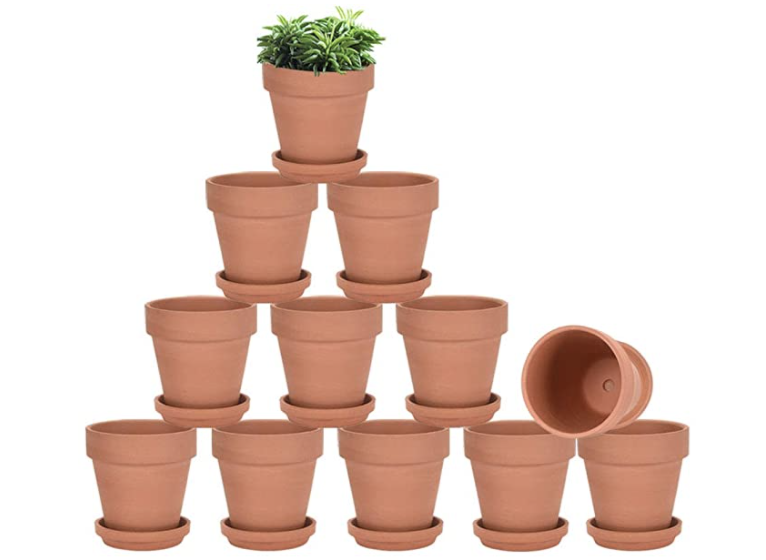
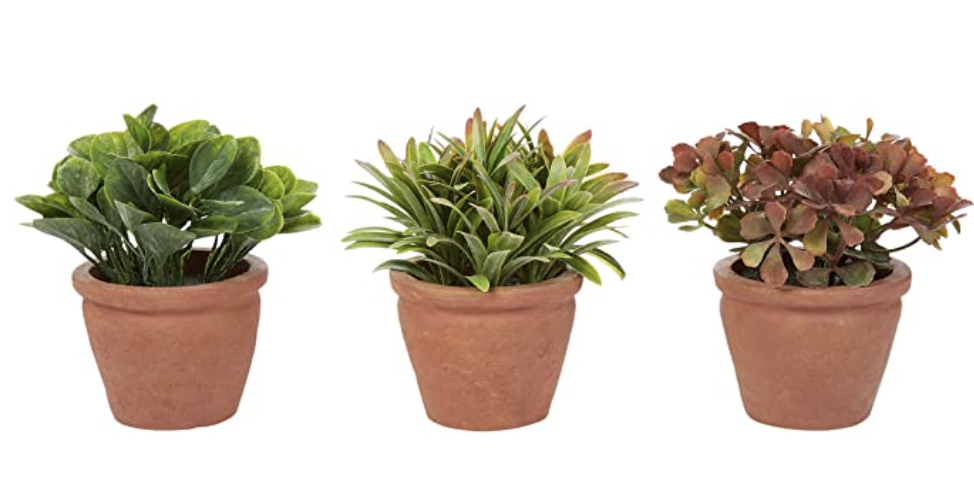
Similar Posts
Pin the image below to your decor boards on Pinterest (just click the Pin button in the top left corner). You can also follow along with me on Pinterest!
For more real-time updates, follow me on Instagram @My100YearOldHome
Pin the image below to your decor boards on Pinterest (just click the Pin button in the top left corner). You can also follow along with me on Pinterest!
For more real-time updates, follow me on Instagram @My100YearOldHome



I like that you used the entire napkin instead of cutting out each individual flower. I have done this cutting out the designs and it was very tedious. I will definitely give your method a try since it looks so much easier. Your pots turned out great.
Sharon, this really was such an easy craft and such a quick and simple way to dress up a table or garden! Happy Friday!
Beautiful, I love your ideas – so pretty!!!
Thank you so much Tina! 🌸
Leslie, your pots are beautiful. Would you be able to use these outside under a covered porch?
Love this project! Creating pots for graduation party.
What a great idea! They will look amazing!
You need to seal the inside of your pots if your planting real plants inside, otherwise the dampness from the soil will seap through and your napkin will bubble and peel off.
Nice pass time. If you want to water proof clay pots after decoupling , there is an art spray like varnish will preserve
Great tip, thanks so much Evelyn! ☺️
Could you use waterproofing on the inside and outside of the pots before putting modge podge on them to make them more tolerant to dampness especially if putting plants in them?