Dining on Our Farmhouse Wrap Around Porch
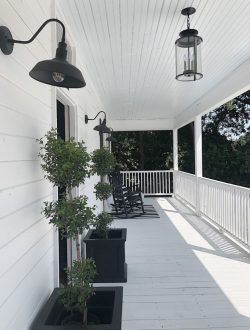
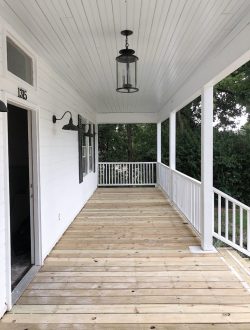
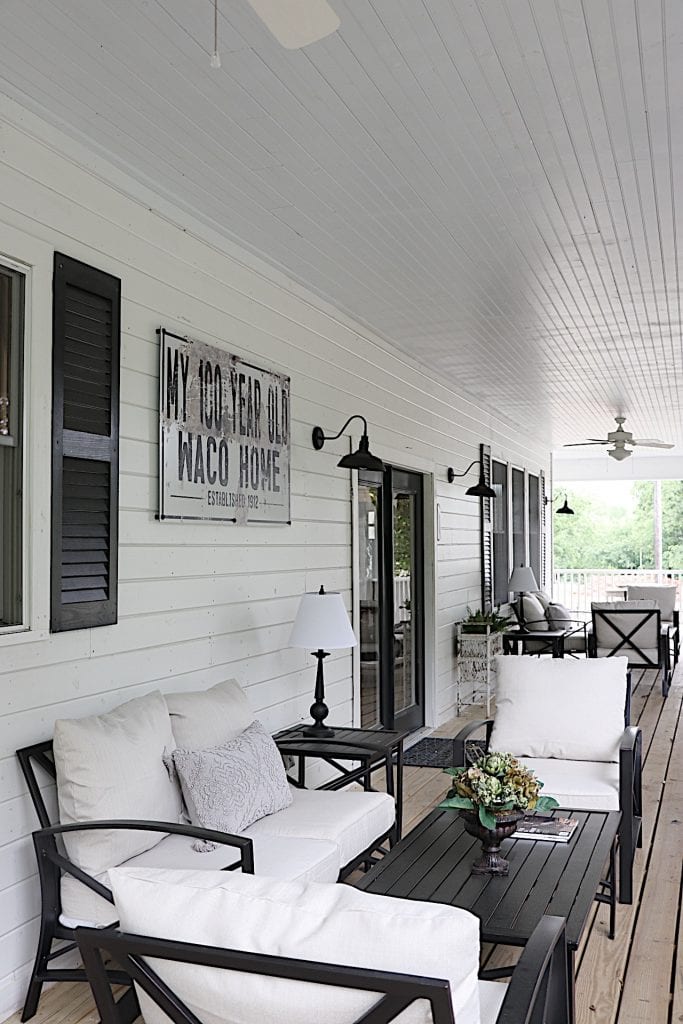
It was my dream to add a Farmhouse wrap around porch to our Waco fixer-upper home. Now that I am back visiting Waco, it’s time to entertain on our porch!
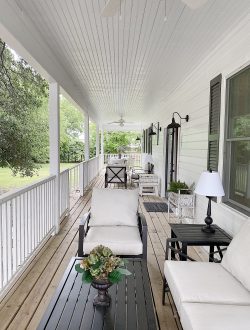
I love dining on our wrap around porch. A few weeks ago I entertained my girlfriends for dinner and our farmhouse wrap around porch was the perfect location. Wait until you see all of the recipes I have included!
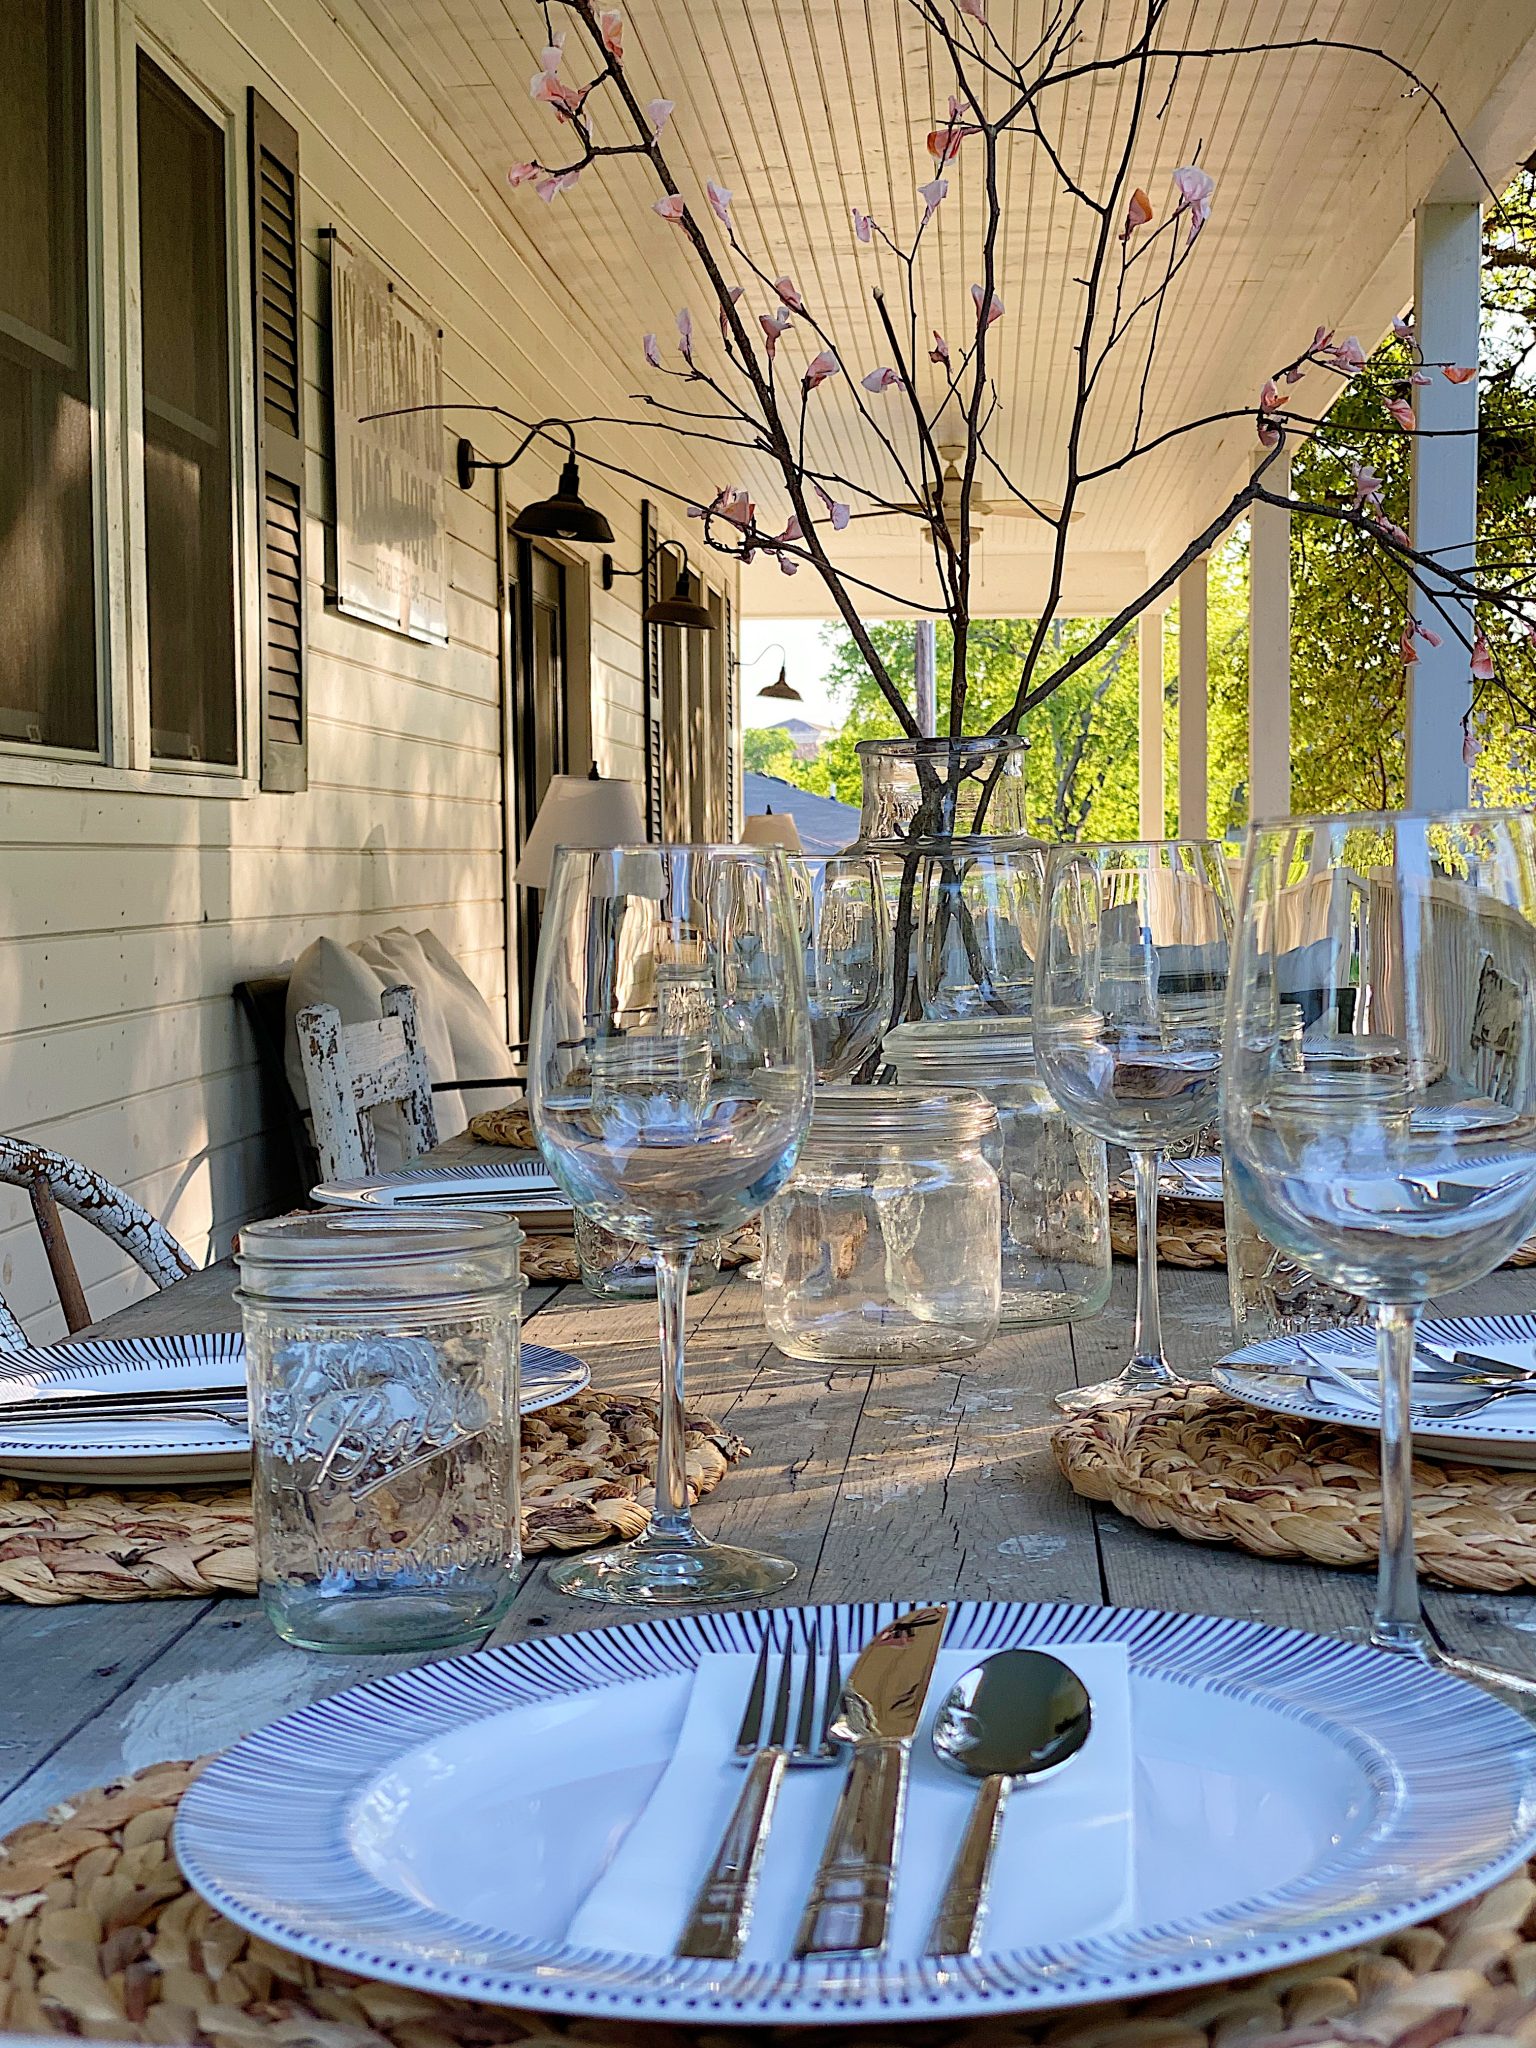
Dinner on our Farmhouse Wrap Around Porch
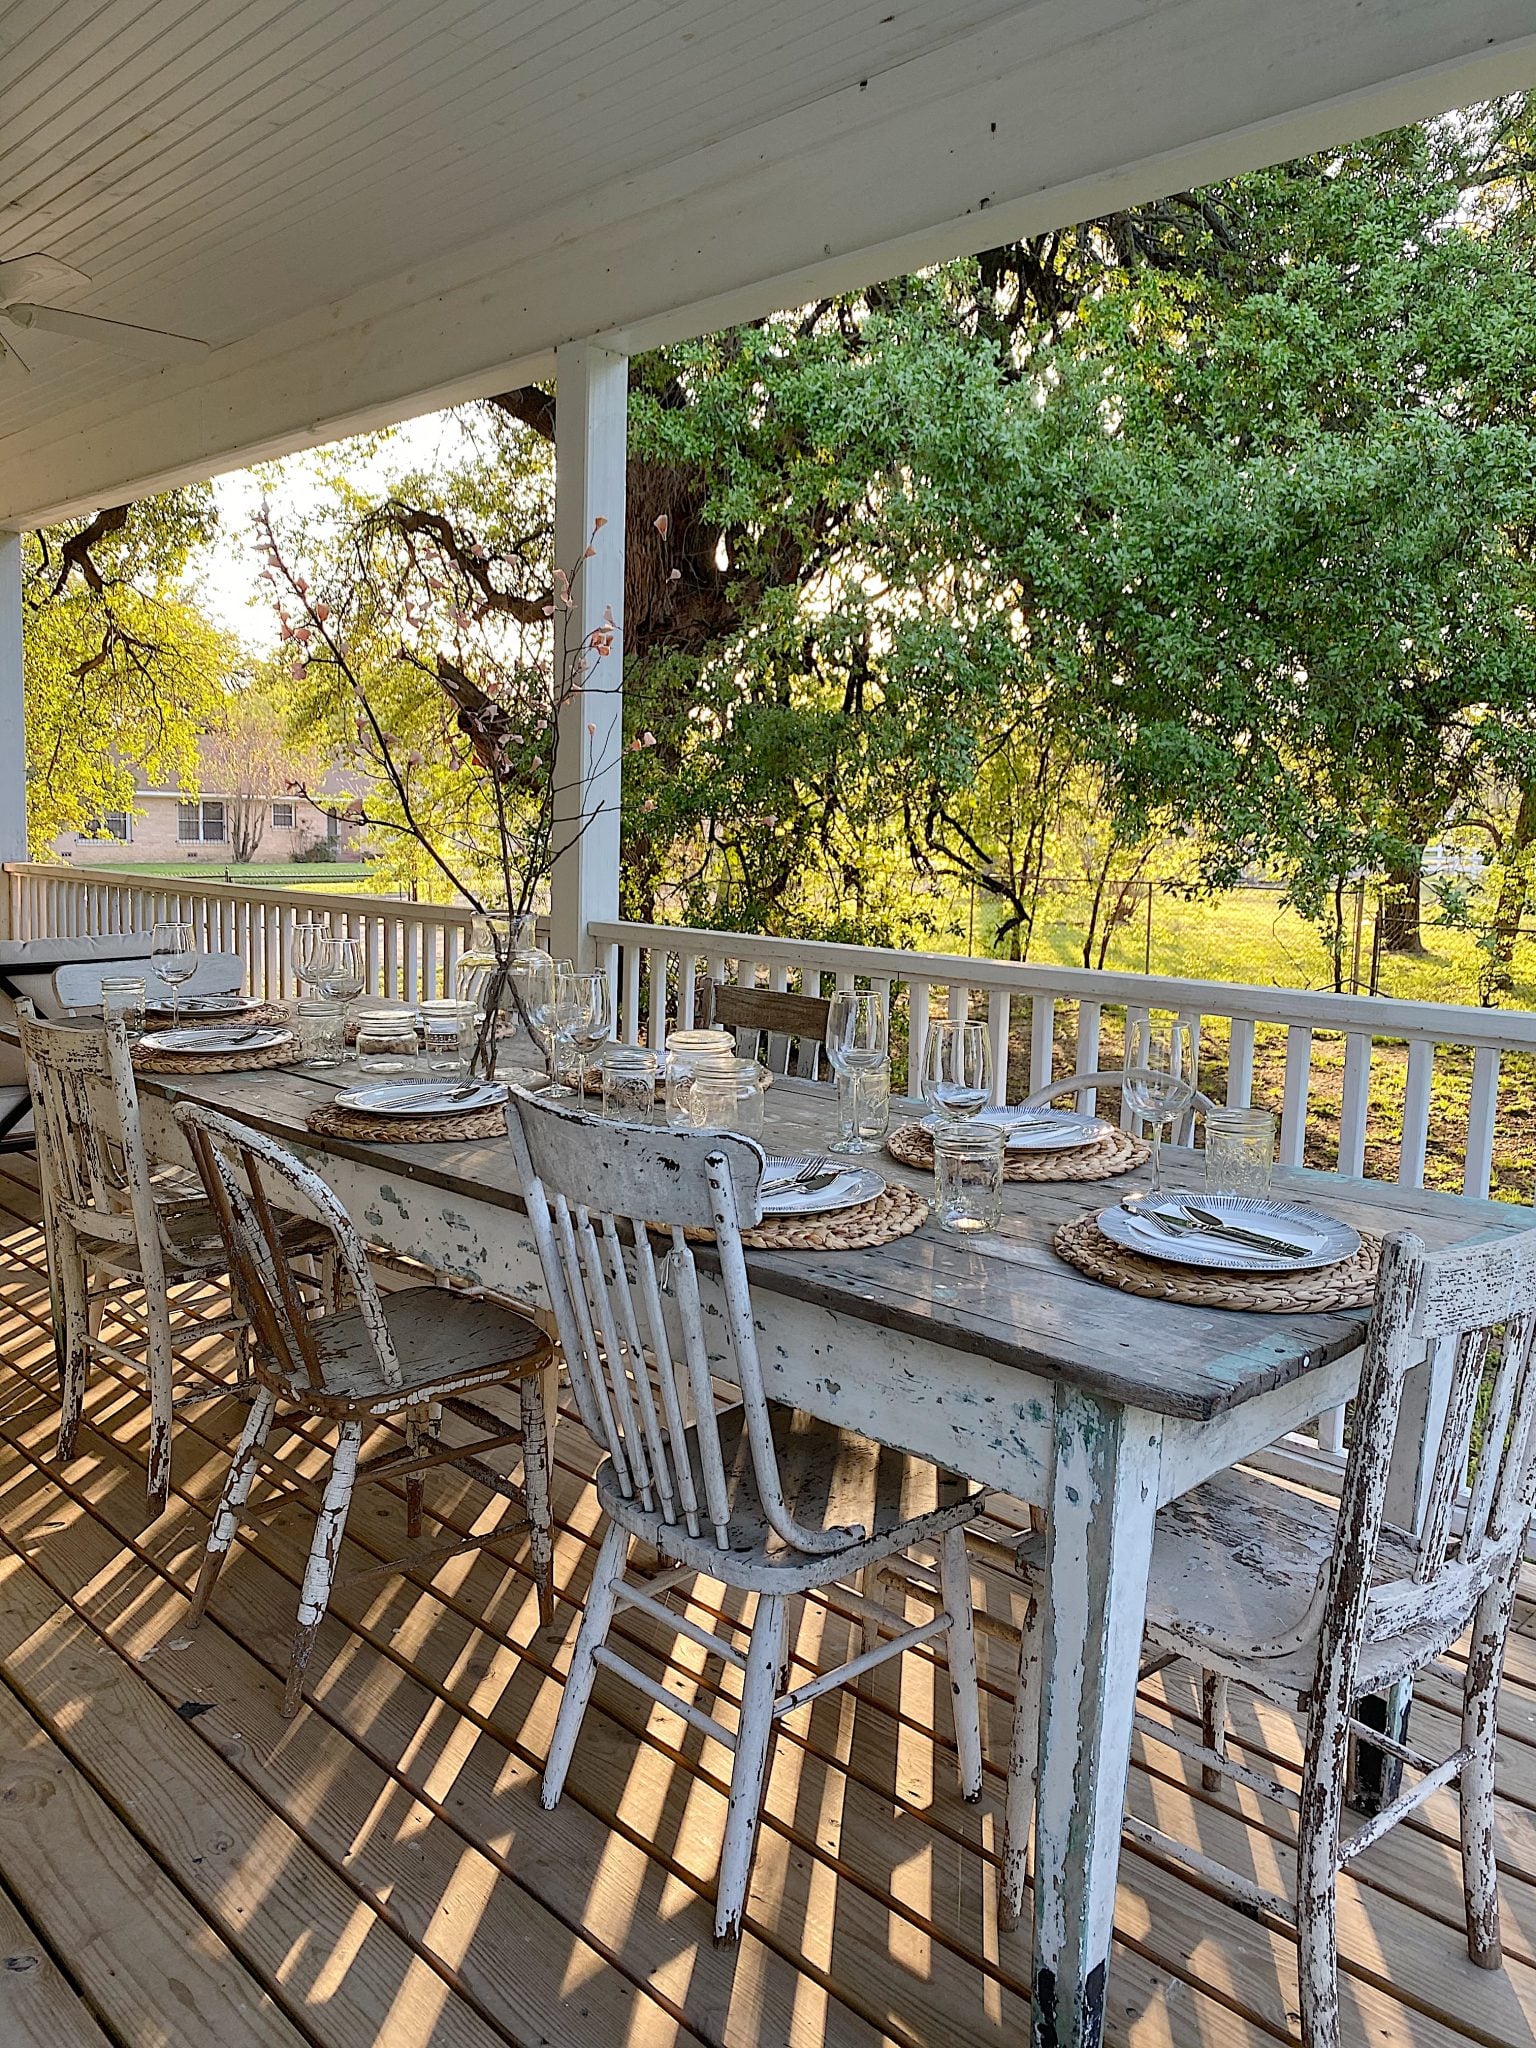
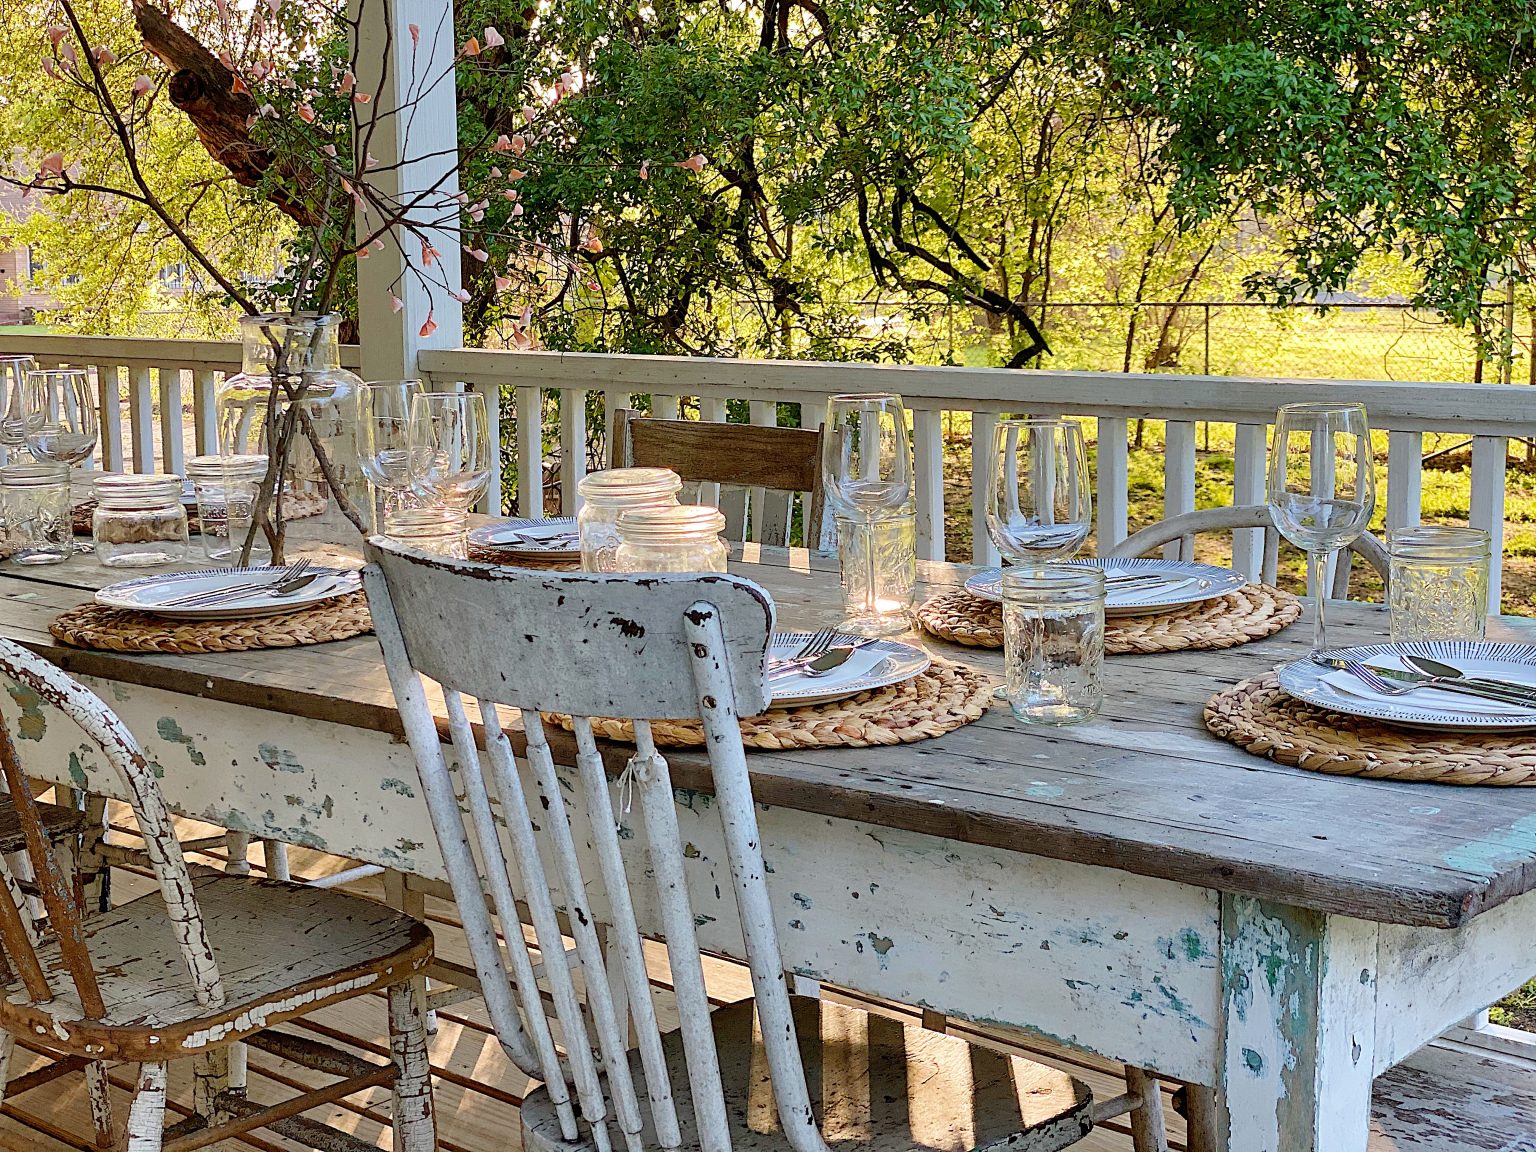
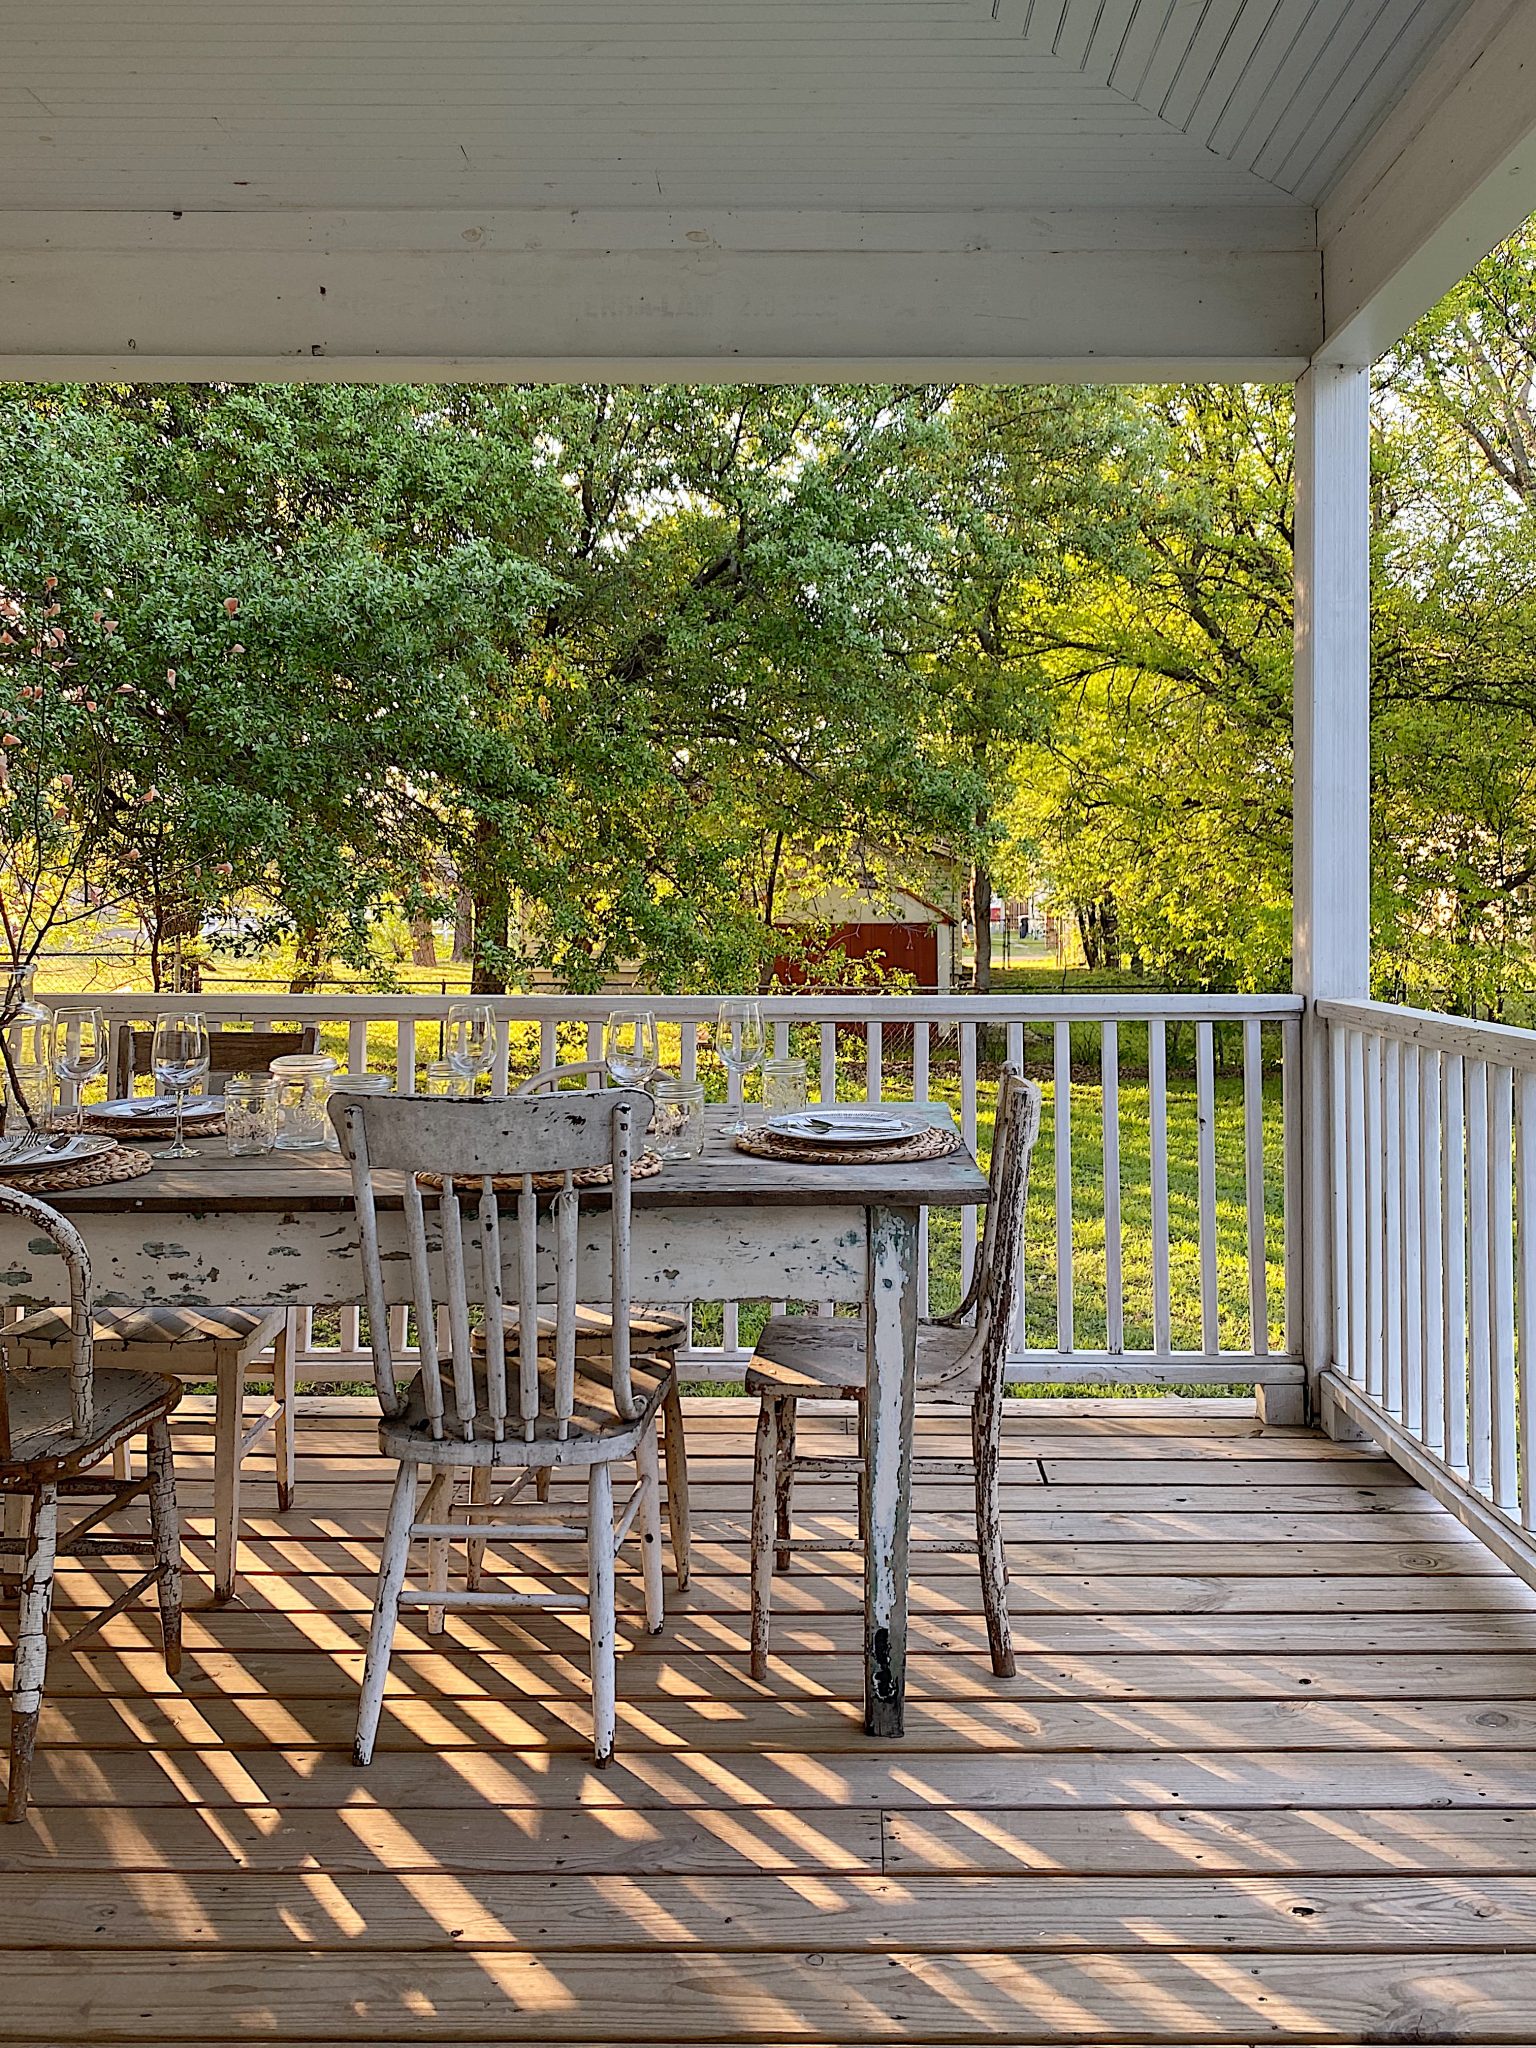
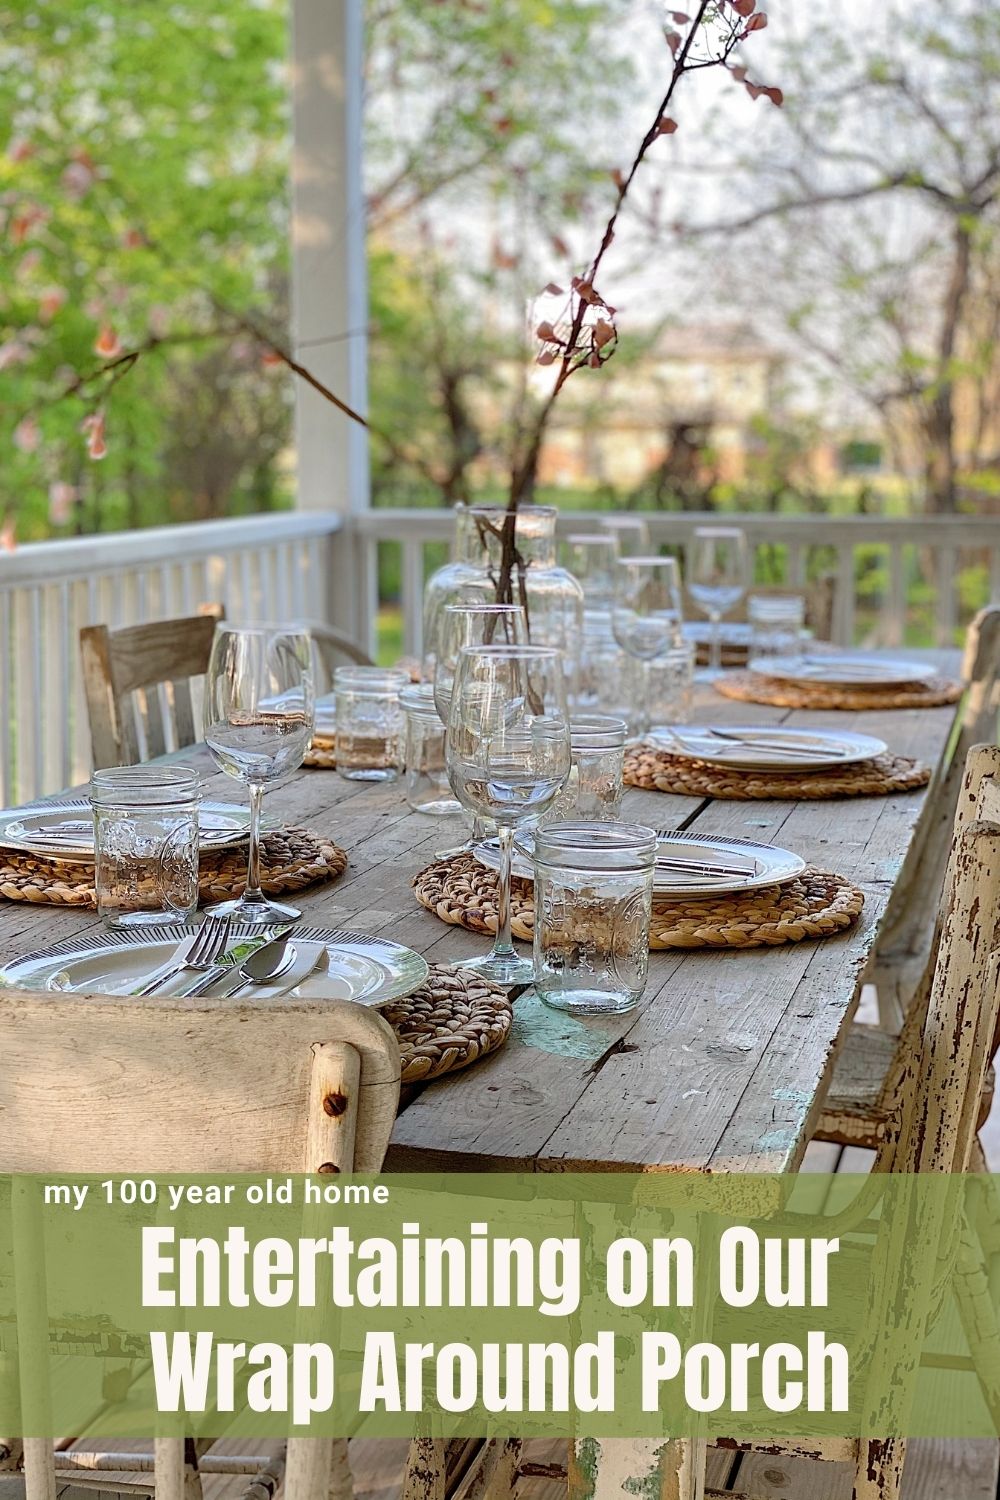
Is this not the most magical place to have dinner? I have to be honest, when we built this wrap around porch I never imagined a setting as perfect as this!
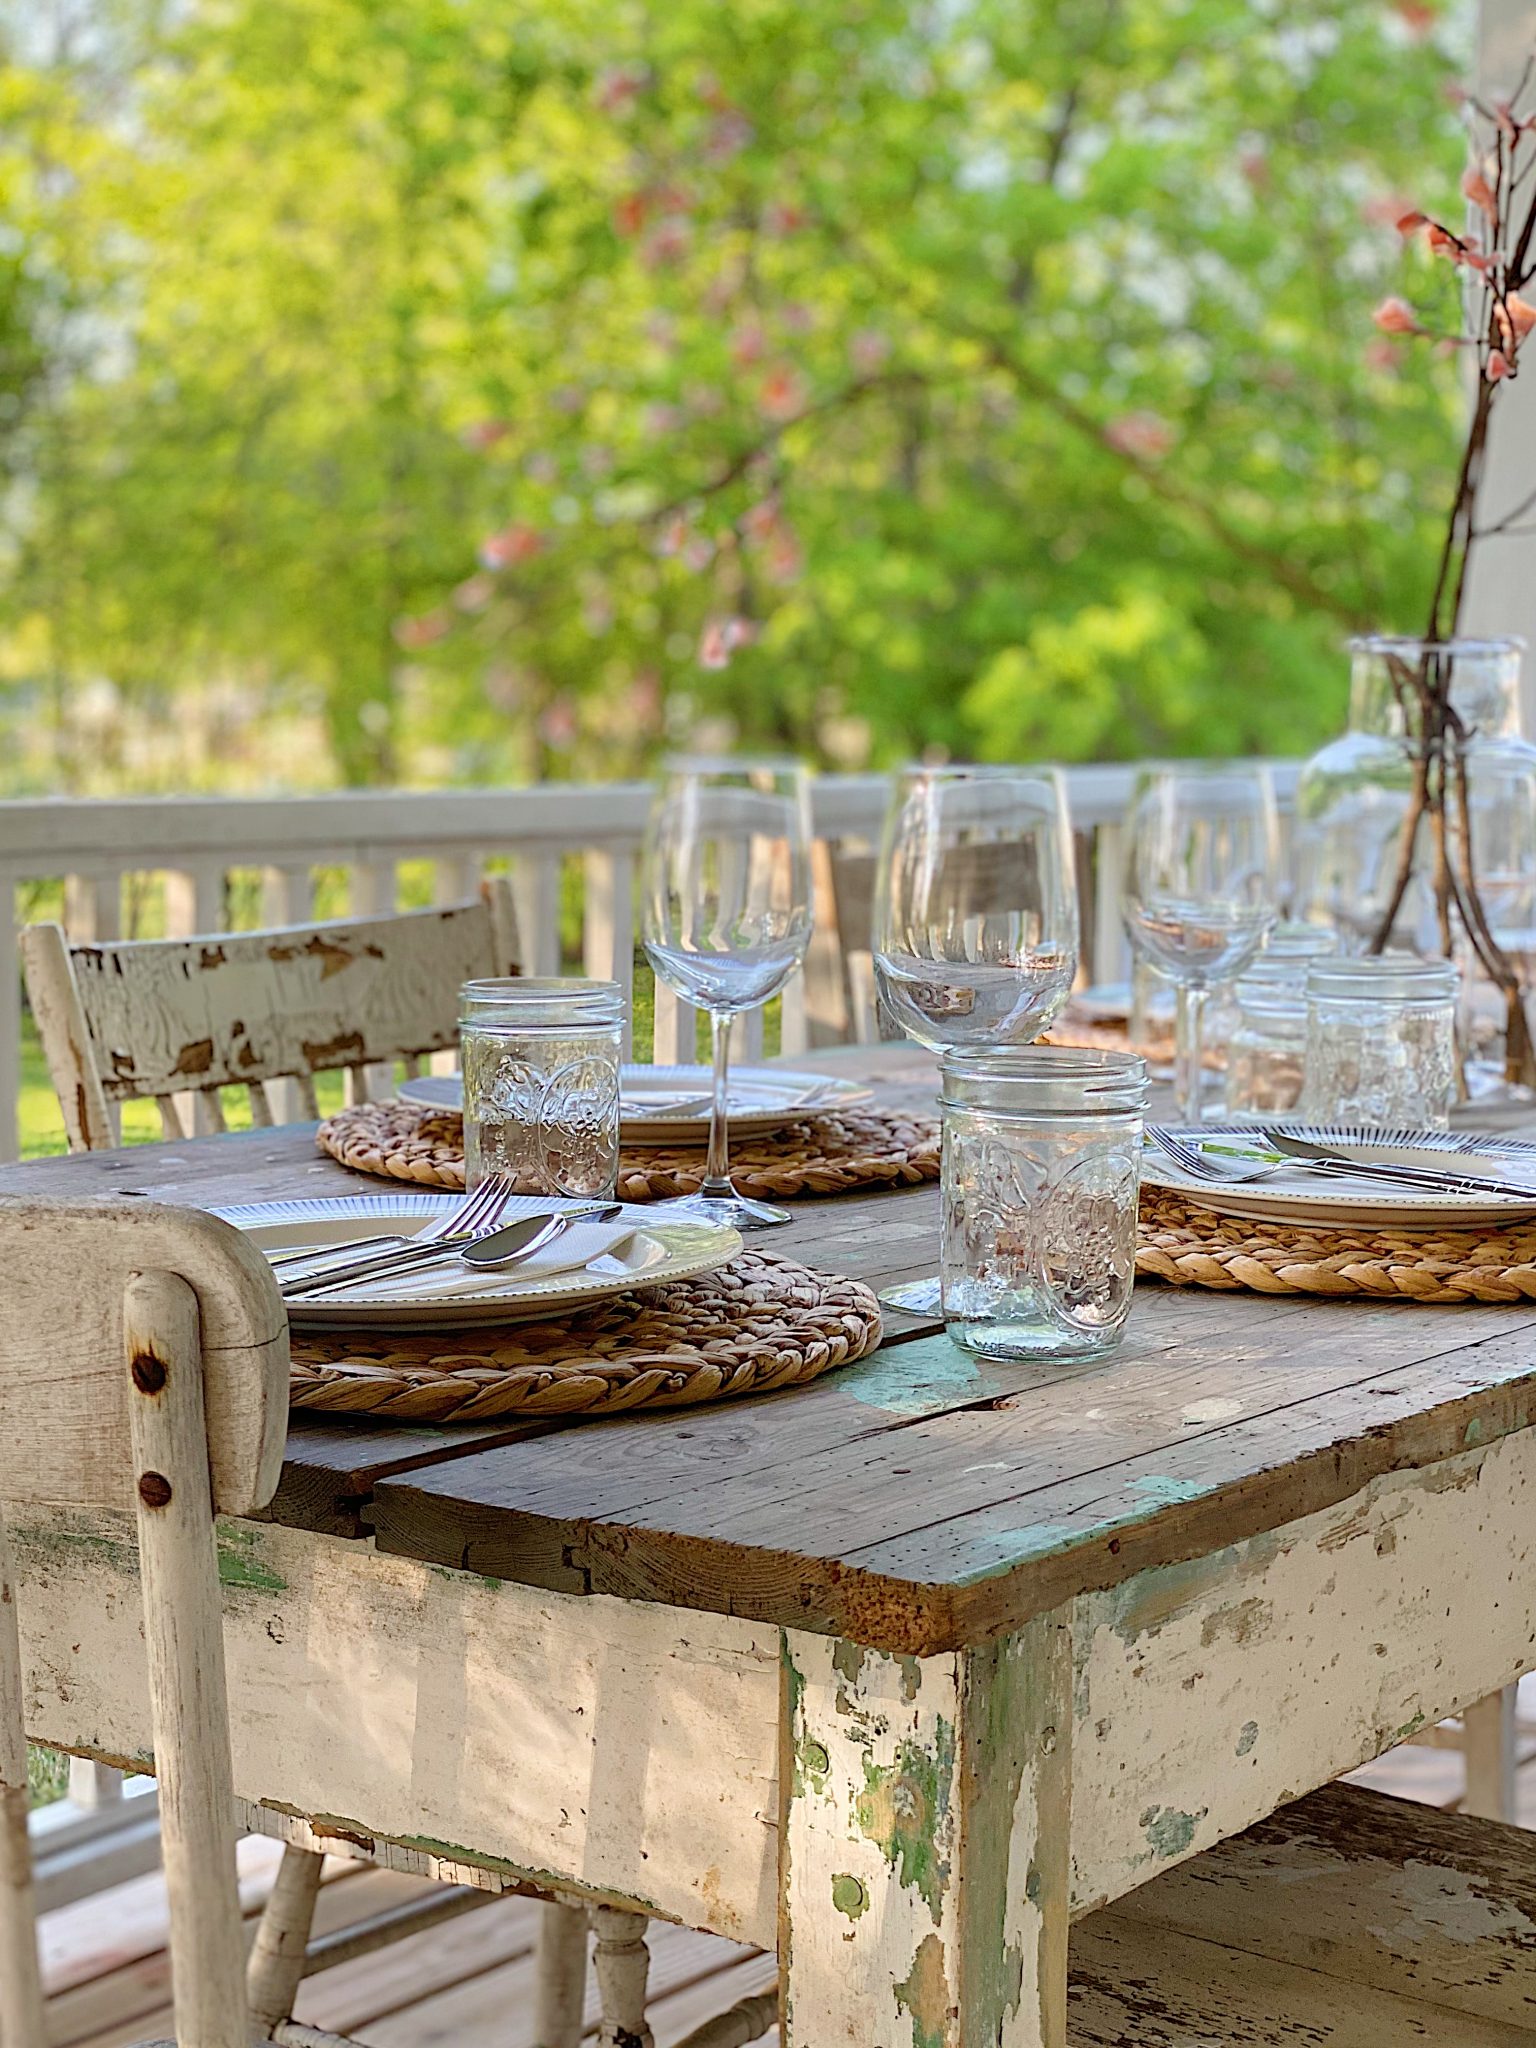
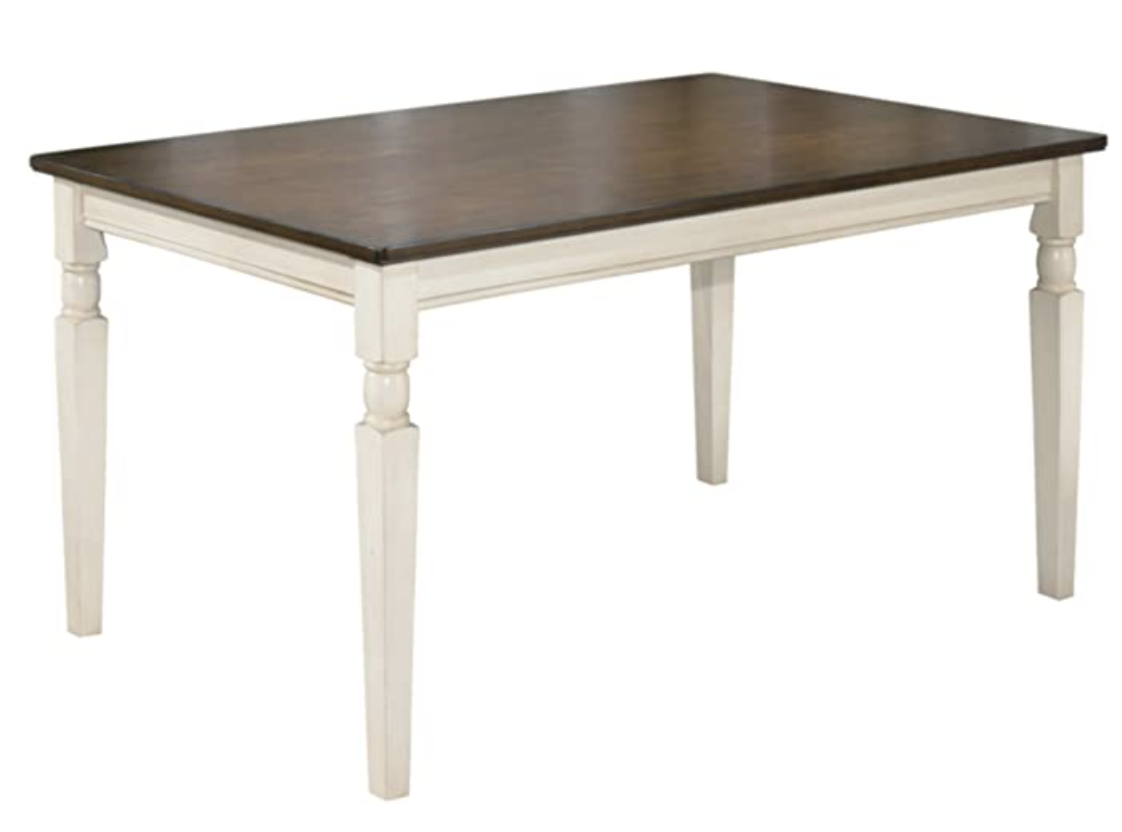
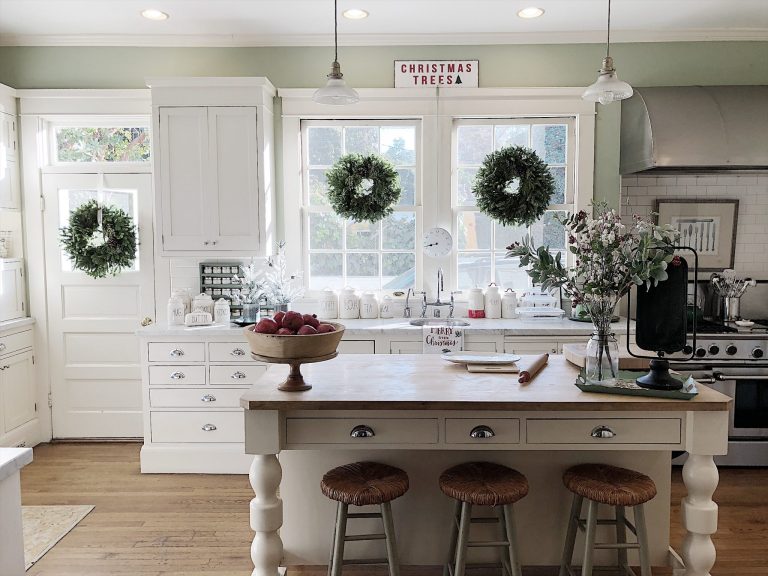
My chippy white farmhouse table is simply amazing even though it is really chippy. For a while, I even considered sanding the paint off the top. It looks a bit like an artist might have used this table. But I like that it is so authentic and vintage and chippy.
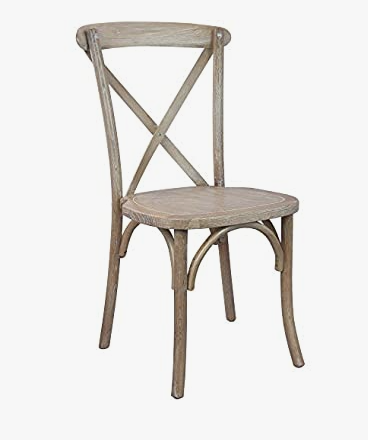
And every chair is different and chippy too. So they are the perfect match.
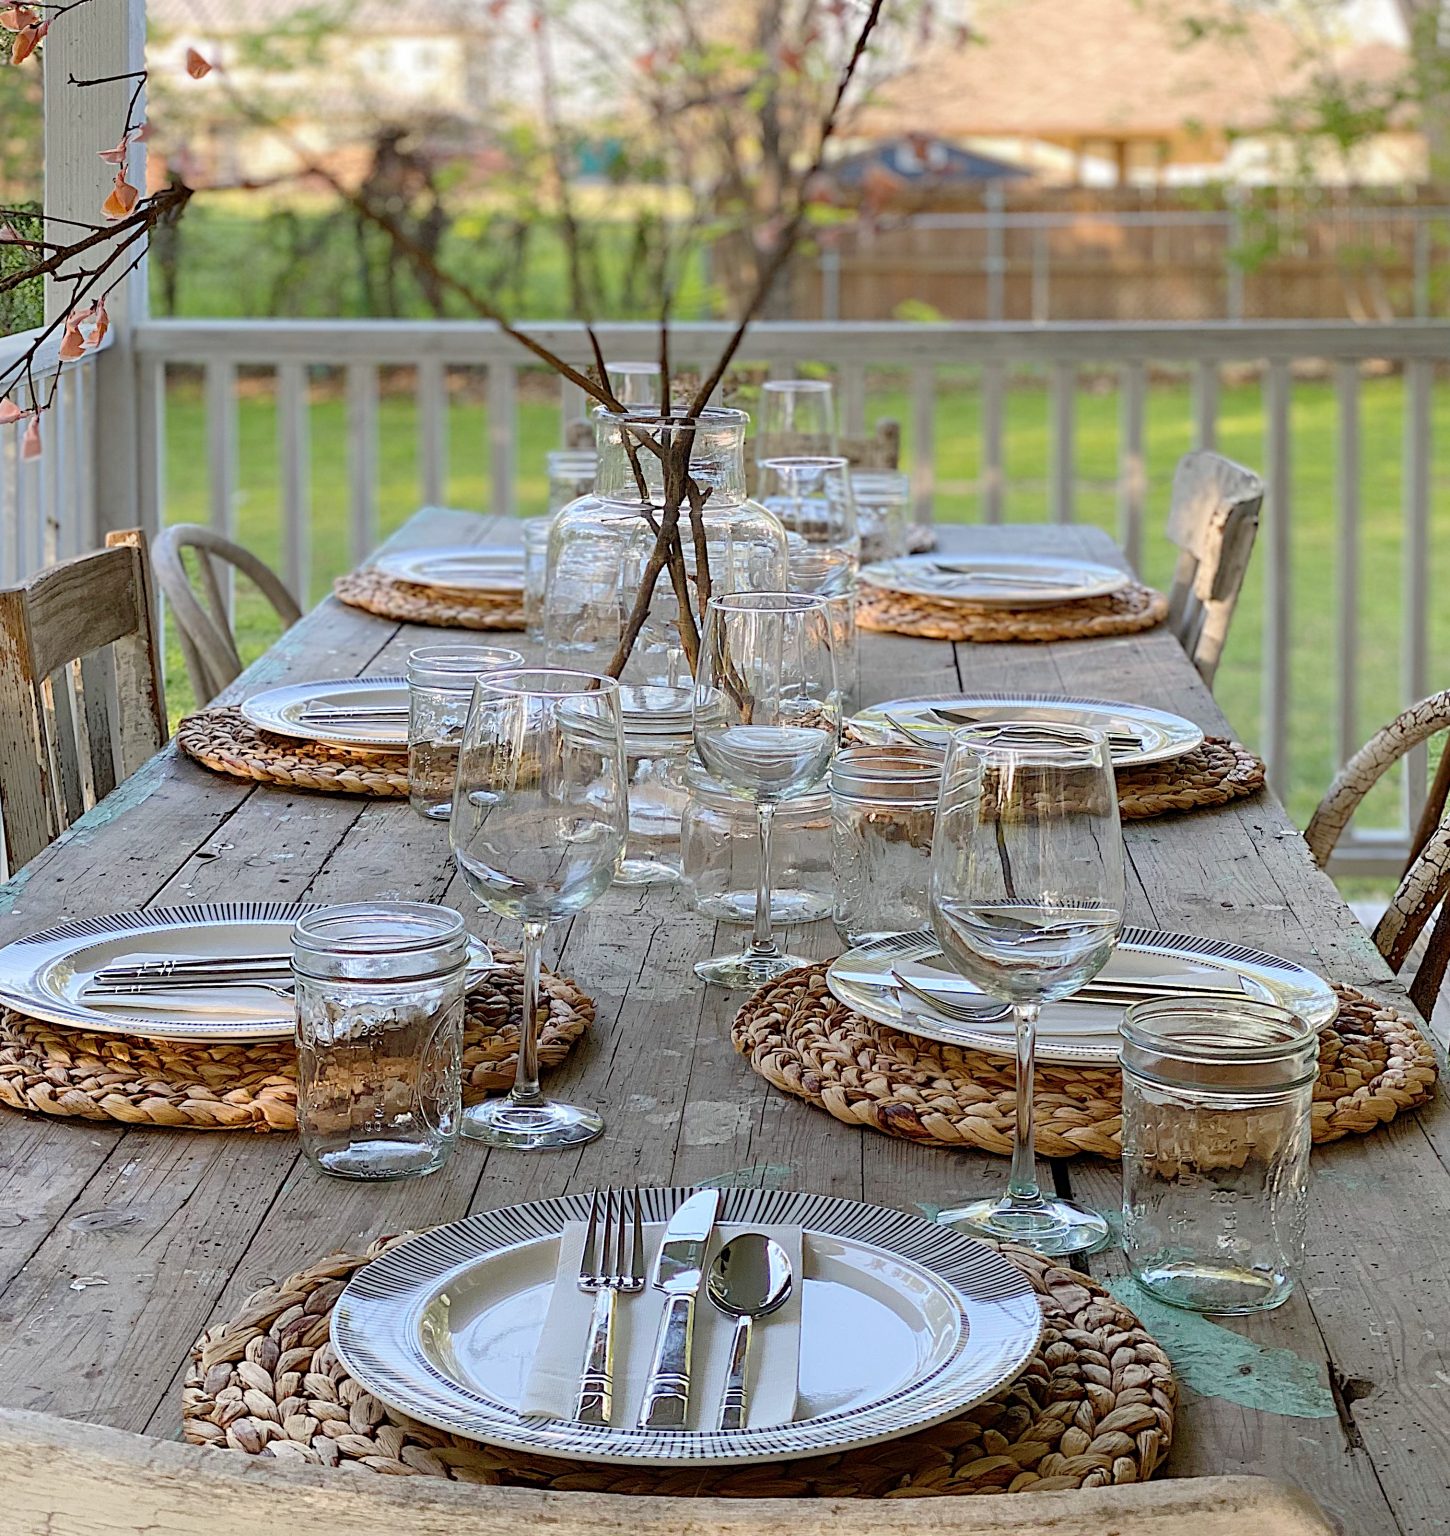
How I Set the Table
All of the items are perfect for dining outside.
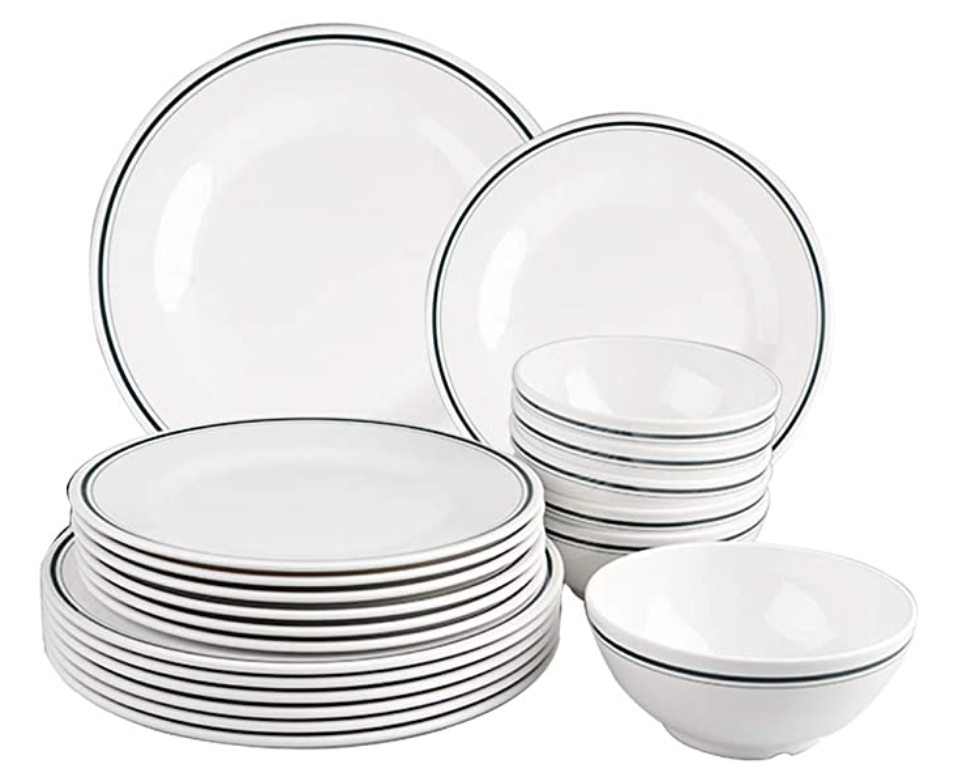
The plates are non-breakable Melamine and I am obsessed with them. I have a set of Melamine plates in Ventura and we use them more than our nice ceramic dinner plates! They are so practical and look great. And they last forever!
There are so many different Melamine plate styles available and they are not expensive. I especially love these and these and these.
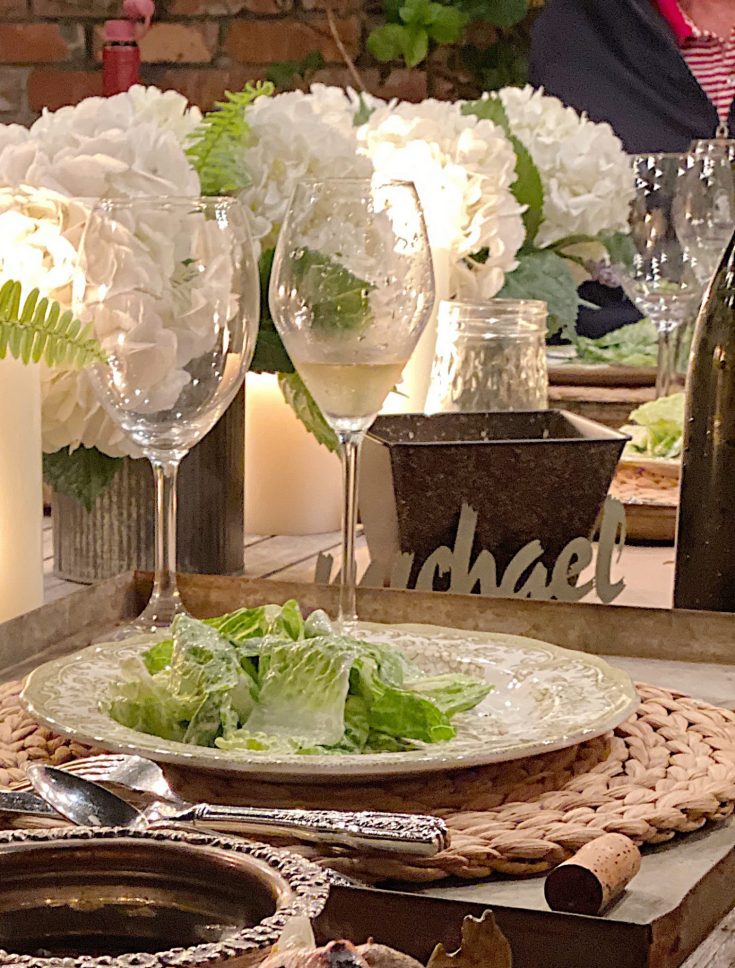
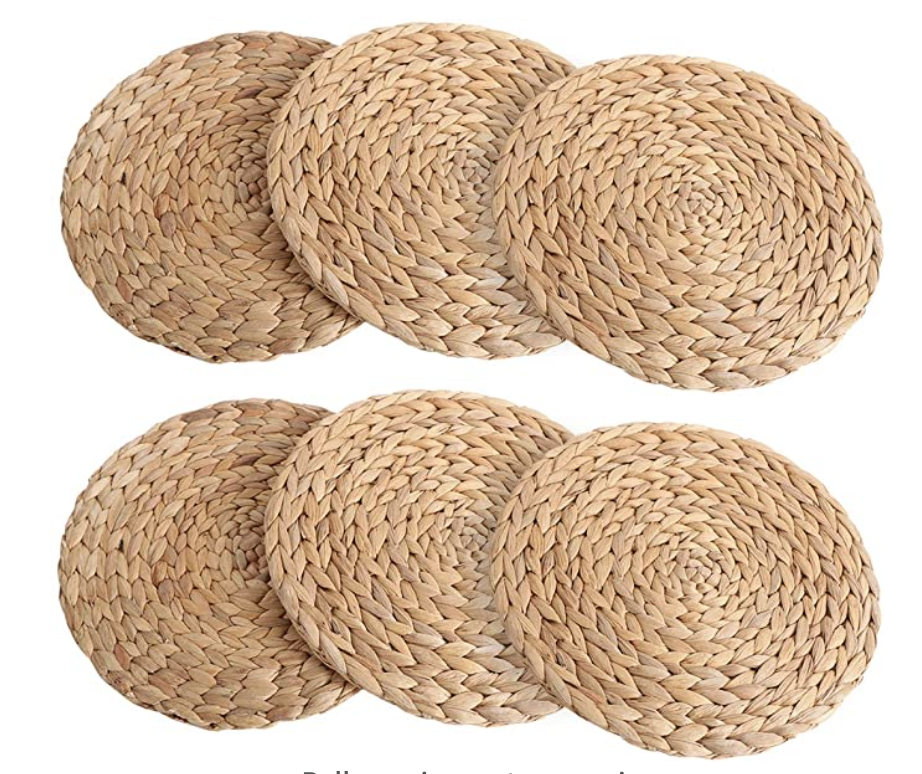
I know you have seen my favorite Hyacinth placemats all over my blog. I use these for casual and fancy. I just love them!
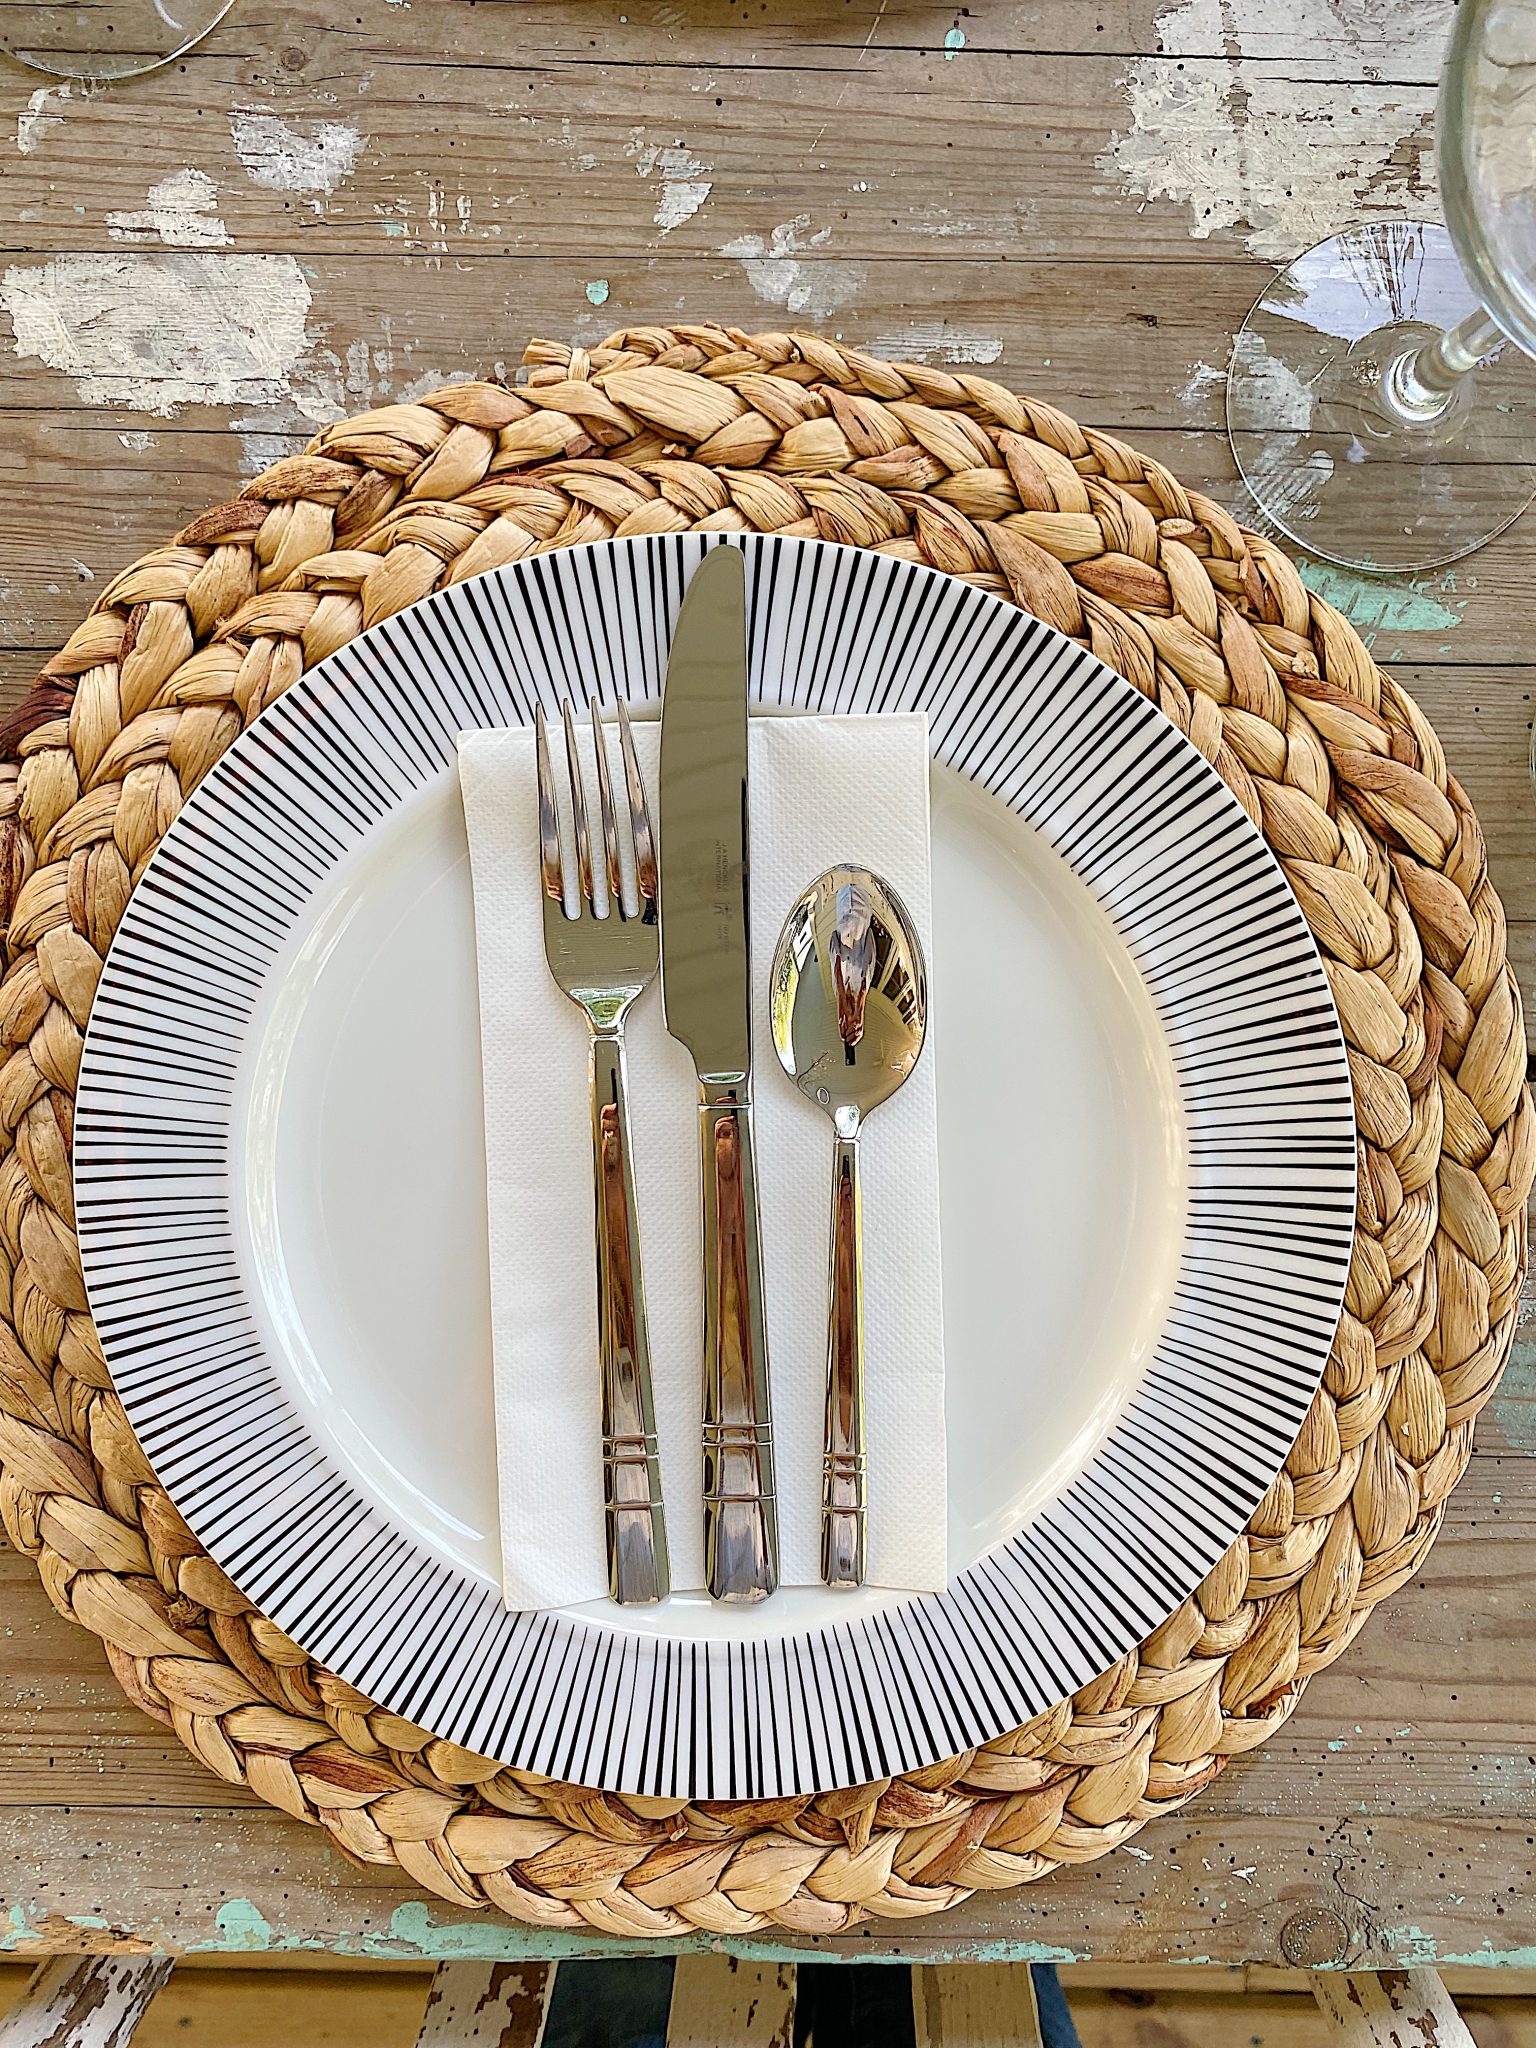
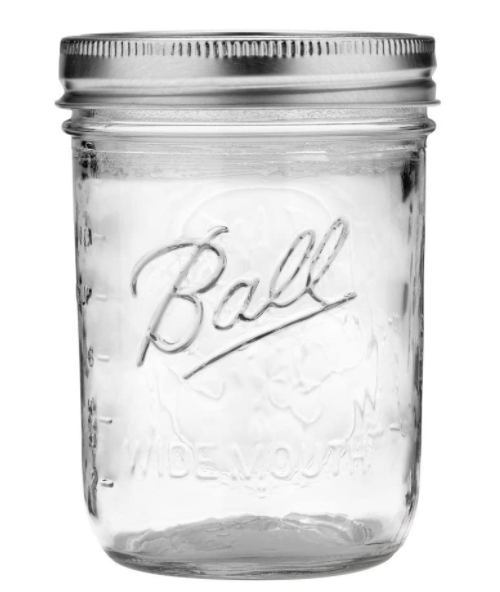
The glassware is super casual and sturdy. We use ball jars as drinking glasses everywhere. I love that my boys have done the same in their homes. I guess I don’t think that they would copy what we have at home. But I love it! Seriously, how cute is that?
If you are enjoying my blog, you can sign up to receive my blog updates here.
.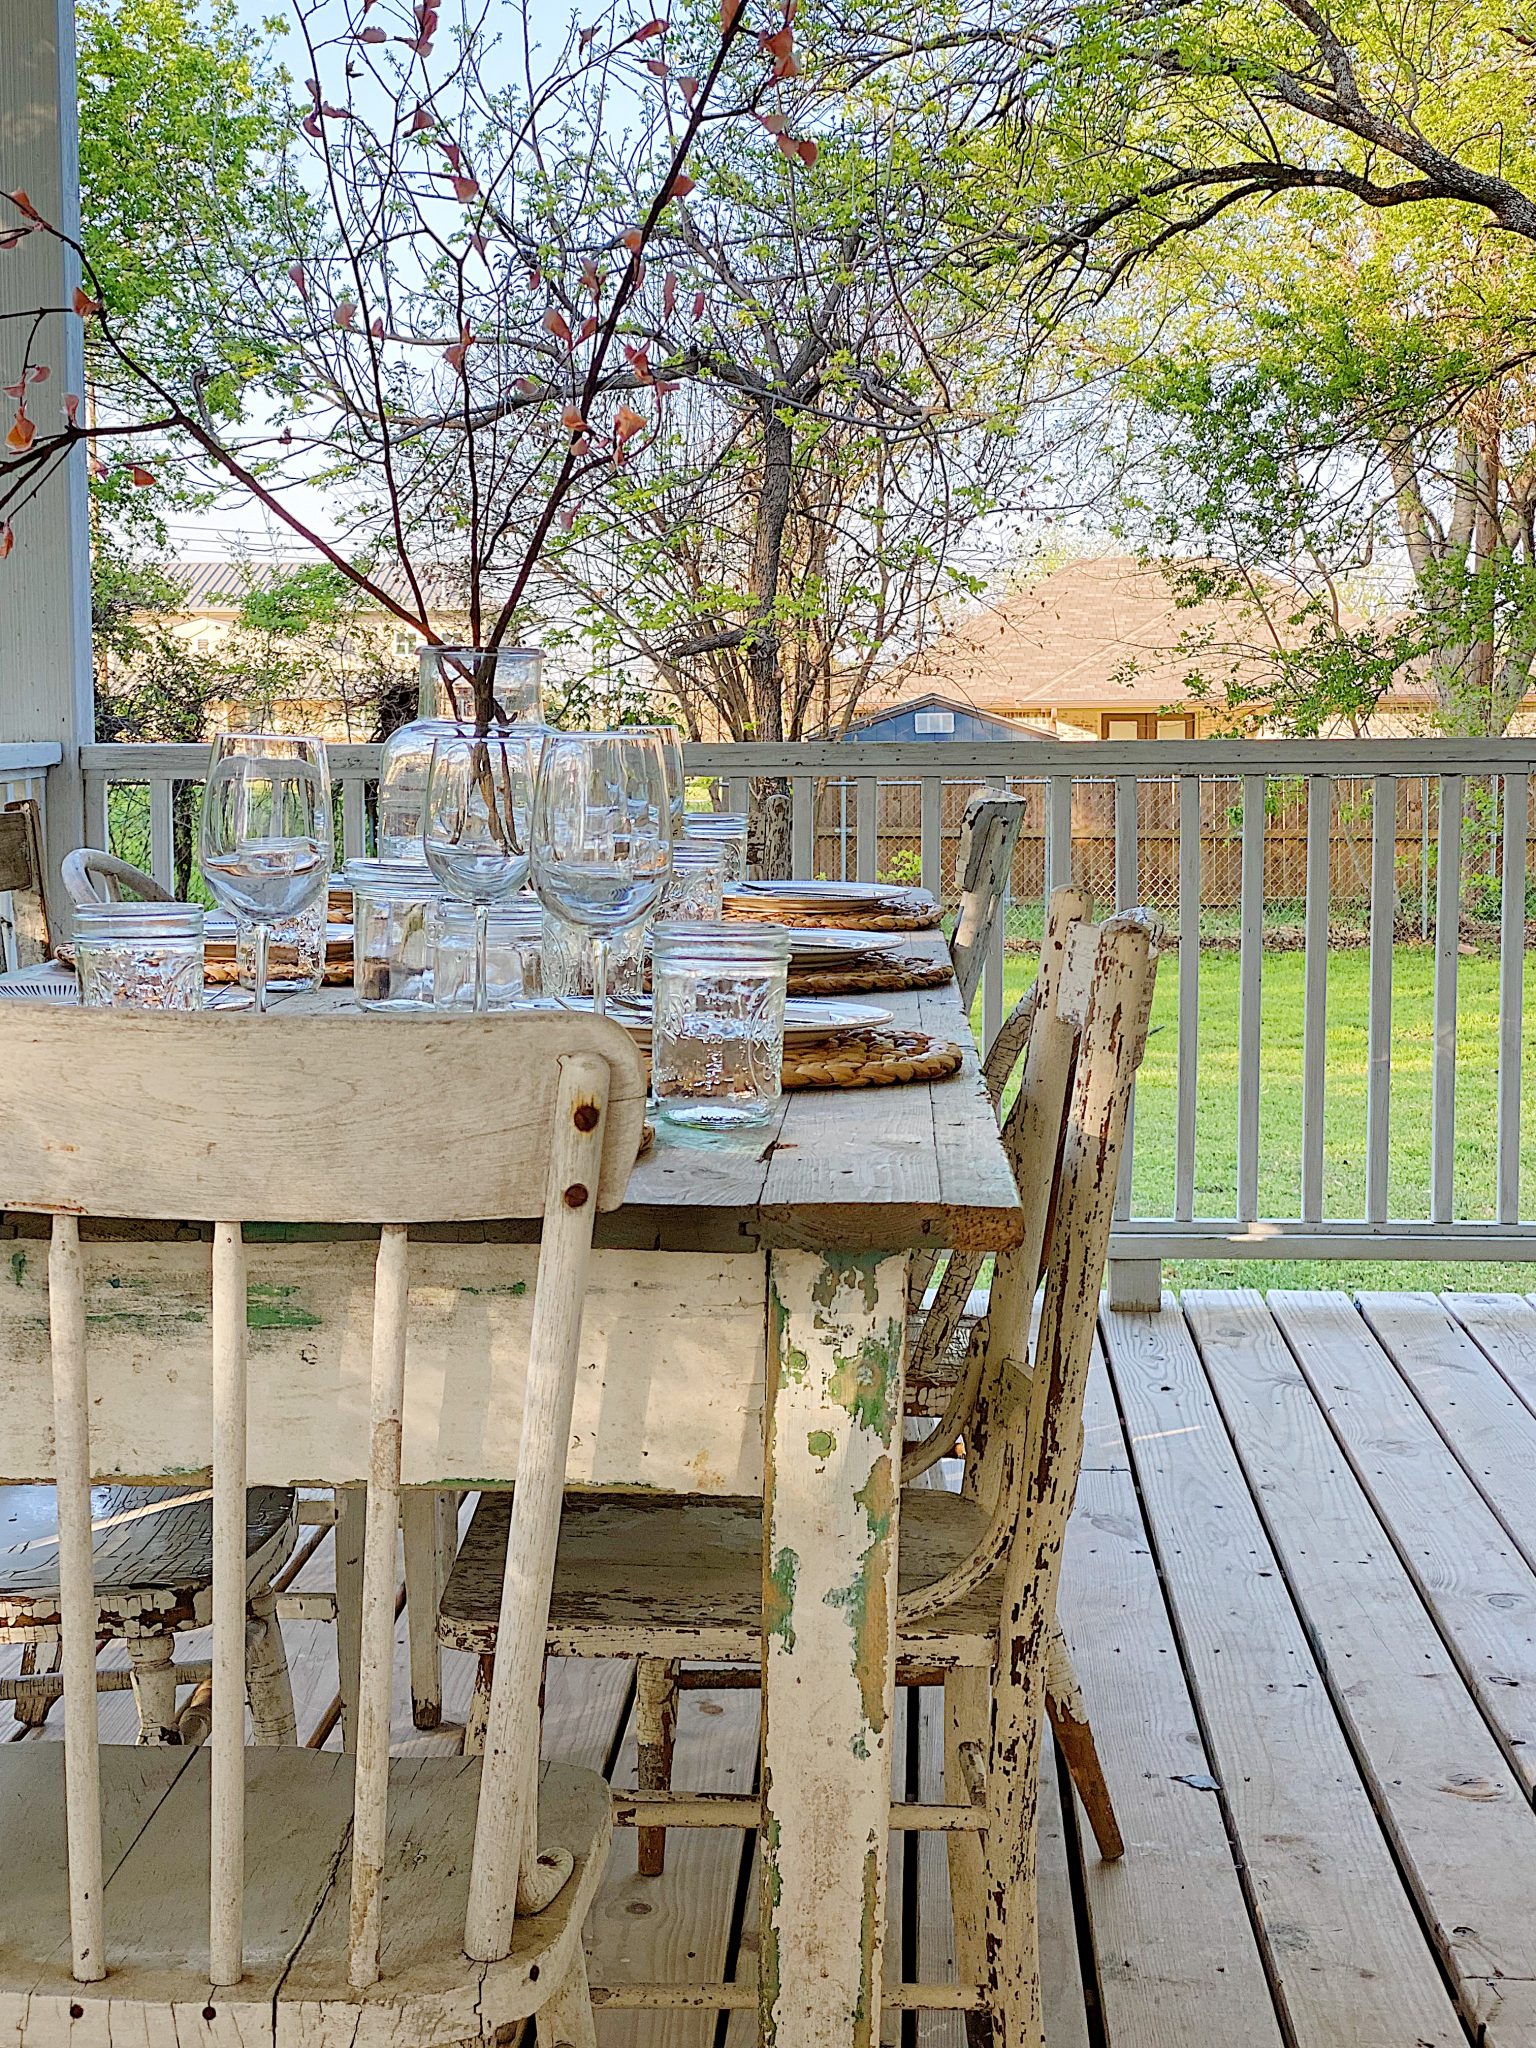
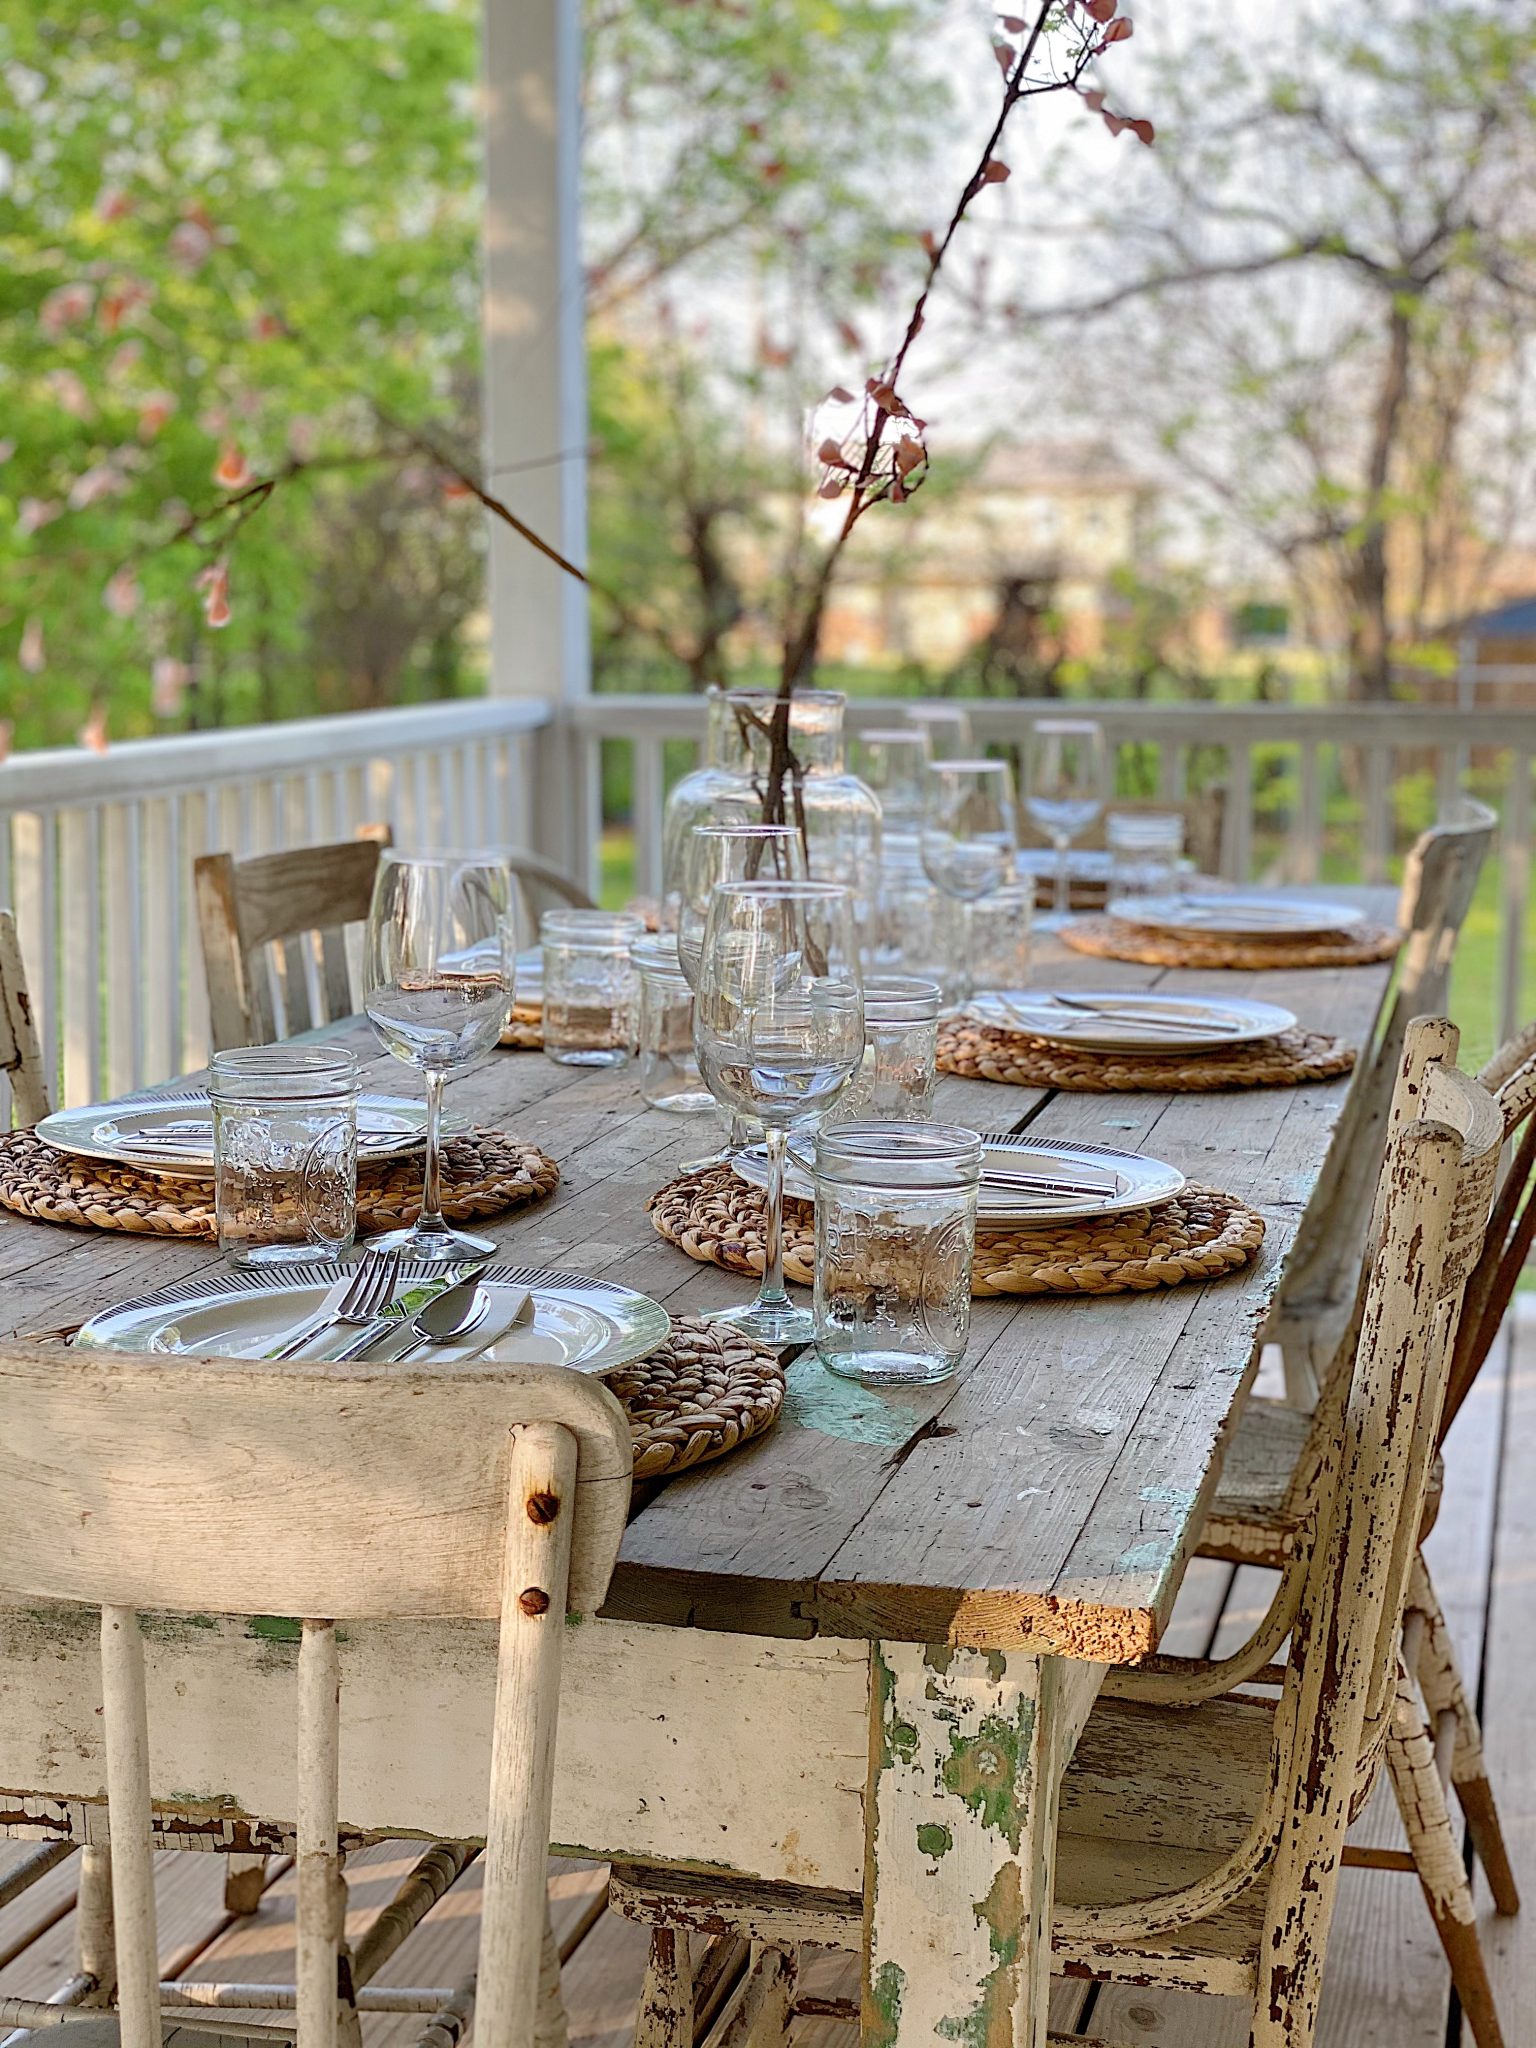
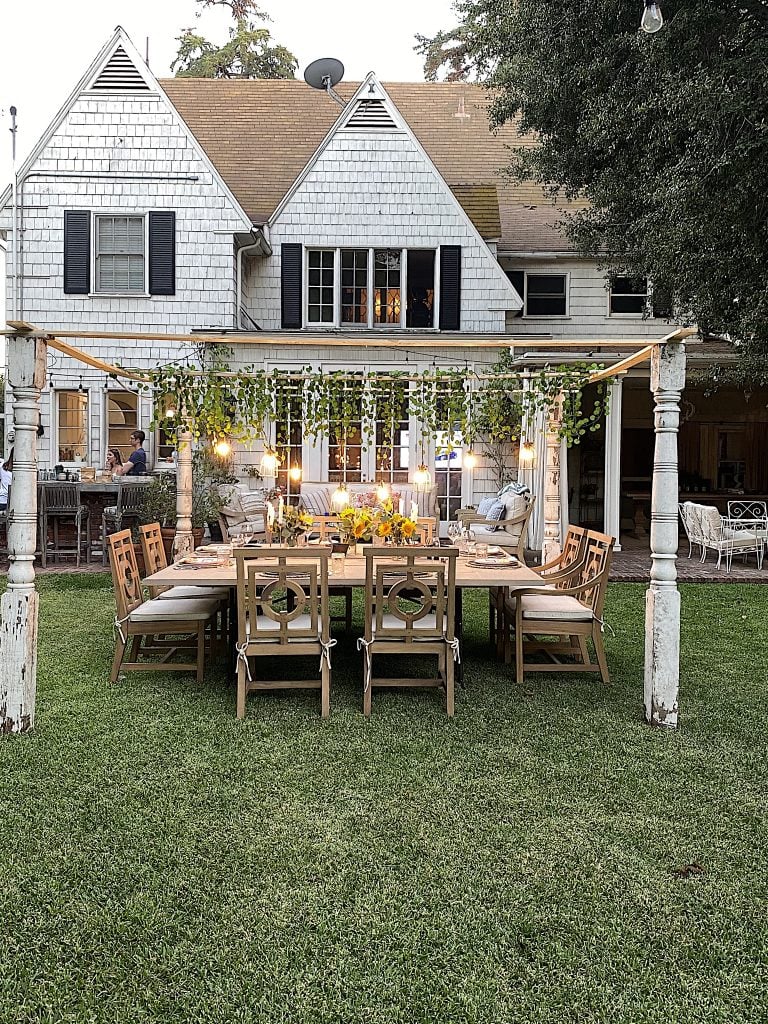
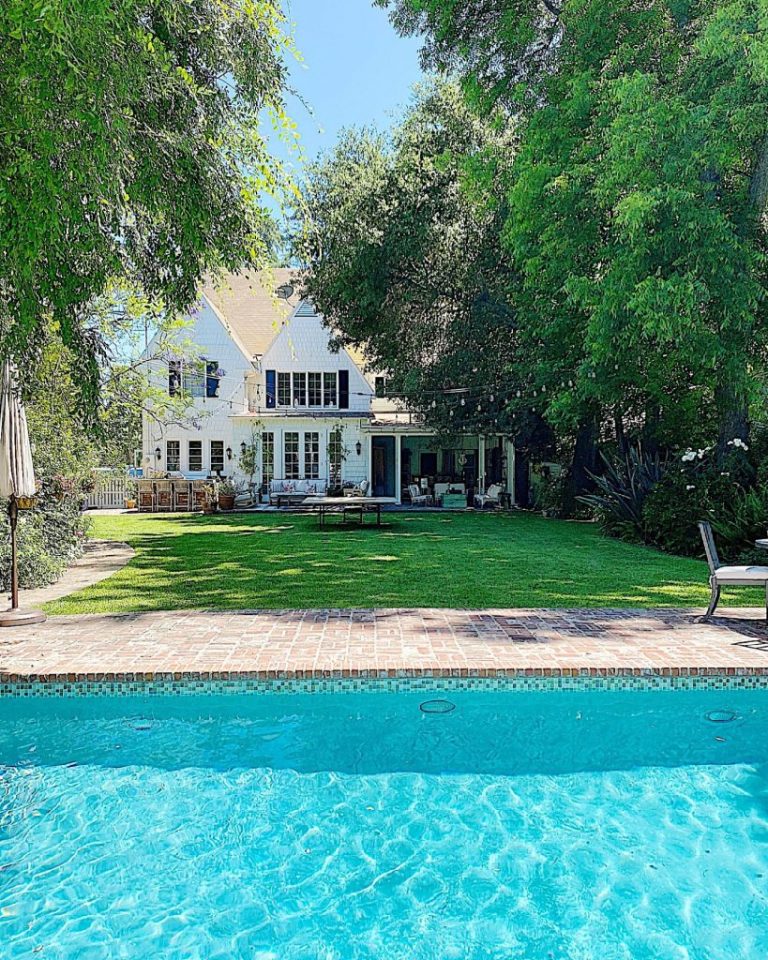
This is the view of our backyard. It’s so peaceful and the grass is just gorgeous this time of year!
Tips to Dining Outside if You Don’t Have a Porch
Let’s face it, not everyone has a wrap around porch. In fact, I had to wait forever to get mine. (I won’t mention how long I had to wait, but it was a long time. Haha.)
If you don’t have a large porch, all you need to do is move your table outside. Put it in the middle of your backyard. On your back patio. Or in your side yard.
You can put your table anywhere, just put it in an unexpected location or somewhere with trees nearby for a pretty view.
One thing I still want to try is hosting a dinner in our front yard at home. That is different, right? And so unexpected!
Of course, if you have a large front porch then that is a perfect location too. Doesn’t that sound amazing? It would be so unexpected, but so much fun.
Frequently Asked Questions
Most estimates state that adding a porch to your home will return, on average, about 80% of your investment.
What to Serve at Your Dinner on the Porch
Salad Recipes
These salads are perfect as a main course. You can also serve them as side salads as they work so well with any entree.
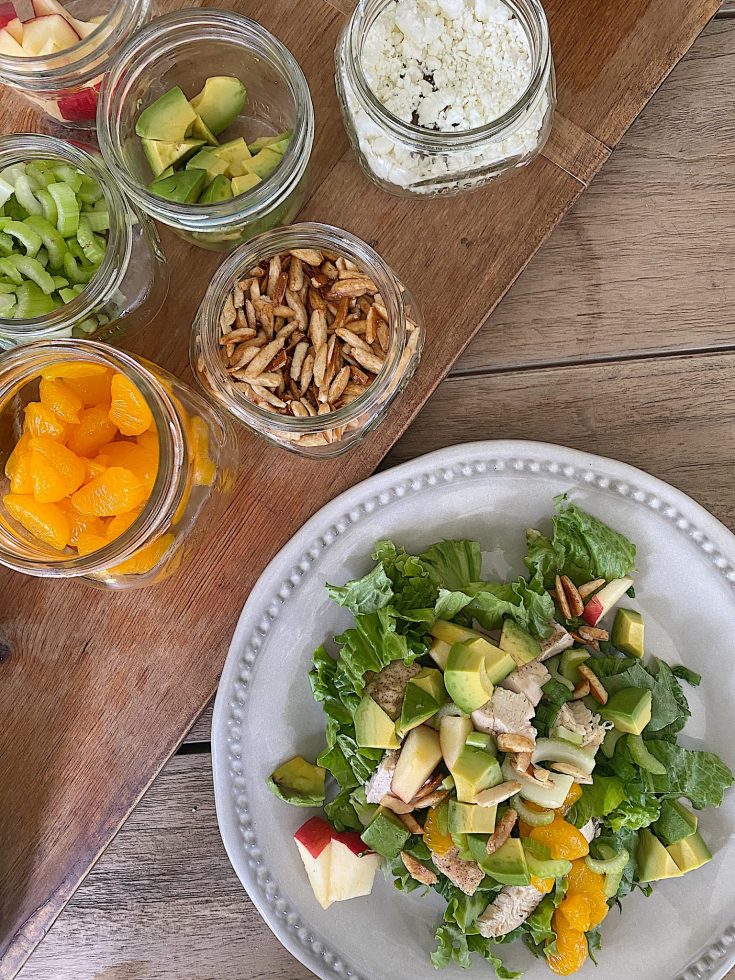
The Best Summer Salad
Ingredients
- Sugared Almonds
- 3/4 cup slivered almonds
- 2 TBL. sugar
- Chicken breasts:
- 4 chicken breasts
- 2 TBL olive oil
- 2 tsp poultry. seasoning, 1 /2 tsp salt
- 1/2 tsp pepper
- 1 head green leaf lettuce
- 2 avocados, cut into pieces
- 2 cans mandarin oranges (11 oz.)
- 1 cup sliced celery
- 1/2 cup goat cheese
- 1/2 cup dried cranberries
- 1 honey crisp or pink lady apple, diced
- 5 green onions
- Dressing:
- 2 TBL sesame oil
- 1/4 cup seasoned rice wine vinegar
- 1/4 cup vegetable oil
- 2 Tablespoons sugar
- 1 teaspoon salt
- 1/4 teaspoon pepper
Instructions
- To make the slivered almonds, place almonds and sugar in a stovetop pan. Cook at medium temperature for approximately four minutes. Stir with a wooden spoon the entire time. As soon as the almonds are golden brown, remove from heat and place on aluminum foil to cool.
- Place the chicken breasts in a baking dish, sprinkled it with olive oil, salt, pepper, and poultry seasoning and bake at 350 for twenty-five minutes. Cut into bite-sized pieces.
- Mix all ingredients for salad dressing in a container and shake.
- Mix all salad ingredients (or place in containers as a salad bar). Add sugared almonds and sprinkle with dressing.
Healthy Caesar Salad
Ingredients
- Caesar Dressing
- 1/2 - 1 tsp anchovy paste (based on taste)
- 1 garlic clove, chopped
- 1/2 tsp salt
- 1/2 tsp pepper
- 2 TBL fresh lemon juice
- 1/2 tsp Dijon mustard
- 1 tsp Worcestershire sauce
- 1 1/2 cups of Sir Kensington's Classic Vegan Mayonnaise
- 4 TBL grated vegan parmesan cheese (such as Follow Your Heart Cheese Alternative, dairy free, shredded parmesan)
- 2 heads of romaine lettuce, torn or cut into small pieces
Instructions
- To make the dressing, either by hand or with an electric mixer, whisk together the anchovy paste, garlic, salt, pepper, lemon juice, mustard, and Worcestershire sauce.
- Add the mayonnaise and parmesan cheese.
- Chill until ready to use.
- Pour over lettuce, add additional parmesan cheese if desired.
Entree Recipes
These three recipes are my “go to” recipes for a spring or summer dinner. You will love all three of them!
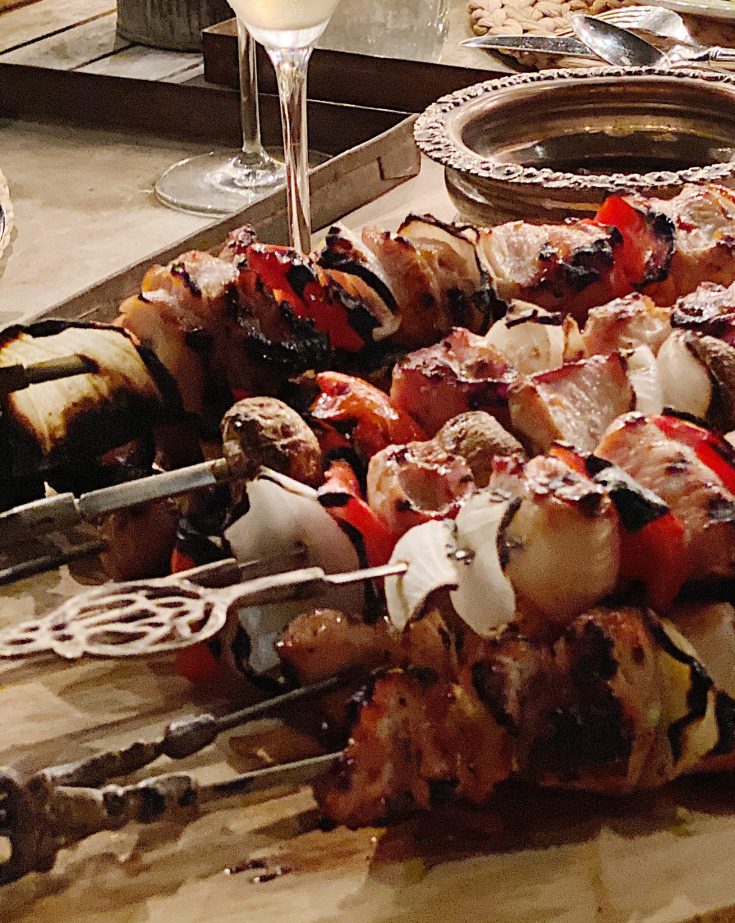
Marinated Chicken and Vegetable Shish Kabobs
Ingredients
- Chicken Marinade
- 1/2 cup avocado oil
- 2 TBL red wine vinegar
- 2 TBL Dijon mustard
- 2 TBL Worcestershire sauce
- 1 TBL lemon juice
- 1 TBL coconut aminos
- 1 tsp fresh ground pepper
- 2 tsp Italian or chicken seasoning
- 1 garlic clove, chopped
- 4 boneless skinless chicken breasts, cut into strips
- 2 white onions, cut into 1" chunks
- 2 red peppers, cut into 1" chunks
- 1 package of whole white mushrooms, cleaned and stemmed
Instructions
- Cut chicken and set aside. Mix all marinade ingredients and place them in a Ziploc bag with cut chicken. Marinate for at least three hours.
- Skewer chicken and vegetables on metal skewers. (You. can use wood skewers if you soak them in water or wine for about an hour.) If you have extra chicken (or vegetables), place them on skewers too.
- Grill skewers for approximately twenty minutes, turning every five minutes.
- Serve immediately.
The Best Grilled Chicken with Pistachio Avocado Sauce
This is the best Grilled Chicken with Pistachio Avocado Sauce – marinated in soy sauce, honey, and garlic and grilled to juicy, golden-brown perfection. Then topped with an amazing green pistachio and avocado sauce. So easy!
Ingredients
- CHICKEN
- 1 lb. boneless skinless chicken breasts
- 3/4 cup soy sauce
- 3/4 cup honey
- 3/4 cup water
- 4 cloves garlic, smashed
- 1 TBL cilantro
- fresh lime, squeezed
- PISTACHIO AVOCADO SAUCE
- 1 avocado
- 1 cup packed parsley and cilantro leaves (combined)
- 1 jalapeño, ribs and seeds removed
- 2 cloves garlic
- juice of one lime (or two – get lots of limey goodness in there!)
- 1/2 cup water
- 1/2 cup olive oil
- 1 teaspoon salt
- 1/2 cup pistachios (you can sub other nuts)
Instructions
- Cut the chicken into chunks. Place in a large ziplock plastic bag or bowl.
- Pour the soy sauce, honey, water, and garlic into a bowl. Whisk until incorporated. Set aside about 3/4 cup of the sauce for brushing the chicken later.
- Pour the remaining sauce into the bag or bowl with the chicken. Seal or cover the mixture and refrigerate as long as you can – 4 hours is a good minimum but you can go as long as overnight.
- When you’re ready to grill, preheat the grill on medium-high for 5-10 minutes and oil the grates. Meanwhile, drain off the marinade and place the chicken pieces on skewers. Place the chicken on the hot grill, cover, and cook for 3-4 minutes. Brush with reserved sauce and flip. Repeat this process until you see that the chicken is browned to your liking and fully
cooked. - Serve with cilantro, lime, Magic Green Sauce, or any other dipping sauces you like. We also like this with a salad and some naan or rice.
- To make the five-minute green sauce, pulse all remaining ingredients – except pistachios – in a food processor until incorporated.
- Add pistachios and pulse until mostly smooth (depends on what consistency you want).
- Serve as a dip, spread, or sauce — or add additional water or oil to thin the sauce for use as a dressing or a marinade.
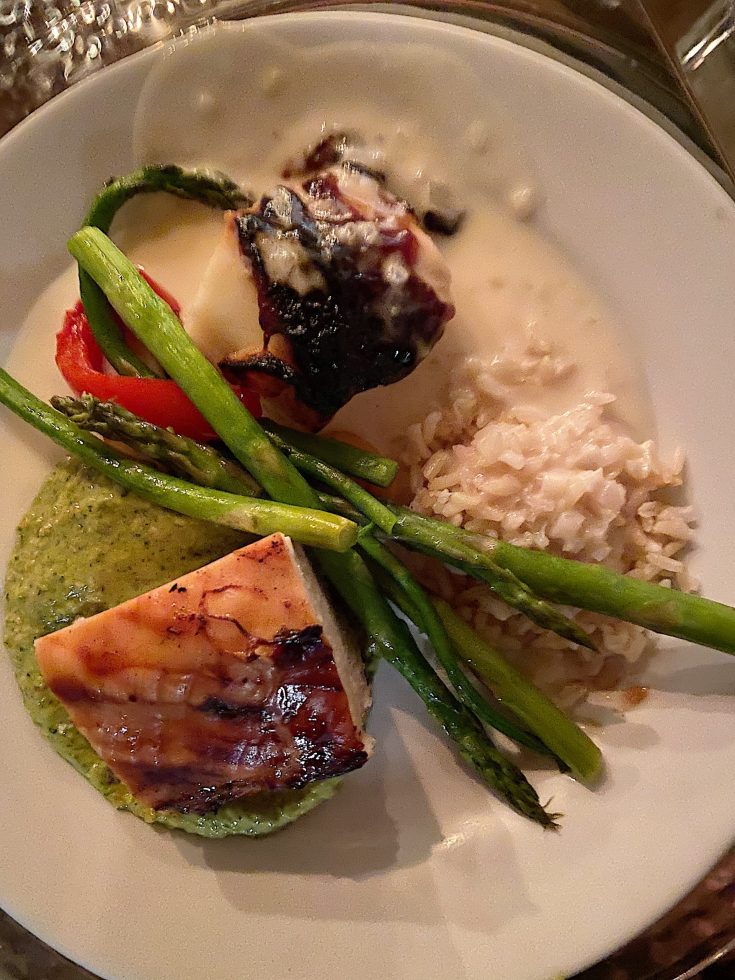
Grilled Salmon with Avocado Salsa
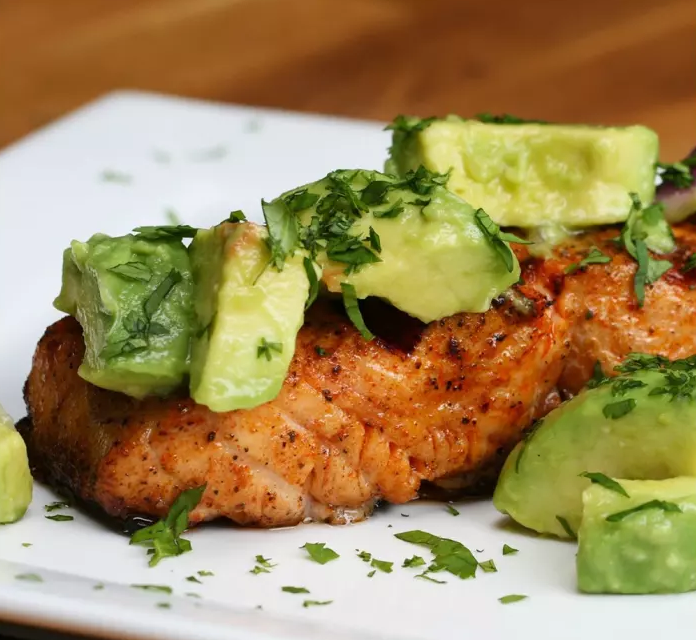
This recipe is my go-to recipe. It's delicious, healthy and easy to make.
Ingredients
- Salmon:
- 1 Tbsp. olive oil
- 1 tsp salt
- 1 tsp pepper
- 1 tsp smoked paprika
- 4 salmon fillets
- Avocado Salsa:
- 2 avocados
- 1/4 red onion
- 1 lime, juiced
- 1 Tbsp. olive oil
- 1 1/2 tsp salt
- 1 TBL chopped fresh cilantro
Instructions
Place the salmon in a baking pan lined with parchment paper. Drizzle the olive oil on the top of the salmon and sprinkle with salt, pepper, and paprika.
Grill the salmon on high heat for five minutes on each side. Or bake it in the oven at 350 degrees for thirty minutes.
In a separate bowl, lightly toss avocados, 1/4 red onion, the juice from one lime, 1 Tbsp. olive oil and salt to taste.
Spoon avocado salsa on top of the cooked salmon. Top with finely cut cilantro and enjoy!
Dessert Recipes
These desserts not only look great, but they taste amazing too!
Frozen Limeaid Pie

Ingredients
- Two cups Graham cracker crumbs
- 1 stick butter
- 3/8 cup sugar
- Two 8 ounce containers Cool Whip (6 ounces)
- One fresh lime
- One frozen can Limeaid, thawed (lemonade works great too!)
Instructions
- Melt the cube of butter.
- In a small bowl, mix two cups graham cracker crumbs, melted
butter, and sugar. Press in the bottom of a lightly greased 8" or 9" springform pan. - In a large bowl, add the cool whip. Stir in the limeaid
concentrate and fold together gently until combined. - Pour mixture into the prepared pie crust. Spread out evenly.
- Grate fresh lime zest on top.
- Place pie in the freezer for 6 hours or overnight.
- Cut into slices and serve!
Mini Apple Pies in Ball Jars
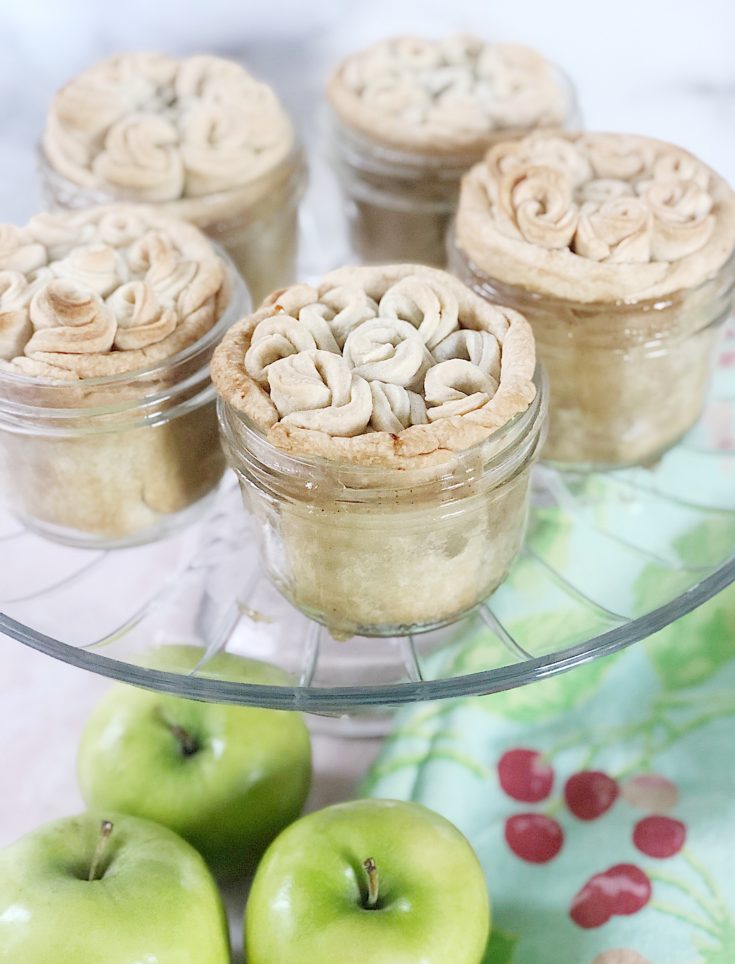
The mini pies not only look adorable but they also taste great.
Ingredients
- Pie Crust:
- 3 cups all-purpose flour
- 3/4 teaspoon salt
- 2 sticks unsalted butter
- 5 tablespoons margarine or chilled vegetable shortening
- Apple Pie Filling:
- 5 granny smith apples (feel free to combine types of apples)
- 3 TBL butter
- 1 1/2 tsp. Cinnamon
- 1 TBL cornstarch
- 1/3 cup sugar
Instructions
Links to the Items Shown in This Post


Similar Posts
Pin the image below to your decor boards on Pinterest (just click the Pin button in the top left corner). You can also follow along with me on Pinterest!
For more real-time updates, follow me on Instagram @My100YearOldHome

You always hold yourself to such a high standard when it comes to table settings for your parties that this one looks pretty bland! No string lights, no lanterns, not much color. Sorry this one isn’t my favorite but sometimes simple is ‘more’.
I did experiment with less is more with this table. The setting is so beautiful, I didn’t want to distract from it. Thanks for reaching out!
Did you have to treat your table/chairs with a marine varnish or anything to prevent the wood from rotting in the weather?
I have not treated it, although I have thought about it. So far, it has held up well!
I love the flowered and striped pillows in the opening picture. Can you please share where you got them or the fabric if you made them. The simplicity of your table setting looks great! 😉
Thank you so much Pam! I got the pillows years ago at Pottery Barn, I don’t think they sell them any longer. I love them too.