Fall Pumpkin Craft with Dried Green Eucalyptus Leaves
I am always inspired to create something beautiful that captures the essence of autumn. So I made a pumpkin craft by repurposing an old faux pumpkin.
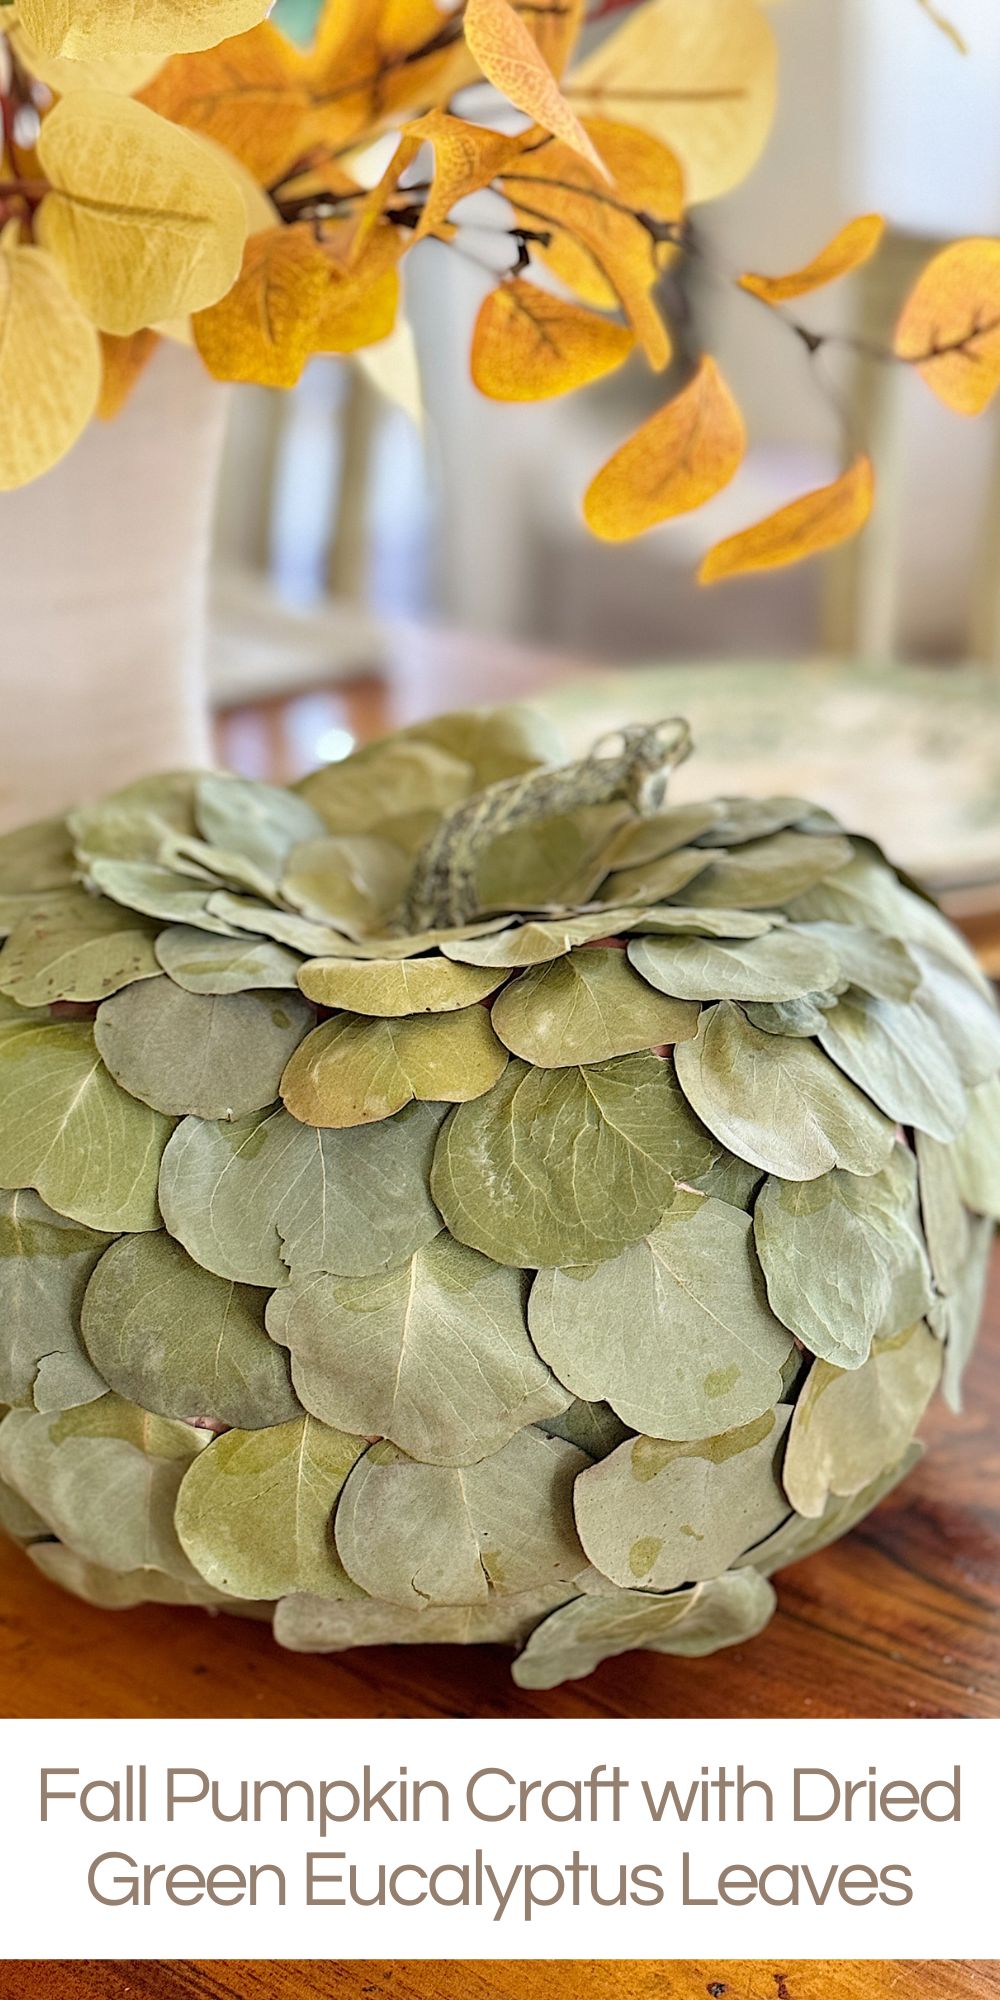
Using dried green eucalyptus leaves, I crafted a stunning fall pumpkin that adds a natural, earthy touch to my seasonal decor. In this blog post, I’ll walk you through my steps to create this unique pumpkin, from reusing an old craft to carefully arranging the eucalyptus leaves.


DIY Fall Pumpkin Craft with Dried Green Eucalyptus Leaves: A Simple and Stunning Seasonal Decoration
Last year, I decided to repurpose an old faux pumpkin from a previous DIY project and transform it into something new and elegant. The result was a beautifully textured, sophisticated piece perfect for fall.
On this blog, I may sometimes use affiliate links, which means a small commission is earned if you purchase via the link. The price will be the same whether you use the affiliate link or go directly to the vendor’s website using a non-affiliate link.
Why I Chose Eucalyptus Leaves for This Craft
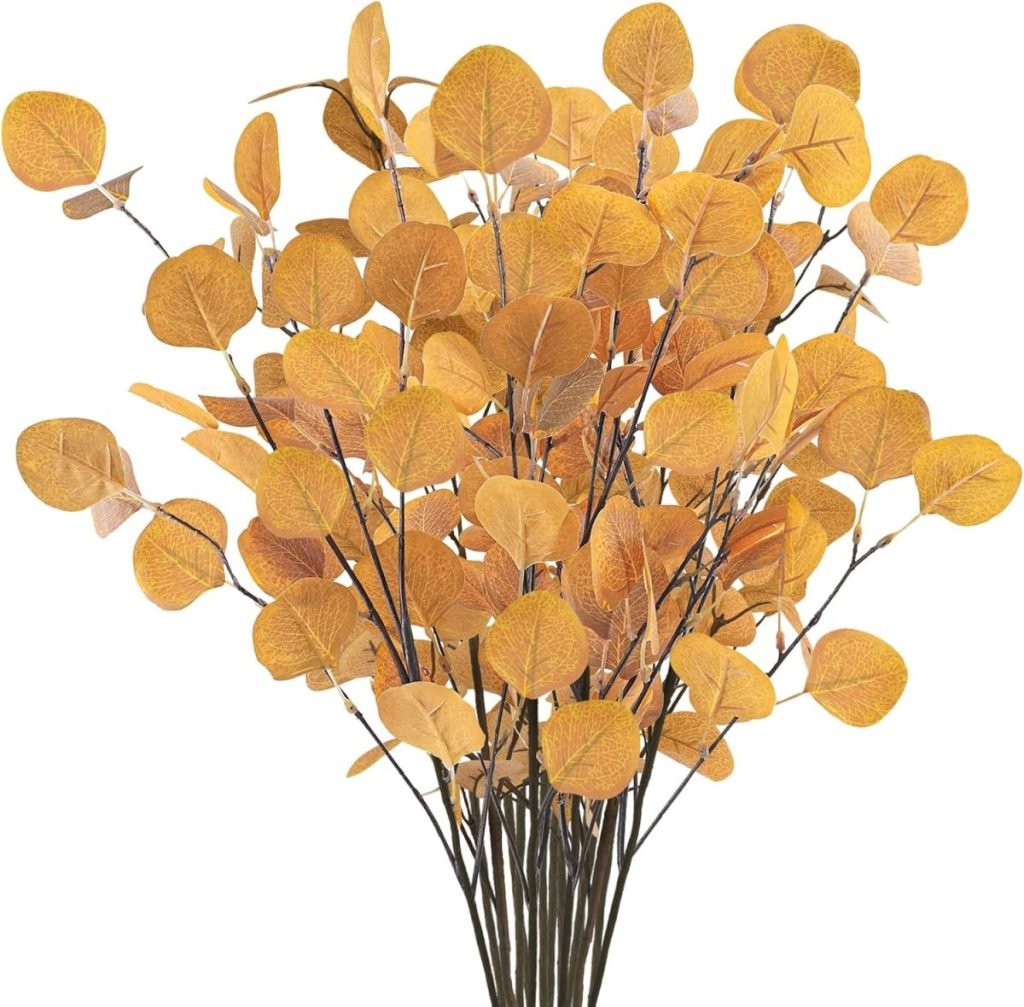
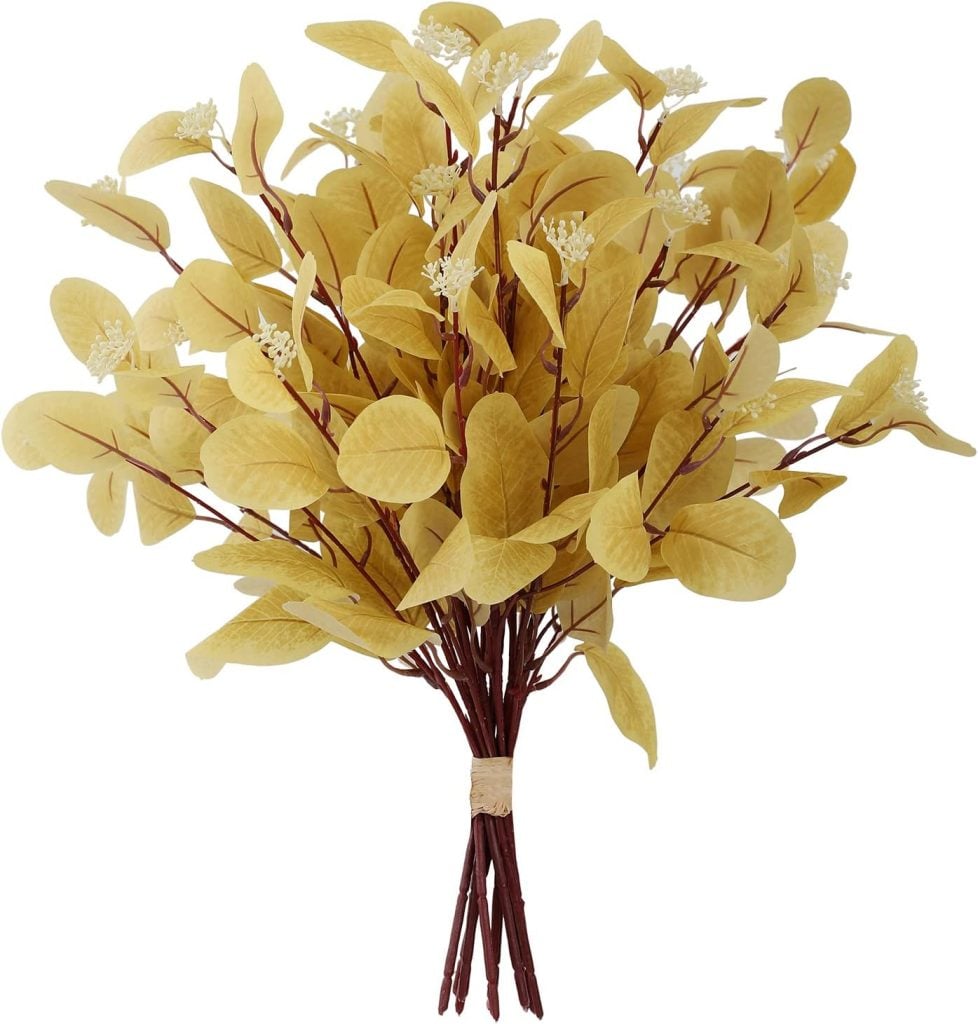
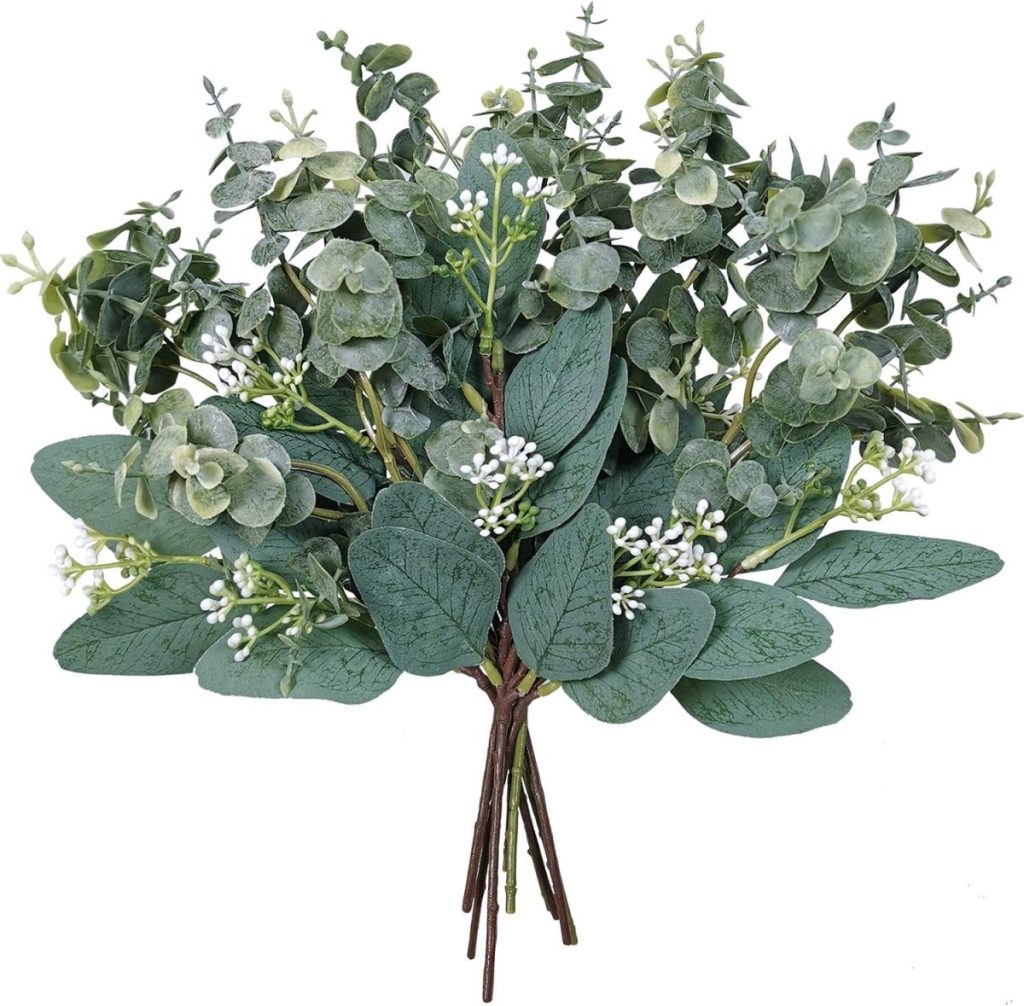
Eucalyptus leaves are a favorite of mine for fall crafts, and it’s easy to see why. Their soft green color complements the warm tones of autumn, providing a subtle, fresh, and timeless contrast. Dried eucalyptus, in particular, has a lovely texture that adds depth and interest to any project. It’s also incredibly versatile and easy to work with, making it an ideal material for crafting.
I love the idea of taking something old and giving it new life, so when I found an old faux pumpkin from a past DIY project, I knew it was the perfect candidate for this eucalyptus makeover. By combining the pumpkin with the natural beauty of eucalyptus leaves, I created a piece that feels both modern and organic, adding a touch of fall elegance to my home decor.
Materials You’ll Need
This project is simple and requires only a few materials, most of which you may already have on hand:
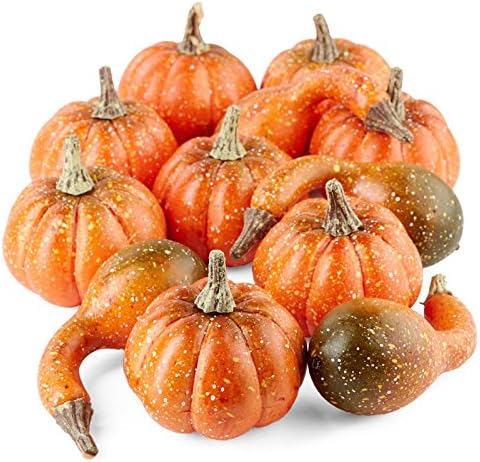
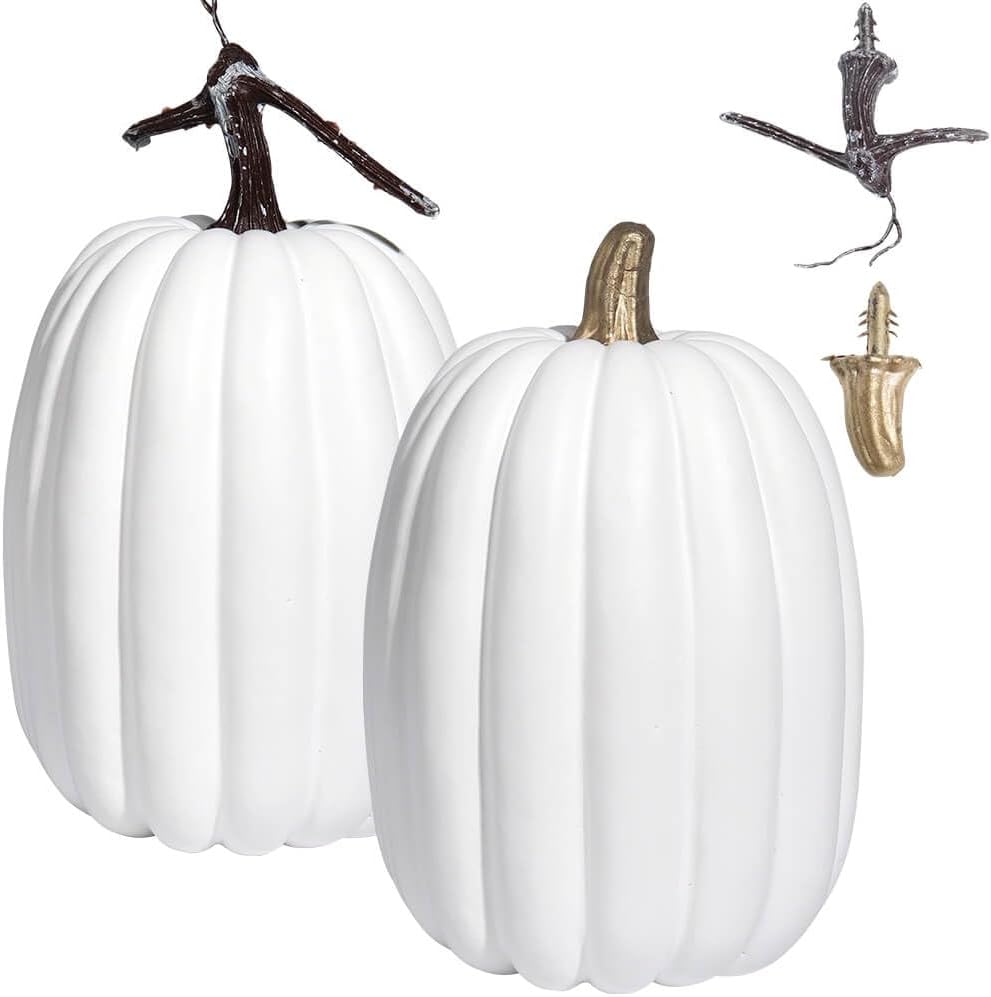
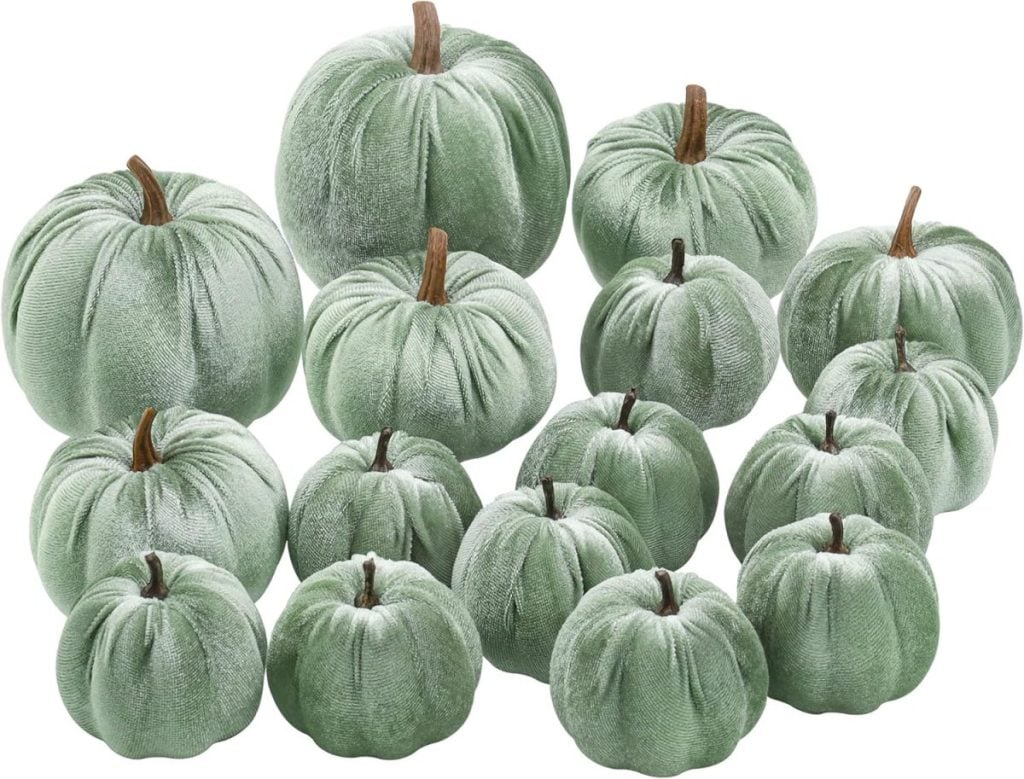
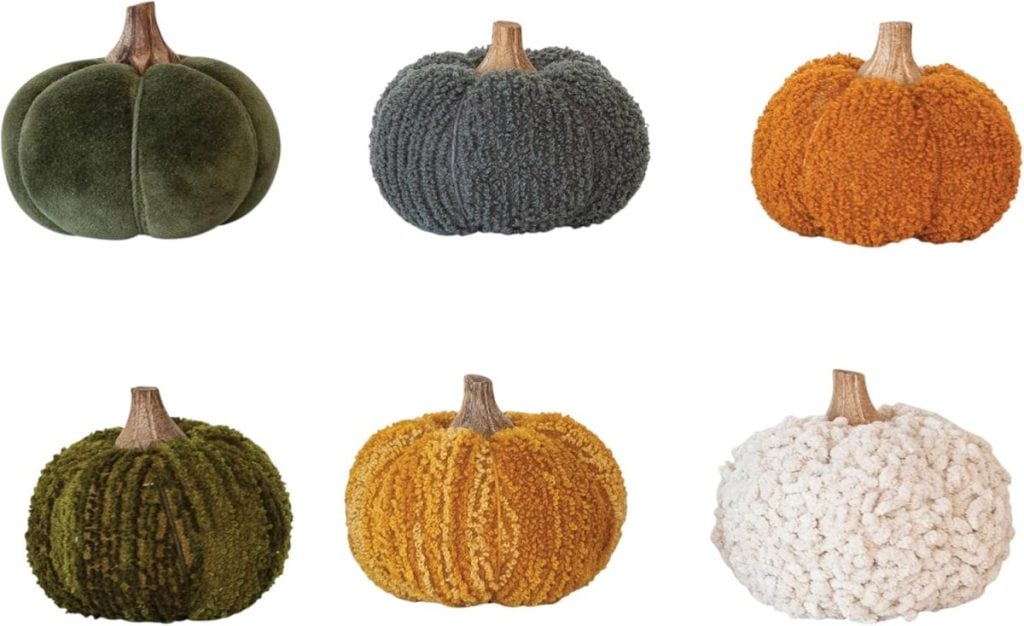
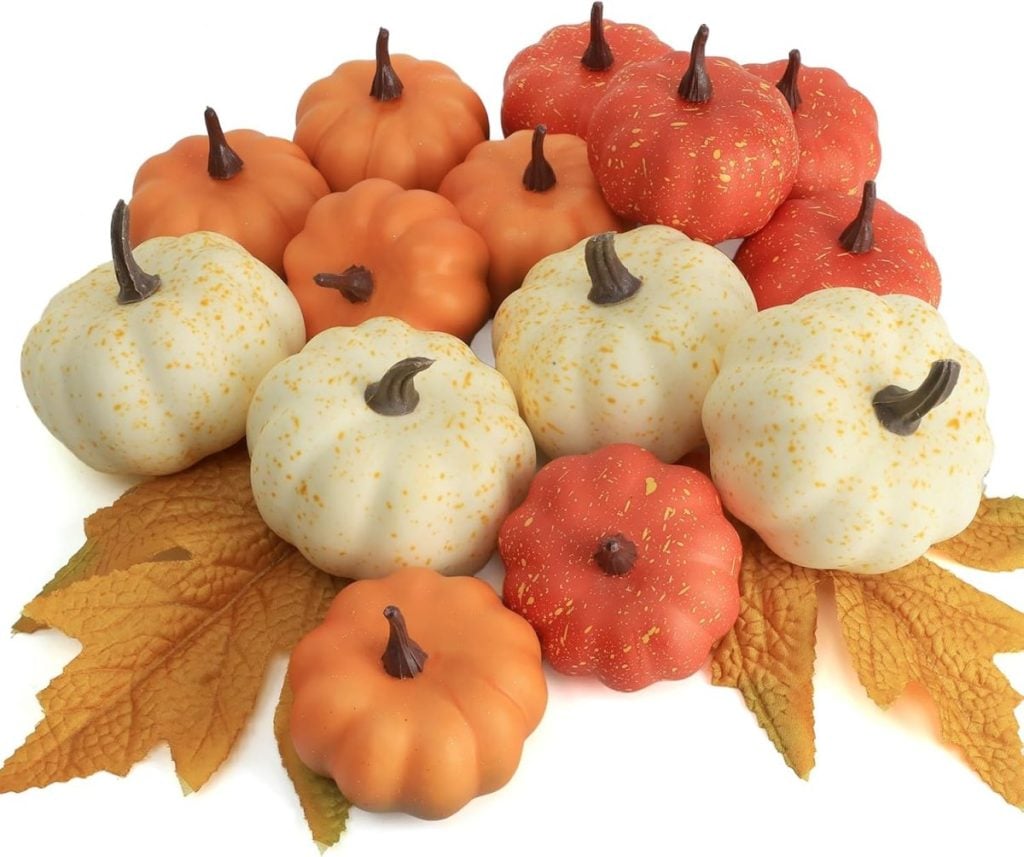
- A faux pumpkin (you can repurpose an old one, as I did, or purchase a new one)
- Dried green eucalyptus leaves
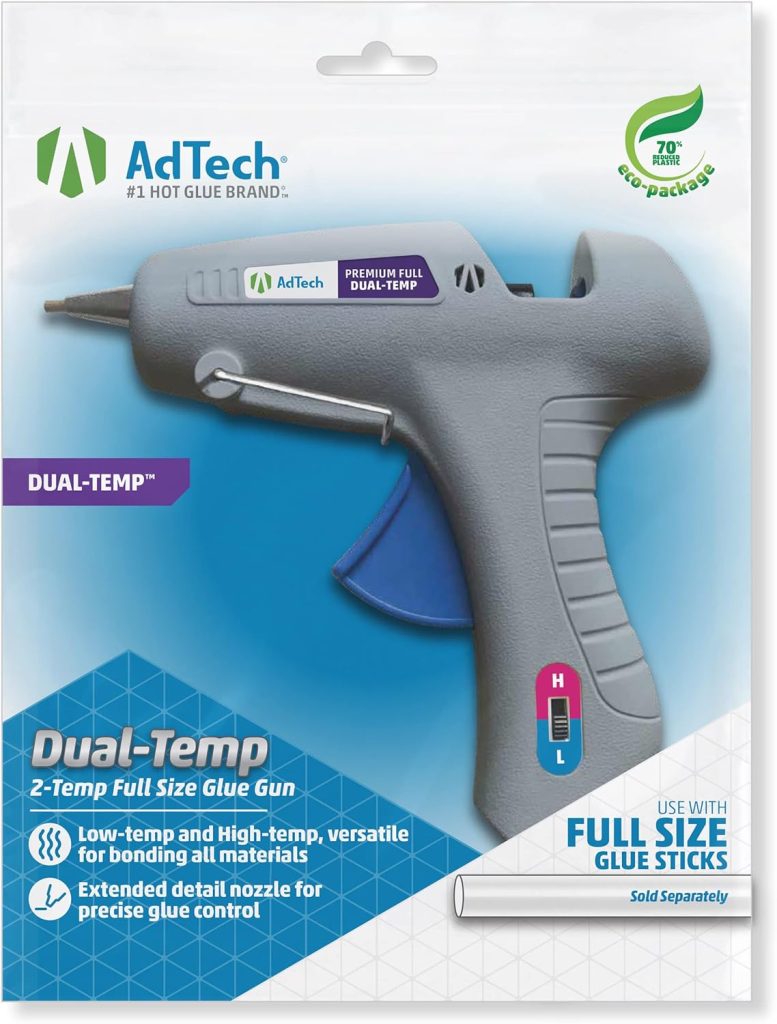
- A hot glue gun and glue sticks
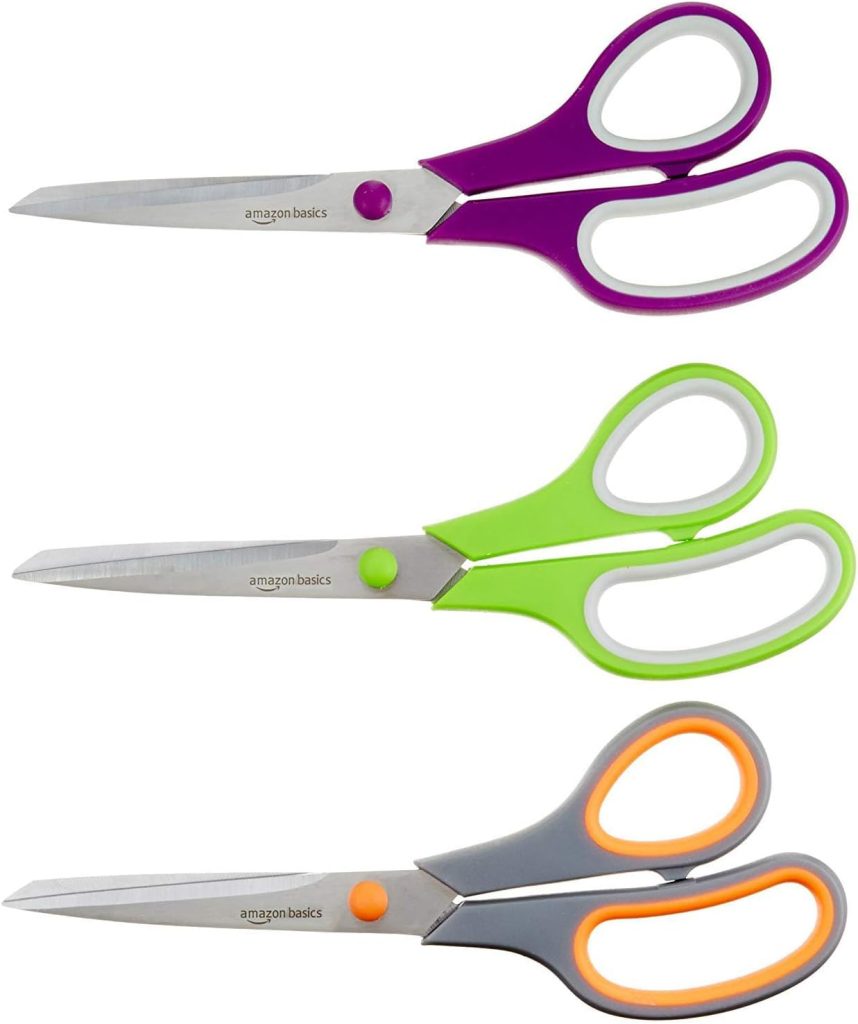
- Scissors (optional for trimming leaves)

Step 1: Preparing the Pumpkin
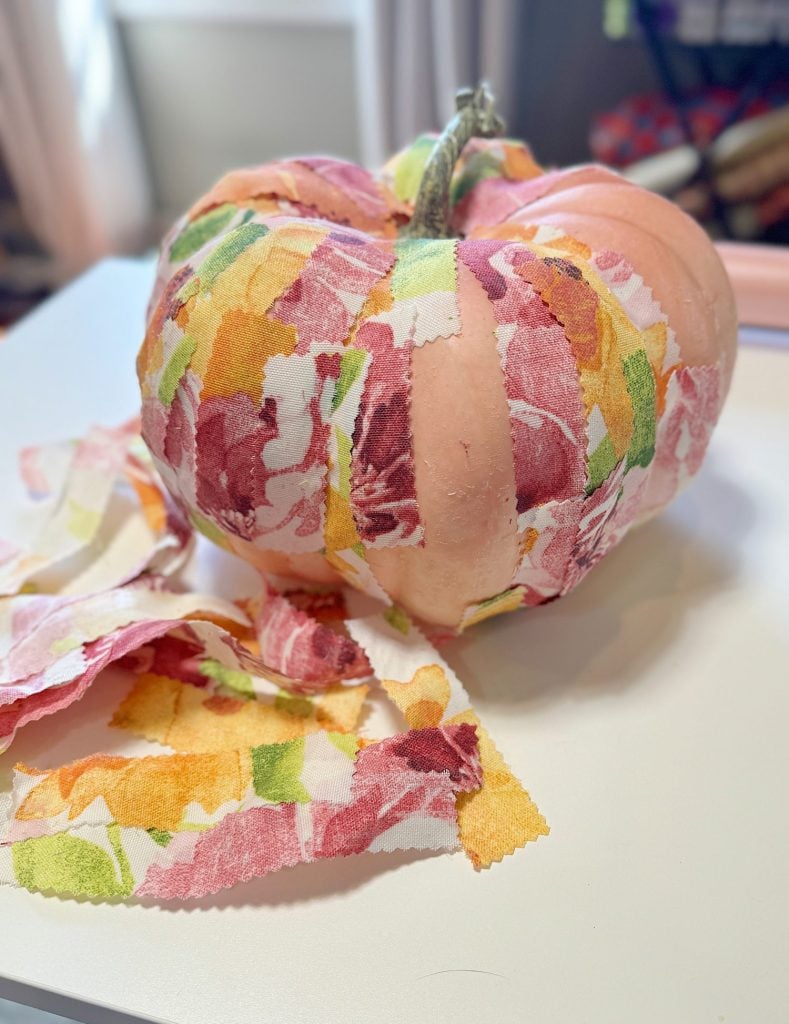
If you’re reusing an old faux pumpkin like I did, the first step is to remove any old decorations or fabric from the pumpkin. My pumpkin was initially covered in fabric strips, so I carefully tore off the fabric, leaving the pumpkin’s bare surface exposed. If your pumpkin has any leftover glue or residue, try to remove it as much as possible to create a smooth surface for your new design.
Once the pumpkin is prepped and ready, you can start thinking about arranging the eucalyptus leaves. I decided to cover the entire pumpkin with the leaves, creating a layered effect that would highlight the eucalyptus’s natural texture and color.
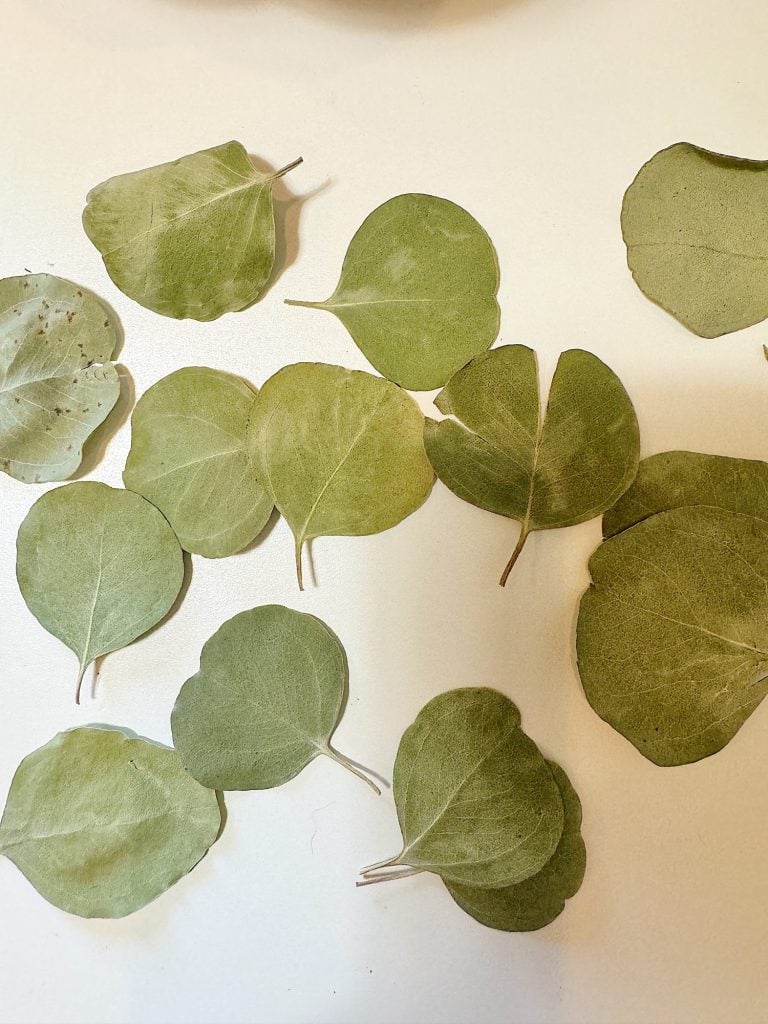
Step 2: Sorting the Eucalyptus Leaves
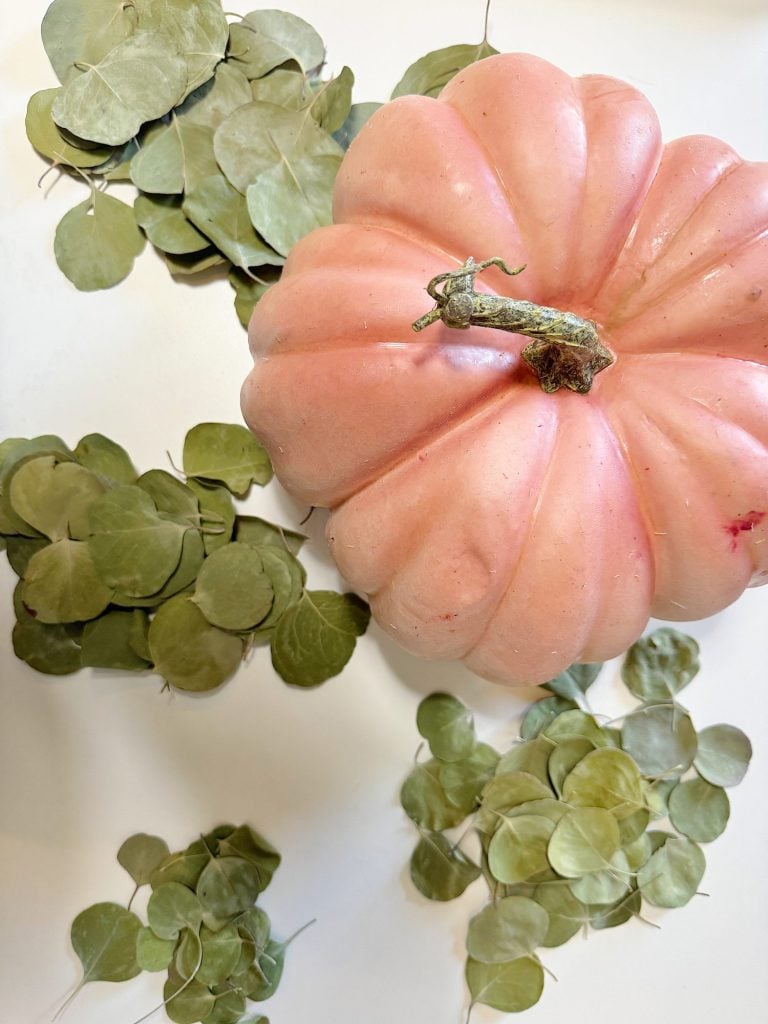
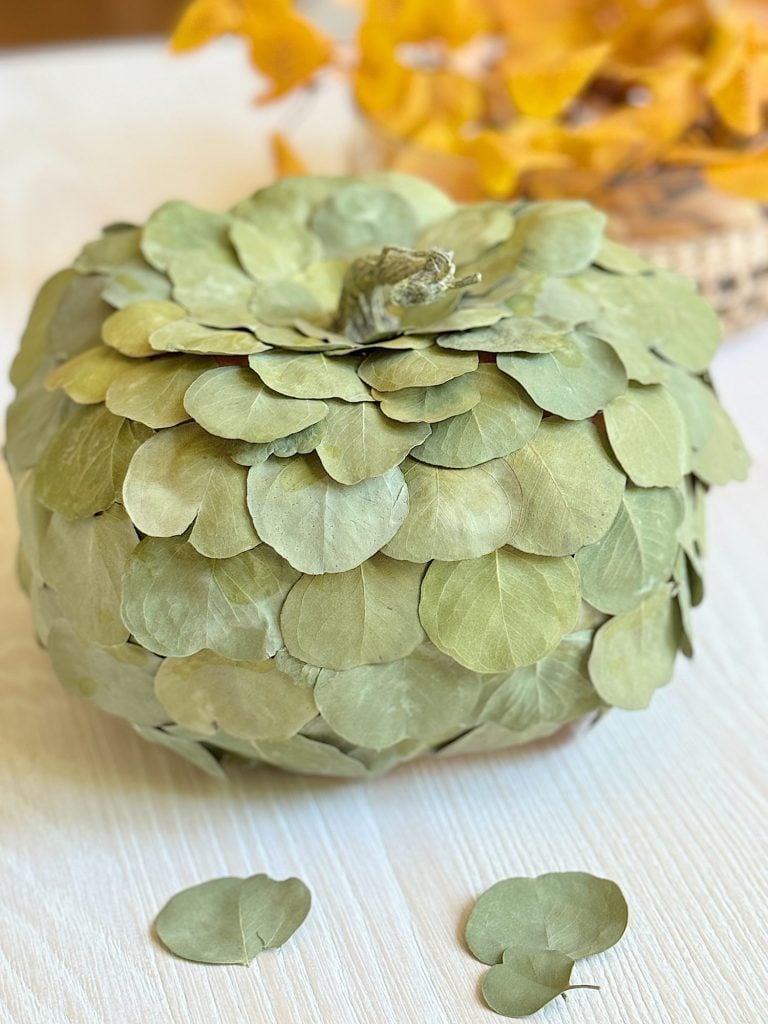
To achieve a polished and cohesive look, sorting the eucalyptus leaves by size before gluing them onto the pumpkin is essential. This will allow you to gradually transition from the smallest leaves at the top of the pumpkin to the larger leaves at the bottom.
I separated the dried eucalyptus leaves into four categories: small, medium-small, medium-large, and large. This step ensures the leaves fit together nicely as you work your way down the pumpkin, creating a layered and textured effect.
Step 3: Gluing the Leaves to the Pumpkin
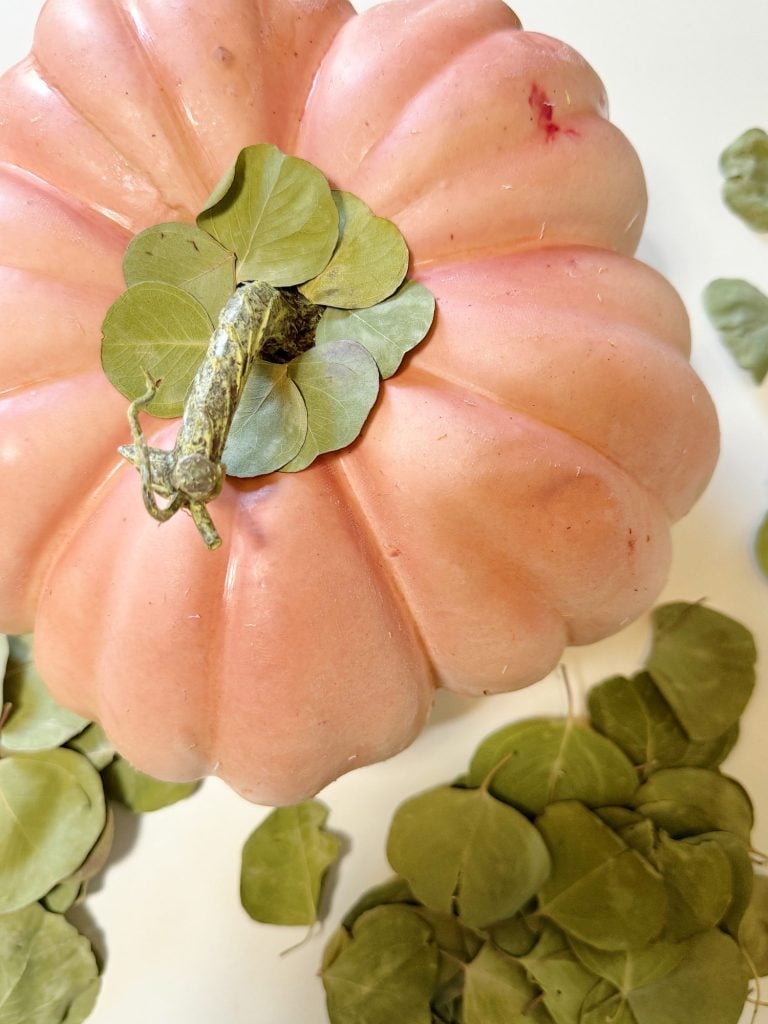
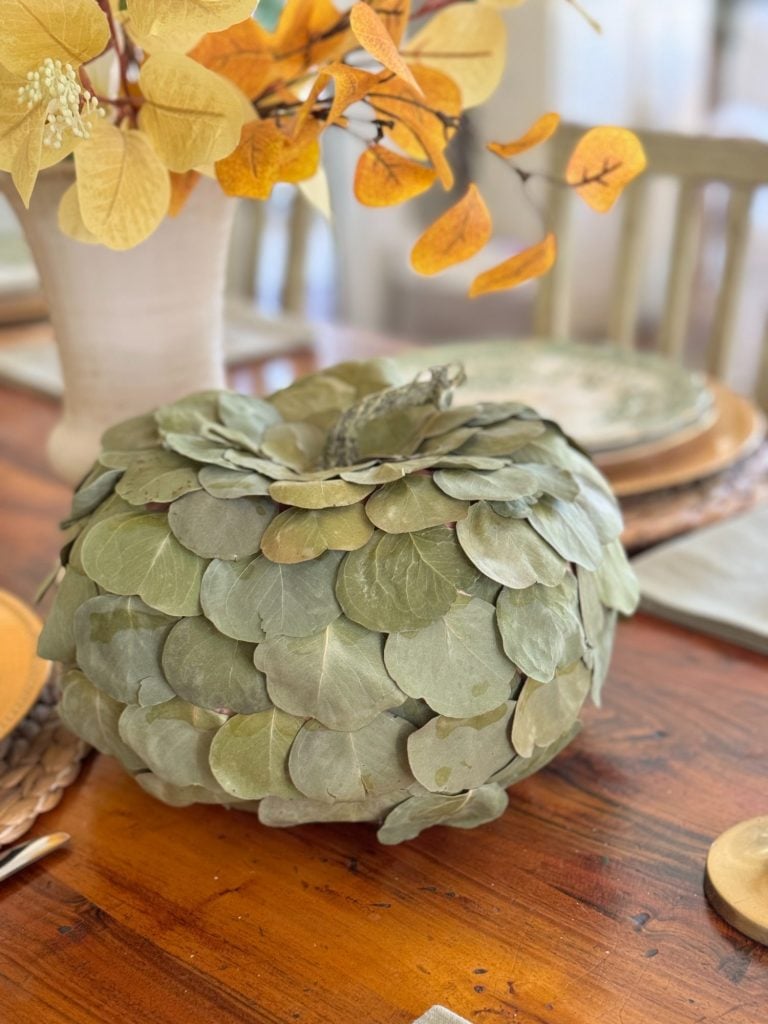
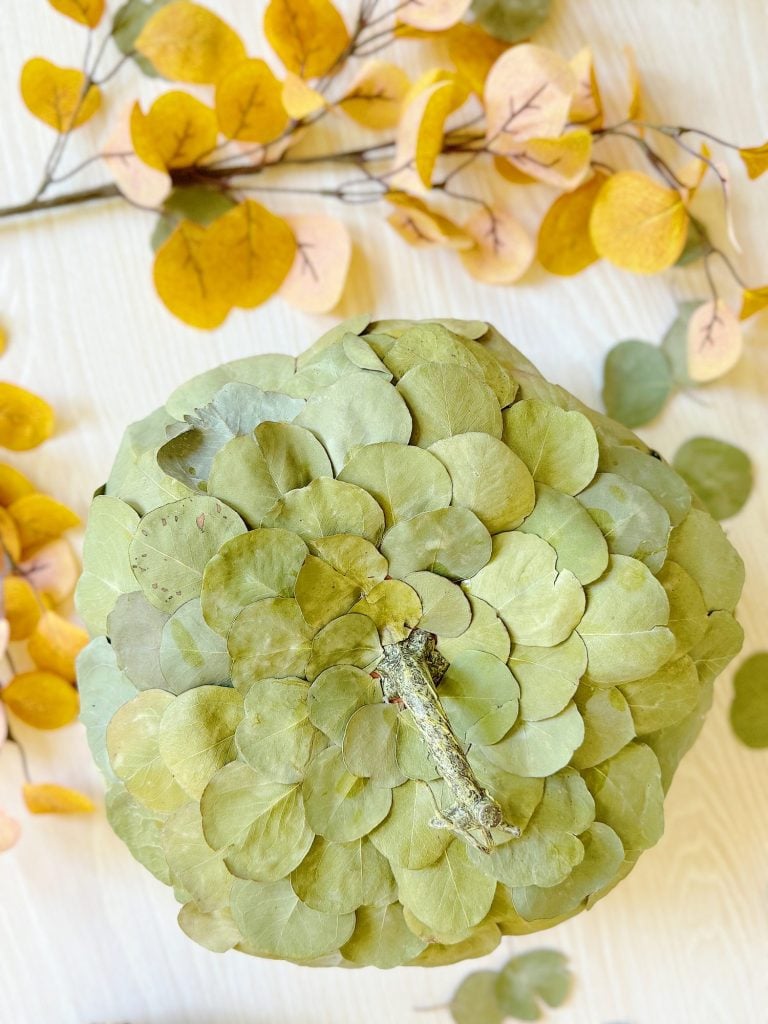
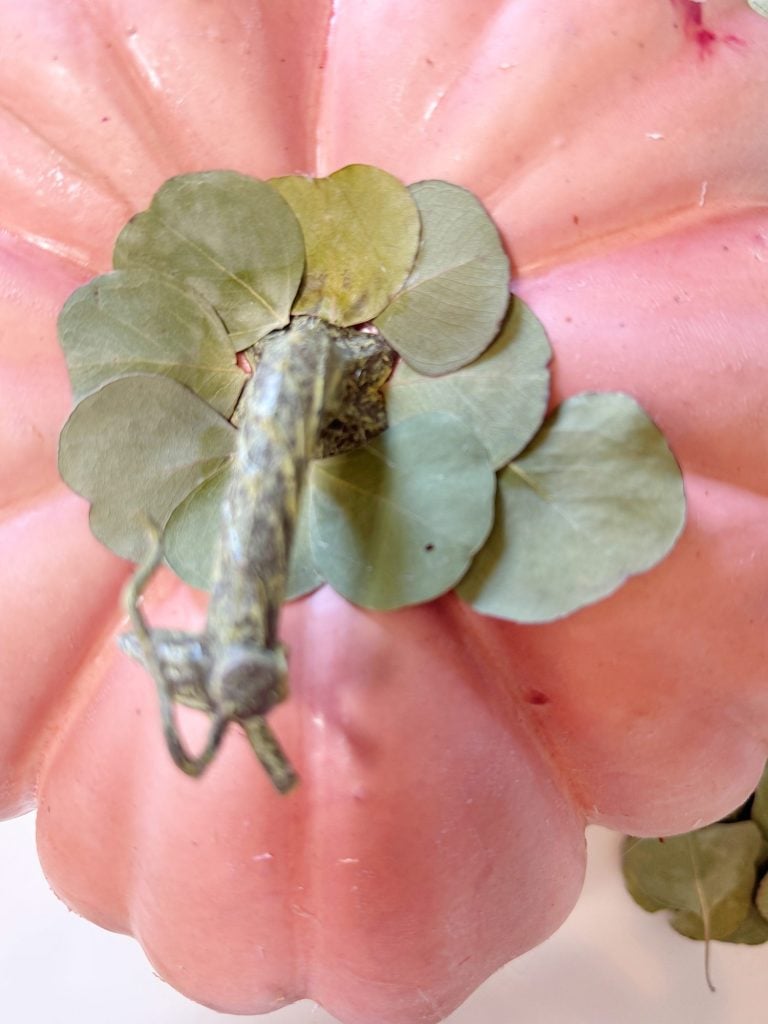
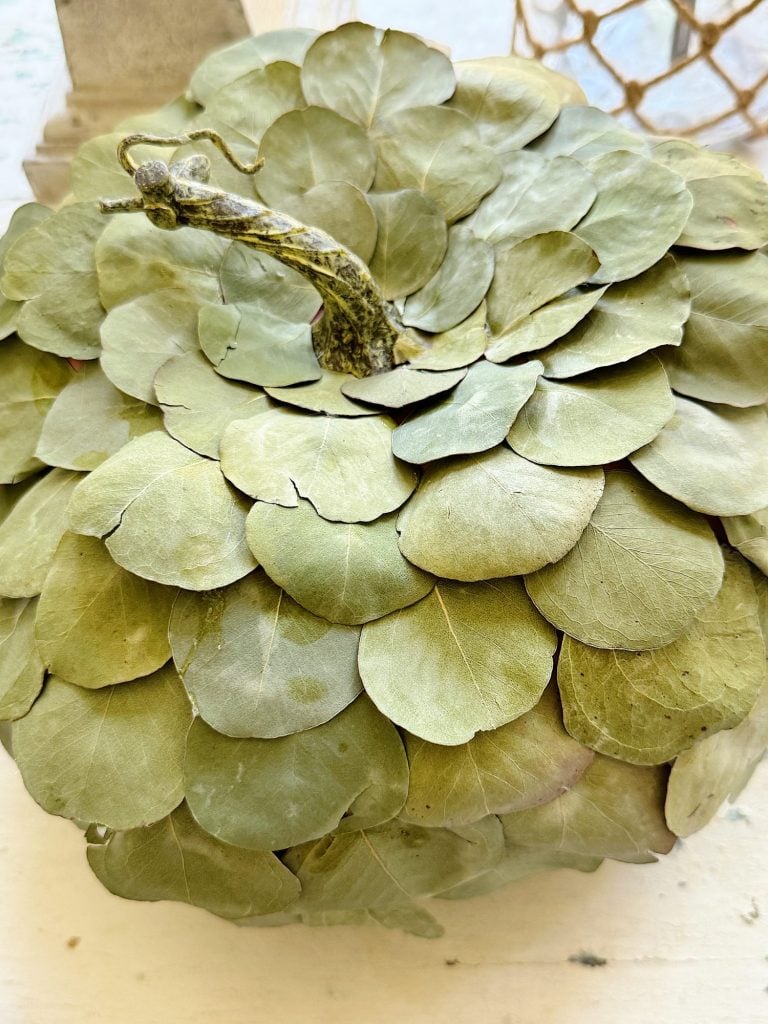
Now comes the fun part—assembling your pumpkin! Start by heating your hot glue gun and gathering your smallest eucalyptus leaves. Begin at the top of the pumpkin, near the stem, and start gluing the smallest leaves around the stem in a circular pattern. Apply a small glue dot to each leaf’s base and press it gently onto the pumpkin.

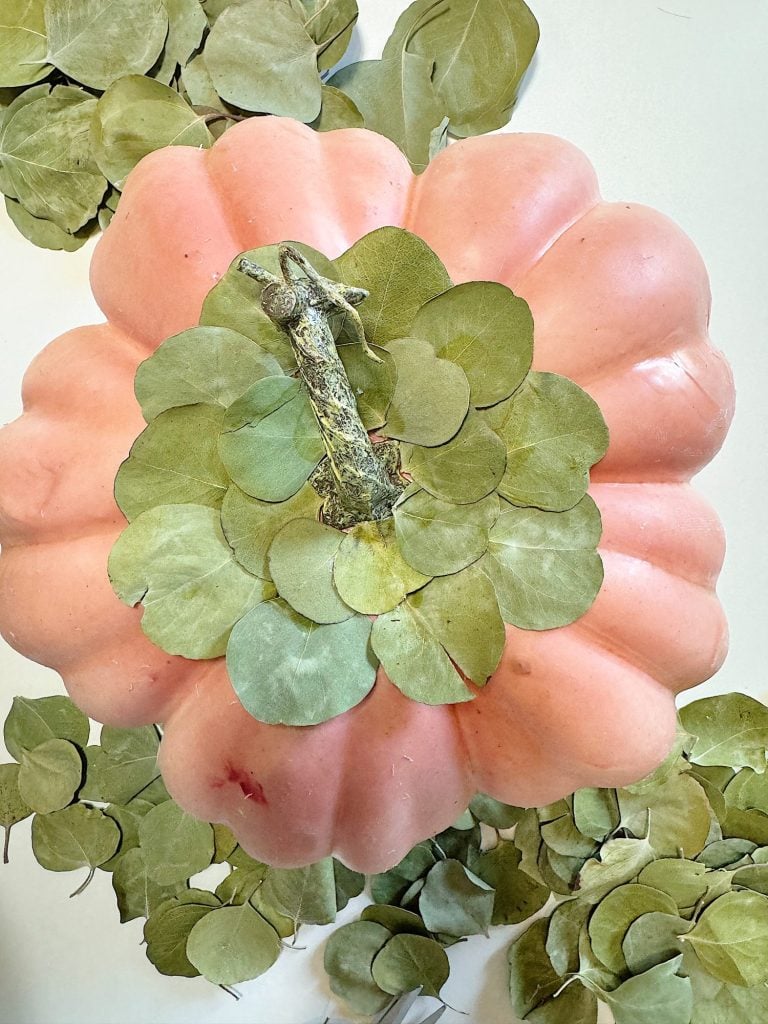
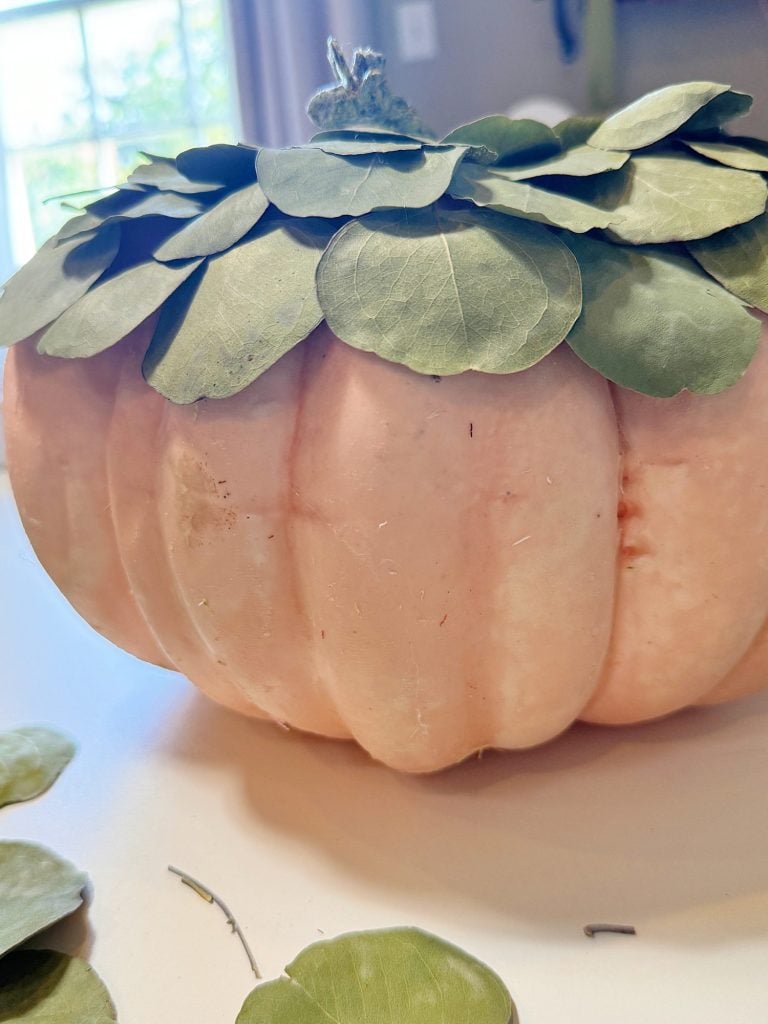
Switch to slightly larger leaves as you continue to work your way down the pumpkin. The goal is to create a smooth transition between the sizes so the pumpkin gradually becomes fuller and more textured as you move down. Make sure to overlap the leaves slightly to cover gaps and create a cohesive, layered look.
Take your time with this step, and don’t be afraid to adjust the leaves as needed to achieve the desired effect. If some leaves are too large or don’t fit quite right, you can trim them with scissors to create a better fit.
Step 4: Finishing Touches
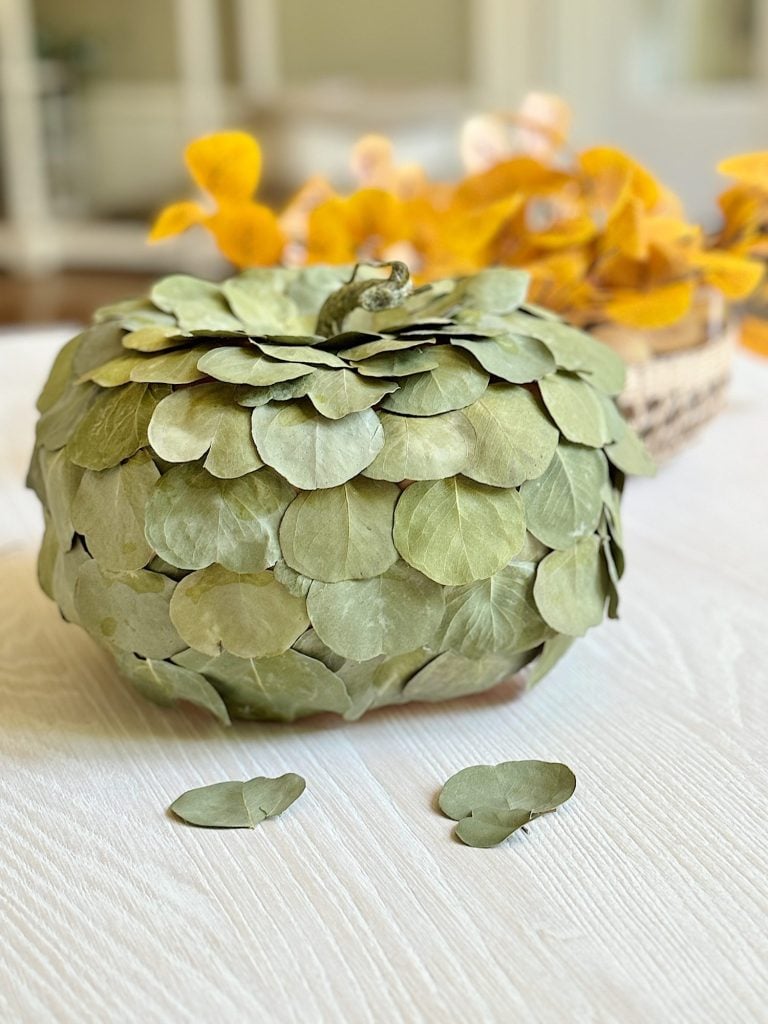
Once you’ve covered the entire pumpkin with eucalyptus leaves, take a step back and admire your work. You might find that you need to add a few more leaves here and there to fill in any gaps or to even out the overall look. This is the perfect time to make those final adjustments.
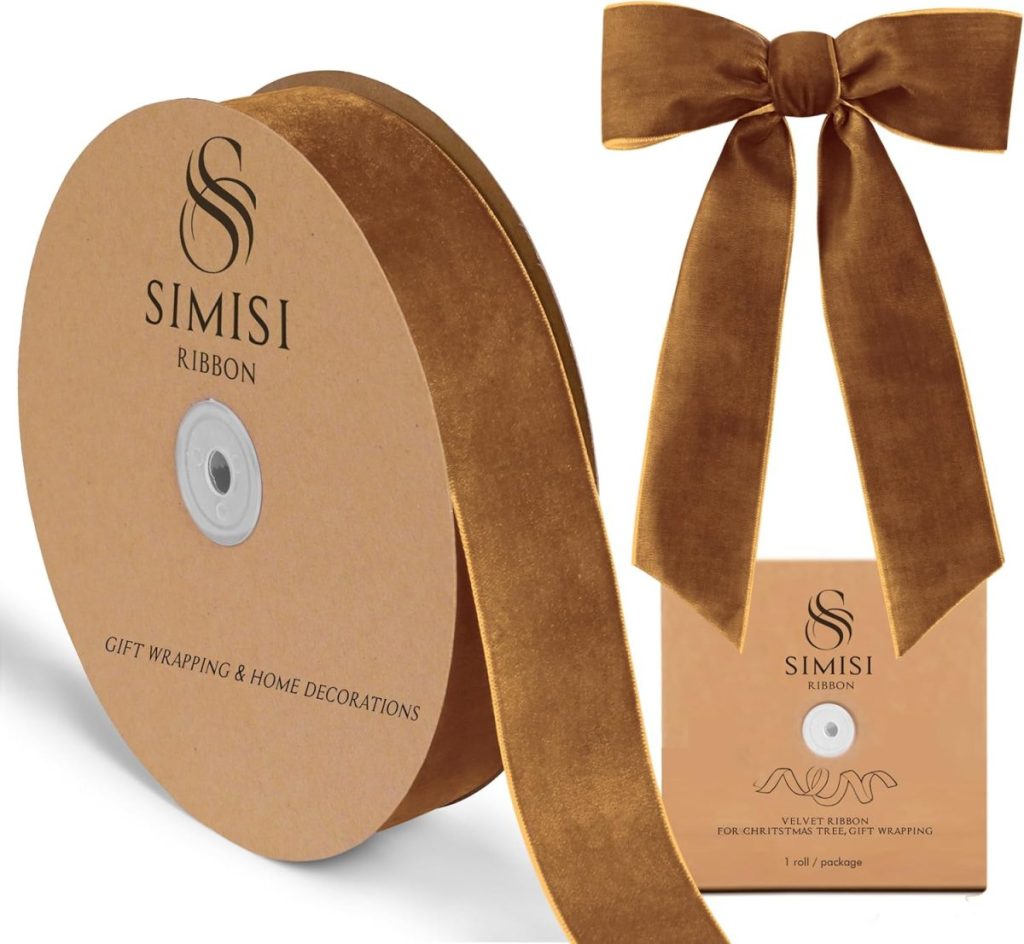
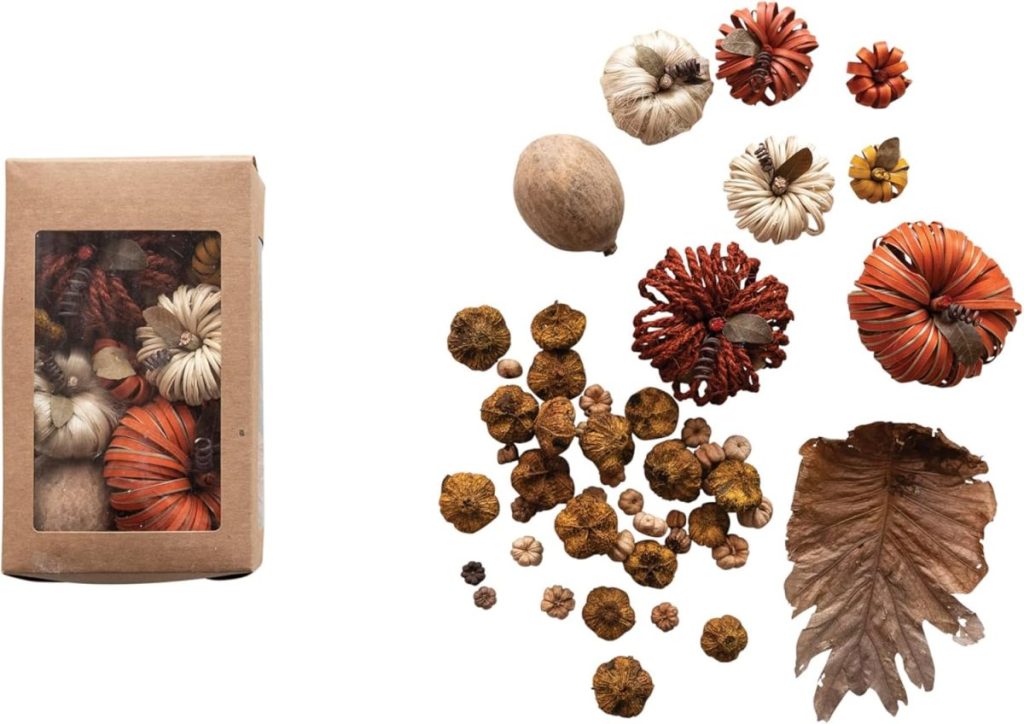
If you want to add a little extra flair, you can consider adding some additional embellishments. A simple bow tied around the stem with twine or ribbon can add a charming touch, or you might choose to glue on a few small pinecones or dried berries for added texture and color.
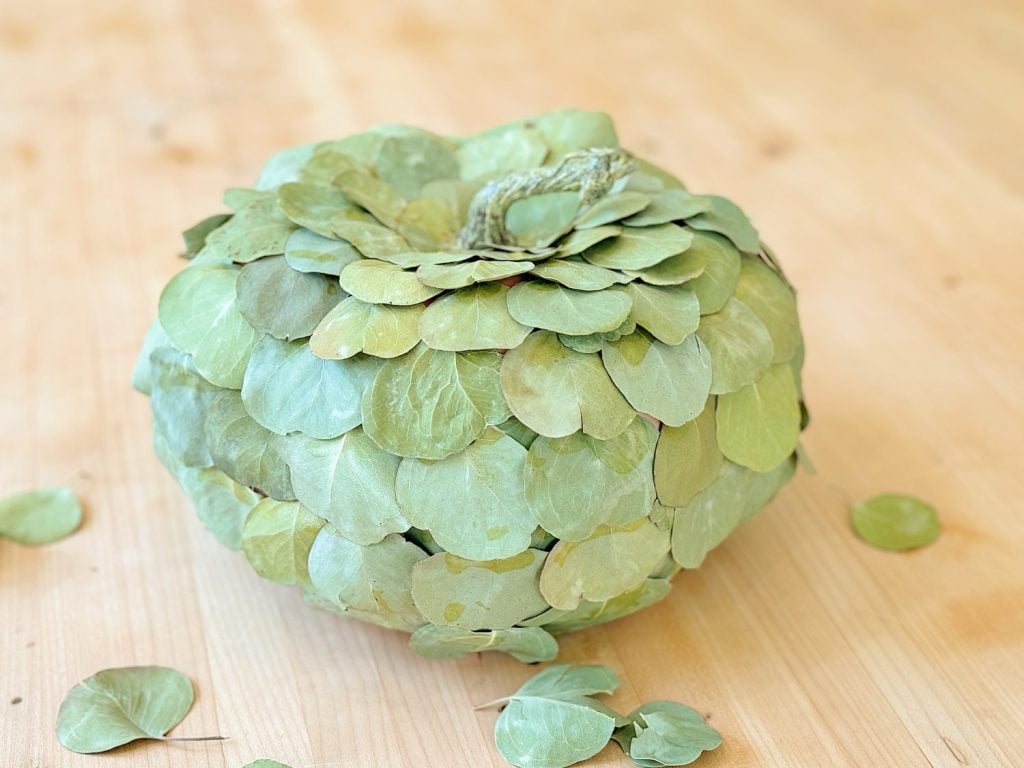
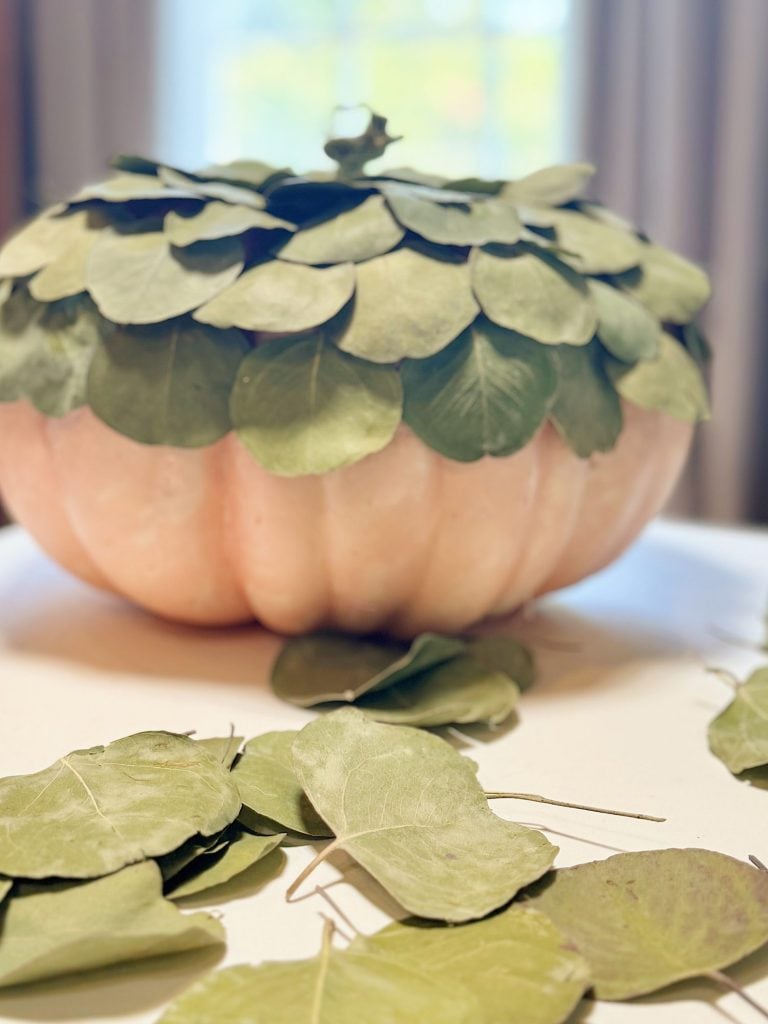
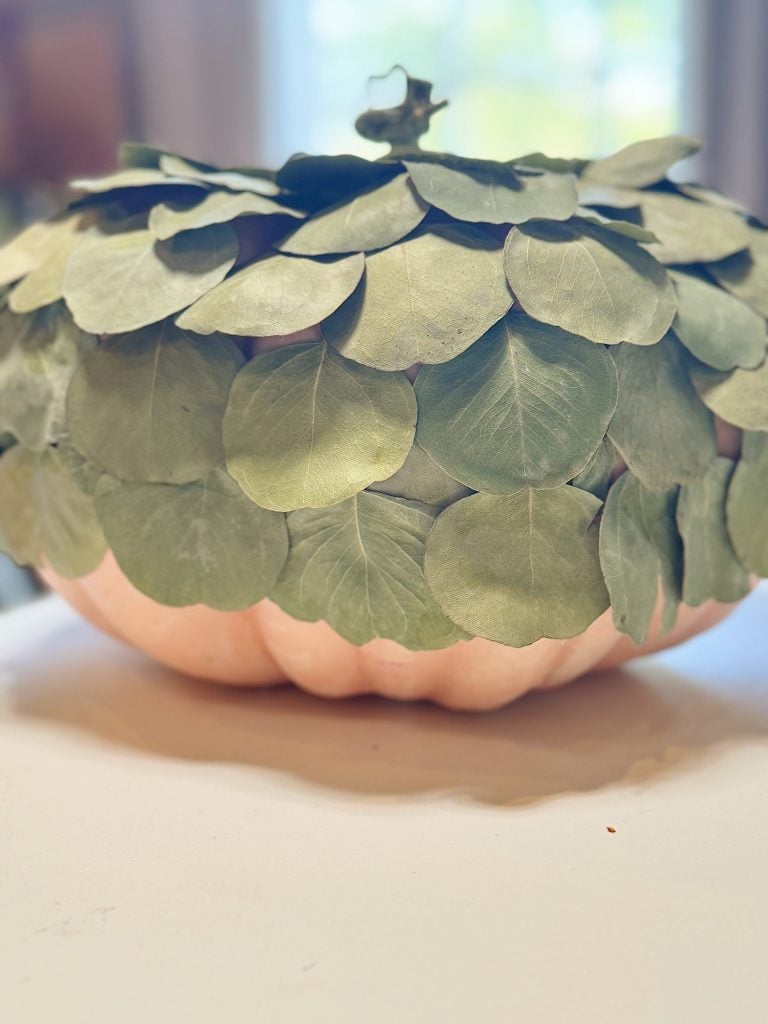
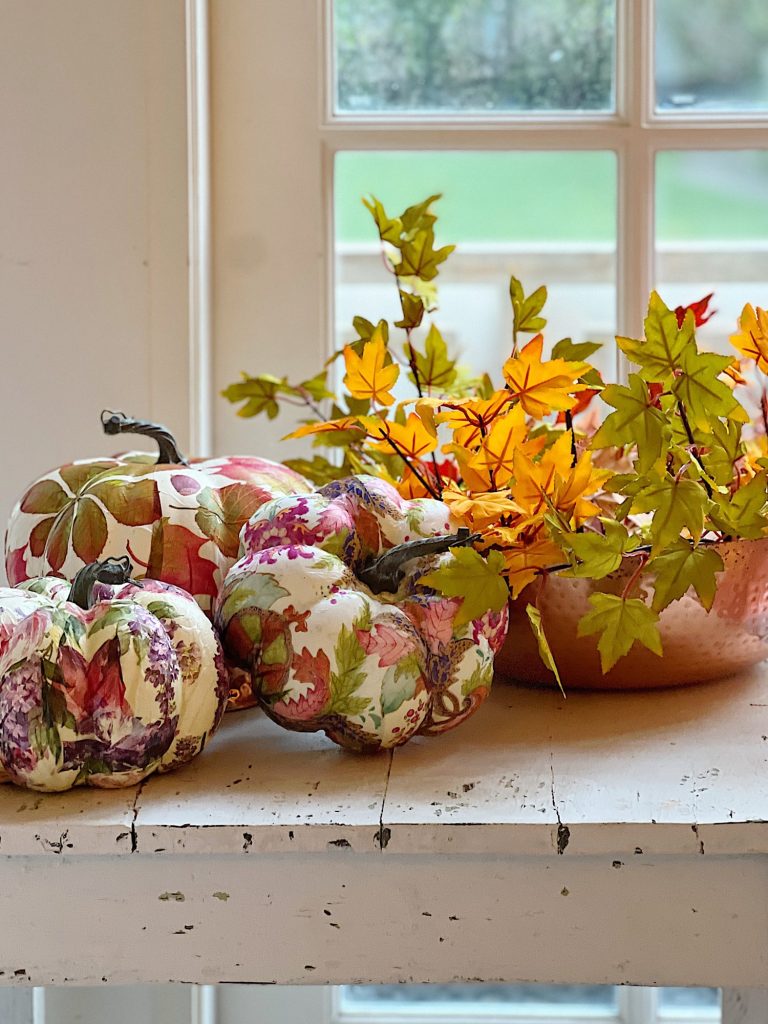
The Finished Look
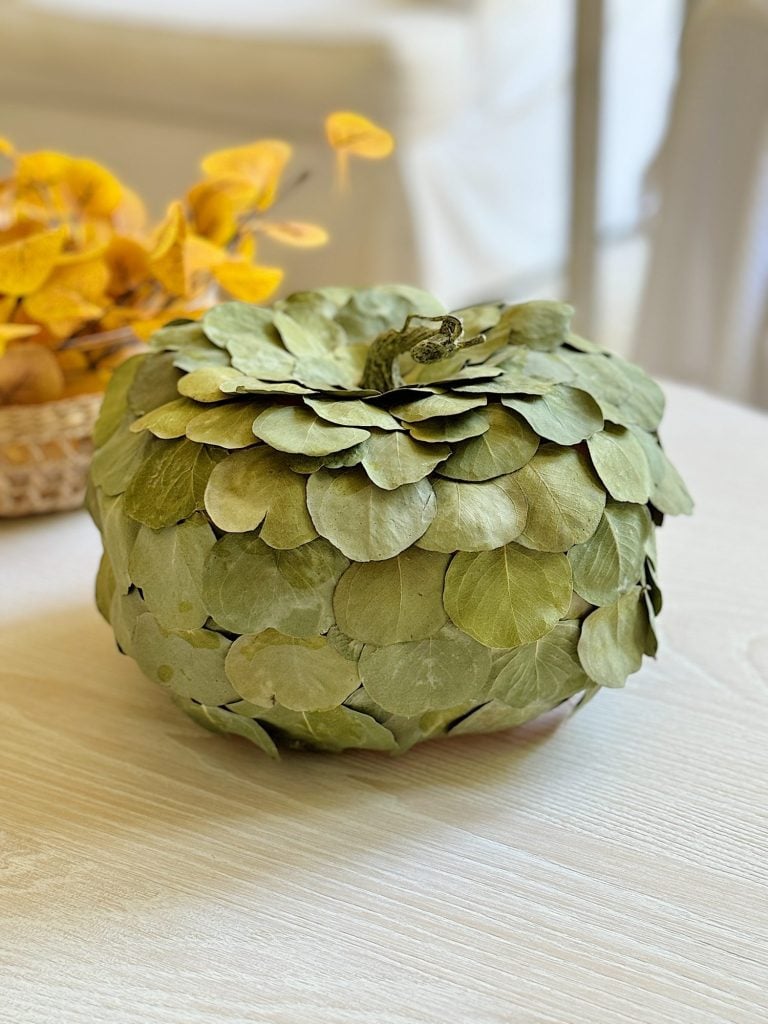
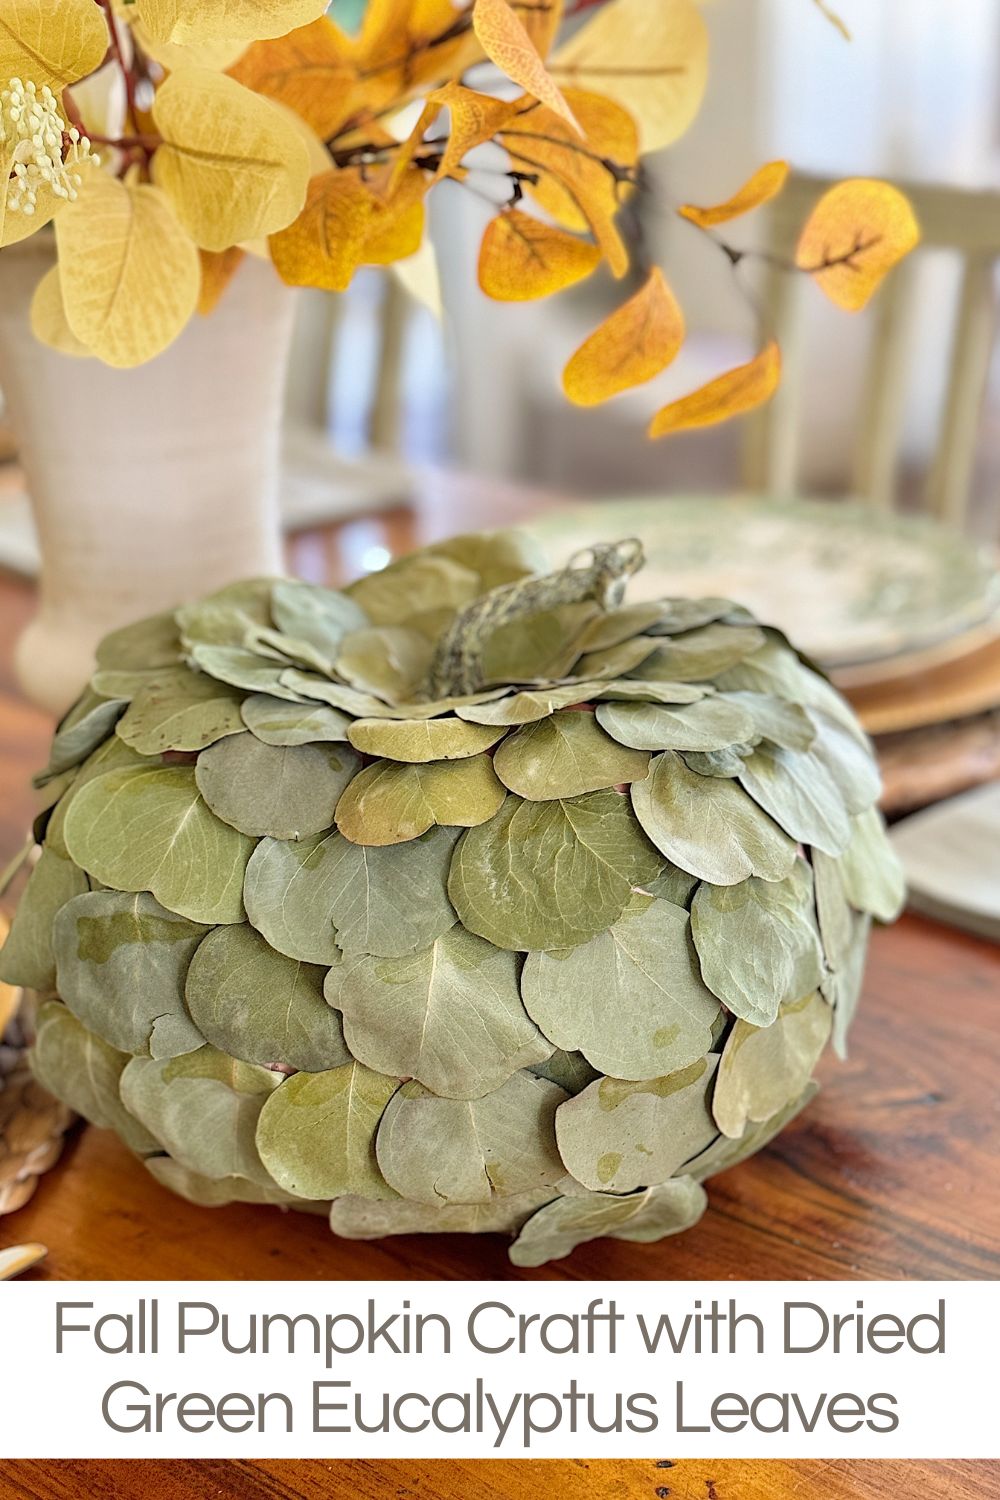
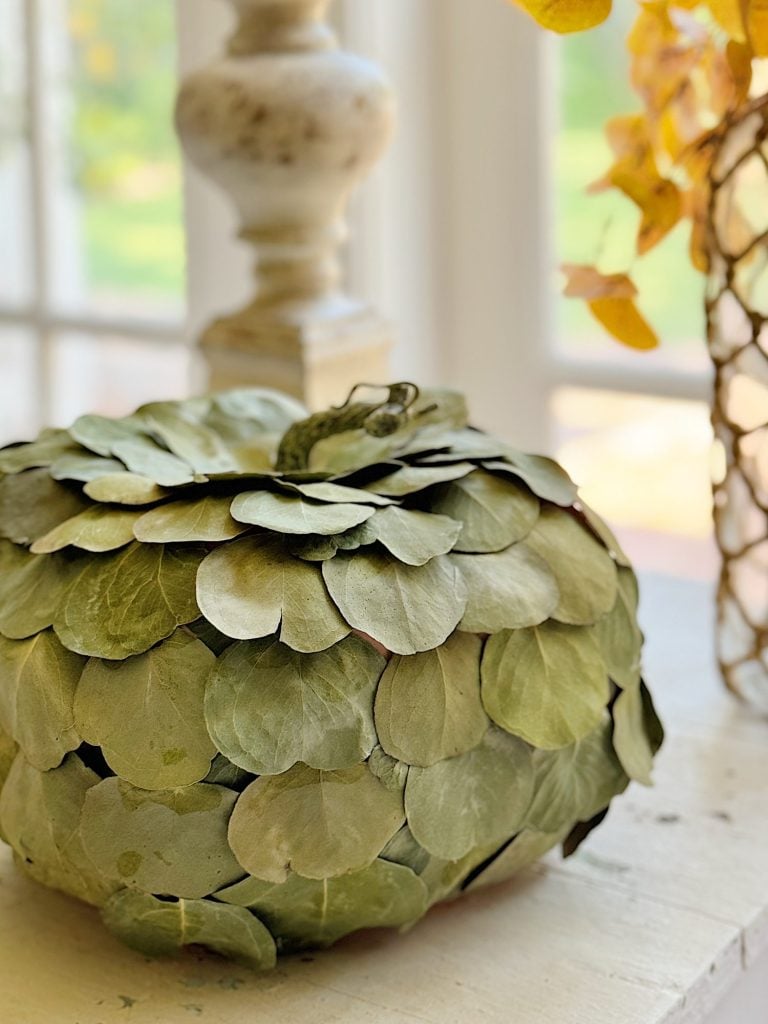
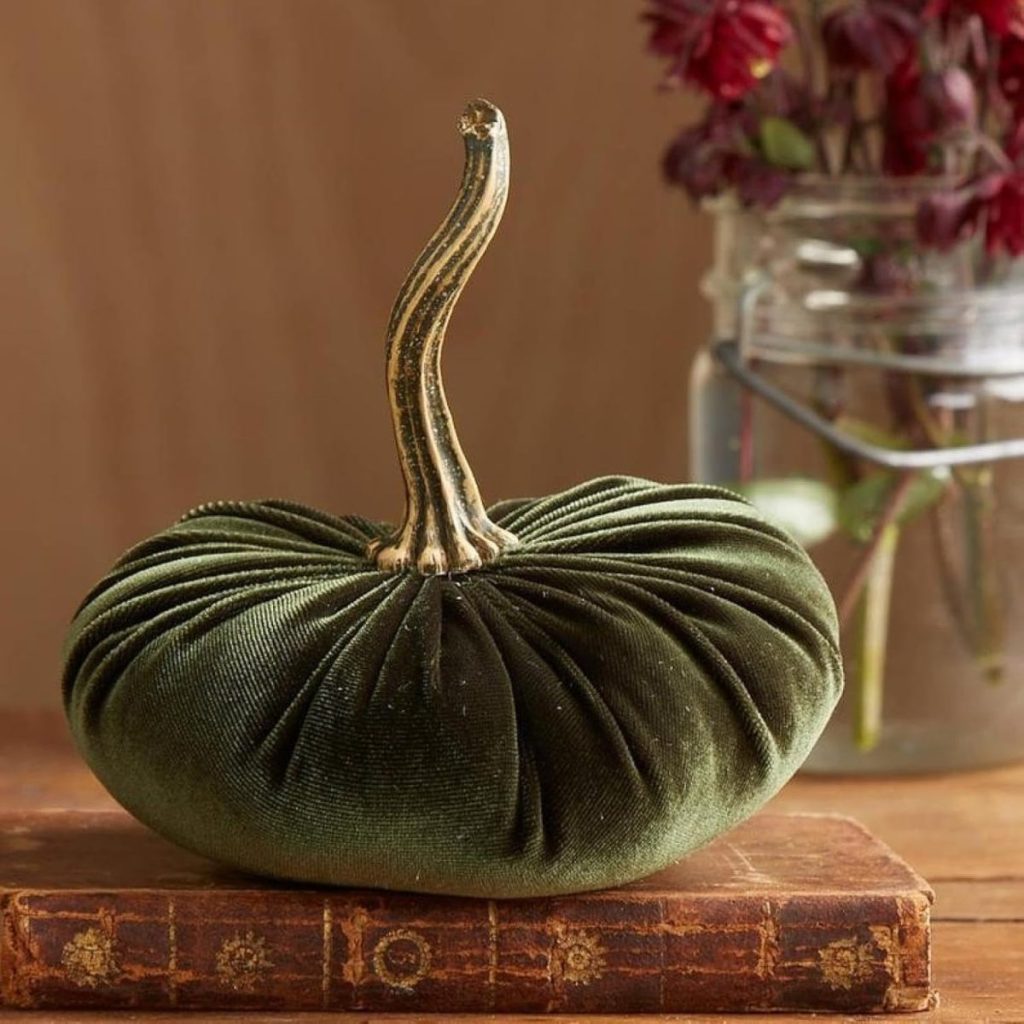
I’m absolutely in love with how this eucalyptus-covered pumpkin turned out. Combining the soft green leaves with the pumpkin’s shape creates an elegant and natural piece, perfect for fall decor. The layers of leaves give the pumpkin a beautiful texture, making it a standout piece whether displayed on a mantel, as part of a centerpiece, or on a side table.
One of the things I love most about this craft is its versatility. The muted green tones of the eucalyptus leaves make this pumpkin a perfect fit for various fall color palettes. This pumpkin will blend beautifully, whether your decor leans toward traditional autumn hues or more modern, neutral tones.
Why You Should Try This DIY Fall Pumpkin Craft
This fall pumpkin craft is a fantastic way to repurpose old decor while incorporating natural elements into your home. It’s also an easy and affordable project that doesn’t require much time or materials, making it perfect for a cozy afternoon of crafting.
This pumpkin looks fantastic as part of your fall decor and offers a fun and creative way to experiment with different textures and materials. Eucalyptus leaves add a fresh and unexpected twist to traditional fall decorations, making this craft a unique addition to your seasonal decor.
Whether you’re an experienced crafter or just looking for a simple project to try, this eucalyptus pumpkin is a great way to celebrate the fall season. You’ll be satisfied knowing you created something beautiful with your two hands.
So, gather your materials, heat that glue gun, and create a stunning fall pumpkin that will add a touch of natural elegance to your home this season. Happy crafting!
If you enjoy my blog, you can sign up to receive my updates here.
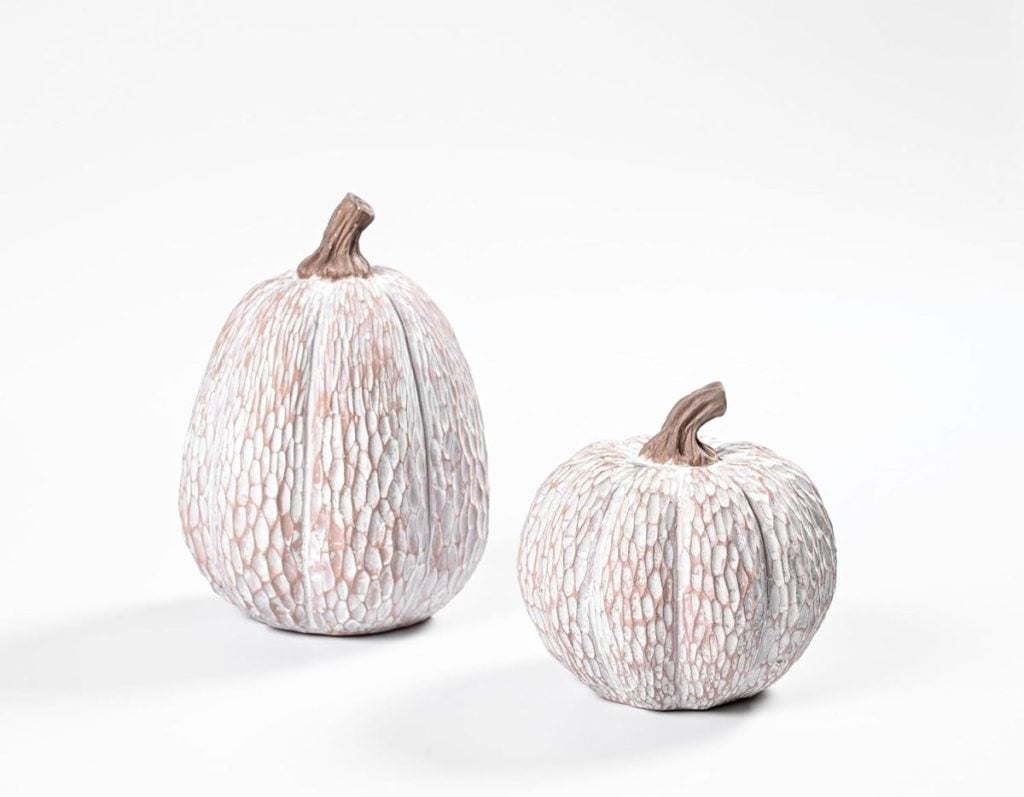
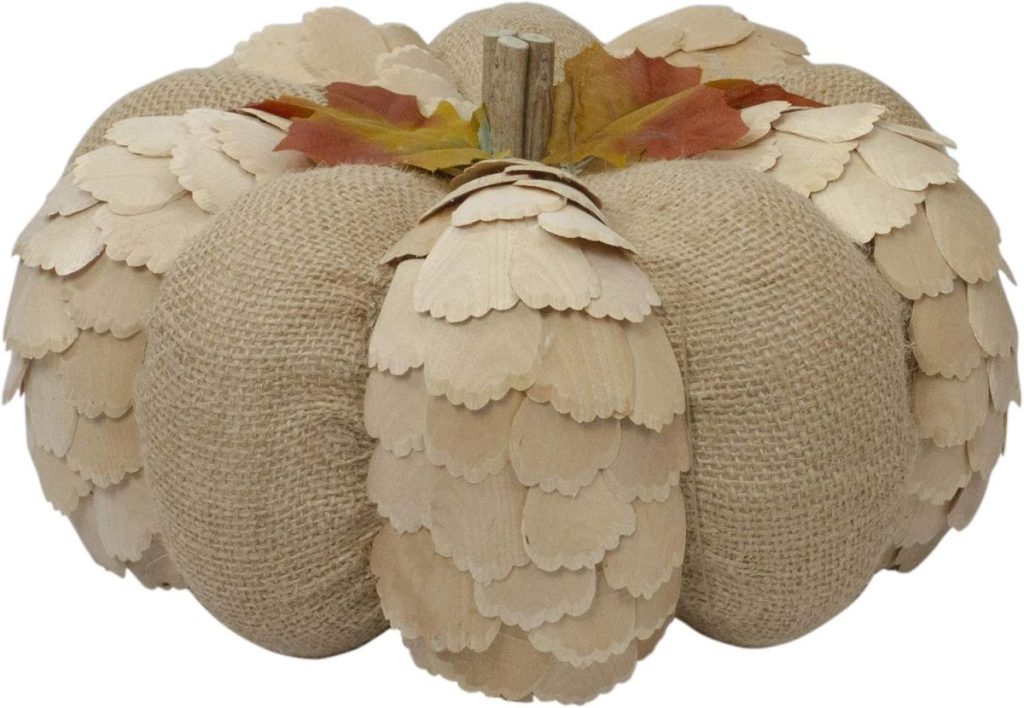
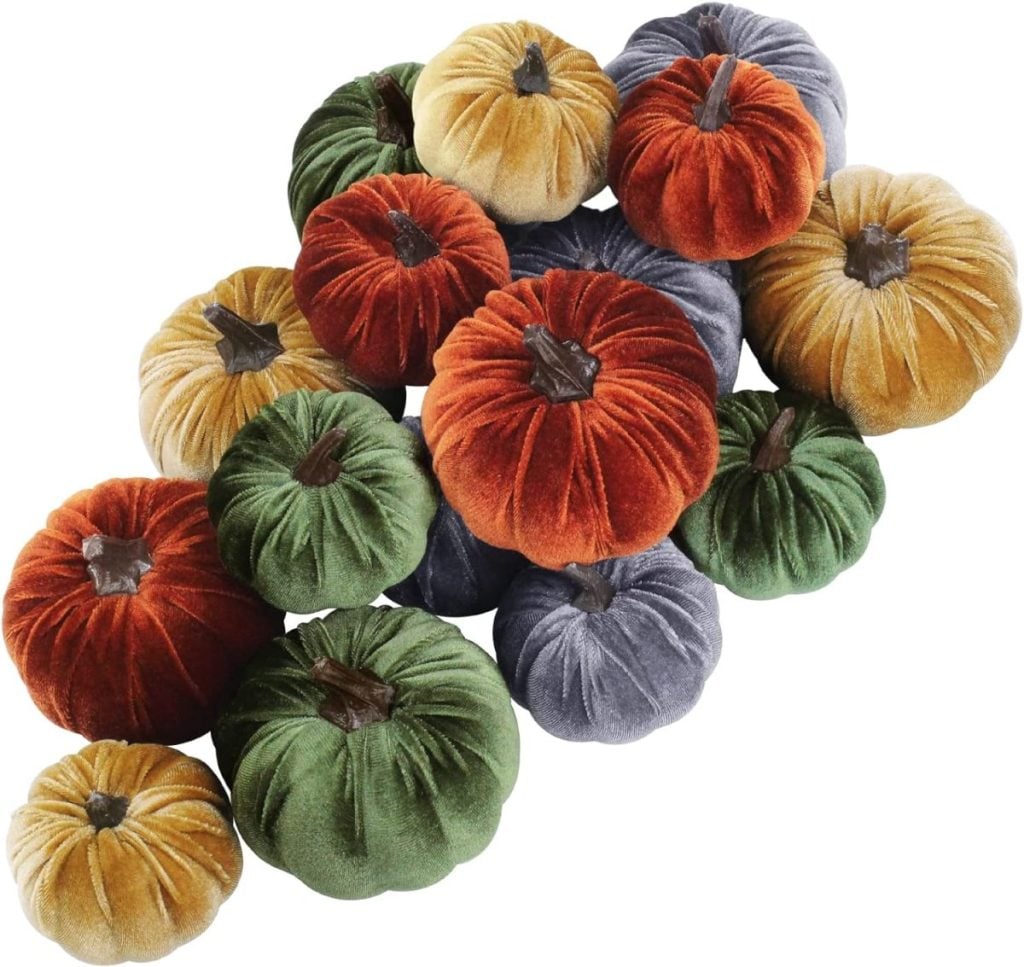
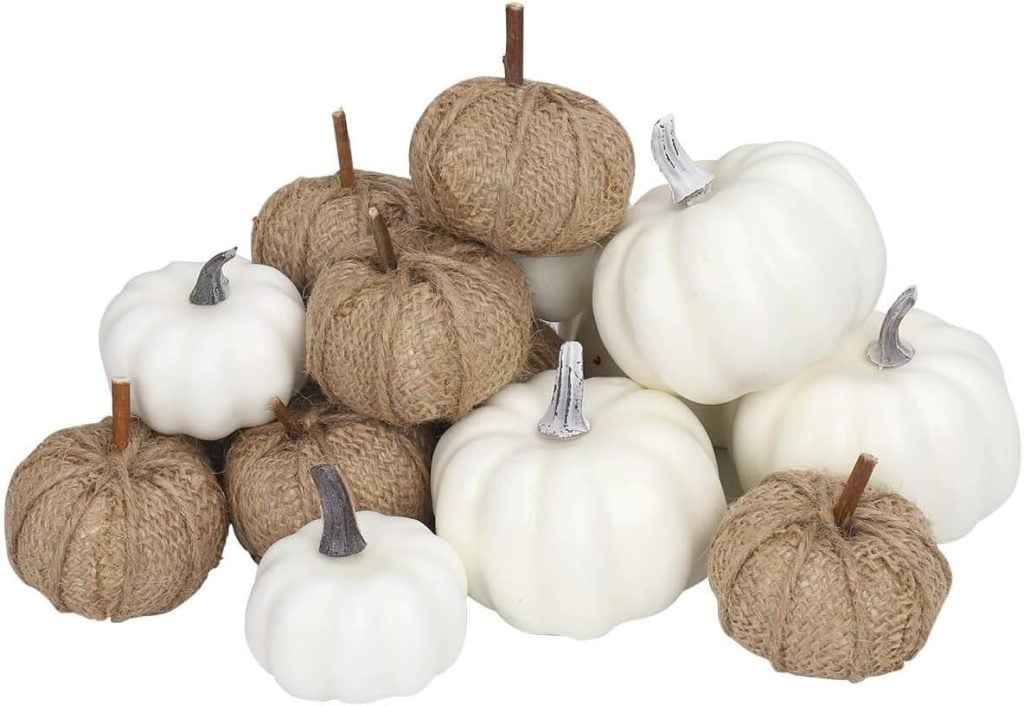
.PB Inspired Fall Decor Favorites


Latest Posts
- Best Easter Brunch Egg Dish: Loaded French Onion Frittata

- The Best Spring Pillow DIY – A Handmade Spring
- DIY Clay and Metallic Foil Easter Eggs
You can pin the image below to your boards on Pinterest (click the Pin button in the top left corner) or follow me on Pinterest!

For more real-time updates, follow me on Instagram @My100YearOldHome

I think your eucalyptus leaf pumpkin looks wonderful.
I wonder, though why wouldn’t you start at the bottom and glue the leaves as you go around towards the top rather than starting at the top and then having to tuck the leaves under the ones you’ve already glued?
Love using the eucalyptus leaves, makes the pumpkin look so dimensional. Also, there probably is a natural scent coming off the leaves.
Love using the eucalyptus leaves, makes the pumpkin look so dimensional. Also, there probably is a natural scent coming off the leaves.
Sorry about the duplicate