Fall Photo Shoot – Part I
I have been planning a fall photo shoot for some time now and now that I have experience, it’s so much easier. Actually, I am kidding. I have completed only one photo shoot in my life and it was really hard … but wonderful. So with ALL of that experience, I am trying it again for fall.
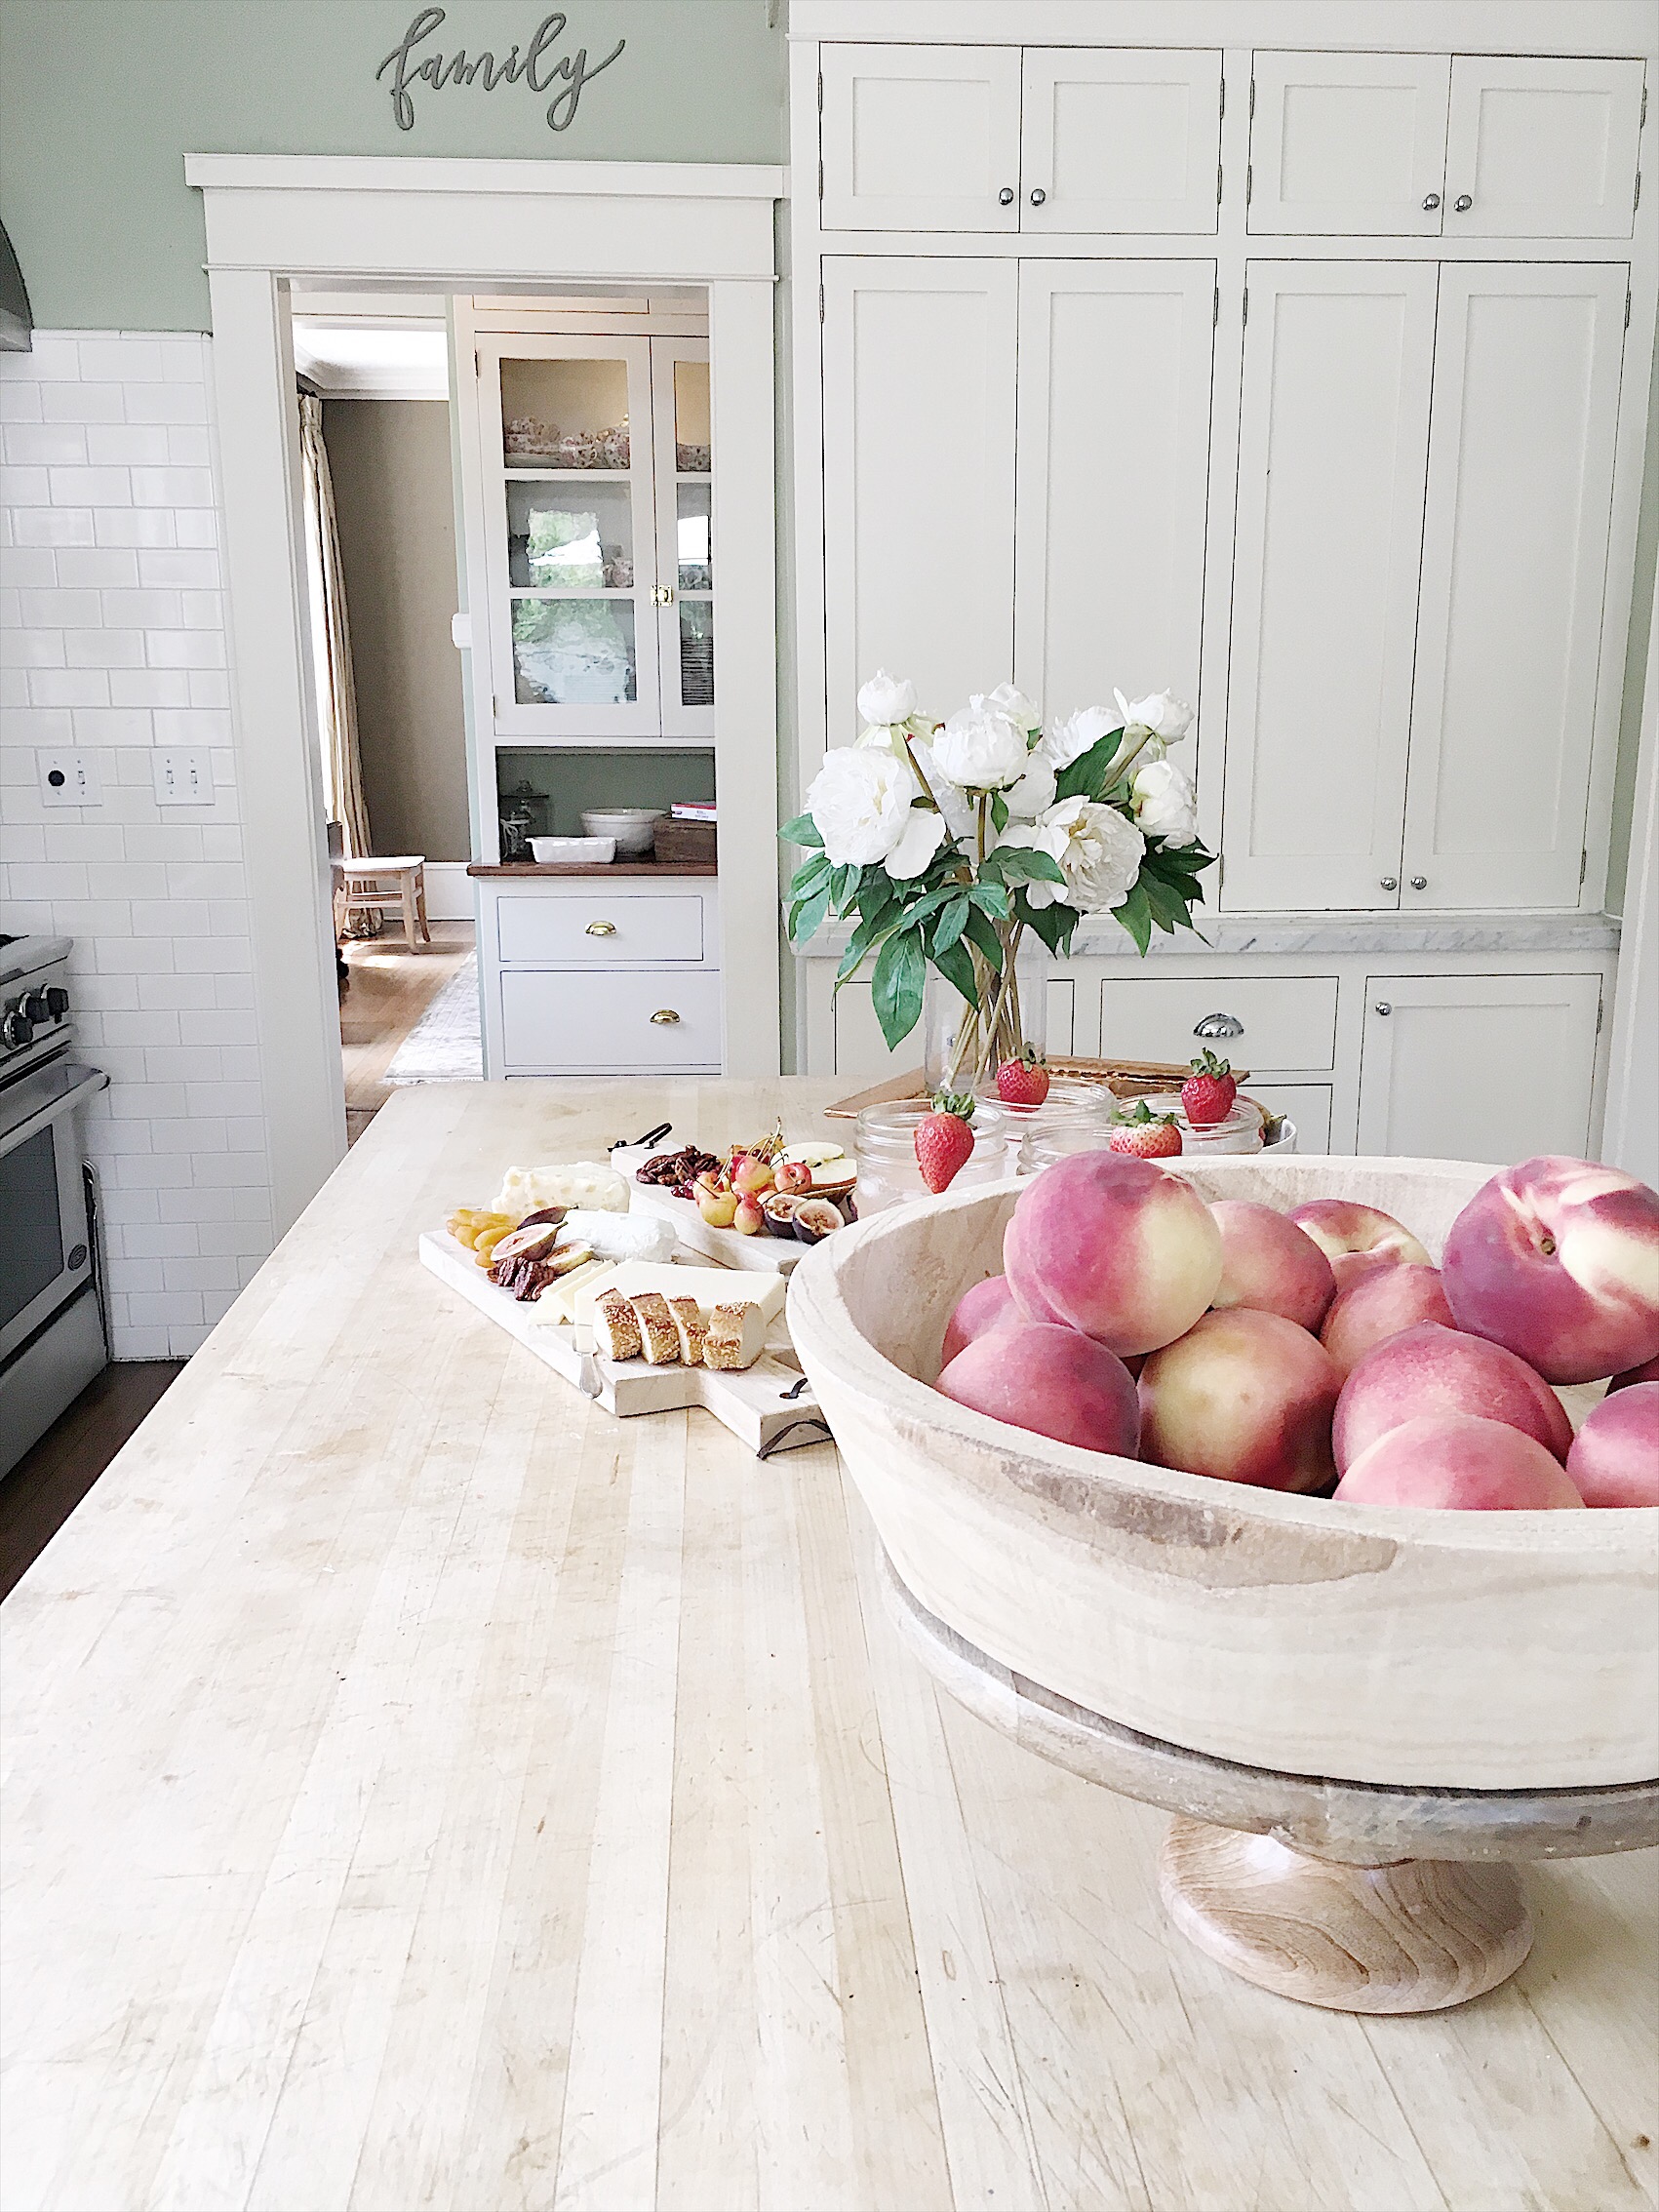
(photo from the Summer Blog Tour photo shoot)
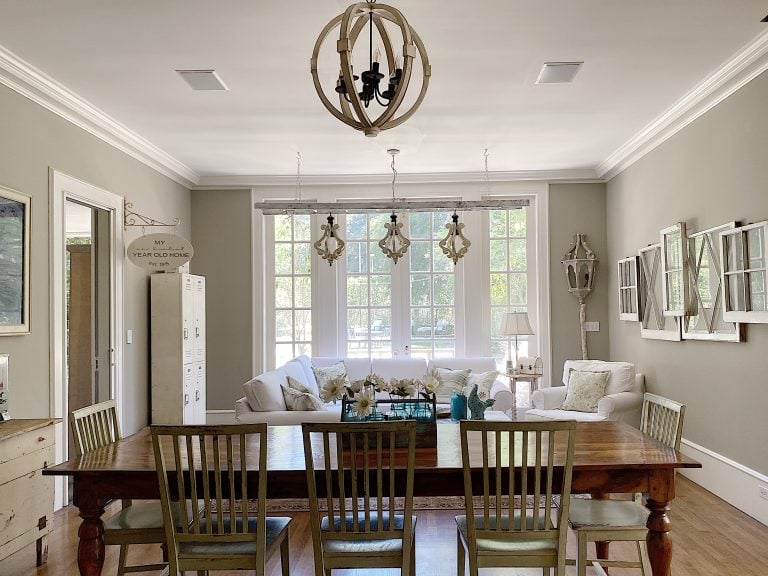
I have a deadline for this shoot so I have been getting ready for quite some time. If you follow me here, or on Instagram, you know that I just recently finished redecorating our living room and family room. As I was trying to do both rooms at the same time, the task was pretty large. But of course, I loved every minute of it.
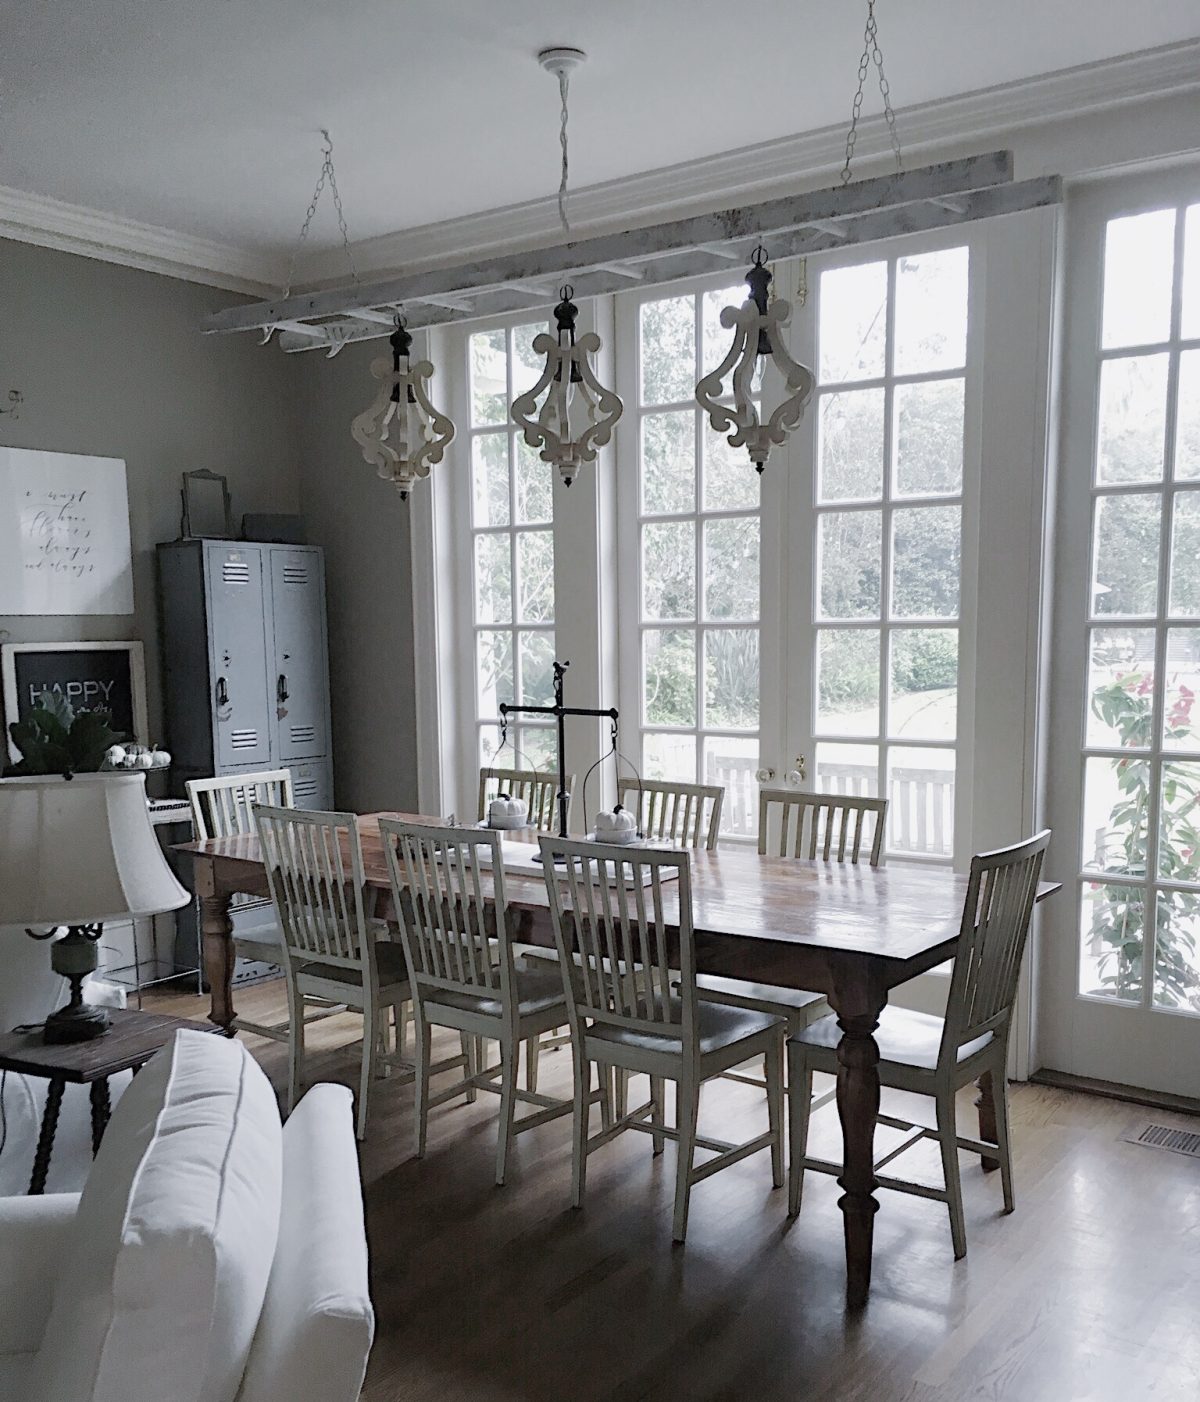
The key to redecorating the main rooms in our home is that they all have a neutral color palette. Our dining room, kitchen, living room, family room and master bedroom are all in the white, tan, gray and black palette (with a bit of green mixed in). As I discussed in one of my earlier blog posts, a neutral palette allows you to add color in a much easier way. Since you don’t have to worry about de-colorizing your room, it is really easy to just add color.
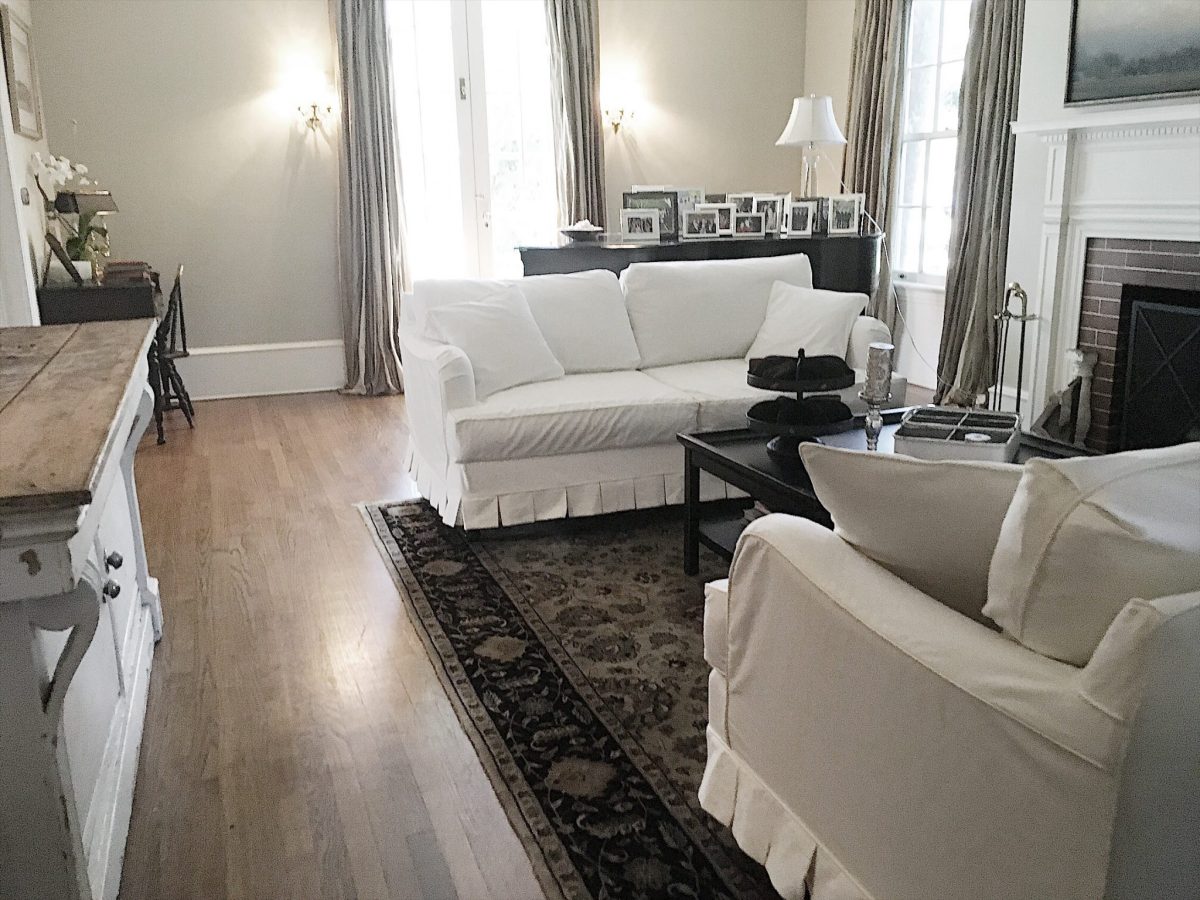
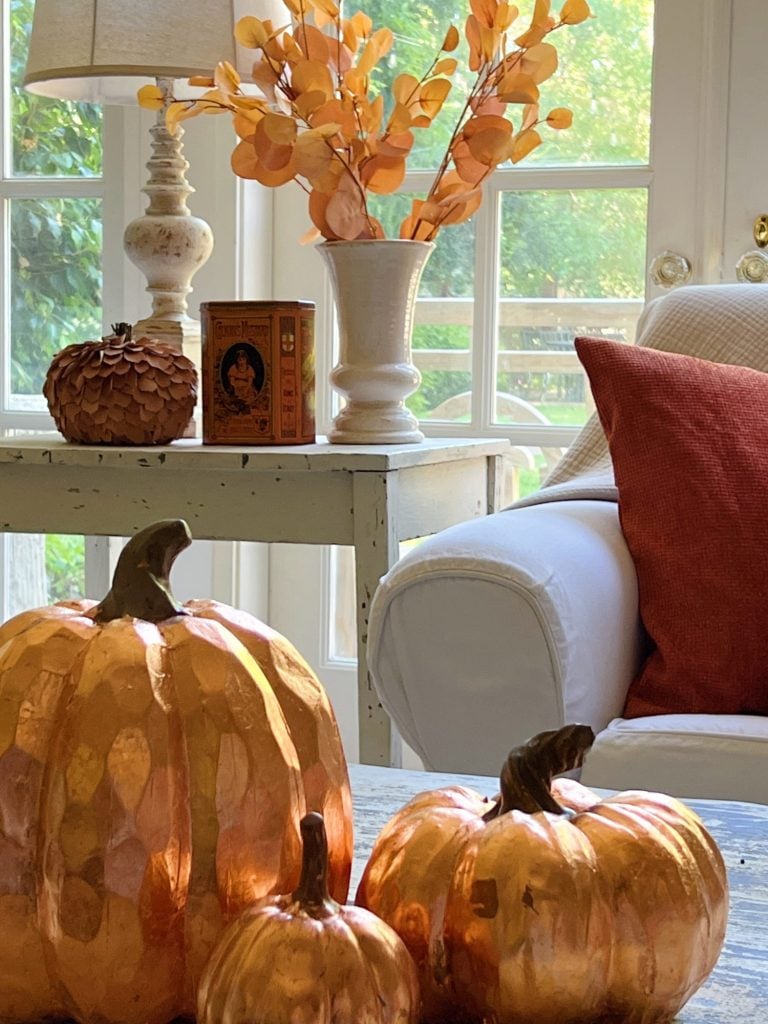
My color palette for fall is tan, off-white, sage green with a little bit of light turquoise. I decided to skip the orange this year. I use to have a lot of orange in the color palette of our home so I was ready for a change. I mostly added color with pumpkins and greens in the home. I debated about using colored pillow covers but chose to stick with the lighter tones. I decided to use throws instead. It just seems a lot cozier.
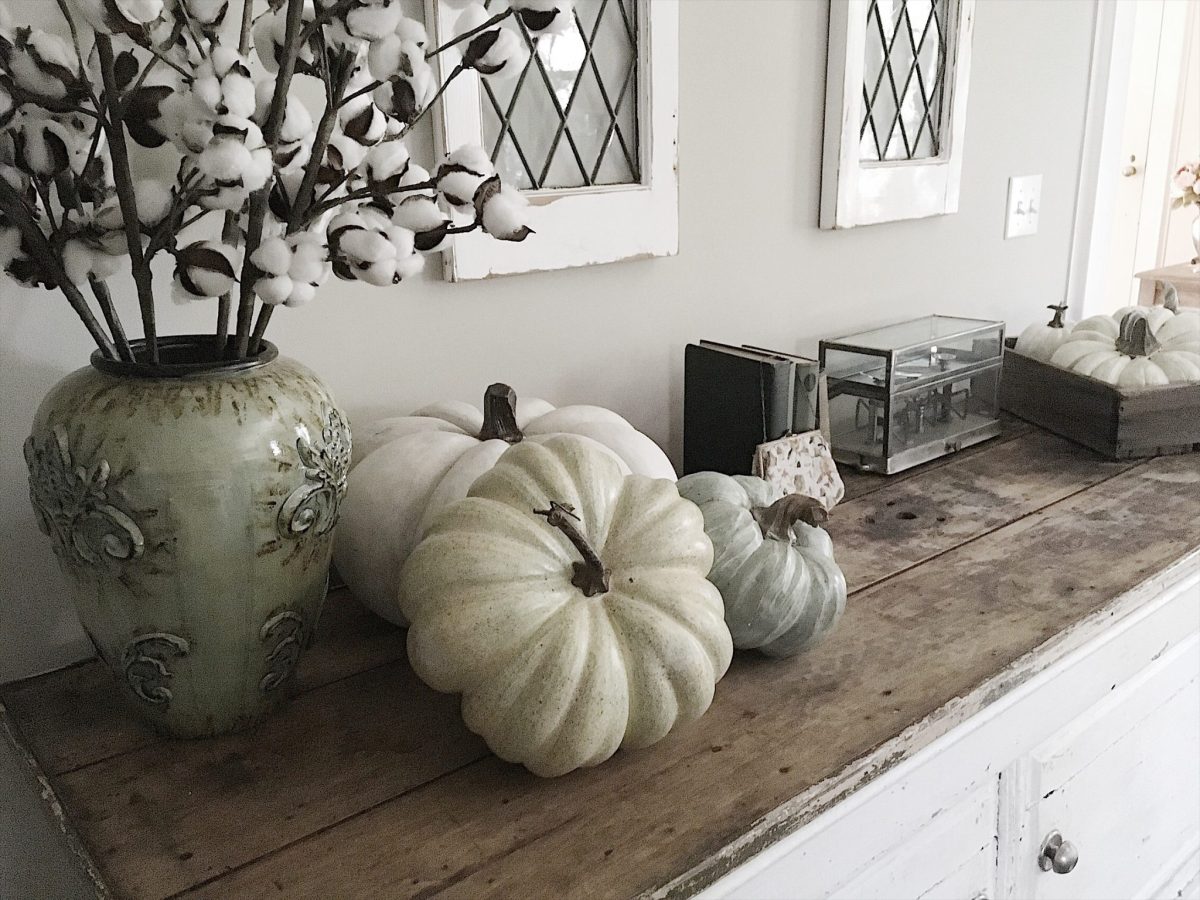
Once the room redecorating was complete I started planning the photo sheet a few weeks in advance, First, of course, was my “plan of action”. Before I could get too specific I had to choose which rooms would be included in the photo shoot. I selected the following:
- exterior or the front of the house
- entryway
- living room
- dining room
- butler’s pantry
- kitchen
- family room
- project room
- back porch
Wow! That’s a lot of rooms!
 Next, I made a plan for every room and most importantly, identified things that I hadn’t done yet or needed to purchase or create (as in a DIY) before the shoot. The only last-minute change was that one week before the photo shoot, while I was sitting on an airplane, I came up with a great idea for our butler’s pantry. Since I never use our coffee station (I am an instant Starbucks Via girl and my copper latte machine is still broken), I decided this area in my house needed a better use. Fortunately, I had a moment of brilliance and came up with a great idea how I could change the coffee station/copper sink end of the butler’s pantry. I quickly contacted my local vintage collectors (@throughtheporthole and @vintagejunktionla) and found everything I needed to make my idea happen. (Did I mention I did all of this from the east coast? It’s amazing to think that I can shop vintage items on my phone from 3k miles away!) I am sure some of you aren’t surprised. And if you are wondering, I promise to share my “new room” idea very soon!
My list of “to-do’s and to-buy’s consisted of things like artwork (to do), painting furniture (to do), new wreaths (to do), changing the chalkboards for fall since they still have summer sayings (to do), making a new eucalyptus wreath for the front door (to-do), replanting some pots (to buy and to do), getting fresh pumpkins (to-do), and rearranging some furniture and items in the house (to do). As you can see, most of these items are all projects I need to do myself. It was time to get busy.
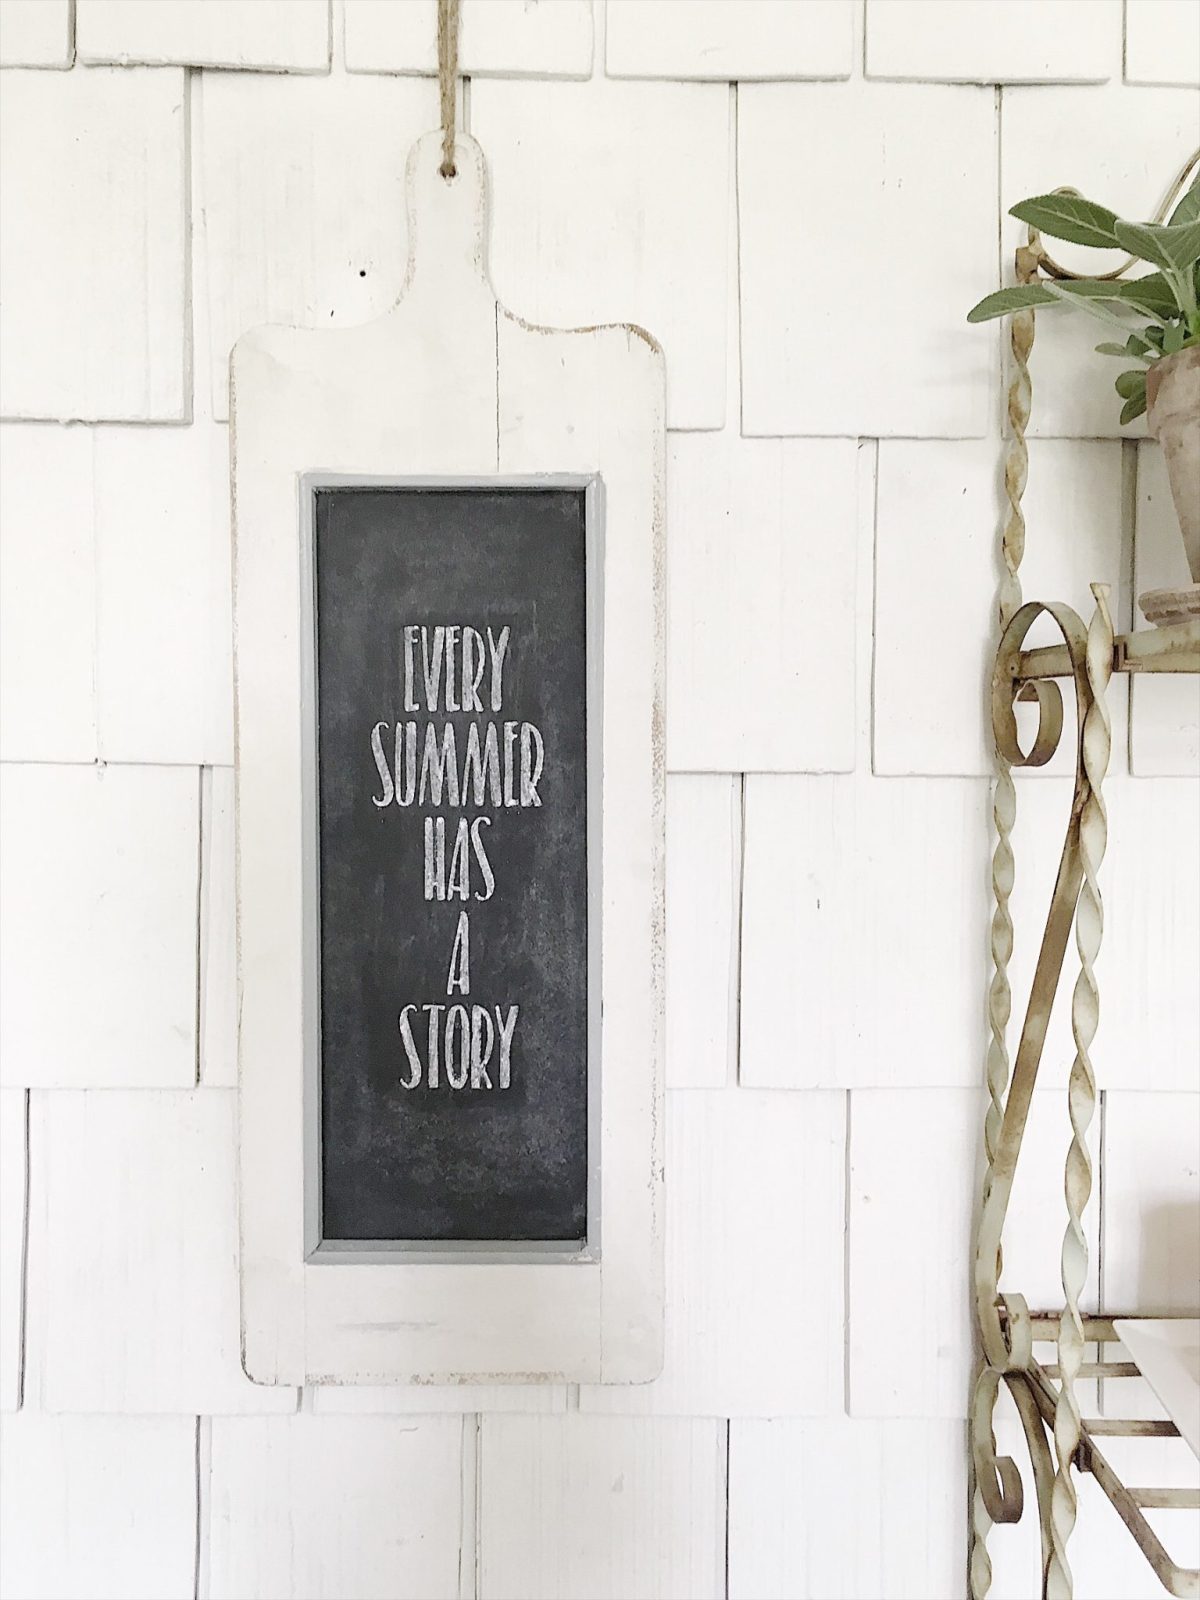
(this chalkboard really needs to be updated …)
For the entire week, I’ll be talking about this photoshoot leading up to the photos! I can’t wait to share them with you!
For more real-time updates, follow me on Instagram @My100YearOldHome

