Entertaining at Home with the Colors of Fall
Hosting friends for a dinner party to enjoy the colors of fall is always exciting, especially when the setting is as inviting as a beautifully decorated back porch.
A few years ago, I had the pleasure of transforming our outdoor space into a cozy fall-inspired dining room, and it turned out to be a magical evening that I can’t wait to share with you.
Creating a Cozy Fall-Inspired Outdoor Dining Experience
Choosing a Fall Color Palette
When I started planning this dinner party, I knew I wanted to capture the essence of fall but with a twist. Instead of the traditional oranges and browns, I opted for the colors of fall that felt both seasonal and sophisticated: plum, peach, and dark reds.
These colors exude warmth and have a rich, luxurious quality that makes the entire setting feel special and unique.
Creating the Perfect Outdoor Dining Room
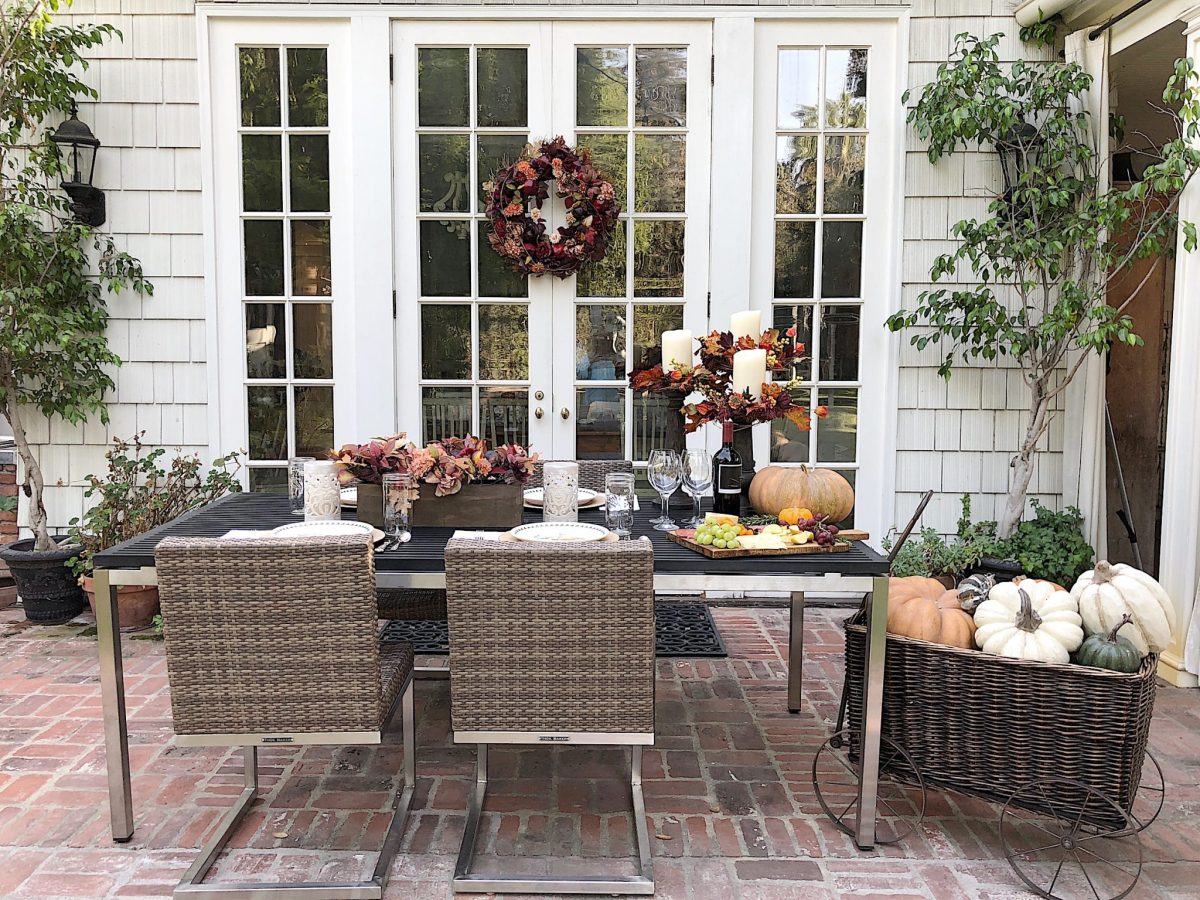
Transforming our back porch into an outdoor dining room was about setting the stage with thoughtful decor. I began by arranging our dining table to be the focal point of the space, ensuring plenty of room for guests to move around comfortably.
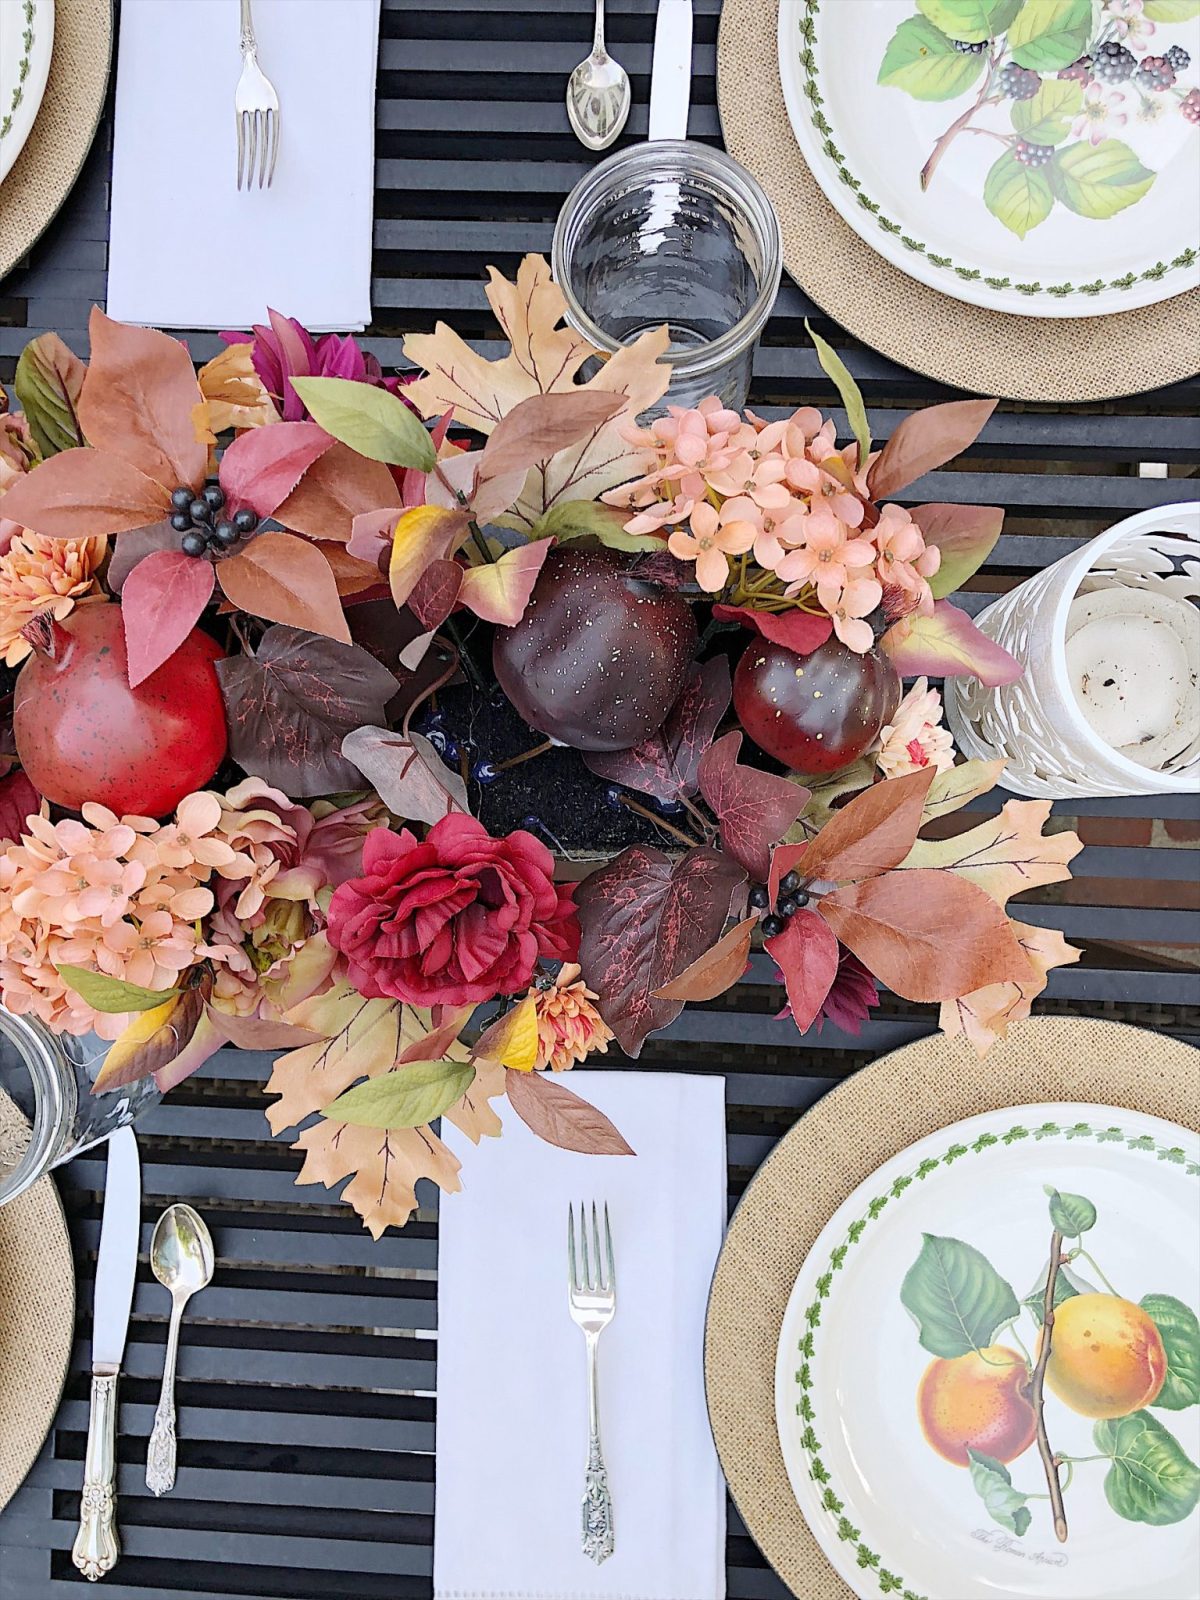
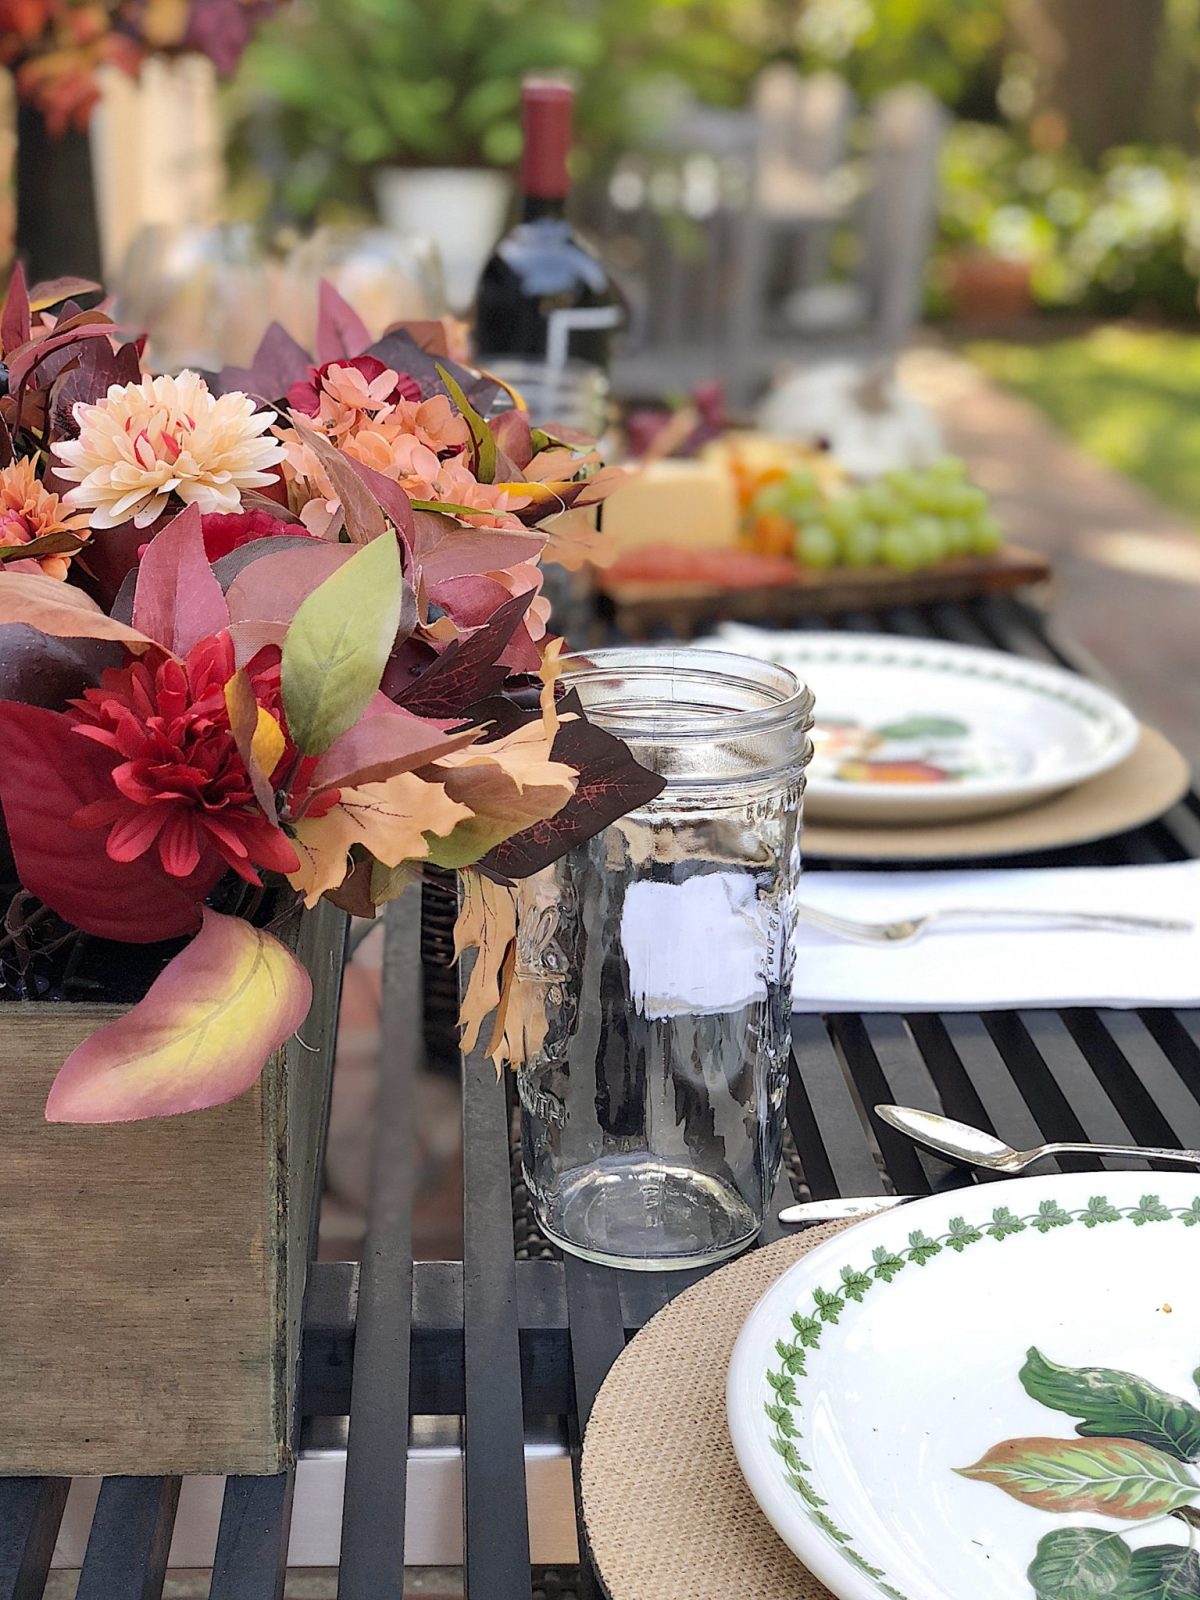
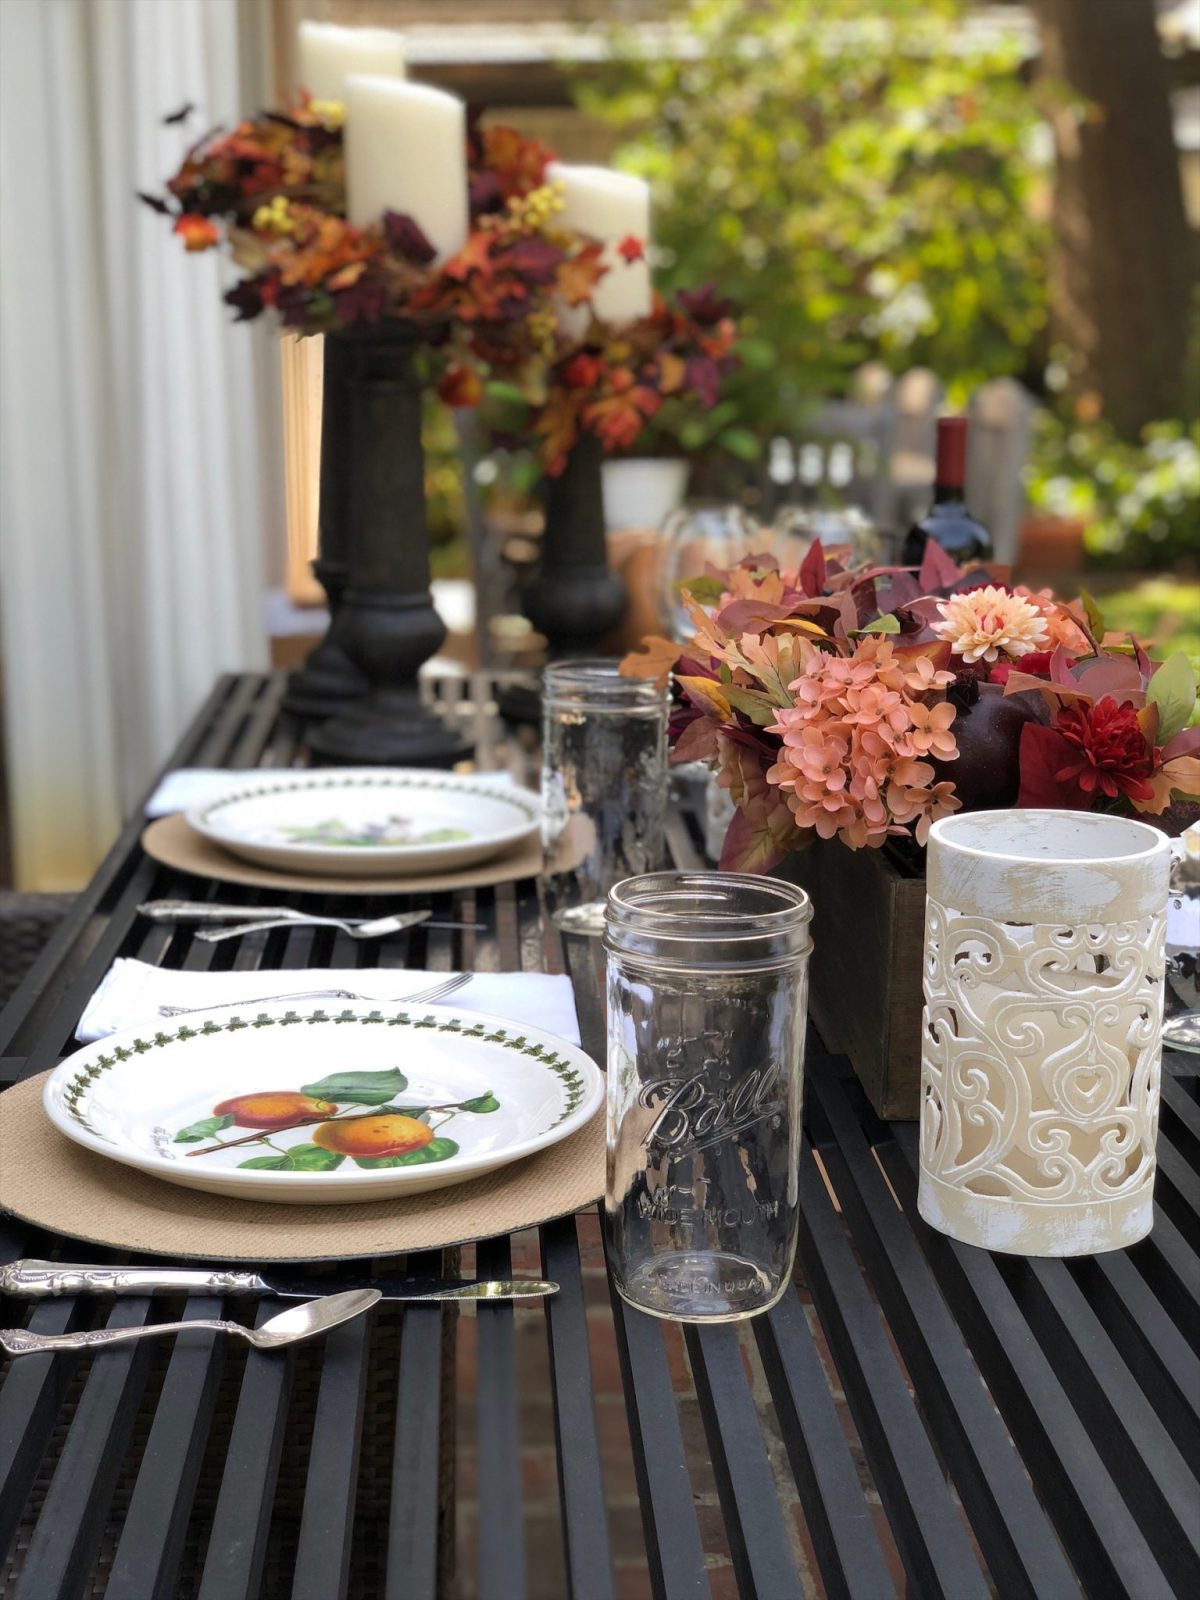
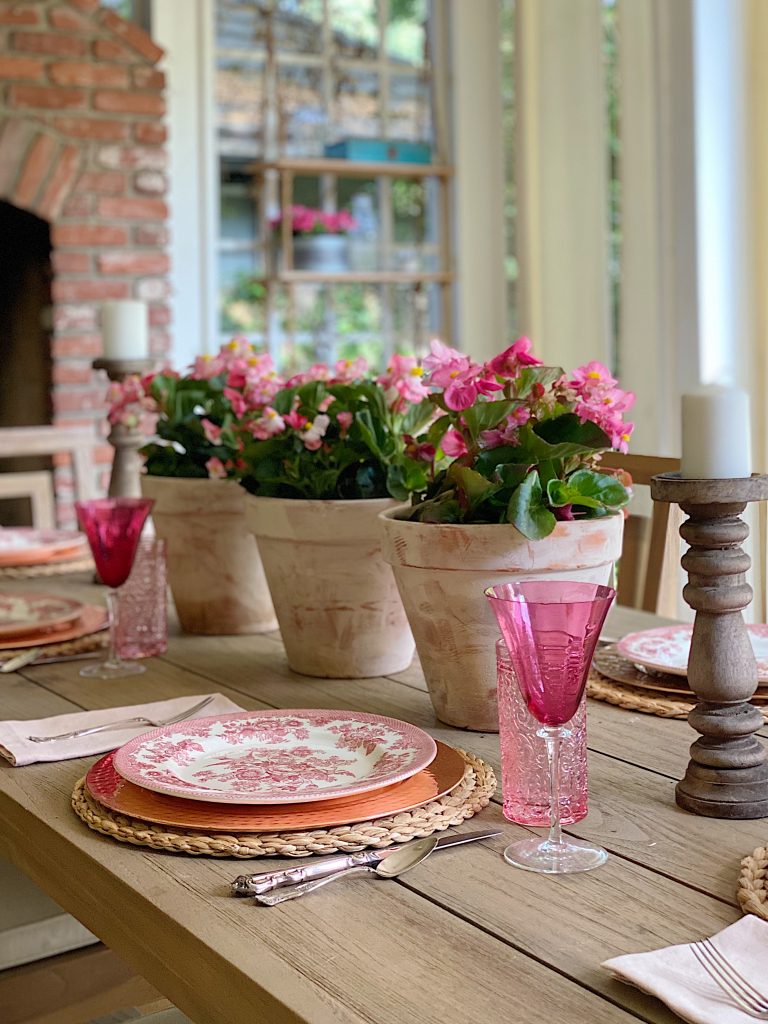
I chose my Portmeirion plates for the table itself, which, with their colorful designs, added an elegant touch. To complement these plates, I placed rattan chargers underneath, adding texture and an earthy feel that grounded the more vibrant colors of the table setting. The fruit-themed plates and the rustic chargers created a perfect balance between formal and casual, which was exactly the vibe I was going for.
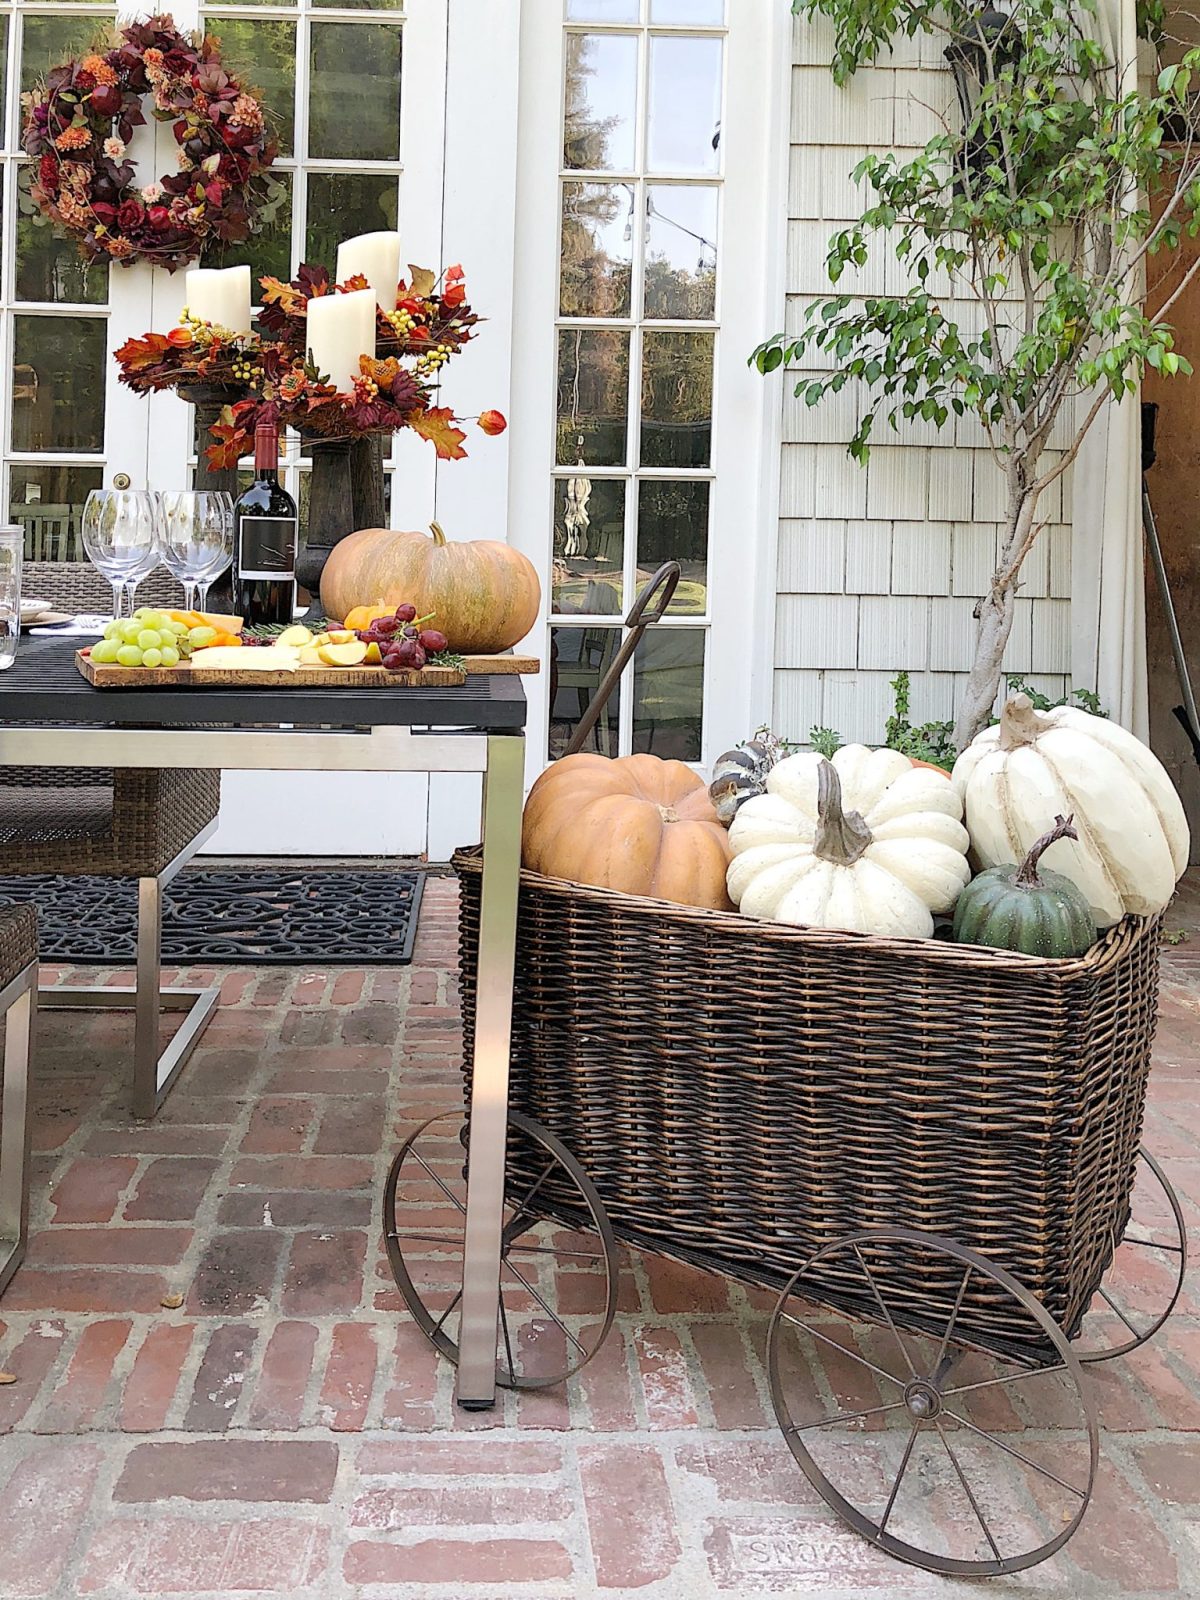
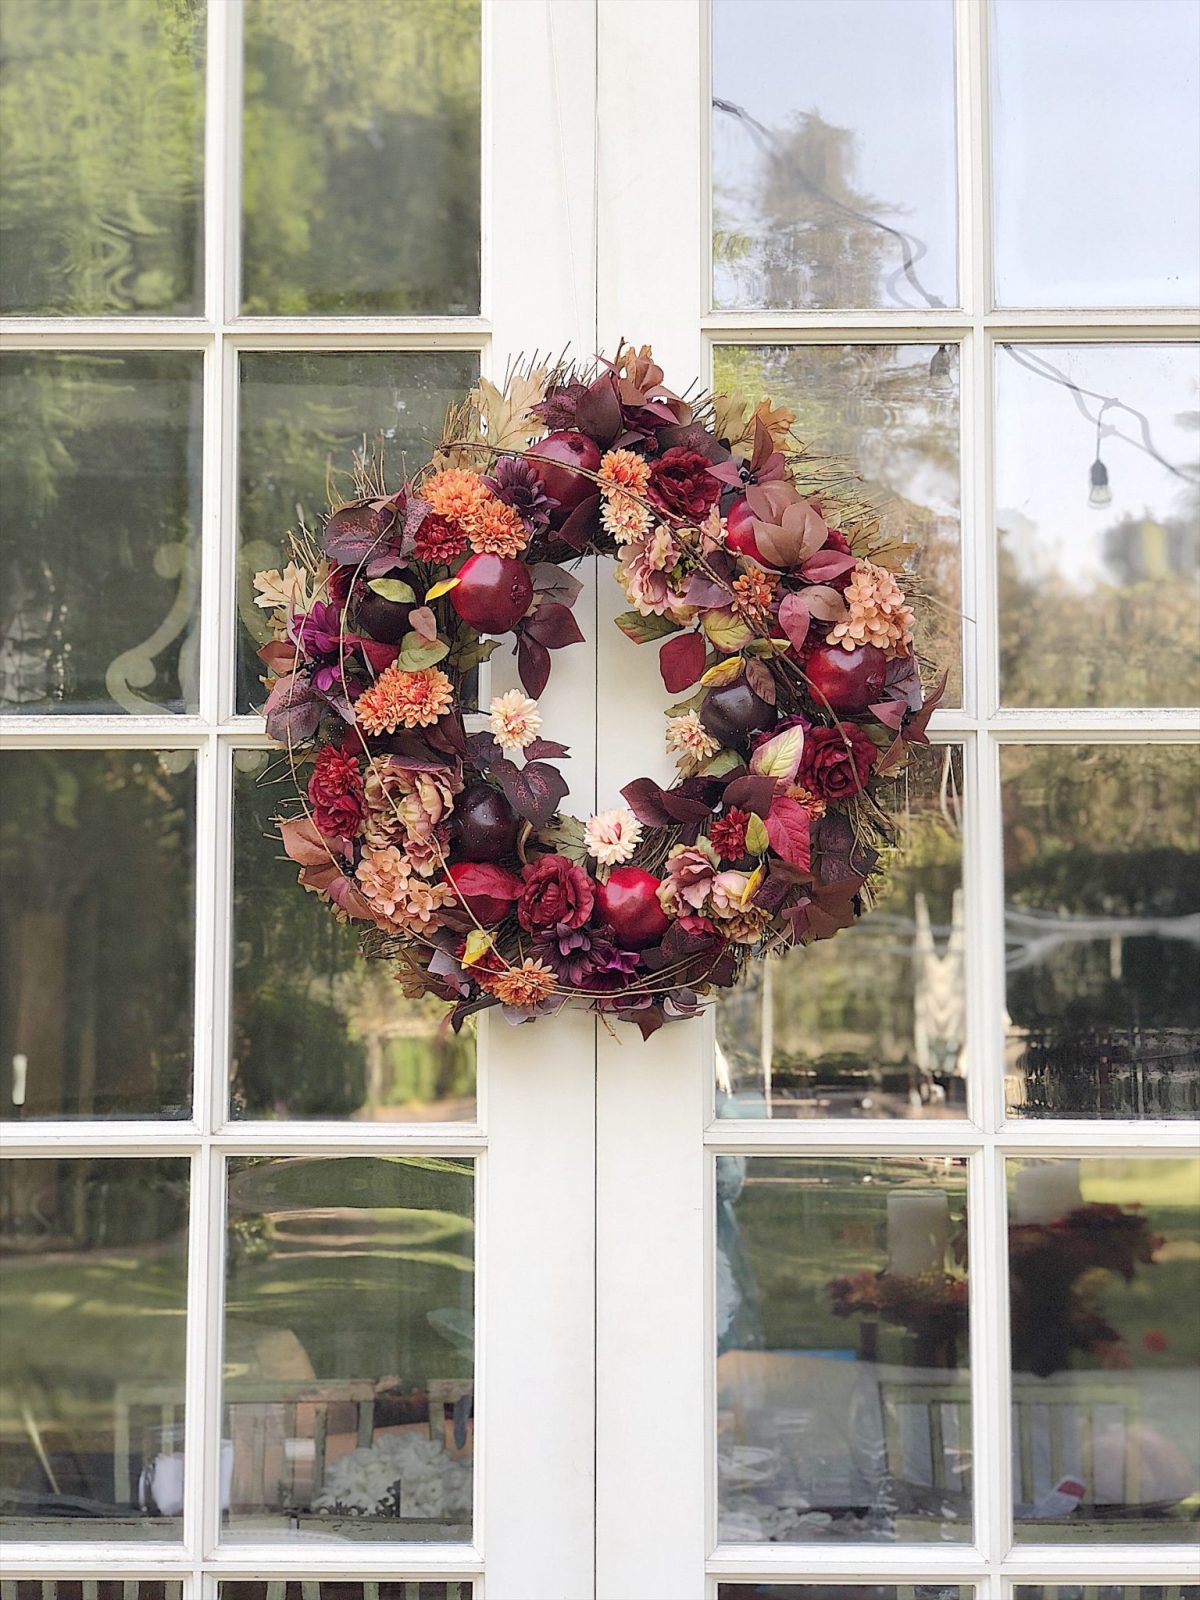
To tie the entire look together, I hung a matching wreath adorned with faux florals in plum, peach, and dark red on the French doors.
On this blog, I may sometimes use affiliate links, which means a small commission is earned if you purchase via the link. The price will be the same whether you use the affiliate link or go directly to the vendor’s website using a non-affiliate link.
Centerpieces That Wow
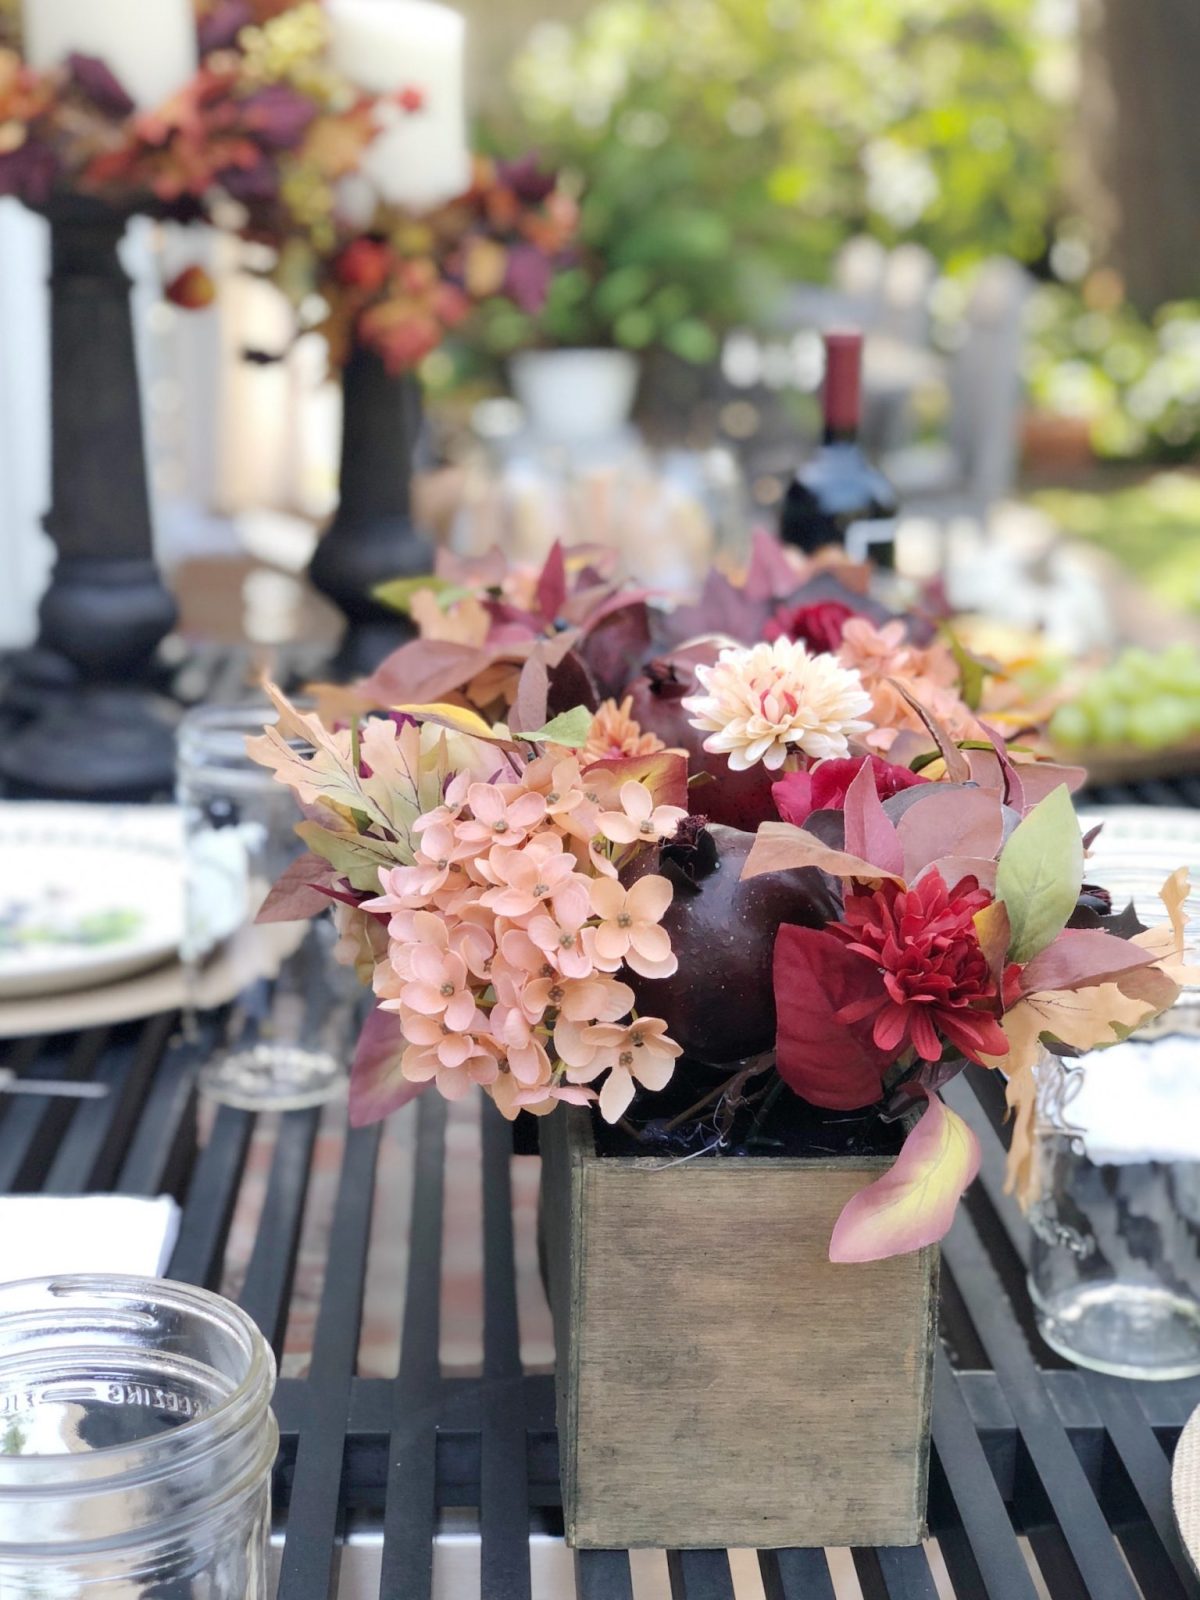
No dinner party is complete without a stunning centerpiece, and for this fall gathering, I decided to go all out with faux florals. I created an arrangement that ran down the center of the table, mixing flowers in shades of plum, peach, and deep red. The faux florals matched my color theme perfectly and allowed me to create a lush, abundant look without worrying about wilting or maintenance throughout the evening.
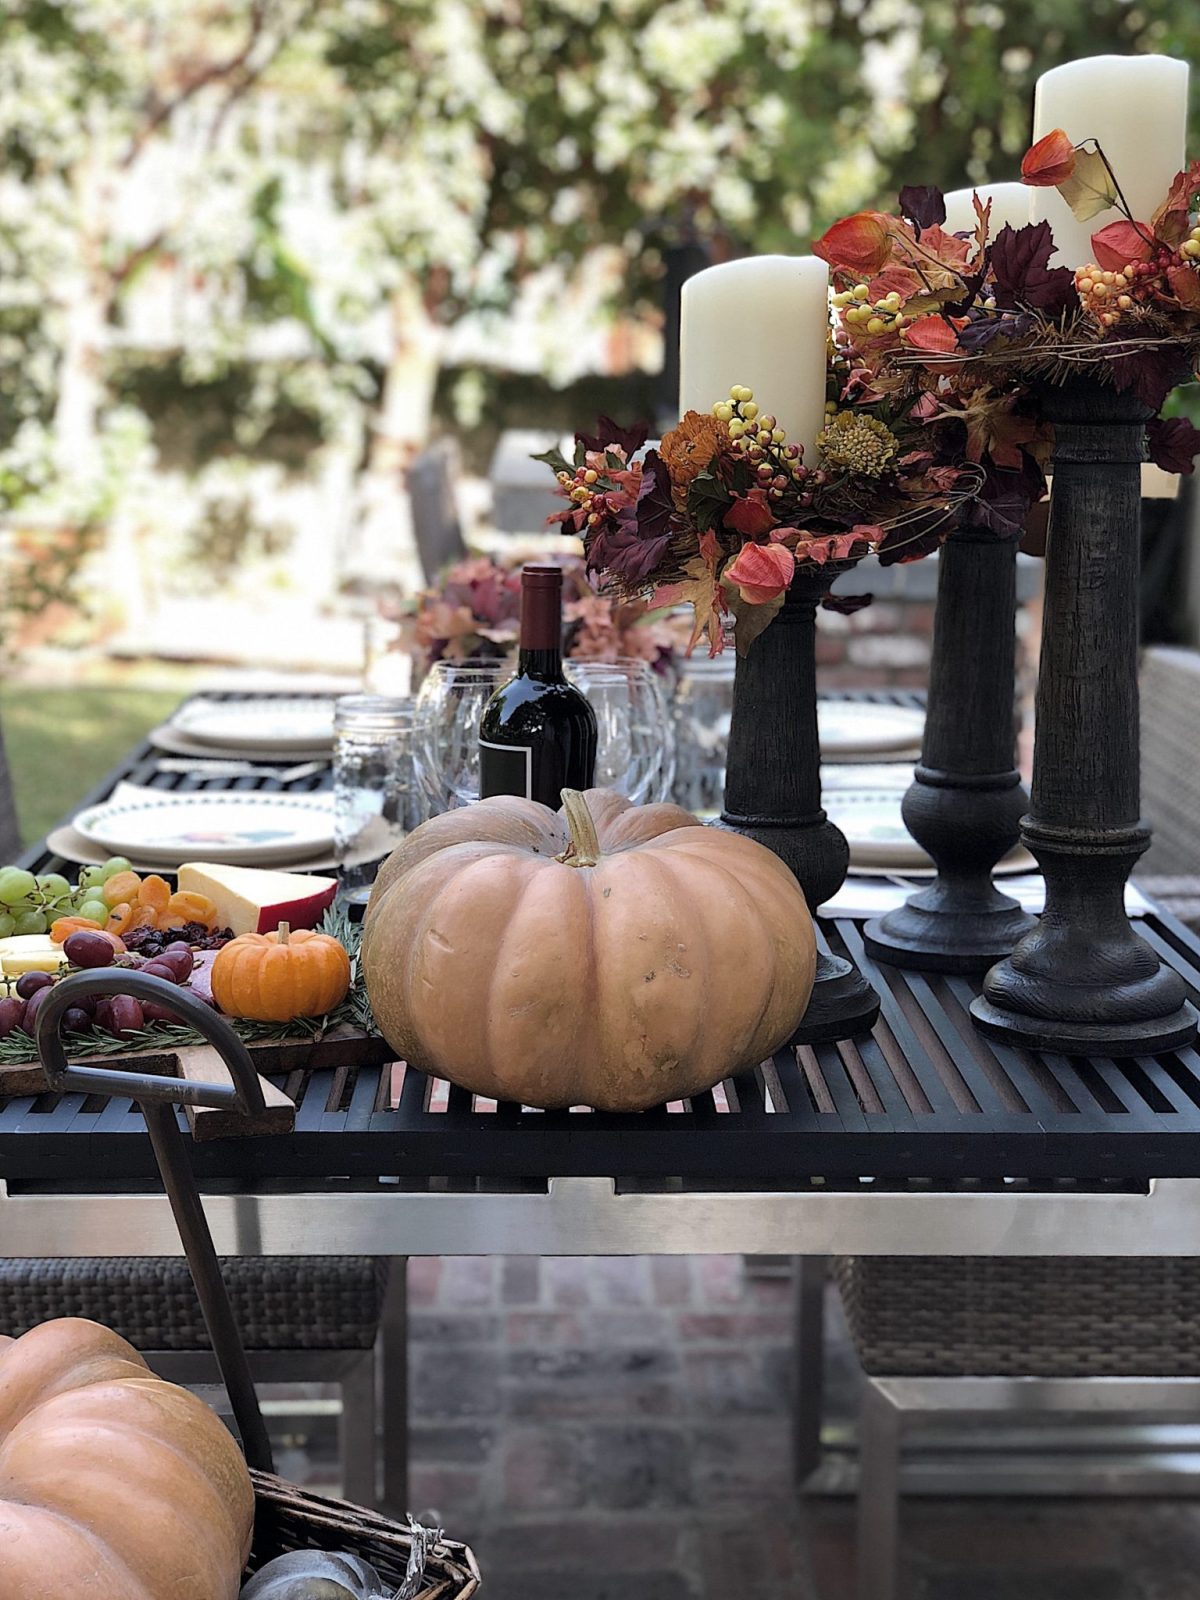
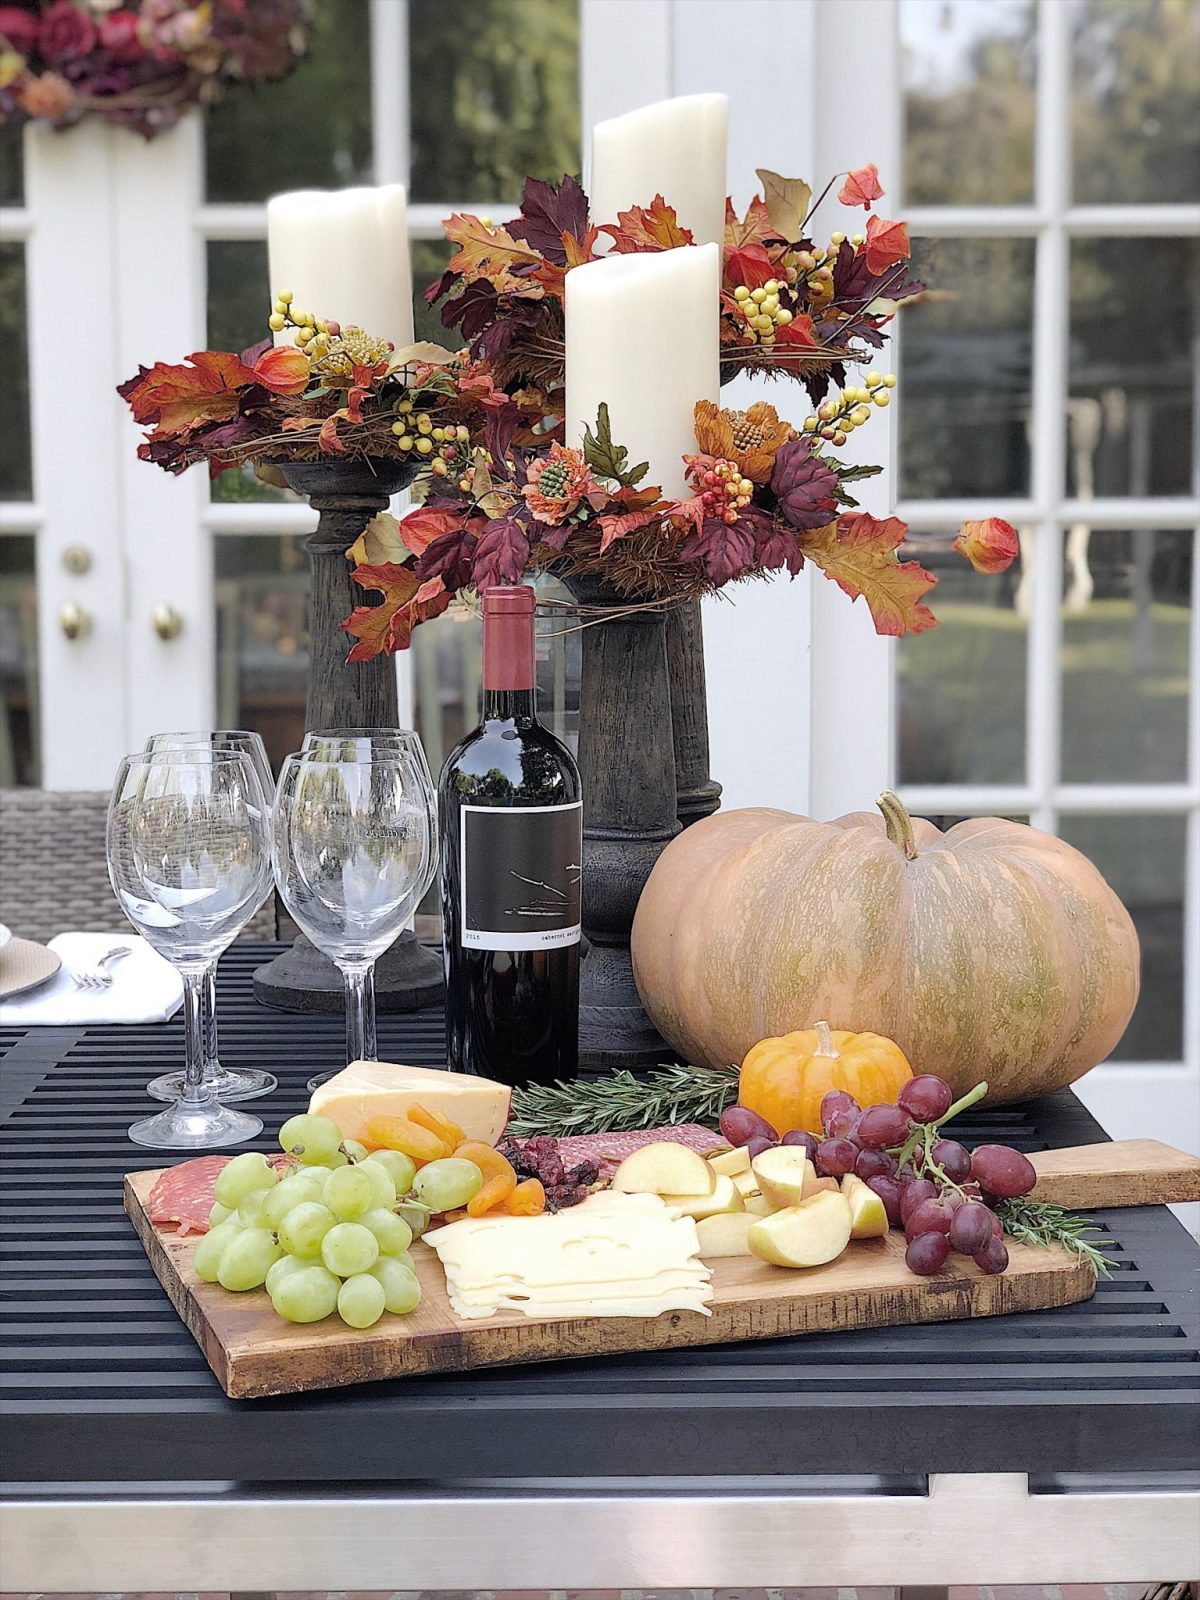
In addition to the floral centerpiece, I added faux pumpkins in various sizes and colors that complemented the overall theme. The pumpkins added a playful, seasonal touch, and their varying heights and shapes helped to create visual interest across the table. I included tall, dark candlesticks with white candles to bring some height and drama. The flickering candlelight added warmth and a touch of romance to the setting, making the entire space feel intimate and inviting.
A Warm Welcome with a Themed Charcuterie Board
As my guests arrived, I welcomed them with a delicious charcuterie board that matched the evening’s color theme. I had so much fun selecting ingredients that tasted amazing and looked beautiful on the board.
Dark red and green grapes, dried apricots, aged cheddar, and prosciutto were just a few of the items that appeared. I also added some apples and cranberries, which paired beautifully with the fruit and added an indulgent touch.
The charcuterie board was a feast for the eyes and a great conversation starter. As we nibbled on the various offerings, my friends couldn’t stop commenting on how well everything tied together—from the colors on the board to the overall decor. It was a small detail, but one that set the tone for the evening and made everyone feel like they were part of something special.
Creating a Relaxed and Inviting Atmosphere
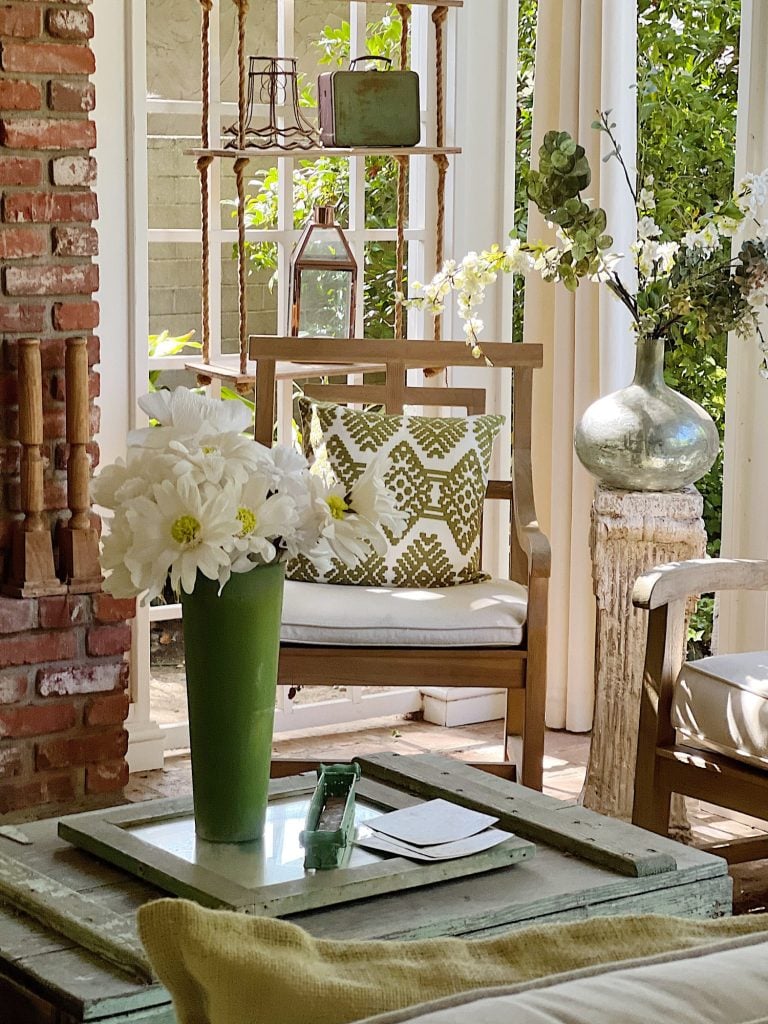
One of the most important aspects of hosting any dinner party is ensuring guests feel comfortable and relaxed. I ensured the back porch seating was cozy and inviting to achieve this. I draped a few soft blankets over the backs for anyone who might feel a chill as the evening went on.
Paying attention to the lighting is key for creating ambiance. In addition to the candles on the table, lanterns with LED candles were placed around the perimeter. The soft, glowing lights created a warm and welcoming atmosphere that encouraged everyone to linger long after the meal.
The Menu: Seasonal and Satisfying
Of course, no dinner party is complete without a delicious meal, and for this fall gathering, I wanted to serve dishes that were not only seasonal but also satisfying as the weather started to cool down. I started with Peanut Coconut soup served in small, shallow bowls that allowed the muted orange color to pop against the table setting.
Peanut Coconut Soup
This peanut coconut soup is smooth, and perfect for a winter or summer day!
Ingredients
- 1 small onion, chopped
- 2 stalks of celery, chopped
- 1/2 cup (1 stick) unsalted butter (I used plant butter)
- 1/4 cup flour
- 2 quarts chicken stock
- 2 cups peanut butter
- 1/2 cup coconut milk (I used canned Thai Kitchen Organic Coconut milk)
- 2 tbl of lime juice
- 1 tsp lime zest
- 1/2 tsp pepper flakes
- 1/2 cup chopped peanuts (for garnish)
- 1 small bunch of cilantro (for garnish)
- 2 tbl finely sliced red pepper (or garnish)
Instructions
- Chop the onions and celery and place in a large pot. Add the stick of butter.
- Cook on medium heat for five minutes to allow onions and celery to soften. Stir frequently.
- Add the flour, and mix well.
- Add the chicken stock, and cook on low heat for thirty minutes. Be sure to stir occasionally.
- Strain the soup, discard the onions and celery, and return the liquid mixture to the pot.
- Add the peanut butter and coconut milk. Whisk until blended.
- Add the lime juice and zest and pepper flakes.
- Serve warm. Garnish with chopped peanuts, cilantro, and sliced red pepper.
I served Grilled Chicken with Pistachio Avocado Sauce for the main course, paired with rice and roasted asparagus. The deep, rich flavors of the avocado sauce tied in beautifully with the color theme, while the roasted vegetables added a touch of rustic comfort to the meal.
The Best Grilled Chicken with Pistachio Avocado Sauce
This is the best Grilled Chicken with Pistachio Avocado Sauce – marinated in soy sauce, honey, and garlic and grilled to juicy, golden-brown perfection. Then topped with an amazing green pistachio and avocado sauce. So easy!
Ingredients
- CHICKEN
- 1 lb. boneless skinless chicken breasts
- 3/4 cup soy sauce
- 3/4 cup honey
- 3/4 cup water
- 4 cloves garlic, smashed
- 1 TBL cilantro
- fresh lime, squeezed
- PISTACHIO AVOCADO SAUCE
- 1 avocado
- 1 cup packed parsley and cilantro leaves (combined)
- 1 jalapeño, ribs and seeds removed
- 2 cloves garlic
- juice of one lime (or two – get lots of limey goodness in there!)
- 1/2 cup water
- 1/2 cup olive oil
- 1 teaspoon salt
- 1/2 cup pistachios (you can sub other nuts)
Instructions
- Cut the chicken into chunks. Place in a large ziplock plastic bag or bowl.
- Pour the soy sauce, honey, water, and garlic into a bowl. Whisk until incorporated. Set aside about 3/4 cup of the sauce for brushing the chicken later.
- Pour the remaining sauce into the bag or bowl with the chicken. Seal or cover the mixture and refrigerate as long as you can – 4 hours is a good minimum but you can go as long as overnight.
- When you’re ready to grill, preheat the grill on medium-high for 5-10 minutes and oil the grates. Meanwhile, drain off the marinade and place the chicken pieces on skewers. Place the chicken on the hot grill, cover, and cook for 3-4 minutes. Brush with reserved sauce and flip. Repeat this process until you see that the chicken is browned to your liking and fully
cooked. - Serve with cilantro, lime, Magic Green Sauce, or any other dipping sauces you like. We also like this with a salad and some naan or rice.
- To make the five-minute green sauce, pulse all remaining ingredients – except pistachios – in a food processor until incorporated.
- Add pistachios and pulse until mostly smooth (depends on what consistency you want).
- Serve as a dip, spread, or sauce — or add additional water or oil to thin the sauce for use as a dressing or a marinade.
I kept things simple yet indulgent for dessert with my Basic 1-2-3-4 Cake, adorned with gold-painted fruits, nuts, and leaves. The cake was a hit and was the perfect way to end the evening.
Basic 1-2-3-4 Cake Recipe
This 1-2-3-4 cake recipe is so easy to make and yet it tastes and looks fantastic.
Ingredients
- 1 cup butter, room temperature
- 2 cups granulated sugar
- 3 cups all-purpose flour
- 4 eggs, room temperature
- 1 TBL baking powder
- 1 tsp kosher salt
- 1 cup milk
- 2 tsp vanilla
Instructions
- Preheat oven to 325 degrees. Use two 6" x 3" cake pans. Line the bottom with parchment paper and grease sides and bottom with non-stick cooking spray.
- Cream the butter and sugar for 15 - 20 minutes until the volume is almost double in size and looks like a buttercream frosting consistency. (Use a high-speed mixer with a paddle.)
- In a separate bowl mix together the flour, baking powder, and salt.
- Add the eggs, one at a time to the butter mixture. Mix for about ten minutes.
- Add the vanilla to the milk.
- Add the dry mixture and milk/vanilla to the butter mixture, alternating three dry to two wet. This is done by adding one-third of the dry mixture, then one half of the milk/vanilla, one-third of the dry mixture, one half of the milk/vanilla, and then one-third of the dry mixture. Stir by hand if necessary.
- Measure the batter in half and pour an even amount of batter in each pan. With a spatula smooth the batter to the edges until even. Tap the pans lightly on the counter to spread out the batter and release the air bubbles.
- Place in the oven on a rack and bake until cake temperature reaches 200 degrees, approximately 40 - 45 minutes. You can also test the cake with a wooden toothpick. If it is dry after inserted in the cake, it should be done.
- Let cool.
- Cut the bottom layer so that the top is flat. Cut both layers into two layers. You now have a four layer cake.
- Ice with Swiss Meringue Buttercream frosting.
As the evening drew to a close, we all sat back, enjoying the last sips of wine and the gentle flicker of the candles. There’s something truly special about gathering around a beautifully set table, sharing good food, and making memories with friends.
The fall-inspired decor, thoughtful touches, and relaxed atmosphere combined to create a dinner party that was as enjoyable for me to host as it was for my guests to attend.
Ultimately, these moments of connection make all the effort of planning and decorating worthwhile. I hope this inspires you to create a cozy outdoor dining experience this fall. Whether you’re hosting a large group or an intimate gathering, the key is to choose a color palette and decor that speaks to you and to create an atmosphere where your guests can relax and enjoy the beauty of the season.
Happy entertaining!
If you enjoy my blog, you can sign up to receive my updates here. .
Rich Fall Decor Favorites
Latest Posts
- My Favorite Easy Painted Pumpkin
- Quick and Easy Tried and True Recipes
- Dining Room Fall Table Decor Ideas
You can pin the image below to your boards on Pinterest (click the Pin button in the top left corner) or follow me on Pinterest!
For more real-time updates, follow me on Instagram @My100YearOldHome
This post is a delight! I LOVE your choice of jewel tones, from soft to vibrant for fall decorating. Your entire entertaining area is a collage of lovely autumn vignettes which make for a creative and lovely autumn gathering. Thank you for sharing your creativity!
I love your Blog, but there are so many ads that it makes it almost impossible to read your article. I understand they are what pays you, but if there are so many, I sometimes just by pass your blog. I wonder if you could group them to the side so it would not interfere with the article.
Unfortunately I can’t adjust the ads- it’s what makes the content free on my site. I wish I could do something about them as I know how frustrating that can be!
Yes, the ads are very distracting