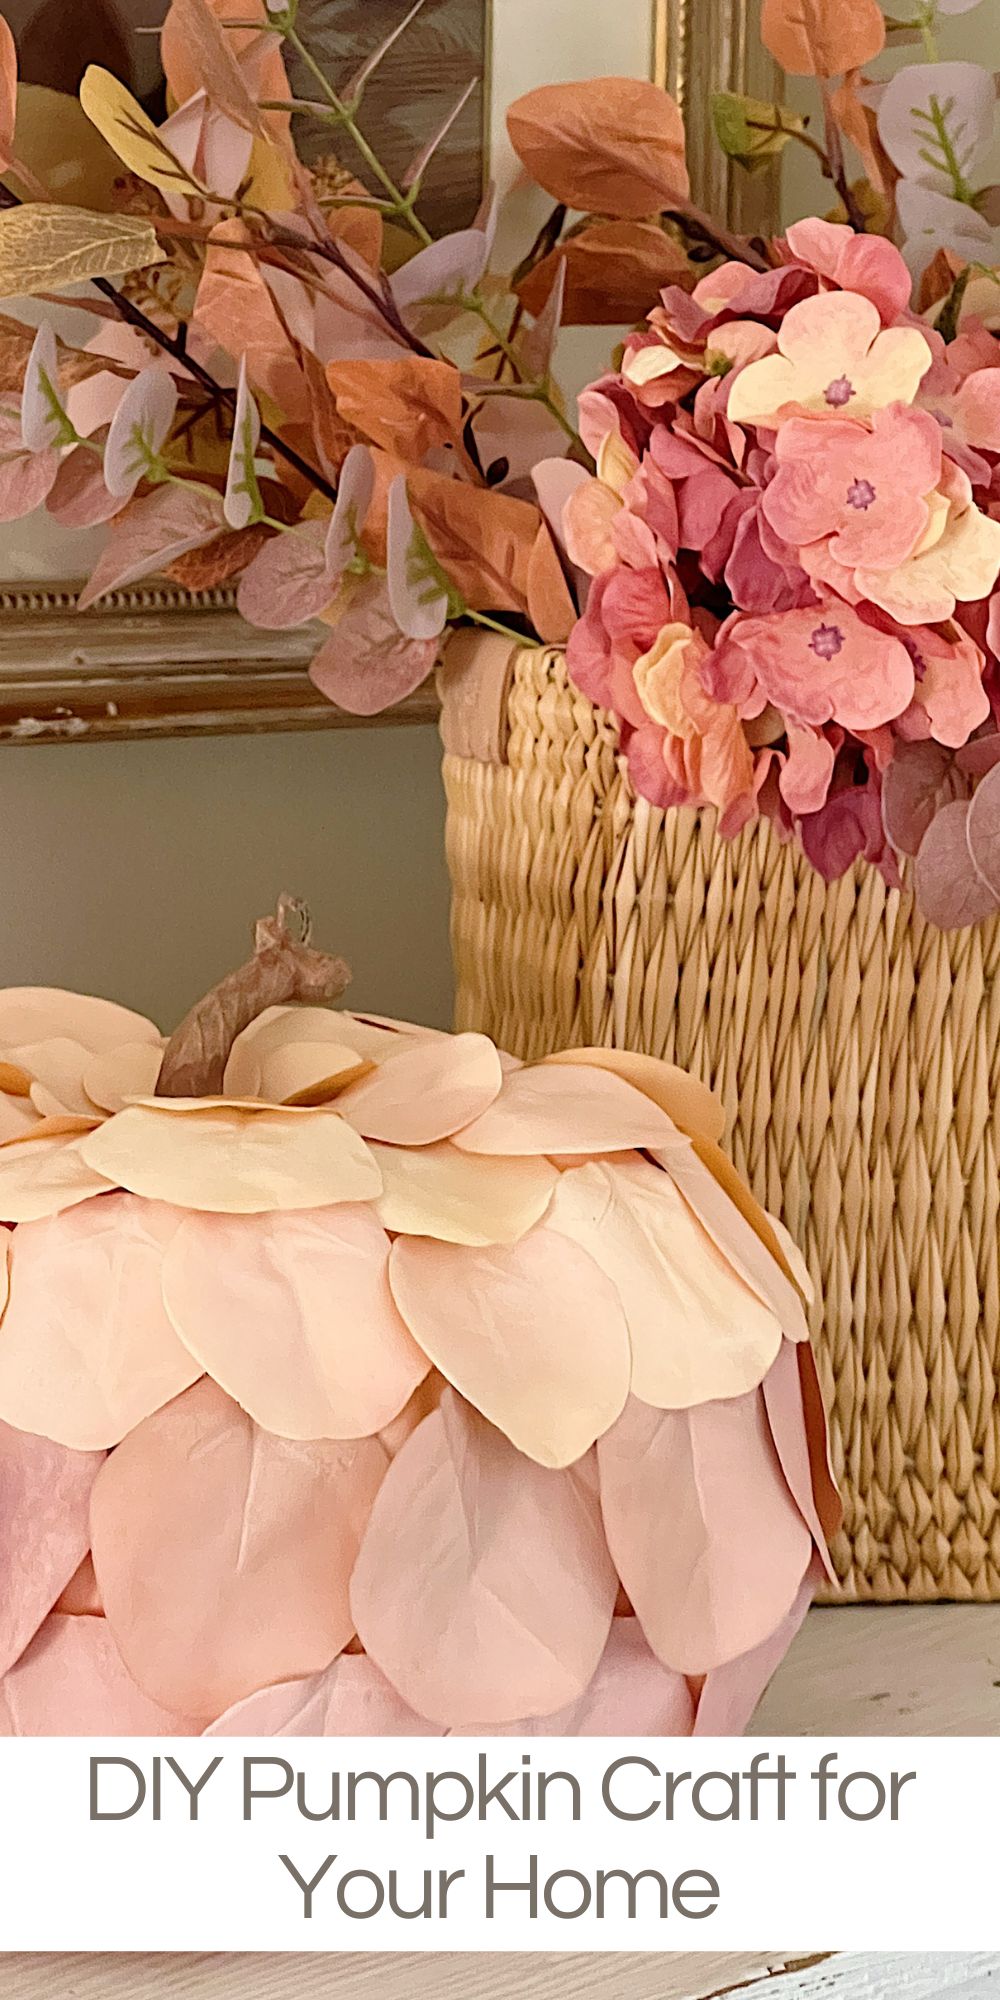
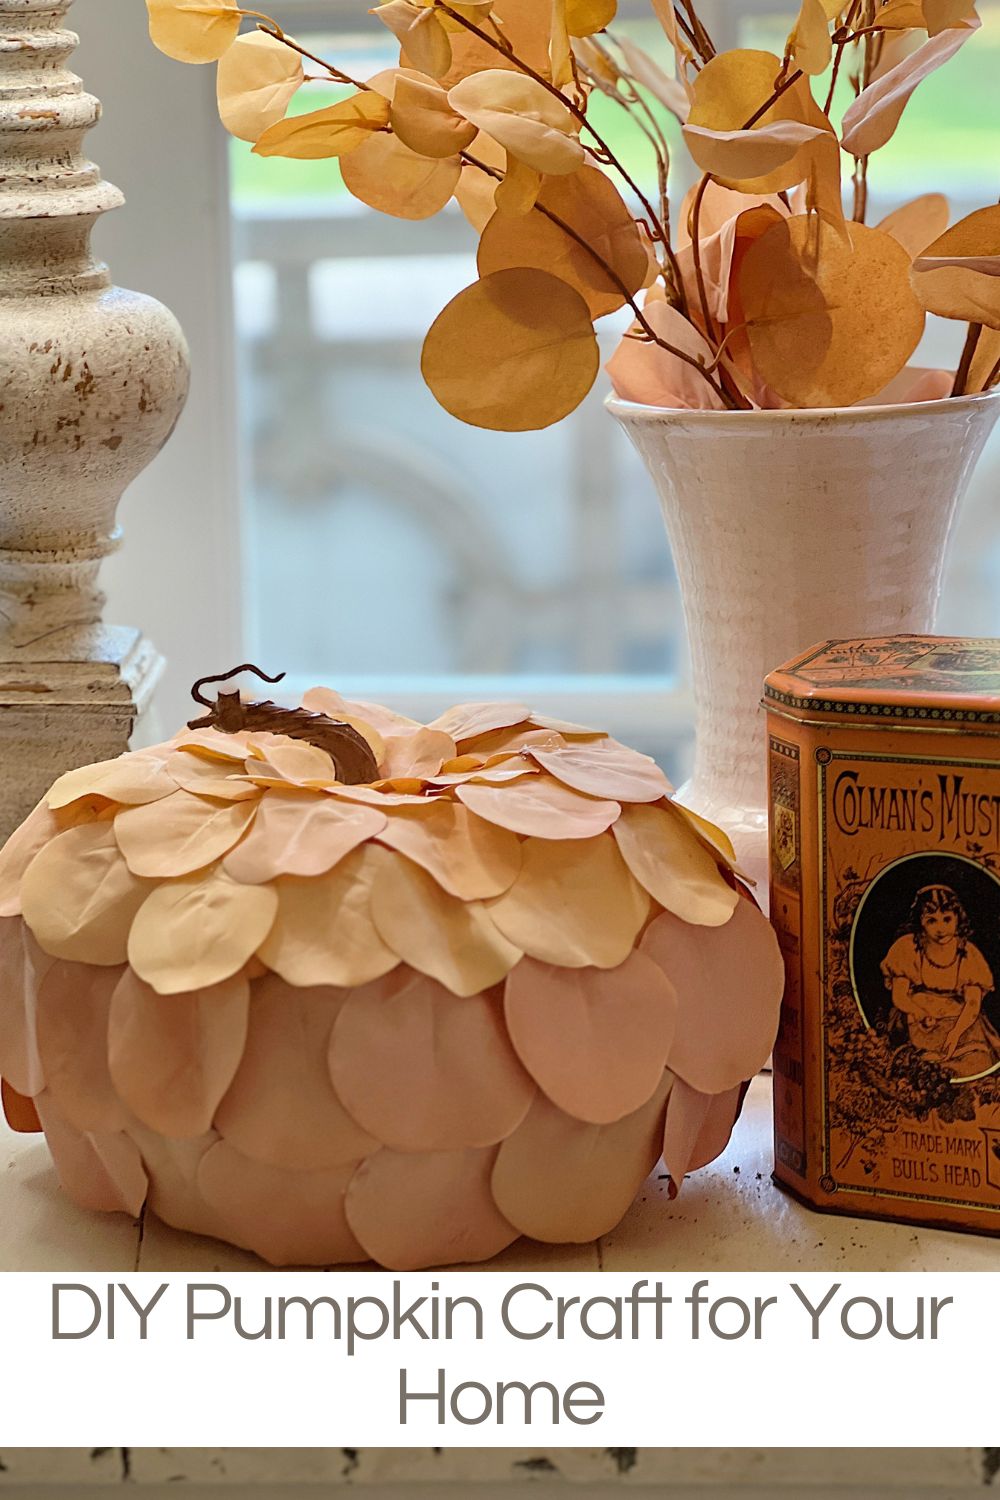
DIY Pumpkin Craft for Your Home
Fall always makes me think of cozy evenings, pretty colors, and of course… pumpkins! Instead of carving this year, I thought it would be fun to try something a little different.
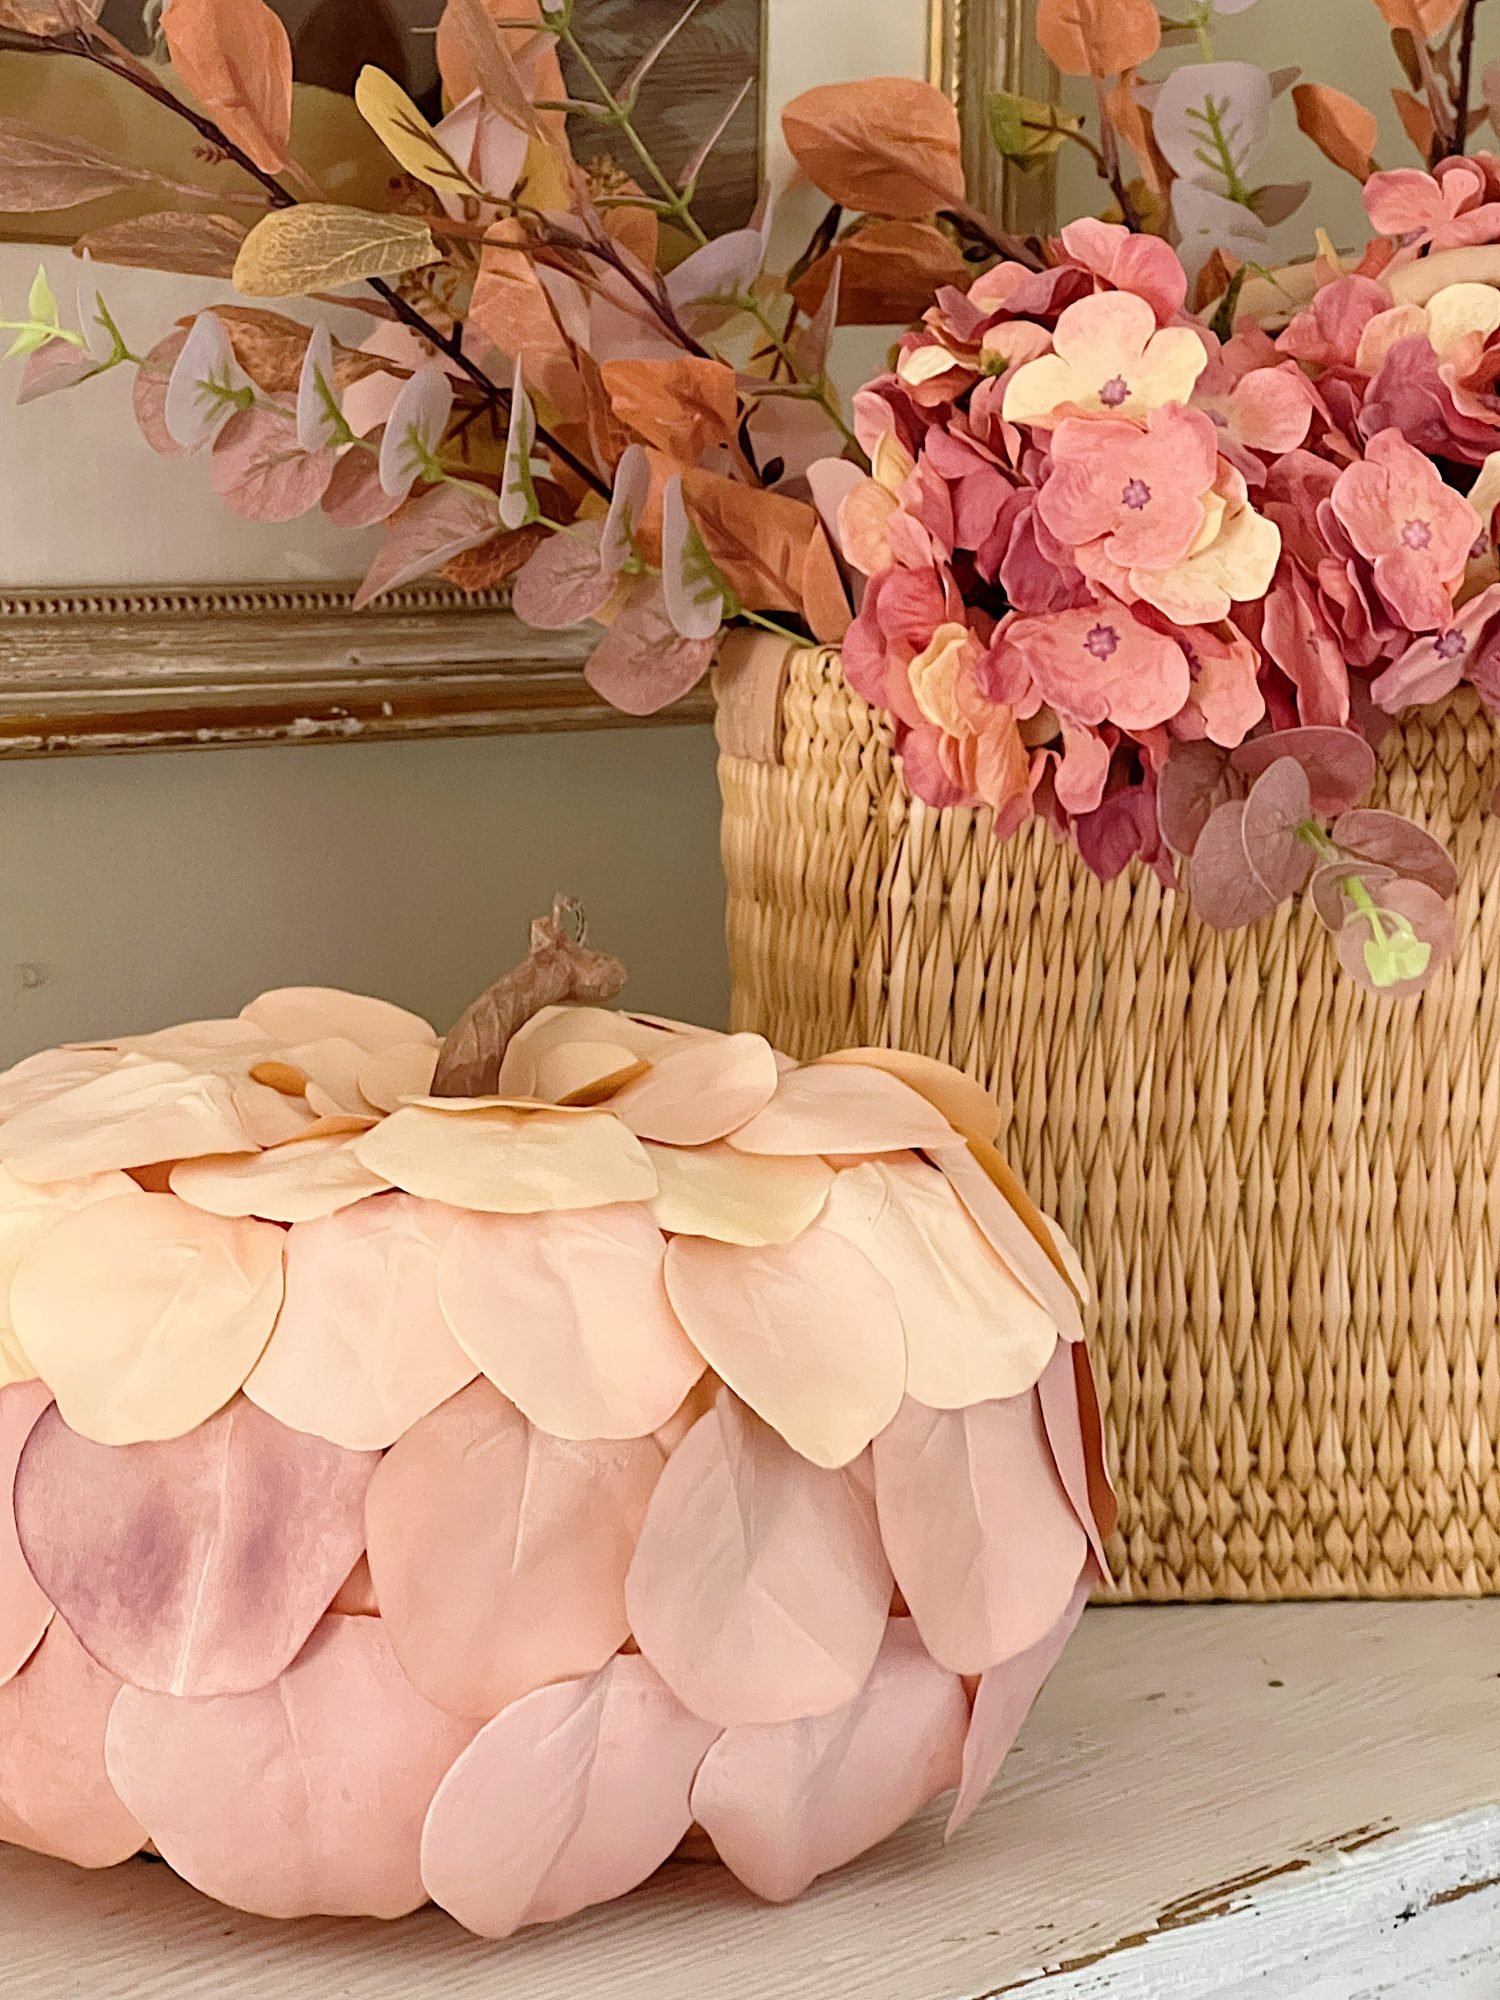
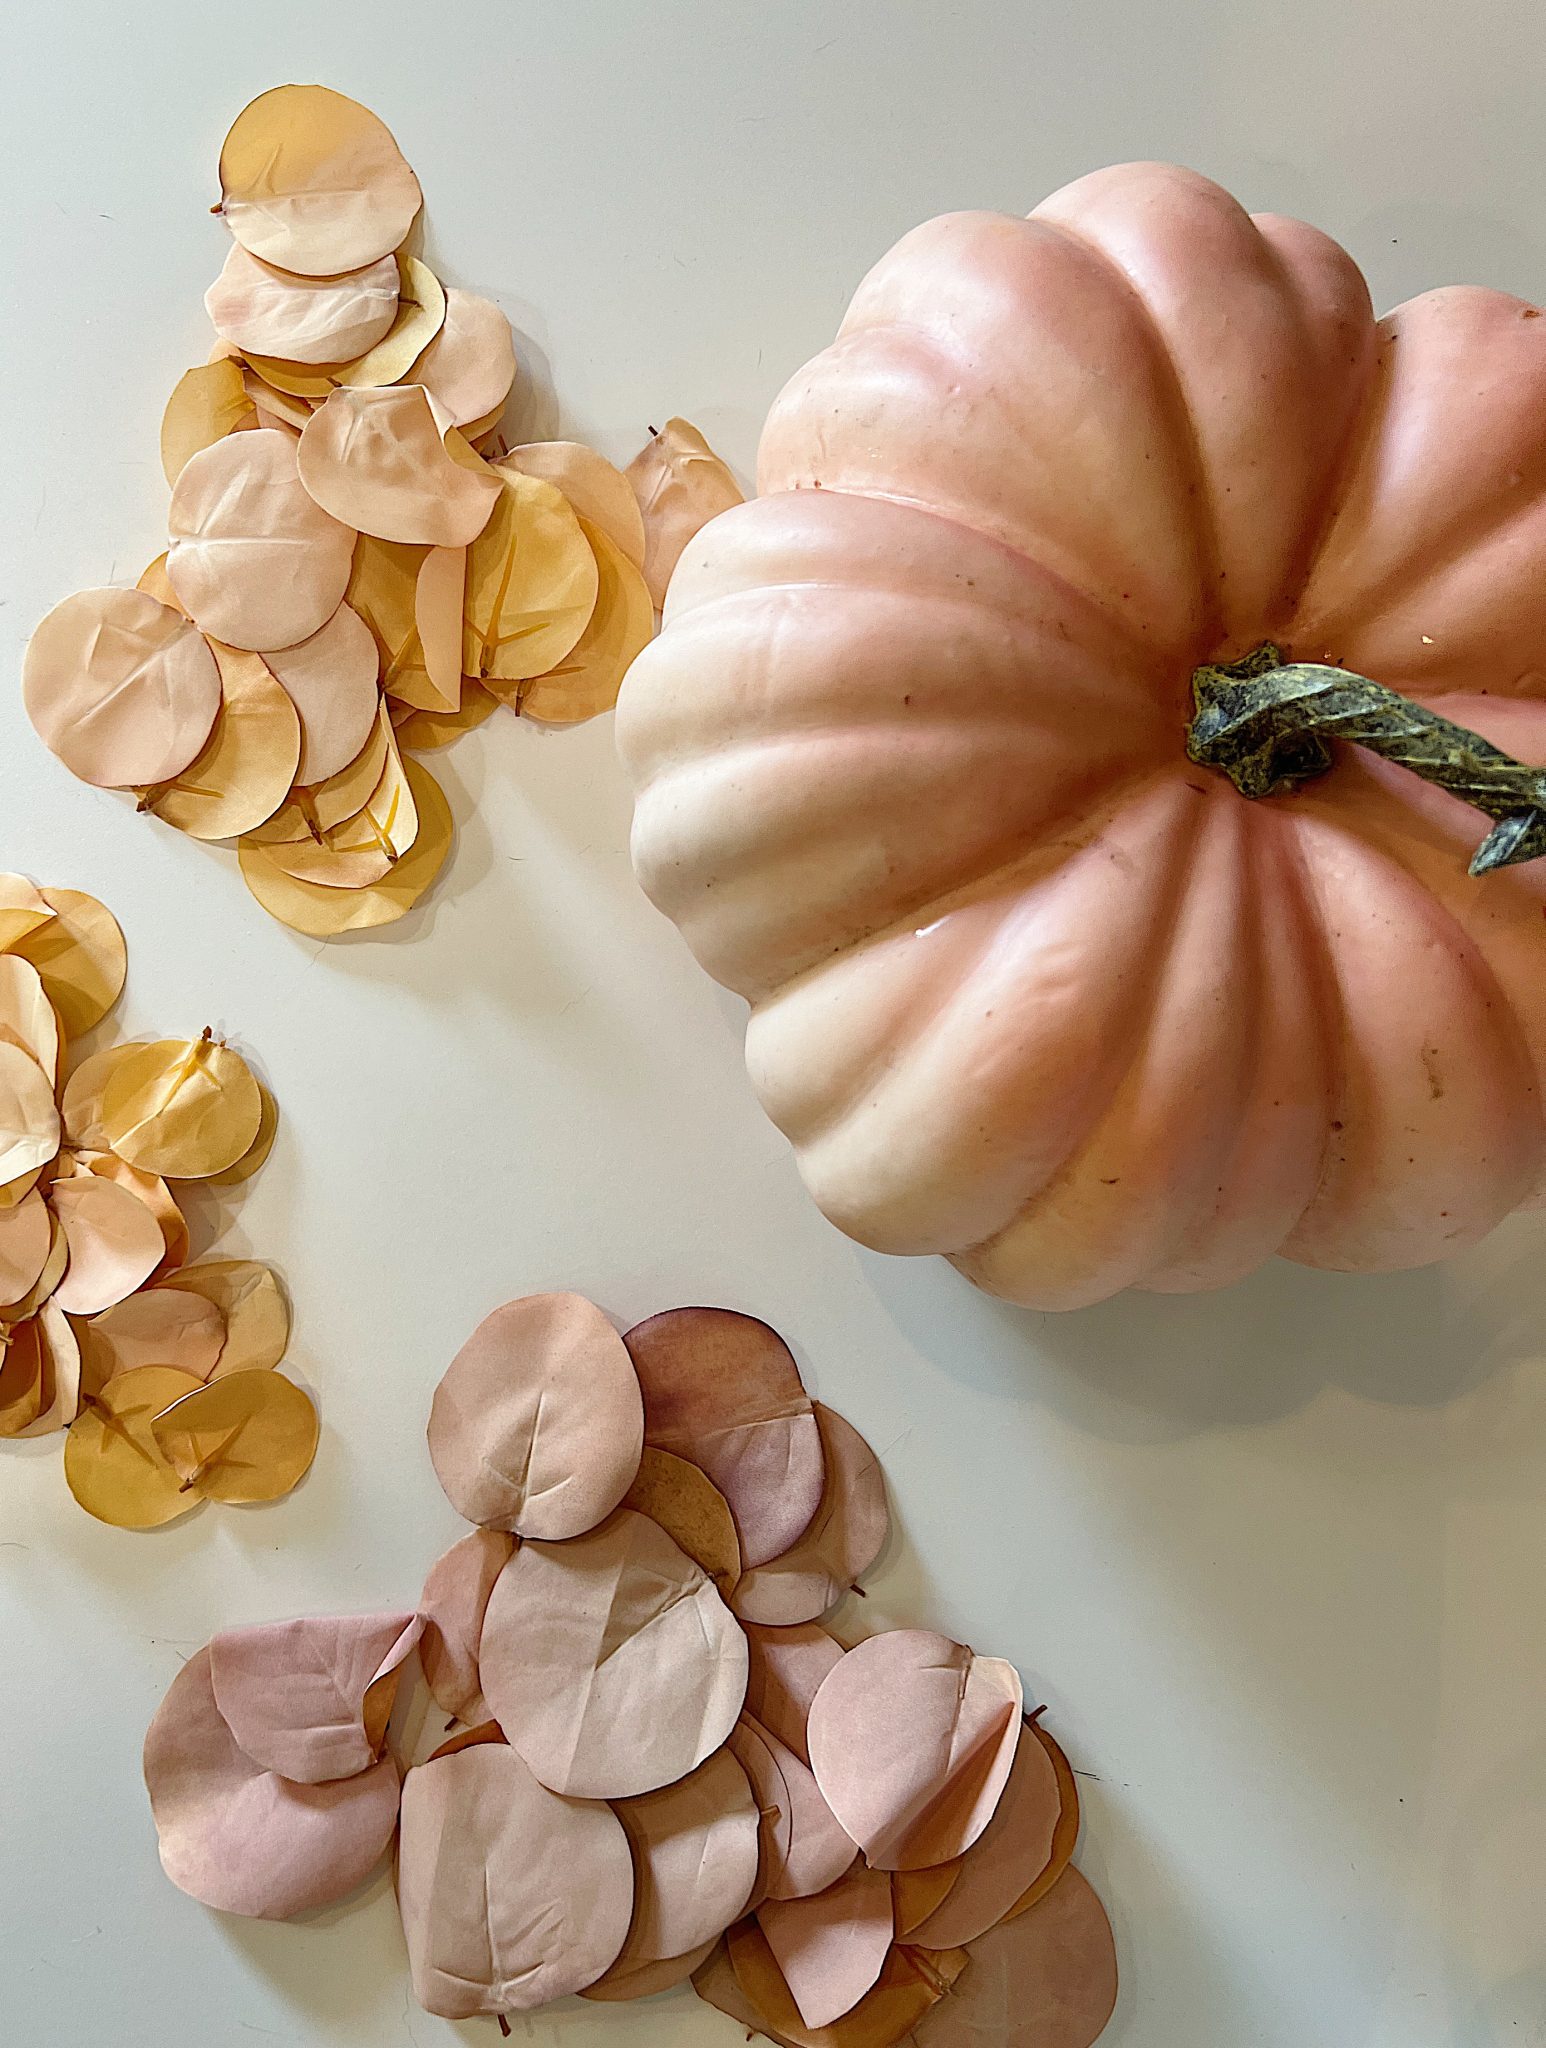
I made the prettiest DIY pumpkin craft—a blush eucalyptus leaf petal pumpkin. It’s soft, elegant, and such a unique twist on traditional fall decor. I started with a faux peach pumpkin and added faux eucalyptus leaf petals, and the result is a pumpkin that feels like a little piece of art. This project is simple to make, lasts all season long, and instantly elevates any space in your home. I love when a craft checks all of those boxes!

Why Faux Materials?
First and foremost, you might wonder, “Why not use real pumpkins and leaves?” While genuine materials have their charm, faux items offer durability, allowing our beautiful leaf petal pumpkin craft to grace our homes year after year.
Plus, we’re not compromising on aesthetics with the plethora of realistic-looking faux flowers and greenery available today.
I may sometimes use affiliate links on this blog, which means a small commission is earned if you purchase via the link. The price will be the same whether you use the affiliate link or go directly to the vendor’s website using a non-affiliate link.

Materials Needed for This Pumpkin Craft
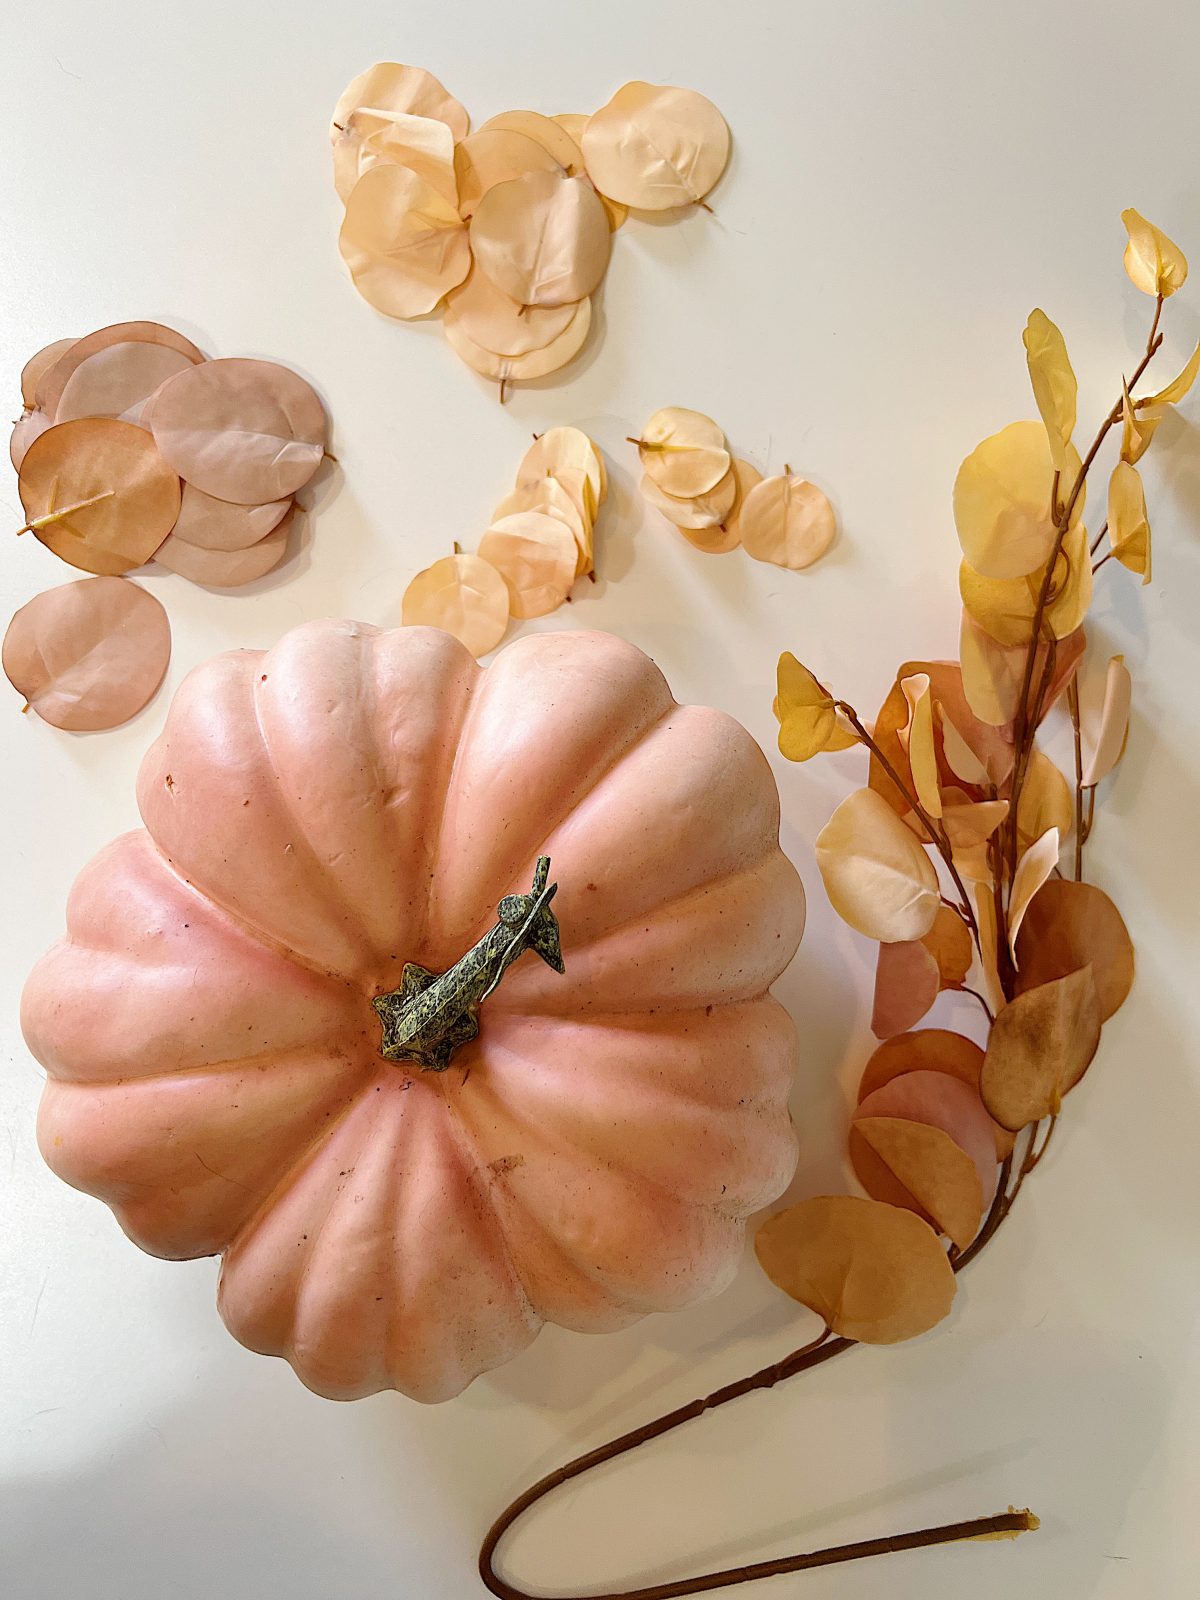
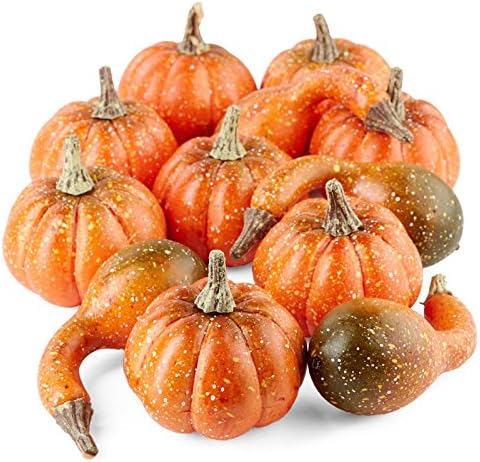
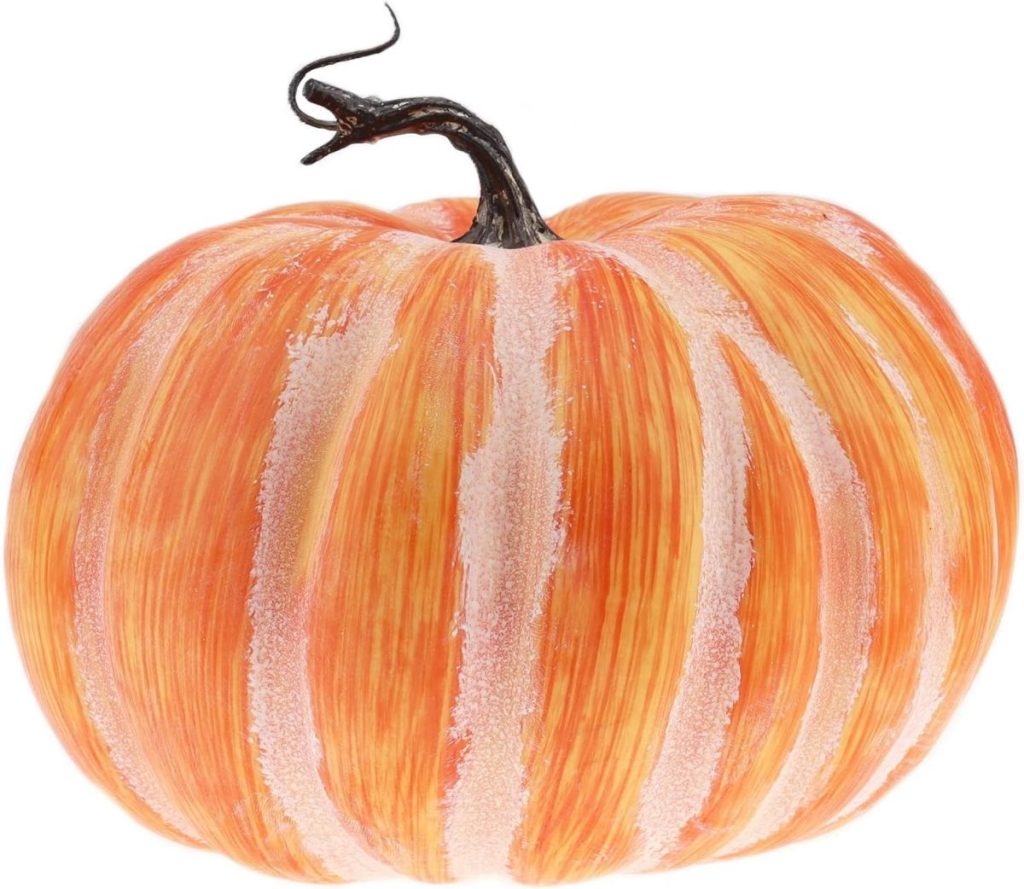
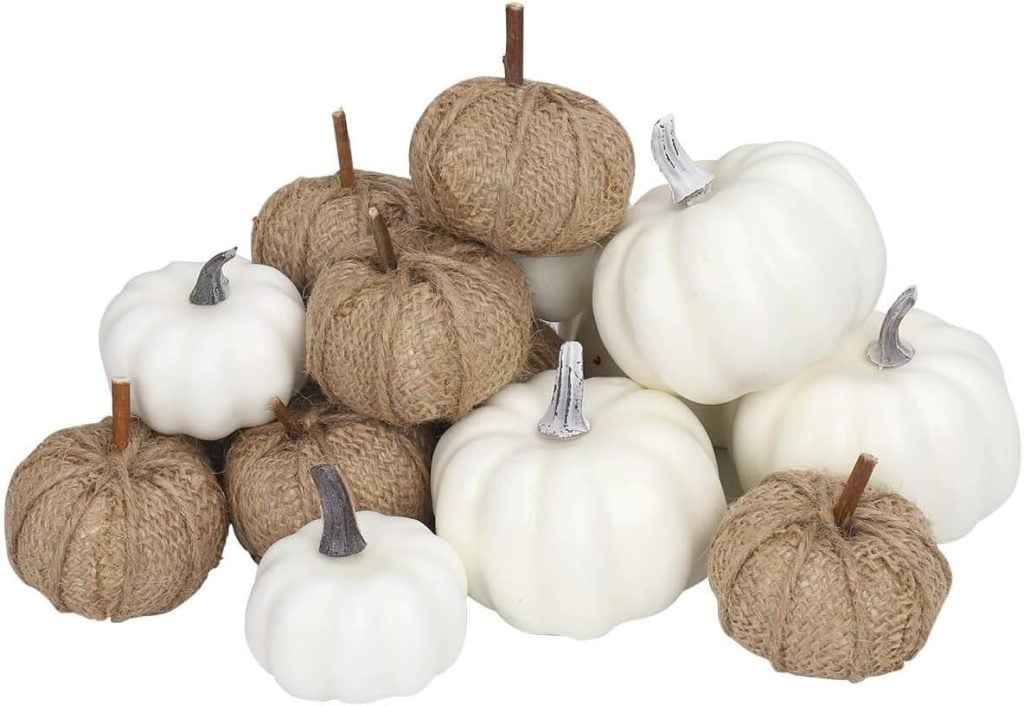
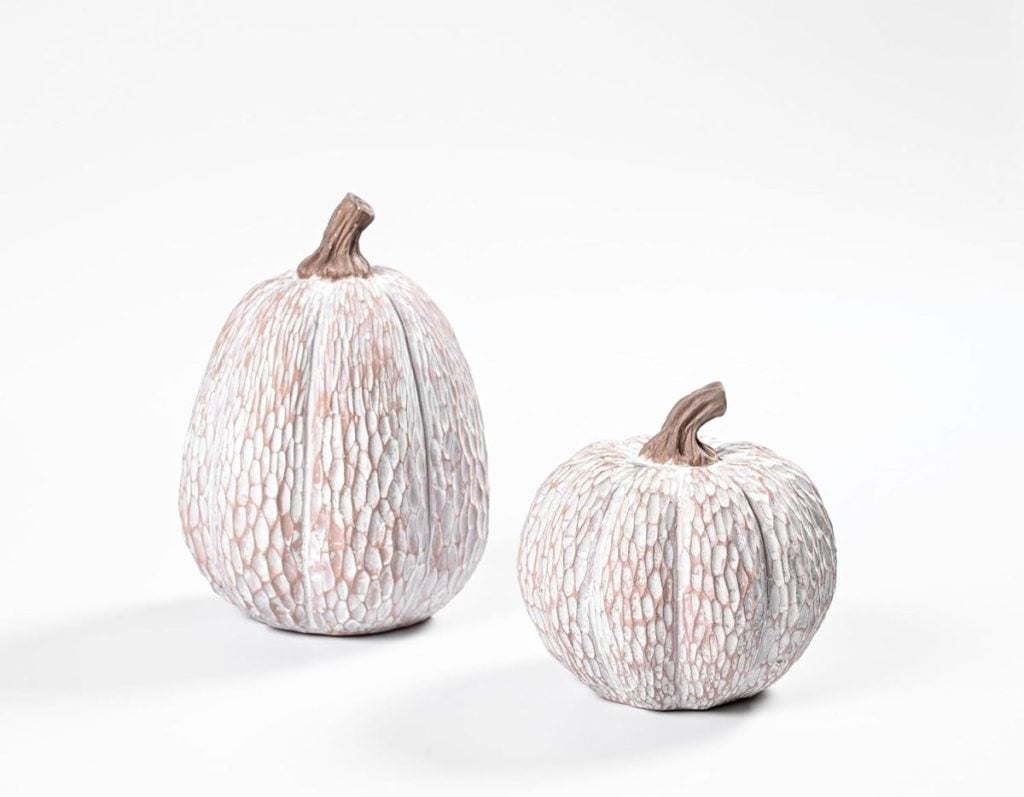
- One medium-sized faux peach pumpkin (or a size of your choice)
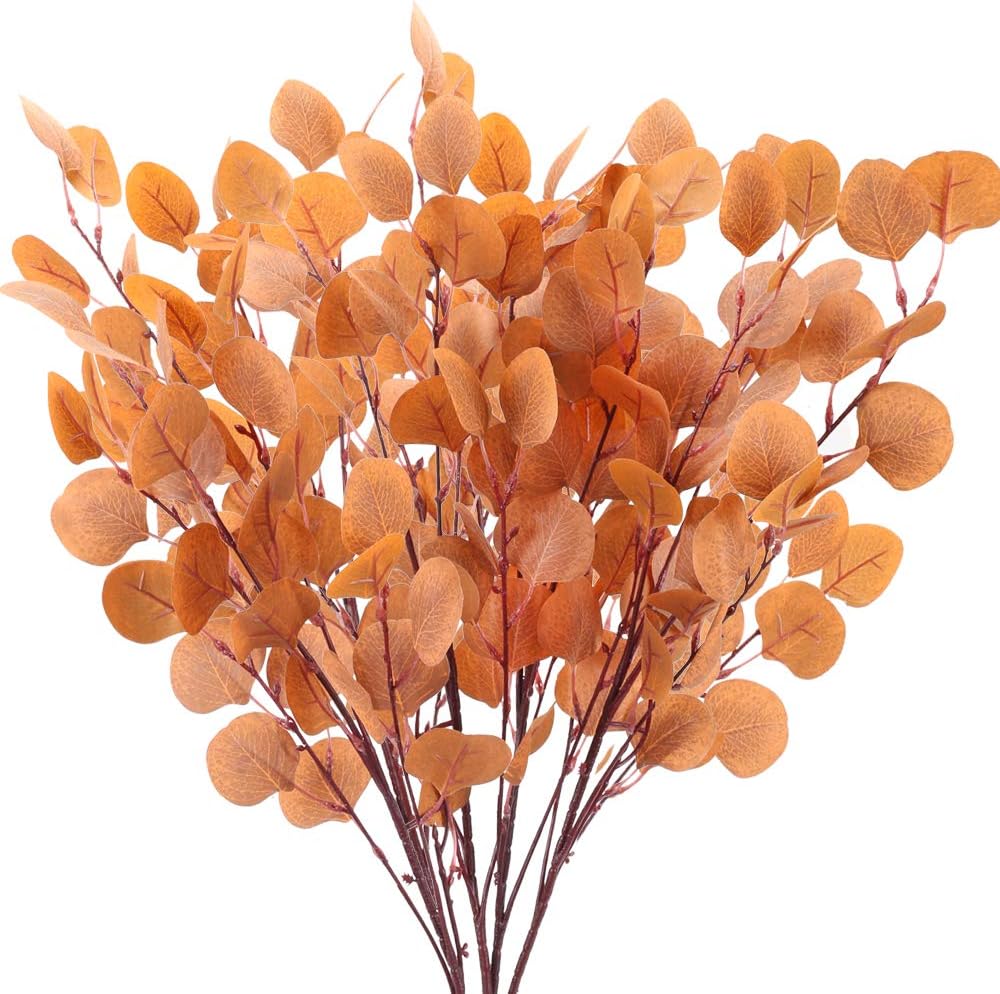
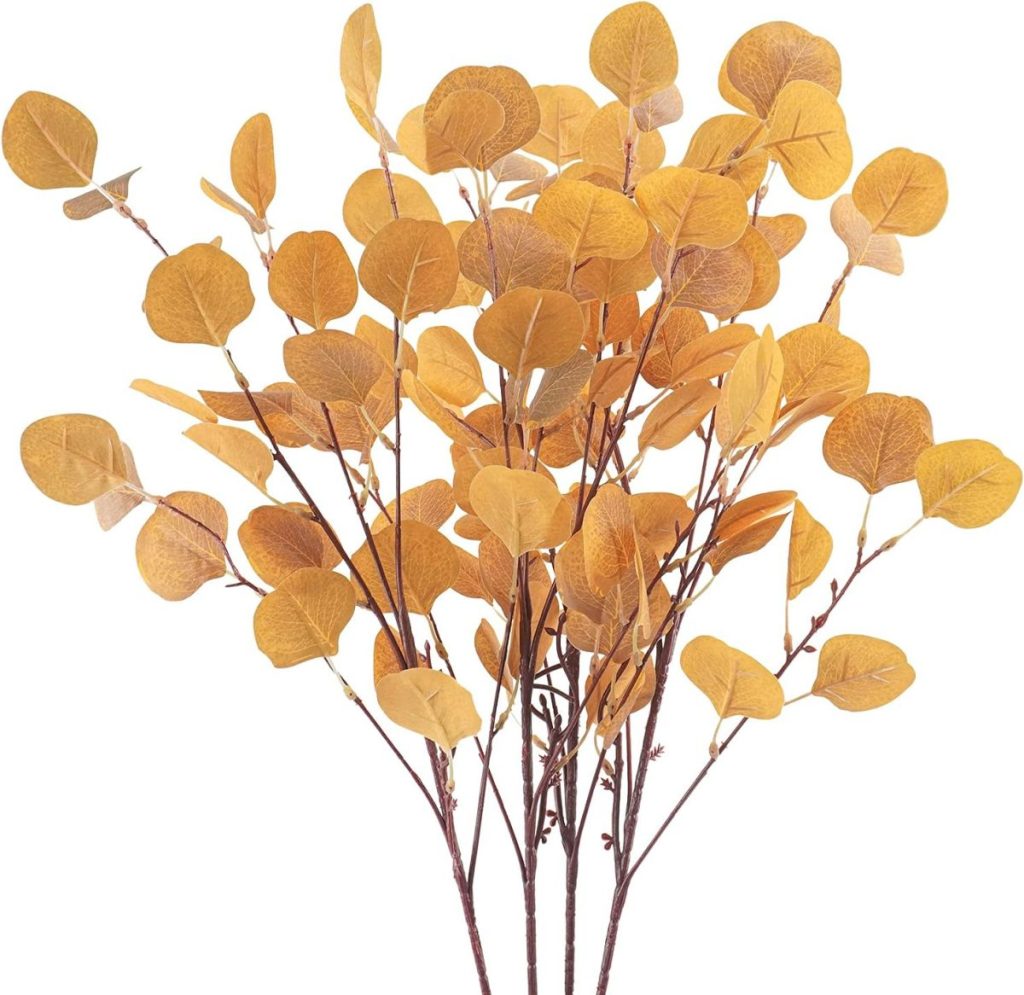
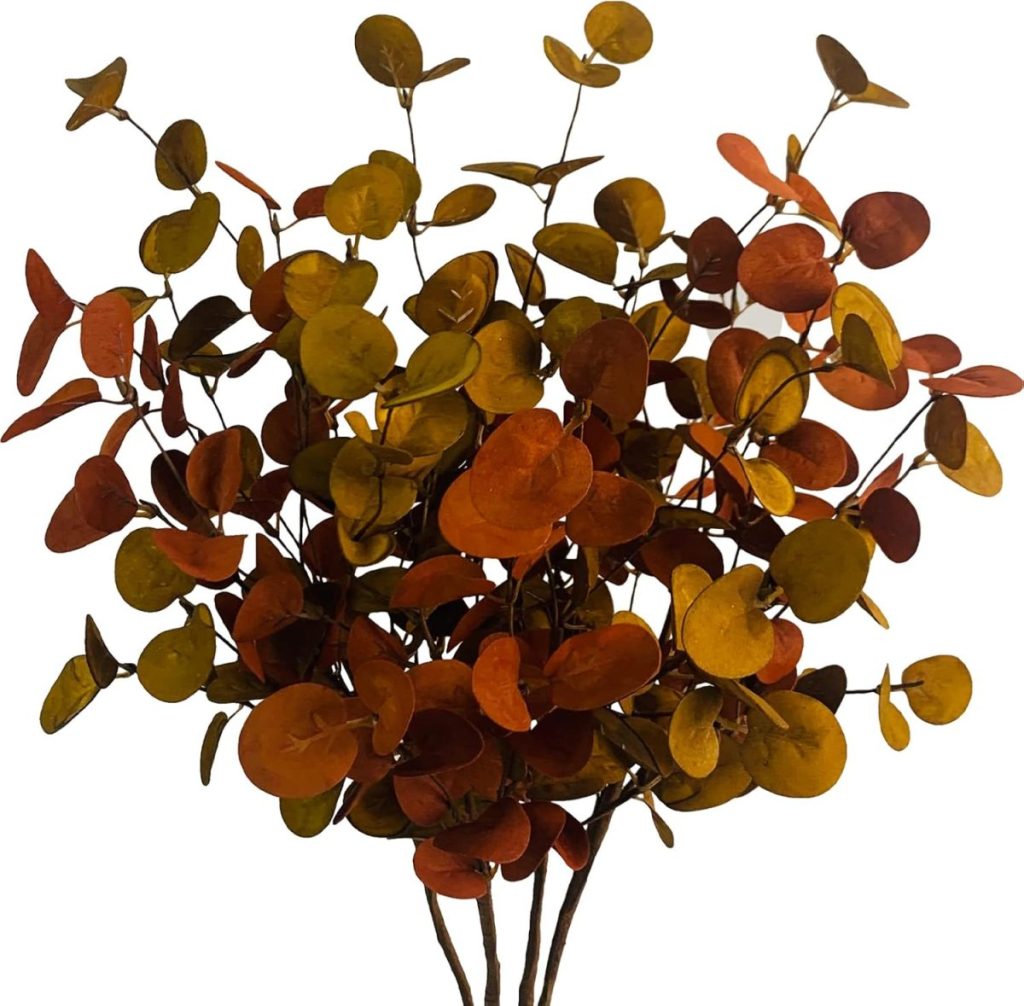
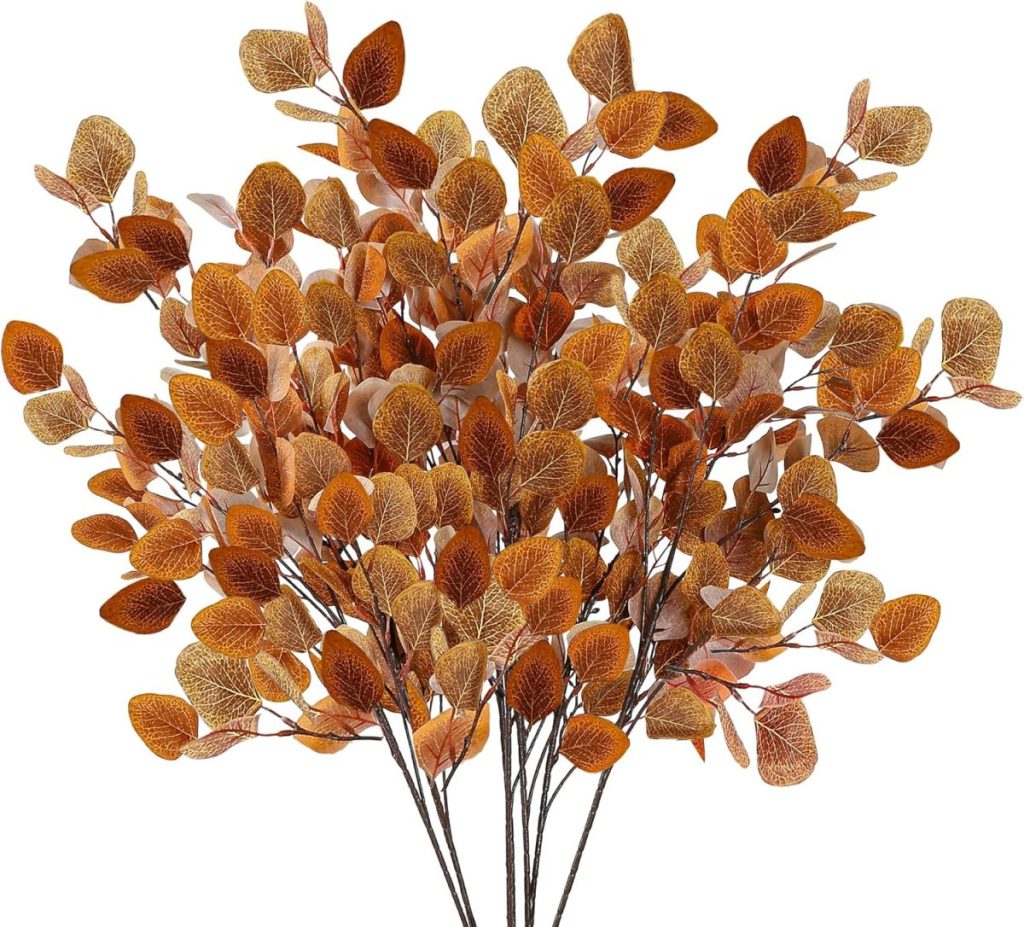
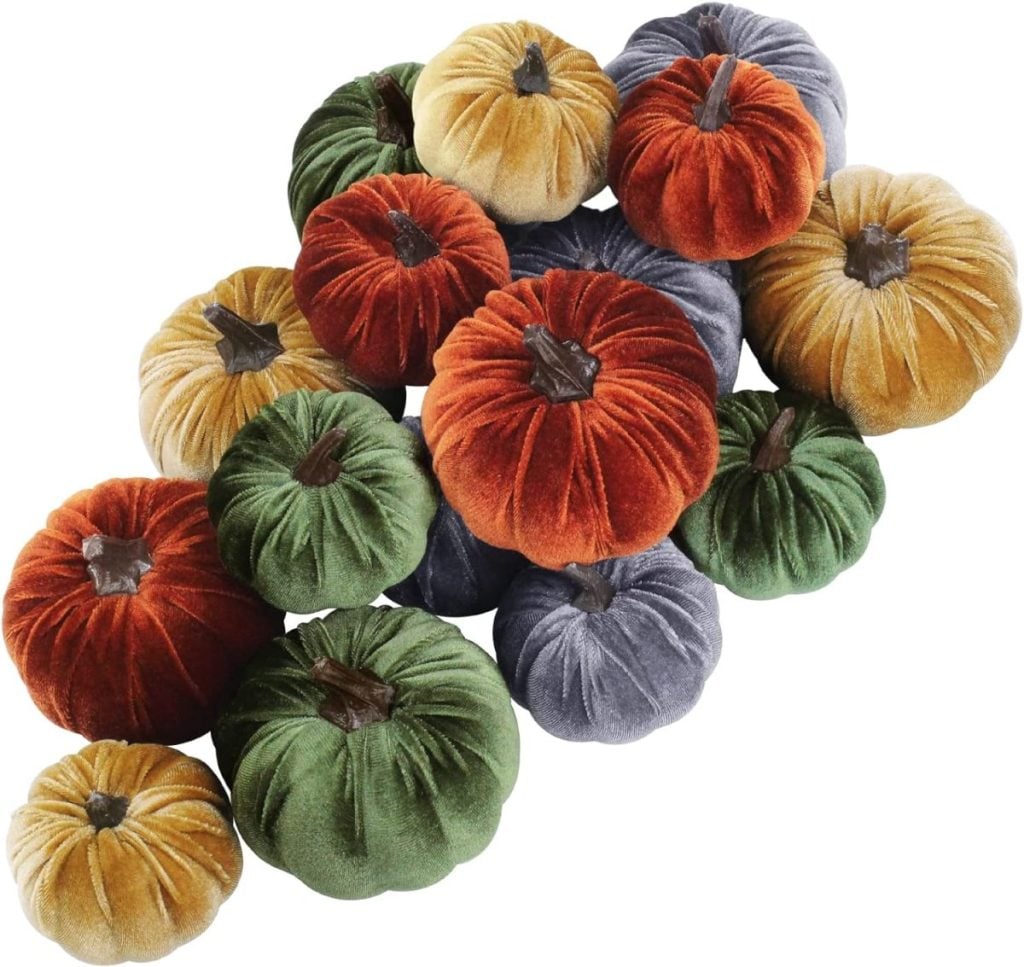
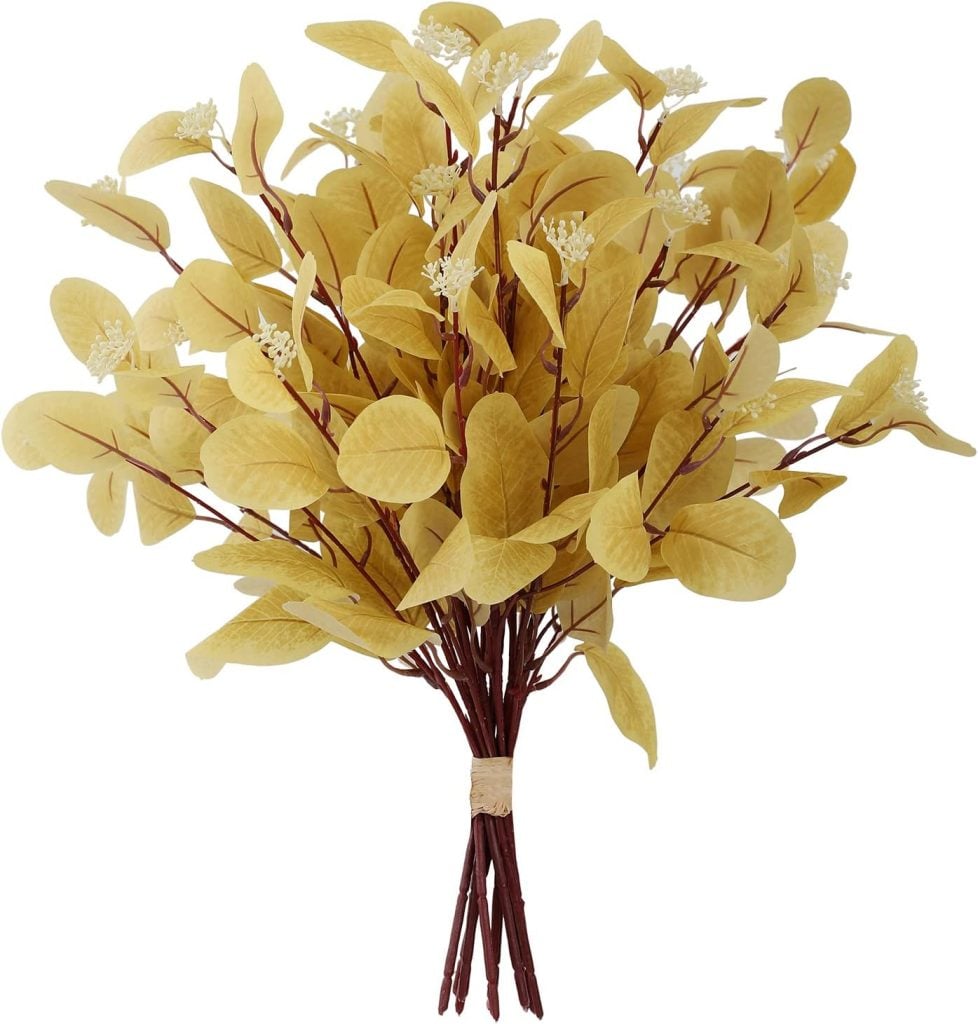
- Faux leaf petals (variety of colors recommended). I used five eucalyptus branches to make this pumpkin. Order extras for your home, as they are gorgeous!
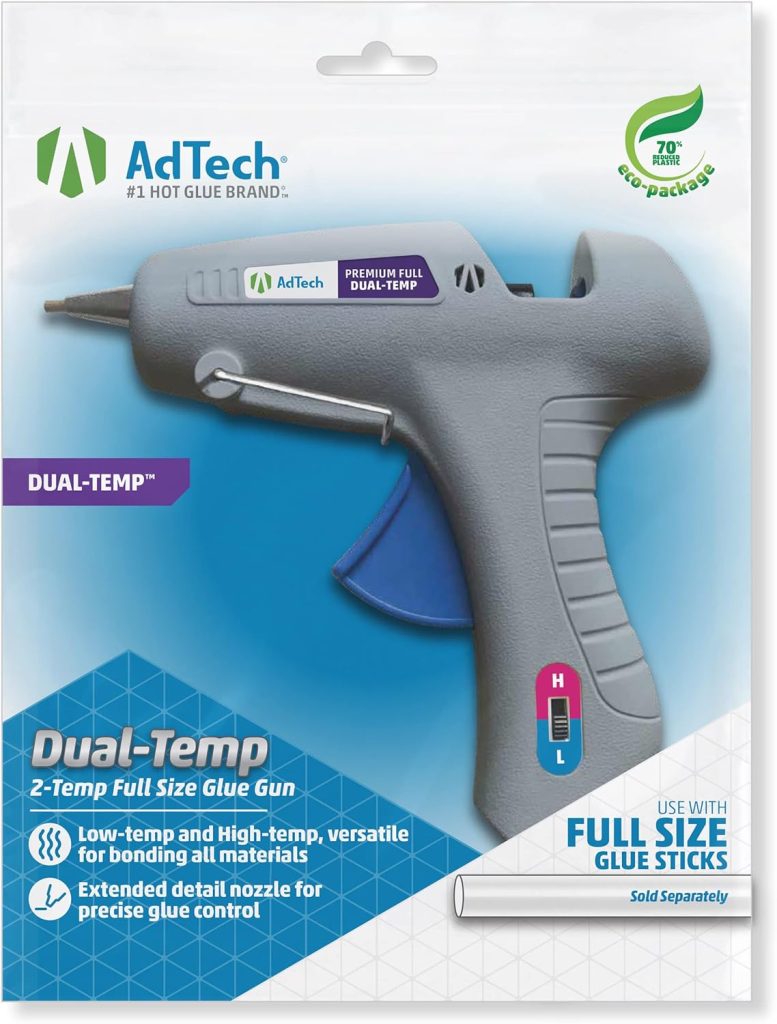
- A hot glue gun and glue sticks
- Scissors
- Optional: You might want to paint your pumpkin to match the color of the faux petals. This will help hide any areas not covered with the petals. I got lucky. I already owned the pink pumpkin. You may also use additional embellishments like ribbons, twine, or a decorative stem.


How to Make this DIY Pumpkin Craft
1. Prepare Your Materials: Gather all your materials in one place to keep the crafting process smooth and efficient. Cut off the leaves from the stems.
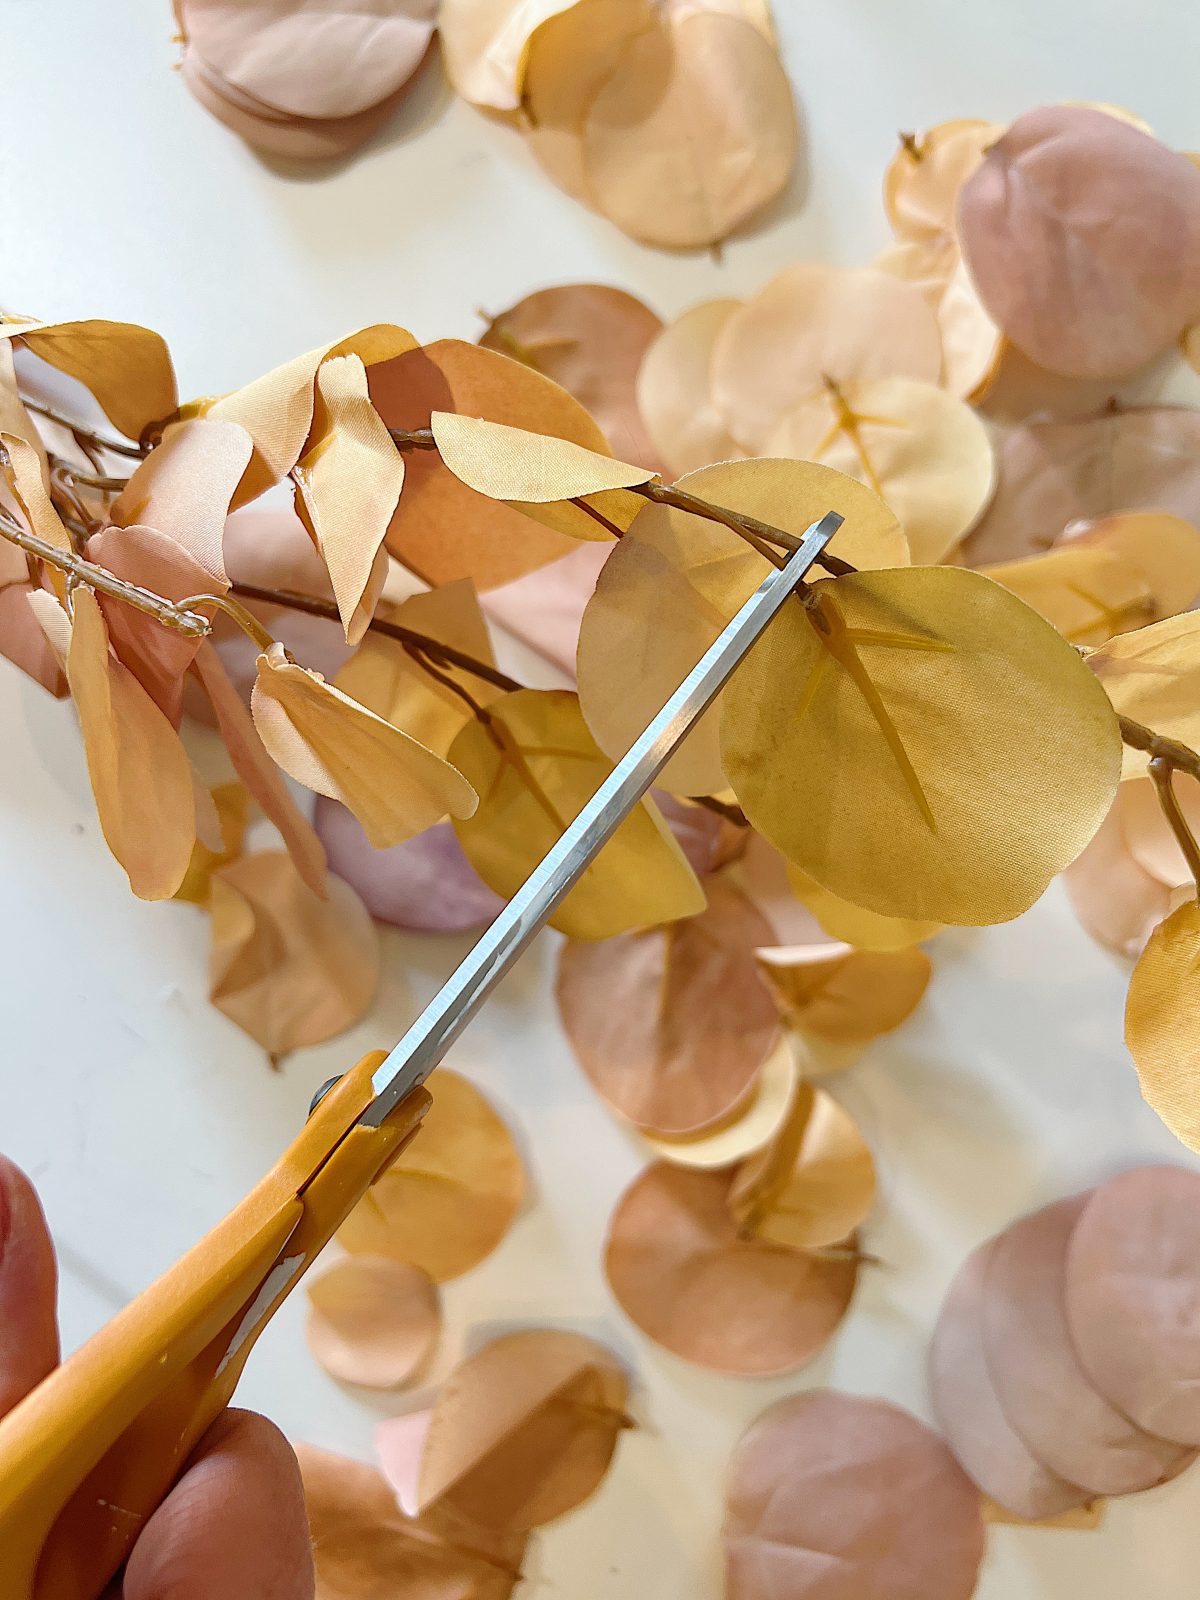
2. Your petals will likely be the same or a few different sizes. Once they are all cut, lay them on top of the pumpkin to determine how you want the design to look.
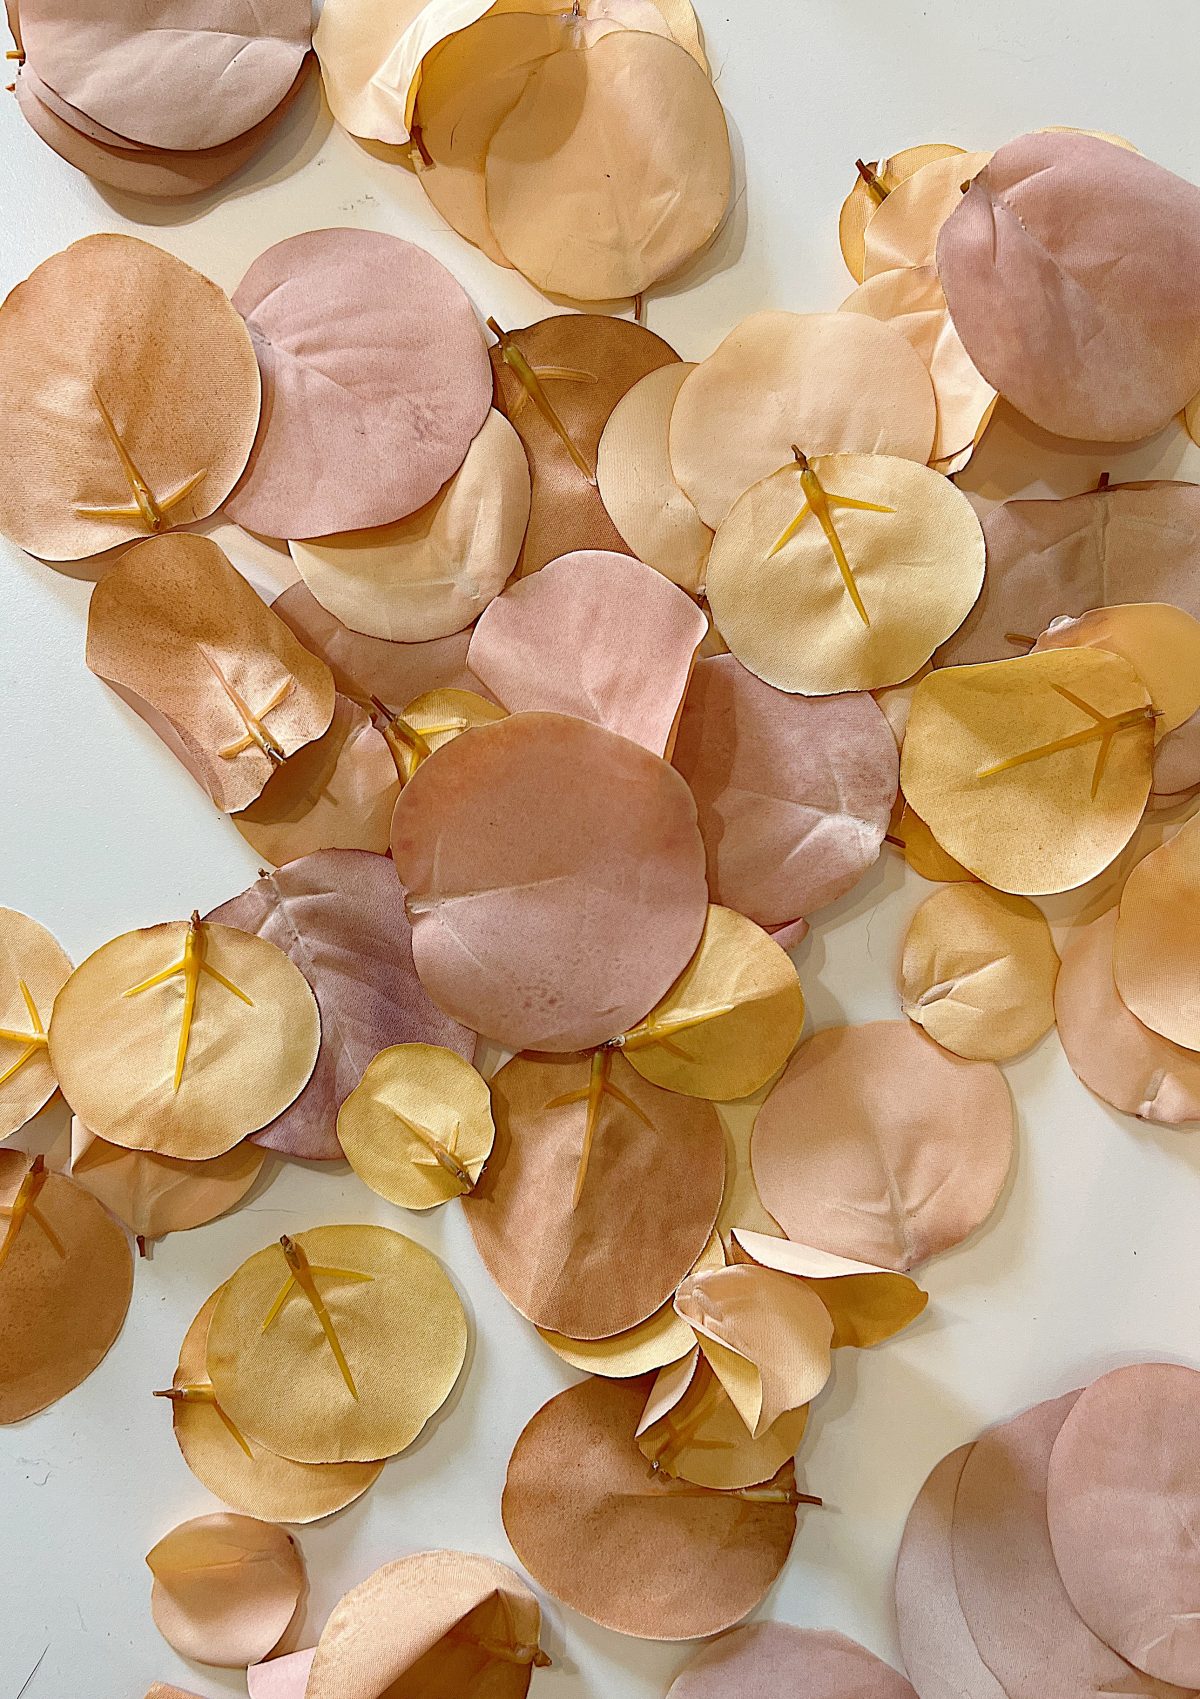
3. Sorting the Faux Leaf Petals: Faux leaves often come in various fall colors. For the best visual impact, sort them by color, from lightest to darkest or vice versa, and by size (depending on your preference). This arrangement will give your pumpkin a gradient effect, enhancing its beauty. You also need to decide whether to start at the top or bottom of the pumpkin. I chose to start at the top.
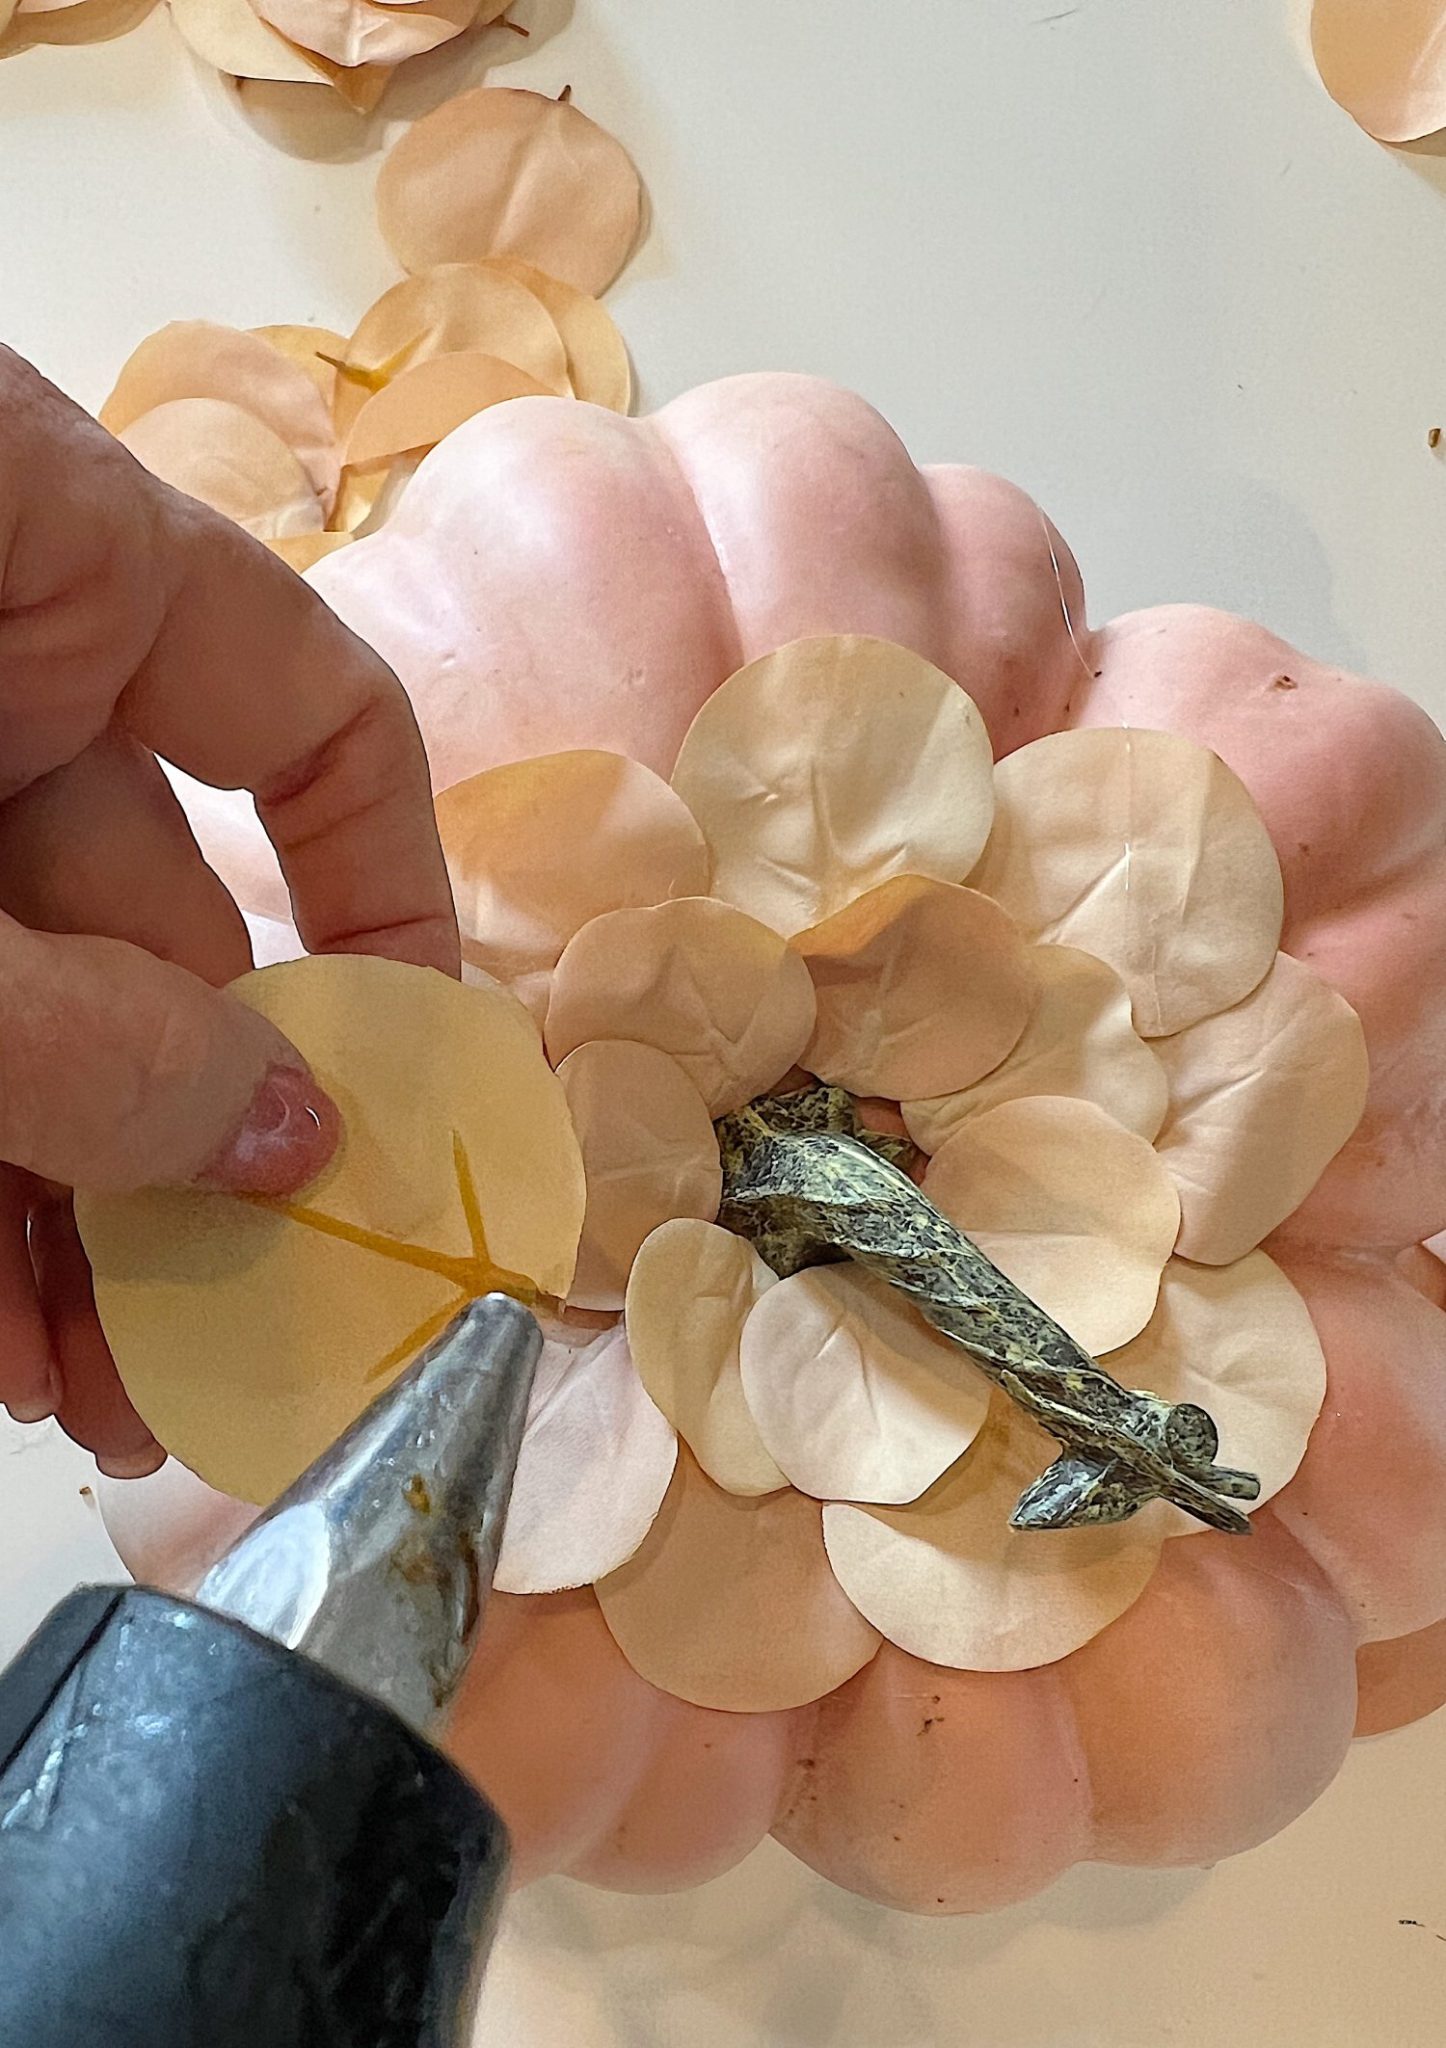
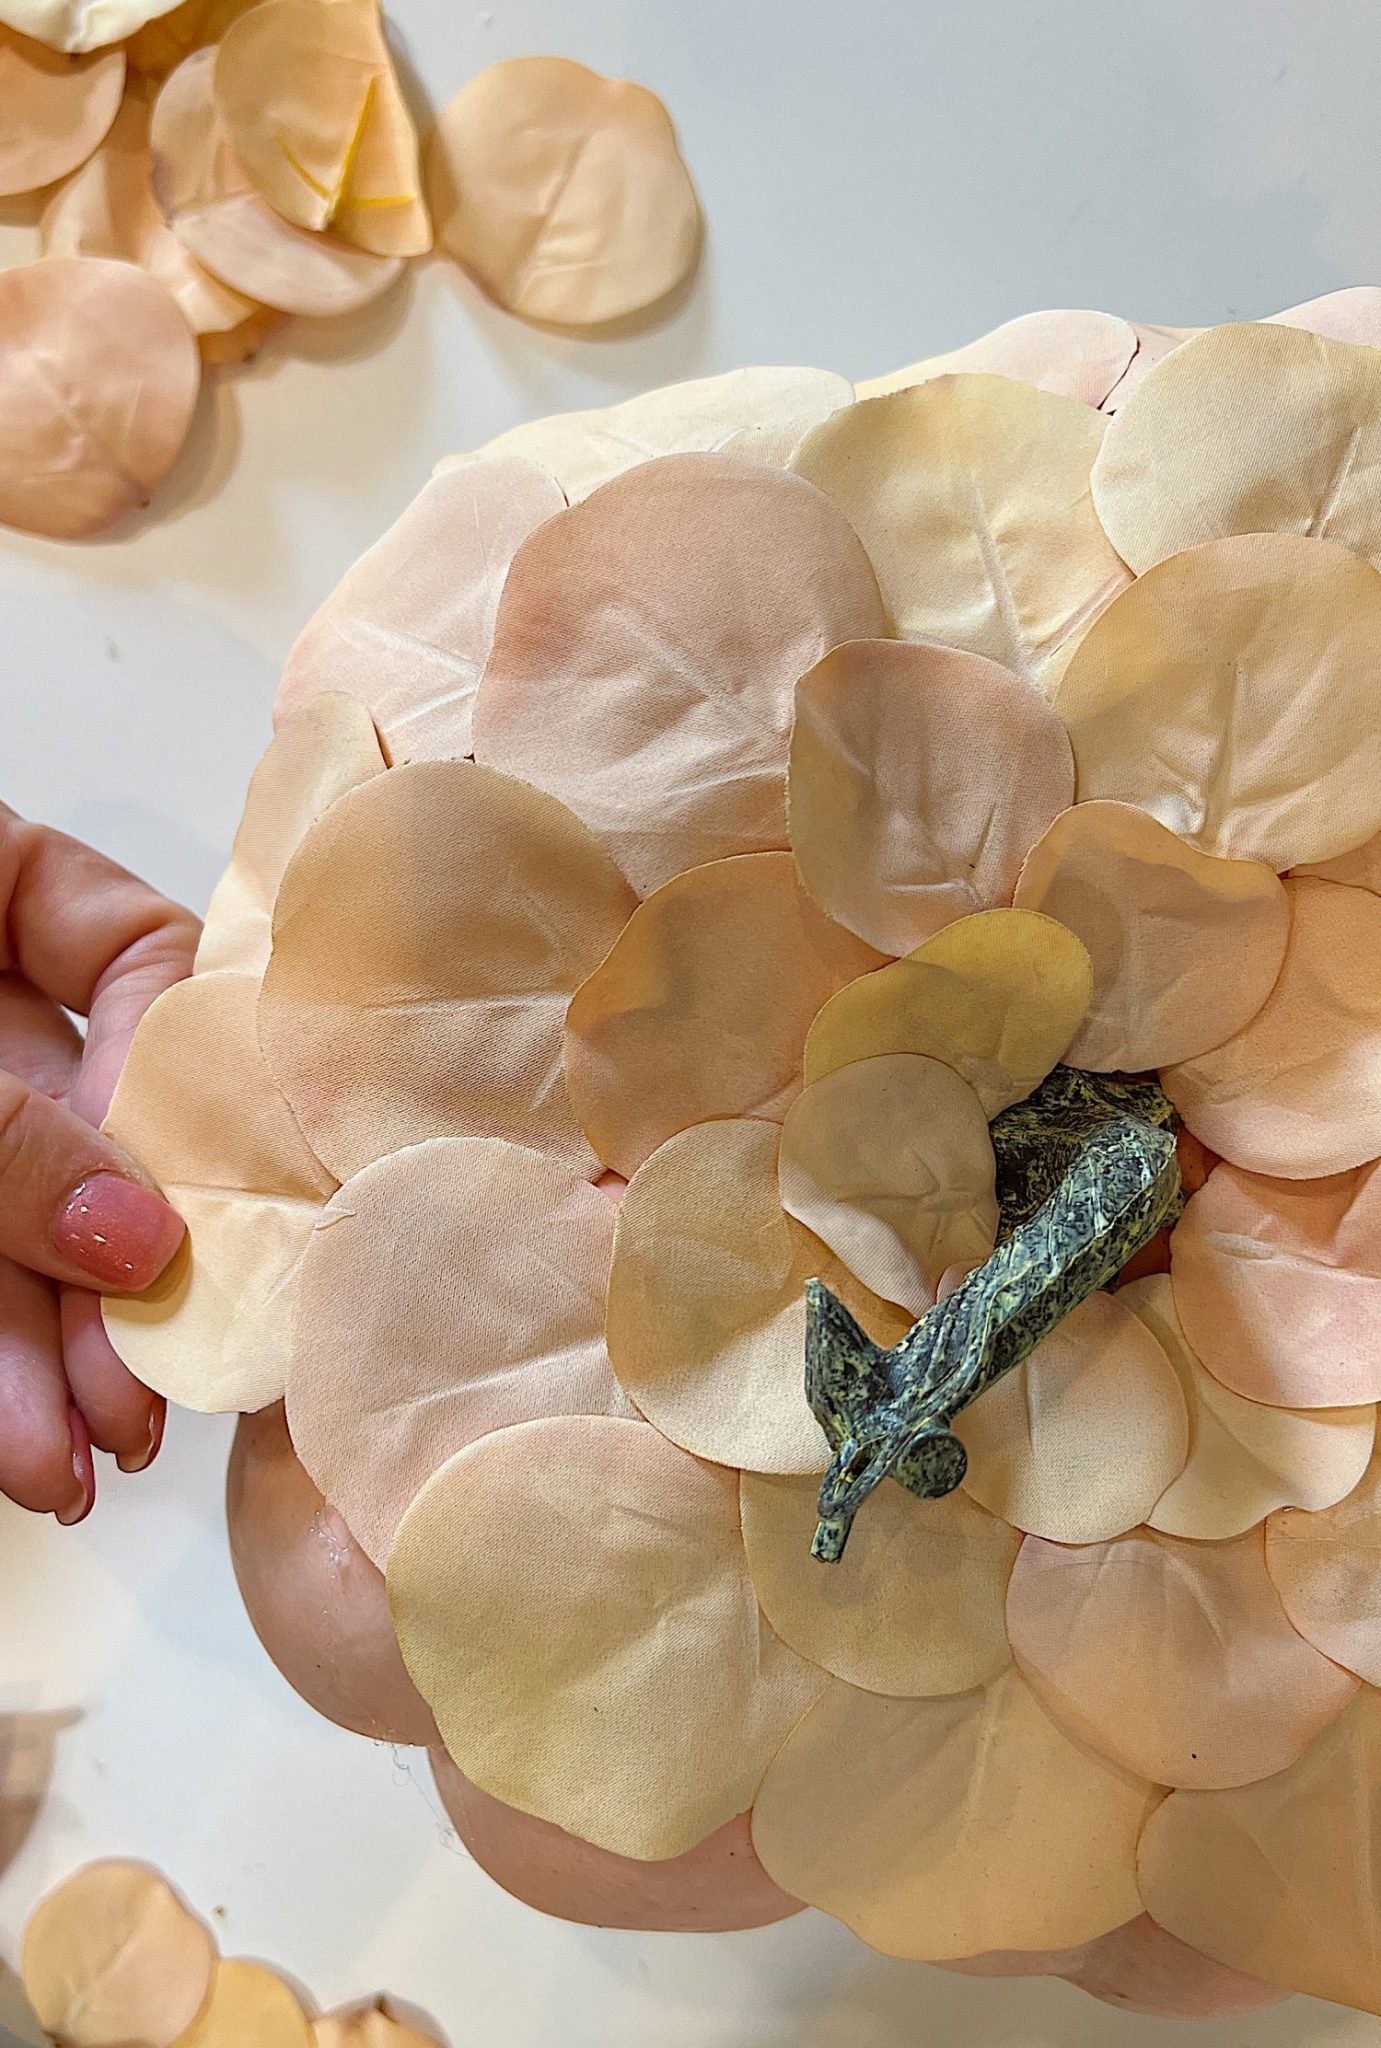
4. Beginning with the Base Layer: Starting at the top of the pumpkin, apply a thin line of hot glue around the circumference. Quickly, before the glue dries, begin attaching your first row of faux leaf petals, ensuring they slightly overlap. Press each leaf firmly to ensure proper adhesion.

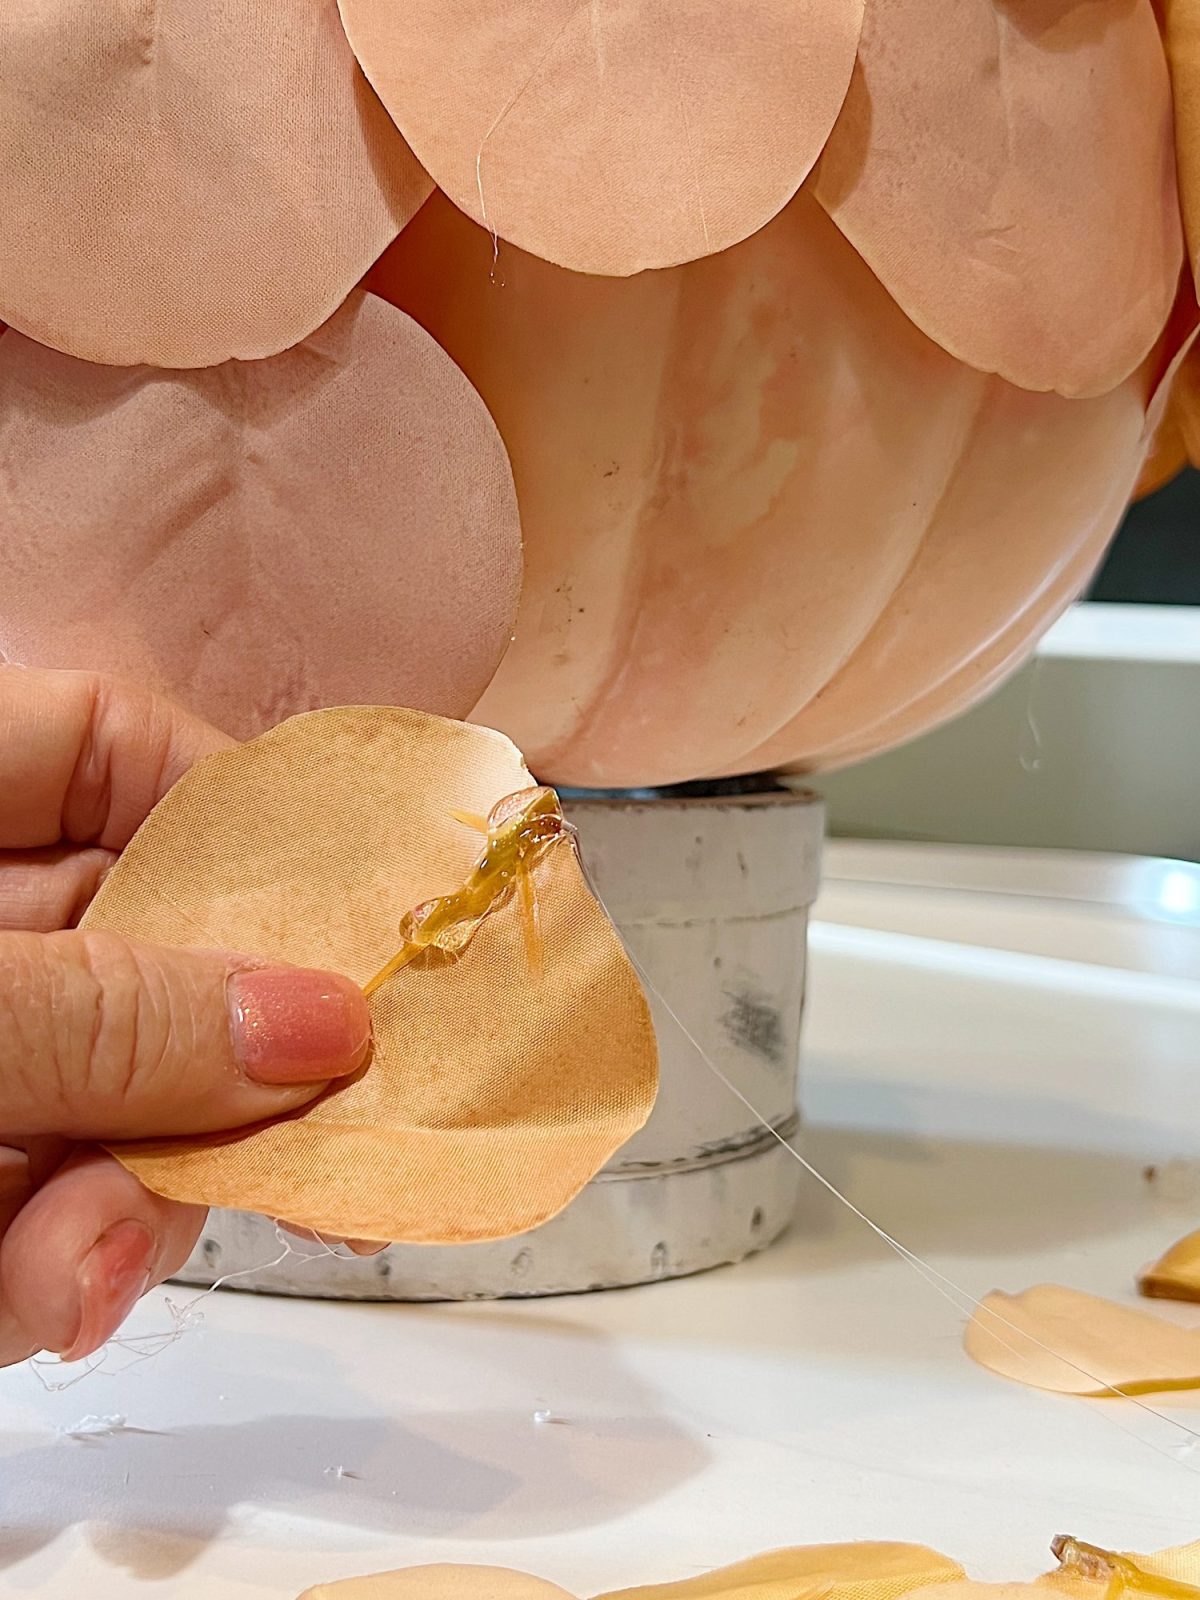
5. Adding More Petals: For the next row, apply glue only to the top of each petal and place them just under the bottom of the upper row. Be careful to cover all of the pumpkin with the petals. As you move toward the bottom of the pumpkin, continue to glue your leaves in concentric circles. It’s crucial to keep your rows neat and uniform. This ensures a polished and professional look.
But don’t worry if they aren’t straight. You can easily remove the leaves and reposition them if necessary – I did!
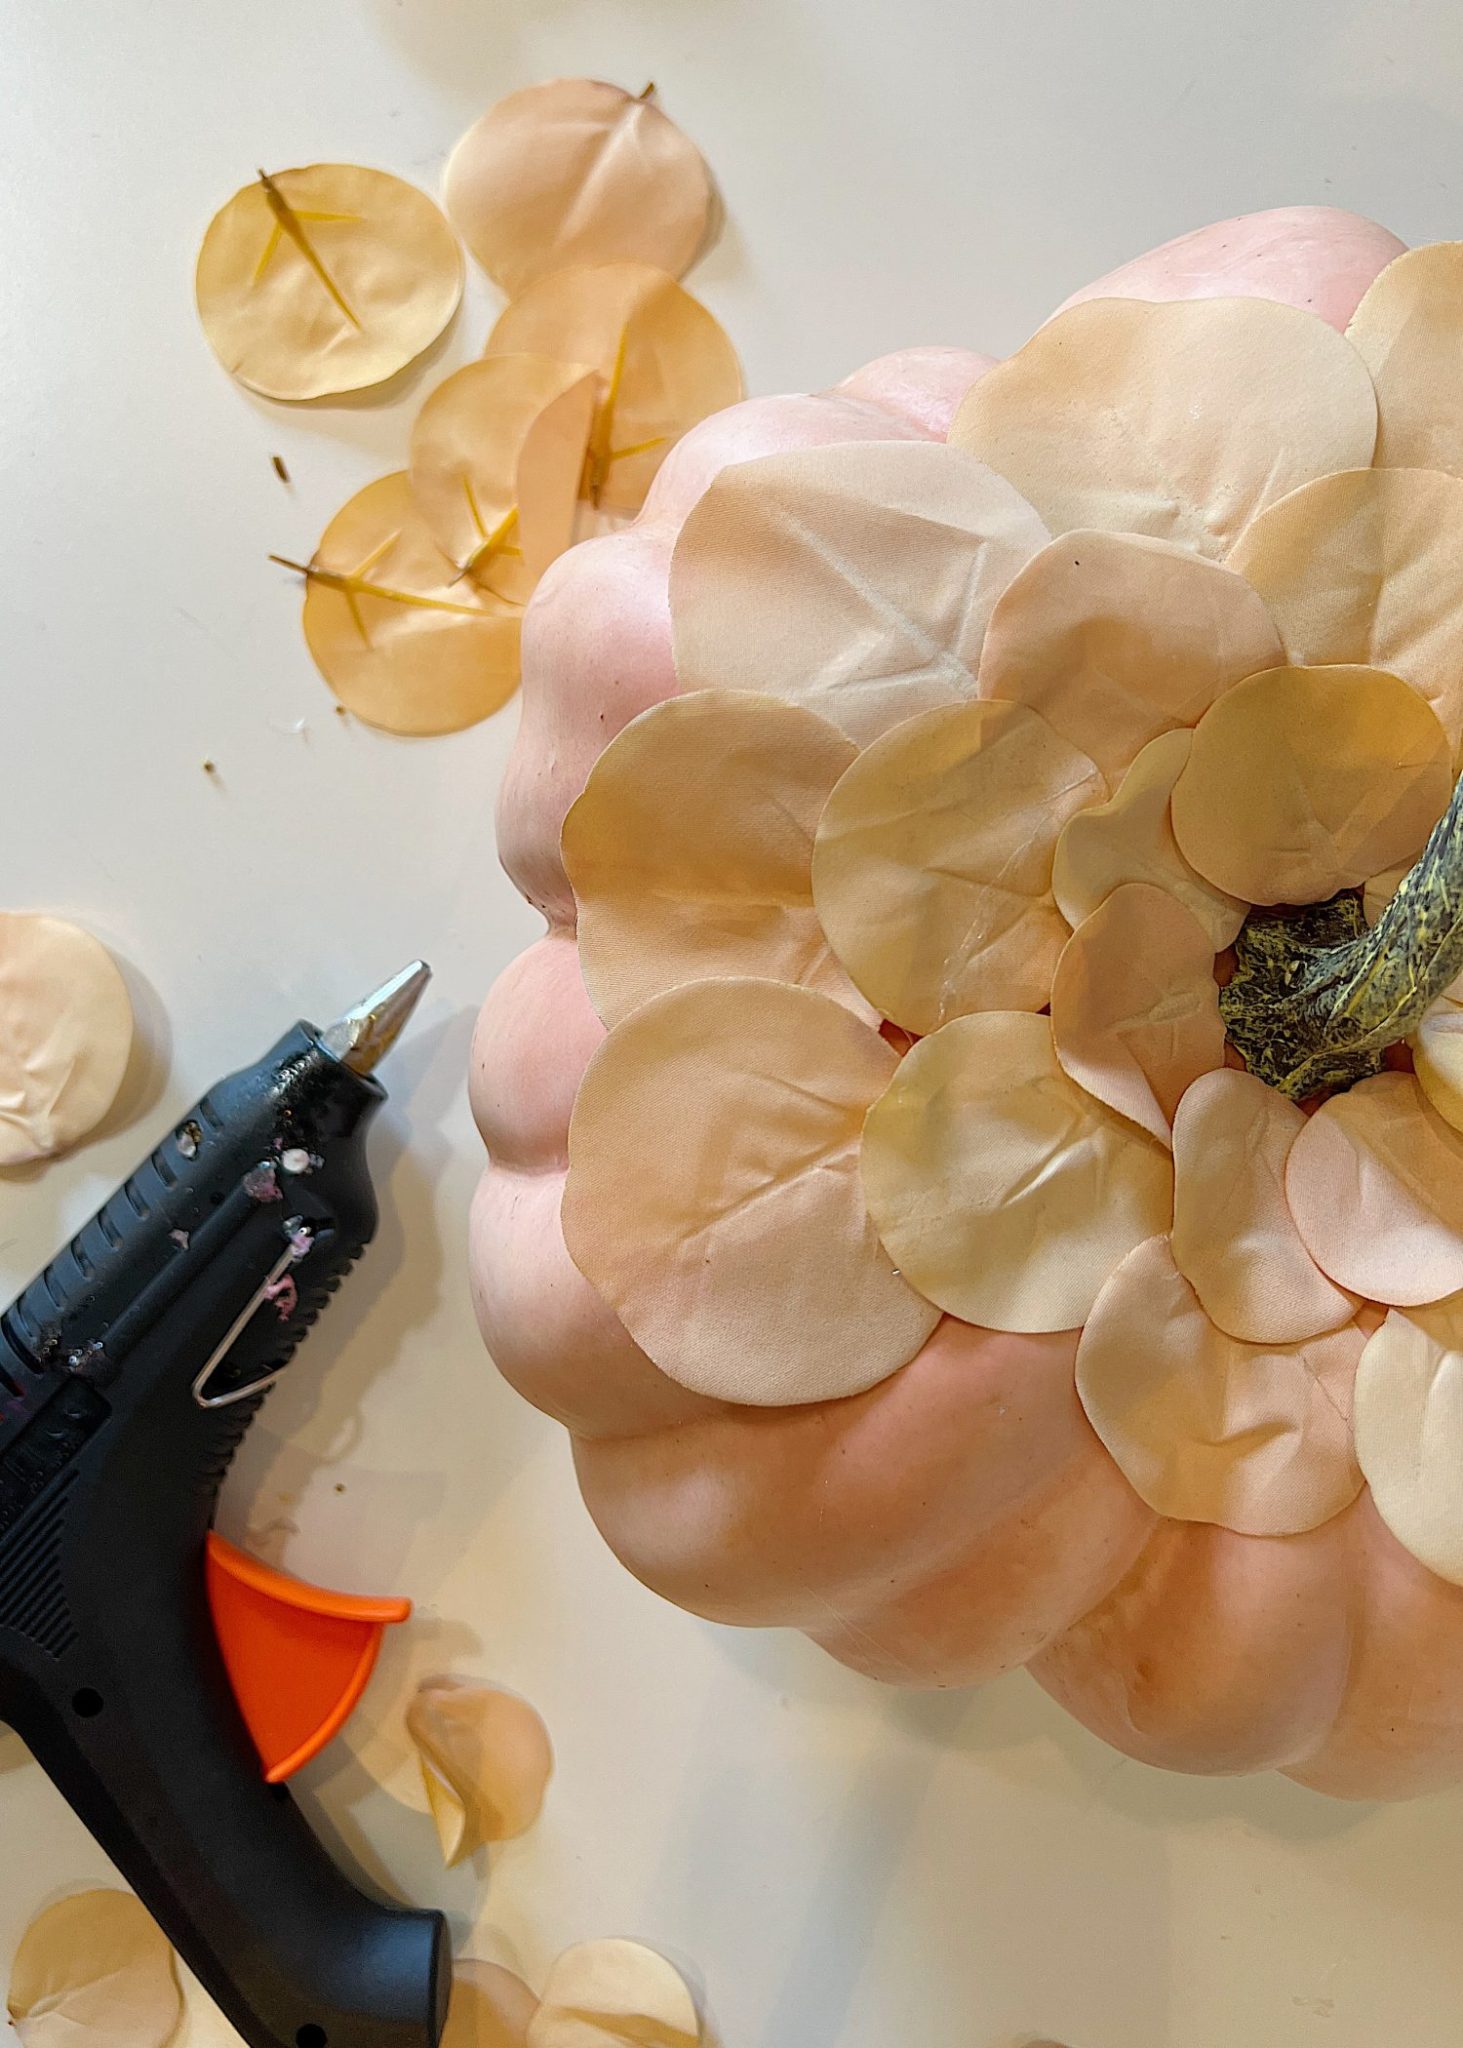
6. Gradient Effect: If you’ve sorted your leaves by shade, start transitioning to the next color as you move down. This color shift will create a beautiful gradient effect, mirroring the transition of fall leaves.
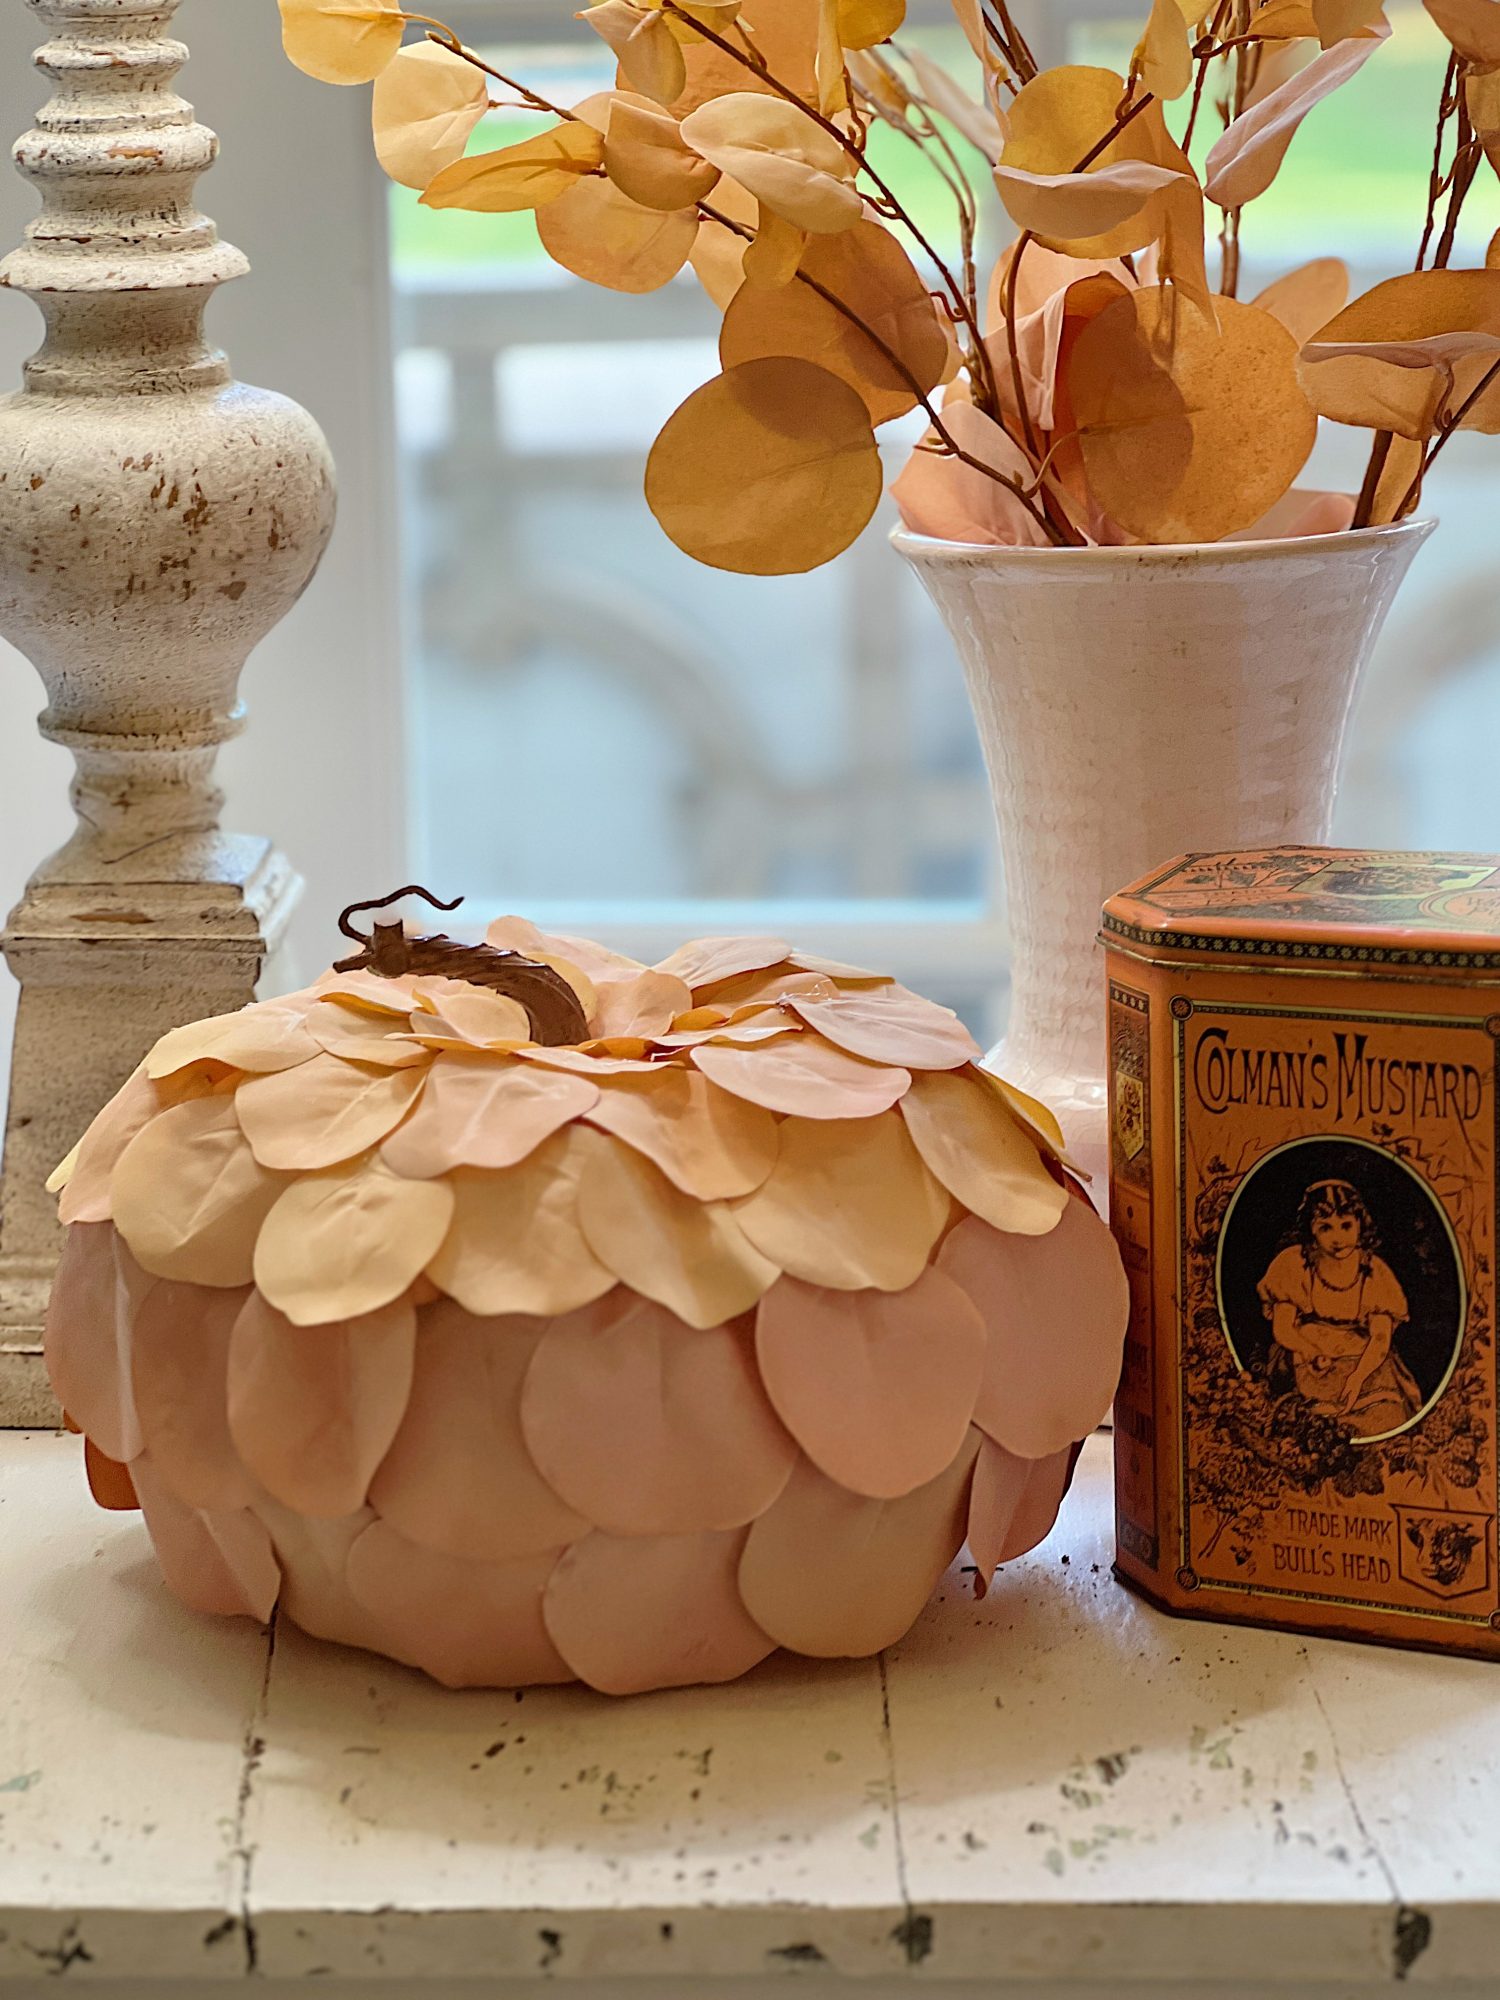
7. Finishing the Pumpkin: If your pumpkin’s stem isn’t particularly decorative or doesn’t match the color of the petals, you might want to re-paint it for a more aesthetically pleasing option. I painted my brown since the green didn’t quite match. Of course, doing this before you start this project would make more sense!
8. Optional Embellishments: Once the entire pumpkin is done, you can add extras, such as ribbons, twine, or a decorative stem.
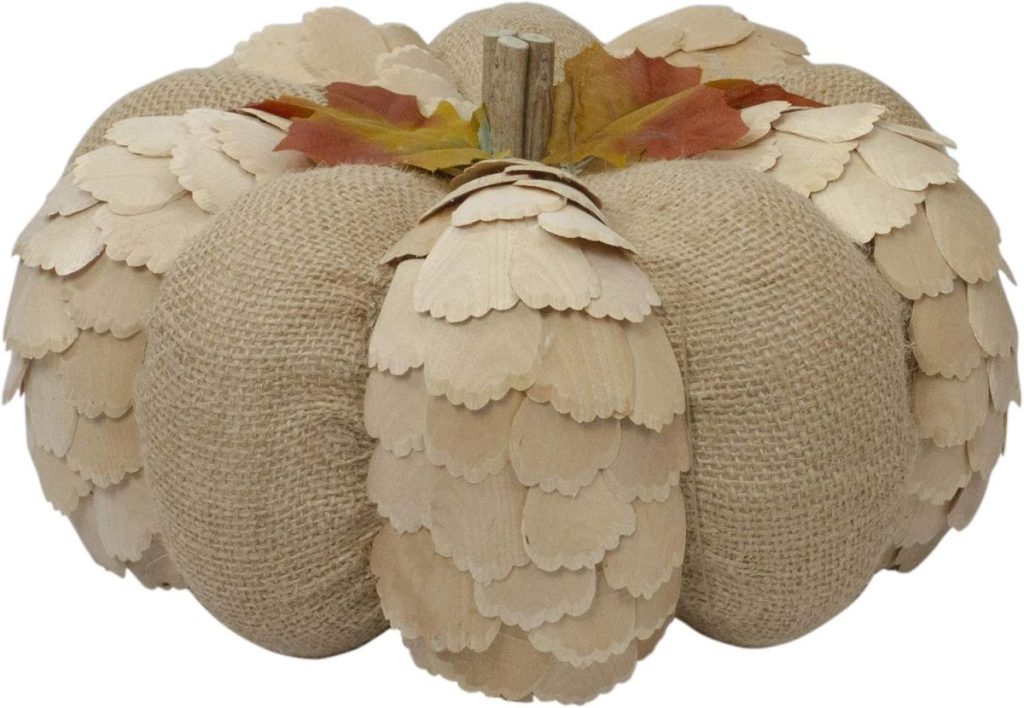
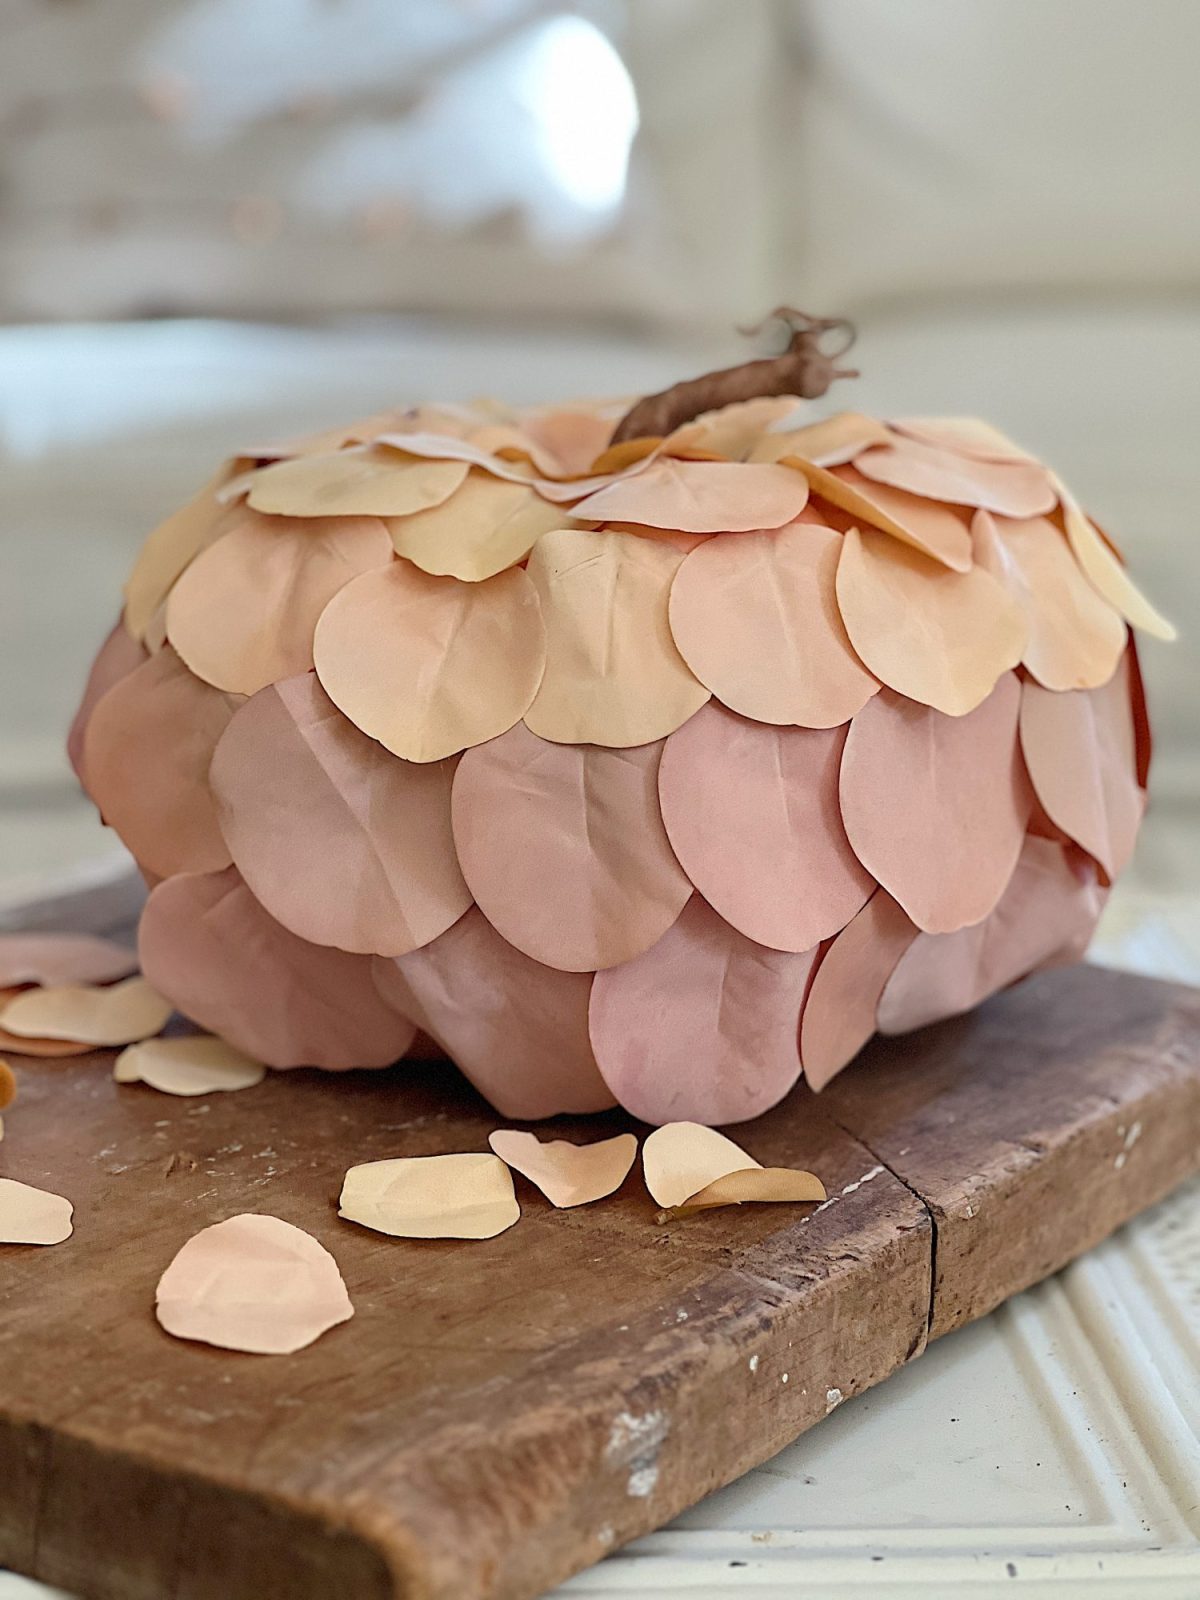
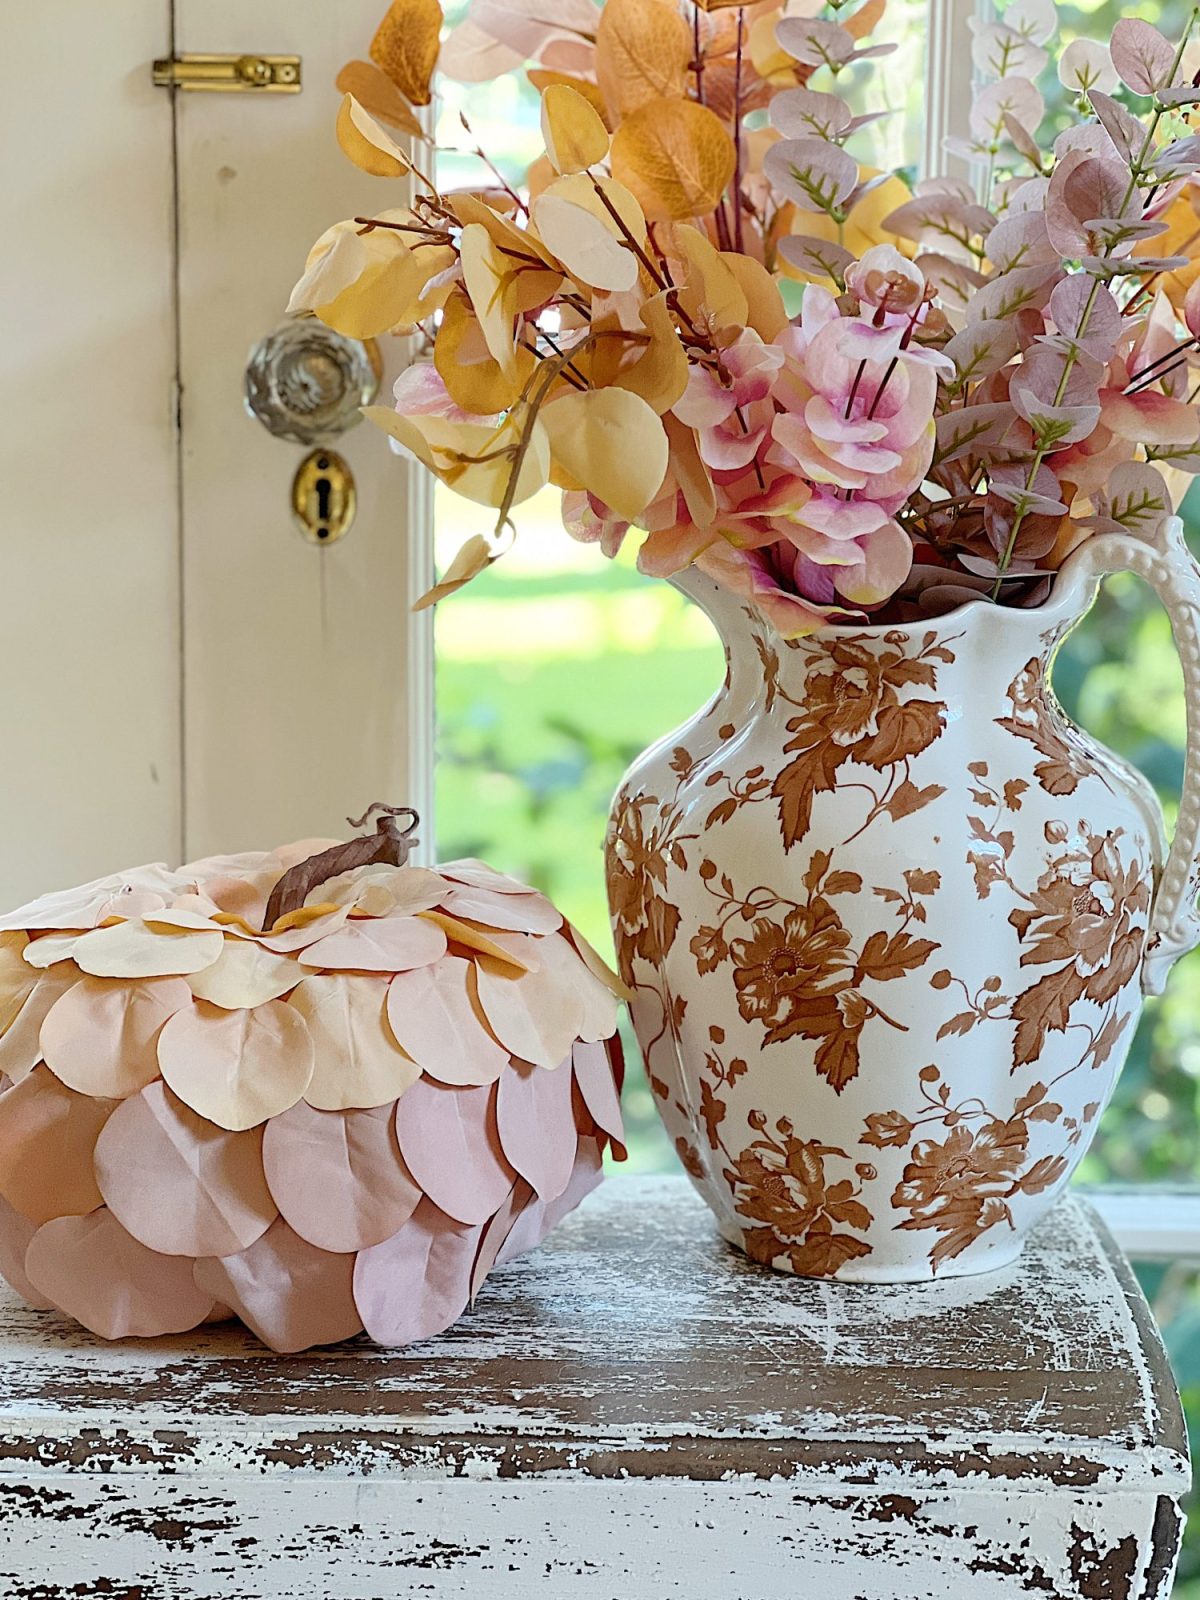
The Finished Craft Pumpkin
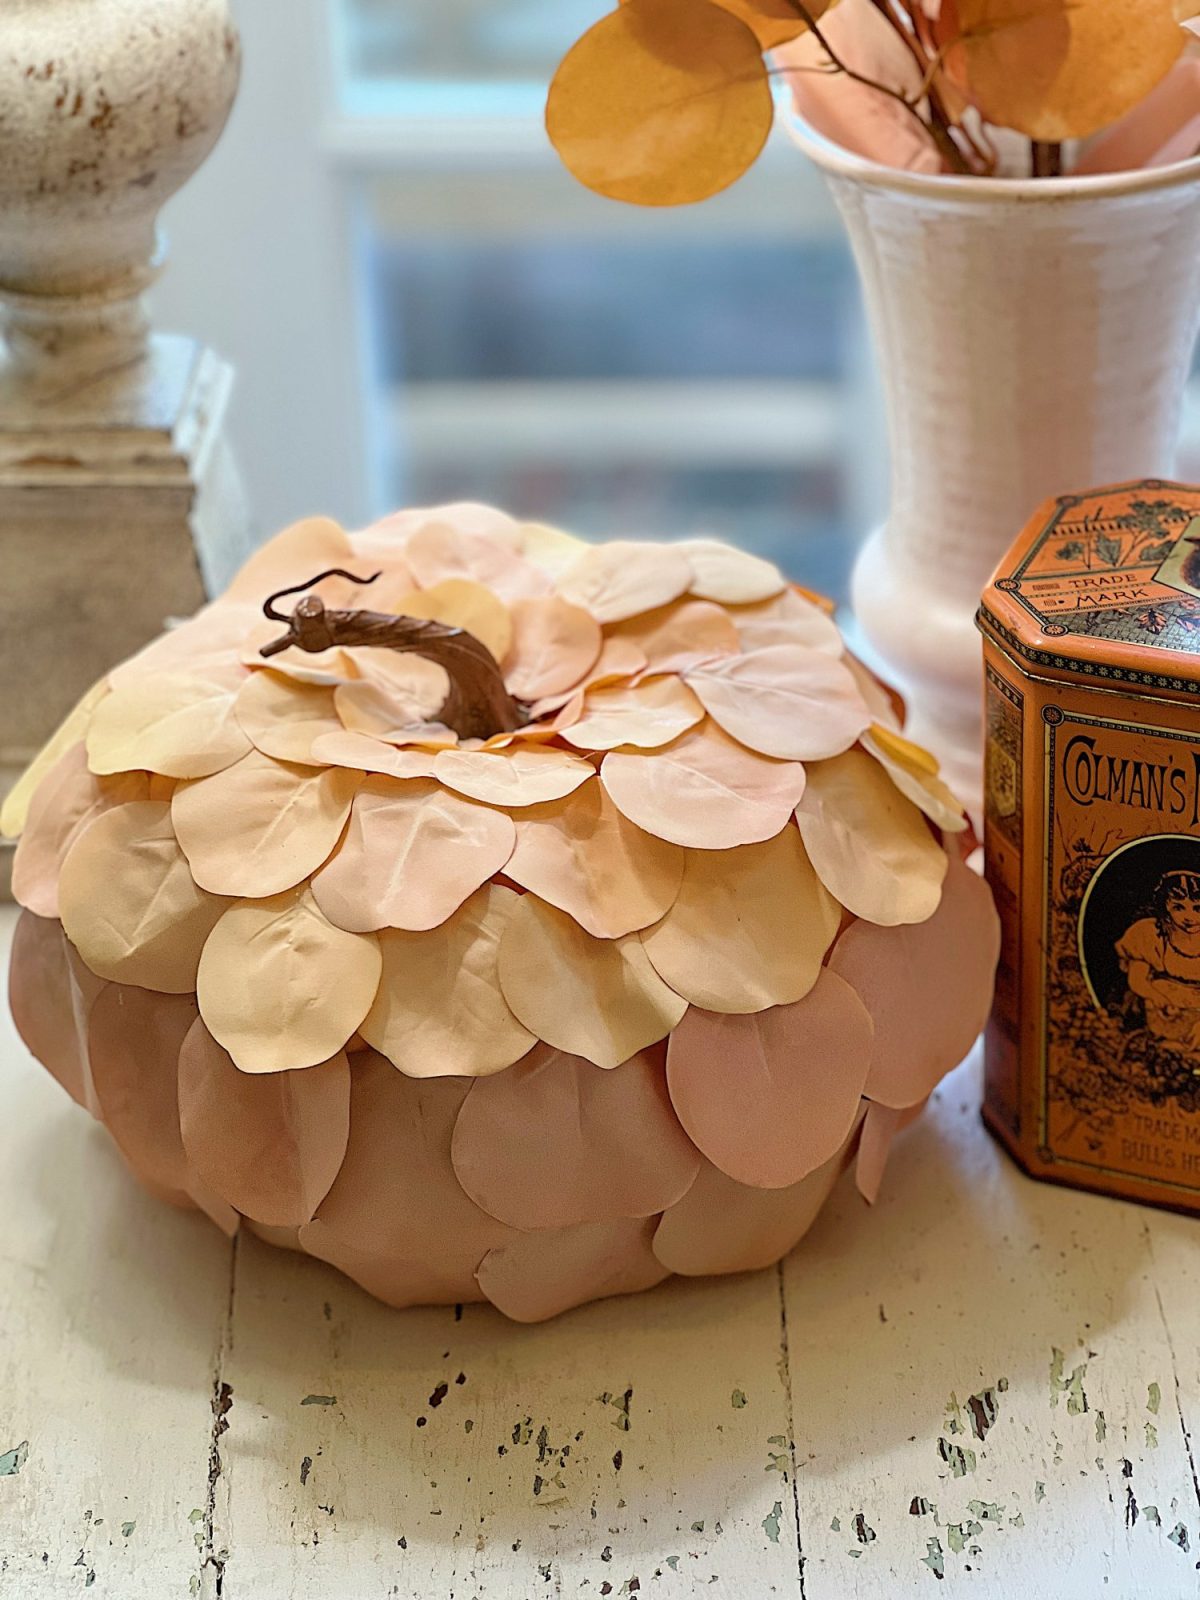
I am so happy with how this pumpkin turned out. It’s soft and subtle and very pretty!
If you enjoy my blog, you can sign up to receive my updates here.
.
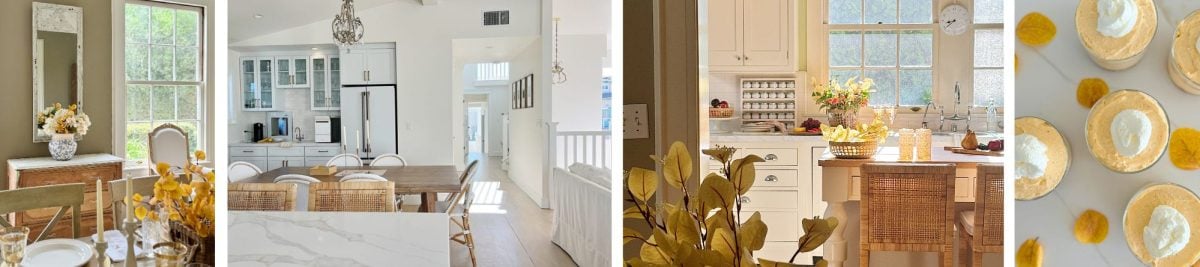
My Favorite Fall Outdoor Decor

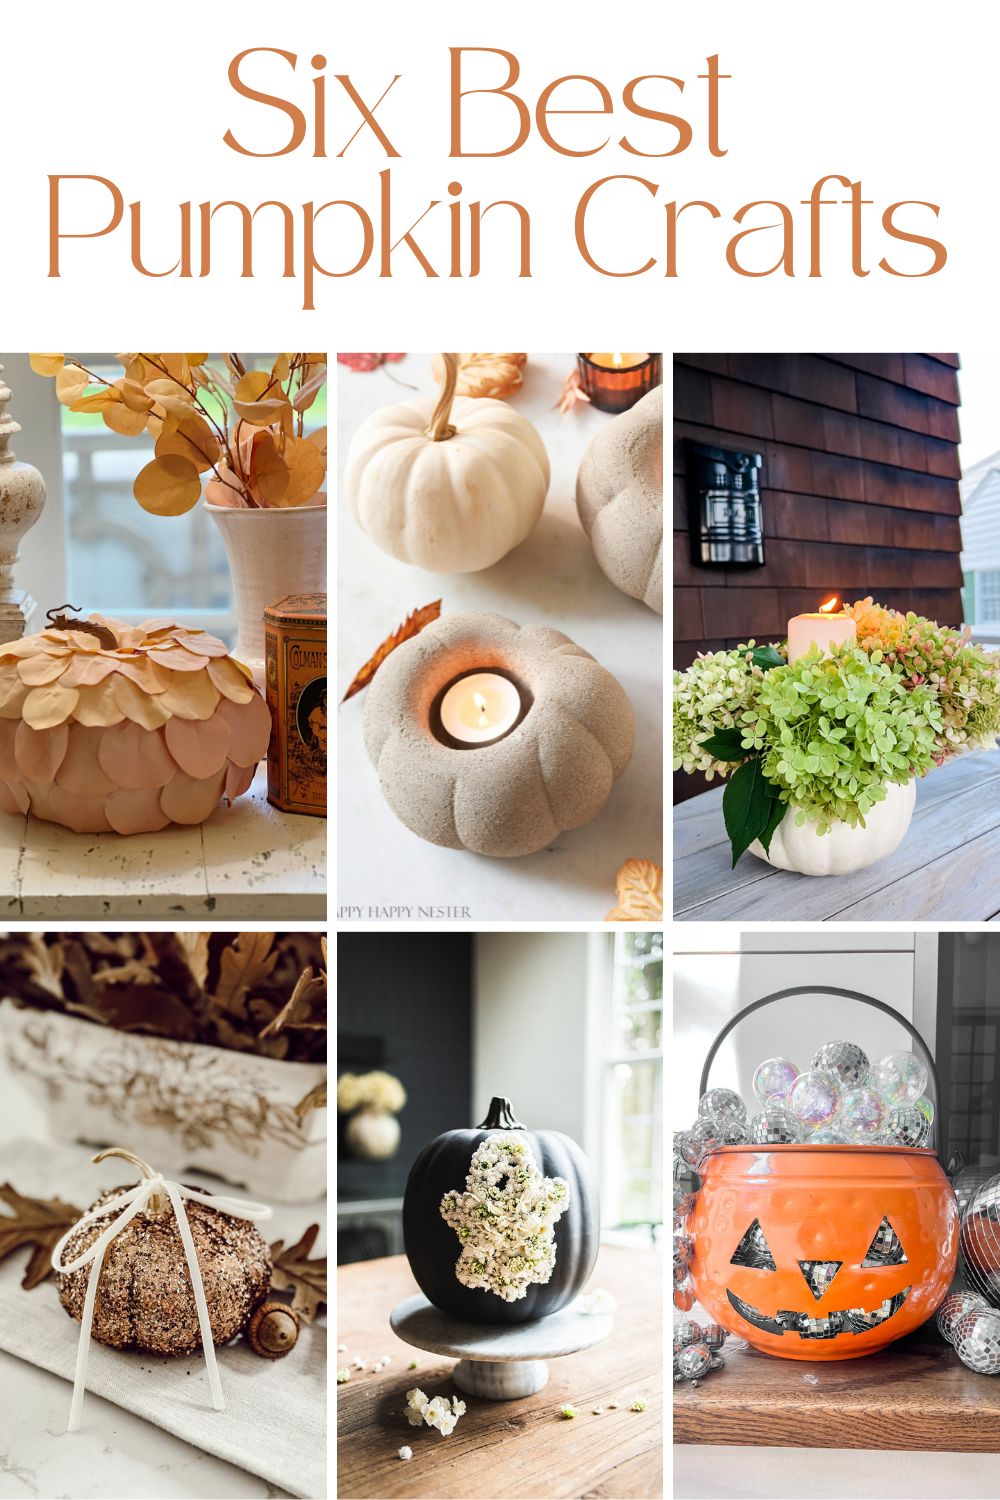
BLOGGER’S BEST PUMPKIN CRAFTS
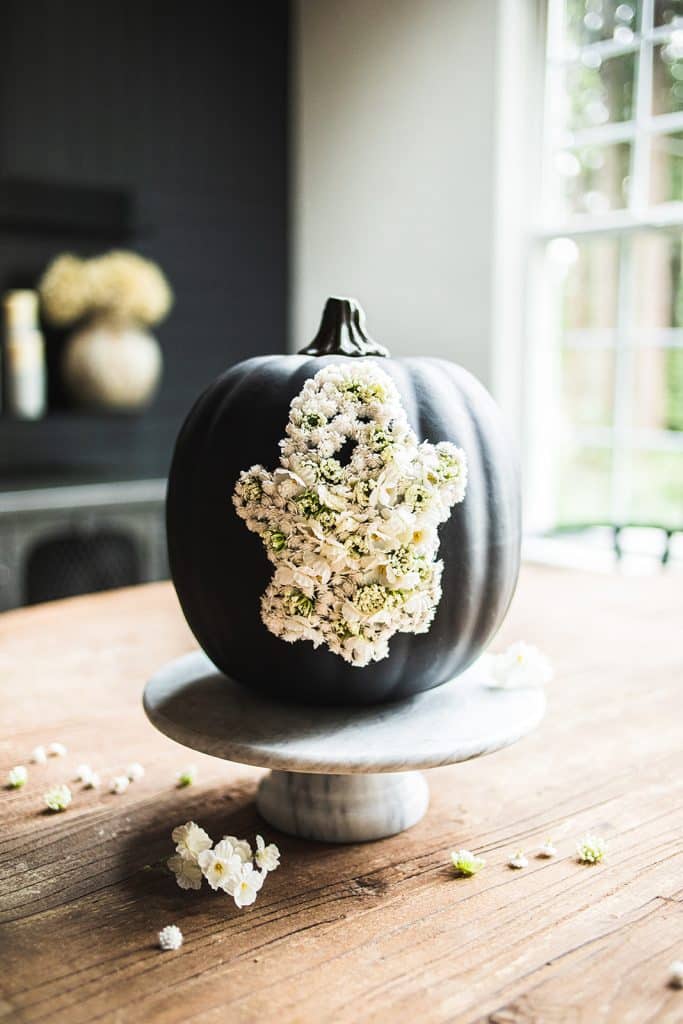
Floral Ghost Pumpkin | My Sweet Savannah
Have fun with your Halloween decor this year and create this easy to make floral ghost pumpkin with my step by step instructions!
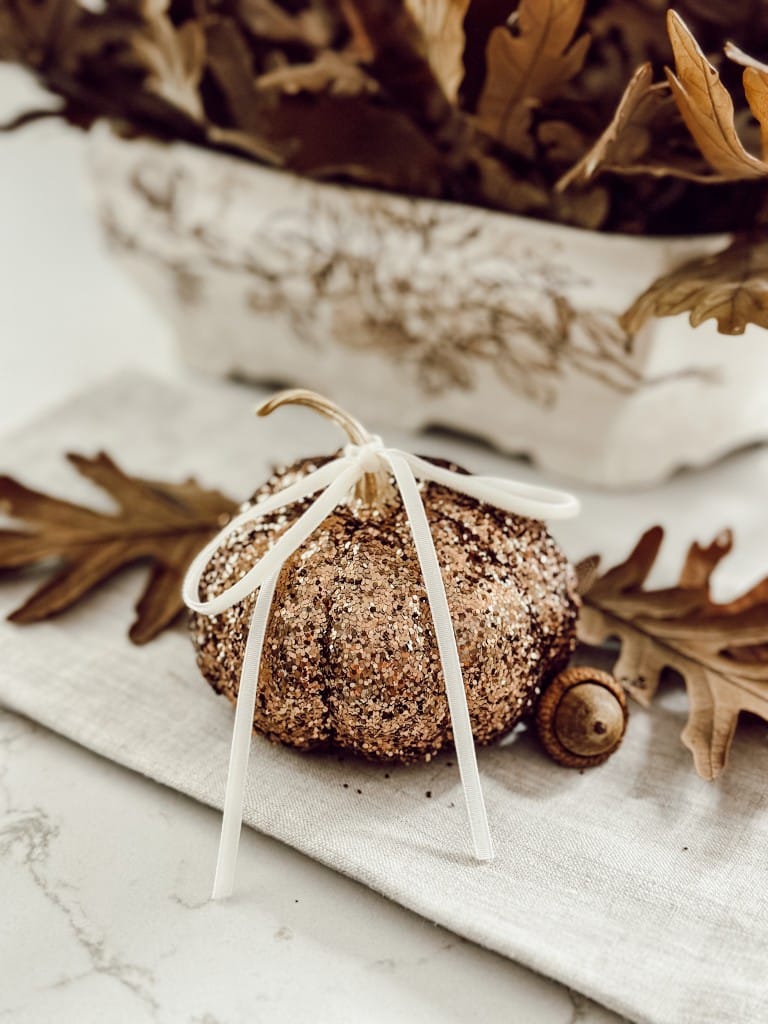
How to Make DIY Glitter Pumpkins for Glam Fall Decor | Eleanor Rose Home
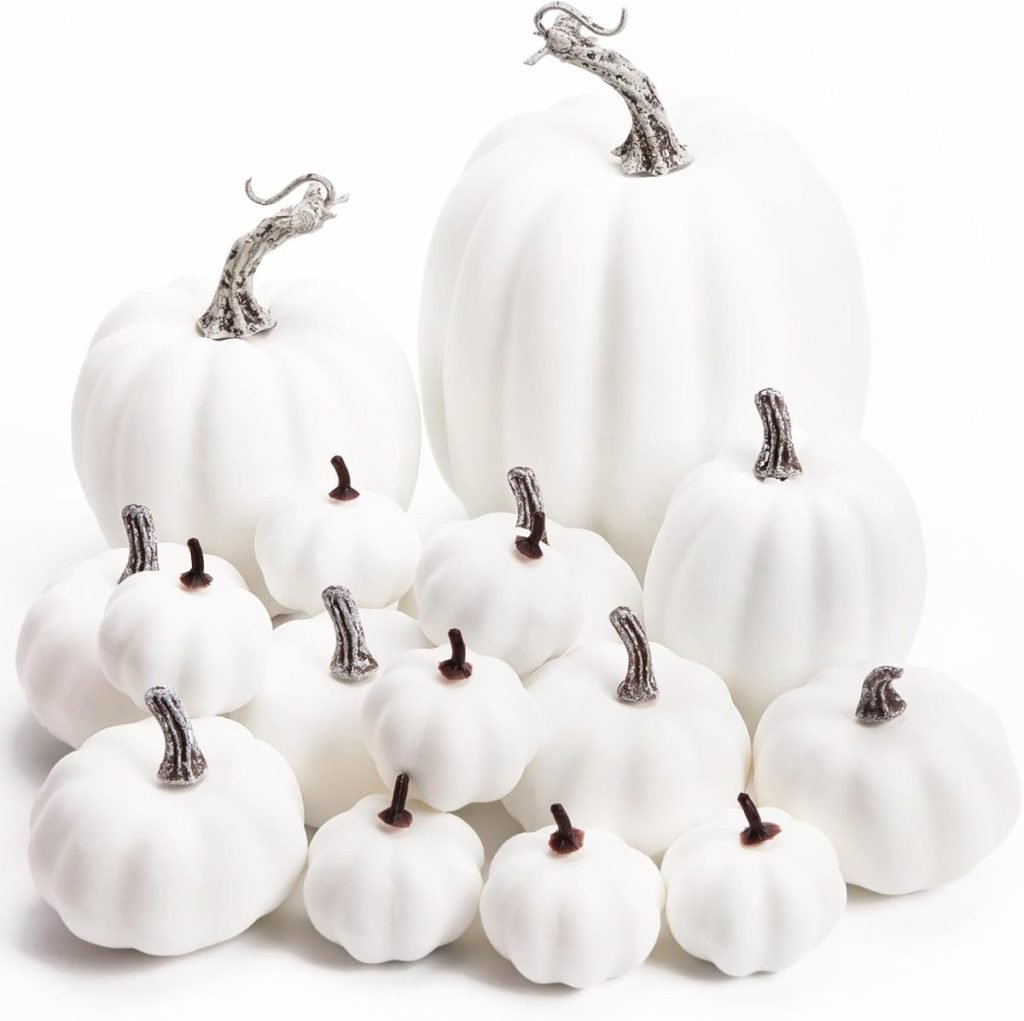
Add a little glam to your fall decor with these DIY glitter pumpkins! Discover how to transform mini white pumpkins into dazzling works of art using Mod Podge and brown glitter.

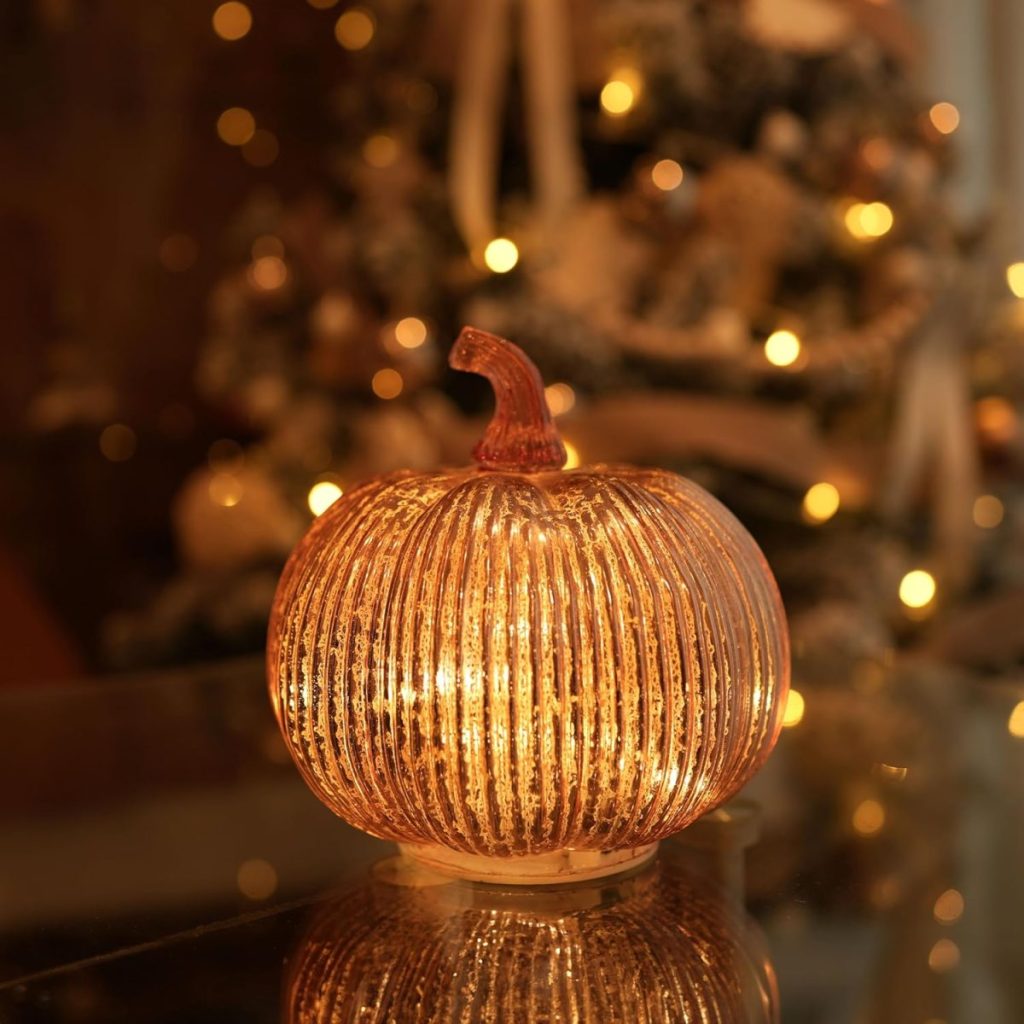
Disco Ball Lighted Halloween Pumpkin Cauldron | Tater Tots and Jello
Transform your Halloween decor with this dazzling DIY disco ball lighted pumpkin cauldron. Start with an metal jack-o-lantern as your enchanting base, then sprinkle it with the magic of disco balls, twinkle lights, and globe lights. Watch as your creation comes to life, casting a spell of whimsy and glamour on your spooky celebrations.
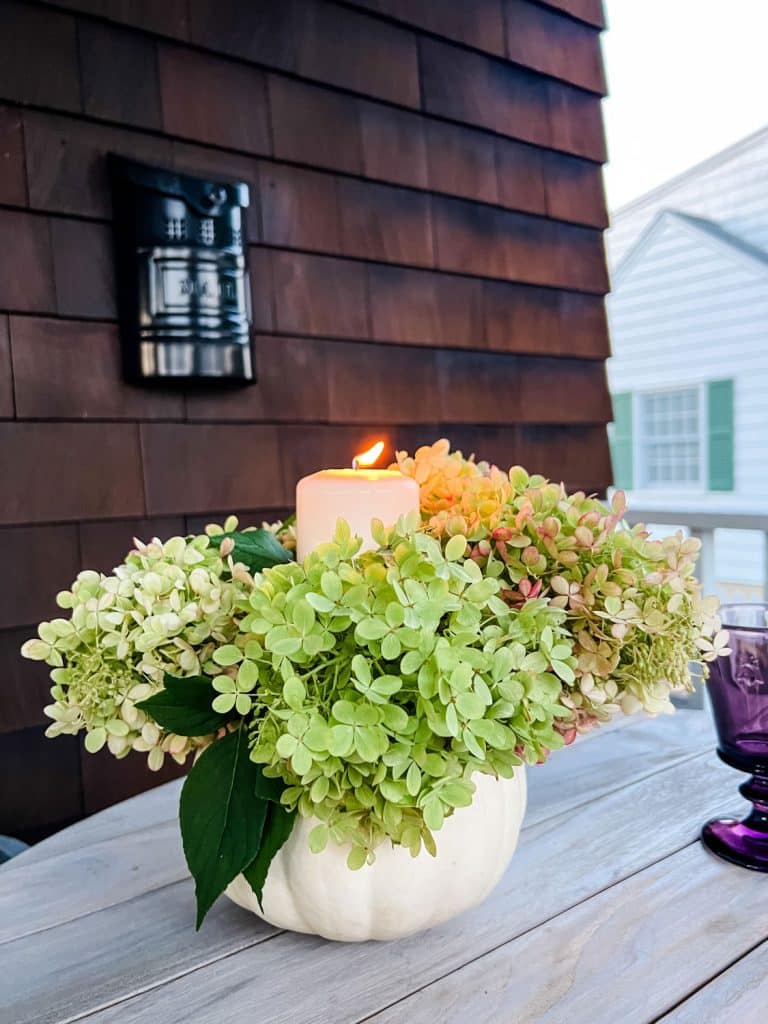
Pumpkin Candle Holder | Most Lovely Things
A simple centerpiece using a pumpkin, a pillar candle, and hydrangeas beginning to change color.
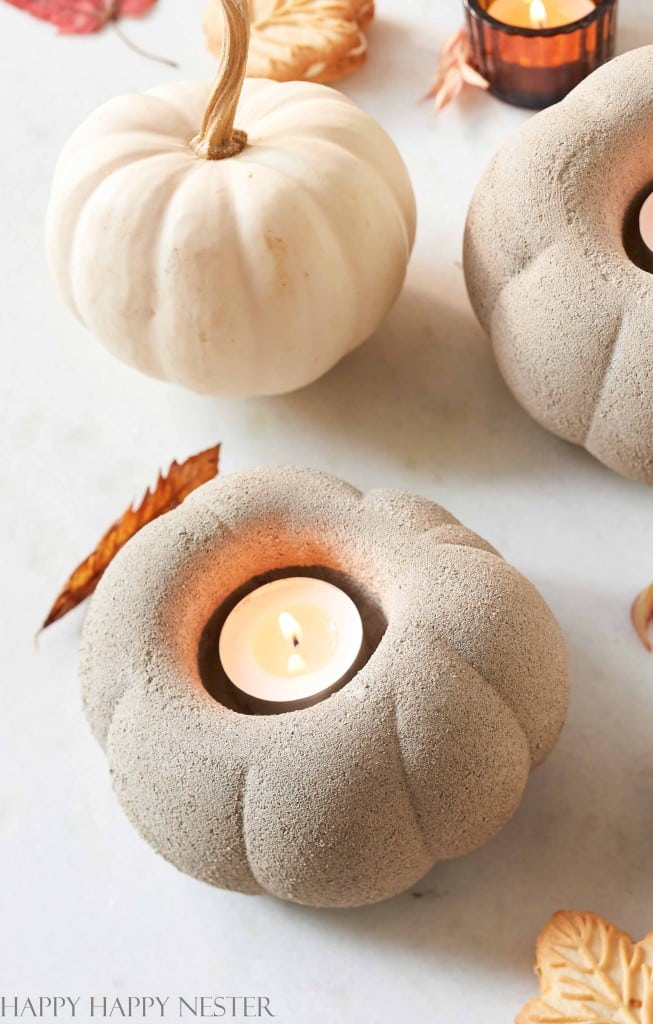
Cement Pumpkin DIY (with Candleholders) | Happy Happy Nester
Get ready for fall with these easy, do-it-yourself Cement Pumpkins DIY Candleholders. All you need is cement, a nylon sock, and other supplies. They’re sure to light up your home with the cozy feeling of autumn. Incorporate your favorite fall scents and share this craft with friends and family.
You can pin the images below to your boards on Pinterest (just click the Pin button in the top left corner) or follow me on Pinterest!
For more real-time updates, follow me on Instagram @My100YearOldHome


This pumpkin is awesome Leslie! It looks so easy to create but makes a big statement. Thank you for the inspiration!
So clever, I love it!
Thanks so much! It’s such an easy and fun diy ☺️
Leslie! This so pretty! The soft blush tones and the delicate layers! Gorgeous!!
Thank you so much Annie! It’s such an easy DIY with such pretty results ☺️ you have to try it!