DIY Christmas Tree Plates – A Handmade Christmas
For the past twelve weeks, I have been challenging myself to create something new for my A Handmade Christmas series. Today I am sharing my Christmas Tree Plates.
These projects are always close to my heart as they’re a way to slow down, get creative, and fill our home with handmade charm. For the 11th craft in the series, I’m so excited to share these Christmas Tree Plates.
keywords
Christmas Tree Plates – A Handmade Christmas
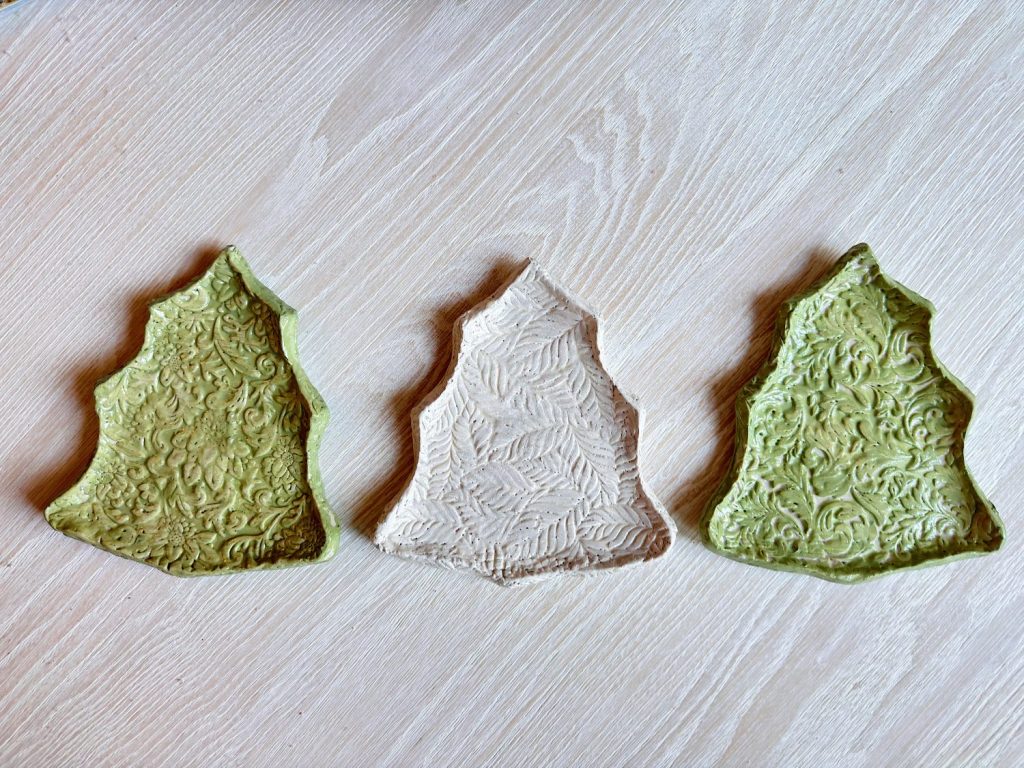
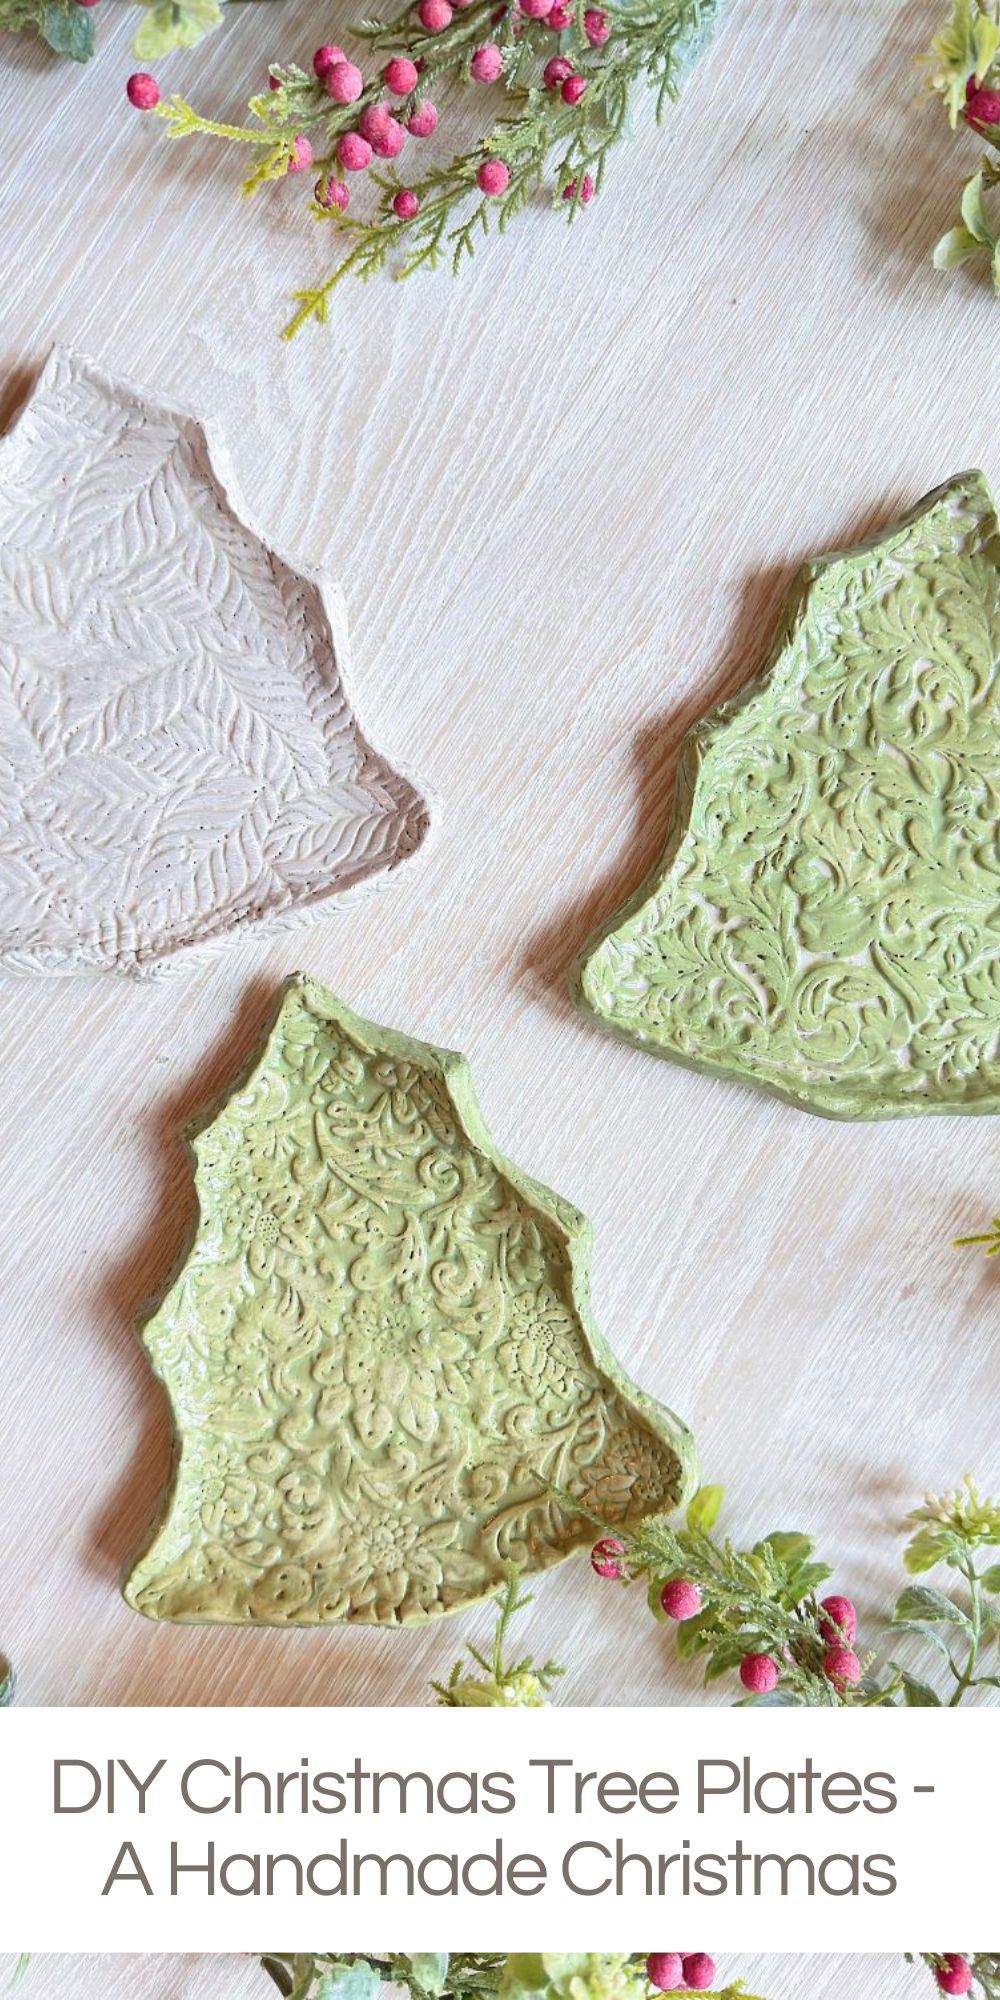
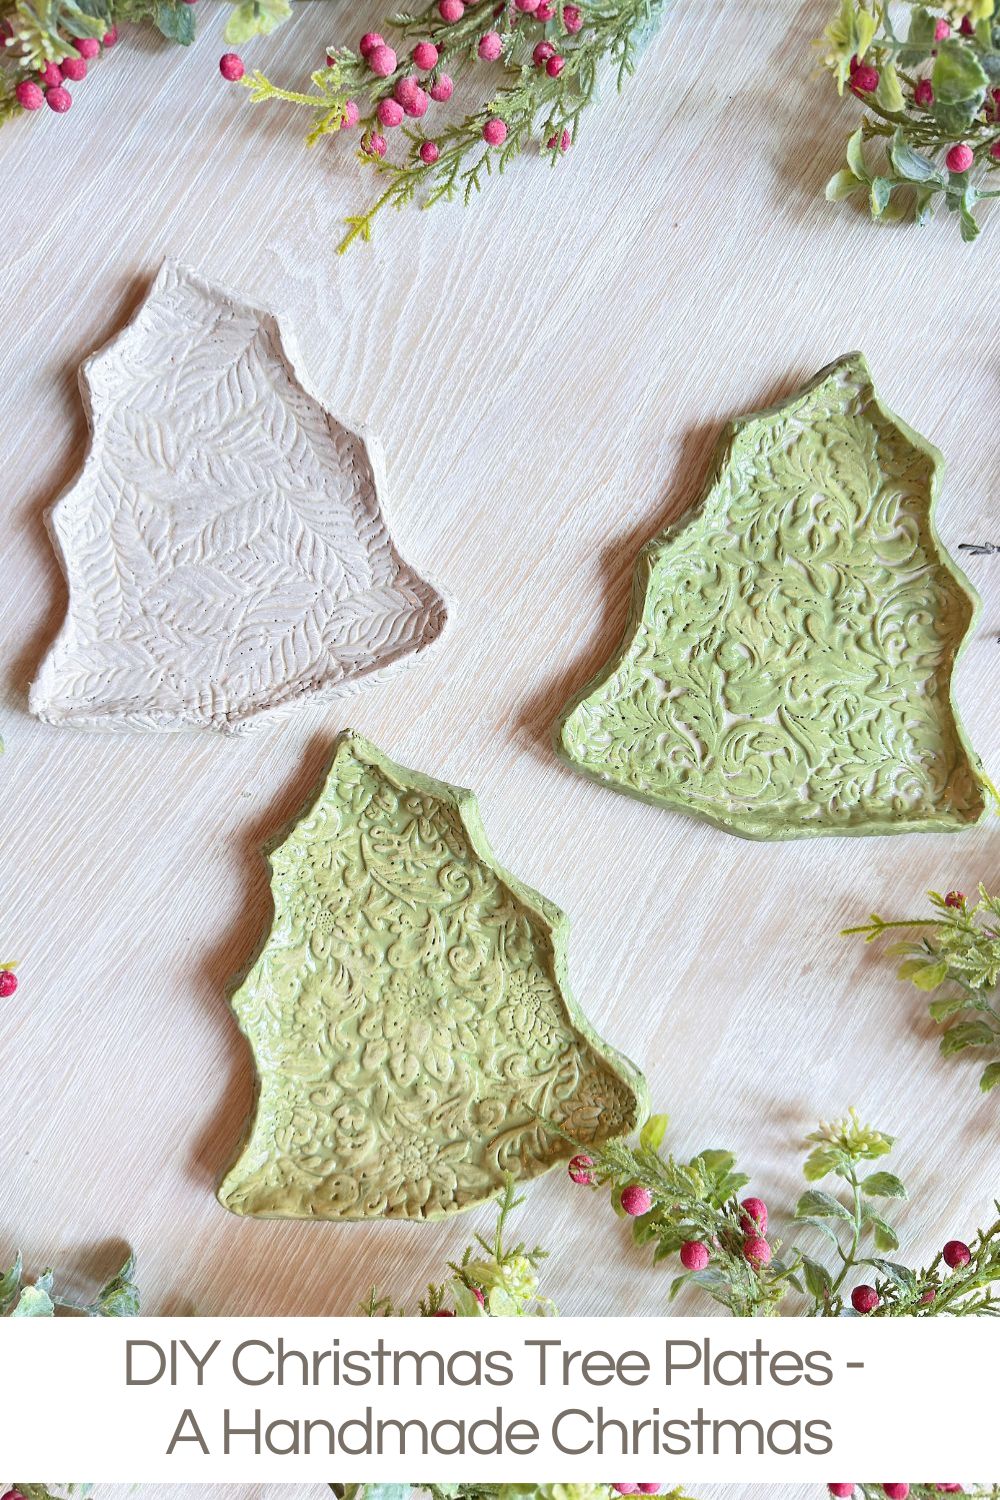
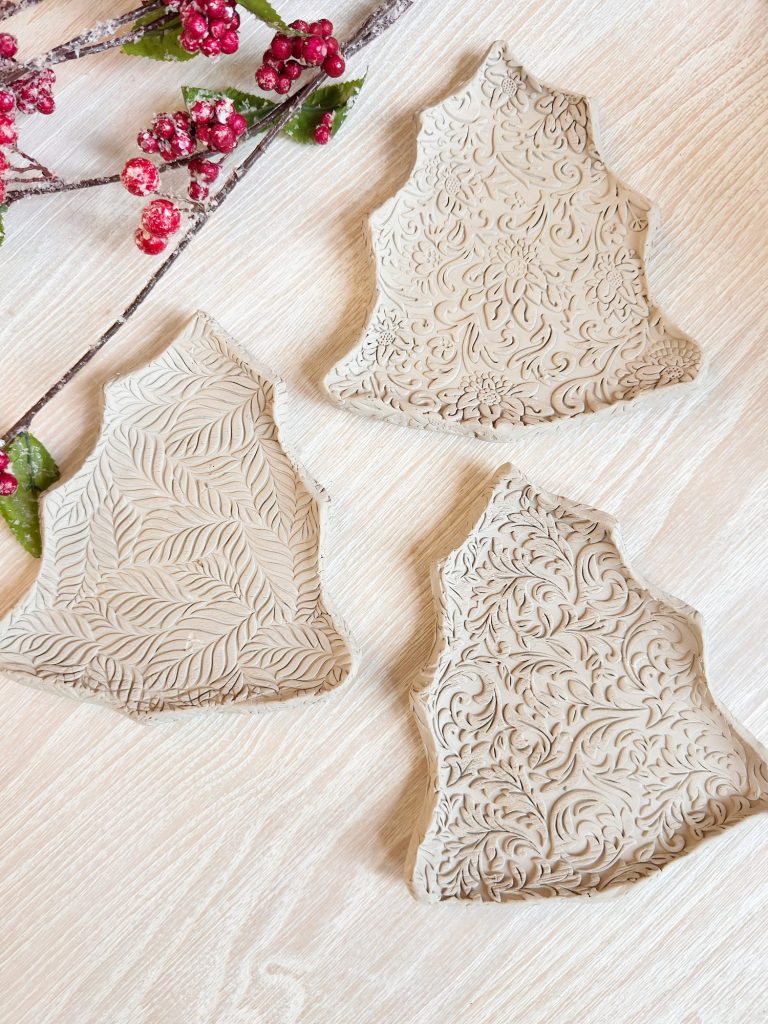
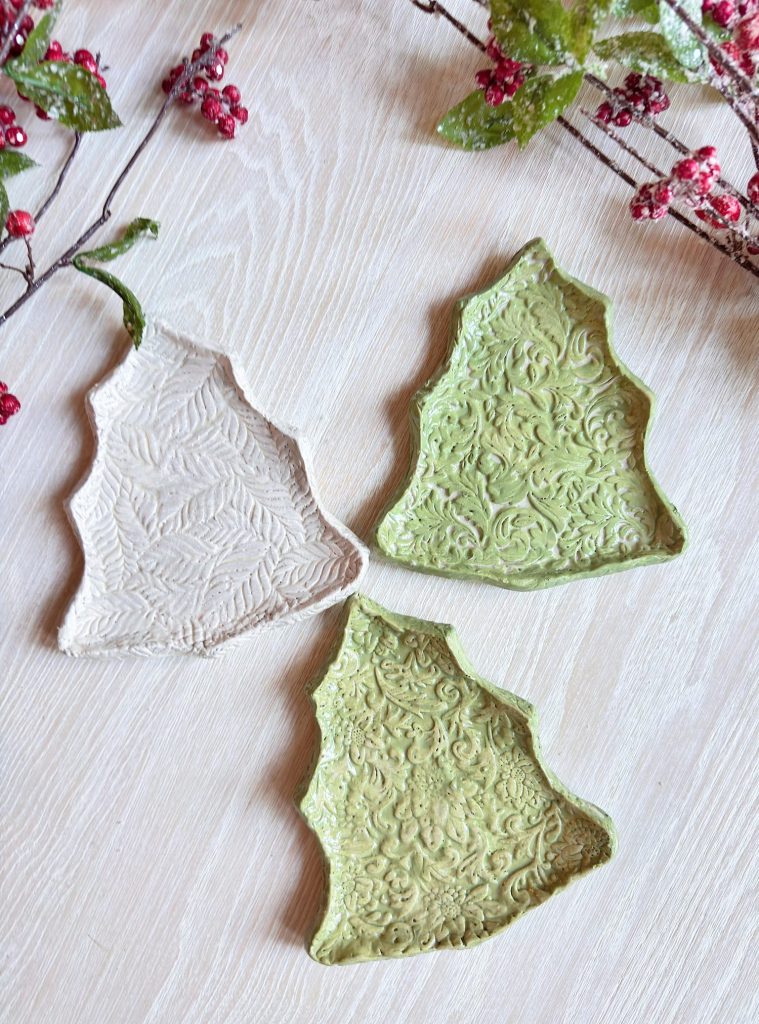
My Christmas tree plates are whimsical, textured, and full of festive charm. They are a true celebration of everything I love about handmade holiday decor.
I used textured rollers with leaves and holiday designs, a simple clay-cutting technique, and a mix of paint and glaze to finish them off. The result is a collection of Christmas tree-shaped plates that look like something straight out of a boutique pottery shop … but they’re made right at home!
I’m thrilled that you can make these too!
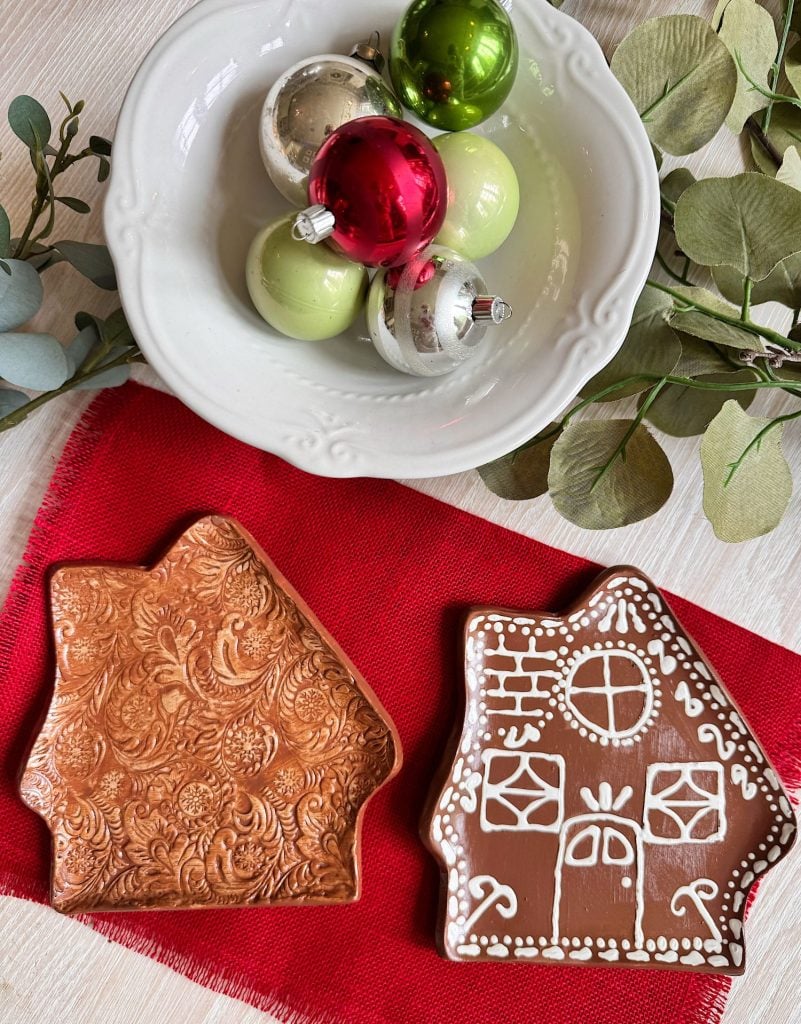
If you’ve been following along since my Clay Gingerbread Plates project, you’ll recognize the technique. This time, though, I shaped the plates like Christmas trees and added texture using an embossed roller.
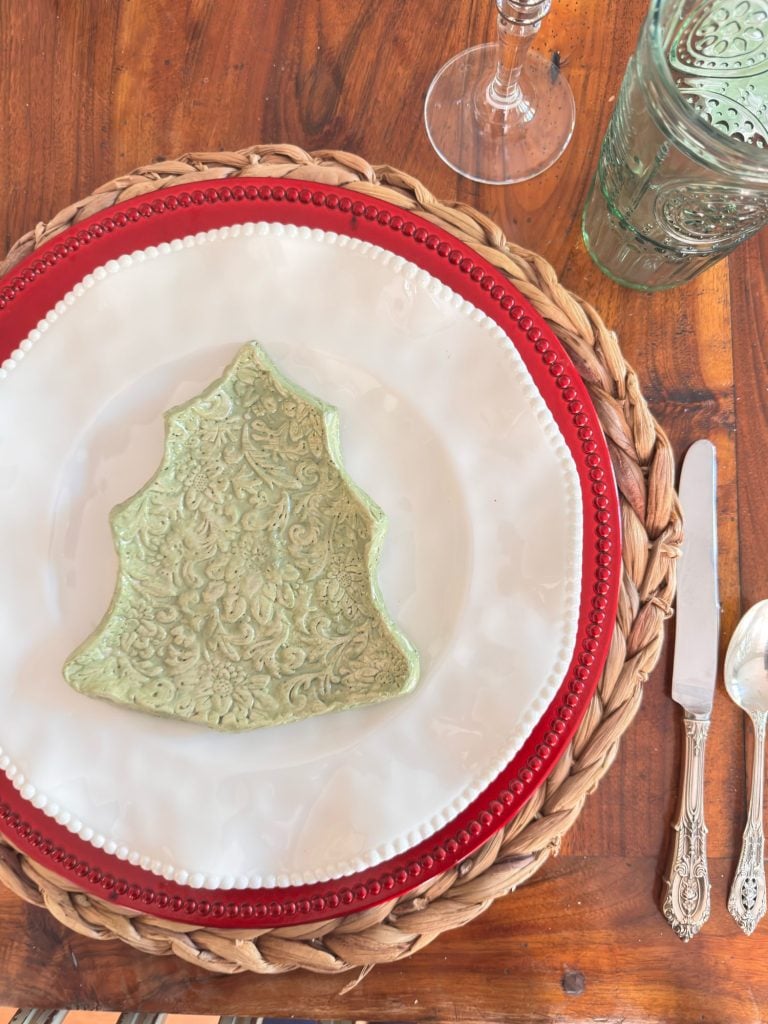
These are a lot of fun to make and perfect for displaying holiday treats or ornaments, or as part of your Christmas table setting. Let’s dive into how I made them!
Don’t Forget- Black Friday Week is HERE!
Click on a category to shop my favorite deals right now!
2025 Black Friday Deals by lsaetaWhy I Love This Project
Every handmade project I create starts with a story. For this one, it was simple: I wanted something festive for my holiday table that felt unique, textured, and meaningful. I’ve made many plates before, including round, gingerbread house-shaped, and even heart-shaped ones, but never one shaped like a Christmas tree.
The idea came to me as I was organizing my craft supplies and found my holiday textured roller. It’s covered in the most charming designs — snowflakes, snowmen, ornaments, mittens, and gingerbread men. The moment I saw it, I knew I had to try it on clay shaped like a Christmas tree.
I love how the texture adds a playful, hand-pressed look — almost like an embossed cookie.
These plates are simple to make and so satisfying to decorate. The best part? Each one turns out slightly different, which is part of its charm.
What You’ll Need to Make the Clay Christmas Tree Plates
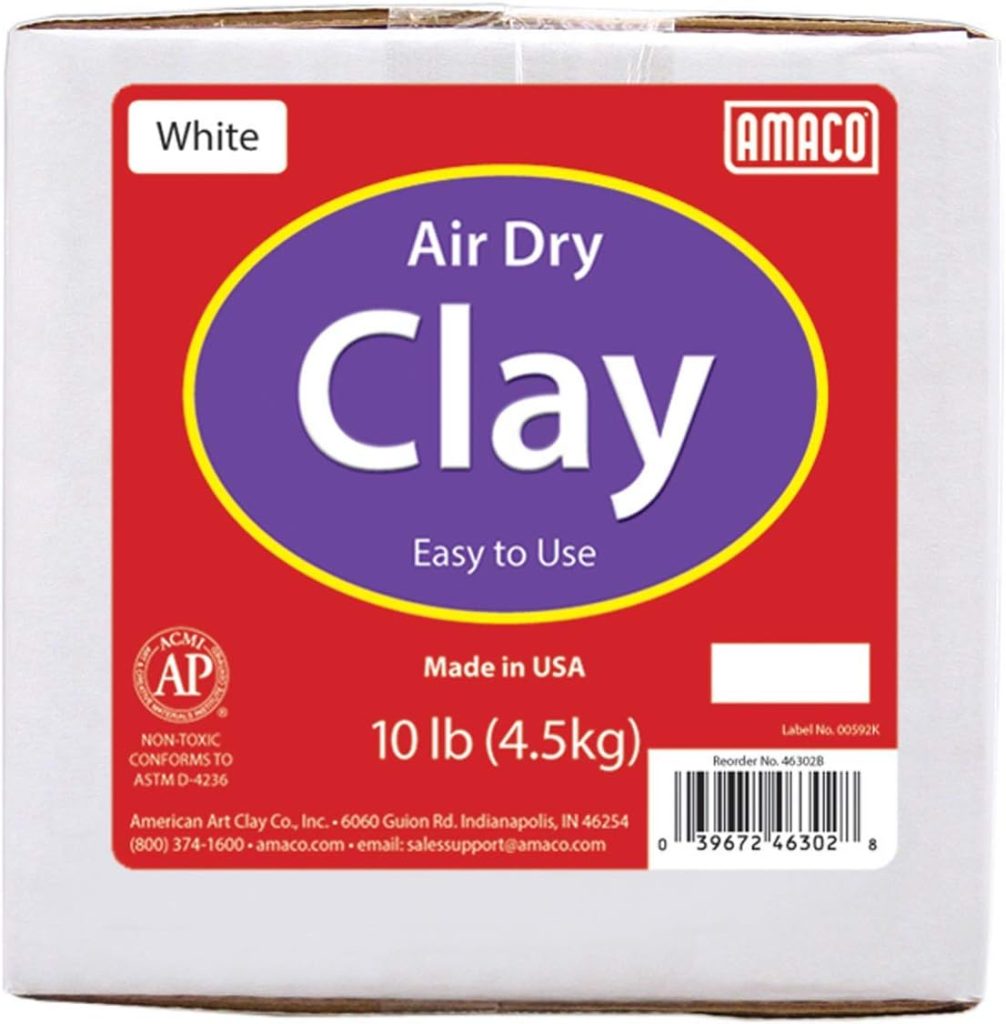
Supplies:
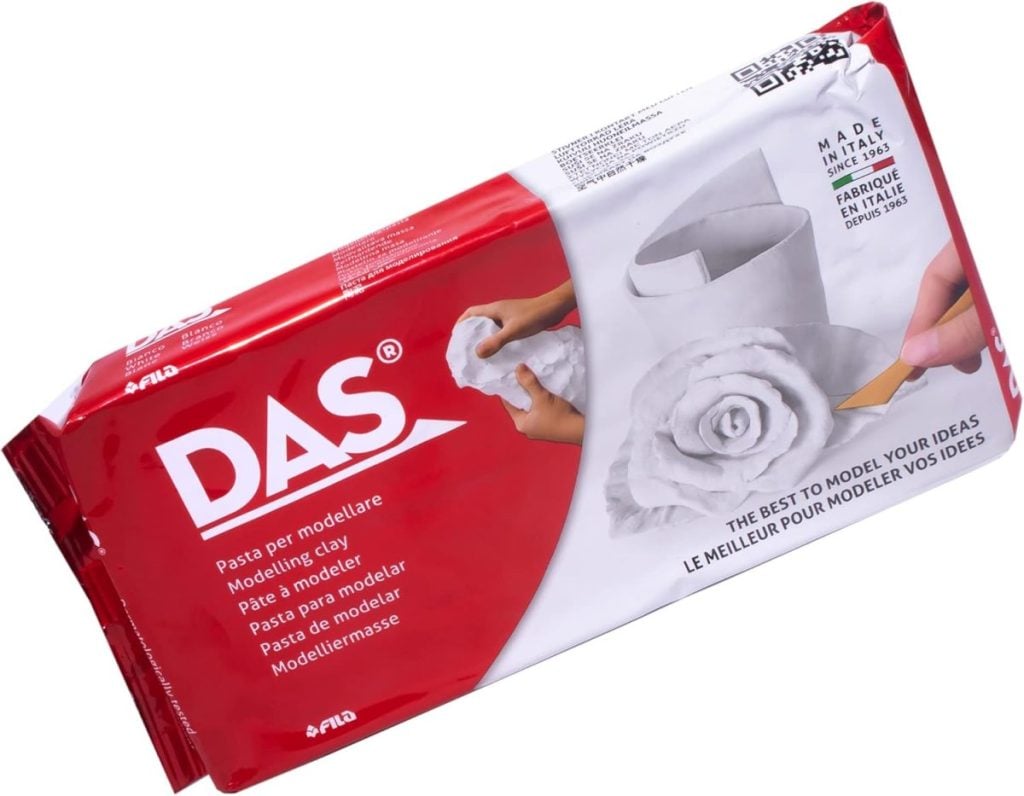
- Air-dry clay (I used about 2 lbs for each plate)
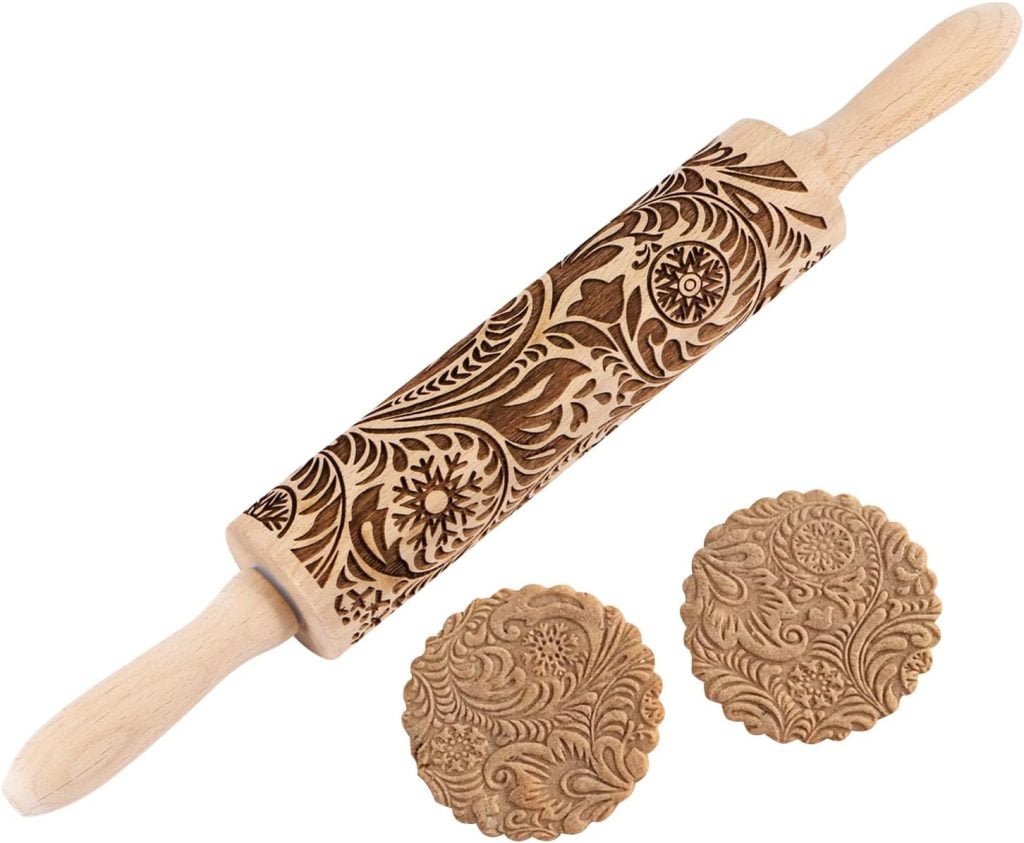
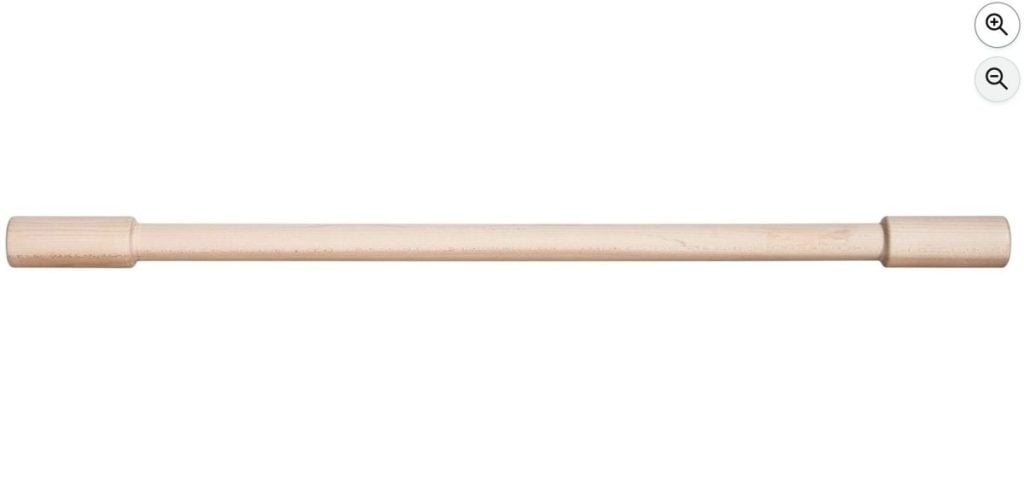
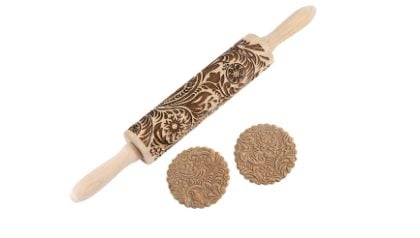
- Rolling pin
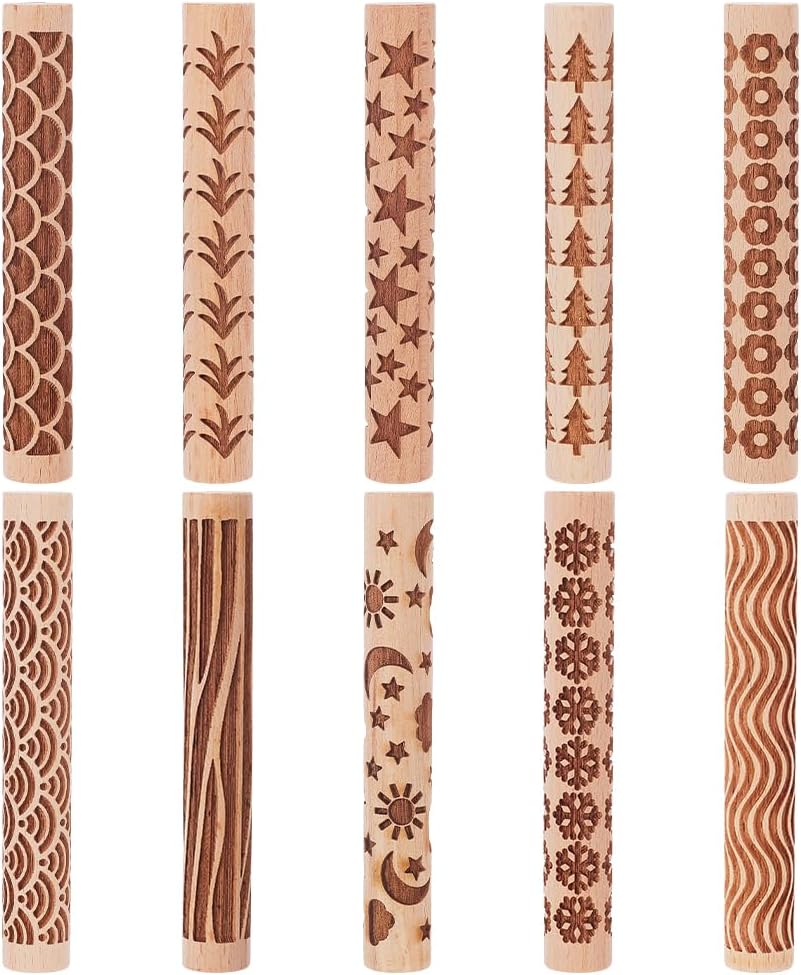
- Holiday textured roller (mine features presents, snowflakes, and gingerbread designs)
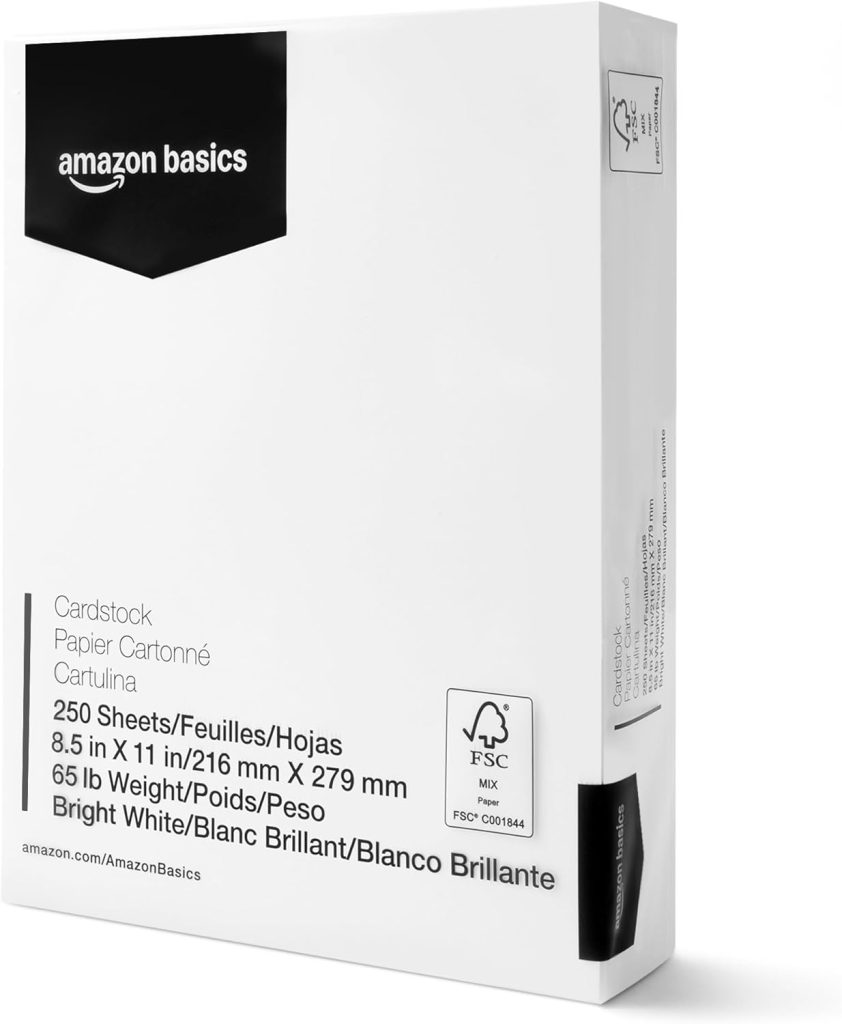
- Christmas tree–shaped template (you can draw this on card stock or print one online)
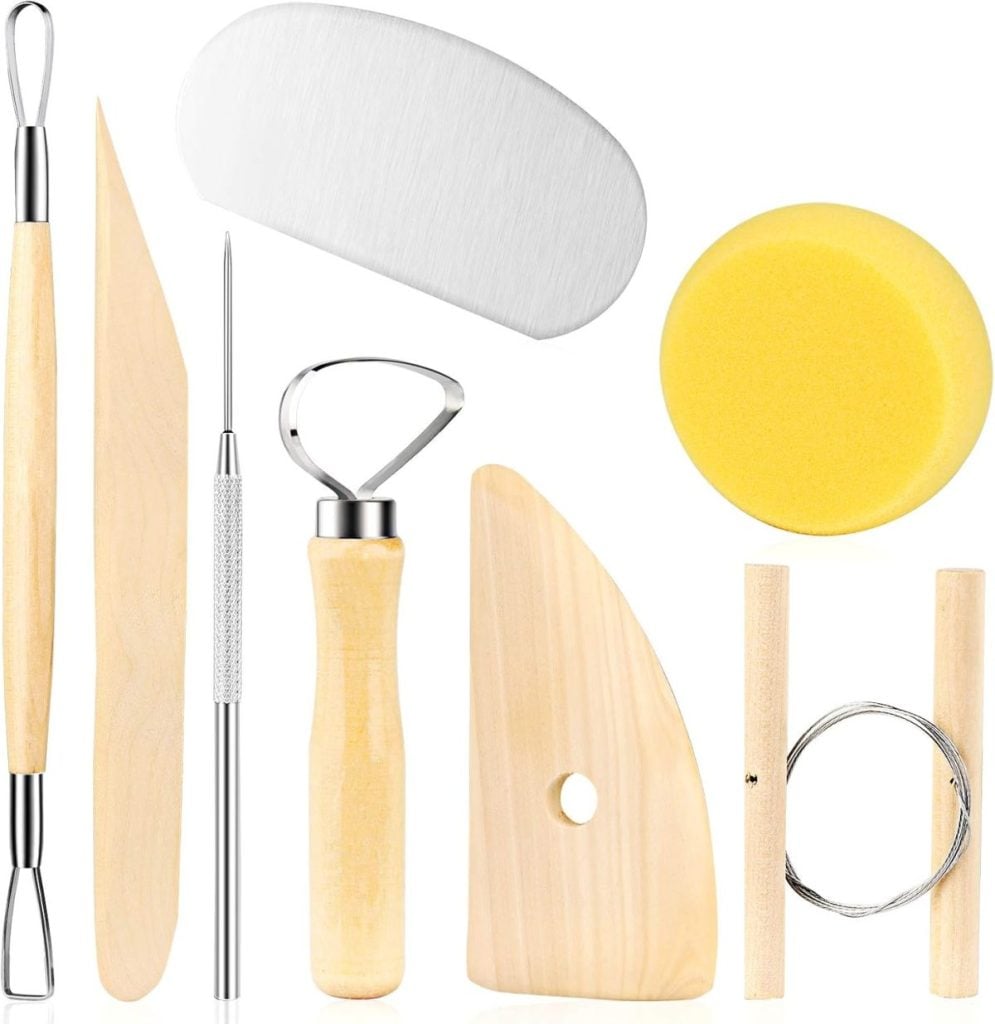
- Craft knife or clay cutting tool
- A non-stick surface for rolling
- Small bowl of water (to smooth edges)
- Mod Podge (for sealing before painting)
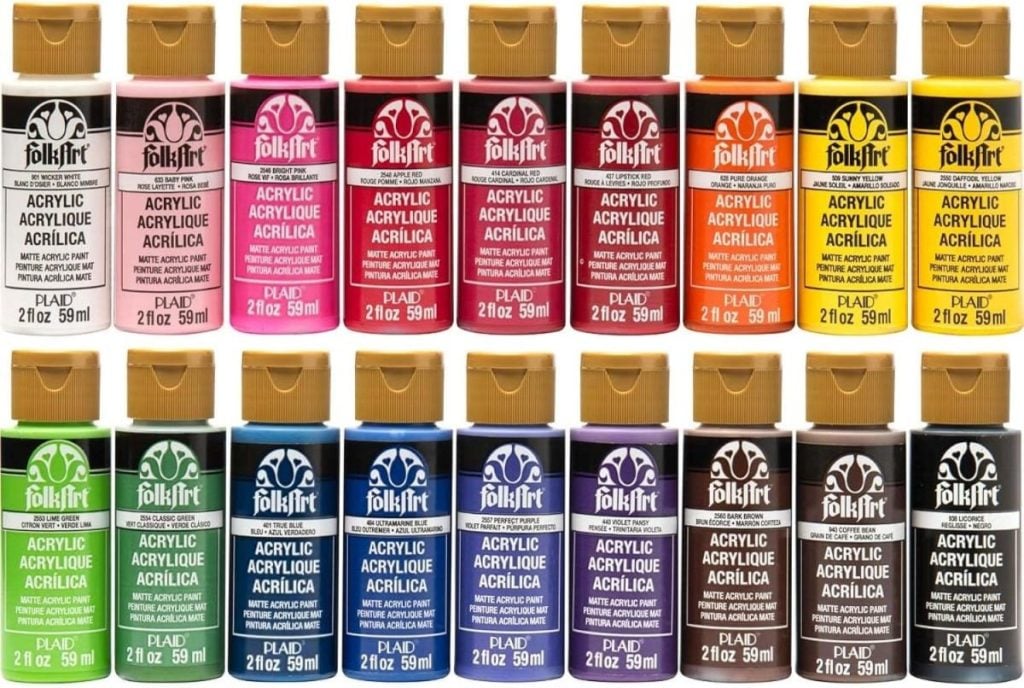
- Acrylic paint (in your preferred holiday colors)
- Soft paintbrushes or foam brushes
- Clay glaze or clear varnish (for shine and protection)
- Optional: gold or metallic paint for highlights
On this blog, I may sometimes use affiliate links, which means a small commission is earned if you purchase via the link. The price will be the same whether you use the affiliate link or go directly to the vendor’s website using a non-affiliate link.


Download my Tree templates here.


Step 1: Roll Out Your Clay
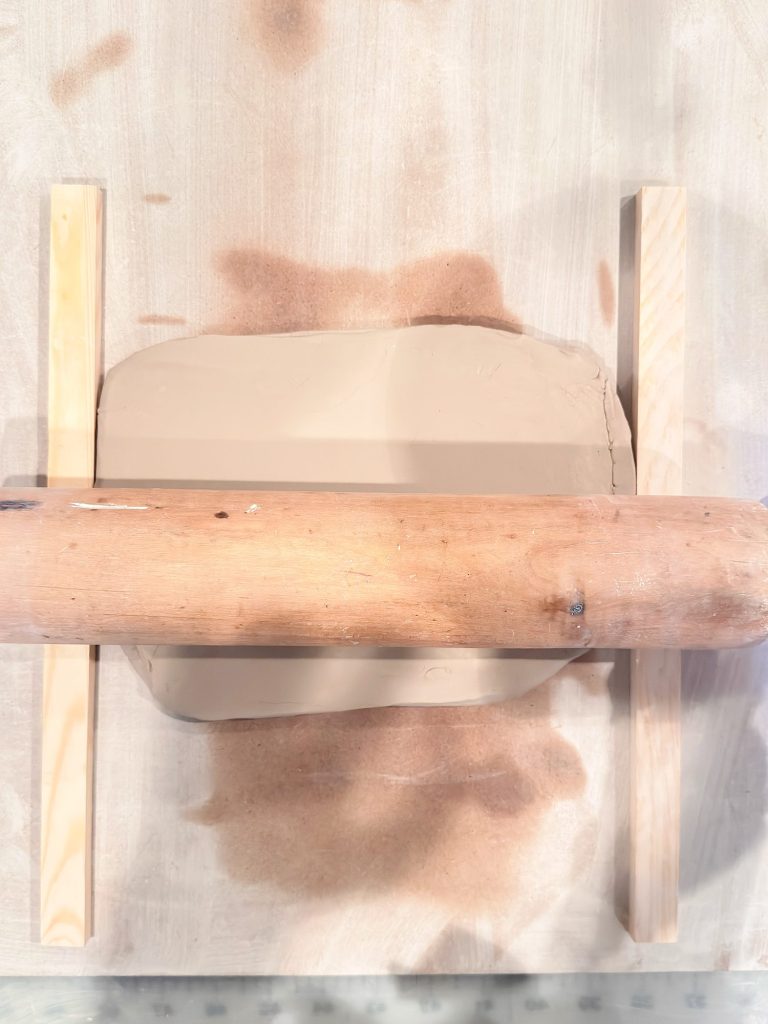
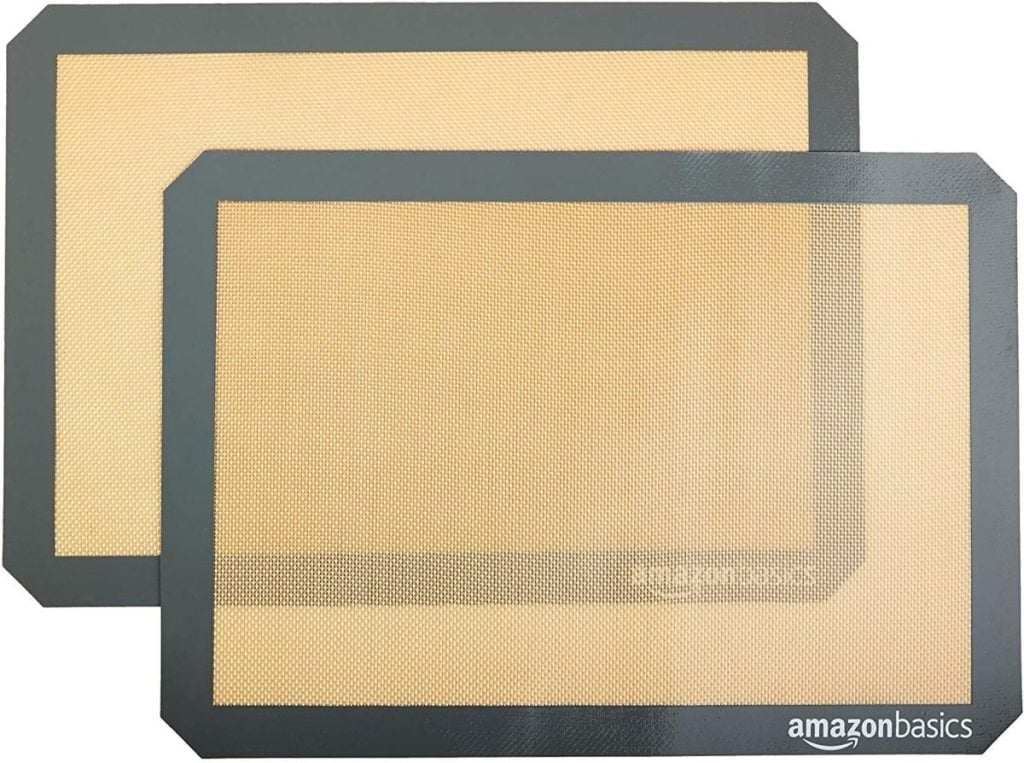
Start by rolling out your air-dry clay on a clean, non-stick surface (a silicone mat works perfectly).
You’ll want the clay to be about 3/8 inch thick, thin enough to dry evenly but thick enough to hold its shape once dry.
If you’ve never worked with air-dry clay before, here’s a tip: keep a small bowl of water nearby and dip your fingers in as you work. A little moisture helps smooth any cracks or rough edges.
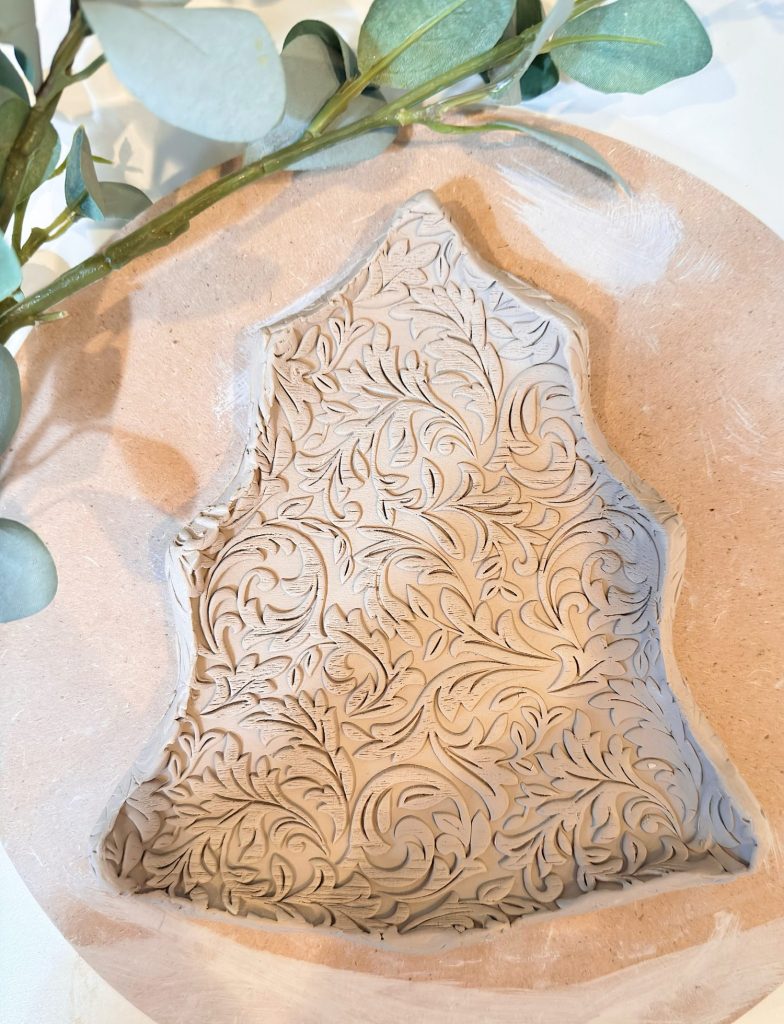
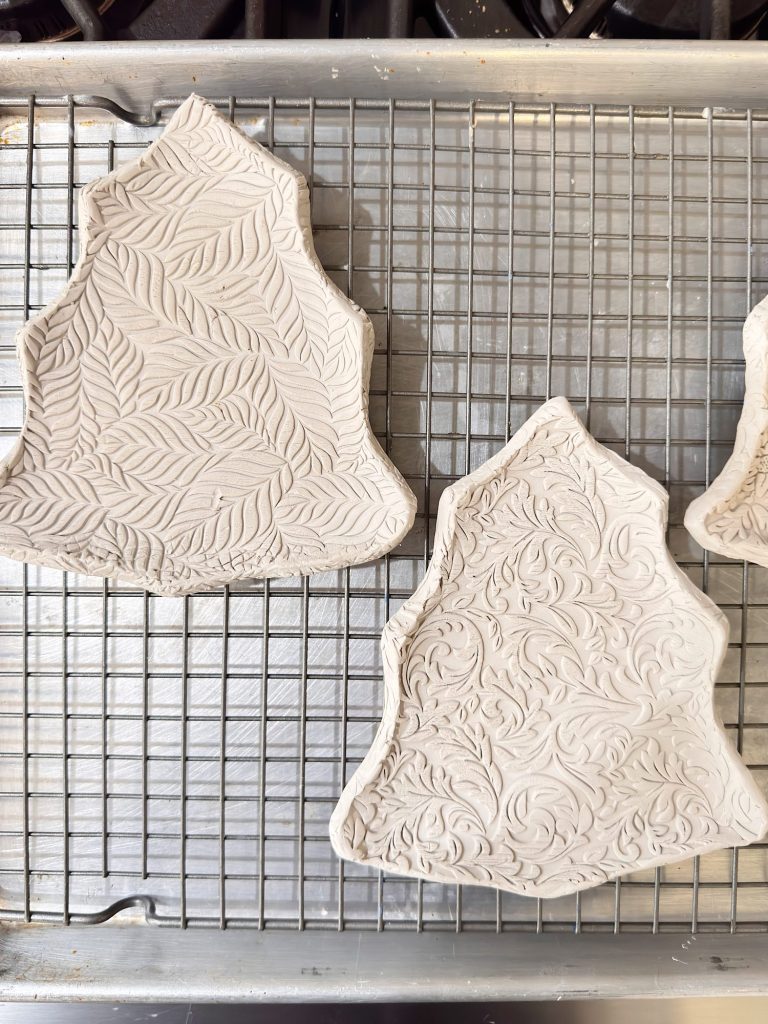
Step 2: Add Texture
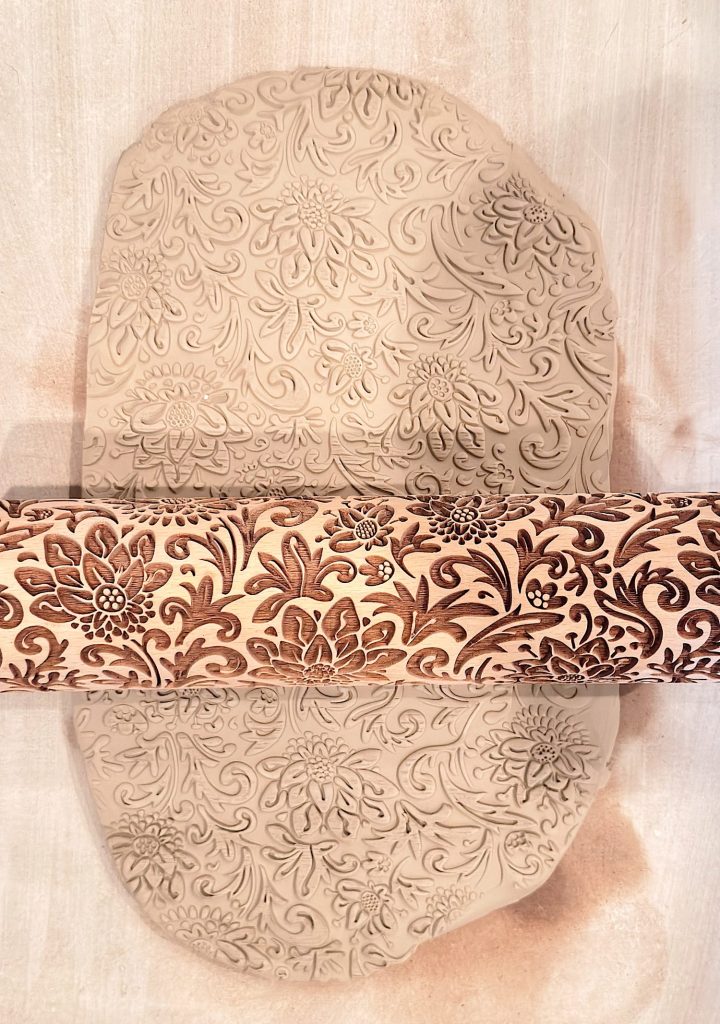
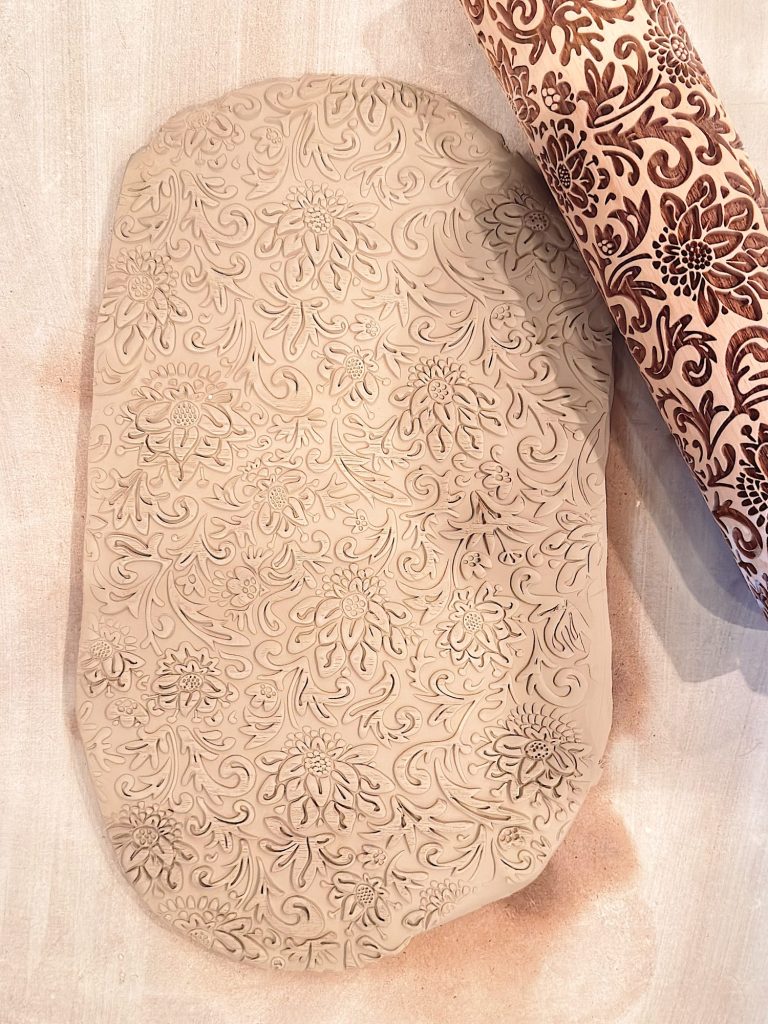
Here’s where the fun begins! Gently roll your holiday-textured roller over the clay’s surface. Don’t press too hard as you want to imprint the design without thinning the clay.
This step is magical. As the roller moves, little festive patterns appear … snowflakes, presents, gingerbread men, snowmen, ornaments, and stars. Each plate becomes a joyful patchwork of holiday motifs.
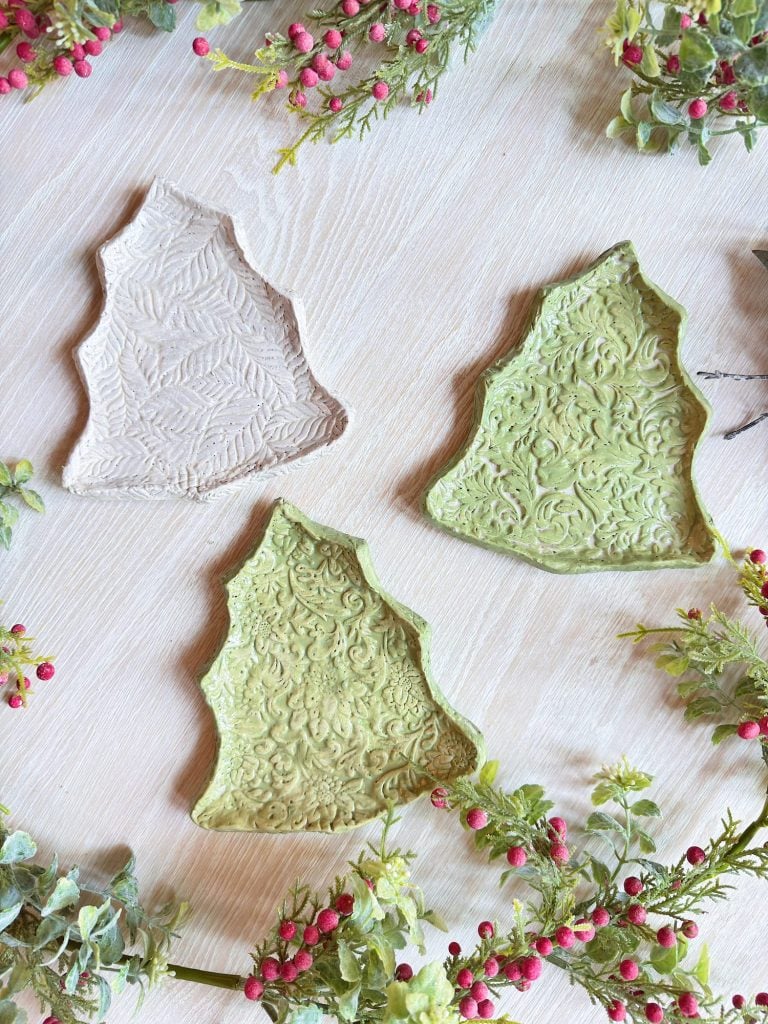
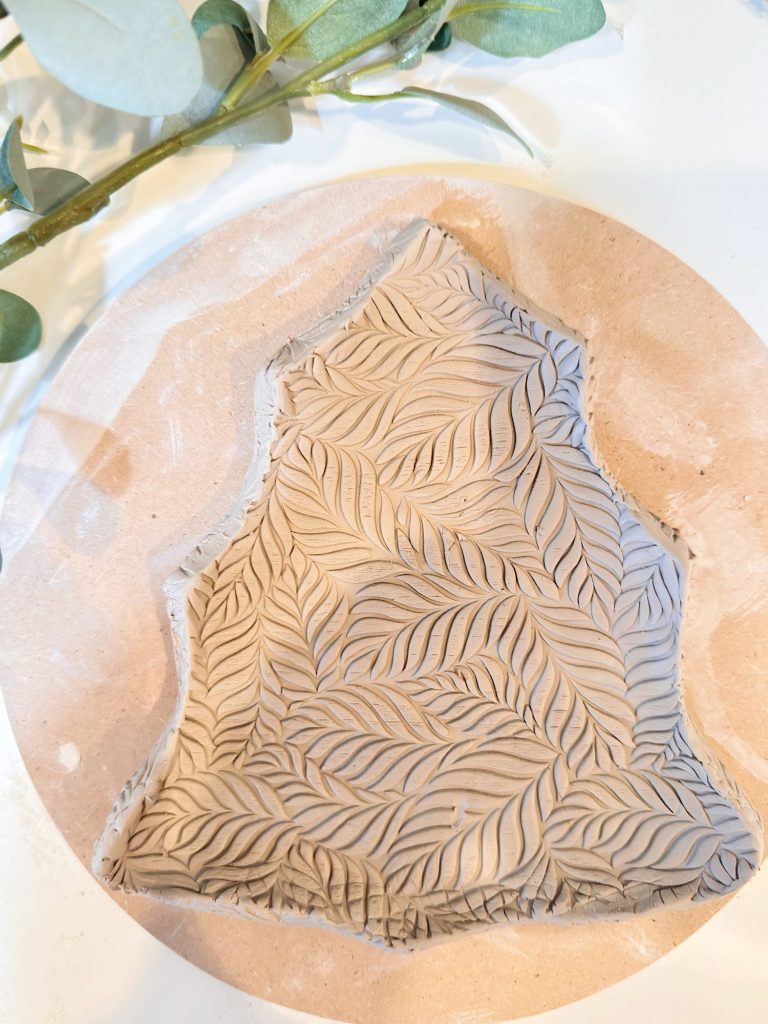
You can experiment with how you roll the texture, trying different directions or mixing patterns to make each plate unique.
I used three different rollers to achieve various looks.

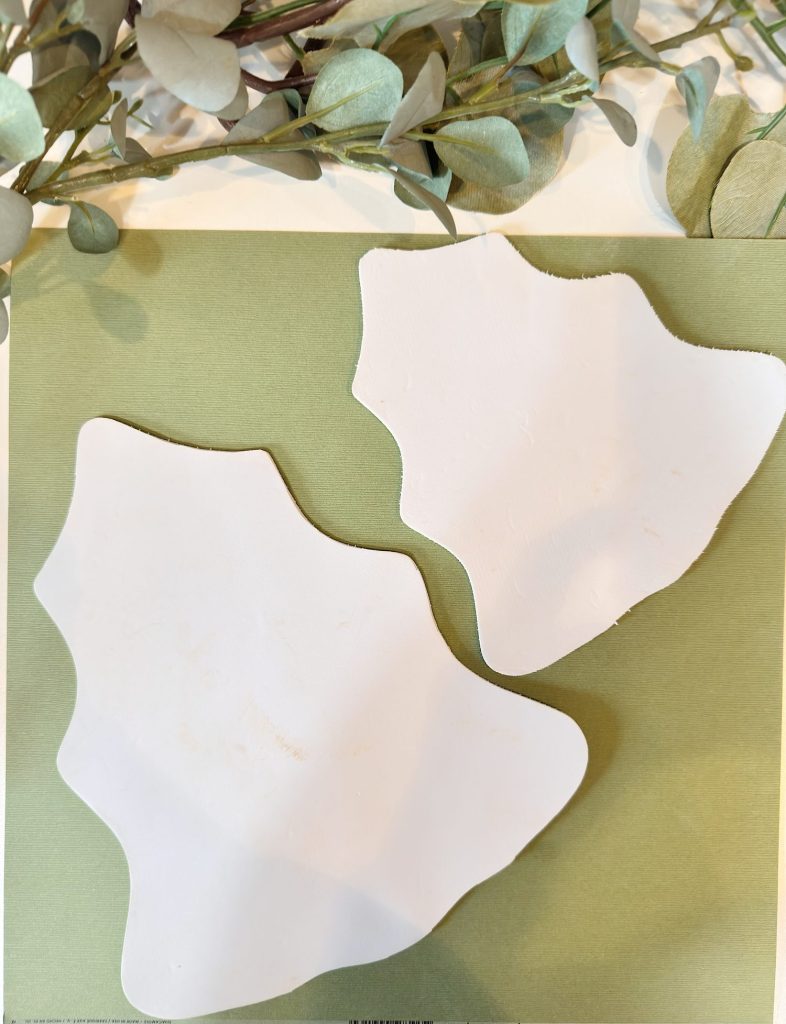
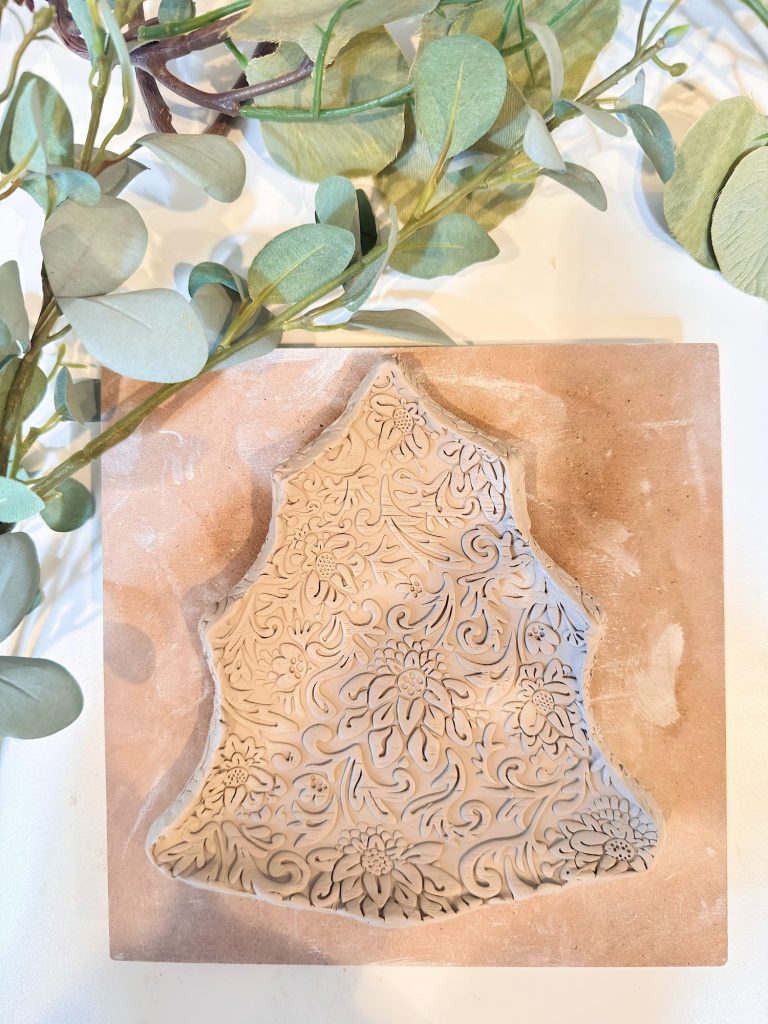
Step 3: Cut Out the Christmas Tree Shape
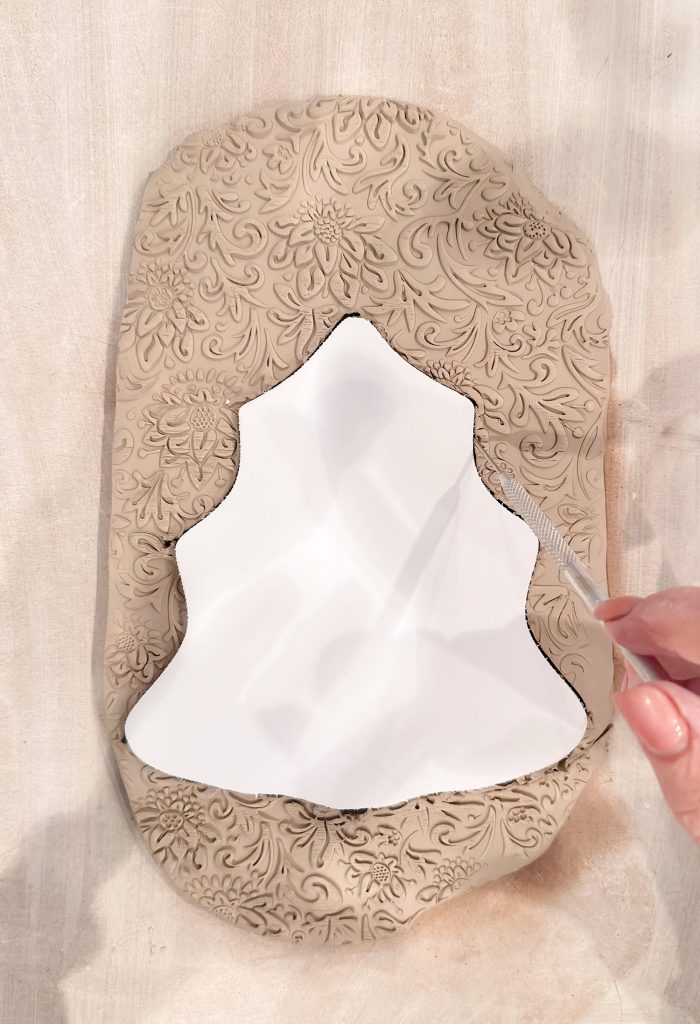
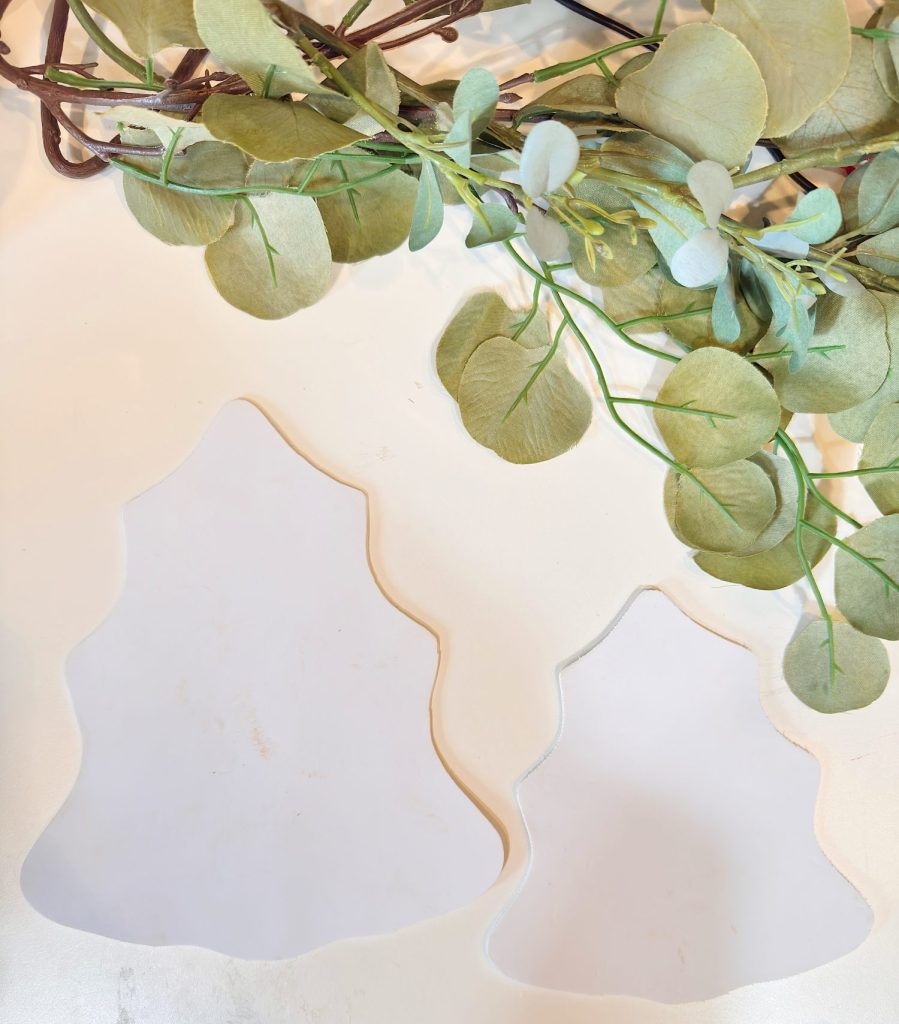
Next, use your tree-shaped template to cut out your plate. You can make your own by drawing a tree outline on cardstock or tracing a cookie cutter.
You can also download my templates above. Cut them out of foam core or cardstock.
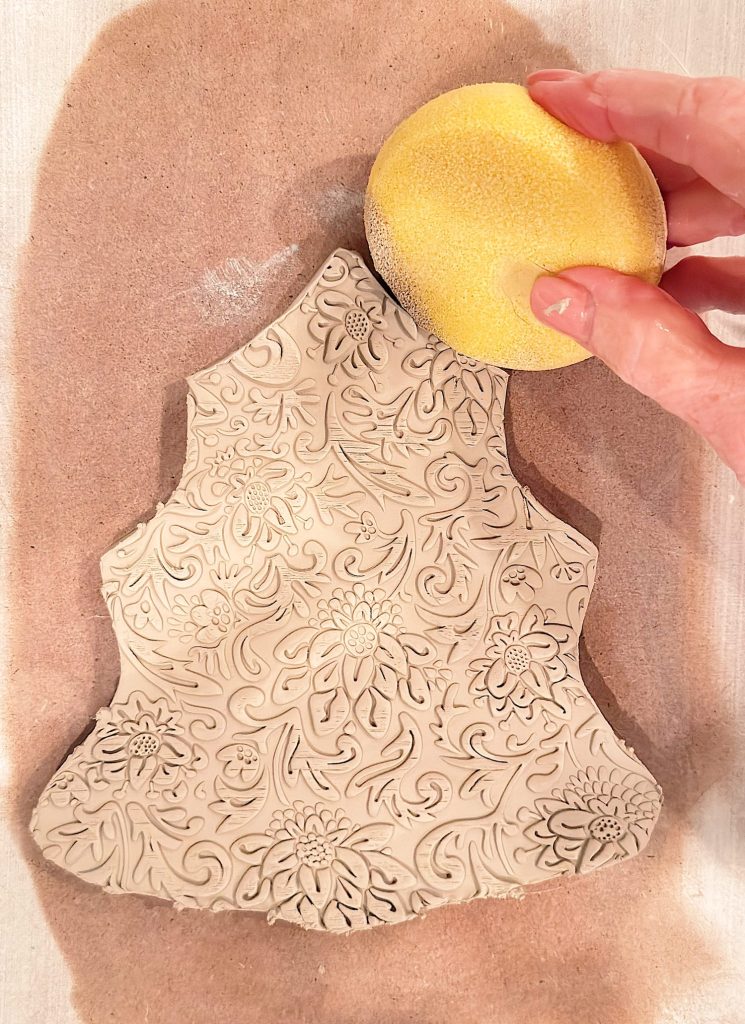
Lay the template on top of the textured clay and use a sharp craft knife to cut around it carefully. Peel away the excess clay and smooth the edges with your finger or a sponge dipped in water.
This step instantly transforms your textured clay into something that feels festive and sculptural.
Step 4: Shape the Plate
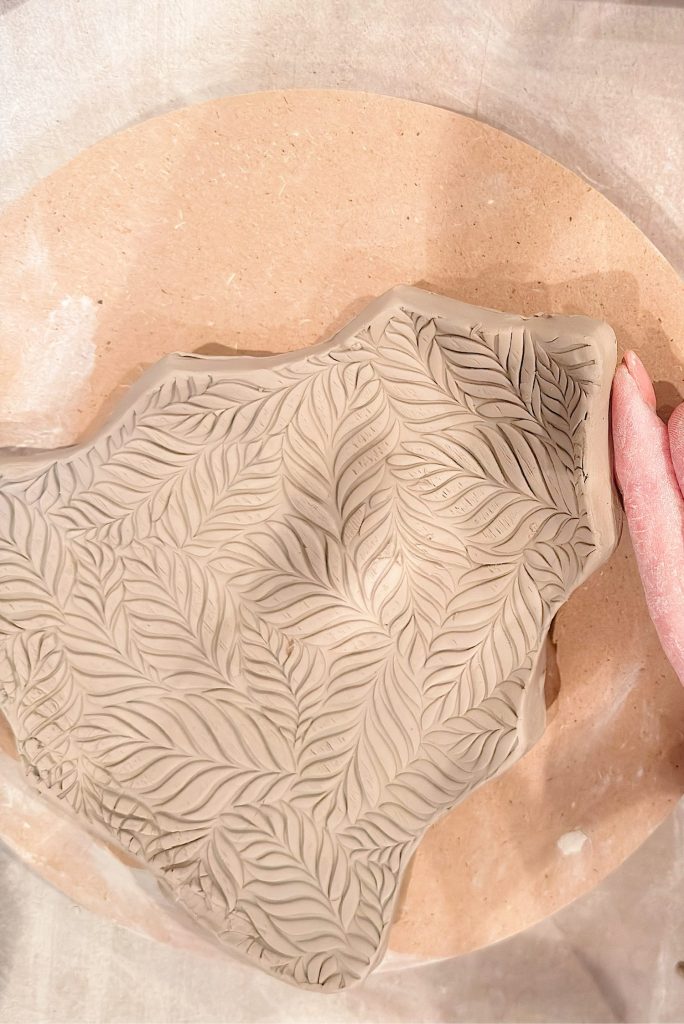
To create that lovely plate-like form, you’ll want to give your tree some gentle curves.
Using your fingers, carefully create a lip around the outside edge to shape it. This will help the plate dry with a soft curve, perfect for holding treats or ornaments later.
If you prefer an entirely flat plate, you can leave it to dry flat on your work surface.
Step 5: Let It Dry
Air-dry clay takes 24 to 48 hours to harden, depending on the thickness and humidity.
I like to check mine after about 12 hours and gently flip them to ensure even drying on both sides.
I also like to put it in the oven at 250 degrees for about 20-30 minutes, which makes it dry much faster.
Step 6: Seal with Mod Podge
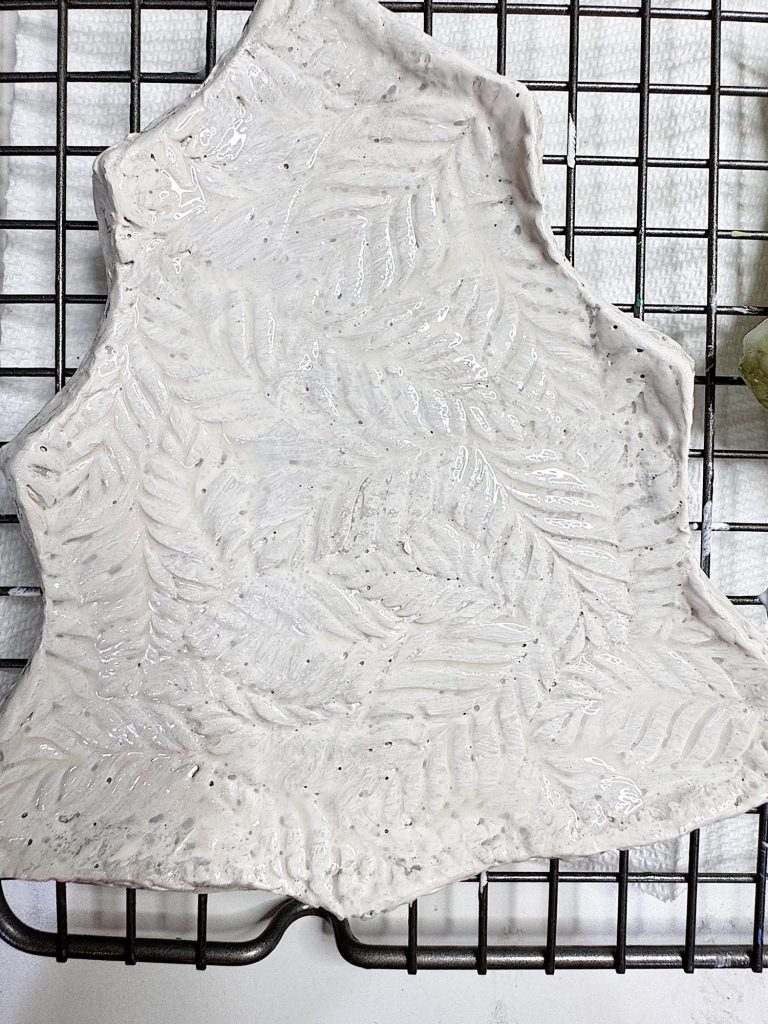
Once your plate is completely dry, apply a thin layer of Mod Podge. This acts as a primer, helping the paint adhere less to the surface and making it look like real fired porcelain clay.
It also adds a slight sheen and seals the porous clay surface, making your paint colors more vibrant. Let it dry completely before moving to the next step.
Step 7: Paint the Plates
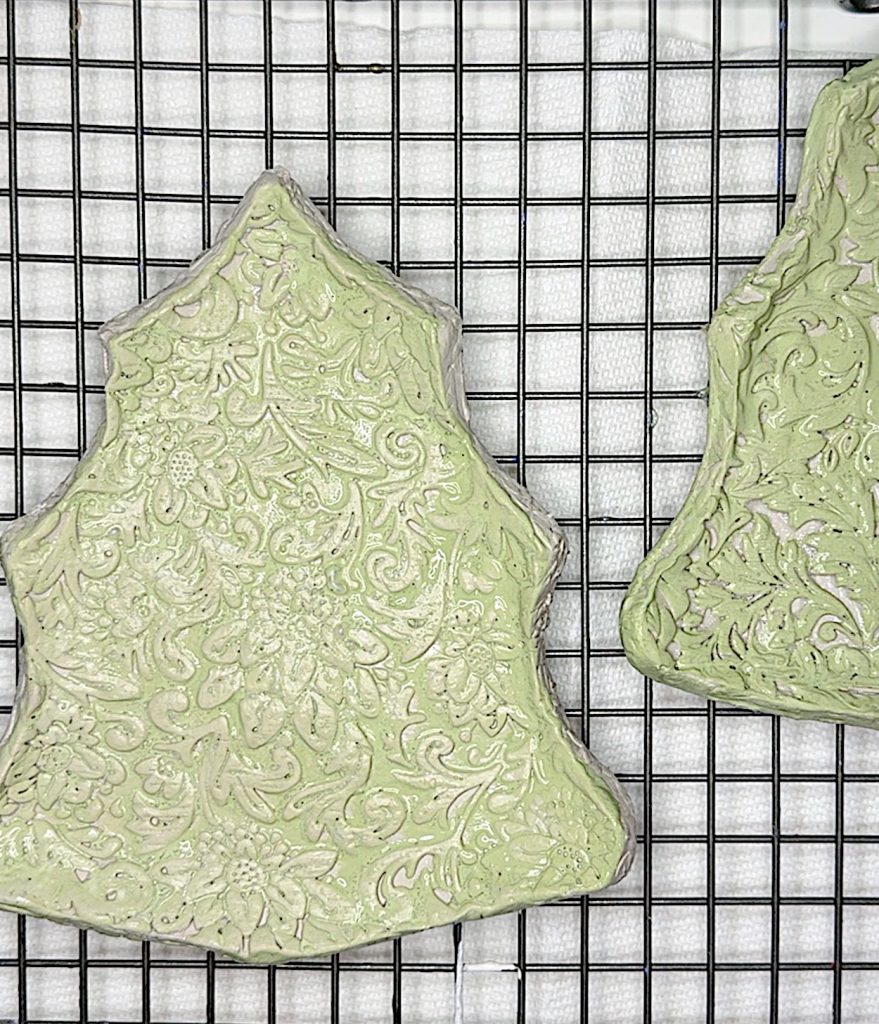
This is where your creativity shines!
For my plates, I used a mix of white and green (to create the perfect sage green). These subtle, elegant tones complement my holiday color palette perfectly.
You can keep them neutral, or opt for a colorful palette with reds, greens, and silvers. The texture of the roller designs looks especially beautiful when lightly brushed with metallic or white paint to highlight the raised details.
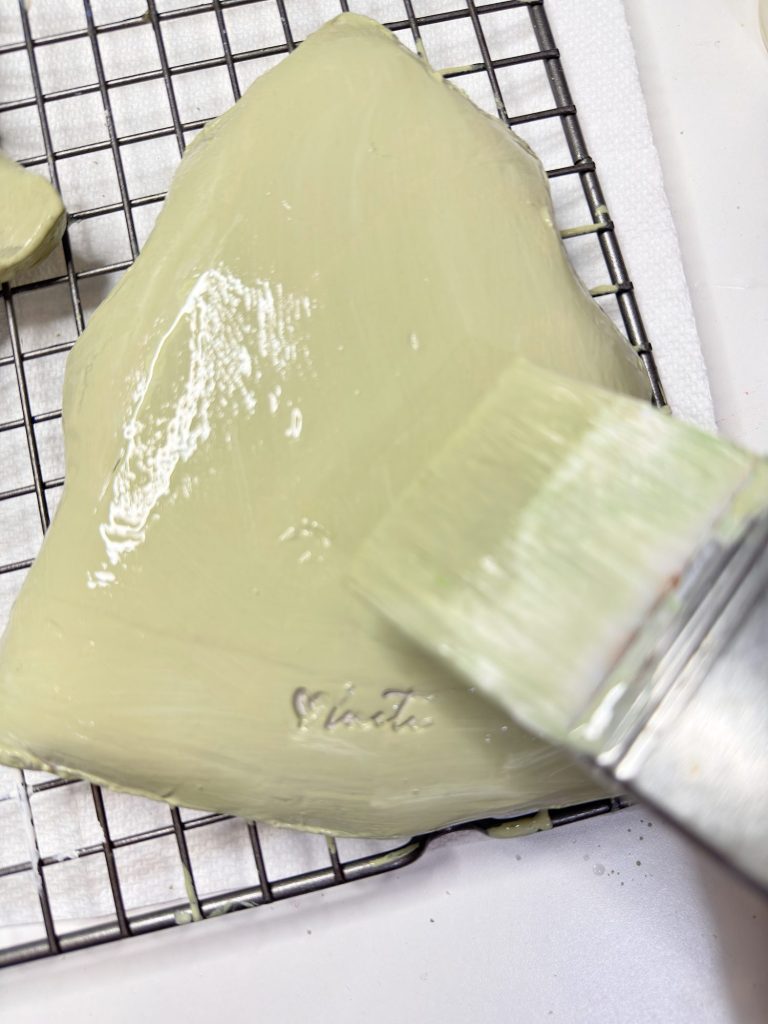
A few painting tips:
- Use a dry brush technique (apply just a little paint to your brush) to accentuate the embossed designs.
- Blend two tones for depth, for instance, ivory and champagne gold.
- For a rustic look, lightly sand the edges after painting.
Step 8: Add Clay Glaze
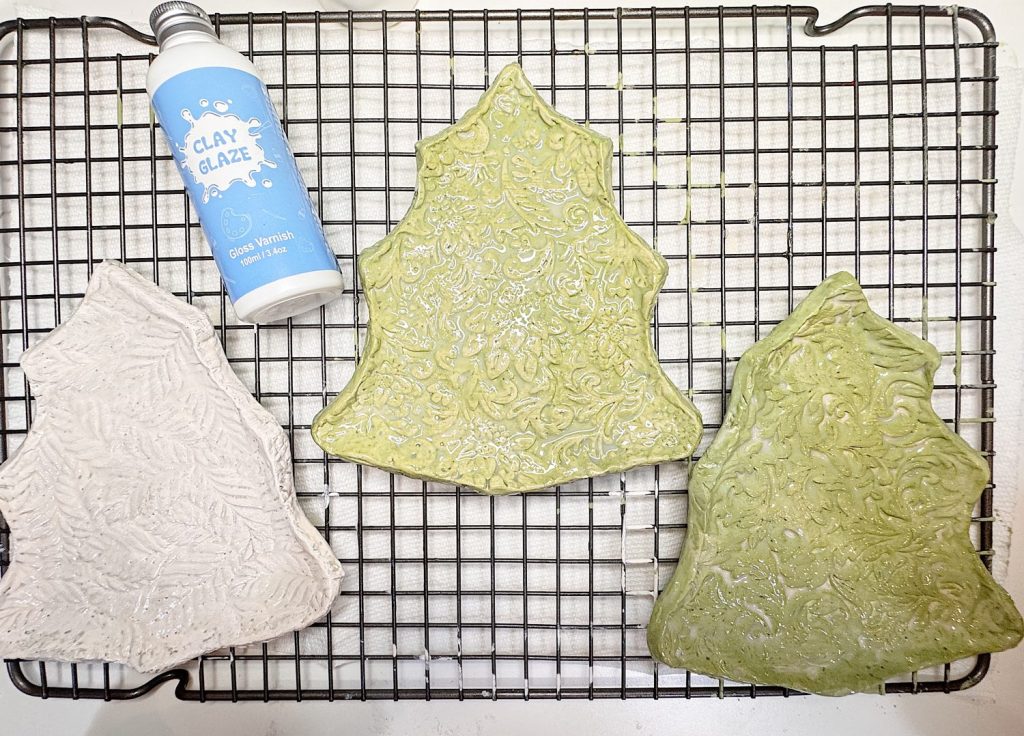
After the paint has dried, finish your plates with a coat of clay glaze or a clear varnish. This adds a beautiful shine and protects the surface.
I love how the glaze deepens the colors and gives the clay a smooth, finished look. It’s the final touch that makes these handmade plates look professional.
Let the glaze dry completely (usually 24 hours) before using or displaying your plates.
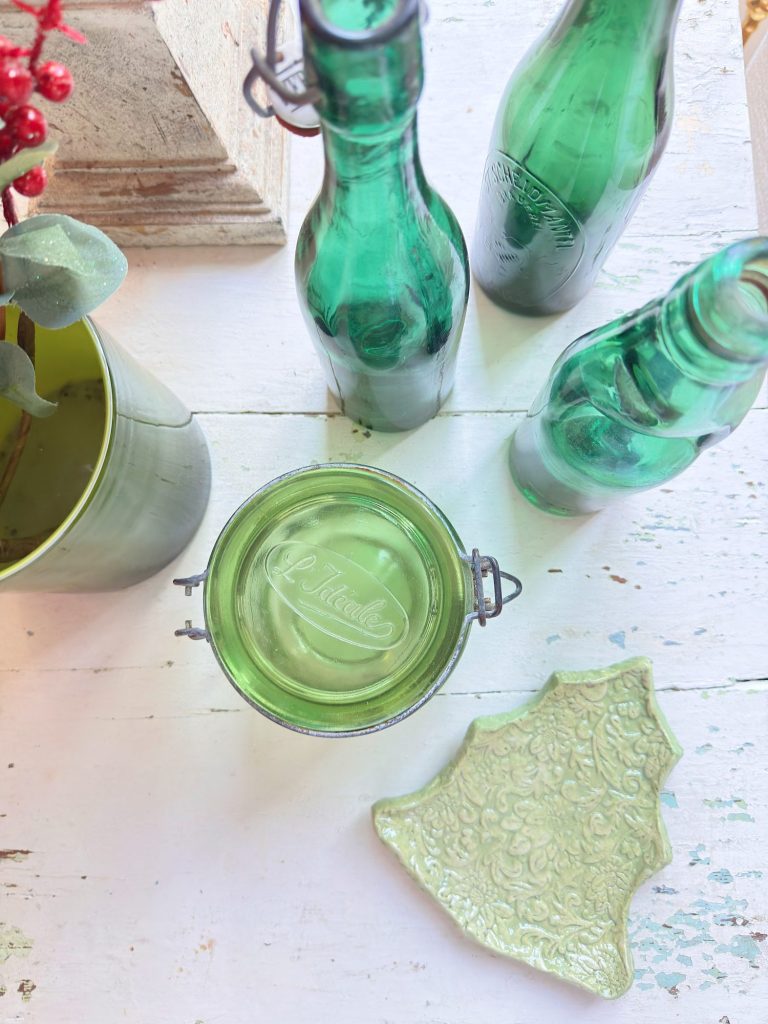
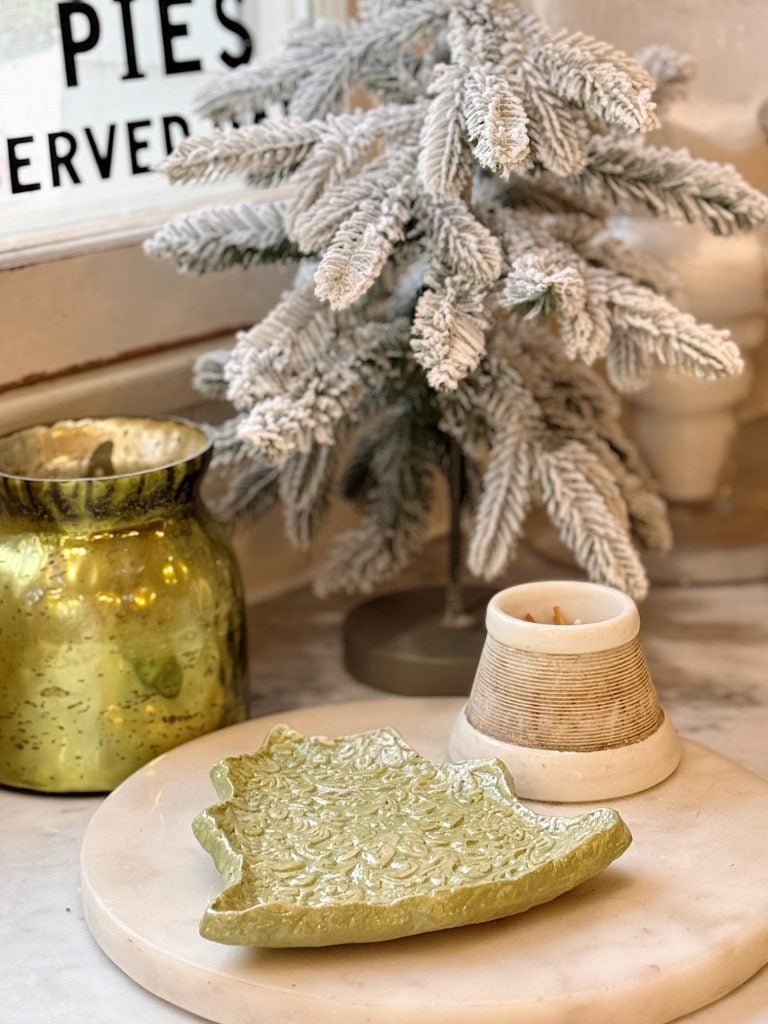
Step 9: Style and Enjoy!
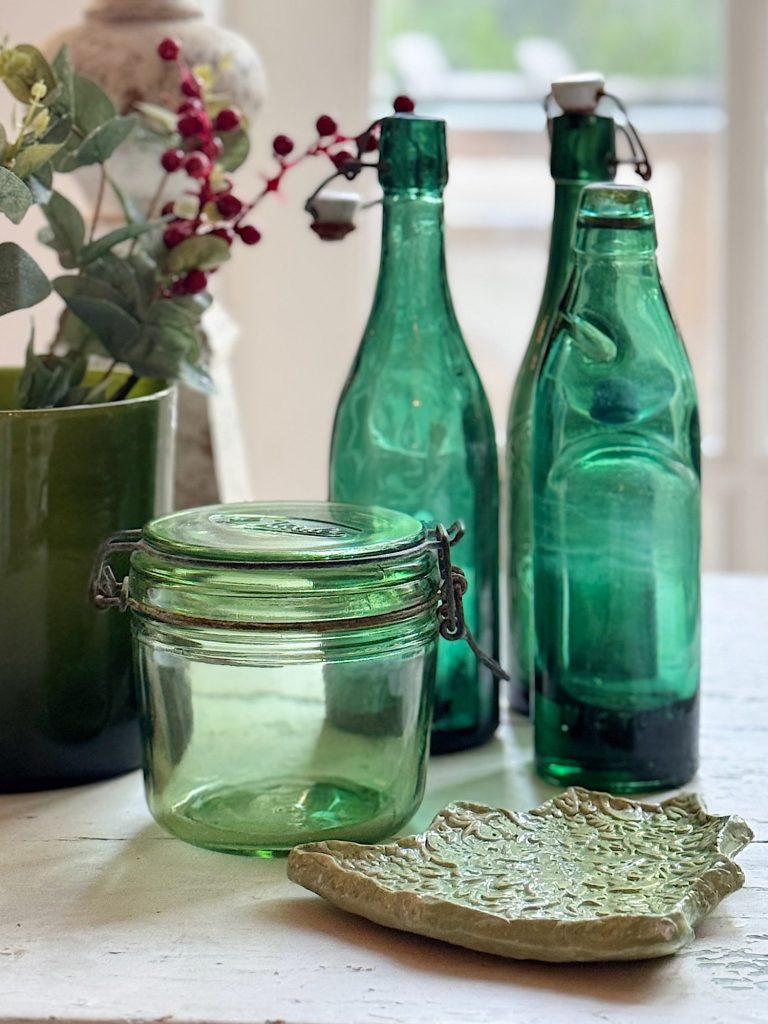
Now comes the best part — styling your Christmas Tree Plates!
These plates are incredibly versatile. Although you can’t eat on them, you can:
- Use them as part of your holiday table setting (they make the cutest decor plates on your table).
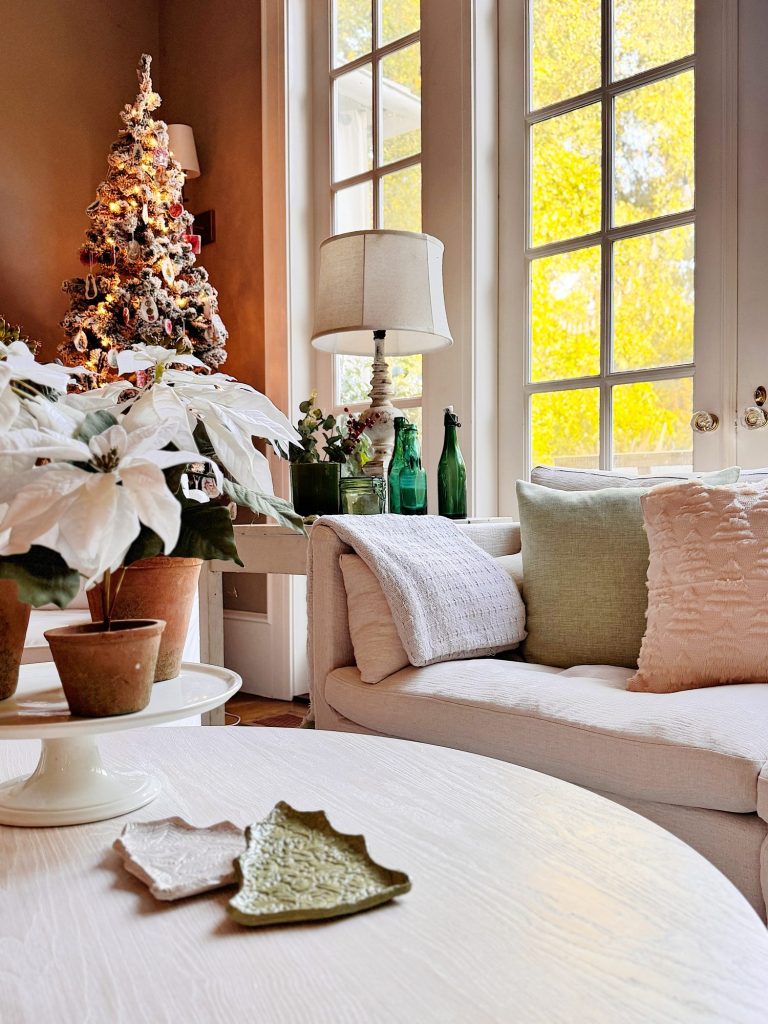
- Display them on open shelving or a mantel.
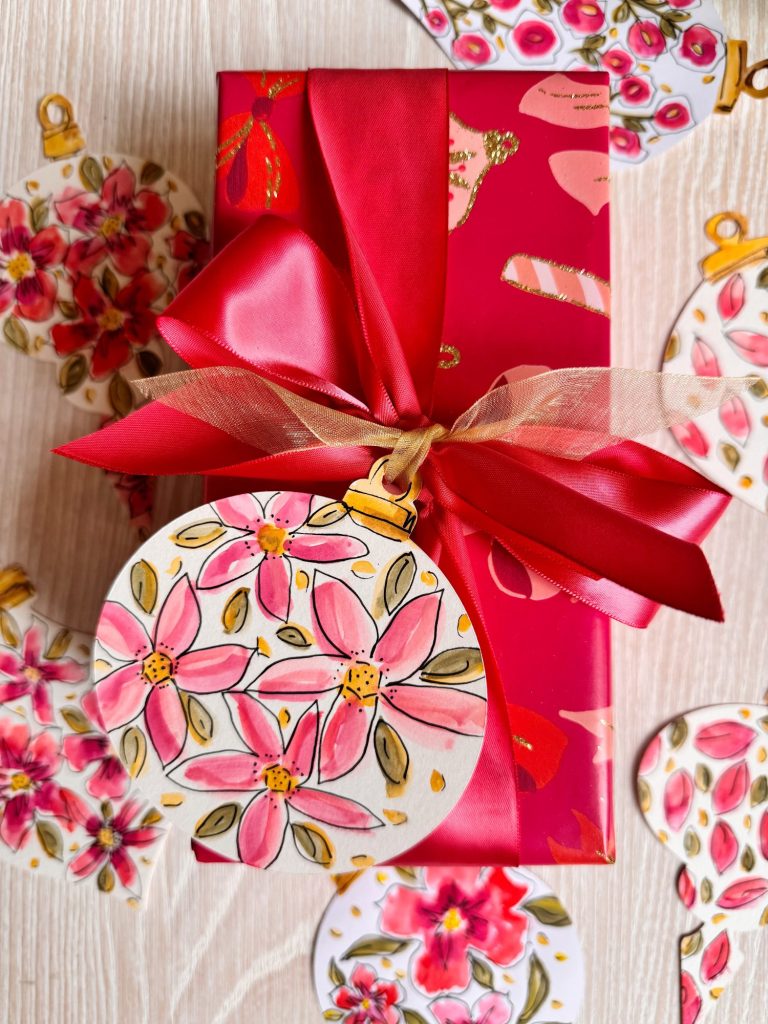
- Wrap them as handmade gifts for friends and family.
- Use them as trays for ornaments, cookies, or candles.
Each plate tells its own story, and because they’re handmade, no two are exactly alike.

A Few Tips for Success
- Avoid cracks: Keep your clay evenly rolled and let it dry slowly in a cool, dry area.
- Clean edges: Smooth edges with a damp finger before drying to avoid rough sides.
- Highlight texture: Use a contrasting paint color or metallic finish to make the embossed design stand out.
- Experiment: Try different tree sizes or even other holiday shapes (like stars or gingerbread men).
Why Handmade Matters
Every week, when I make my A Handmade Christmas craft, I remind myself that the beauty of these projects lies in the imperfections.
These plates may not be perfect, and that’s precisely why I love them. Each tiny texture, brush stroke, and curve holds a bit of personality. They remind me of why I fell in love with creating in the first place, because handmade things carry warmth and meaning that store-bought items can’t replicate.
This year, as I look around our home, filled with little touches of handmade holiday decor, I’m reminded that crafting isn’t just about making something pretty. It’s about slowing down, finding joy in the process, and creating something that makes your home feel truly yours.
Final Thoughts
My Clay Christmas Tree Plates combine everything I love: texture, creativity, and a hint of holiday magic.
Whether you’re new to air-dry clay or a seasoned maker, I hope this project inspires you to create something with your own hands this Christmas. It’s not about perfection, it’s about the joy of making.
So pour yourself a mug of hot cocoa, put on your favorite holiday playlist, and roll out some clay. You might find, like I did, that a few hours spent creating something beautiful is one of the best gifts of all.
Favorite Black Friday Deals Happening RIGHT NOW


If you enjoy my blog, you can sign up to receive my updates here.
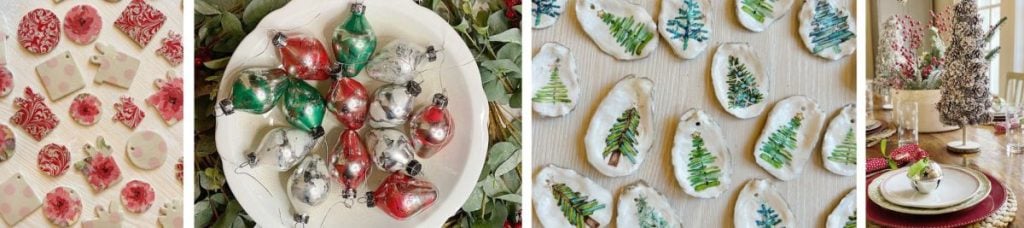
.Sixteen Weeks of A Handmade Christmas
Here are the first twelve weeks of A Homemade Christmas. Can you believe I have only four more still to share!

If you create these Glitter Christmas Trees, please tag me, as I love seeing your handmade holiday magic!
Latest Posts
-
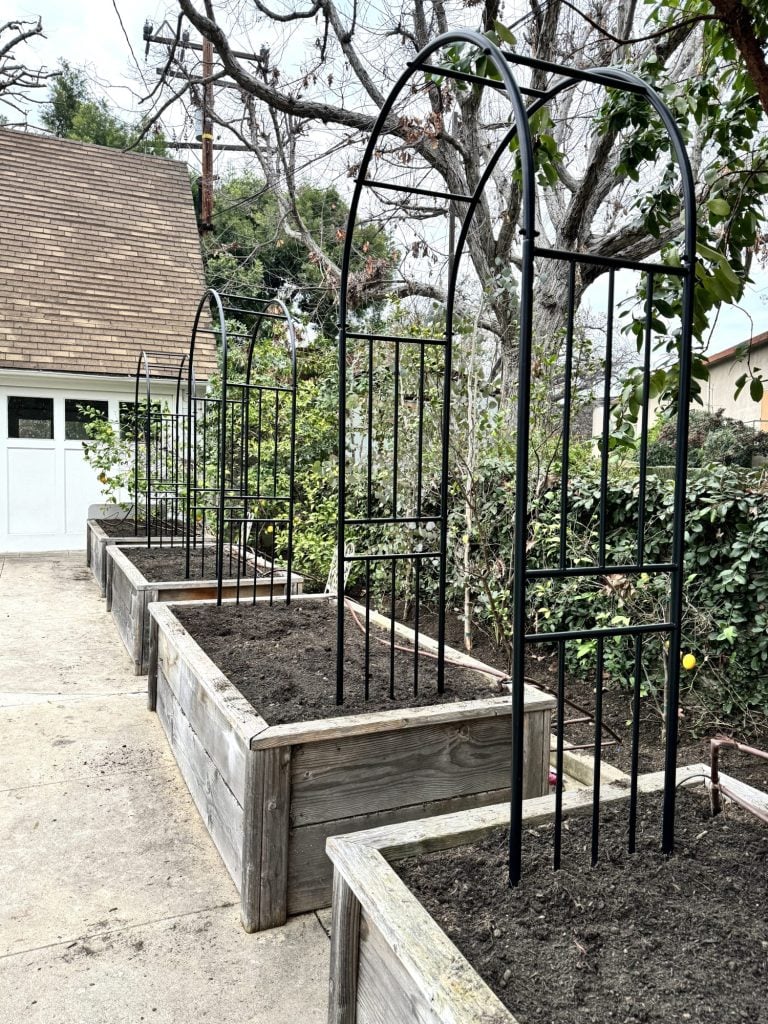
My Dream Vegetable and Herb Kitchen Garden
Two years ago, I tackled a big project – a vegetable kitchen garden. It was successful for the first year, and then it wasn’t. But I am going to do it again. But with a few modifications. In today’s fast-paced world, there’s something deeply satisfying about growing a kitchen garden. Not only does it reconnect…
-
Mixing New and Vintage Decor in the Beach House
Mixing vintage decor with new items in your home is a great way to add character and charm to your space. It worked in our beach house! Whether you’re a seasoned vintage collector or just starting out, incorporating vintage pieces into your home can create a unique and personalized look. Today, I will explore some…
-
A Joyous Spring and Sunday Morning Coffee
This week has been a whirlwind of travel, family time, and some very fun surprises. What a joyous Spring it has been! We spent a few wonderful days in Marin County with our kids and THREE grandkids, then Dave and I headed to Indian Wells to meet Matt and Polina for an incredible weekend at…
-
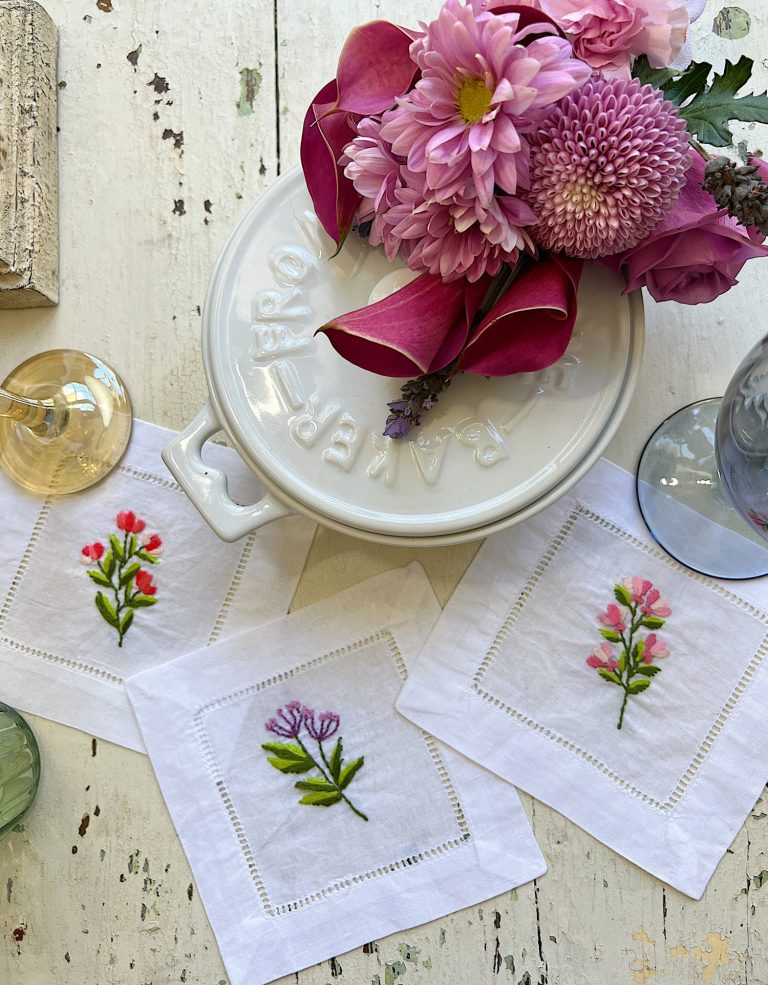
Spring Cocktail Napkins with Flower Embroidery DIY
I am very excited about these DIY spring cocktail napkins with flower embroidery. They are the perfect budget-friendly spring craft. Cocktail napkins are an essential part of any gathering or party. They add a touch of elegance to the setting and make guests feel special. If you’re hosting a party or want to add a…

My Recent Instagram Posts

You can pin the image below to your boards on Pinterest (click the Pin button in the top left corner) or follow me on Pinterest!

For more real-time updates, follow me on Instagram @My100YearOldHome
