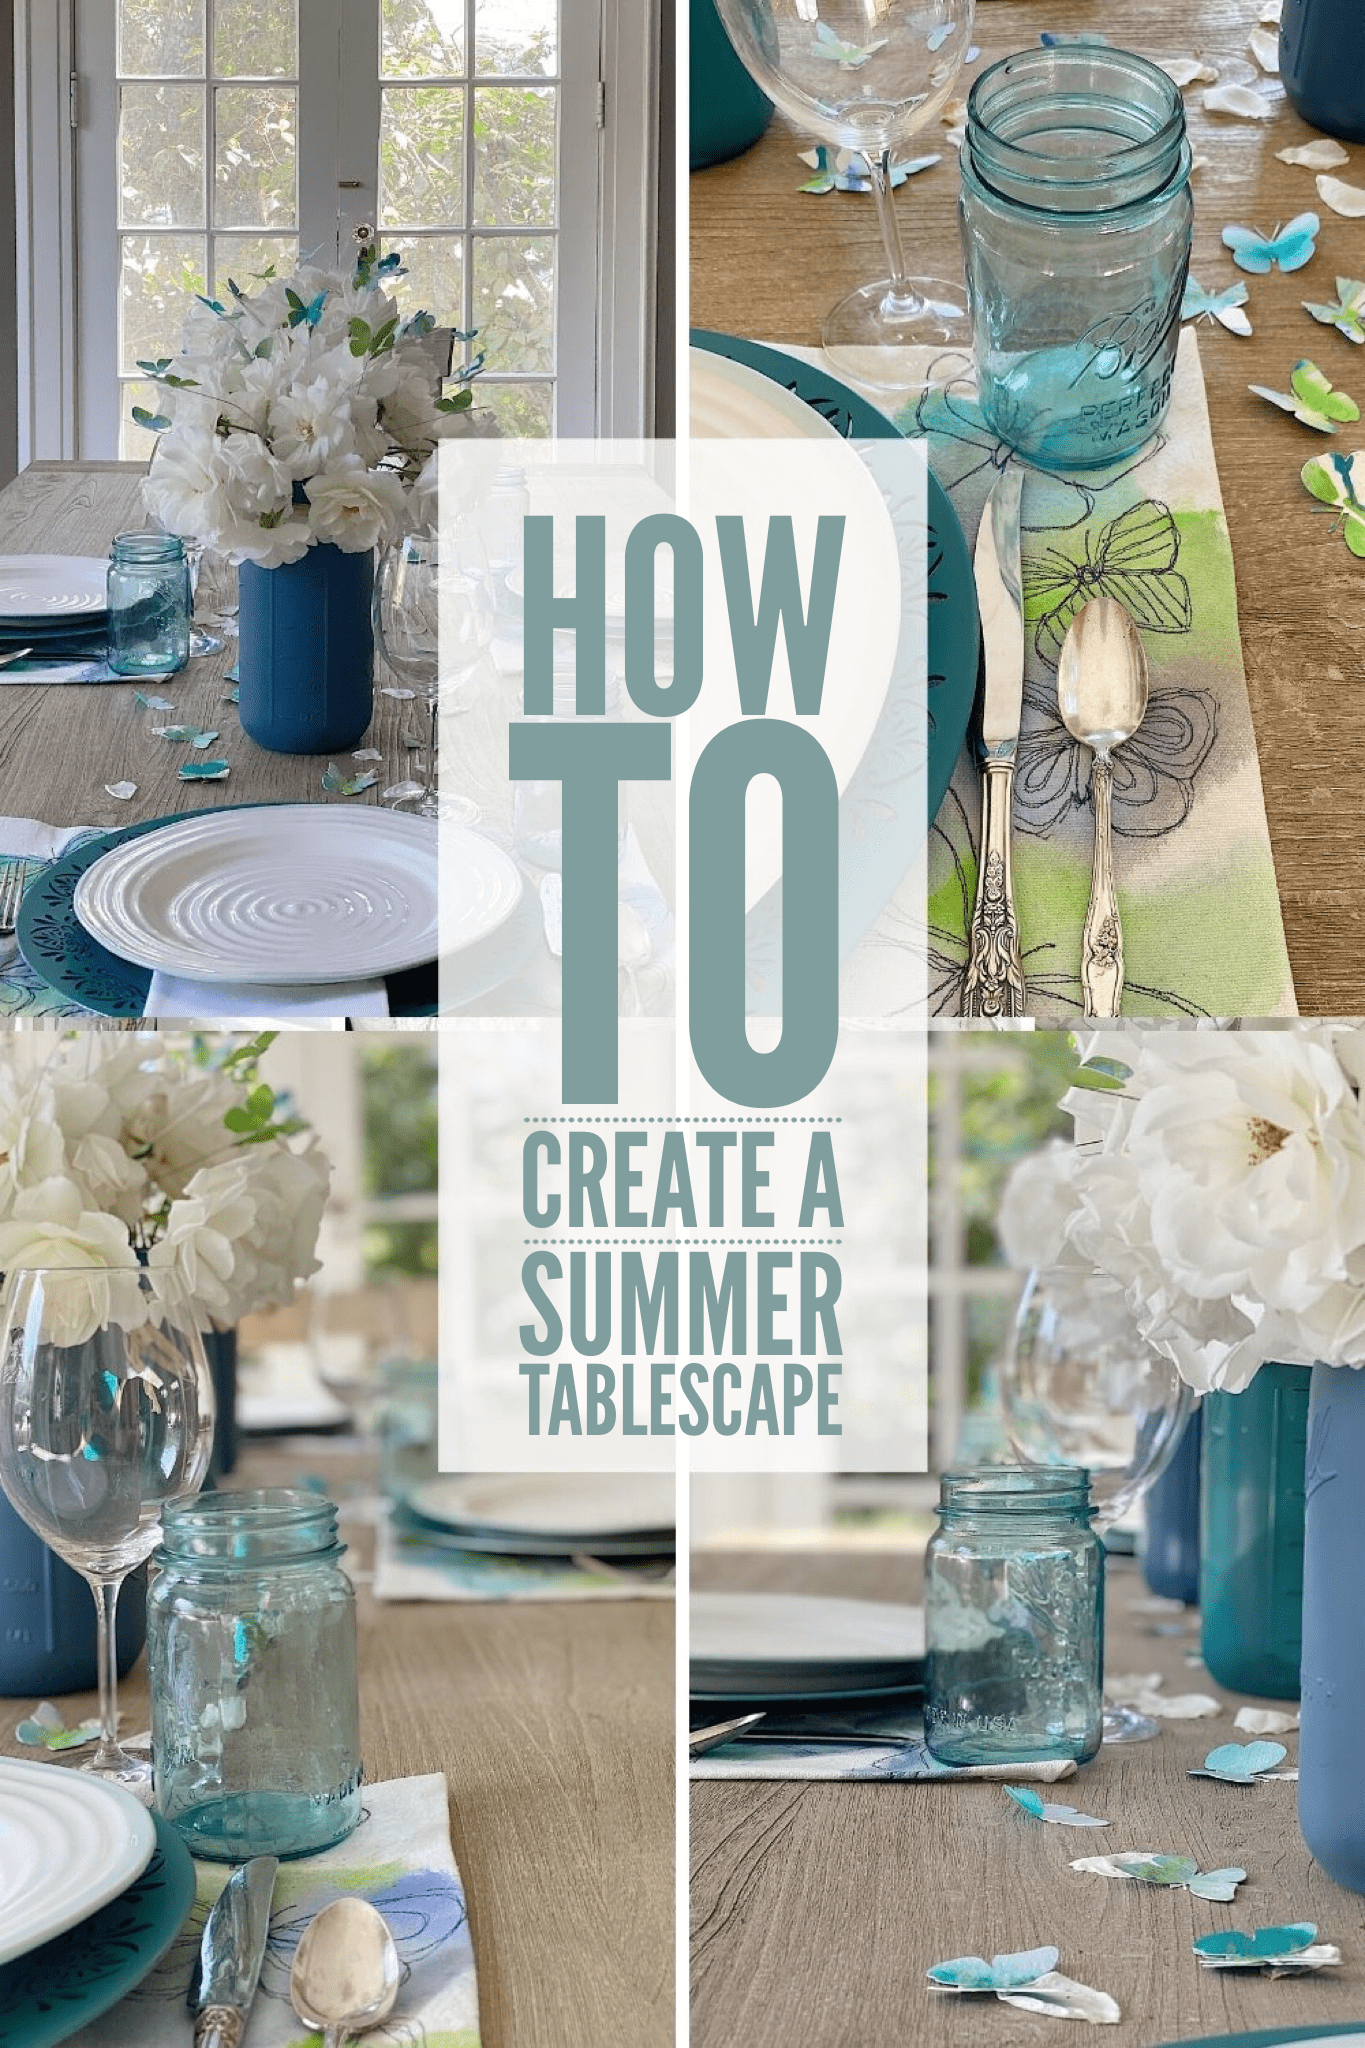
How to Add Color to Your Tablescape

I Love How Paint Can Make Such A Dramatic Impact On A Table Setting. Today I am Sharing How You Can Use Paint To Add Color to Your Tablescape For Spring And Summer.
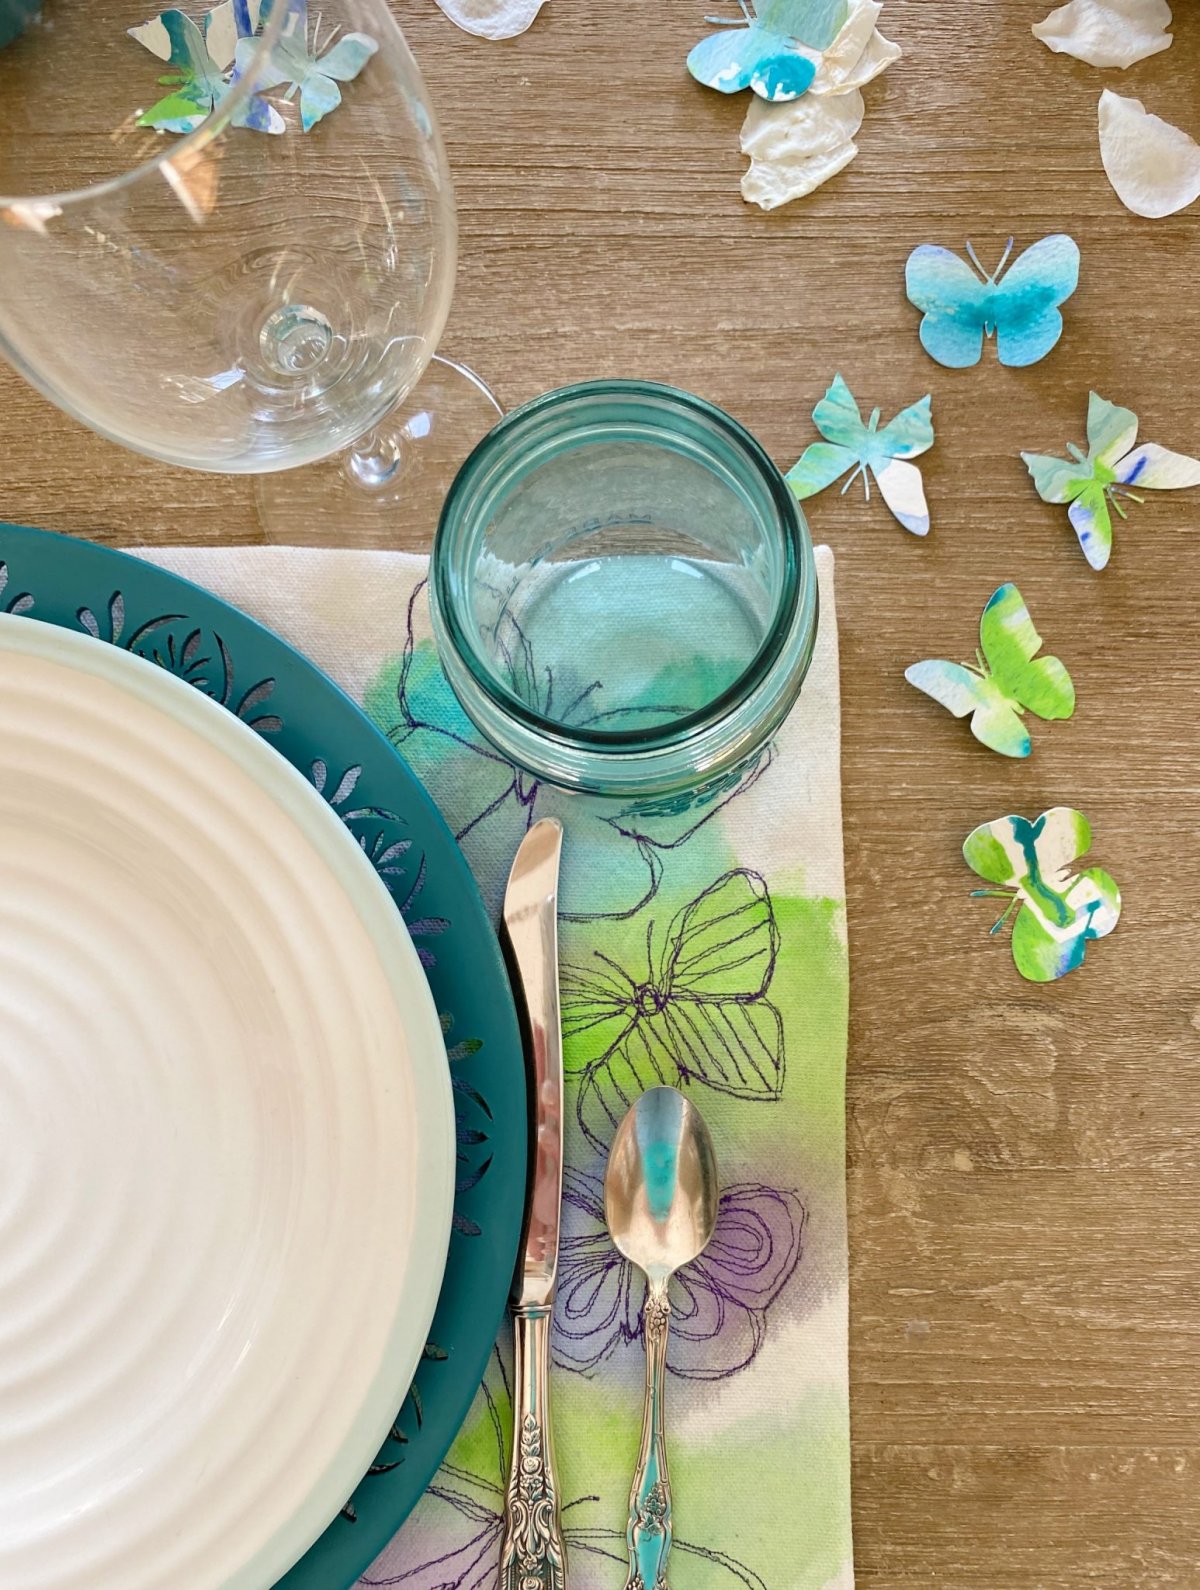
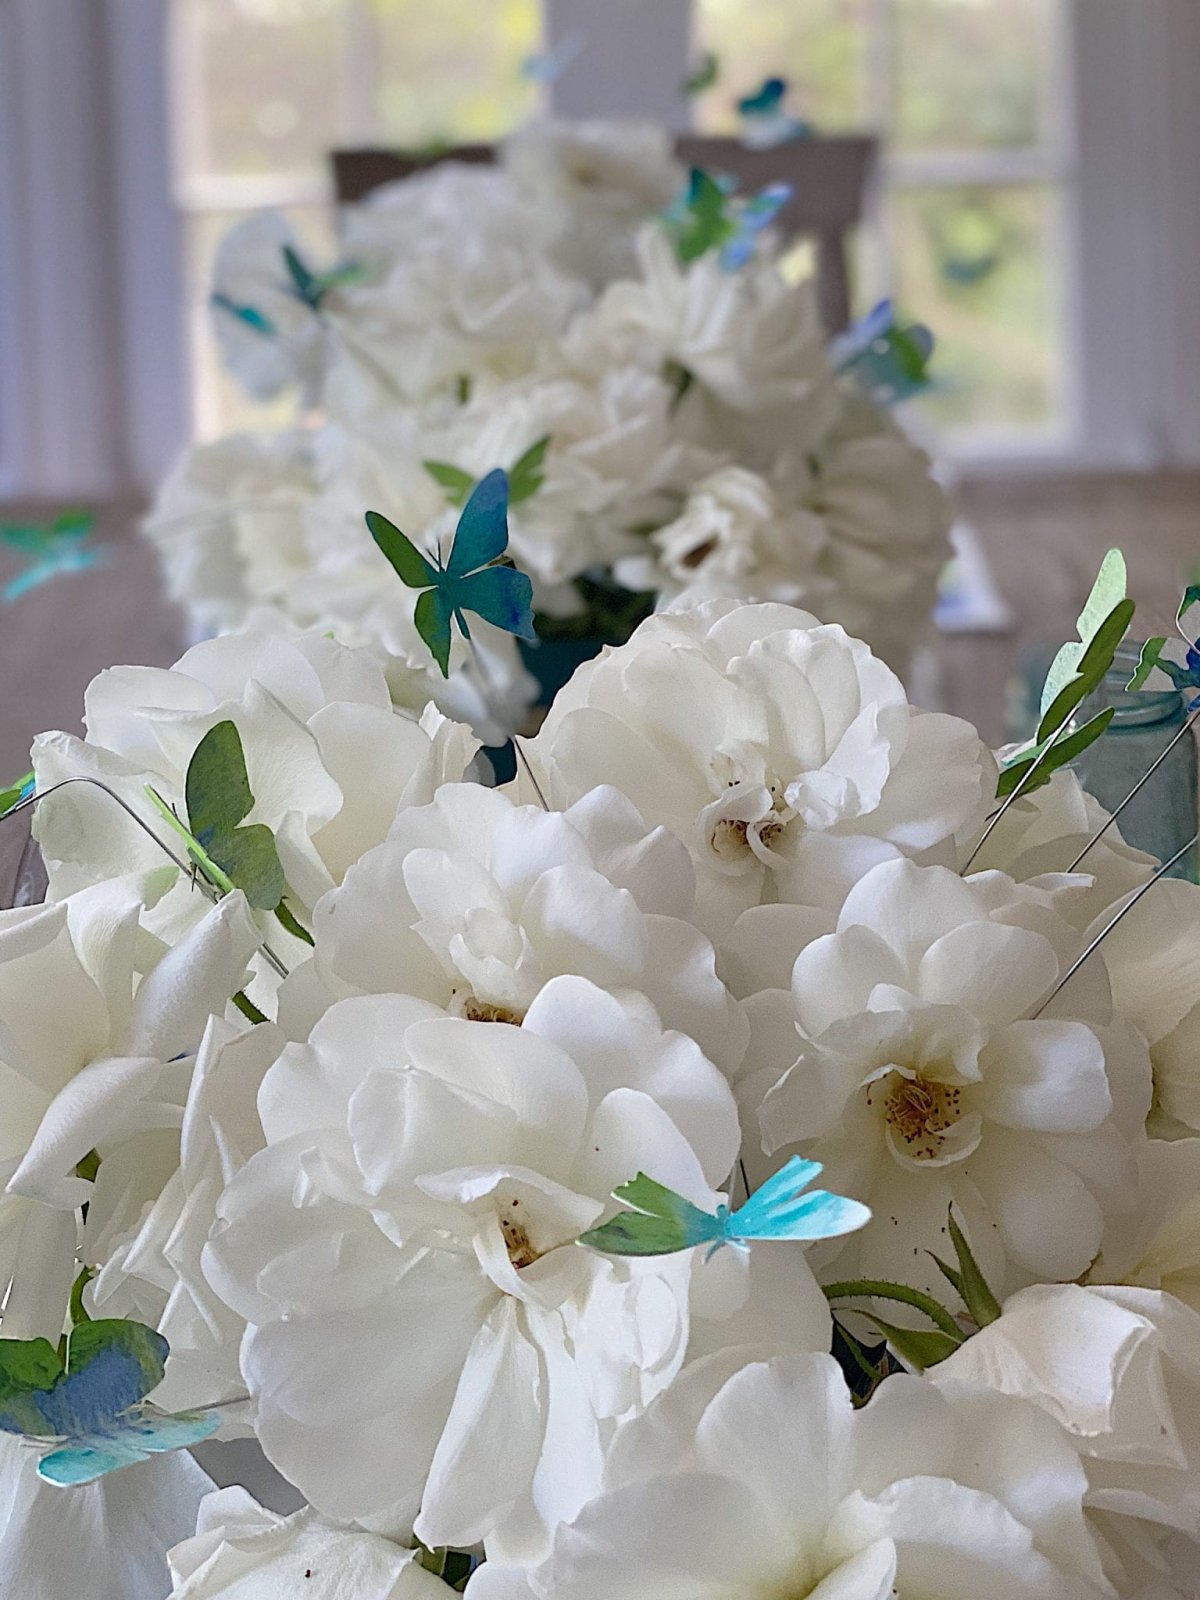
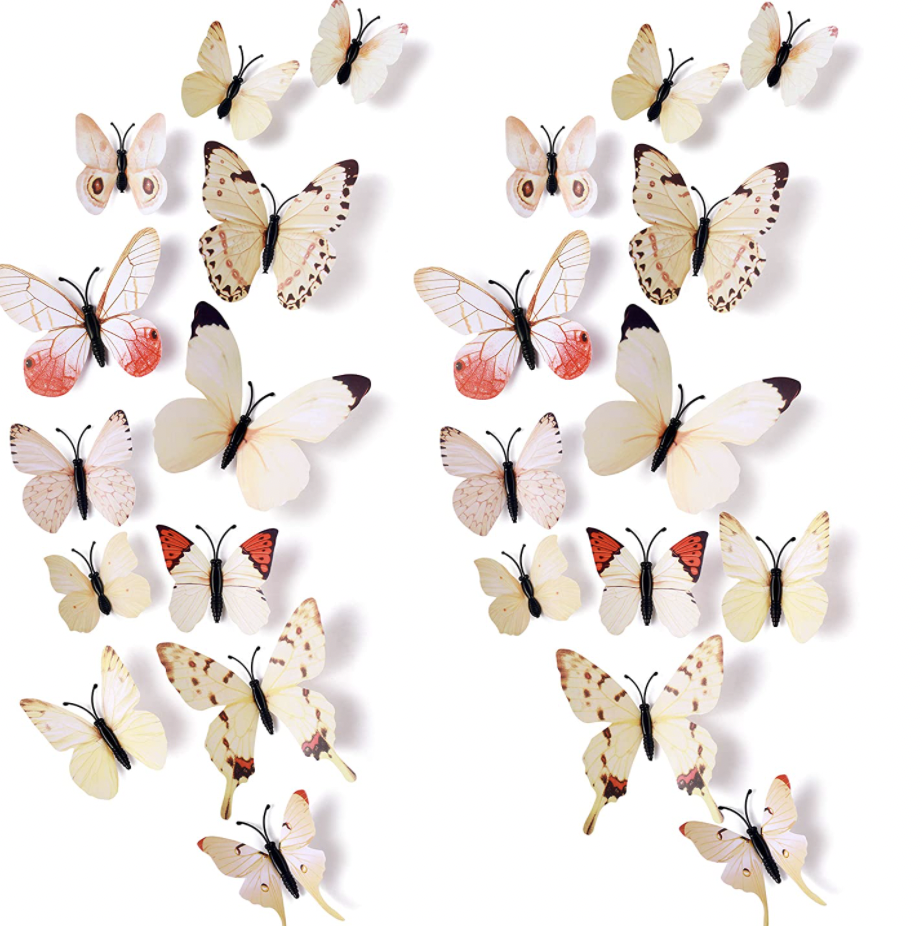
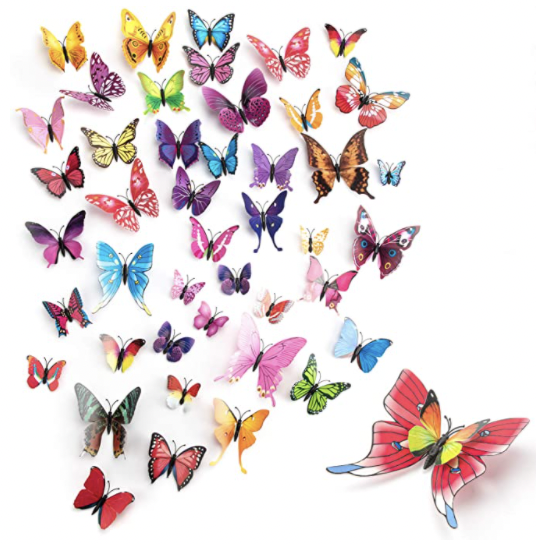
Last year I wrote a blog post about a tablescape I created for a fun Spring and Summer dinner. I love the colors and all of my DIY’s that made this table so special. One of the highlights of this tablescape are the watercolor butterflies I made. Today I am sharing how to make these butterflies to add color to your tablescape.
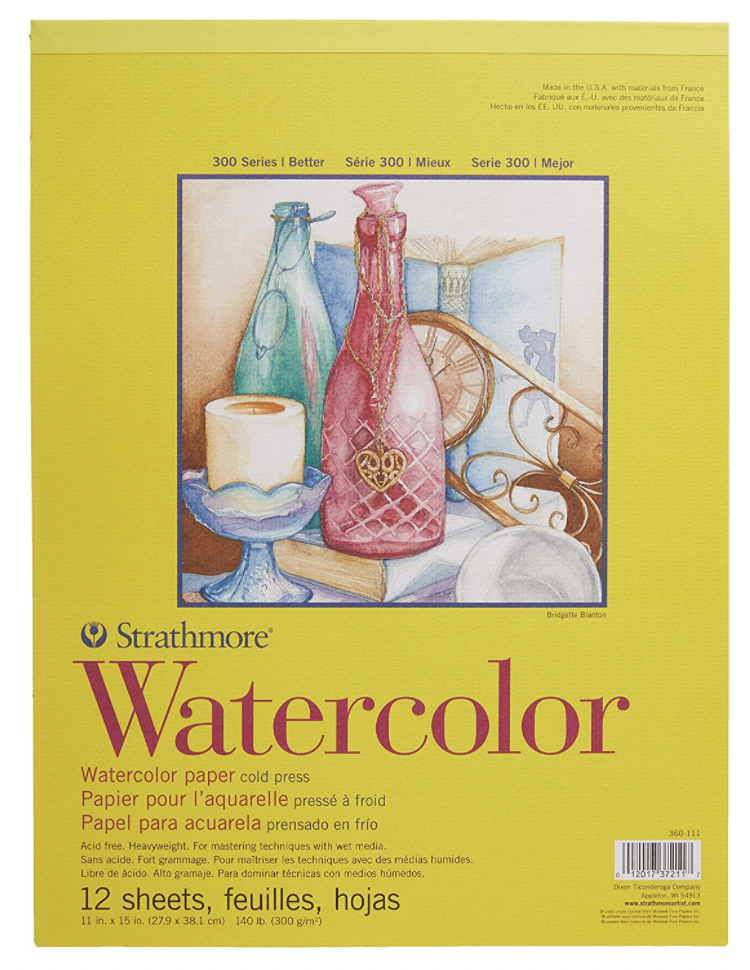
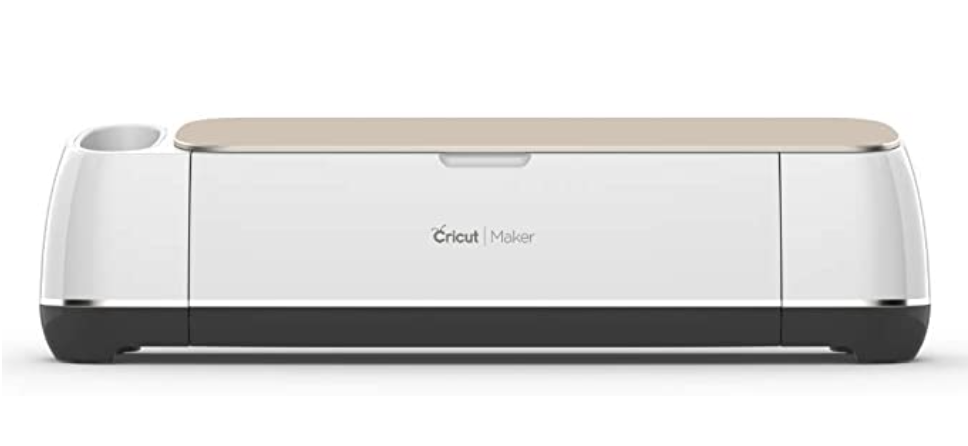
I made my own watercolor paper to make these colorful “watercolor” butterflies. All I needed was some blank watercolor paper, Acrylic paint, and my Cricut Machine. (I have the maker, but any Cricut machine can cut this.)
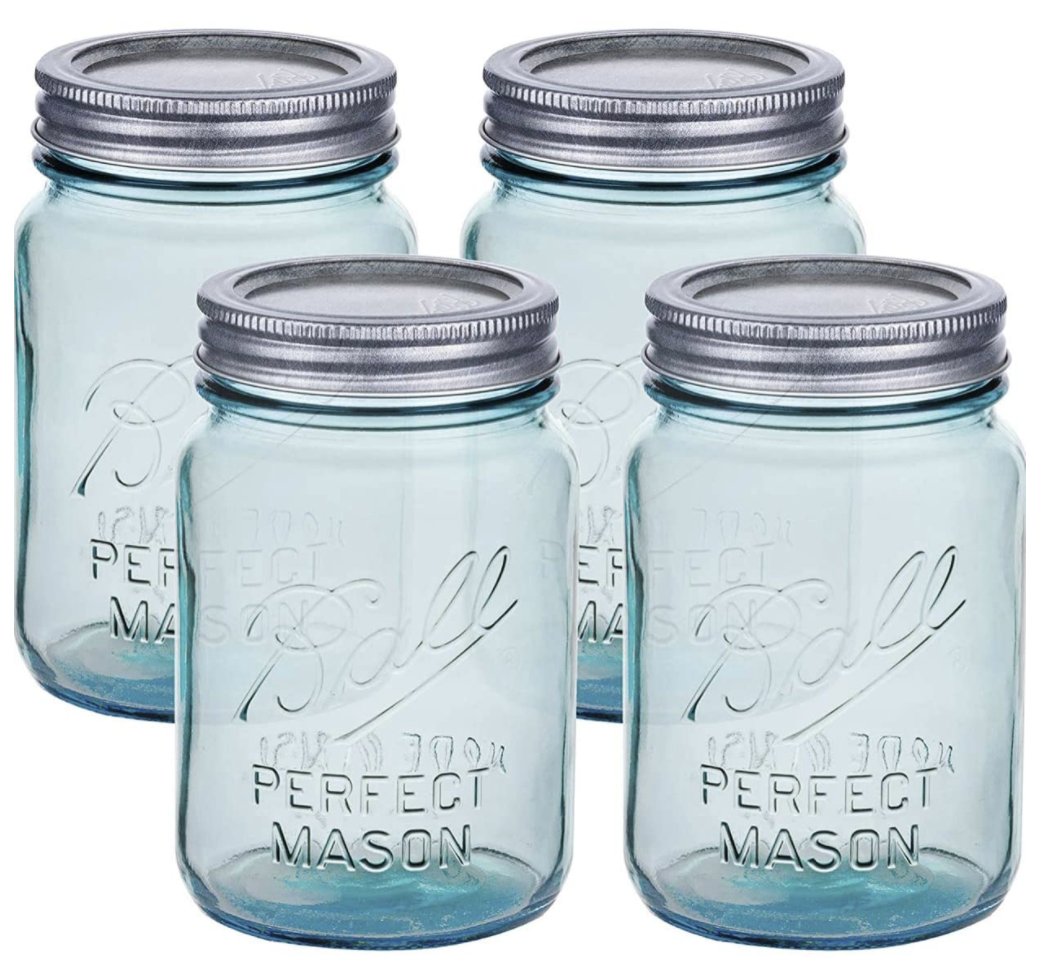
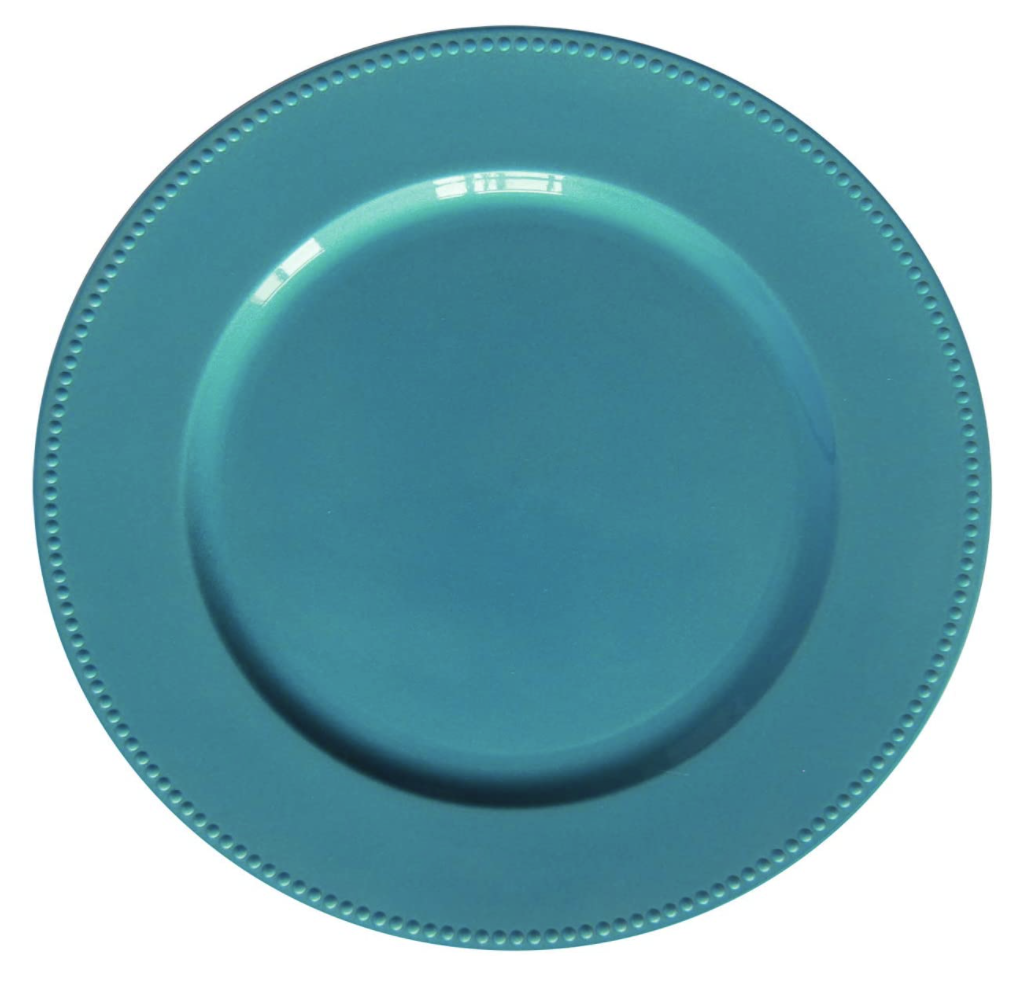
If you want to know I made the butterfly placemats or painted the vases and charges you can visit my blog post here.
I originally thought I was going to use a floral theme but since I feature flowers about 100% of the time I thought butterflies might be a nice change.
Of course, you can also use flower cutouts, or any other shape that ties in to your tablescape theme.
I helped with a bridal shower a few years ago and made butterflies that hung above the table. I loved how they came out but now I wish I had made them using this watercolor paper technique.
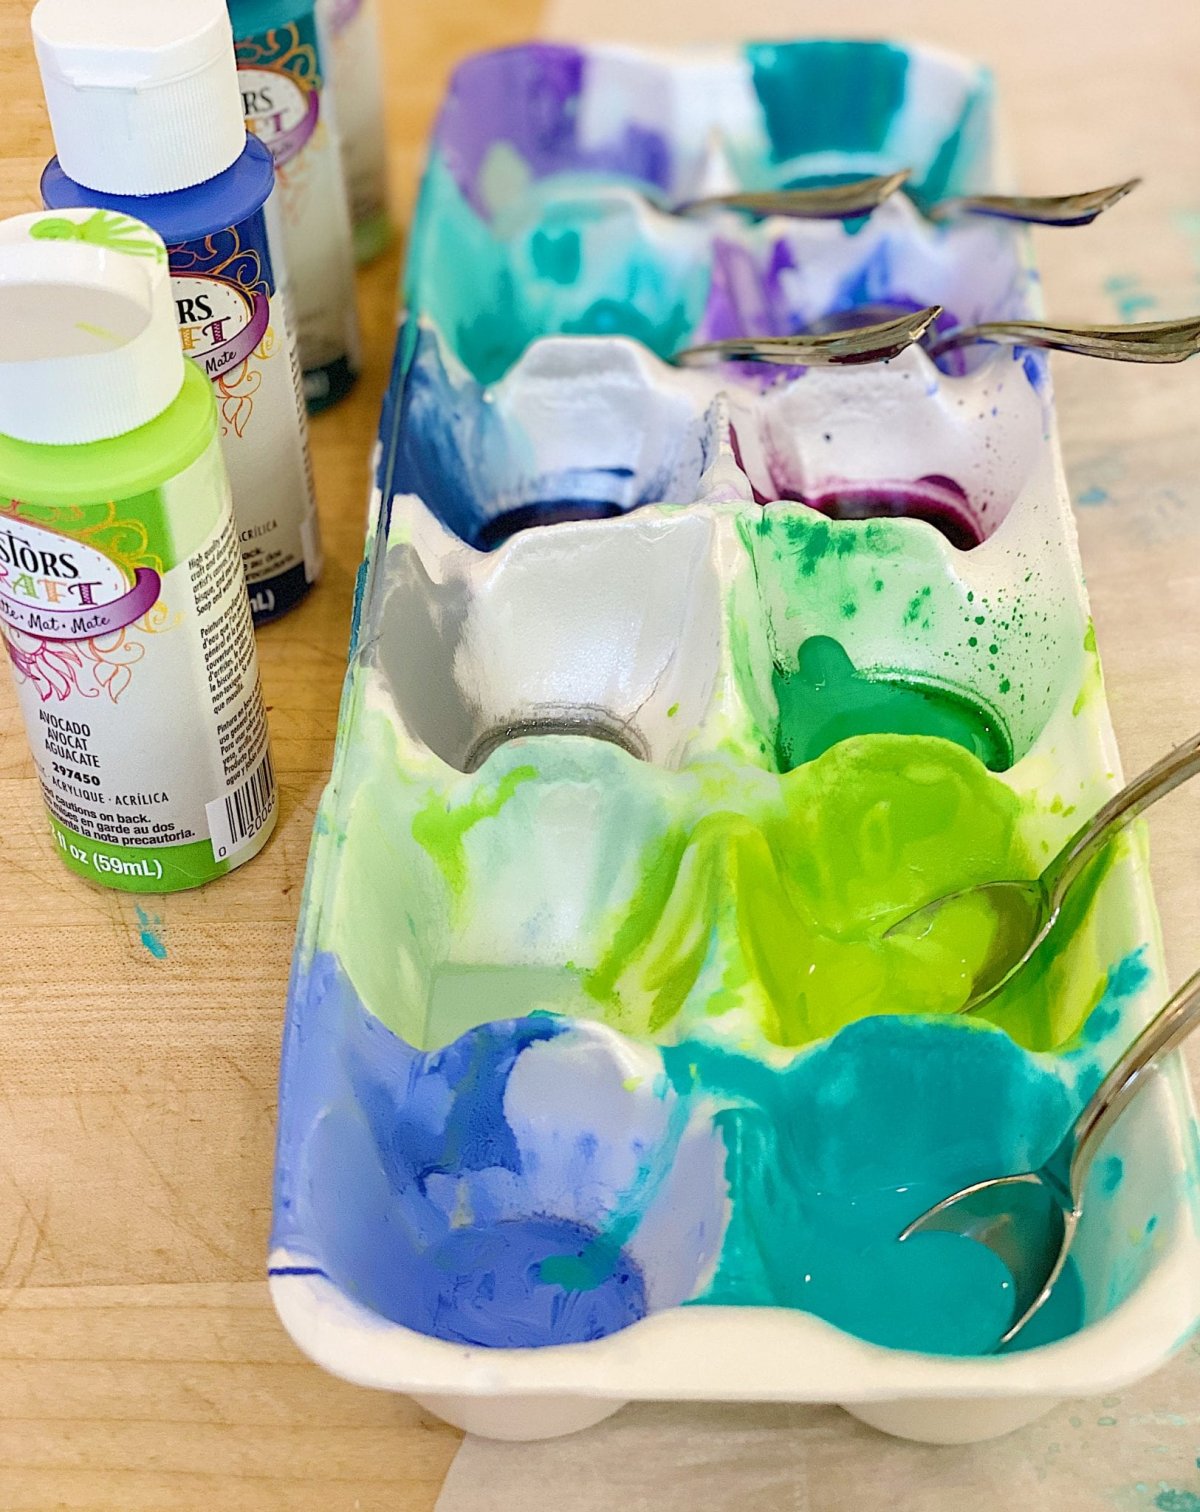
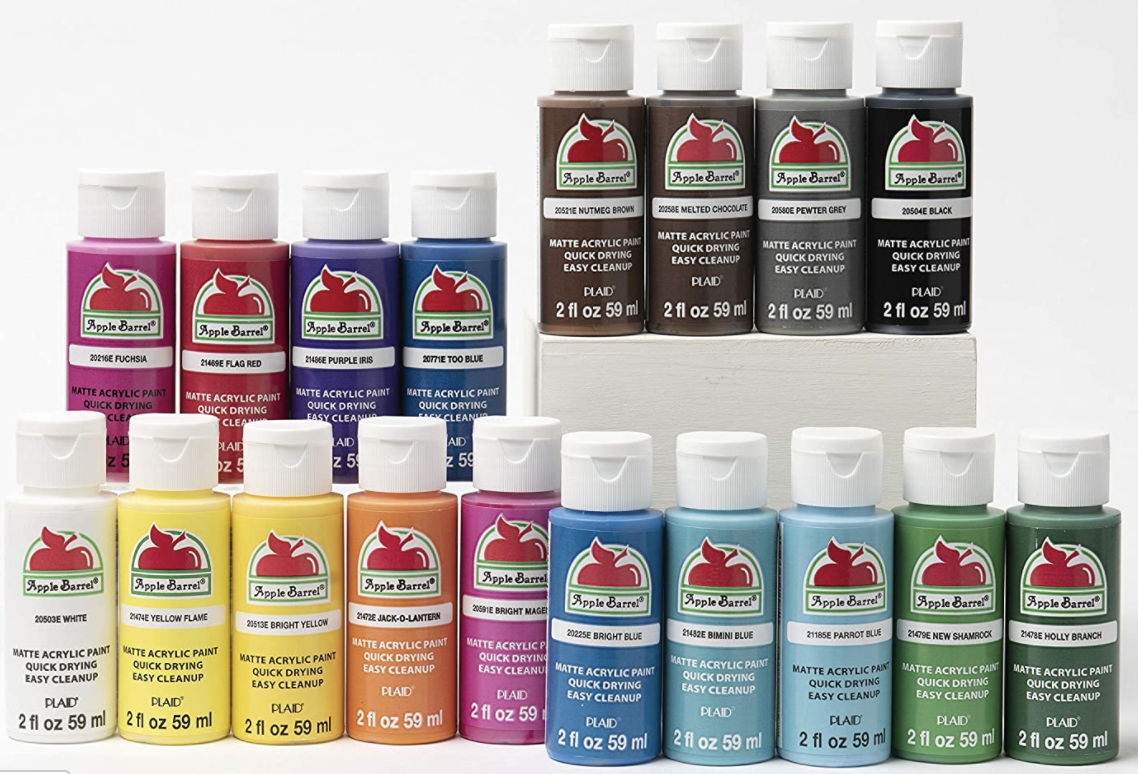
To make this paper, I used Testors Craft Acrylic Paint. The colors I used were Paradise, Seafoam, Turquoise, Avocado, Deep Sea, and Royal Blue.
How to Make Watercolor Butterflies to Add Color to Your Tablescape
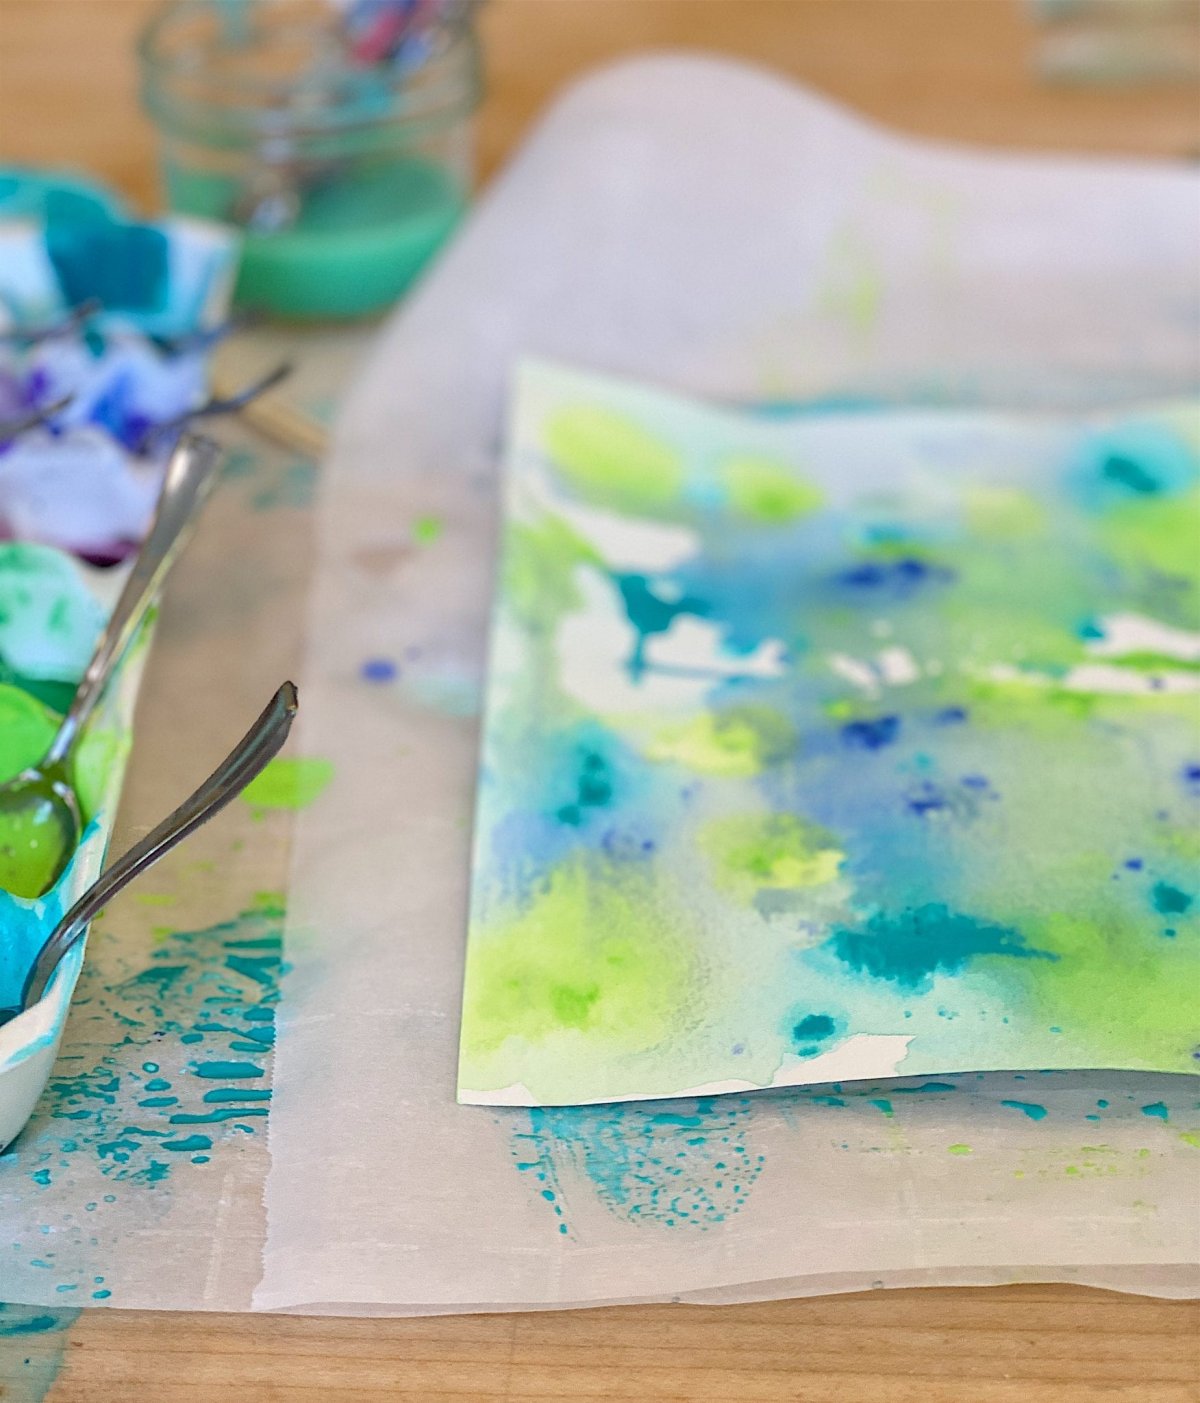
I love the colors in my table setting and knew I had to create my own watercolor paper to match. The process was easy and fun but a bit messy! So wear a craft or old apron if you have one.
What You Need to Make These Butterflies
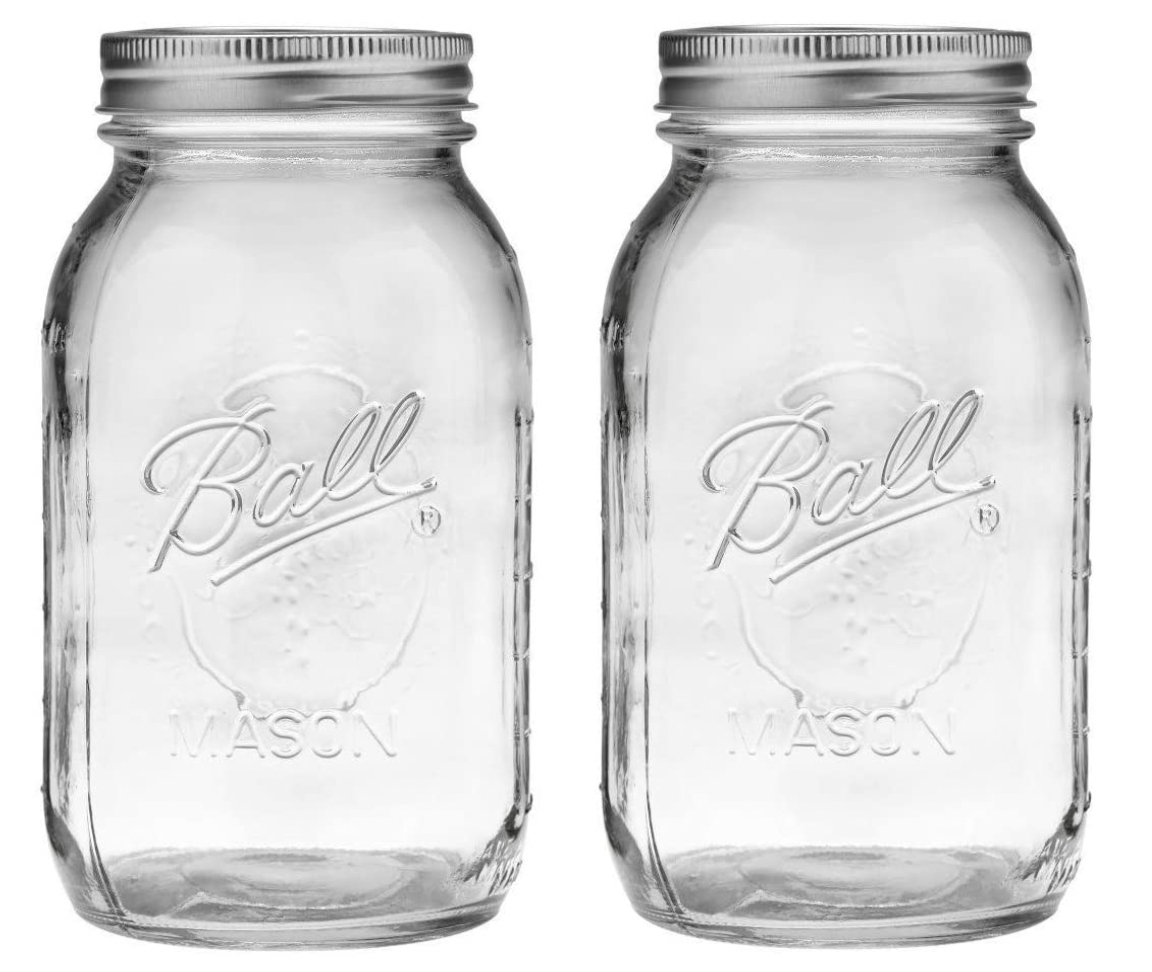
Plain watercolor paper (I used Strathmore Paper 300 Series Watercolor Class Pack on Amazon)
Small paintbrushes (for each color)
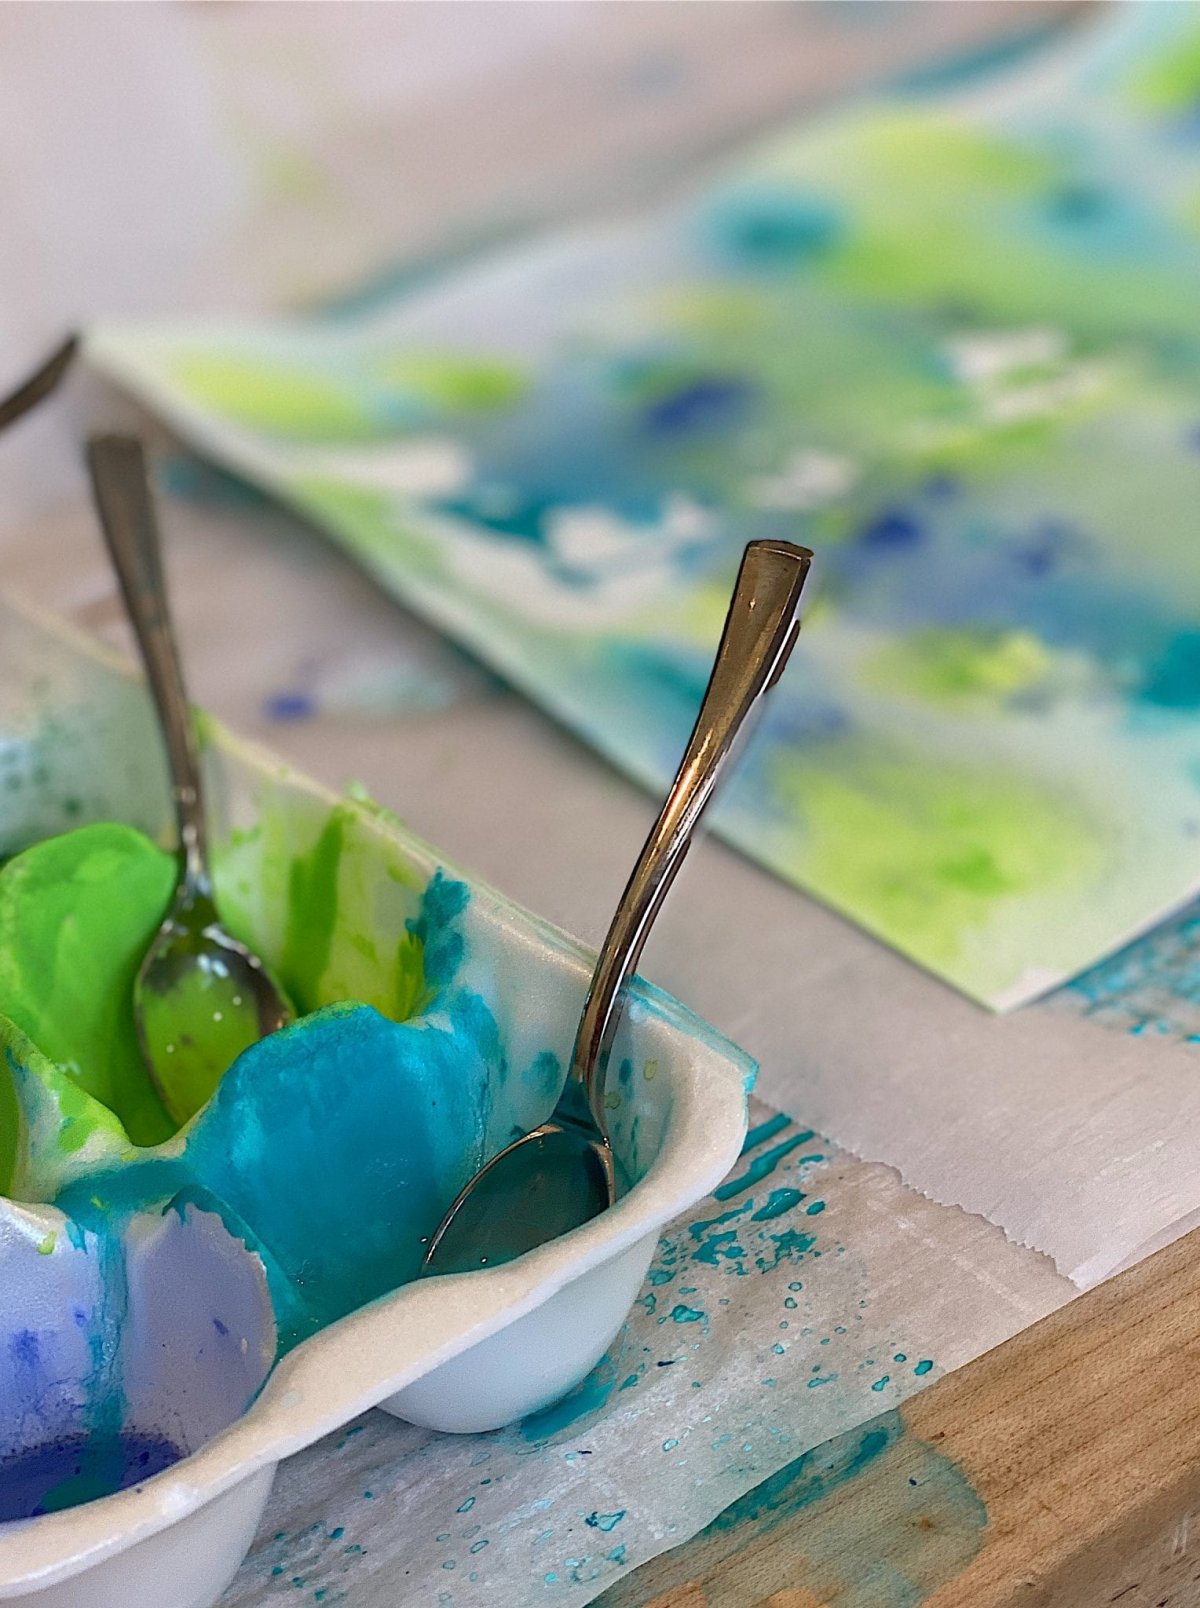
Egg carton or individual paint containers
Spray bottle filled with water
Thin wire (optional)
Hot glue gun (optional)
How to Make the Butterflies
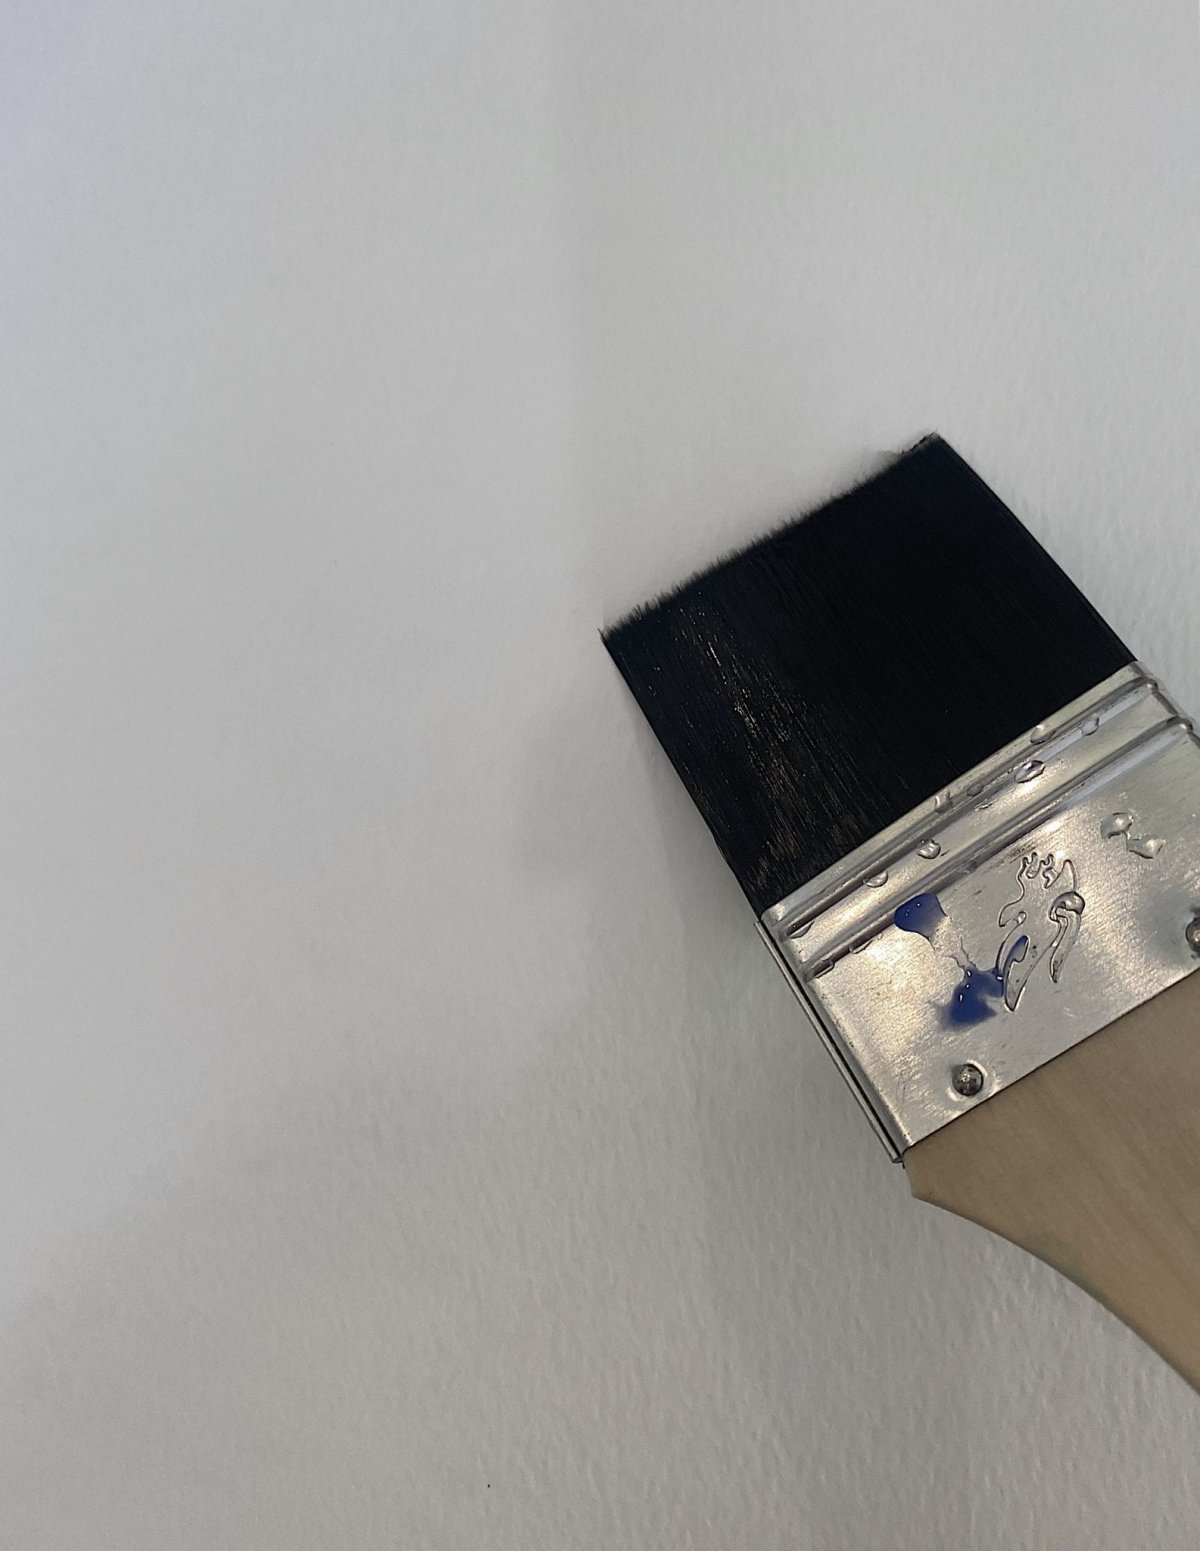
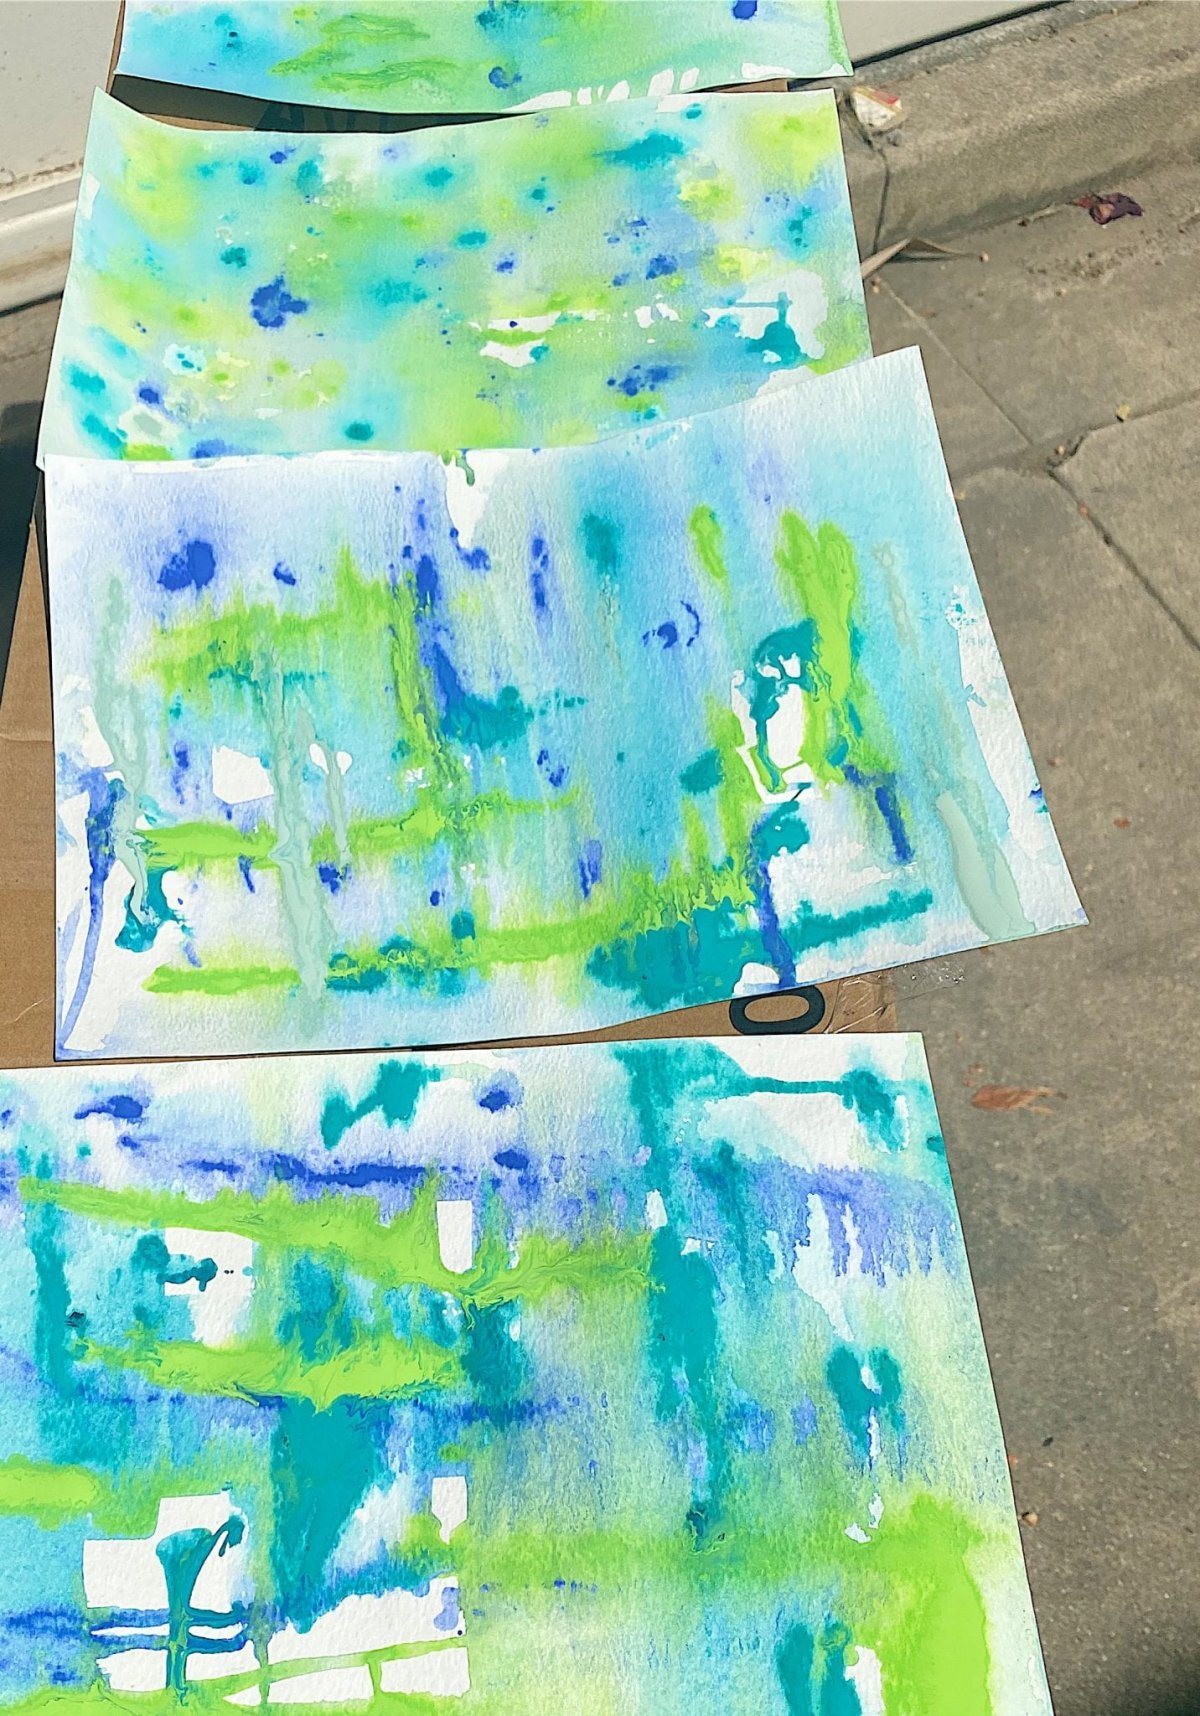
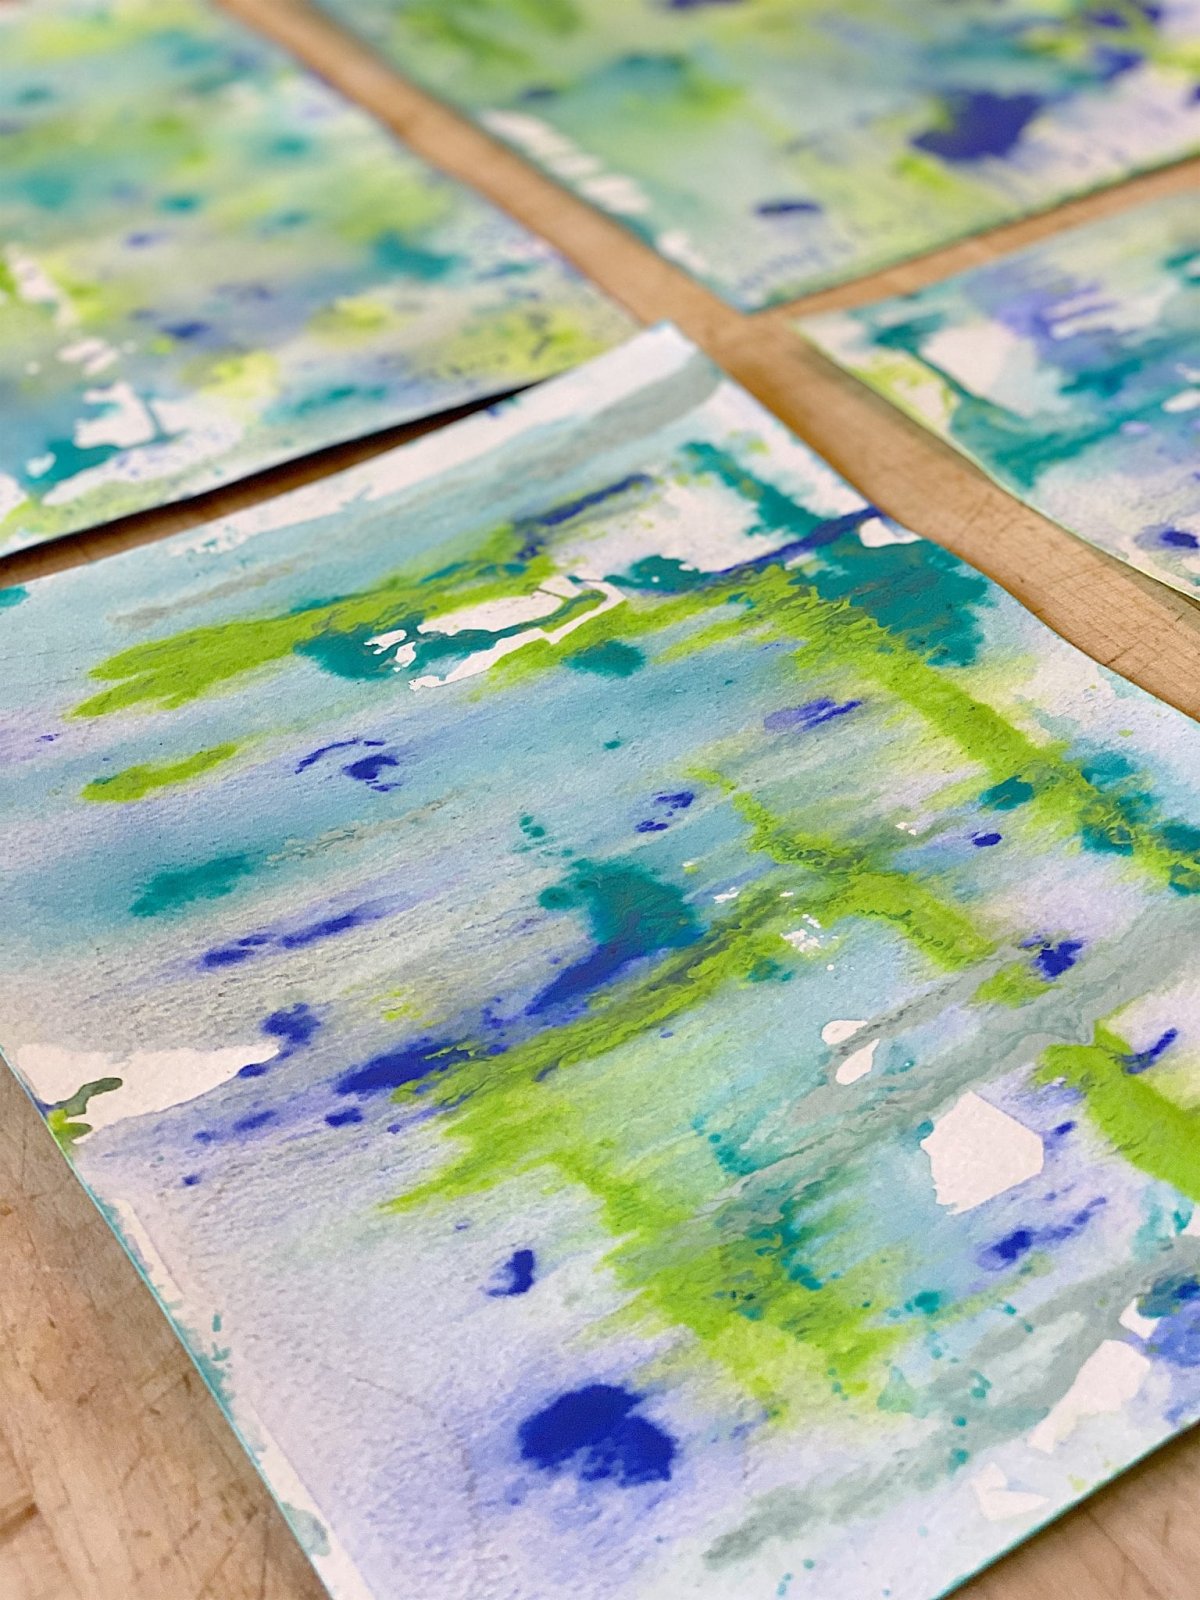
Lay out a piece of the watercolor paper on parchment paper and brush thoroughly with water.
Using a paintbrush, dip the brush in paint and shake the brush over the paper to create paint blotches.
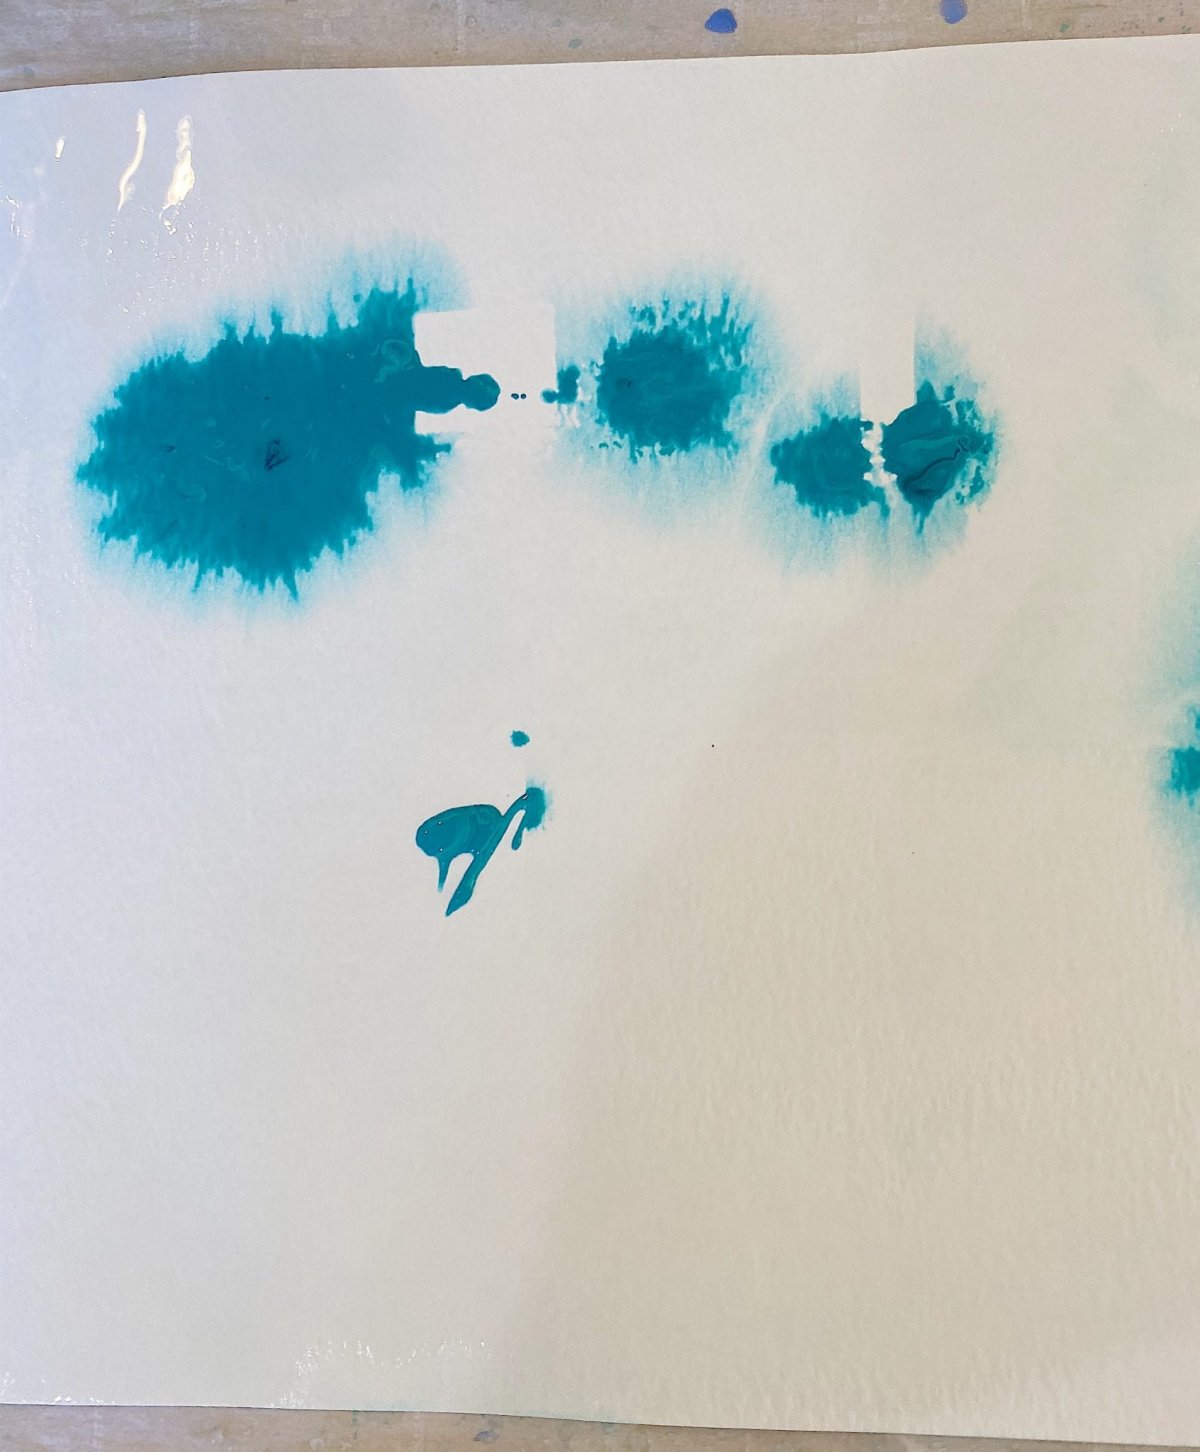
Spray the paint with the spray bottle to encourage the paint to disperse all over the paper. Lift the paper to allow the paint colors to run.
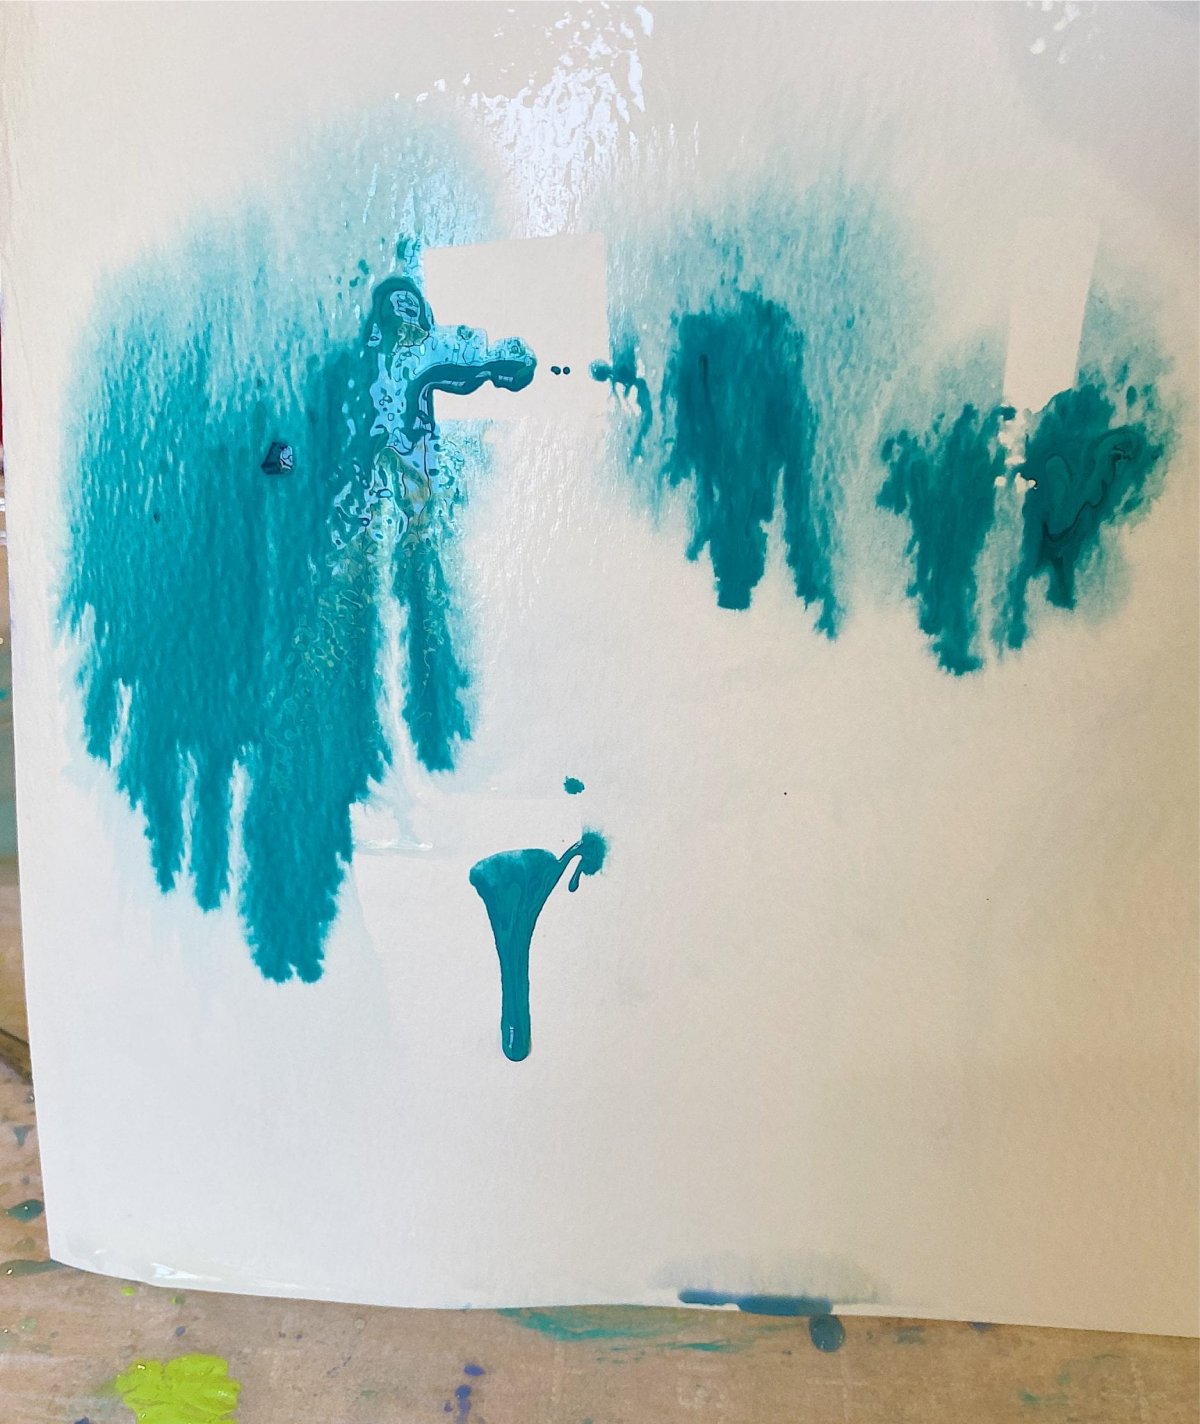
Continue with all of the paint colors. Be sure to turn your paper in all directions to encourage the paint to drip.
I didn’t have enough paintbrushes so I used some small plastic spoons to splatter the paint.
Let dry. You can speed up this process by leaving the paper in the sun.
If the paper has curled after drying, iron it on both sides to flatten. Use medium heat so you don’t burn the paper. And make sure the paint is dry before ironing.
Attach your paper to a Cricut cutting mat.
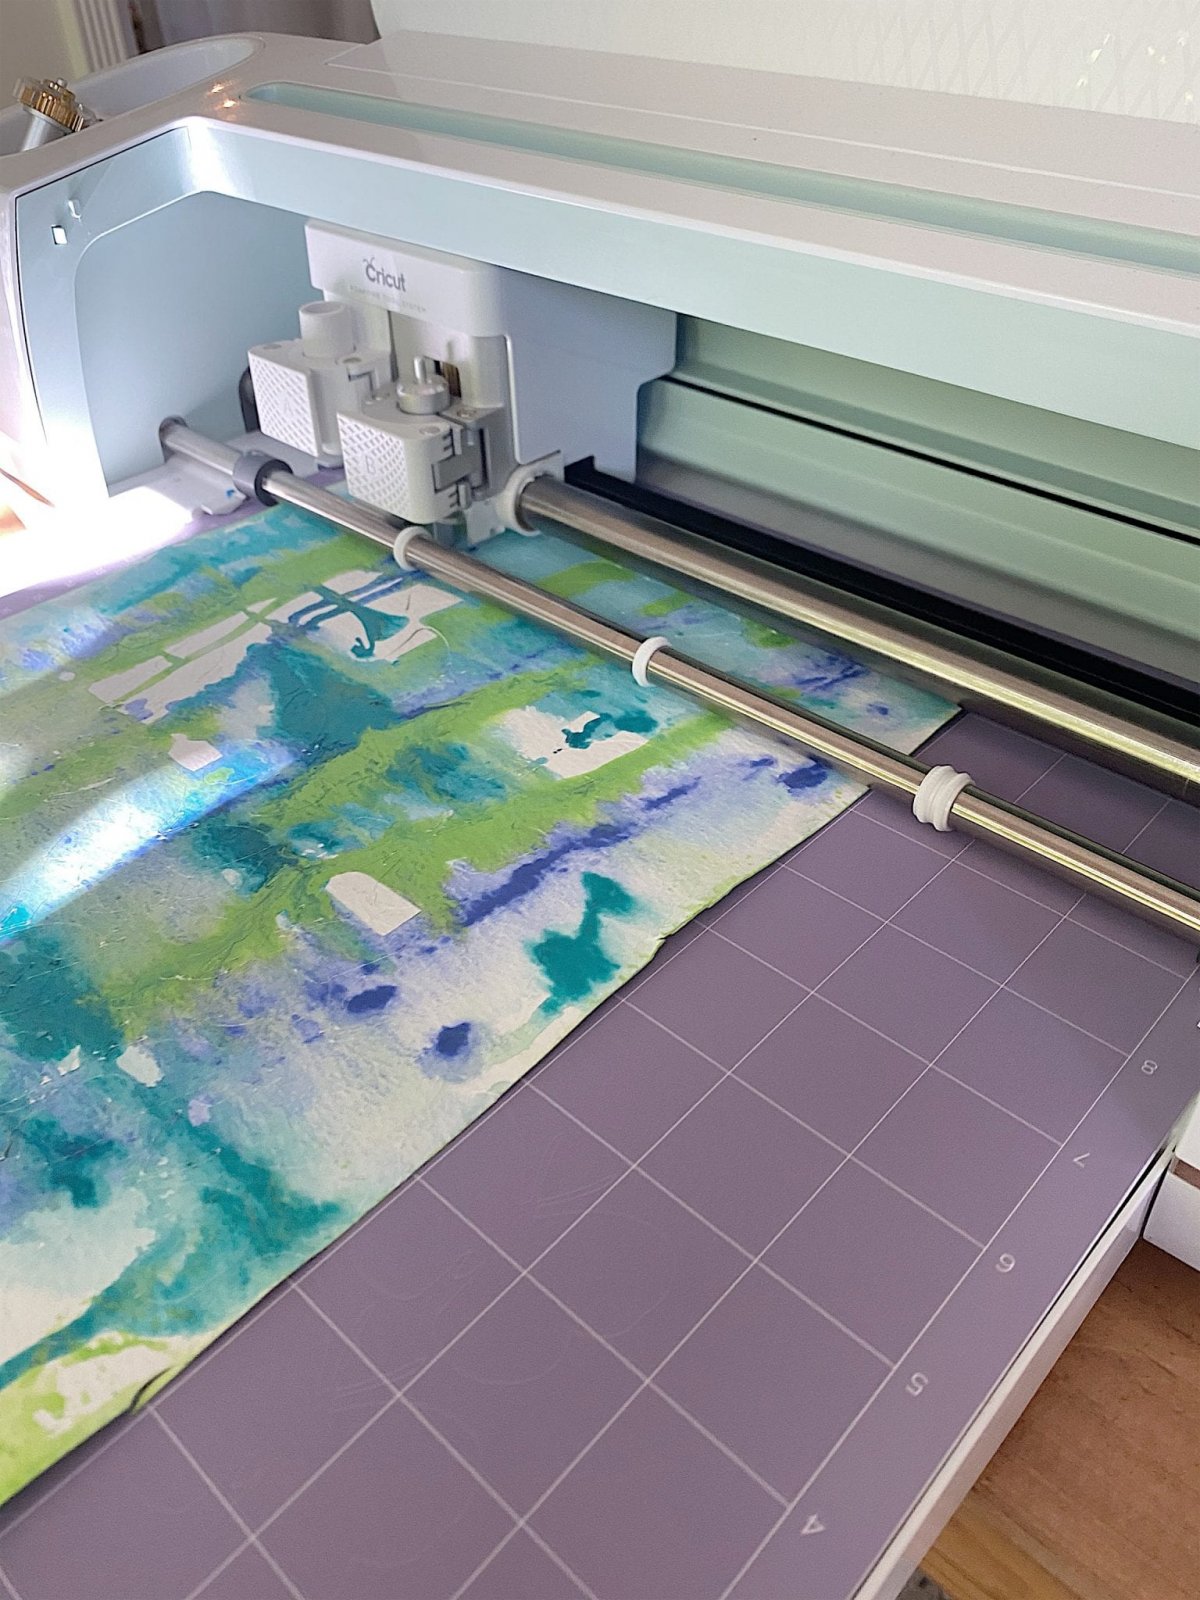
There are a gazillion free butterfly Cricut templates on Pinterest. Pick the one you like the most and upload it to your Cricut machine.
Here is a Great Tip!
If you don’t have a Cricut machine, you can use a butterfly punch! They are super inexpensive and easy to use! I also like this one and this one.
To cut the watercolor paper, be sure to use a setting that cuts very thick paper. I tried a few settings and ended up using the Poster Board Setting which worked really well with the watercolor paper I used.

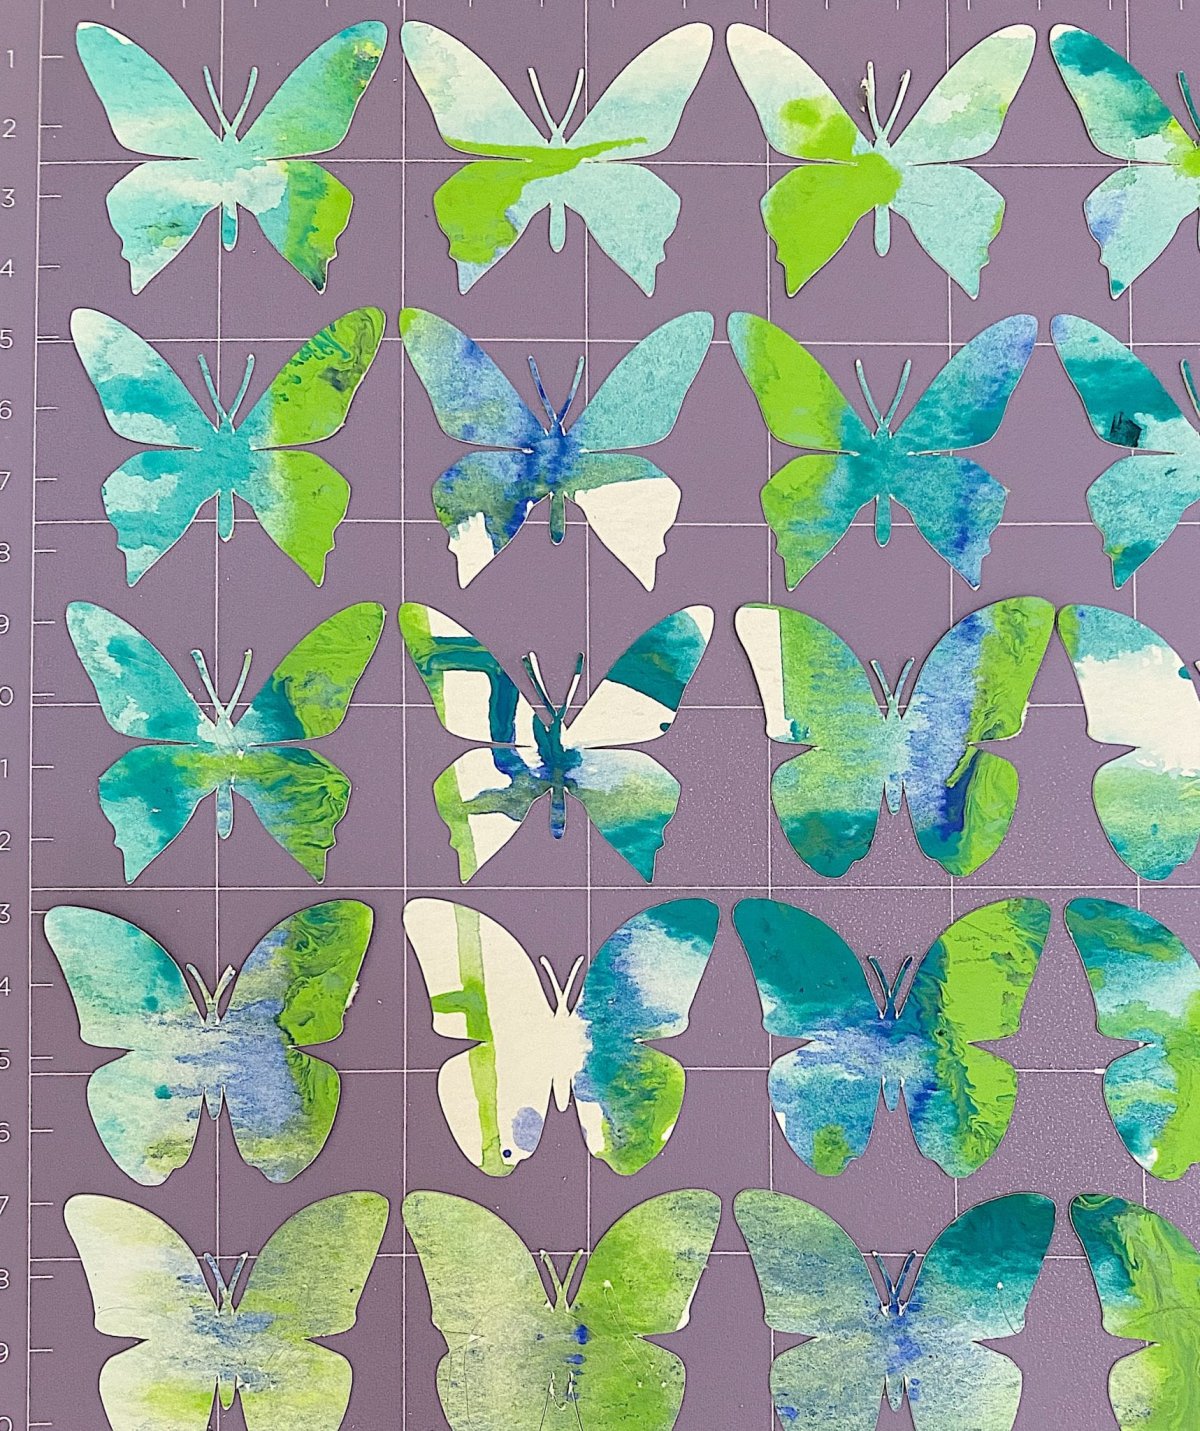
Once the butterflies are cut, remove the excess paper and you are going to love the end result!
How amazing are these butterflies?
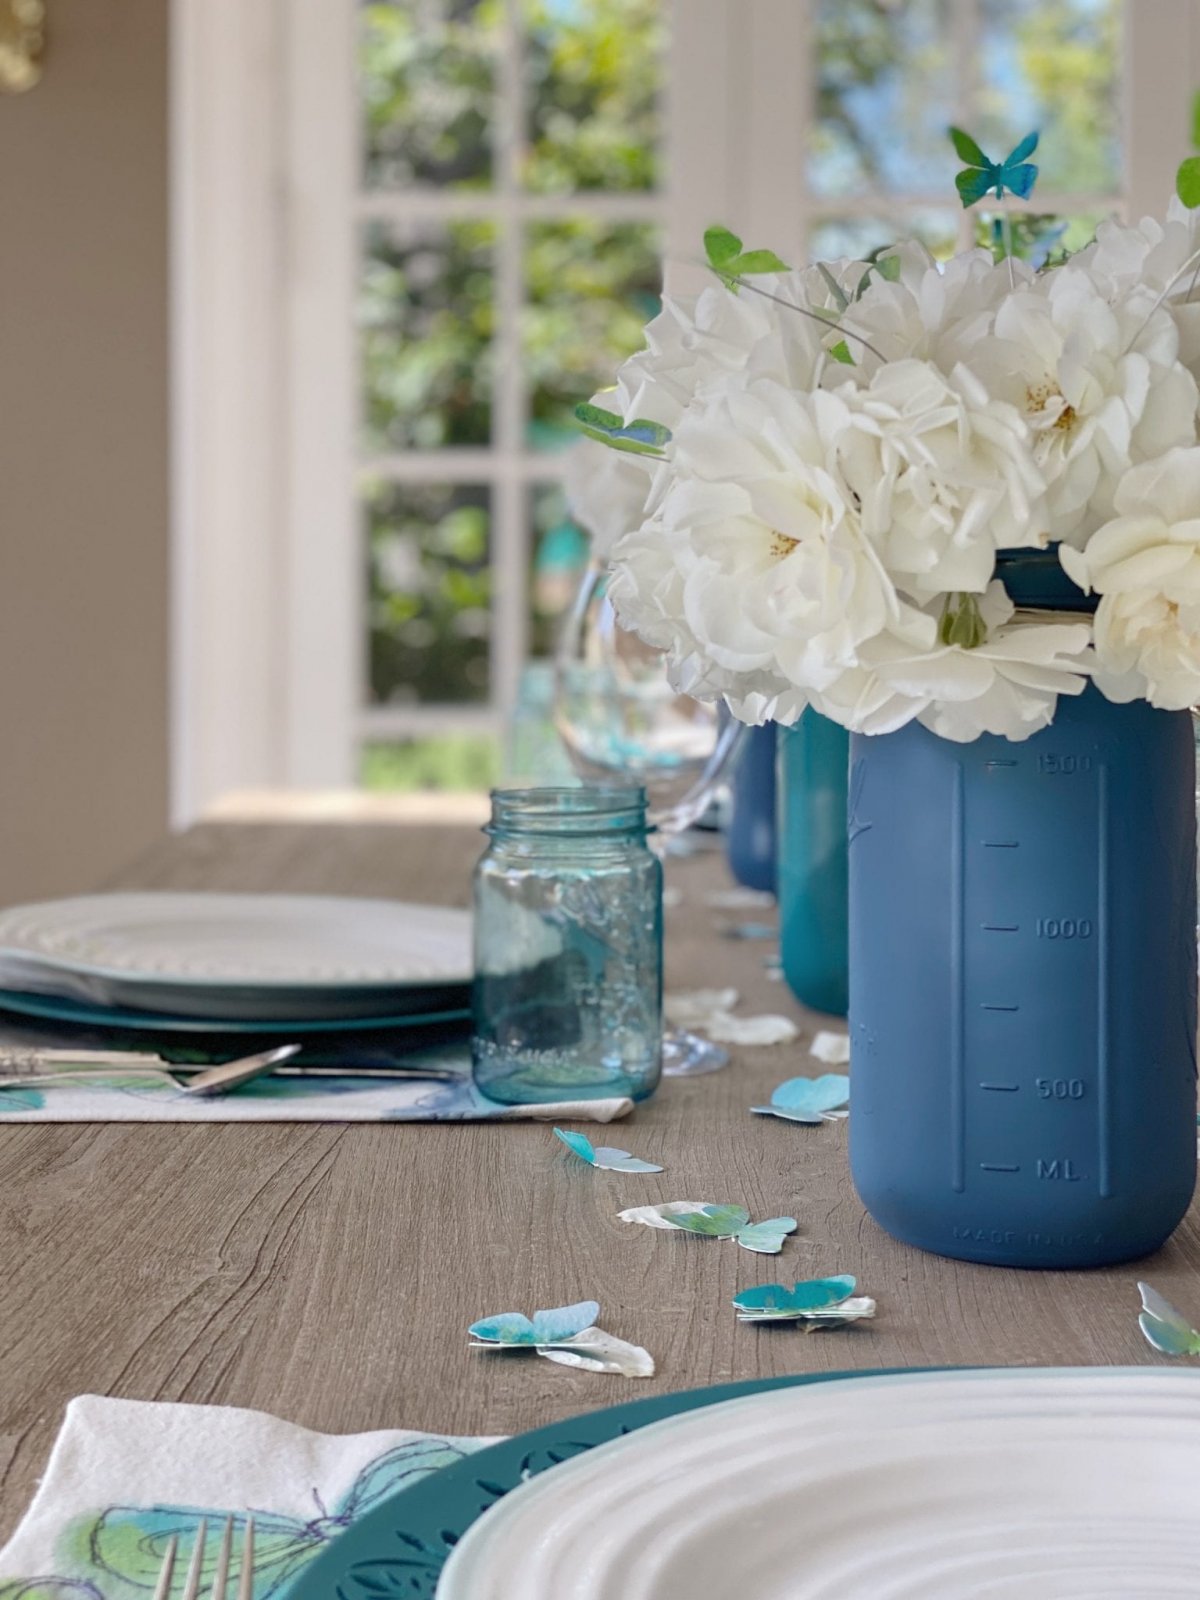
I folded each butterfly slightly inward to create the sense of “flying” and used them on my tablescape in two different ways.
First, I just scattered them throughout my table.
Next, I used hot glue to attach the butterflies to the wire and then inserted them into my flower vases.
This is such a fun craft and can be used with so many different cutouts. You will not believe how much these watercolor butterflies add color to your tablescape.
Links to Items Seen in this Post
Pin the image below to your Craft or Tablescape boards on Pinterest (just click the Pin button in the top left corner). You can also follow along with me on Pinterest!
For more real-time updates, follow me on Instagram @My100YearOldHome


SO Pretty!! I love your great colors, and especially those darling butterflies! 🙂
OMGosh!! Your talents are never ending…love everything about these adorable butterflies!
Love following you:)
What a creative way to add color! I don’t have a Cricut yet but you just may have convinced me to get one!
I love your site, so inspiring!! I love entertains as well, my biggest concern is …keeping everyone entertained…how do u address this when u r the host and cook, it’s hard to b present everywhere!
Thanks
Eva
Eva, I am so glad you are enjoying! You definitely just have to trust that the guests will entertain when you can’t! If you truly find the joy in being in so many places at once for these occasions, it will all come together!!
Loved this diy. So simple and so cute!!! Now, the place mats, did you use a stamp for the butterflies???
I did not use a stamp. I painted basic butterfly shapes with the paint and then printed out butterfly shapes and traced around them on top of the dried paint and free-motion embroidery stitched on top of the tracing. All of the details for how to make the placemats are in my post here: https://my100yearoldhome.com/how-to-use-paint-to-create-a-tablescape-for-spring-and-summer/ If you make them, please share a photo on Instagram and I will share you!