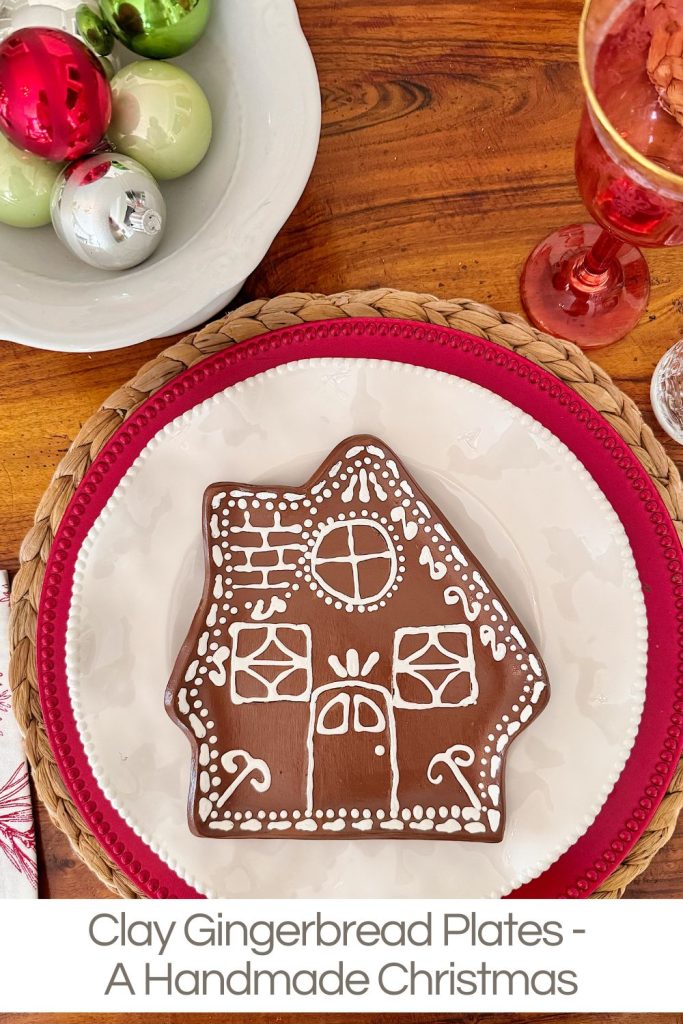
Clay Gingerbread Plates – A Handmade Christmas
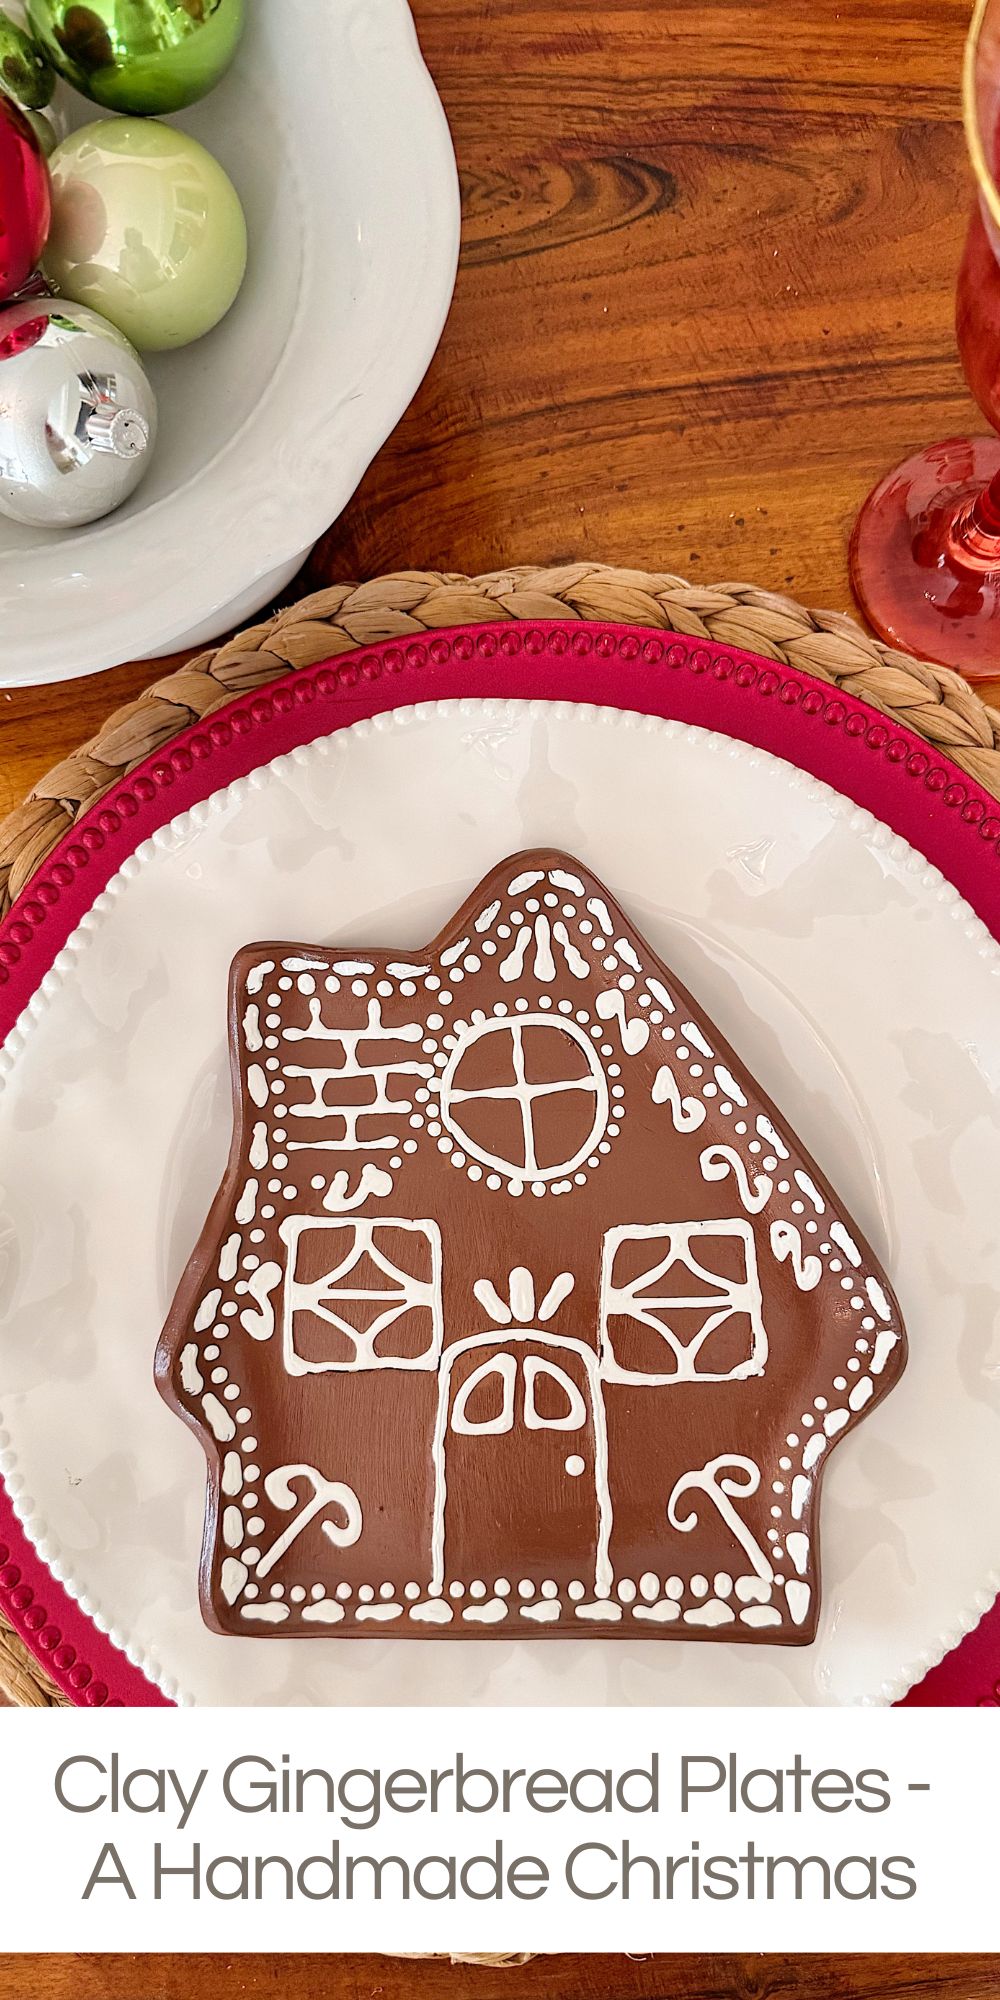

It’s week six of my 16-week series titled A Handmade Christmas, and today I am sharing Clay Gingerbread Plates made with air-dry clay.
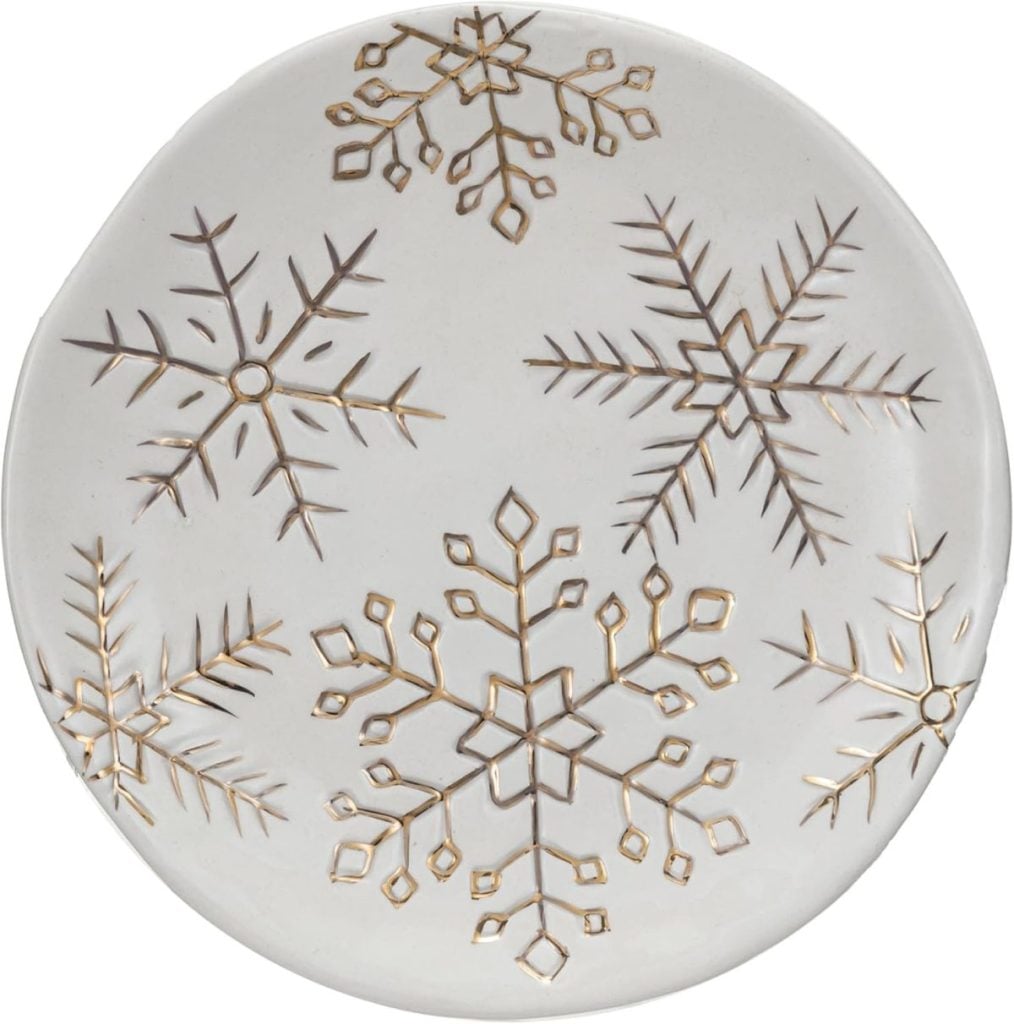
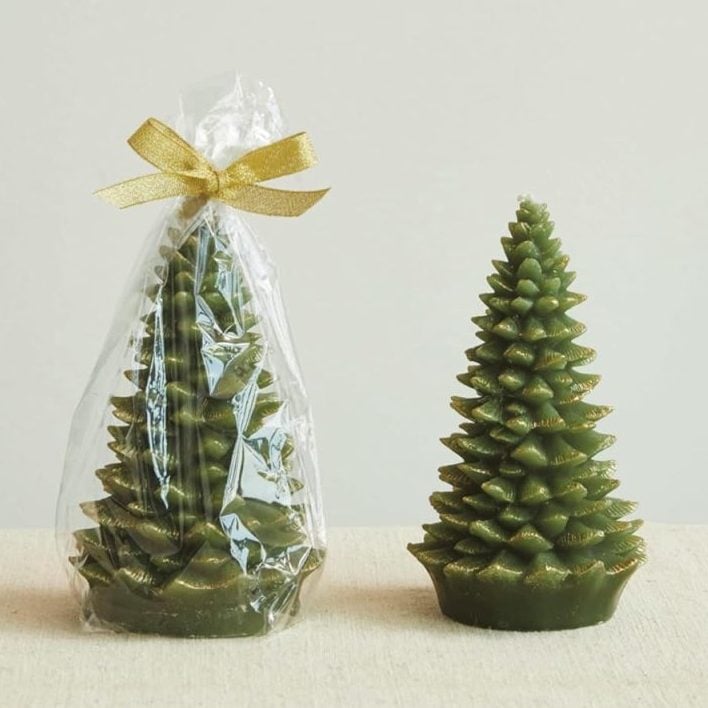
Every year, when the holidays roll around, I find myself inspired by the beautiful décor in the shops. Pottery Barn, Anthropologie, and Terrain are always my go-to sources for inspiration. This year, I stumbled across the most adorable gingerbread plates and decided I had to make them!
Clay Gingerbread Plates
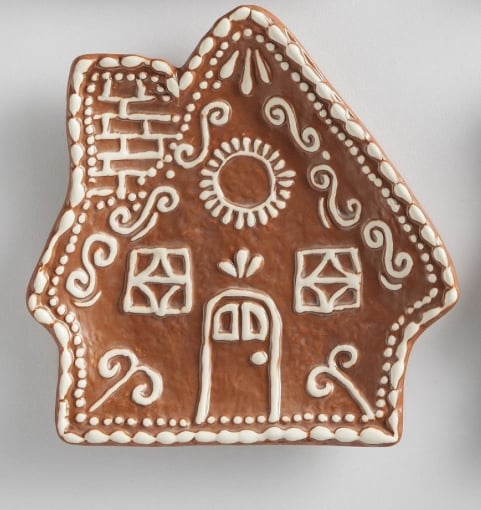
The Pottery Barn plates were whimsical, detailed, and just perfect for Christmas entertaining. But instead of buying them, I knew I could make my own version with clay.
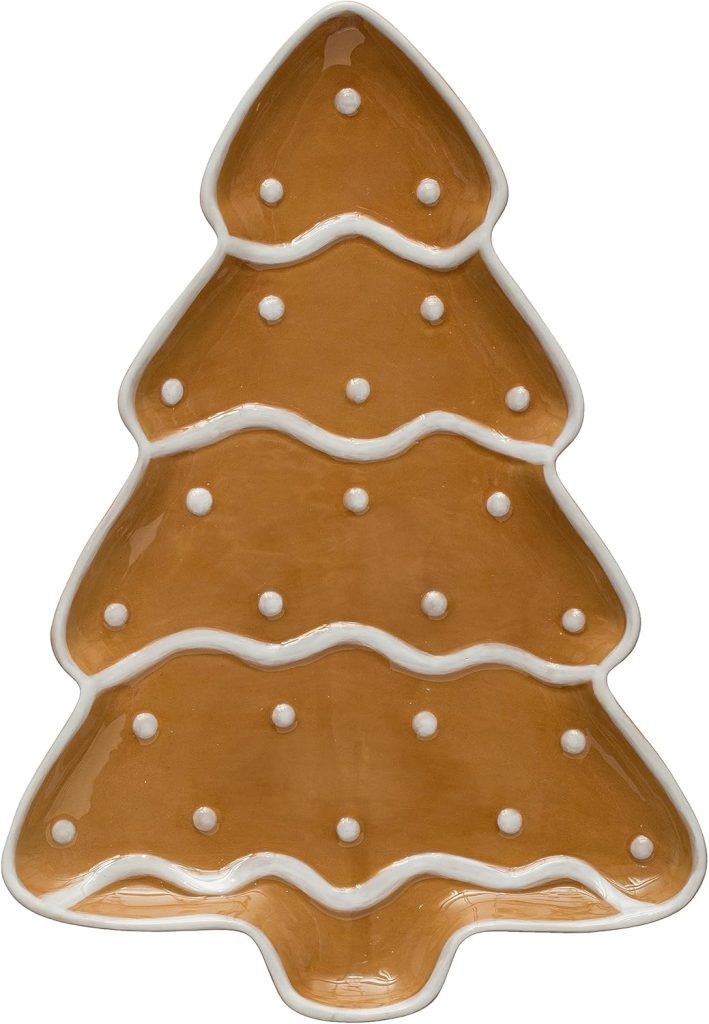
This is the gingerbread plate from Pottery Barn.
I’ve been working with clay a lot lately, and I love its versatility. From hand-built pottery to air-dry projects, clay offers an endless array of possibilities. So, I decided to create my own clay gingerbread plates. The process was simple, fun, and completely customizable.
Best of all, I could design them exactly the way I wanted—down to the color palette, details, and glaze finish.
Let me walk you through everything you need to know to make your own.
Why Make Clay Gingerbread Plates?
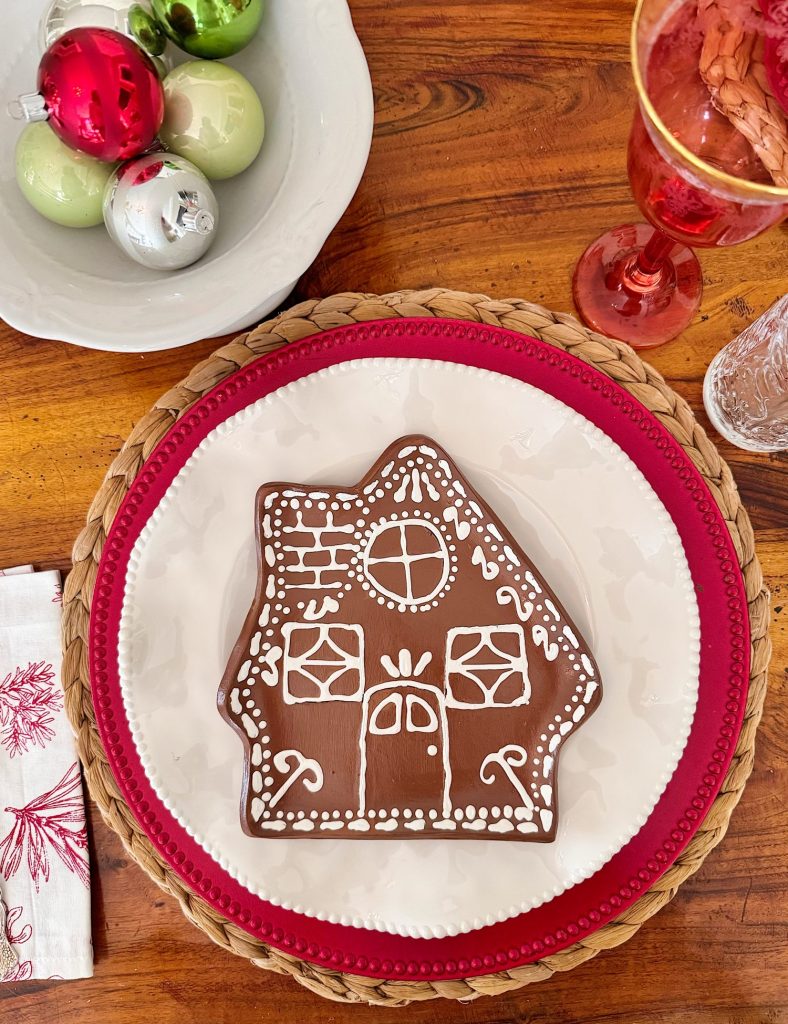
Clay gingerbread plates are the perfect mix of festive and functional. They’re sturdy enough to hold cookies, snacks, or holiday treats, but they also double as charming décor pieces. I love the idea of setting a holiday table with a stack of these handmade plates, each one slightly different, each one telling its own story.
Another perk? You’re not limited to what’s in the store. By making your own, you can experiment with designs, patterns, and colors. Perhaps you prefer a traditional gingerbread look, or maybe a modern black-and-white plate with minimal piping details. With clay, you’re the designer.
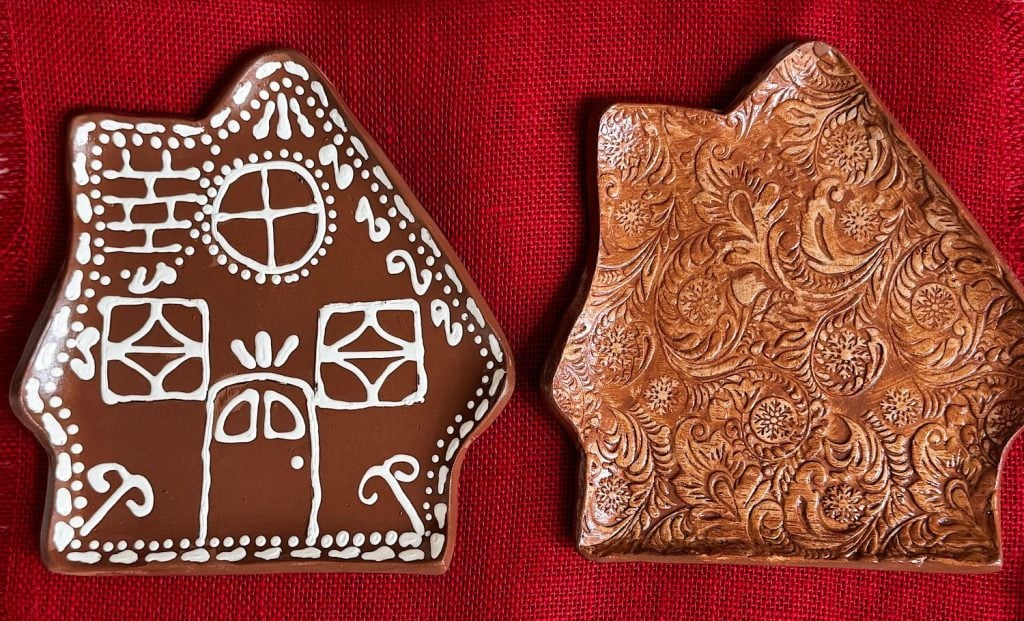
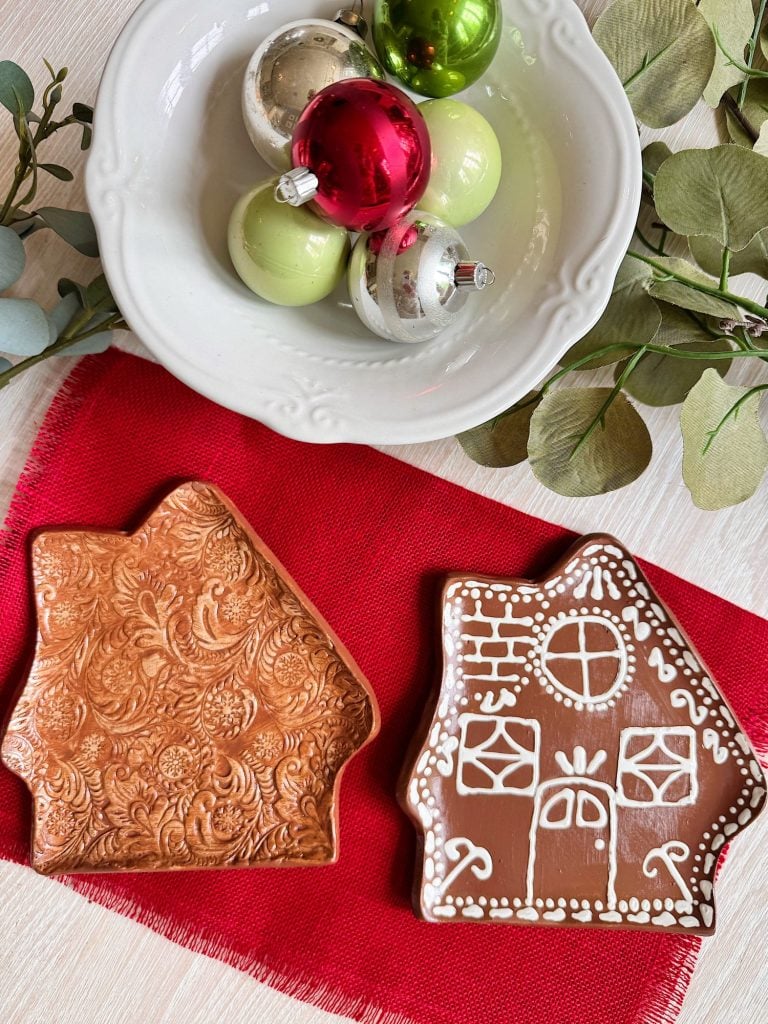
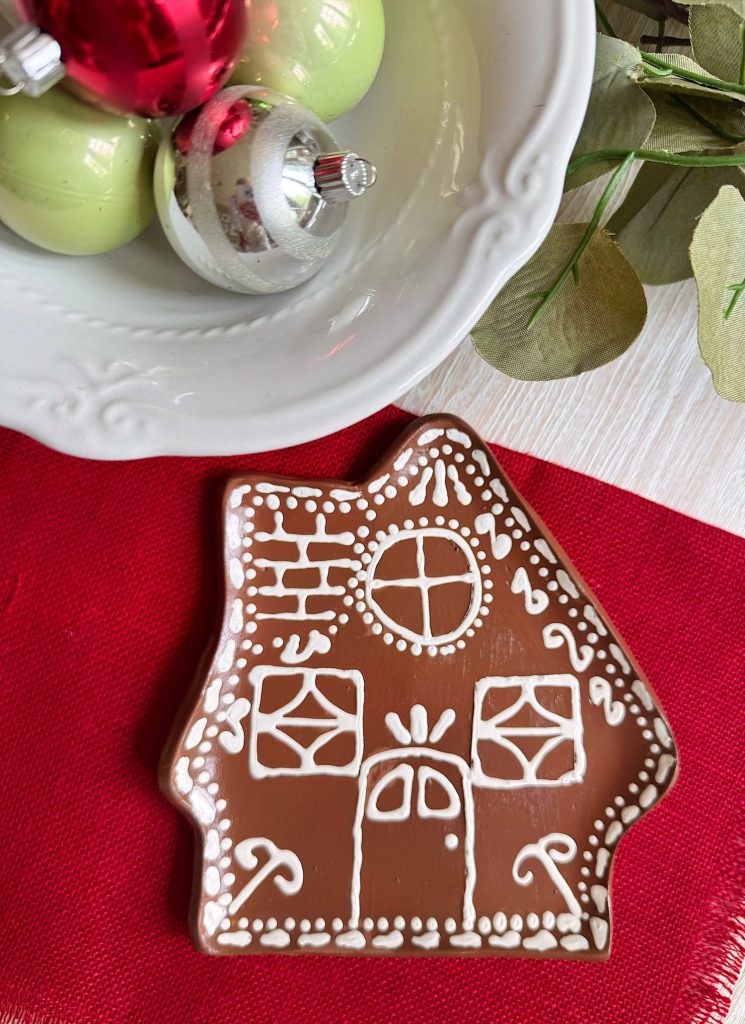
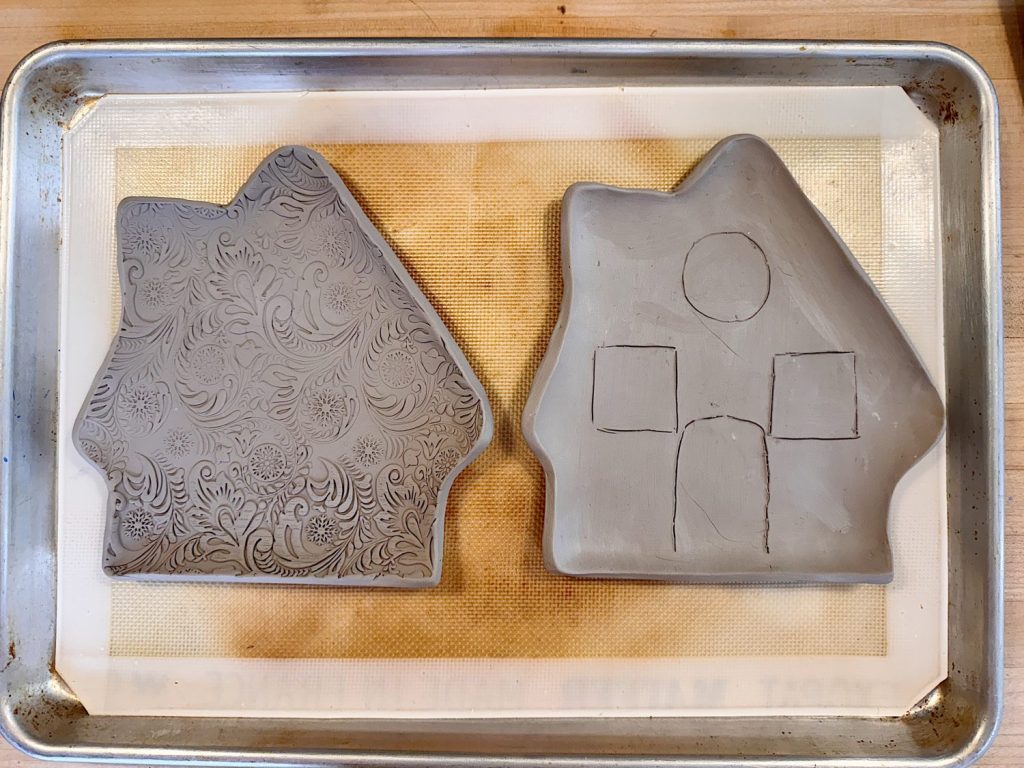
I ended up making two. The first one is the Painted Gingerbread House and resembles the Pottery Barn one. The second is the Textured Gingerbread House, and it is very easy to make.
Materials You’ll Need
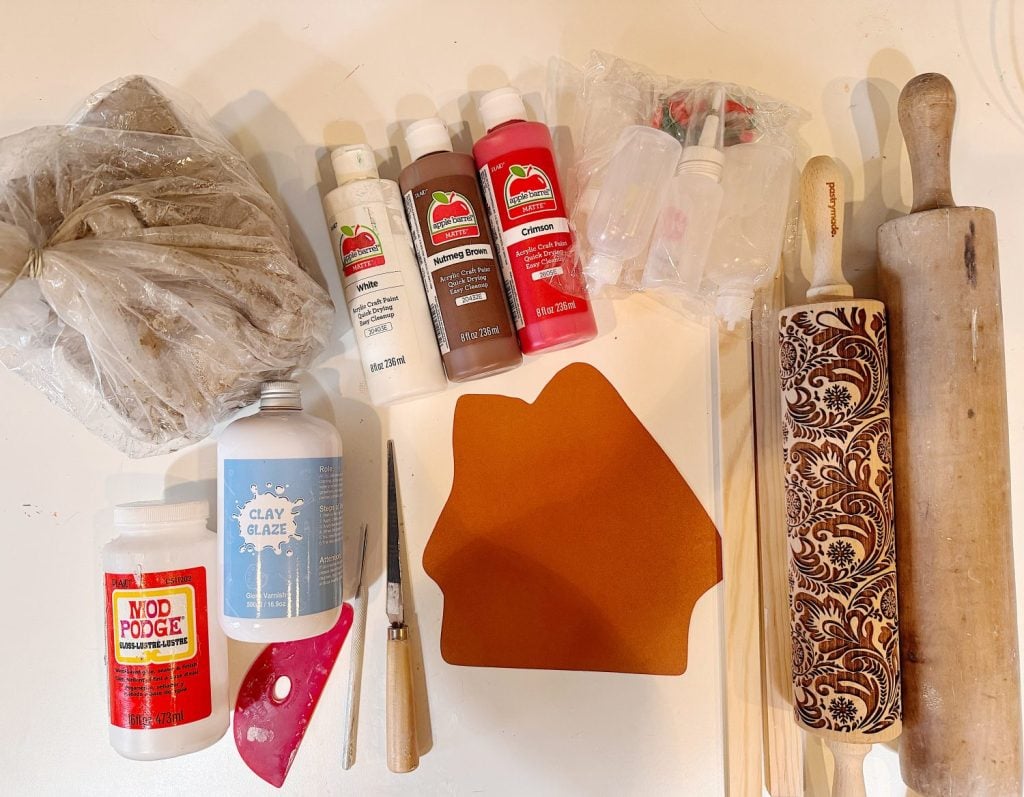
Here’s what I used to create my gingerbread plates:
- Air-dry clay (perfect for easy, no-kiln projects)
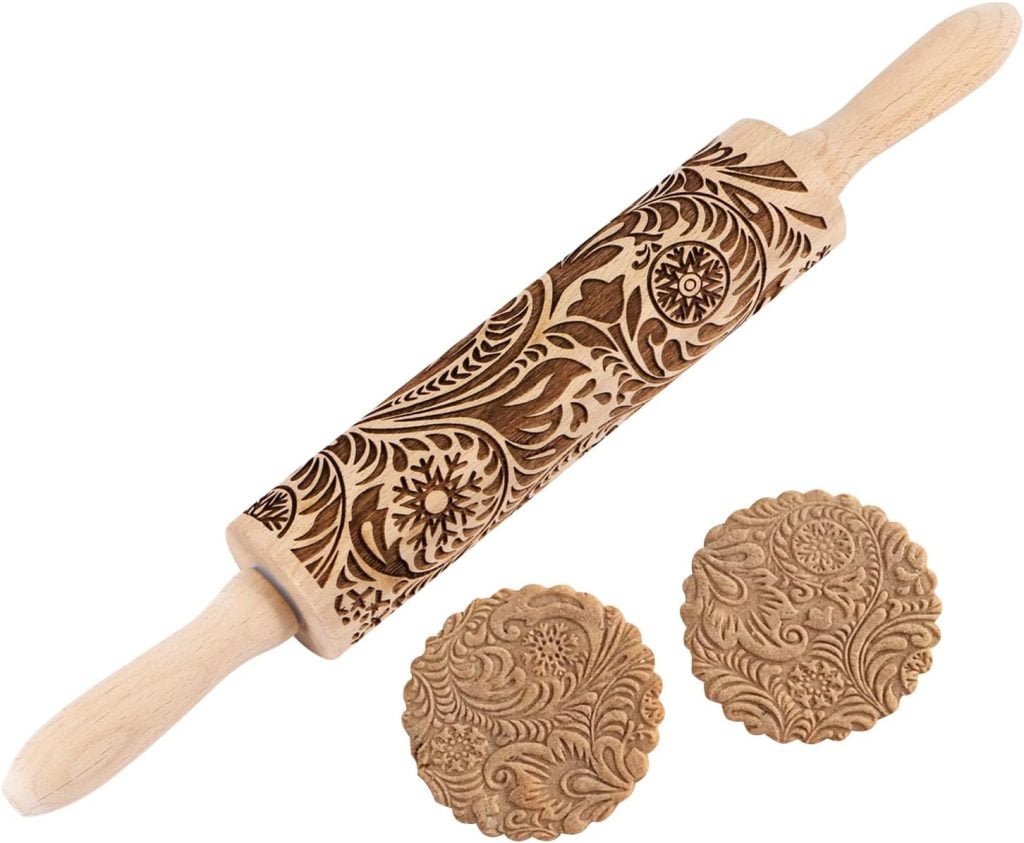
- Rolling pins (I used a plain one and this Christmas textured rolling pin to give the clay a subtle background.)
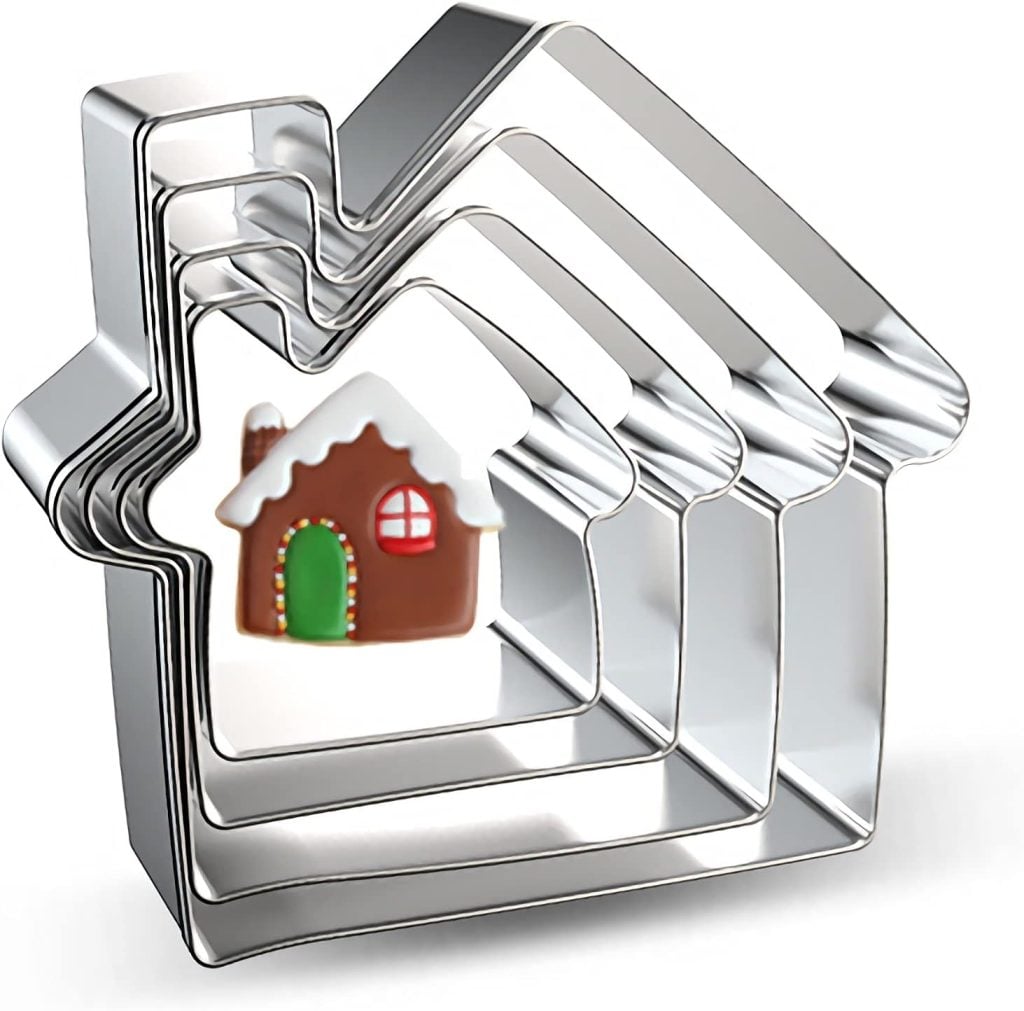
- Gingerbread house template (you can freehand, use a cookie cutter, or print a house shape). Or you can download mine below.
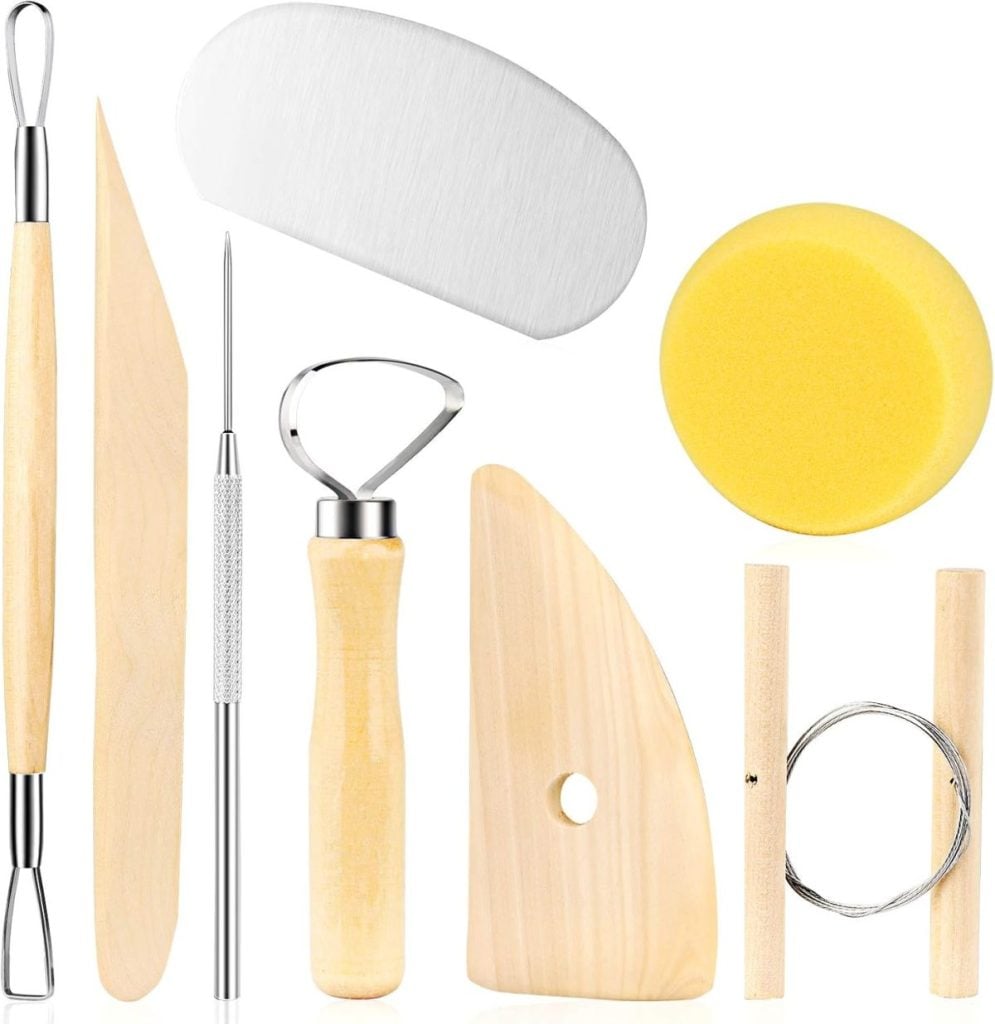
- Clay tools (a knife, needle tool, or even a butter knife will do)
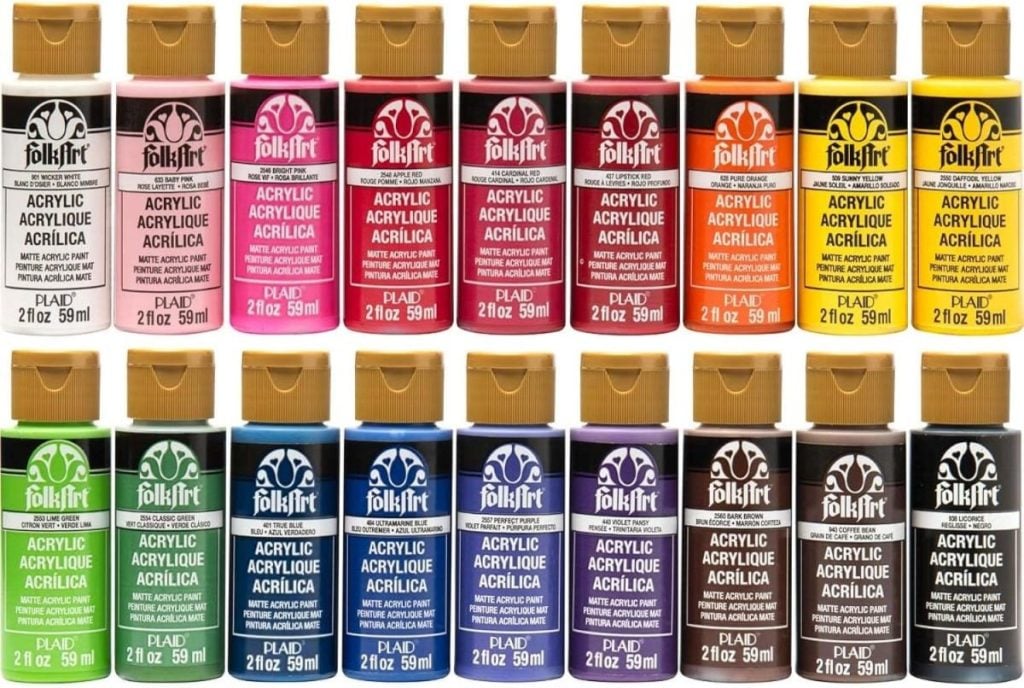
- Paints: brown acrylic paint for the gingerbread base, white for the icing, and any accent colors you’d like
- Precision Tip Applicators and Bottles for painting
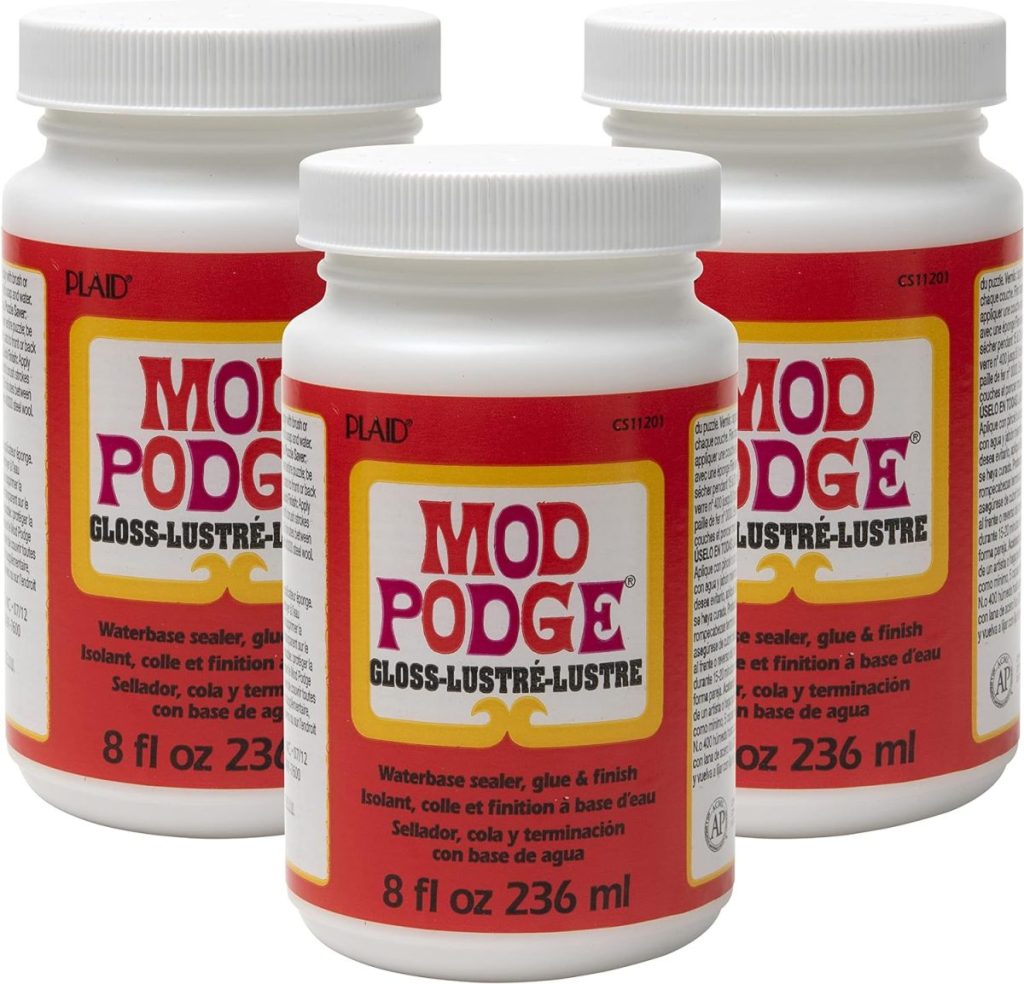
- Clay Glaze and Mod Podge (to seal and give a finished shine)
- Stencil (optional): You can use a Cricut to cut holiday stencils if you want repeating designs
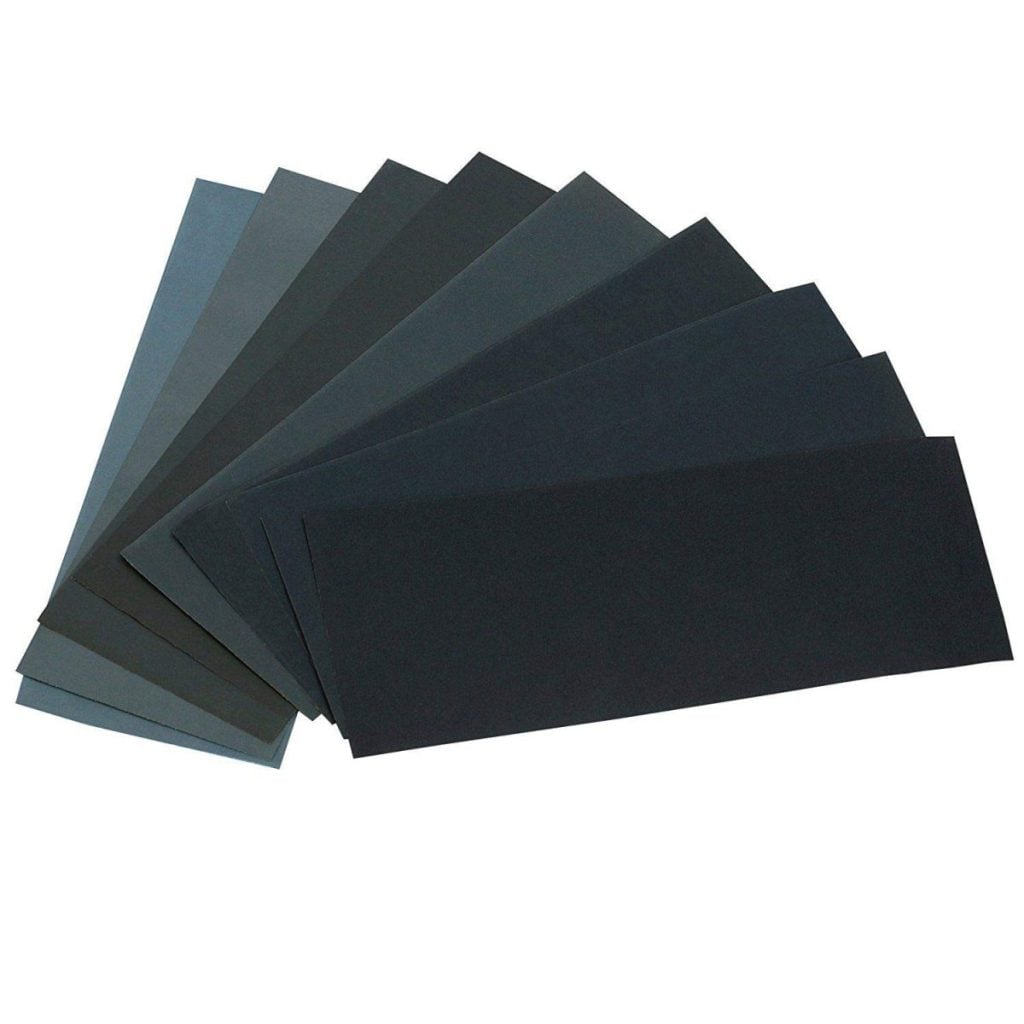
- Sandpaper (fine grit, to smooth edges once dry)
Download my gingerbread template below.
I may occasionally use affiliate links on this blog, which means I earn a small commission if you purchase through the link. The price will be the same whether you use the affiliate link or go directly to the vendor’s website using a non-affiliate link.


Painted Gingerbread House
Step One: Rolling Out the Clay
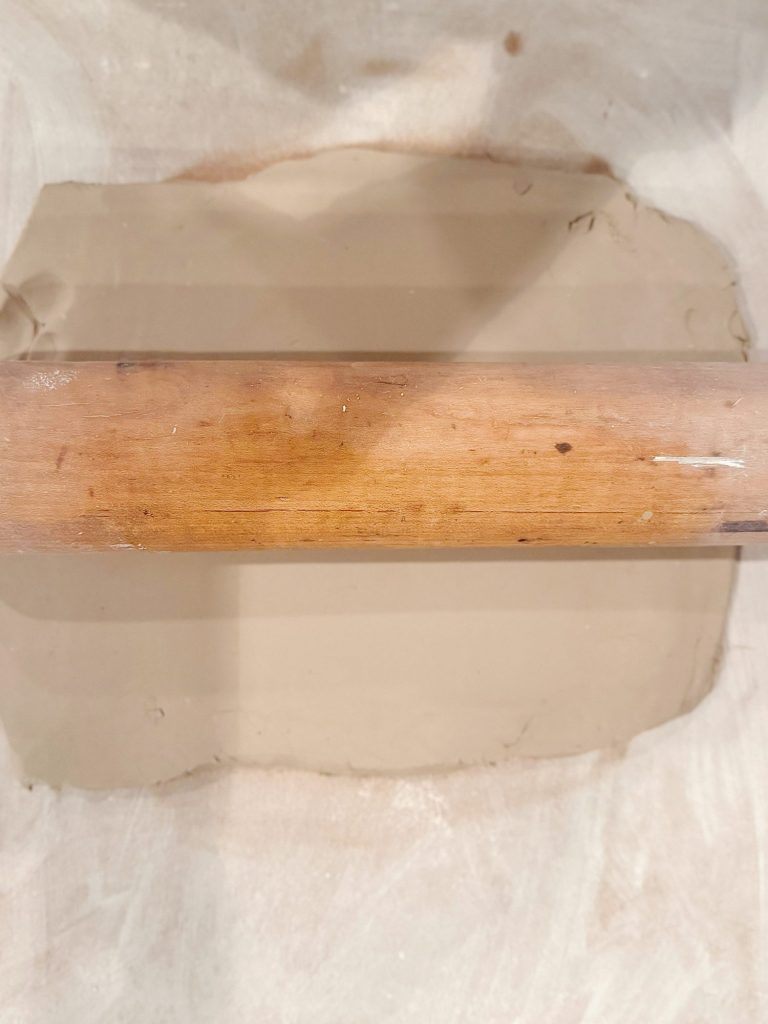
Start by rolling out your air-dry clay to a thickness of about 3/8 inch. You want it thin enough to feel like a plate but thick enough to stay sturdy once dry. I like to roll my clay on a piece of parchment paper—it makes it easier to lift without sticking.
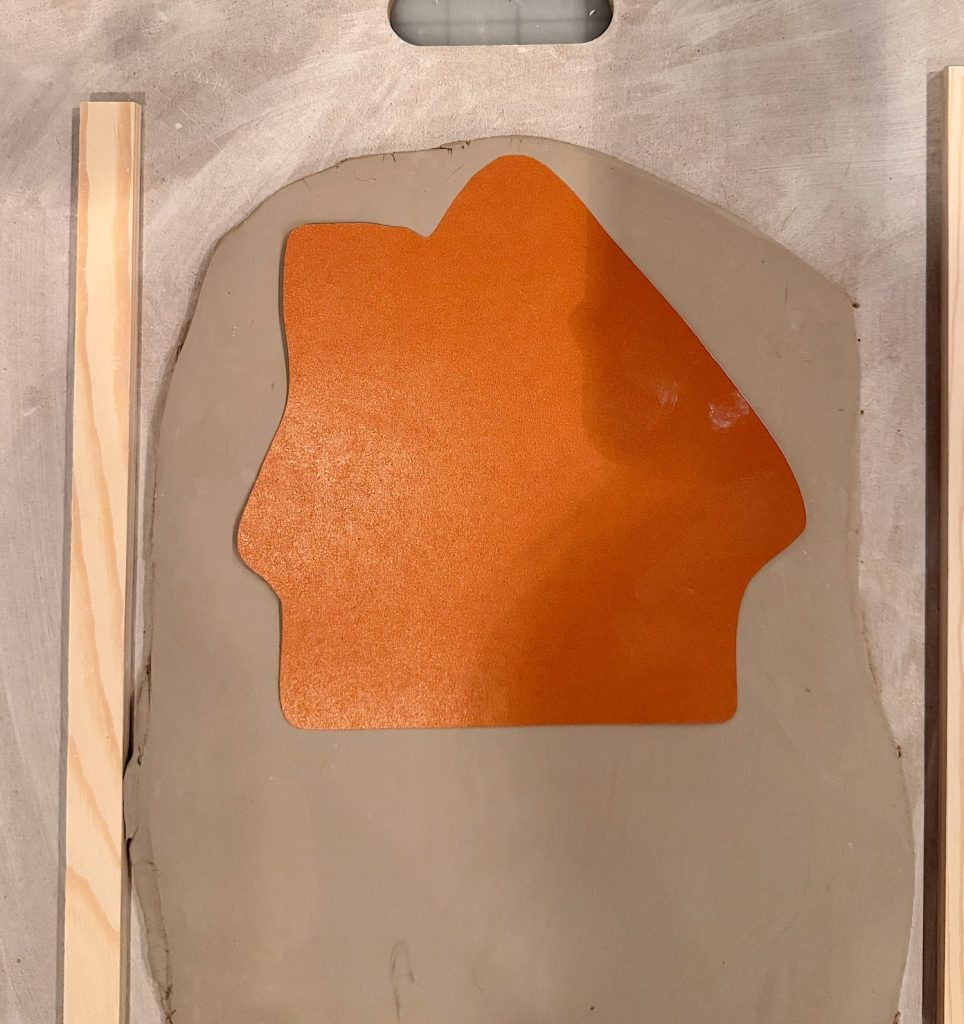
Step Two: Cutting Out the Plate
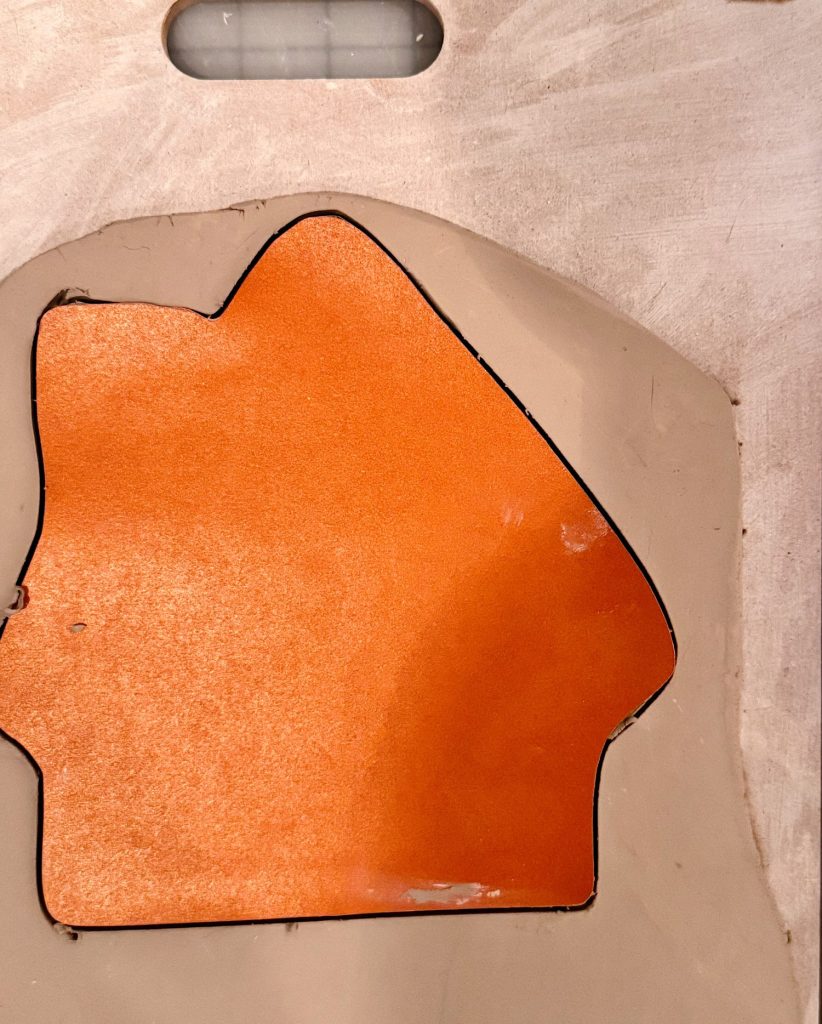
Next, cut out your gingerbread house shape. You can sketch your own, trace around a printed template, or use a cookie cutter for a consistent size.
You can also download my template above and use it. My house measured about 8″ x 8″, so adjust accordingly. Print it on cardstock to make the template.
Using a knife, cut around the template to make your clay house. Set the clay aside.
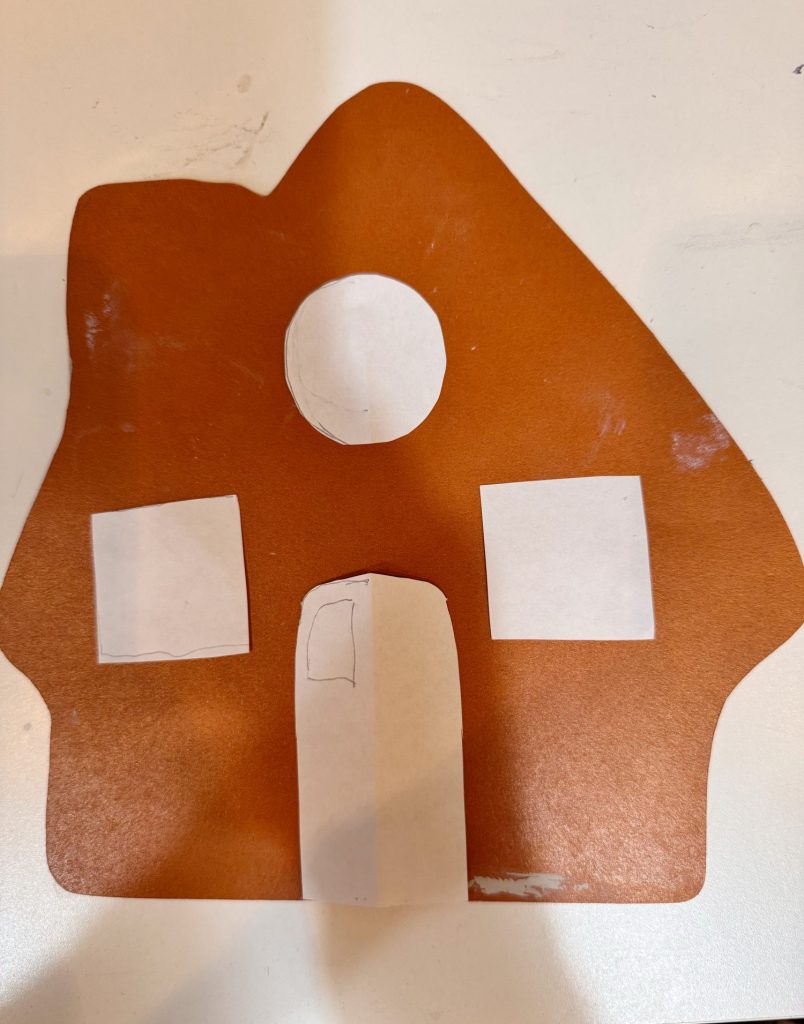
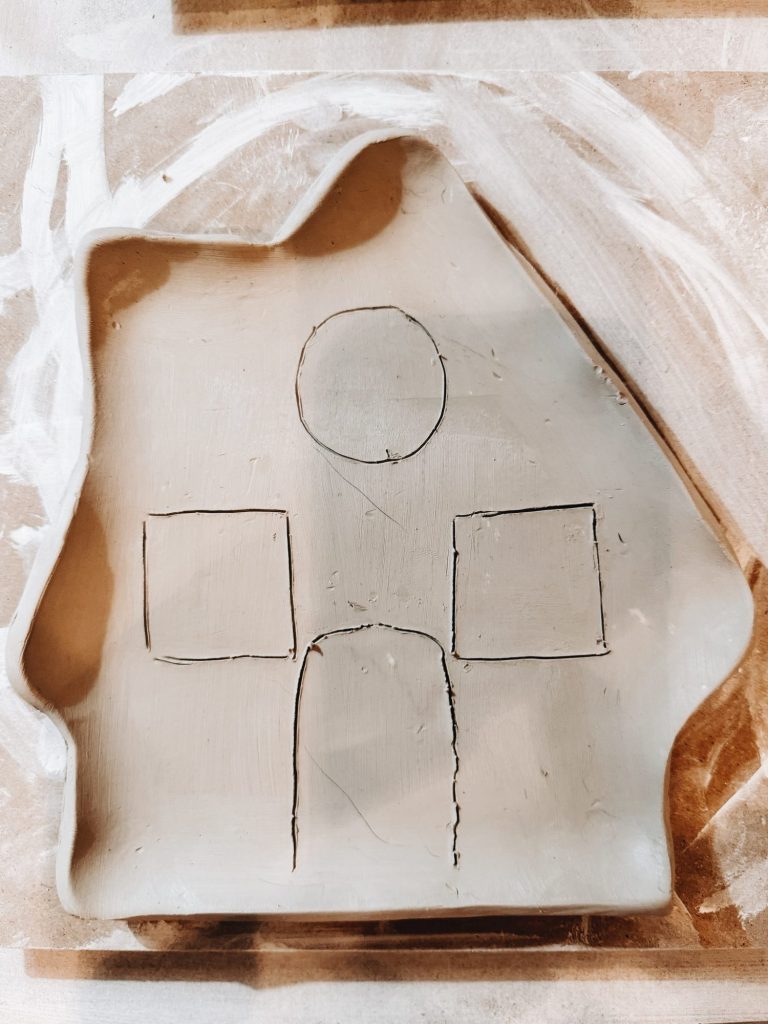
At this point, go ahead and design and cut out the shapes for the doors and windows. I did this so I could trace the basic shapes onto the clay. That makes it so much easier to decorate.
Step Three: Shaping the Plate
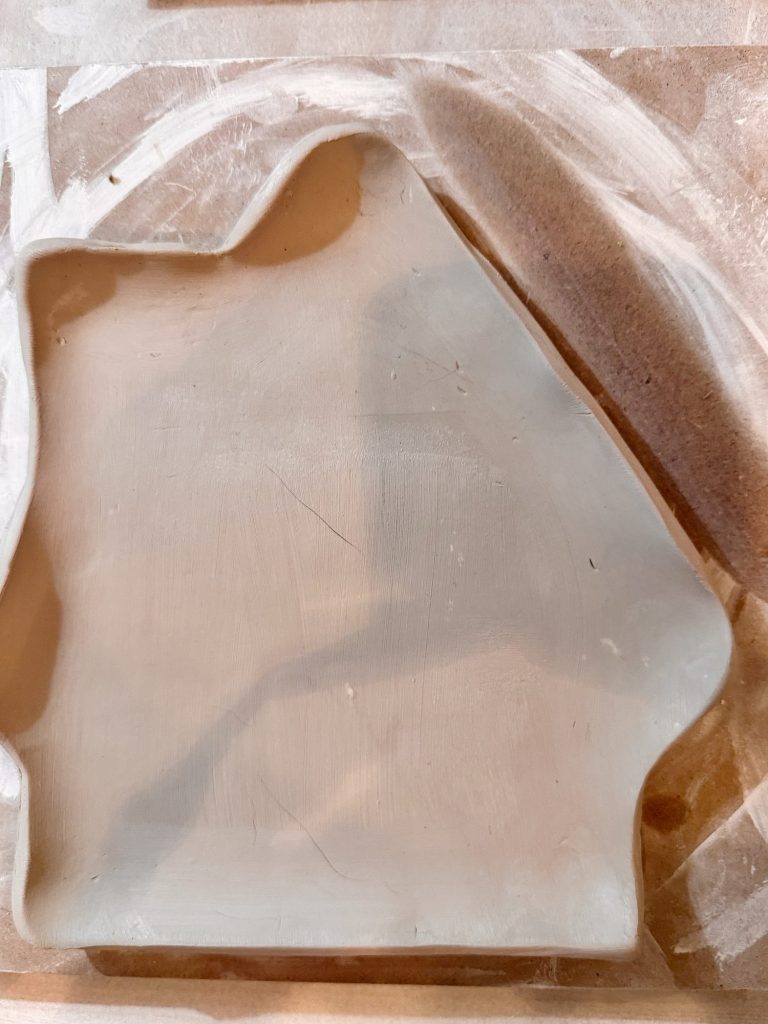
Carefully trim away the excess clay. Smooth the edges with your fingers and a small amount of water. If you’d like the plate to have a slight curve, use a ruler or straight edge and gently fold the edges up all the way around.
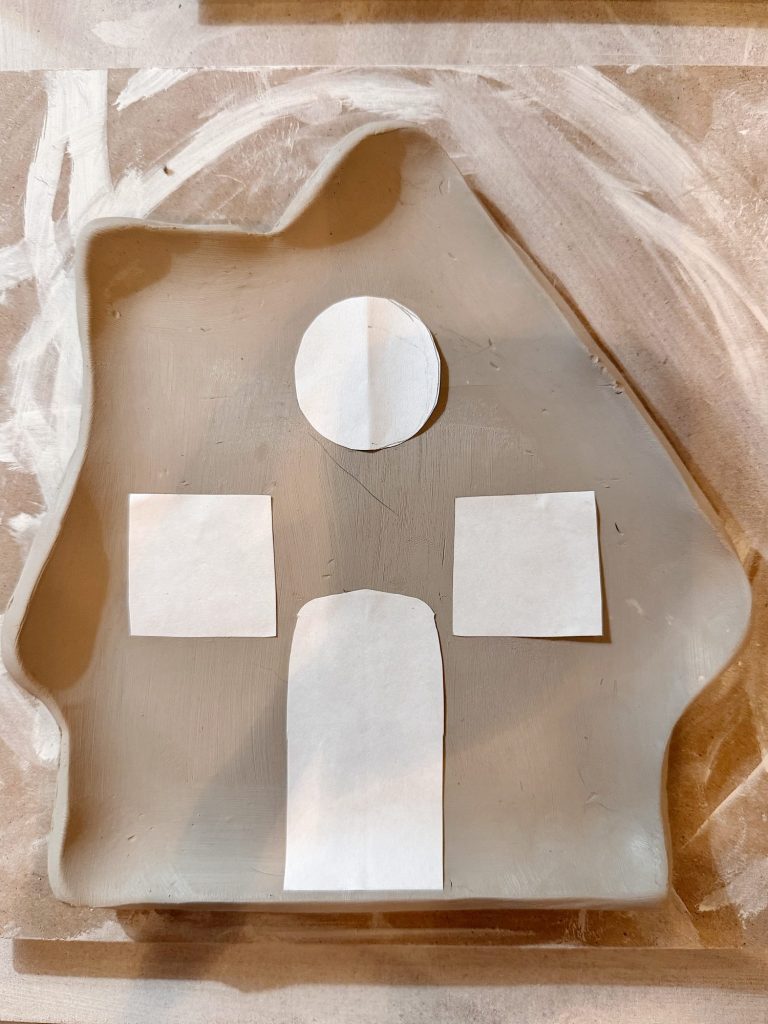
Place the window and door shapes and trace lightly onto the clay. Lightly trace the windows and door onto the clay.
Step Four: Drying and Smoothing
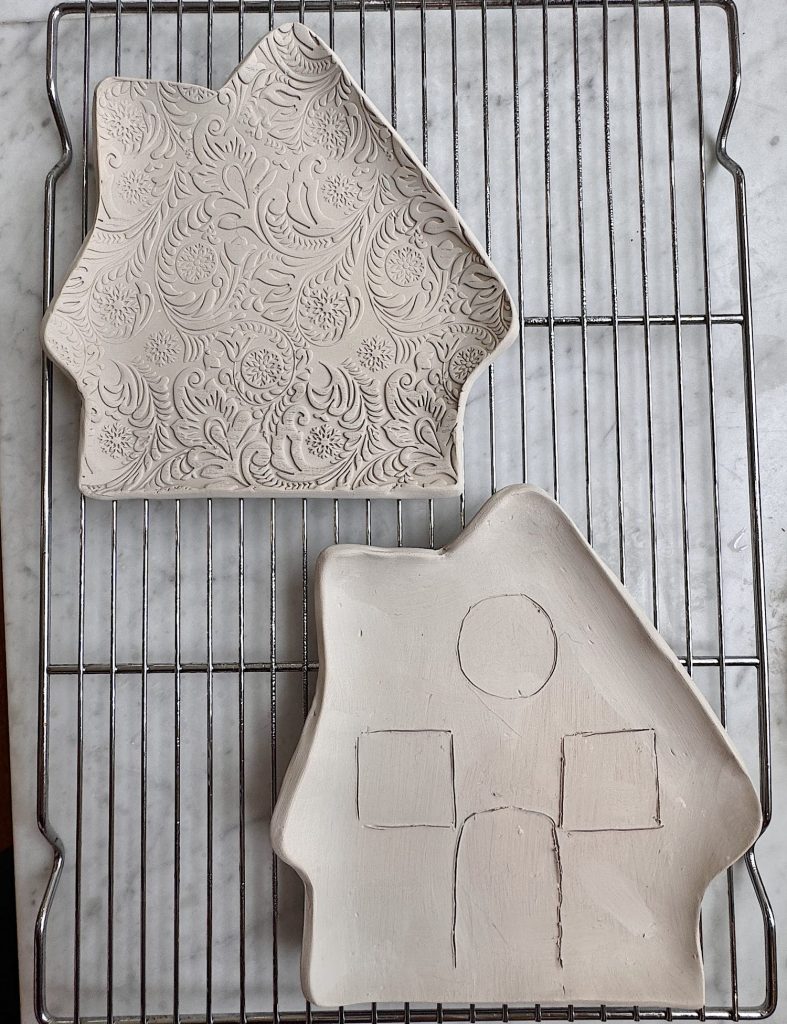
Air-dry clay usually takes 24–48 hours to dry, depending on thickness. Be patient and let it dry thoroughly before painting.
You can speed up the drying process by placing the clay on a baking pan (covered with a slip mat or parchment paper) and then placing it in the oven at 250 degrees for about 20 minutes. Once dry, use fine sandpaper to smooth any rough edges or imperfections.
Step Five: Painting the Base
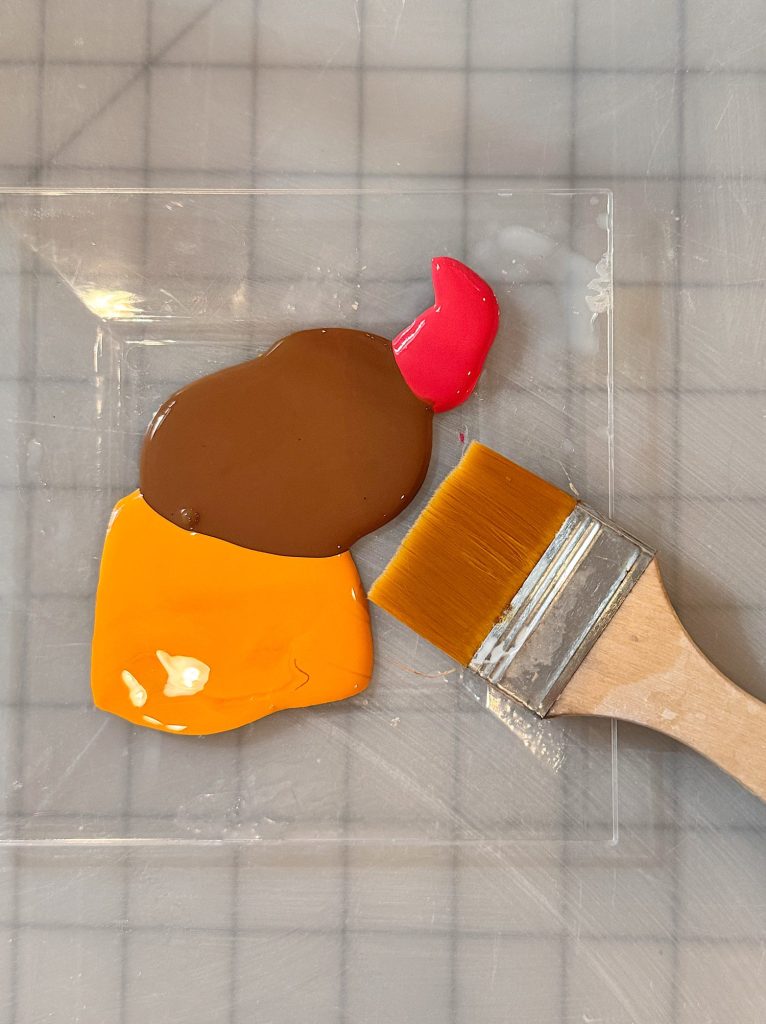
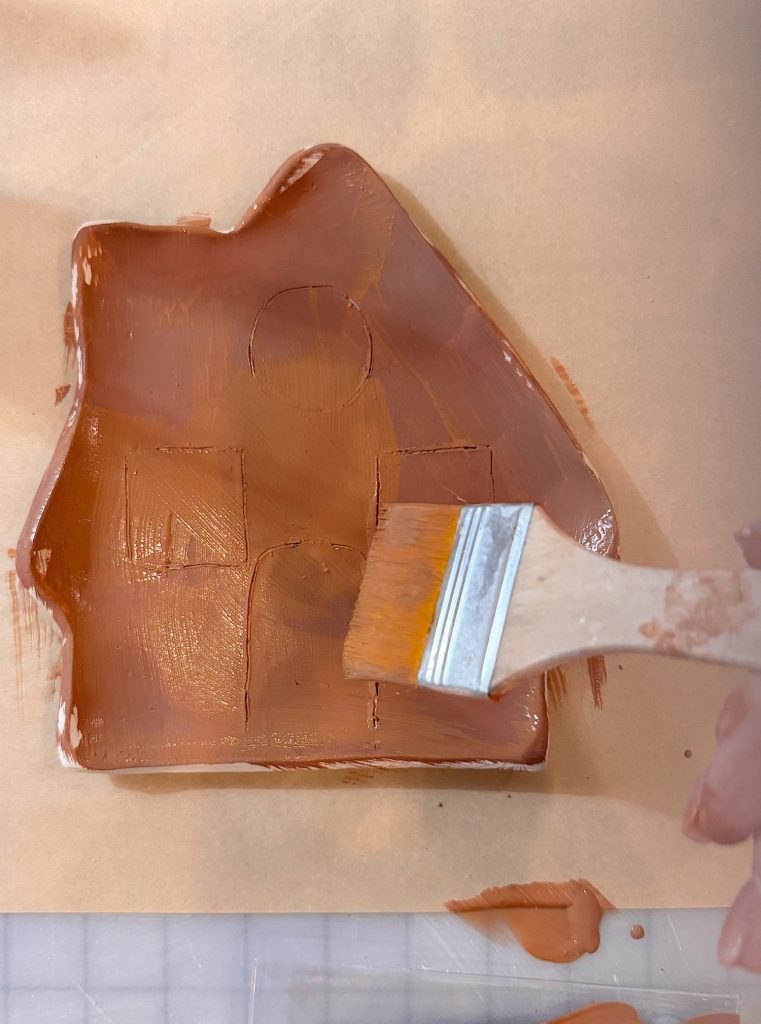
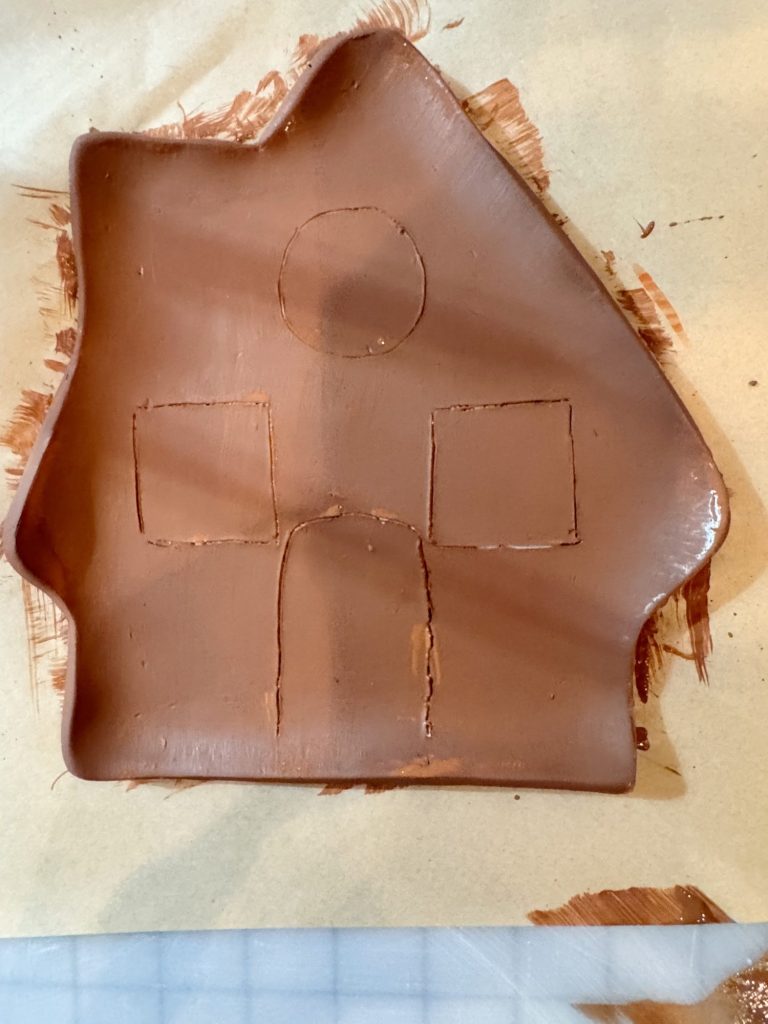
I mixed my own f=gingerbread colored paint using brown, orange, and red. Apply the paint with a brush. I used two thin coats and painted both the front and back.
Step Six: Adding the Design
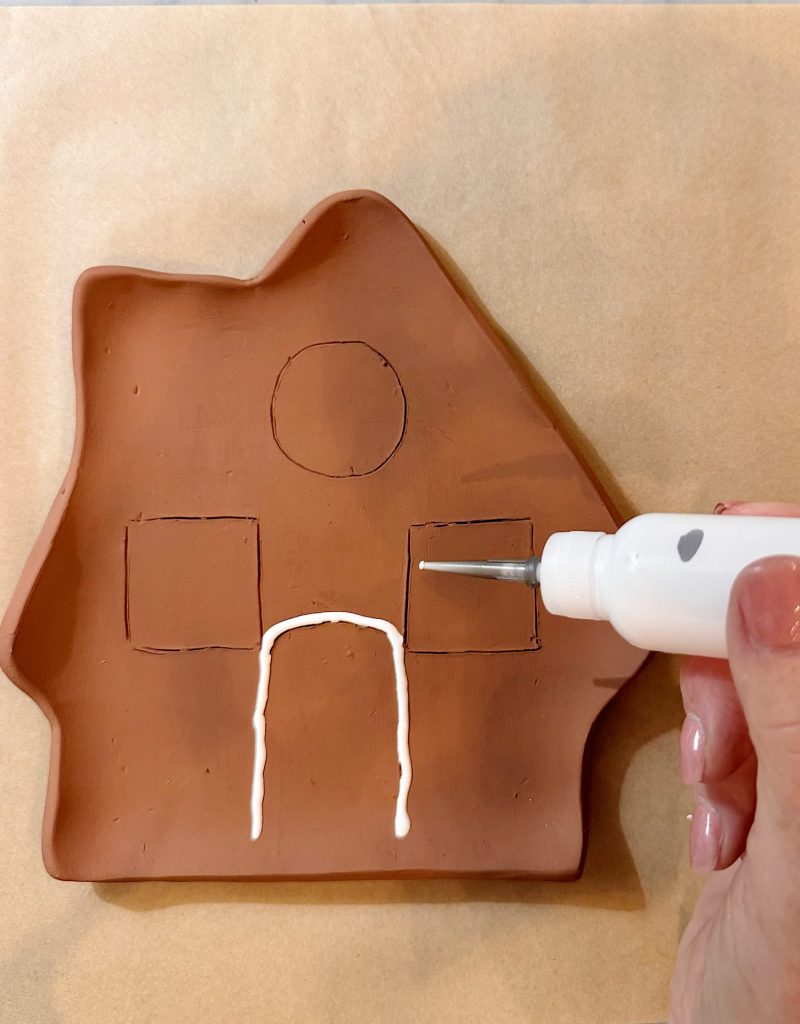
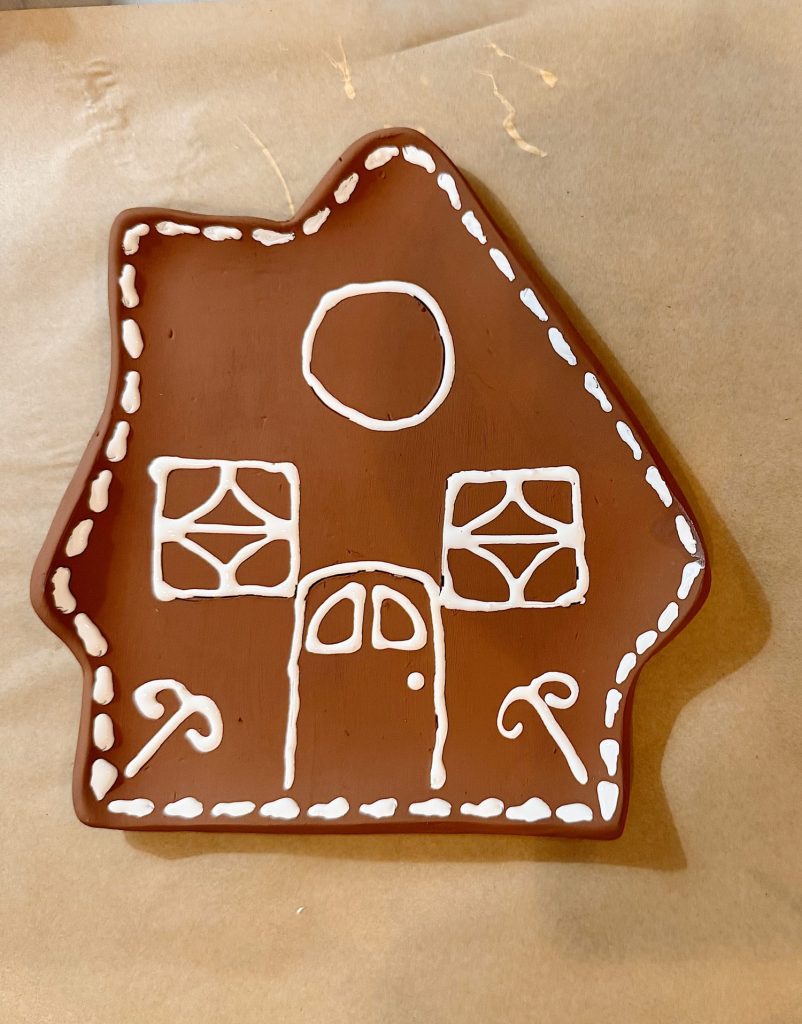
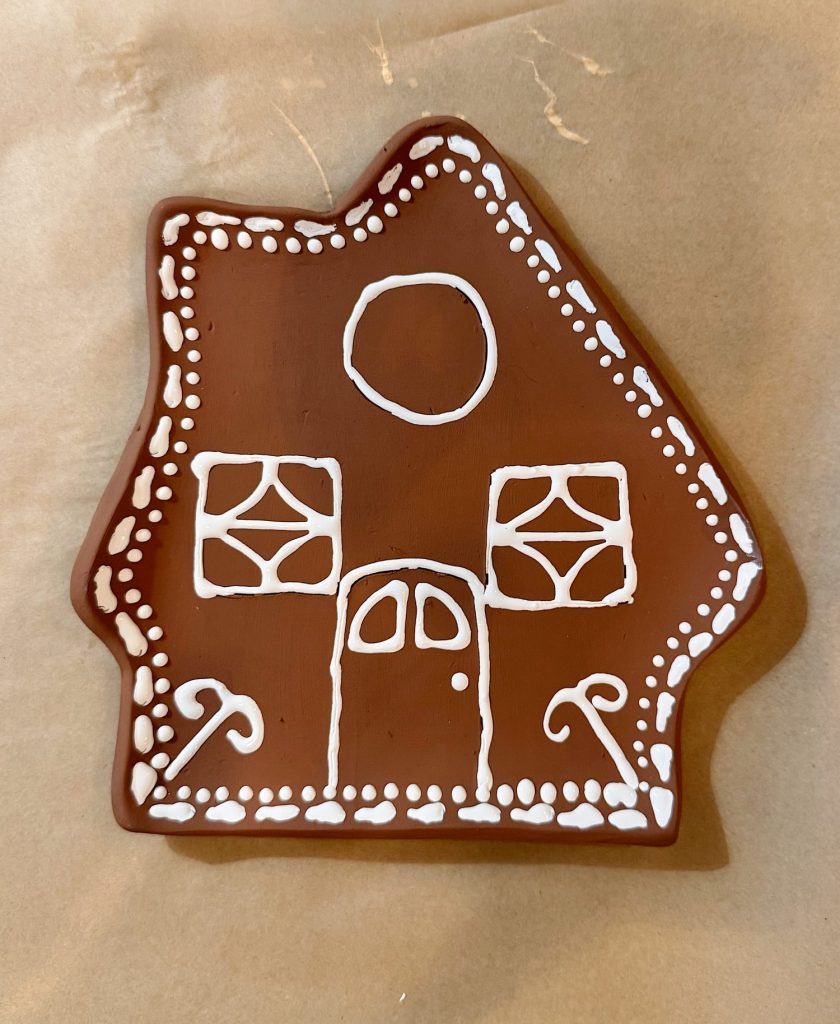
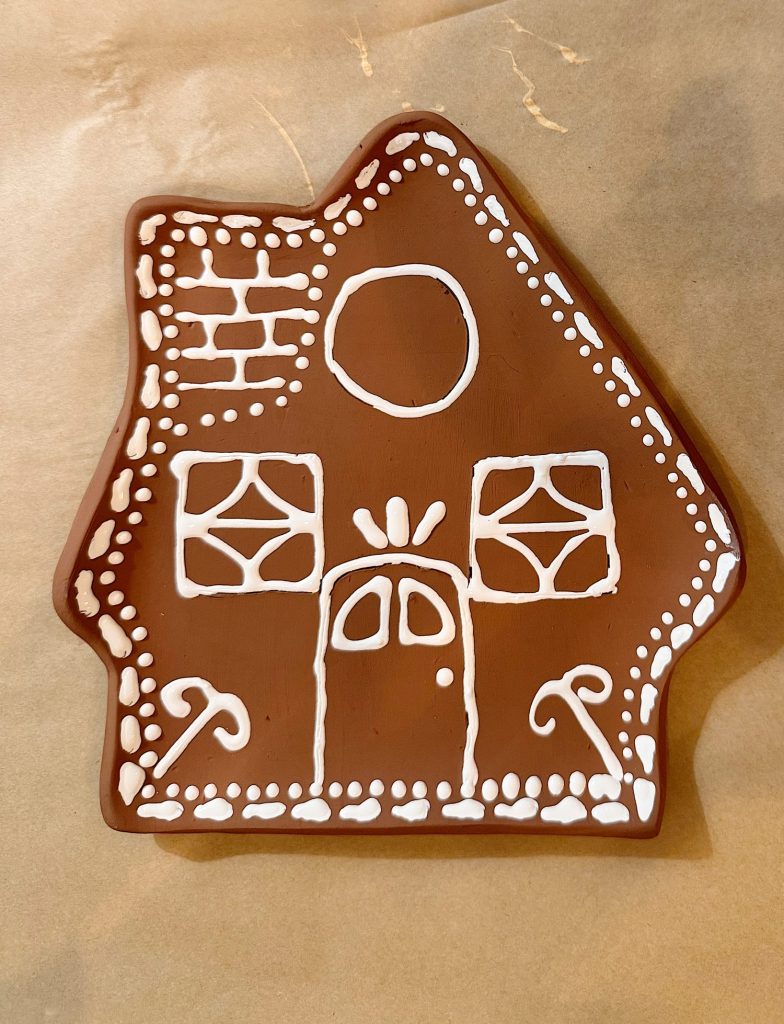
Here’s where the fun begins. Using your clay tools, lightly carve additional details on the plate. Don’t worry about perfection, as gingerbread houses are meant to be whimsical!
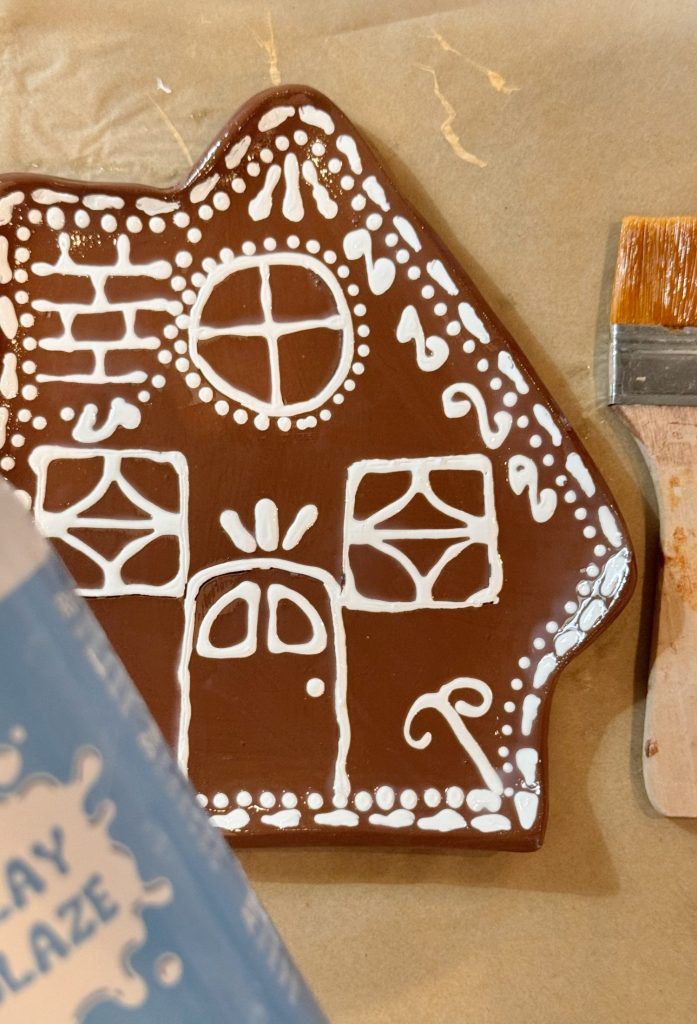
I used Precision Tip Applicators and Bottles for painting. This made the painting of the white accents so much easier! And they are really fun to use.
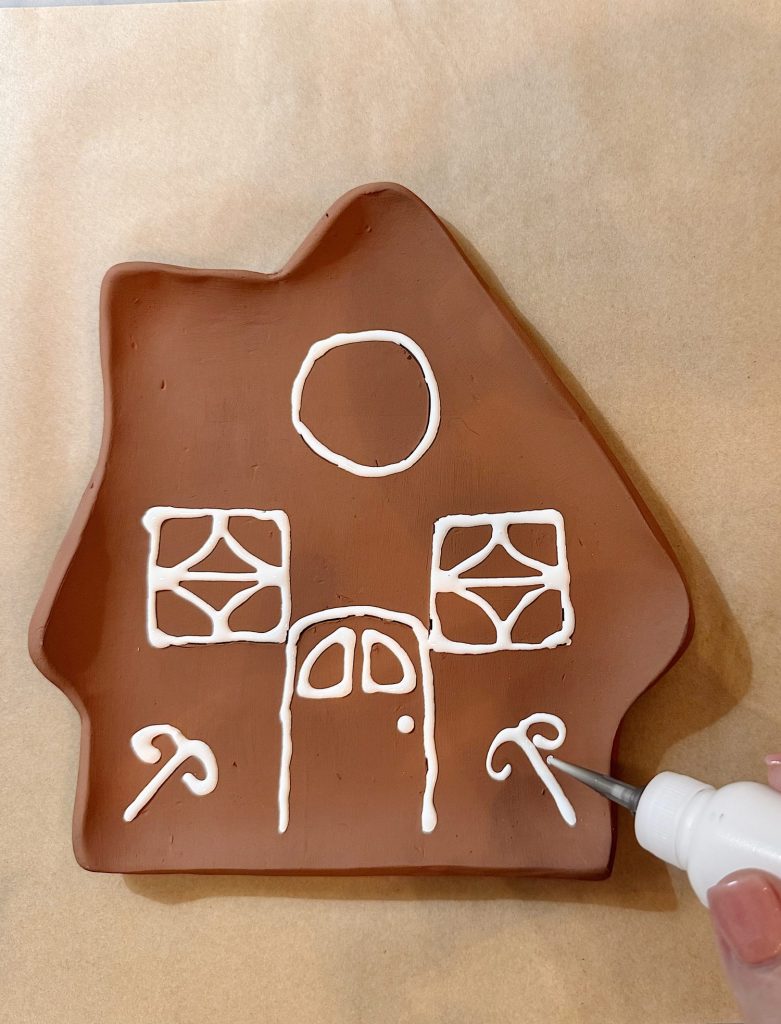
Just fill one of the bottles with the paint, attach the tip, and start painting. As you can see, the paint went on really easily.
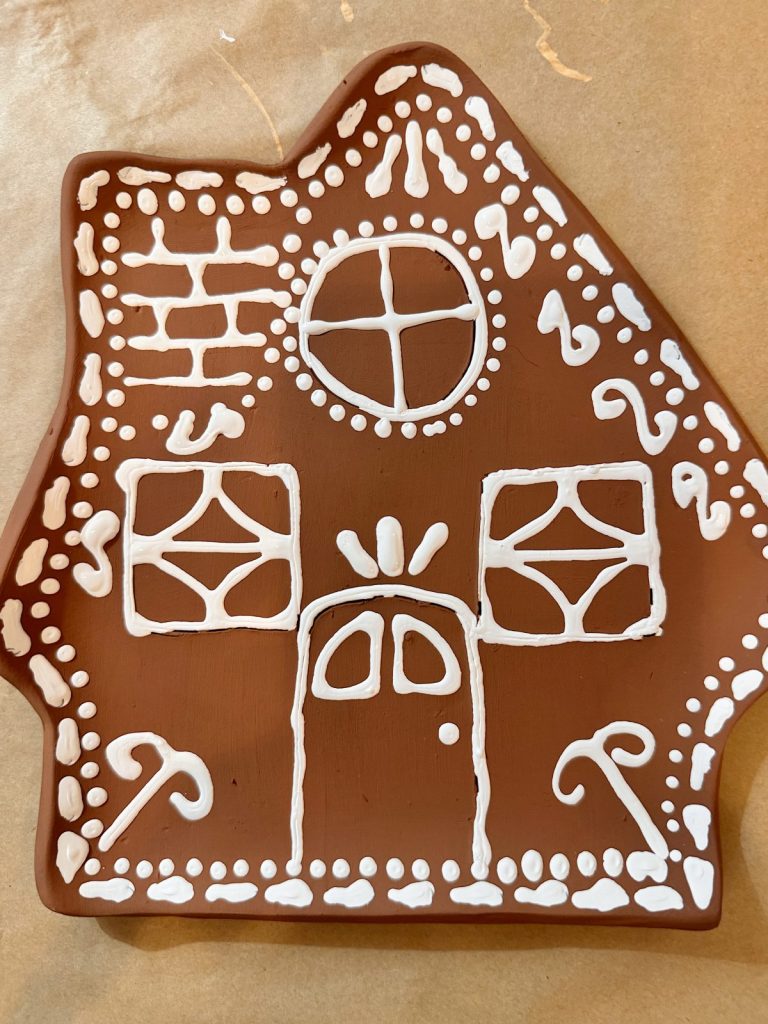
I absolutely love how it came out. It’s not perfect, but that’s what makes it look like a gingerbread house!
Step Seven: Glazing the Plate
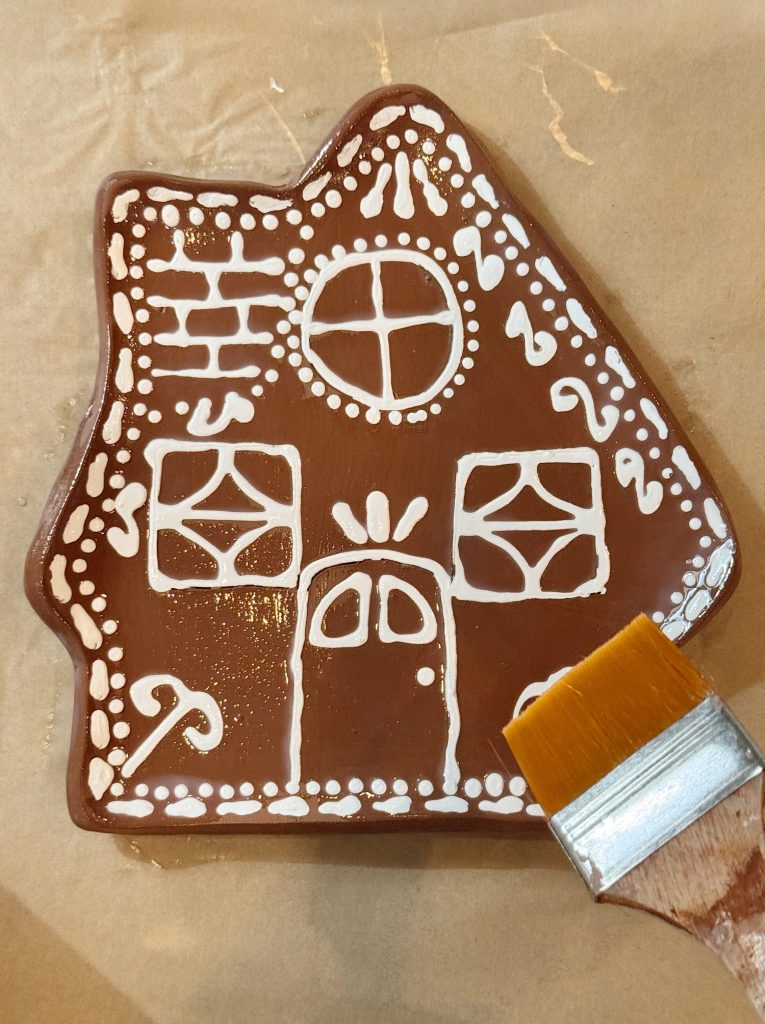
To give the plate a finished look, I brushed on a transparent Clay Glaze. This step seals the paint, adds a subtle shine, and makes the plate feel more like a ceramic piece. If you don’t have glaze, Mod Podge works almost as well.
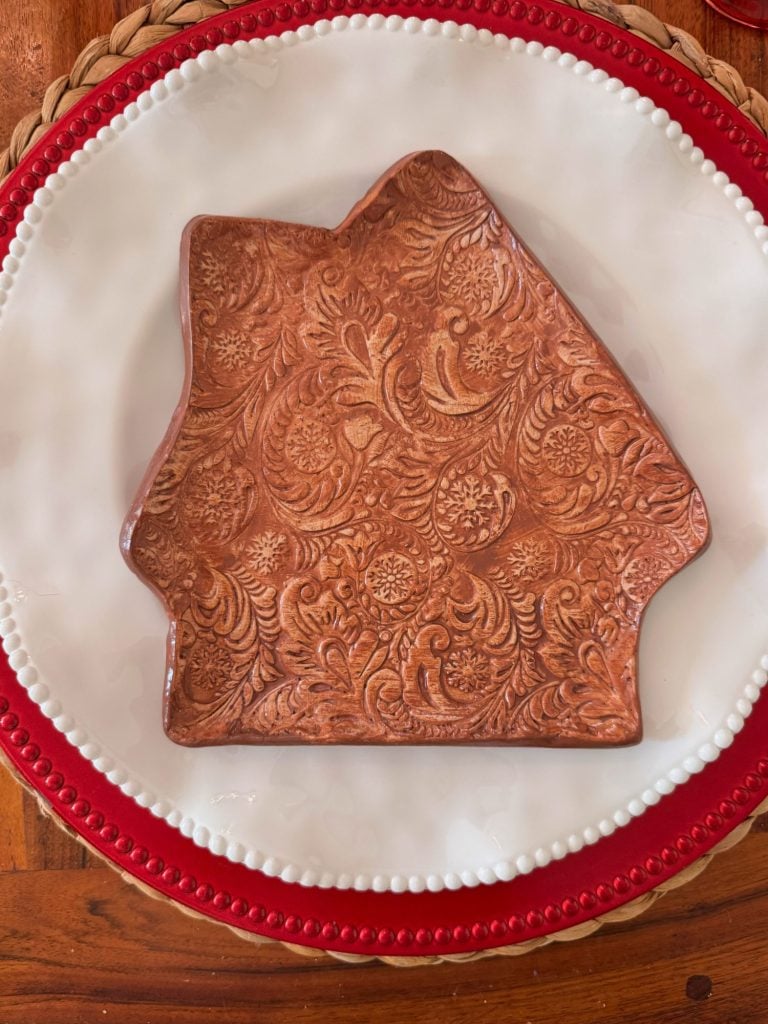
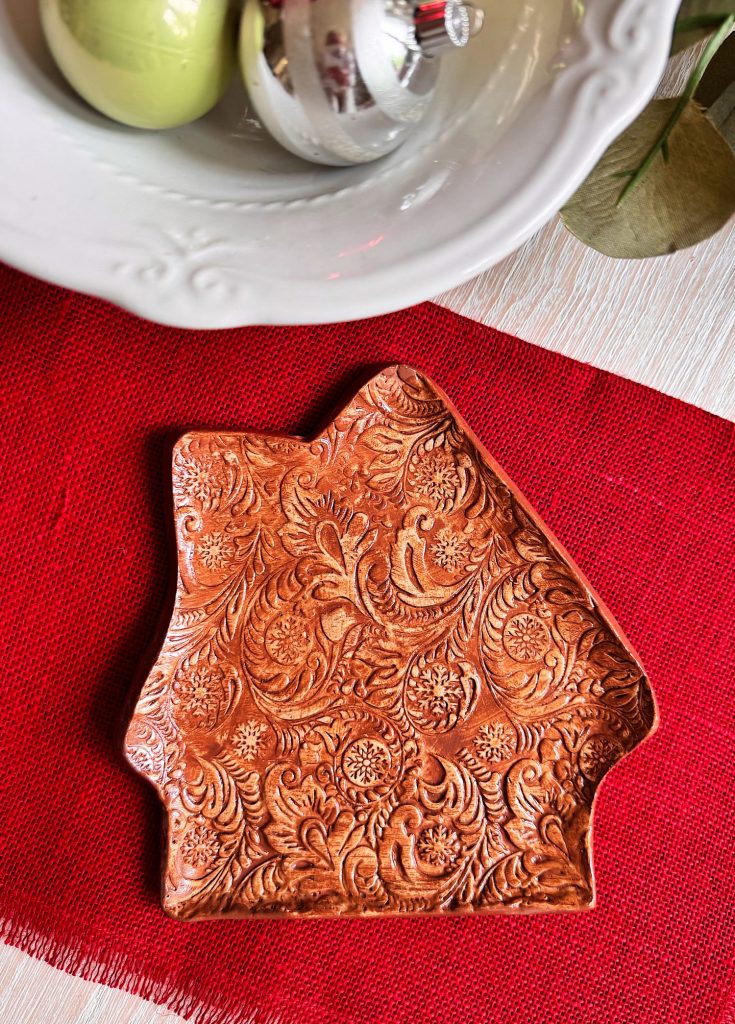
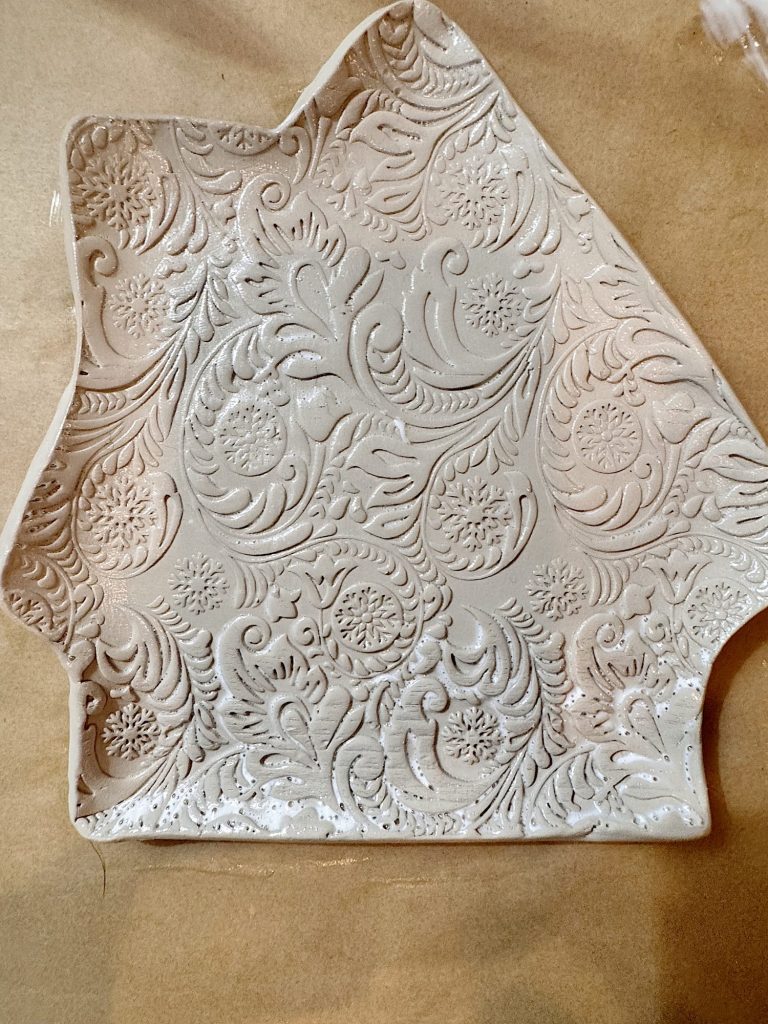
Textured Gingerbread House
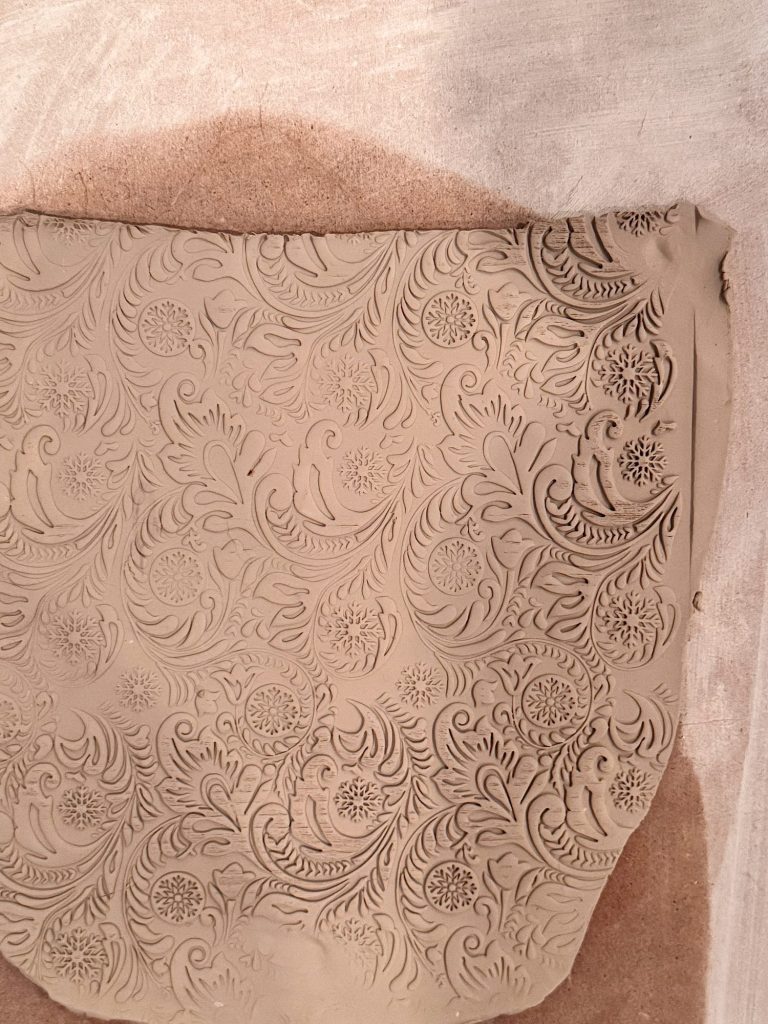
Step One: Rolling Out the Clay
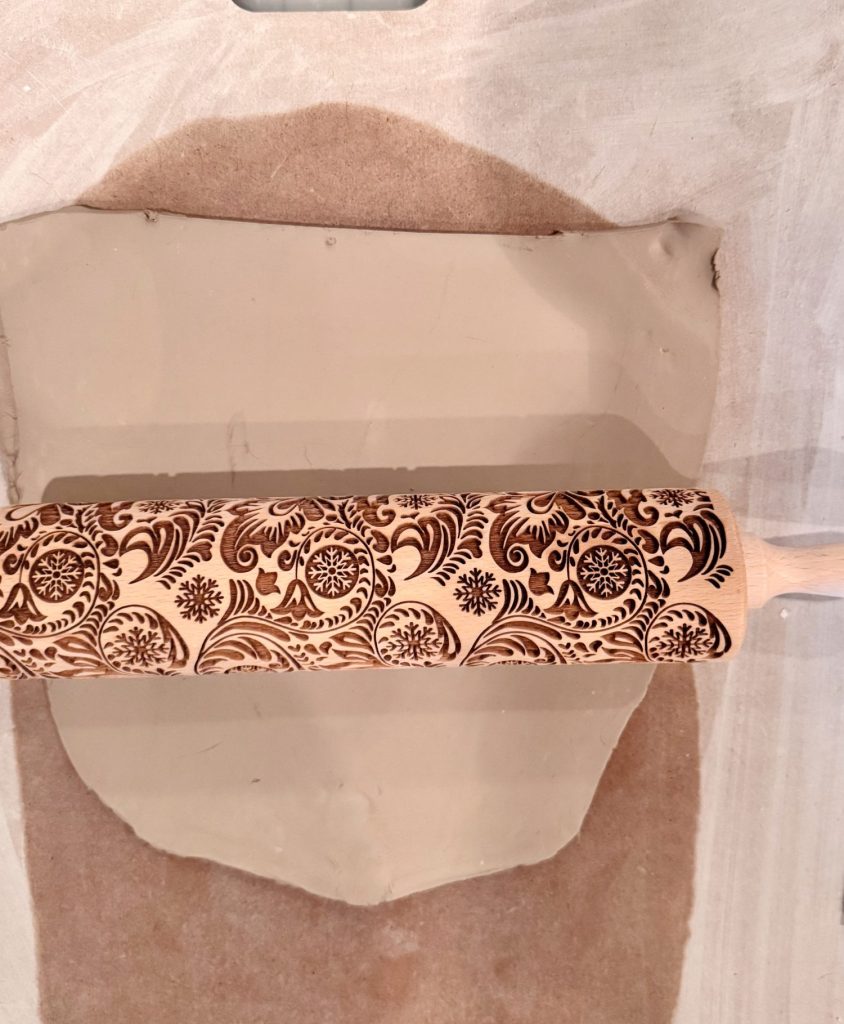
Start by rolling out your air-dry clay to a thickness of about 3/8 inch. You want it thin enough to feel like a plate but thick enough to stay sturdy once dry. I like to roll my clay on a piece of parchment paper, as it makes it easier to lift without sticking.
Once the clay is rolled out, roll the textured rolling pin on top to add the design. Be sure to roll with equal pressure throughout.
Step Two: Shaping the Plate
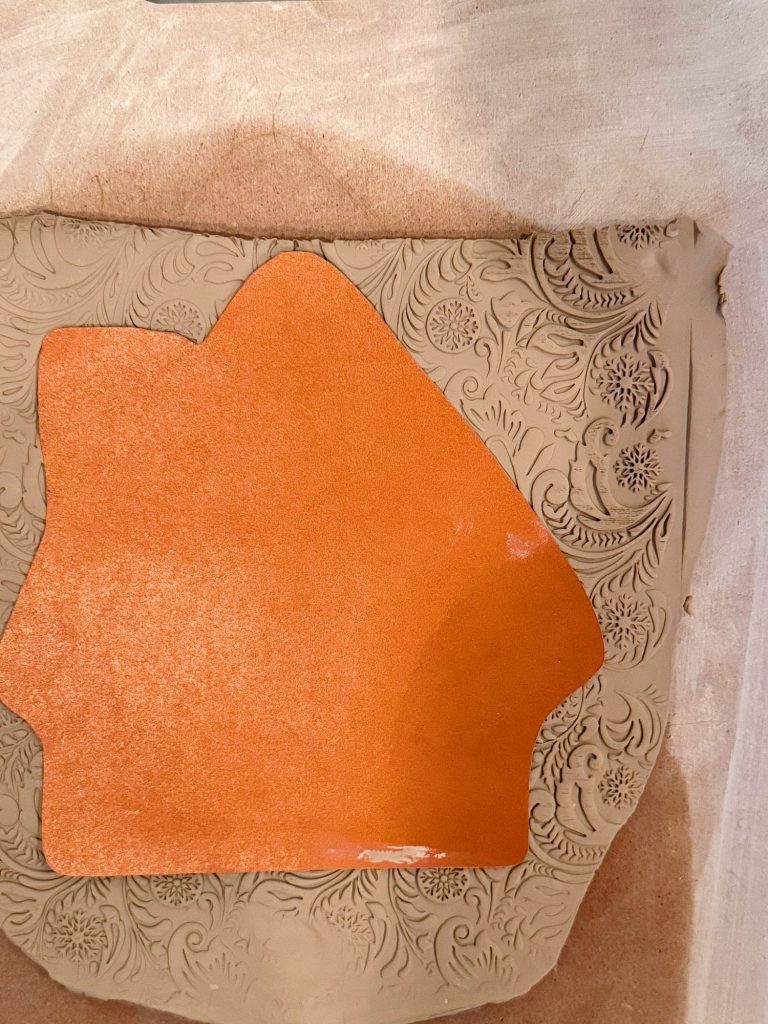
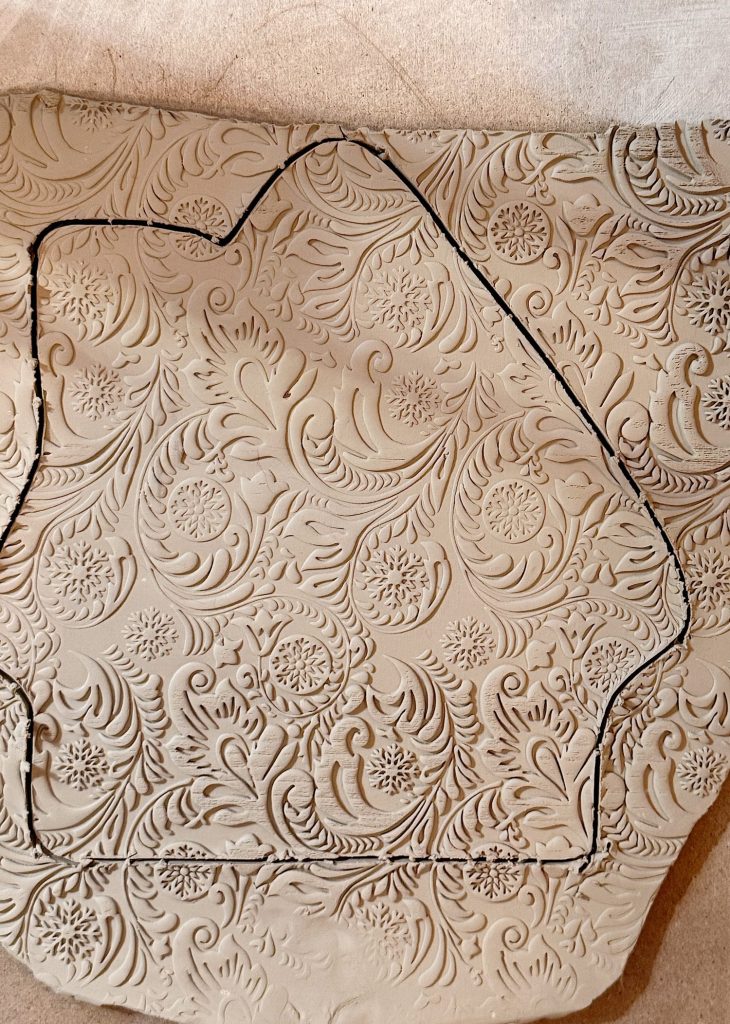
Next, cut out your gingerbread house shape. You can sketch your own, trace around a printed template, or use a cookie cutter for a consistent size. You can download my gingerbread house template above.
Carefully trim away the excess clay. Smooth the edges with your fingers and a small amount of water. If you’d like the plate to have a slight curve, use a ruler or straight edge and gently fold the edges up all the way around.
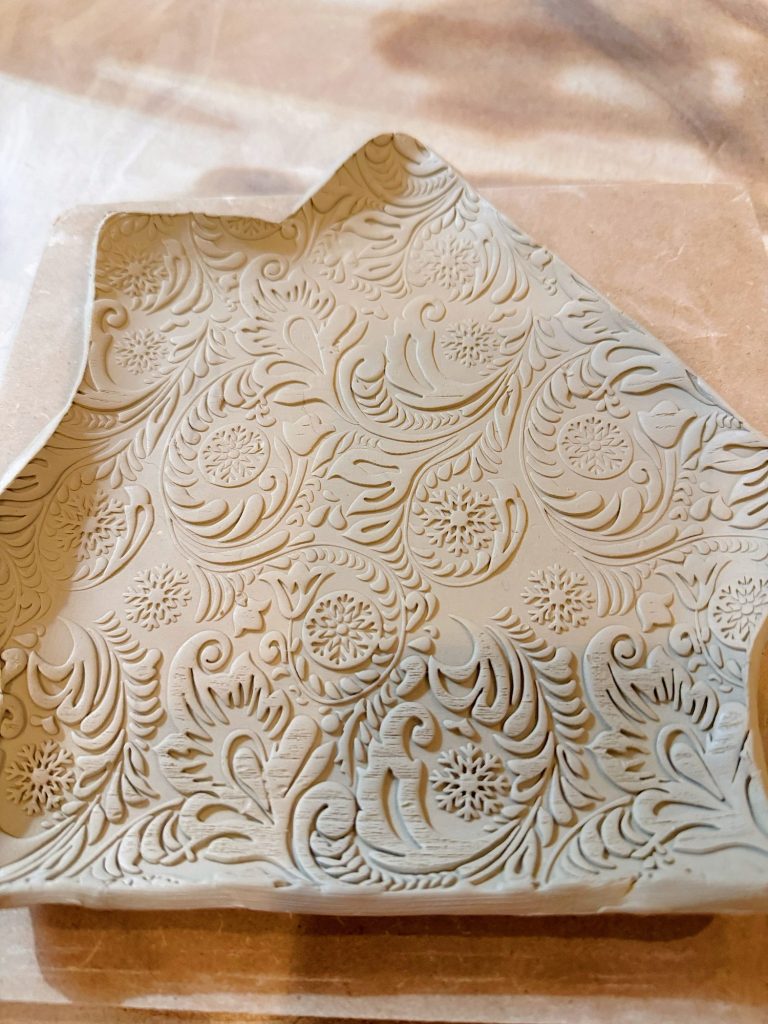
Let it dry in this position so it retains its natural curve.
Step Three: Drying and Smoothing
Air-dry clay usually takes 24–48 hours to dry, depending on thickness. Be patient and let it dry thoroughly before painting.
You can speed up the drying process by placing the clay on a baking pan (covered with a slip mat or parchment paper) and then placing it in the oven at 250 degrees for about 20 minutes. Once dry, use fine sandpaper to smooth any rough edges or imperfections.
Step Four: Sealing the Clay
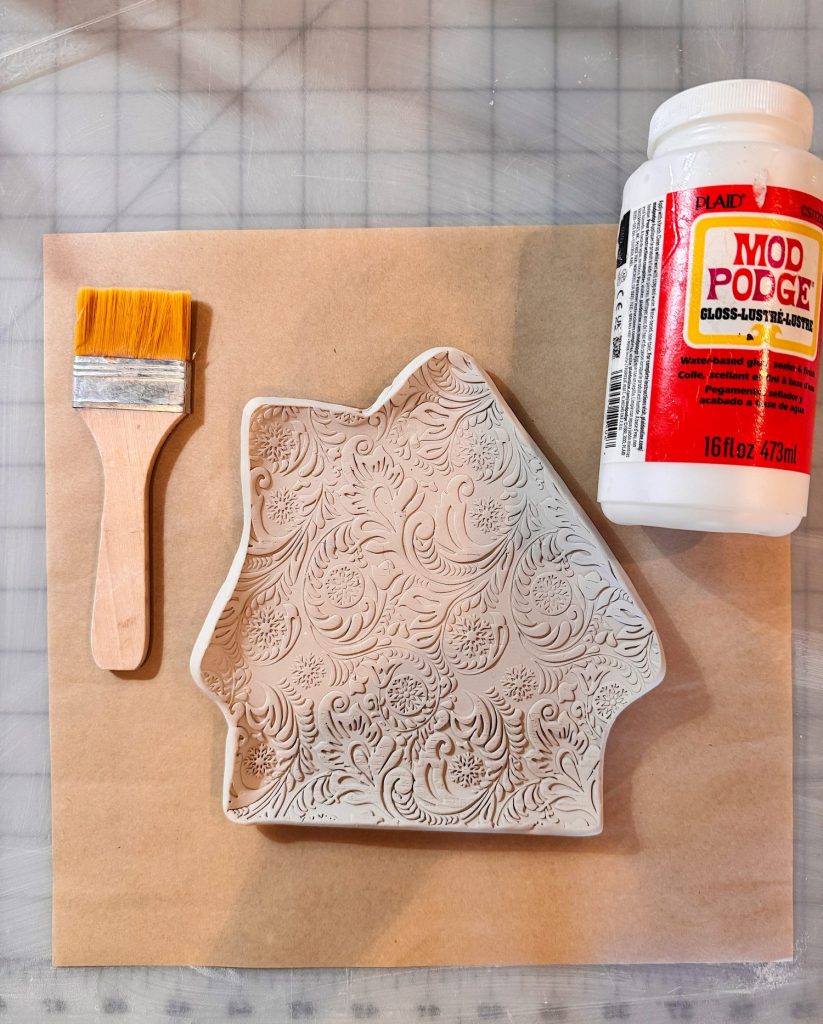

Air-dry clay absorbs paint, so I like to apply Mod Podge to textured projects before painting. That way, I can then wipe off some of the paint for a more “ceramic” look.
Step Five: Painting the Base
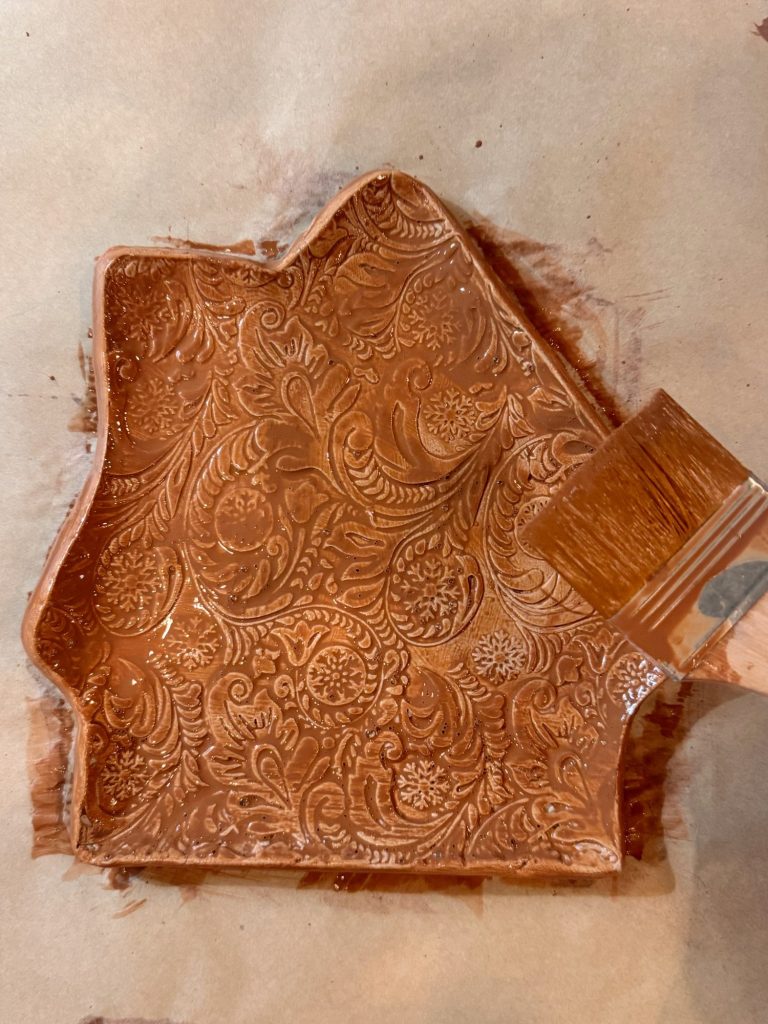
To mimic the look of gingerbread, I painted the entire plate with a warm brown acrylic paint. You can mix shades of tan, caramel, and burnt umber to get the perfect “cookie” color. Allow the paint to dry completely before proceeding to the next step.
Step Six: Glazing the Plate
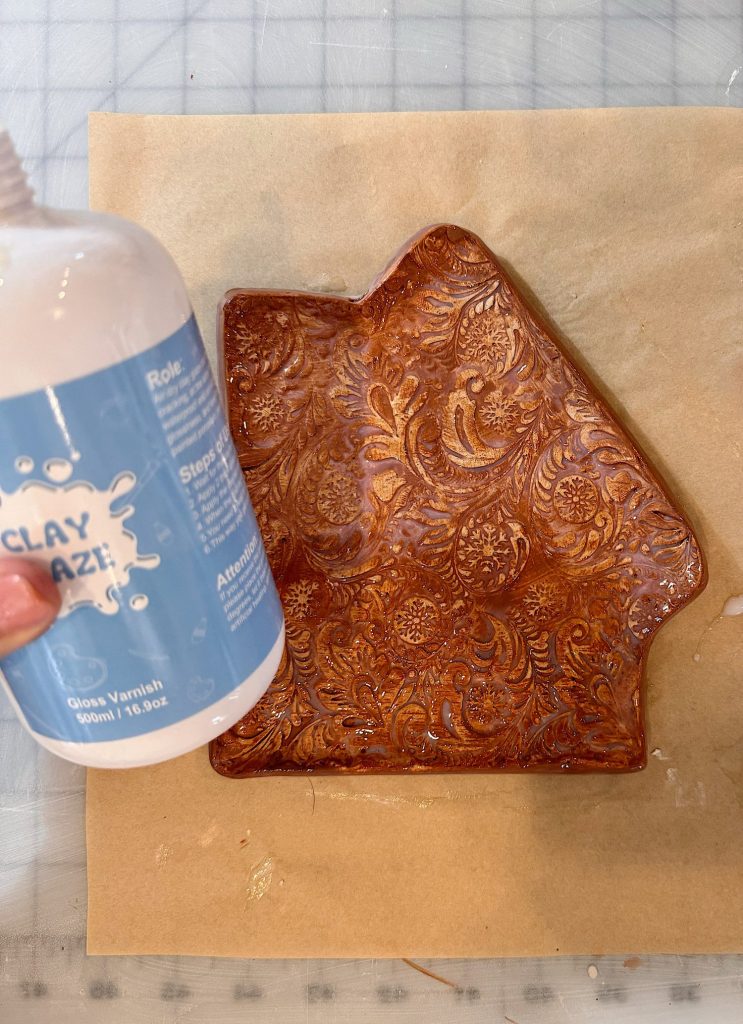
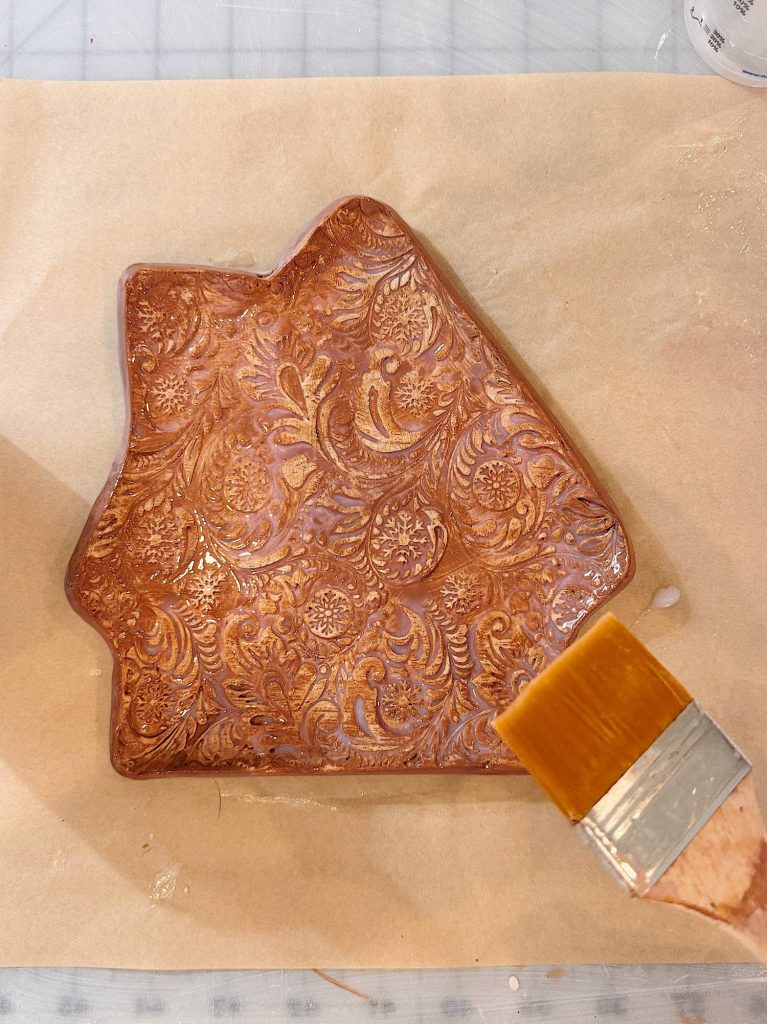
To give the plate a finished look, I brushed on a transparent Clay Glaze. This step seals the paint, adds a subtle shine, and makes the plate feel more like a ceramic piece. If you don’t have glaze, Mod Podge works almost as well.
Styling Your Gingerbread Plates
The plates aren’t dishwasher safe, so they should be used for serving or decor.
Once finished, the possibilities are endless:
- Holiday Cookie Display: Serve sugar cookies, gingerbread men, or biscotti on your handmade plates.
- Table Setting: Use them as festive salad or dessert plates for a holiday dinner.
- Décor: Display them on a shelf, mantel, or in a hutch alongside other seasonal pieces.
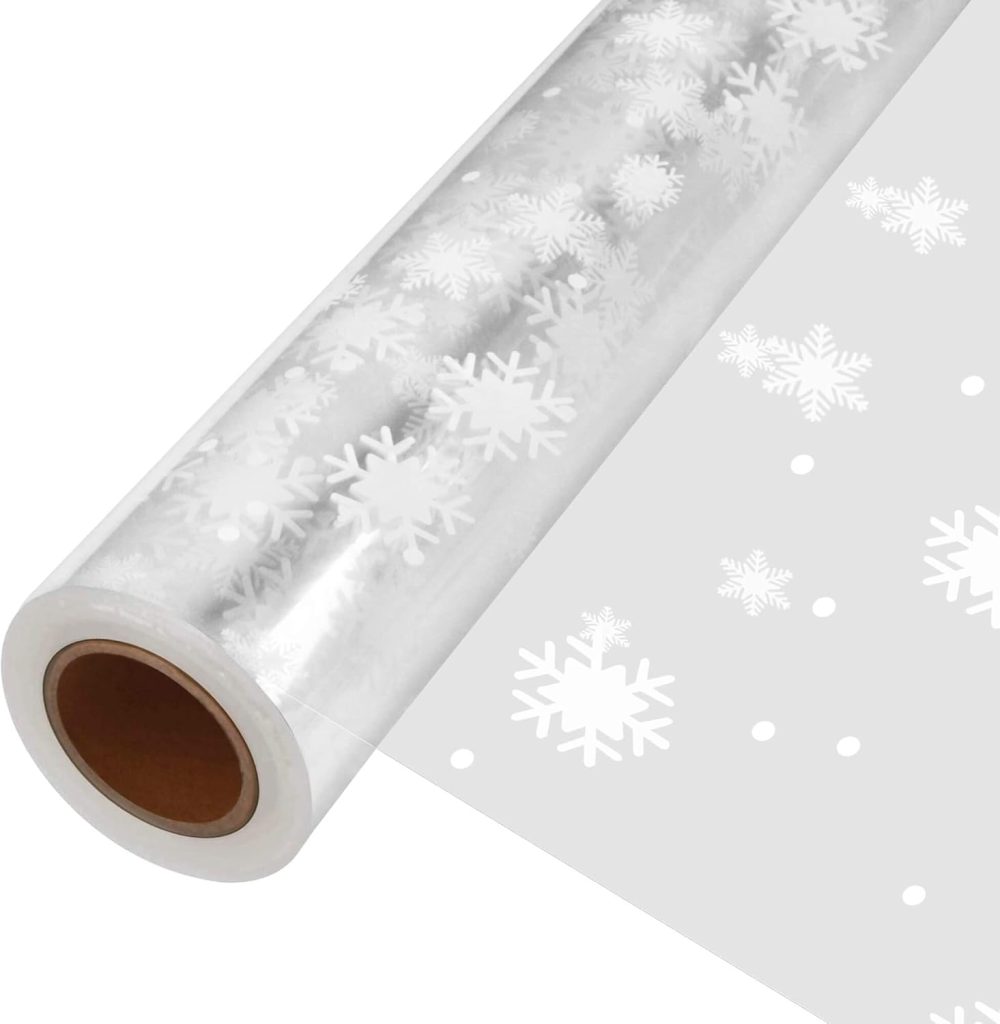
- Gifting: Wrap one with cellophane and tie it with a ribbon. Your friends and family will love receiving a handmade plate filled with treats.

Tips for Success

- Keep edges smooth: Use a damp sponge or your finger dipped in water while shaping.
- Be patient with drying: If you paint too soon, the clay may crack.
- Layer colors: Use multiple shades of brown to create a more realistic gingerbread look.
- Add sparkle: A touch of glitter paint or metallic accents makes the design pop.
- Make a set: Vary the house shapes for a charming mismatched collection.
Why I Love This Project
This DIY combines everything I love—seasonal décor, creativity, and clay crafting. It’s simple enough for beginners but leaves plenty of room for personalization. Each plate feels like its own little piece of holiday art, and I look forward to bringing them out year after year.
Additionally, I love that I could create my plates exactly as I wanted. The Pottery Barn version inspired me, but by making my own, I added my personal touch. And the satisfaction of creating something with your own two hands? That’s priceless.
Final Thoughts
If you’re looking for a festive holiday craft that’s as fun as it is functional, these clay gingerbread plates are the answer. They’re easy, customizable, and will become a holiday tradition in your home. Whether you use them for serving treats, decorating your table, or gifting to loved ones, they bring a handmade charm that store-bought items can’t match.
The next time you spot a holiday décor piece you love, consider whether you can create your own DIY version. Chances are, with a bit of clay, some paint, and a sprinkle of creativity, you can make something even better—something that’s genuinely yours.


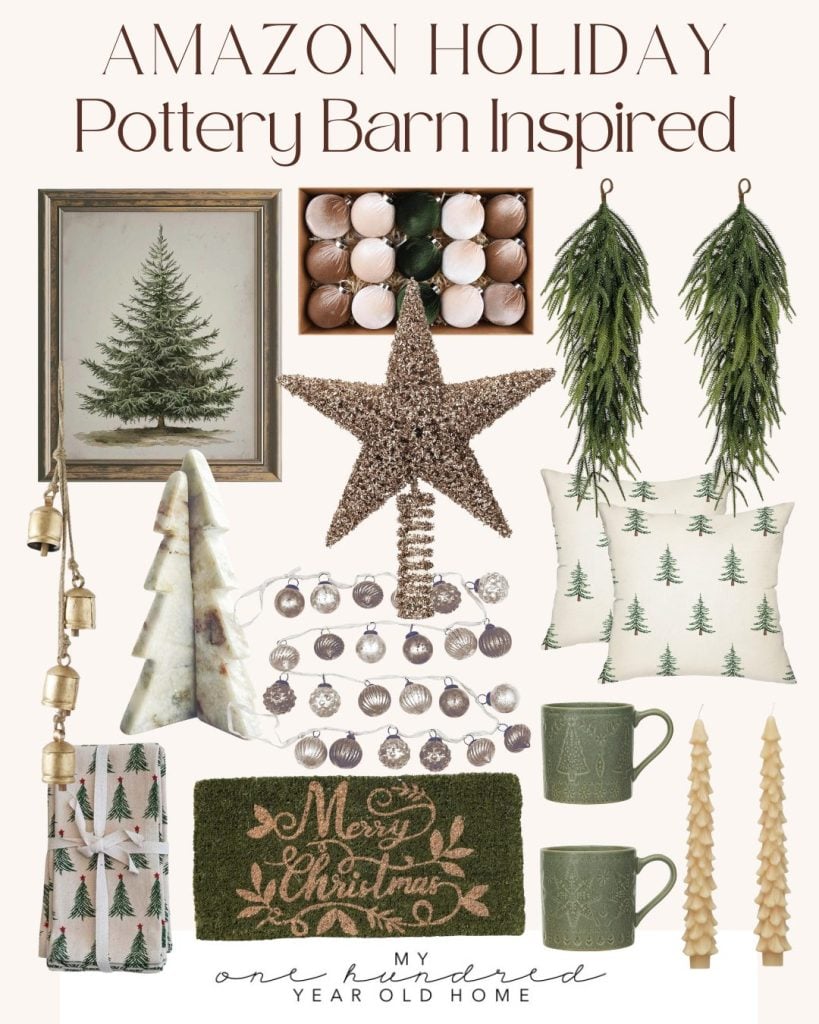
Pottery Barn Inspired Christmas Decor
If you enjoy my blog, you can sign up to receive my updates here.
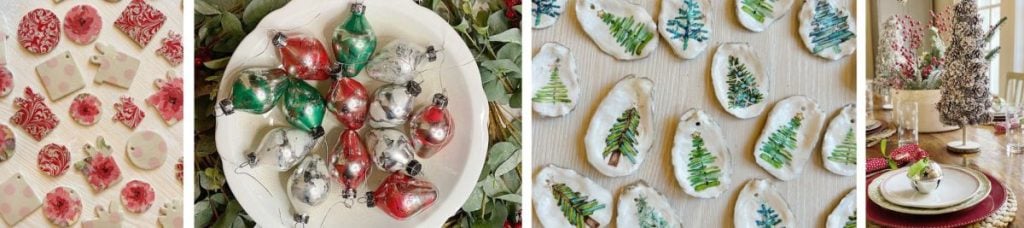
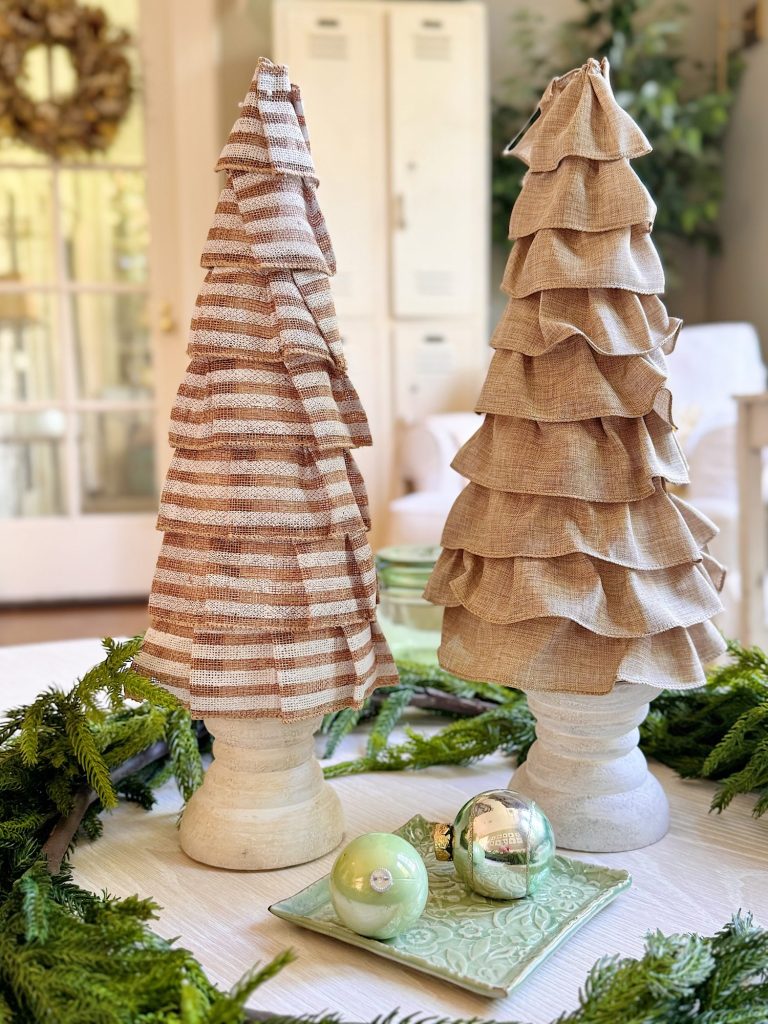
.Sixteen Weeks of A Handmade Christmas
Here are the first six weeks of A Homemade Christmas. Can you believe I have ten more still to share!


Latest Posts
-
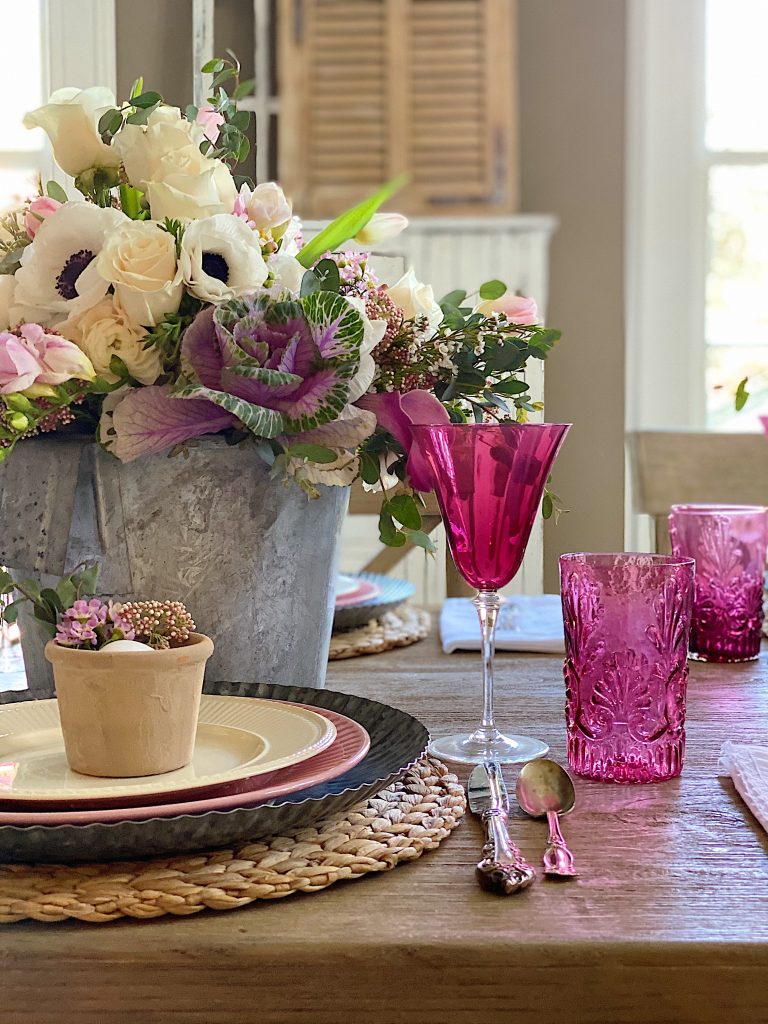
How to Set a Beautiful Table with Easter Colors
I am so excited to share my Easter brunch table ideas. I love the bright Easter colors and can’t wait to share the florals, table setting, and fun glassware. Easter Brunch is one of my favorites. I already shared my favorite Easter Brunch recipes. Today, I set a table and love how these Easter colors…
-
Five Easy Steps to Adding Hanging Planters in Your Yard
Today, I am sharing how I created the hanging planters in our backyard. I love mine so much! Hanging planters look lovely in any yard. My hanging planters have been looking awful all winter long. Here are five easy steps to add (or redo) hanging flower baskets in your yard. Adding hanging planters is a…
-
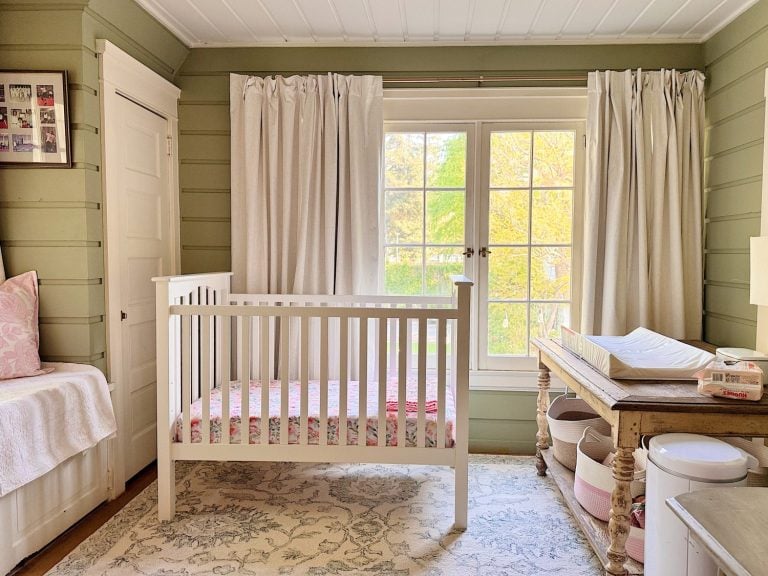
Spring Cleaning and Sunday Morning Coffee
I don’t know about you, but every spring I feel this strong pull to refresh something in our home, and this year I started in a place that might surprise you. It’s Spring Cleaning time! The very first room on my spring-cleaning list was our nursery. And yes, I know that sounds a little unexpected,…
-
Best Easter Brunch Egg Dish: Loaded French Onion Frittata
Easter brunch is one of those special meals where the table is complete, the laughter is loud, and the food is nothing short of spectacular. If you want to wow your guests with something savory, cheesy, and unforgettable, let me introduce you to your new Easter brunch hero: a Loaded French Onion Frittata.

My Recent Instagram Posts

You can pin the image below to your boards on Pinterest (click the Pin button in the top left corner) or follow me on Pinterest!
For more real-time updates, follow me on Instagram @My100YearOldHome