Christmas Napkins DIY
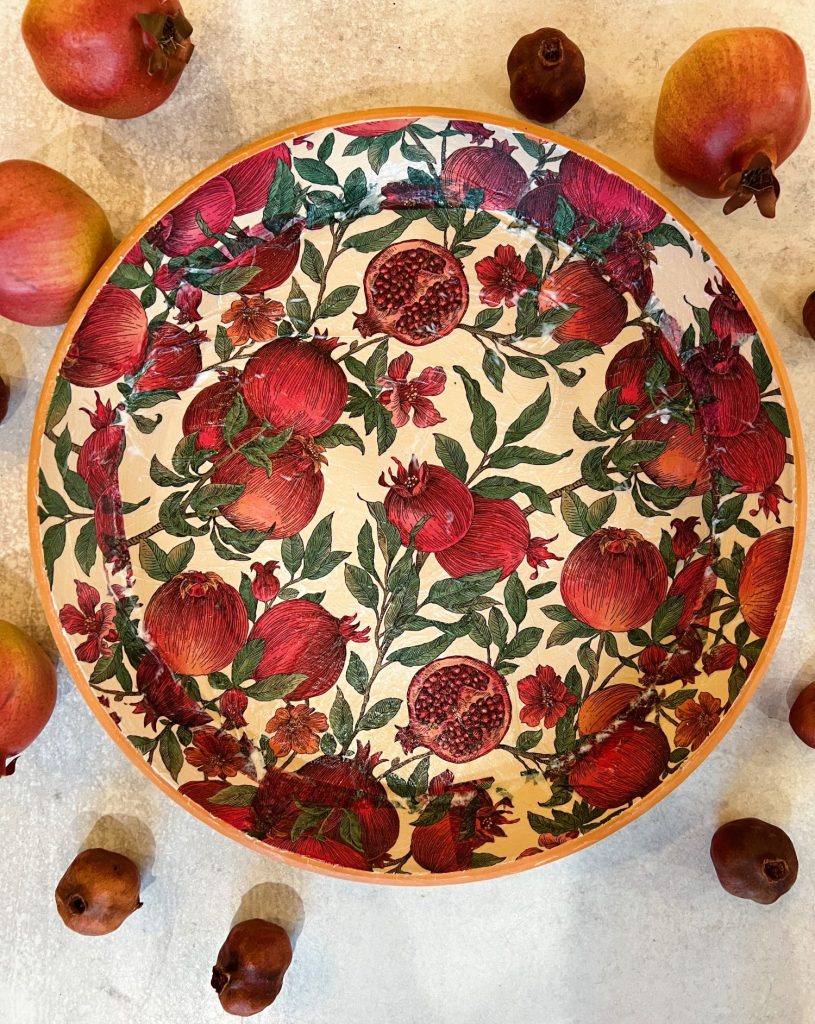
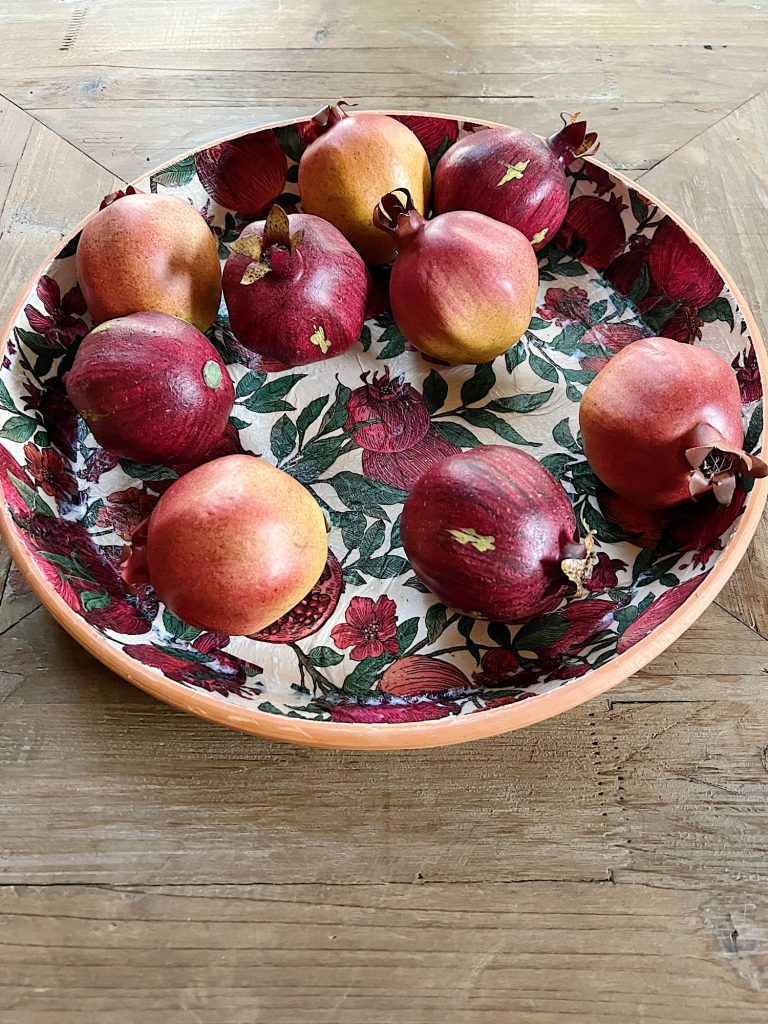
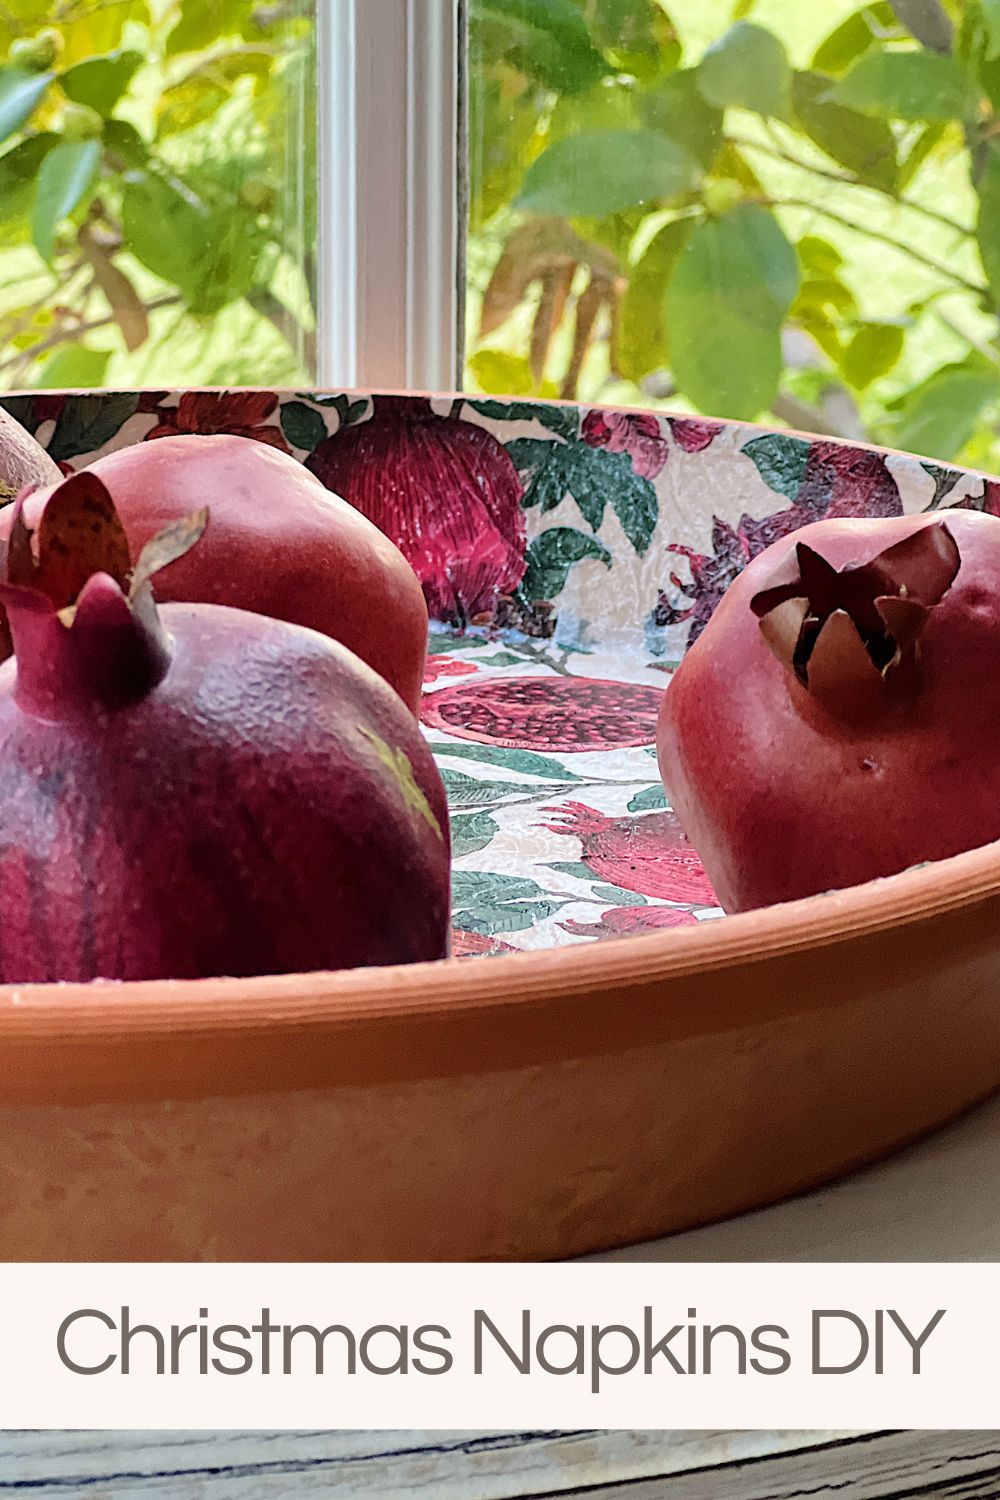
I love to use paper napkins for crafts and this Christmas Napkins DIY is one of my favorites. I transformed a terracotta pot!
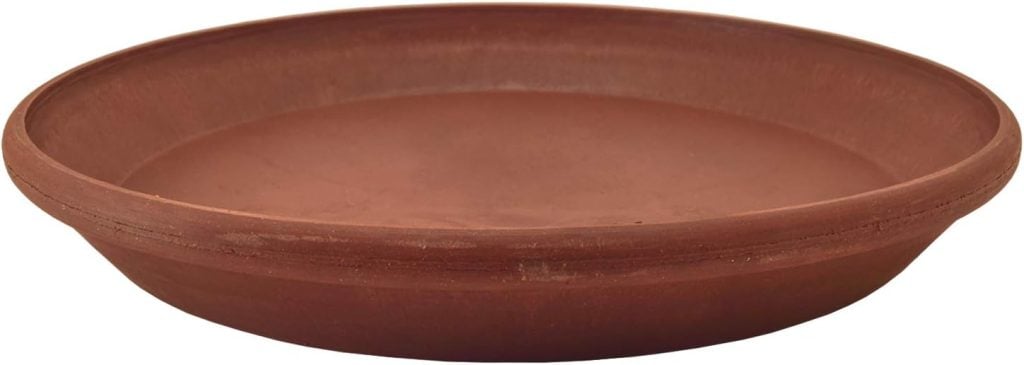
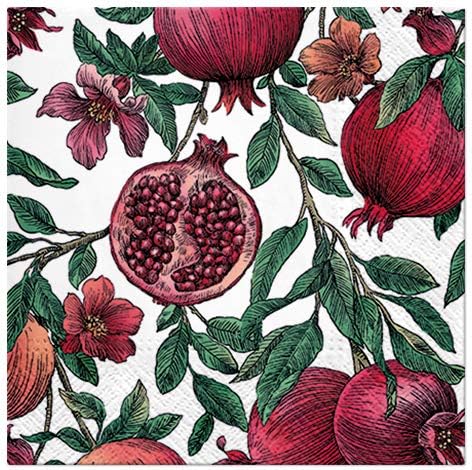
And I will tell you a secret. The terracotta pot is made of recycled plastic, so it’s not heavy and looks fantastic with the napkin decoupaged inside! I used some napkins featuring pomegranate napkins and I decoupaged them to the inside of the terracotta pot.
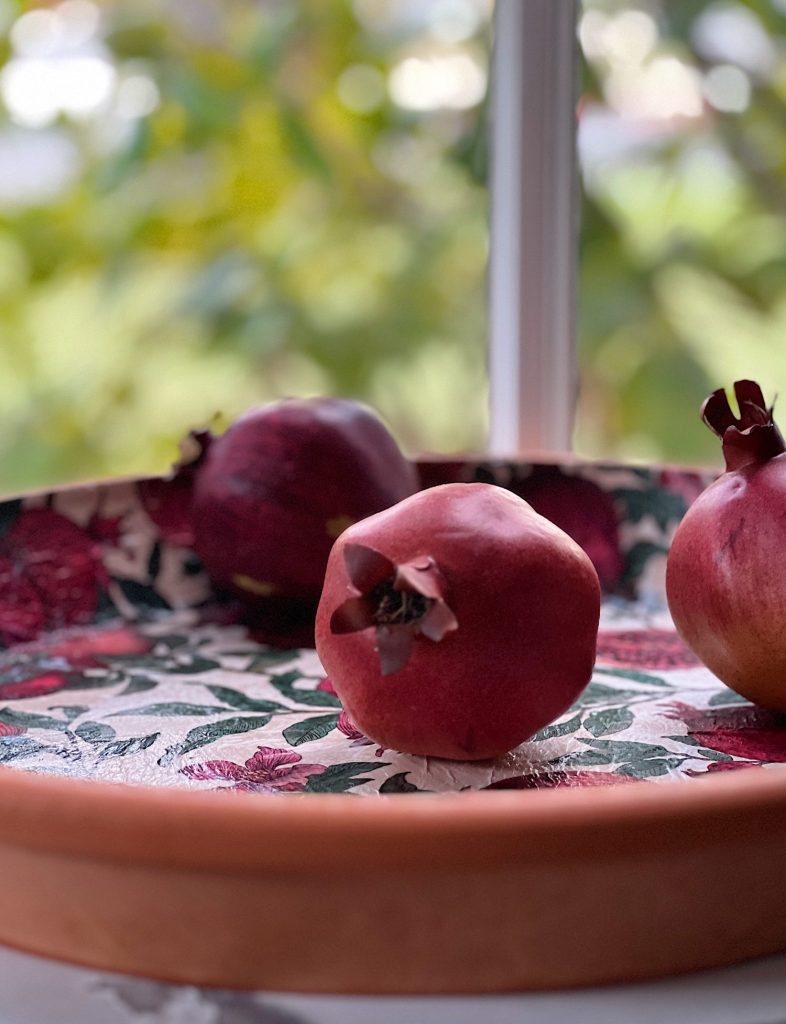


Christmas Napkin DIY Project

I love this project I made with paper napkins. And I love pomegranates so this was obviously a home run!
As soon as I saw these napkins I bought them and I knew I would come up with a craft for them. Of course, I have a lot of napkins left over so I need to come up with a few more projects!
Or for once, I could use the napkins for how they were originally intended to be used! Hehe.
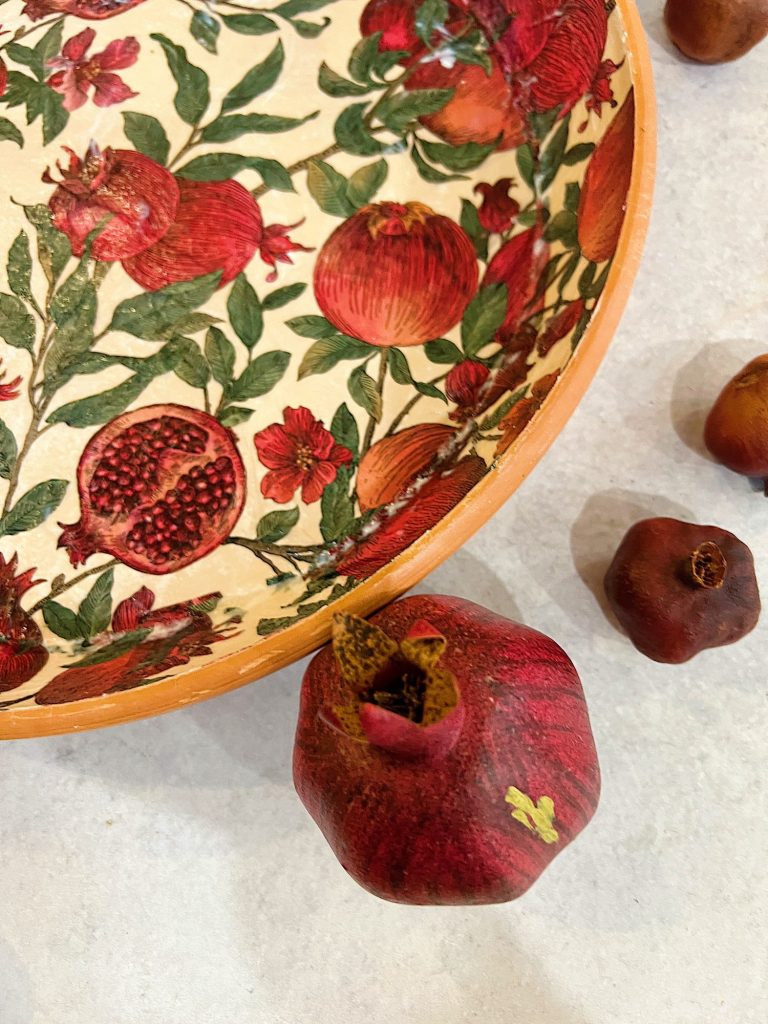
All I did to make this was paint the inside of the terracotta pot with white paint and then decoupage the inside. That is it!
What You Need to Make This Christmas Napkin DIY
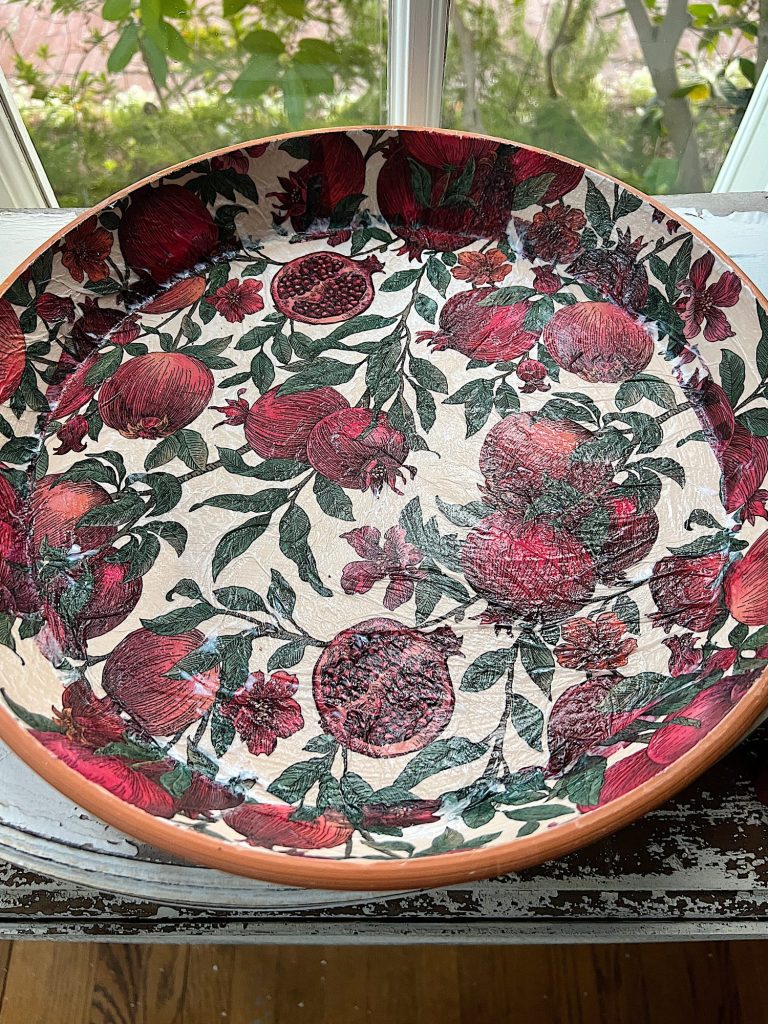
Here are the items you need. Of course, you can pick any napkin you want to use, I would just make sure it is a luncheon or dinner napkin size.
- terracotta pot
- two paper napkins (luncheon or dinner size)
- ModPodge
- paintbrush
- white acrylic paint
- blue painters tape
All of these items are linked below.
On this blog, I may sometimes use affiliate links, which means a small commission is earned if you purchase via the link. The price you pay will be the same whether you use the affiliate link or go directly to the vendor’s website using a non-affiliate link.
How to Make this Christmas Napkin DIY Project
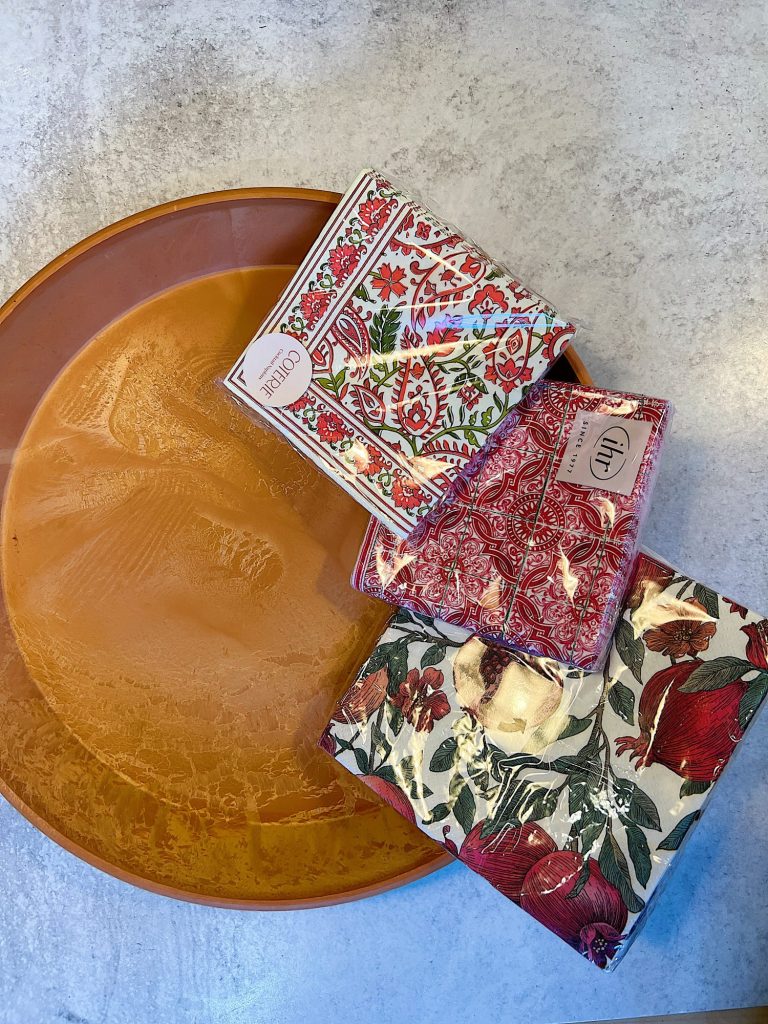
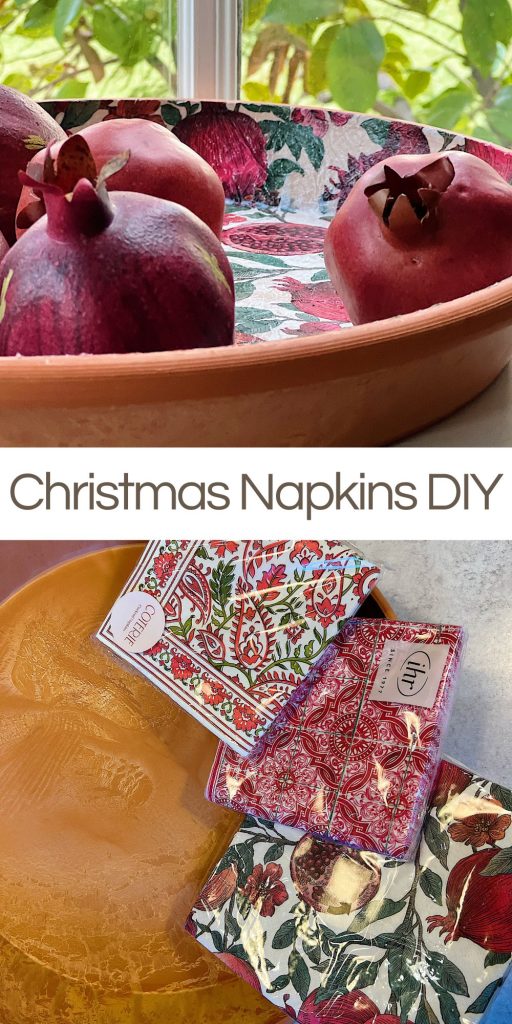
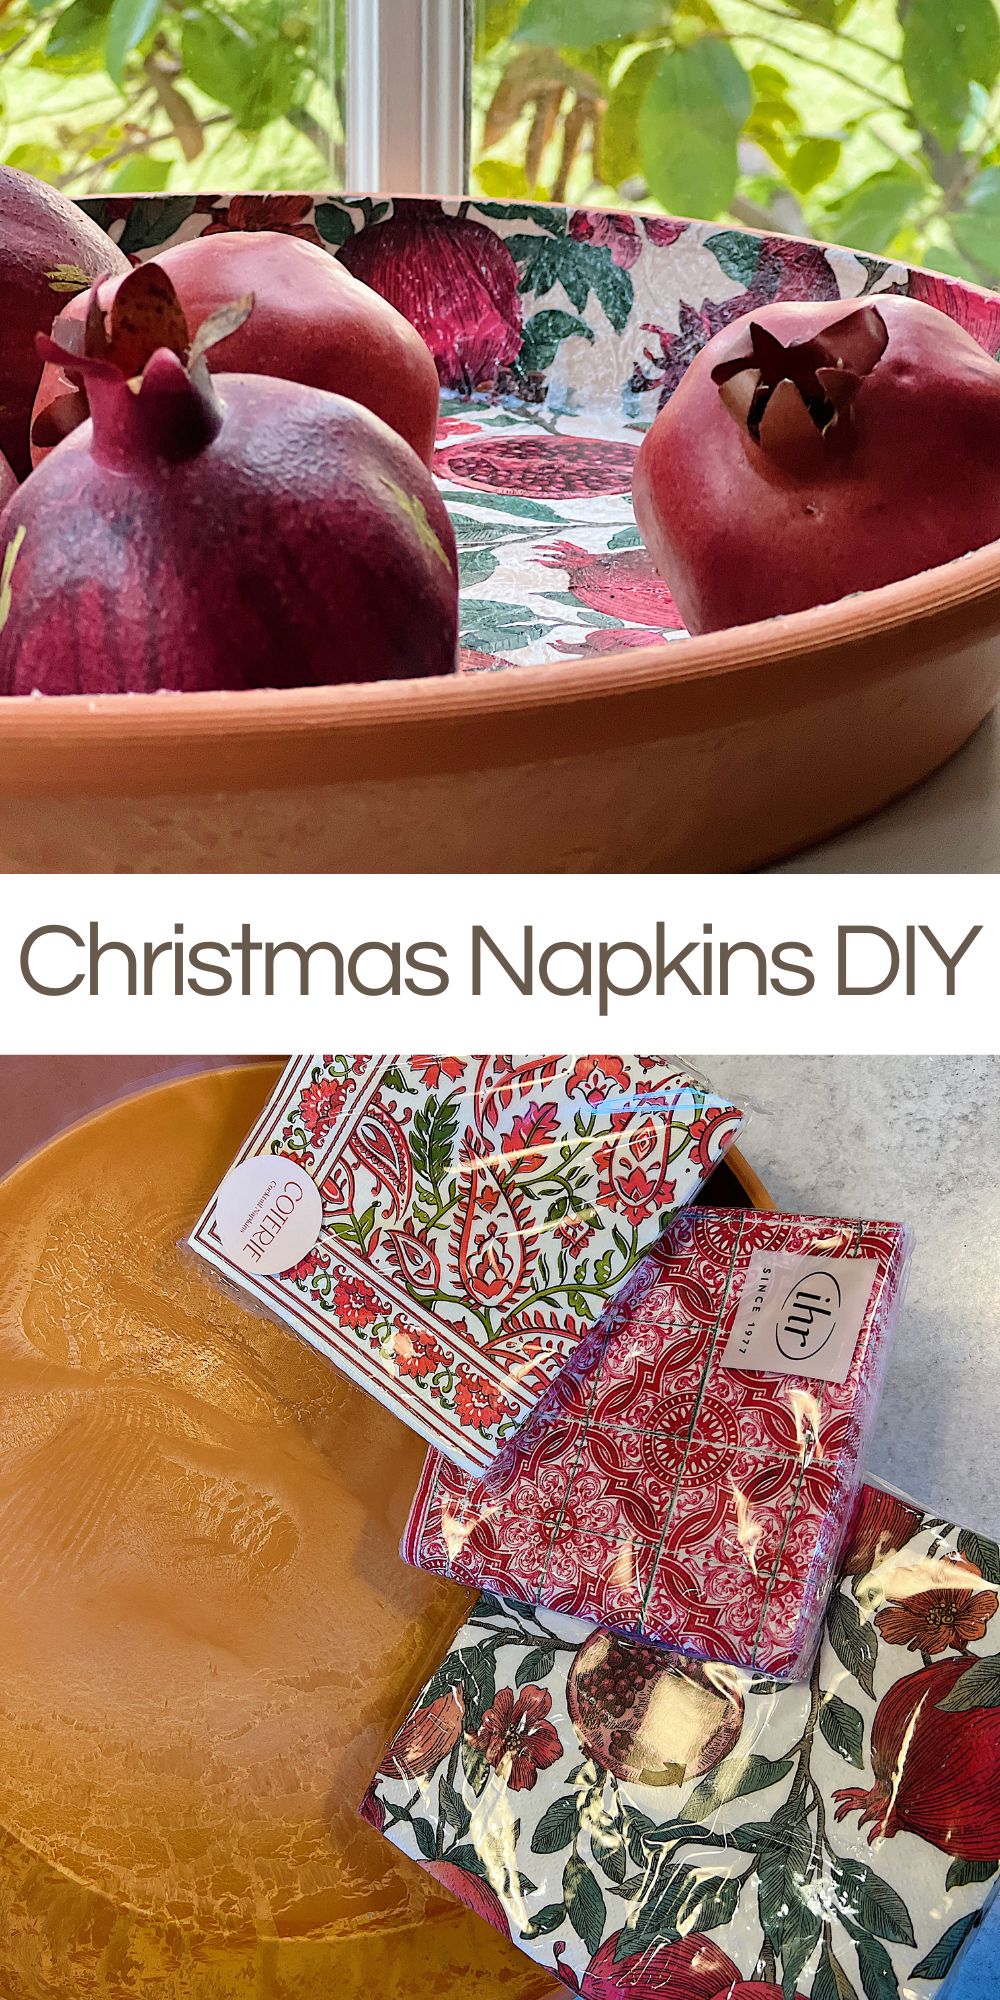
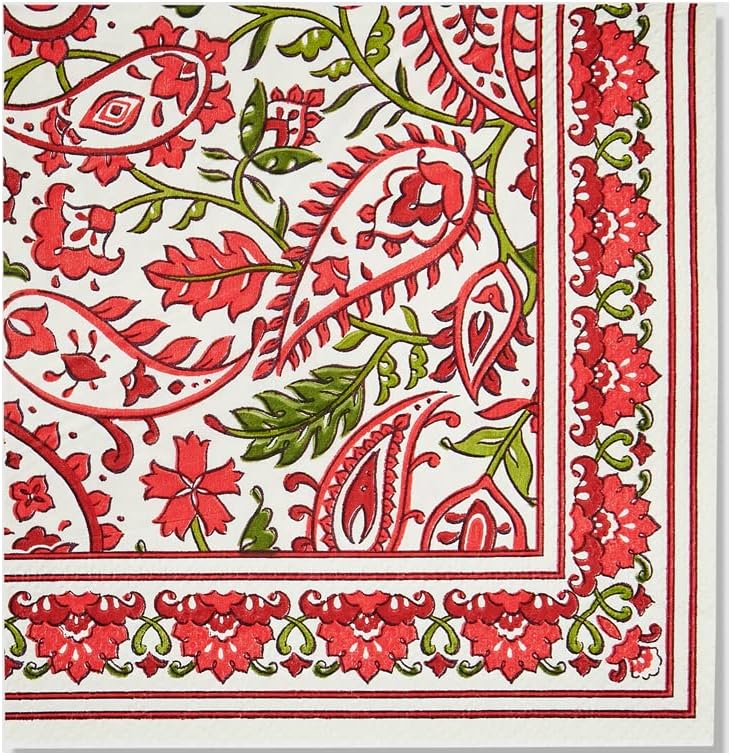
I considered three different napkins but I picked the pomegranate one because it had some of the terracotta colors in it and matched well. I also realized I needed to use a napkin that was a luncheon or dinner size (so it would cover the pot).
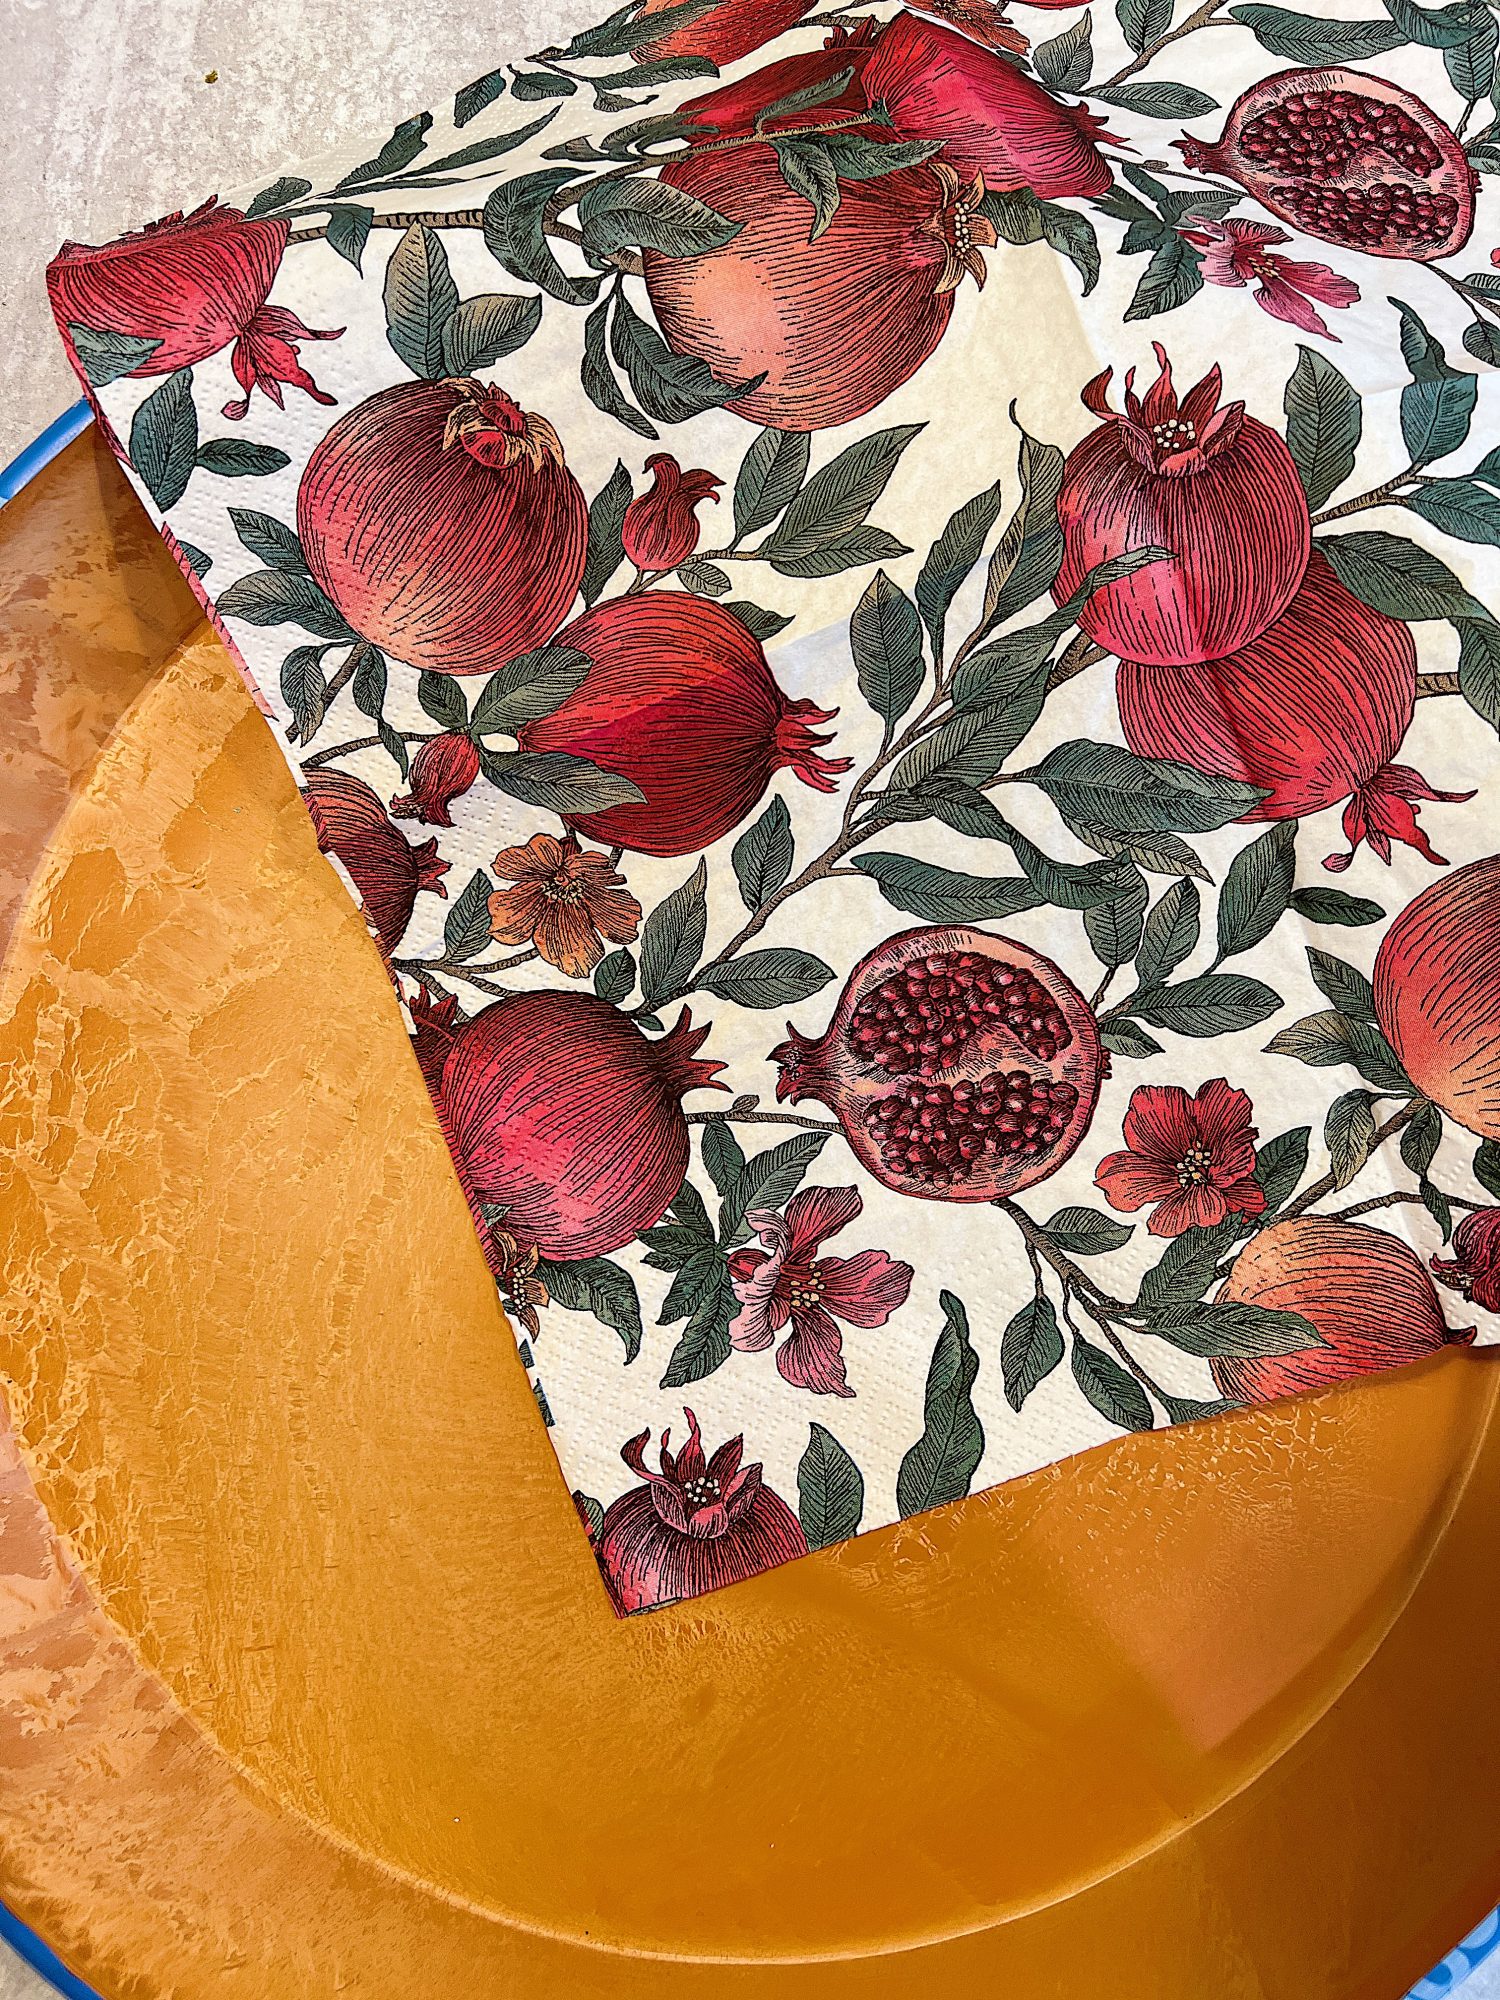
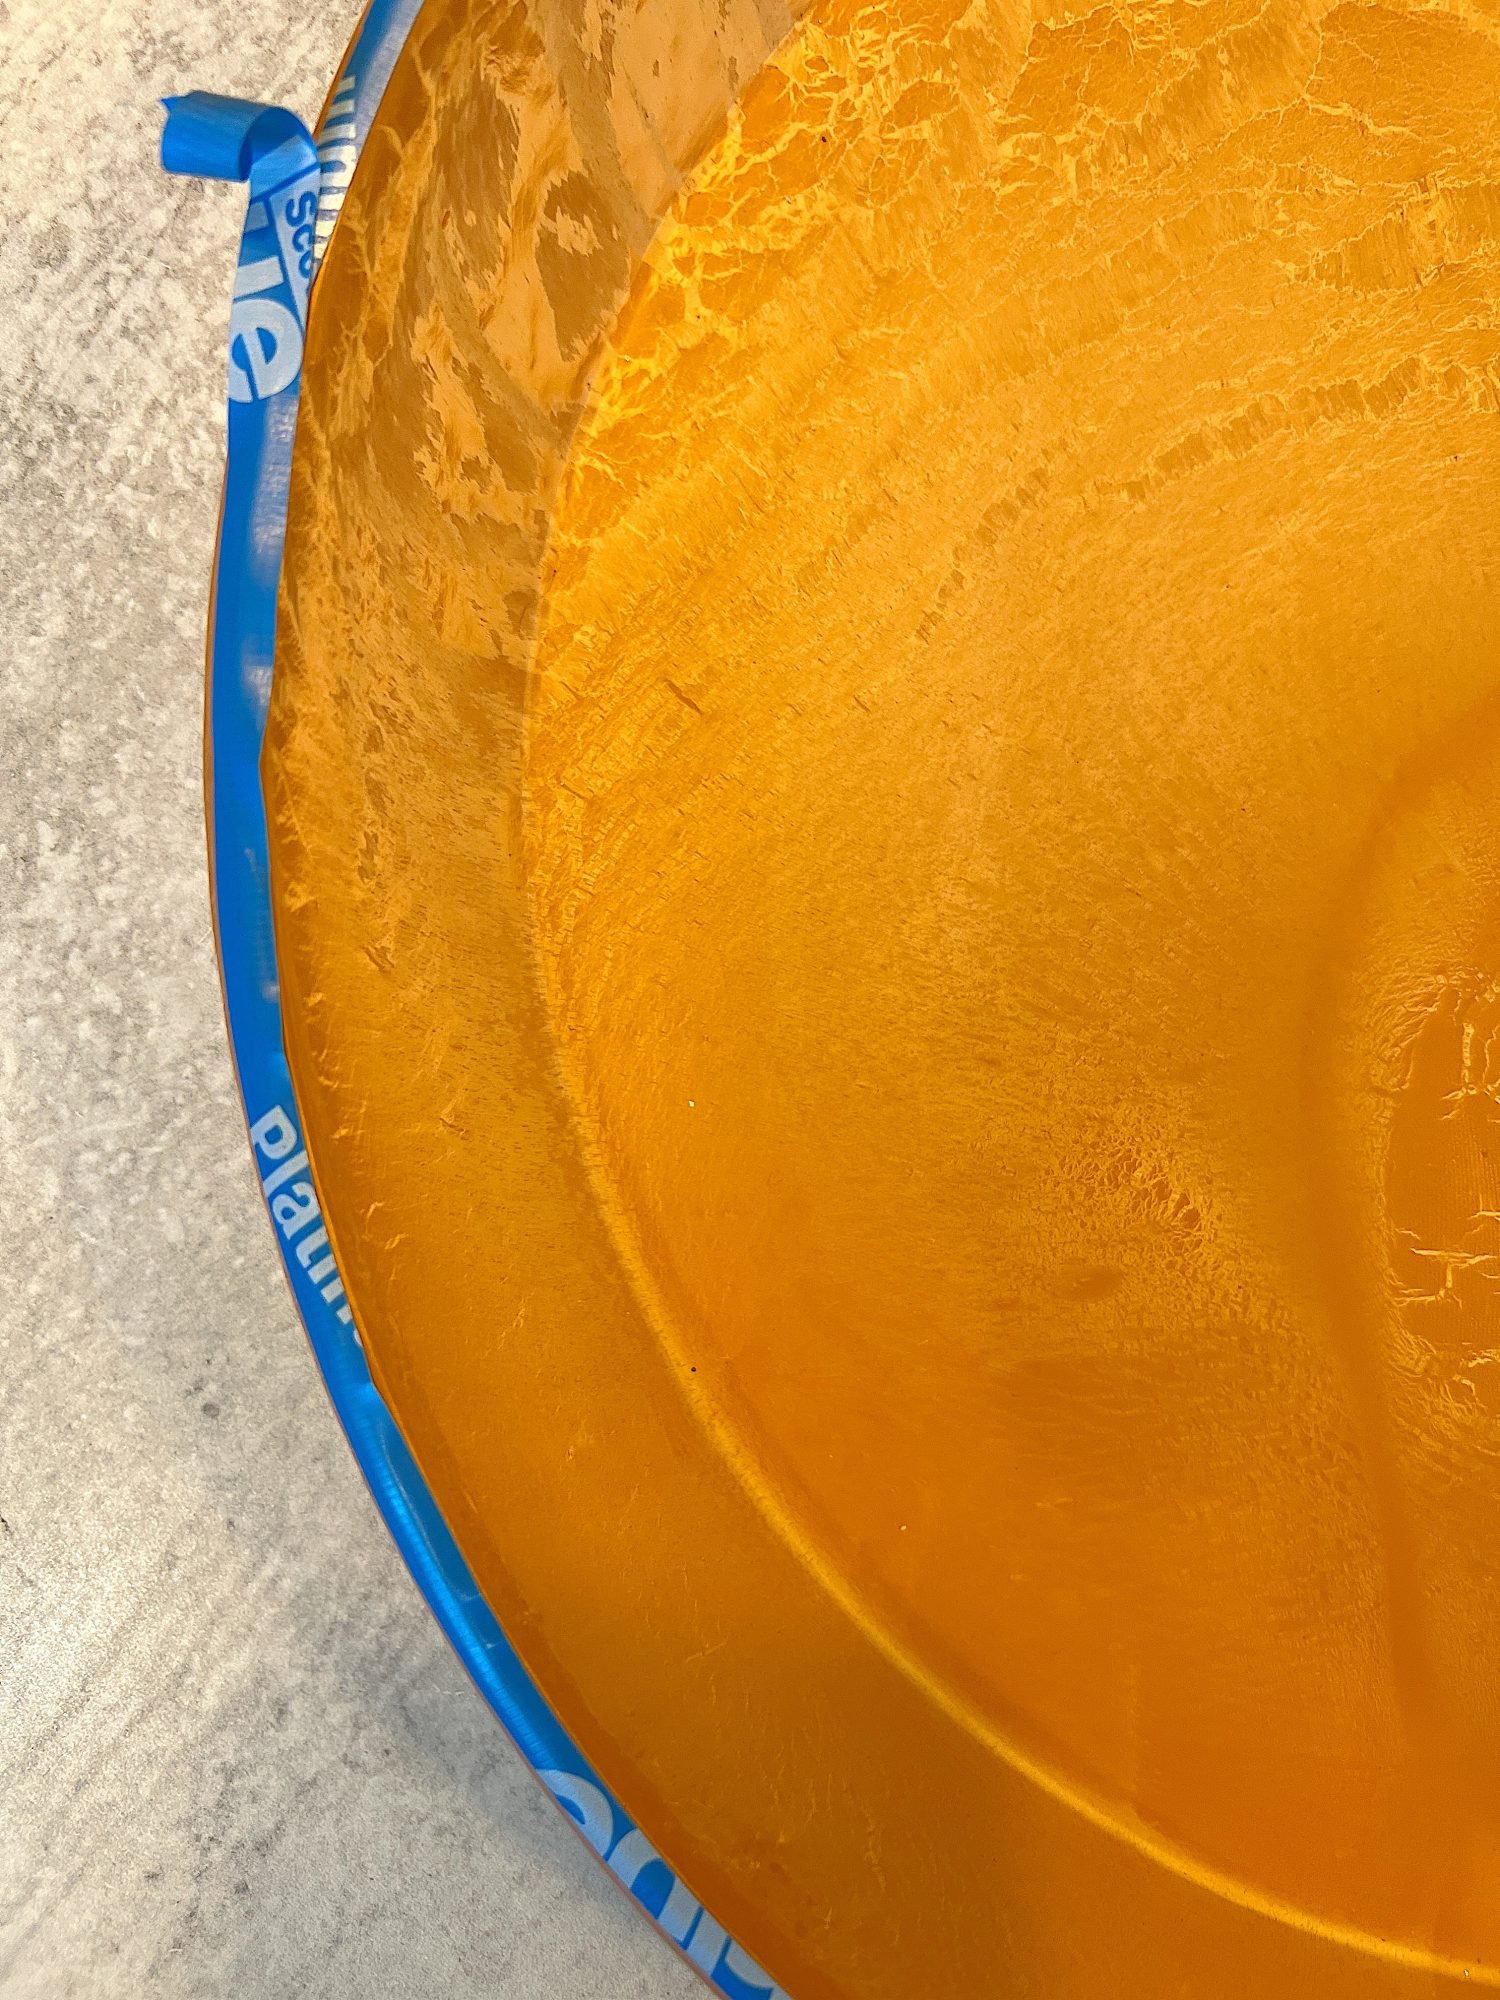
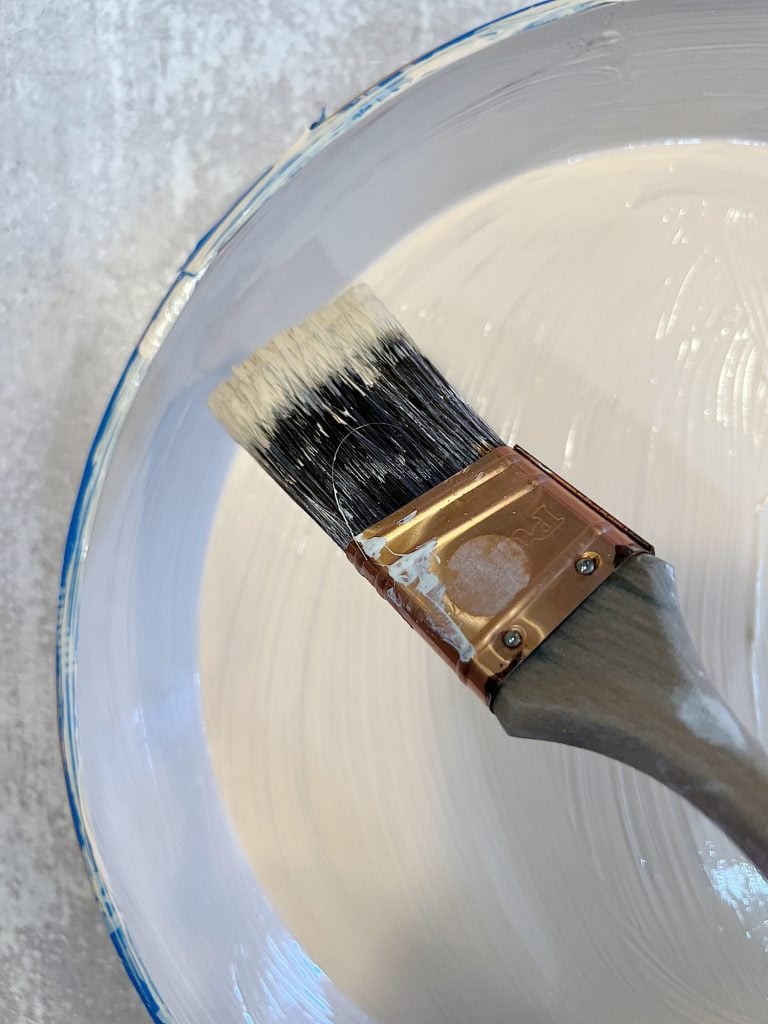
- one – Select your napkin and remove the paper backing.
- two – Cover the top of the pot with painter’s tape. I cut it into smaller strips so it would easily cover the curve of the pot.
- three – Paint the inside of the pot with white acrylic paint.
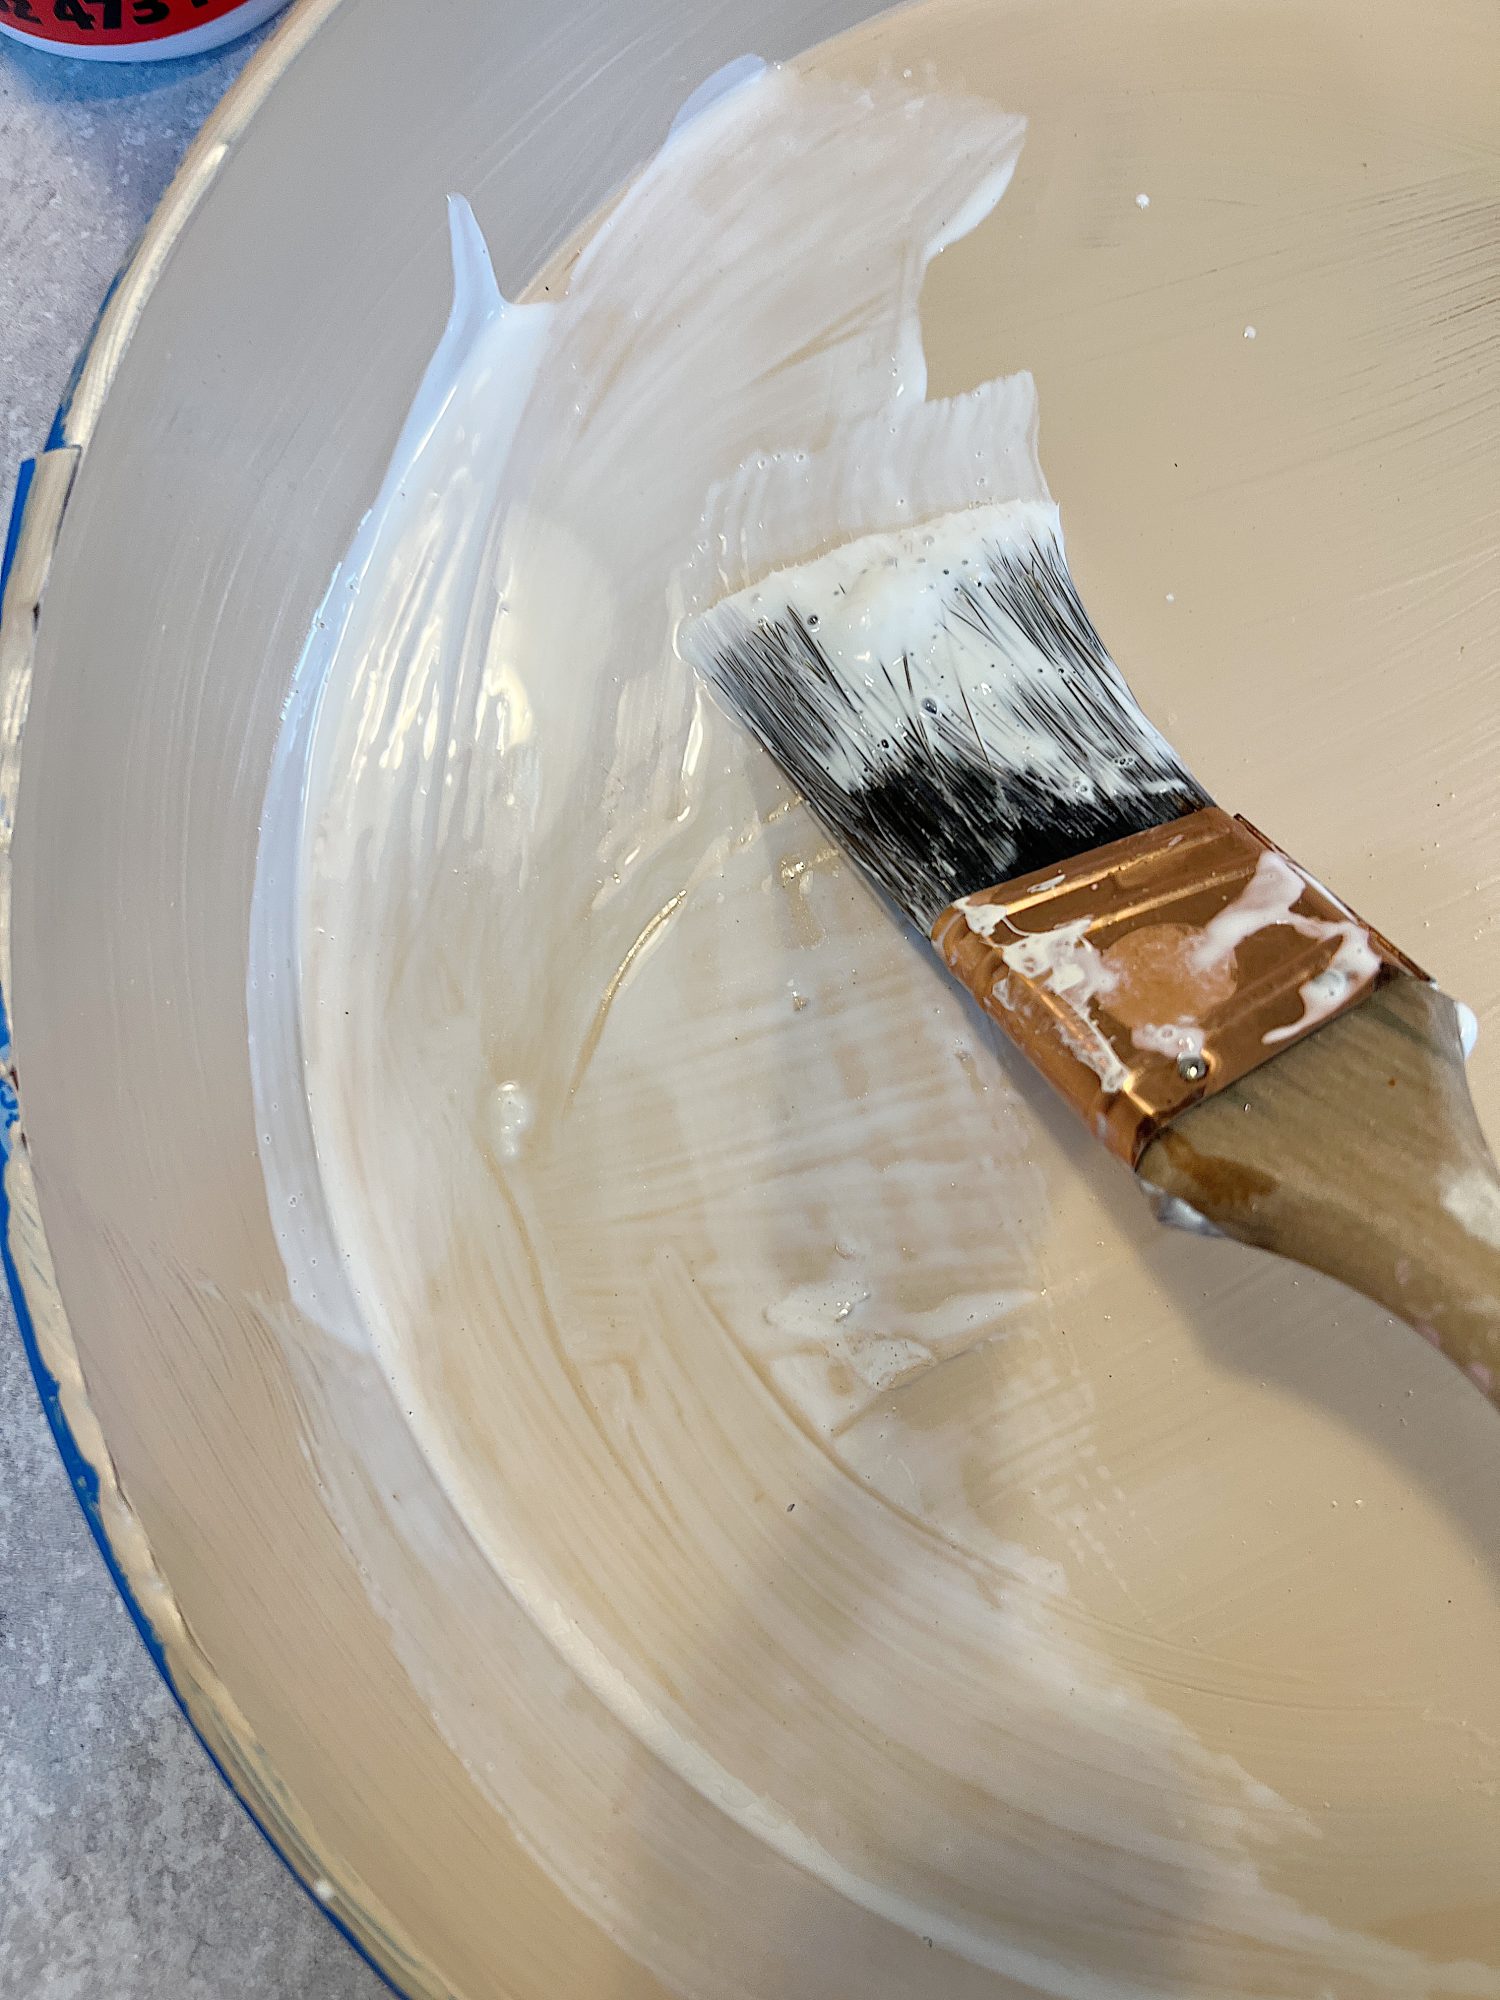
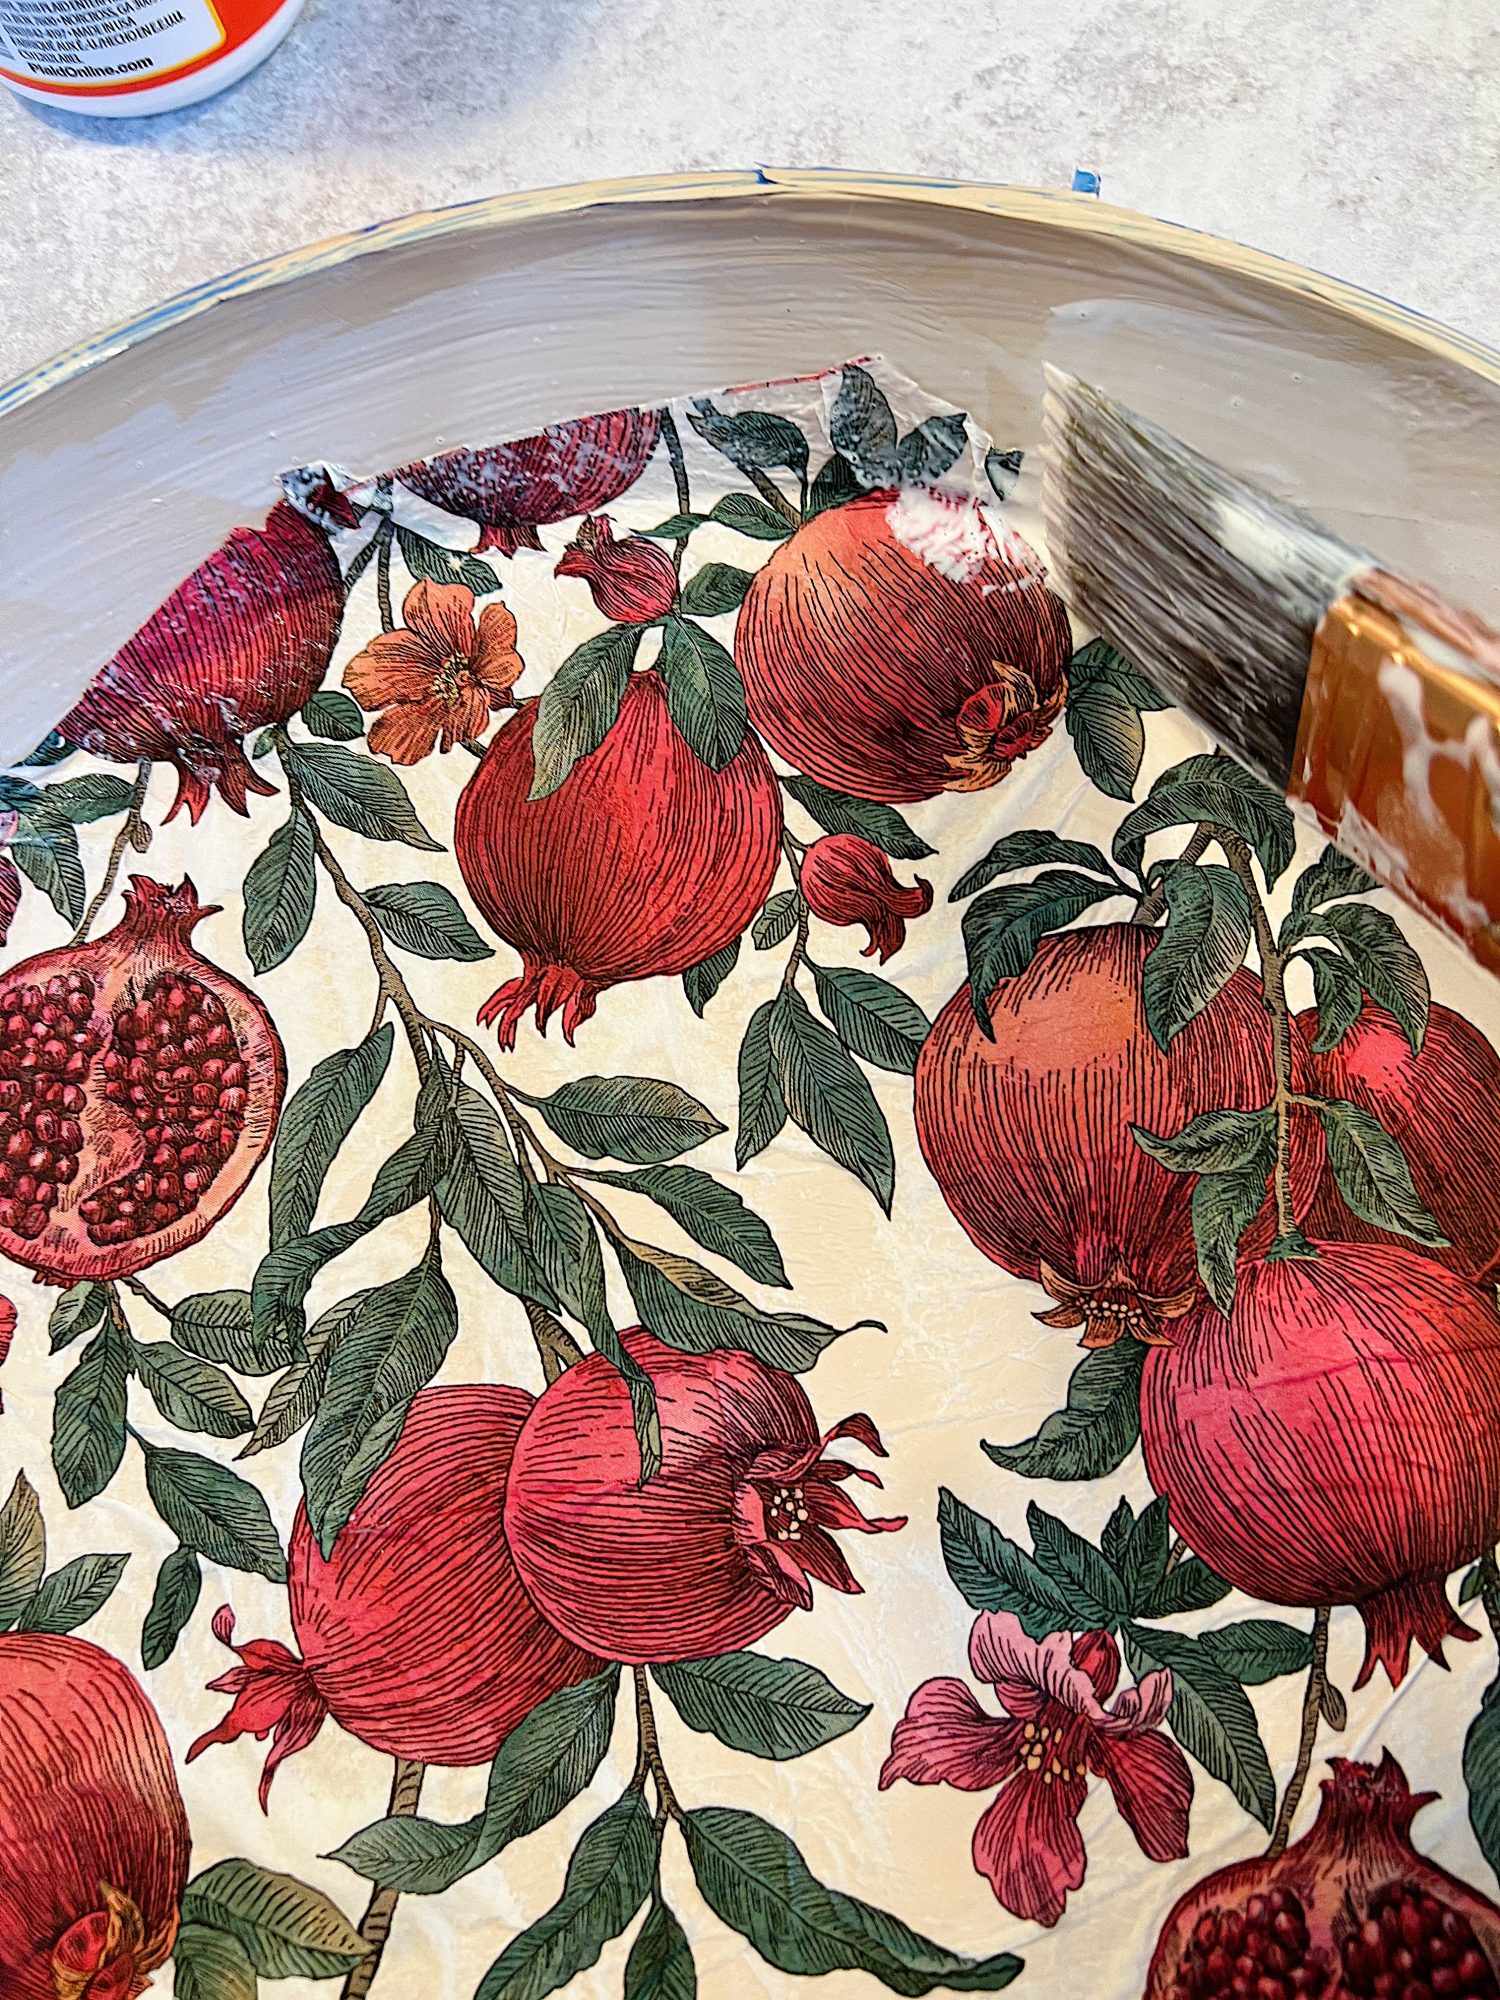
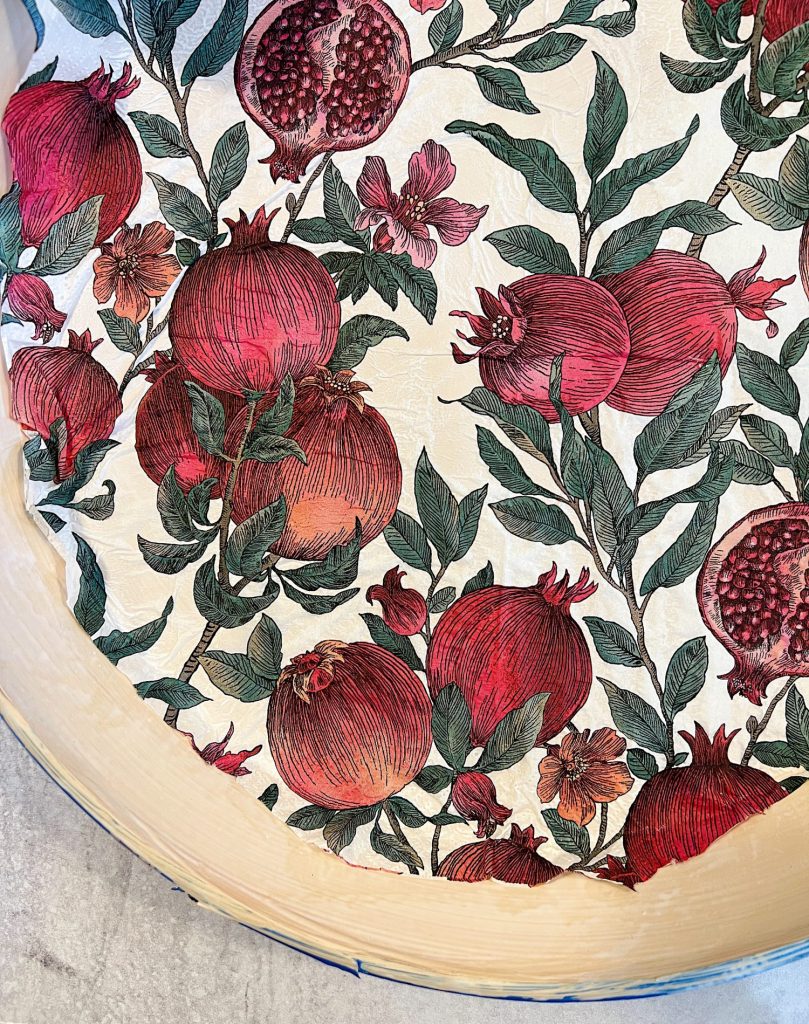
- four – Once the paint has dried, cover the inside of the pot with ModPodge.
- five – Lay the paper napkin into the put and gently press it into the pot. Cut the edges so they only are about 1/2 up the side of the pot.
- six – Use your fingers to pat the napkin down but don’t tear the napkin.
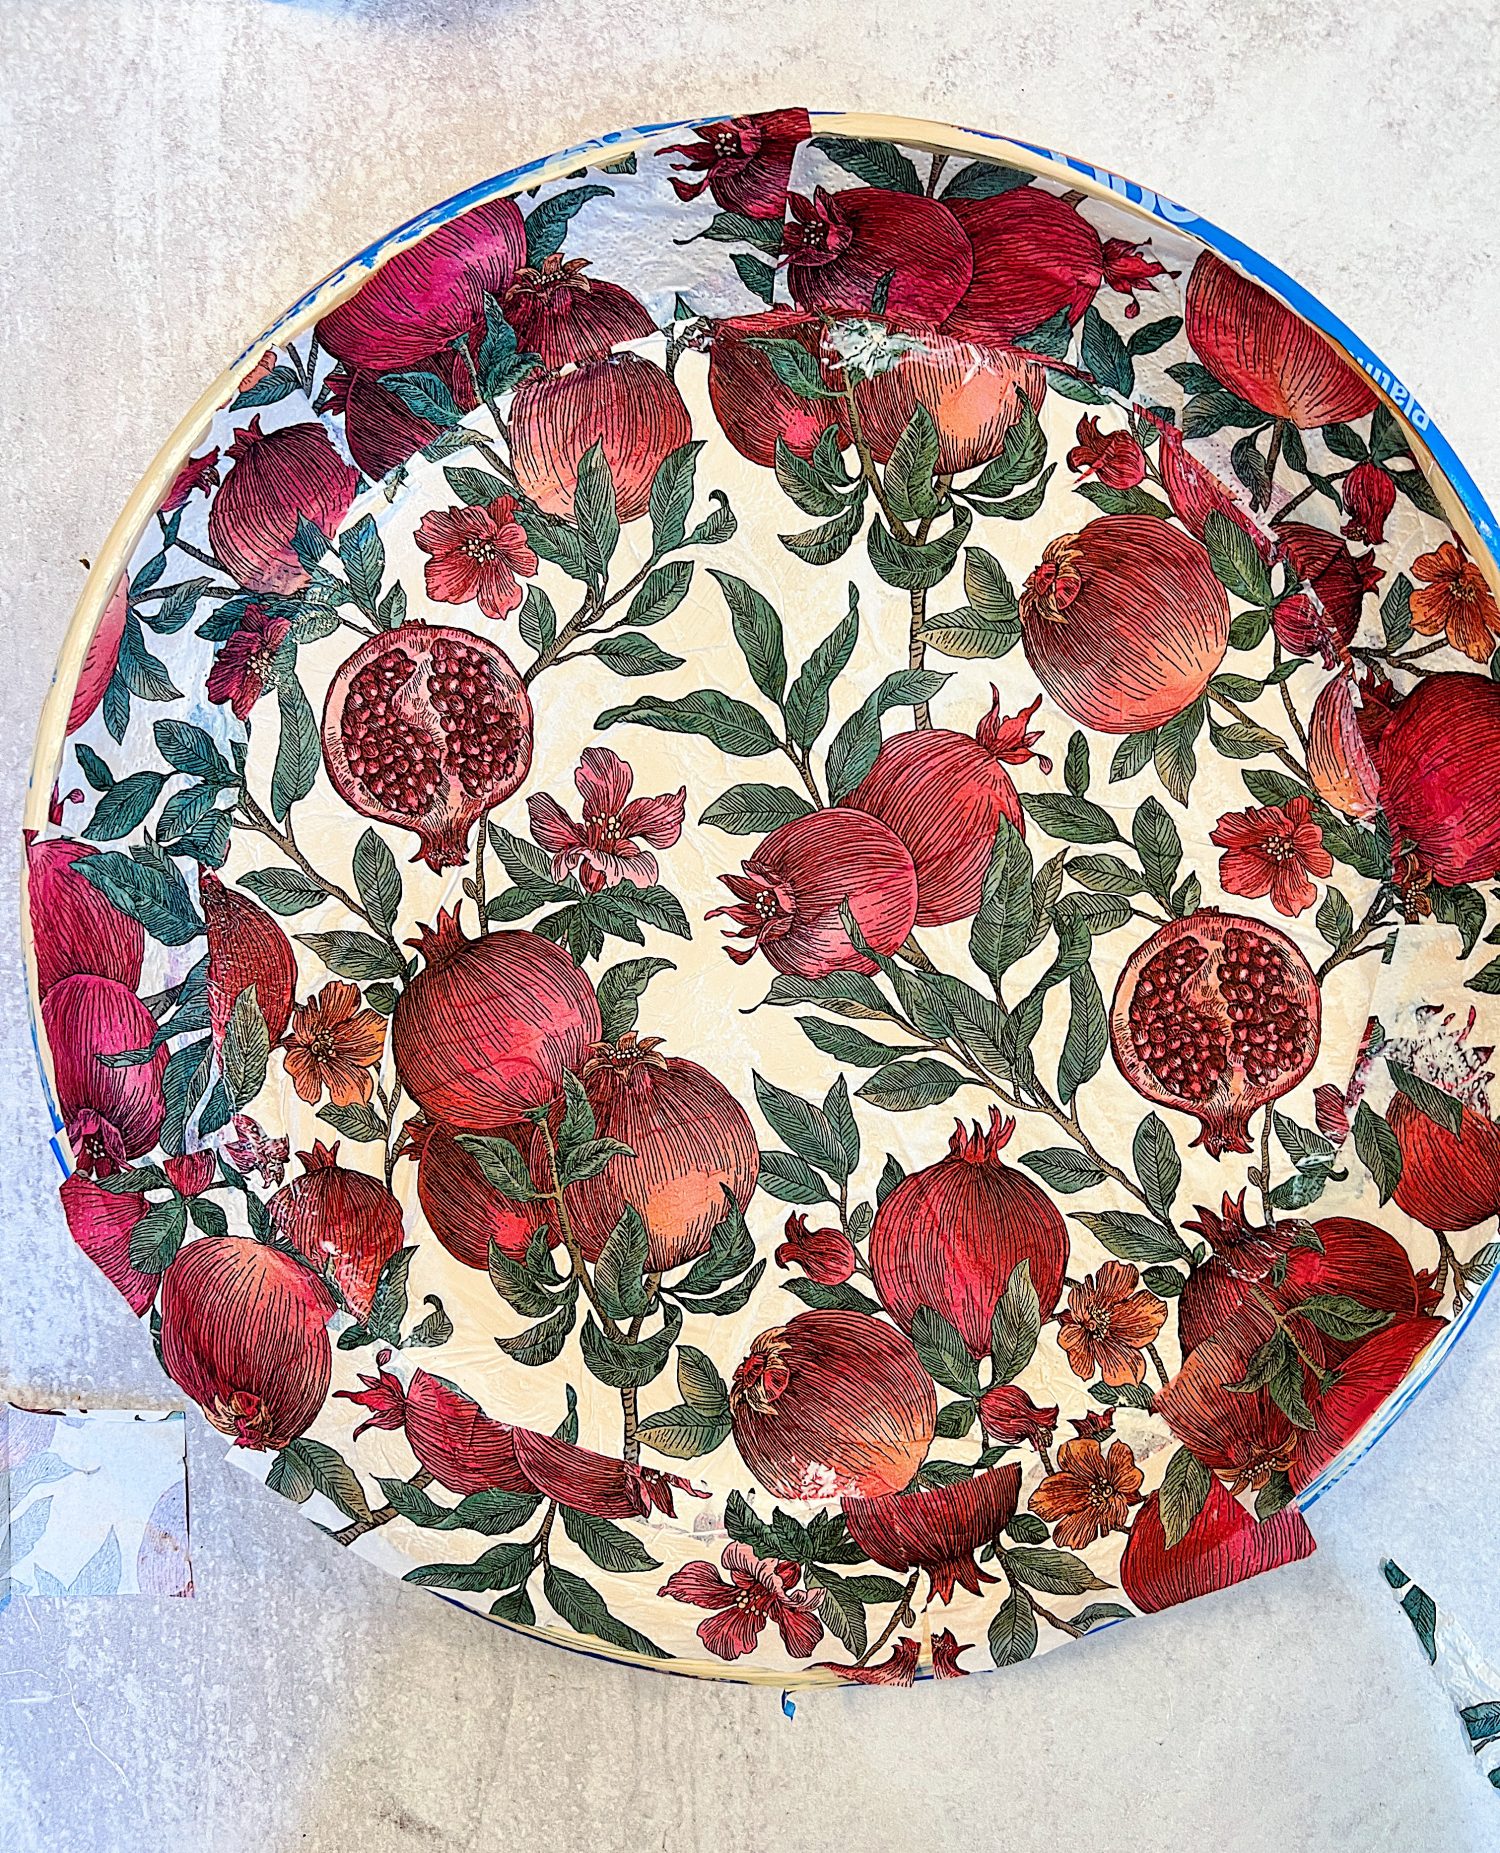
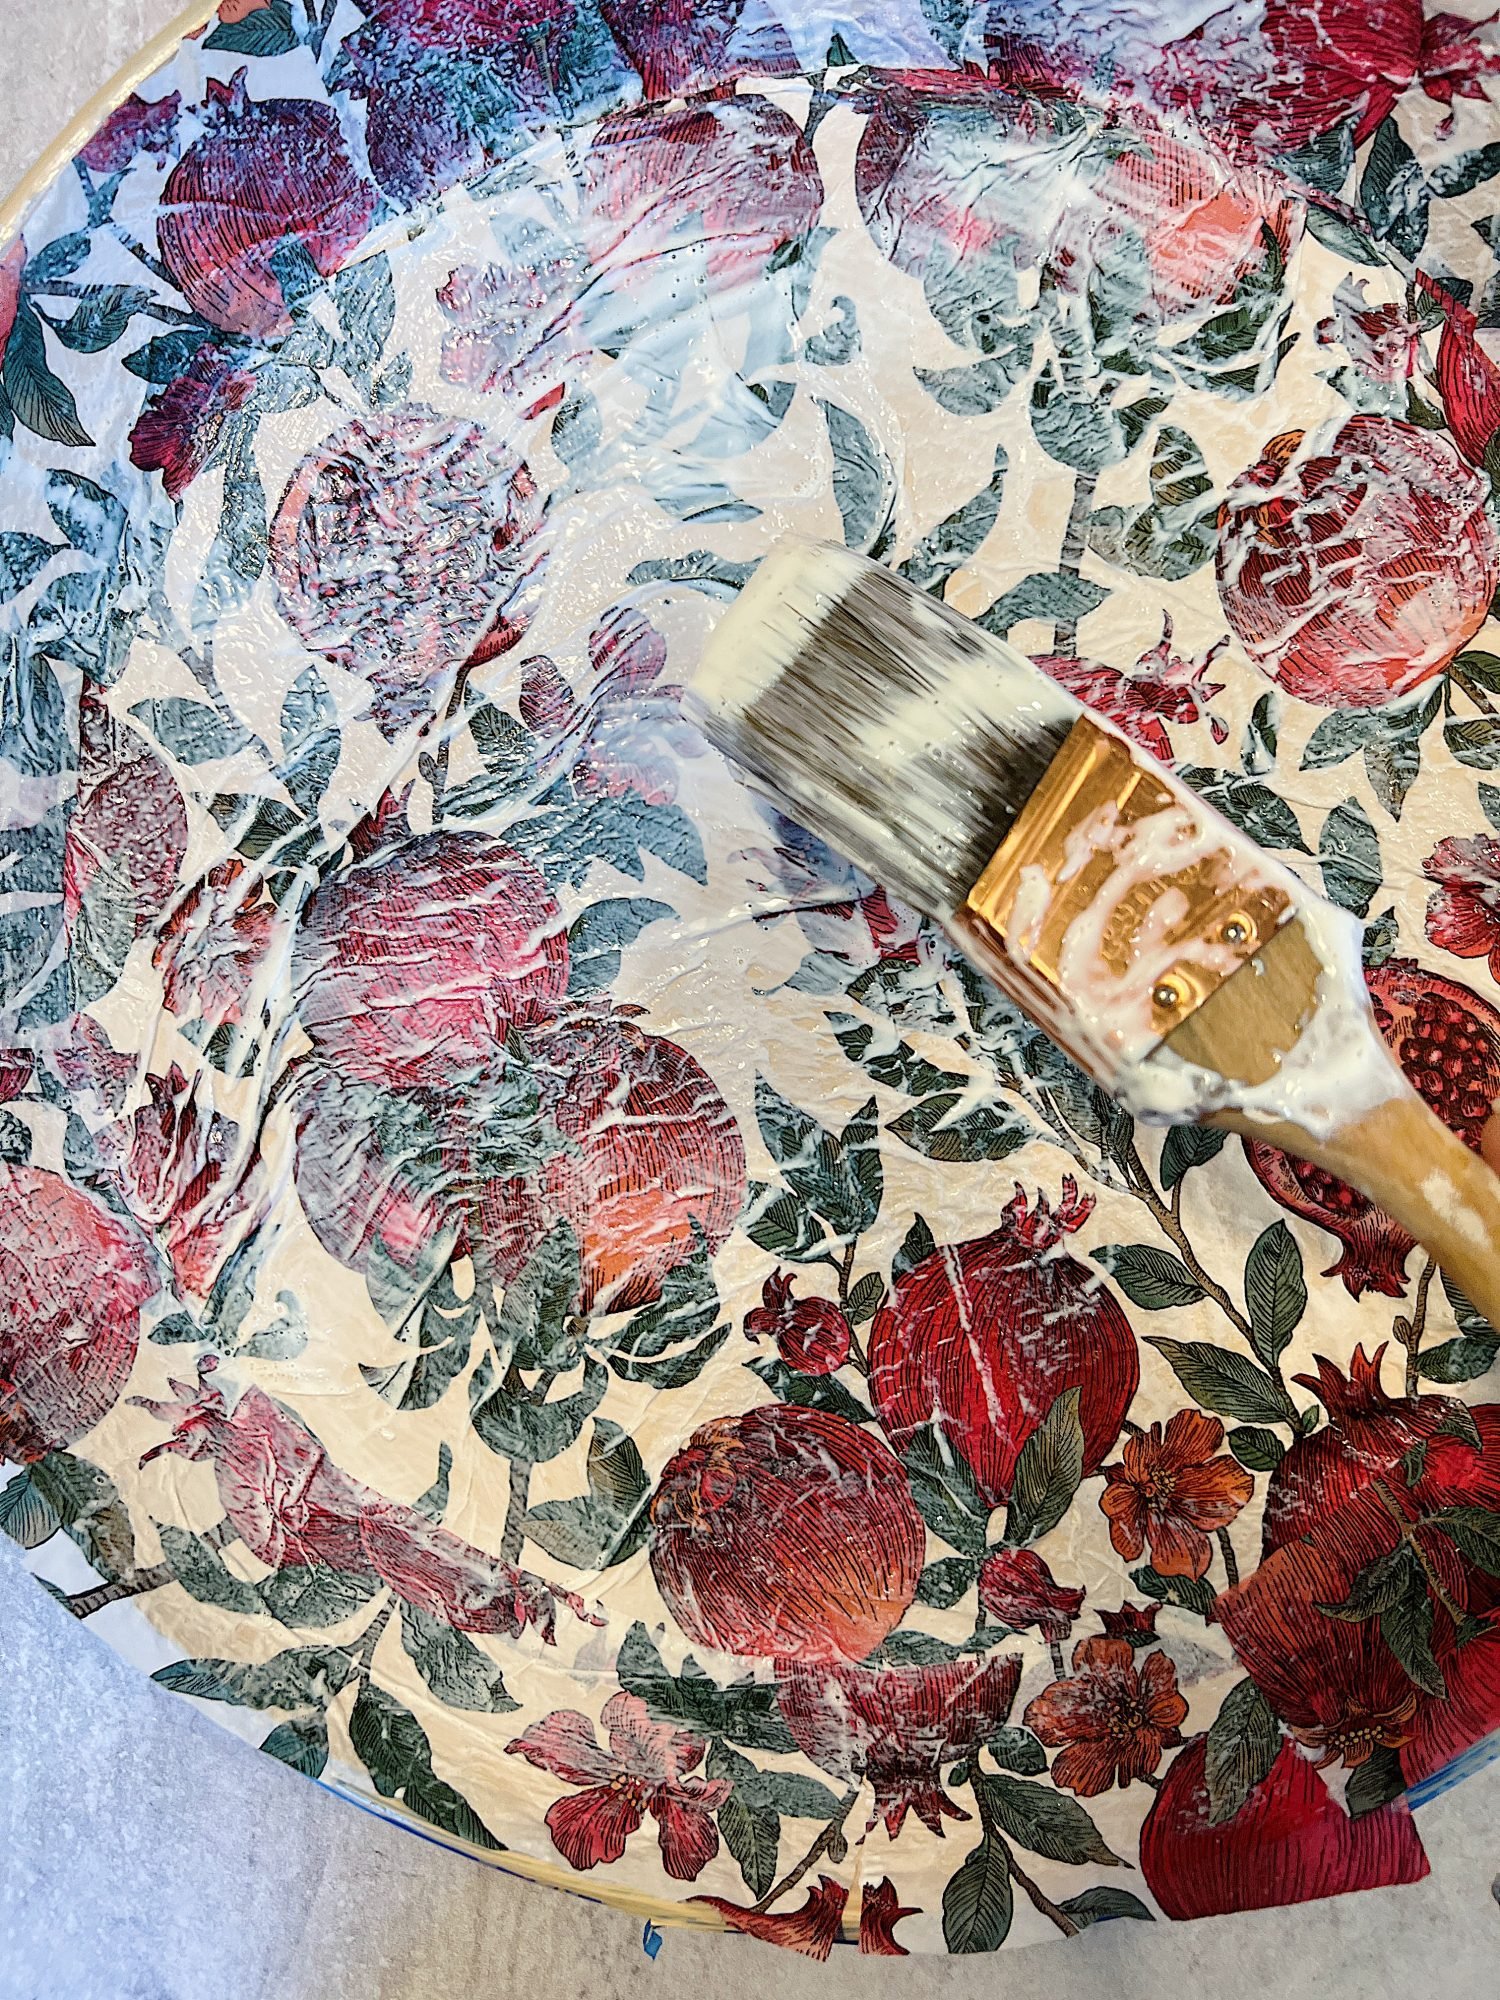
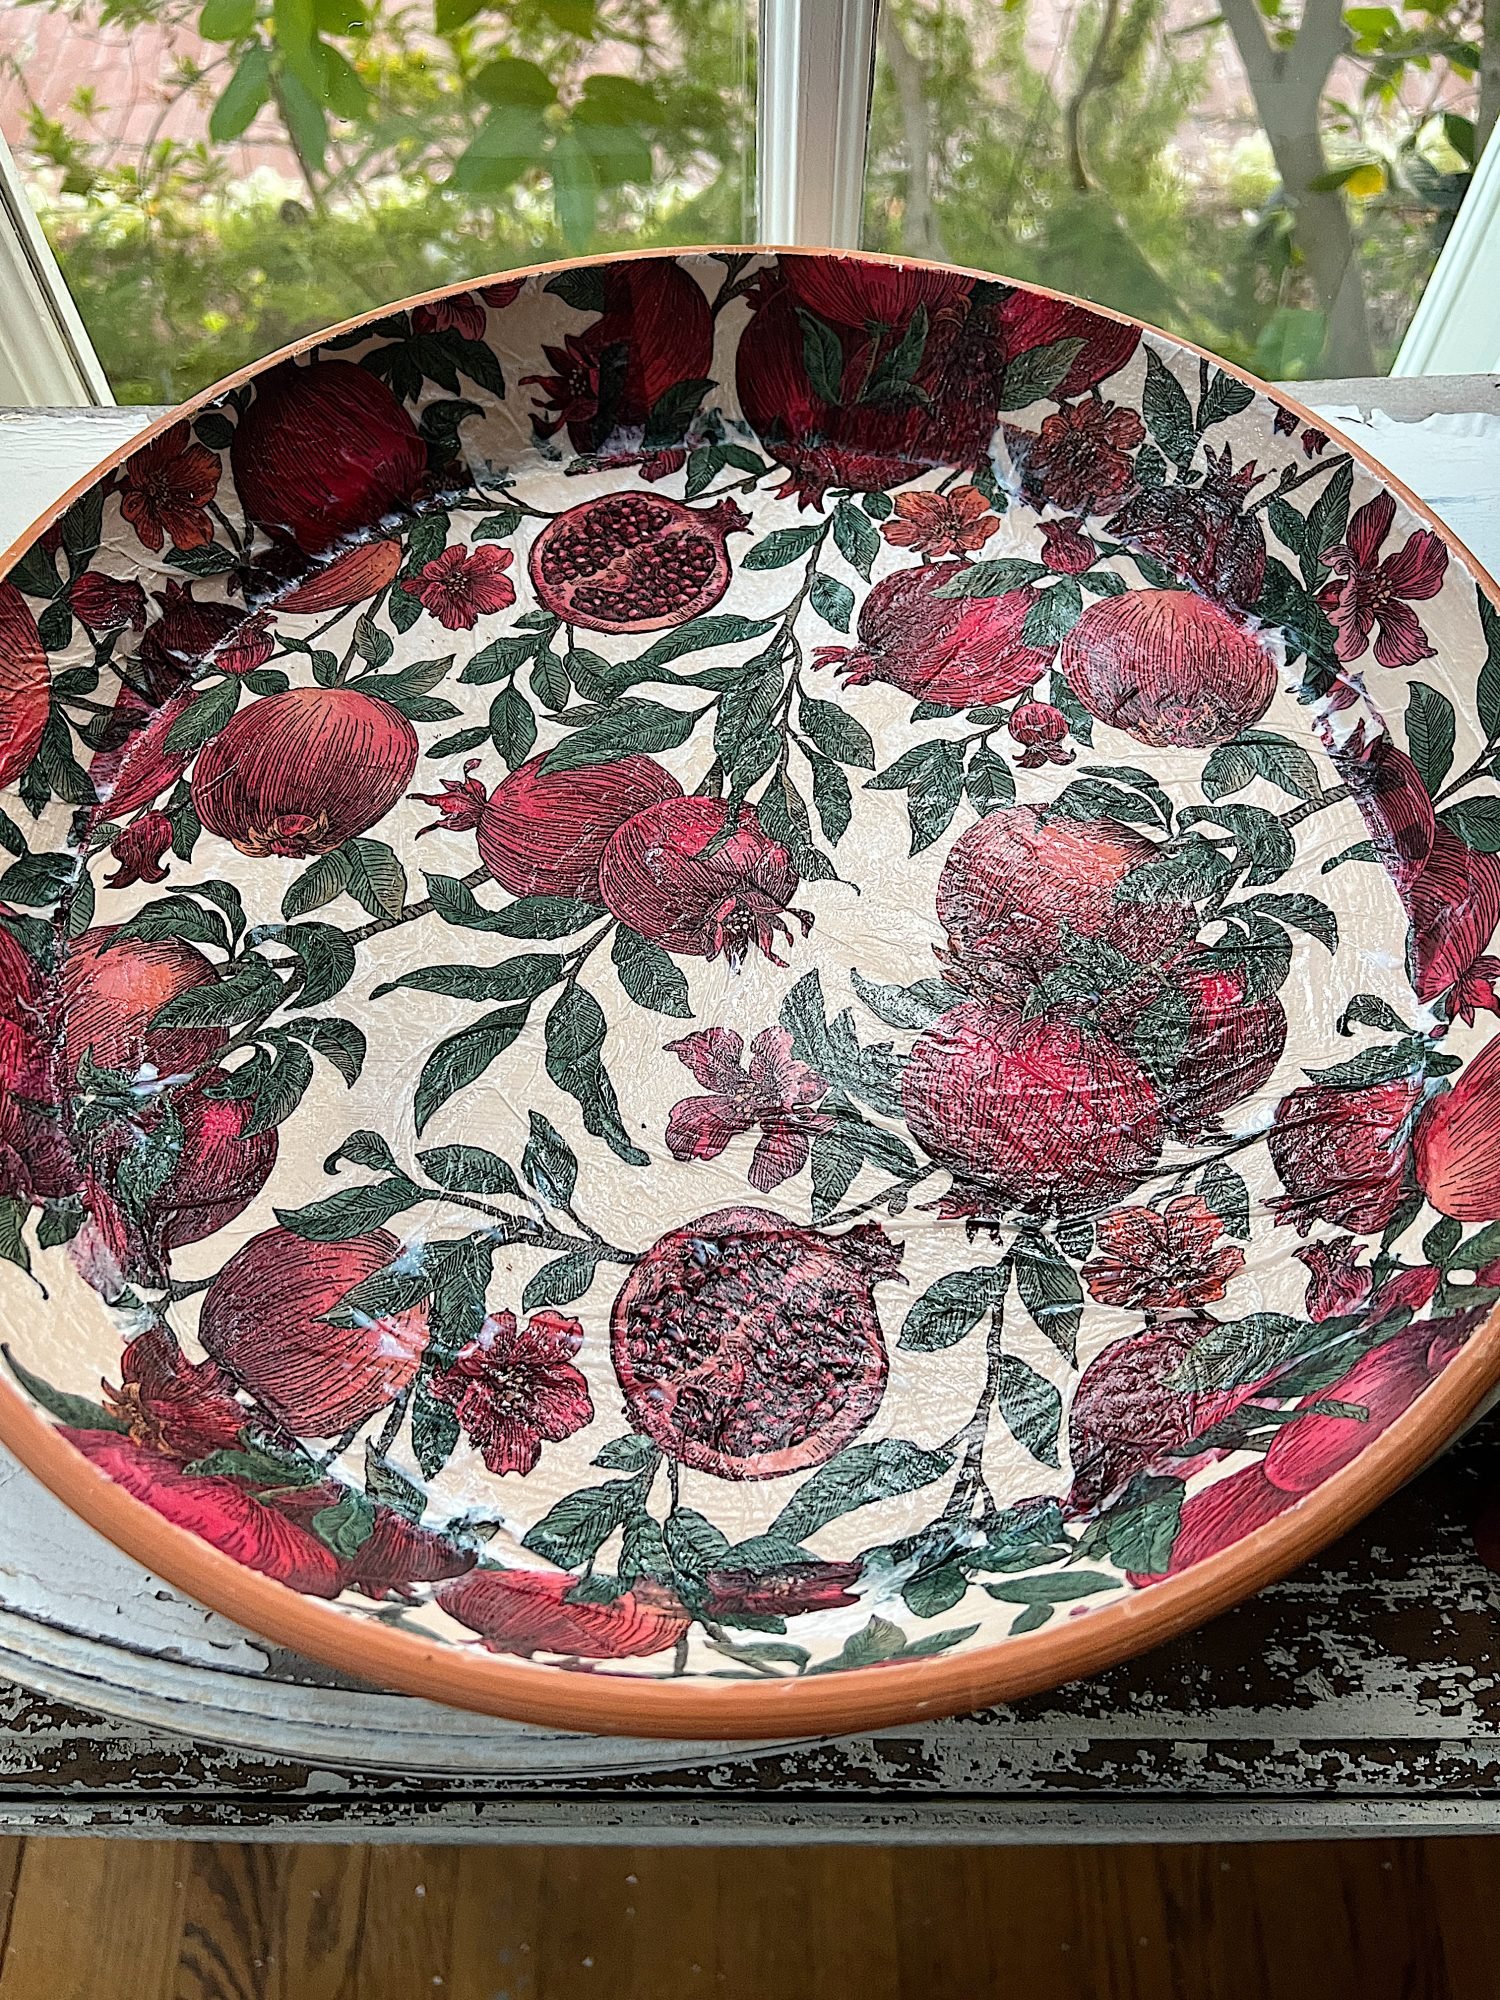
- seven – Cut another napkin into strips about 1/4″ taller than the inside edge of the pot. Gently place them on the sides, adding more ModPodge when necessary. Since the edge is curved, I cut the napkins every three inches and readjusted them so they were straight.
- eight – Add more <odPodge on top of the napkin to seal it.
- nine – Remove the blue tape and rub the top edge with a damp towel to remove any paint smudges. Once dry, use an exact knife or scissors to cut the extra napkin across the top edge.
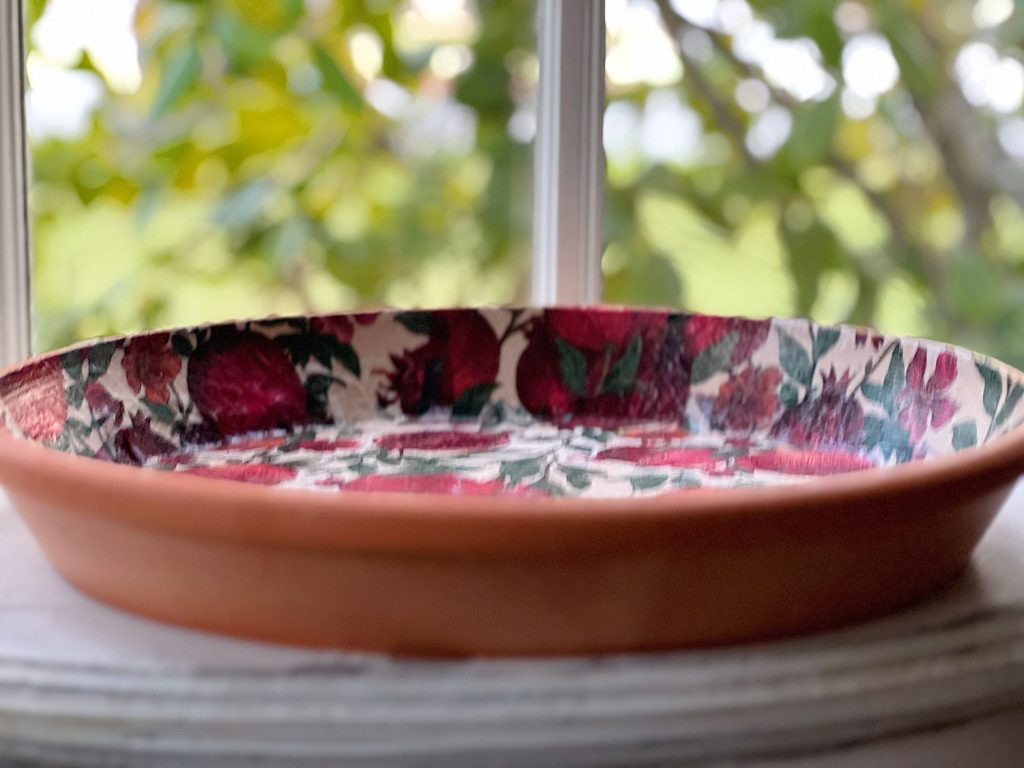
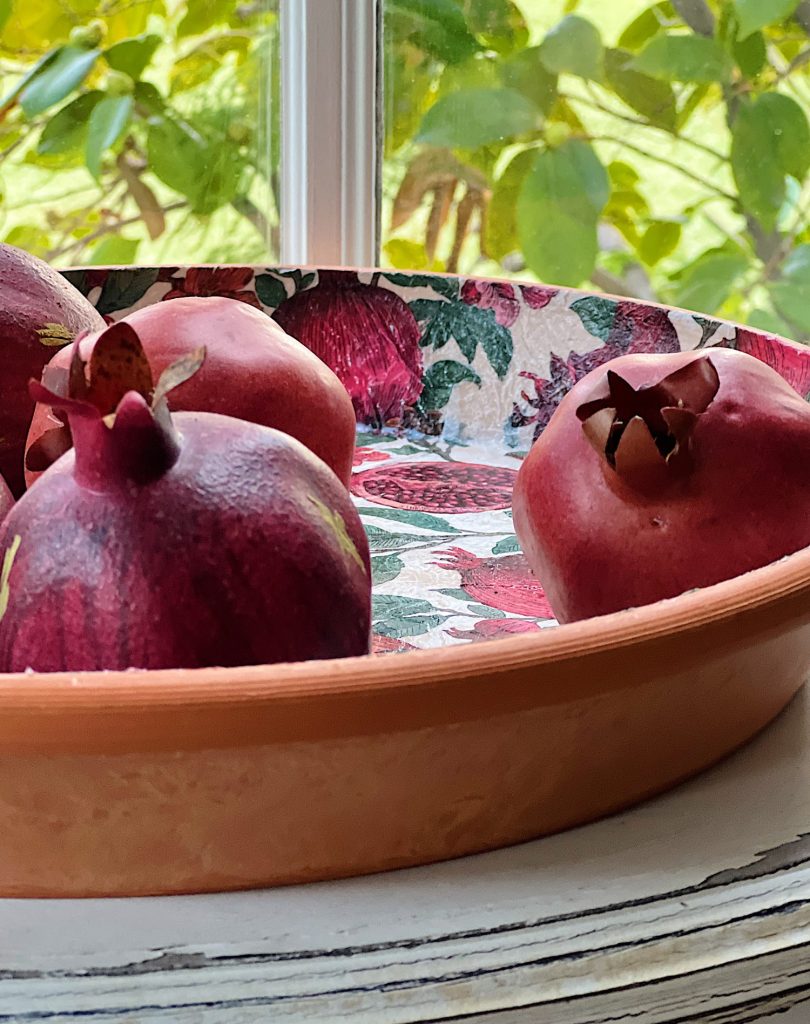
You can fill this pot with so many fun items!
Christmas Napkins Ideas
I have about 40 of these napkins left so I am going to make a few more napkin crafts.
Here are some of the napkin crafts I have made. The pomegranate Christmas napkins would look great as all of these crafts.
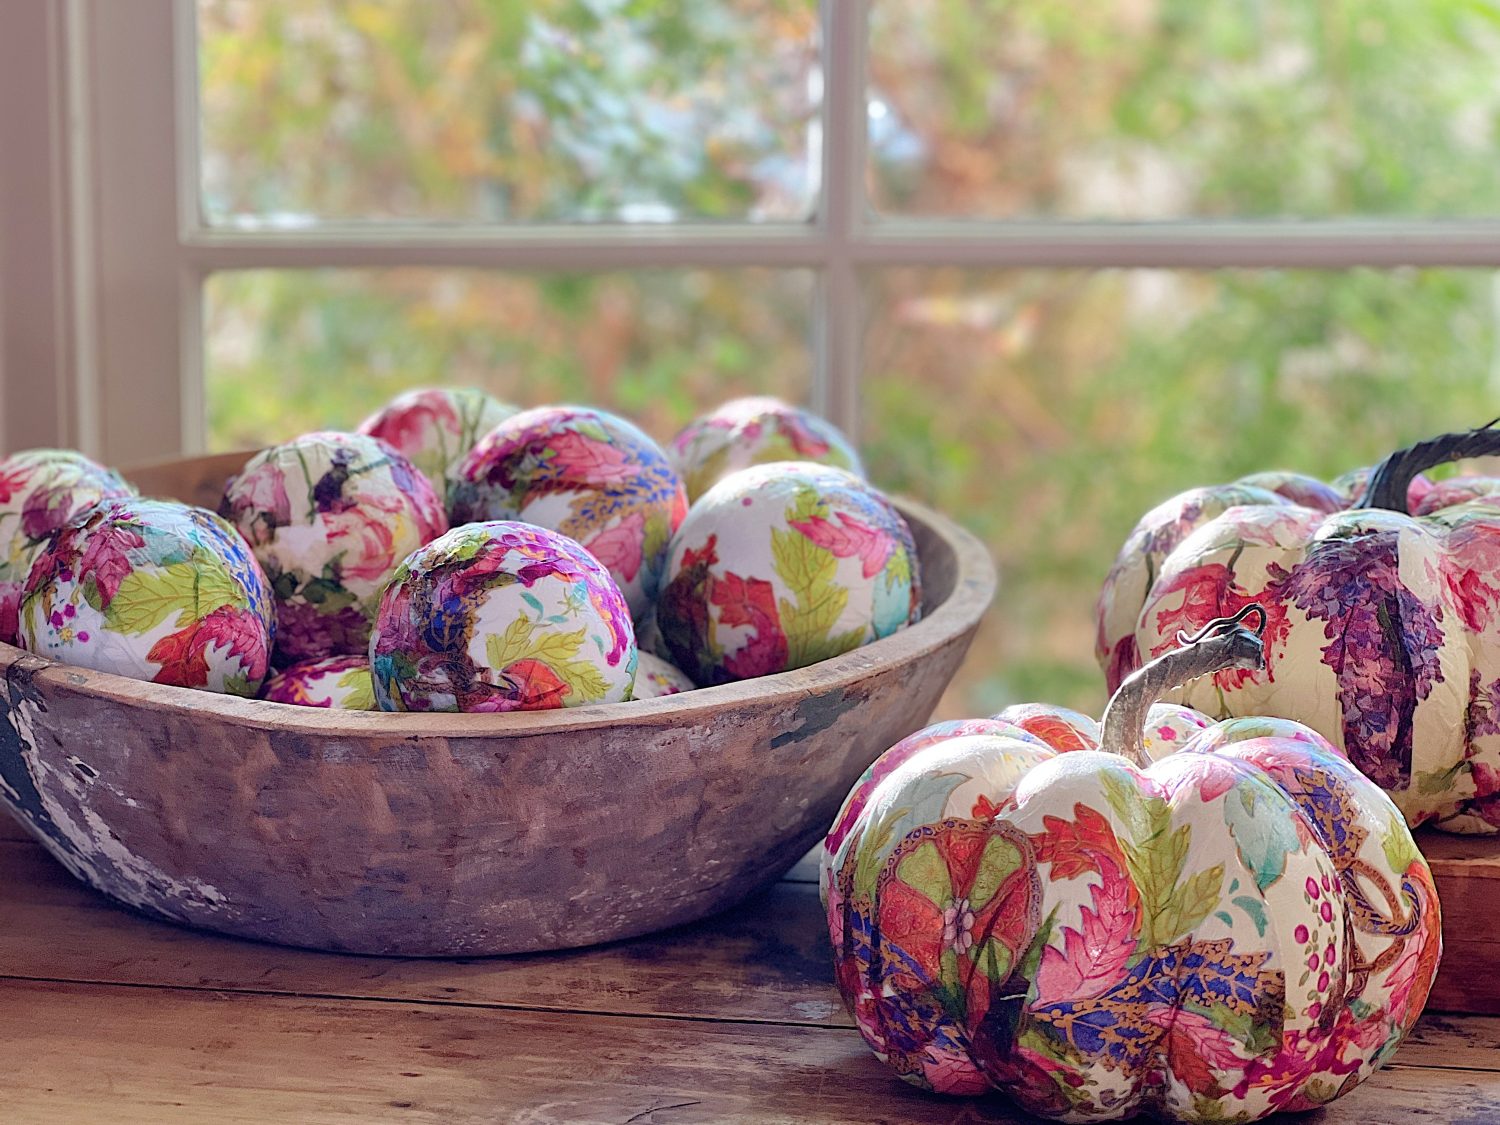
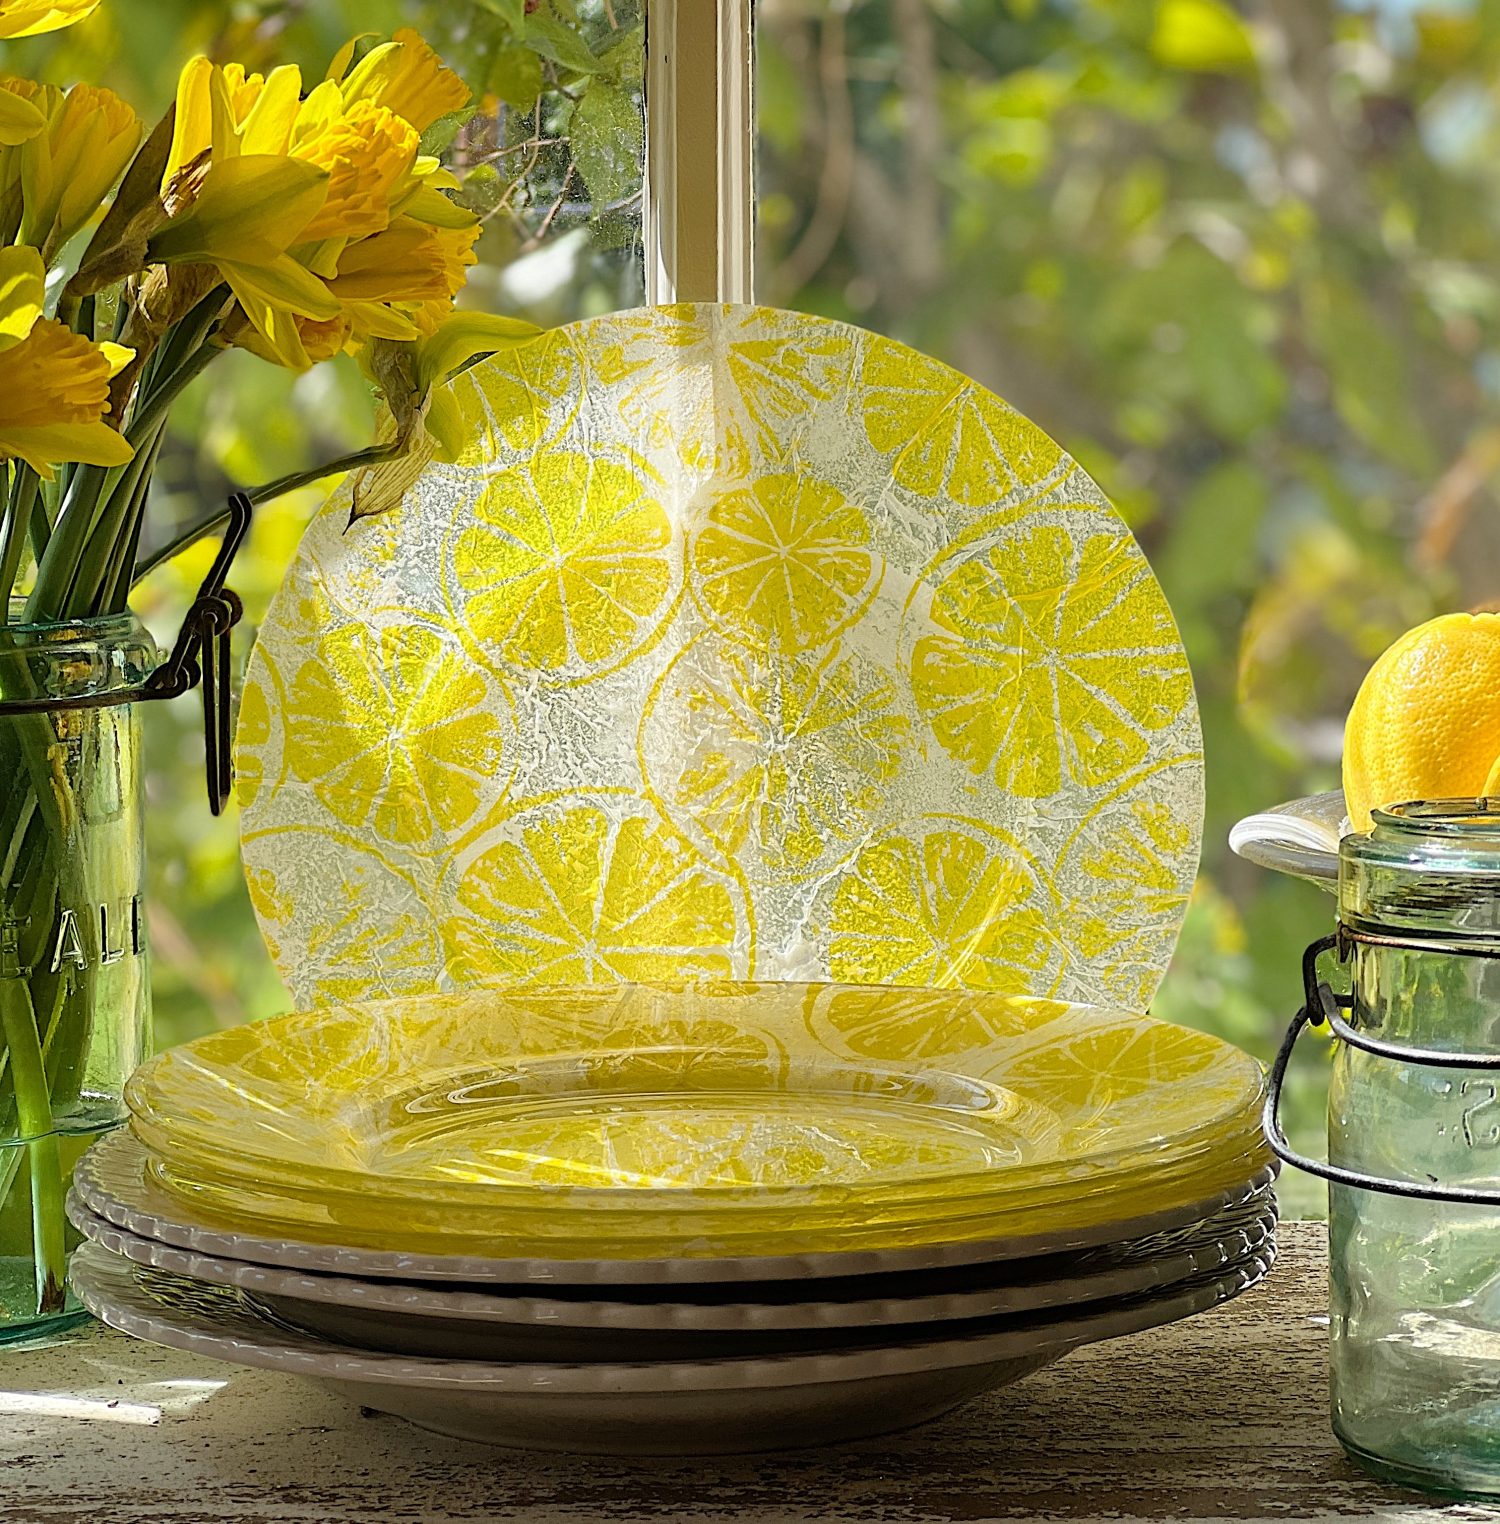
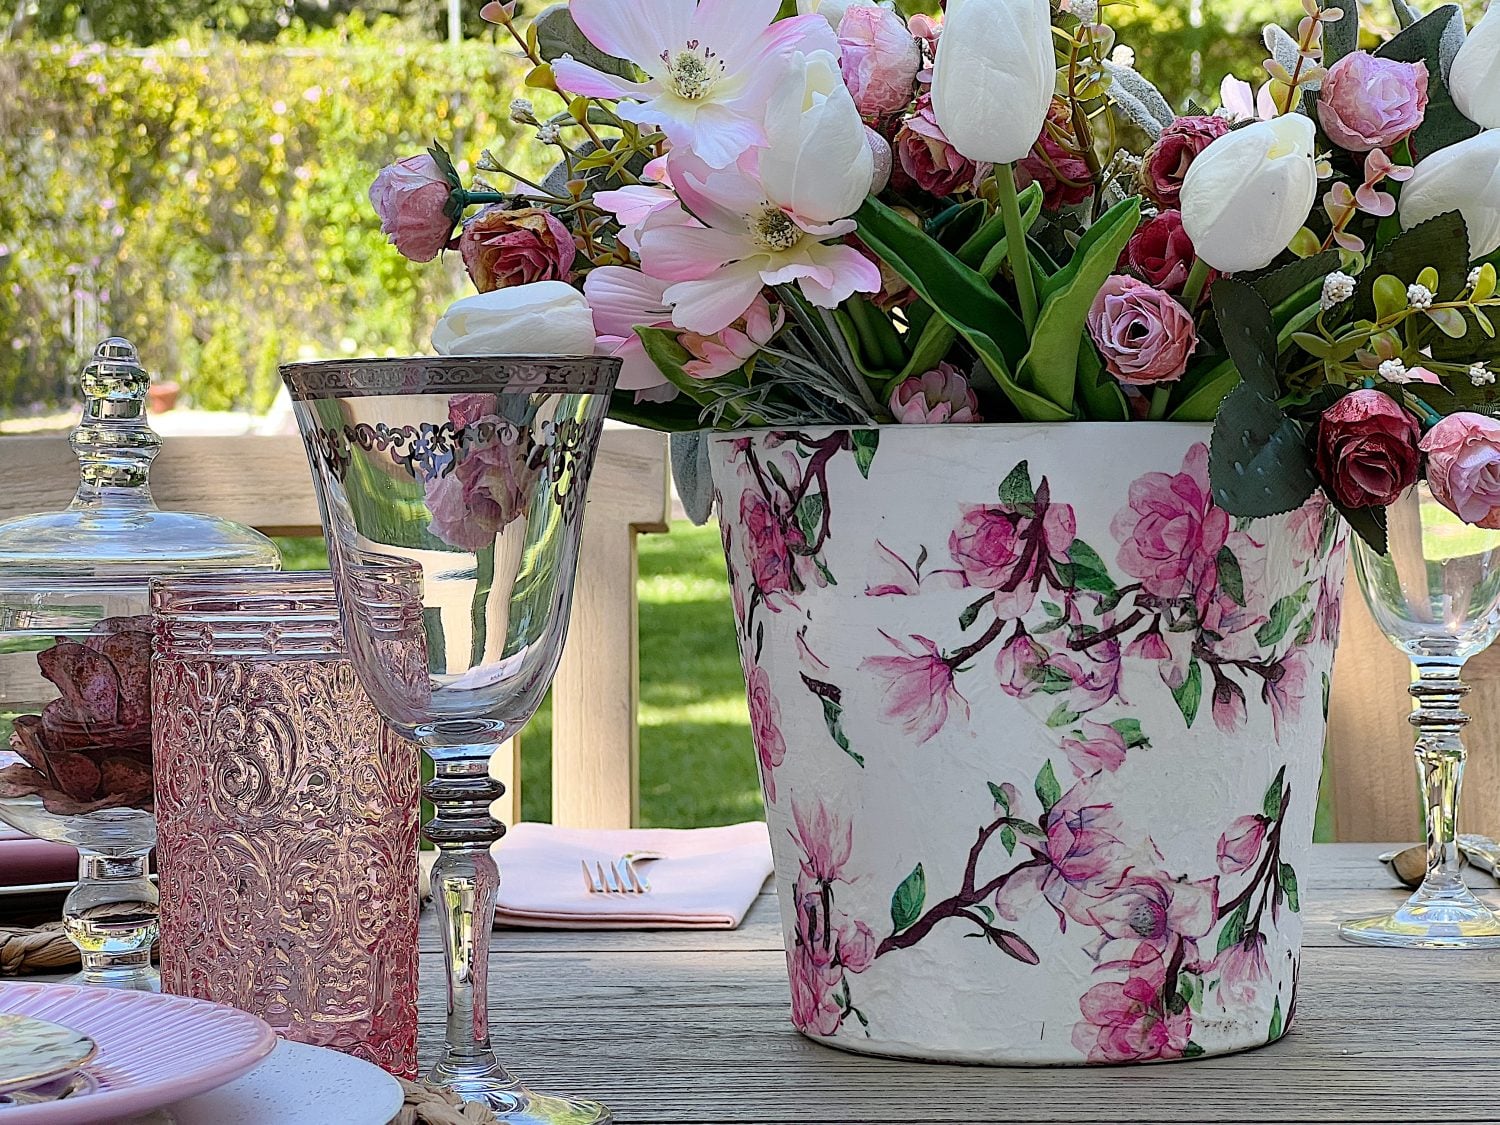
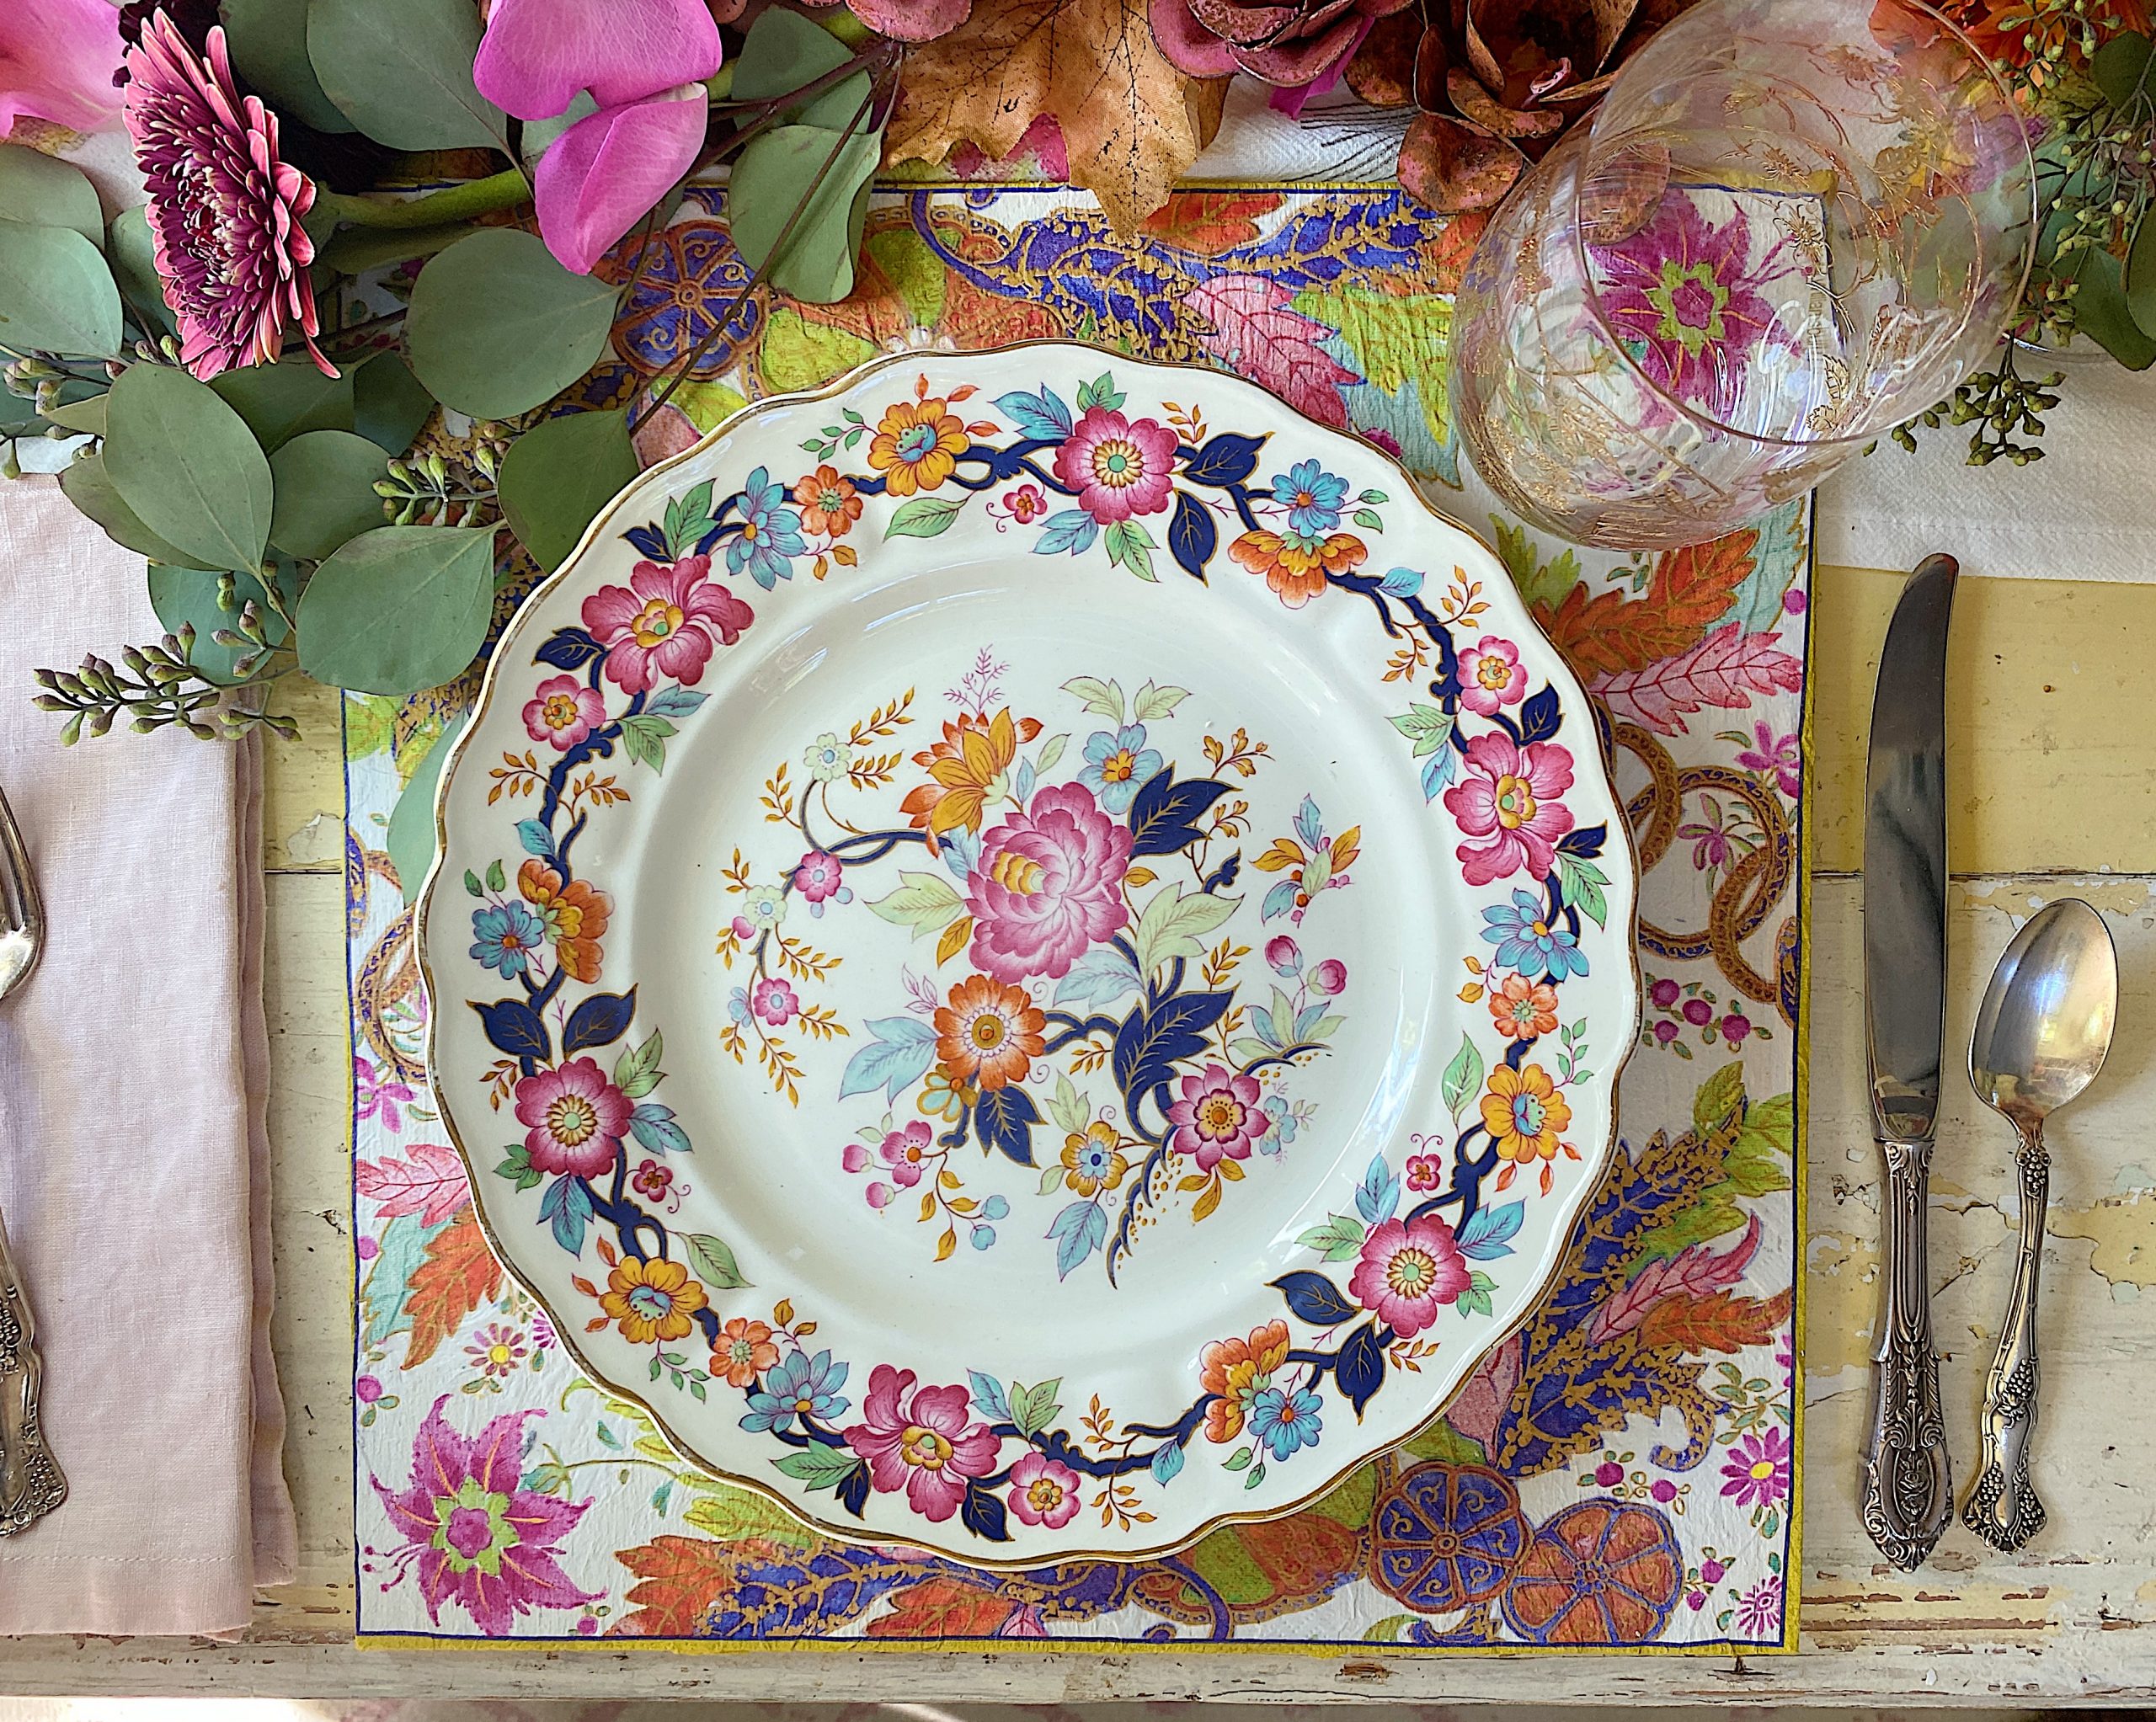
Crafting with Napkins
If you are enjoying my blog, you can sign up to receive my blog updates here.
.More Holiday Inspiration

Watch My Amazon Live
Click here to watch any of my Amazon Live shows. All shows are recorded.
I want to share this show with you, titled Christmas Crafts that Make Great Gifts.

Pin the image below to your boards on Pinterest (just click the Pin button in the top left corner). You can also follow along with me on Pinterest!
For more real-time updates, follow me on Instagram @My100YearOldHome









The wrong blog came up. It was the one from yesterday