A Mini Christmas Tree DIY

The holiday season brings a special kind of magic, and this mini Christmas tree DIY is one of my new favorite festive decorations.
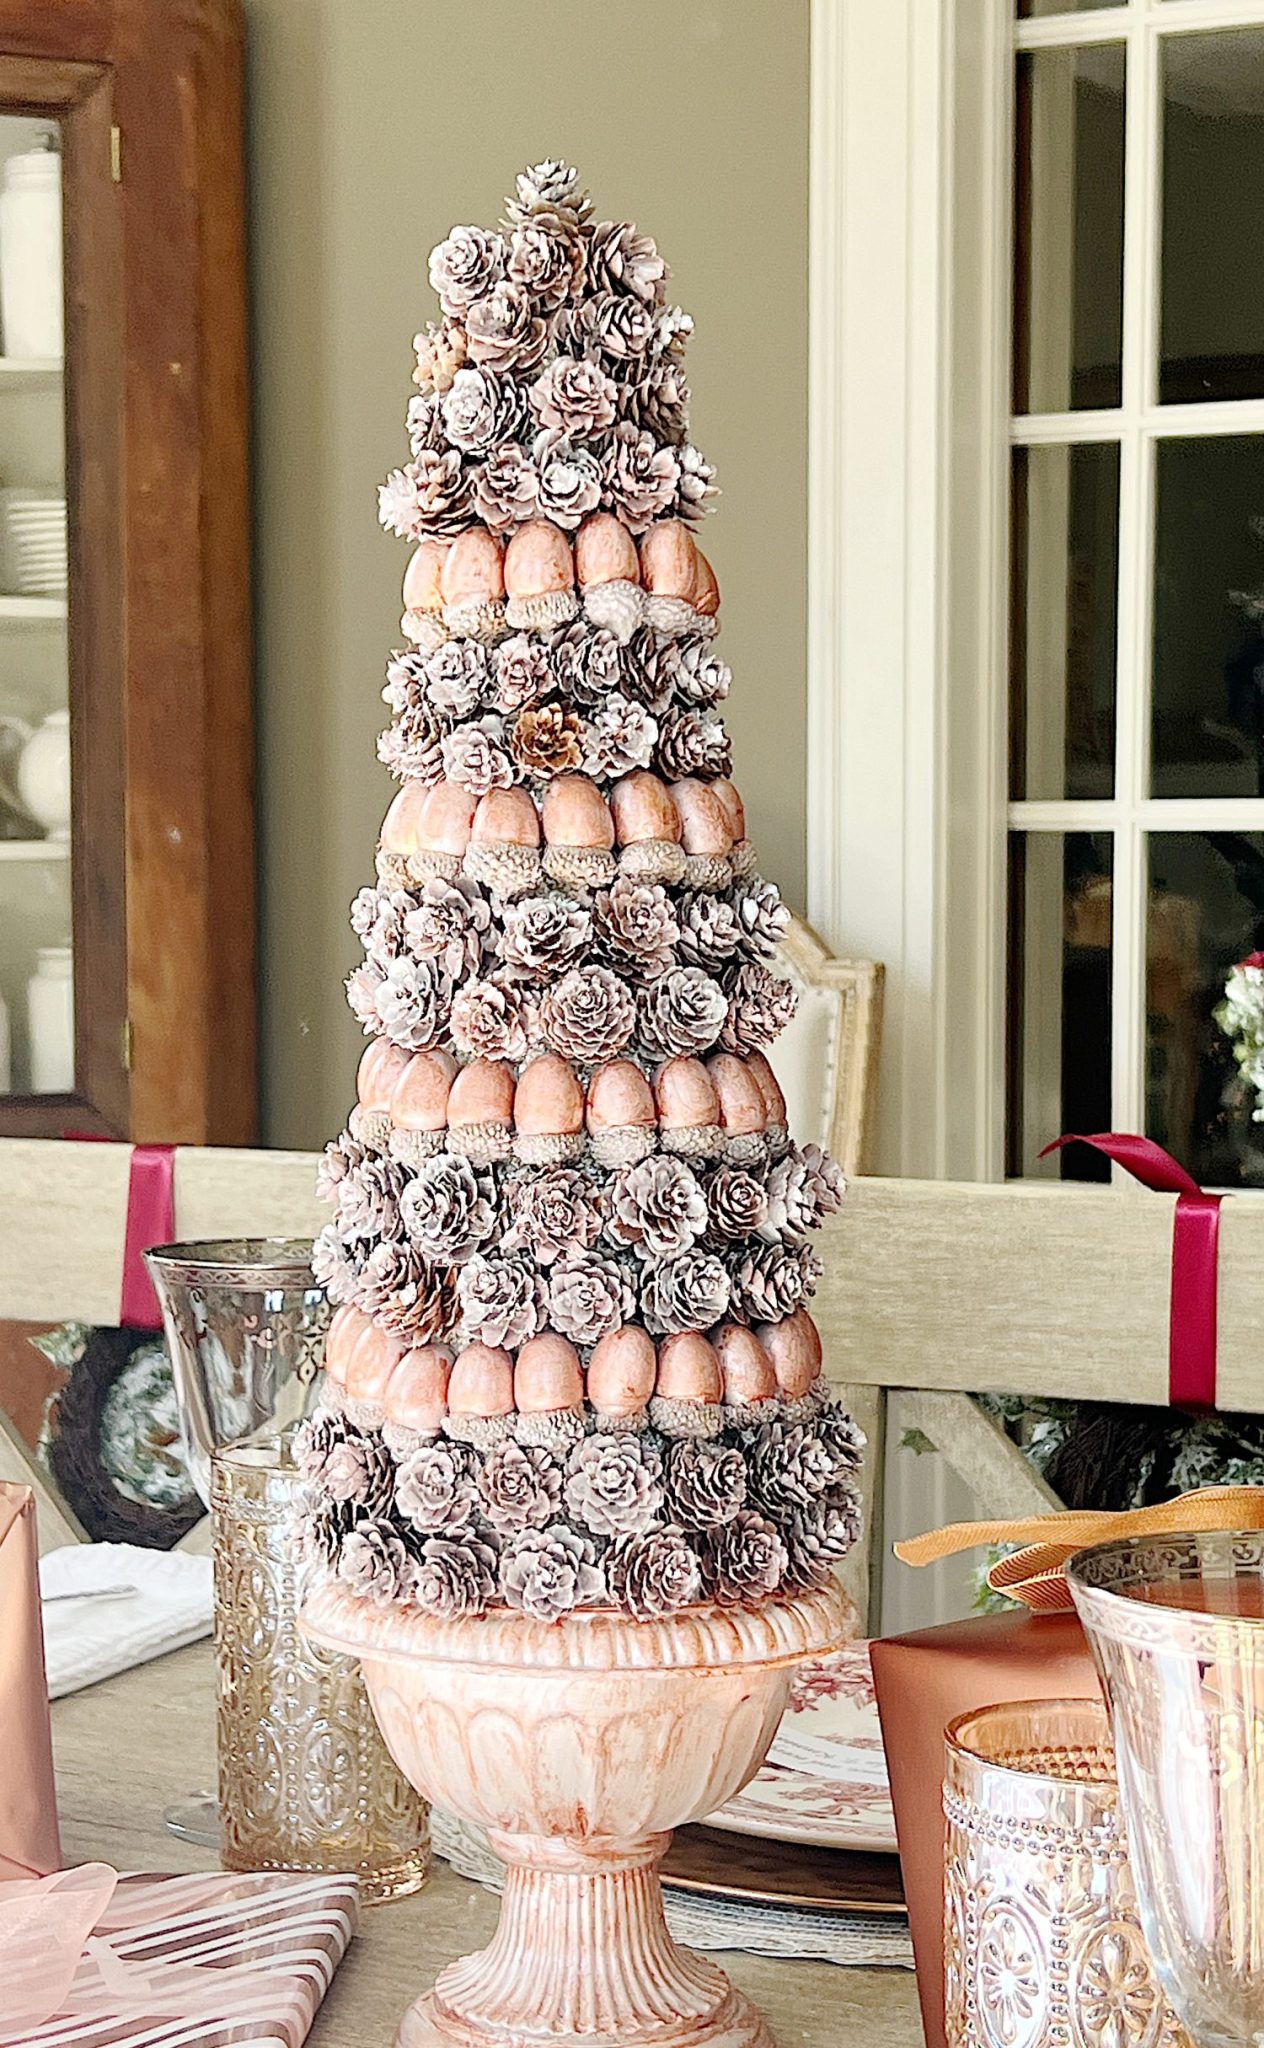
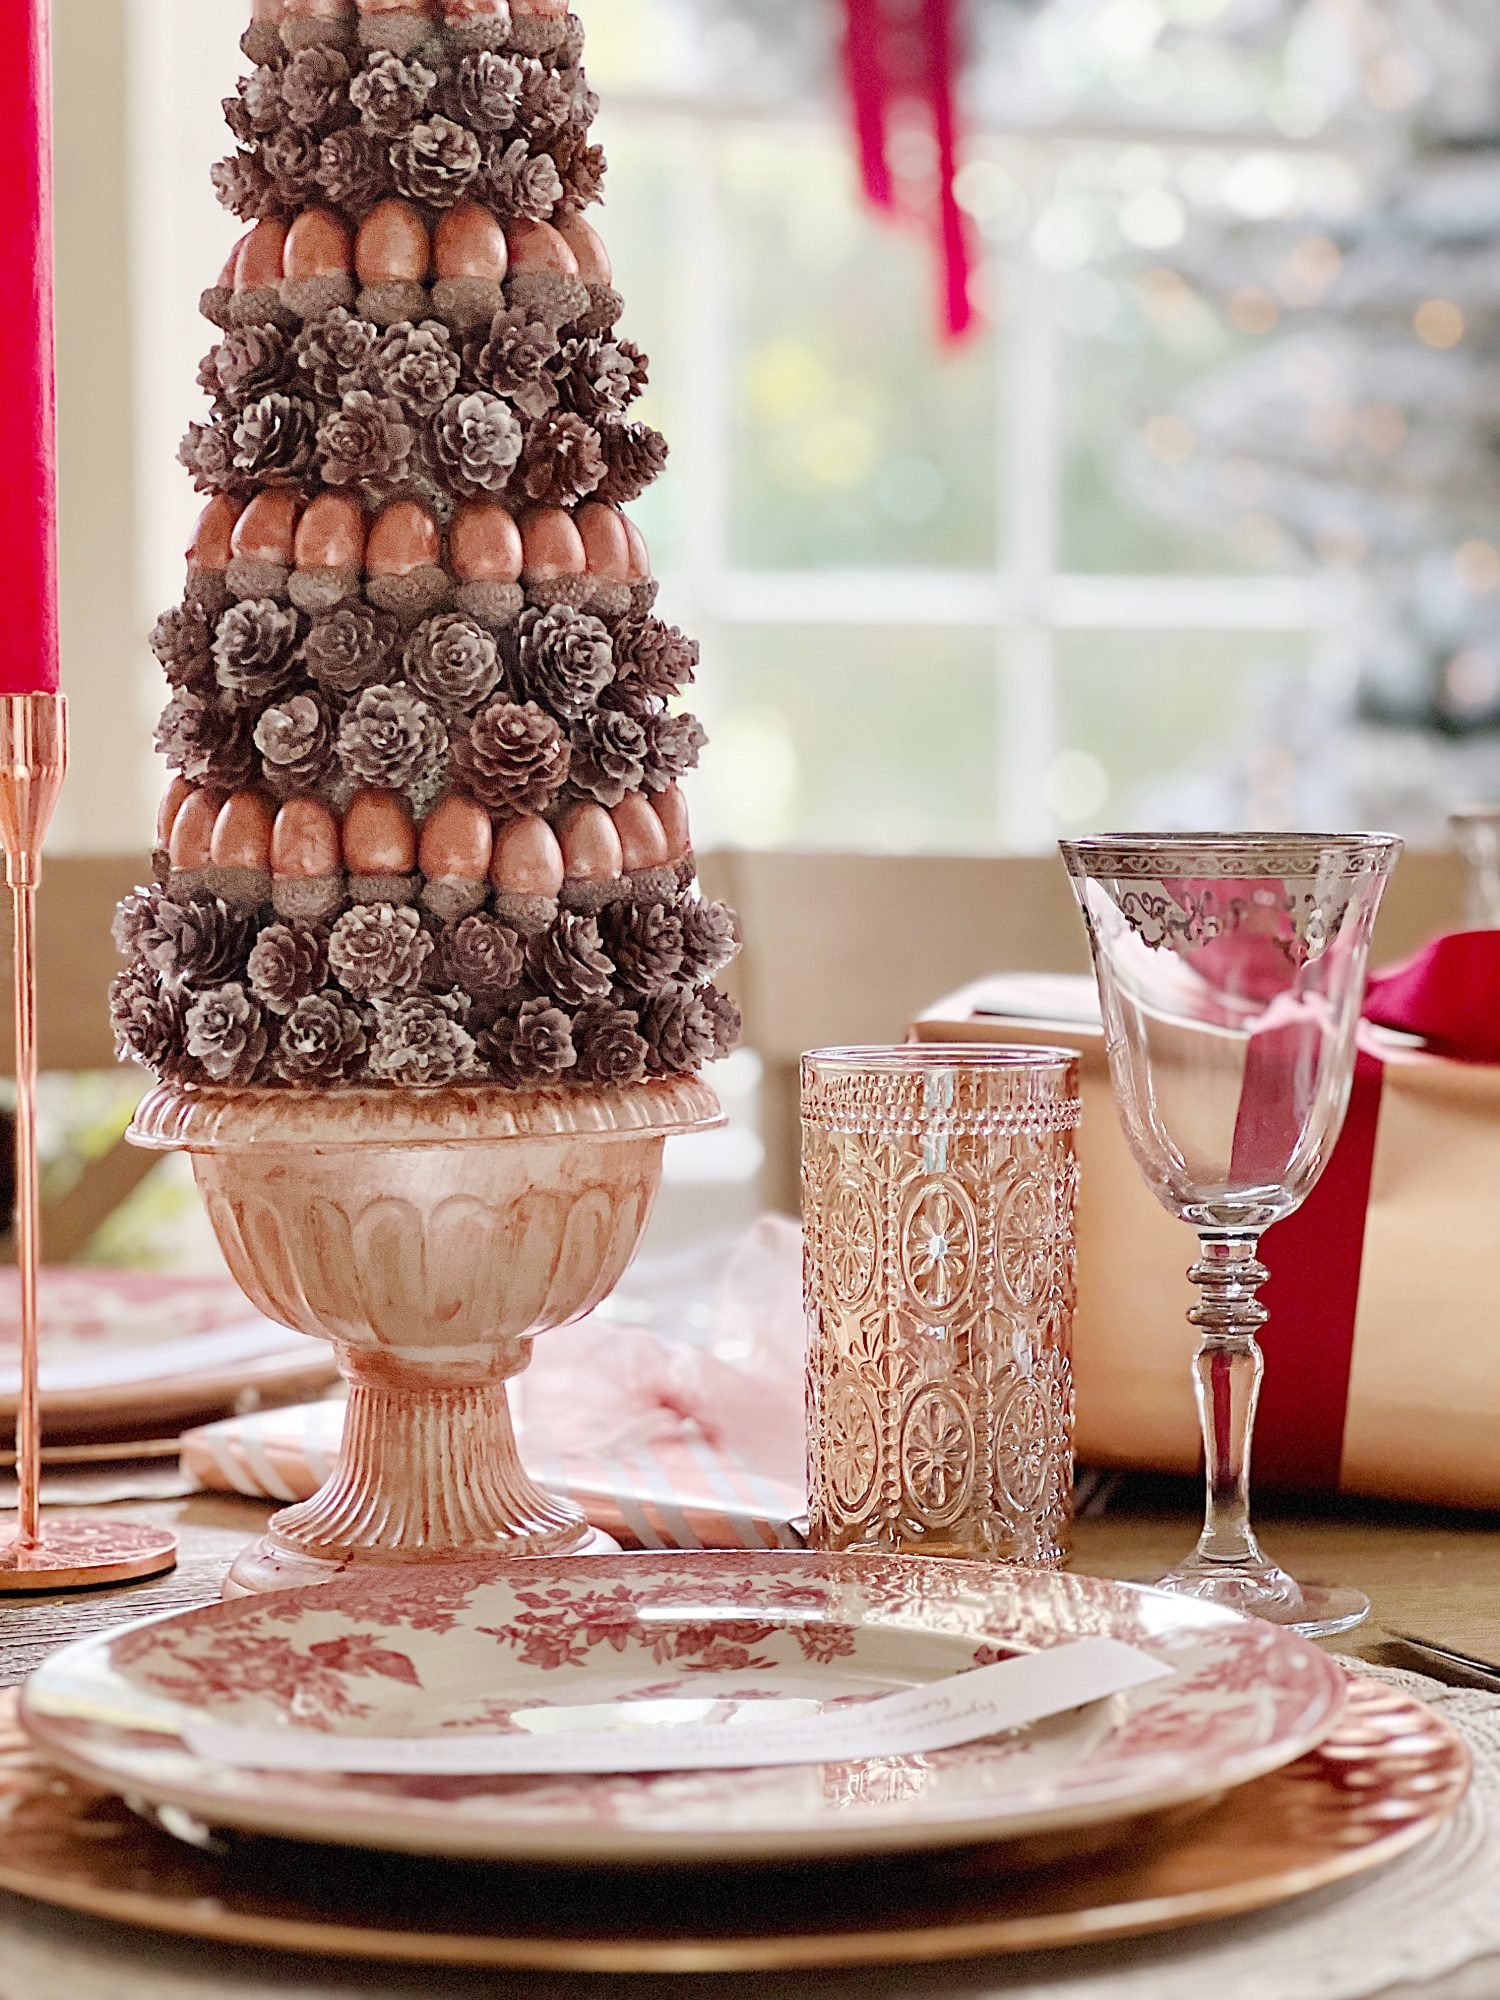
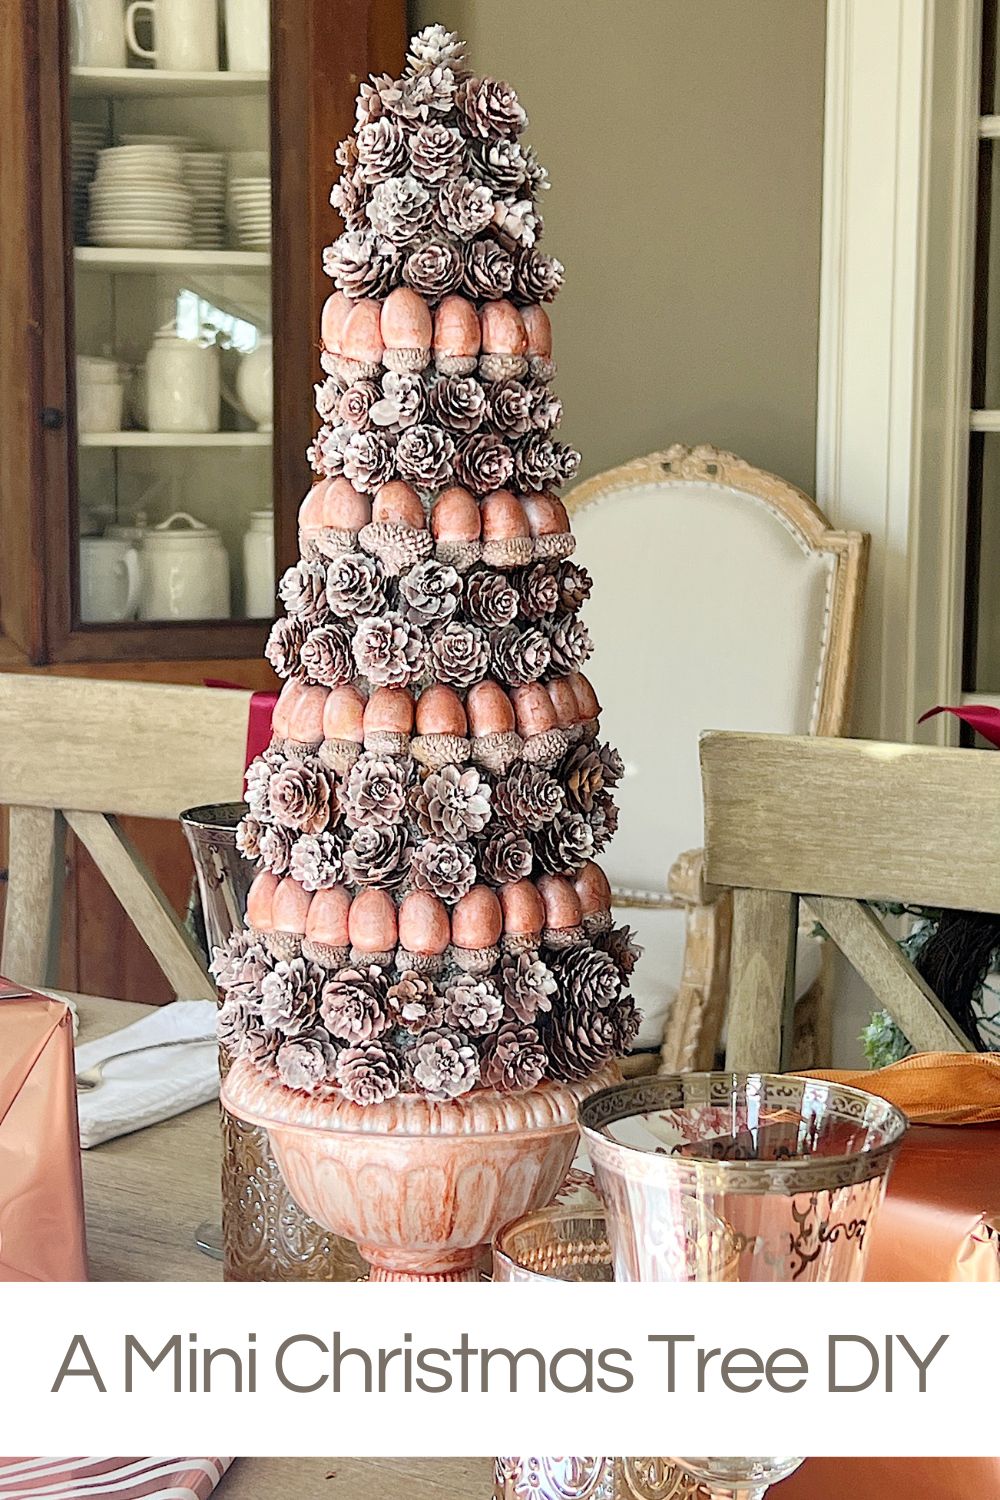
This was very simple to make. I spray-painted the pine cones and acorns and glued them to a styrofoam cone. Isn’t this gorgeous?


Mini Christmas Tree
Crafting a Mini Christmas Tree: A Step-by-Step Guide
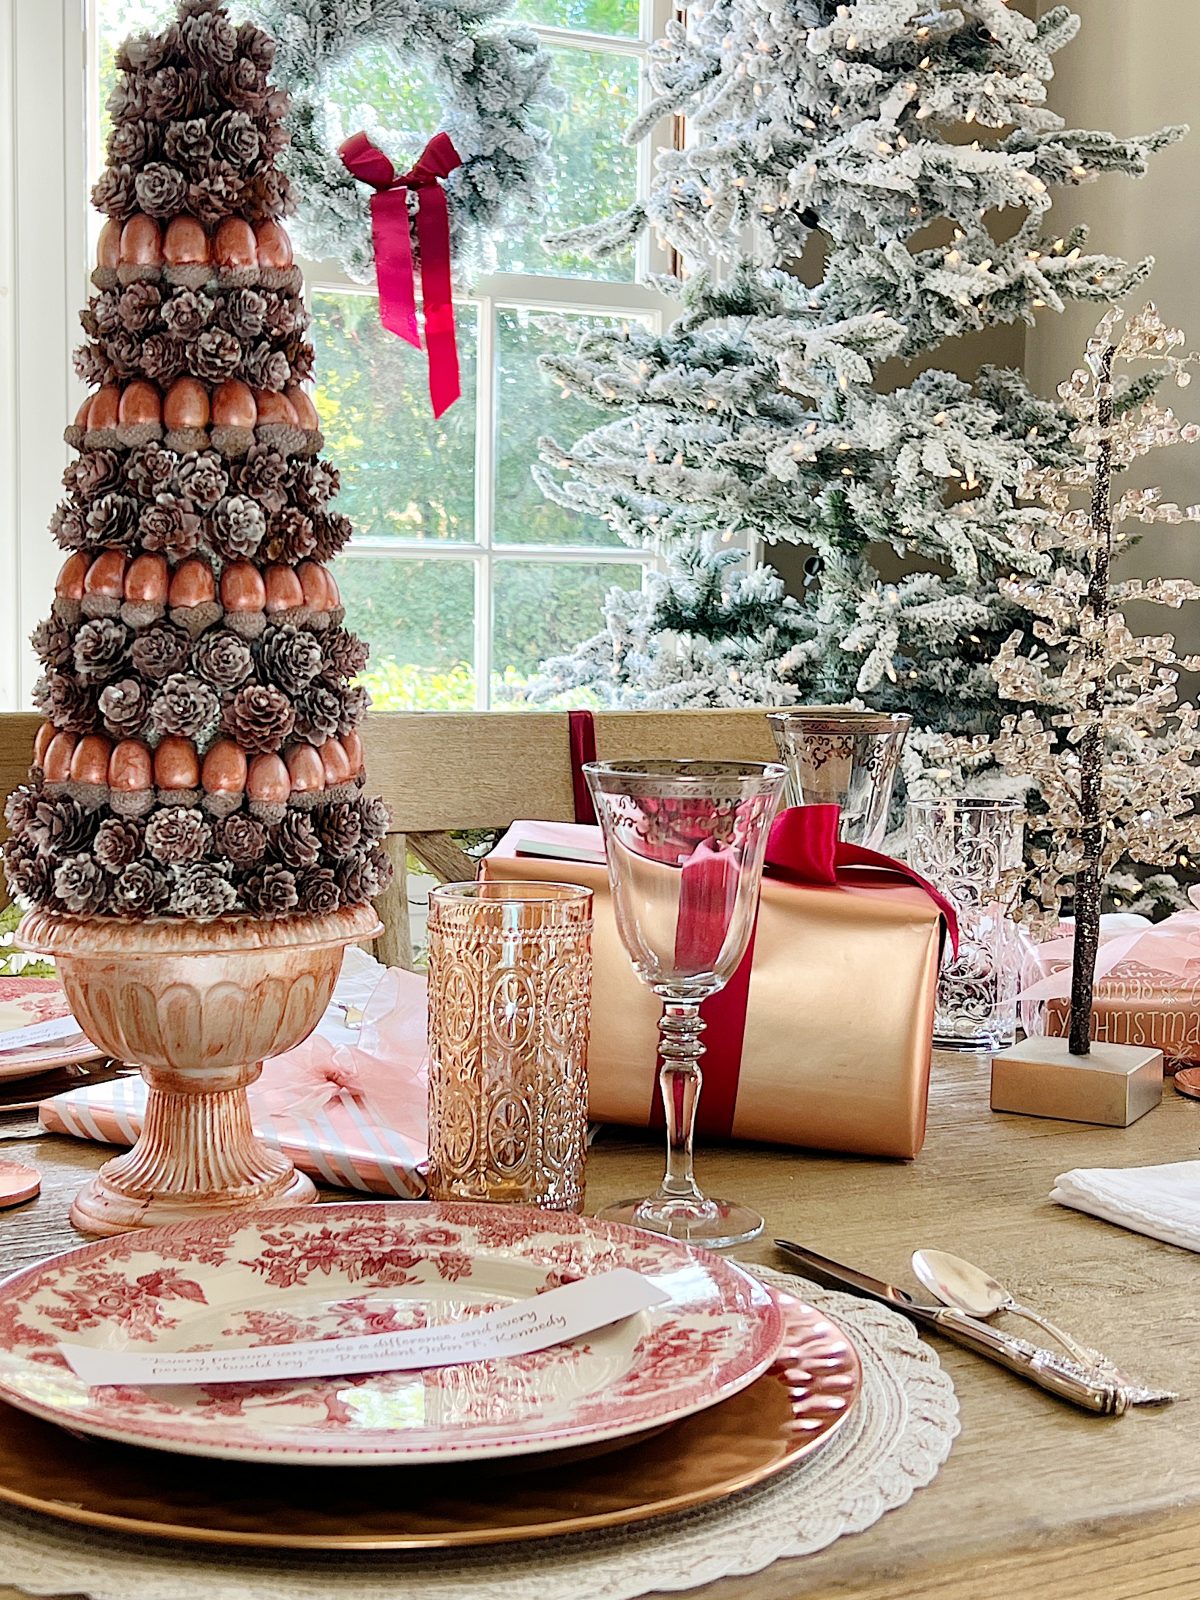
Inspired by a magazine feature a few years back, I embarked on a DIY project to create a charming mini Christmas tree using simple materials: a plastic urn, small pine cones, a Styrofoam cone, and acorns.
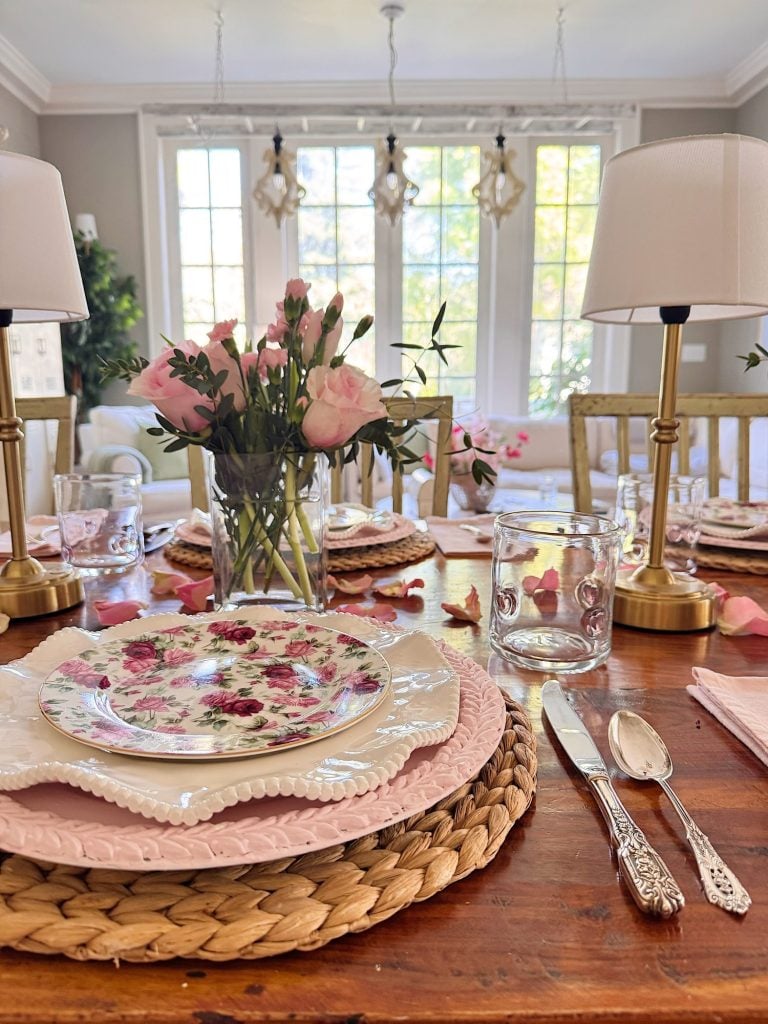
The result is a delightful addition to my holiday décor, perfectly complementing my cranberry and rose-gold-themed table.
On this blog, I may sometimes use affiliate links, which means a small commission is earned if you purchase via the link. The price will be the same whether you use the affiliate link or go directly to the vendor’s website using a non-affiliate link.
Supplies You’ll Need
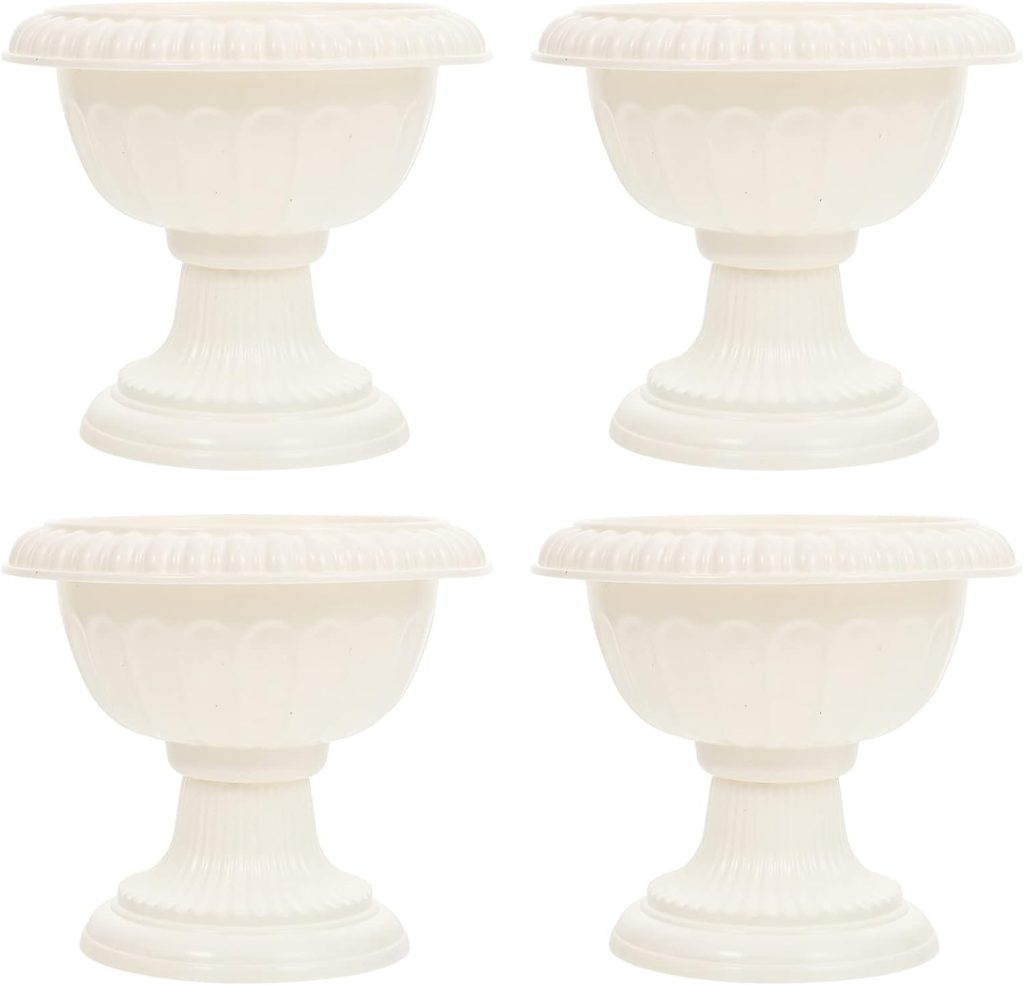
- Plastic urn
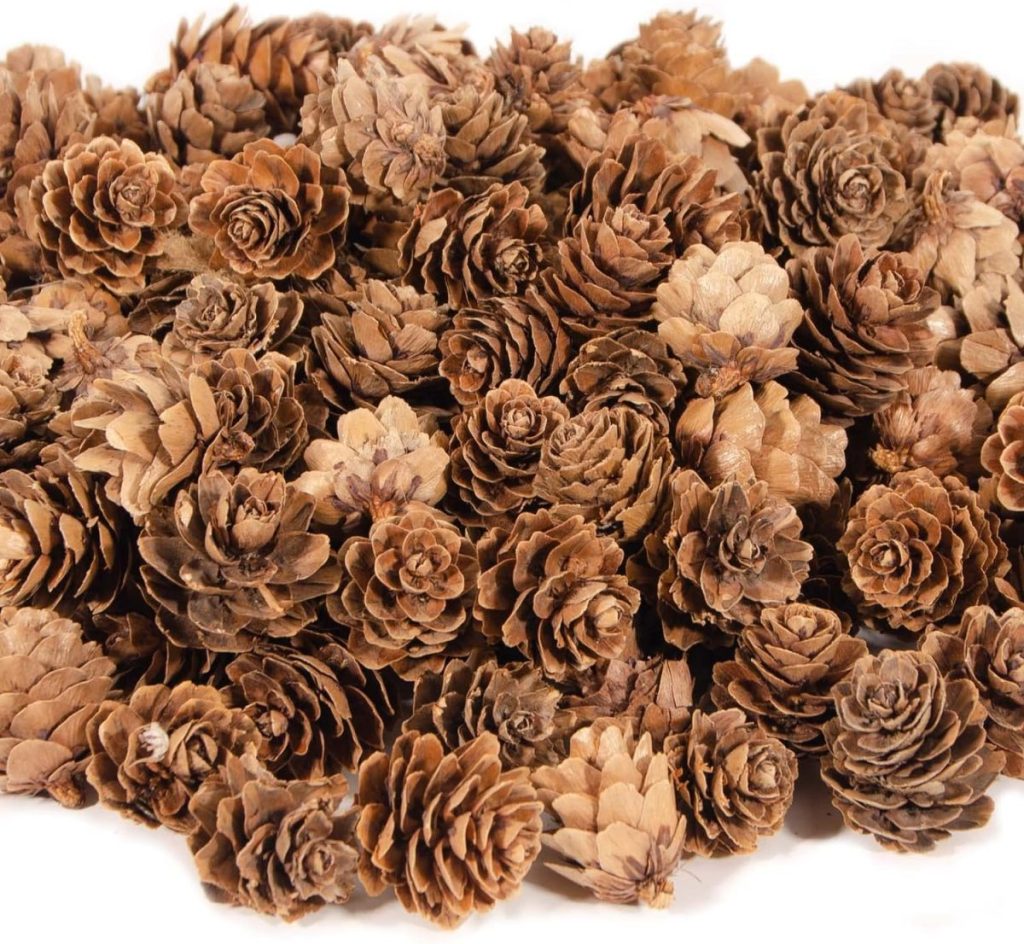
- Small pine cones
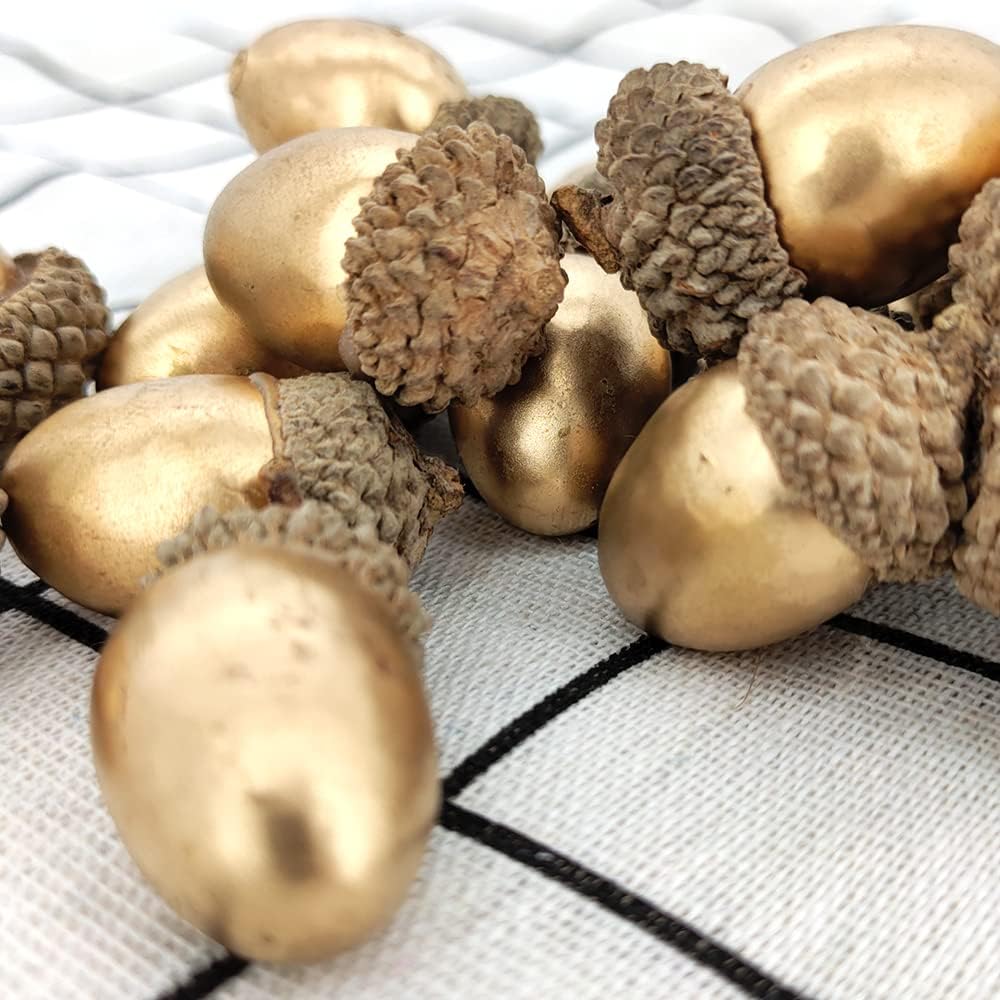
- Acorns
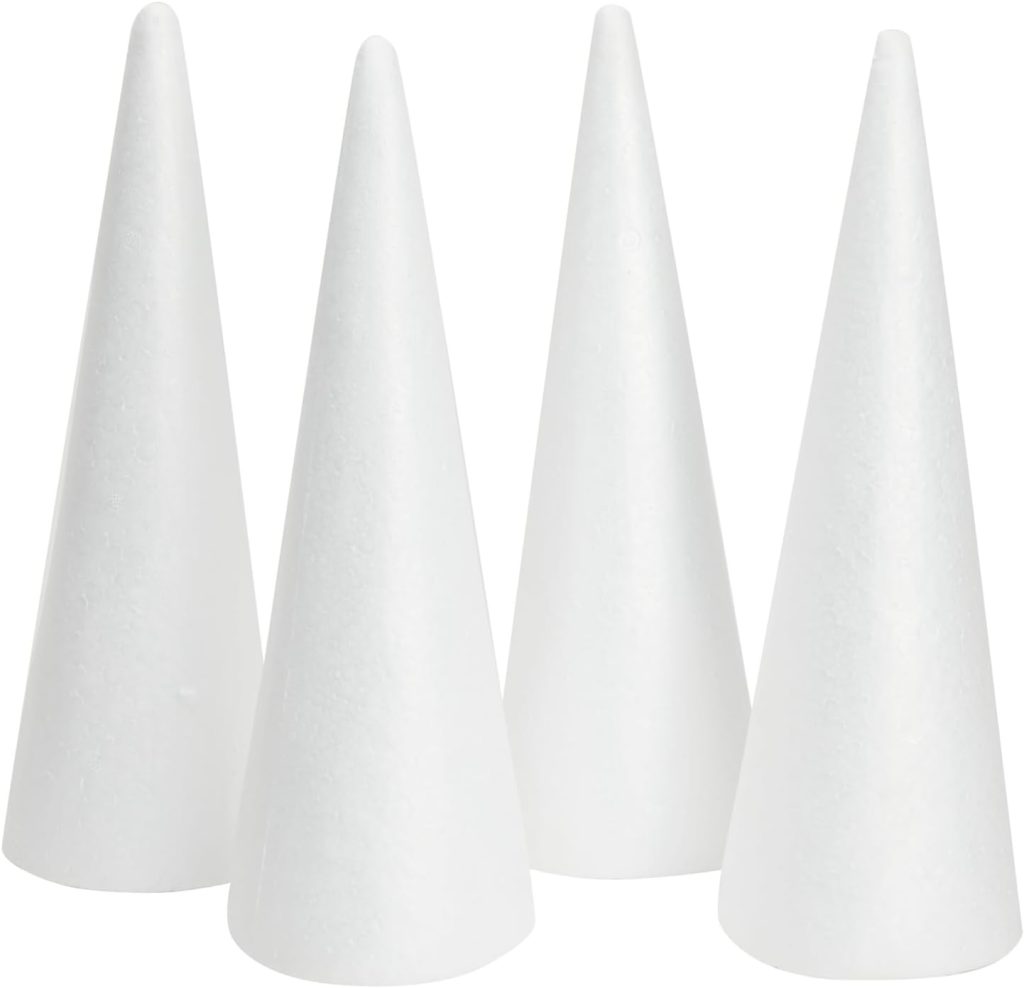
- Styrofoam cone (white is best but I already had green ones)
- Rose gold spray paint
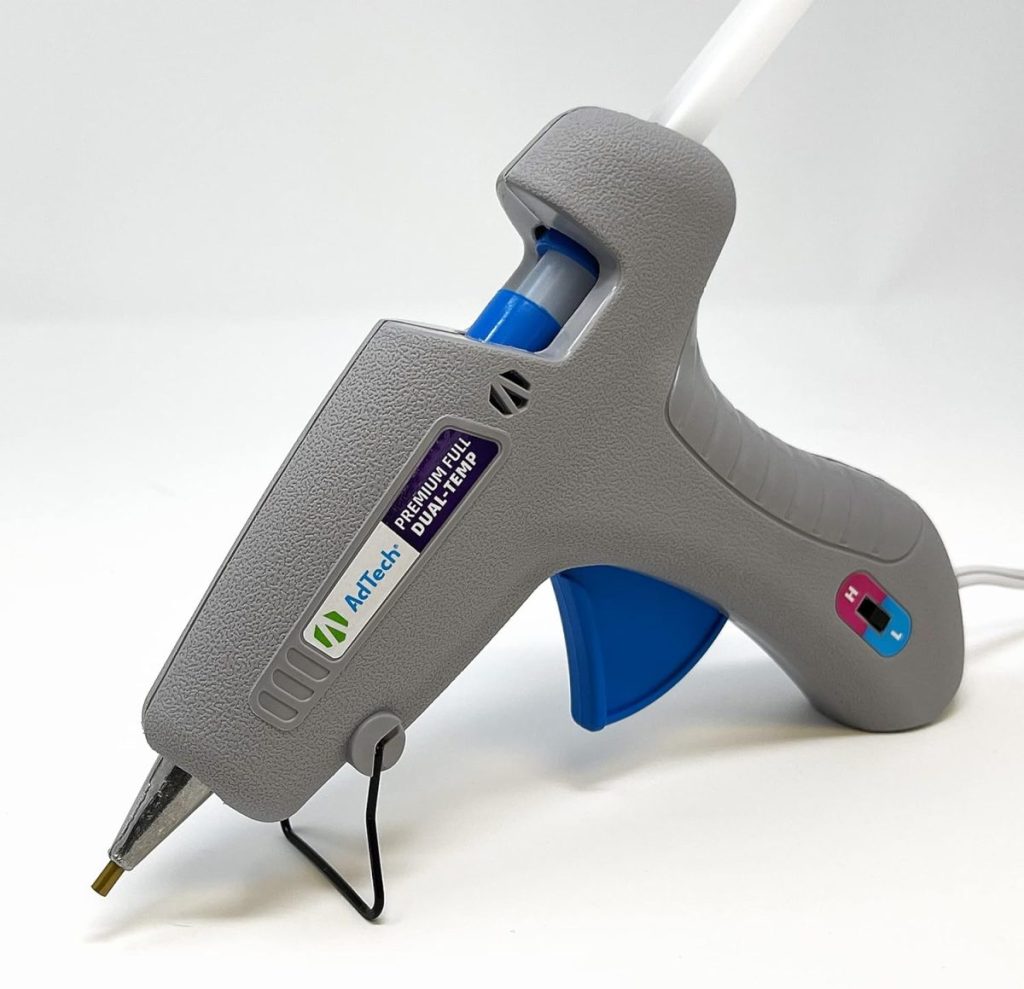
- Hot glue gun and glue sticks

Step 1: Prep and Paint Your Materials

Once all your supplies are gathered, the first step is to add a touch of elegance with rose gold spray paint.
Lay out your pine cones and acorns on a protected surface and evenly apply the rose gold paint. This not only adds a festive shimmer but also ensures that your mini tree will beautifully match your holiday table setting.
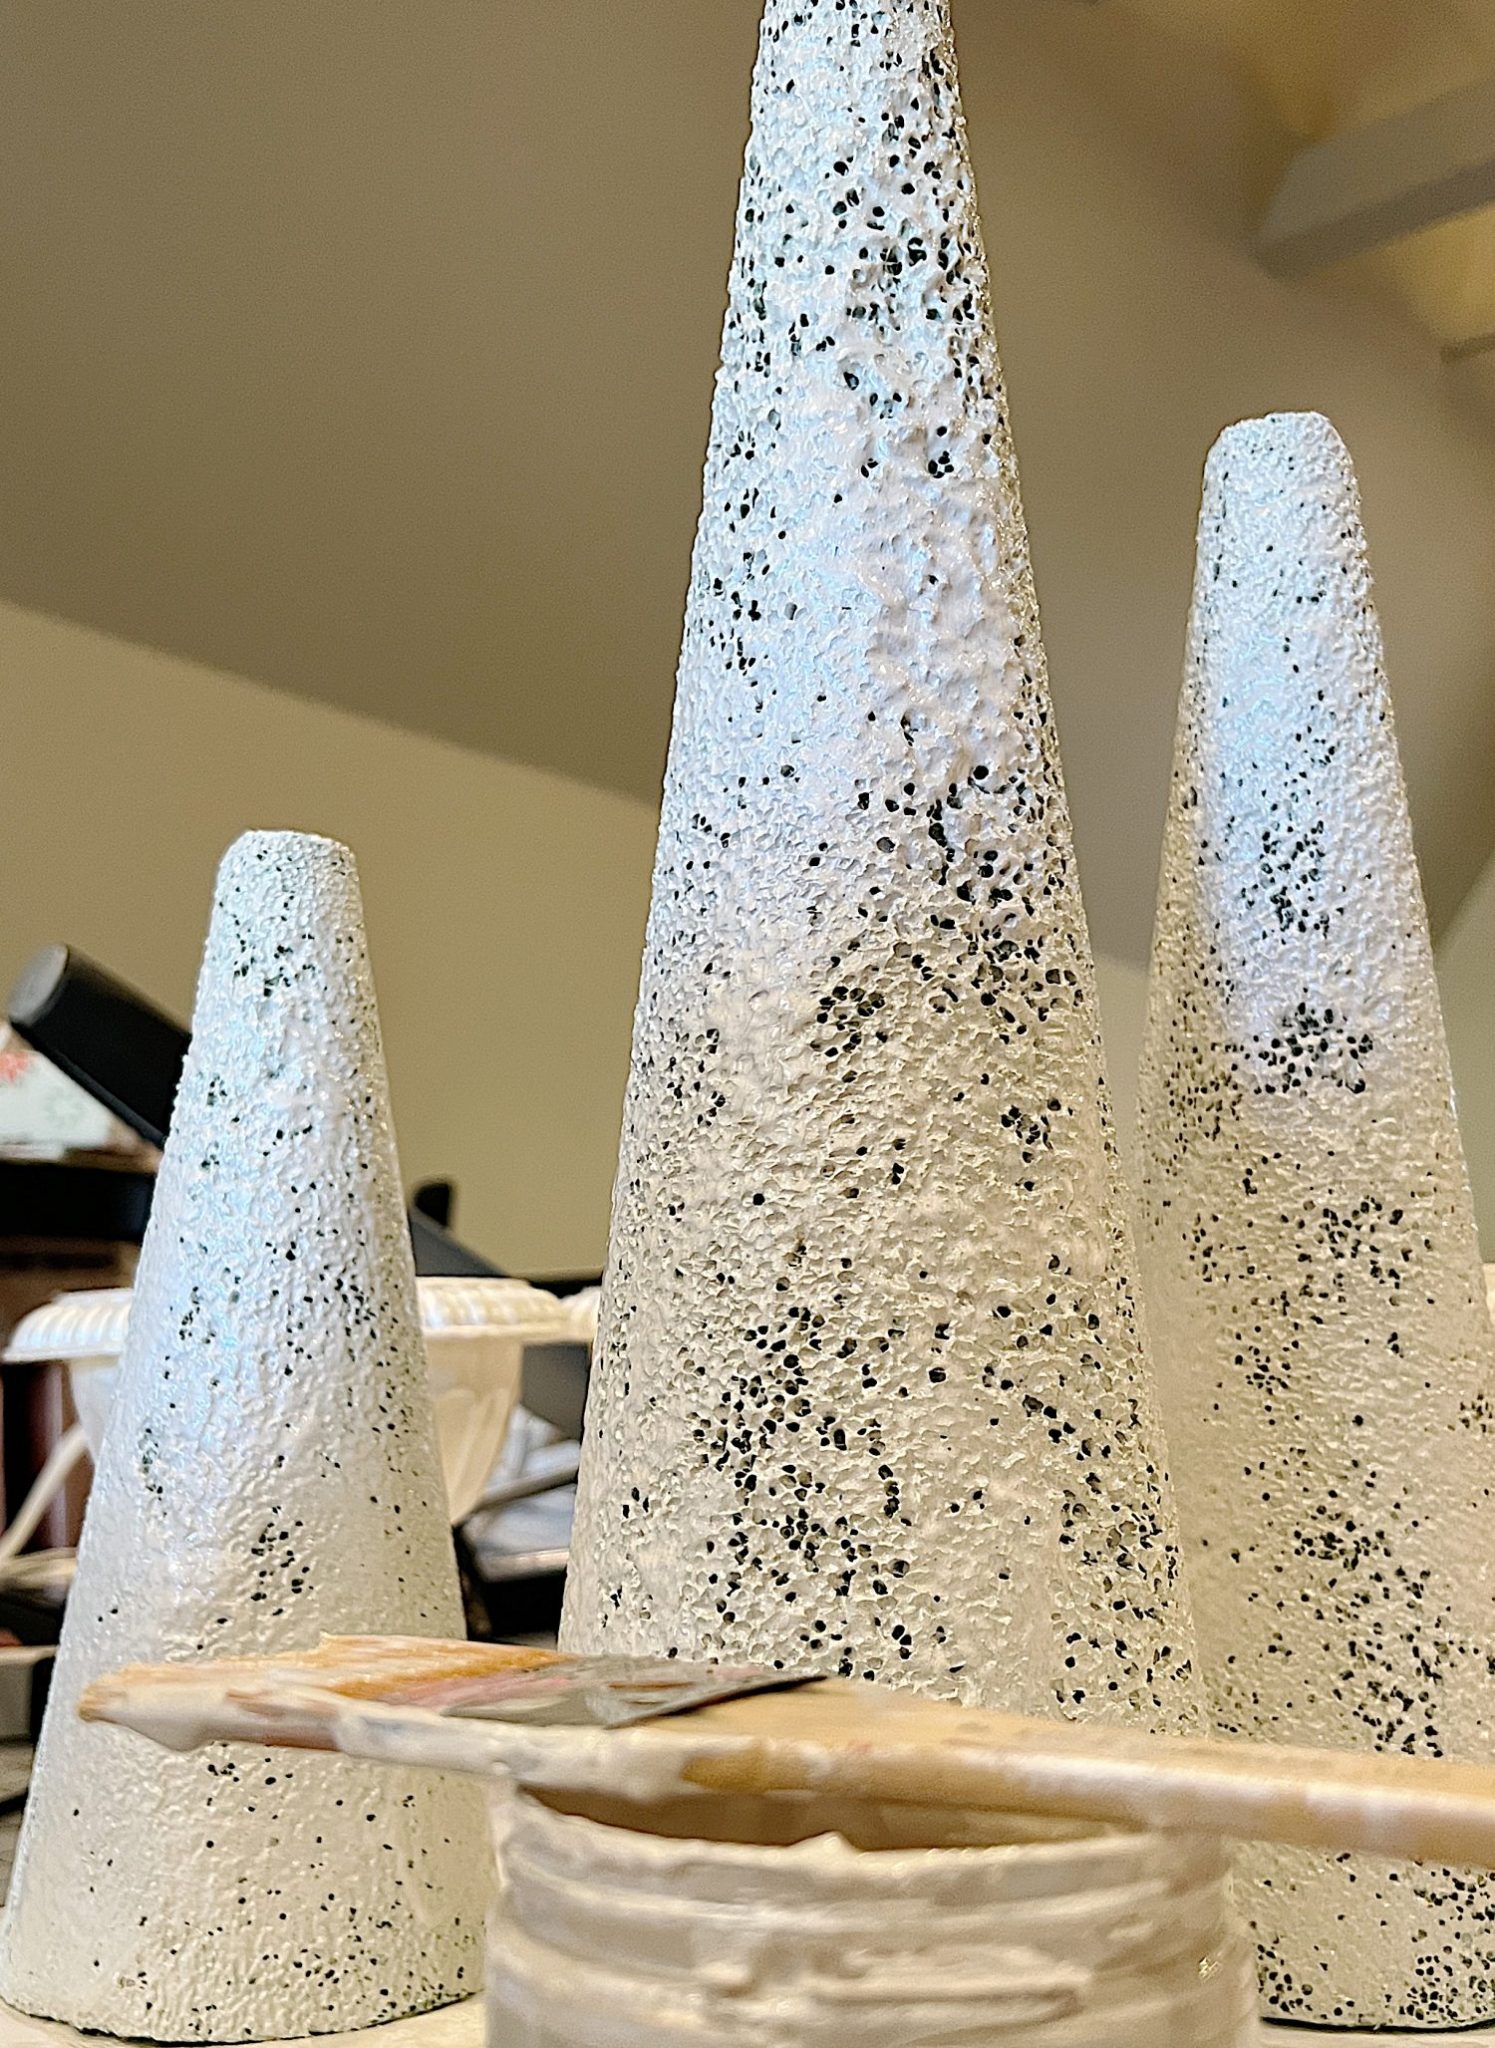
Ideally, you should buy white styrofoam cones but since I already owned green ones I painted them white instead.
Step 2: Assembling the Base
I bought these plastic urns. They are slightly fragile and in the set, one of them was missing a piece to securely attach the top and bottom. But that wasn’t an issue, since I gently hot-glued them together.
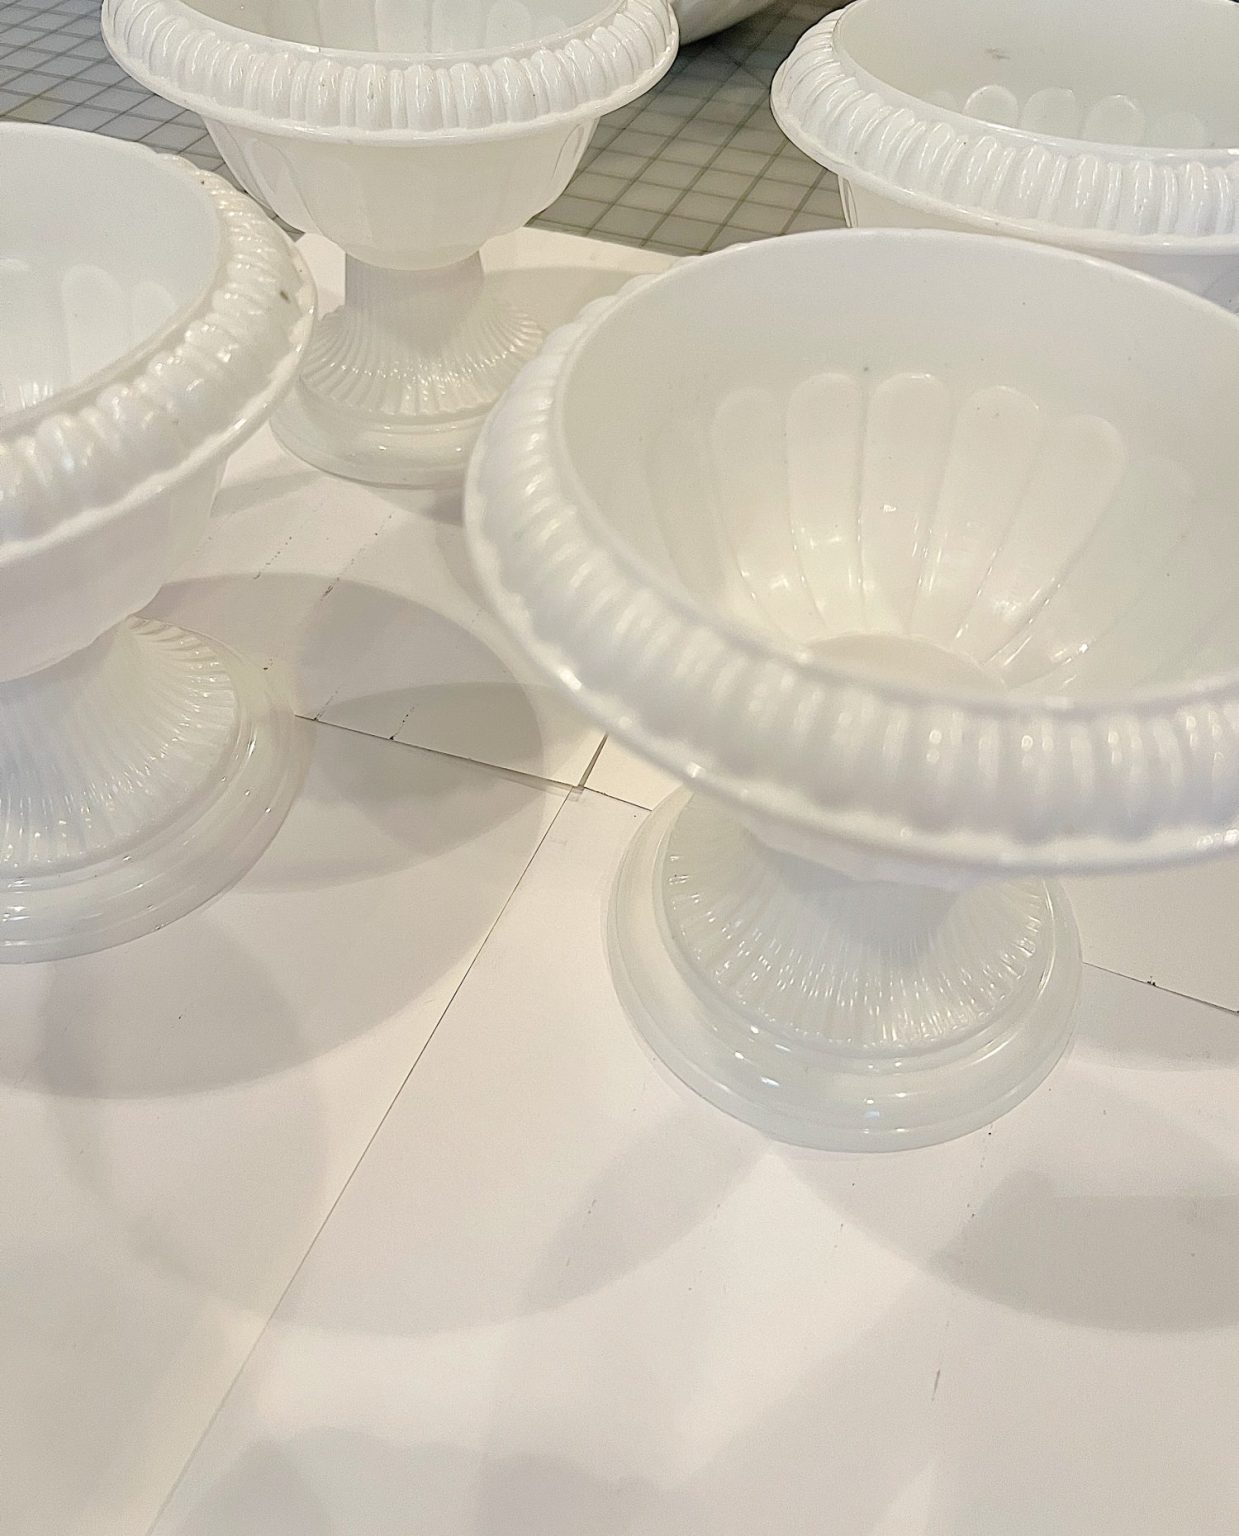
Next, you can paint the urns whatever color you would like. I painted my pearlized white with a copper rub.
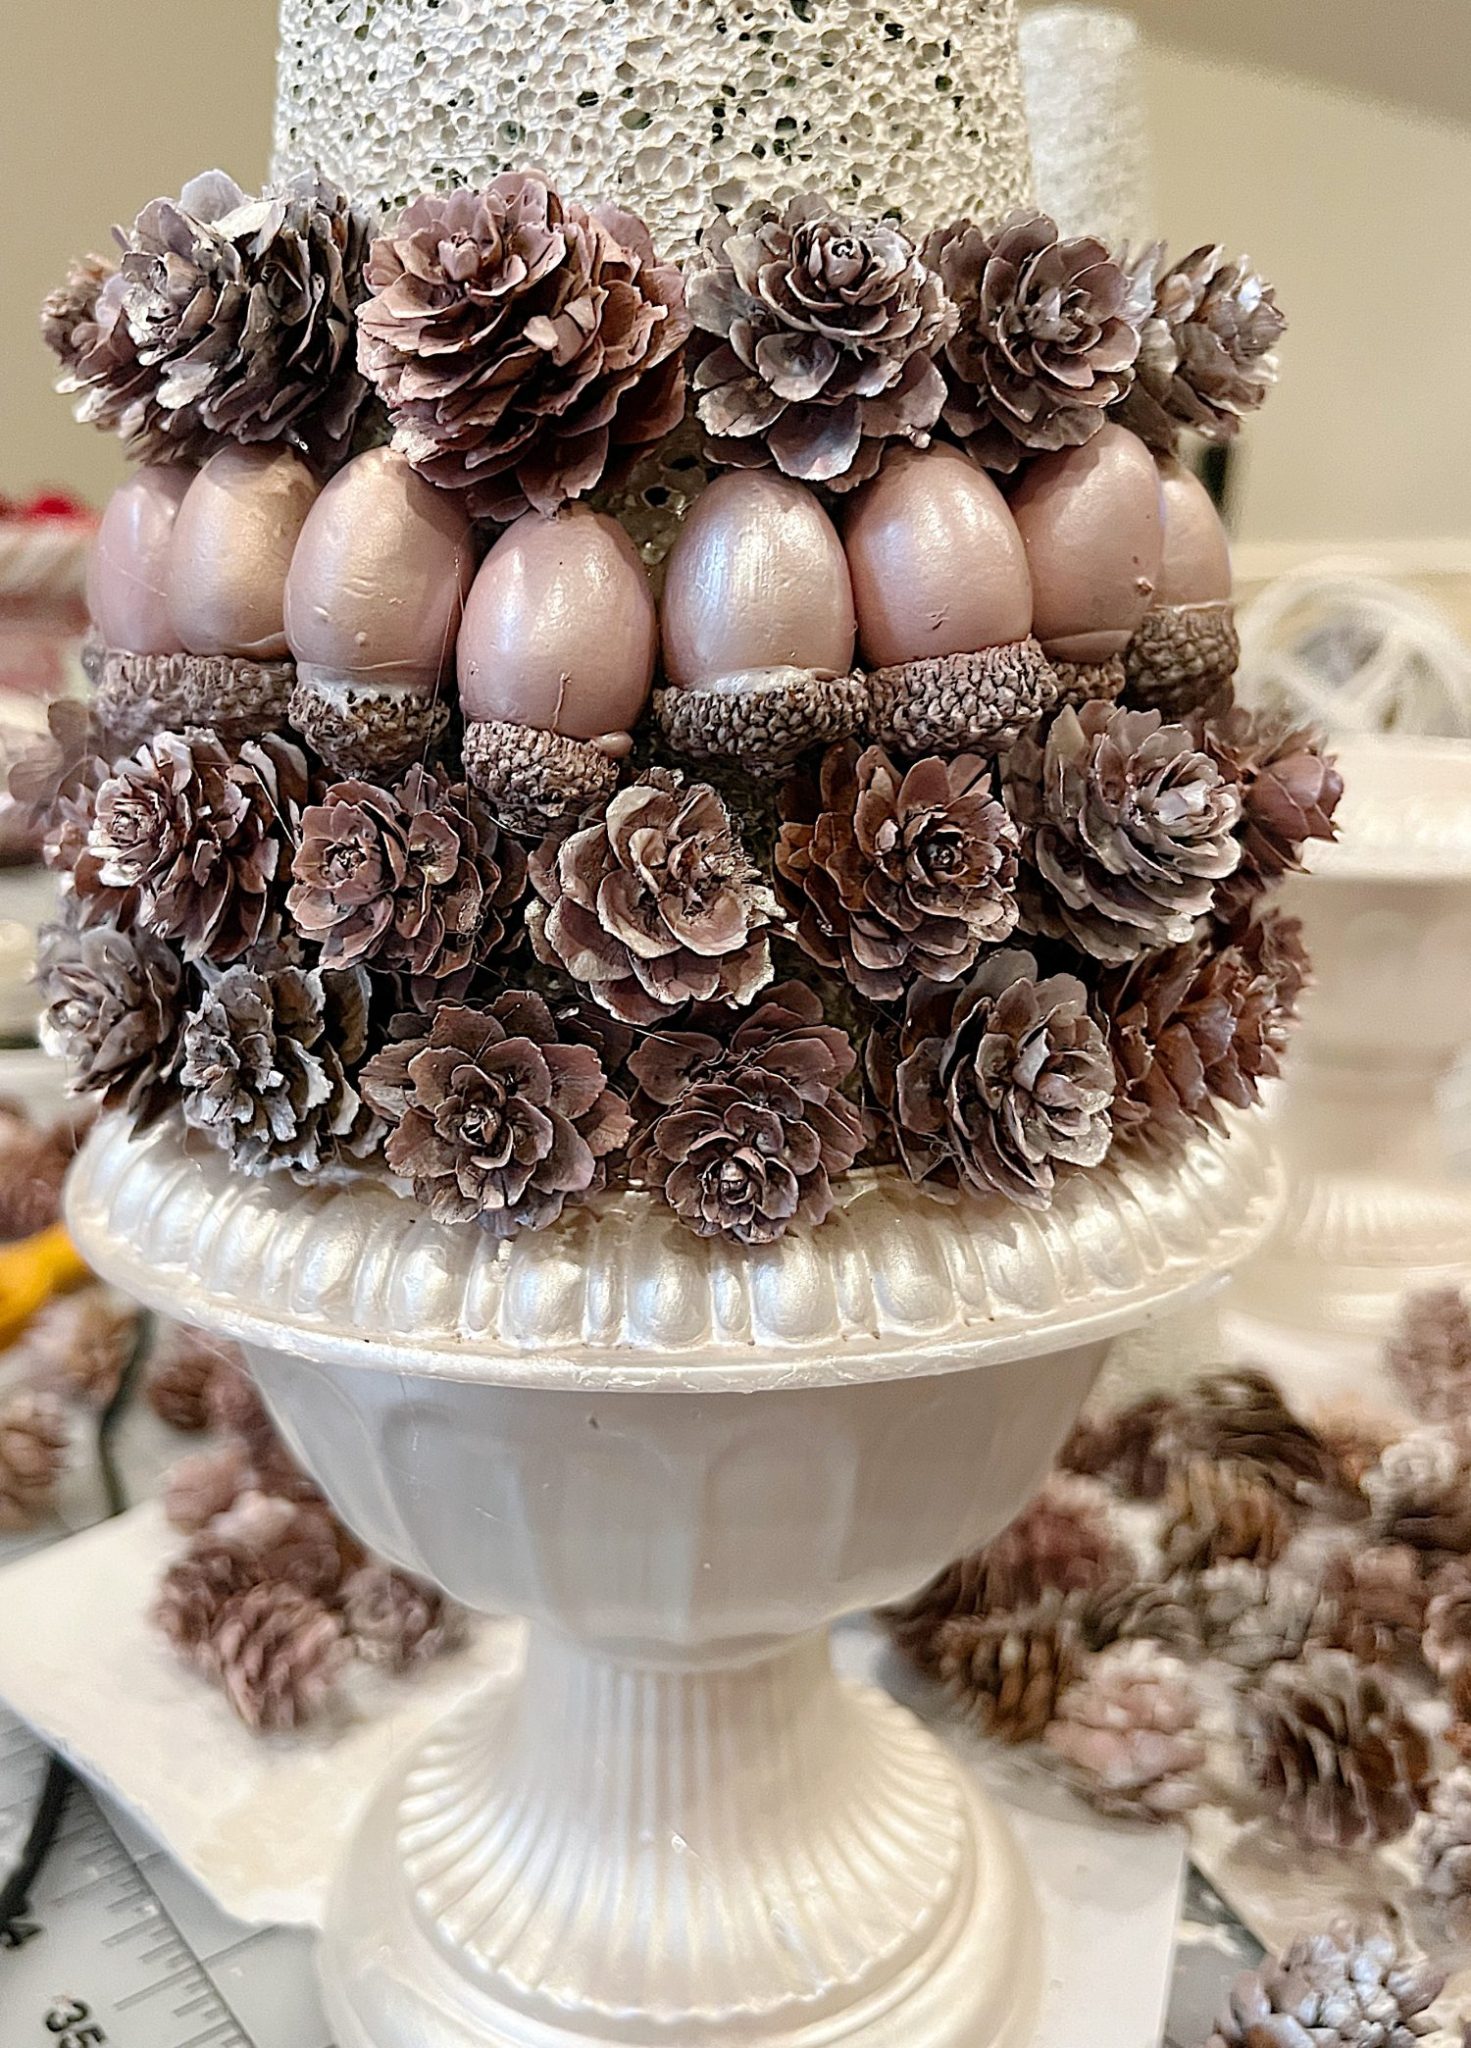
After the paint has dried, it’s time to construct the base of your tree. Start by securing the Styrofoam cone into the plastic urn using a hot glue gun. Ensure it’s firmly in place; this will be the foundation for your mini tree.
Step 3: Adding the Pine Cones and Acorns
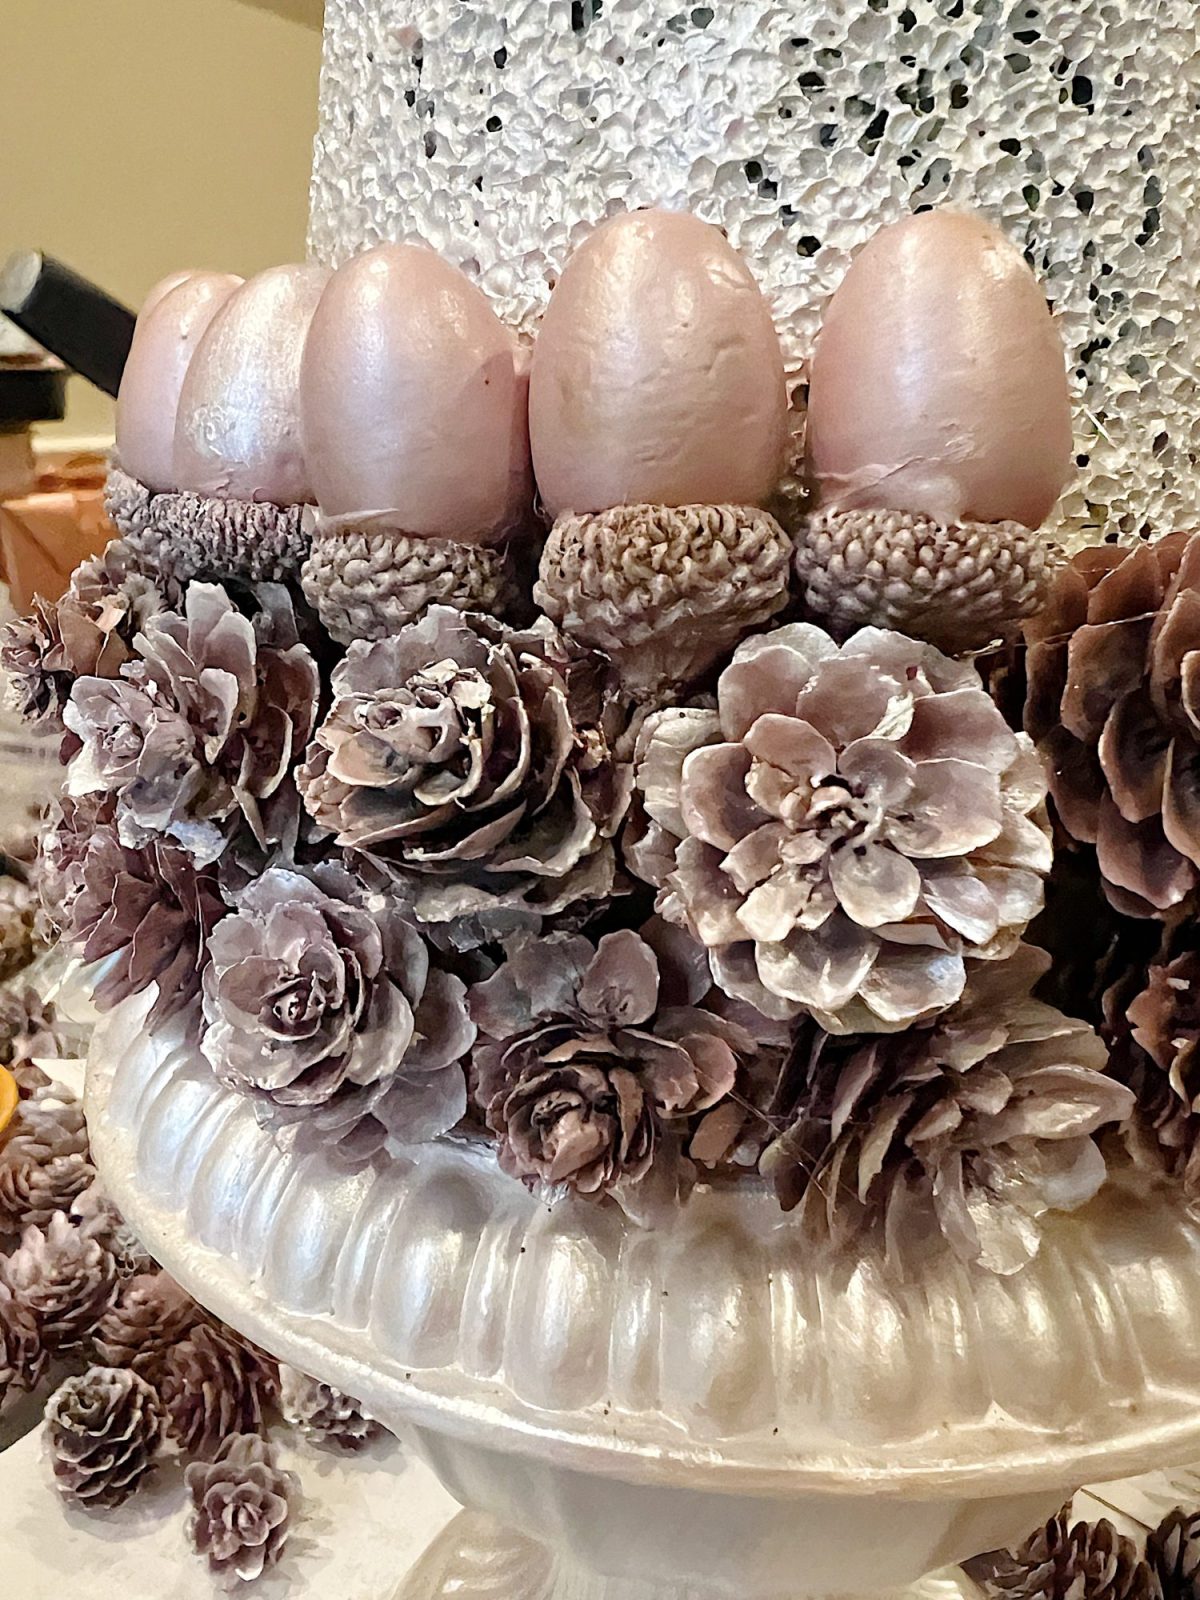
Begin at the base of the Styrofoam cone, applying a dab of hot glue to the cone before pressing the pine cones into place. (If you put the hot glue on the pine cone instead of the cone, you will likely burn your fingers while applying it to the cones. Trust me, I learned this the hard way.)
Aim for two rows of pine cones, followed by a row of your painted acorns. It’s important to alternate between the pine cones and acorns to create a pleasing texture and pattern.
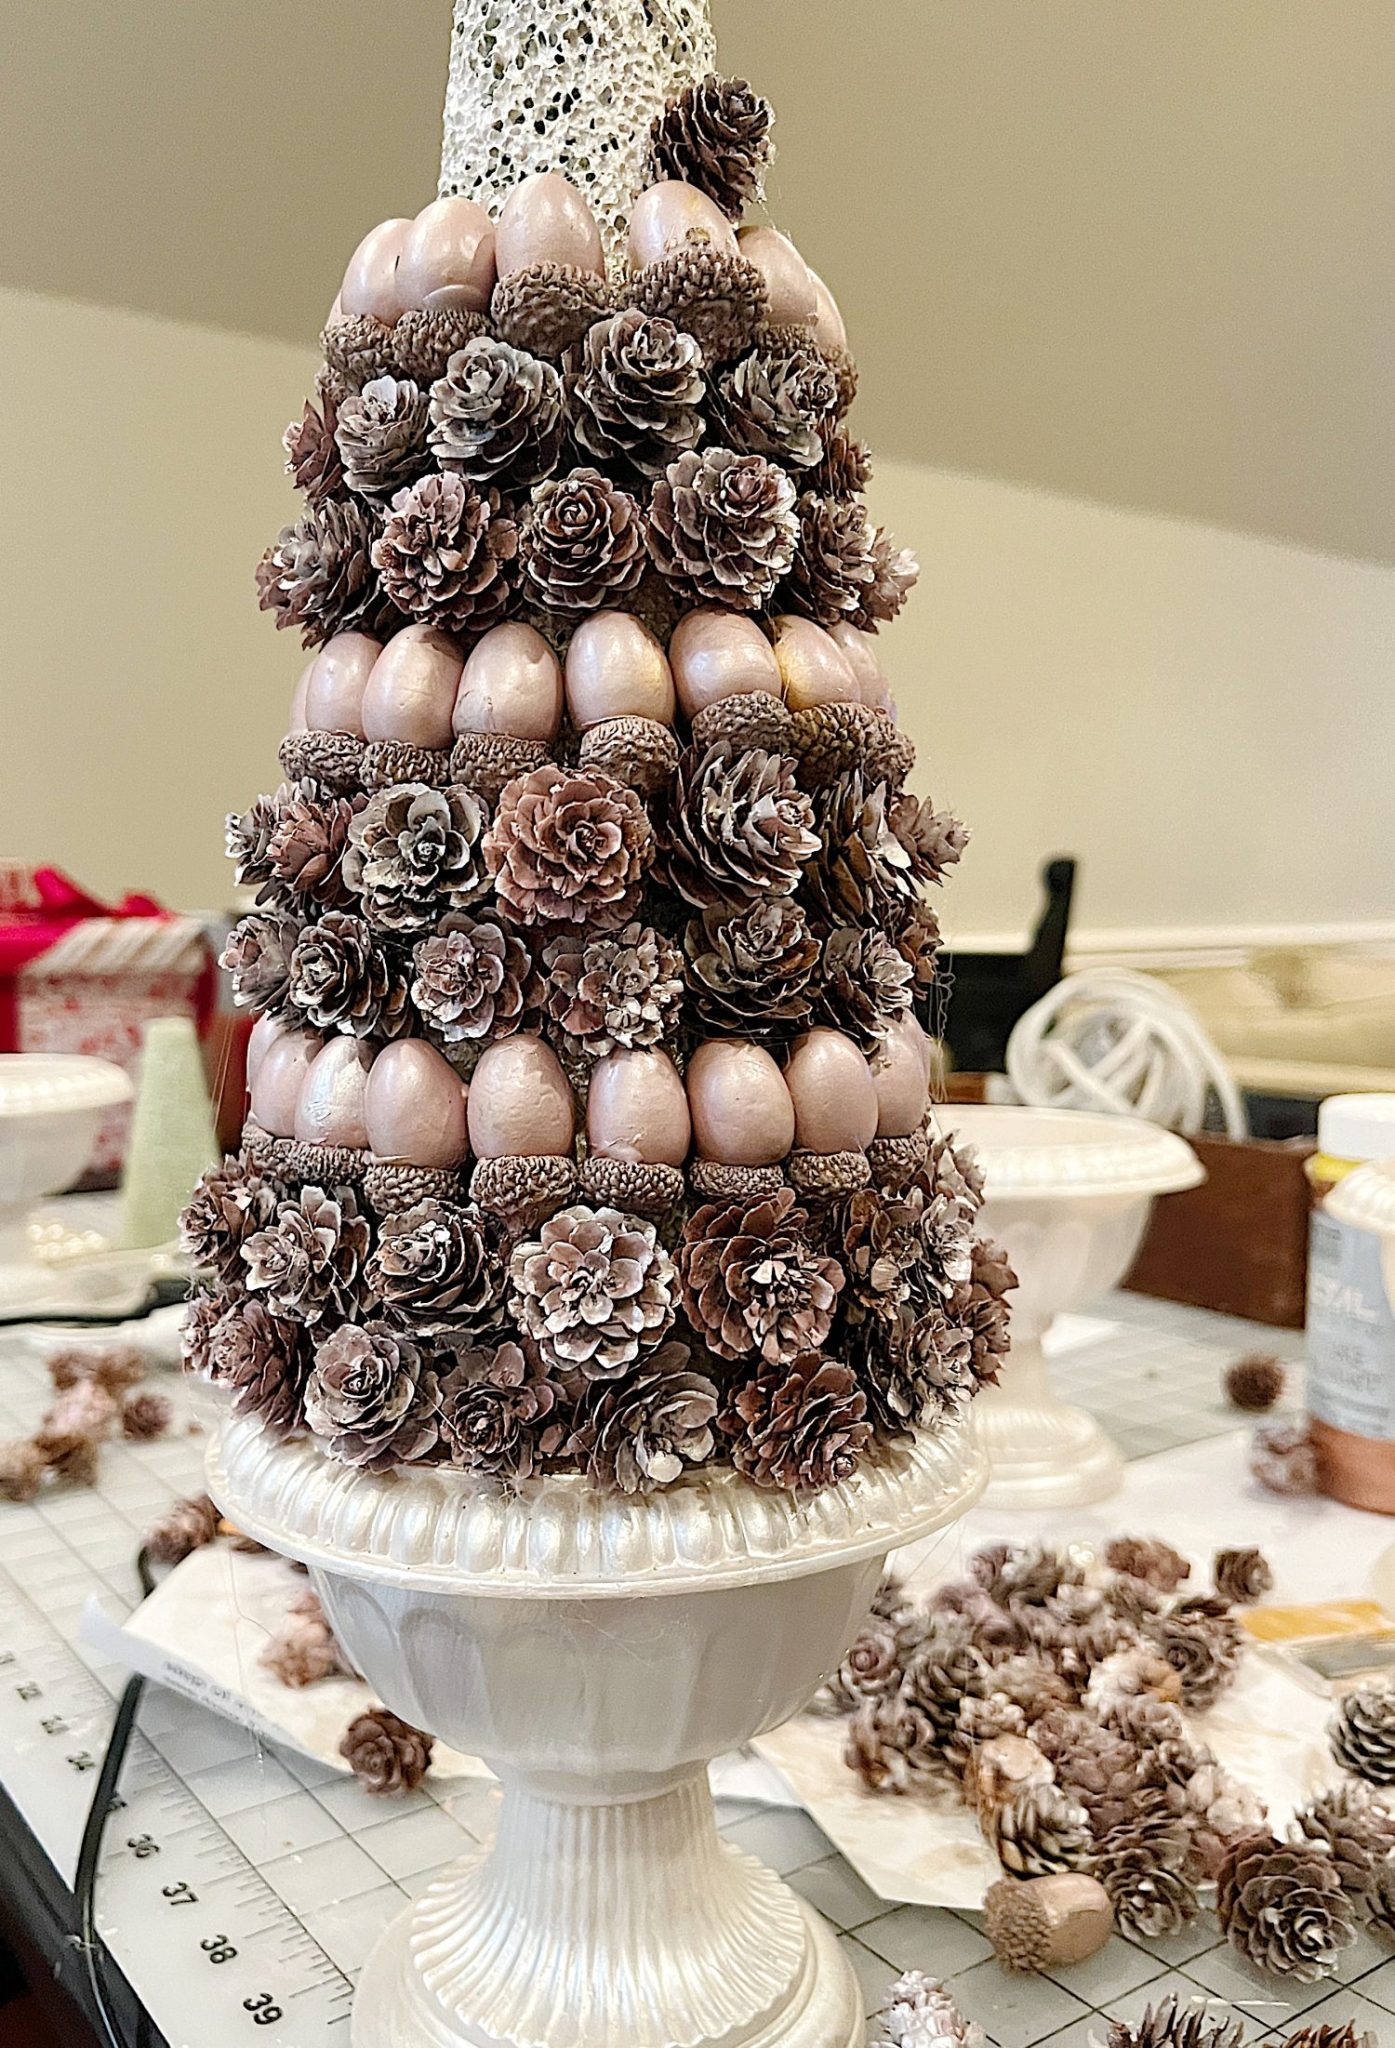
Step 4: Work Your Way Up
Continue gluing rows of pine cones and acorns, gradually working your way up the cone. This part of the process requires patience and a bit of artistic vision, as you want to ensure the pine cones and acorns are evenly distributed and aesthetically pleasing.
And of course, straight!
Step 5: The Finishing Touches
As you reach the top of the cone, finish off with a final layer of pine cones. Once your tree is fully adorned, step back, and inspect it for any bare spots or uneven areas.
I applied additional rose gold paint on the acorns to ensure a consistent and festive look.
But … I think when I am done with this season, I will paint this tree with pearl white paint and make a few more so I will have them to use for many years to come! Pearl white will match everything.
Or maybe not. What do you think?
Step 6: Let It Dry and Display
Allow your newly crafted mini Christmas tree to dry completely. This is crucial to ensure that all the elements are securely attached.
Once dry, it’s ready to be displayed as part of your holiday décor.
Bonus Tips for a Perfect Mini Christmas Tree
- Variation in Size and Shape: For a more natural look, use pine cones and acorns of varying sizes and shapes. This mimics the diversity found in nature and adds to the tree’s charm.
- Protect Your Workspace: Always use a drop cloth or newspaper when spray painting to protect your surfaces.
- Safety First: When using a hot glue gun, be cautious to avoid burns. Always place the glue gun on a heat-resistant surface when not in use. And apply the glue to the cone, not the pine cone or acorn!
- Customize Your Design: Feel free to add your personal touch. Consider using different colored paints, or adding small decorations like mini ornaments or fairy lights.
- Cluster in Groups: If you decide to make more than one tree, consider displaying them in clusters of varying heights for a more dynamic visual impact.
- Choose the Right Urn: The urn you select adds to the aesthetic. Consider its color and texture – a rustic urn might give a more traditional feel, while a sleek, modern one could lend a contemporary edge.
Why DIY This Holiday Season?
Creating your holiday decorations, like this mini Christmas tree, is not just a fun and rewarding endeavor; it also allows you to personalize your holiday decor. It brings an unmatched level of warmth and personality to your home.
Moreover, projects like these can be a delightful way to engage with family members, creating memories and traditions that last well beyond the holiday season.


There’s something truly special about adding handmade elements to your holiday décor. This mini Christmas tree project is a perfect example of how a little creativity and effort can result in something both beautiful and meaningful. It’s a testament to the joy of DIY projects and the magic they bring to our holiday celebrations.
Remember to look out for my blog posts for the next few weeks where I’ll share more holiday crafting ideas. Until then, happy crafting, and Merry Christmas!

If you are enjoying my blog, you can sign up to receive my blog updates here.
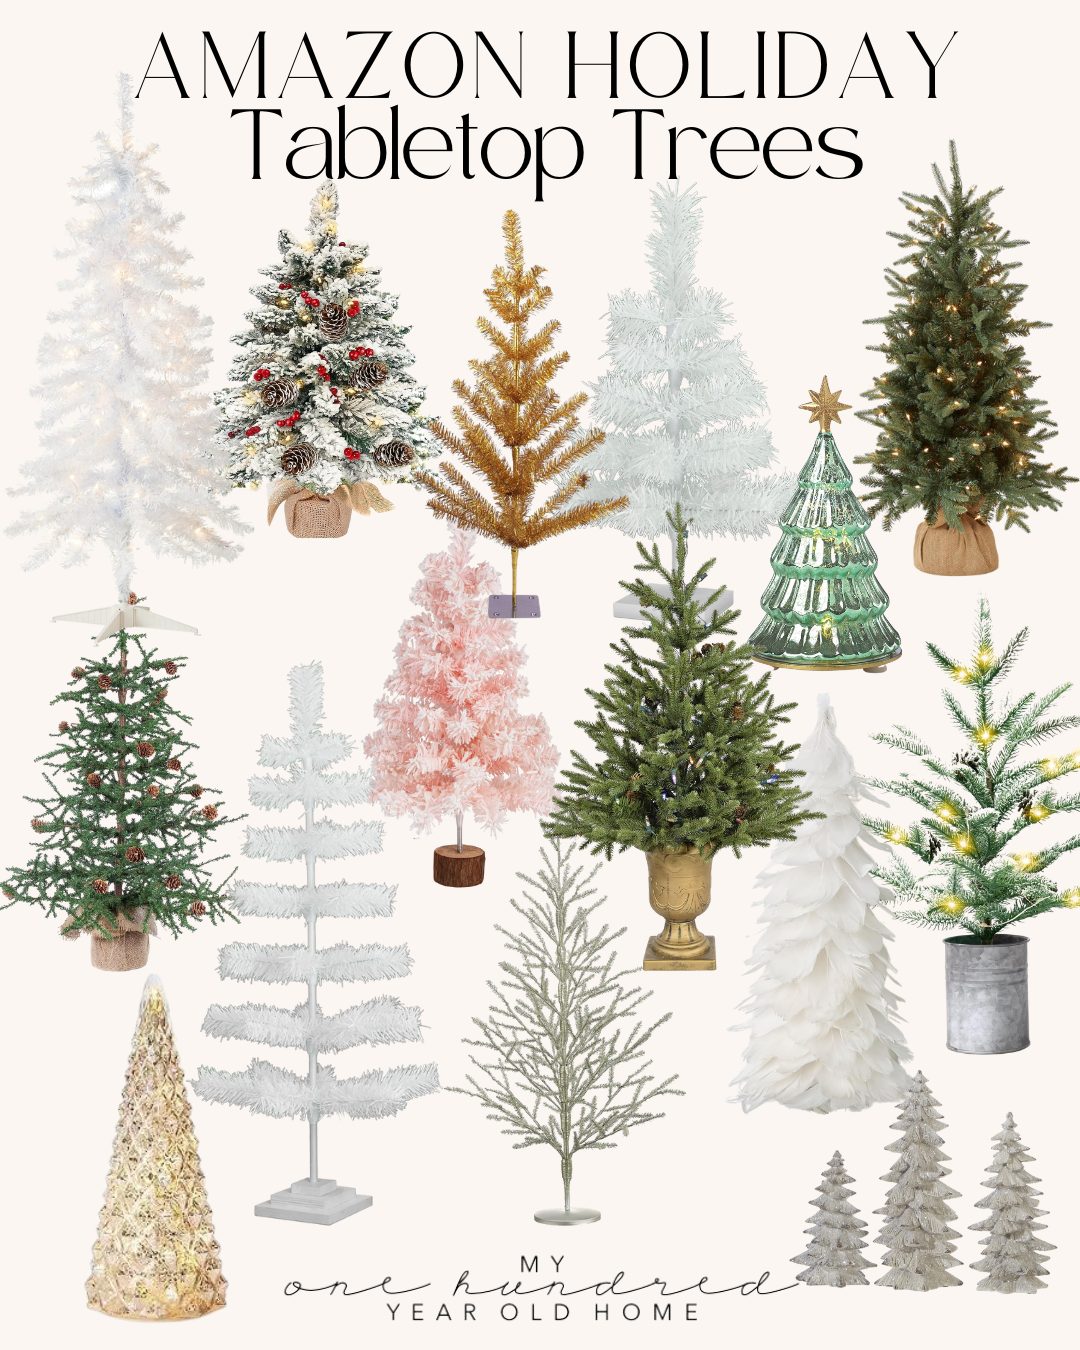
.Shop This Post Here
Watch My Amazon Live

Click here to watch any of my Amazon Live shows. All shows are recorded.
I want to share this show with you, titled Holiday Gift Picks in the Kitchen.

Pin the image below to your boards on Pinterest (just click the Pin button in the top left corner). You can also follow along with me on Pinterest!
For more real-time updates, follow me on Instagram @My100YearOldHome


I LOVE this! The colors you used are just perfect for this table. Give us an update if you repaint it – I’d be curious to see how it looks in white. Thanks for all your great ideas and instructions, and Happy Holidays!
Hi Leslie! I swear 90% of my Pins for Christmas desorations come from you. Thank you! These acorns aren’t real are they? They look huge. Why did you decide to put them on the tree upside down? Or maybe i’m upside down. It is a beautiful Christmas tree.
Thank you for sharing.
Oh I love that so much! Thank you Cheryl! No they’re not real- bought them on Amazon. ☺️🙌🏻