DIY Advent Calendar
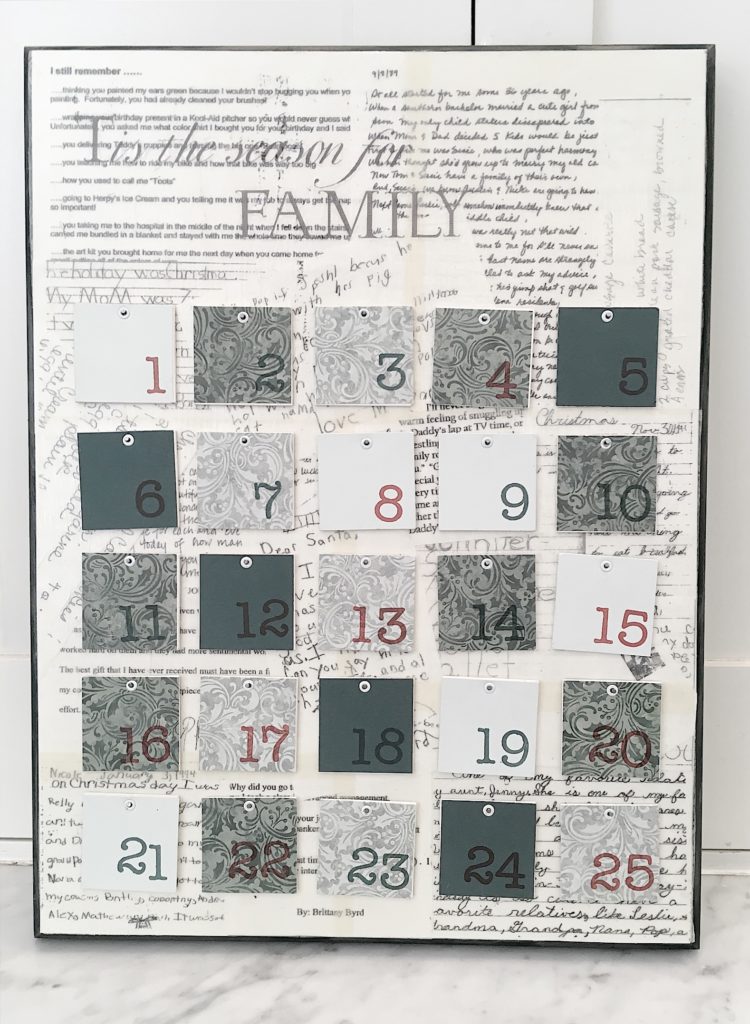
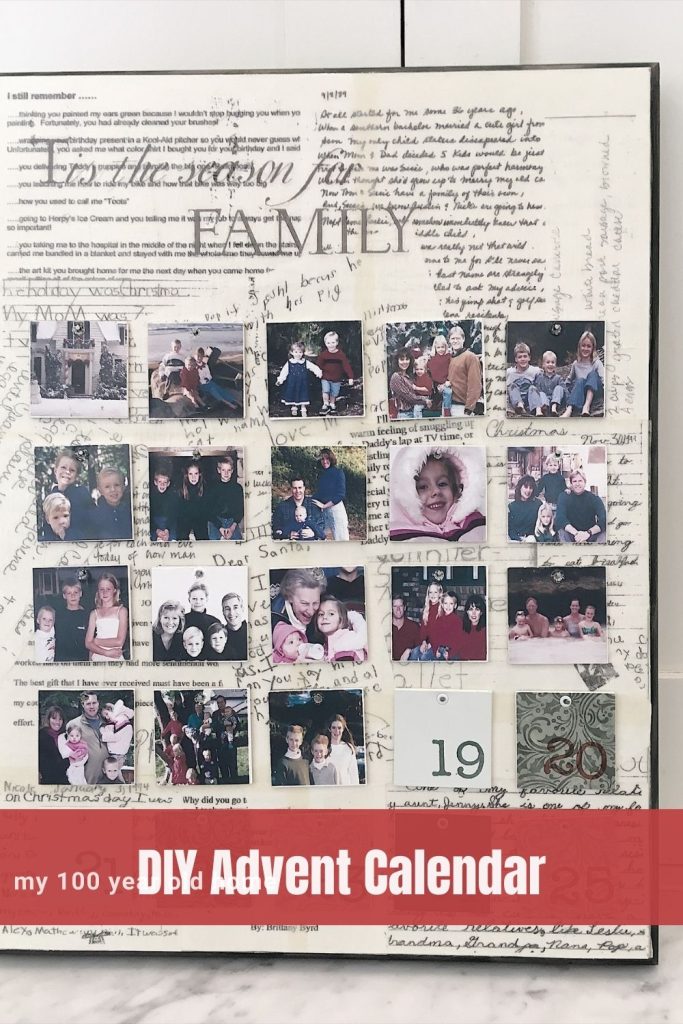
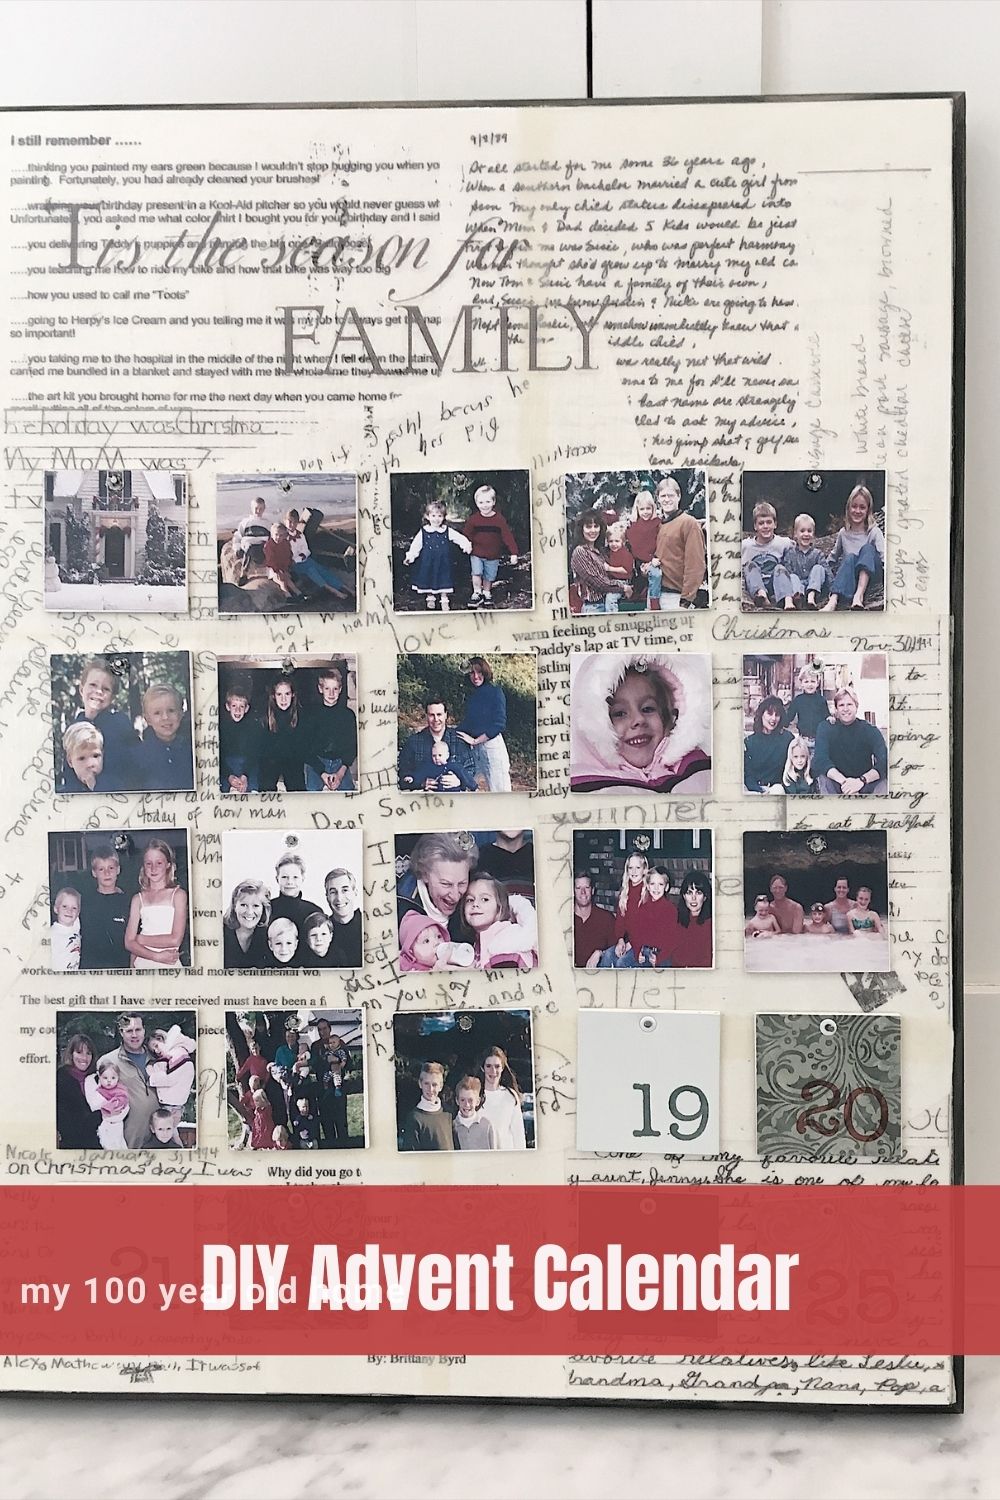
Fifteen years ago I made this wood advent calendar. This is one of the most treasured Christmas decorations as it represents holiday memories of our family!
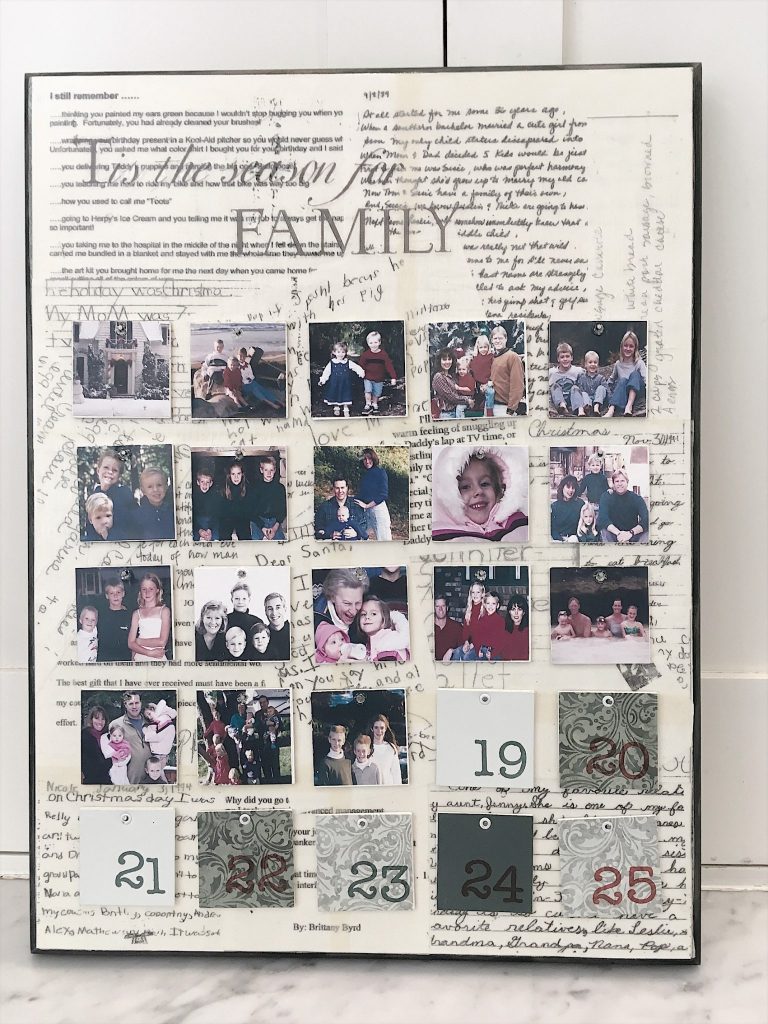
I liked my wood advent calendar so much that I made five more to give to each member of my family. And it is the perfect Christmas gift. (Plus, I am sharing one more advent calendar today that I made too!)
I originally saw a DIY advent calendar similar to this in Better Homes and Gardens and decided to make one of my own. So I reached out to all of my siblings and asked them to send me copies of any family Christmas letters, recipe cards, or anything that could be used in the calendar. I also had them email me copies of family photos from their old Christmas cards.
Remember, you will need 25 pictures in total.
You can make yours using photos of your immediate family members, or any extended families. It’s up to you.
W H A T Y O U ‘ L L N E E D: (links to items are below)
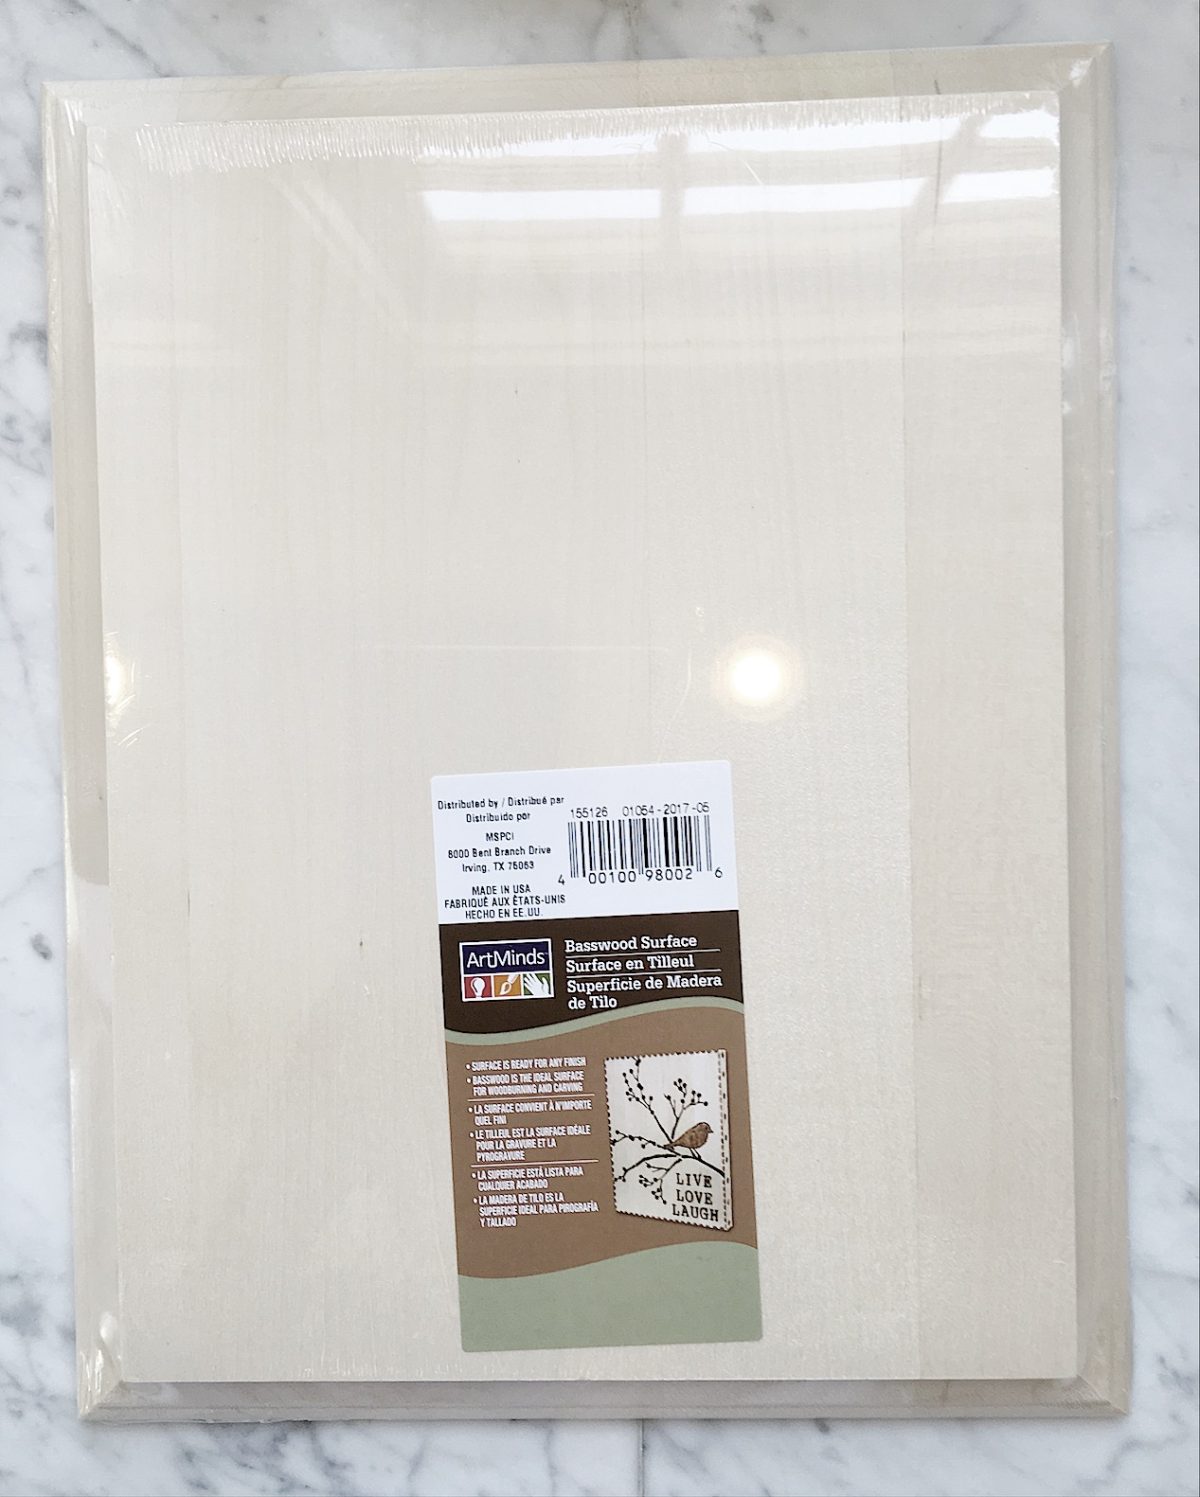
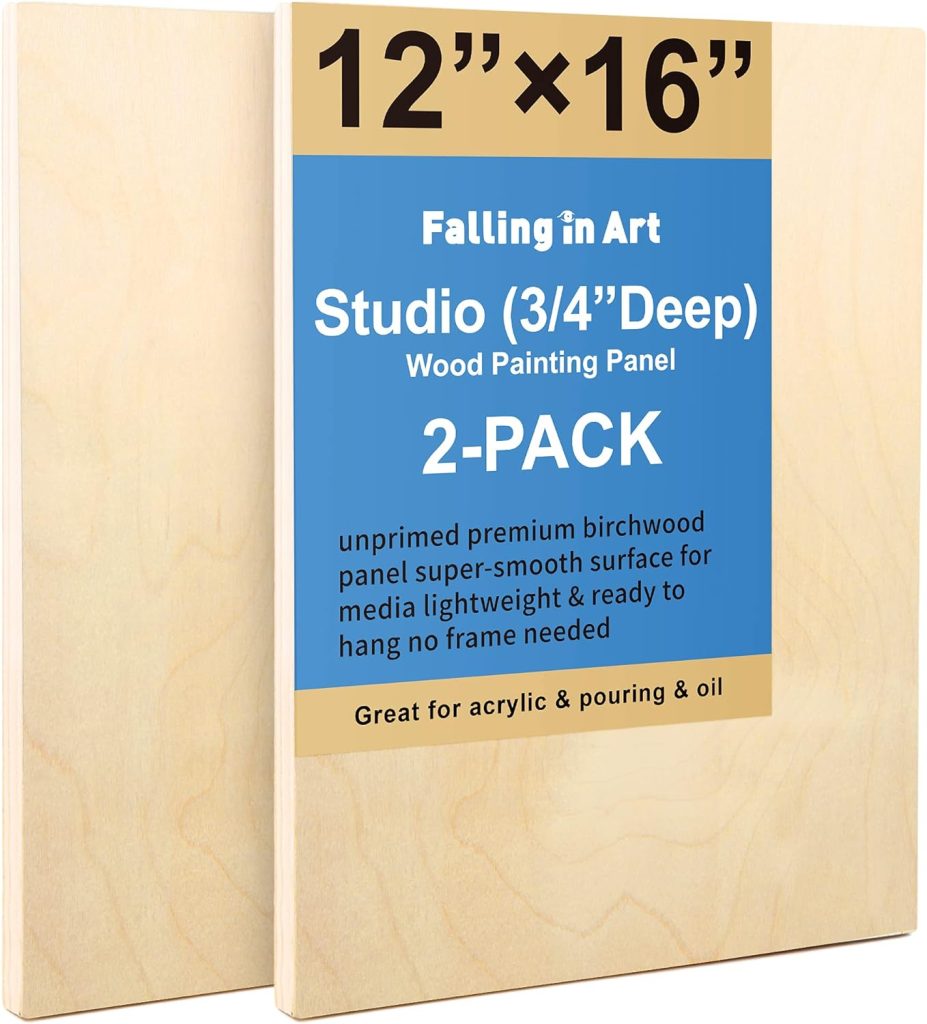
- one unfinished wood plaque (12″ x 16″)
- acrylic paint for edge of board
- mod podge or clear drying white glue
- three sheets white or off-white tissue paper
- rub on dry transfer letters or decal (purchased or cut from a cutting machine)
- assorted family notes, recipes, letters or keepsakes
- twenty-five family holiday photos
- high-quality photo printer paper
- four sheets of holiday themed scrapbook paper, cut into 25 – 1 3/4″ squares
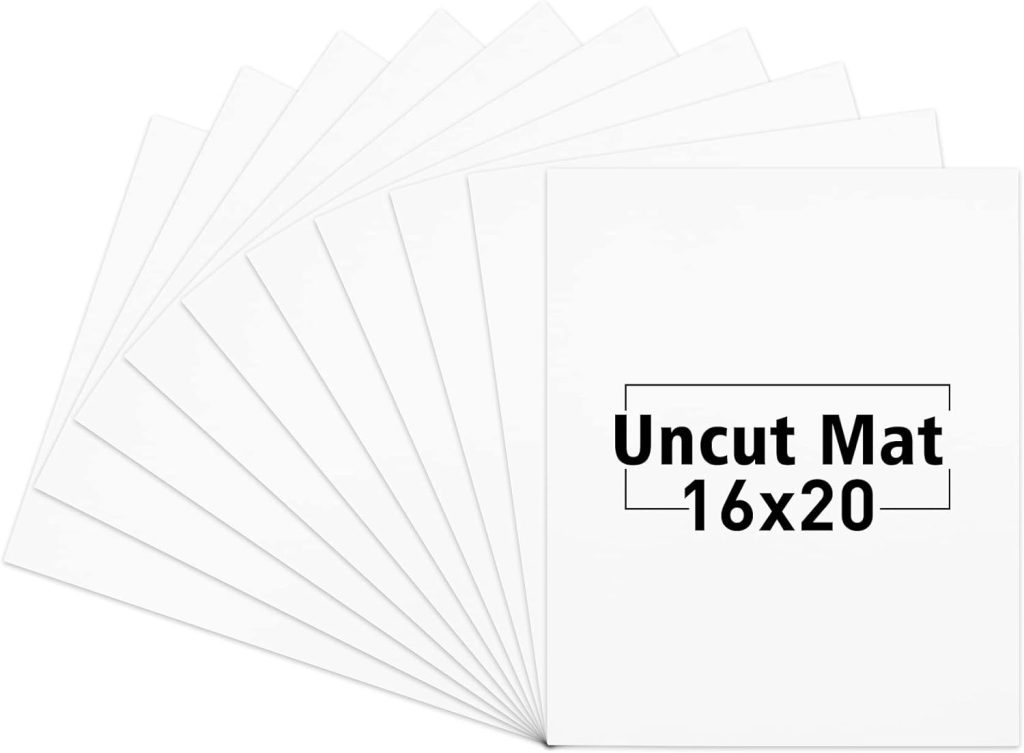
- mat board, cut into 25 – 1 3/4″ squares
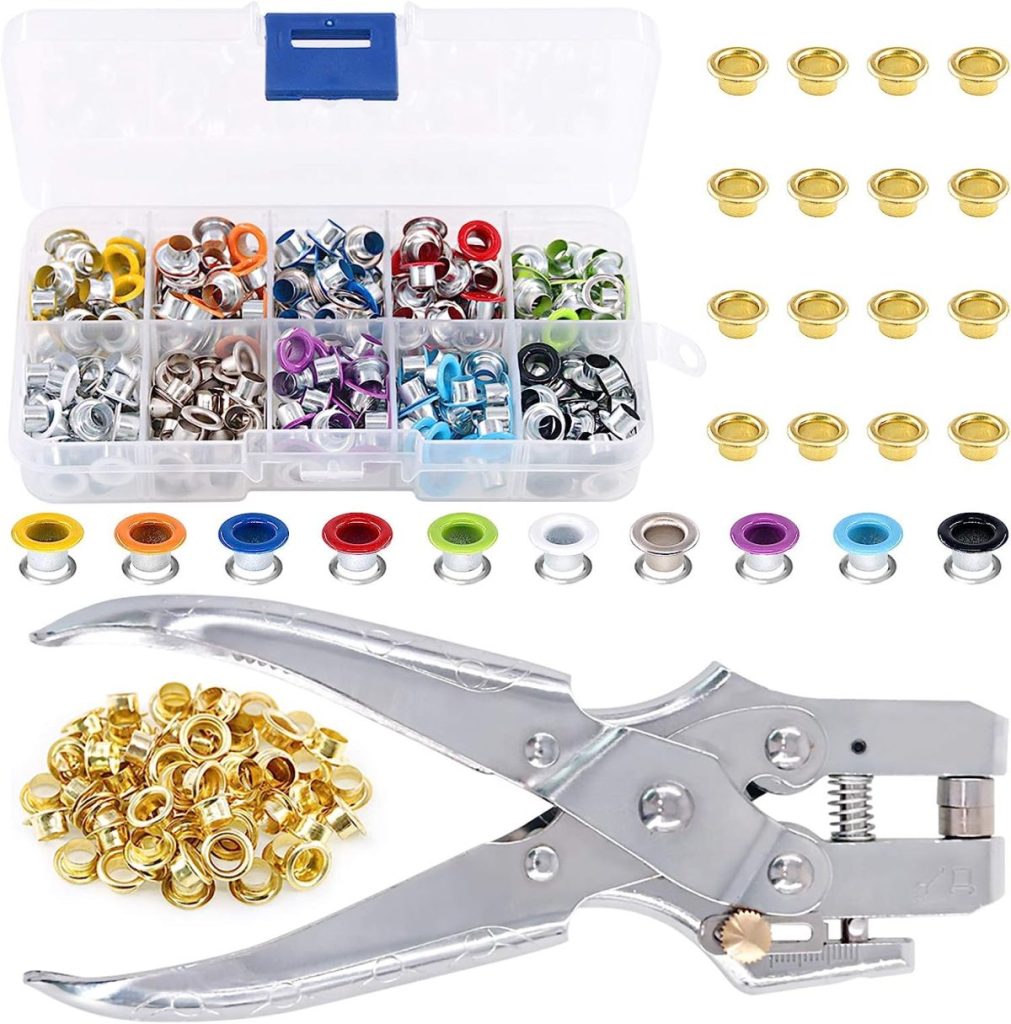
- eyelet punch, snap tool and maker
- eyelets (in the color of your choice)
- tiny nails (to fit through eyelet holes)
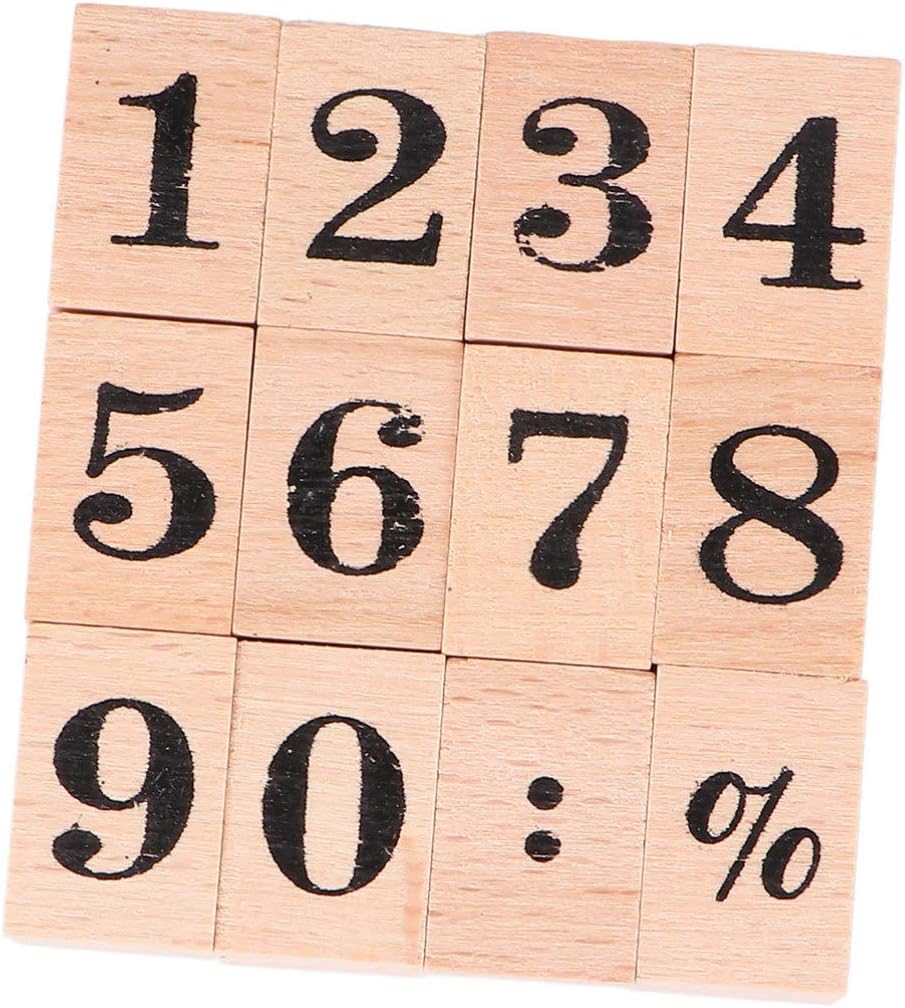
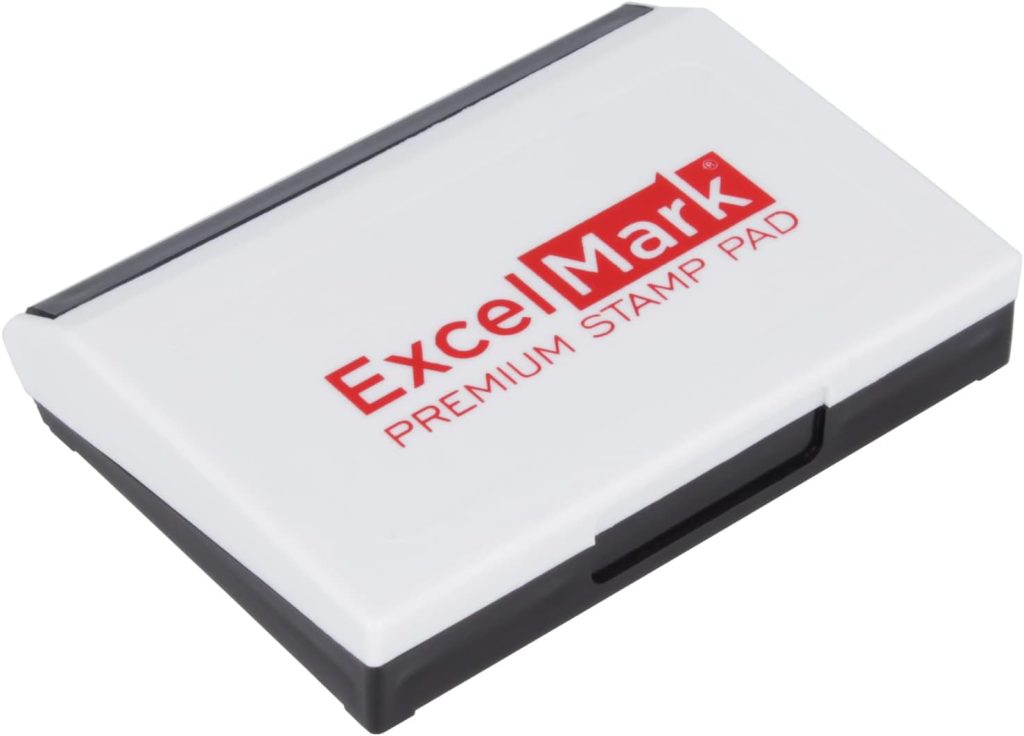
- numbered rubber stamps and ink pad
S T E P B Y S T E P:
STEP #1
Select twenty-five photos for your calendar. On your computer resize them to 1 3/4″ square. Print them out on the high-quality photo paper and cut them into 1 3/4″ squares. Set aside.
STEP #2
Paint the edges of your wooden plaque in the color of your choice. I used green and then added some silver on top for a slightly antique look.
STEP #3
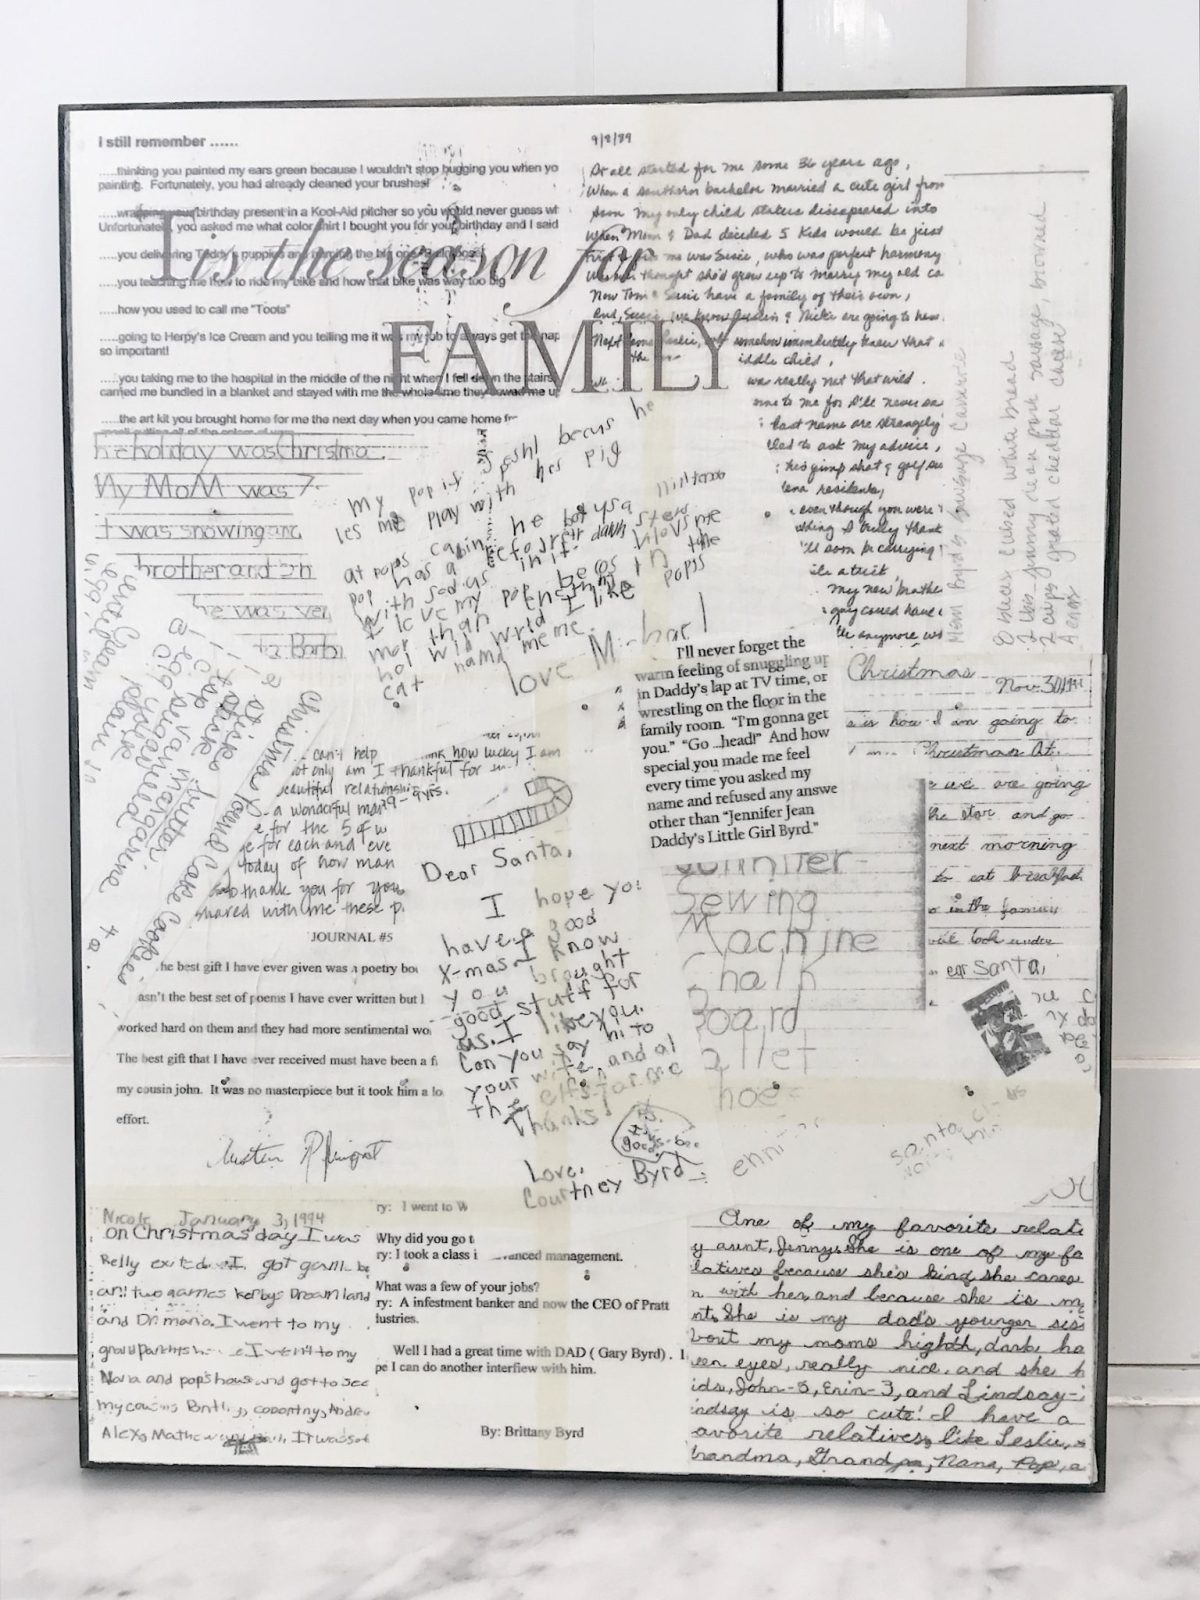
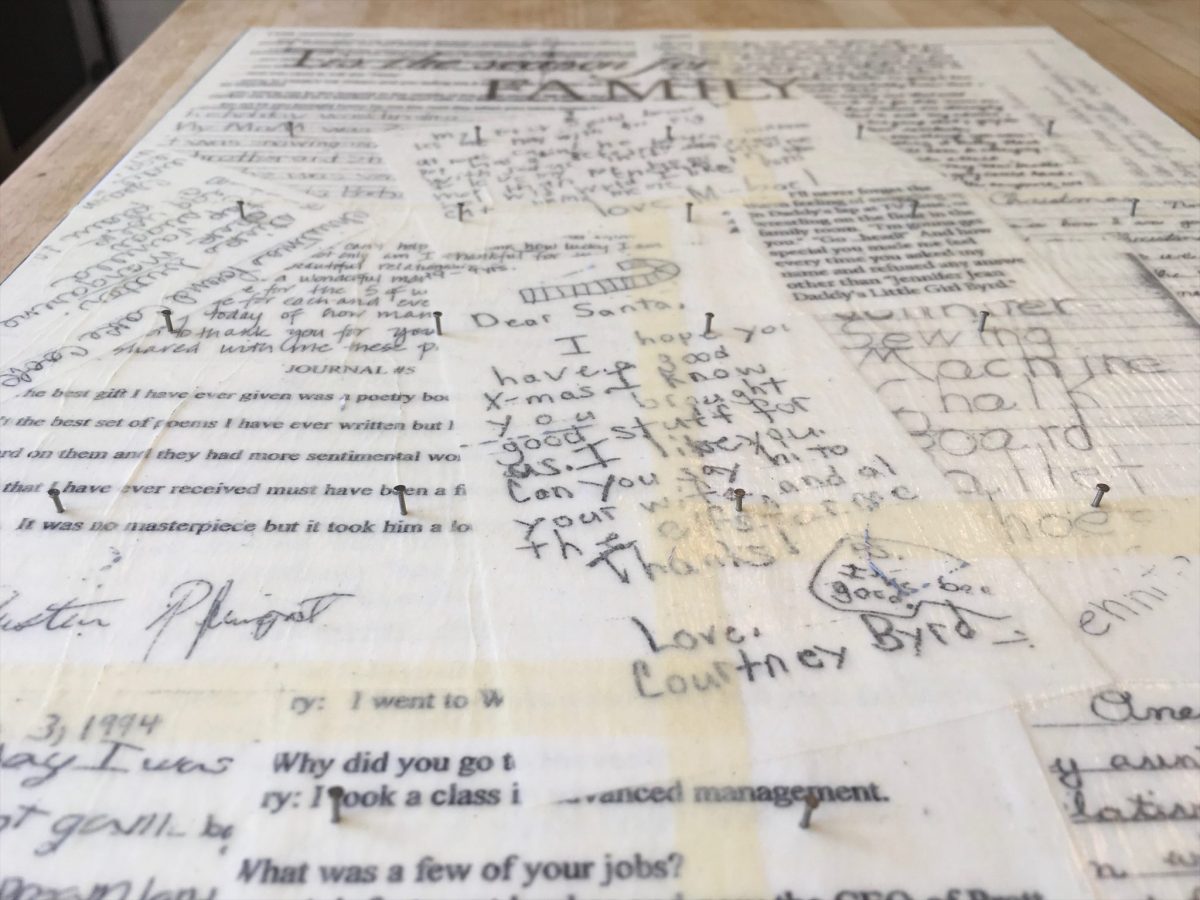
Make black and white copies of the letters and recipe cards and decoupage them to the board.
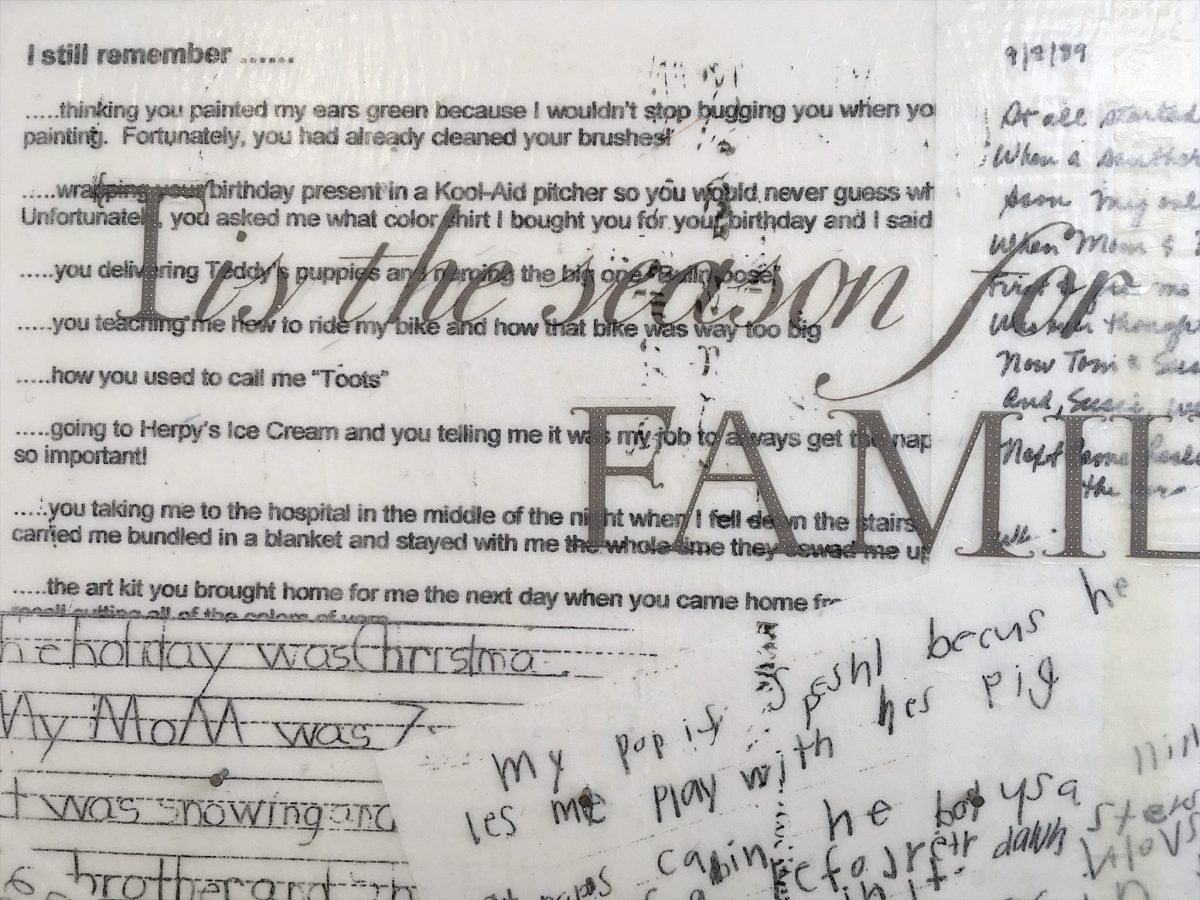
You can also add rub-on transfer letters in the saying of your choice. I found one that said “Tis the Season for Family”.
STEP #4
Next, cut large squares of tissue paper and decoupage with Mod Podge on top of the entire surface of the wooden board. This makes it look vintage. You can see the edges of the tissue paper in the photo above.
STEP #5
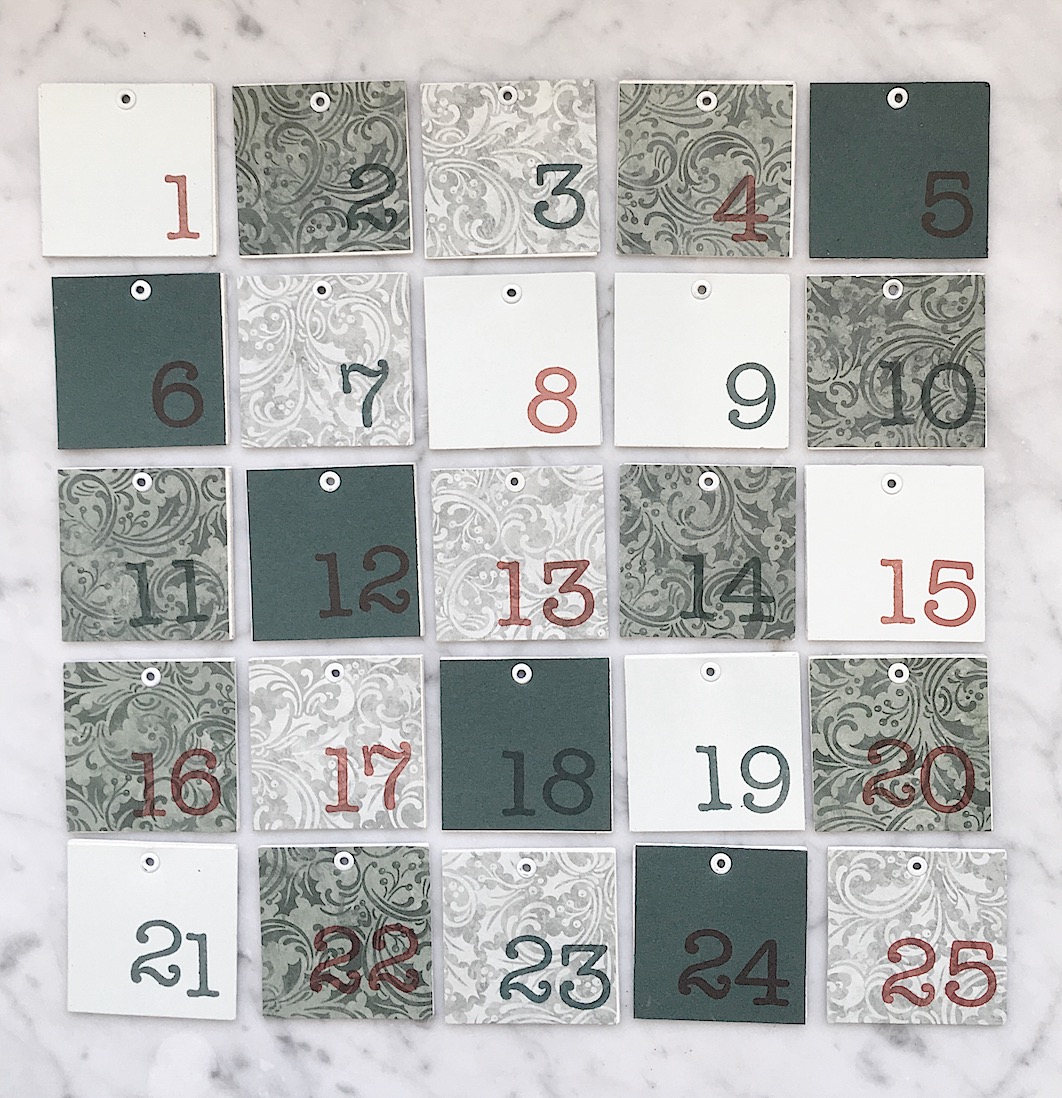
Cut 25 1 3/4″ squares of mat board. I talked the person at the art store into cutting them for me! Glue one piece of the 1 3/4″ square scrapbook paper on one side. Place the squares in five rows of five to make sure you have the paper designs in the random pattern you want. Using rubber stamps, add the numbers 1 – 25.
STEP #6
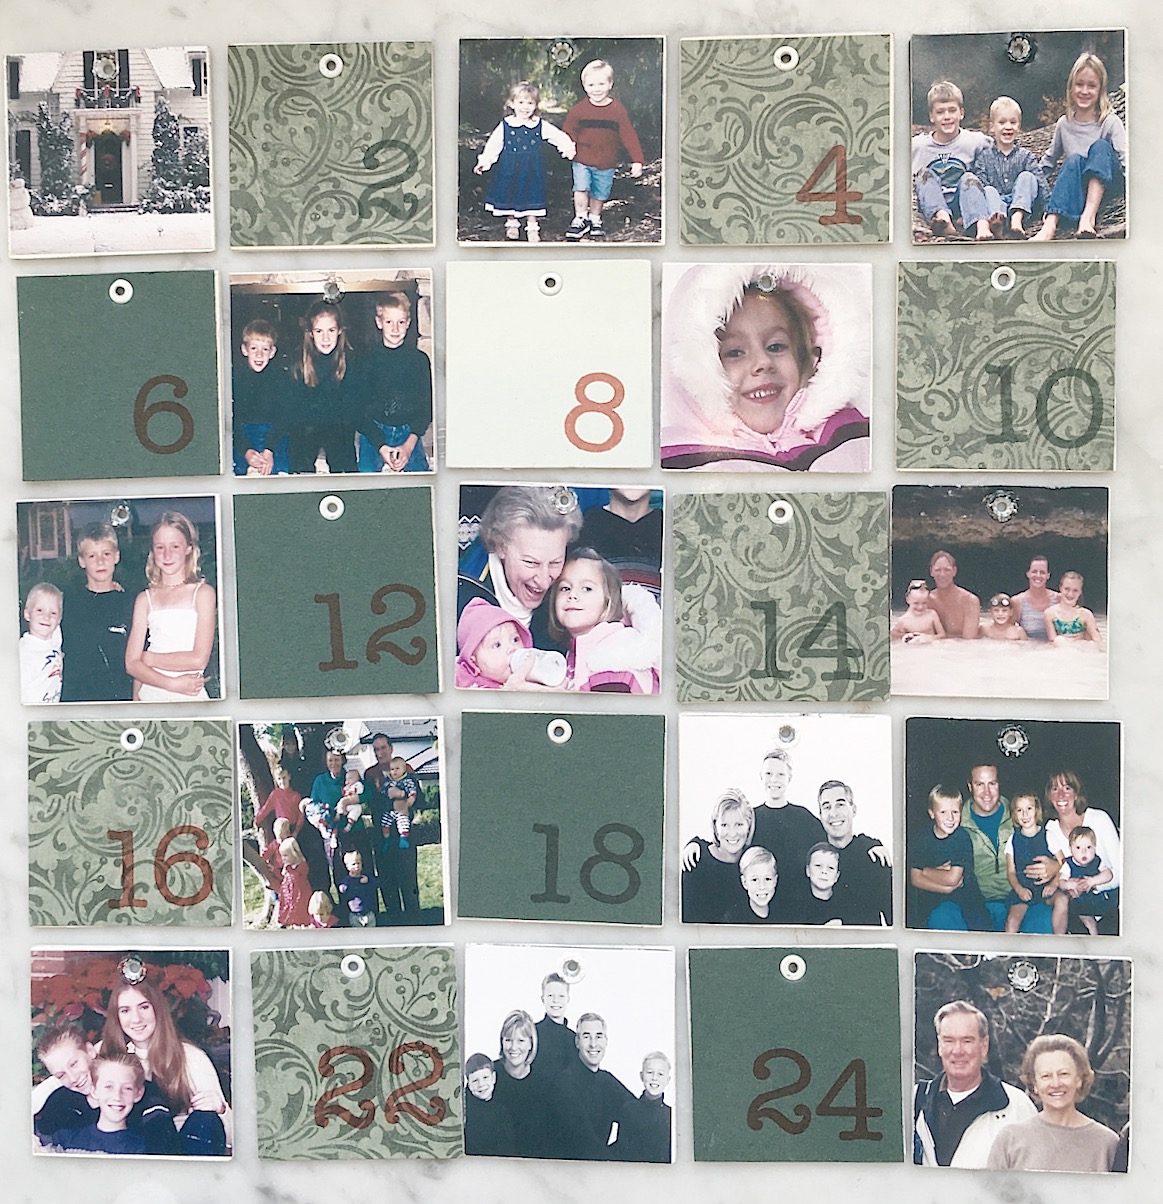
Turn all of the squares over and carefully glue one photo to the backside of each square. I chose a special photo for day #25 (my parents) which I just love!
STEP #7
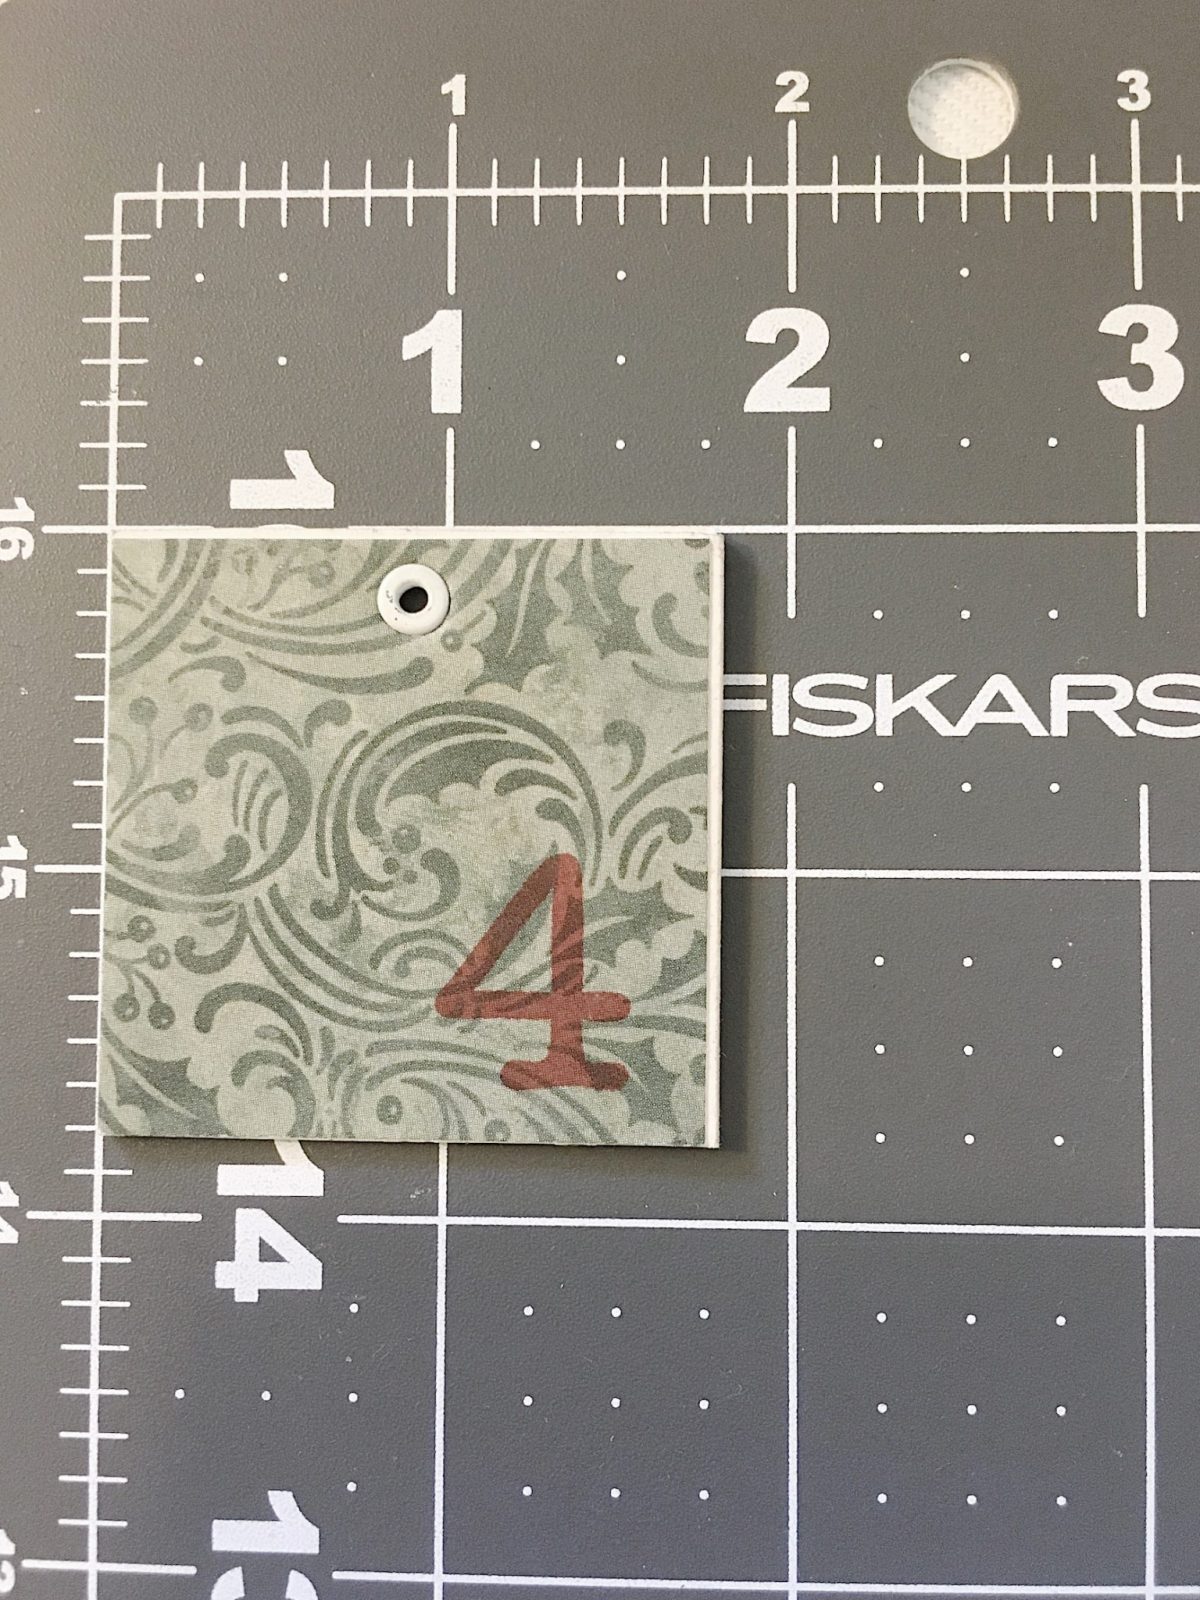
With a sharp pencil, carefully mark the center point for a hole on the numbered side of each square. It should be exactly in the middle of the square which is 7/8″ in from each side. I placed the hole 1/4″ down from the top.
STEP #8
Using the Eyelet Punch, Snap tool, and Maker, punch a hole and secure the eyelet in the hole. Make sure you always put the numbered side of the square on top when adding the eyelet.
STEP #9
Next, mark the location of the five nail holes in each row. The first row of nails should be placed 4 1/2″ from the top. Each nail will be 2 1/4′ apart. The height of each row of nails is also 2 1/4″ apart. Carefully tap the nail into each hole until it is secure.
Make sure there is enough of the nail sticking out to hold each square.
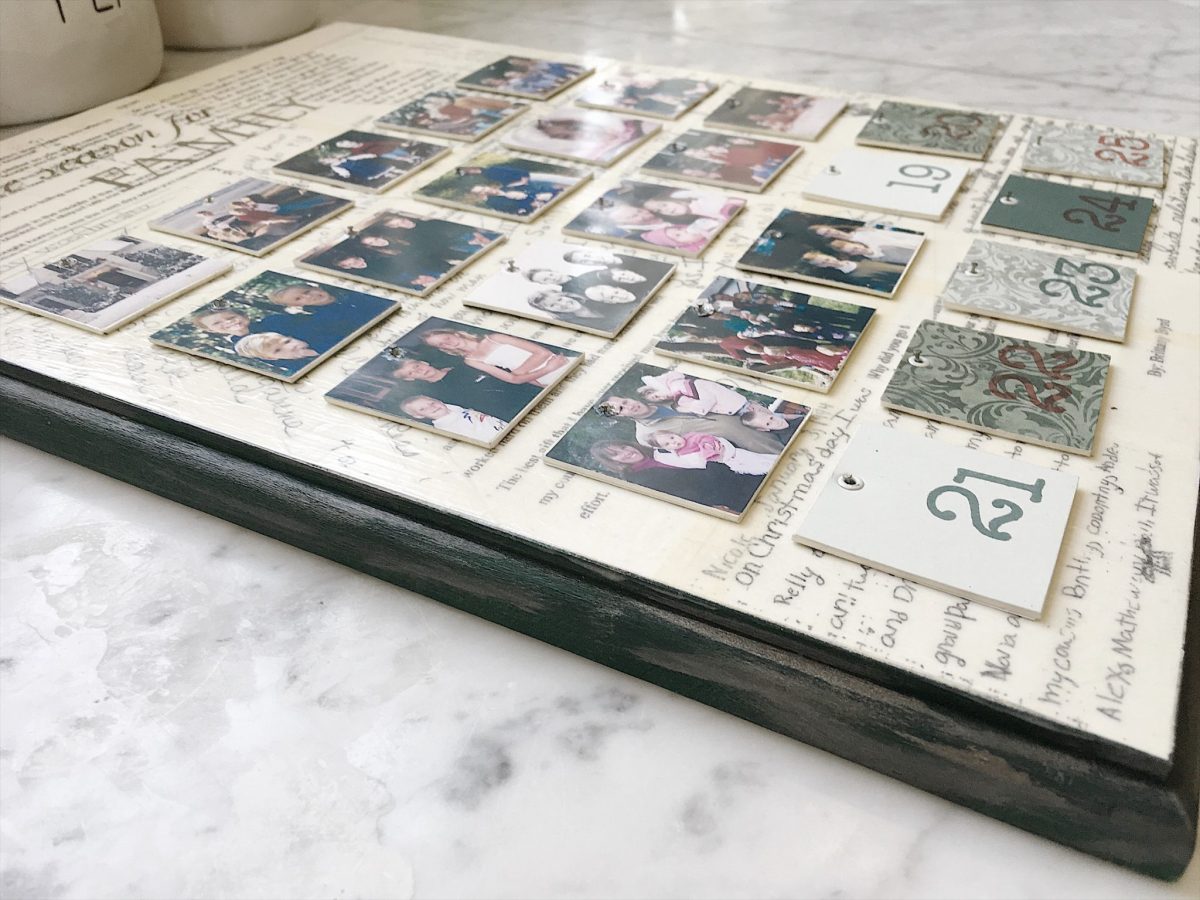
When you are done hang each square on a nail.
Enjoy your DIY advent calendar for the entire month of December! And many years to come.
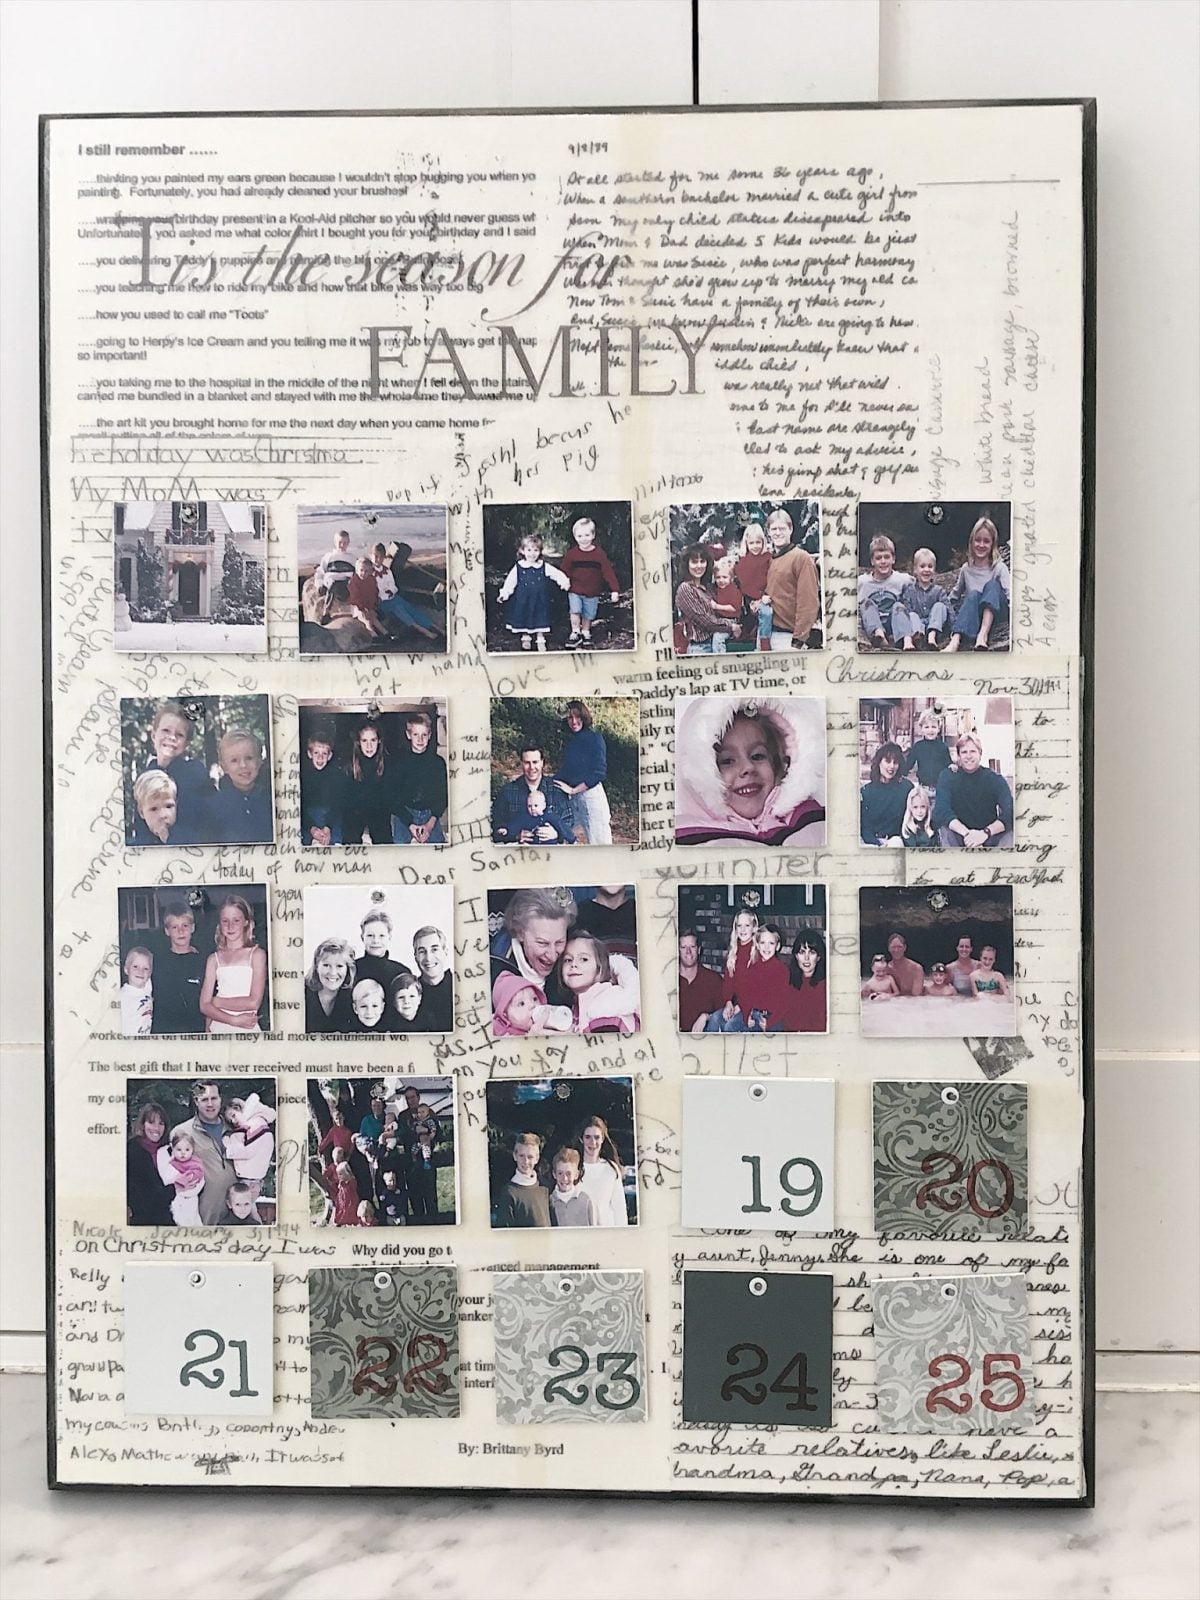
I know this looks a bit intimidating, but the end result is so worth the work it takes to make! And it really does make the perfect Christmas gift for family members.
DIY Advent Calendar for Every Family
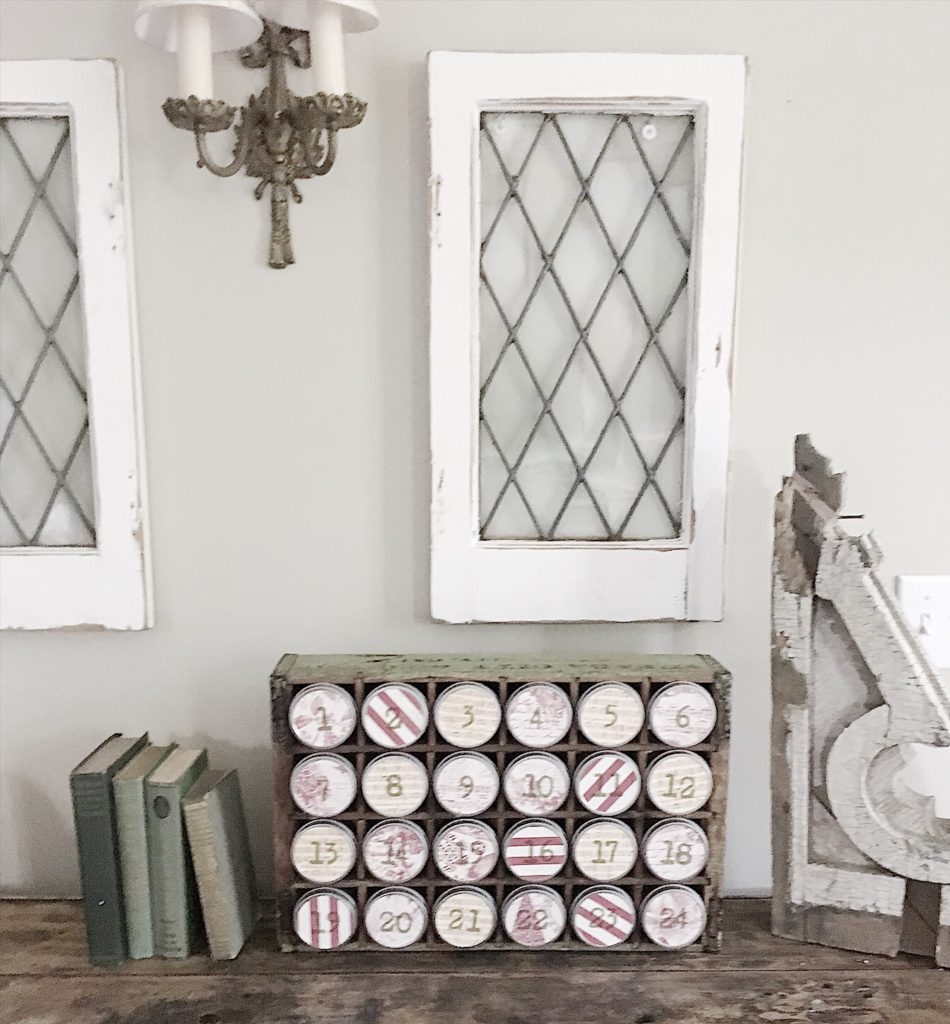
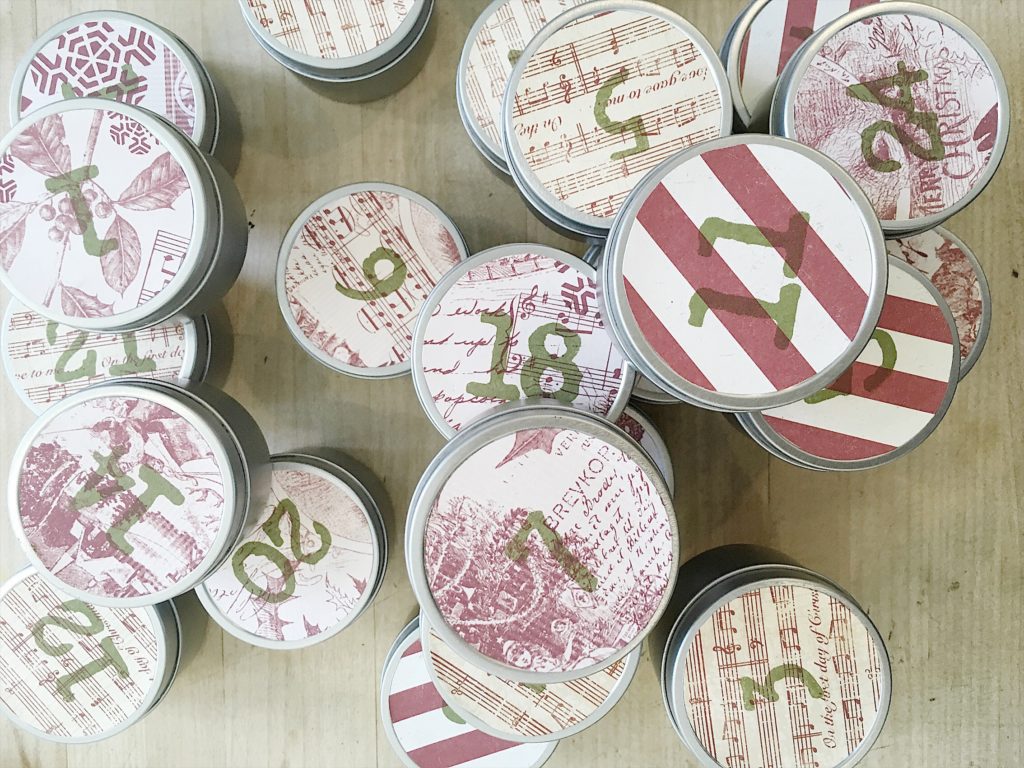
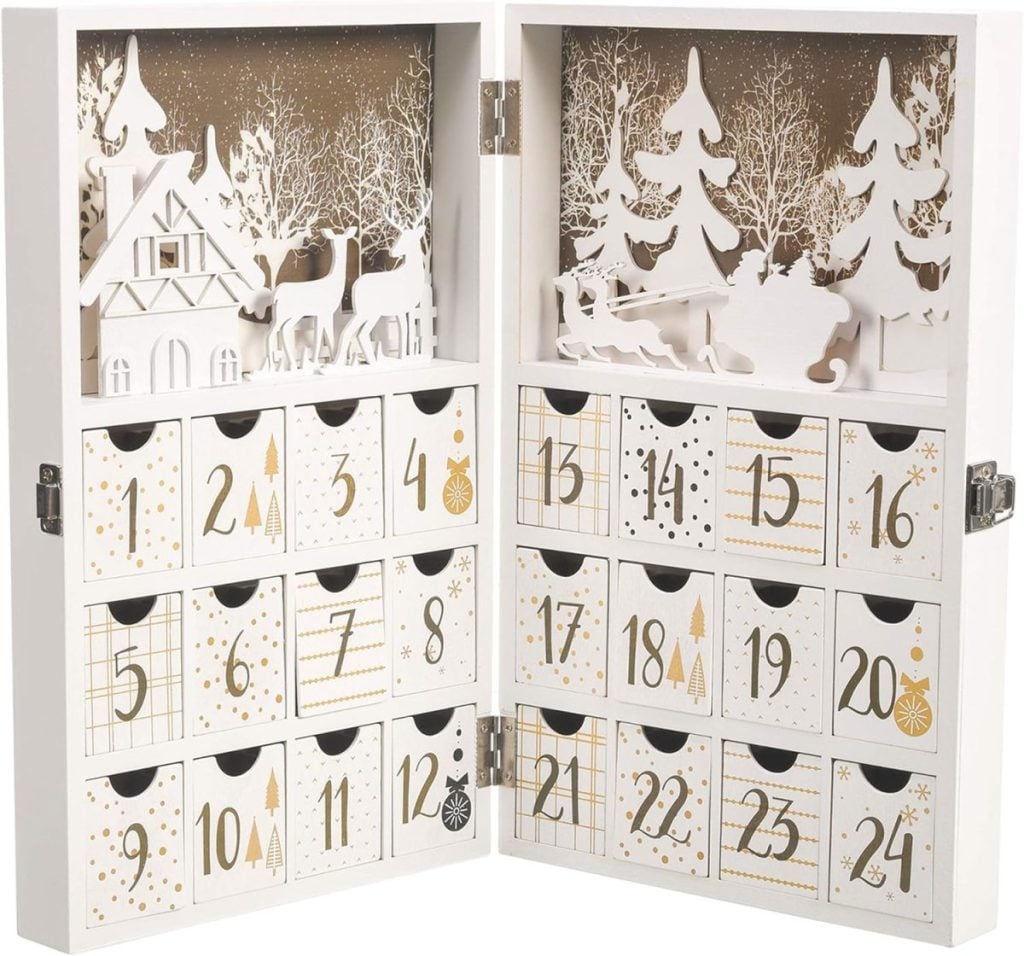
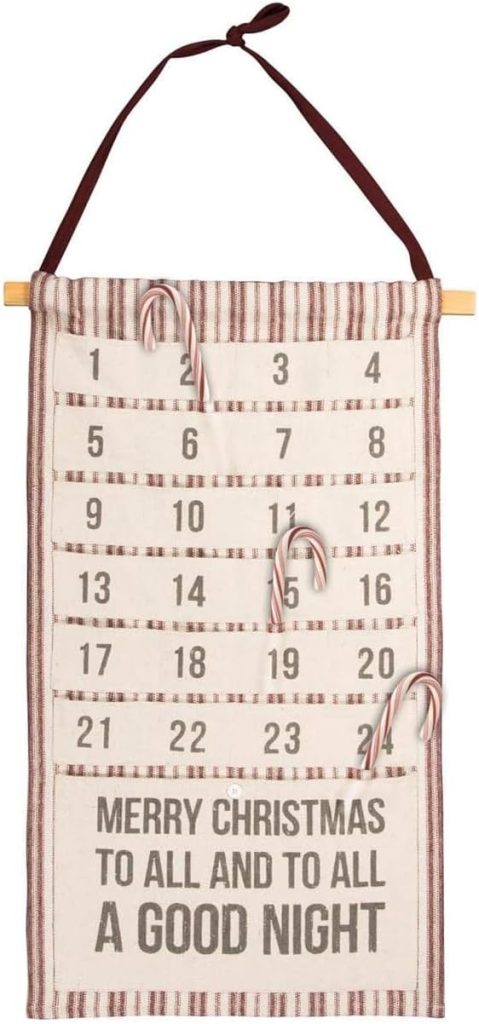
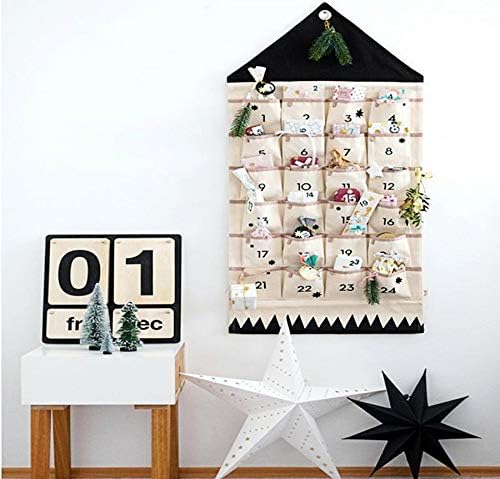
If you are looking for an advent Calendar that holds gifts, you can make this one instead!
And yes, it is a lot easier!
These little tins can hold just about any gifts you want. Just think of all of the themes you could do with this advent calendar … a barbie advent calendar, candy advent calendar, hot wheels advent calendar, advent calendar for teenage girls, dog advent calendar, cat advent calendar, lego advent calendar, harry potter advent calendar, and even a pokemon advent calendar.
You can see how easily these tins can hold tiny treasures.
Watch Me Live!
I know you might not have any idea what Watch Me Live means, but I am sharing Amazon Live broadcasts that are so much fun! And yes, filming LIVE makes me nervous.
My newest Amazon Live, How to Style a Pink Christmas goes live today, (Tuesday, November 23rd) at 11:00 AM PST, 2:00 PM EST.
Pin the image below to your decor boards on Pinterest (just click the Pin button in the top left corner). You can also follow along with me on Pinterest!
For more real-time updates, follow me on Instagram @My100YearOldHome



This is SO amazing!!! I am already thinking how I can make this & maybe gift it to other family members!!! Thank you so much for sharing!!????
Thanks, Kristal! That’s what I was thinking! My family loves this tradition, so I hope yours does too!
Love this!!
Thanks, Olivia!
This is so Beautiful, Thank You for sharing step by step with so much details. ????
Thank you! I’m so glad you enjoyed it! Tag me if you make it so I can see how it turned out!
LOVE ❤️What a great idea and wonderful gift to give to family!!! You amaze me with your incredible ideas 💡🎁🎄🎅🏻
I love your idea!! Thank you for sharing it with us. Hugs,
Your family Advent Calendar is without a doubt, my favourite of all your many beautiful creations. So special and a family heirloom I’d say.
Thank you so much Wendy! I truly treasure it. The handwriting and photos make it so special!
This is one of my FAVORITE things EVER!!!
Thank you Becky! I love this craft and each year, as I unwrap it to put it out, I love it a little bit more!
This is just beautiful.. one of my favorite crafts you have shared. I love your blog !! Have a Merry Christmas 🎄
Oh wow, thank you!