My Spring DIY Garden Party
I loved creating this DIY Spring Garden Party in our backyard. We had such a fun evening and I can’t wait to share how You Can Host a Dinner Like this too!
Today I am thrilled to share a spring garden party that I hosted in our backyard. I made the chargers and placemats and can’t wait to share my DIYs with you!
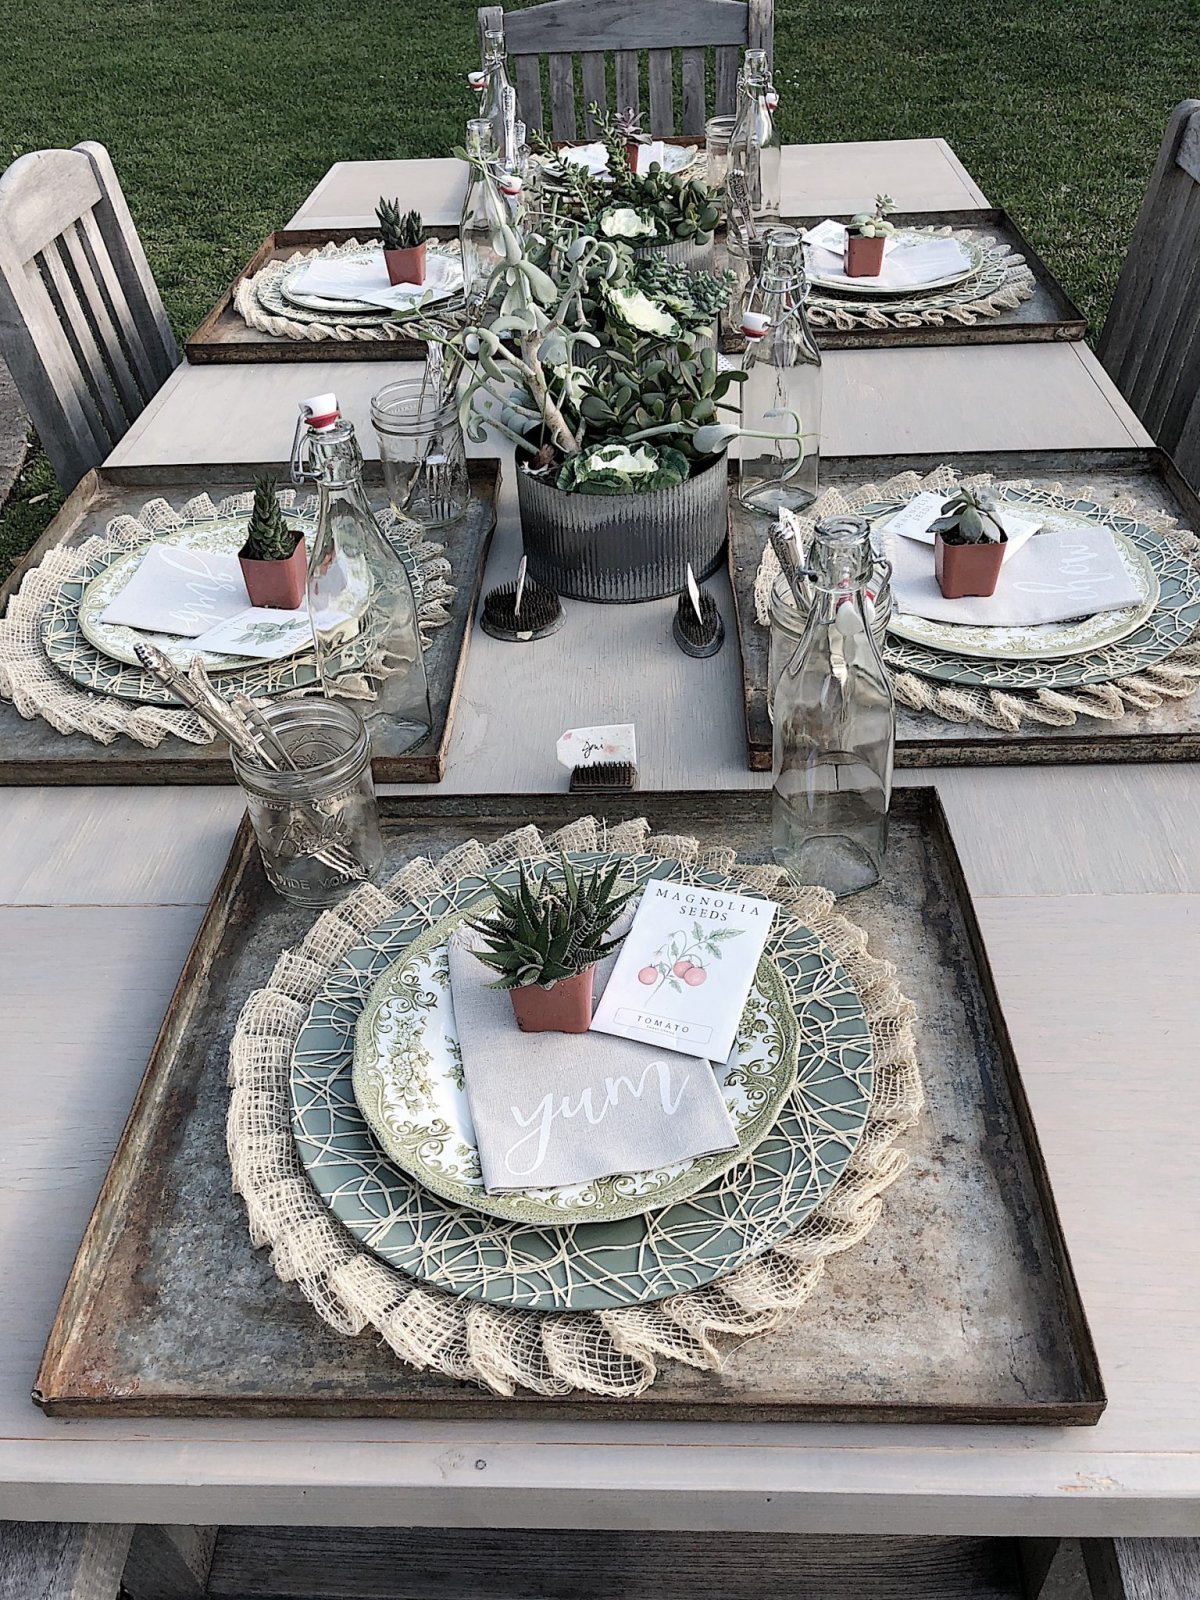
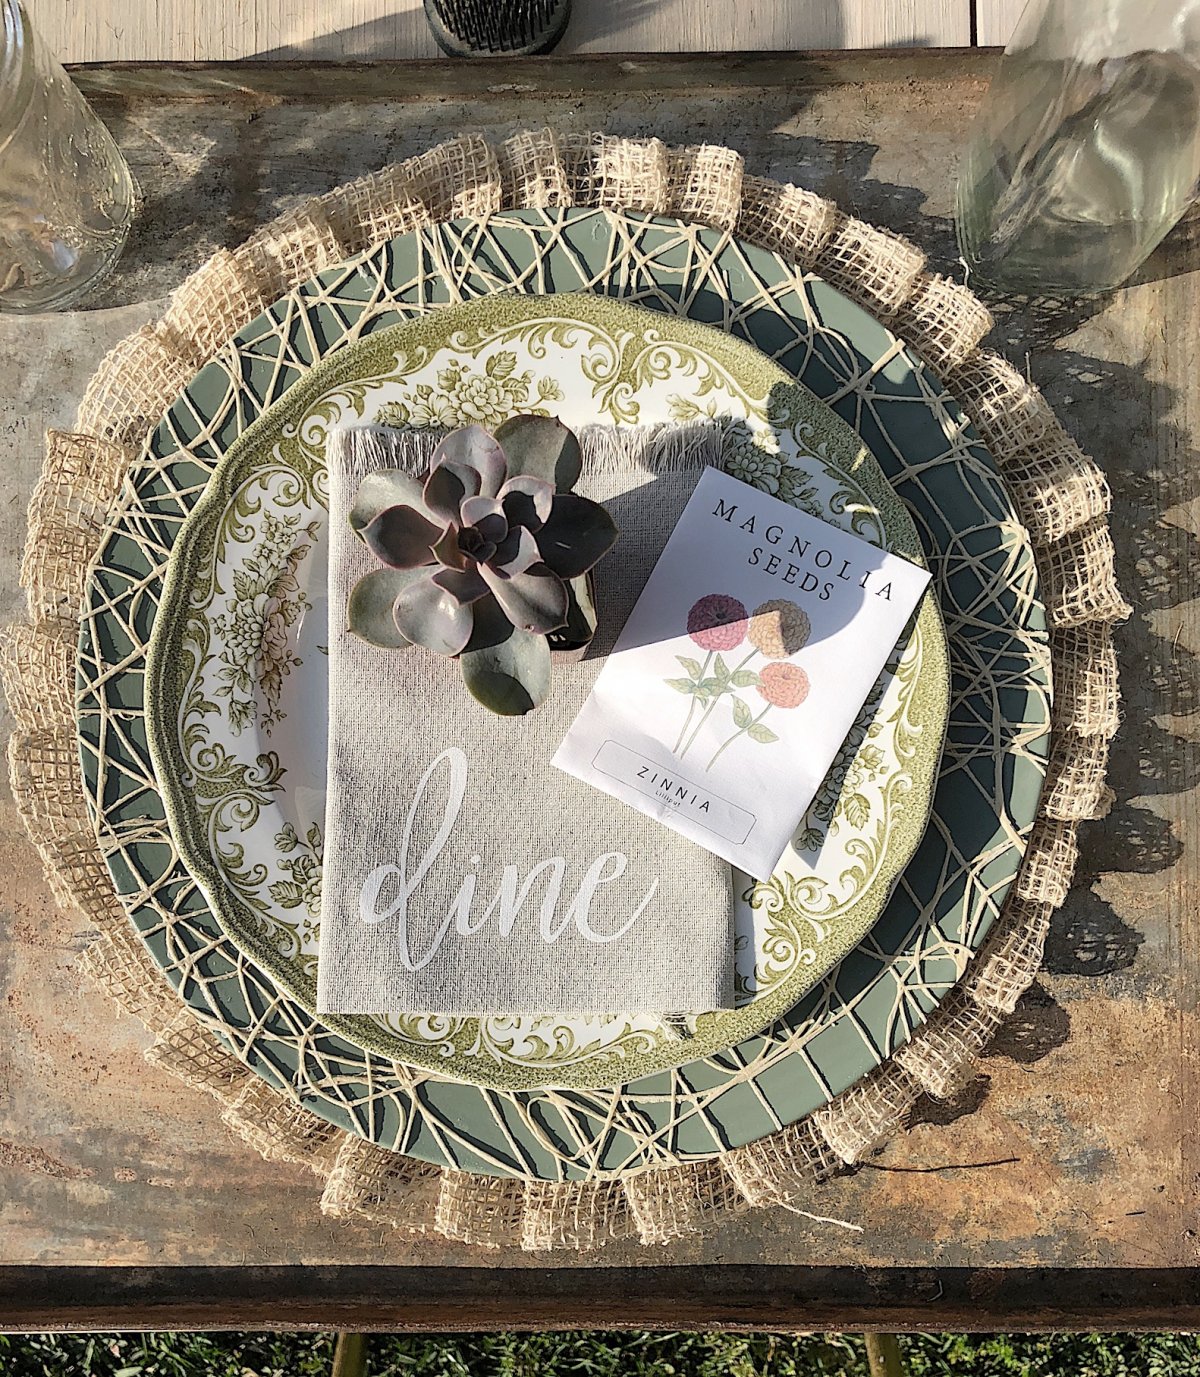
I am so excited to share with you today all of my DIY spring garden party table setting ideas. Years ago I bought some metal trays that I love to use as chargers. I added my DIY placemats and chargers, some vintage china, linen napkins, and square water bottles. I added a small succulent plant and some garden seeds from Magnolia. The place cards are held with vintage flower frogs. I used seed paper tags from Save-on-Crafts to write out the place card names. These seed paper tags will actually grow flowers when planted.
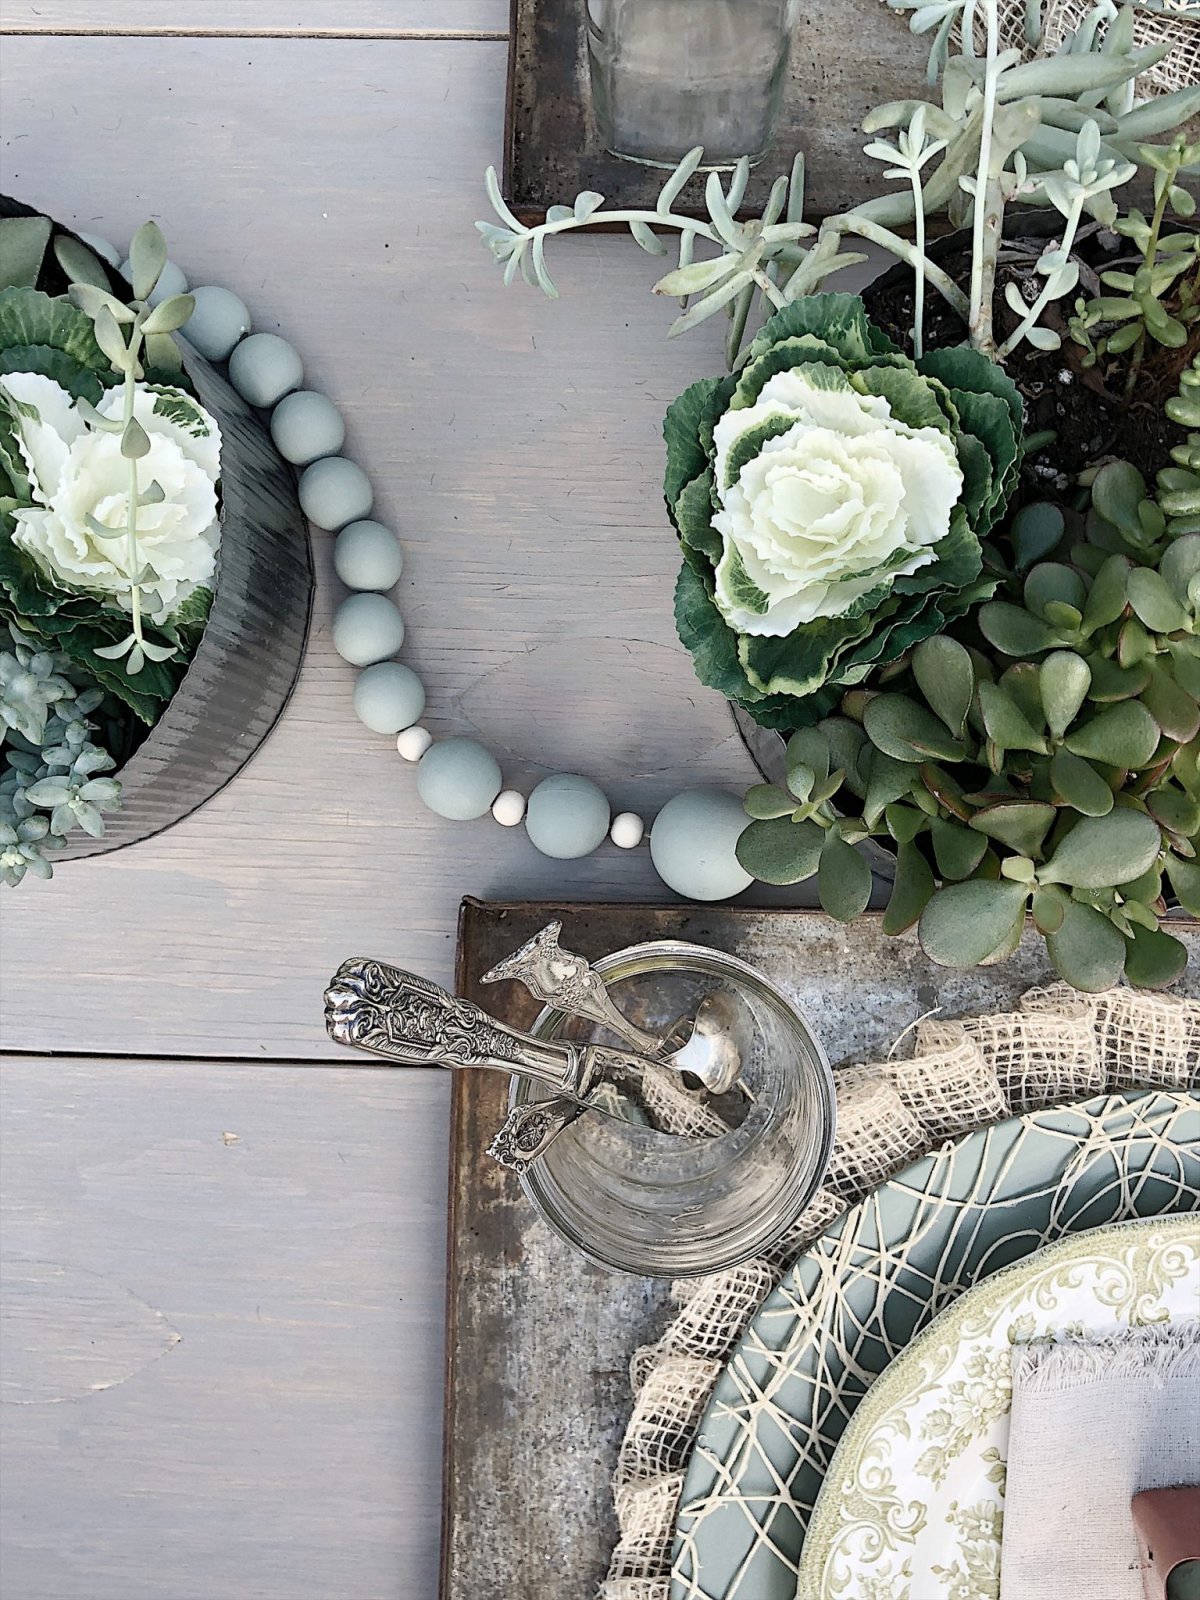
To create the centerpieces I used my favorite corrugated zinc pots (which are 7.5″ round and 4″ high) and planted succulents. The zinc pots are only $10!
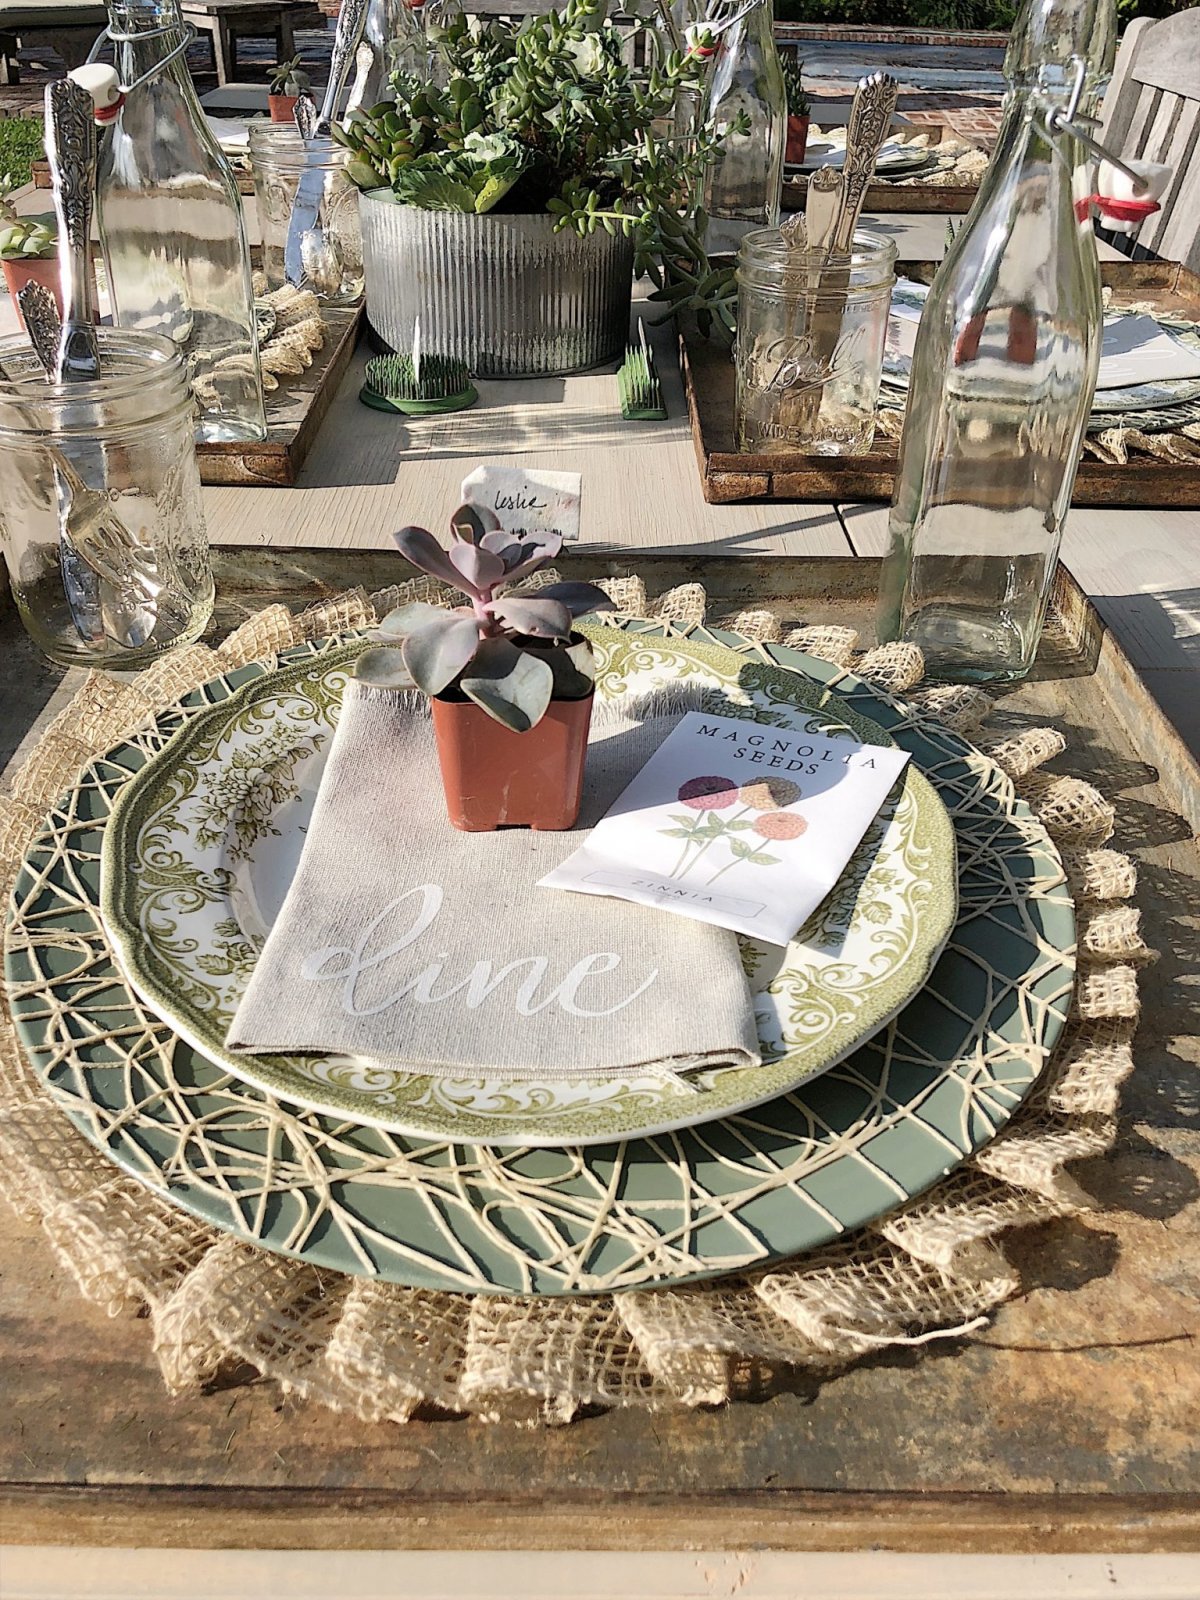
I really wanted to make some ruffled placemats to match the burlap placemats I have from Pier One. I used Jute Burlap ribbon for the placemats and Natural Abaca Sisal Mesh for the chargers.
How to Make Sisal Chargers
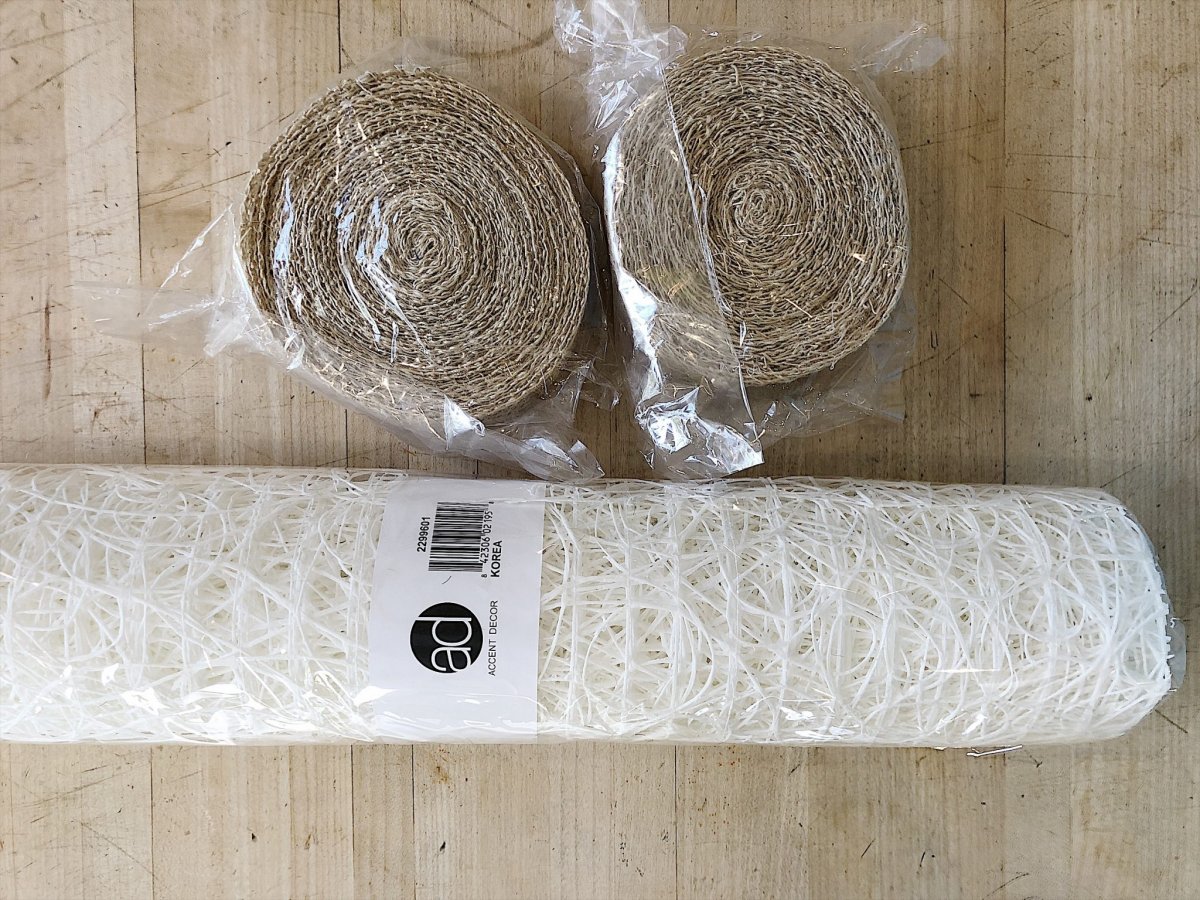
To make the chargers, you will need six to eight chargers. I ordered these gold chargers and they were very inexpensive. The color didn’t matter since I knew I was going to paint them. (Be sure to order one extra charger to use to press the mesh to the plate during the gluing stage.)

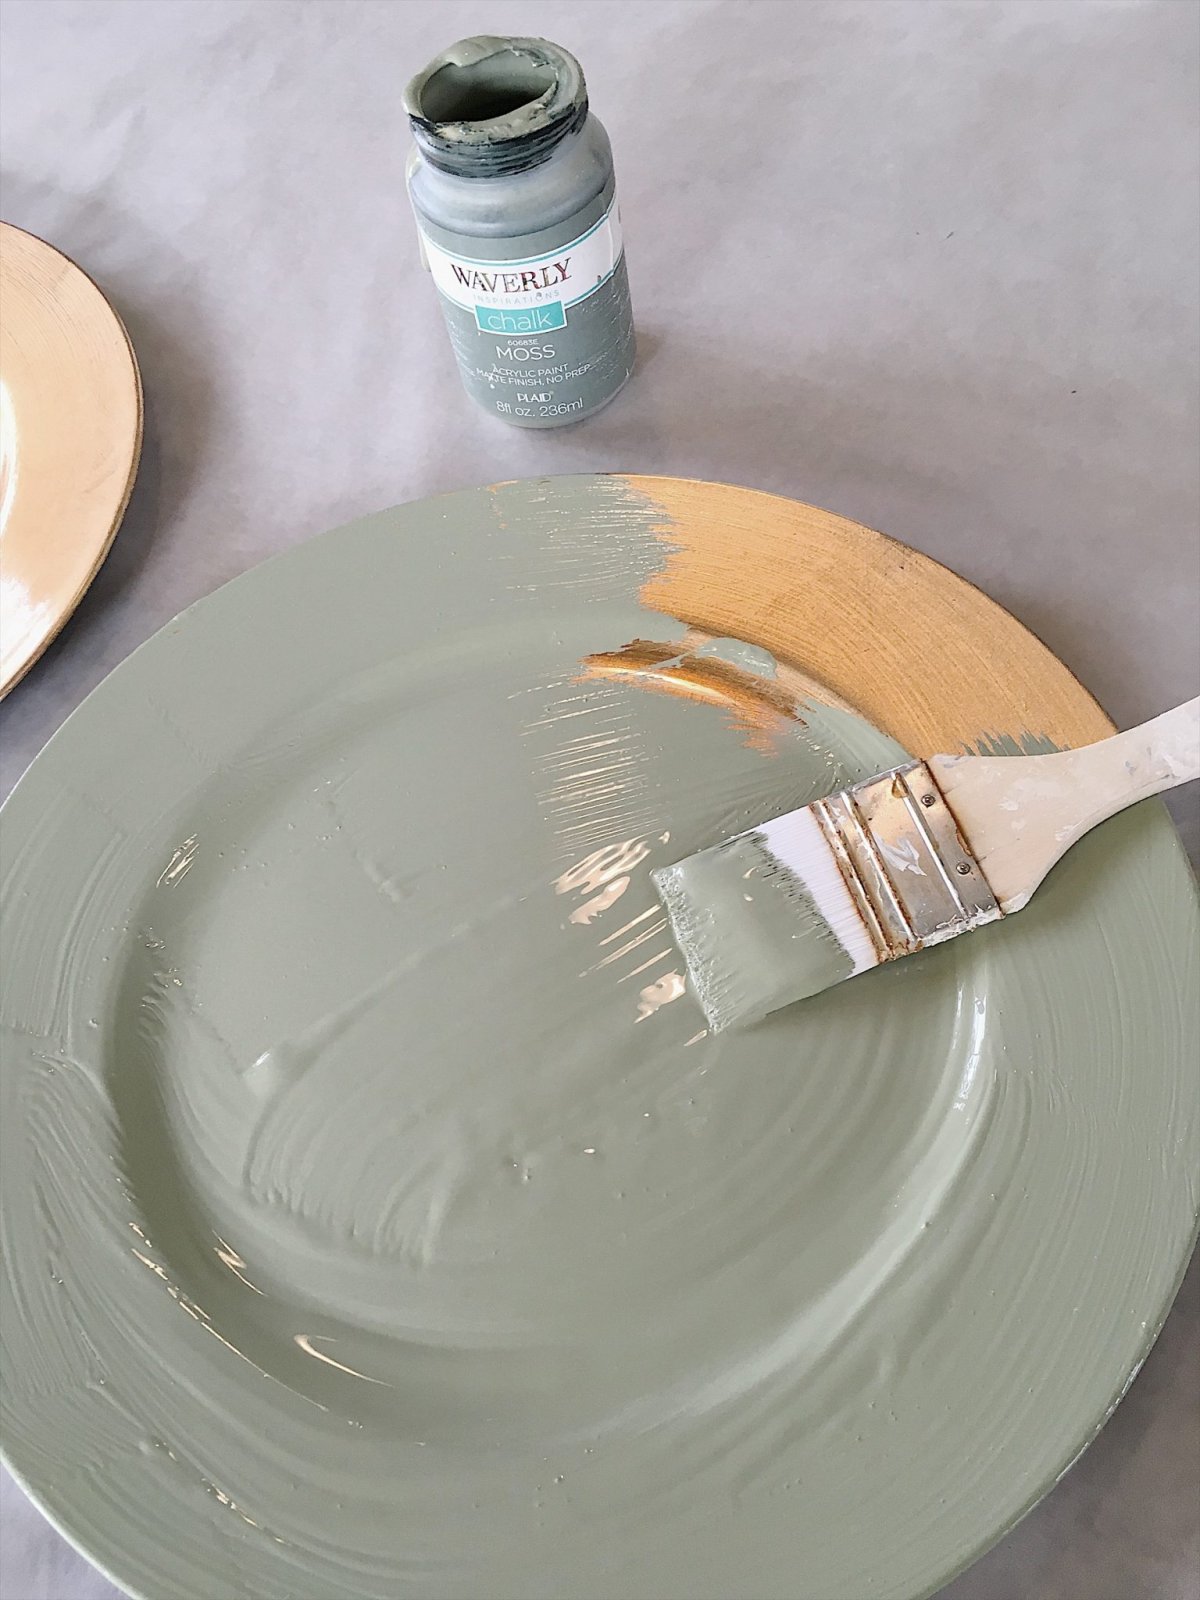
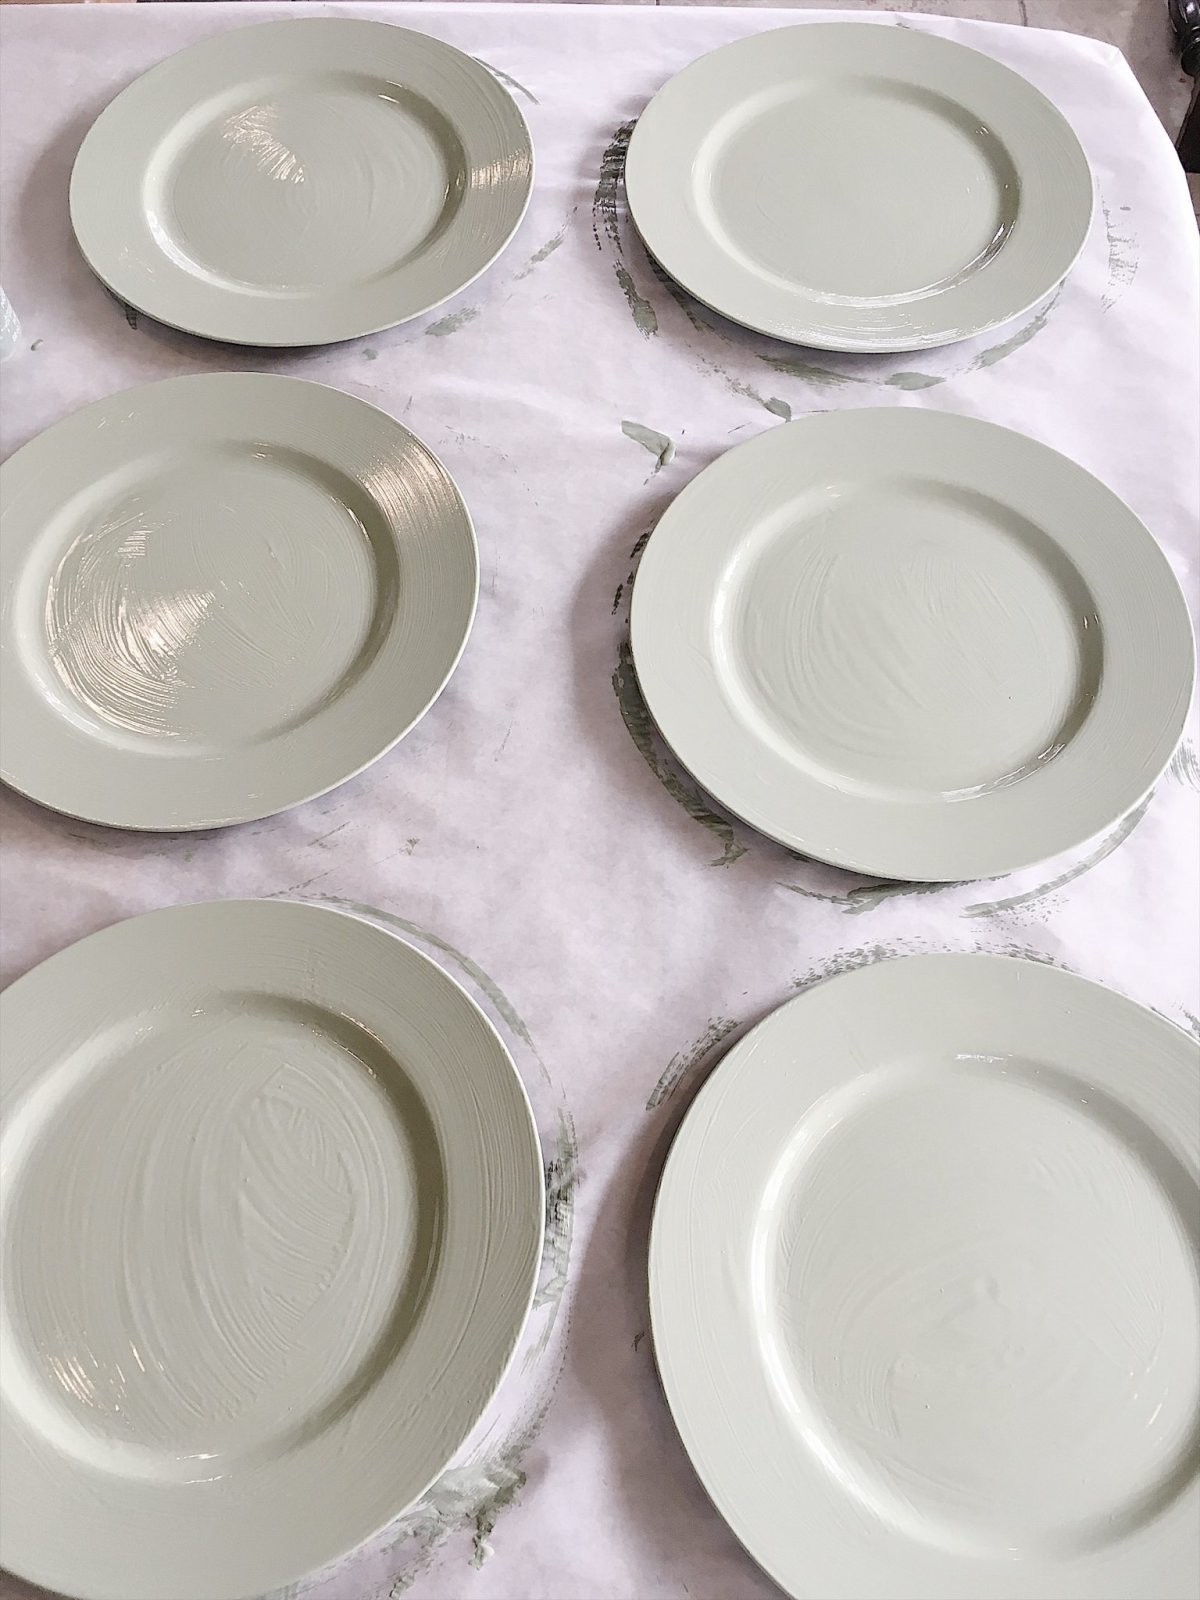
I had some moss green chalk paint in my craft room and used it to paint all of the chargers. Any water-based paint will work.
Once the paint was dry, I covered the plates with Tacky glue. You can use any glue, as long as it dries clear.

Next, cut a piece of the Abaca Sisal Mesh to fit each plate and brush one side with glue.
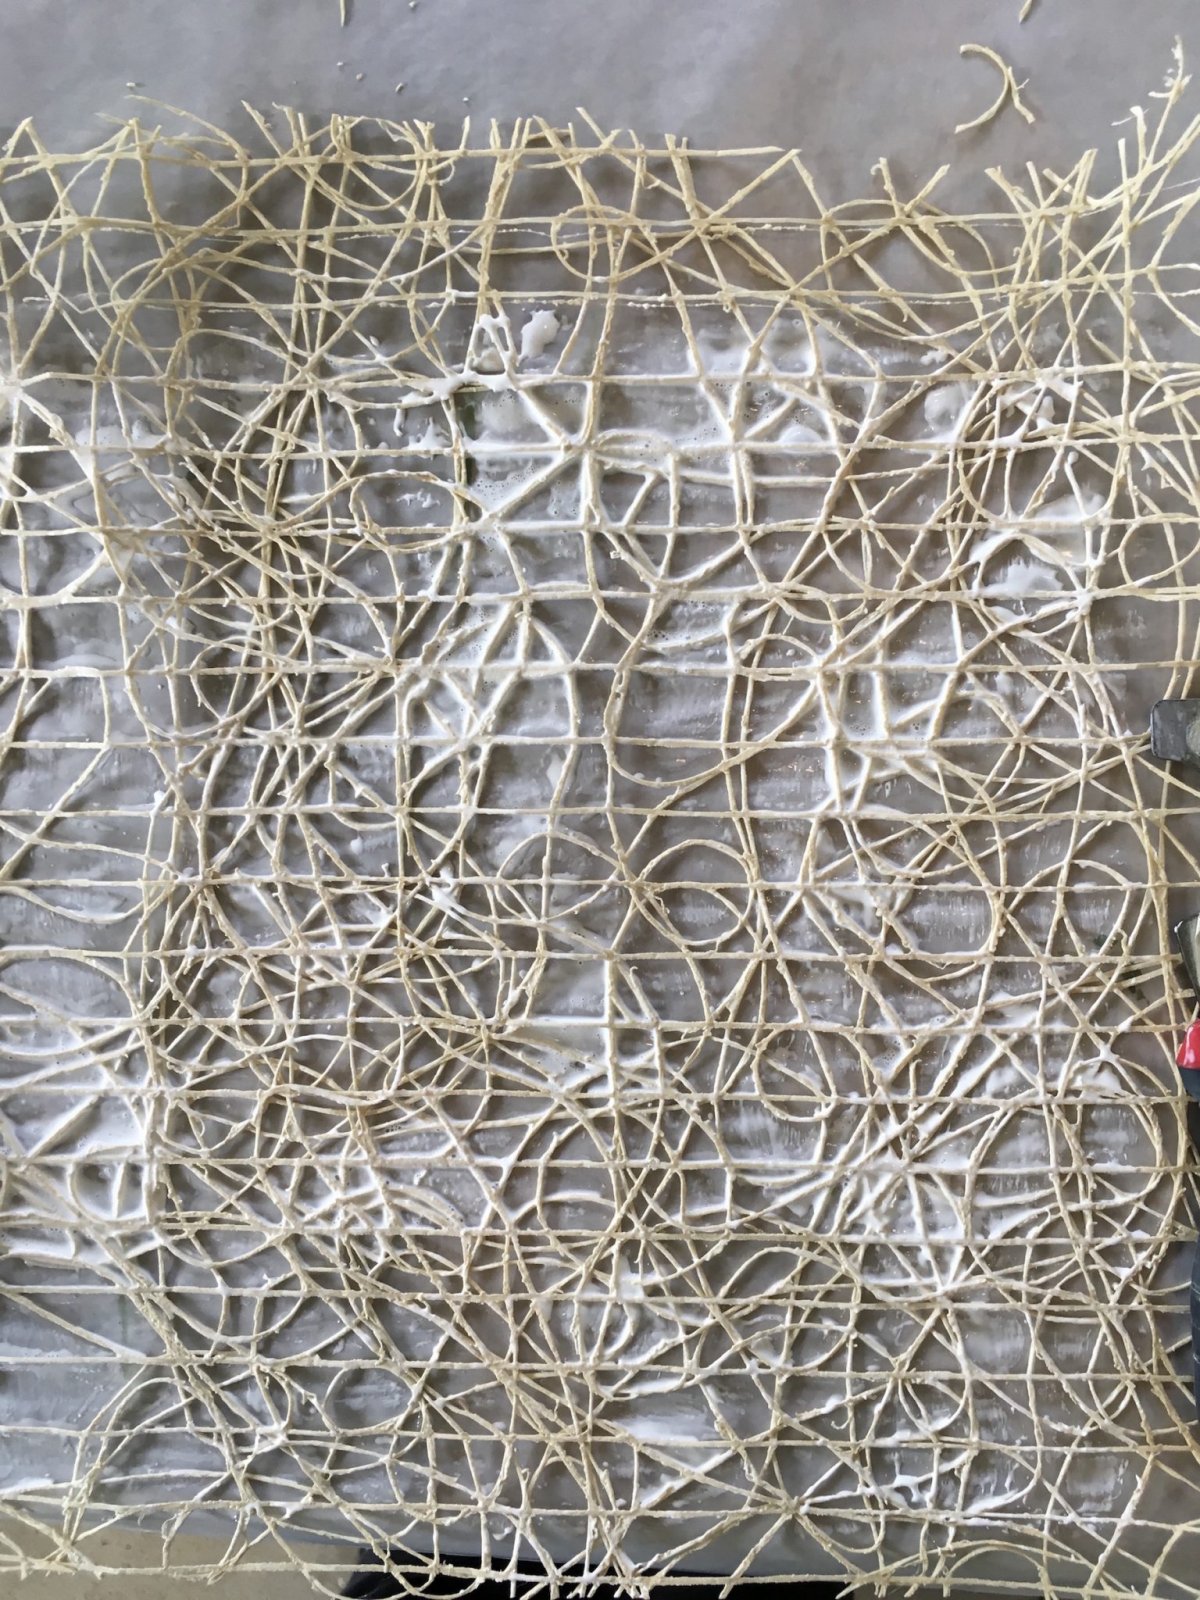
Place the mesh on the painted plate and then place the extra charger plate on top and press firmly. You will need to do this about five times. As the glue dries and gets more sticky, be sure to press the plate on top to help the mesh adhere to the painted plate. Once the glue has dried, turn the plate upside down and cut the mesh flush with the plate.
You may want to varnish the plate to protect it. It’s not necessary but is a good idea.
Once the glue dries, the mesh is attached to the plate and it looks awesome!


I love how these turned out! They are fun and different. I really want to make a set using off-white chargers. I think they would look fabulous!
How to Make Ruffled Placemats
I made the placemats for this DIY Spring Garden Party table setting and they are patterned after the tan burlap placemats from Pier 1. Since Pier 1 only sells them in a dark tan color, I decided to make my own in off-white.
A few weeks ago I made eight of these placemats in black (see the DIY here). I used twill tape for the black ones but for these, I used Jute Burlap Ivory Ribbon. Each 10-yard roll makes three placemats. I used an easier pleat for these placemats and used a 1″ simple knife pleat. (The black ones I made have a box pleat).
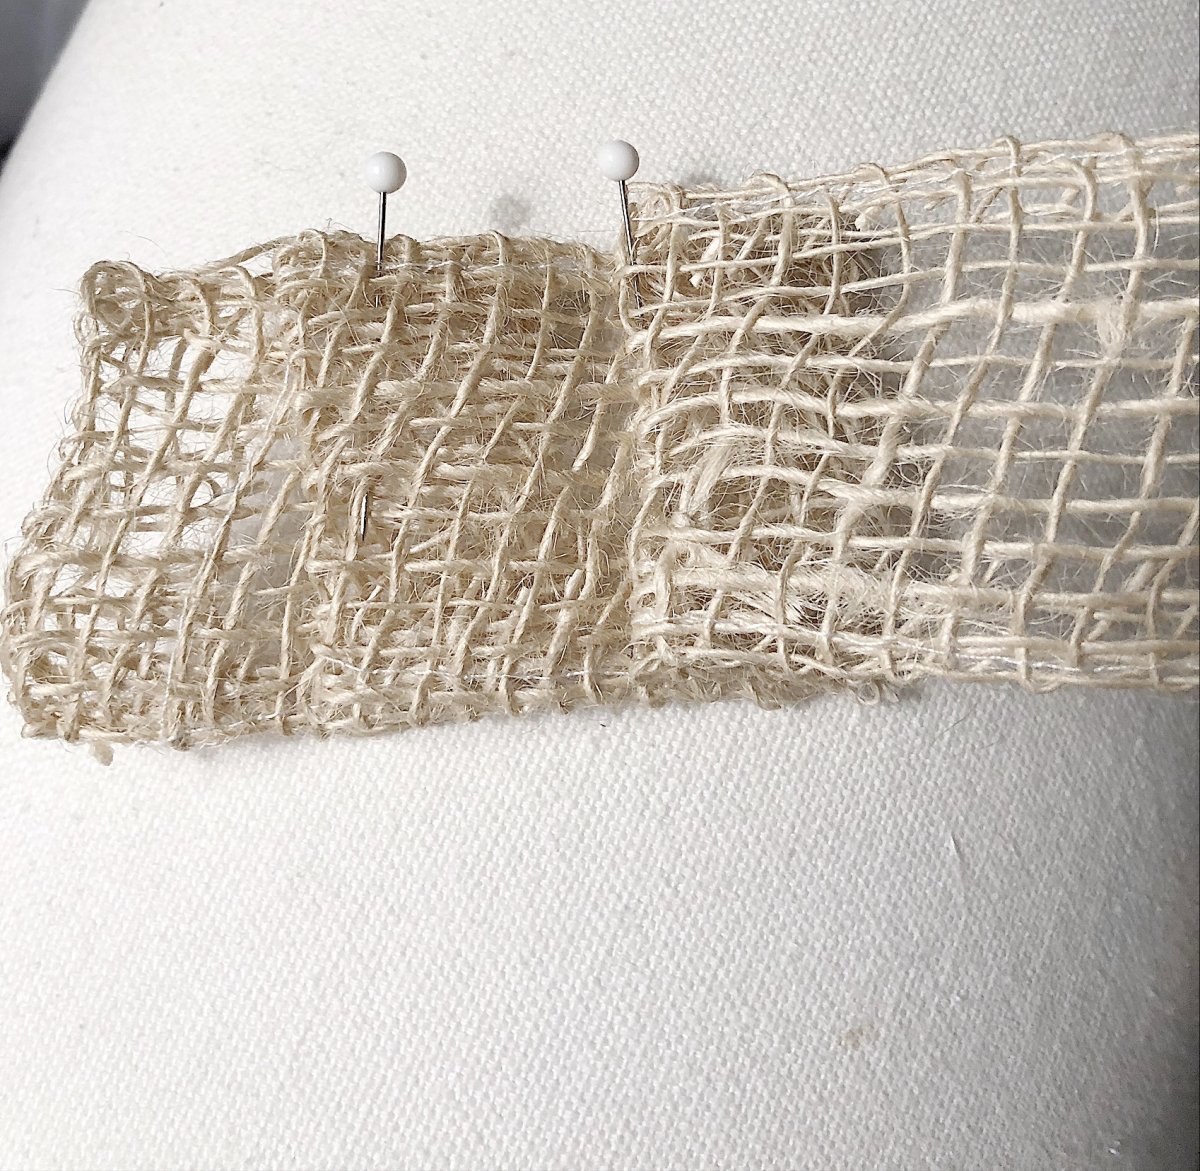

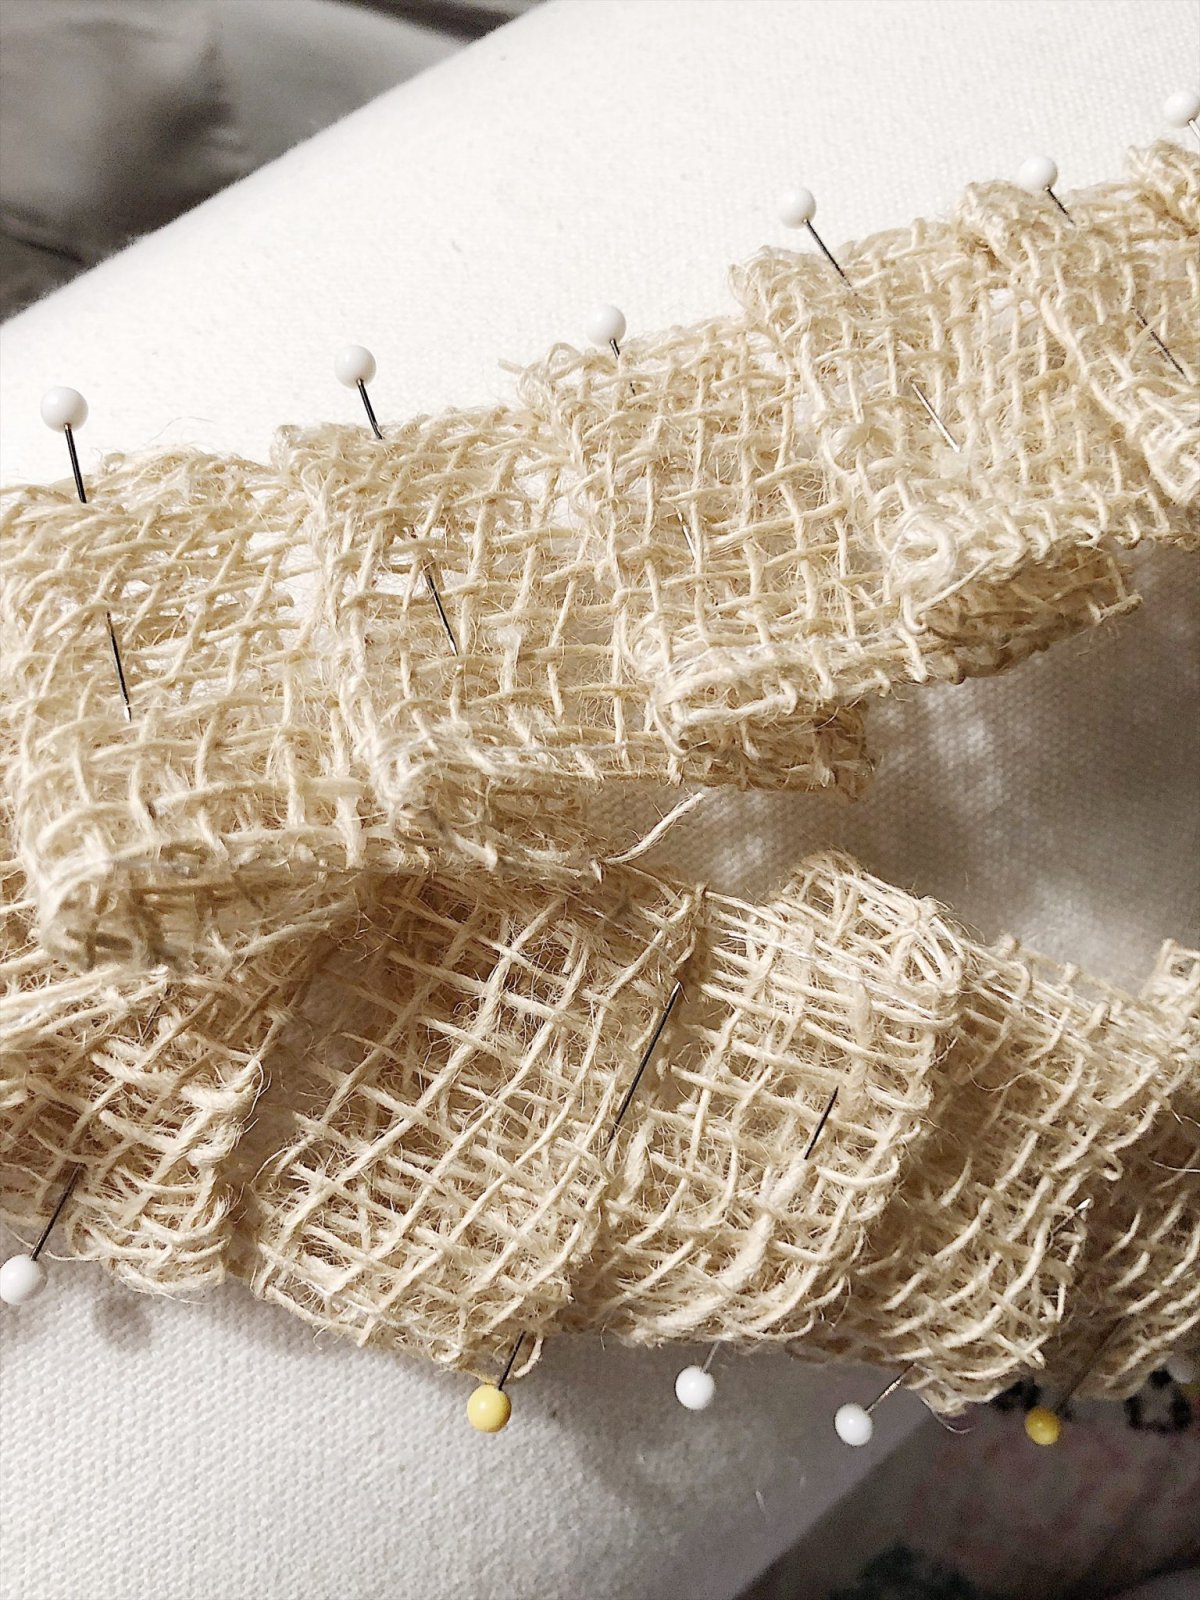
You can cut a piece of cardboard to measure the pleat but I just eyeballed it. Make the one-inch pleats and pin each one. Next, sew across the top edge to hold the pleats in place.

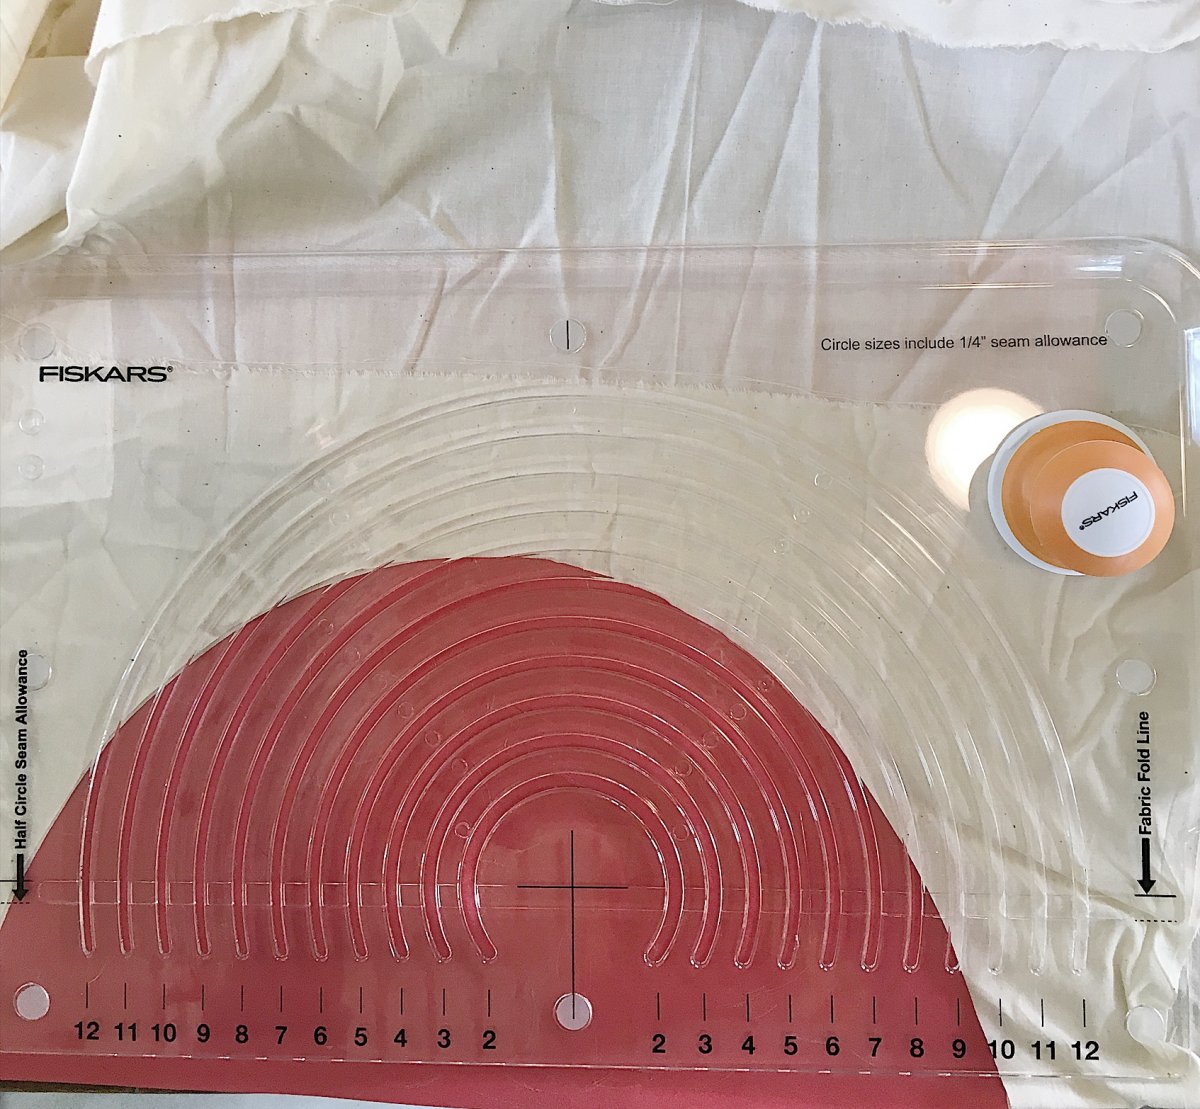
For each placemat, you will need to cut a 12″ circle of material. I bought this Fiskars circle cutter on sale a month ago and I love it. It enables you to cut a circle in seconds. It’s a really great tool.
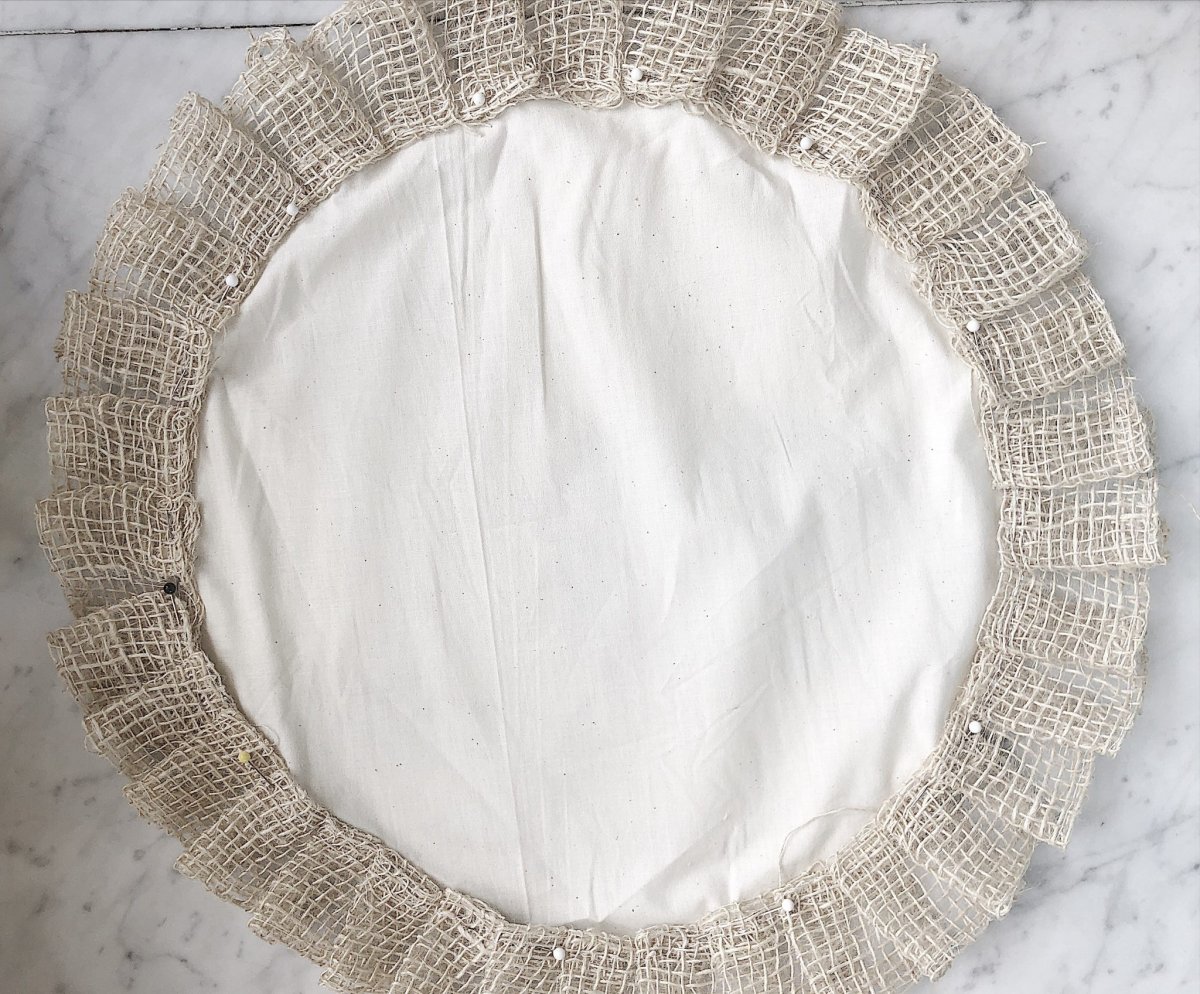
Next, pin the ruffle on top of the circle and sew it to the fabric.
The instructions to make these placemats are slightly abbreviated. Be sure to check out my previous blog post where I made the black pleated placemats for the complete step by step instructions.

All in all, it was a fabulous garden party. And I loved that I was able to create a unique table setting.
For more real-time updates, follow me on Instagram @My100YearOldHome


Love love love this idea! A diy project anyone can do! Yay!!! The entire table is beautiful❤️
WOW, what a fantastic idea to transform a boring charger. Your table scape is just stunning.
Leslie – this charger makeover and DIY placemat tutorial is blowing my mind! I can’t wait to try this for myself – thank you for inspiring me, my friend!
You are ‘fabulous’!!! Now I know what to do with my silver chargers that I never use.
Leslie,
This is absolutely gorgeous. I love how you created your own charger…so creative!
Leslie I am loving everything in this post! Your charger and plates are just stunning! So creative!
Leslie, everything is stunning! And your diys are beautiful! I have 6 of those gold chargers in storage and had no idea what to do with them! Love this idea and the placemats are so pretty! So fun to be on this blog hop with you!
beautiful! God bless your hands and your ideas
First time Ive read your blog! The chargers are awesome…what a creative idea. Love the placemats you made! Its all so beautiful!
AIF LONDON offers you the best ever store in the United Kingdon that offers you the best ever furniture in whole region. You can get the view of all the furniture items by visiting the website at- https://www.aif.london/.
Can you mention the source for the napkins, eat, dine, nosh, yum
I made them! I had linen napkins (I get them on Amazon) and then used my Cricut machine for the words!