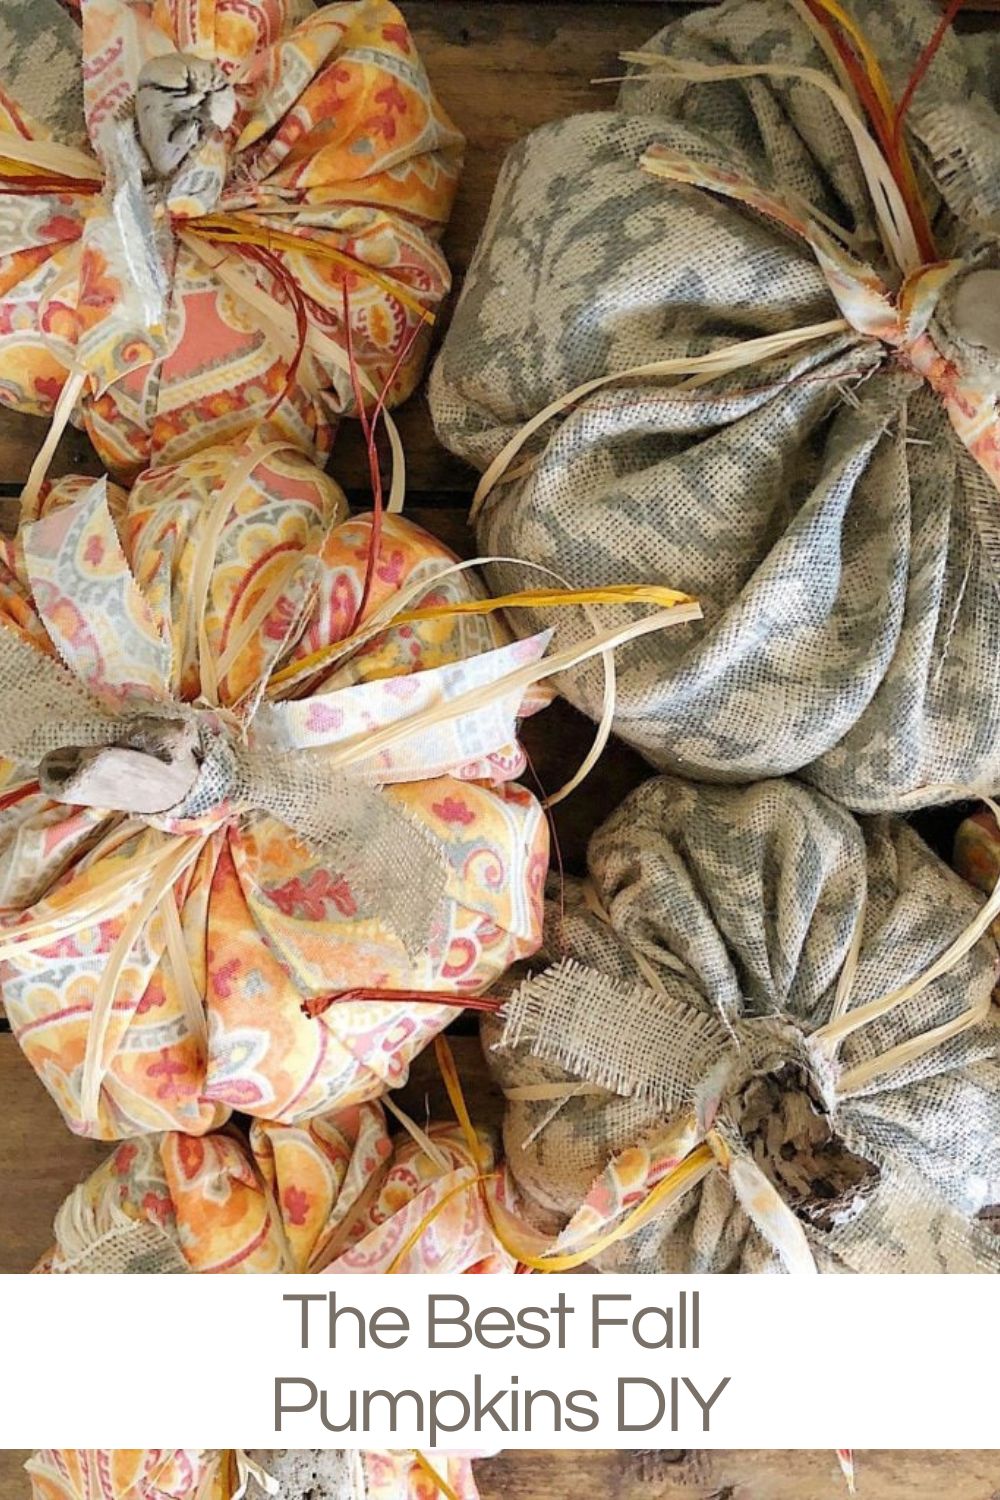
The Best Fall Pumpkins DIY
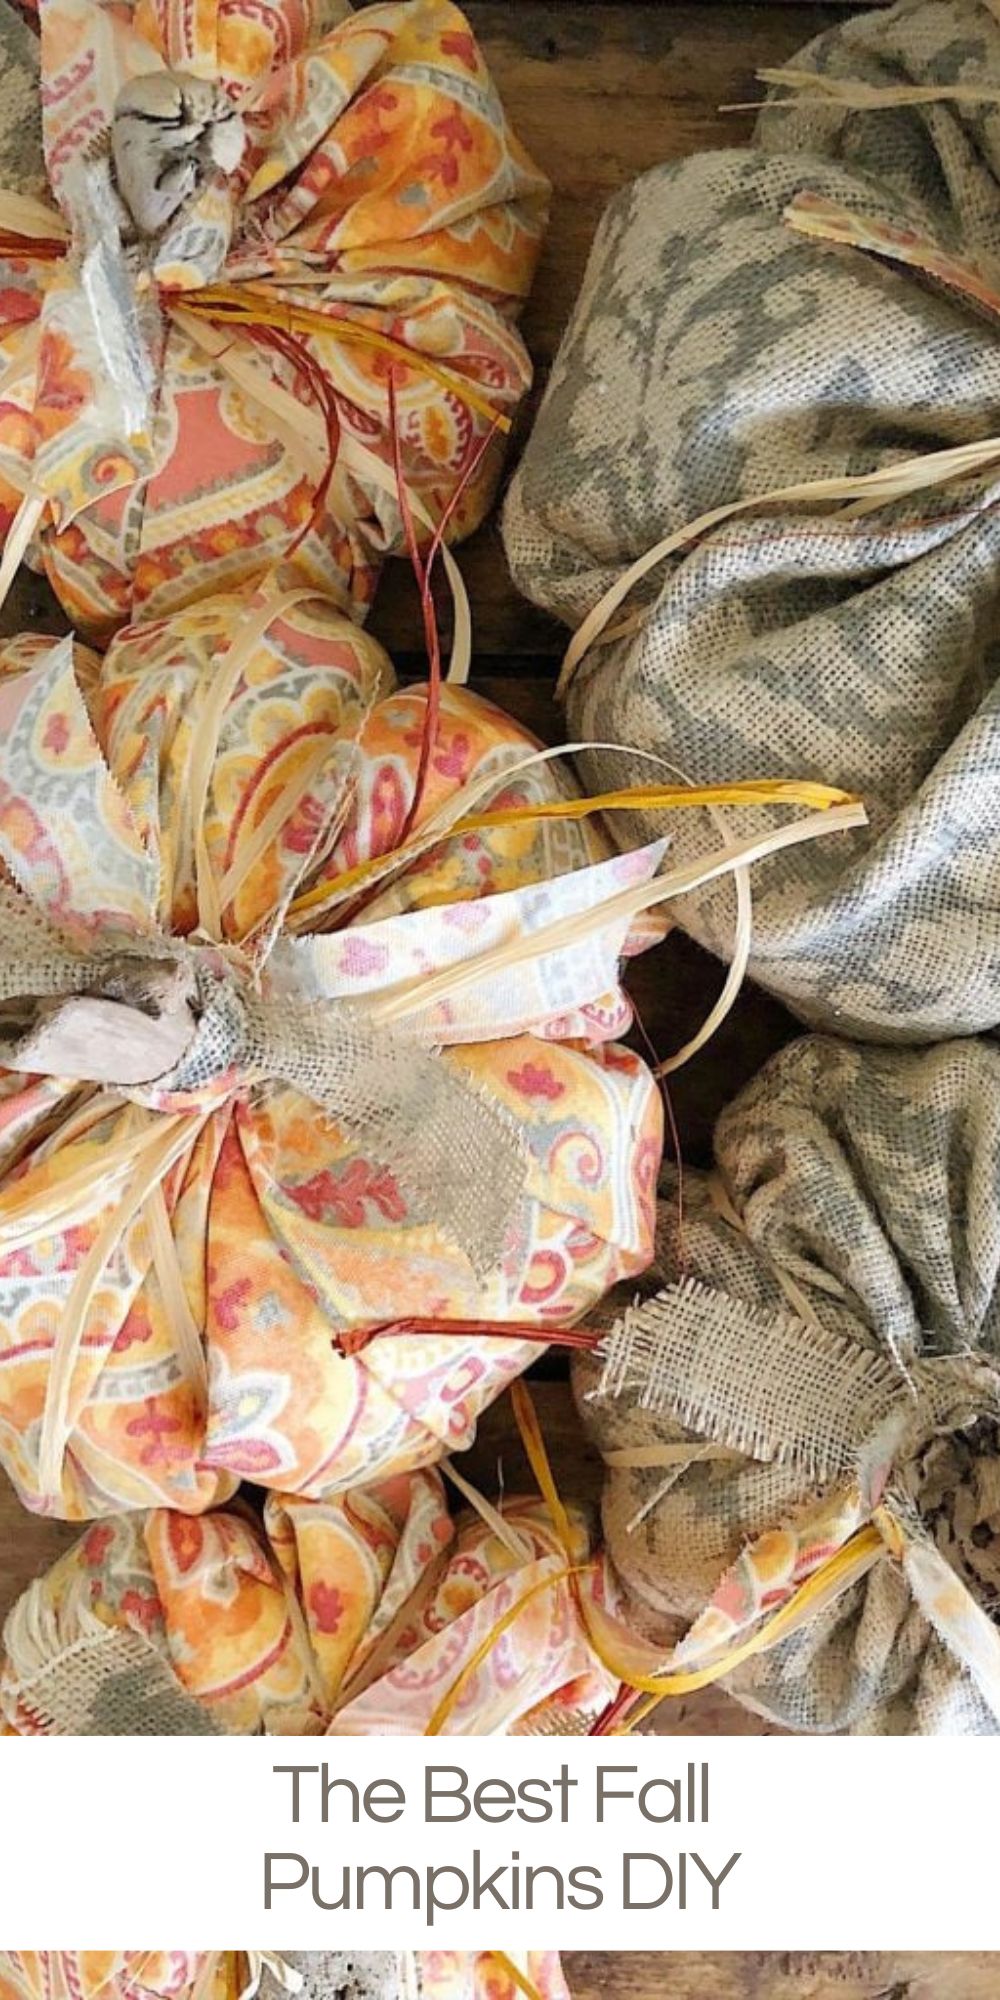
Back to school means that fall is here so I am sharing a favorite Fall Pumpkins DIY. These pumpkins are made with fall fabric and driftwood!
I always strive to make crafts that look fancy and expensive but are easy and inexpensive. This fall pumpkins craft is so easy and cheap to make, and I promise, it’s a project that everyone can make!

Fall Pumpkins
I love these fall pumpkins so much. You don’t need a sewing machine; they are one of the easiest crafts I have ever made.
Most of the pumpkin decor in our home is something that I have made.
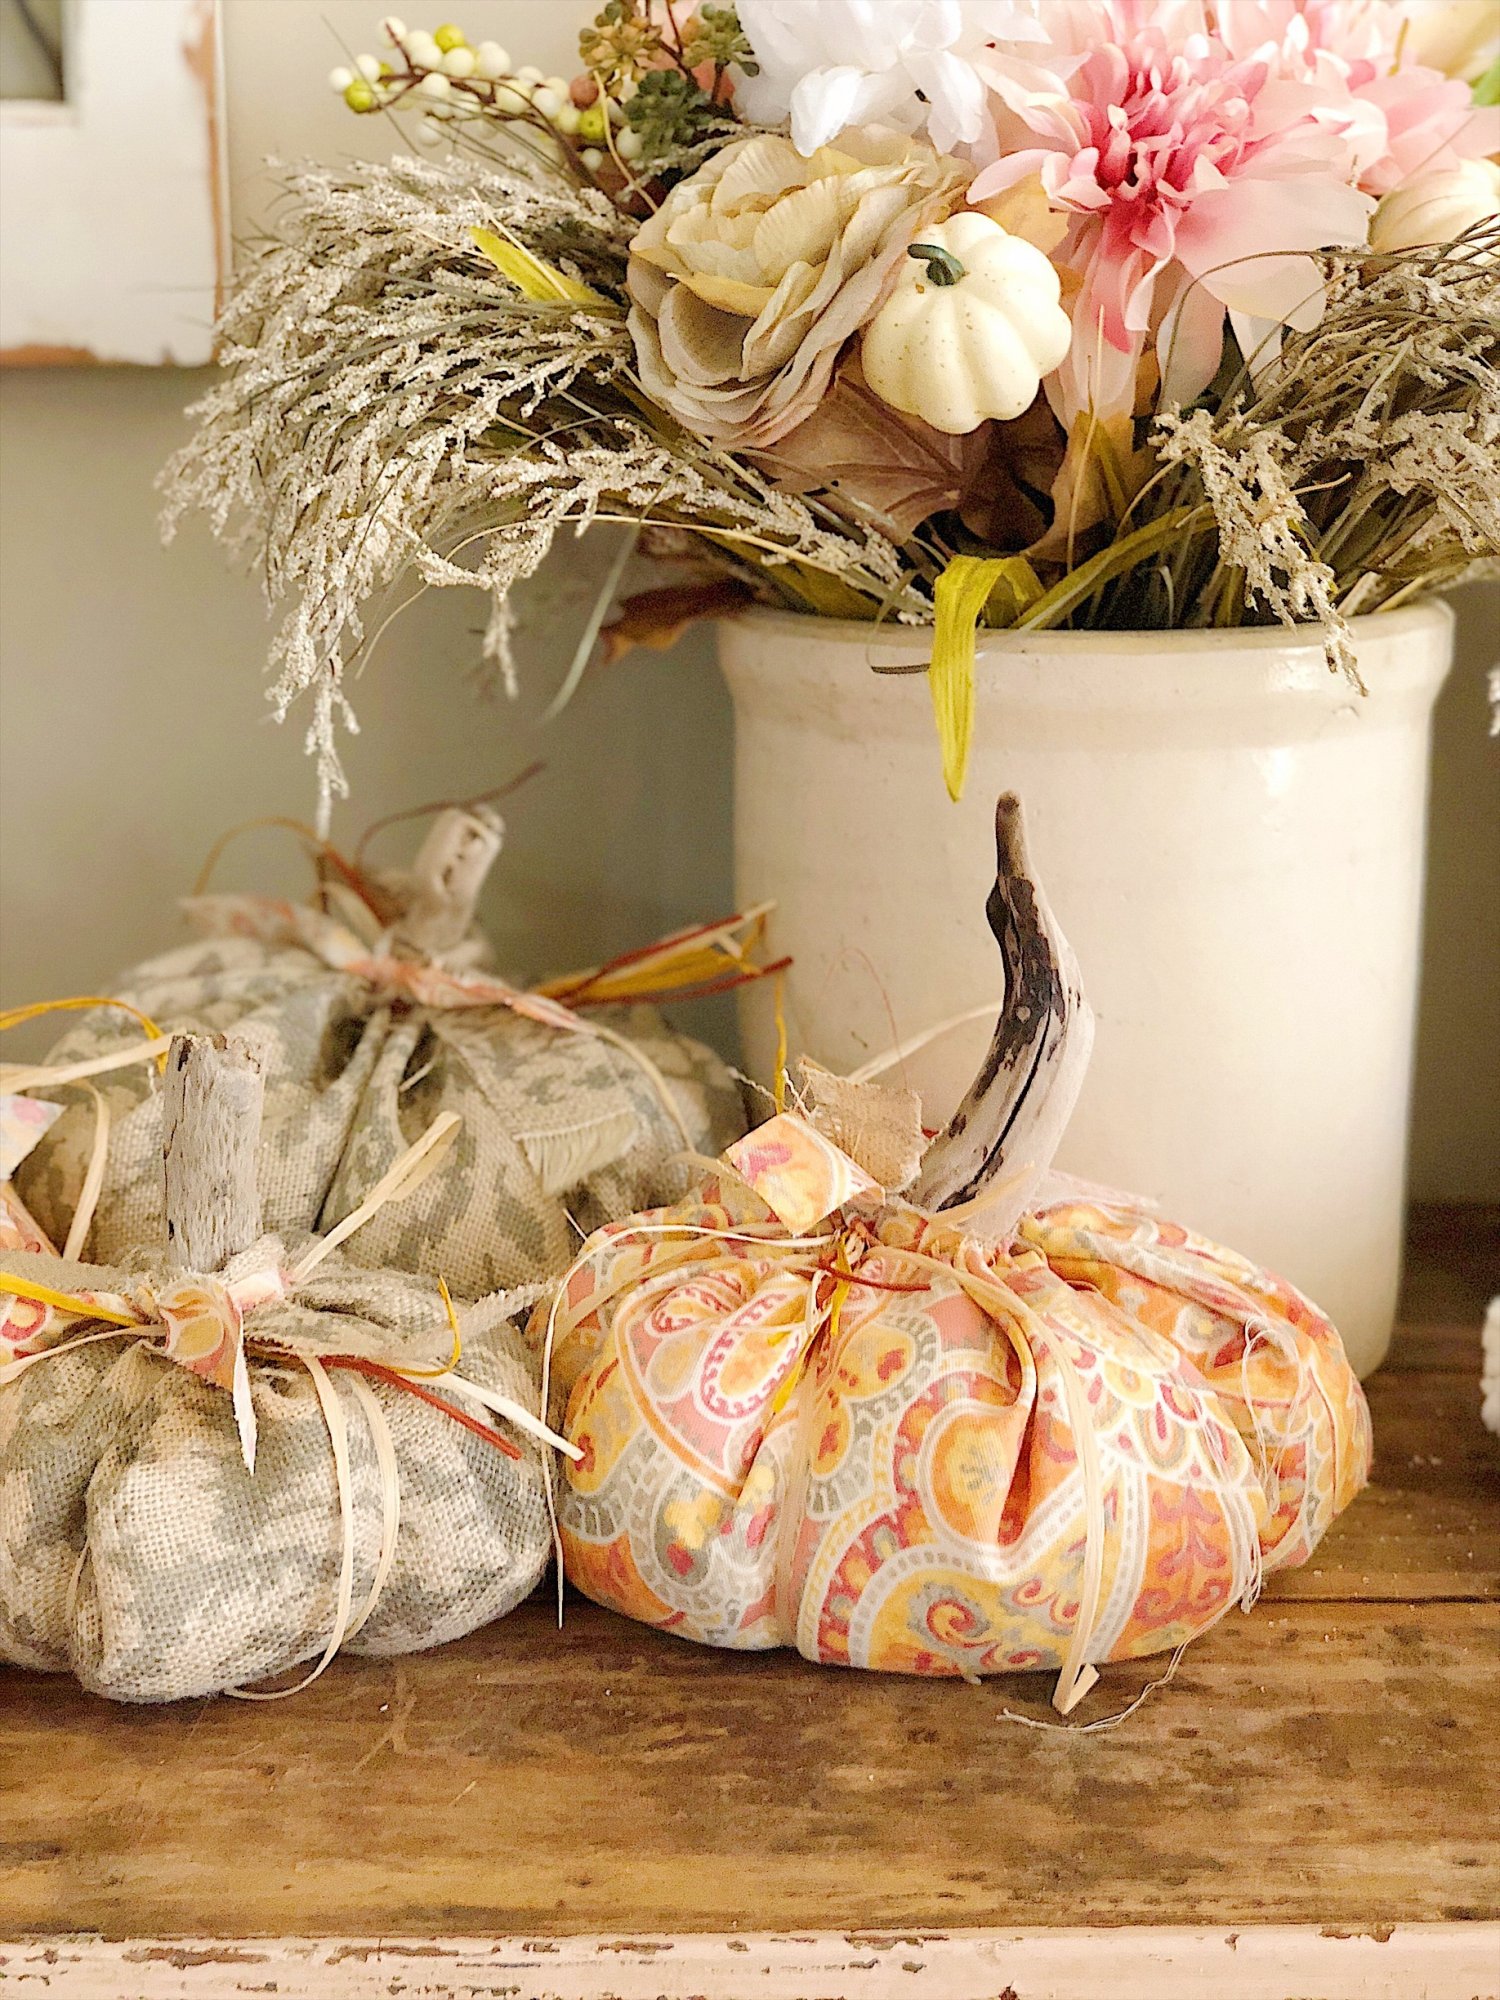
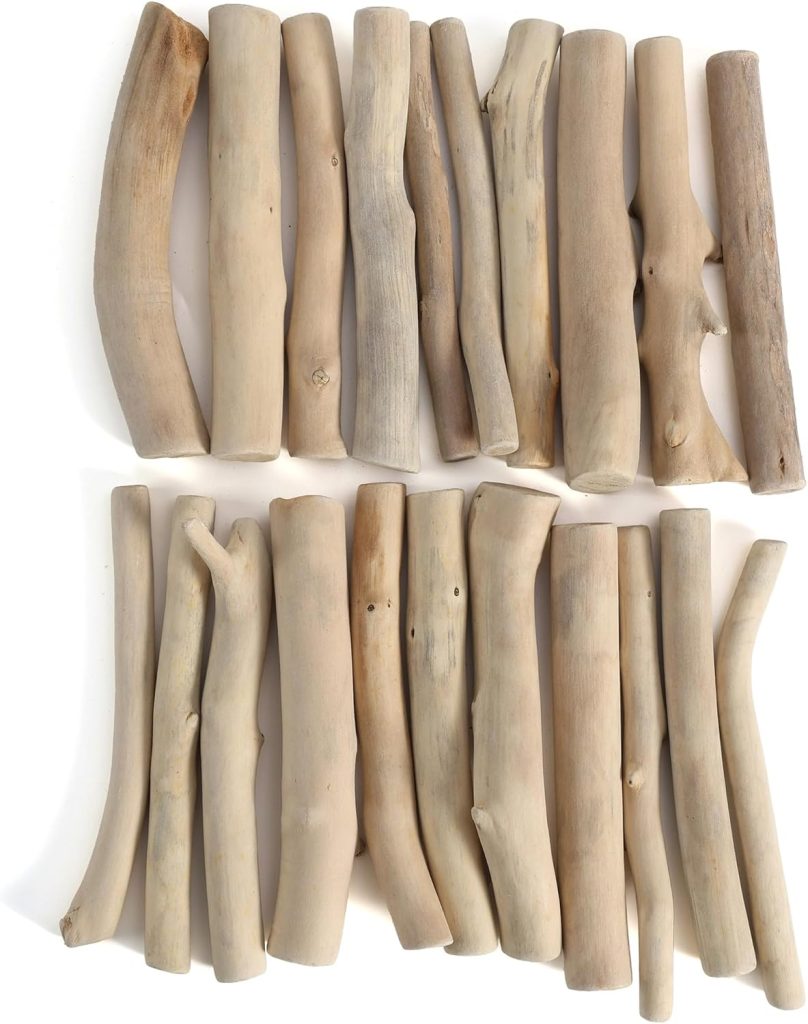
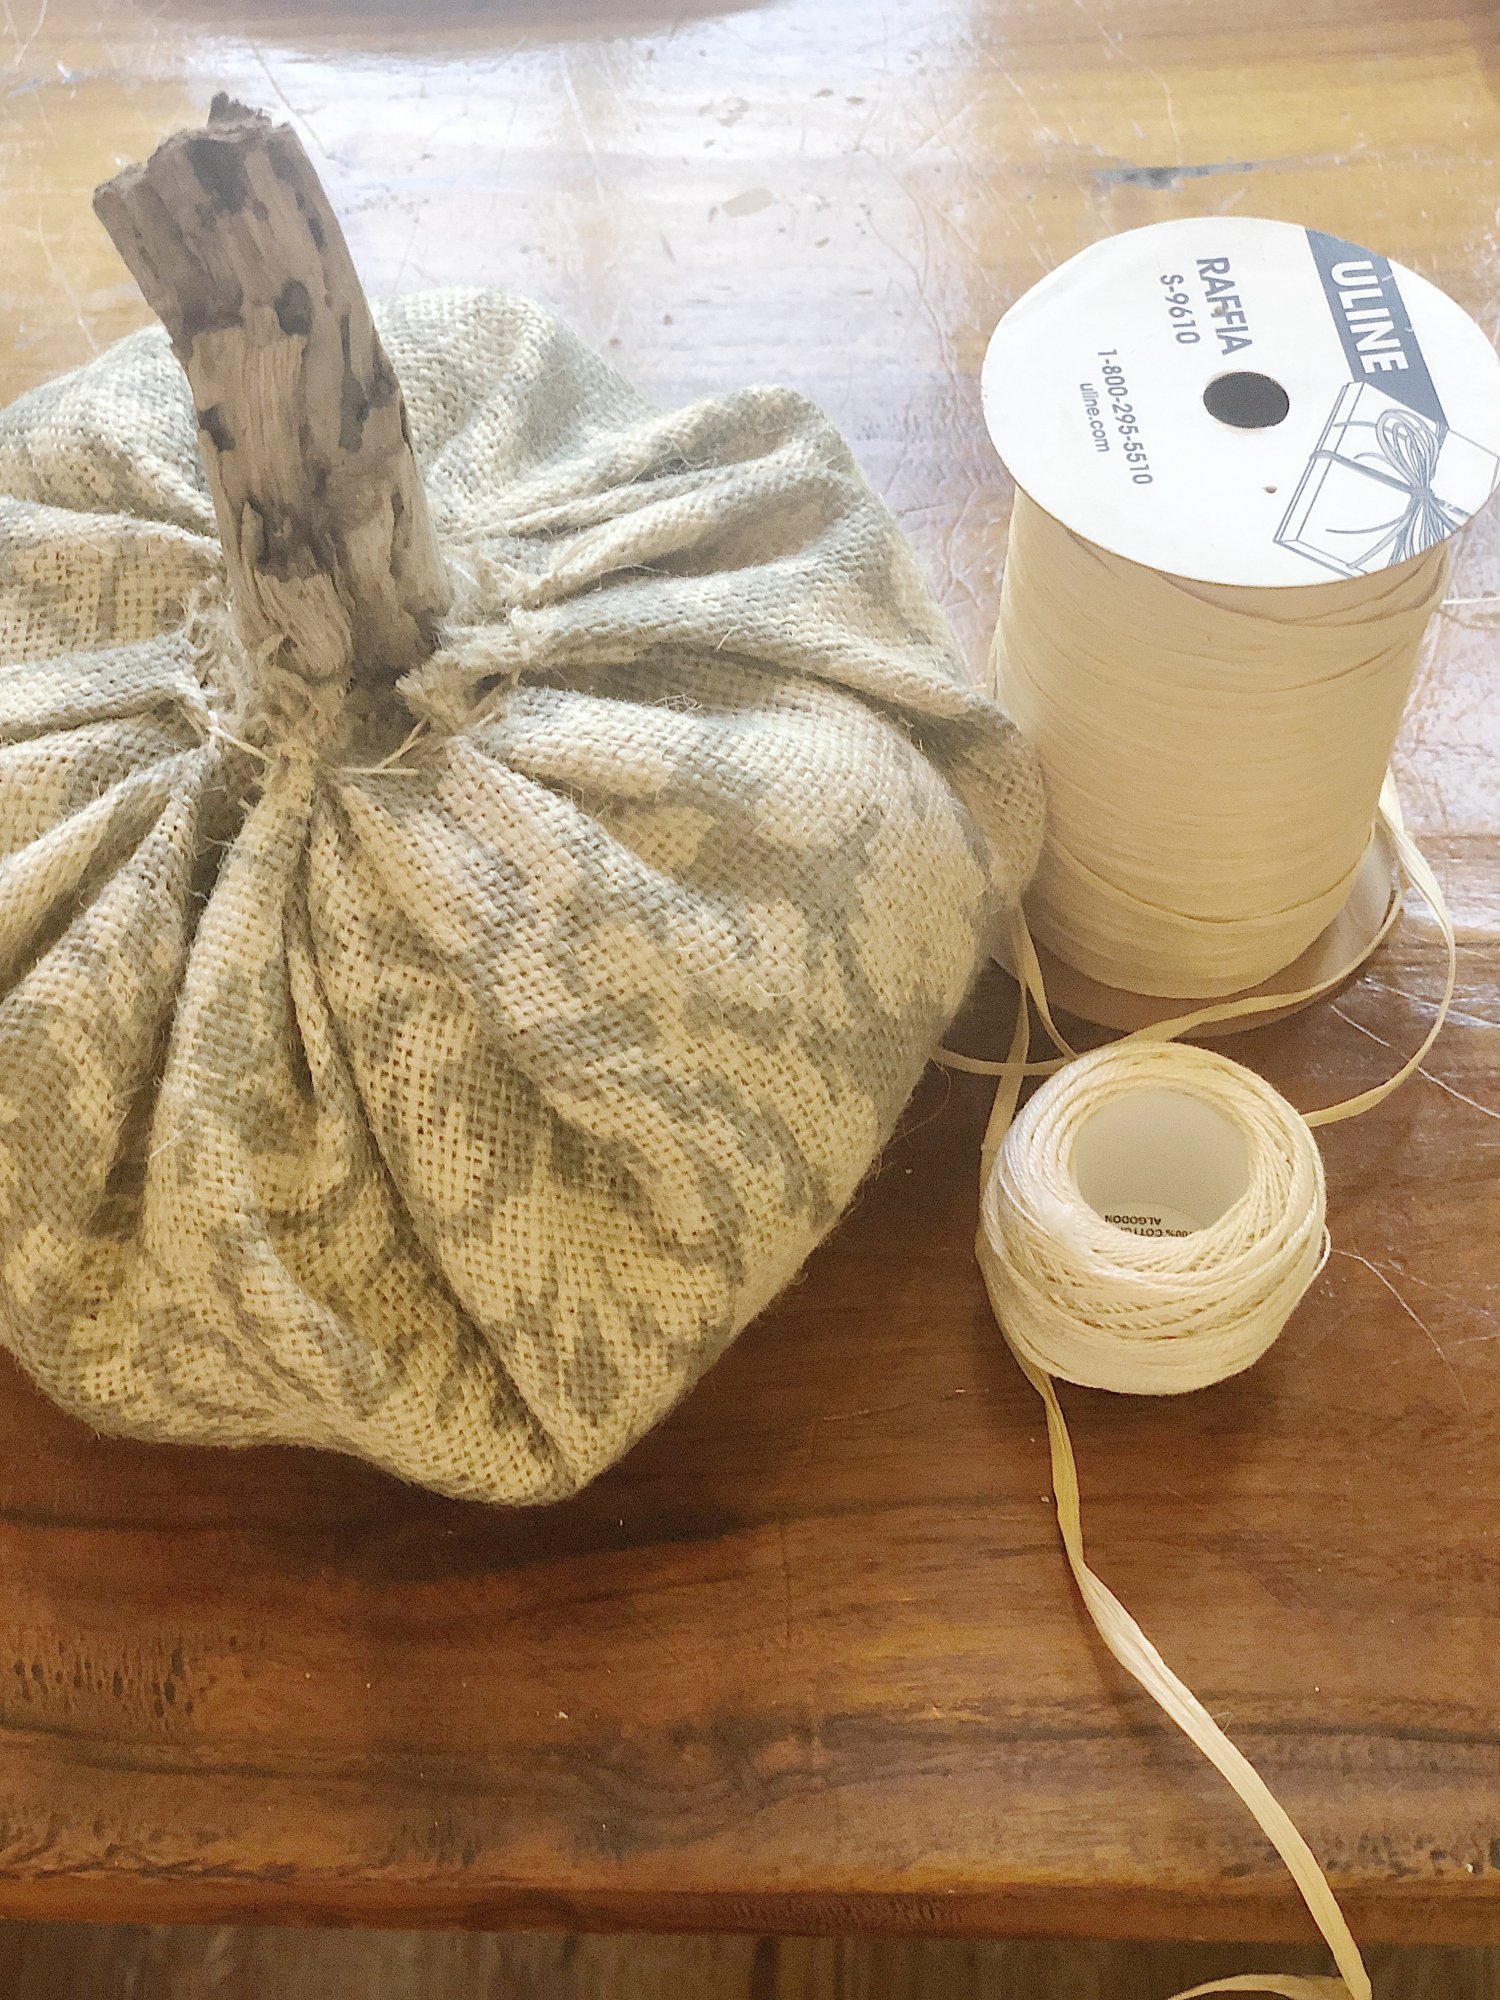
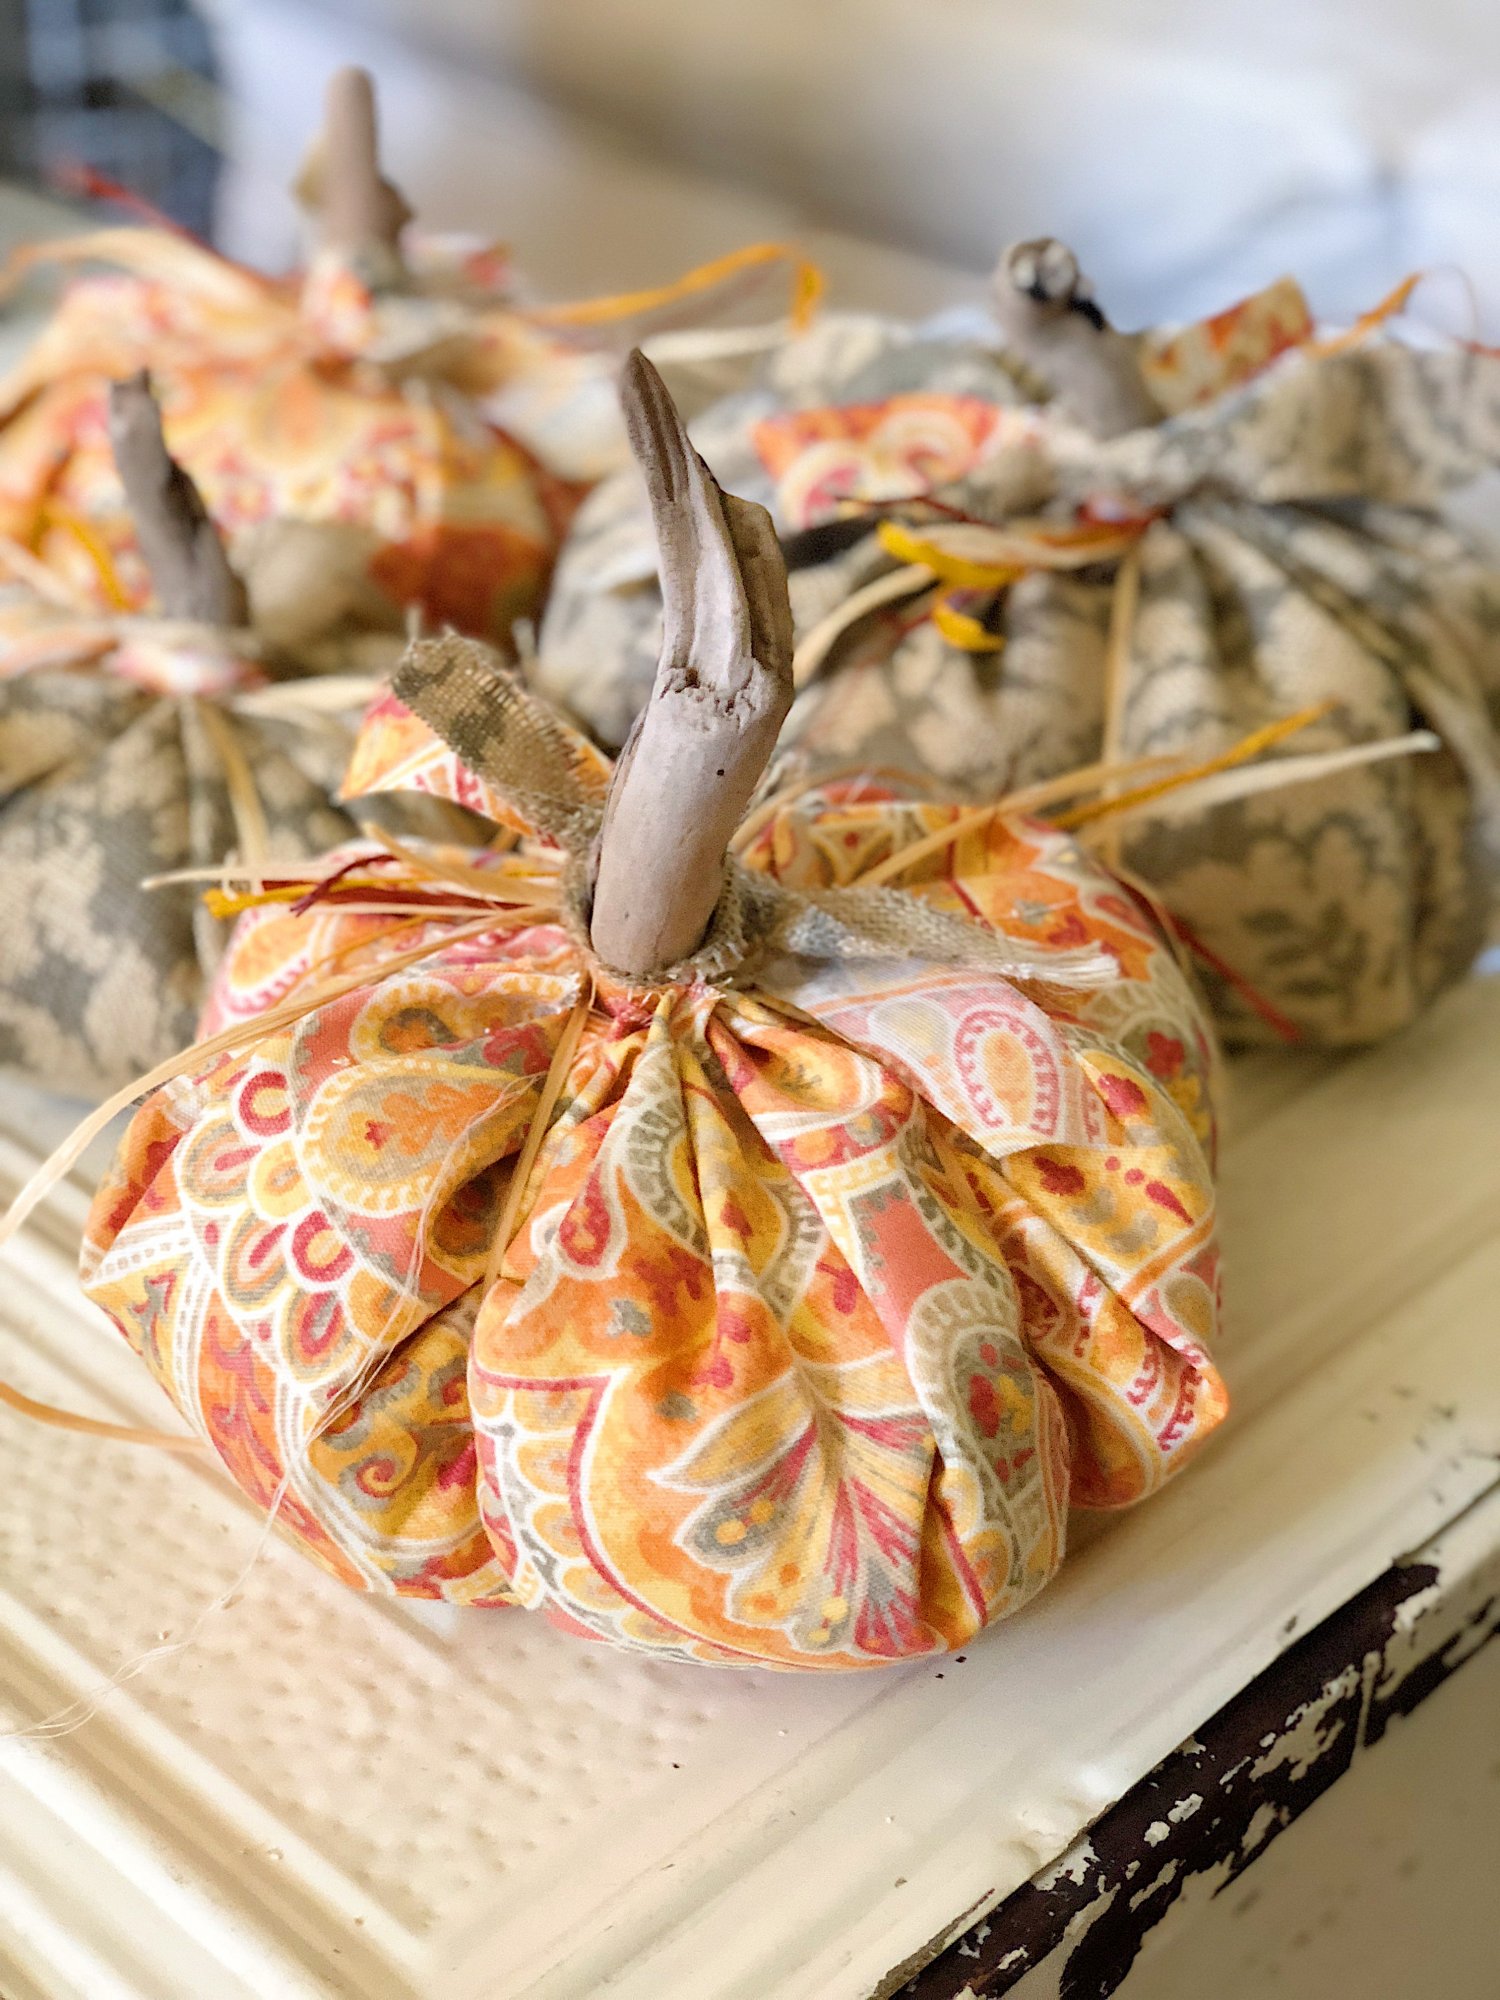
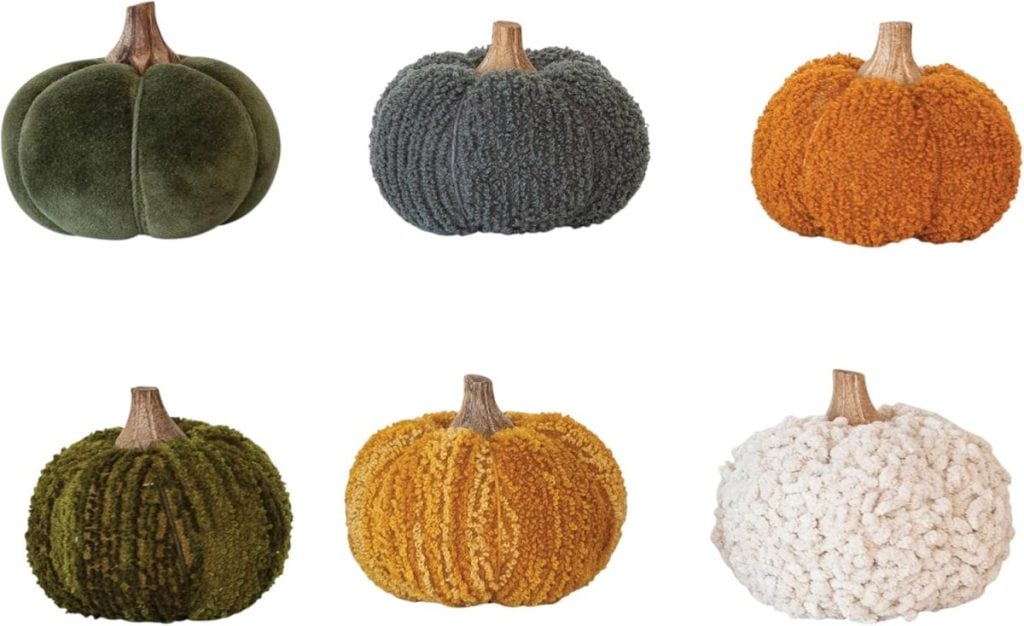
These fall pumpkins are filled with rice and polyfill, and the stems are made from driftwood I collected at the beach. If you can’t get to the beach, use old sticks, cinnamon sticks, and dried fresh pumpkin stems.
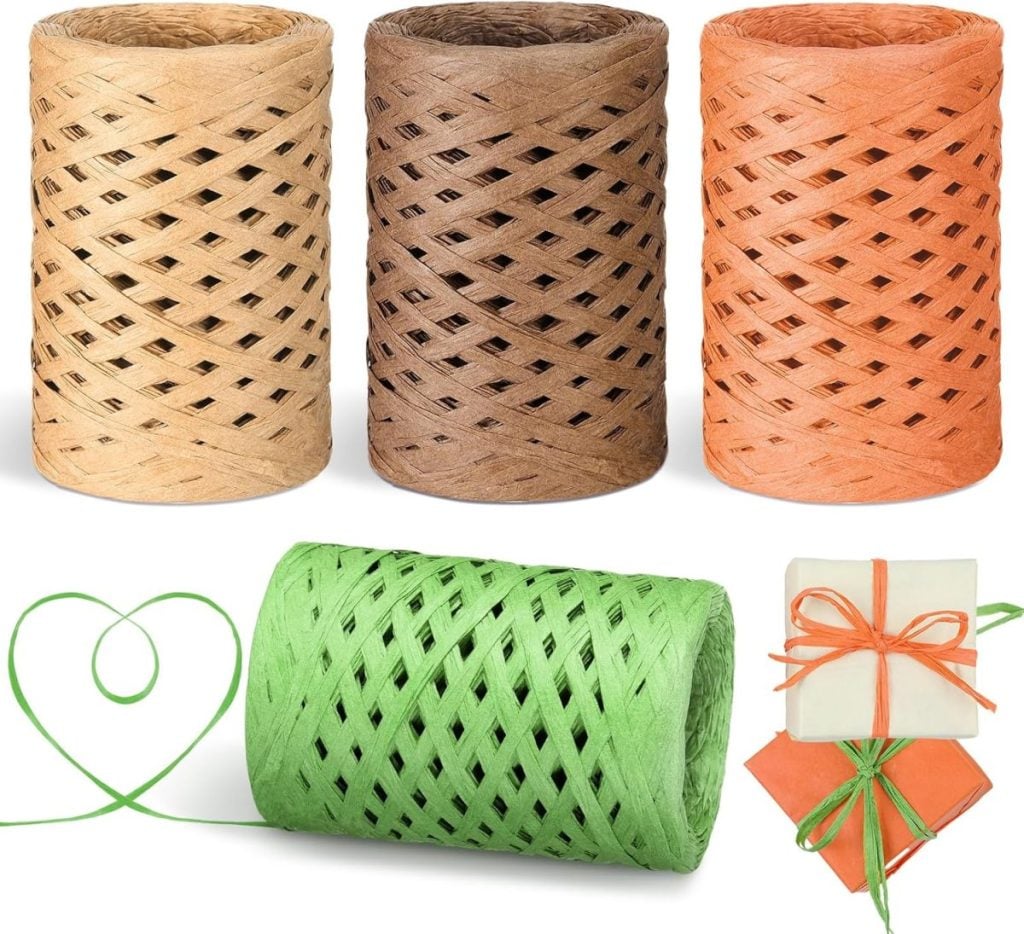
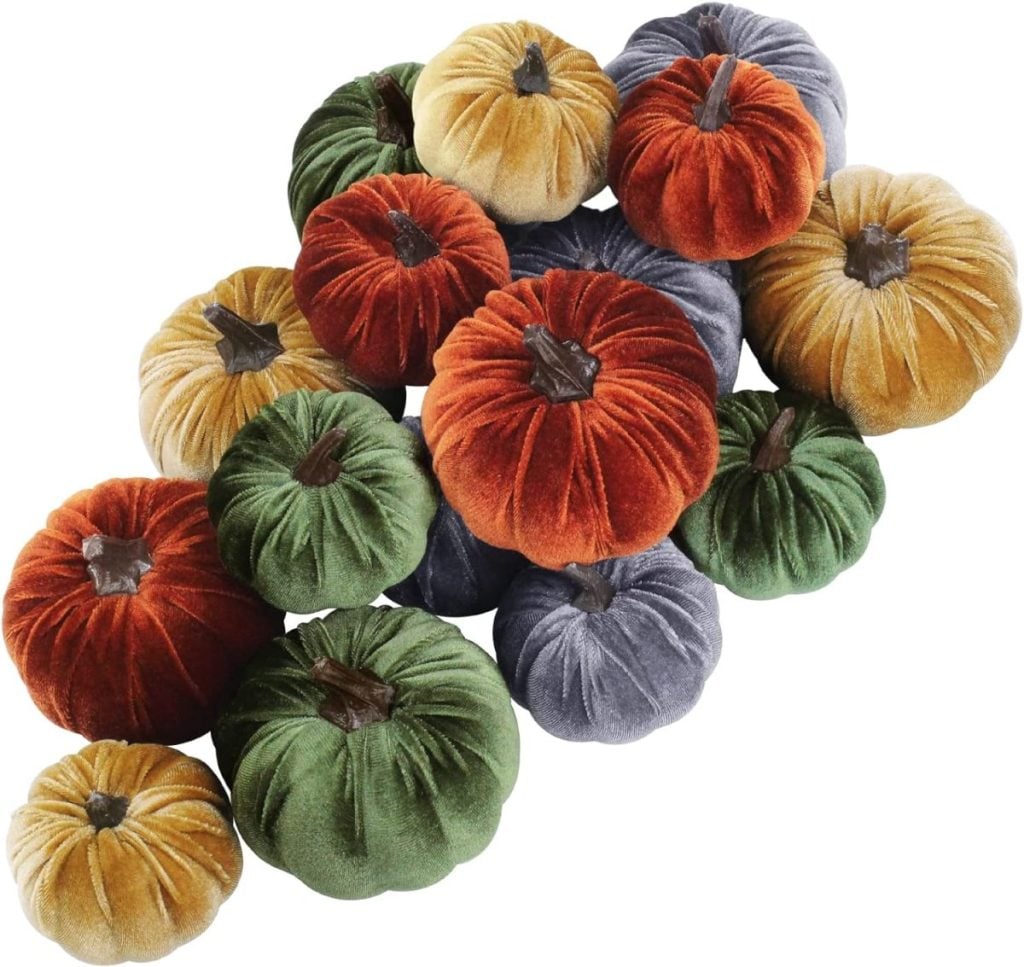
I tied the pumpkins with raffia and ribbons that I made from the fabric. I love how the colors work with all of the fall decor throughout our home.
On this blog, I may sometimes use affiliate links, which means a small commission is earned if you purchase via the link. The price will be the same whether you use the affiliate link or go directly to the vendor’s website using a non-affiliate link.
Easy Fabric Pumpkins

As I mentioned, my goal is always to make something that looks amazing but is easy to make. These pumpkins fit both of those requirements.
How is that? Most of us can cut a circle and use a needle and thread. We can also stuff a pocket of fabric with rice and Poly-fil. And I know we all know how to tie a bow.
Those are pretty much the only skills needed to make these pumpkins.
Let’s get started!
How to Make Fall Pumpkins
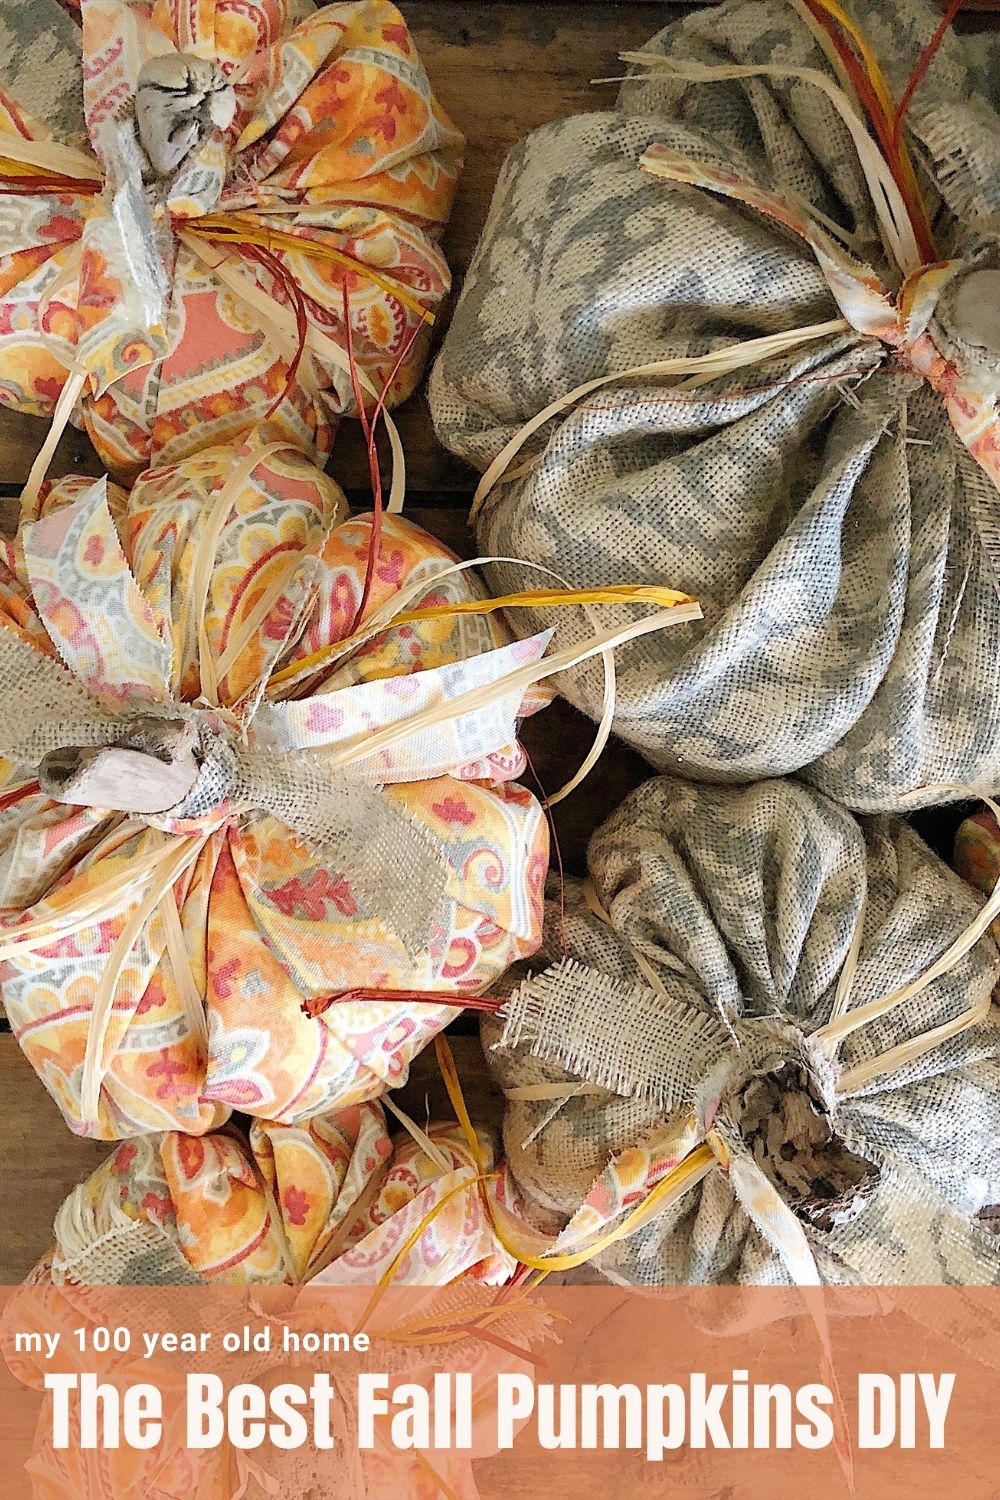
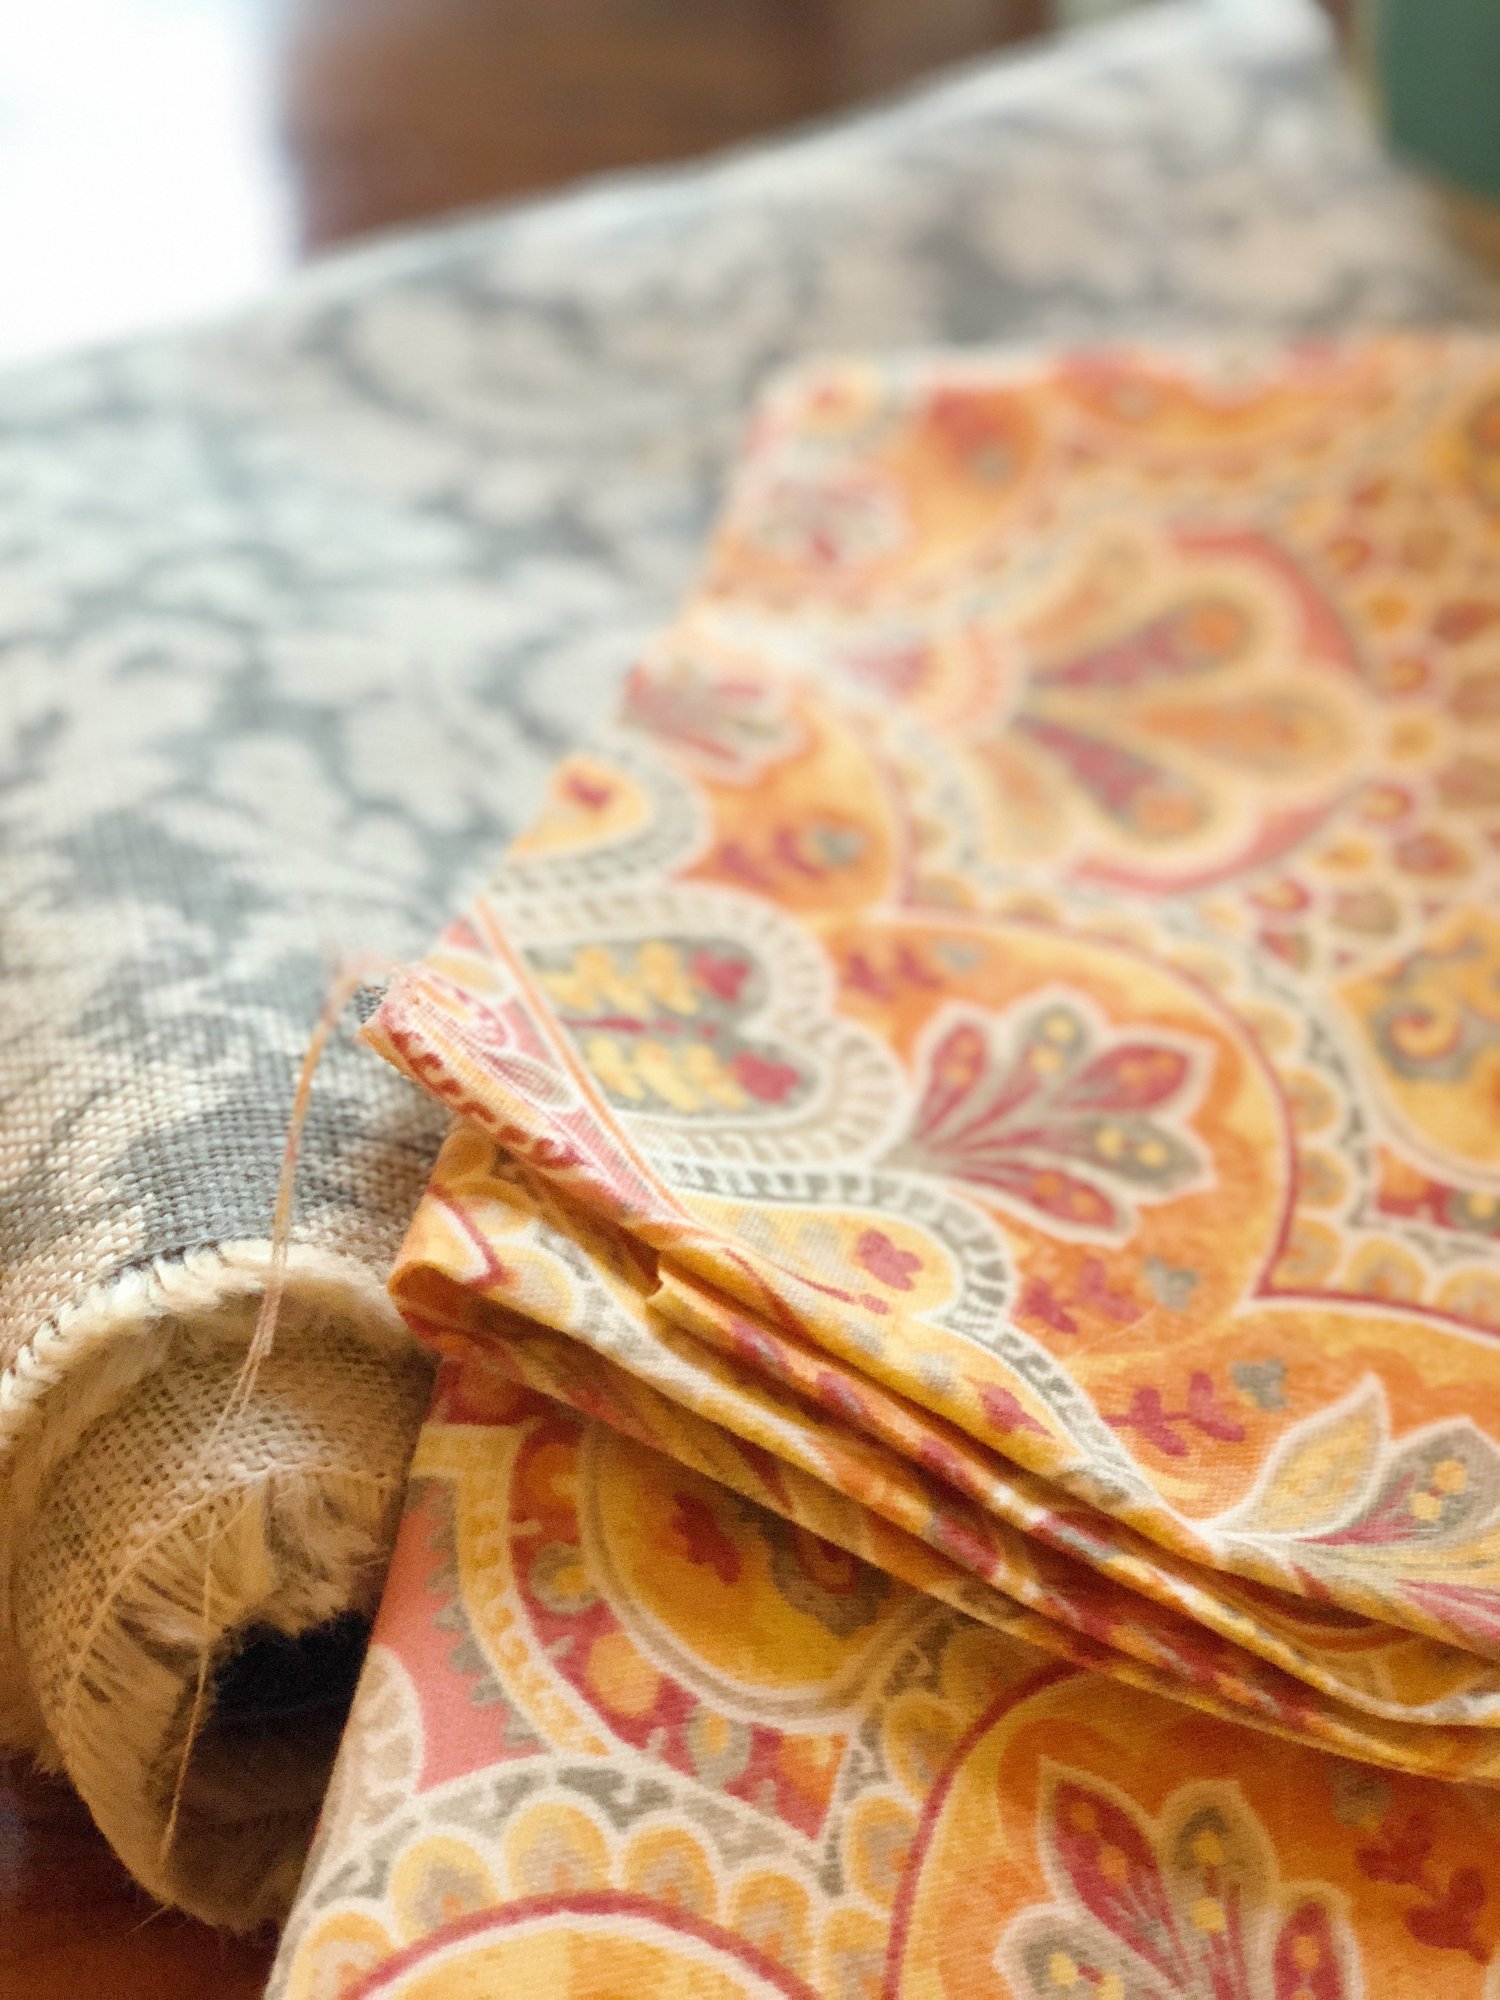
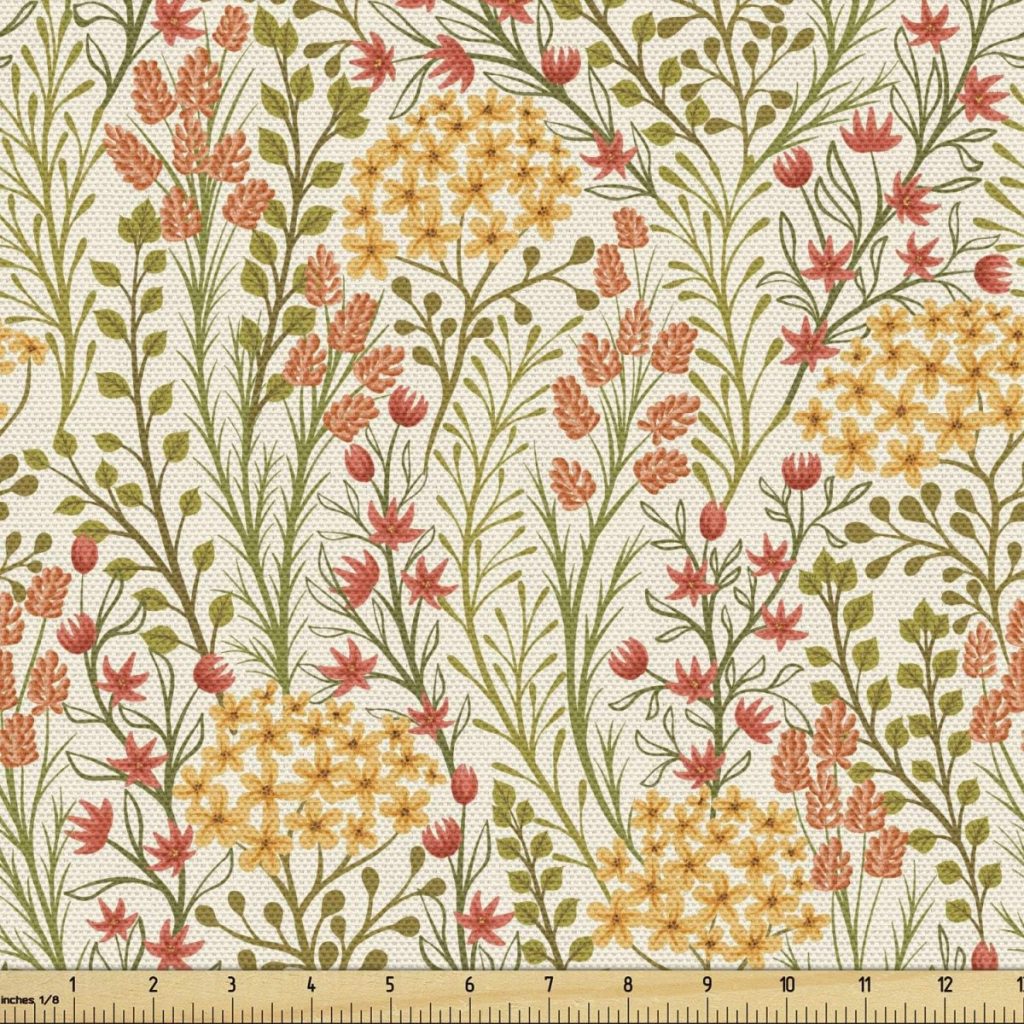
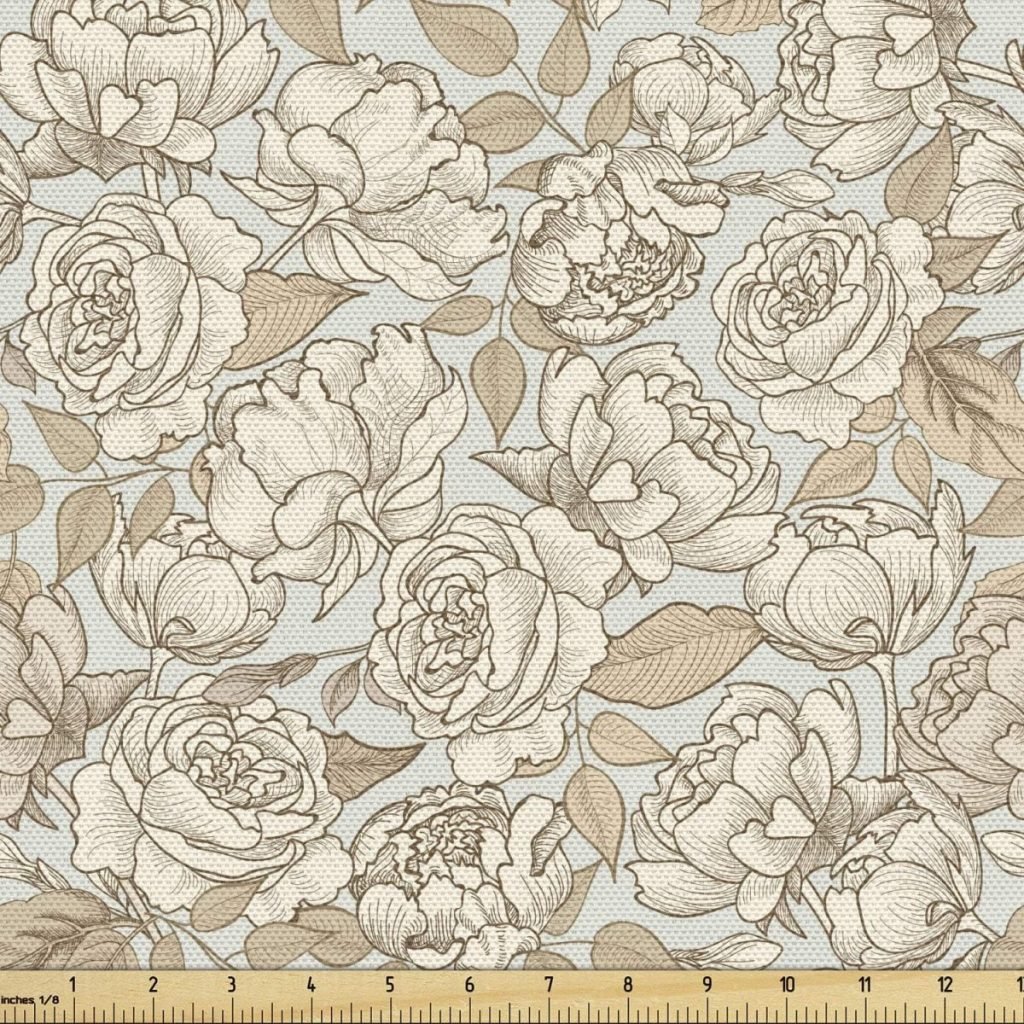
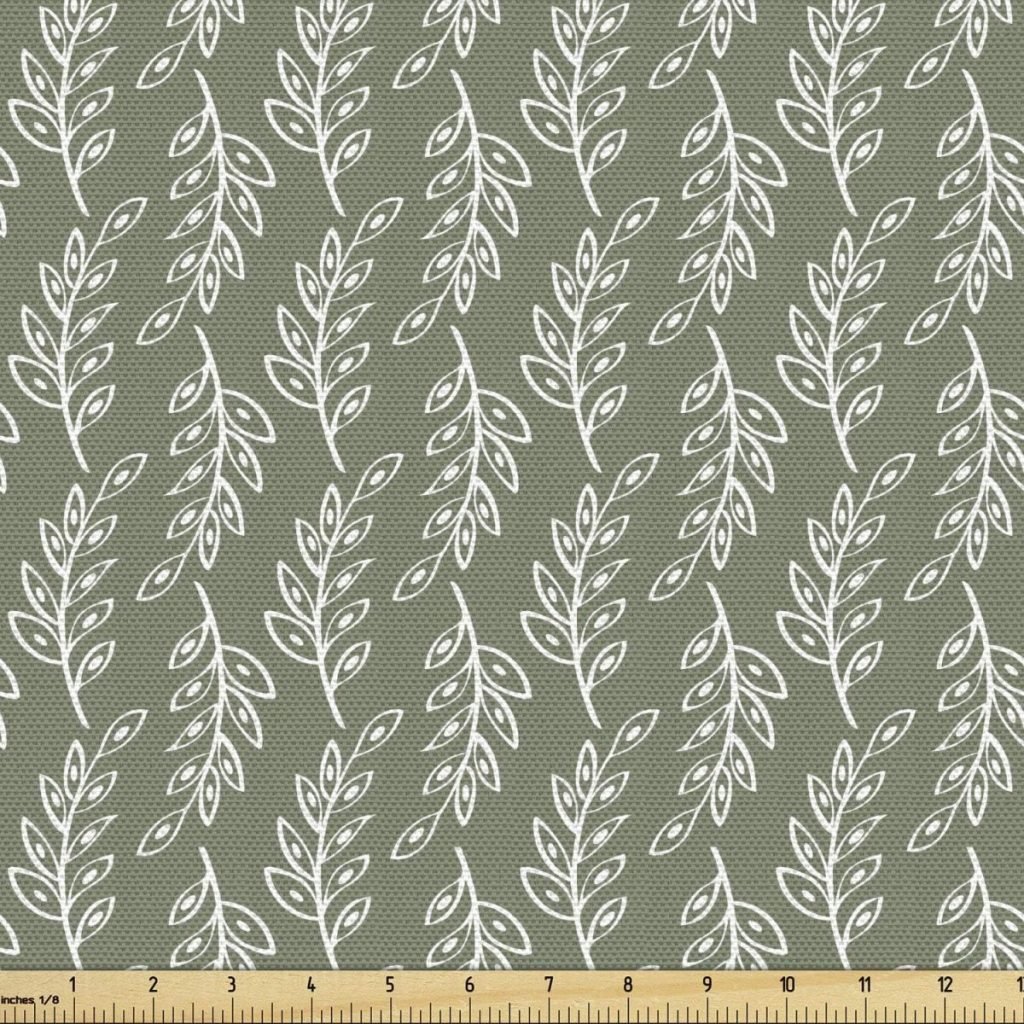
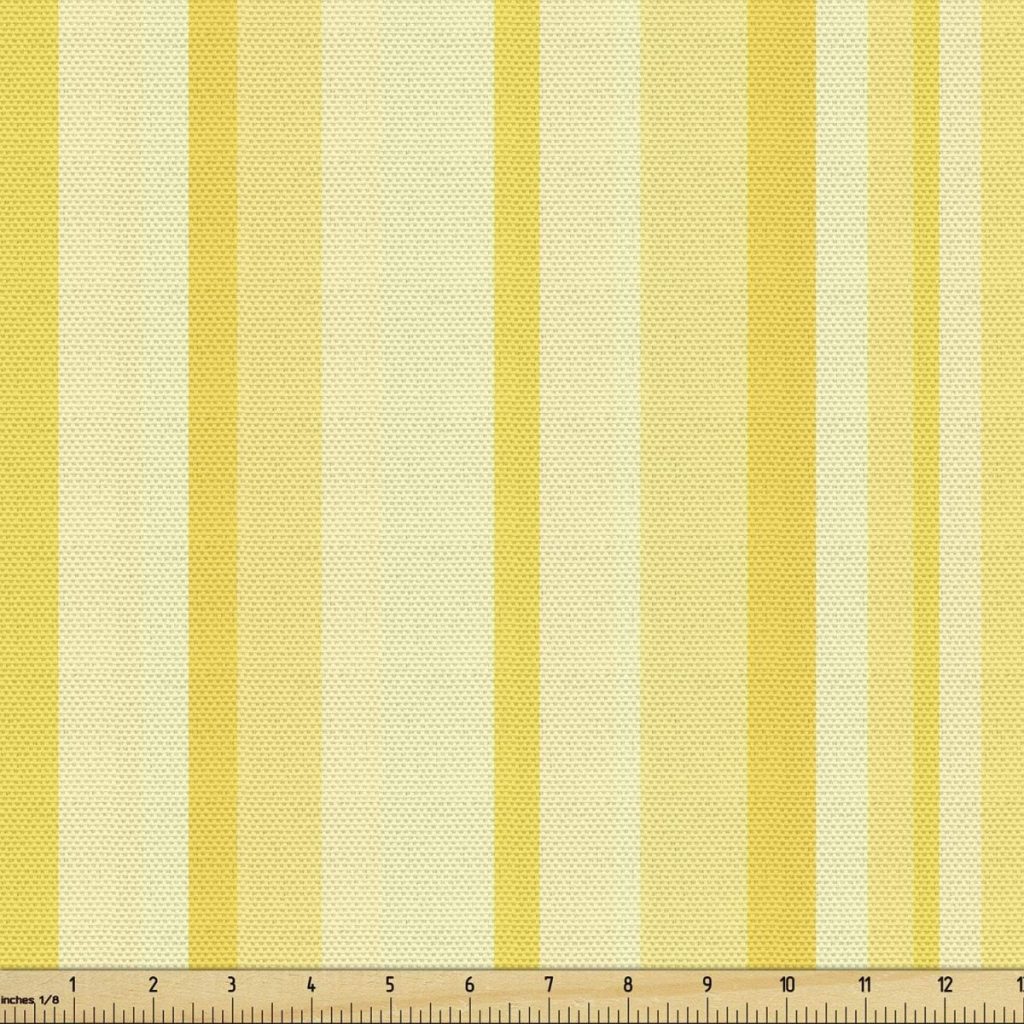
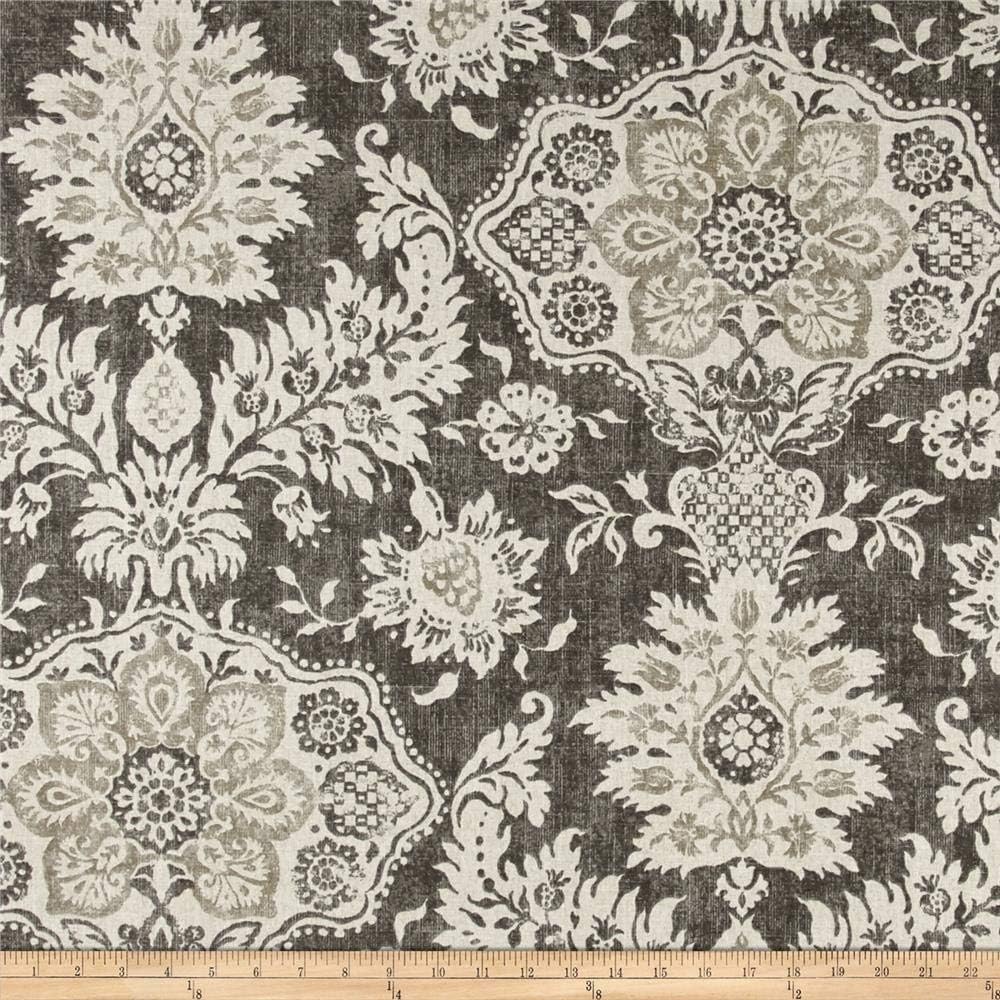
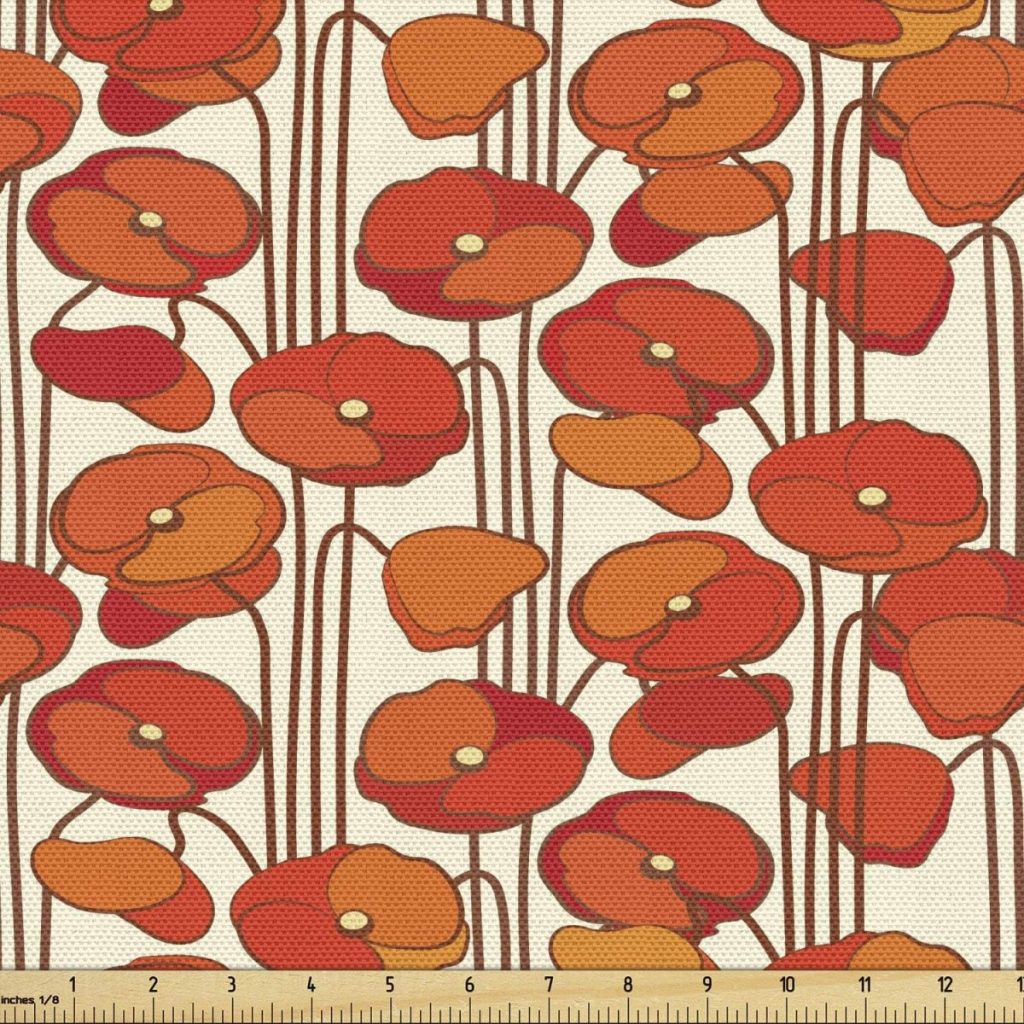
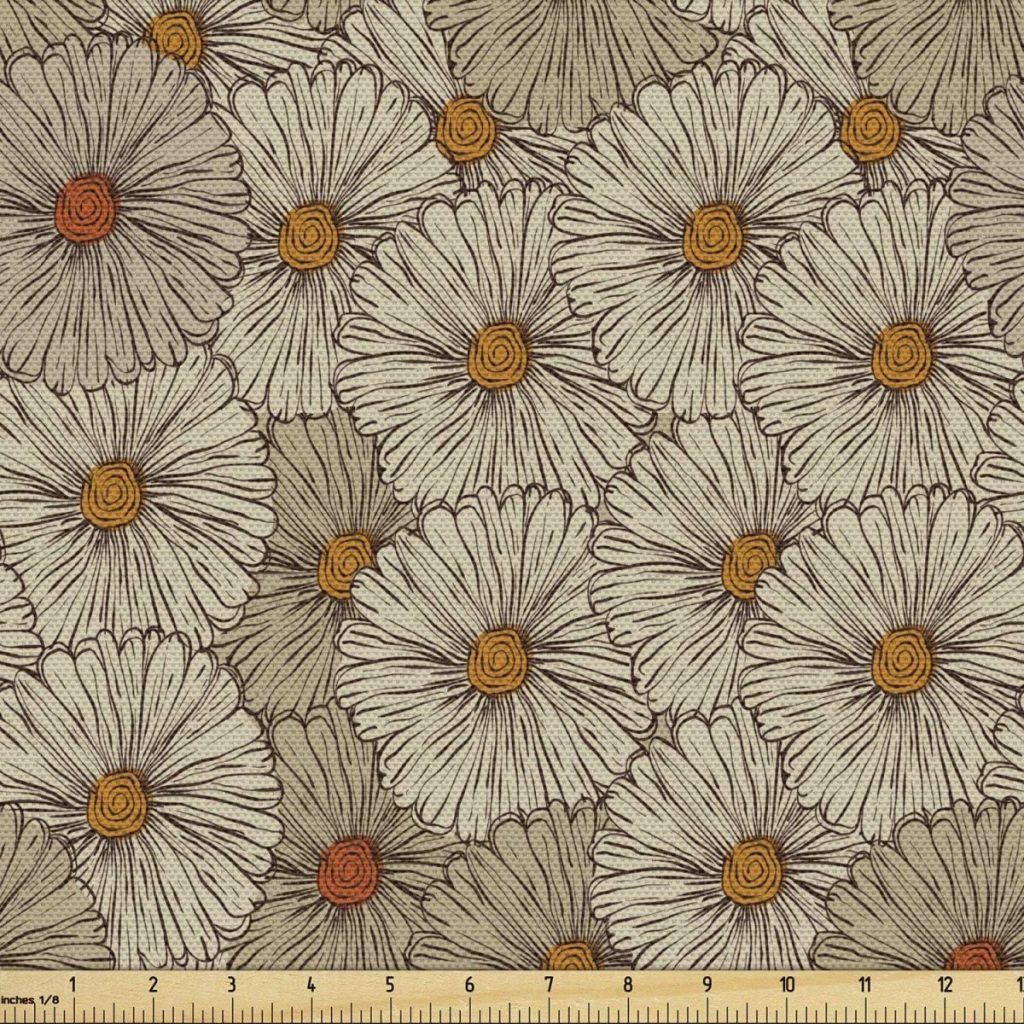
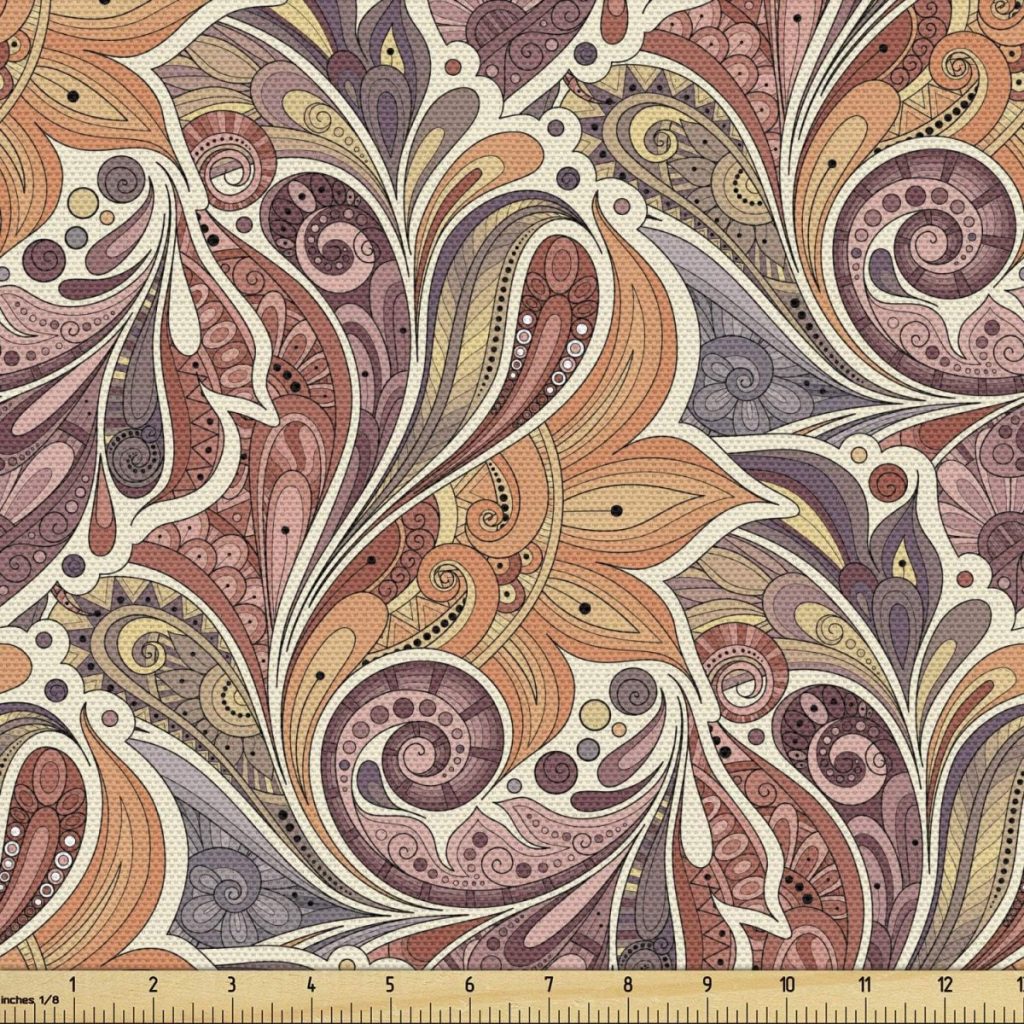
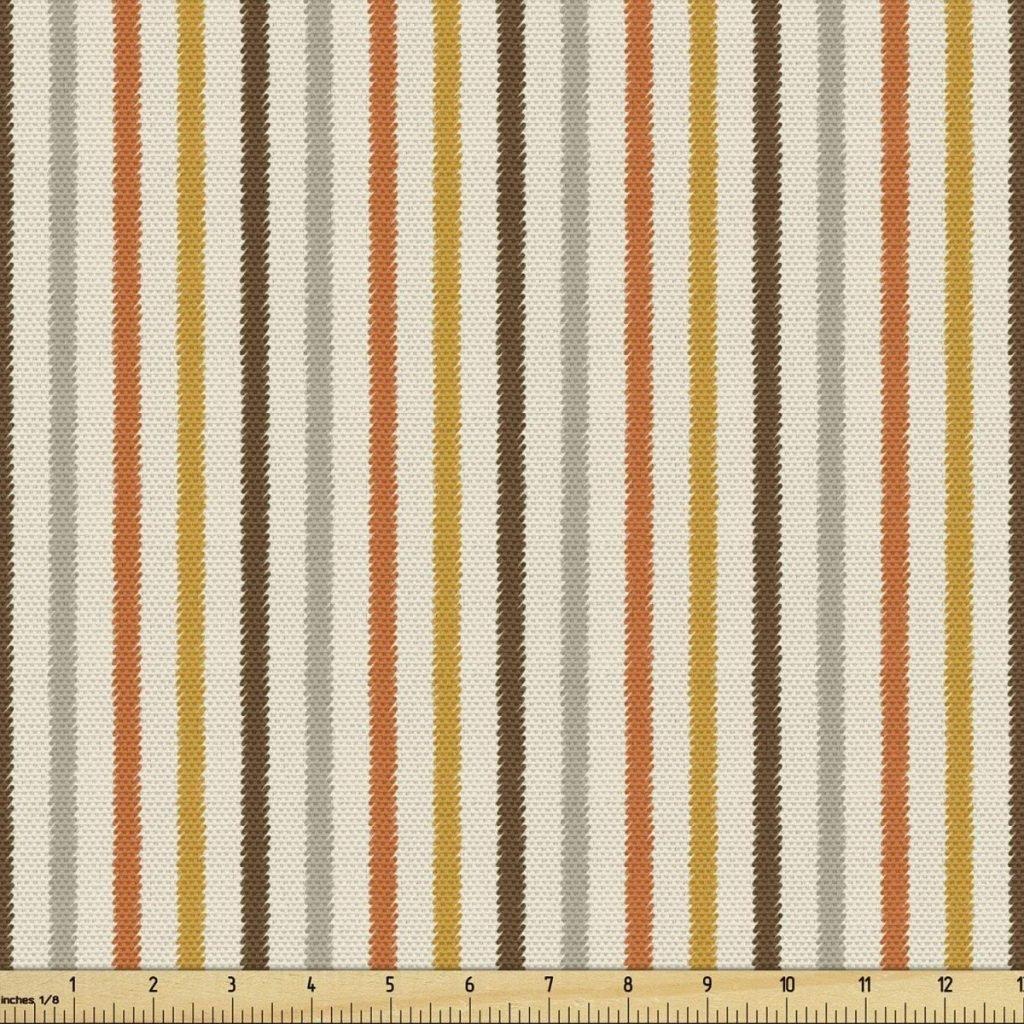
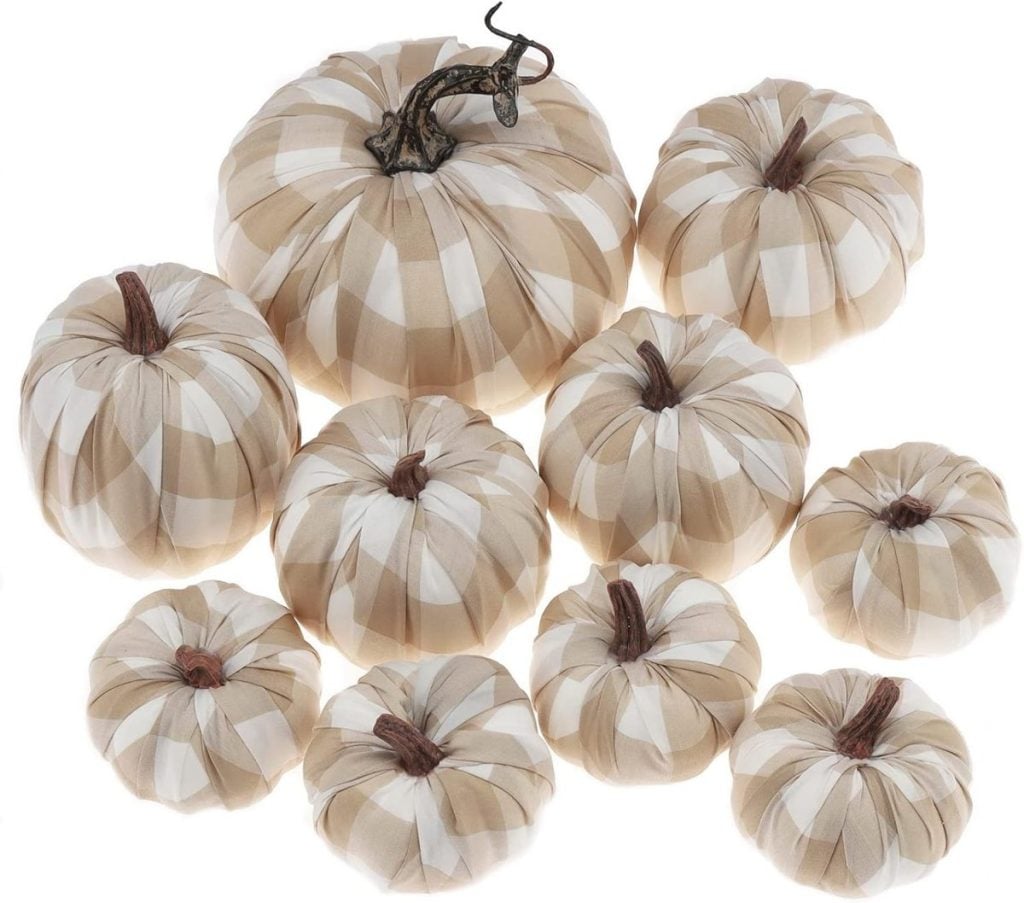
You can use any fall fabric you want for these pumpkins. I love to work with decor fabric because it is a bit heavier and longer-lasting. It also holds its shape better.
There are so many fabrics you can use to make these pumpkins. Combined with the colorful orange fabric, it’s unexpected, and I think the pumpkins turned out great.
What You Need to Make Fabric Pumpkins

Materials List
- fabric (I used 1/2 yard of two decor fabrics, and I love them)
- large needle and thread
- circle template – 10″, 14″, and 19″ (or any similar sizes).
- hot glue gun and sticks
- driftwood or small branches (for stems)
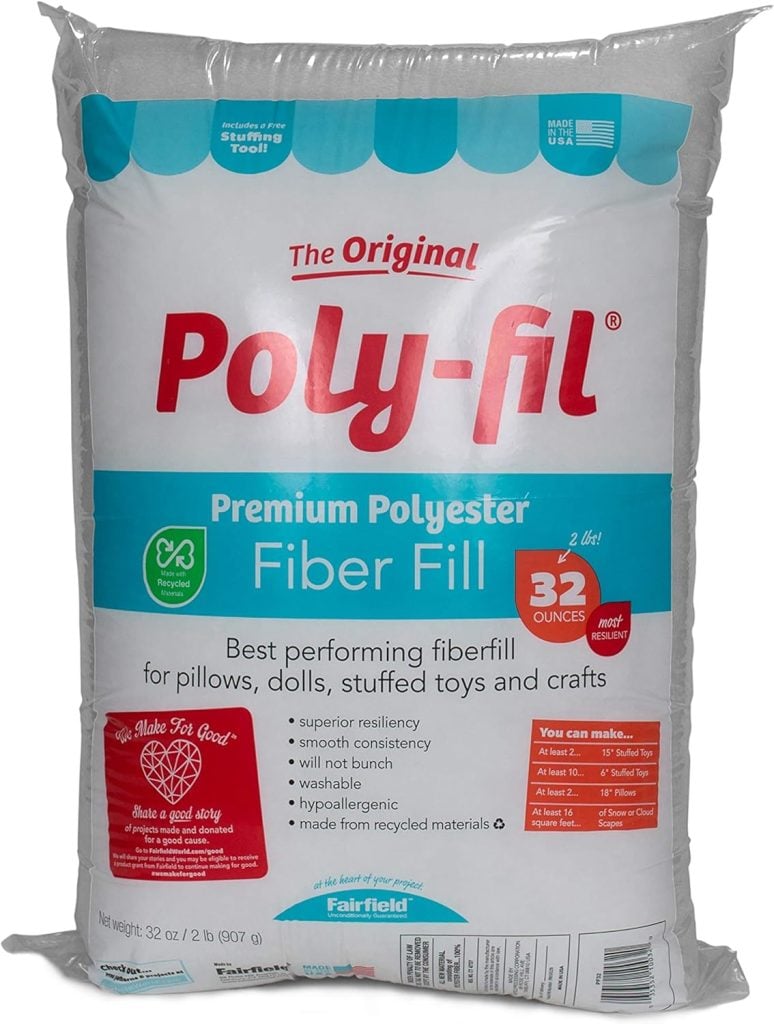
- polyfill
- one bag of rice
- autumn themed raffia


Step-by-Step DIY Instructions
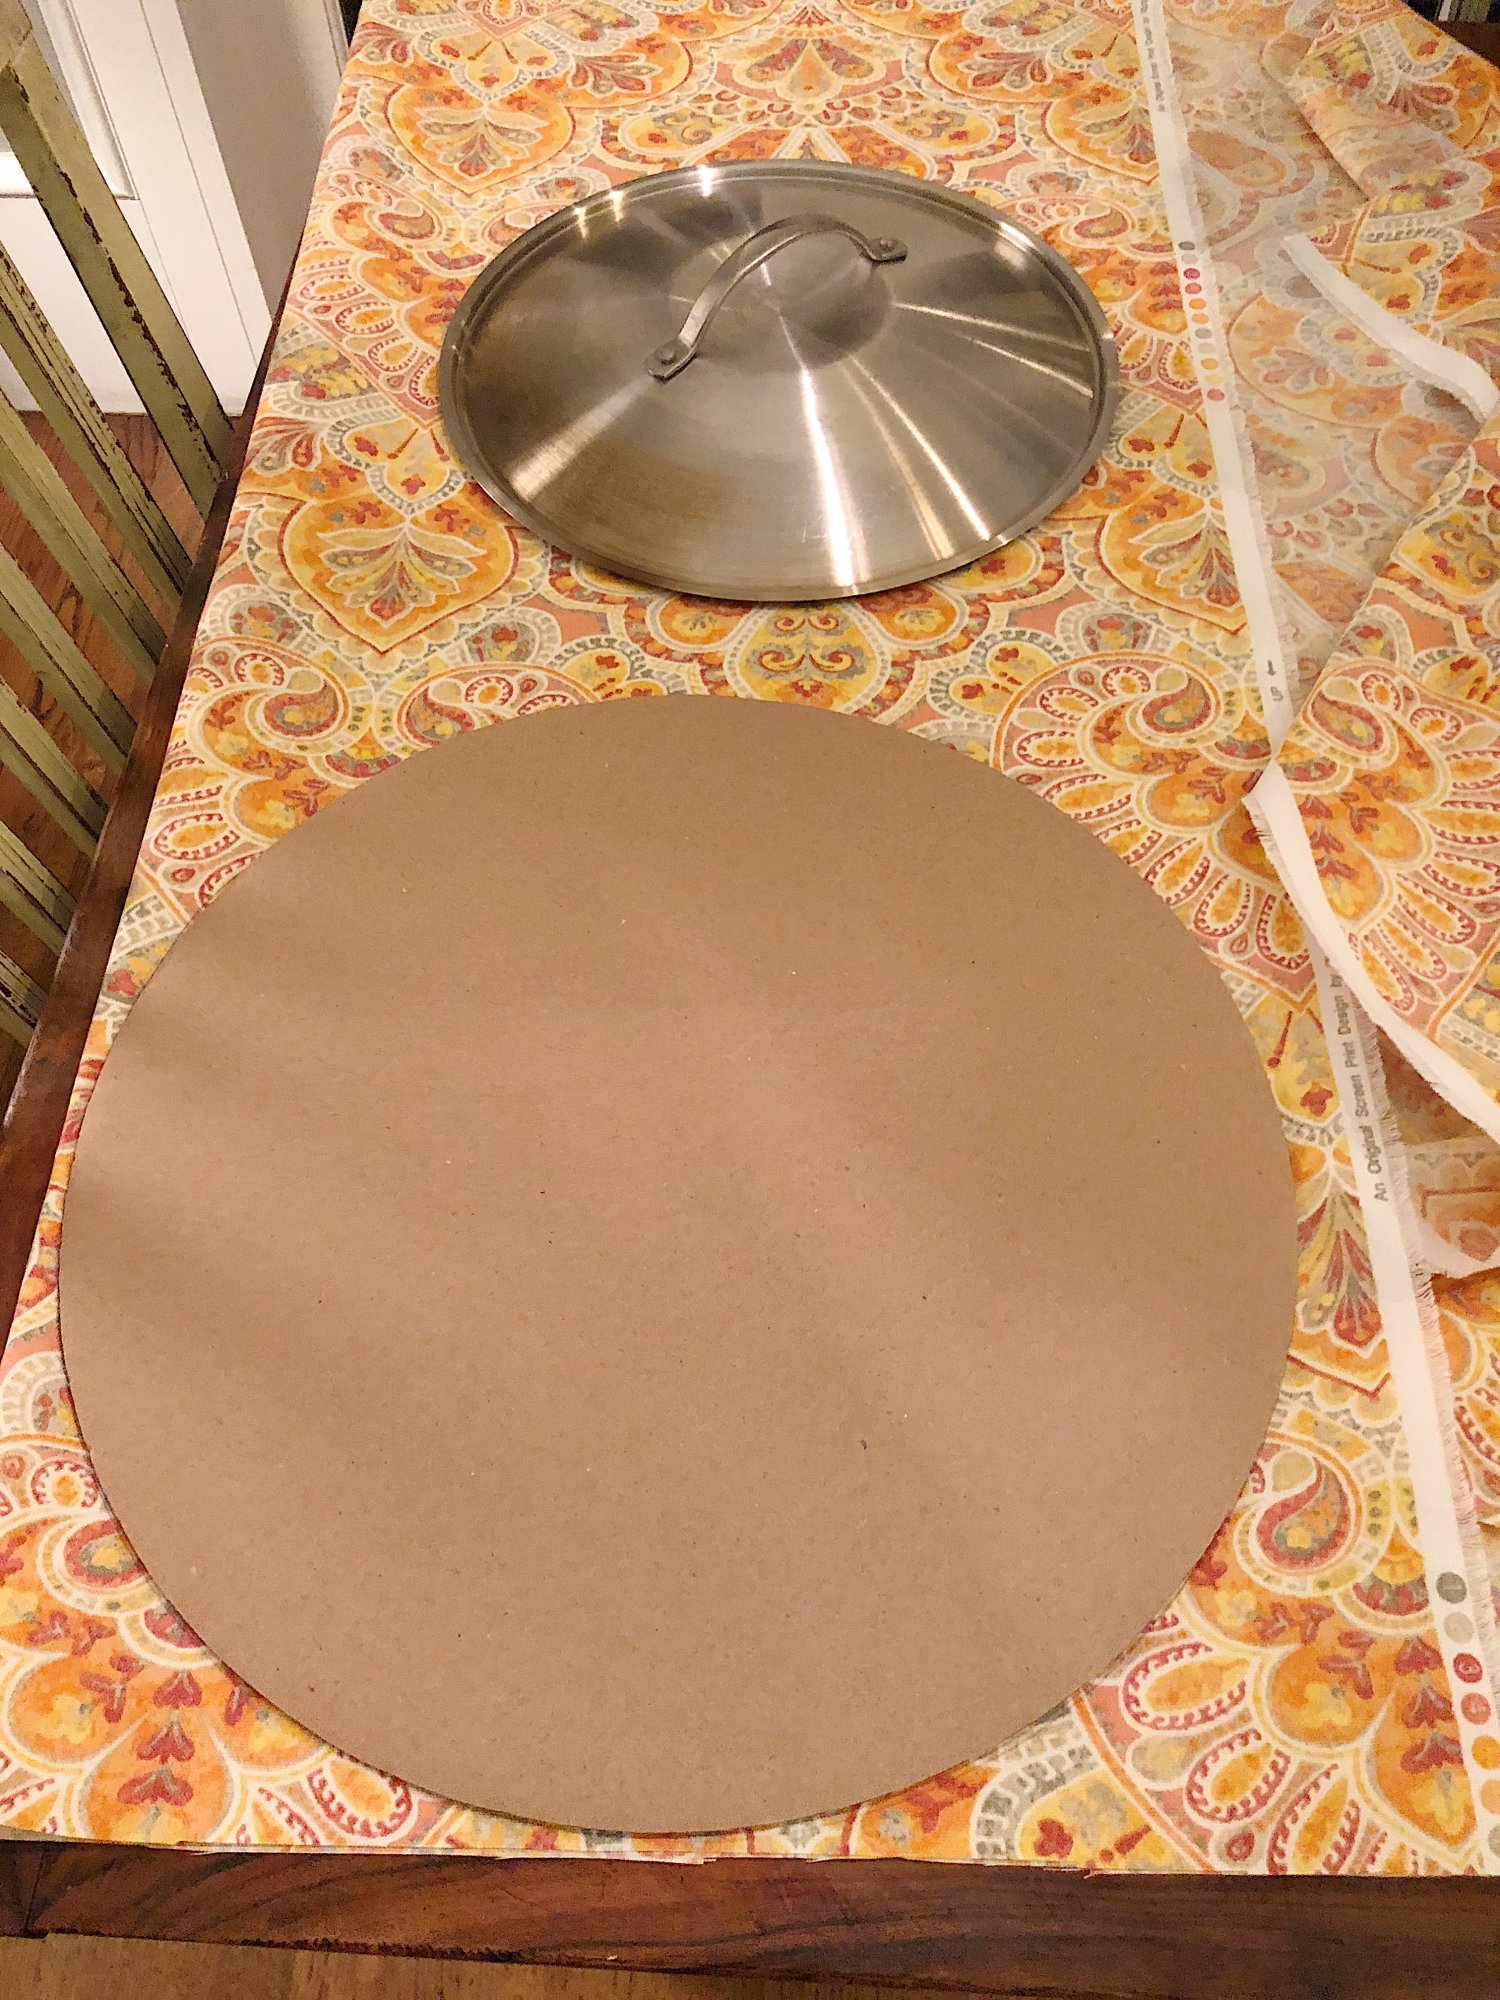
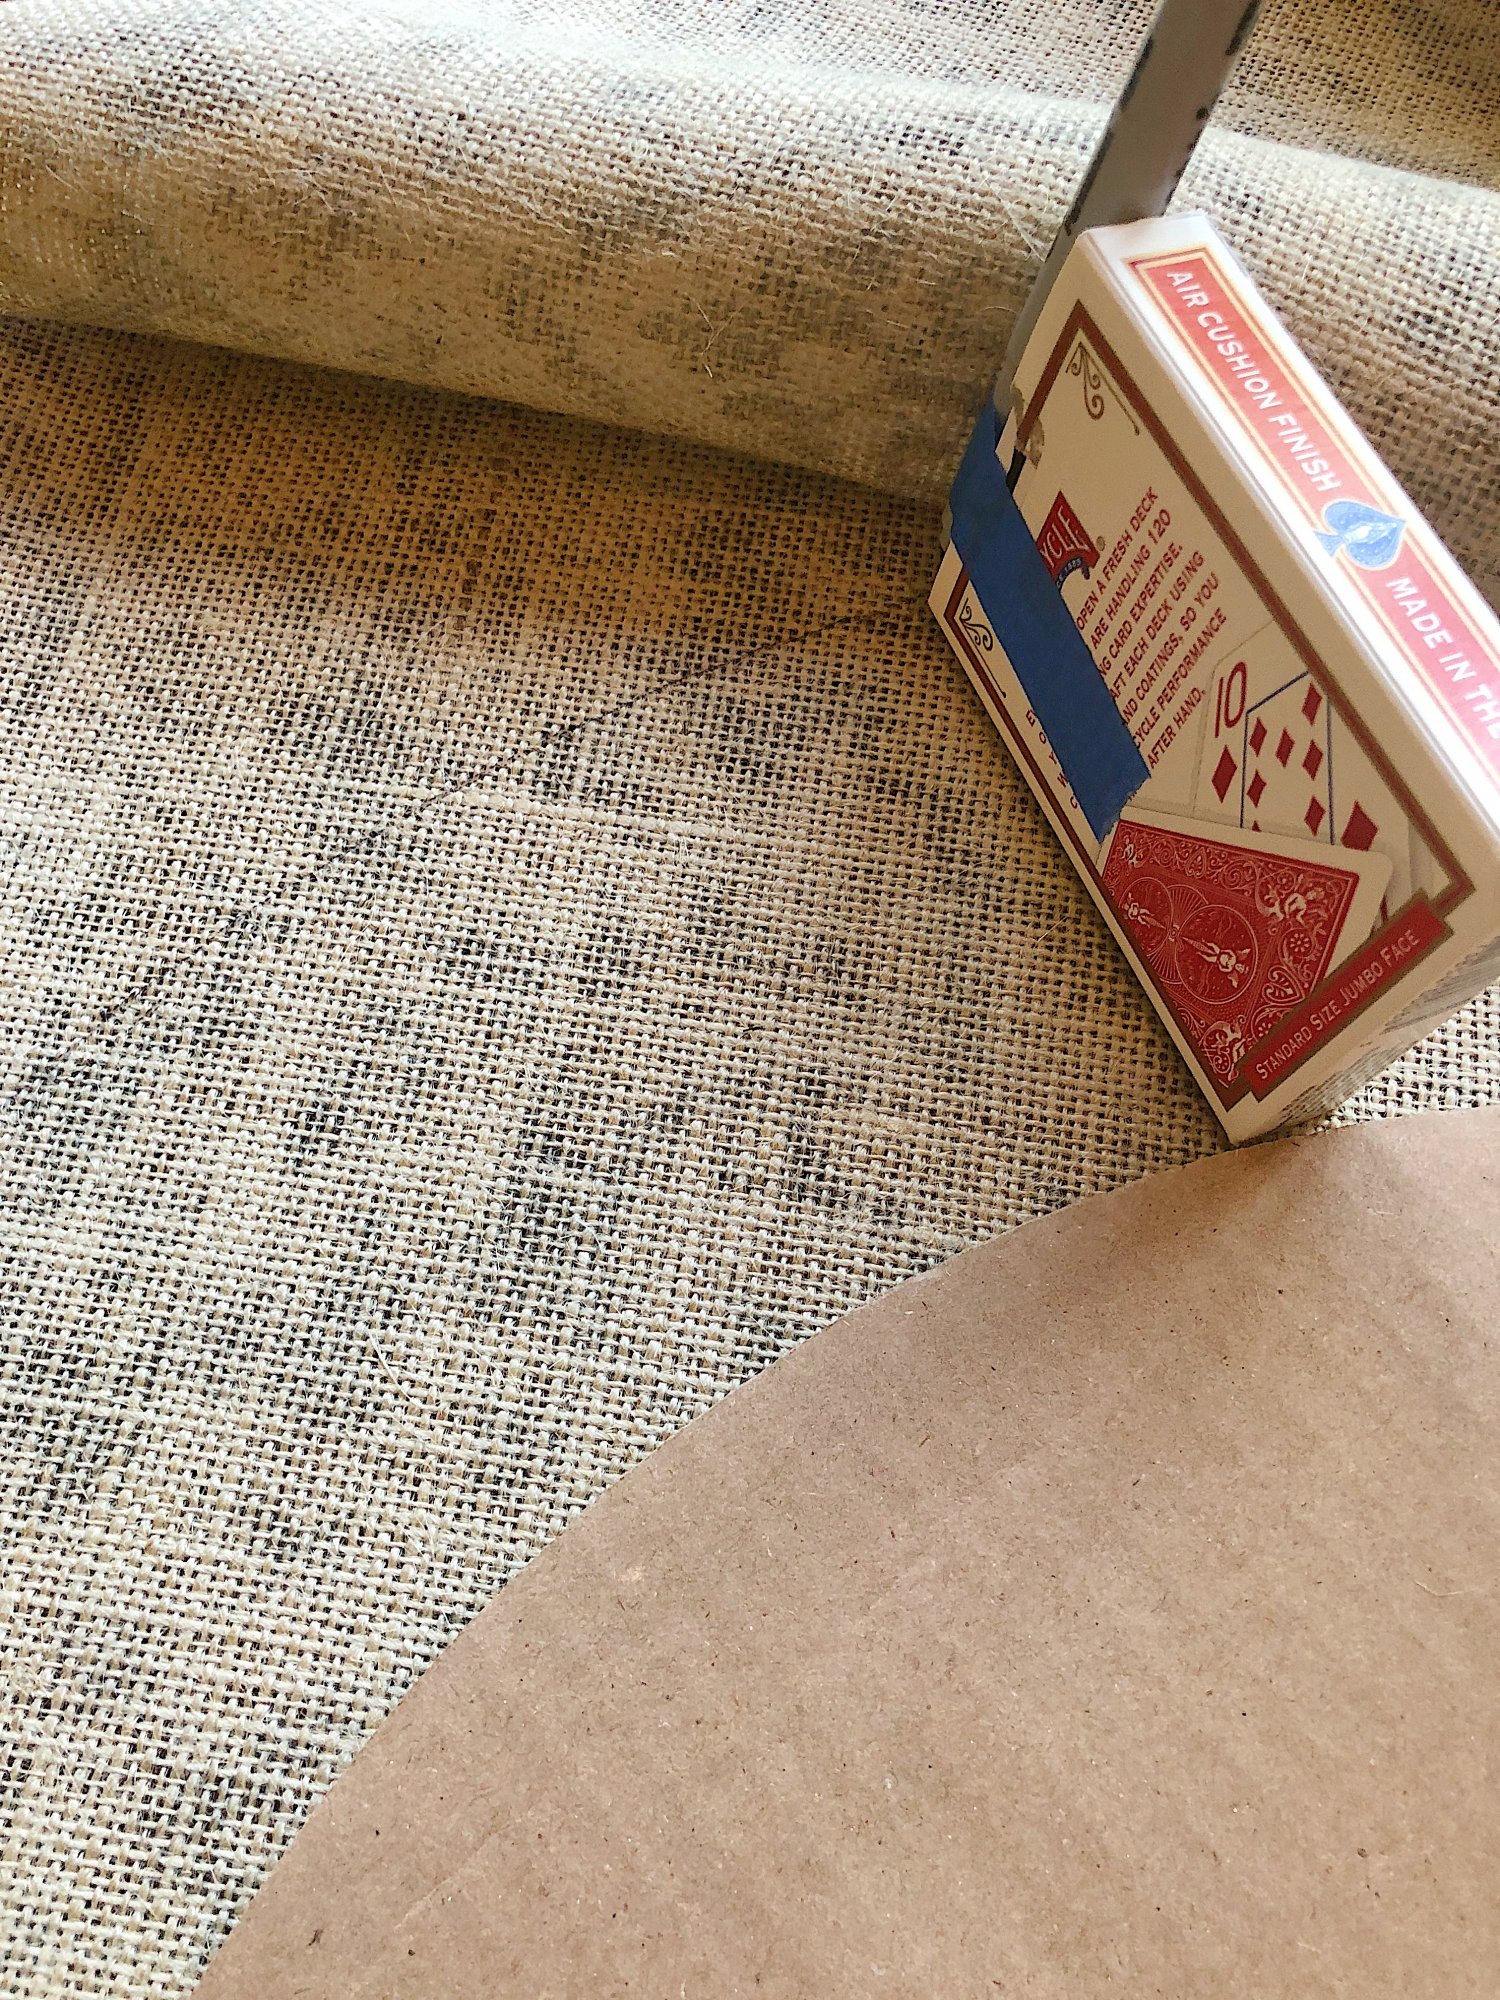

- one – As you can see in both photos, I used various round-shaped items in my home as a template. I used a pan lid and a pizza pan to cut my cardboard template and a 14″ template as my sample size.
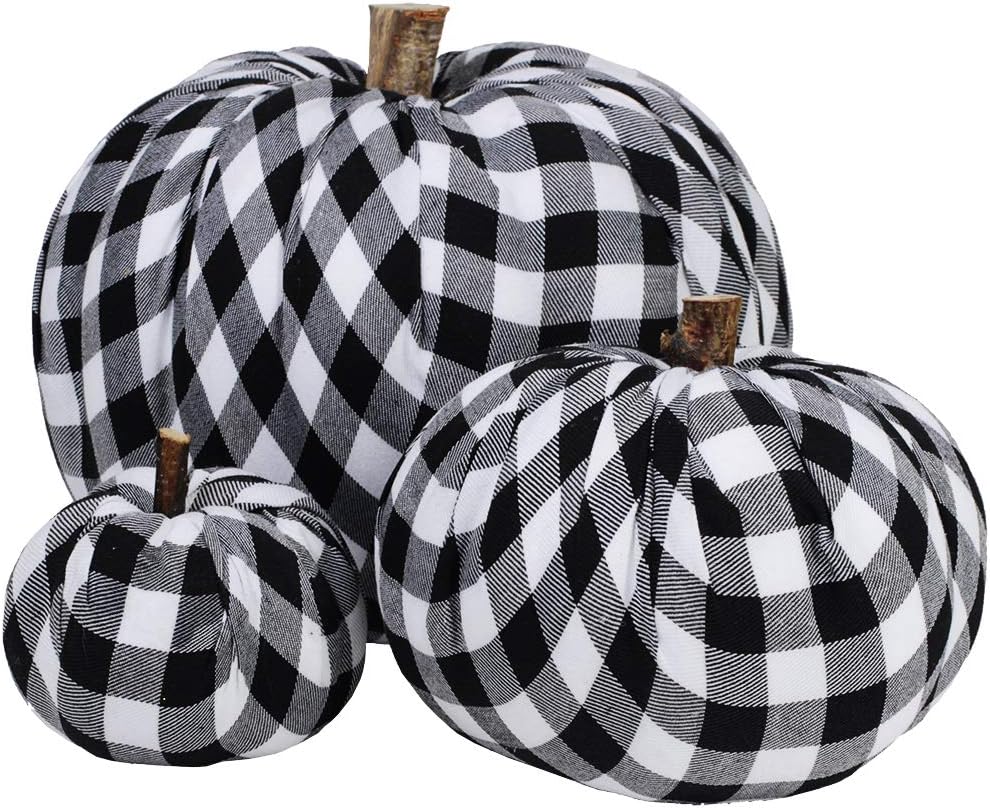
- I am proud of how clever I was to cut a larger one (about 19″) from the grey and white fabric. It is amazing how handy a deck of cards can be at a time like this! (All I did was tape a pen to the deck and carefully outline along the cardboard circle.) Cut one pattern and draw up the fabric at the top to see the finished size of the pumpkin. It’s deceiving how large you need the circle to be!
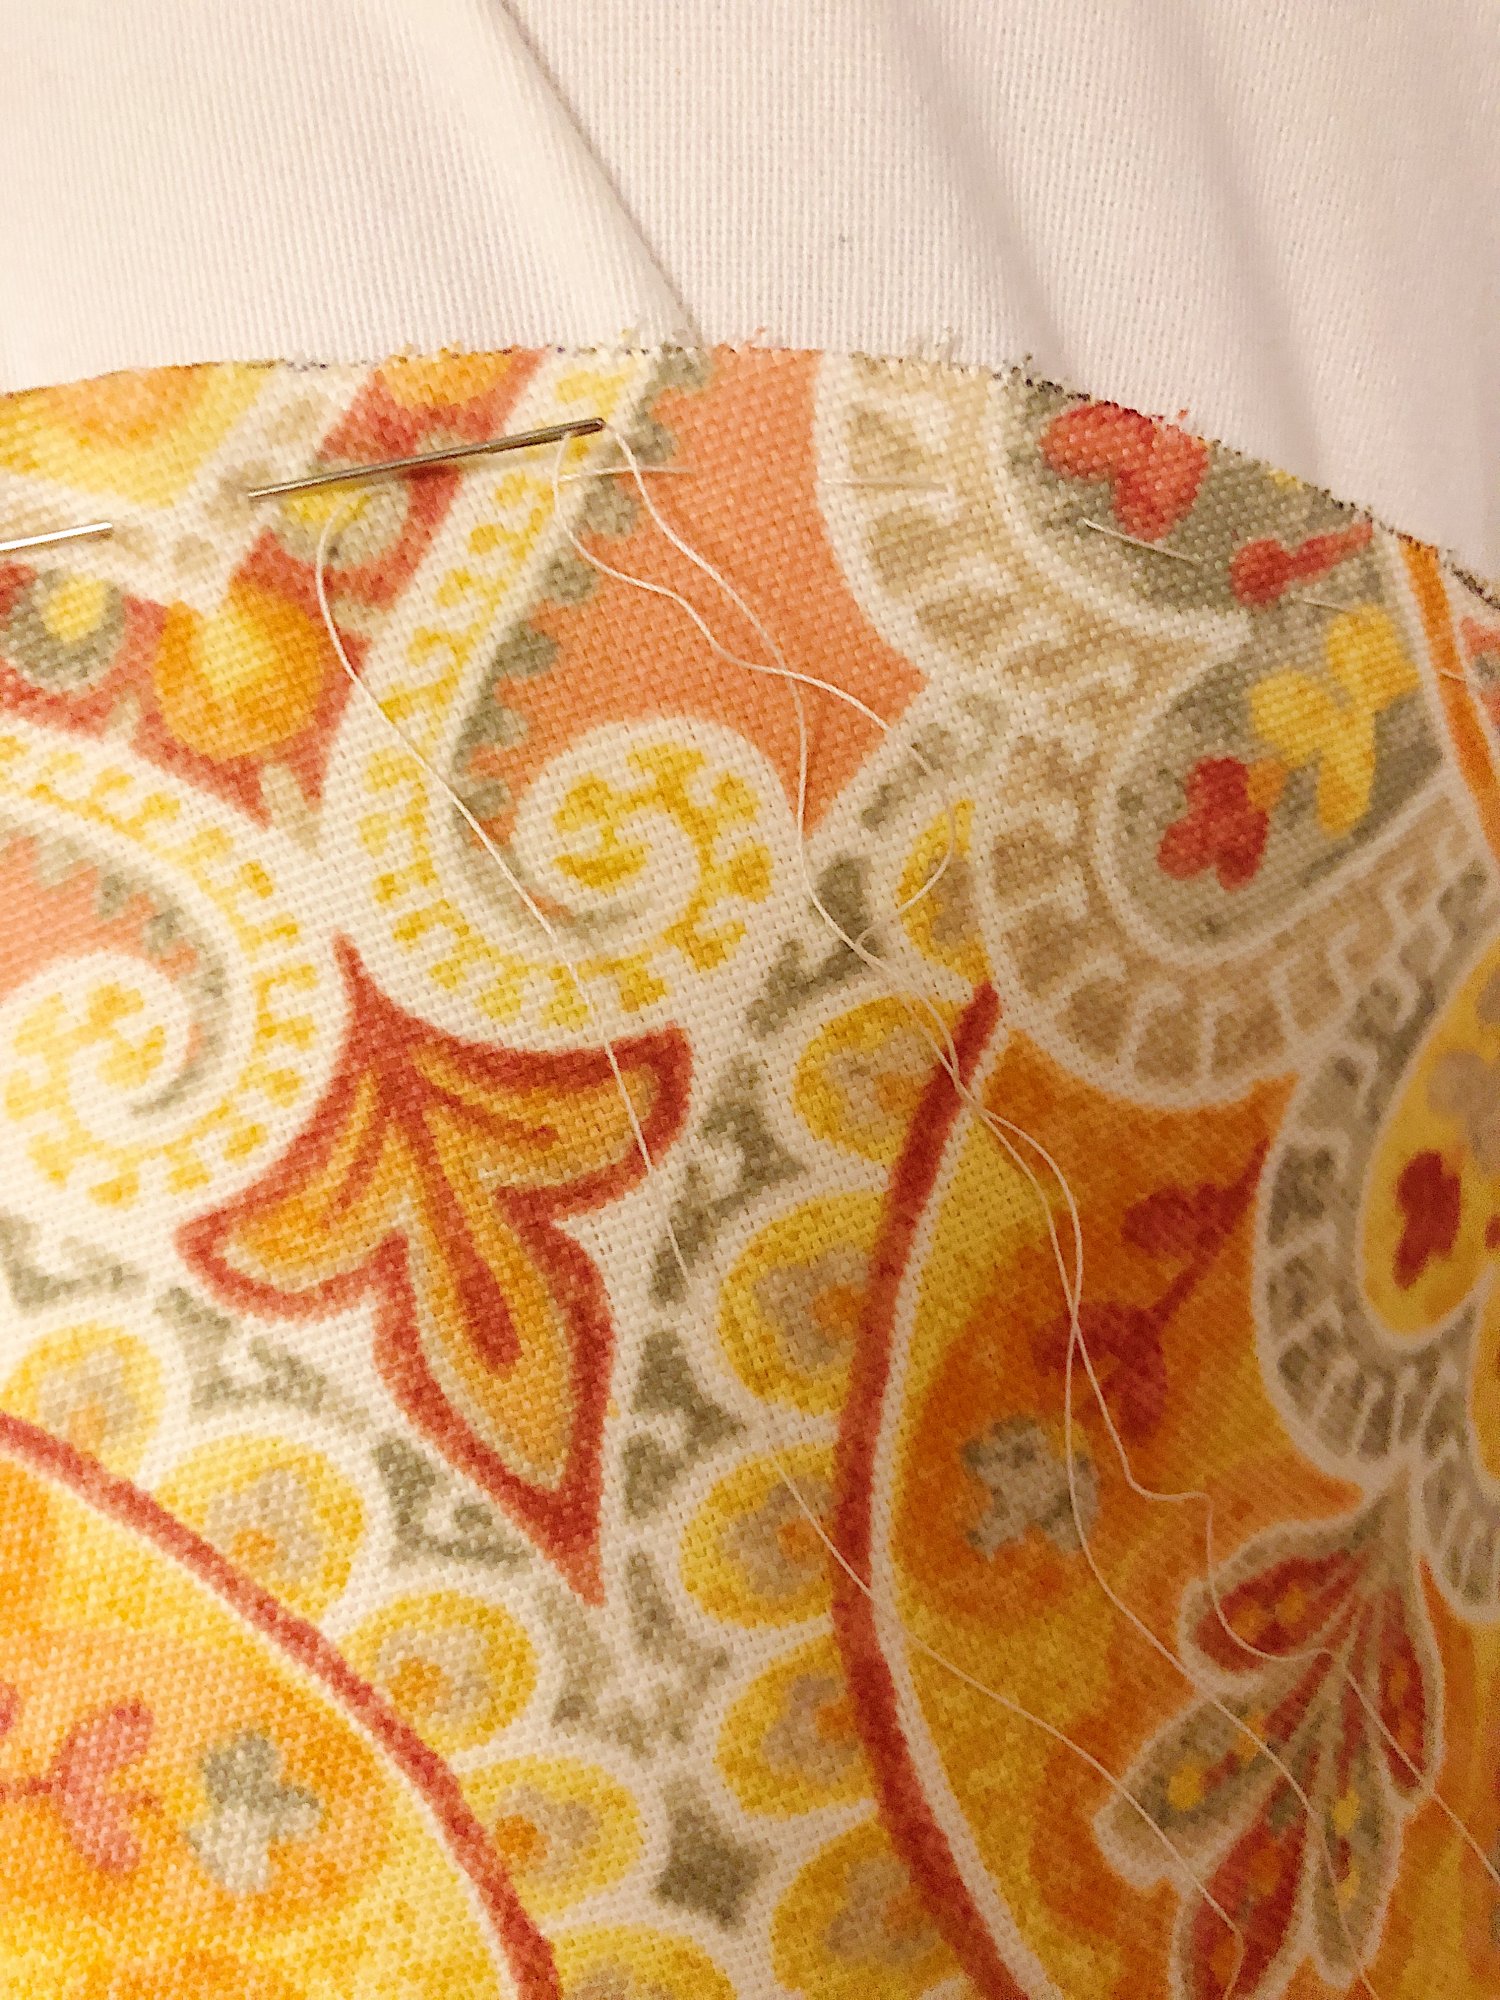
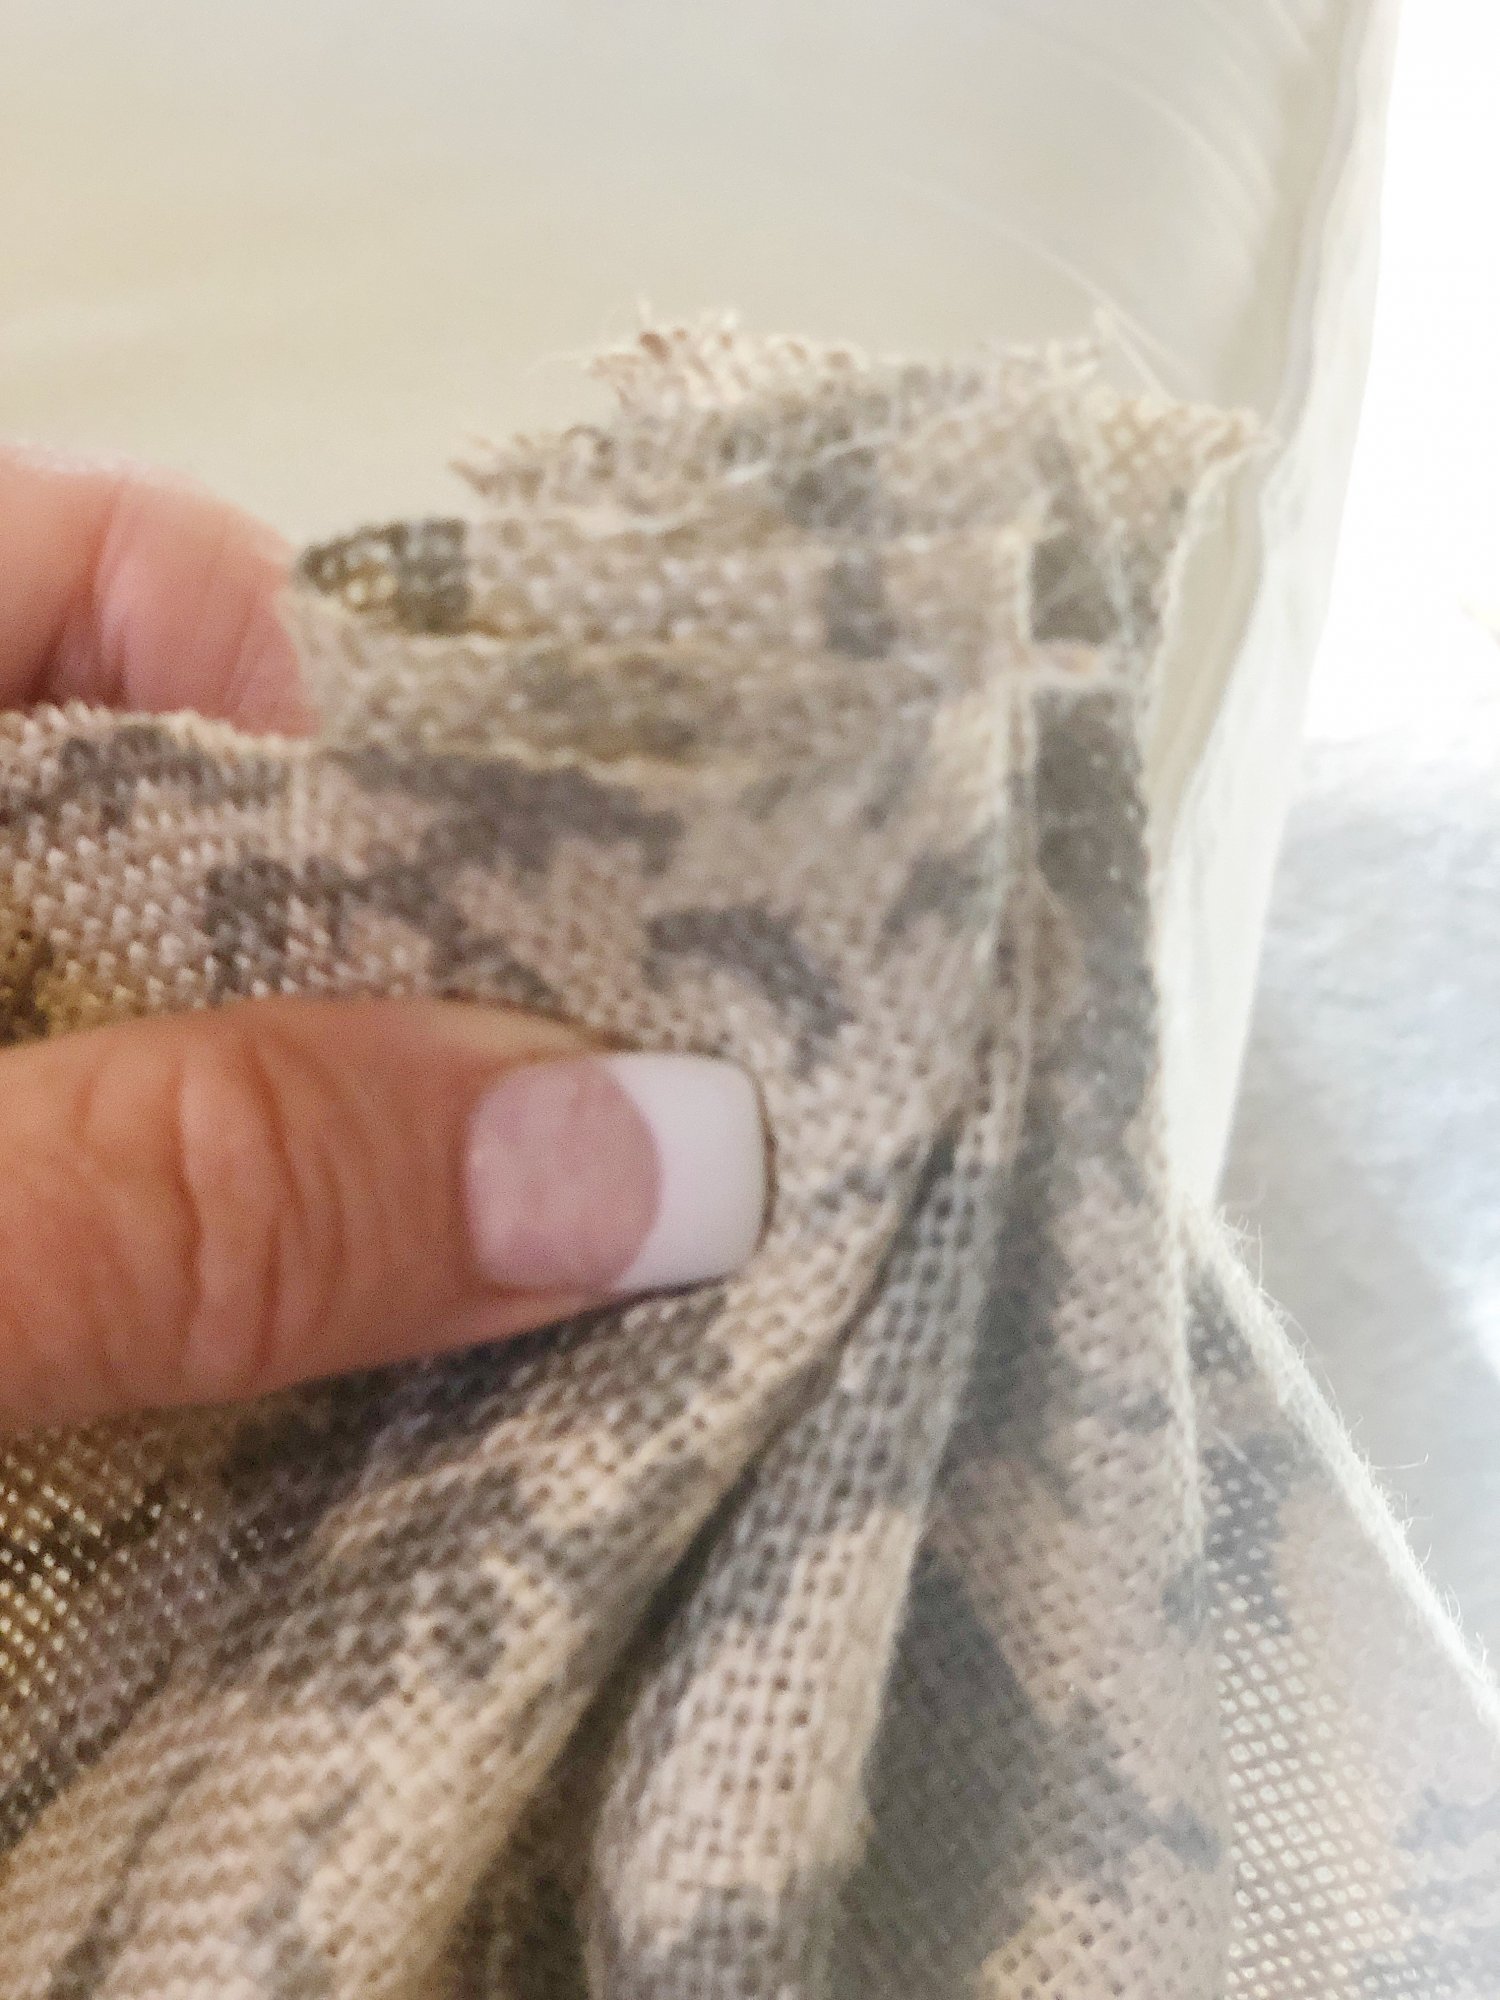
- two – With a needle and double thread, sew a running stitch along the outside perimeter so you can gather the pumpkin once it is filled.
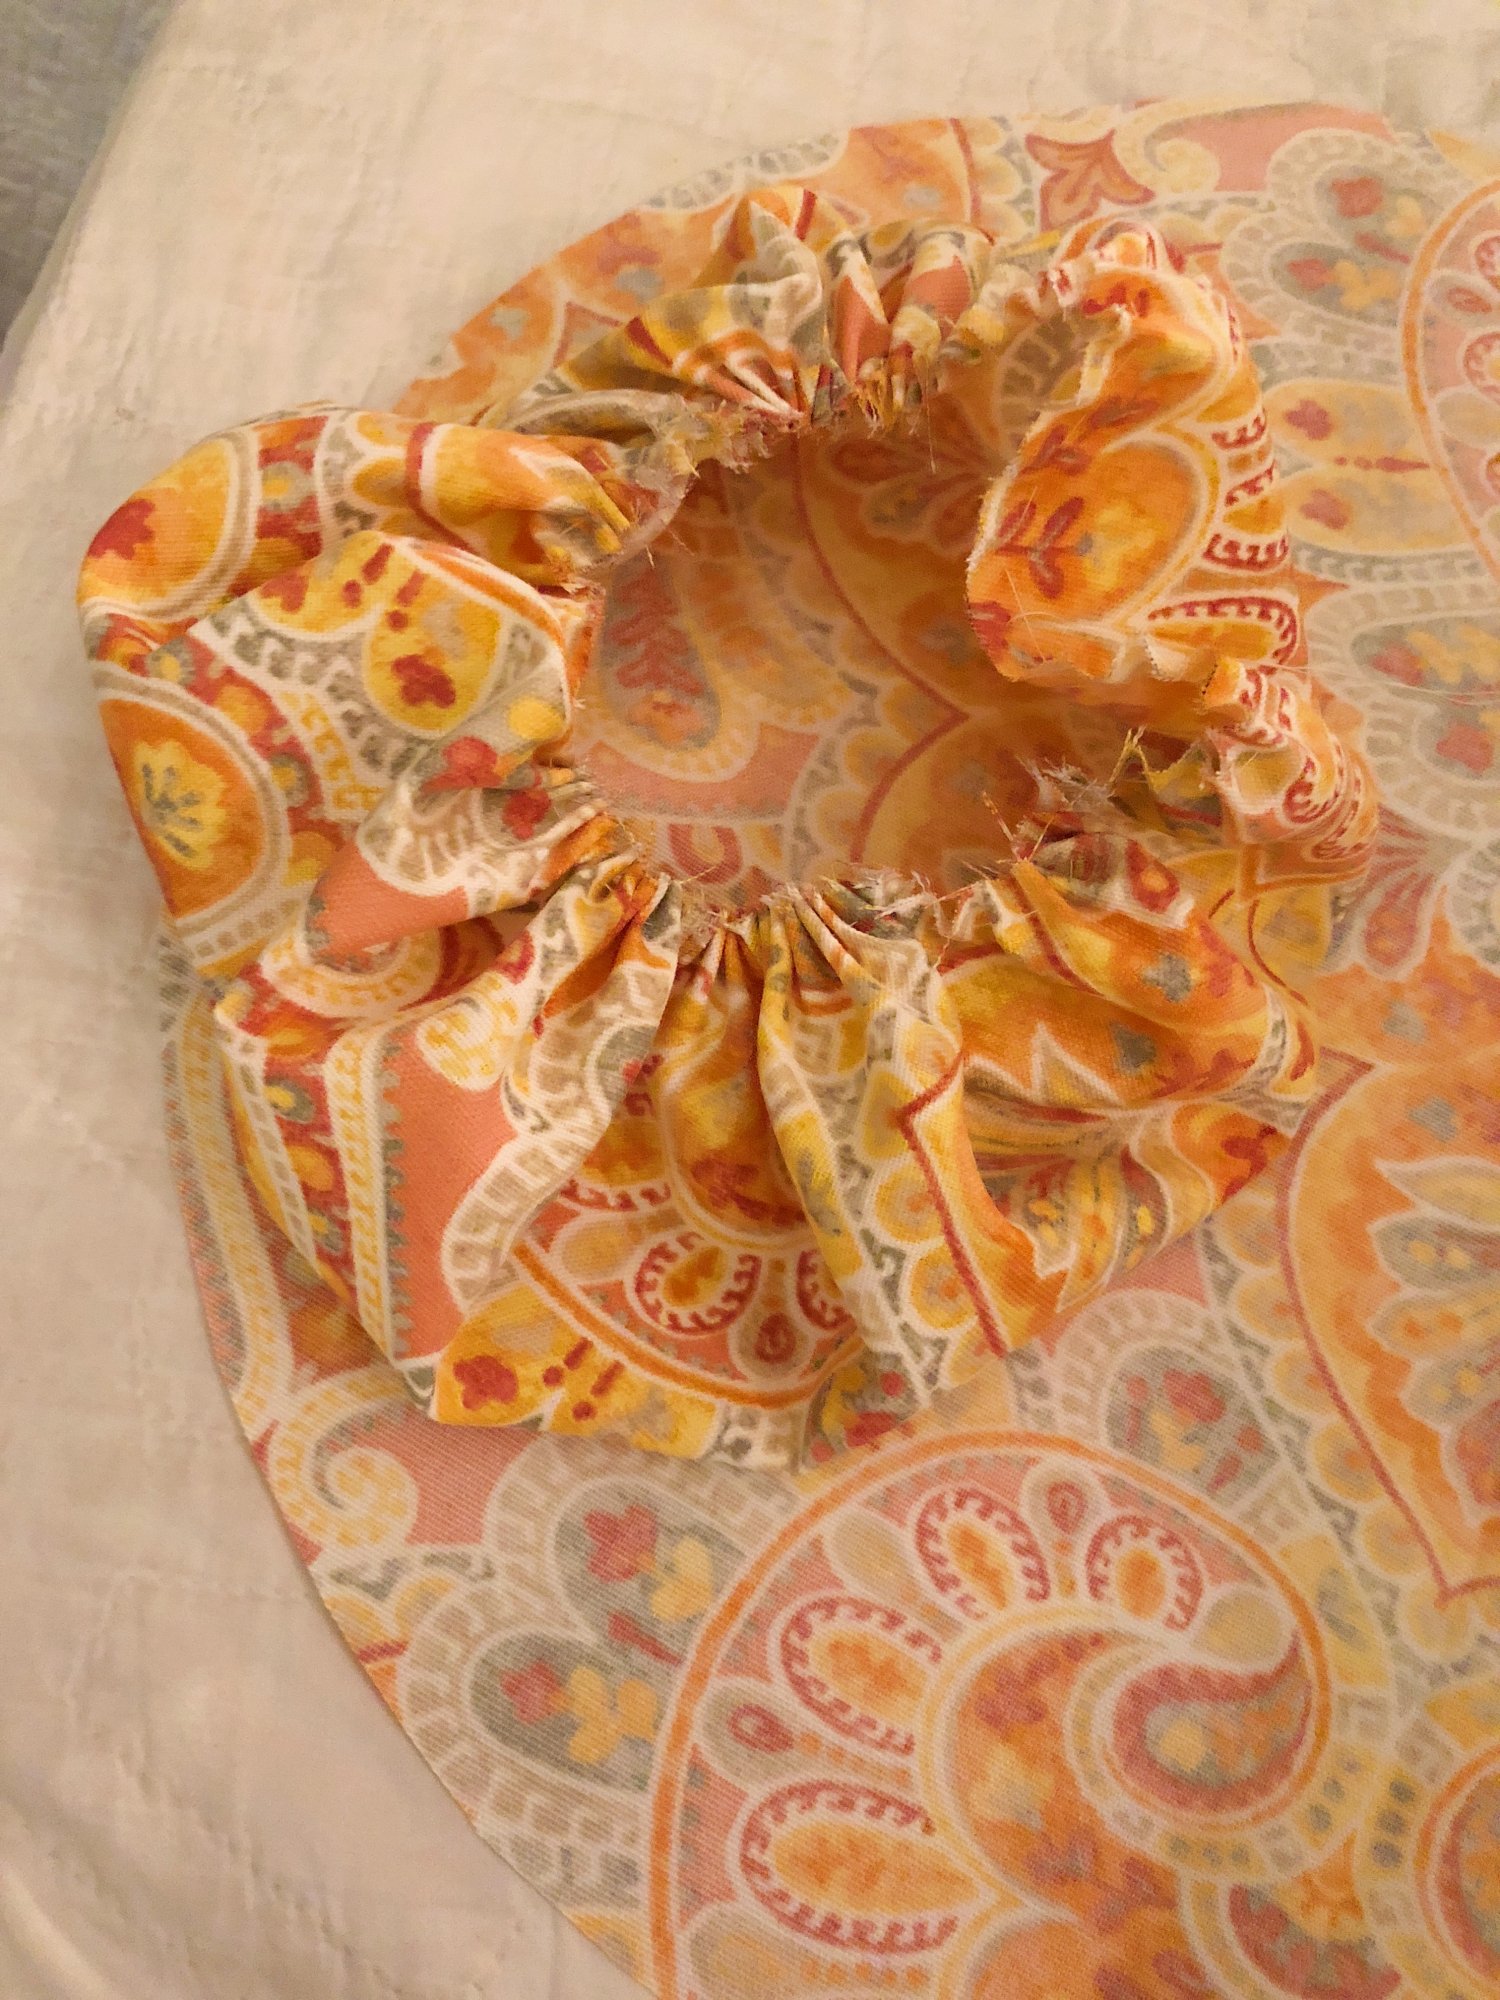
- three – Lightly gather the pumpkin once you are done sewing so that you can make sure your stitches will hold the stuffing.
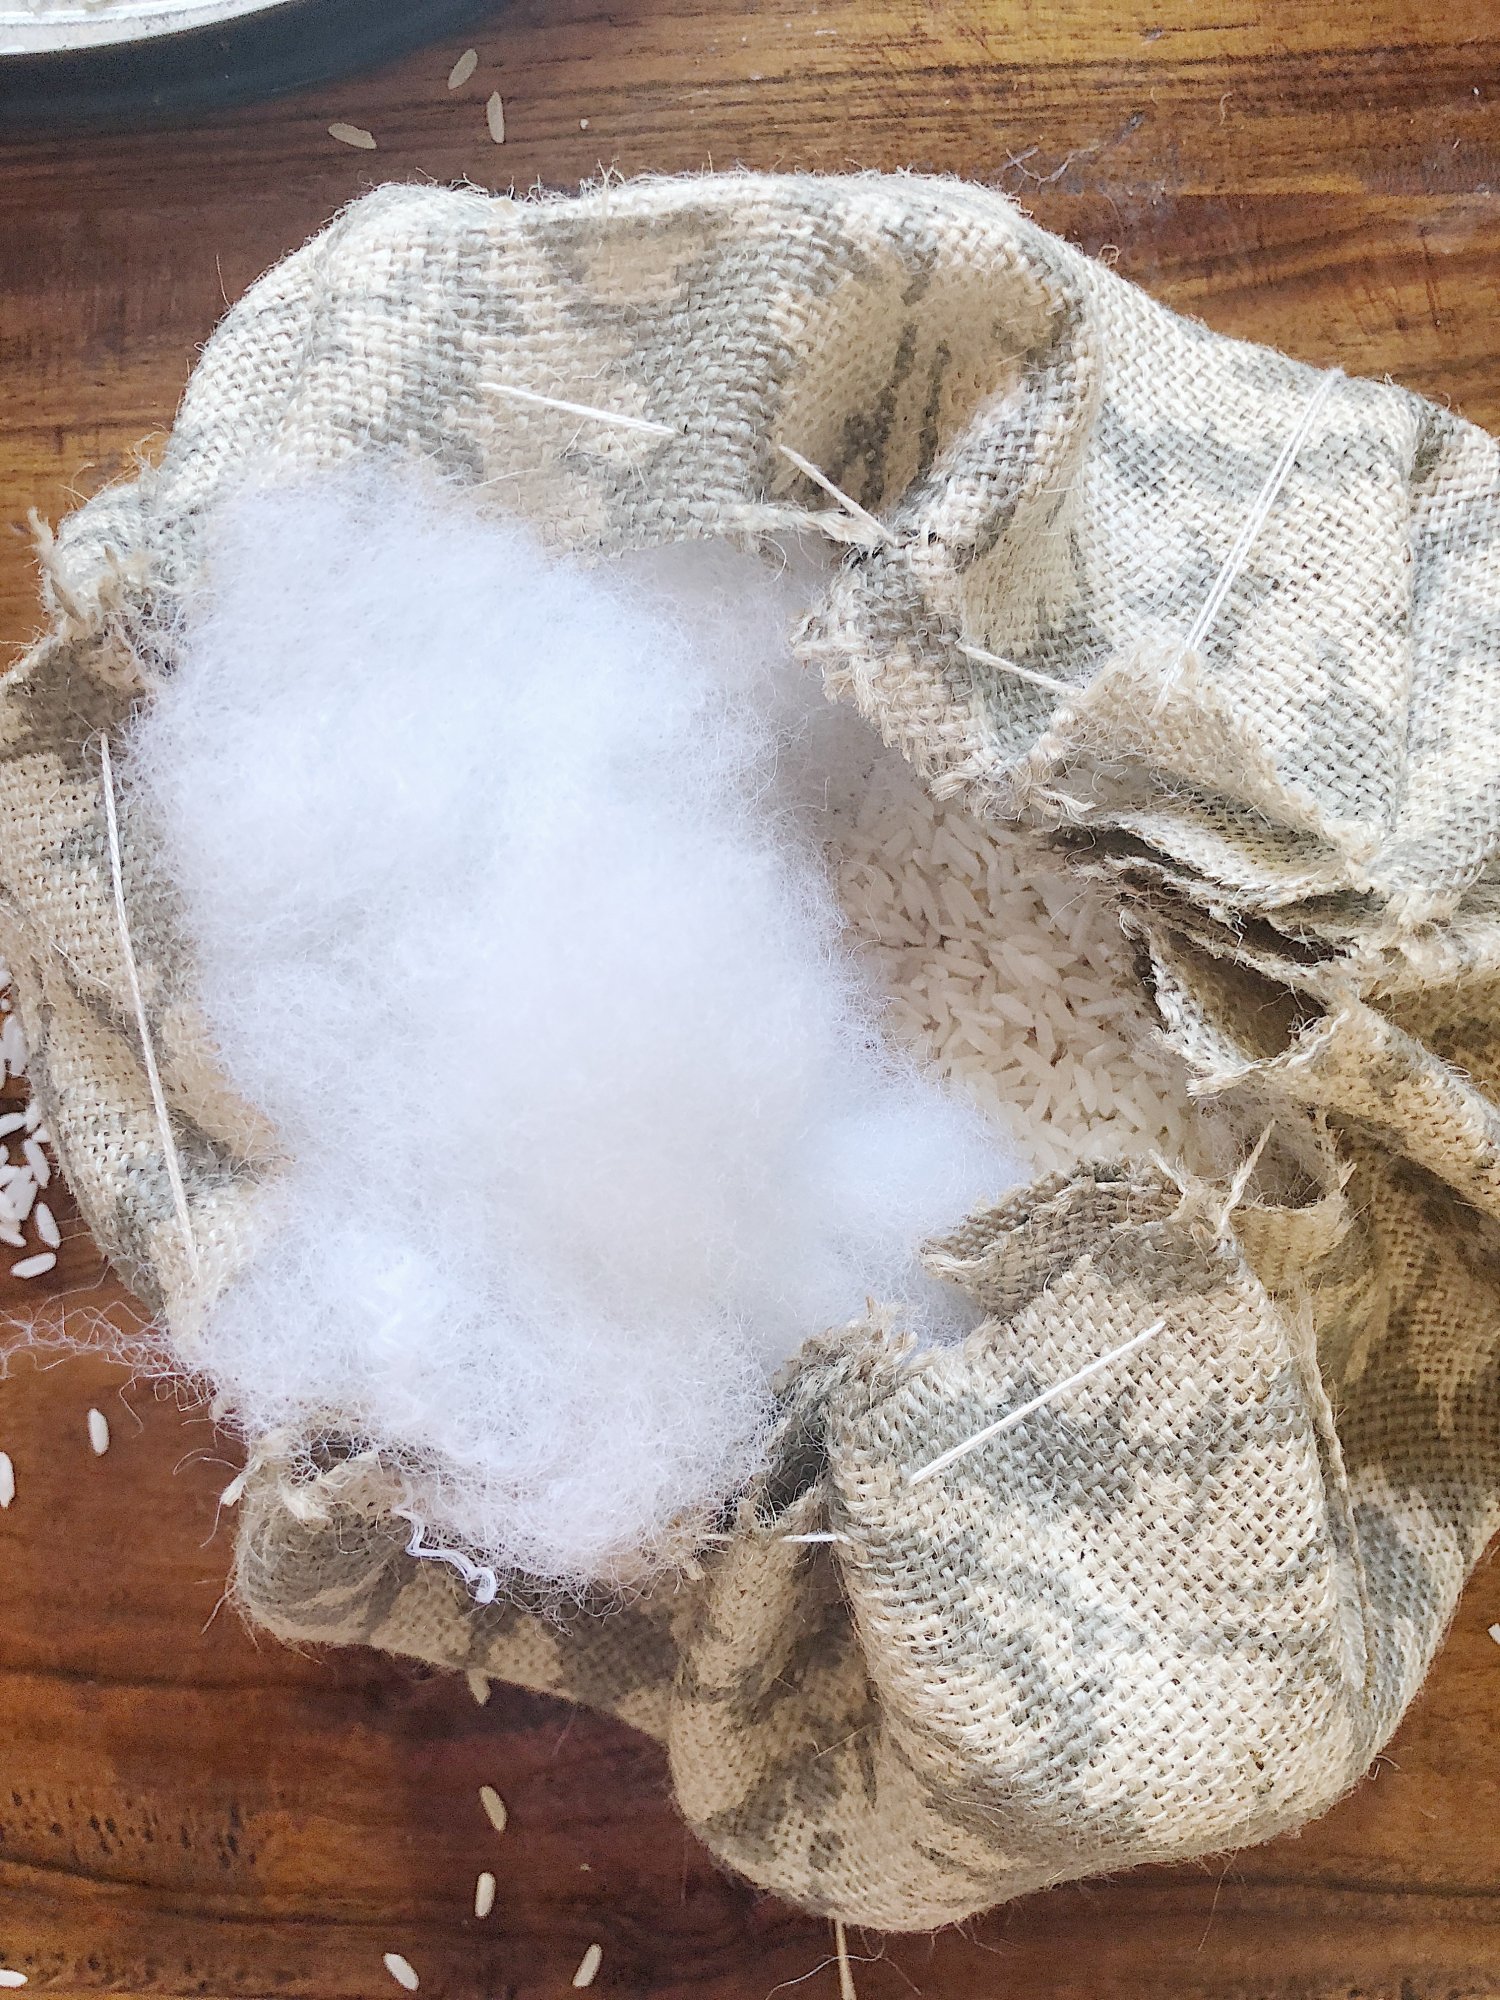
- four – Depending on the size of your circle, add one to four cups of rice. Just ensure there is enough rice to weigh down the bottom so the pumpkin will lay flat. Fill the remaining inside with poly-fil.
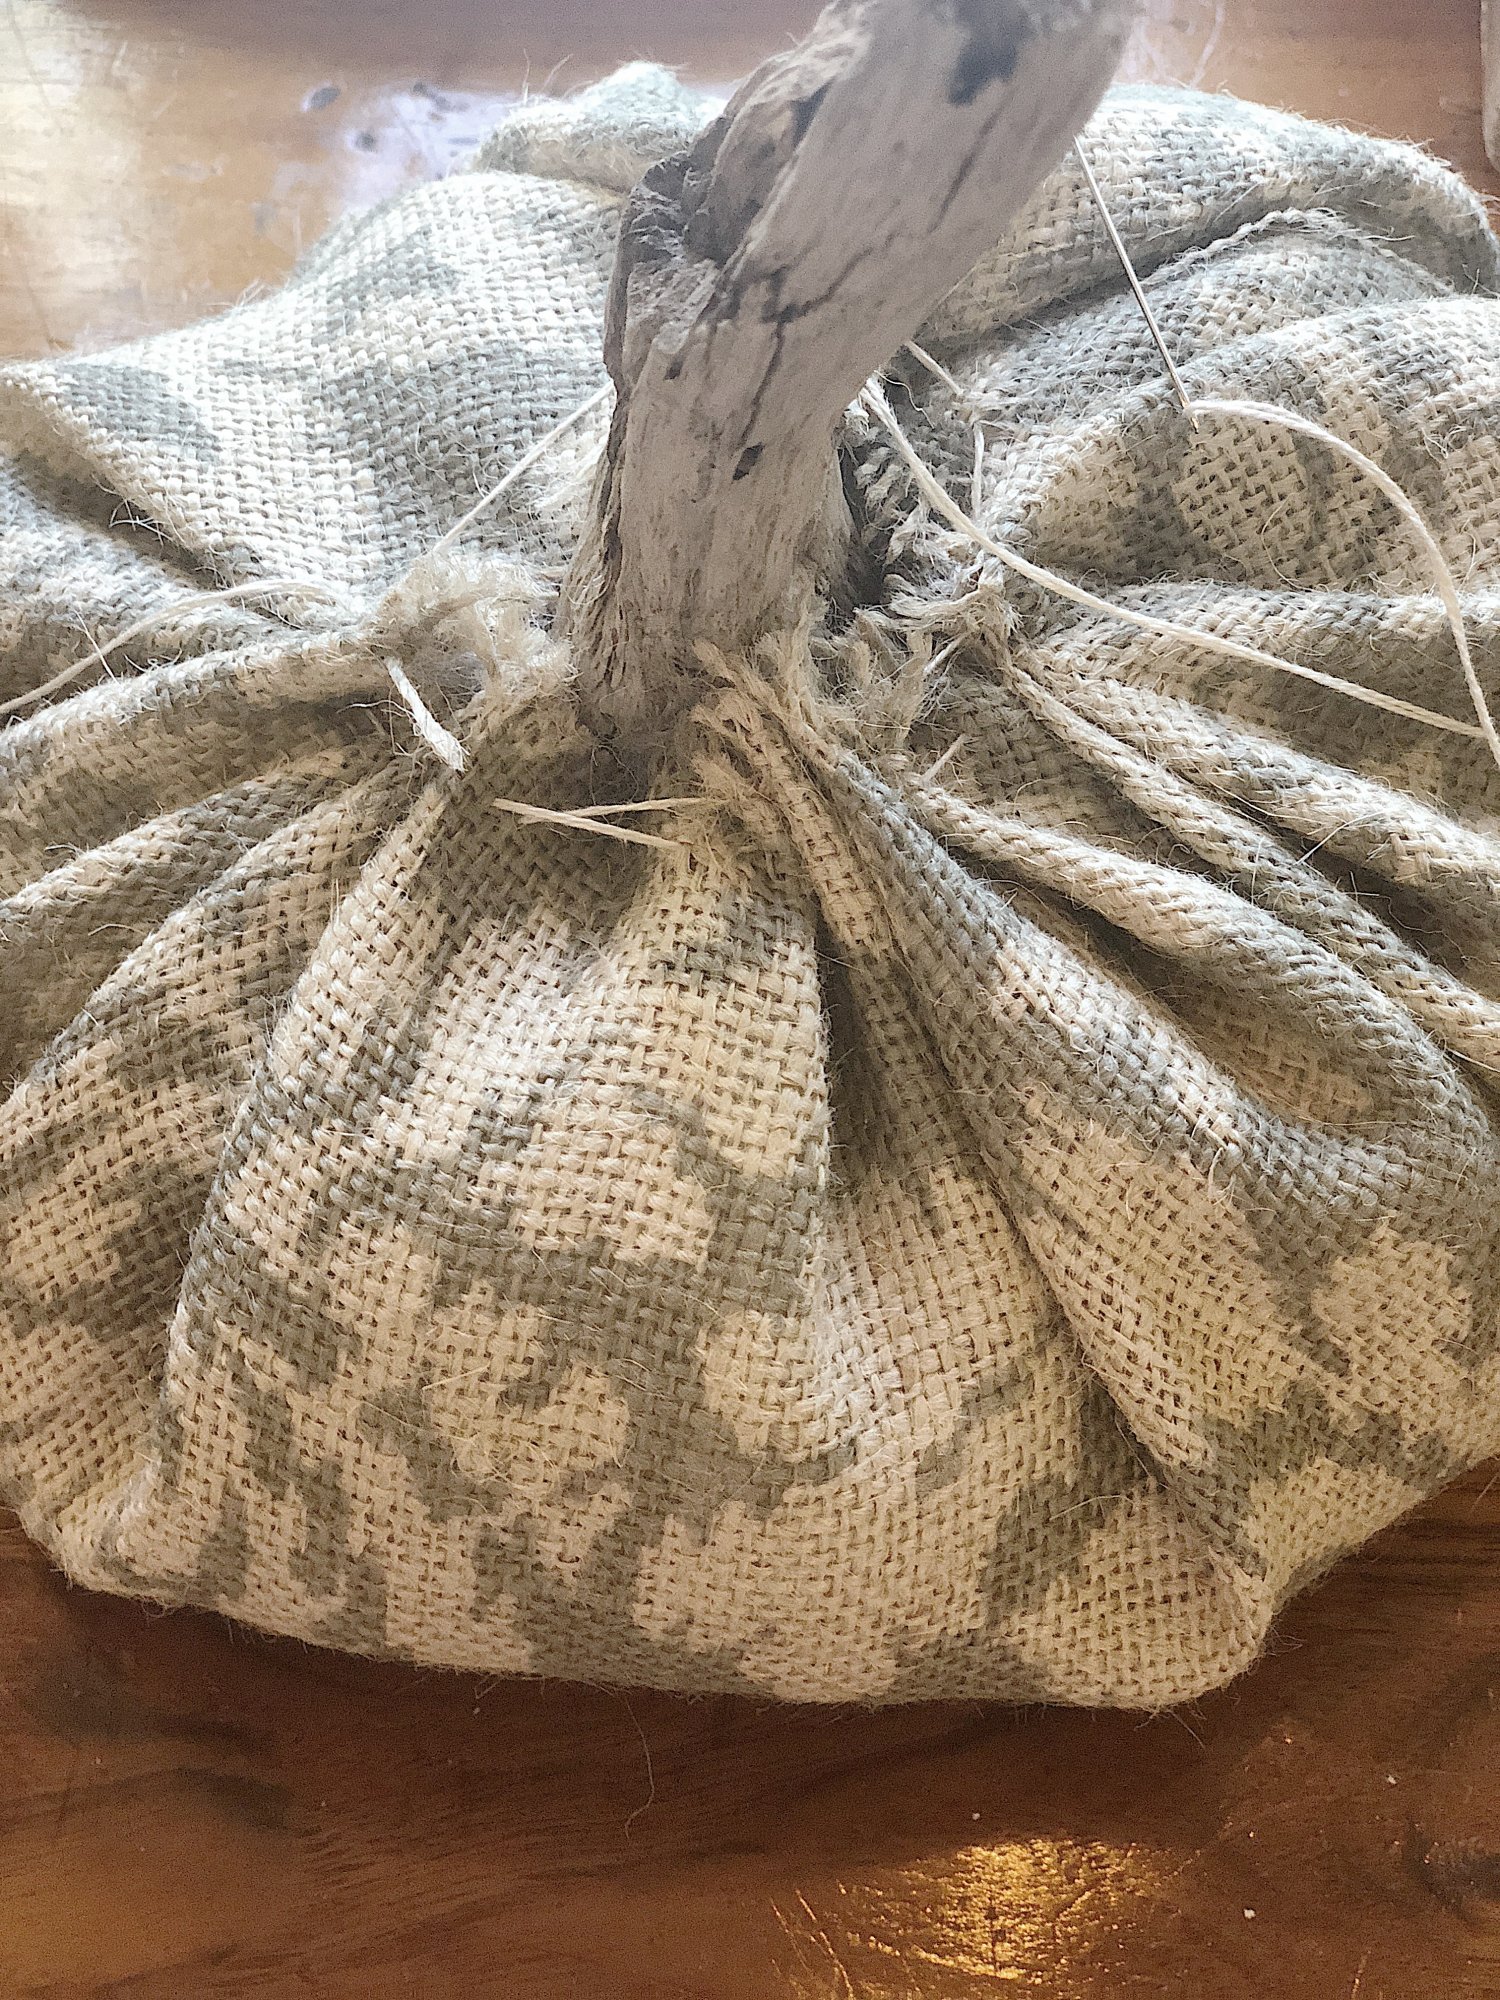
- five – Carefully tighten the thread and place your stem inside. At this point, secure the bottom of the stem in the fabric by placing a generous amount of hot glue at the bottom and along the inside of the fabric. Pill the thread tight.
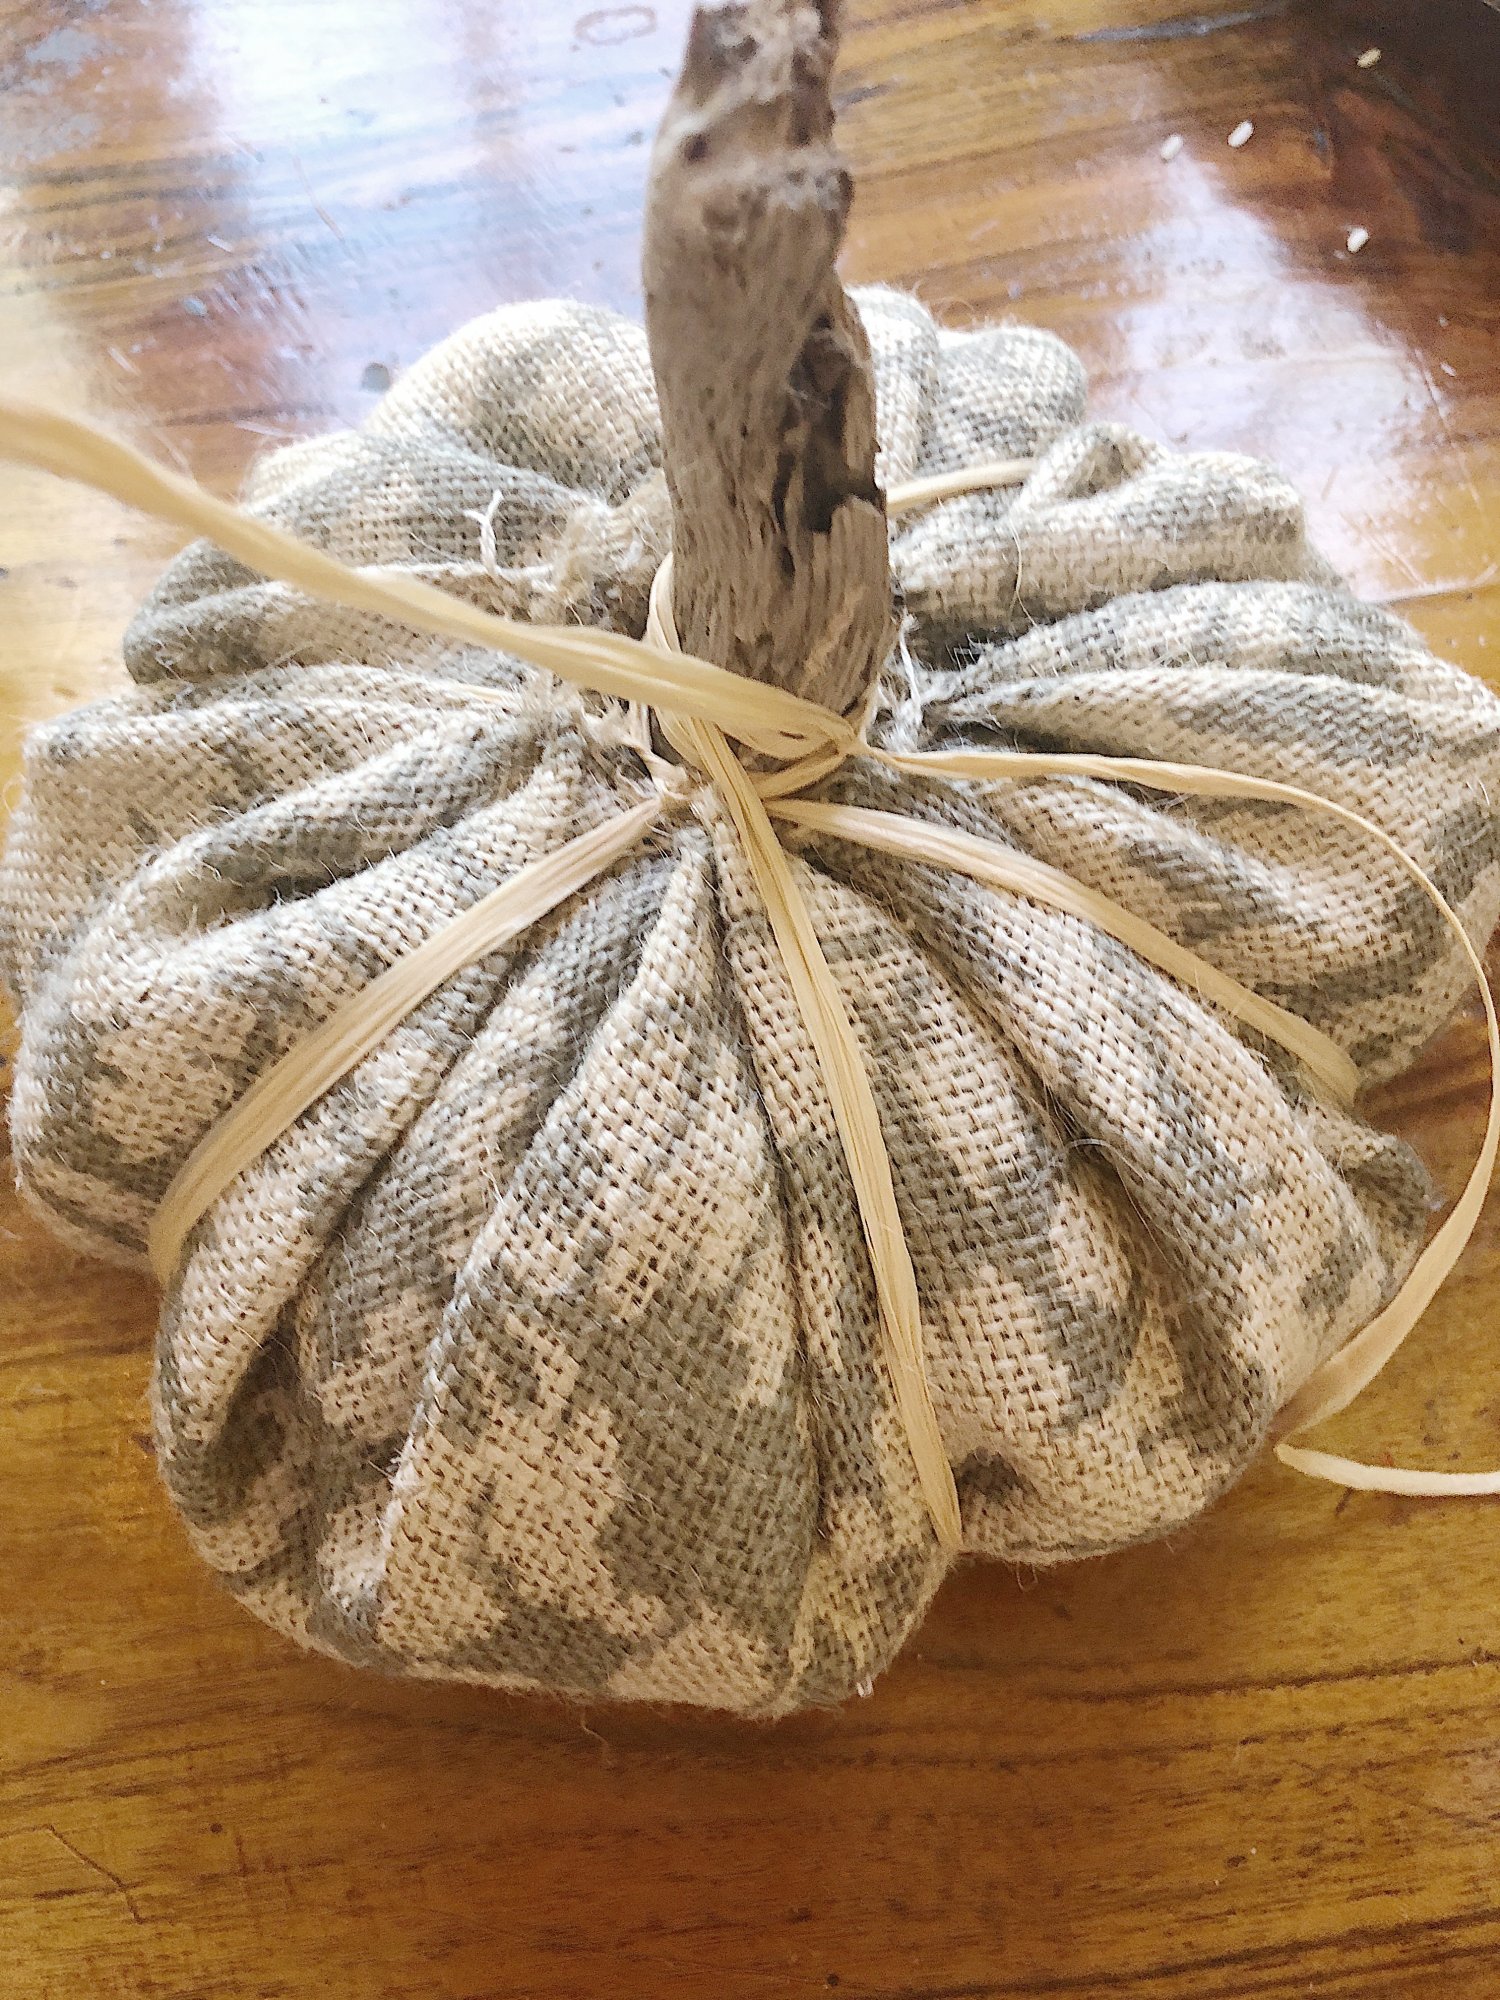
- six – Once the stem is glued, this is what it should look like.
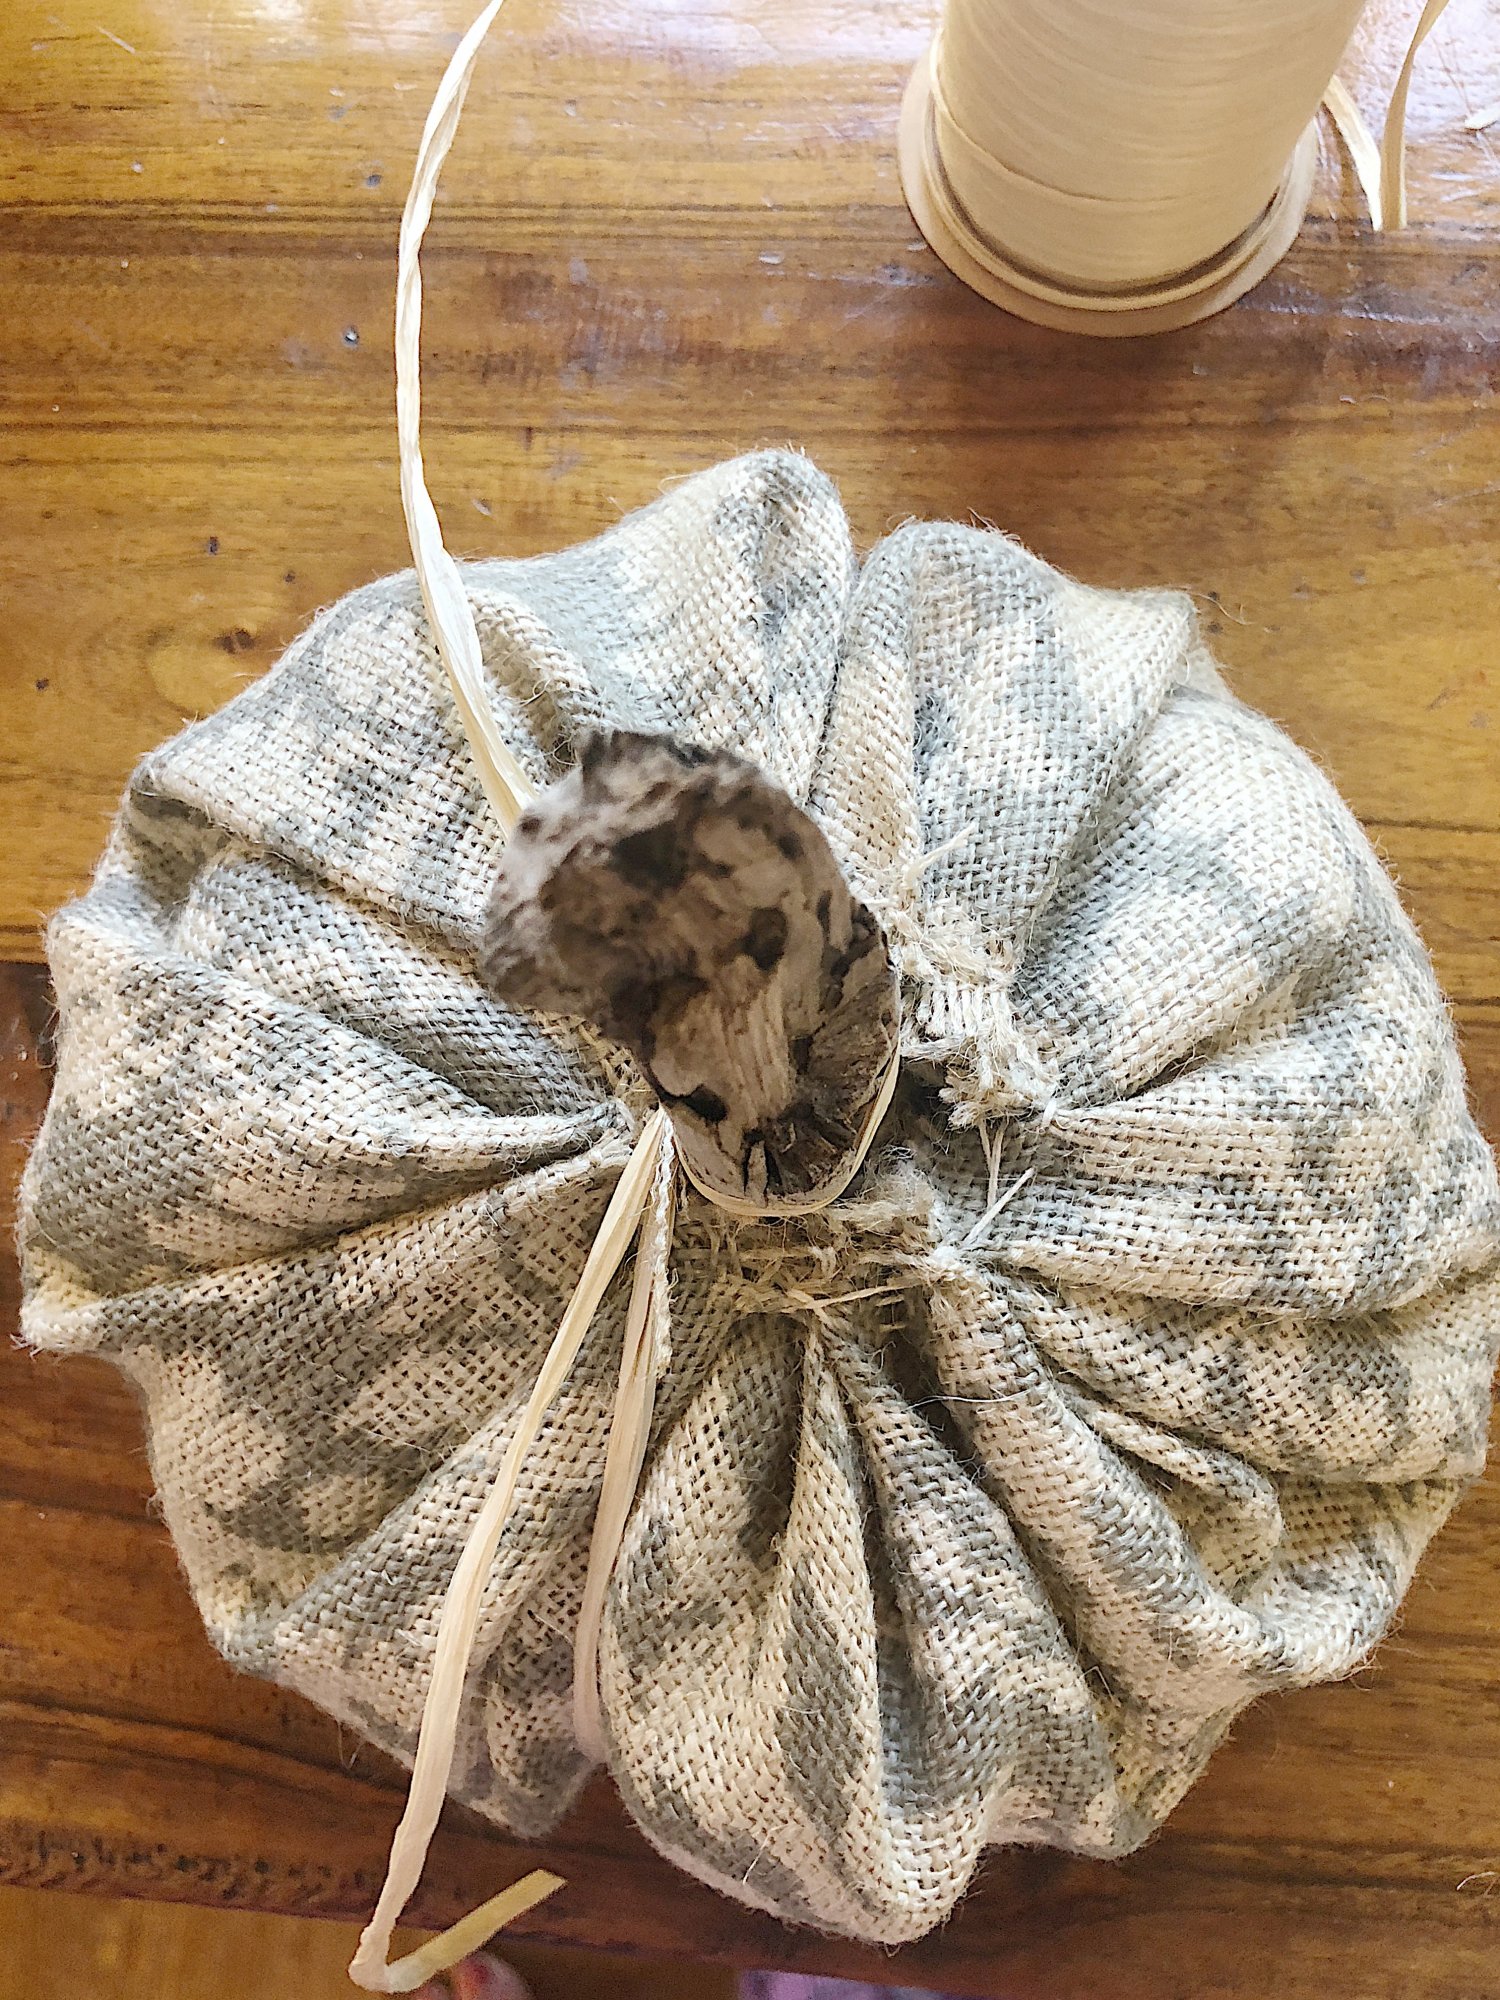
- seven – Tie one end of the raffia around the stem where the fabric meets the stem.
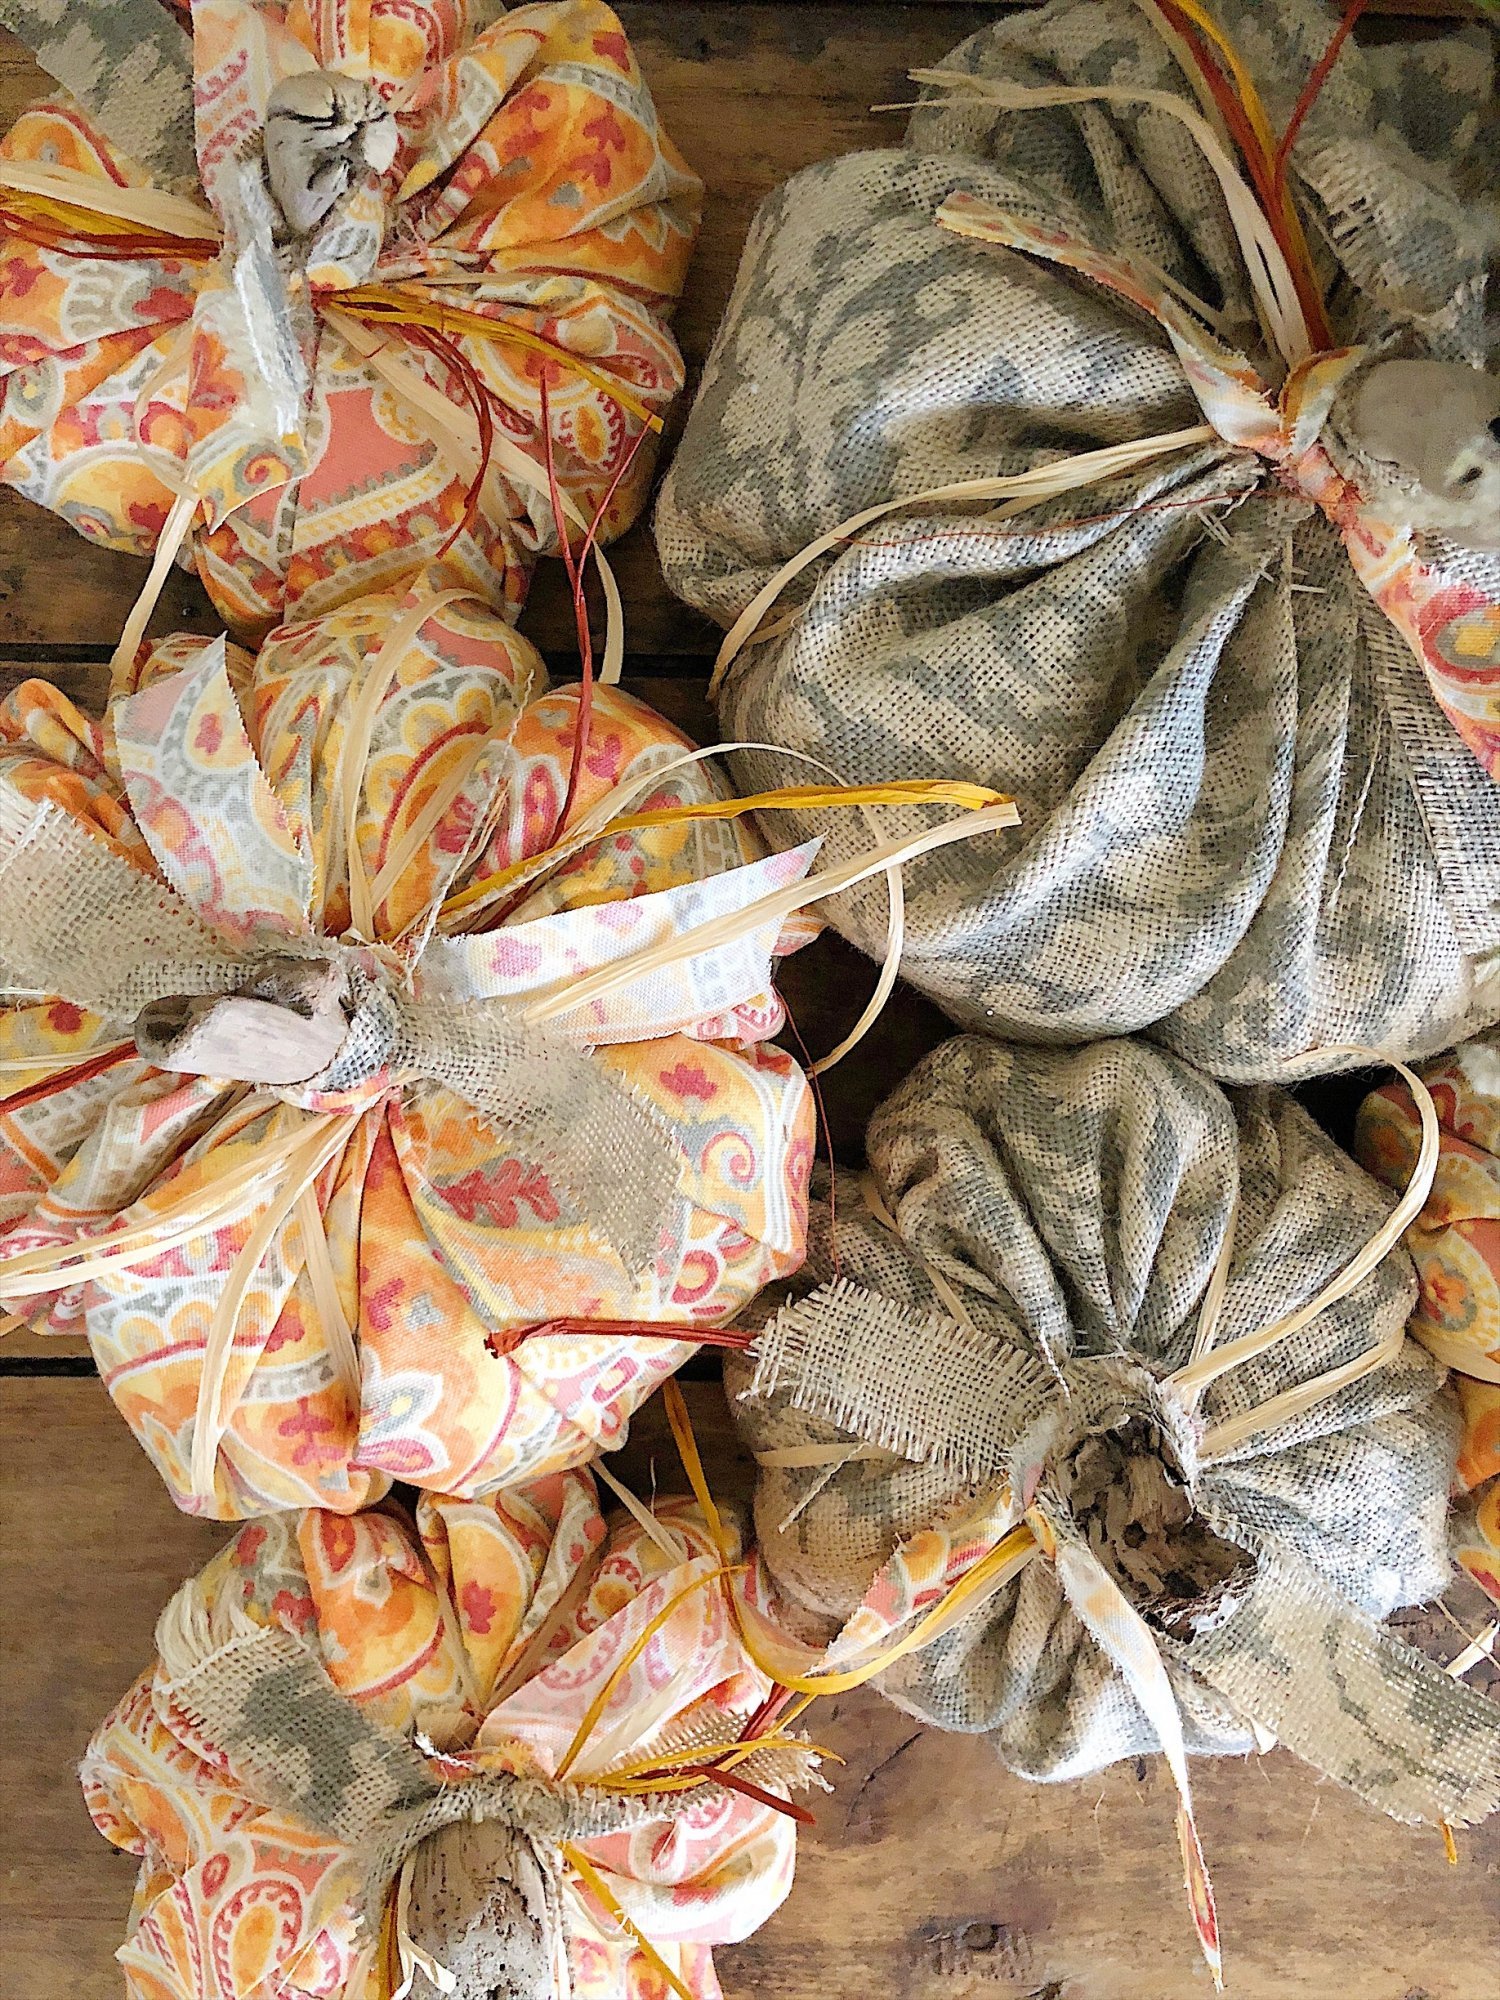
- eight – Wrap the raffia around the pumpkin, pull it a bit, and tie the raffia to the stem. This will add “sections” to your pumpkin. Do this three times to make six sections on the pumpkin.
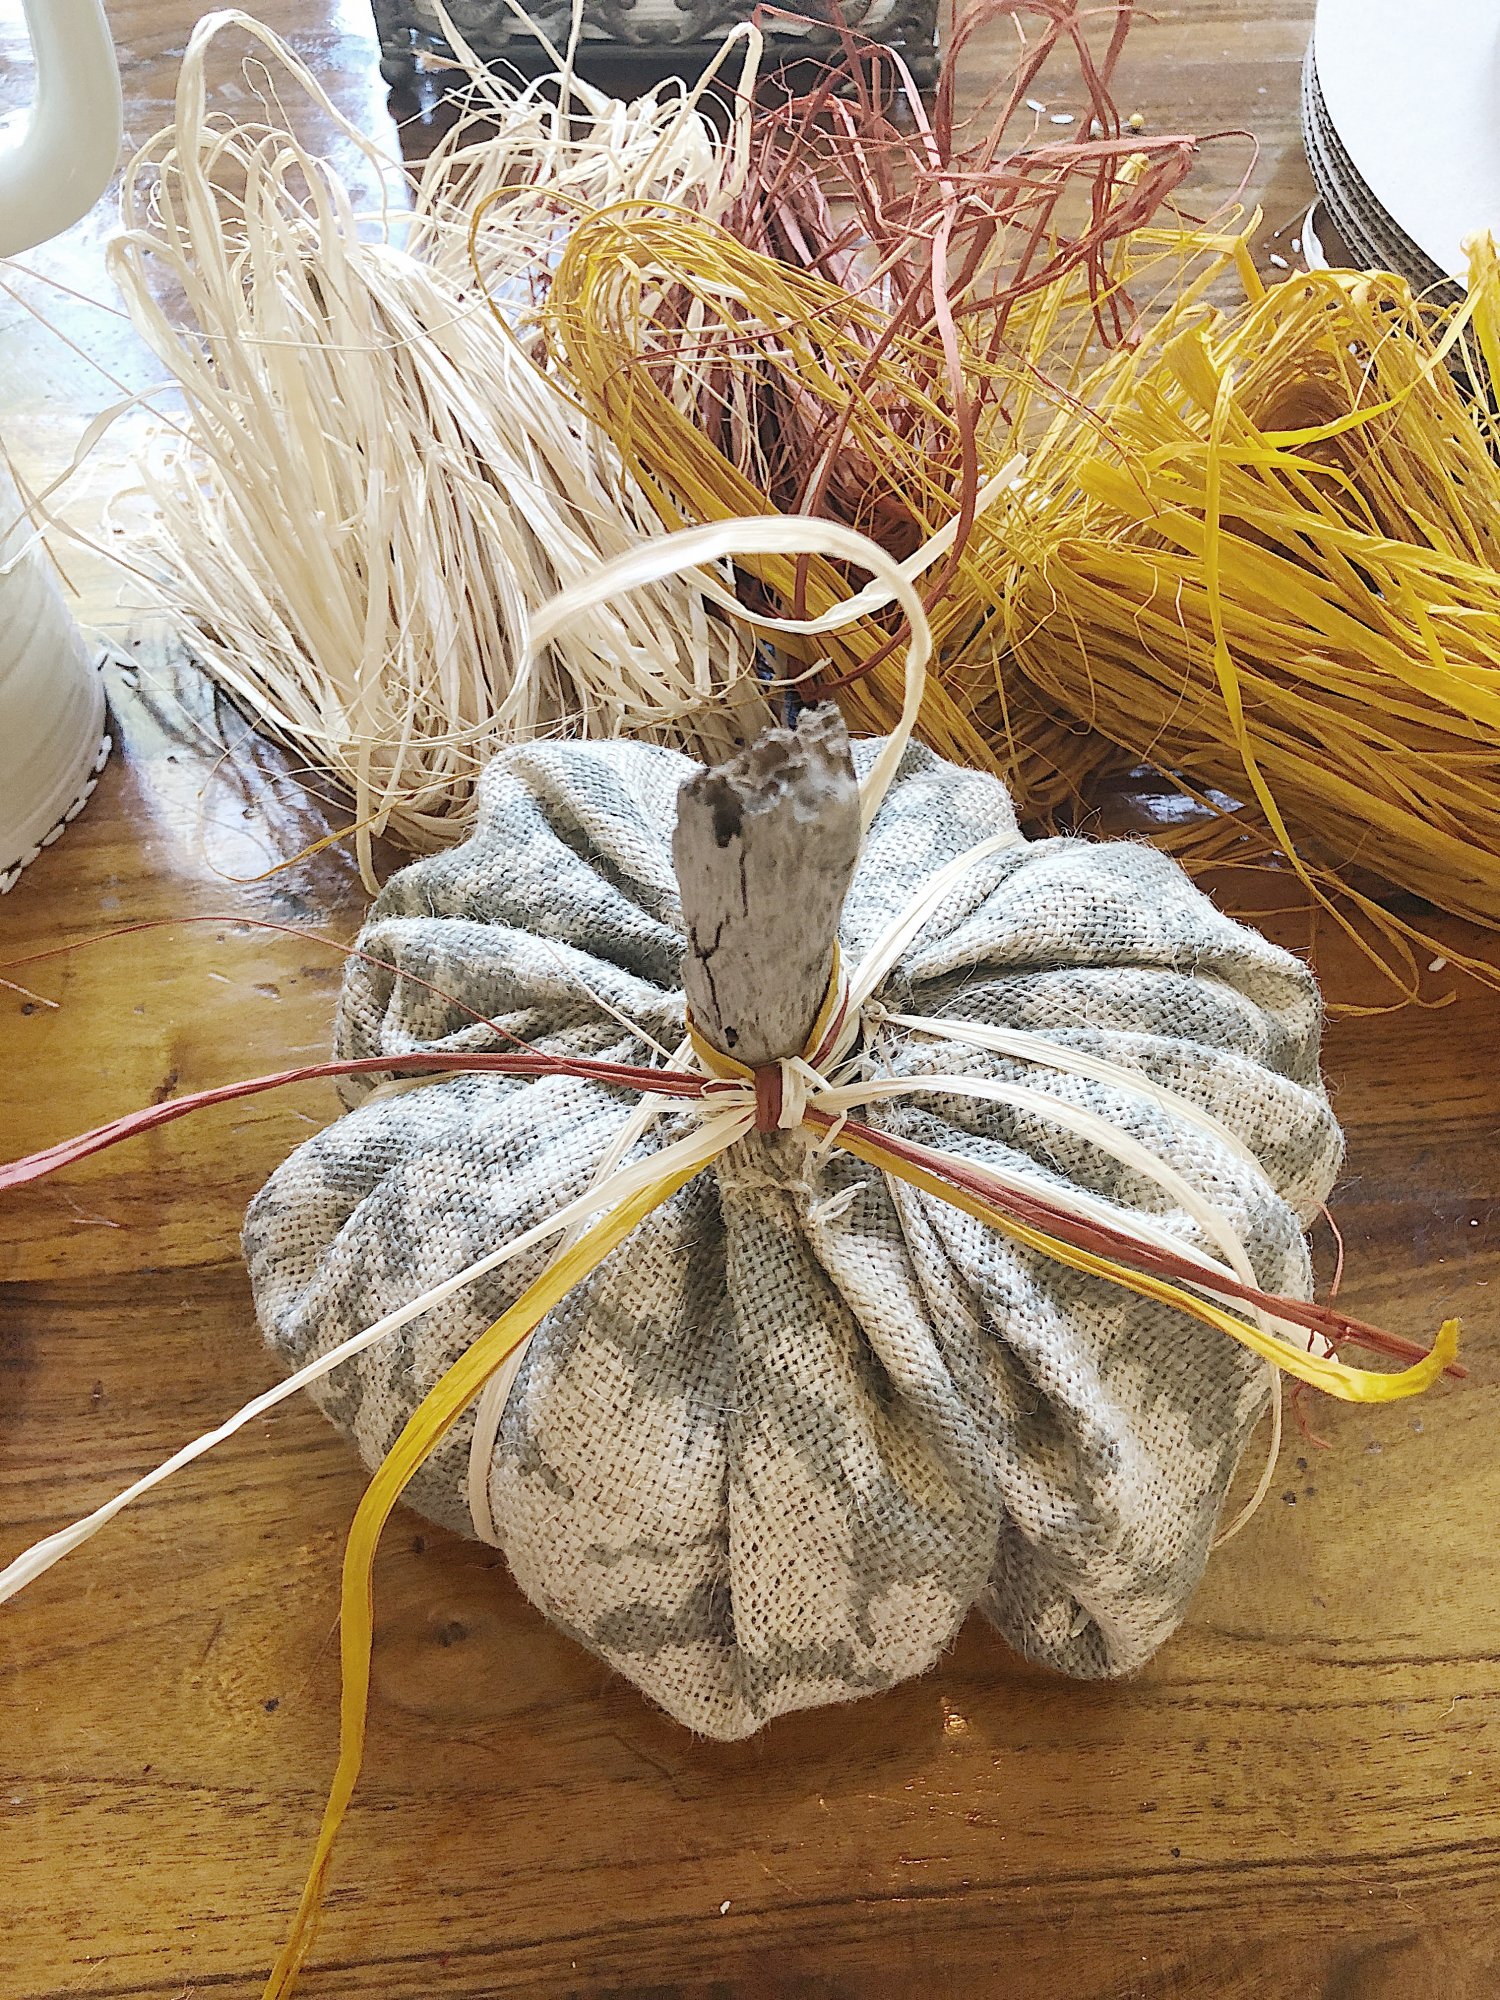
- nine – Tie more raffia and a ribbon cut from the fabric to complete the pumpkin.

Don’t these finished fall fabric pumpkins look great?
If you enjoy my blog, you can sign up to receive my updates here.
.
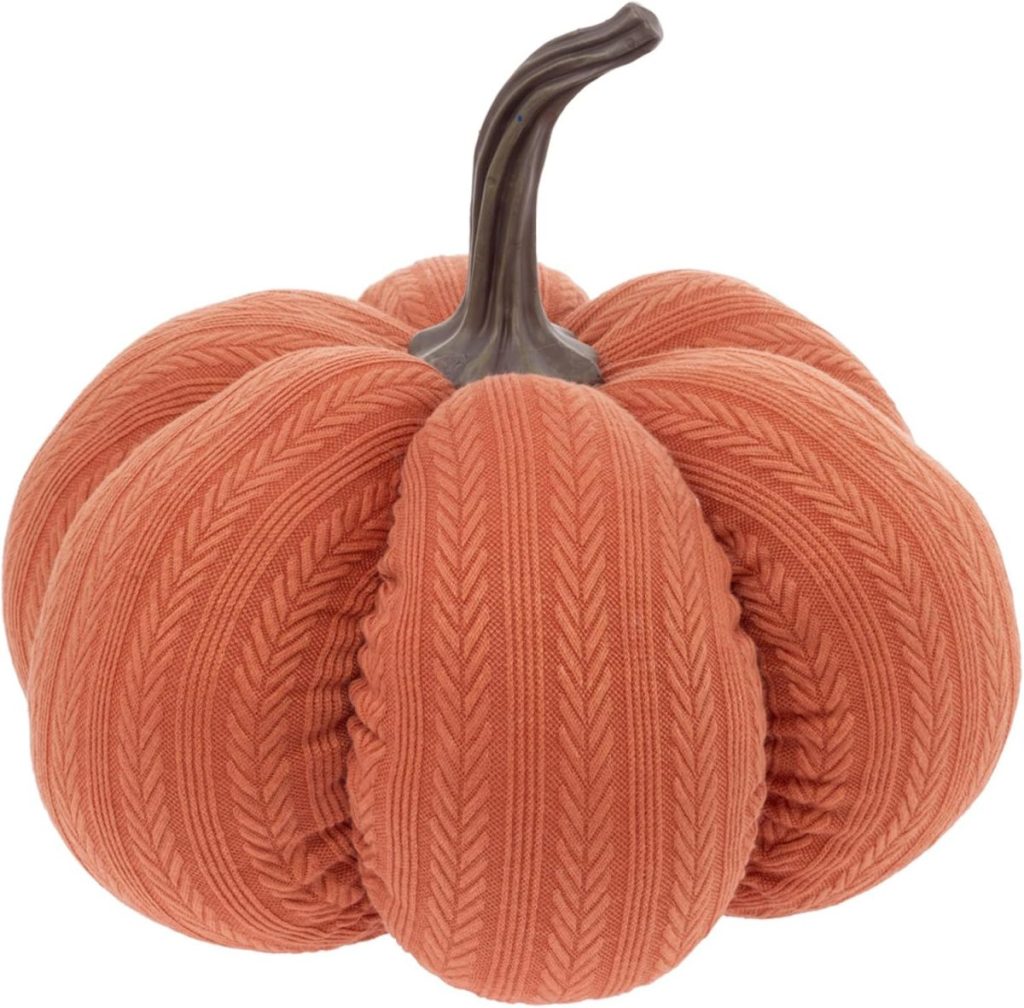
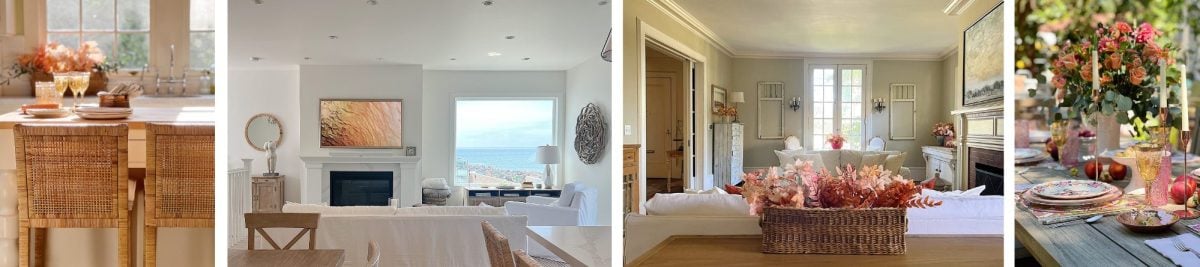
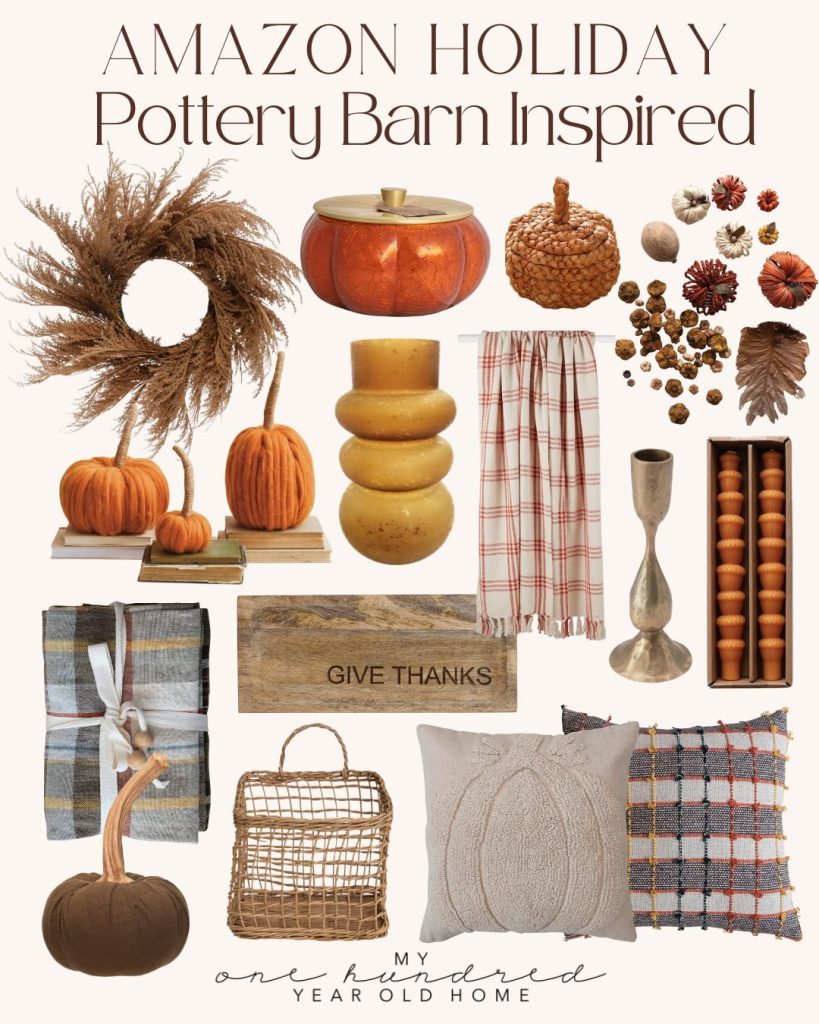
PB Inspired Fall Decor
Get a Copy of My Book!

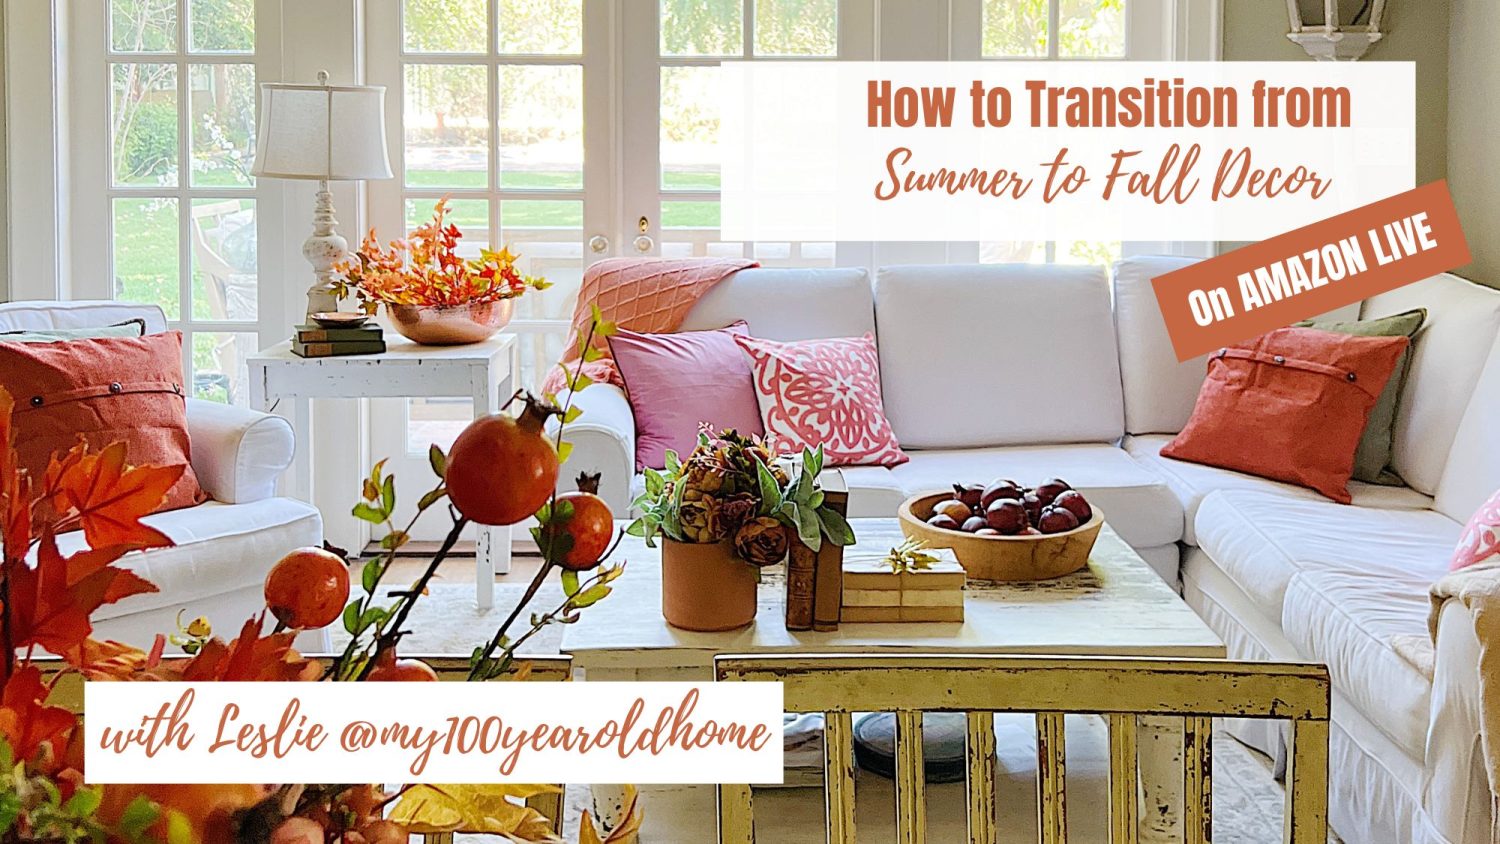
Watch My Amazon Live
Click here to watch any of my Amazon Live shows. All shows are recorded.
If you are looking for fall decor, check out this Amazon Live!
I hope this has inspired you to add some fall decor.
You can pin the image below to your home decor boards on Pinterest (just click the Pin button in the top left corner) or follow me on Pinterest!


Our 100 year old home provides an incredible fall experience with our delicious and easy to make fall pumpkins! Whether you are looking for a quick and easy pumpkin recipe or something to give as a gift, we have the perfect solution for you. Electrician Darch
These pumpkins are the cutest! happy Fall, my friend.
Thanks so much Renae! ☺️ Yay for fall!
This one I will decently make!! Pumpkins are a favorite and the colors are beautiful!!
Oh good! Such a great and easy DIY- love this DIY ☺️
My husband & neighbor helped me make these beautiful fabric pumpkins. We made couple adjustments, sand seemed to keep pumpkins upright more and used zip loc strip to hold material tight. Im putting them all out right now.
Love that! 🙌🏻 Happy Fall Cindy!
Your fall pumpkins sound absolutely delightful! It’s fantastic that you’ve found a crafting project that’s not only easy but also doesn’t require a sewing machine. Mobile Car Detailing In Burwood
Adorable! I so admire your talent and creativity. I started saving the nicer stems from real pumpkins some years ago. I think you can also purchase them from Amazon.
Thanks so much Becky. Very smart! And yes you can!
I love these! I have so much fabric, these are great for upcycling the fabric I already have. Thank you for sharing! I saw this first through HomeTalk and wanted to stop by and comment. Thanks for sharing your steps. It has inspired me to use up my extra fabric.