The Best Fall Pumpkins DIY
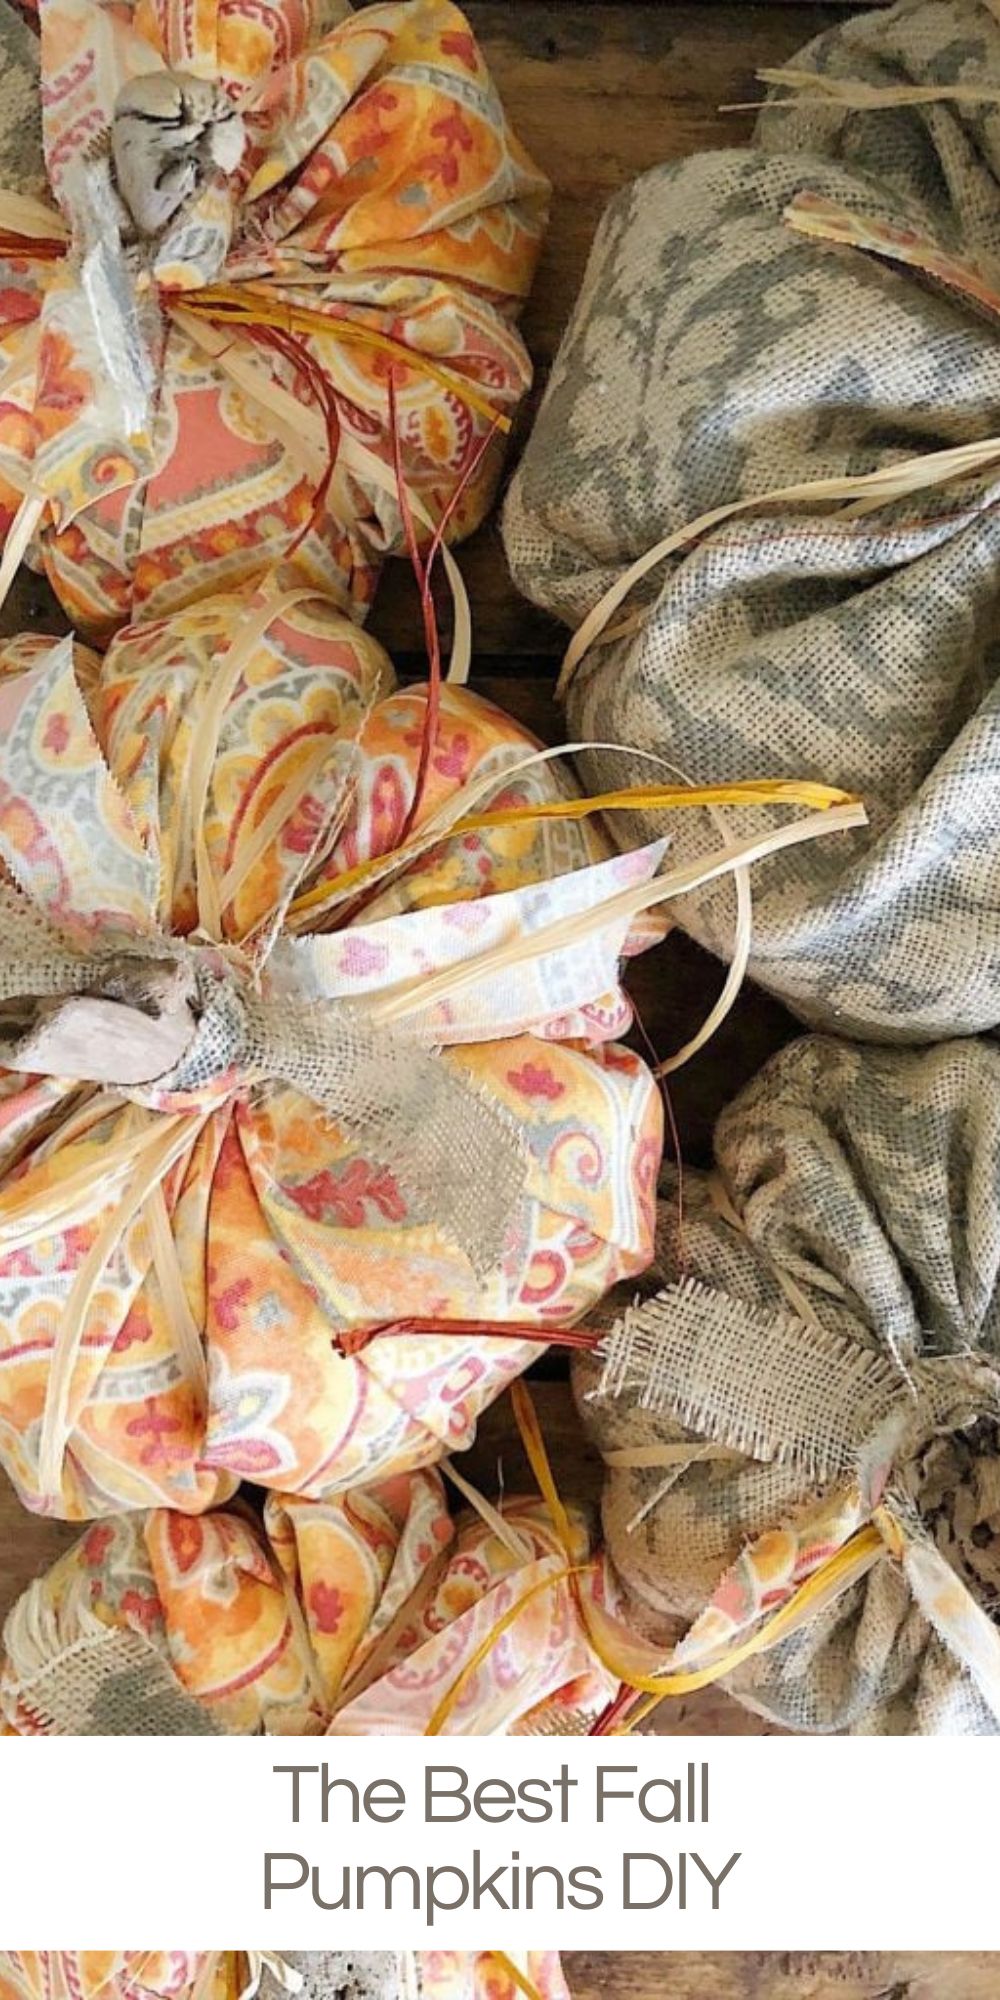
Back to school means that fall is here so I am sharing a favorite Fall Pumpkins DIY. These pumpkins are made with fall fabric and driftwood!
I always strive to make crafts that look fancy and expensive but are easy and inexpensive. This fall pumpkins craft is so easy and cheap to make, and I promise, it’s a project that everyone can make!

Fall Pumpkins
I love these fall pumpkins so much. You don’t need a sewing machine; they are one of the easiest crafts I have ever made.
Most of the pumpkin decor in our home is something that I have made.
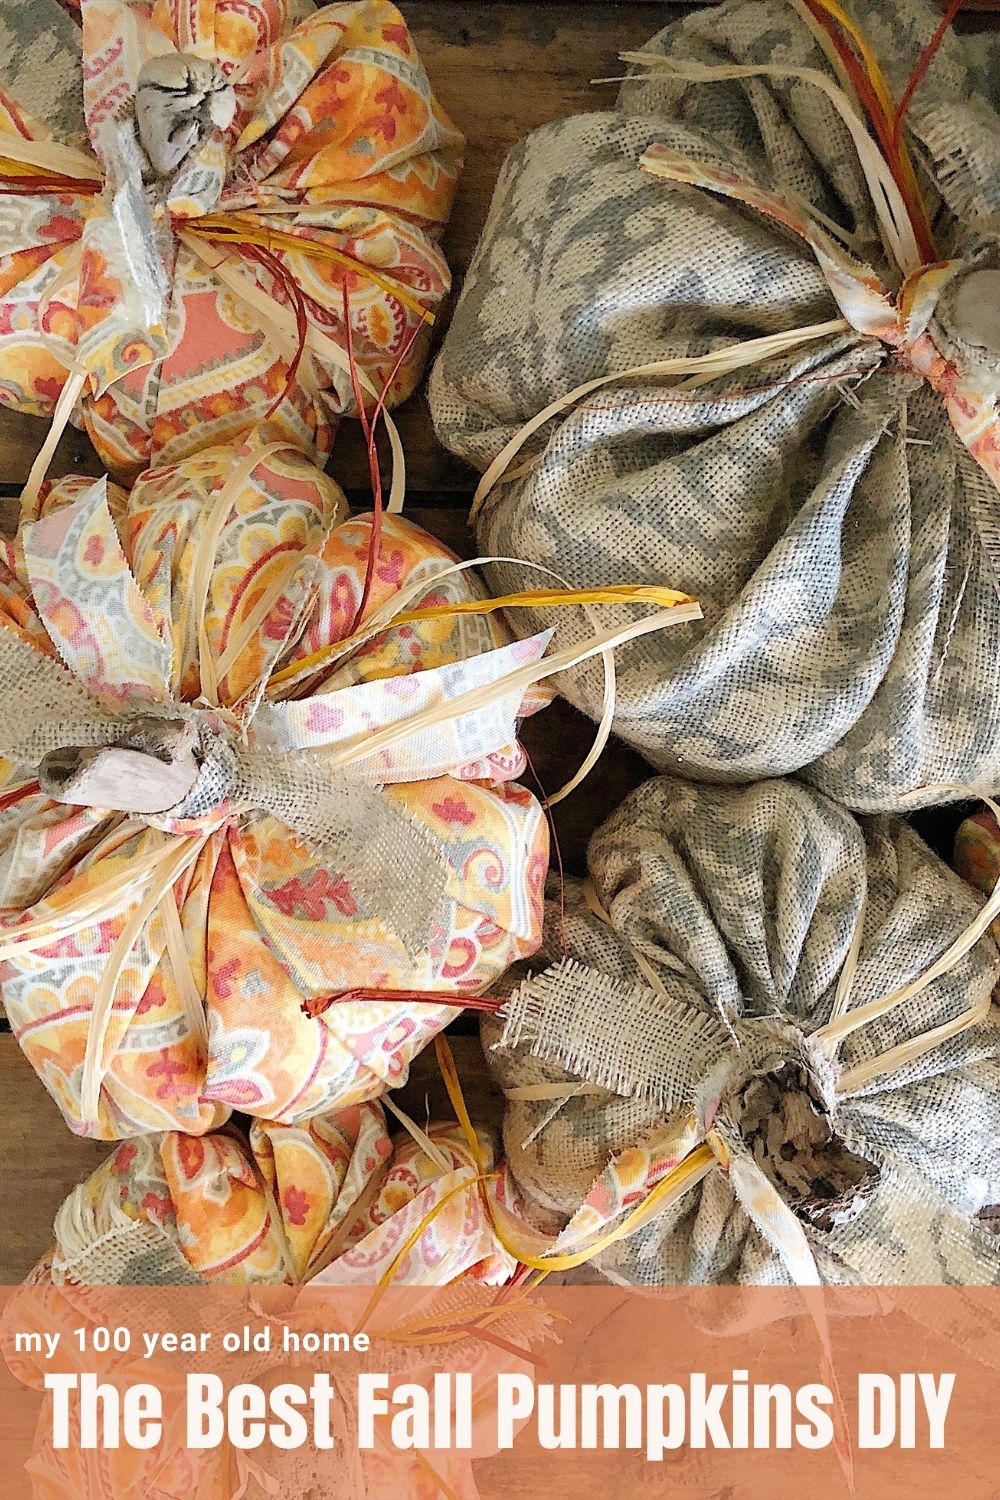
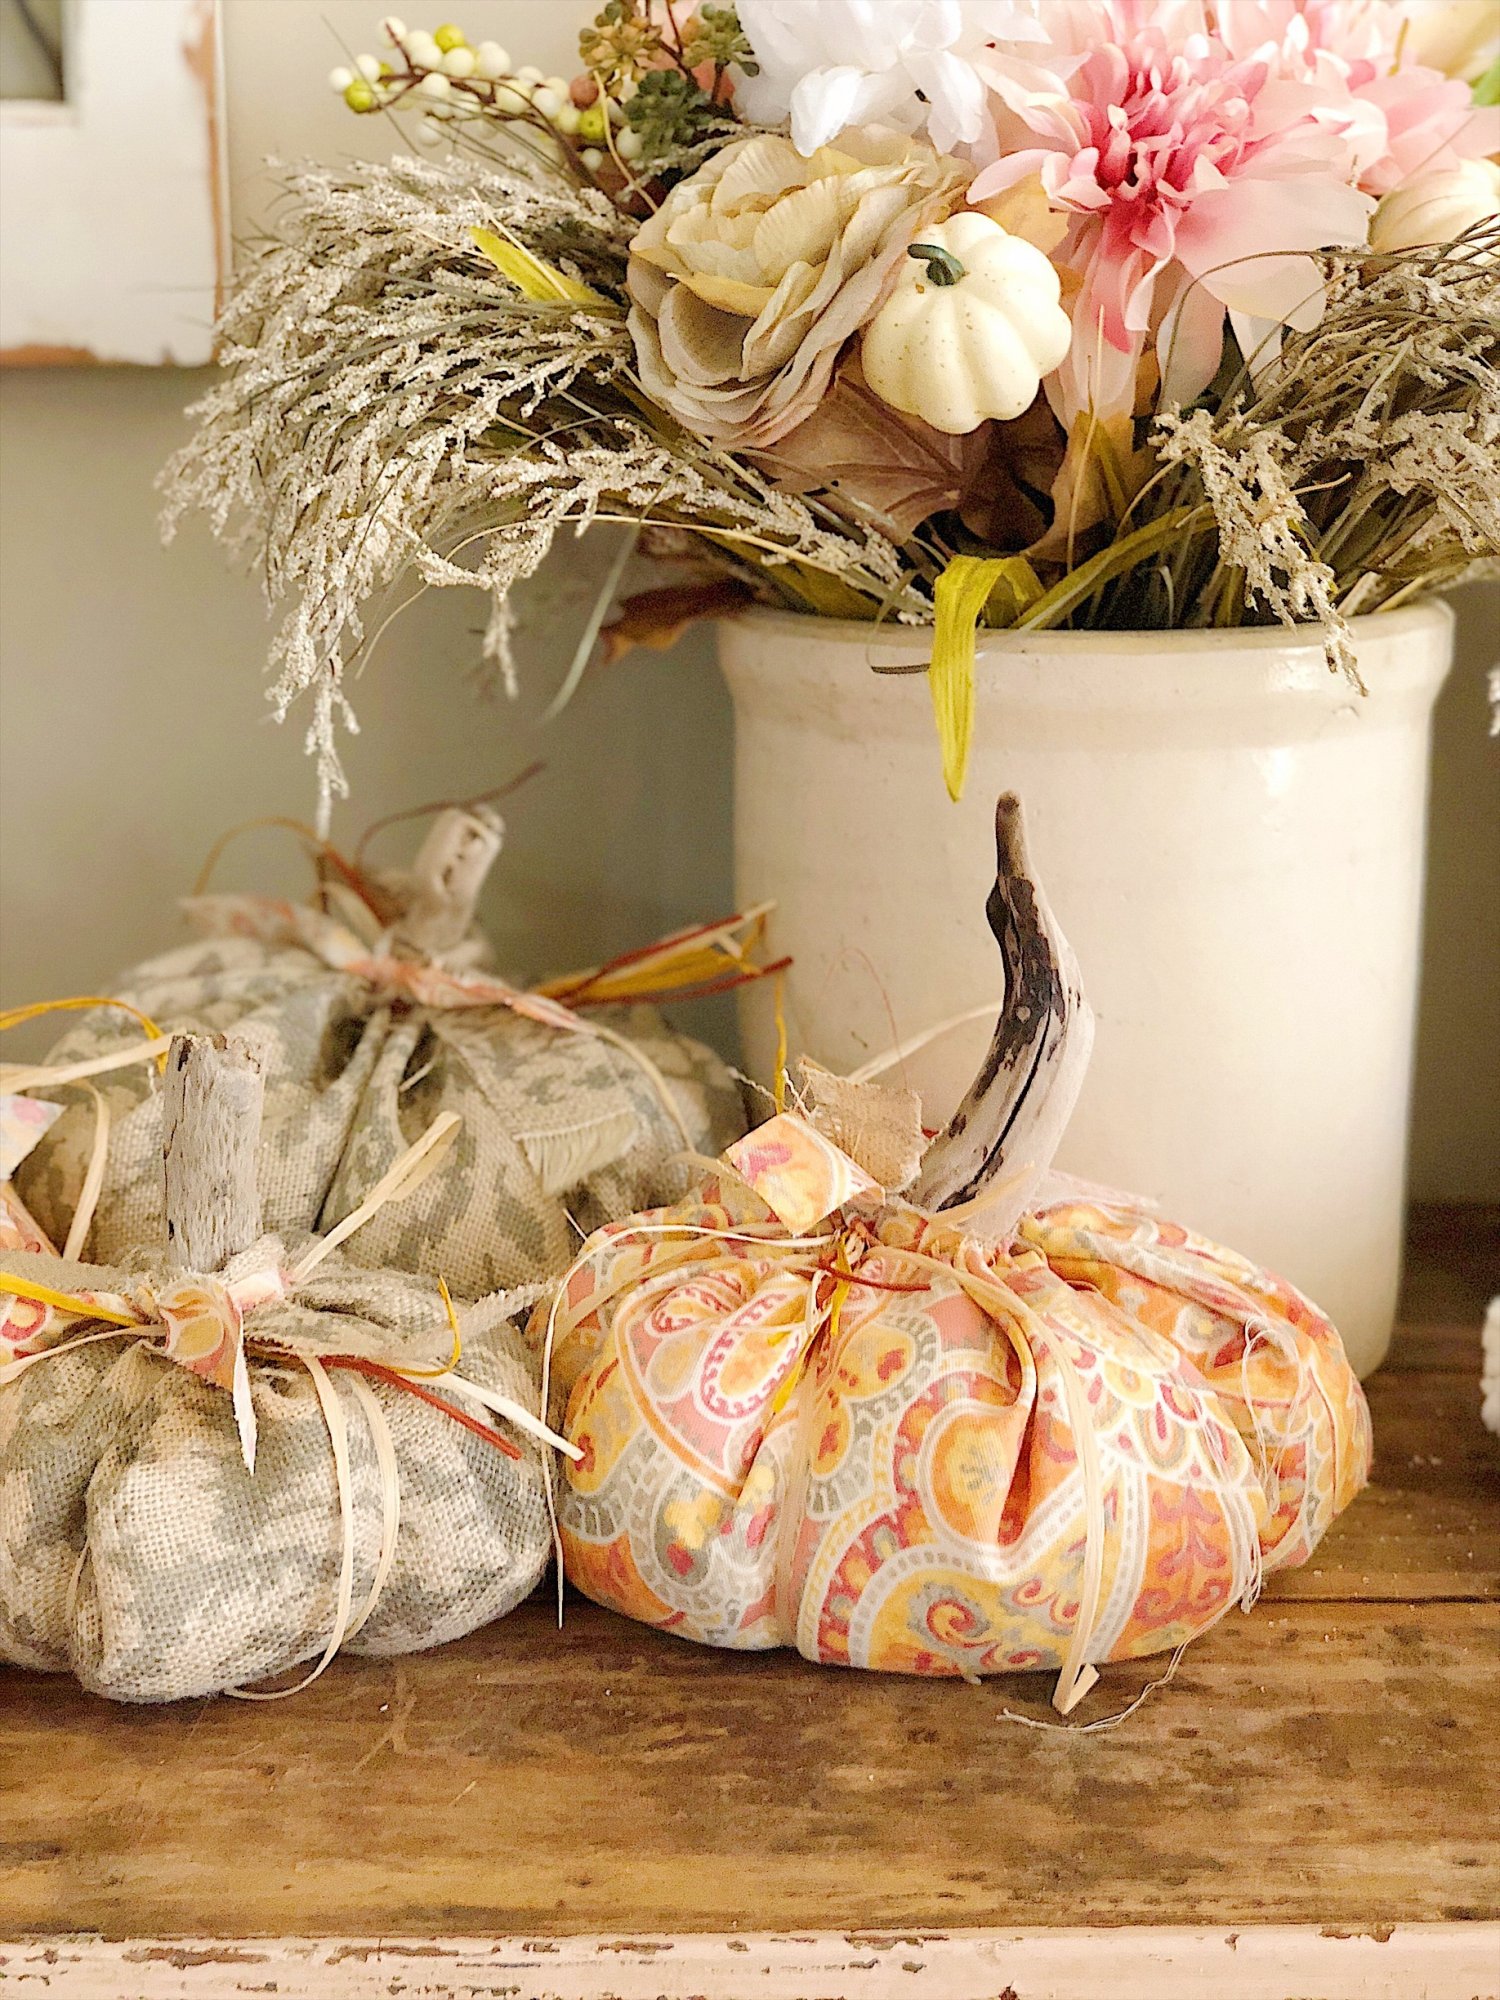
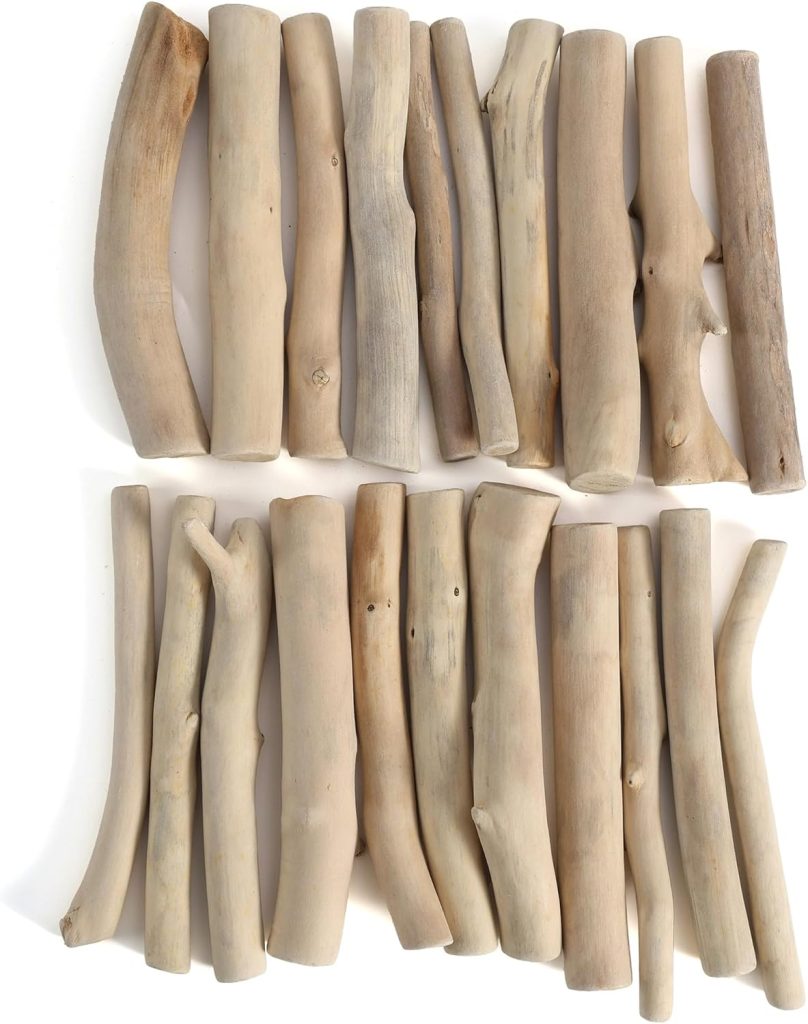
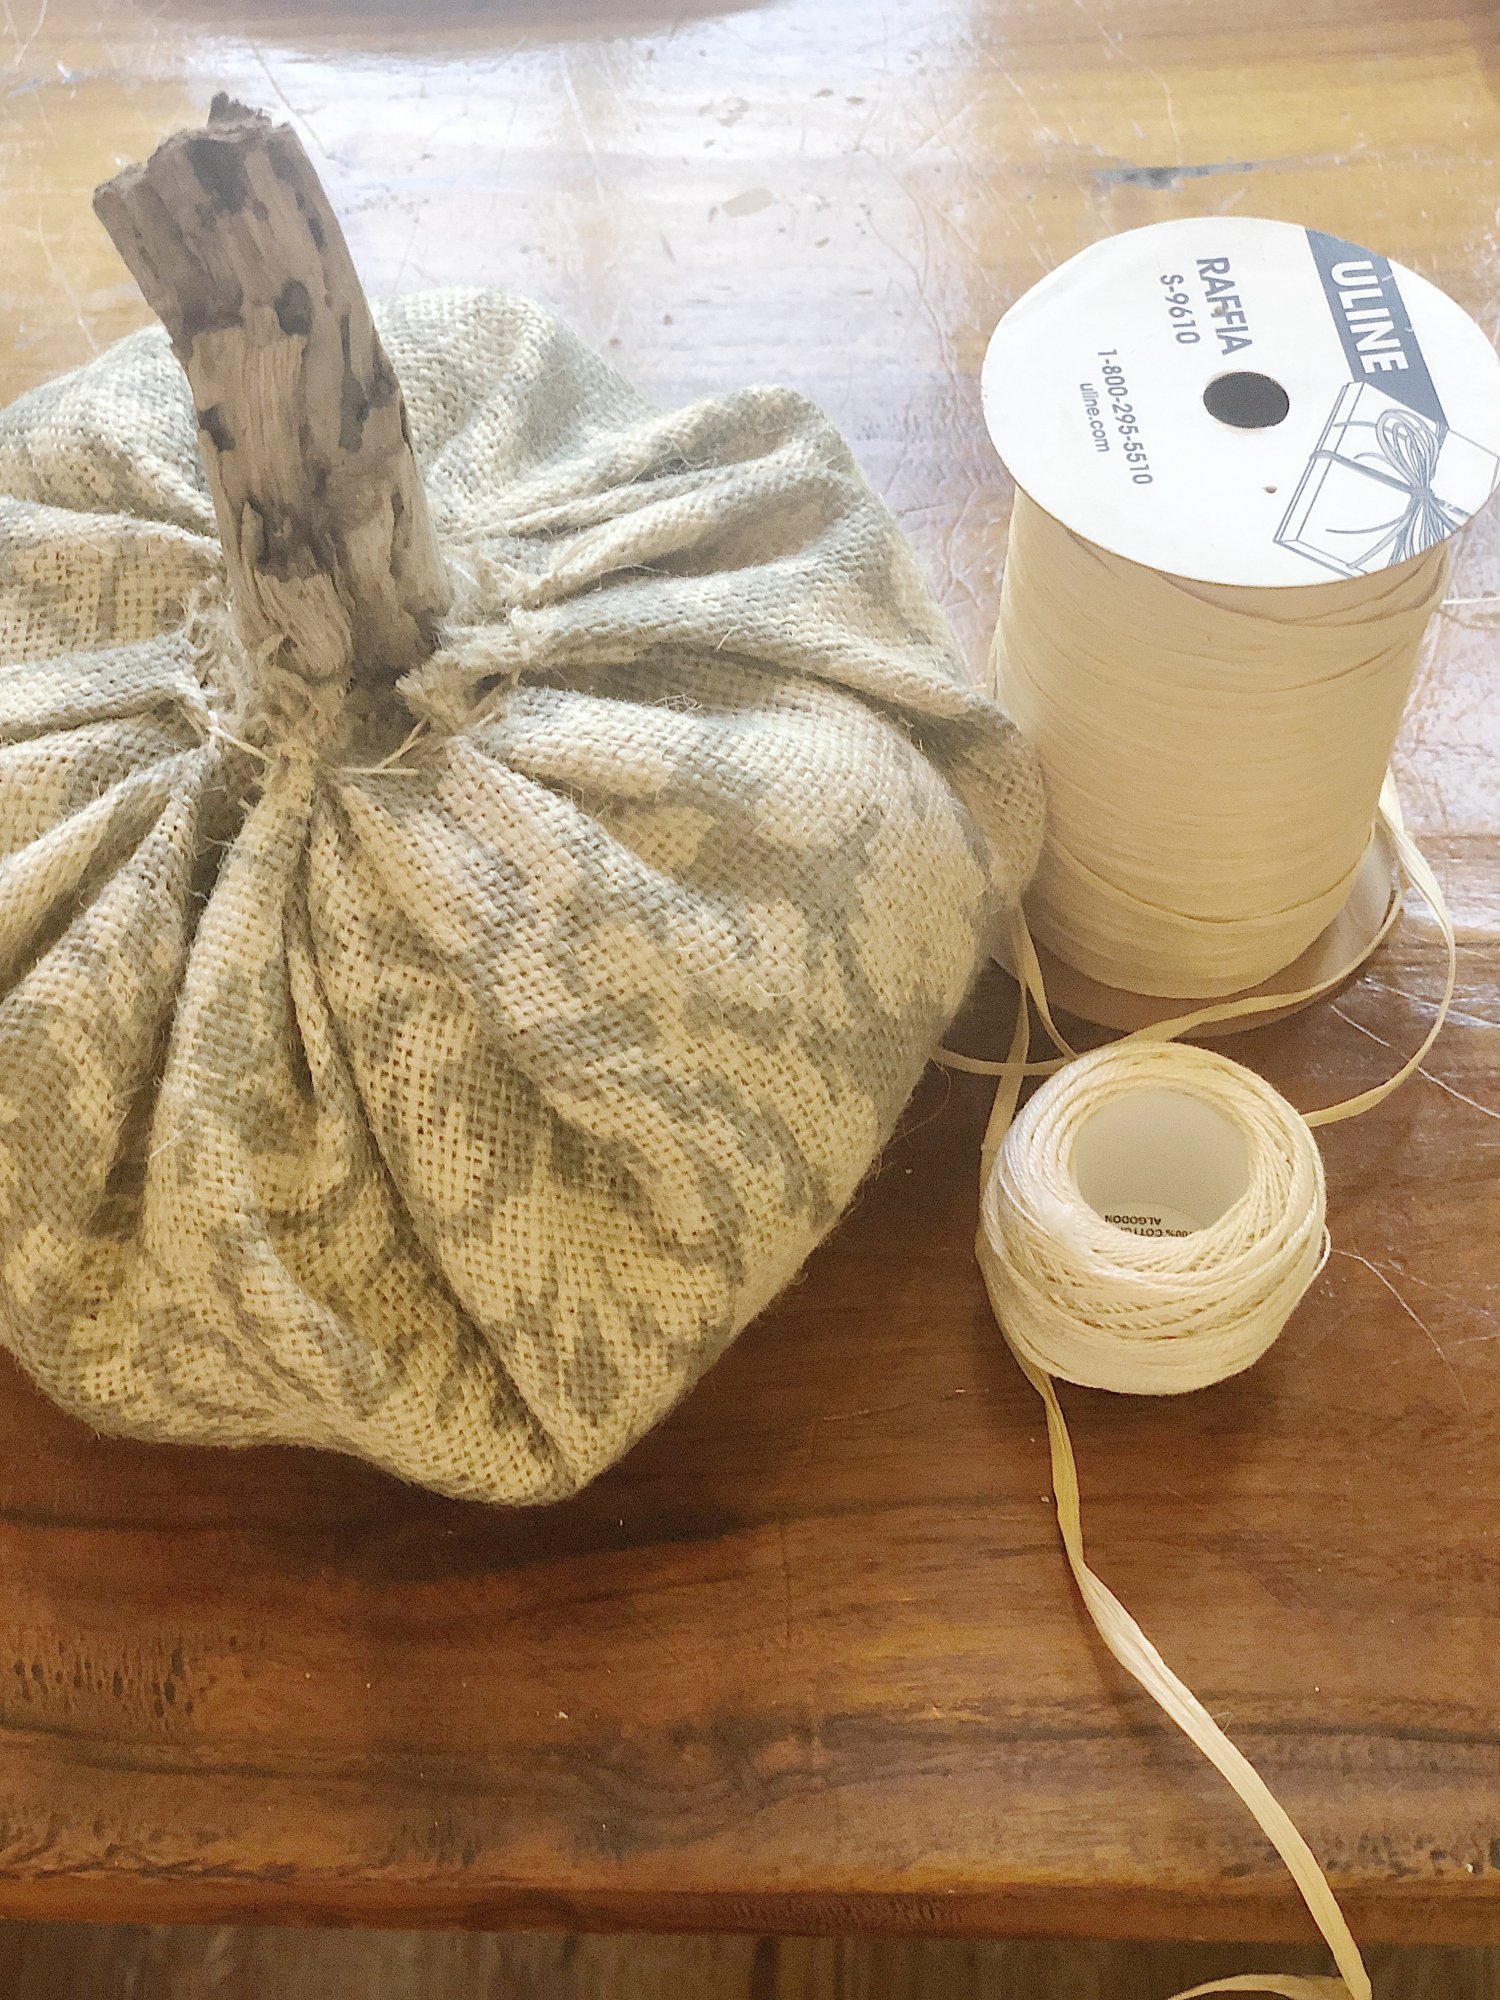
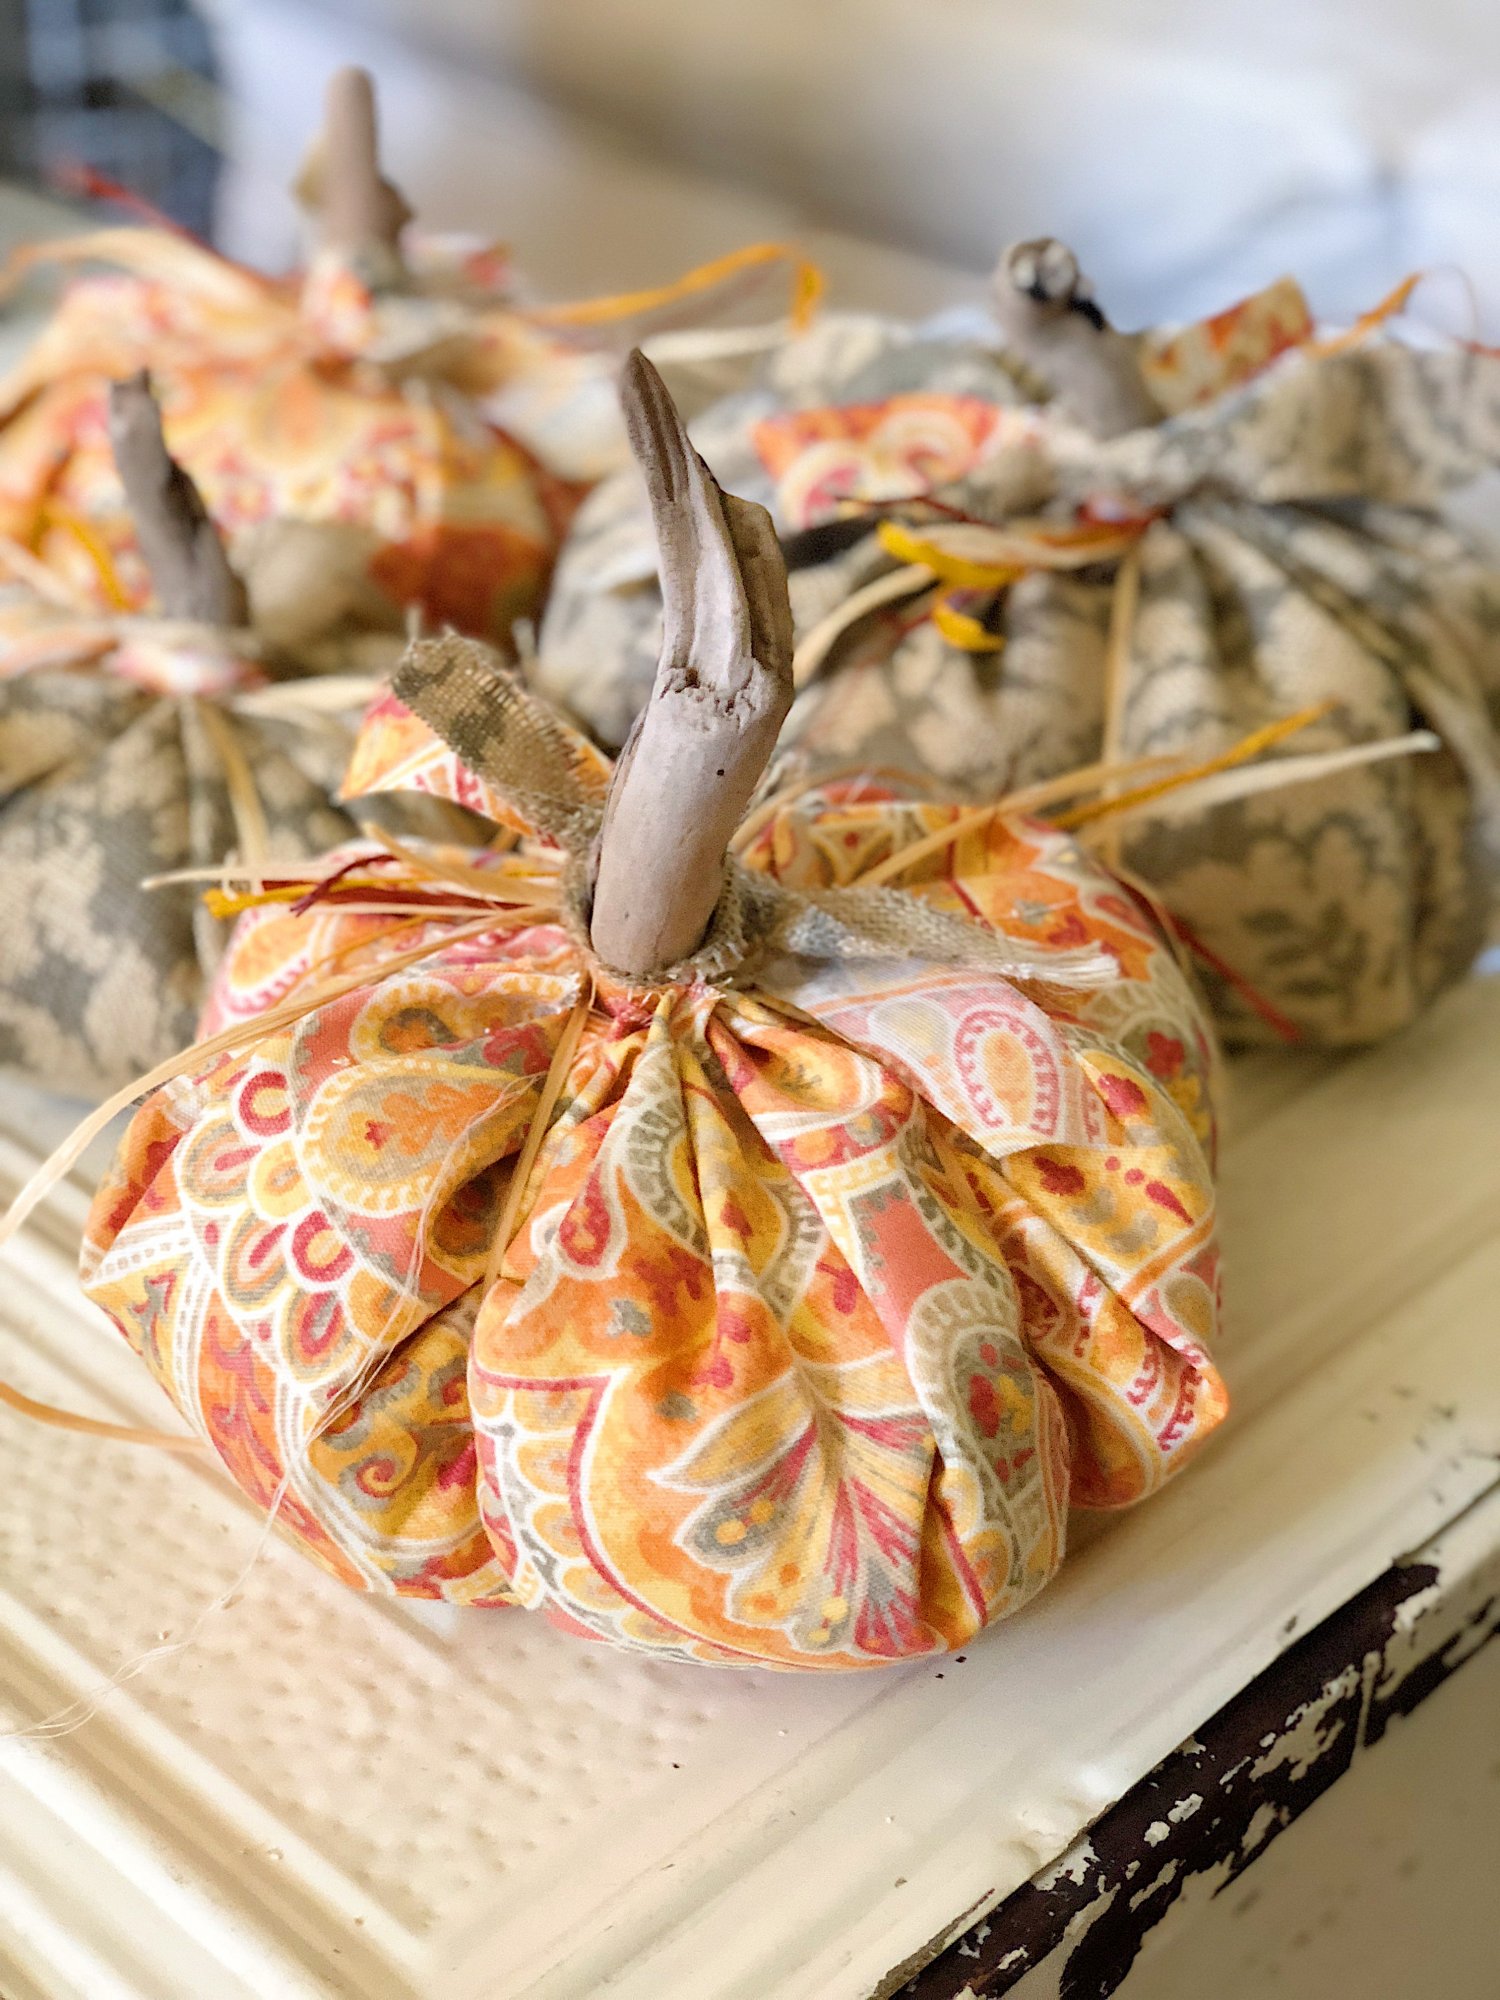
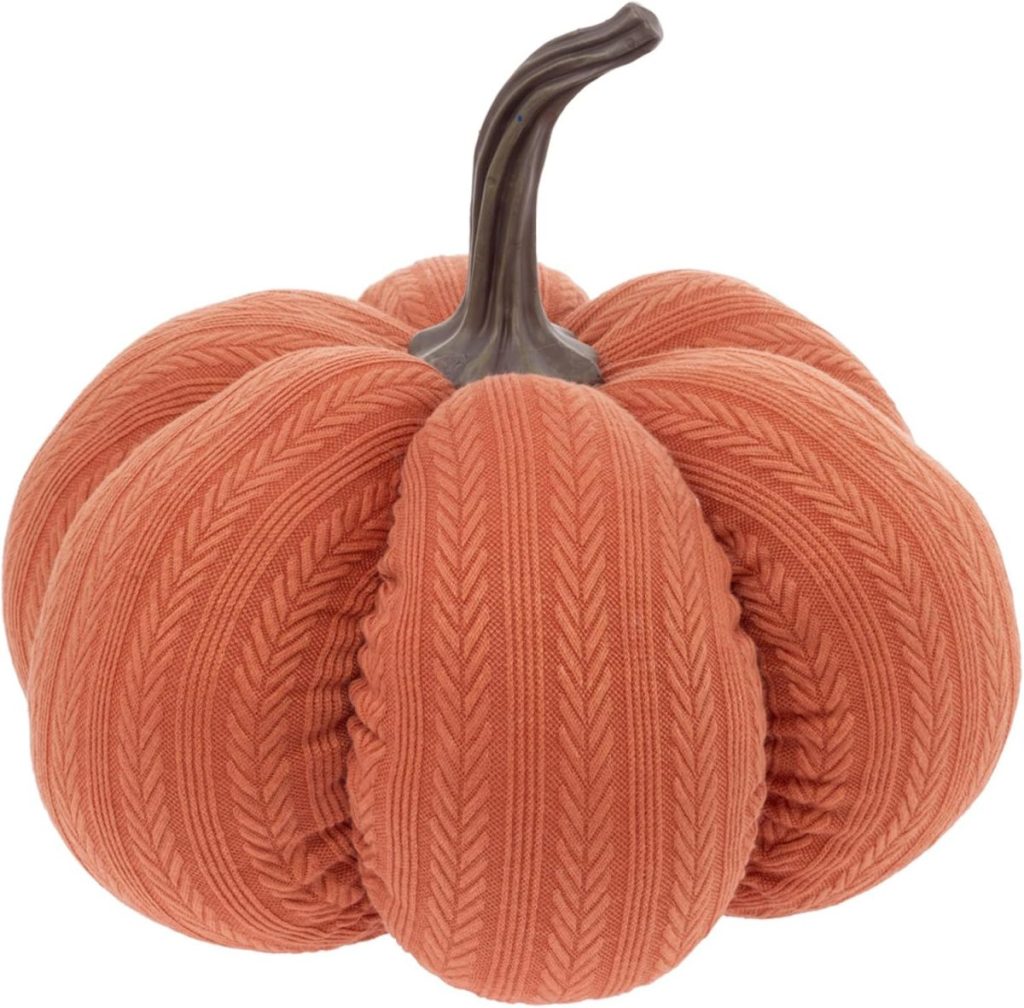
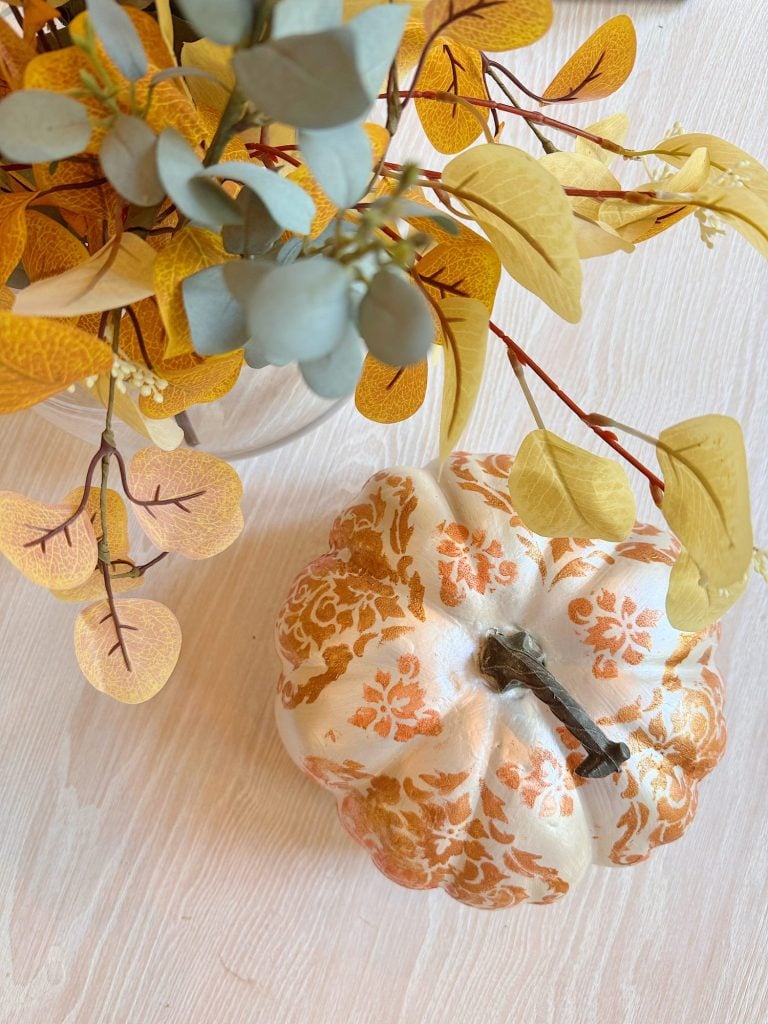
These fall pumpkins are filled with rice and polyfill, and the stems are made from driftwood I collected at the beach. If you can’t get to the beach, use old sticks, cinnamon sticks, and dried fresh pumpkin stems.
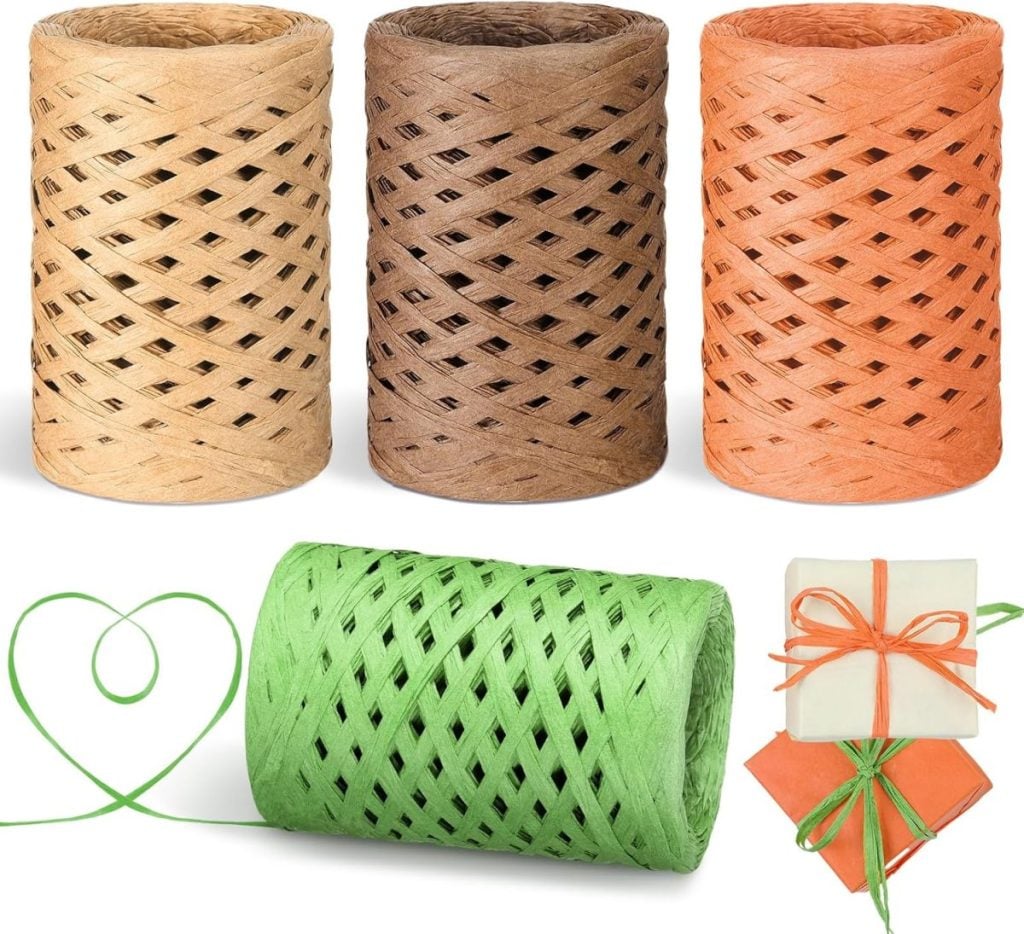
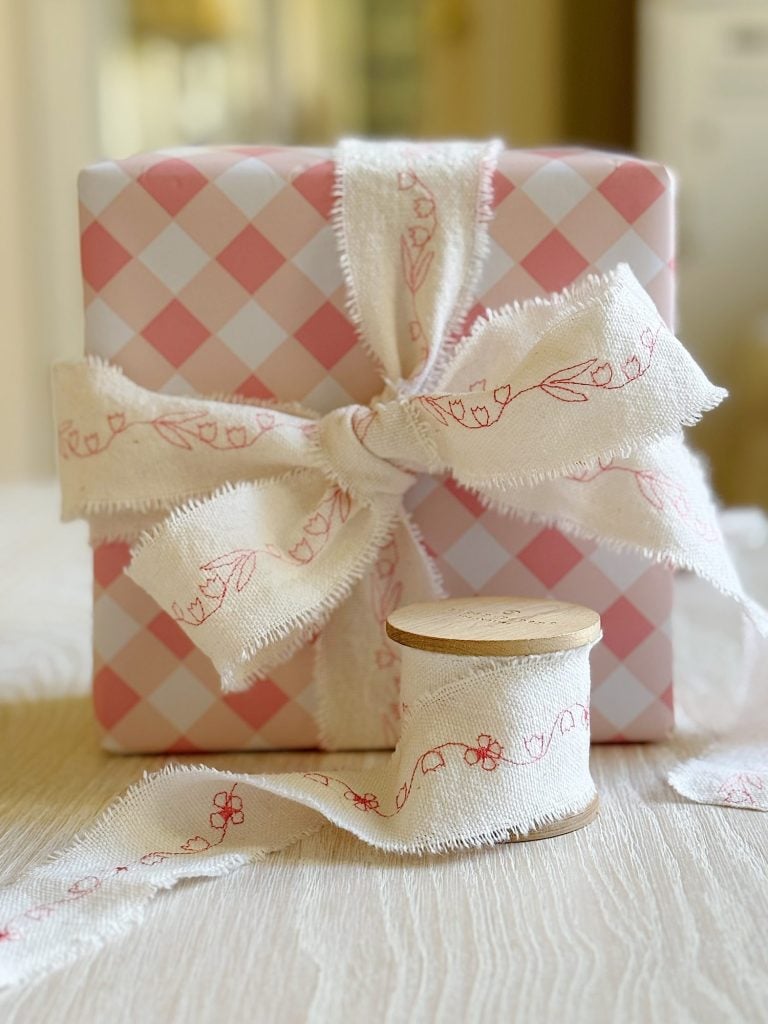
I tied the pumpkins with raffia and ribbons that I made from the fabric. I love how the colors work with all of the fall decor throughout our home.
On this blog, I may sometimes use affiliate links, which means a small commission is earned if you purchase via the link. The price will be the same whether you use the affiliate link or go directly to the vendor’s website using a non-affiliate link.
Easy Fabric Pumpkins

As I mentioned, my goal is always to make something that looks amazing but is easy to make. These pumpkins fit both of those requirements.
How is that? Most of us can cut a circle and use a needle and thread. We can also stuff a pocket of fabric with rice and Poly-fil. And I know we all know how to tie a bow.
Those are pretty much the only skills needed to make these pumpkins.
Let’s get started!
How to Make Fall Pumpkins
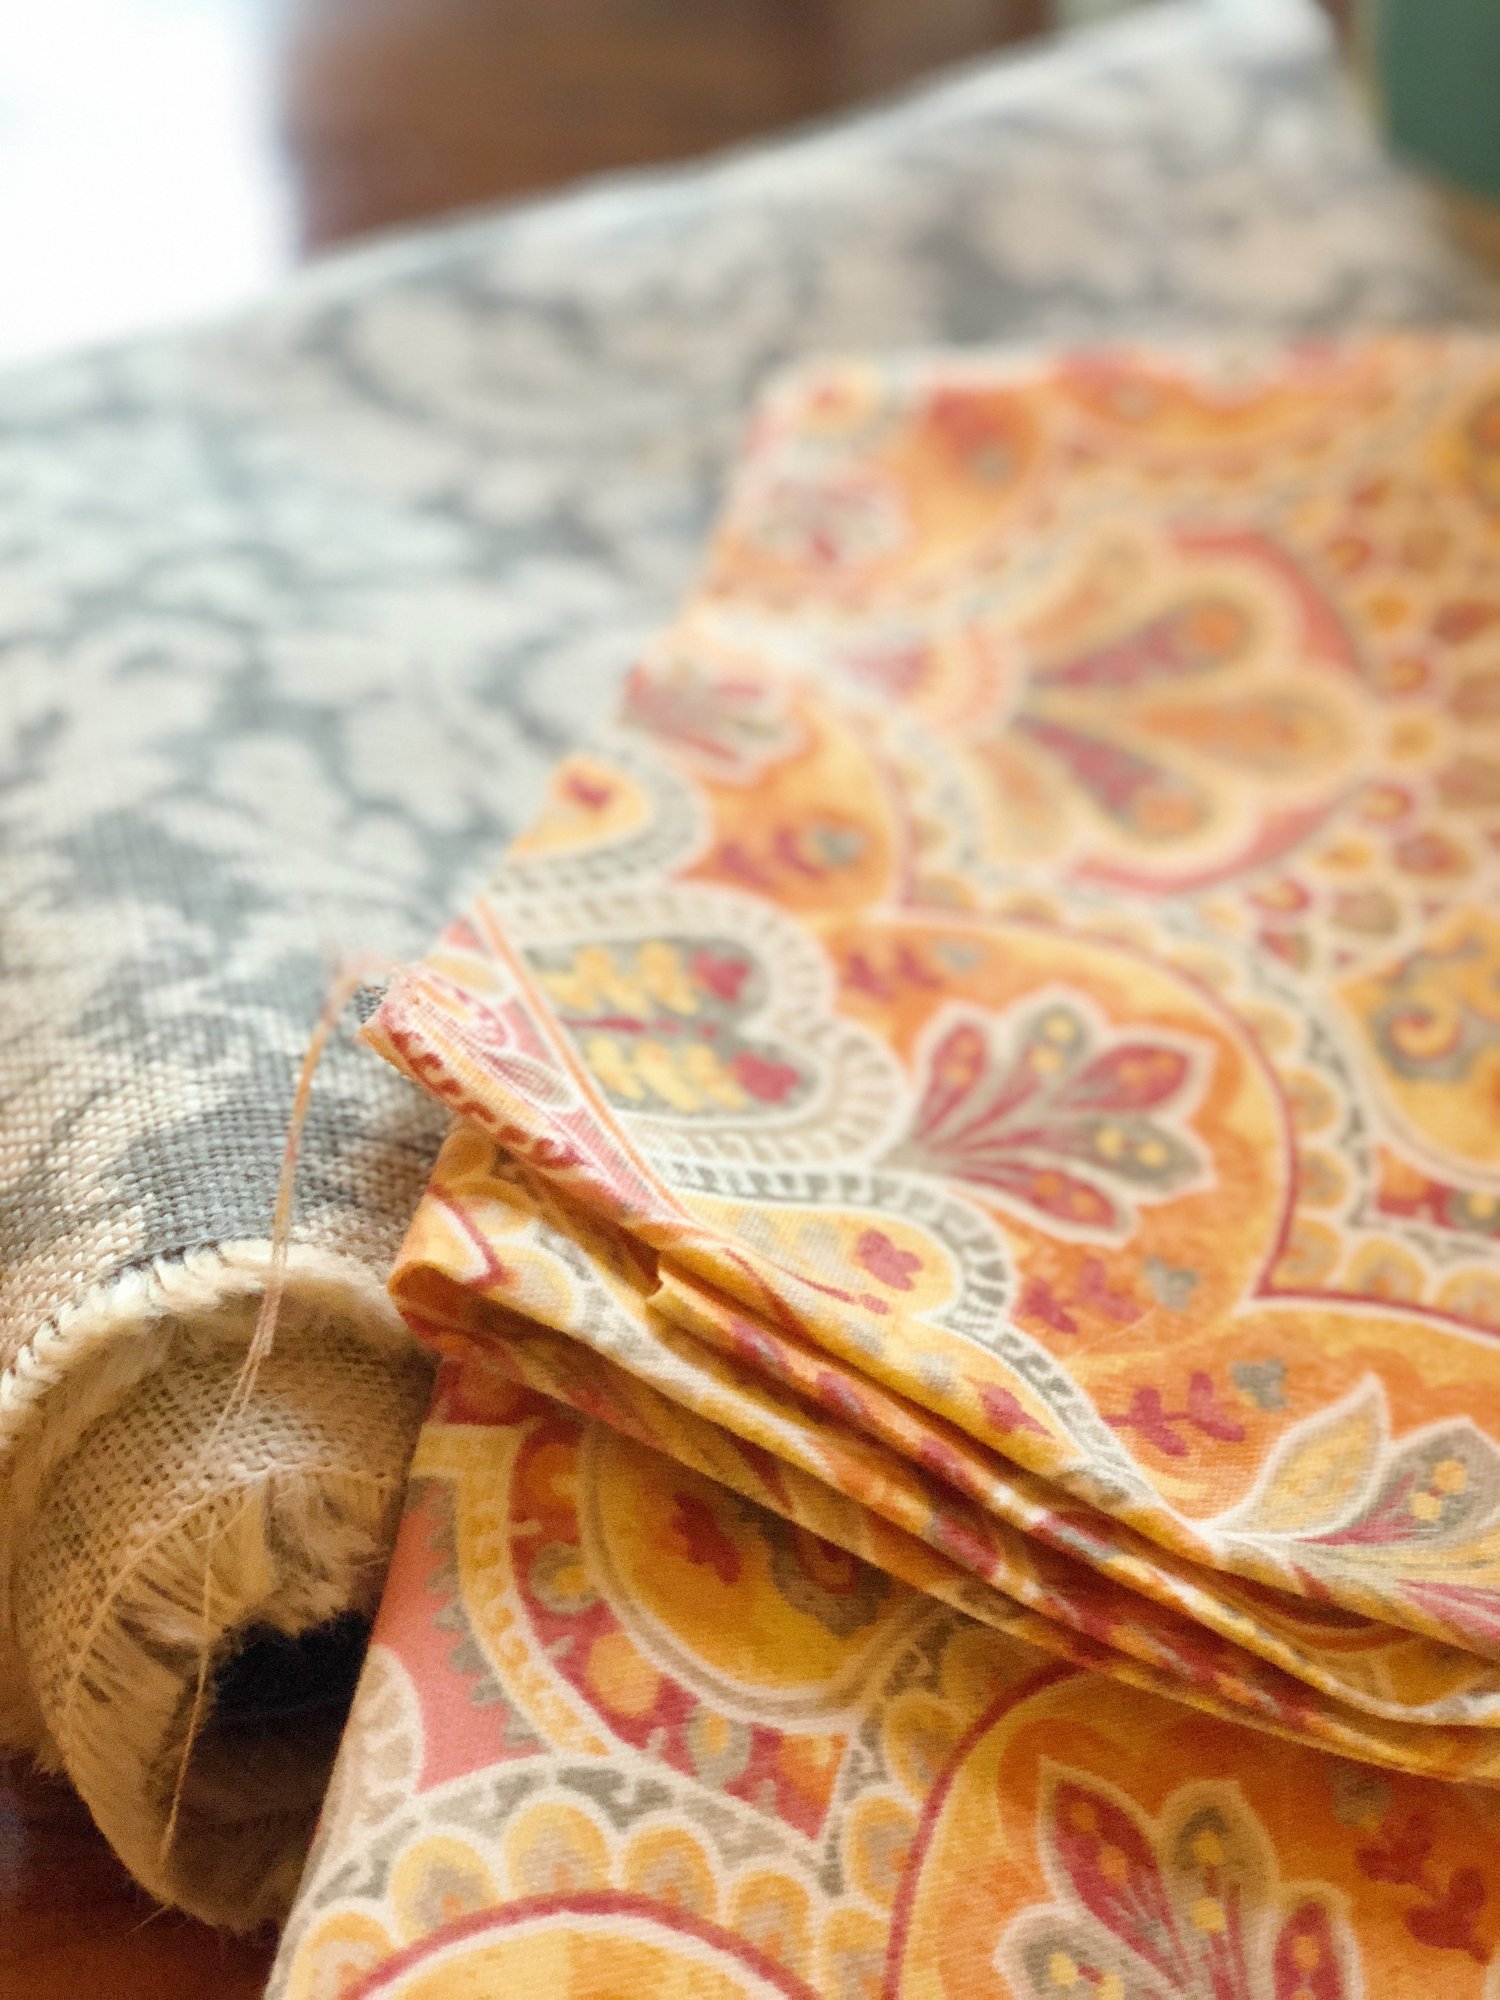
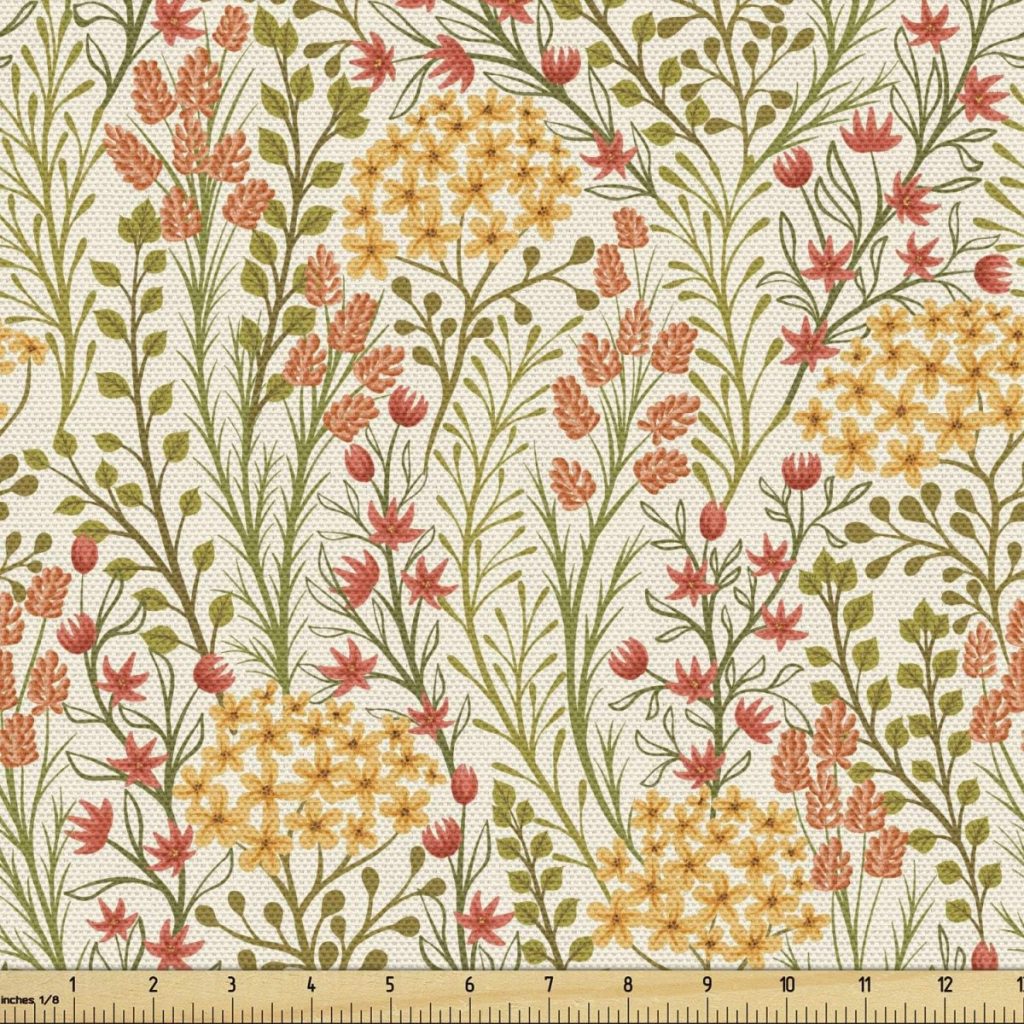
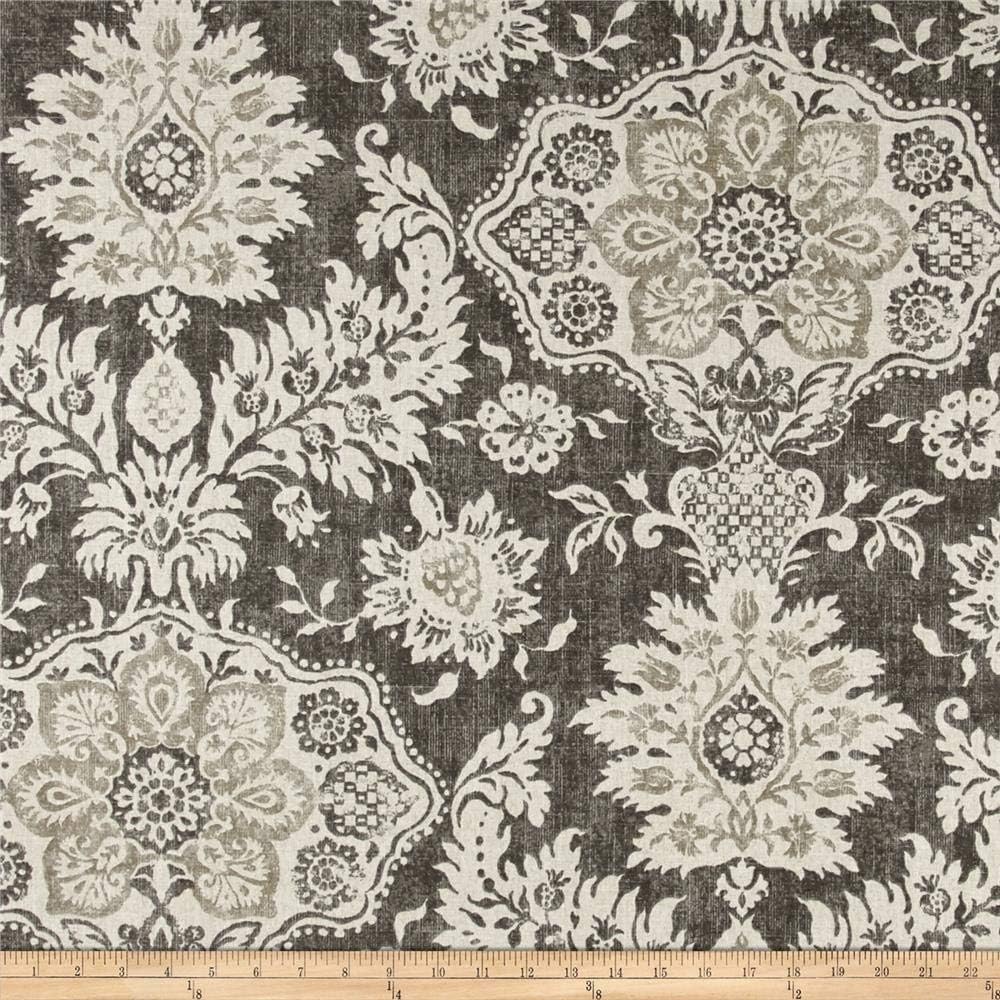
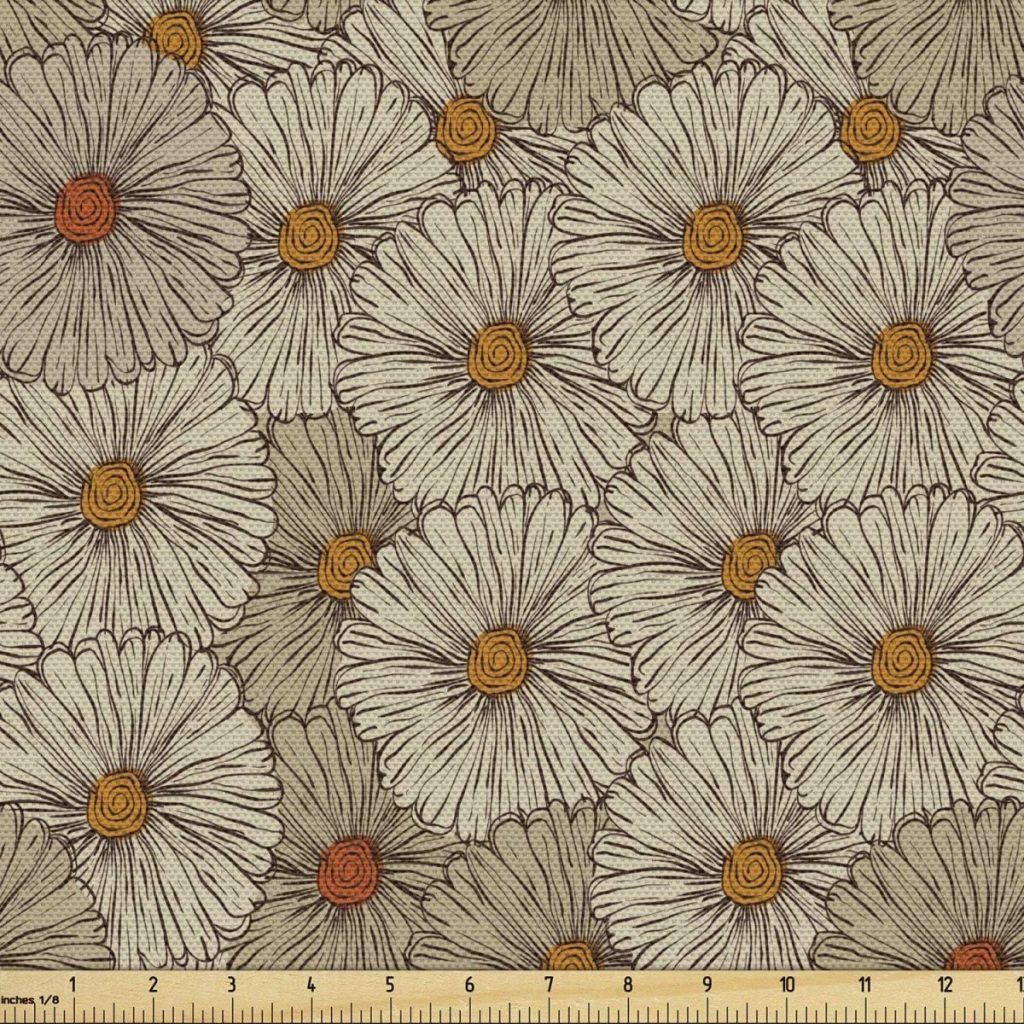
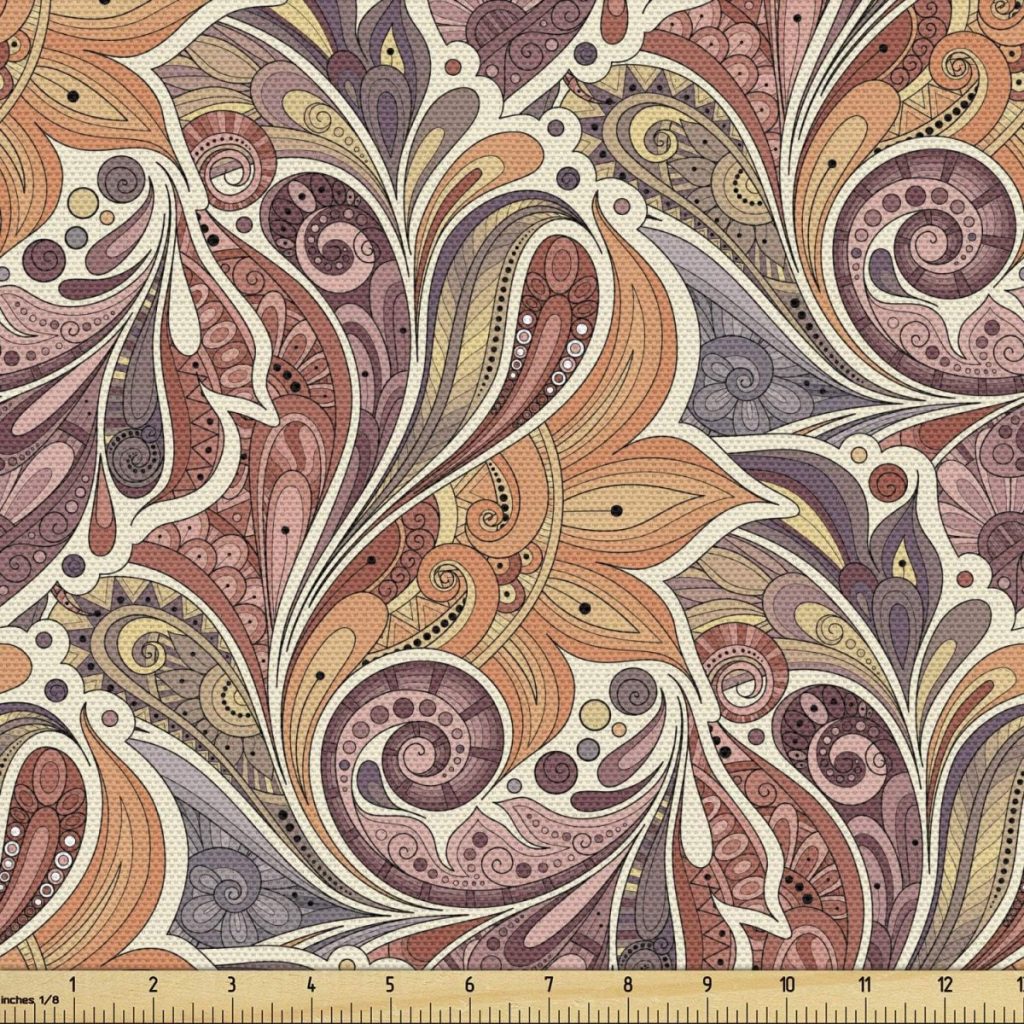
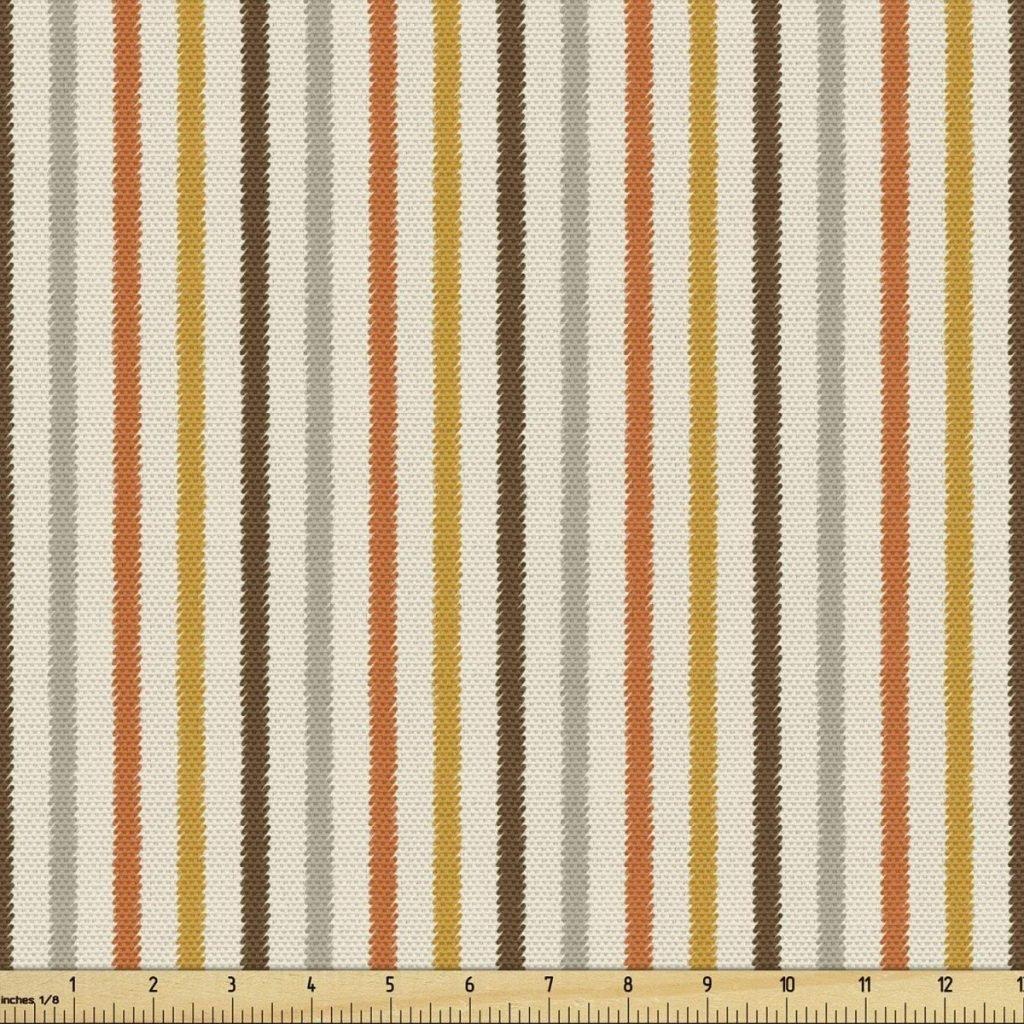
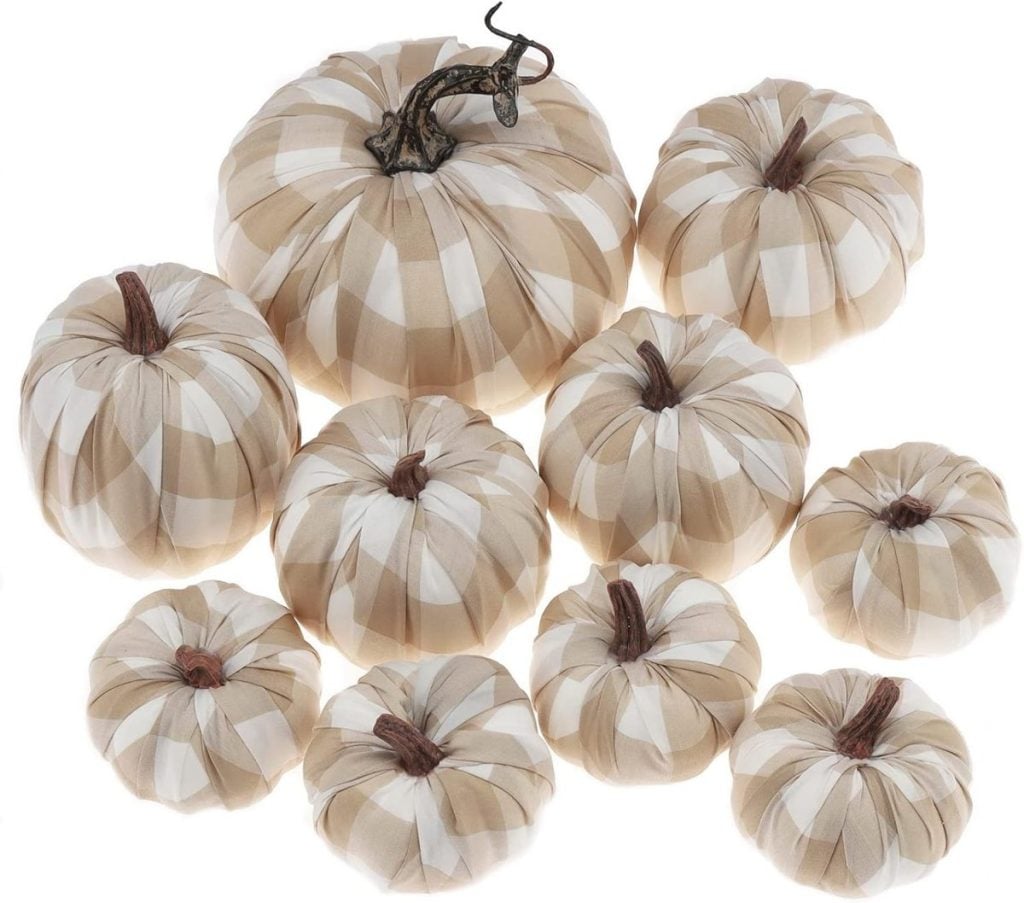
You can use any fall fabric you want for these pumpkins. I love to work with decor fabric because it is a bit heavier and longer-lasting. It also holds its shape better.
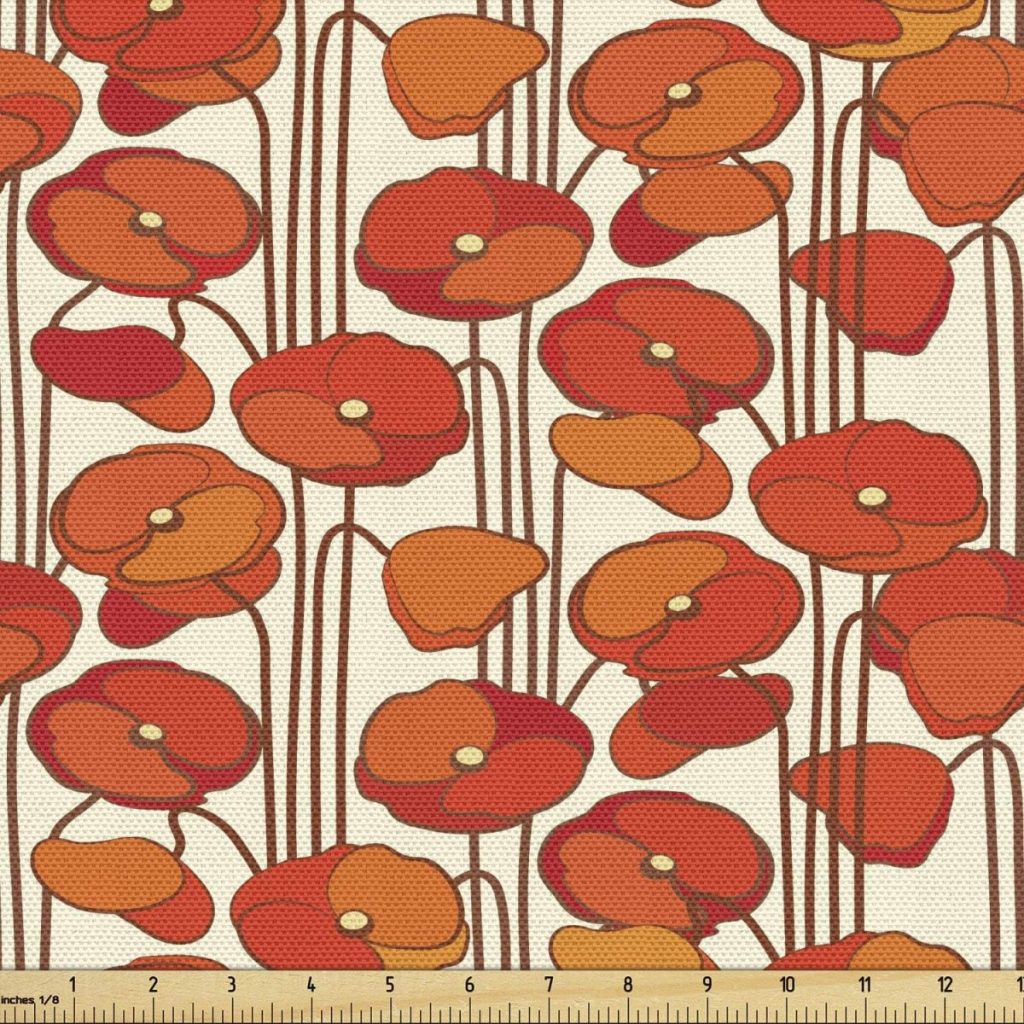
There are so many fabrics you can use to make these pumpkins. Combined with the colorful orange fabric, it’s unexpected, and I think the pumpkins turned out great.
What You Need to Make Fabric Pumpkins

Materials List
- fabric (I used 1/2 yard of two decor fabrics, and I love them)
- large needle and thread
- circle template – 10″, 14″, and 19″ (or any similar sizes).
- hot glue gun and sticks
- driftwood or small branches (for stems)
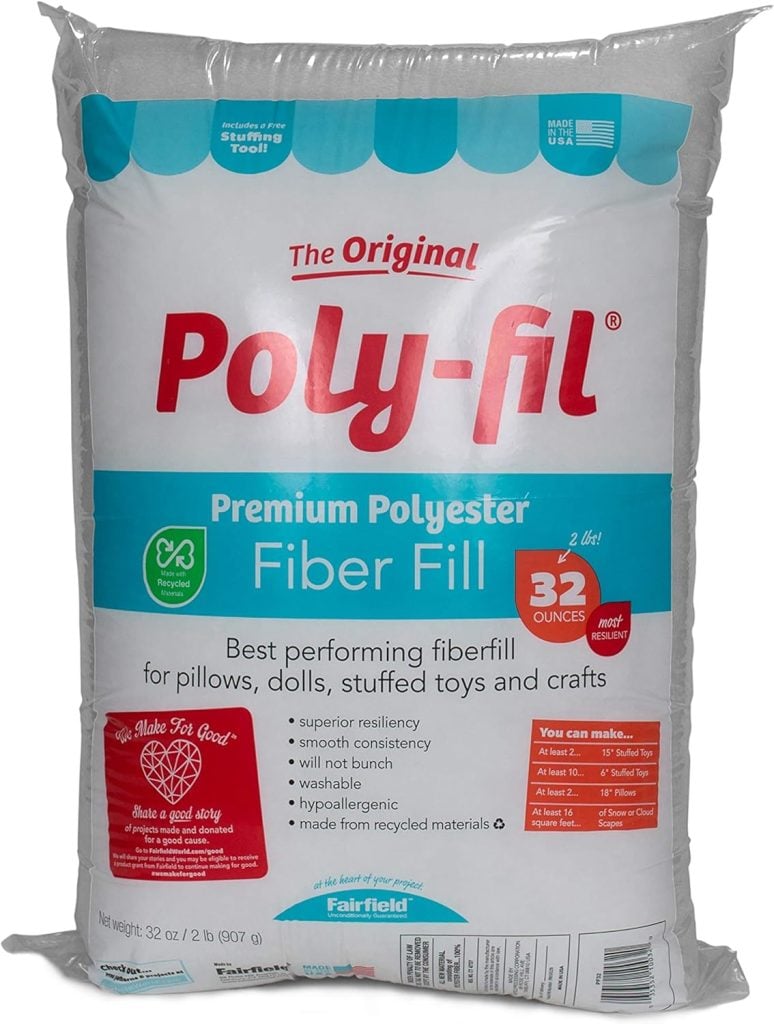
- polyfill
- one bag of rice
- autumn themed raffia


Step-by-Step DIY Instructions
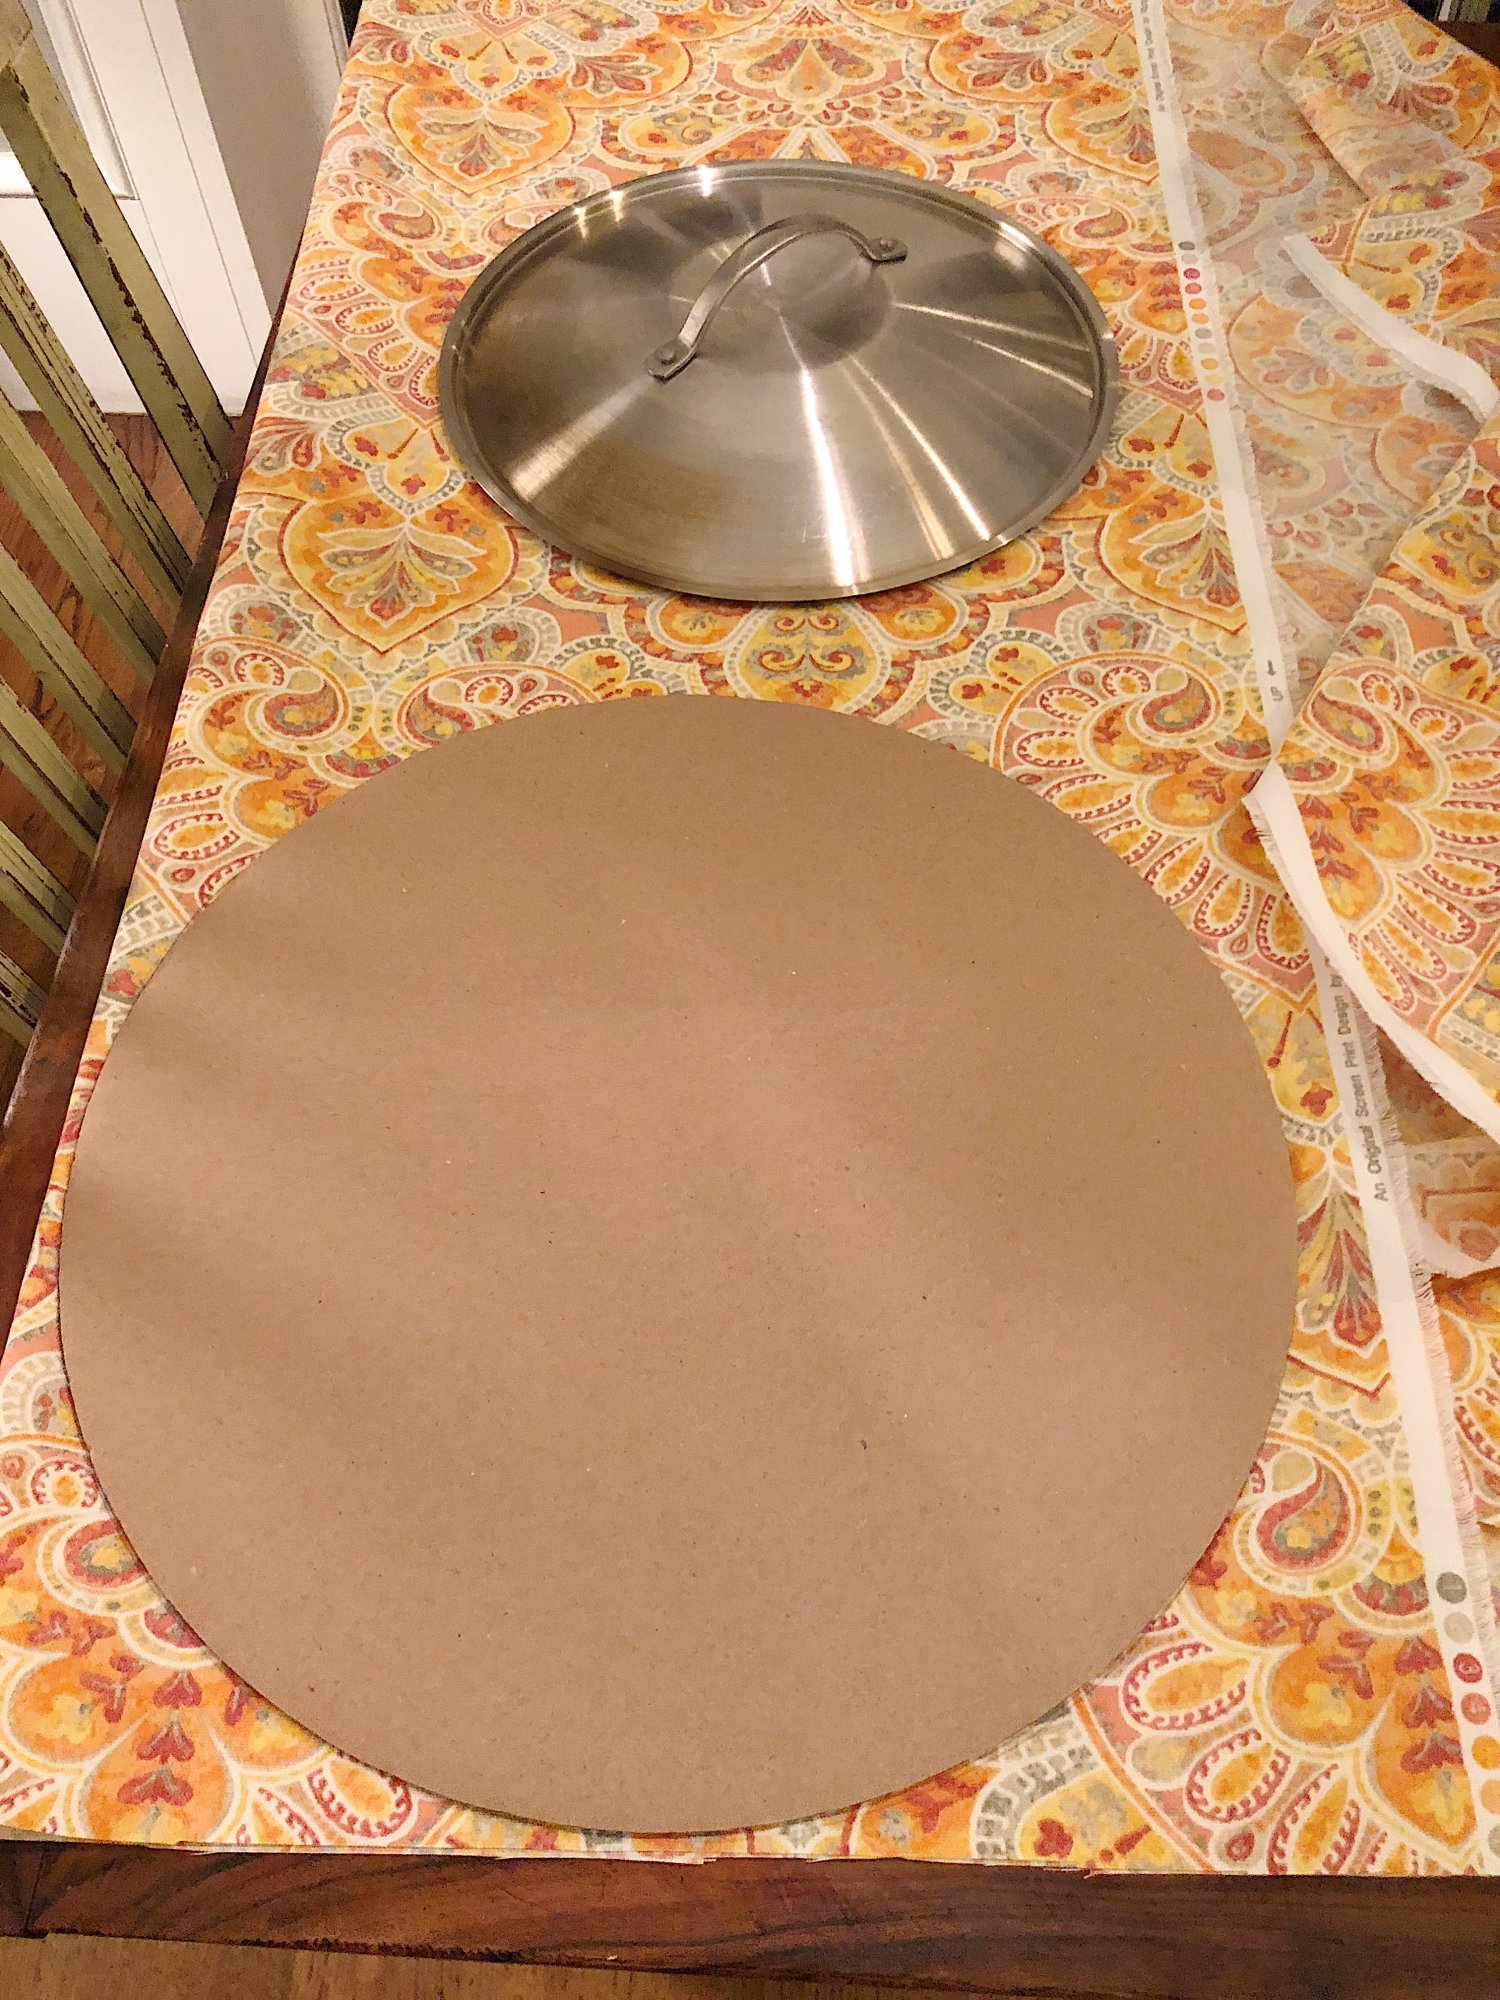
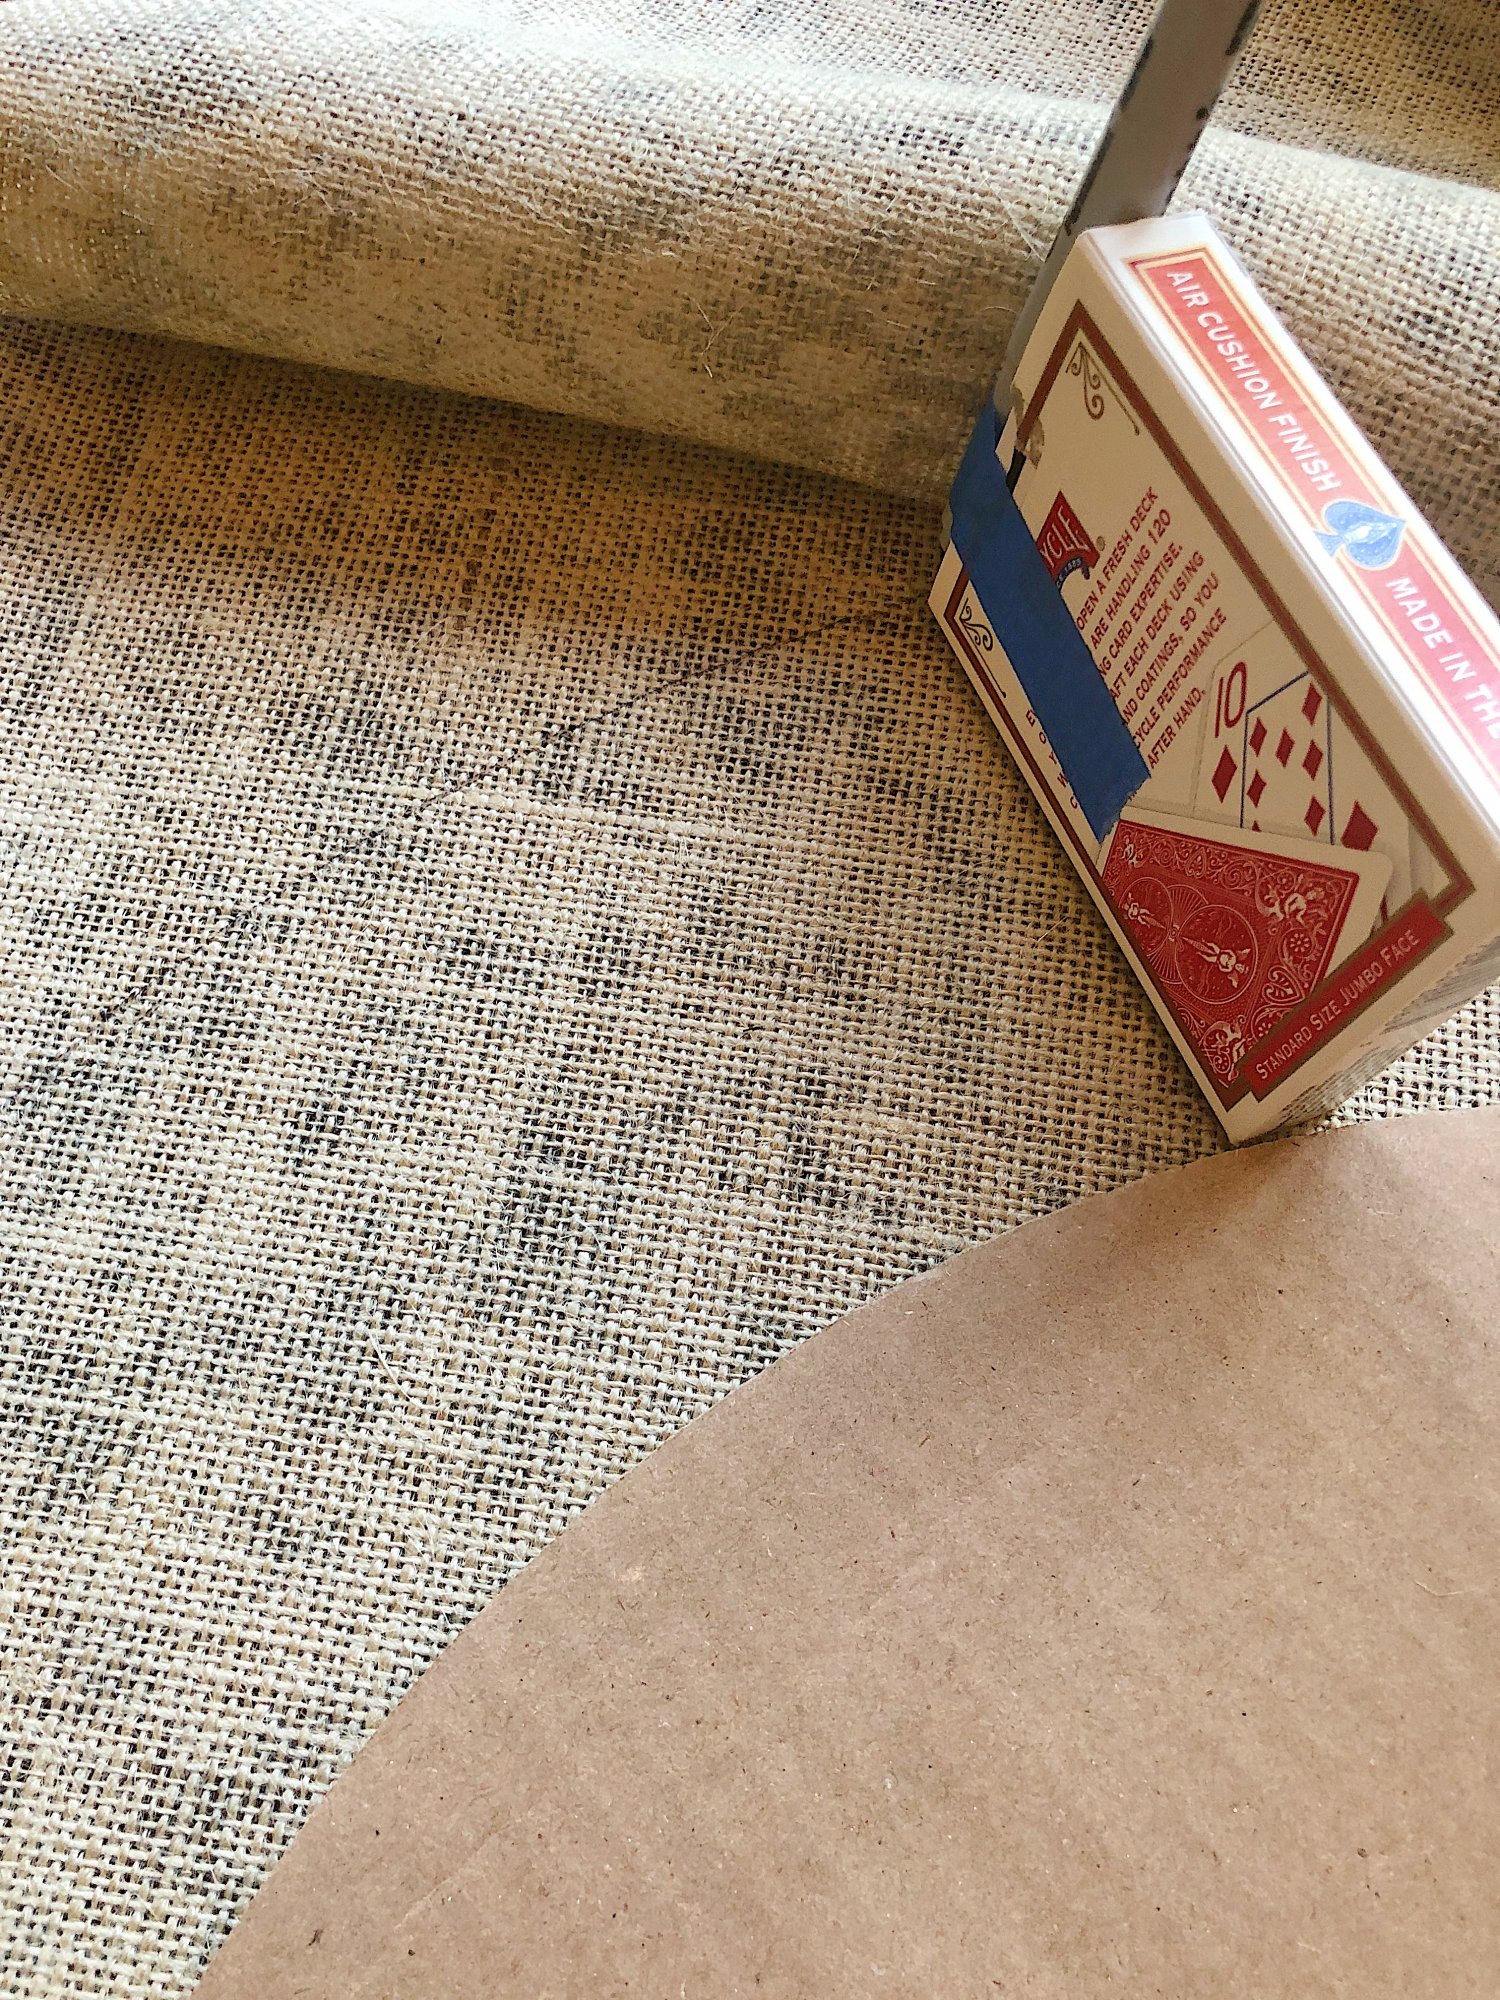

- one – As you can see in both photos, I used various round-shaped items in my home as a template. I used a pan lid and a pizza pan to cut my cardboard template and a 14″ template as my sample size.
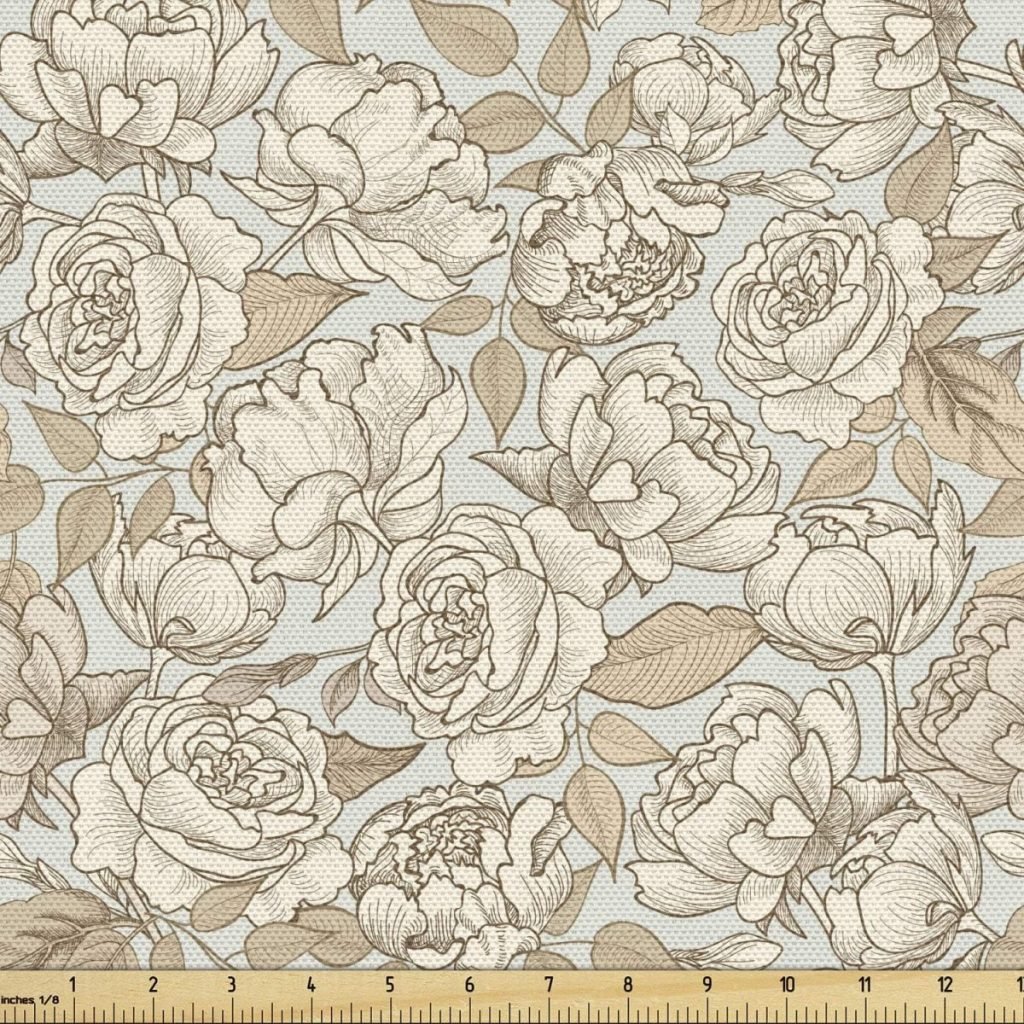
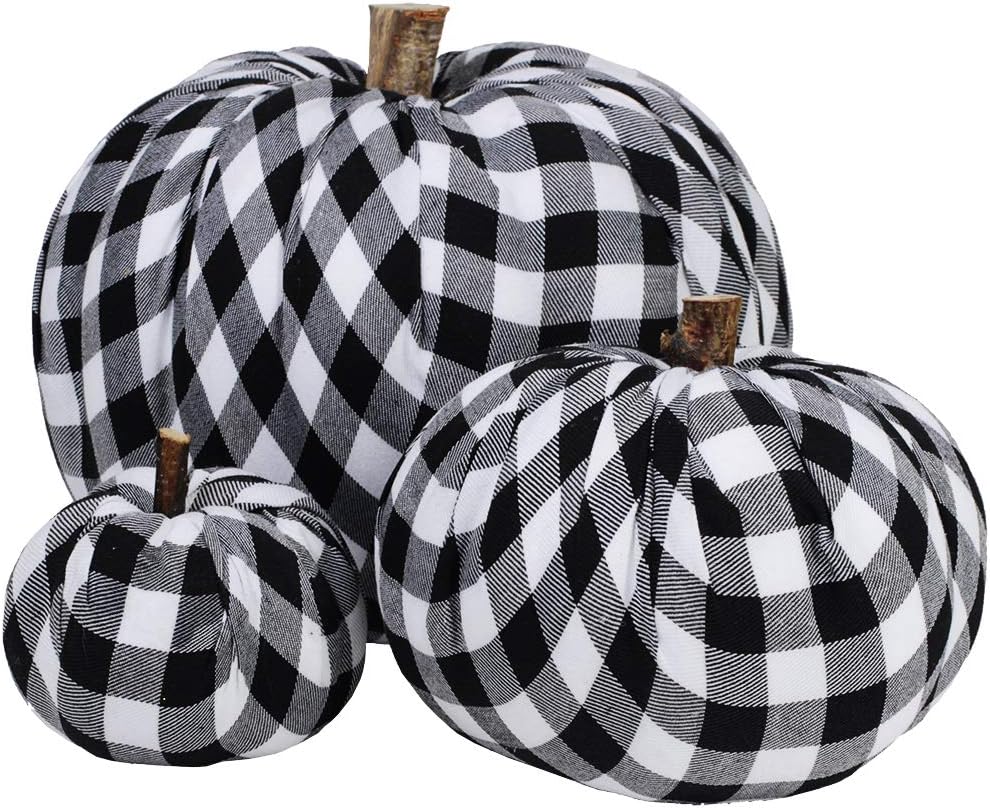
- I am proud of how clever I was to cut a larger one (about 19″) from the grey and white fabric. It is amazing how handy a deck of cards can be at a time like this! (All I did was tape a pen to the deck and carefully outline along the cardboard circle.) Cut one pattern and draw up the fabric at the top to see the finished size of the pumpkin. It’s deceiving how large you need the circle to be!
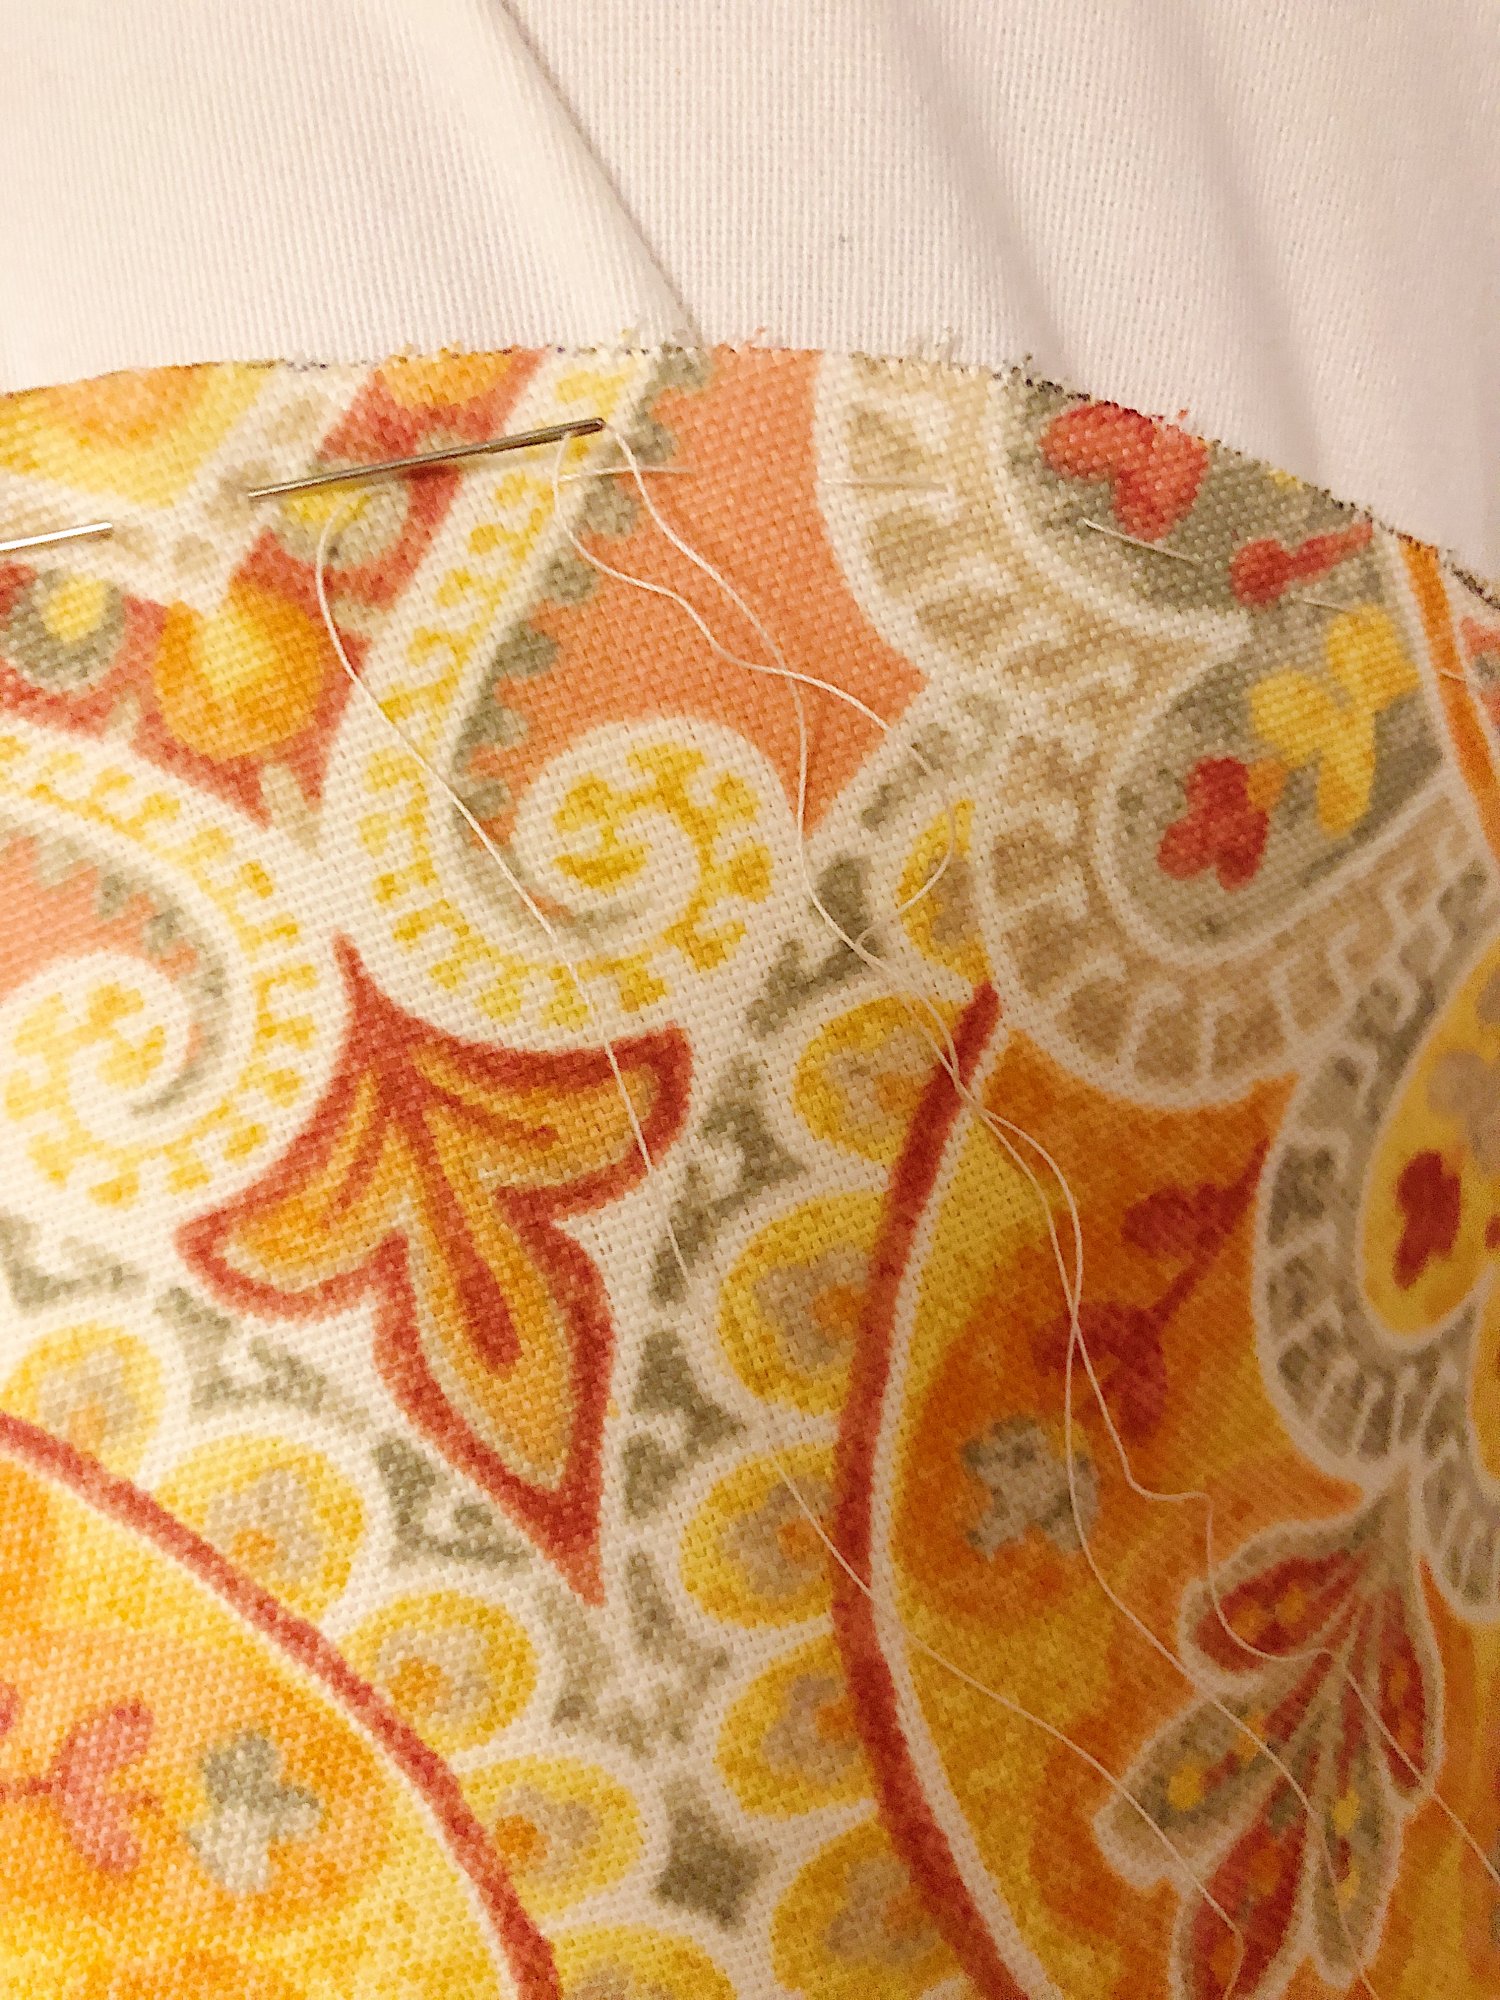
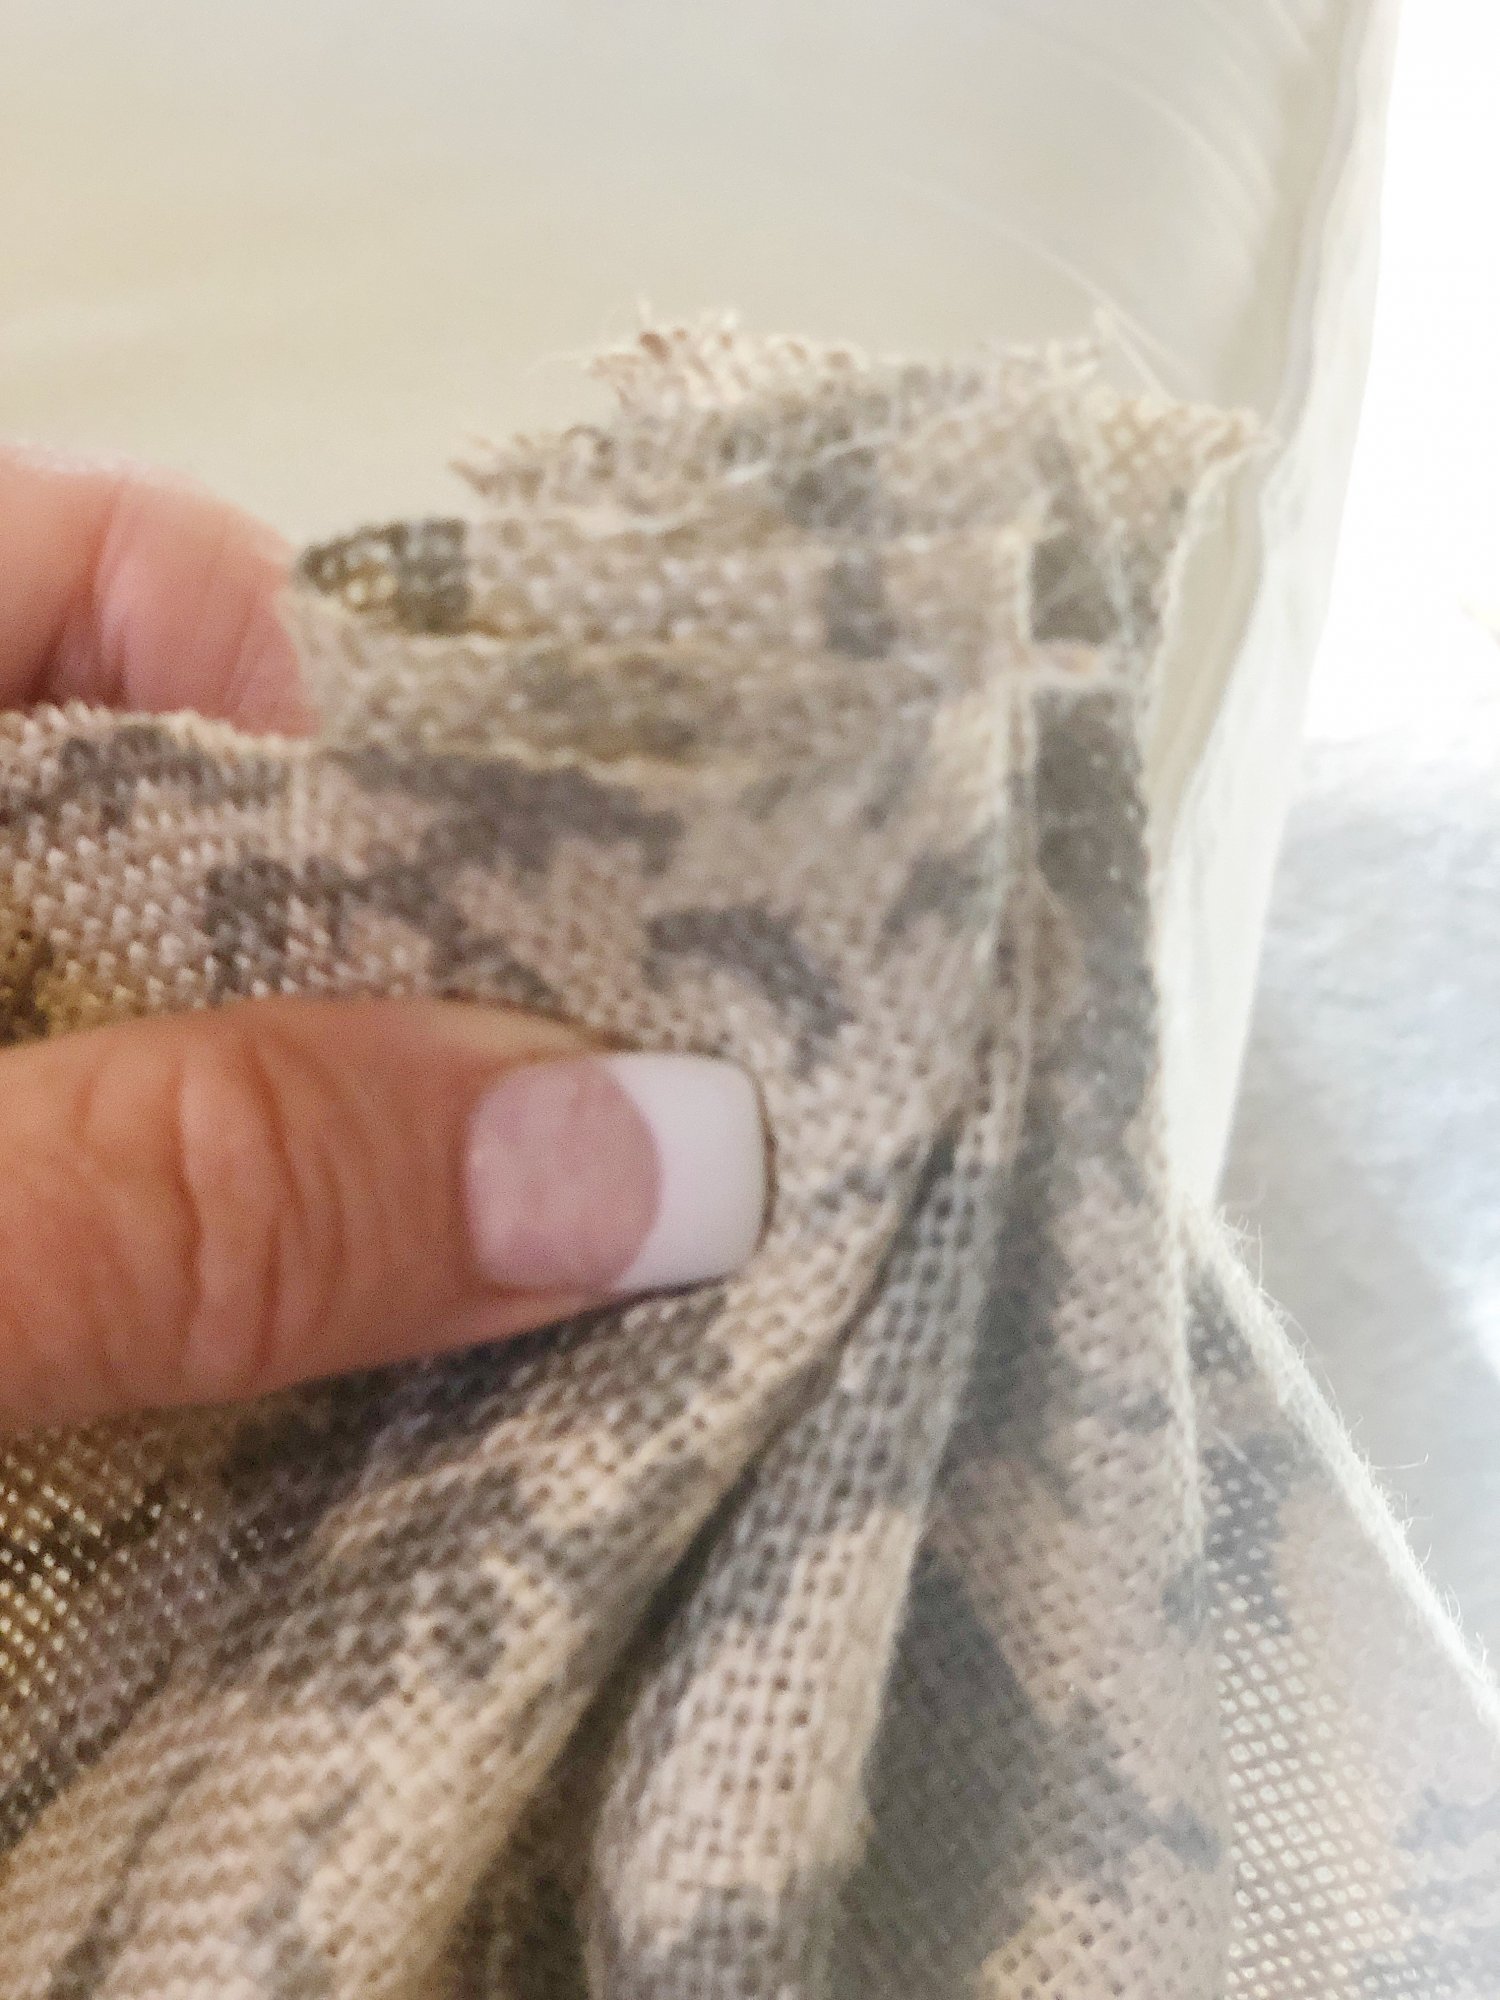
- two – With a needle and double thread, sew a running stitch along the outside perimeter so you can gather the pumpkin once it is filled.
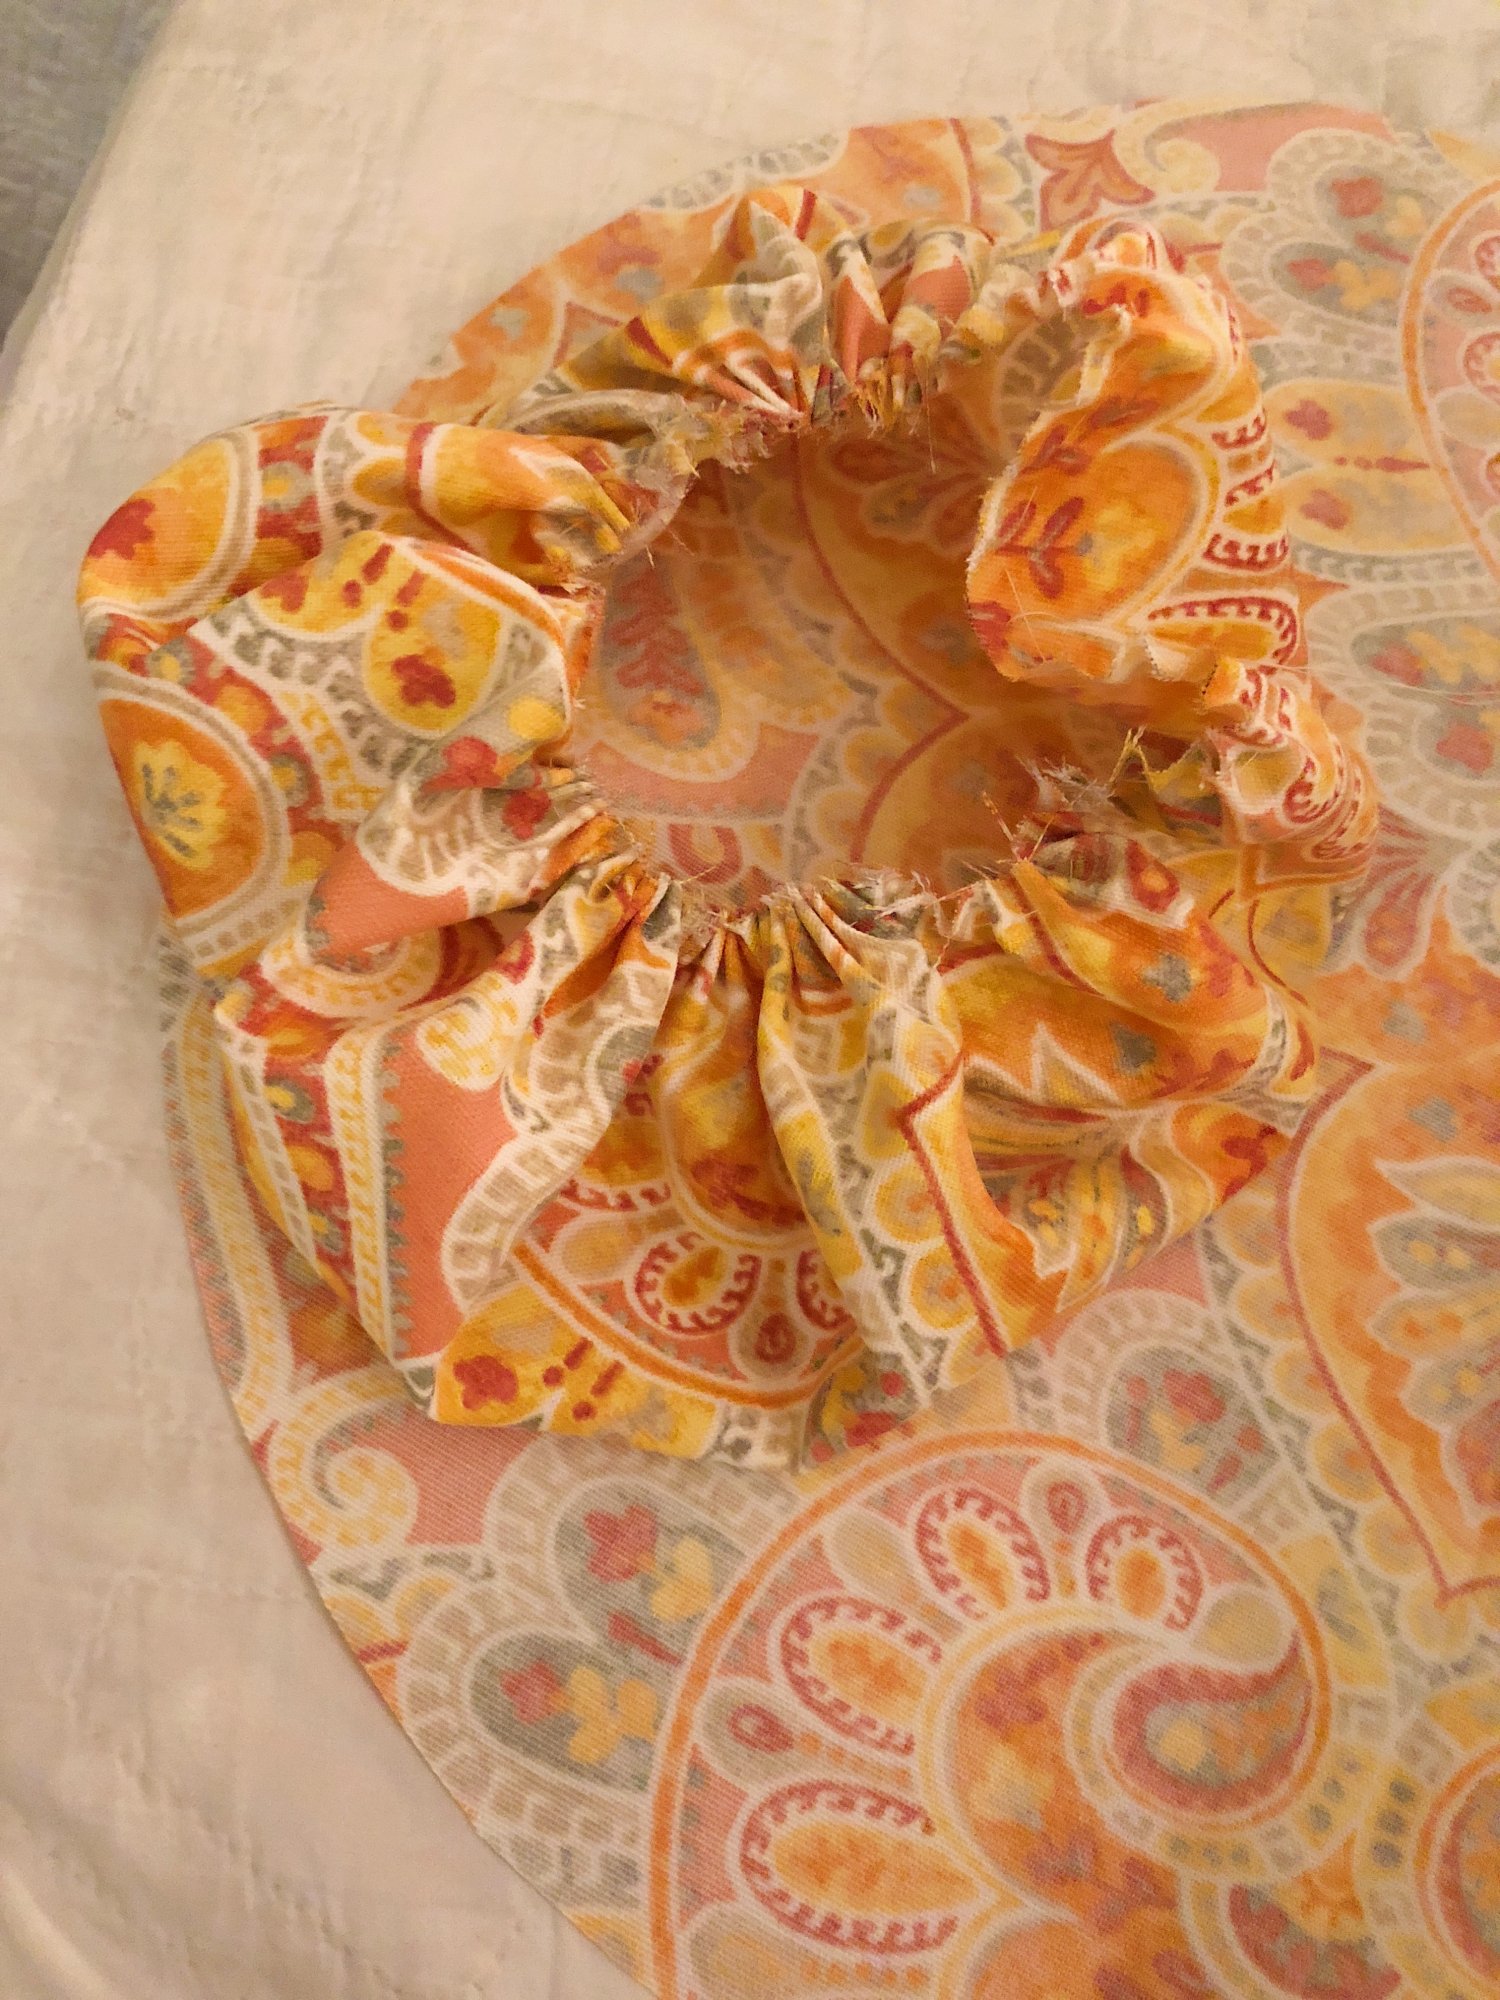
- three – Lightly gather the pumpkin once you are done sewing so that you can make sure your stitches will hold the stuffing.
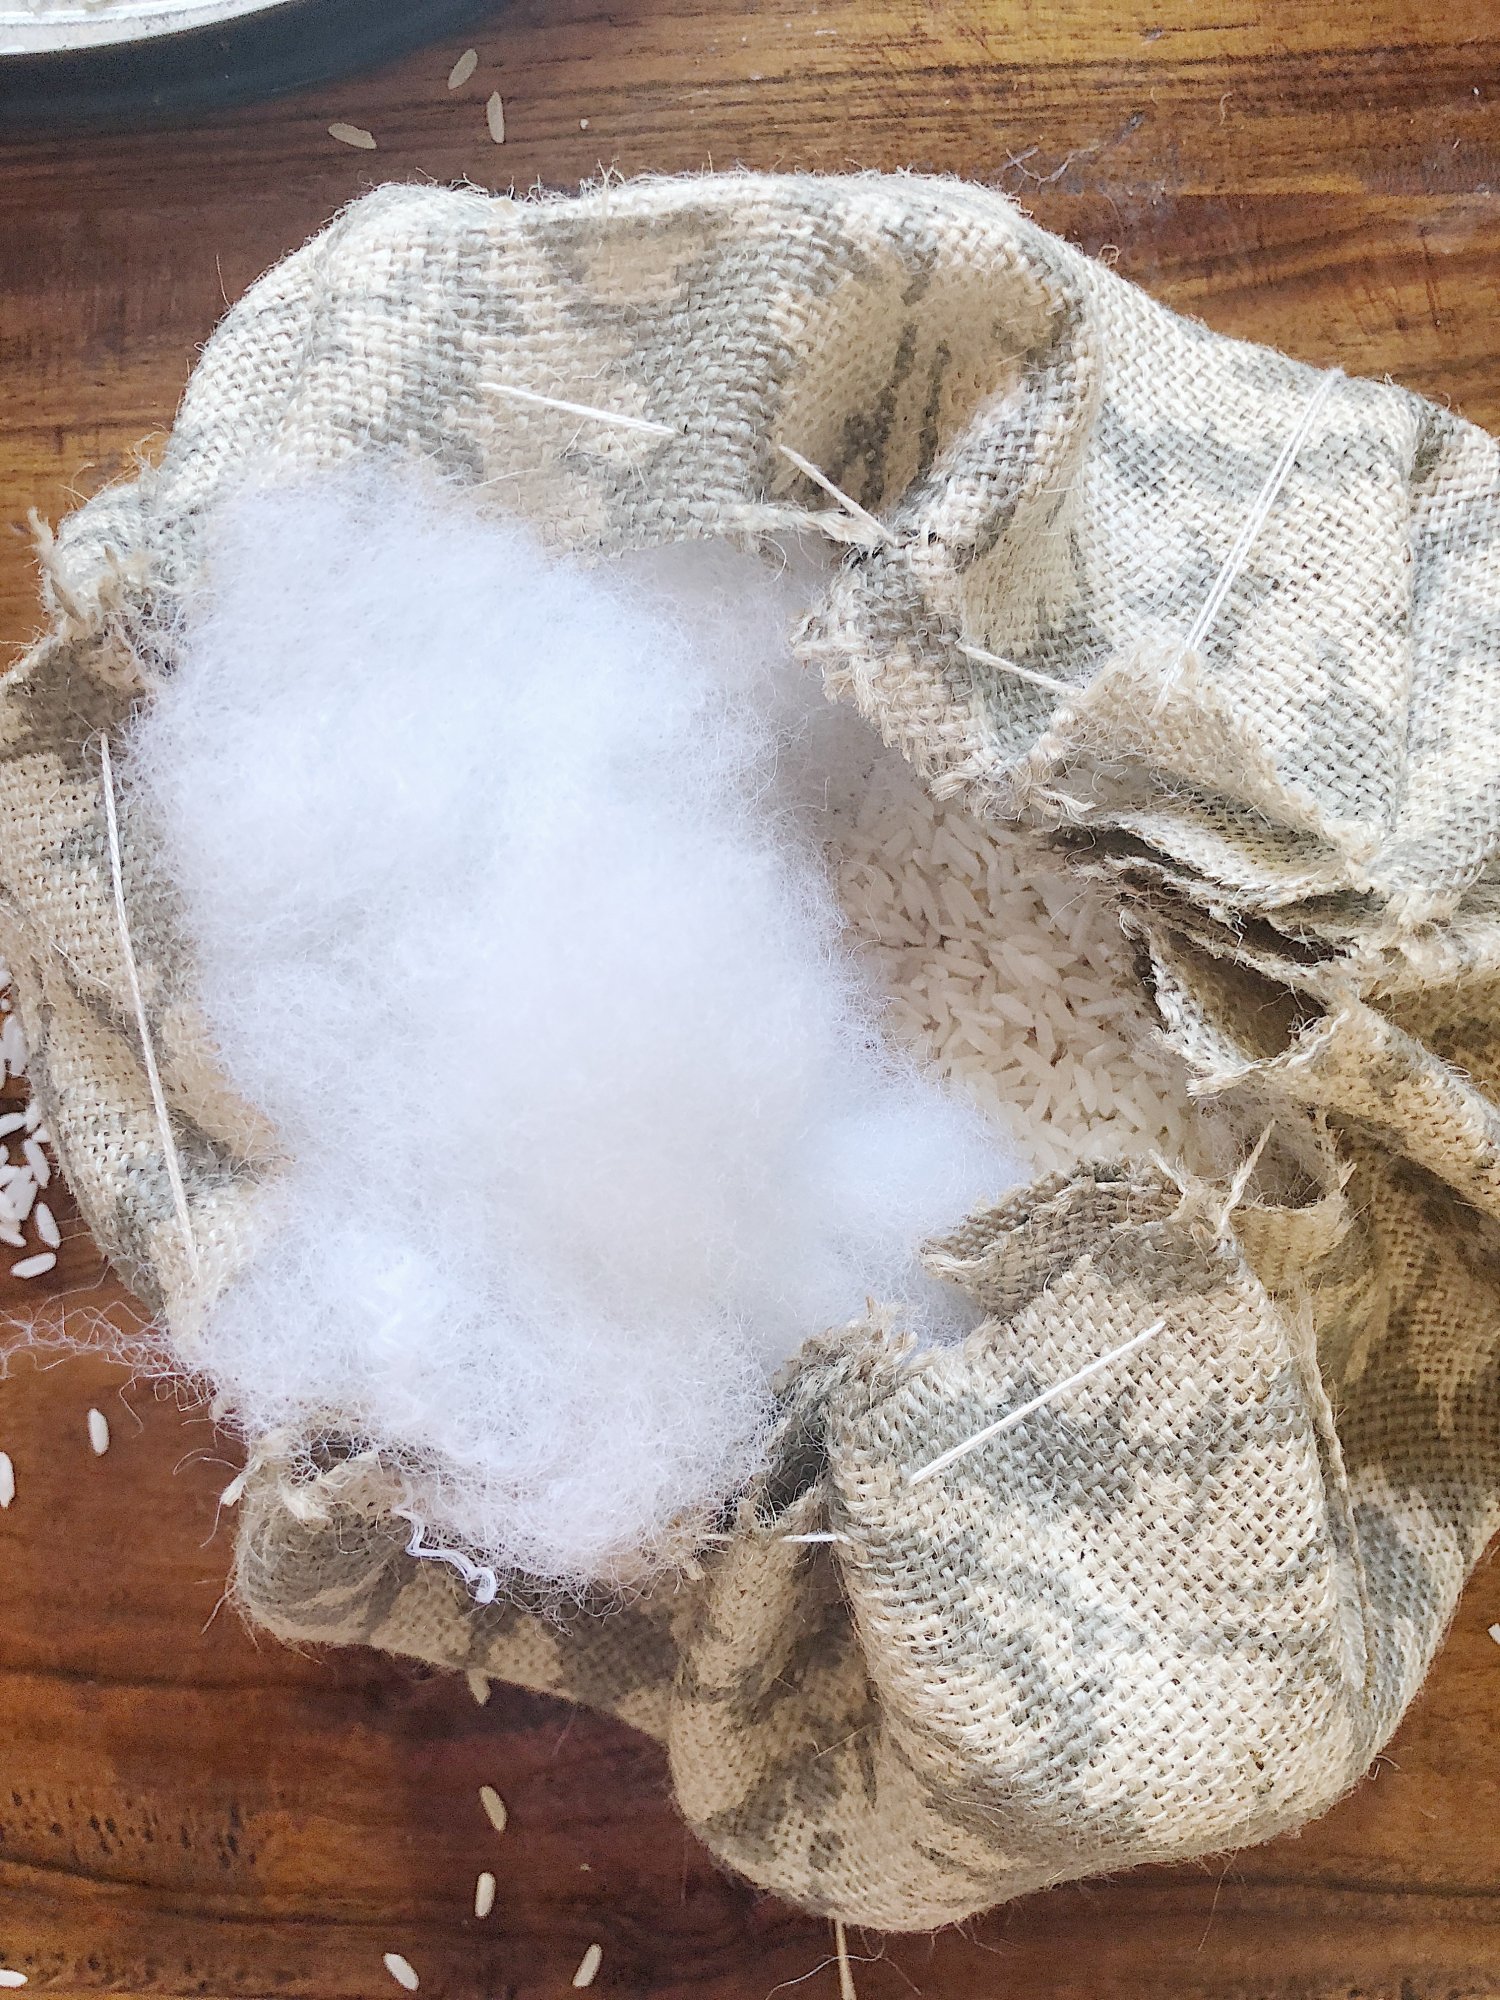
- four – Depending on the size of your circle, add one to four cups of rice. Just ensure there is enough rice to weigh down the bottom so the pumpkin will lay flat. Fill the remaining inside with poly-fil.
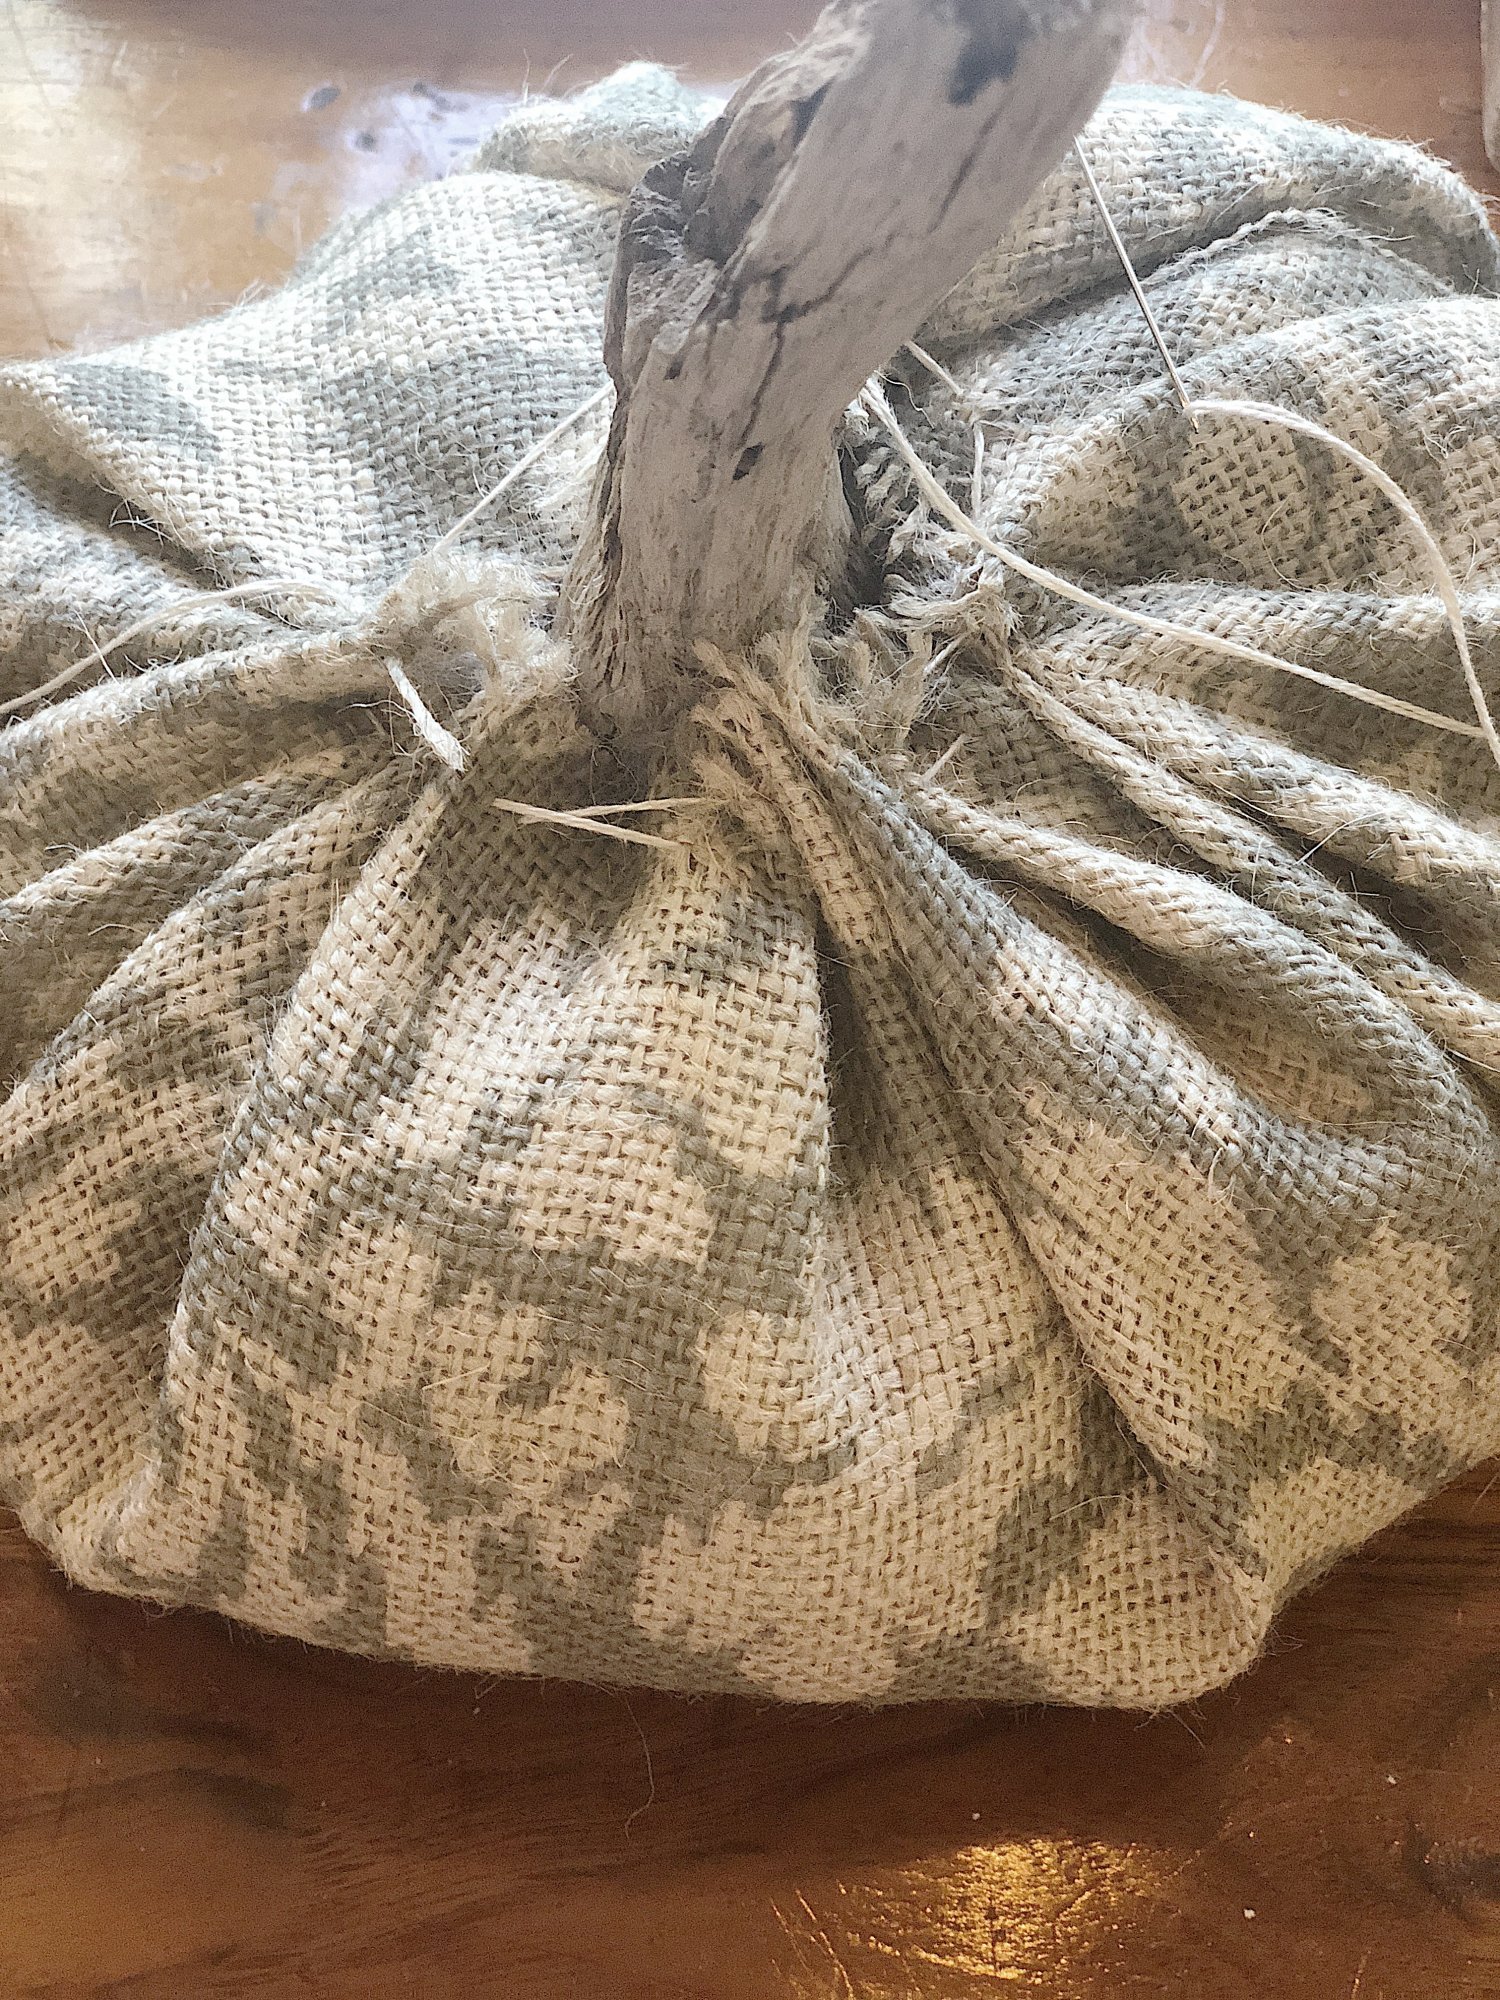
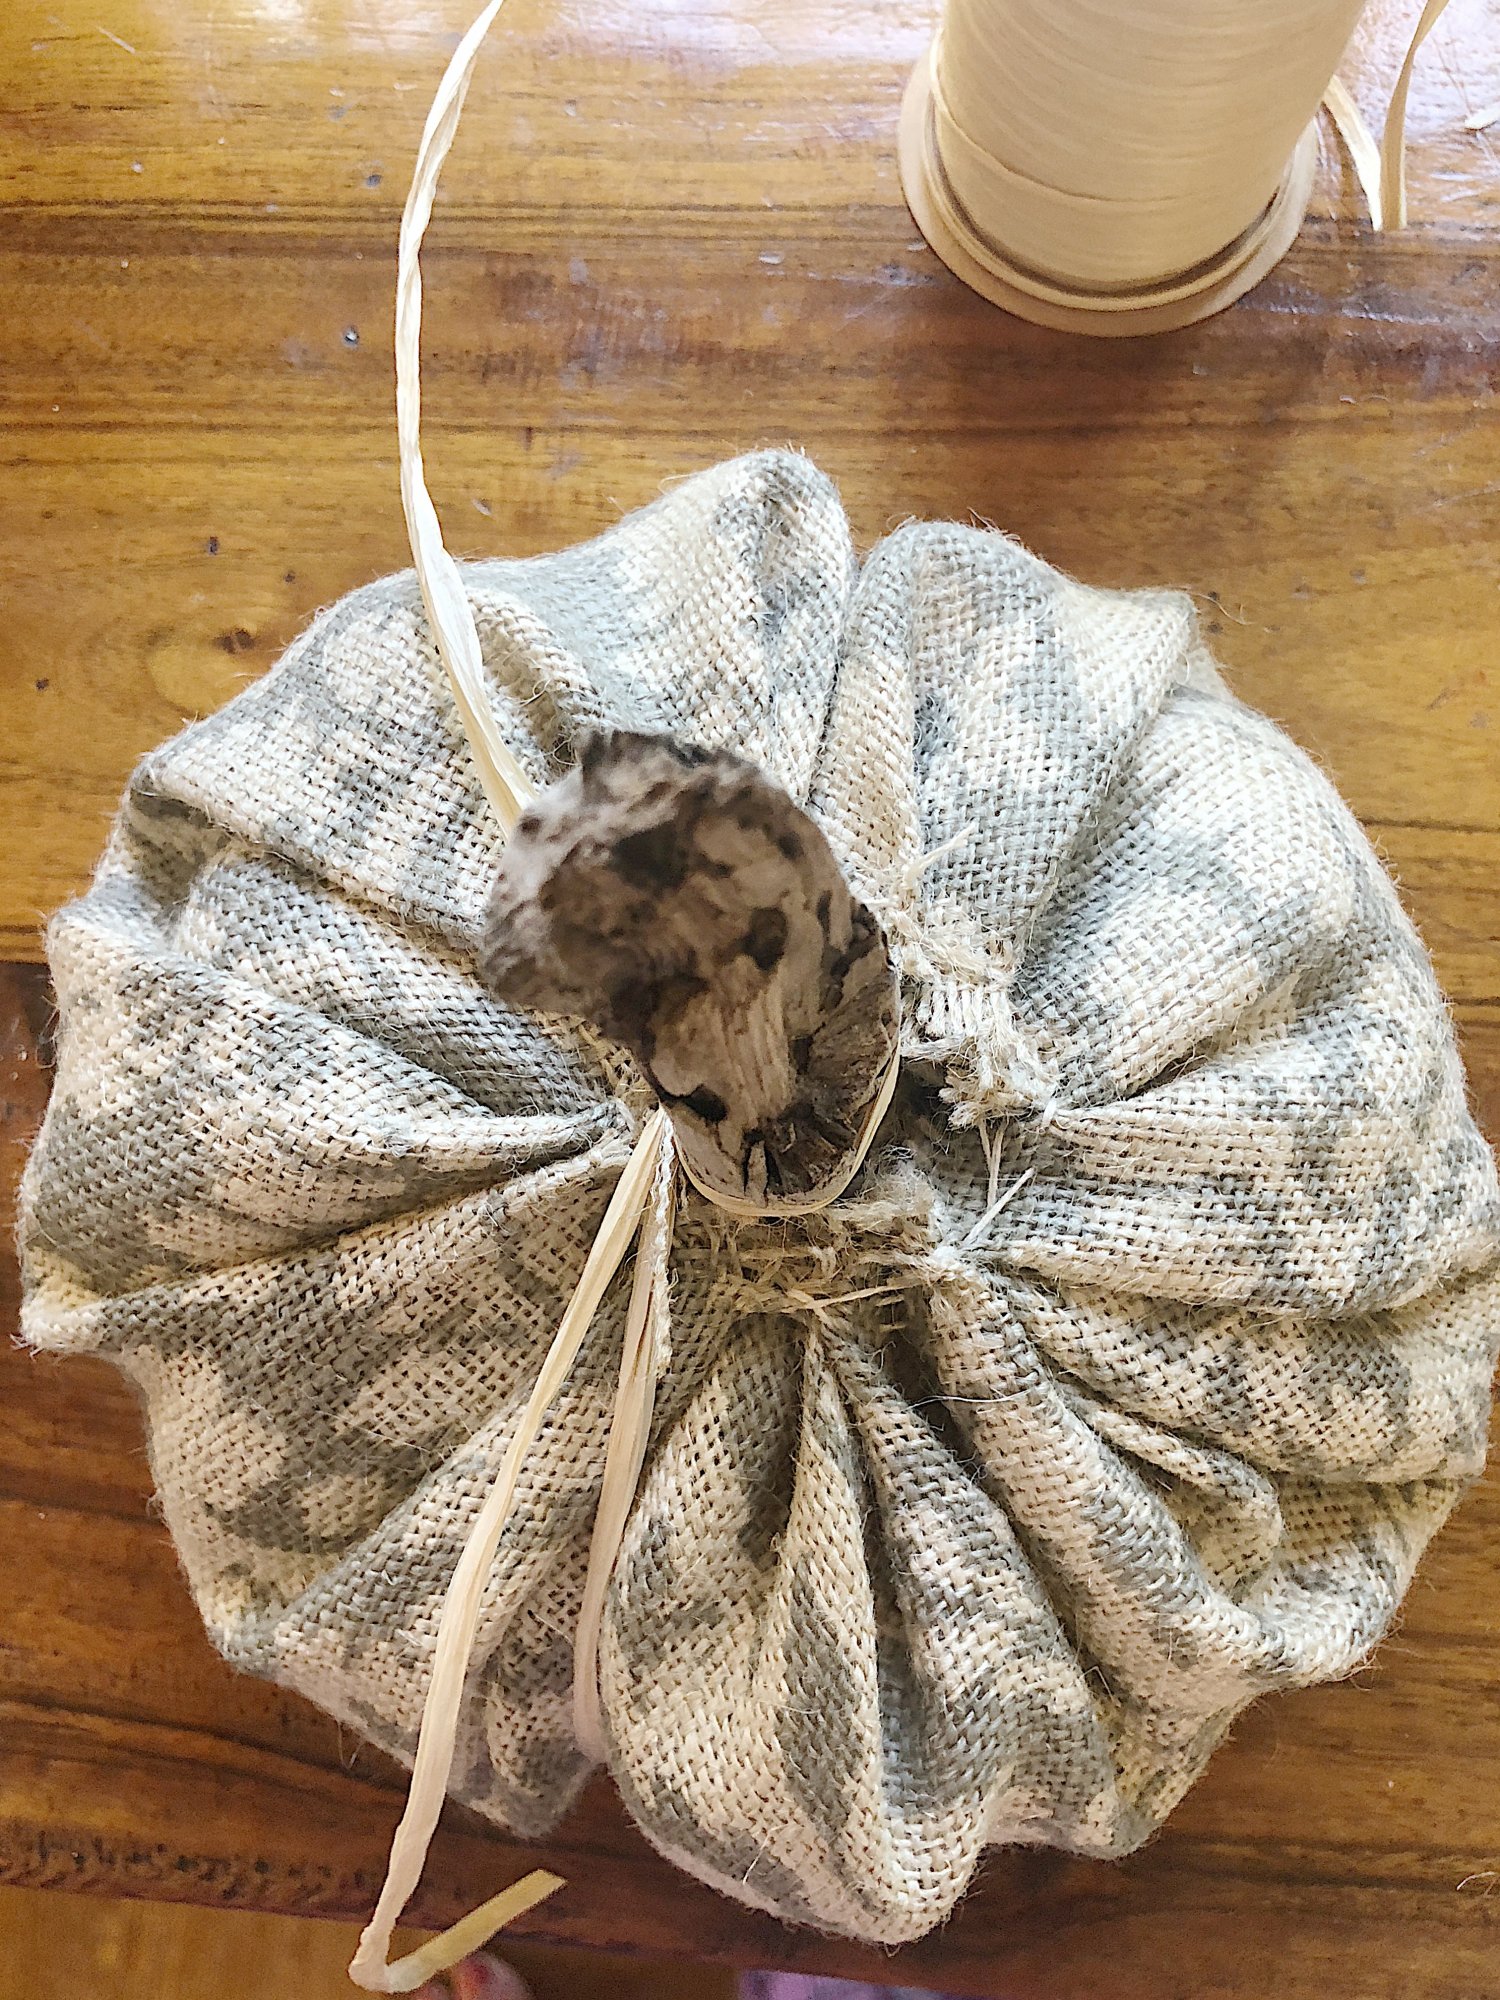
- five – Carefully tighten the thread and place your stem inside. At this point, secure the bottom of the stem in the fabric by placing a generous amount of hot glue at the bottom and along the inside of the fabric. Pill the thread tight.
- six – Once the stem is glued, this is what it should look like.
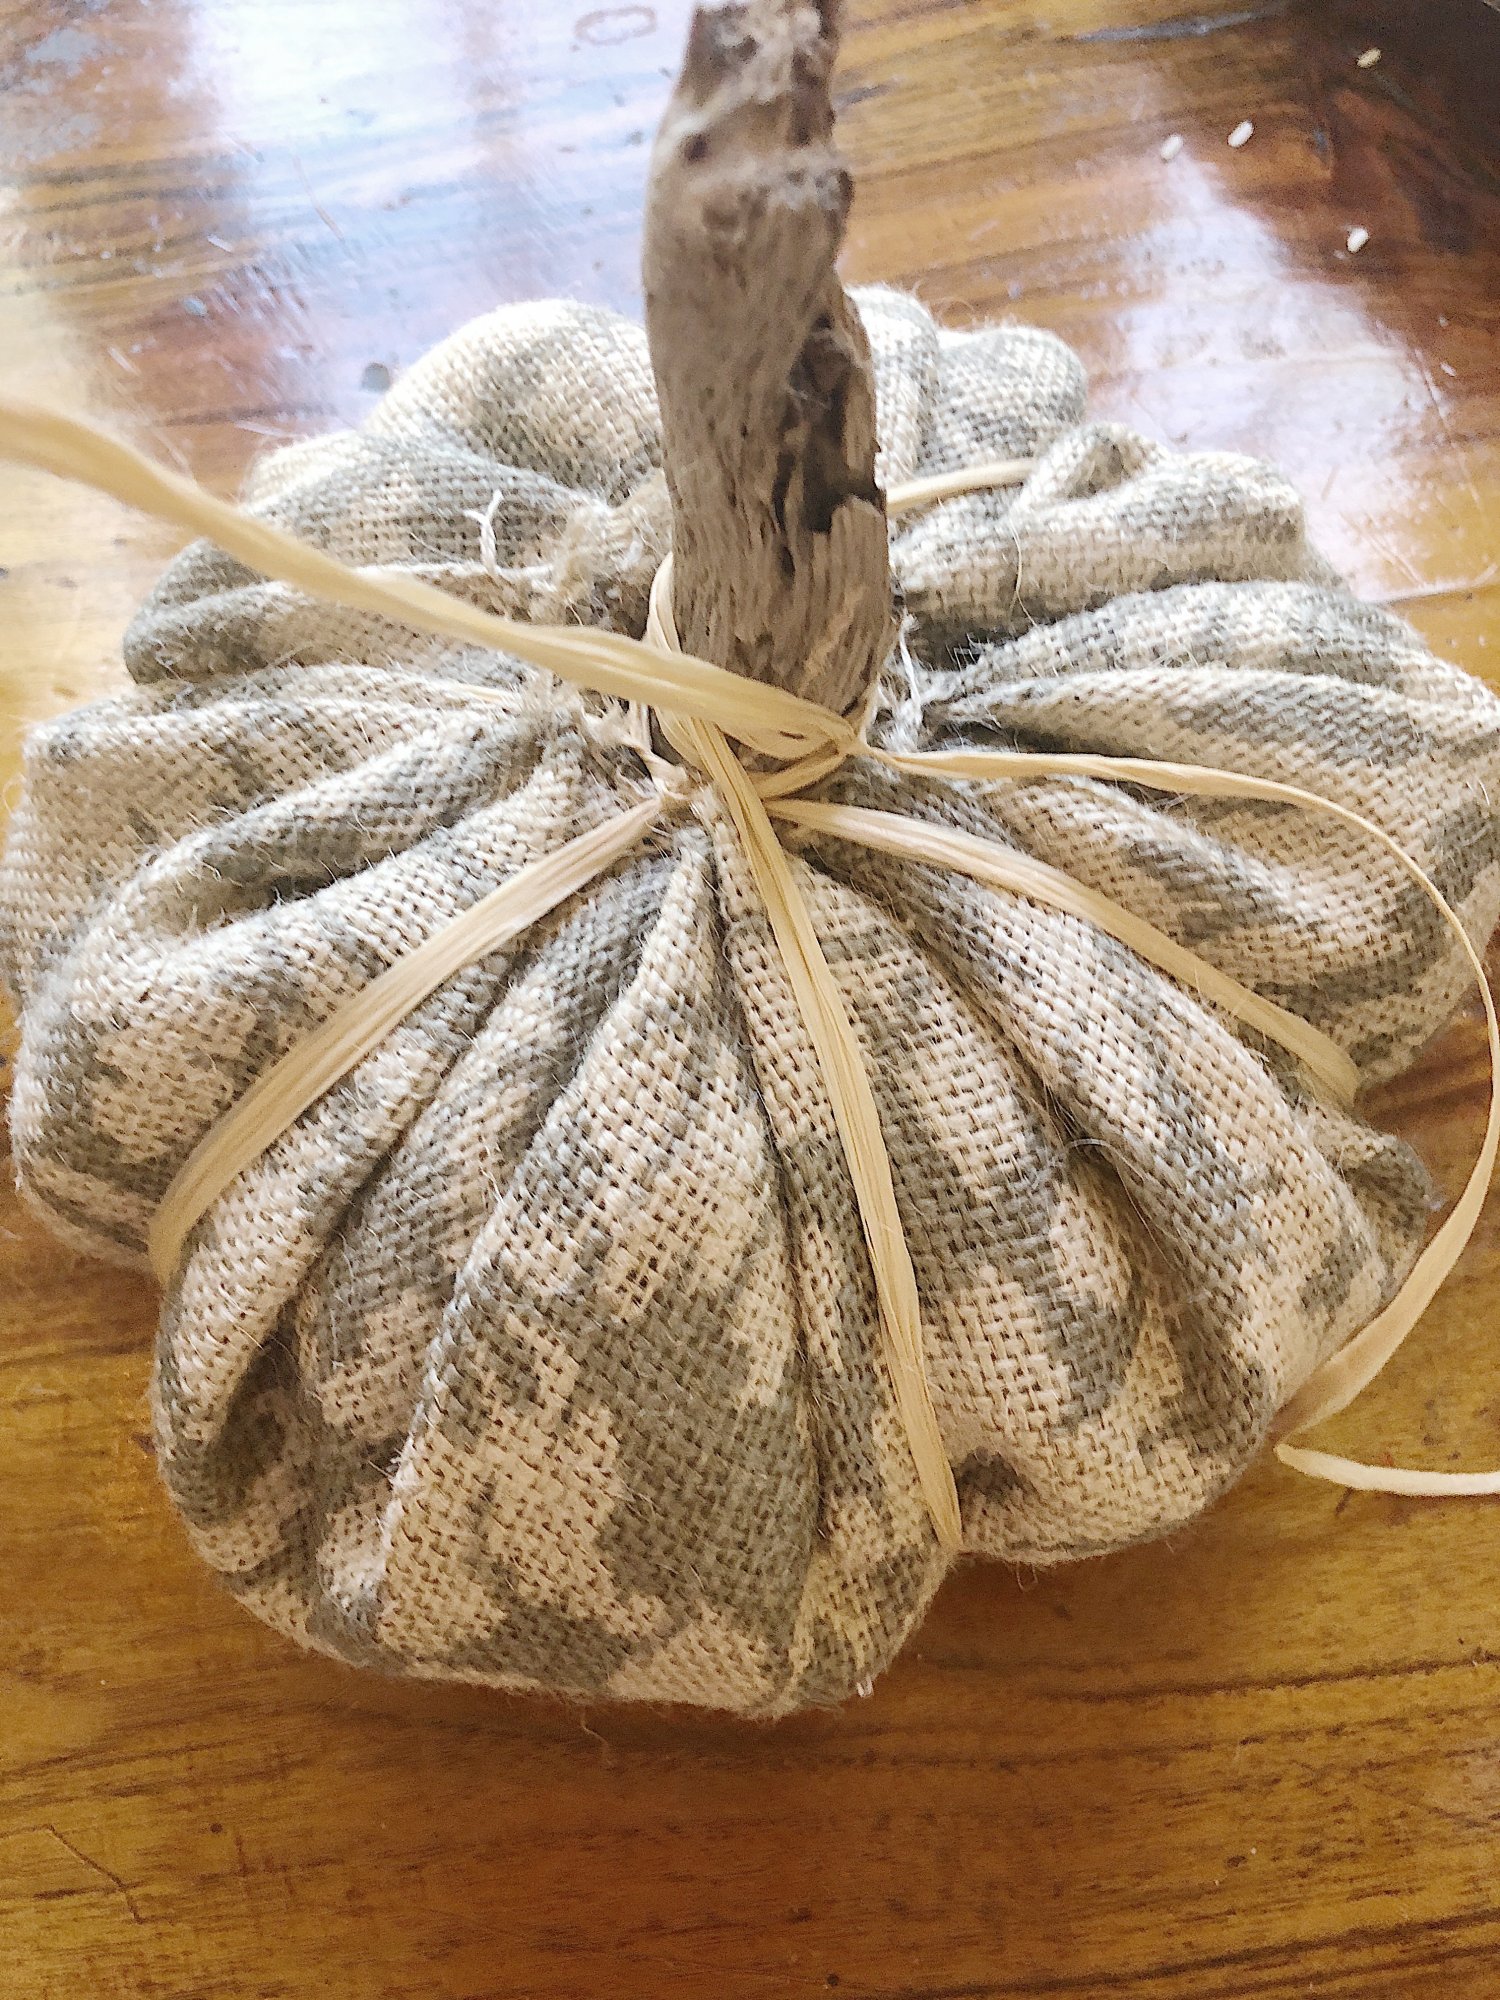
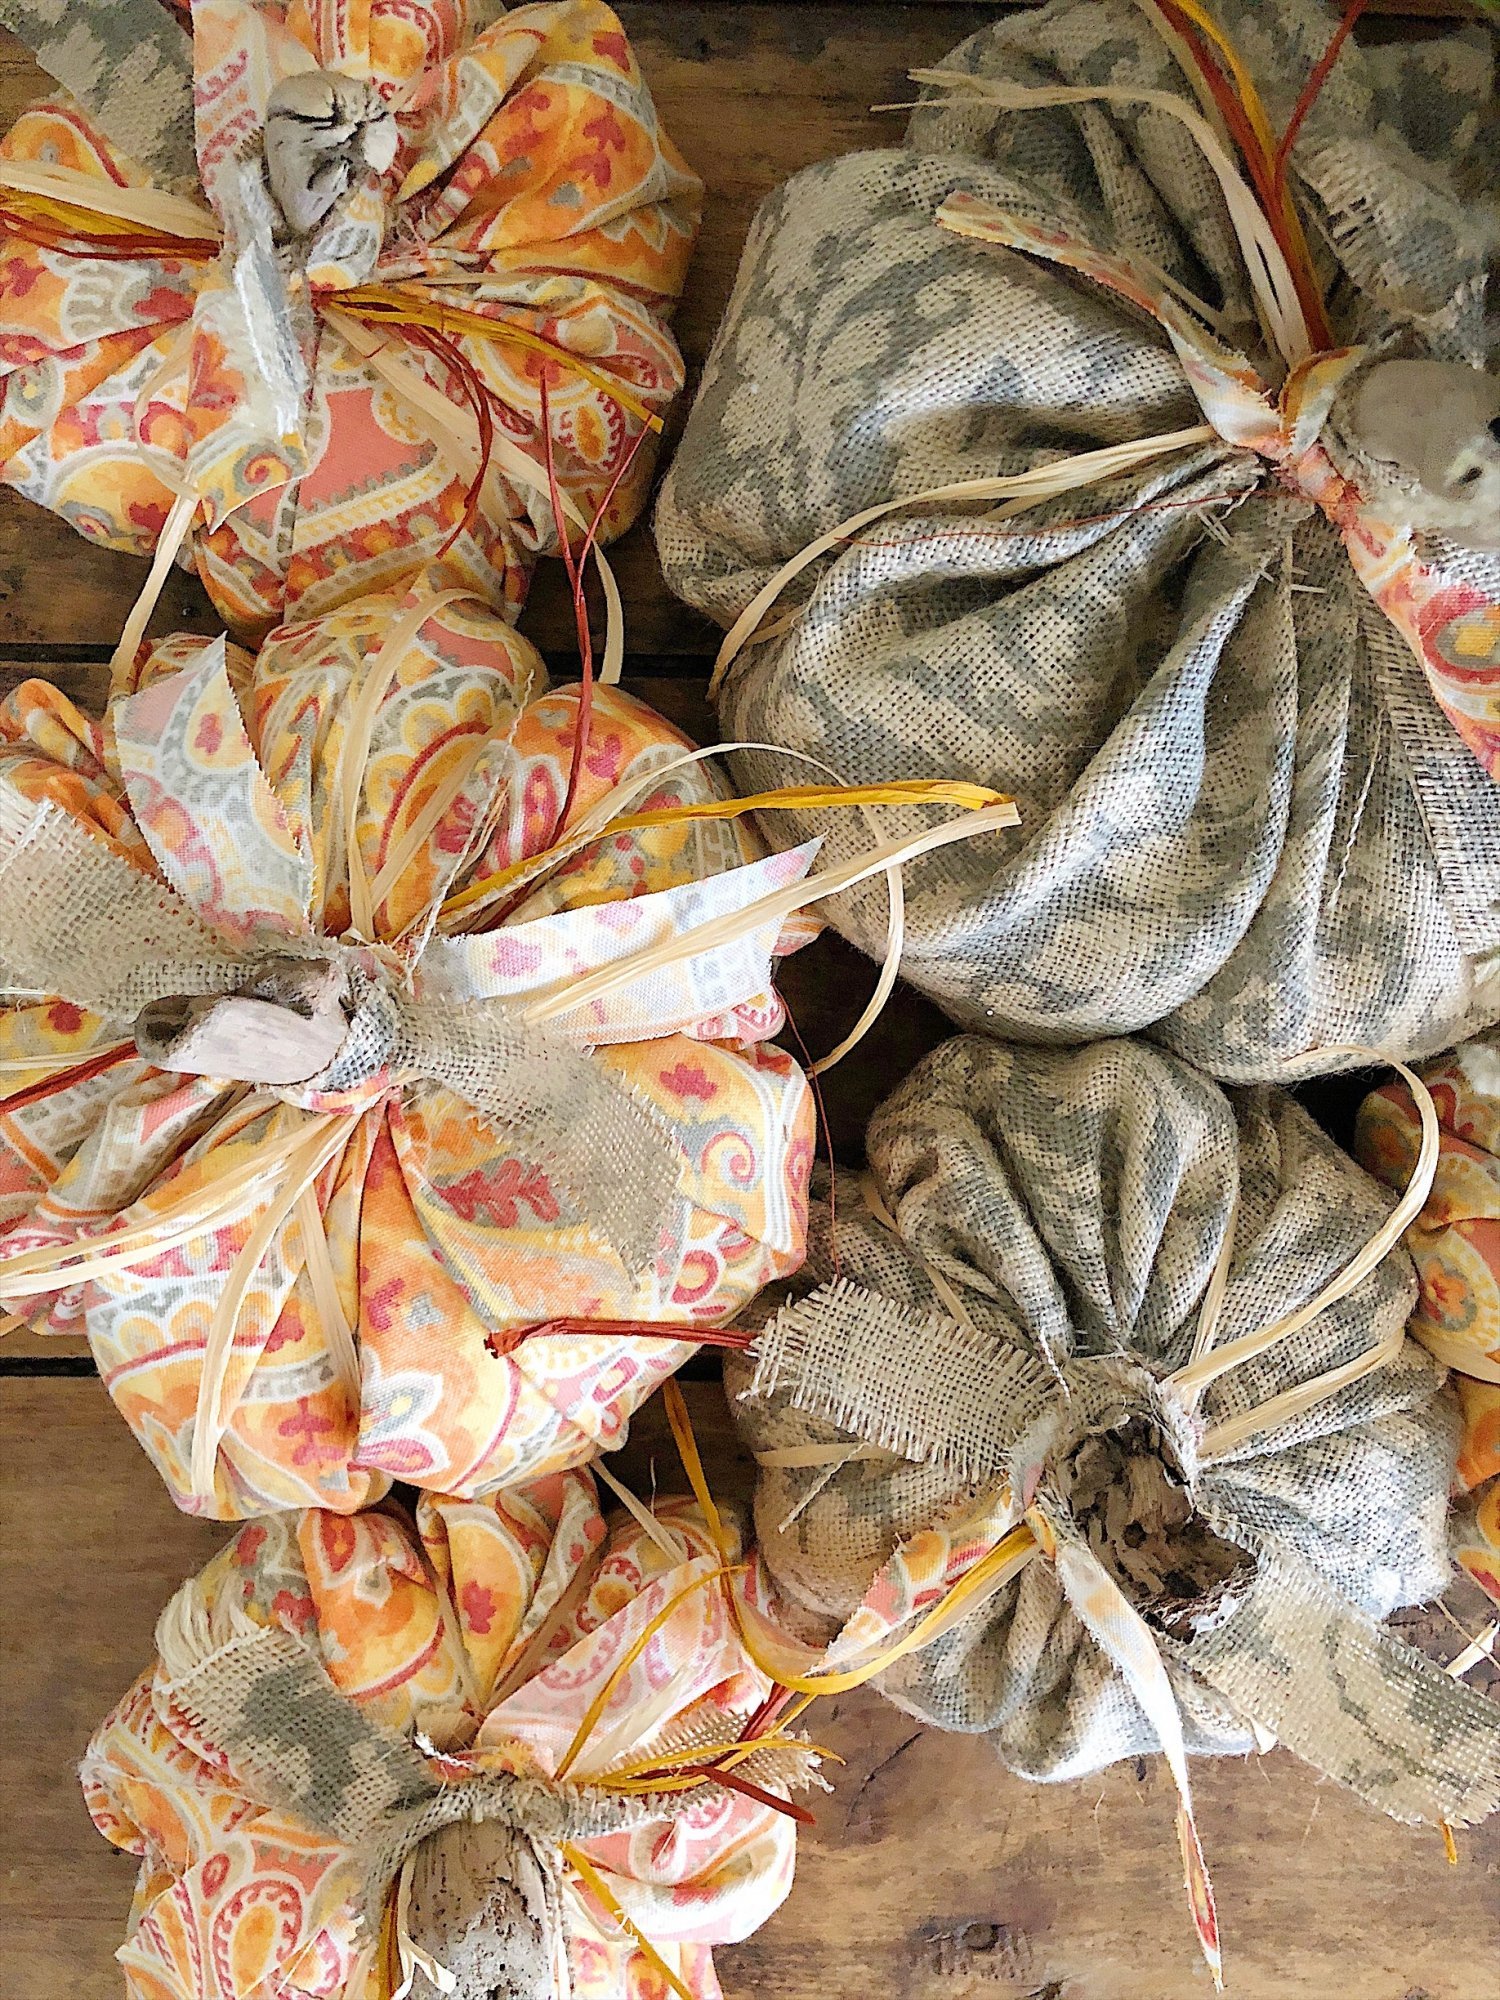
- seven – Tie one end of the raffia around the stem where the fabric meets the stem.
- eight – Wrap the raffia around the pumpkin, pull it a bit, and tie the raffia to the stem. This will add “sections” to your pumpkin. Do this three times to make six sections on the pumpkin.
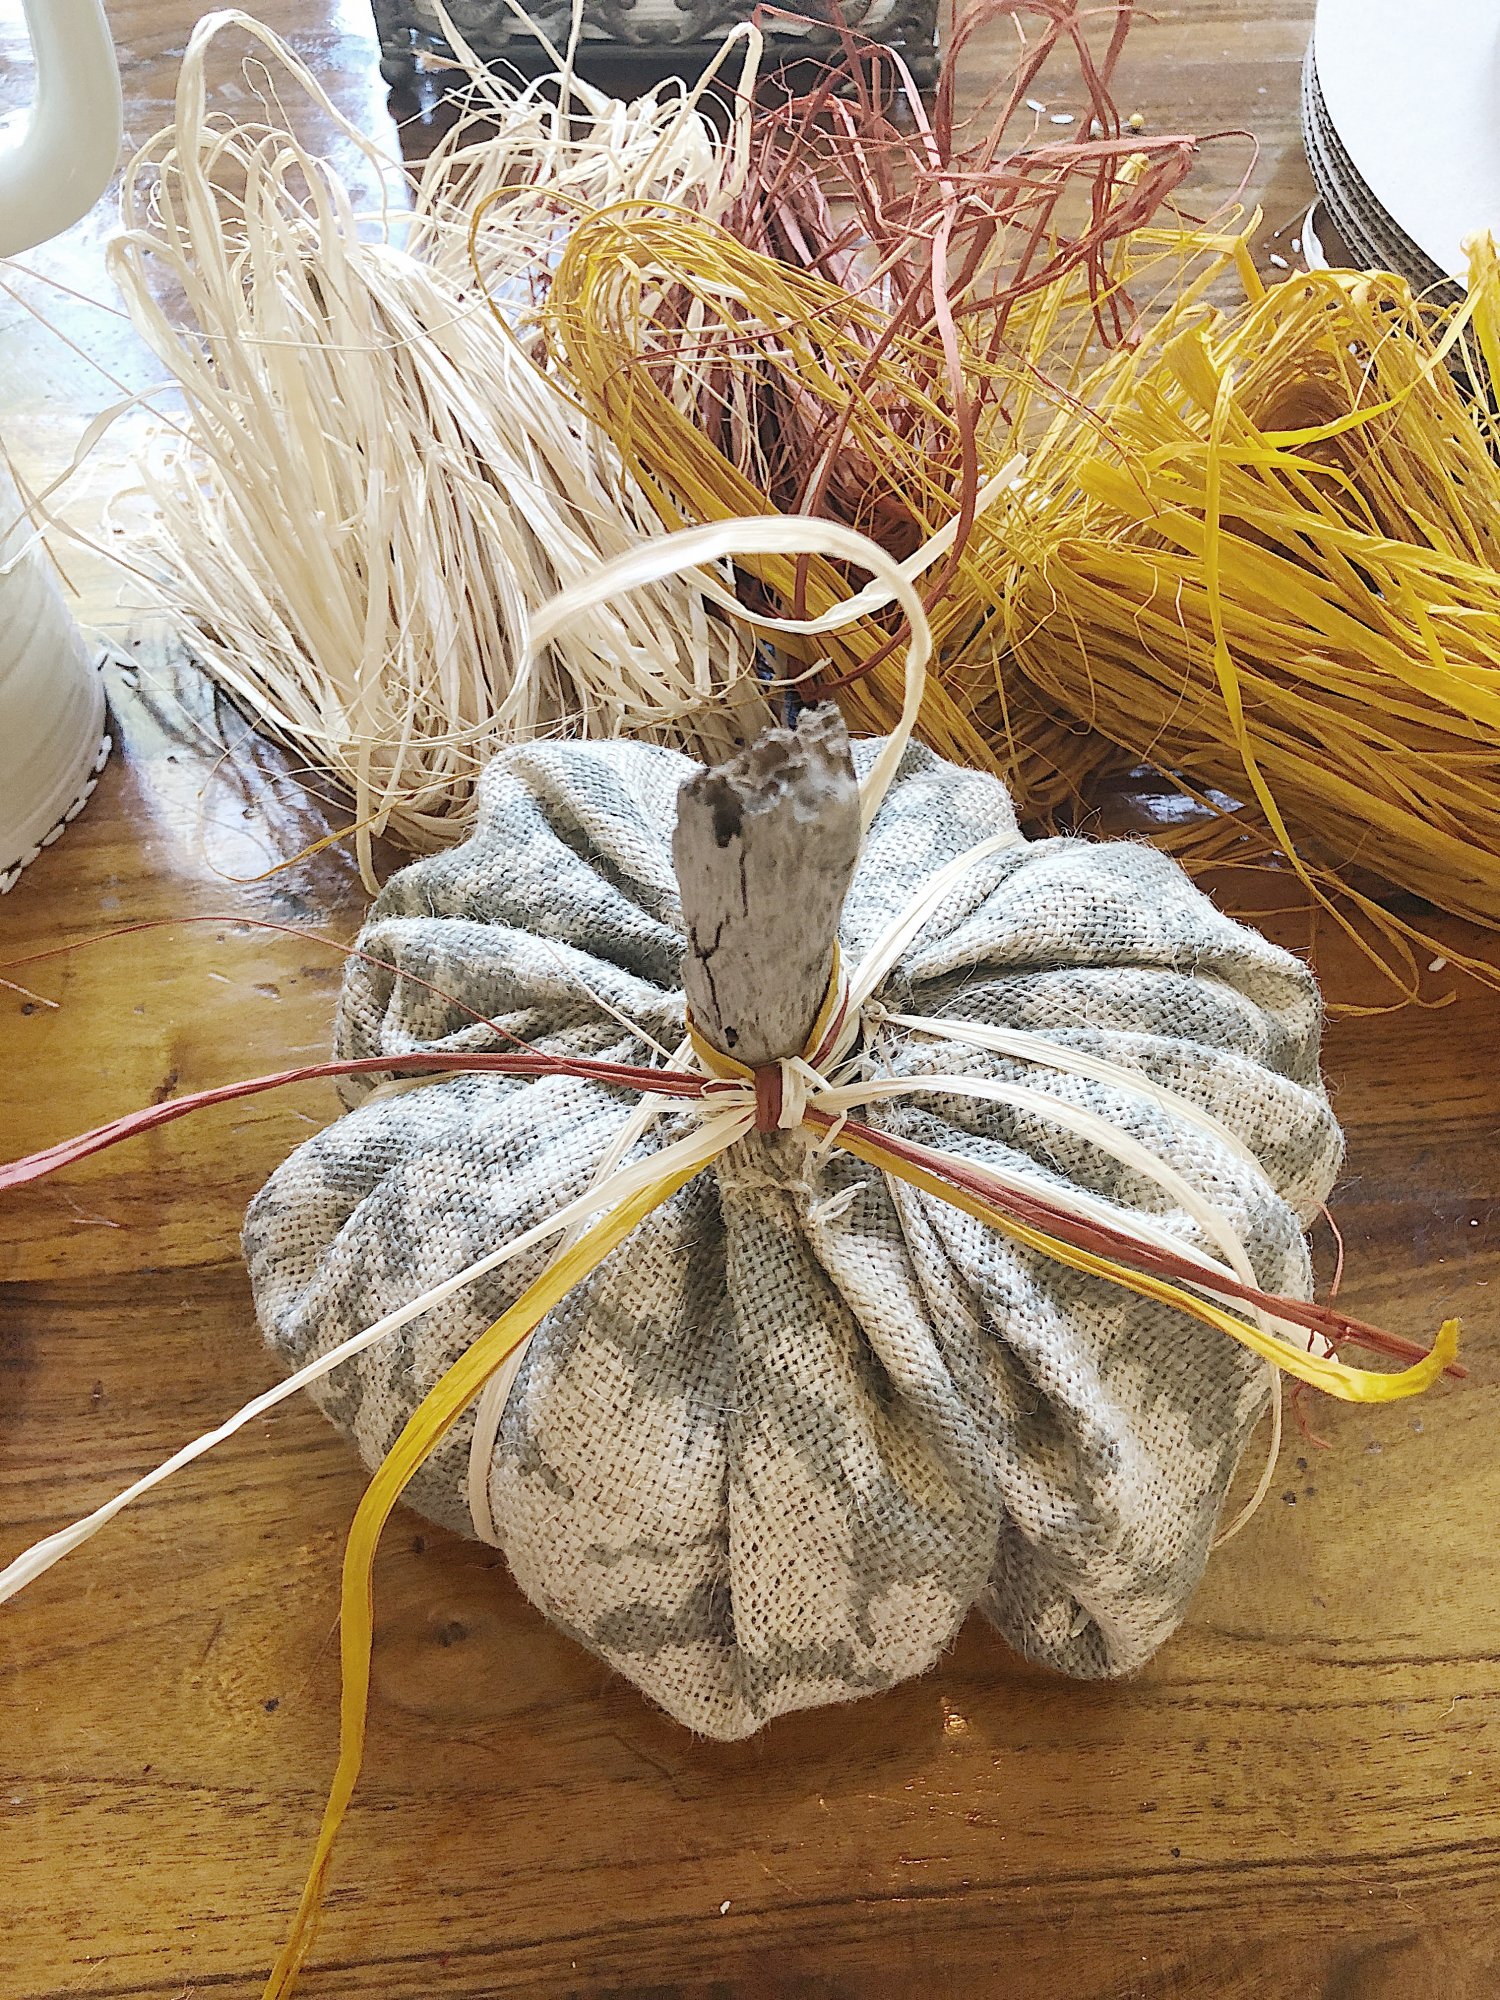
- nine – Tie more raffia and a ribbon cut from the fabric to complete the pumpkin.

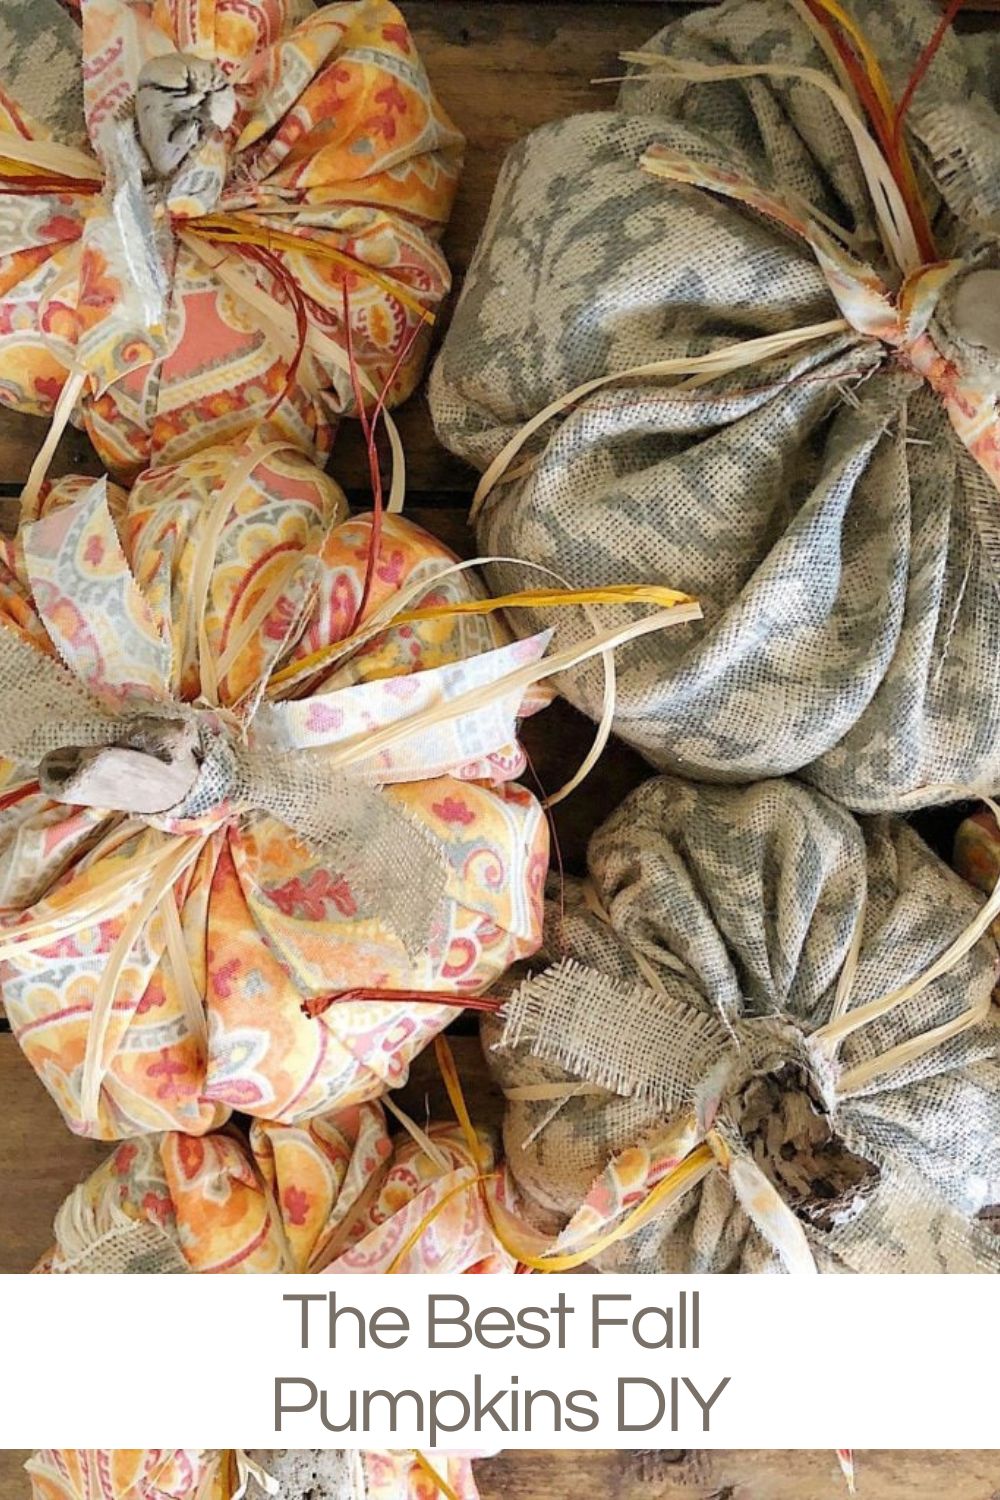
Don’t these finished fall fabric pumpkins look great?
If you enjoy my blog, you can sign up to receive my updates here.
.
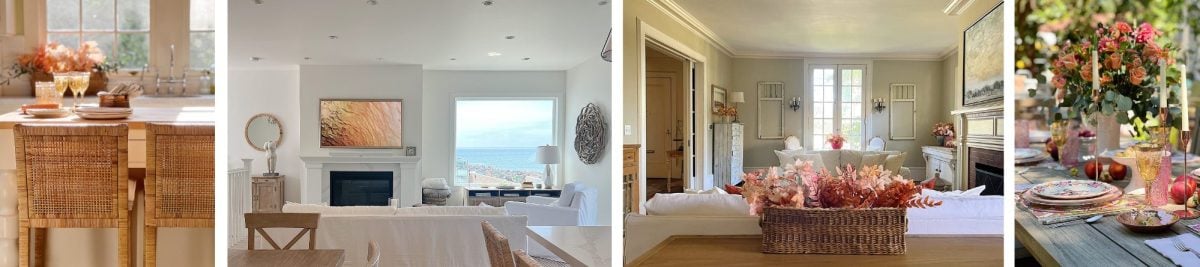
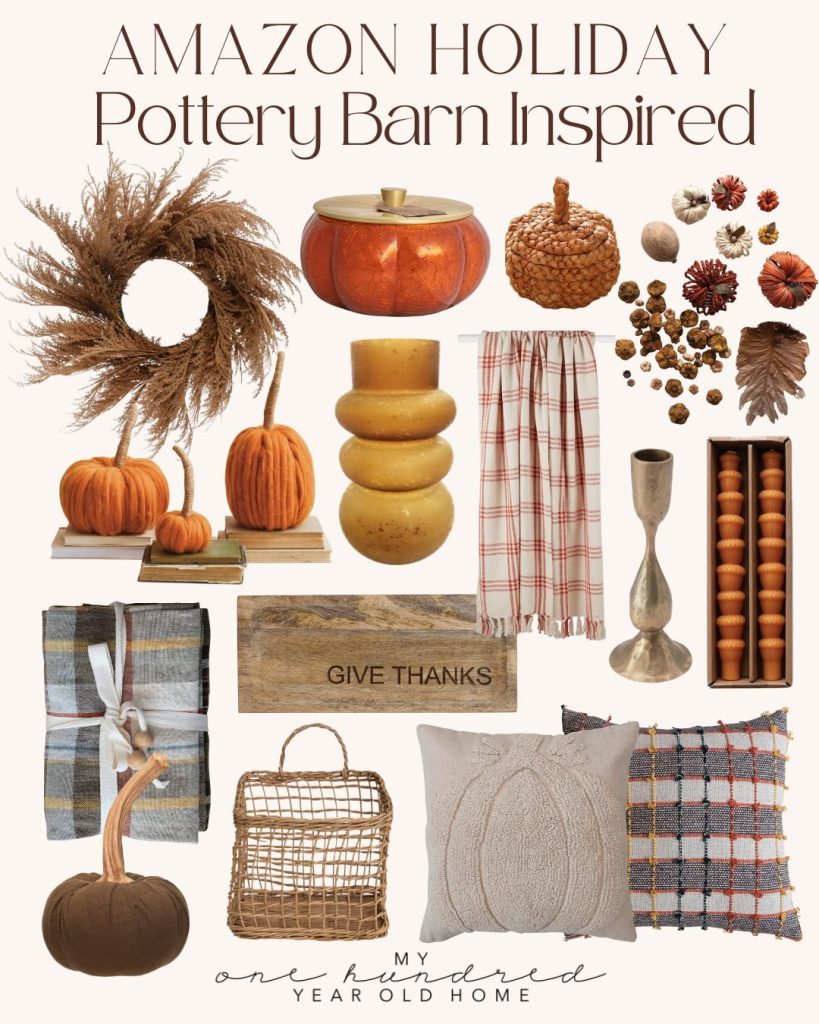
PB Inspired Fall Decor
Get a Copy of My Book!

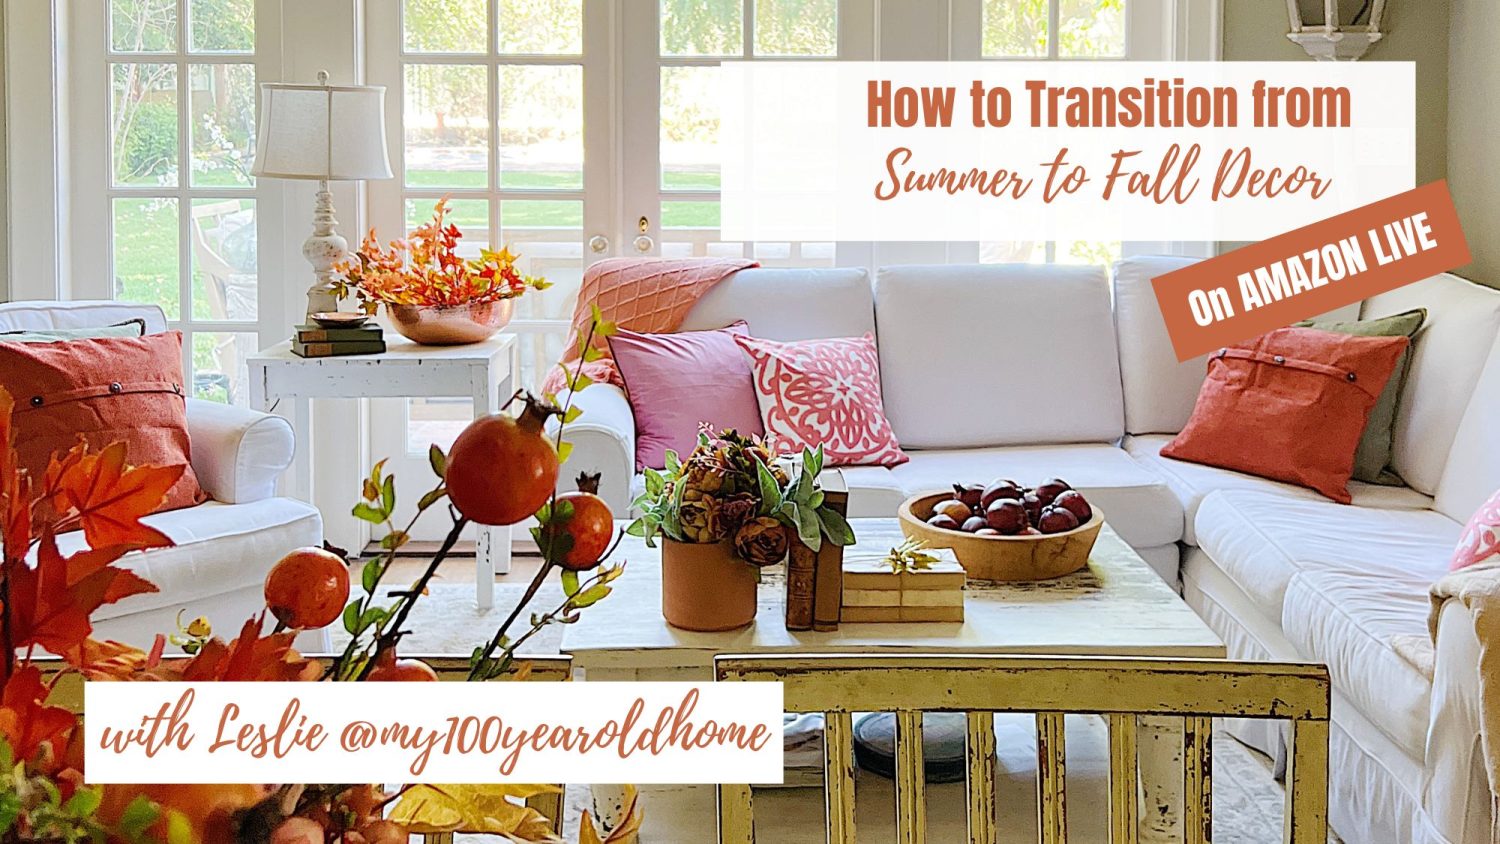
Watch My Amazon Live
Click here to watch any of my Amazon Live shows. All shows are recorded.
If you are looking for fall decor, check out this Amazon Live!
I hope this has inspired you to add some fall decor.
You can pin the image below to your home decor boards on Pinterest (just click the Pin button in the top left corner) or follow me on Pinterest!

Goodness! I am in love with this version. Can’t wait to see what I find in my fabric bin! Thanks, as always, for the inspiration!
Thank you so much!
These are so pretty! Love your fabric selections! <3
Thanks Stacey!
Leslie, you’re so creative! I love your fabric choices and the driftwood stems are such a clever idea. I’ve actually collected a box of especially nice pumpkin stems over the years that have come in handy. Now I have another reason to use them!
So cute as usual…. Where did you find your fabric Leslie …. I love both of them….❤️
Love this! Going to make with my granddaughters this weekend. Thanks!
Im shopping tomorrow for fabric and Walt made me some great stems….best fabric pumpkins ever Leslie.
I make out of sleeves of all types of sweaters..you might have some in your closet or thrift stores are full of them, and garage sales..love your too..
Great idea! Thanks!
Thanks, your material is beautiful
Thank you!
Super cute!
Thanks!
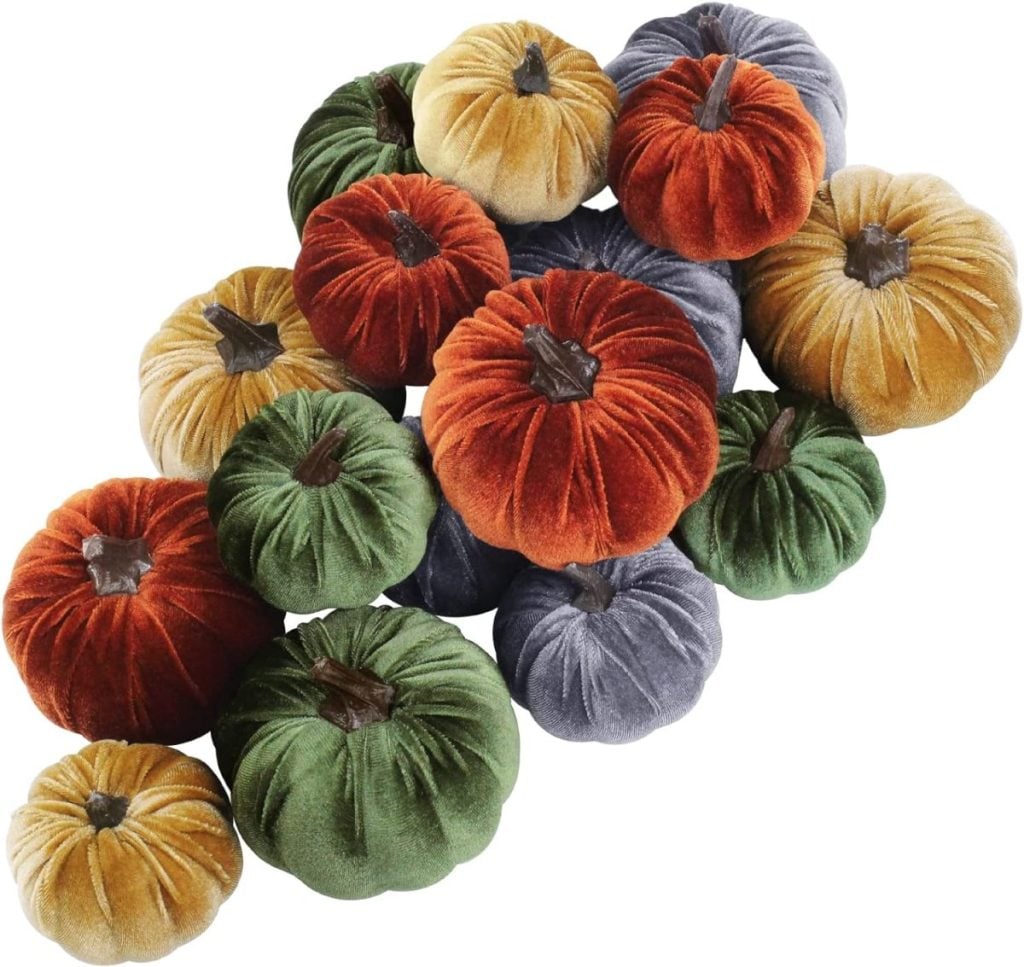
I love the fabric you chose! I use velvet
Fabric for my pumpkins as I love the soft elegant look and I use real pumpkin stems. Every October, I scour all the pumpkin patches in the area and ask to pick up the stems that have dropped to the ground. Here in Florida, it does not take long for the stems to fall off.
Thanks Ruby! That’s a great idea!
These are the best Leslie and I love the fabric choices you picked. I can’t wait to try this fall project. I’d love to feature this on my Saltwater Sounds blog post this Sunday.
Oh thank you so much! I’d love that thank you!
Honestly Leslie, I don’t make things. But I was inspired to think a bit differently about all those lovely pumpkins I have. My grandkids and I will be adding ribbons. I was recently given a large box full of many rolls of many colors! They are on ther way to stay the weekend. Another fun thing to do which includes a trip the the treasure trove of stuff in the attic! Have great weekend!
Oh how wonderful! That’ll be so special to spend that time with them, and I promise you will have fun making them! Enjoy!
You can use any fall fabric you want for these pumpkins. I love to work with decor fabric because it is a little bit heavier and longer-lasting. It also holds its shape better. Neck Pain Specialist Adelaide
The Best Fall Pumpkin Diy is simple and easy to follow. Just place your pumpkin in a pot, cover with water, and let it grow! Your Fall pumpkin will be delicious and ready to eat in no time! luxury home builder melbourne
The best fall pumpkinsDIY is easy and fun! With just a few simple steps, you can make your own pumpkin pies or Jack-o-Lanterns in no time.
Dental Implants Chatswood
This is a great fall pumpkin recipe that you can make in a few easy steps! You’ll love the flavors and texture of these delicious pumpkins, and they will be perfect for taking to your next potluck or picnic!
Hampton Style Homes Brisbane
Make your pumpkin pies this fall with these easy fall pumpkins! These are the best fall pumpkins you can make and will be a hit with the family.
building inspections newcastle
This website offers a unique way to enjoy fall during its peak season. This year, get creative and make your own fall pumpkins by using some of the most popular methods for pumpkin-making. Whether you’re using a canner or a slow cooker, follow these simple steps to make your own fall pumpkin pies.
Electrician Alexandra Hills
When it’s chilly outside, it’s the perfect time to get your pumpkin fix! This easy DIY fall pumpkins recipe is perfect for a quick and easy dinner or snack.
Luxury custom home builders Perth
This website provides information on how to make your own fall pumpkins by using a few simple ingredients. You’ll learn how to make your own pumpkin pie, pumpkin bread, and more. electrician neutral bay