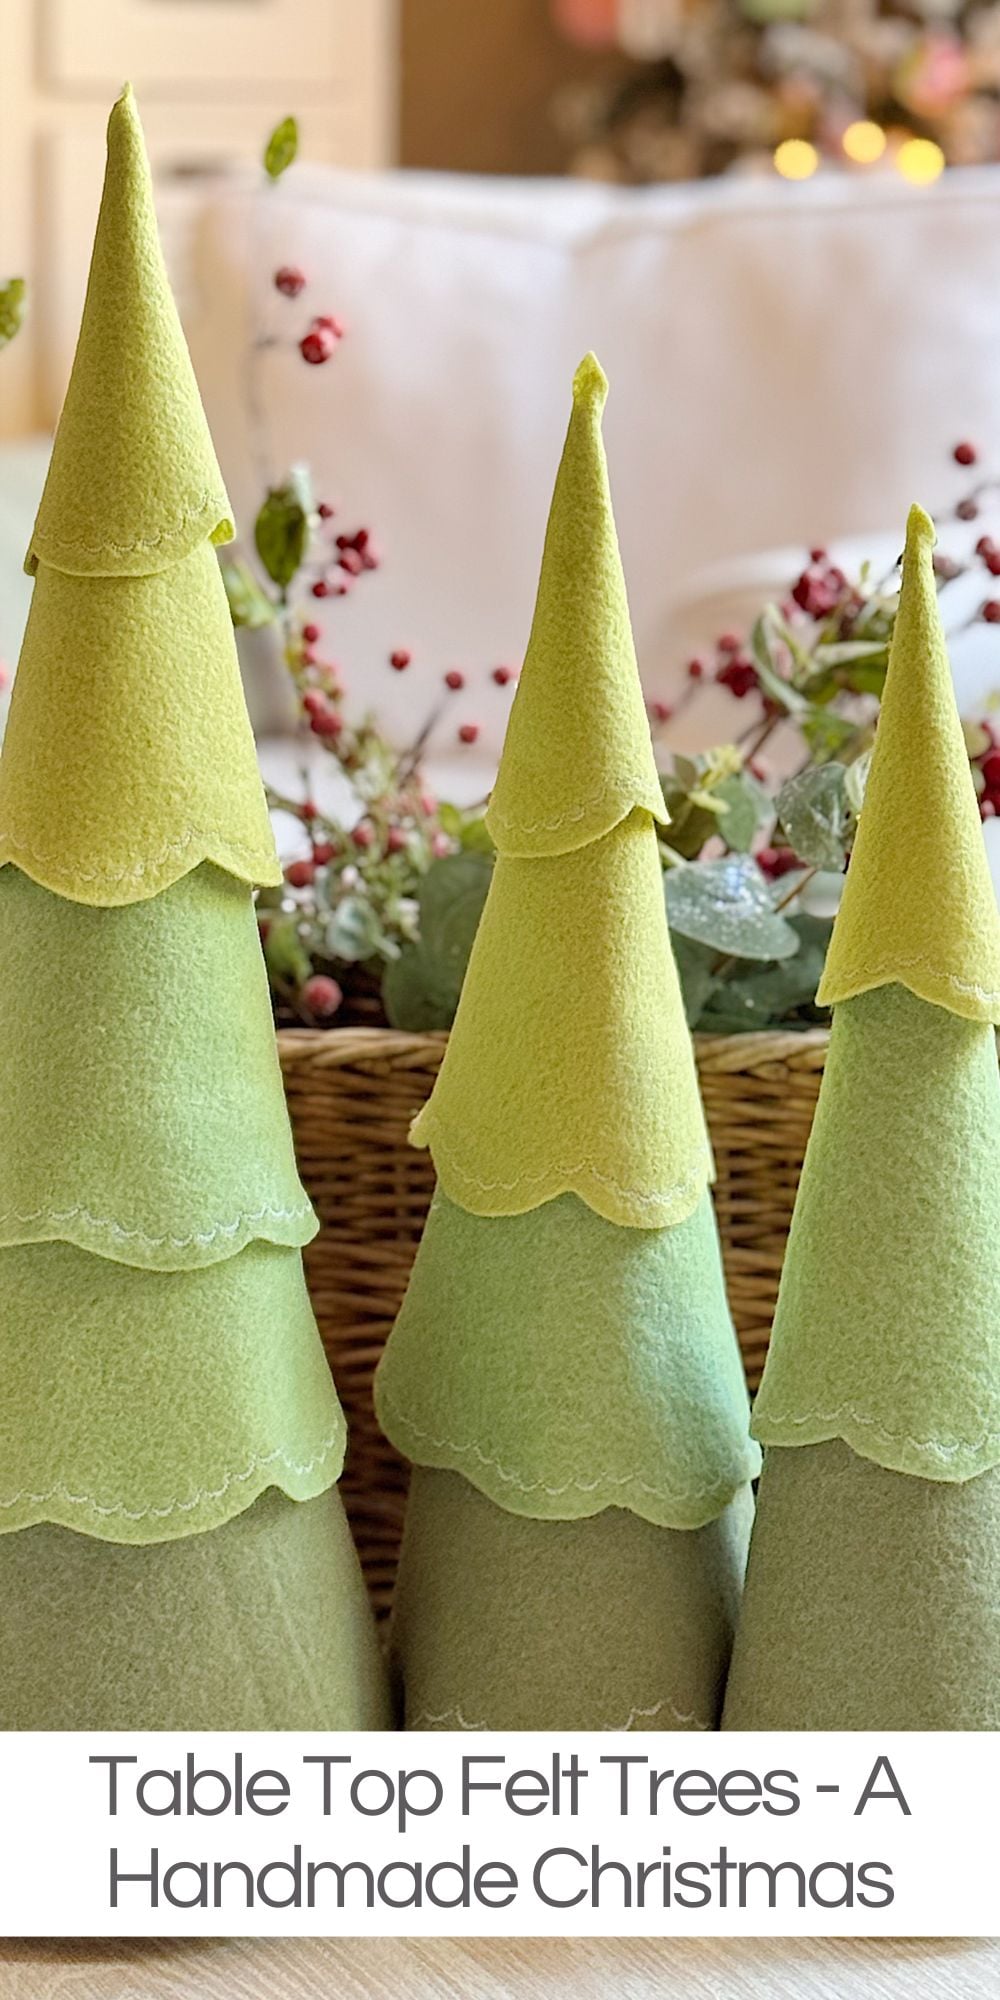
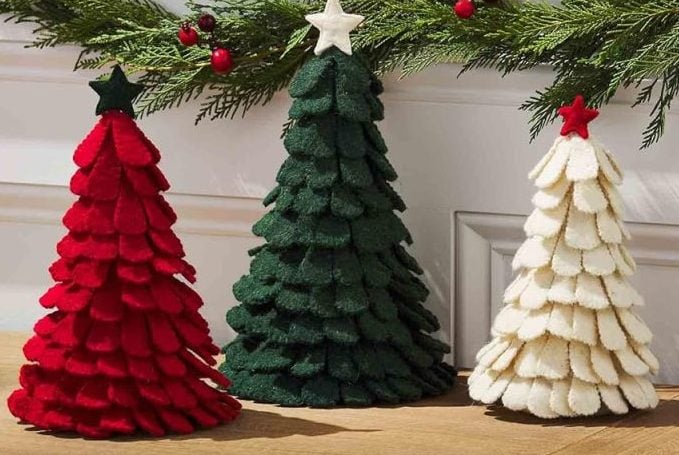
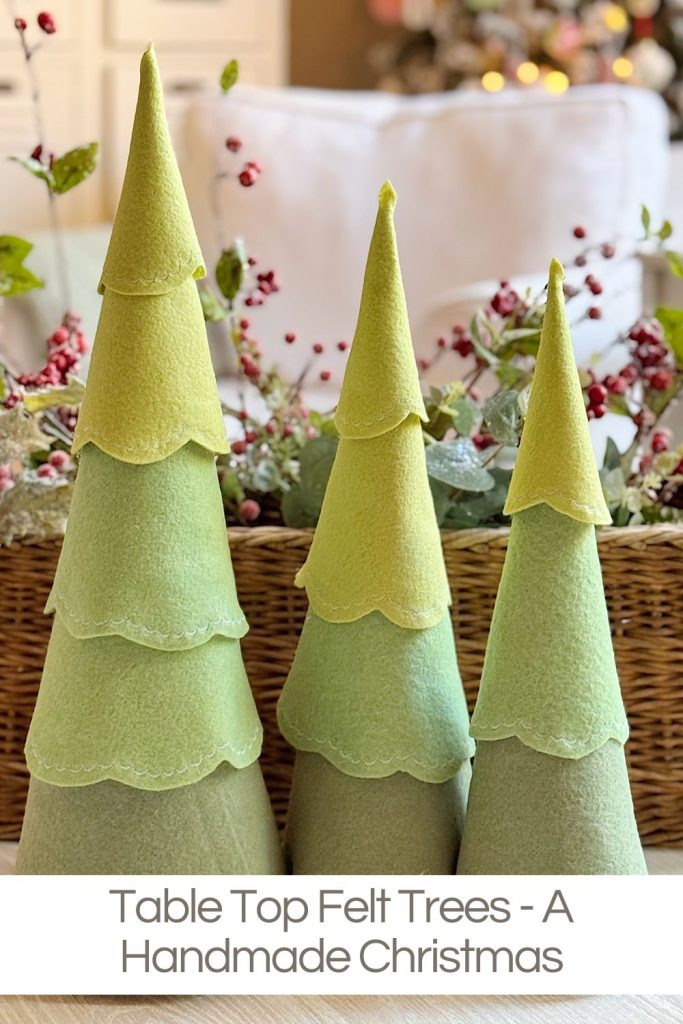
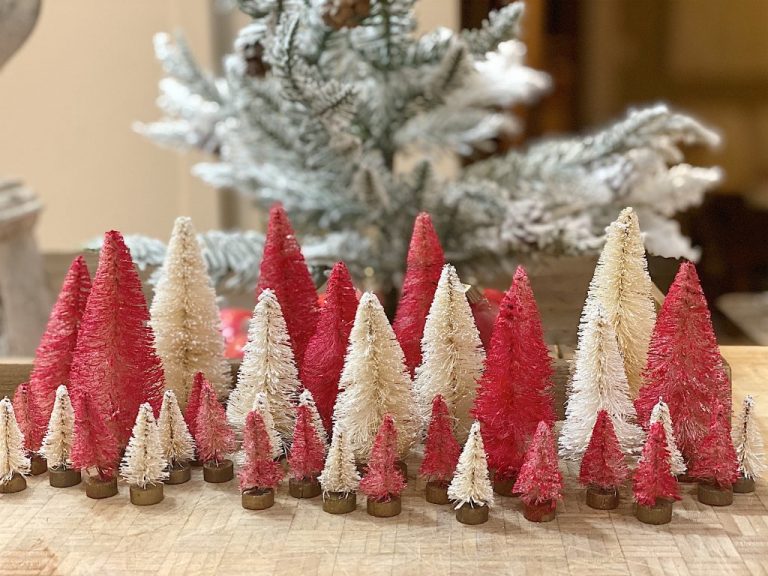
Table Top Felt Trees – A Handmade Christmas
I can hardly believe it, as this is the sixteenth and final week of A Handmade Christmas! These Table Top Felt Trees are the perfect finale.
Why? Because it blends everything I love about holiday crafting: texture, softness, simple construction, and a gorgeous result that looks like something you’d find at a high-end boutique.
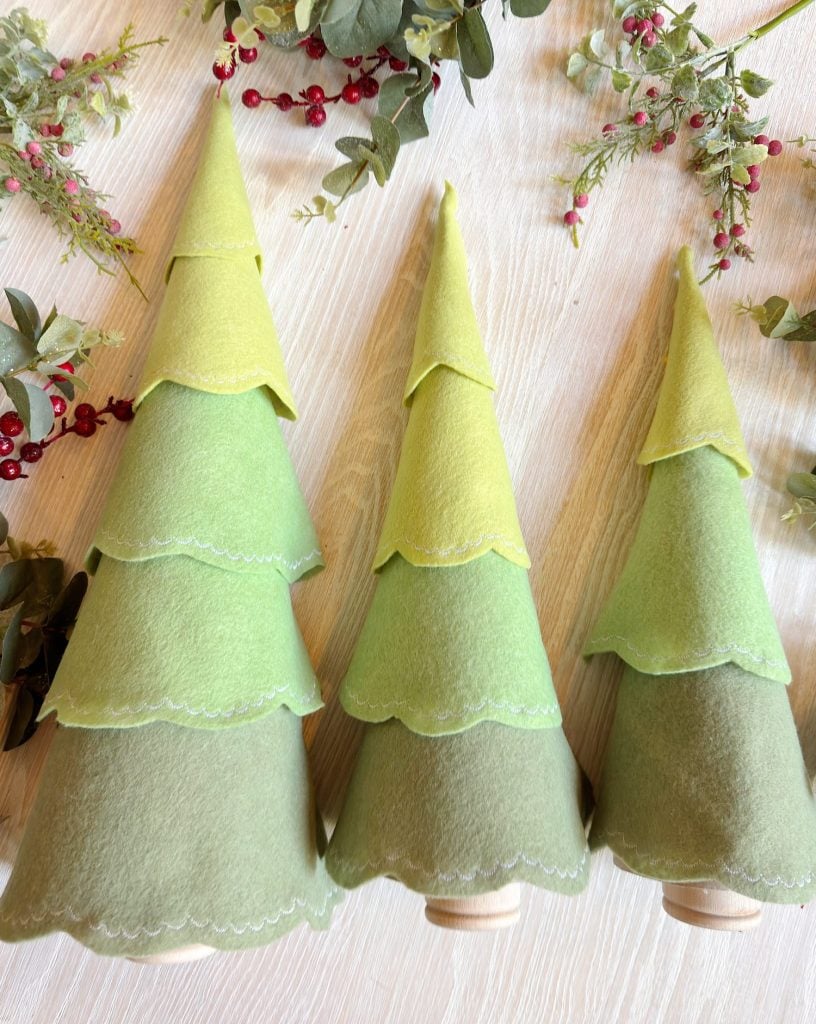
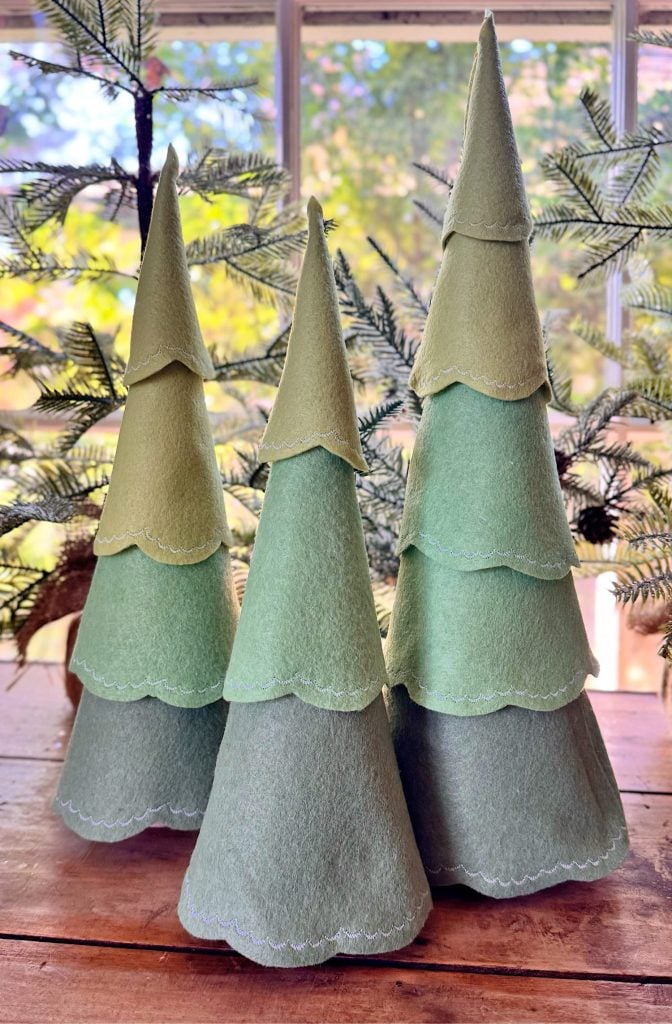
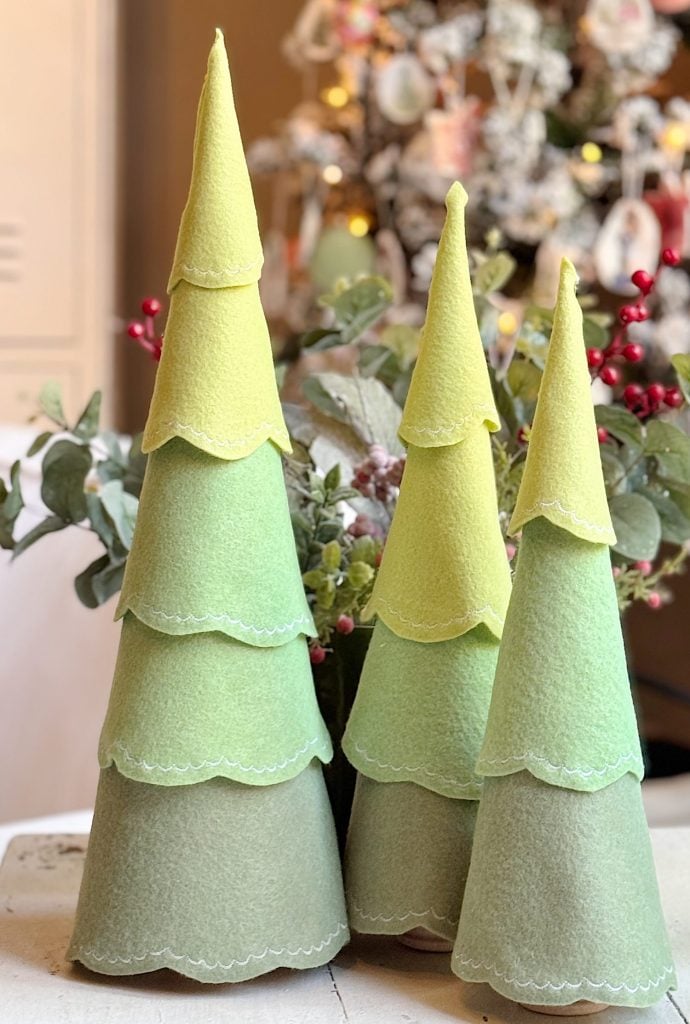
Introducing: Table Top Felt Trees
What an incredible season this has been, filled with creativity, inspiration, and so many wonderful handmade treasures. These sweet felt trees are charming, Scandinavian-inspired, and incredibly easy to customize.
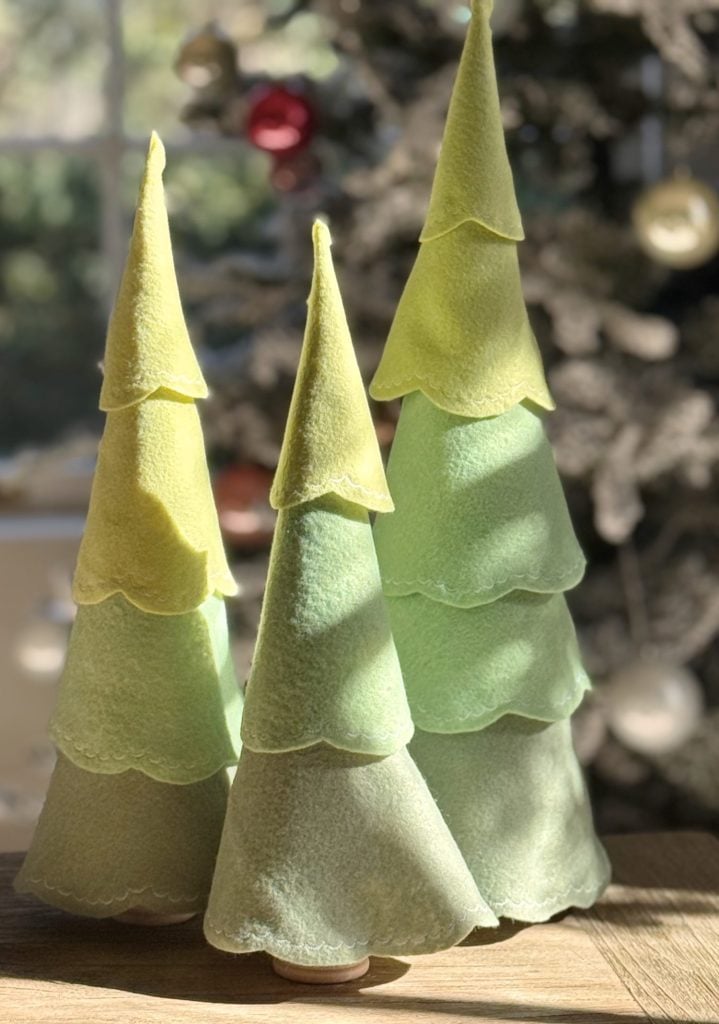
You can make them tall or short, neutral or colorful, simple or detailed. And the best part? You can make a forest of them in just an afternoon. They look beautiful on dining tables, mantels, shelves, buffets, bedrooms … you name it.
And unlike real greenery, they’ll last forever.
If you’ve been wanting a final handmade project that feels special but doesn’t require days of work, these felt trees are it.
Why I Love This Craft
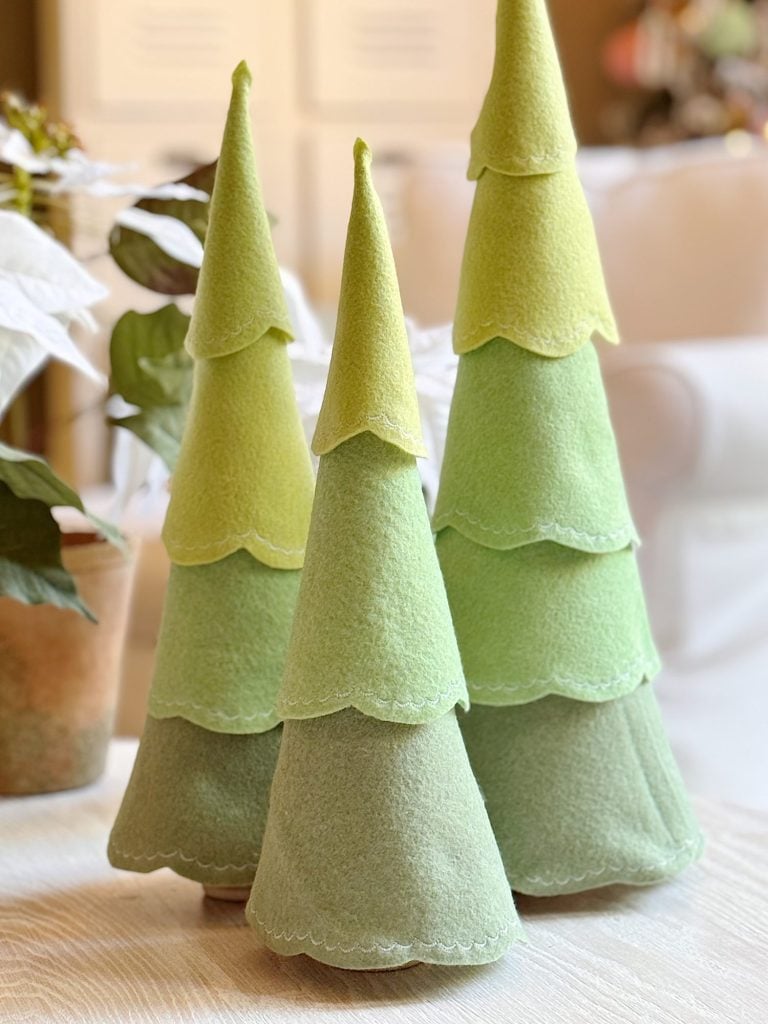
I love these trees as their soft, layered “branches,” scalloped edges, and cozy felt texture instantly give off warm winter magic. They’re charming without being overly cutesy, elegant without feeling formal.
They also fit beautifully with my Cozy Christmas theme.
The layered scallops give them dimension, the felt feels handmade and nostalgic, and the neutral tones are perfect for winter decorating long after Christmas.
And, let’s be honest, after weeks of more involved projects, it feels wonderful to finish the series with something simple, relaxing, and very satisfying.

Materials You’ll Need
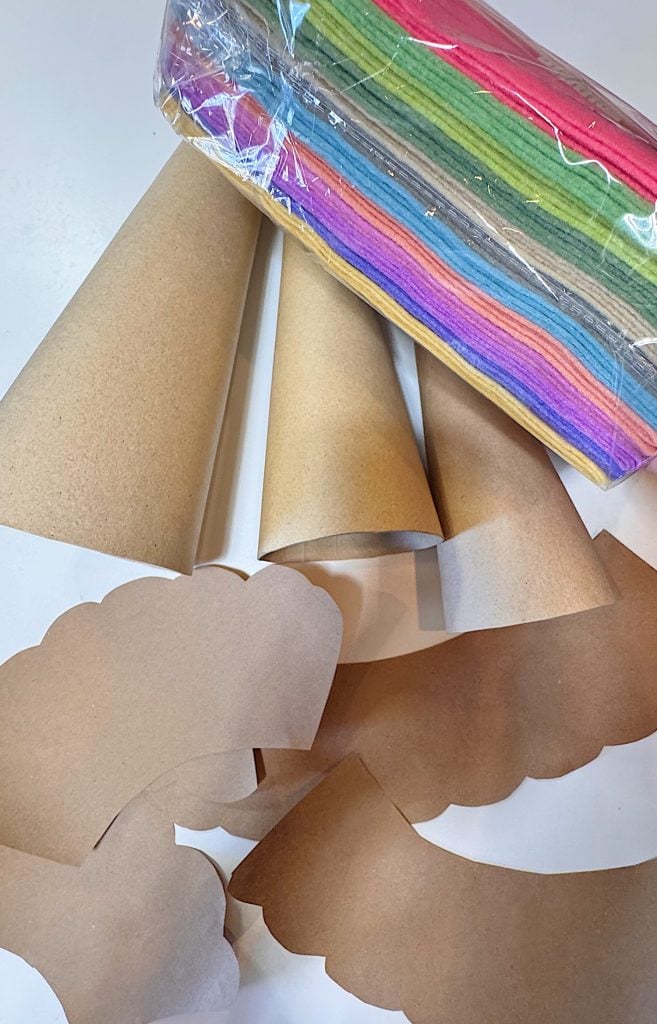
To make these trees, all you need are a few basic crafting supplies:
Supplies
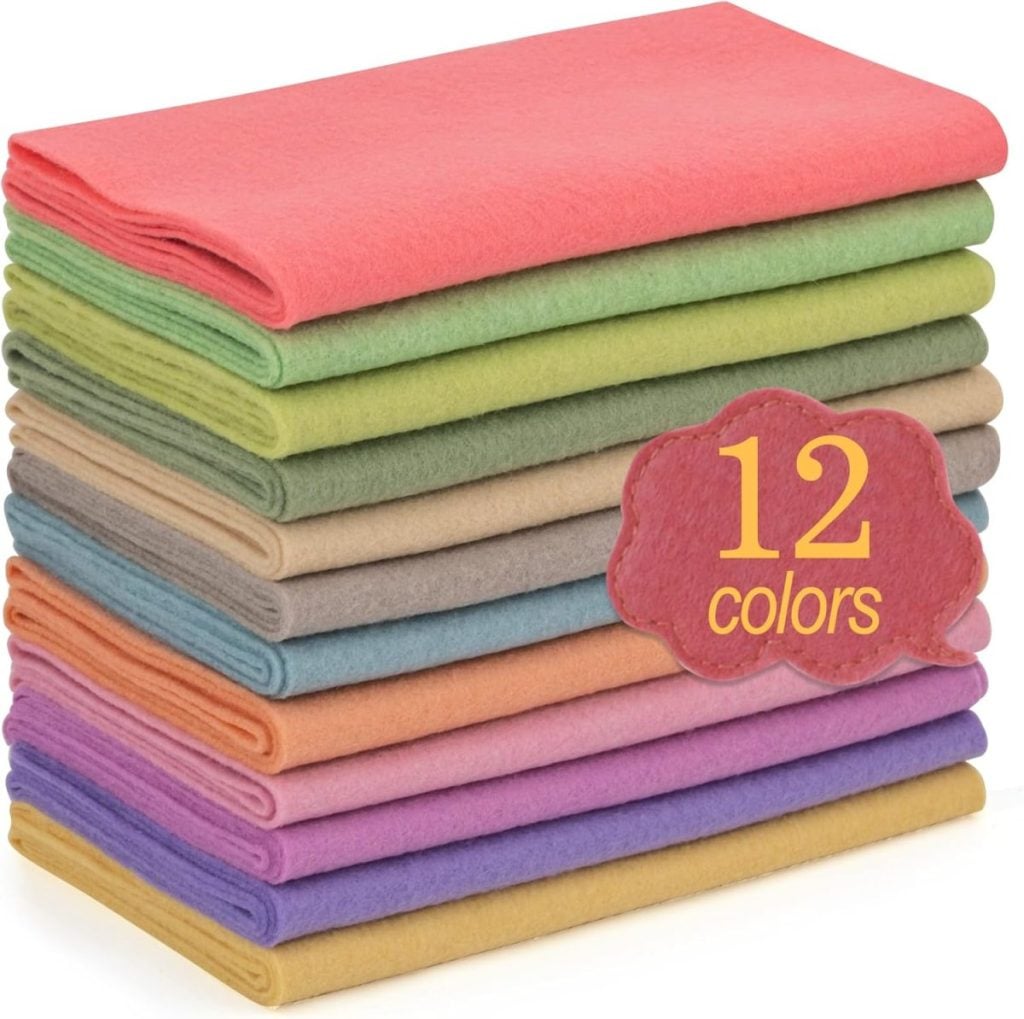
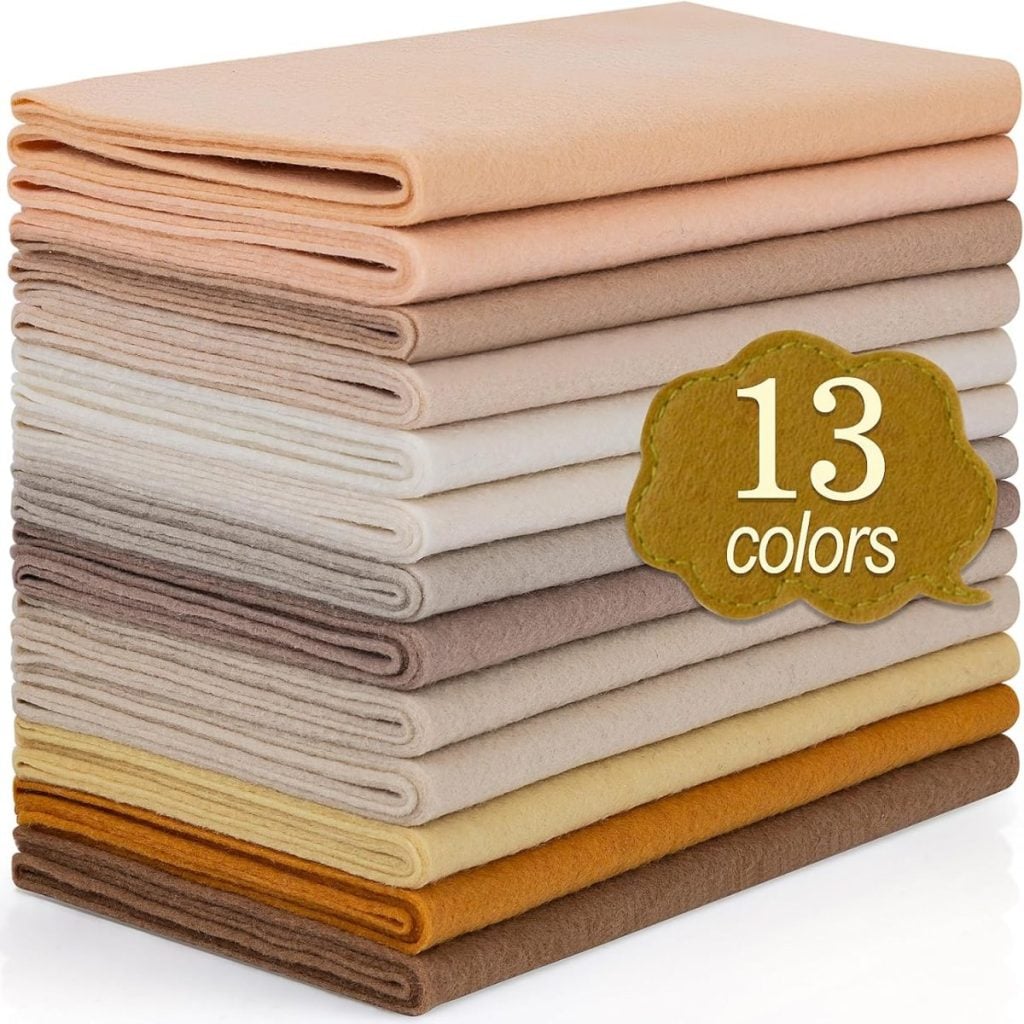
- Felt (wool felt works best, but craft felt is fine too)
Choose a mix of neutrals, winter whites, soft greens, or your Christmas color palette. - Tree base
Options include:- Wooden dowel + wood round
- Wood candlestick
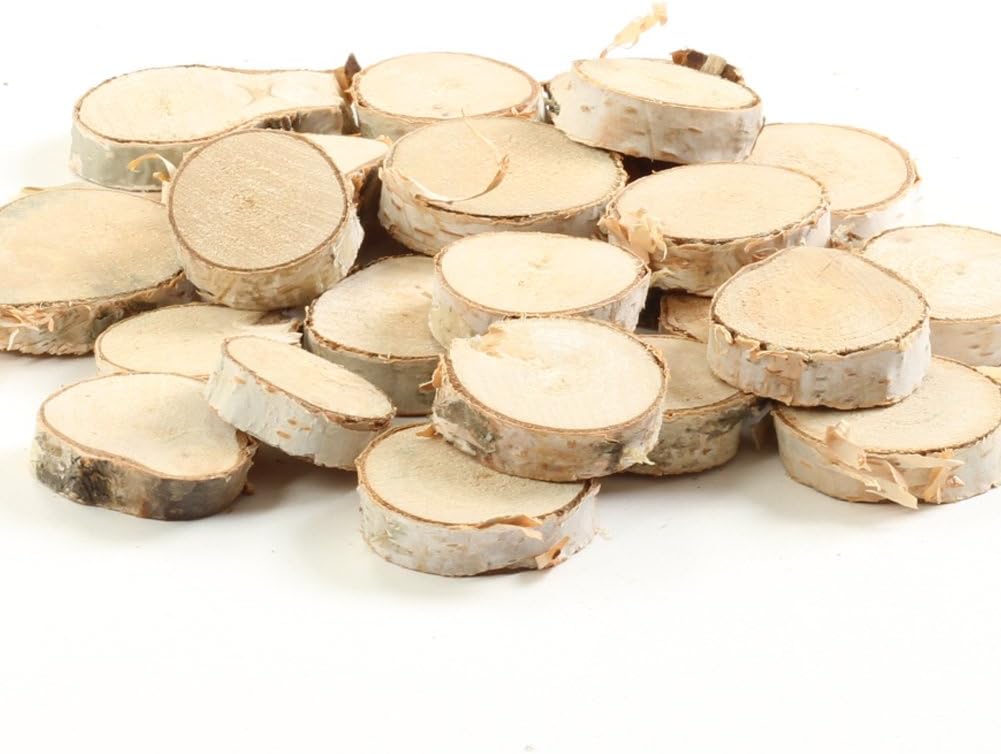
- Small log slice
- Sleek pedestal base
- Cone form
- Paper maché cone
- Styrofoam cone
- Or make your own from cardstock
- Sewing machine (optional)
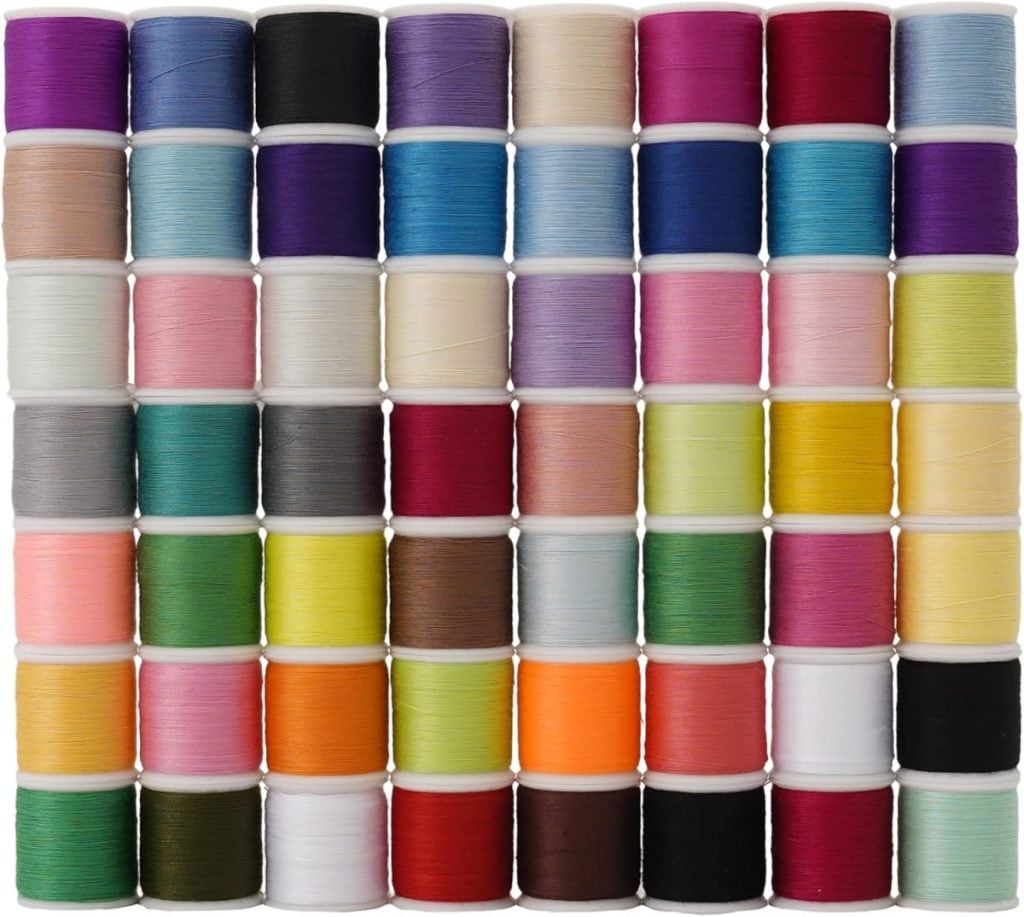
- Thread
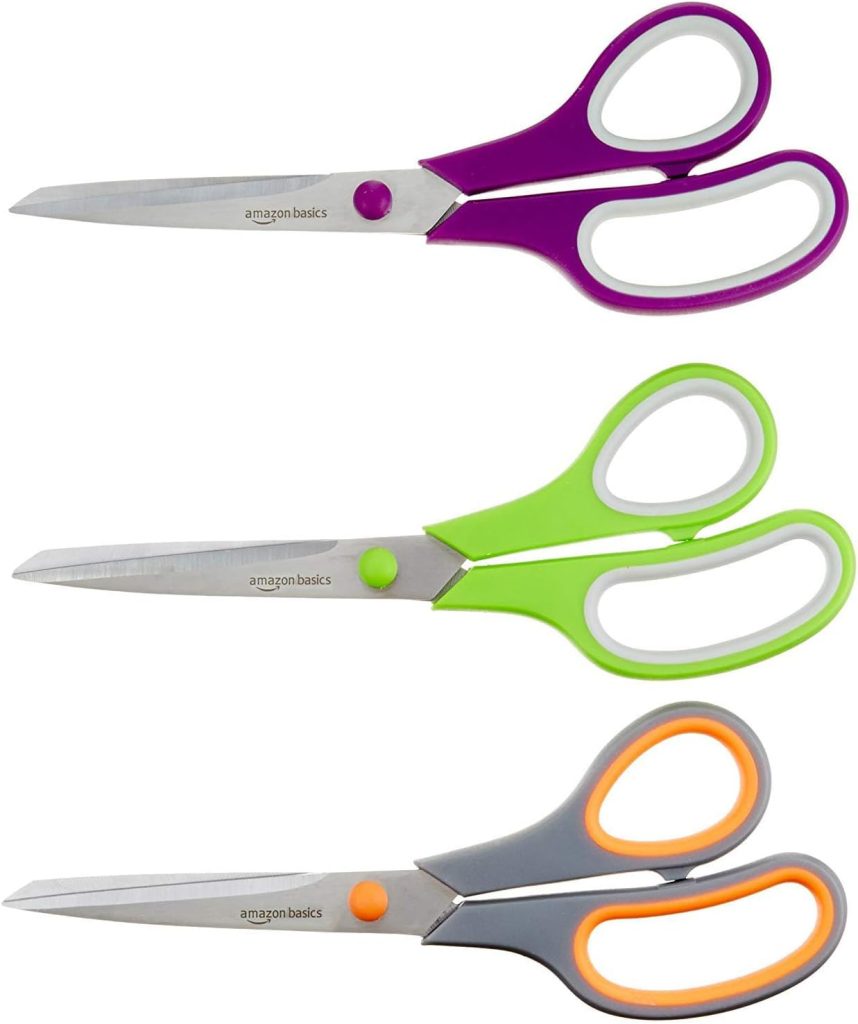
Contrasting thread looks adorable, but matching thread is beautiful too. - Scissors or rotary cutter
- Hot glue gun (or fabric glue)
- Pins, if you want to position pieces before attaching


Optional Embellishments
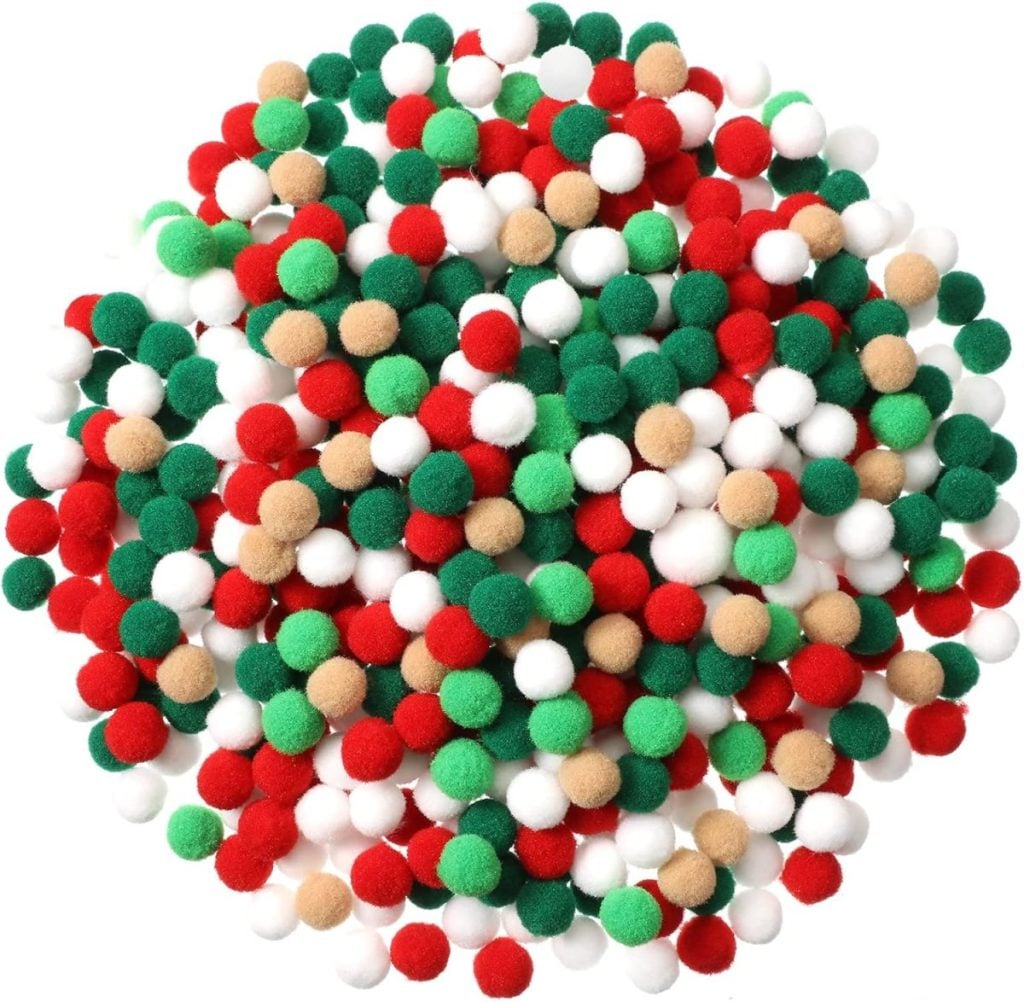
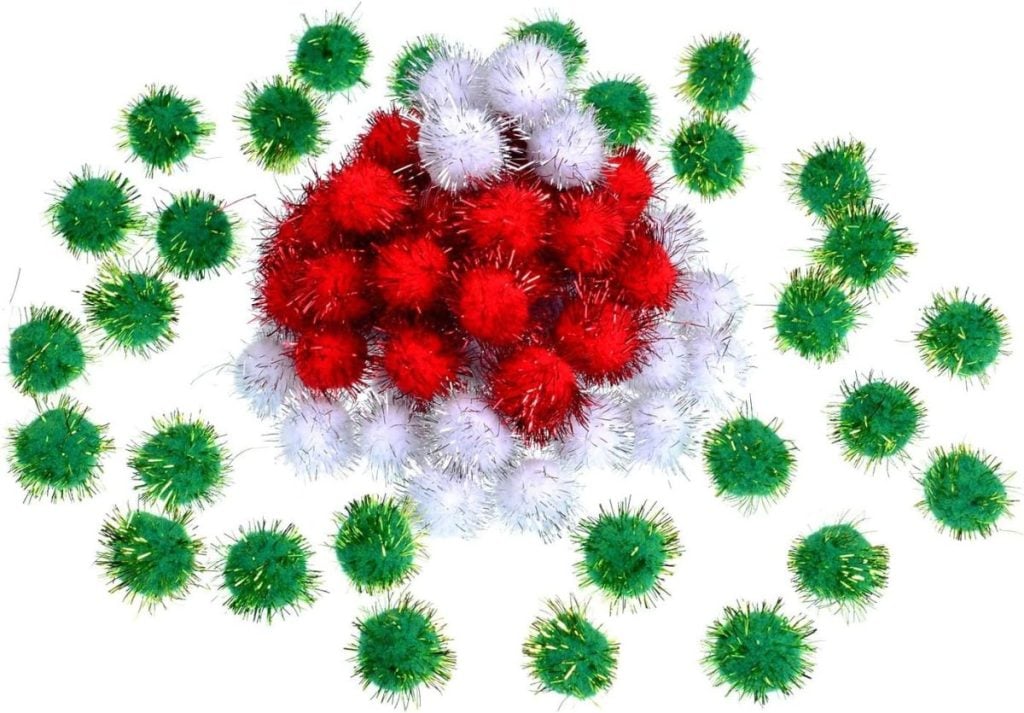
- Mini pom-poms
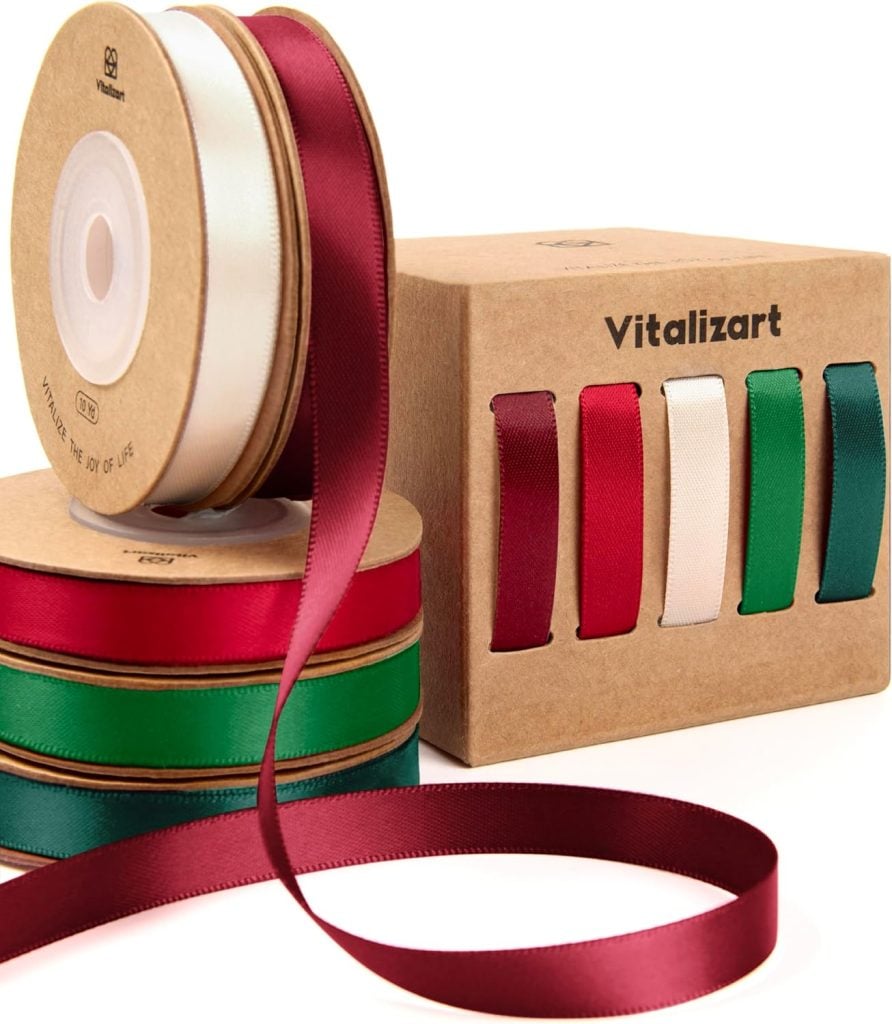
- Ribbons
- Hand embroidery
- Blanket-stitch trim
- Decorative stitch settings on your sewing machine

This project is wonderfully flexible. If you don’t sew, you can still absolutely make these trees, simply glue or hand-sew trim on the edges of the scallops. If you love sewing, you can add beautiful stitching along every edge for that perfect Scandinavian look.
How to Make Table Top Felt Trees
These felt trees come together in four easy steps:
Make the base, prepare your scalloped layers, add the decorative stitching, and layer them onto the cone.
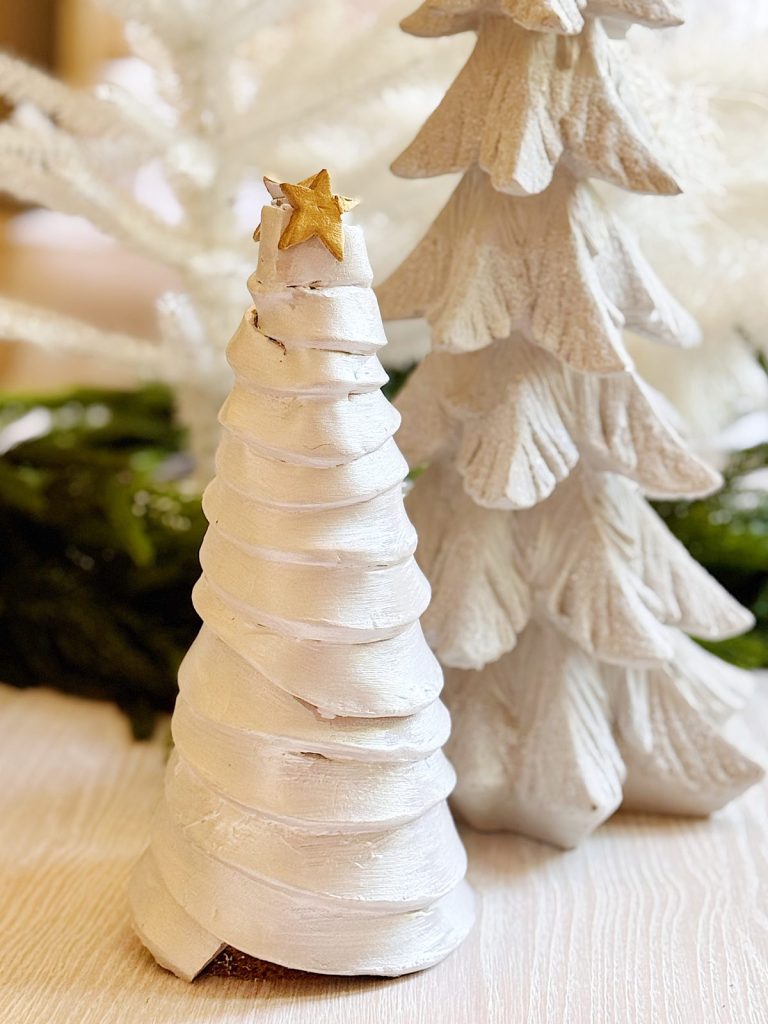
Step 1: Prepare Your Tree Base
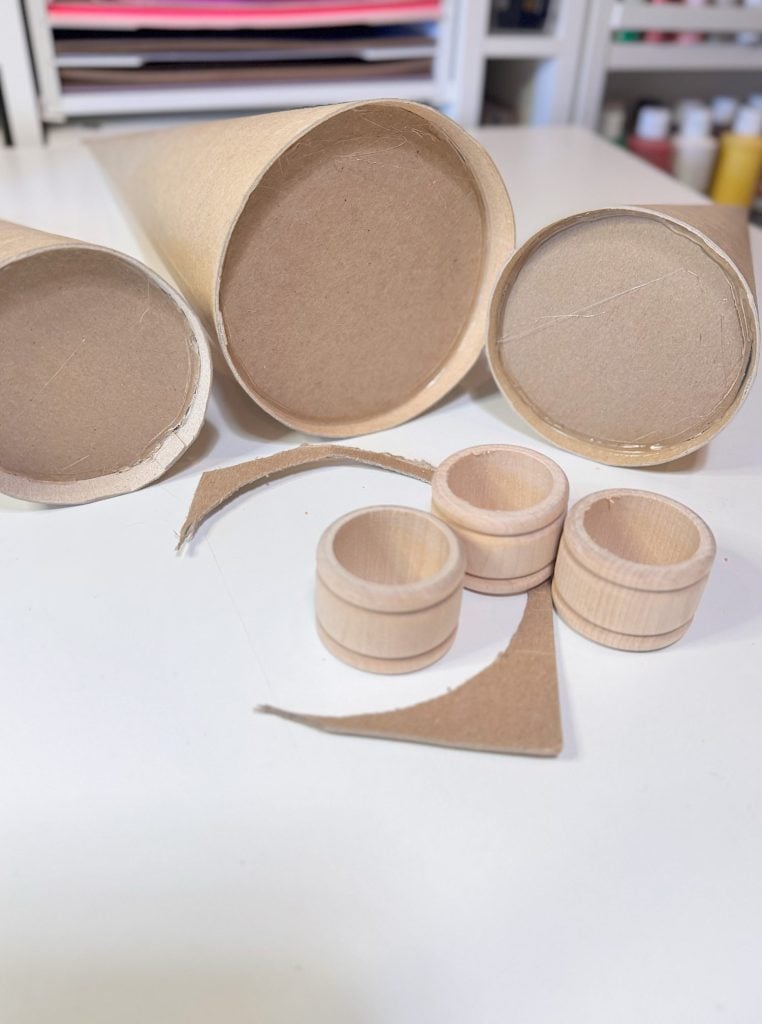
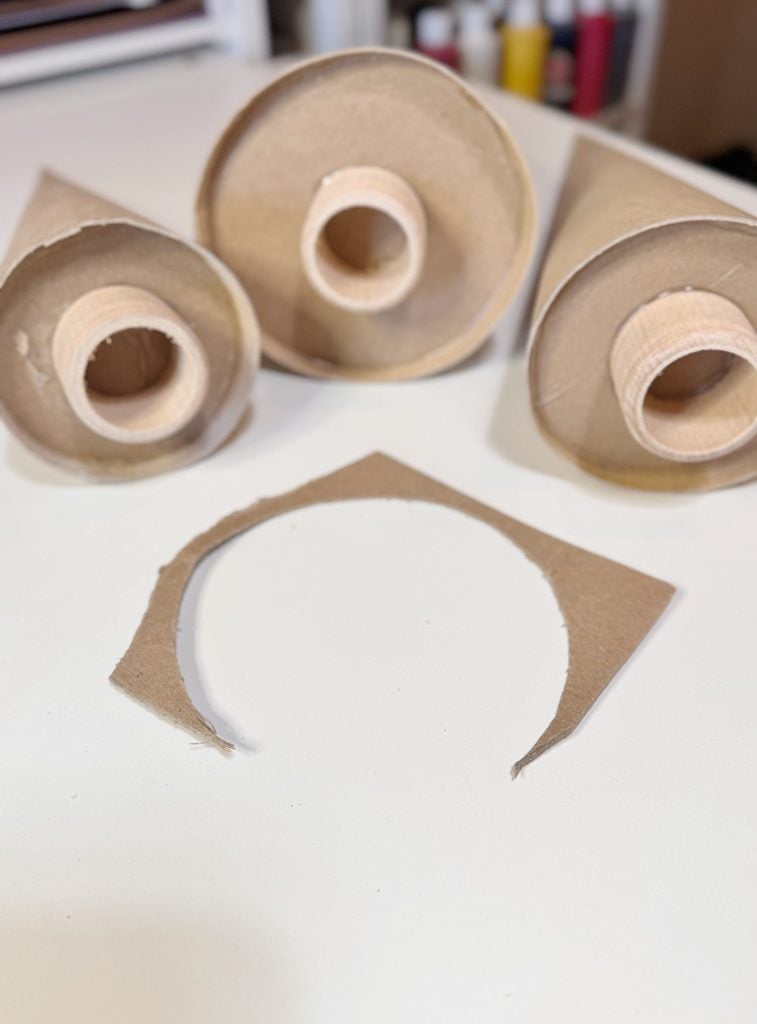
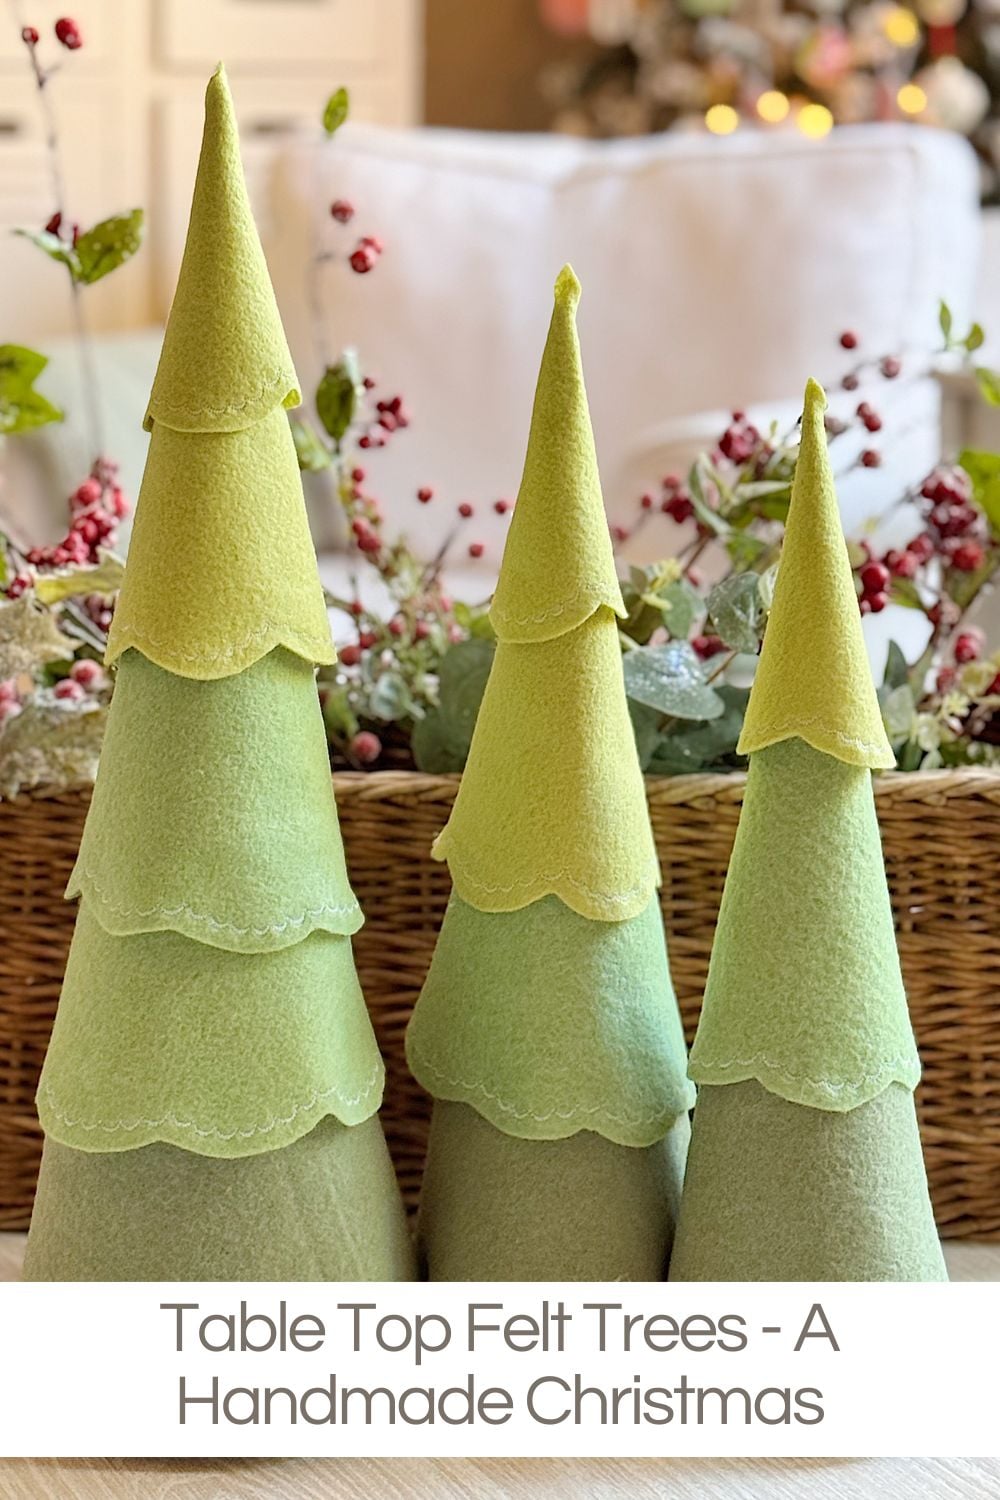
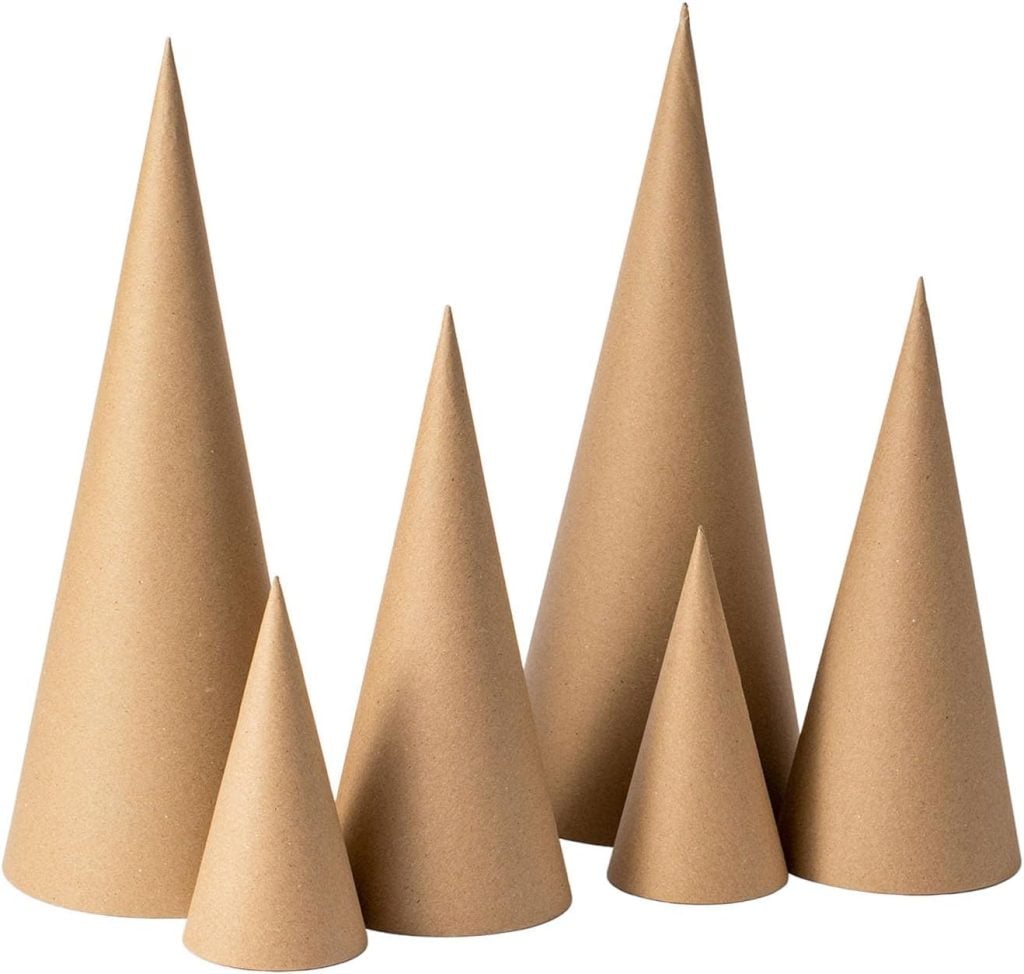
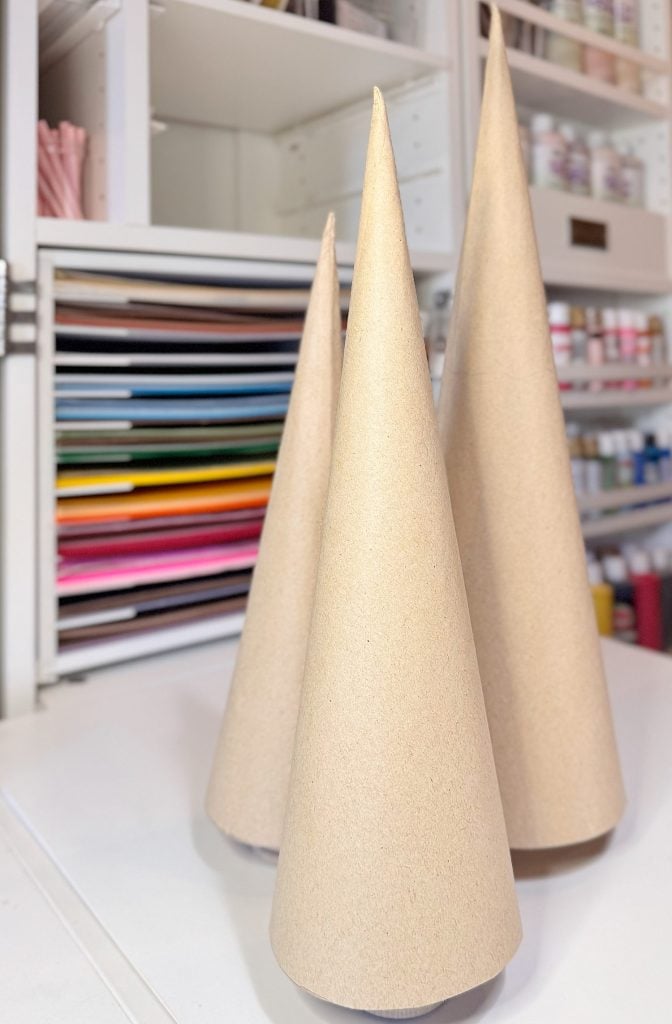
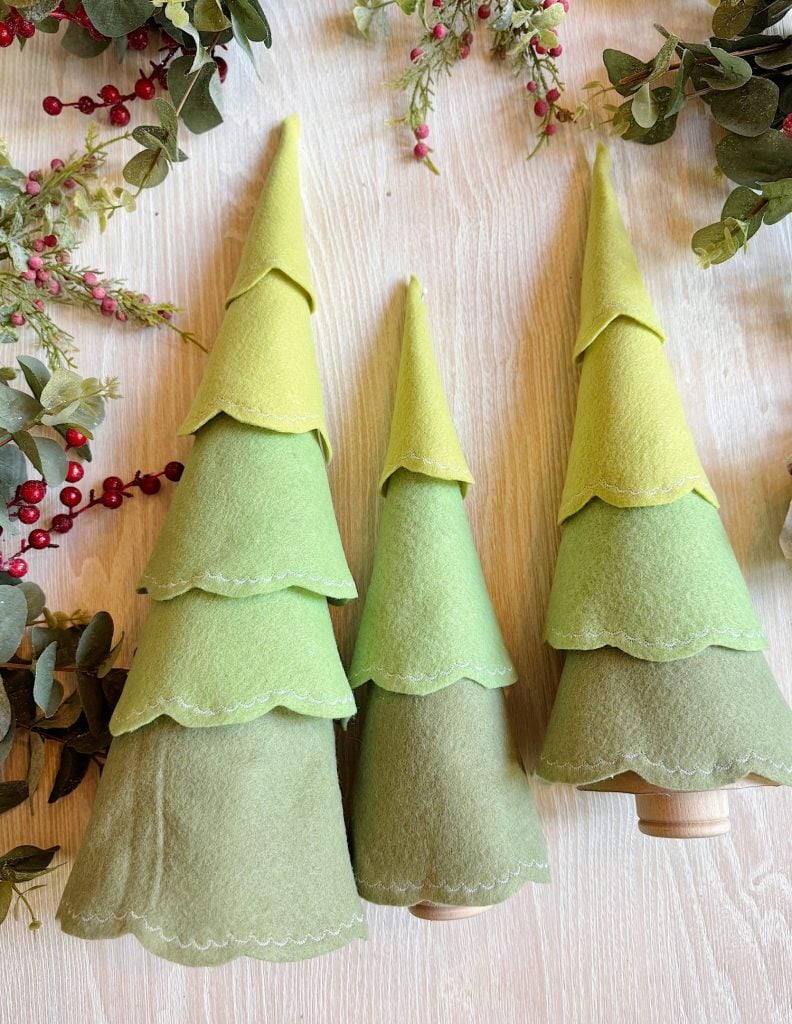
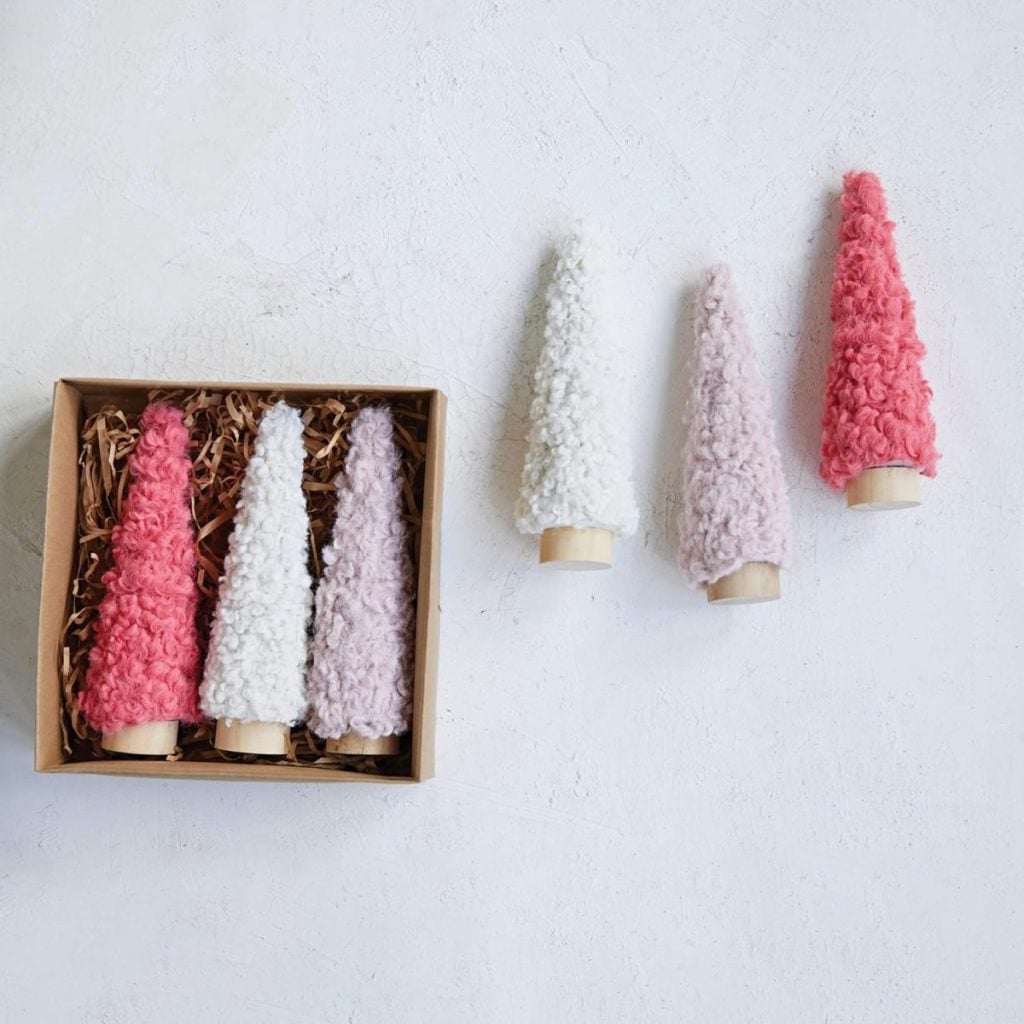
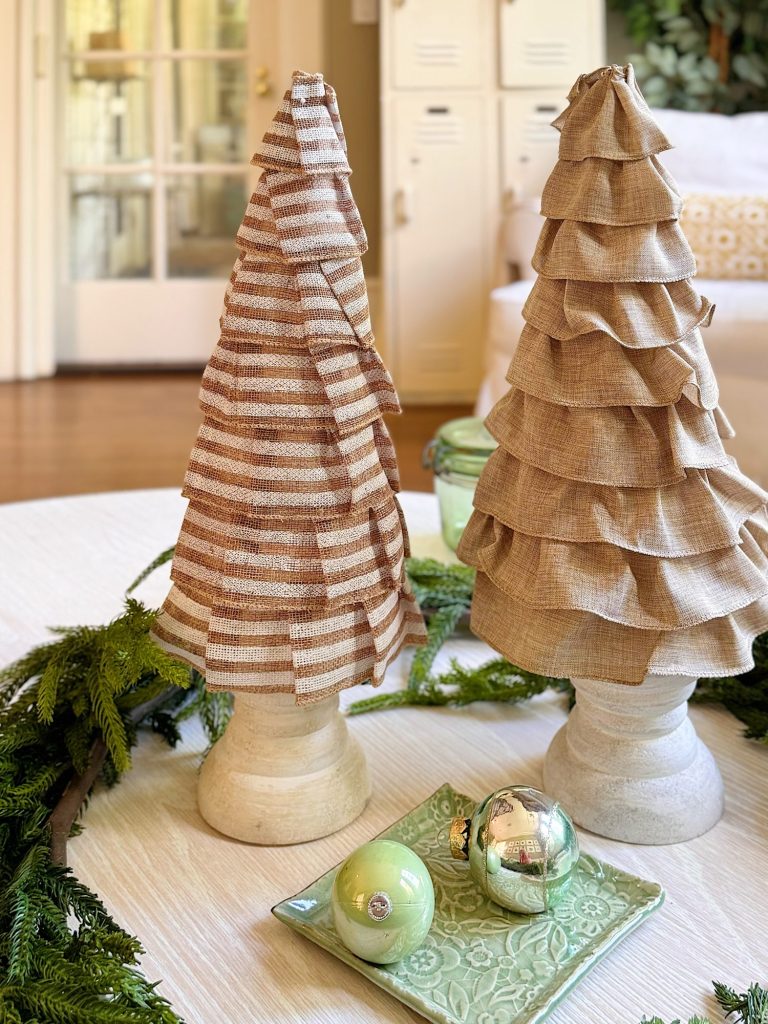
I used three identical papier-mache cones. Because I wanted them to be different heights, I cut 2 inches and 3 inches off the bottoms of two of them. By using the same cones, I knew I could use the same patterns I made for the felt pieces for all three. I just used fewer pieces for the shorter ones!
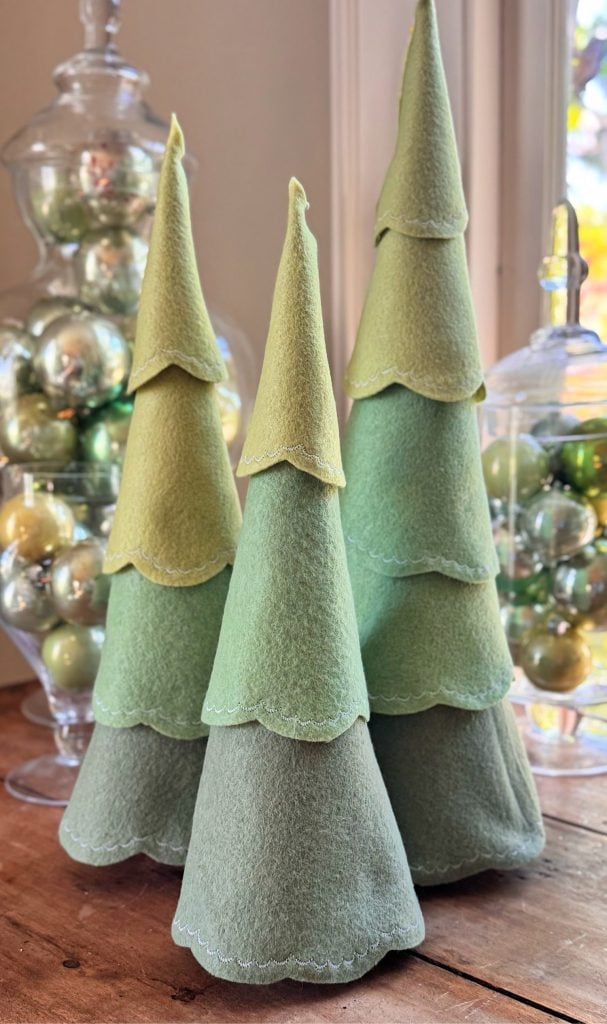
The bottom of each tree was open, so I cut a circle just slightly smaller than the bottom edge of each tree and hot-glued it inside. Then I glued a wooden craft napkin ring to each tree to give it a stem.
Of course, you can buy the set of trees that already have the “trunk” of the tree, and you can skip these steps.
For a larger, fluffier tree, use a taller cone. For a set of matching trees, play with different heights.
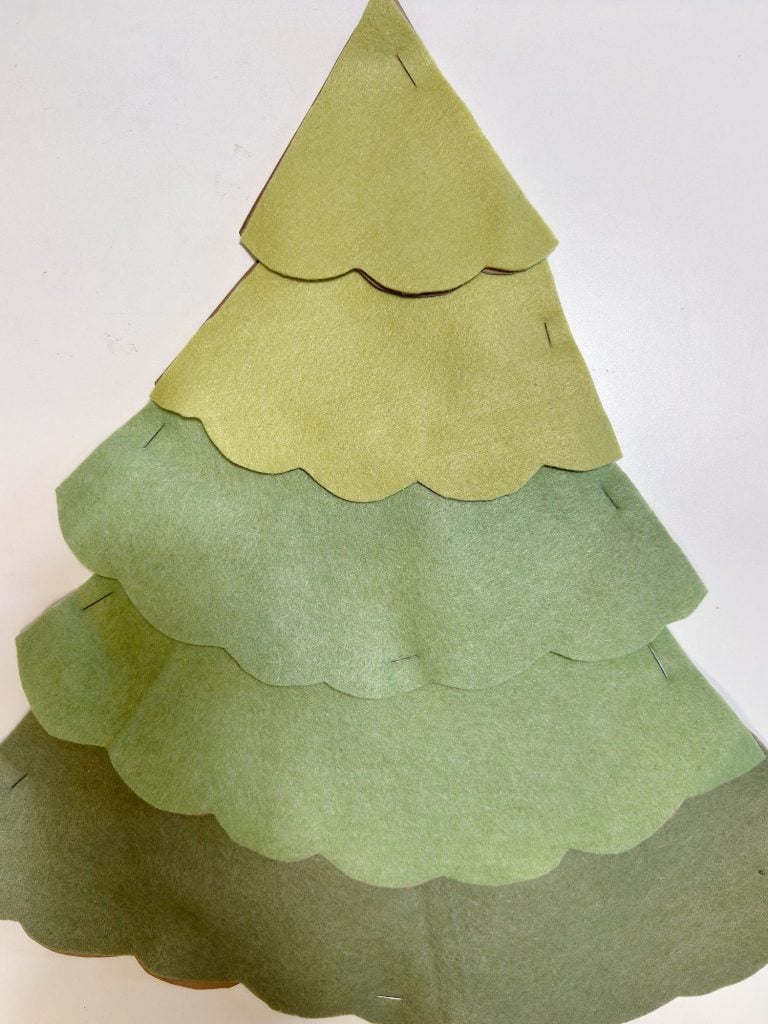
Step 2: Cut the Scalloped Felt Layers
This is the part that gives the trees their charm.
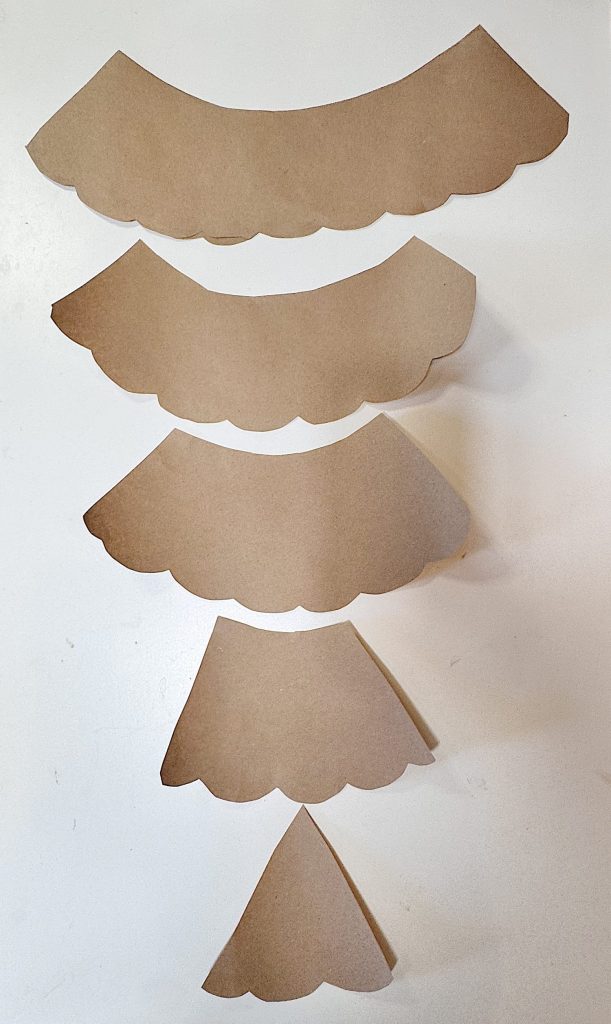
I went ahead and pre-measured and cut patterns for my felt layers. By using the largest tree, I only had to do this once. I cut 4″ strips of paper, fit them around the cone, and cut a scalloped edge at the bottom. I cut five layers for the large tree, then used four for the medium tree and three for the smallest.

There is, however, an easier way to do this that will save you a lot of time.
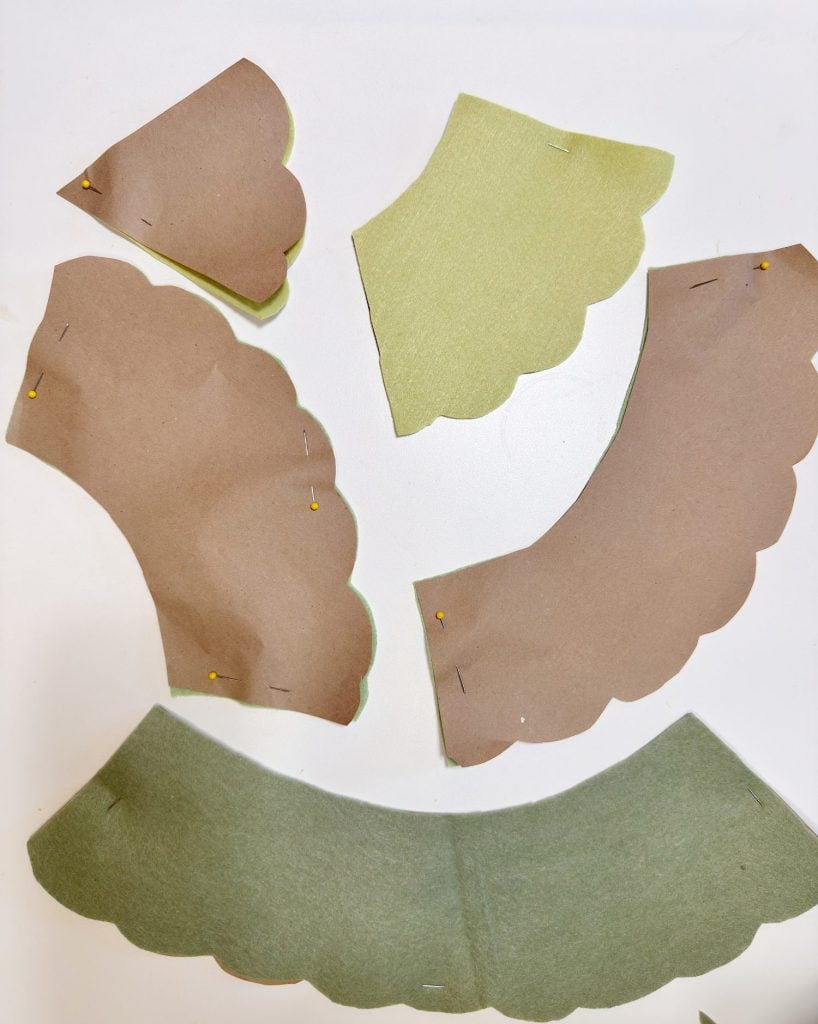
- Cut felt strips about 3 to 4 inches tall.
- Along one long edge, cut a simple scalloped pattern.
You can:- Draw the scallops first
- Use a bowl, ribbon spool, or jar lid as a guide
- Or just freehand—the organic look is beautiful!
- For a fuller look, add 7–9 strips per tree.
For taller trees, you may need more. - Wrap and glue the flet strips to your tree.
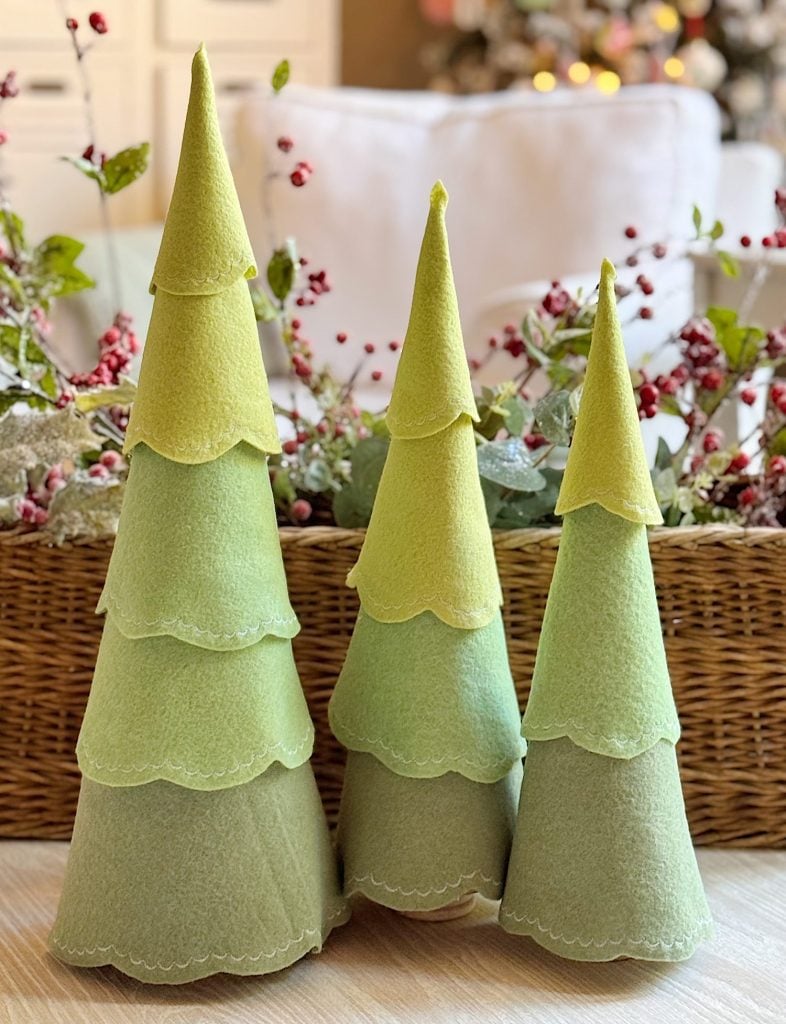
You can use a single color or mix coordinating colors for a layered gradient effect.
Step 3: Add Decorative Stitching (Optional but adorable!)
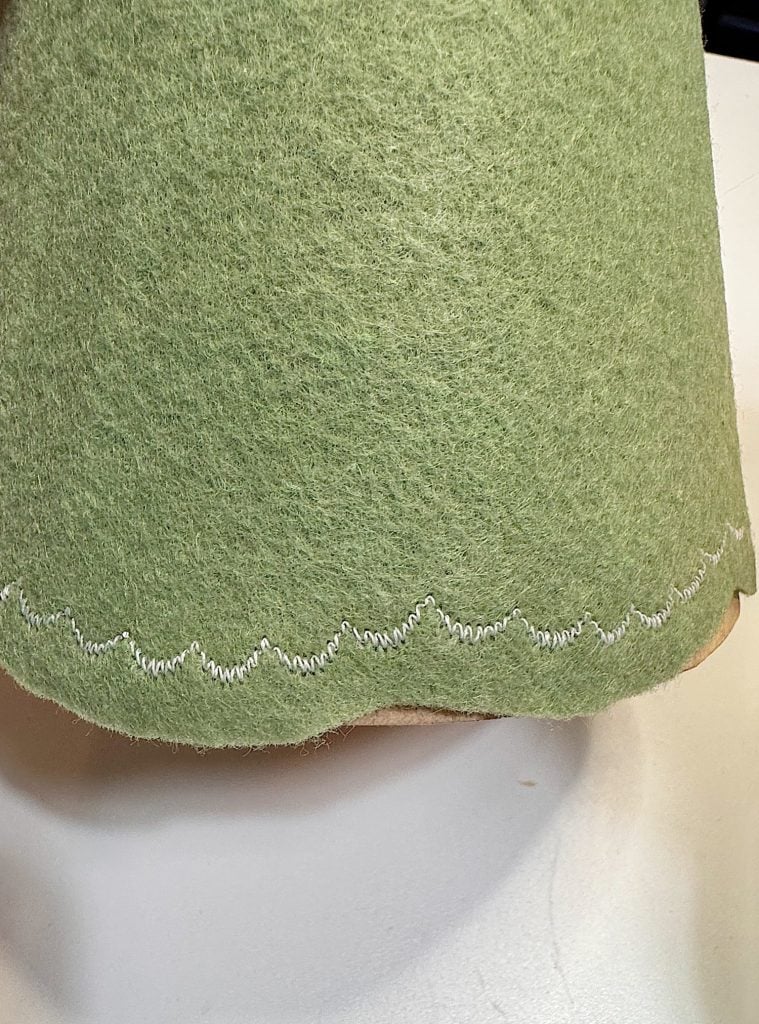
This is where the magic happens.
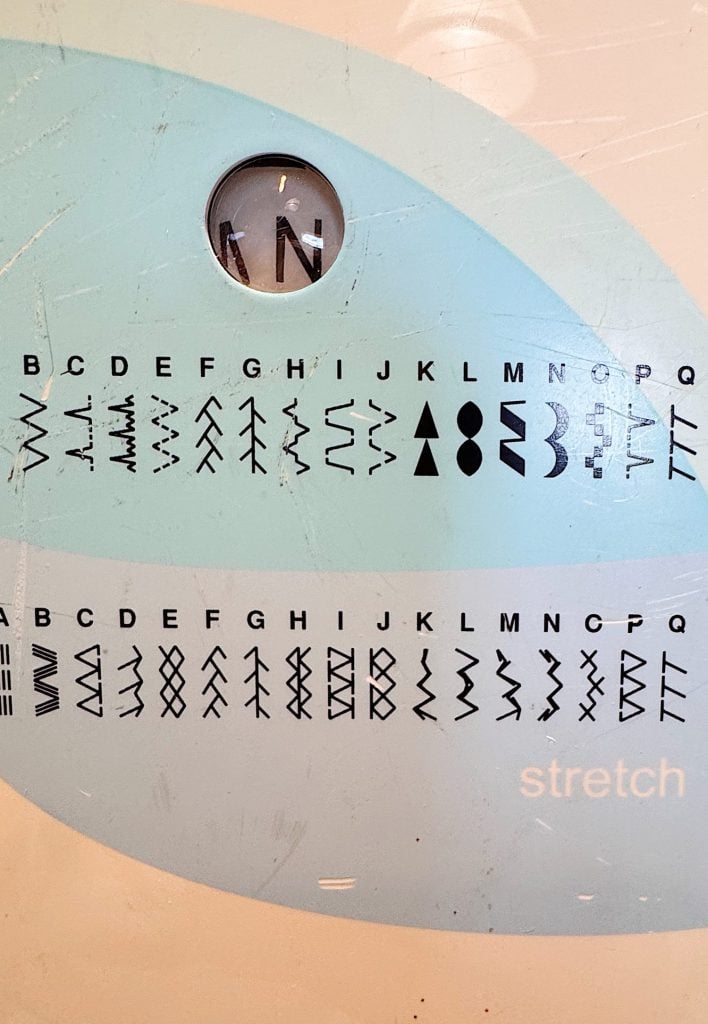
Using your sewing machine, select the stitch you prefer. I will be honest, I have had my basic Singer machine for a very long time, yet I don’t think I have ever used the decorative stitches. I practiced on some scraps of felt and selected the “N” stitch on my machine. It looks so good!
- Straight stitch
- Zigzag stitch
- Blanket stitch
- Decorative stitch presets
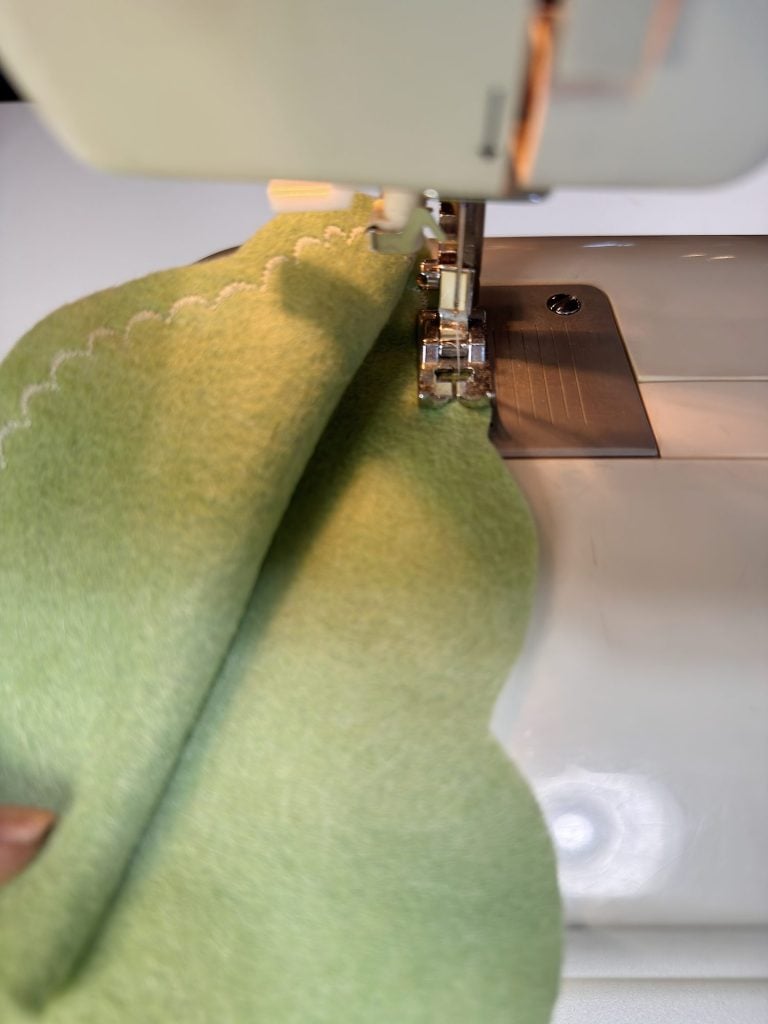

Run your stitches along the curved edge of each scallop.
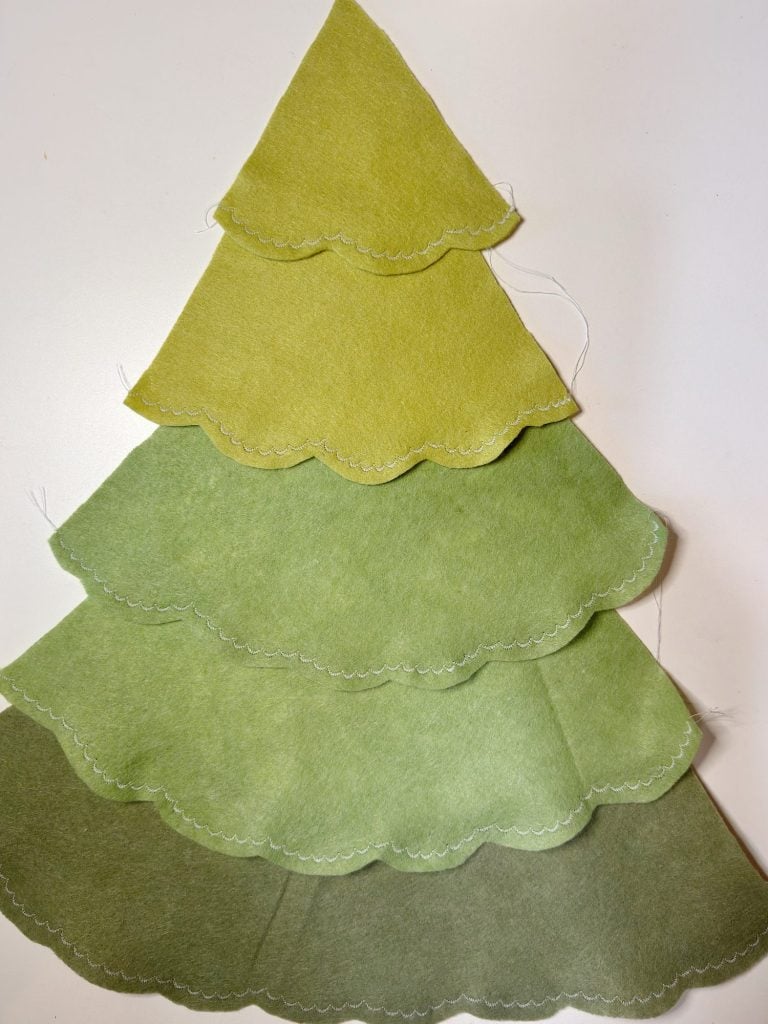
Contrasting thread makes the stitching stand out. A matching thread keeps it minimal and clean.
If you don’t have a sewing machine, you can:
- Leave the edges plain
- Blanket-stitch by hand
- Glue on a thin trim
- Use fabric paint to “fake” stitching
Step 4: Attach the Felt Layers to the Cone
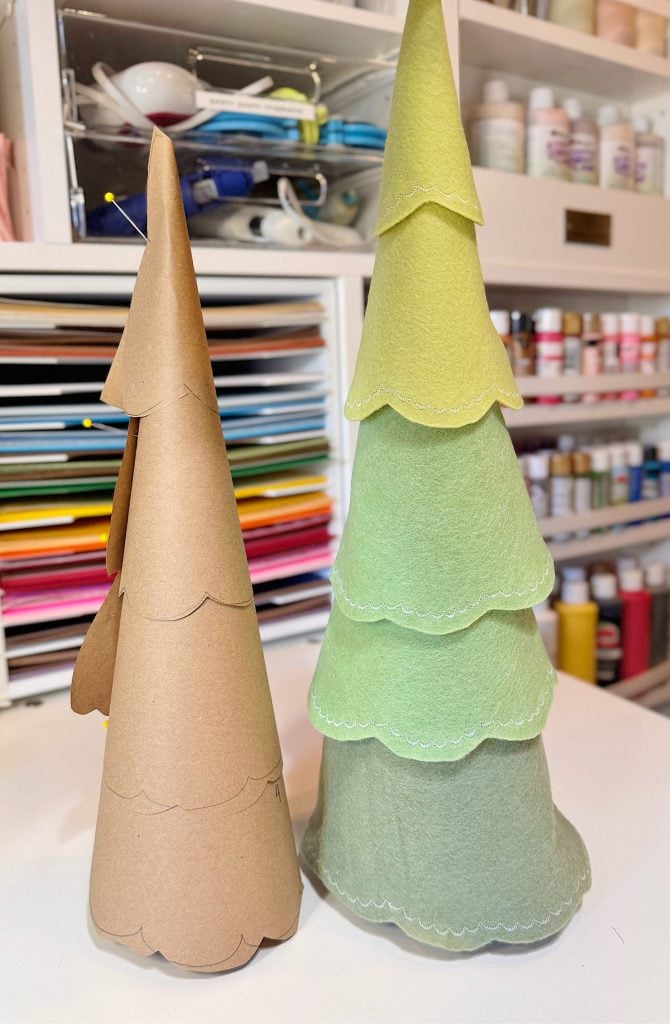
Starting at the bottom:
- Wrap the first scalloped strip around the bottom edge of the cone.
- Glue in place using a thin, neat line of hot glue.
- Continue adding layers, working your way up.
Overlap each row about ¼–½ inch above the one below it. - When you reach the top, wrap a final small scalloped piece around the peak.
That’s it! Your tree is ready for its stand.
Tips for the Best Results
- Use wool felt if you can.
It holds its shape, doesn’t fuzz, and looks beautifully high-end. - Vary your scallop sizes.
Bigger for the bottom, smaller for the top. - Mix textures.
Heavier felt on the bottom layers, lighter felt on the top layers. - Create a forest.
These look best in groups of three to five. - Add lights!
Micro fairy lights wrapped around the tree look magical.
Ways to Customize Your Trees
Scandi Minimal
Soft whites, creams, grays, and subtle decorative stitches.
Classic Christmas
Red felt, forest green, mixed with cream top layers.
Neutral Winter Forest
Taupe, oatmeal, sage, and natural wood bases.
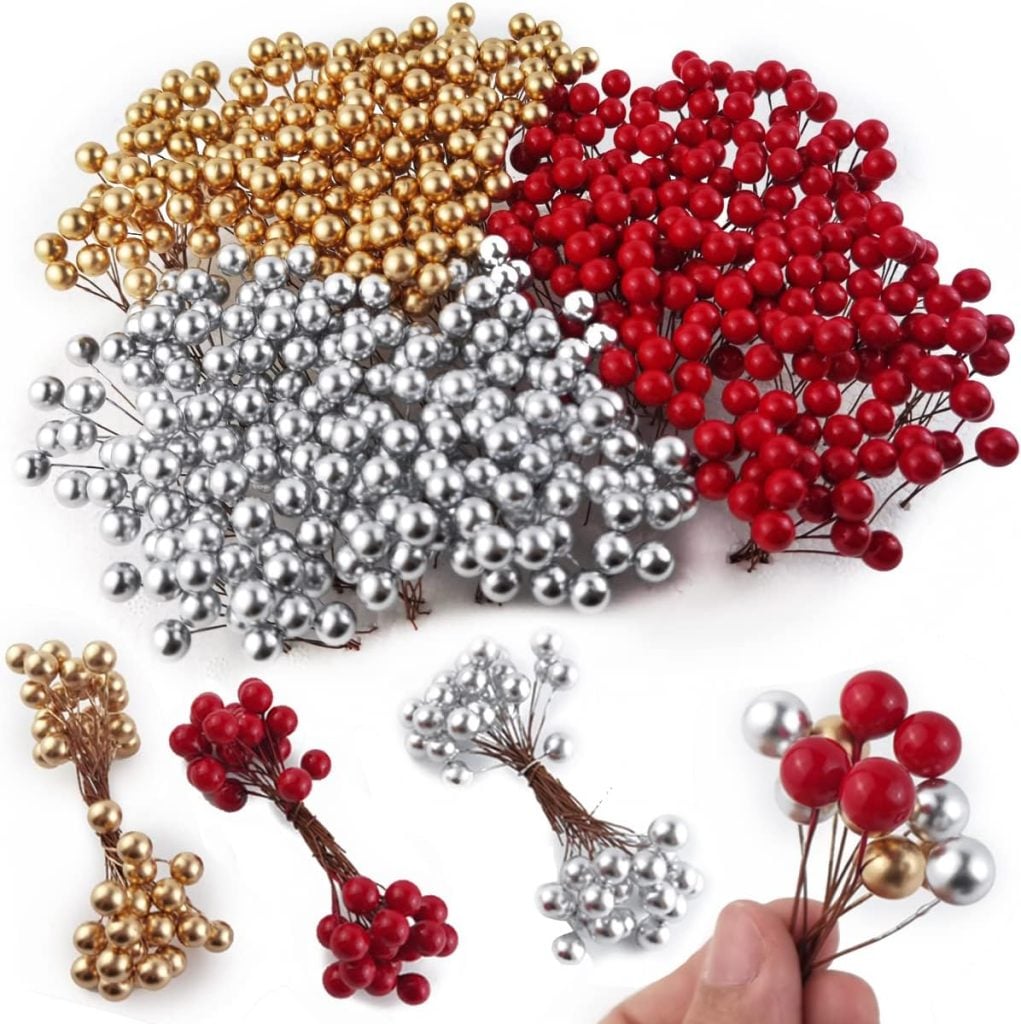
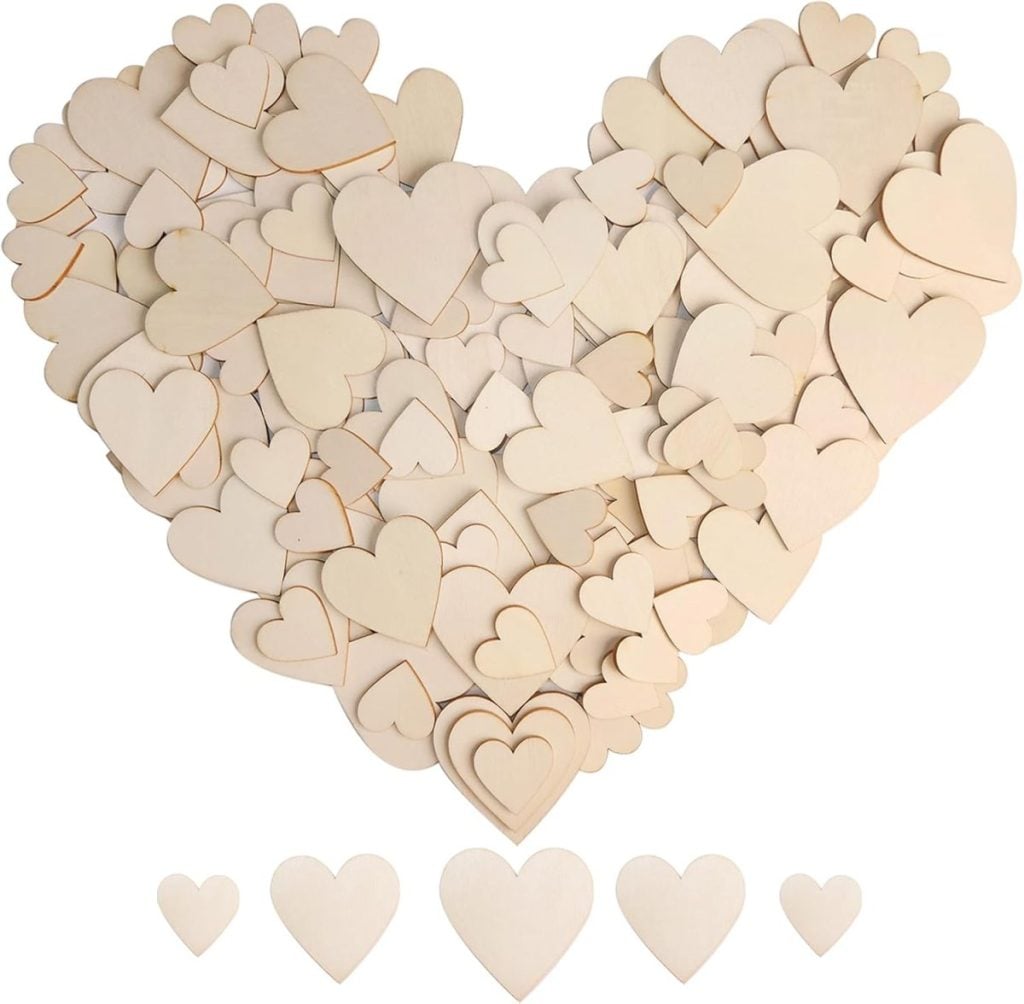
Whimsical Cottagecore
Blush, mint, butterscotch with hand embroidery—tiny stars, berries, or hearts.
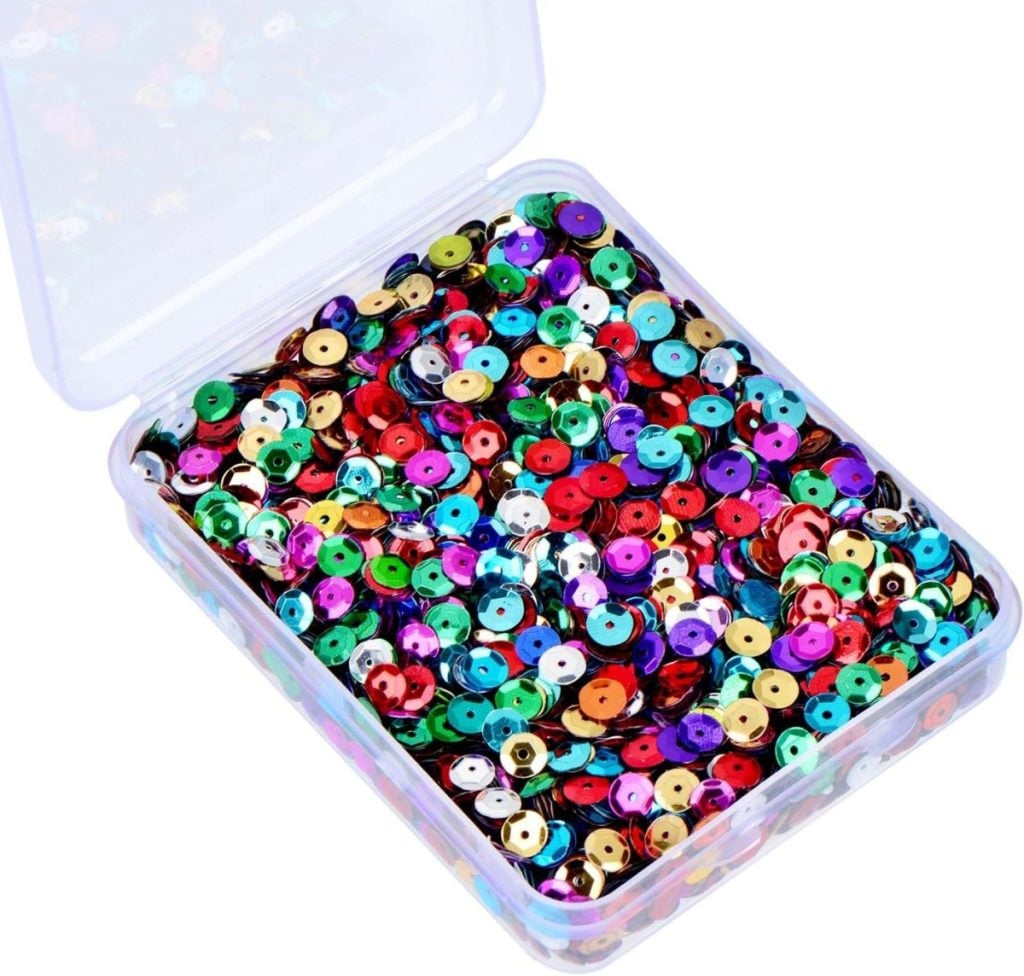
Kids Crafting Version
Skip the stitching and glue on pom-poms or sequins.
These trees can match any room, any holiday décor, and any season.


Where to Display Your Felt Trees
You can place these trees almost anywhere, but here are a few of my favorites:
- Dining table centerpiece
- Mantel
- Coffee table tray
- Kitchen counter
- Bookshelves
- Entryway console
- Bedroom dresser
- Bathroom holiday vignette
- Guest room nightstand
They’re light, durable, and easy to move from room to room.
Why This is the Perfect Finale for A Handmade Christmas
These Table Top Felt Trees encapsulate everything I love about creating a handmade holiday:
- They’re approachable.
- They’re relaxing.
- They’re beautiful.
- They feel personal.
- They add warmth to every home.
- And they make wonderful gifts!
You can make a set for your own home, one for a neighbor, one for a hostess gift, or one for a holiday craft night.
Finishing this season with a soft, cozy, simple craft feels right, like a warm exhale after weeks of joyful creativity.
A Heartfelt Thank You
Thank you, truly, for crafting alongside me through sixteen weeks of A Handmade Christmas. It has been such a joy to make, share, and create with all of you.
These felt trees may be the final craft in this series, but they’re also a reminder of what handmade really means:
Time.
Thought.
Creativity.
Love.
And the magic that happens when we bring those things together.
I hope you make a whole forest of these sweet trees, and I hope they bring as much joy to your holiday home as they have to mine.

If you enjoy my blog, you can sign up to receive my updates here.
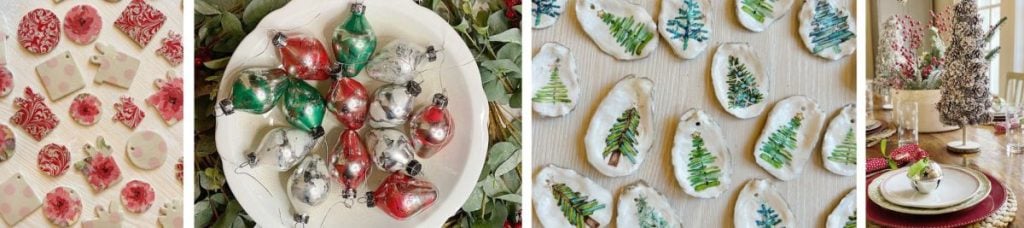
.Sixteen Weeks of A Handmade Christmas
Here are all sixteen weeks of A Homemade Christmas. I still can’t believe I made all of these! Tap any of the links for more.
Latest Posts
-
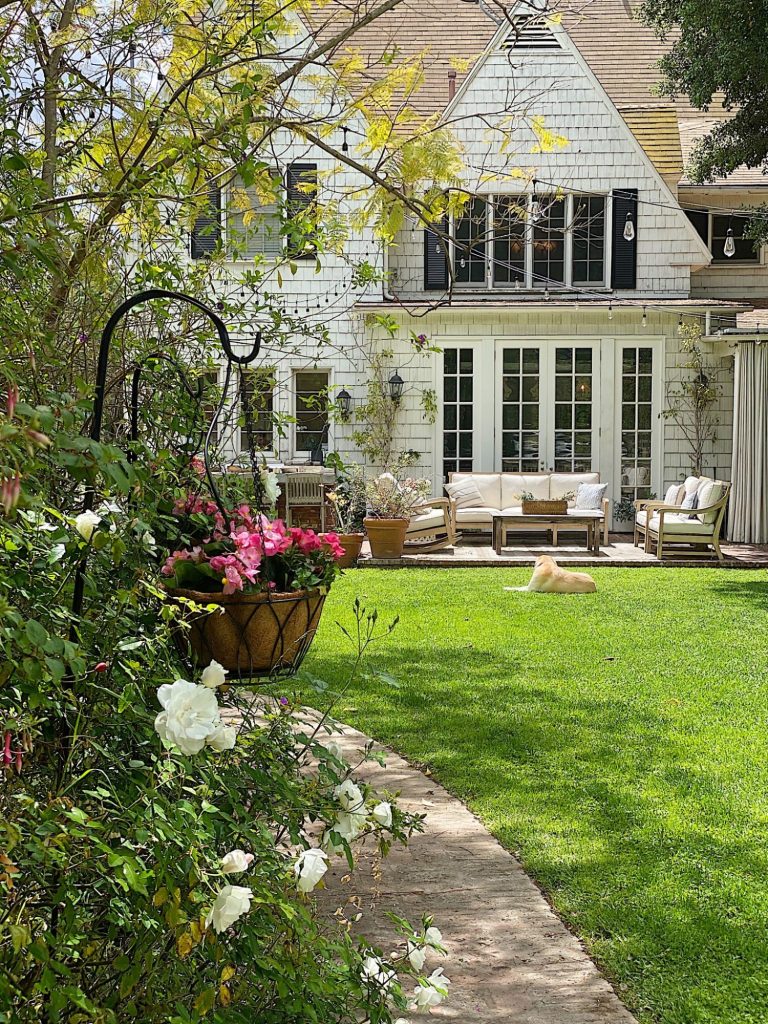
Five Easy Steps to Adding Hanging Planters in Your Yard
Today, I am sharing how I created the hanging planters in our backyard. I love mine so much! Hanging planters look lovely in any yard. My hanging planters have been looking awful all winter long. Here are five easy steps to add (or redo) hanging flower baskets in your yard. Adding hanging planters is a…
-
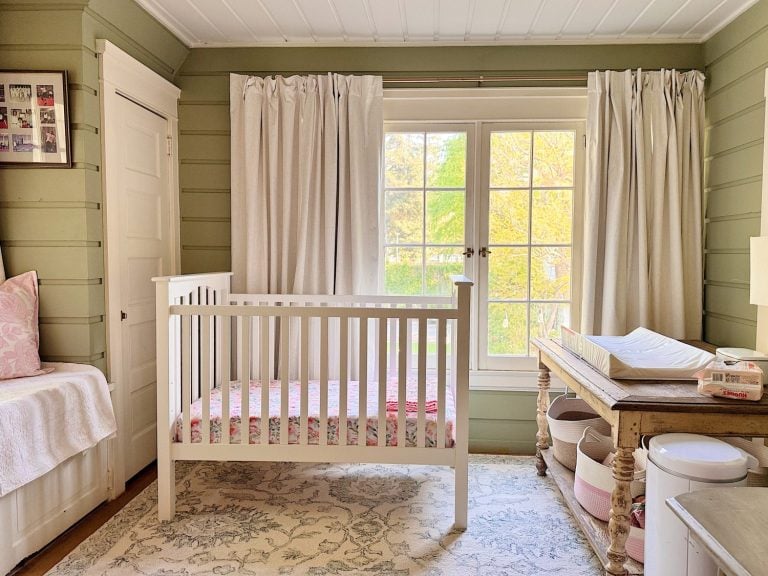
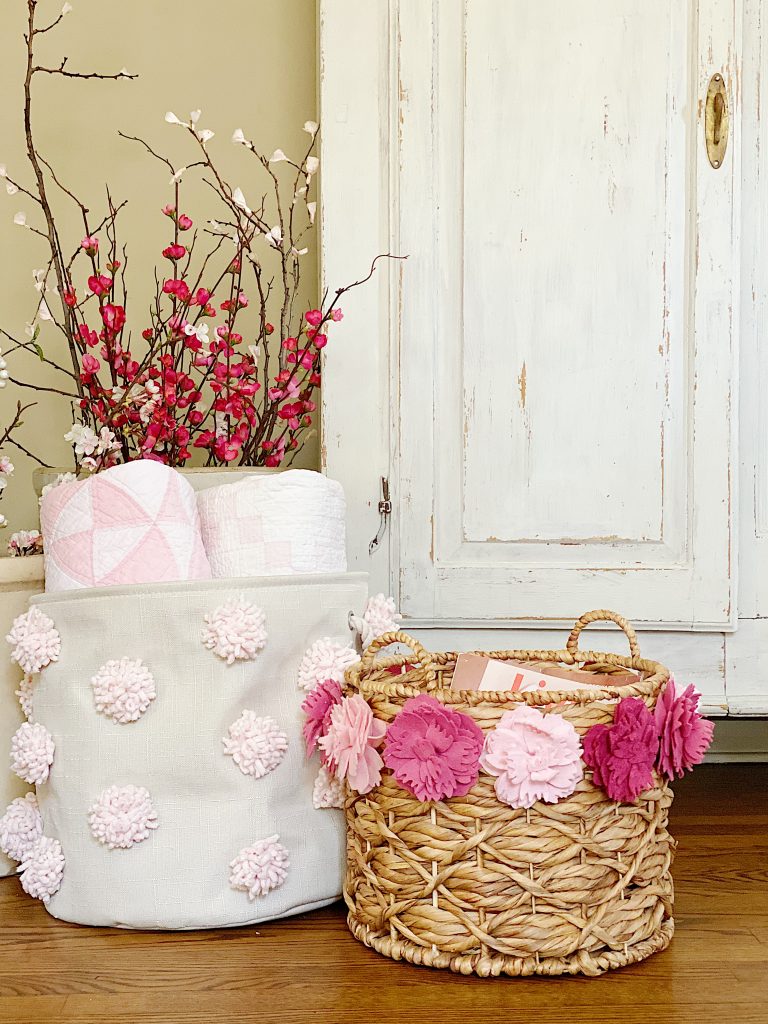
Spring Cleaning and Sunday Morning Coffee
I don’t know about you, but every spring I feel this strong pull to refresh something in our home, and this year I started in a place that might surprise you. It’s Spring Cleaning time! The very first room on my spring-cleaning list was our nursery. And yes, I know that sounds a little unexpected,…
-
Best Easter Brunch Egg Dish: Loaded French Onion Frittata
Easter brunch is one of those special meals where the table is complete, the laughter is loud, and the food is nothing short of spectacular. If you want to wow your guests with something savory, cheesy, and unforgettable, let me introduce you to your new Easter brunch hero: a Loaded French Onion Frittata.
-
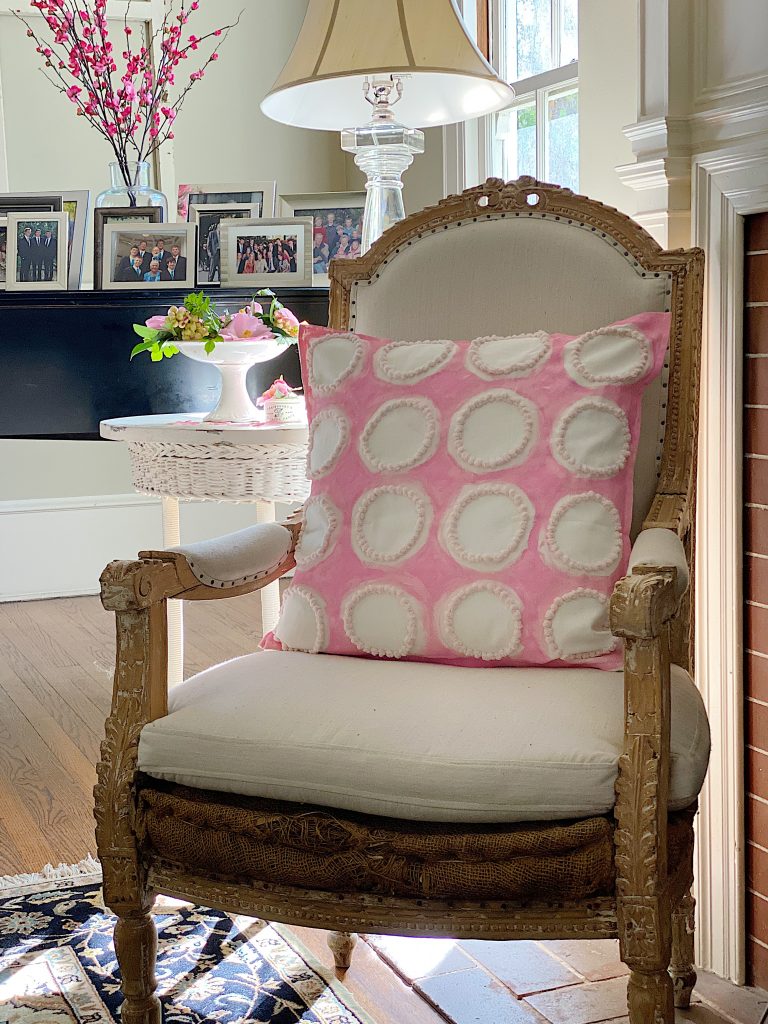
The Best Spring Pillow DIY – A Handmade Spring
There are certain projects that start as an idea and quietly turn into something you love far more than you expected, and this Spring pillow is exactly that. As part of my A Handmade Spring series, I wanted to create something soft, beautiful, and full of texture, and this pillow checked every box. This pillow…


My Recent Instagram Posts

You can pin the image below to your boards on Pinterest (click the Pin button in the top left corner) or follow me on Pinterest!
For more real-time updates, follow me on Instagram @My100YearOldHome

These felt trees are so cute and easy to make. Thank you for the tutorial and all the other 15 craft projects Leslie. This would be a great project for myself and our grandchildren. Have a wonderful holiday!!
I really enjoyed this series. Sorry to see it end! Thank you, Kristen
I love the idea of handmade Christmas decorations, and these Table Top Felt Trees are such a charming and festive touch for the holidays. The creativity and effort put into crafting these trees truly show in the final result. The fact that this project marks the end of “A Handmade Christmas” series adds a special significance to it. It’s inspiring to see how DIY 67 Clicker projects can bring joy and warmth to our homes during the holiday season. I’m curious, do you have any other favorite handmade Christmas decorations or traditions that you enjoy?