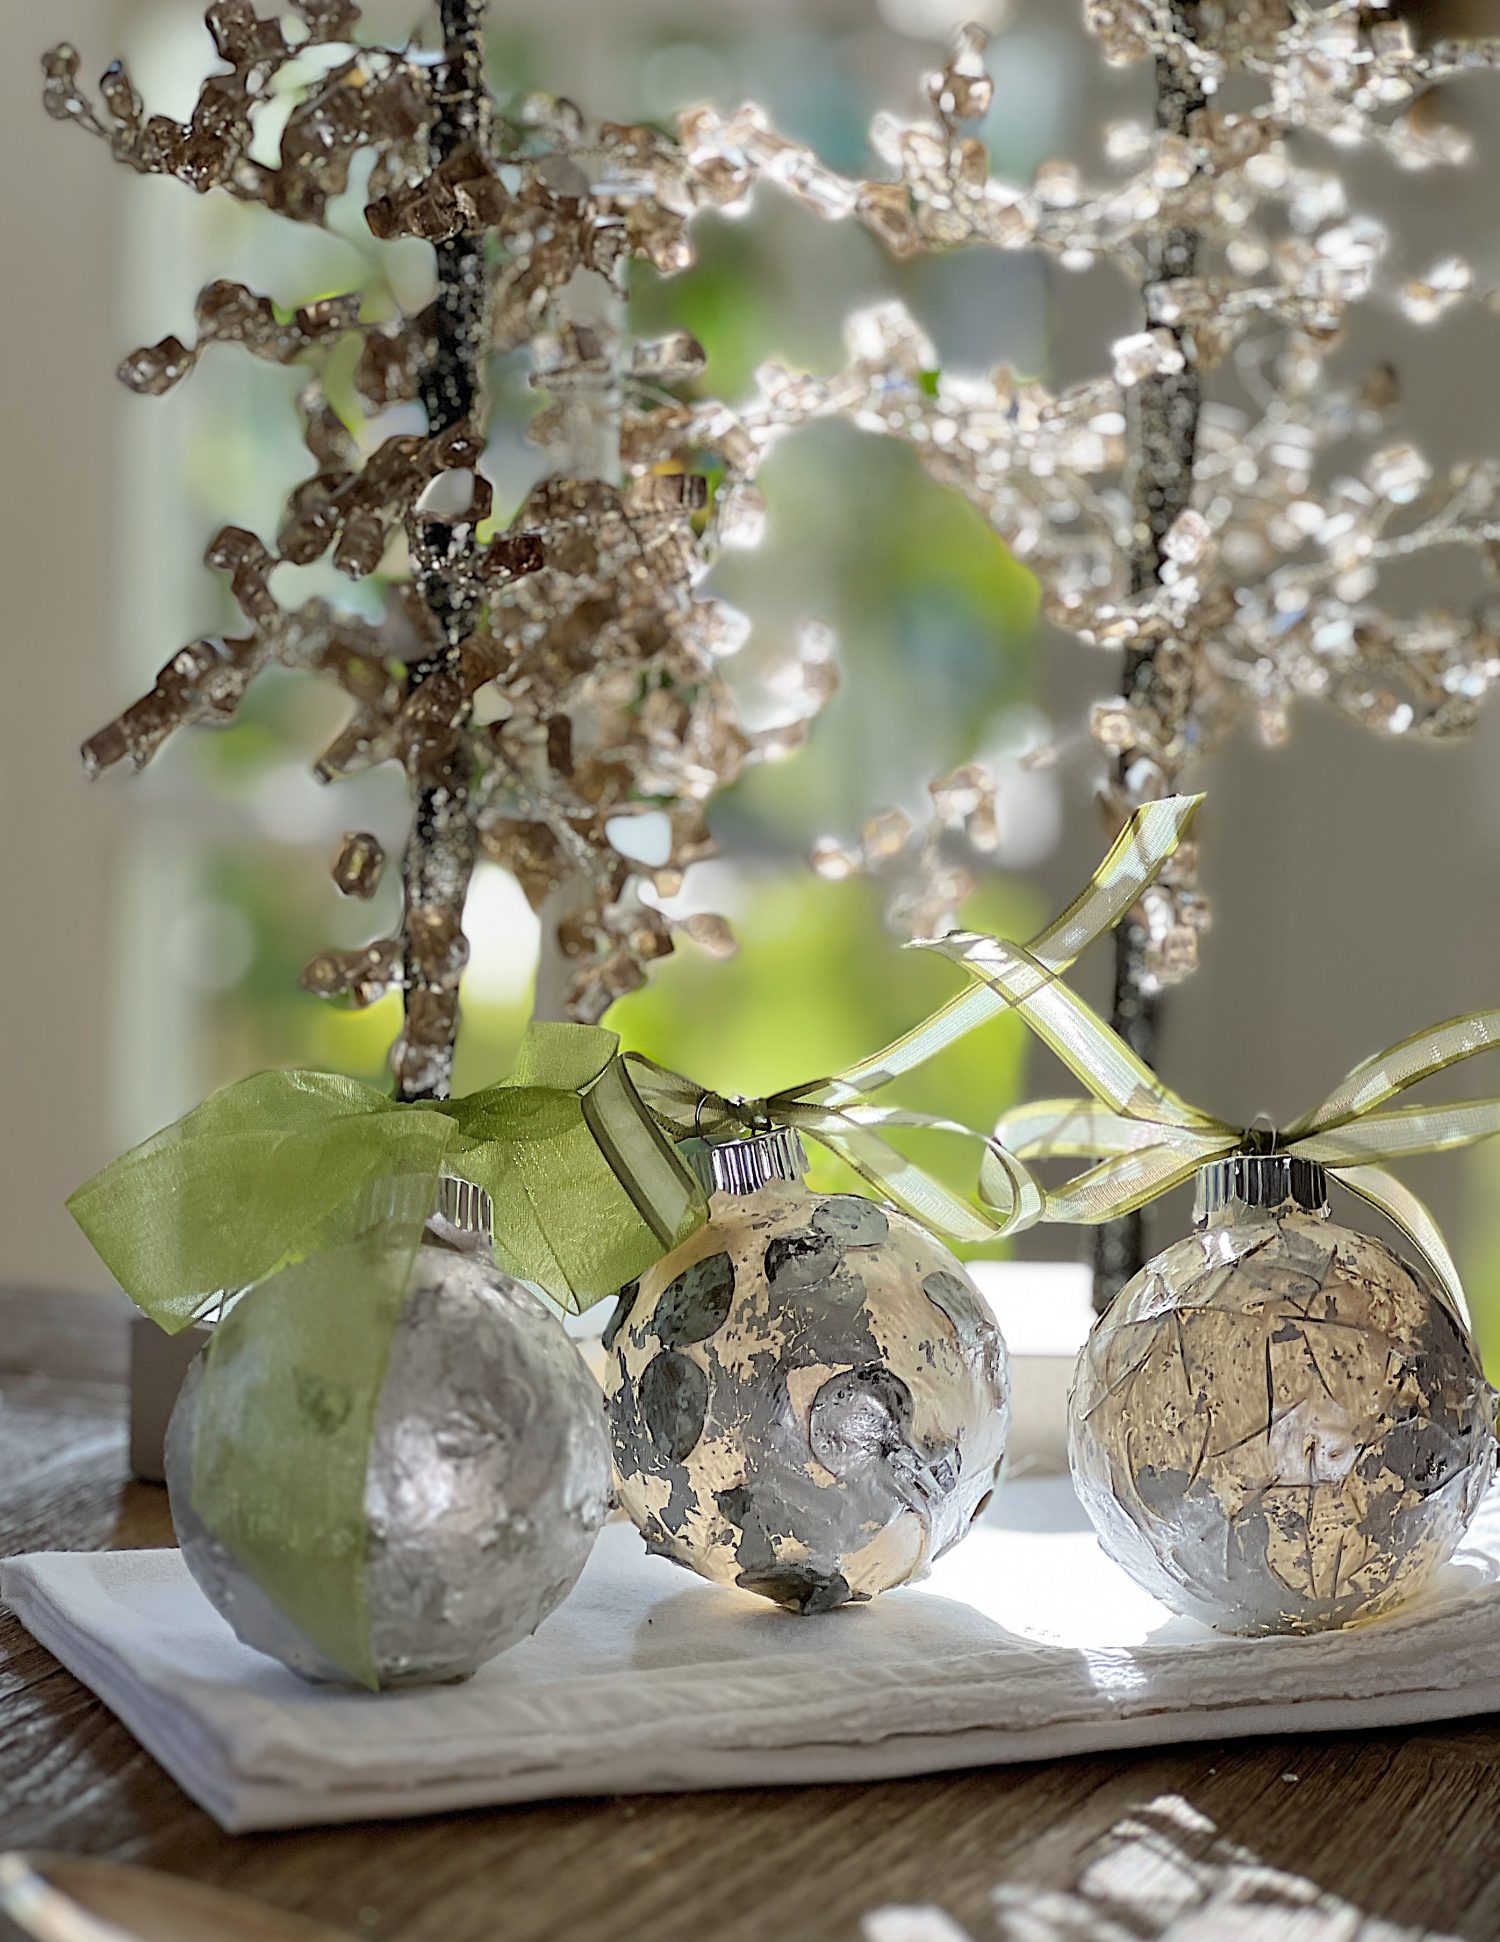
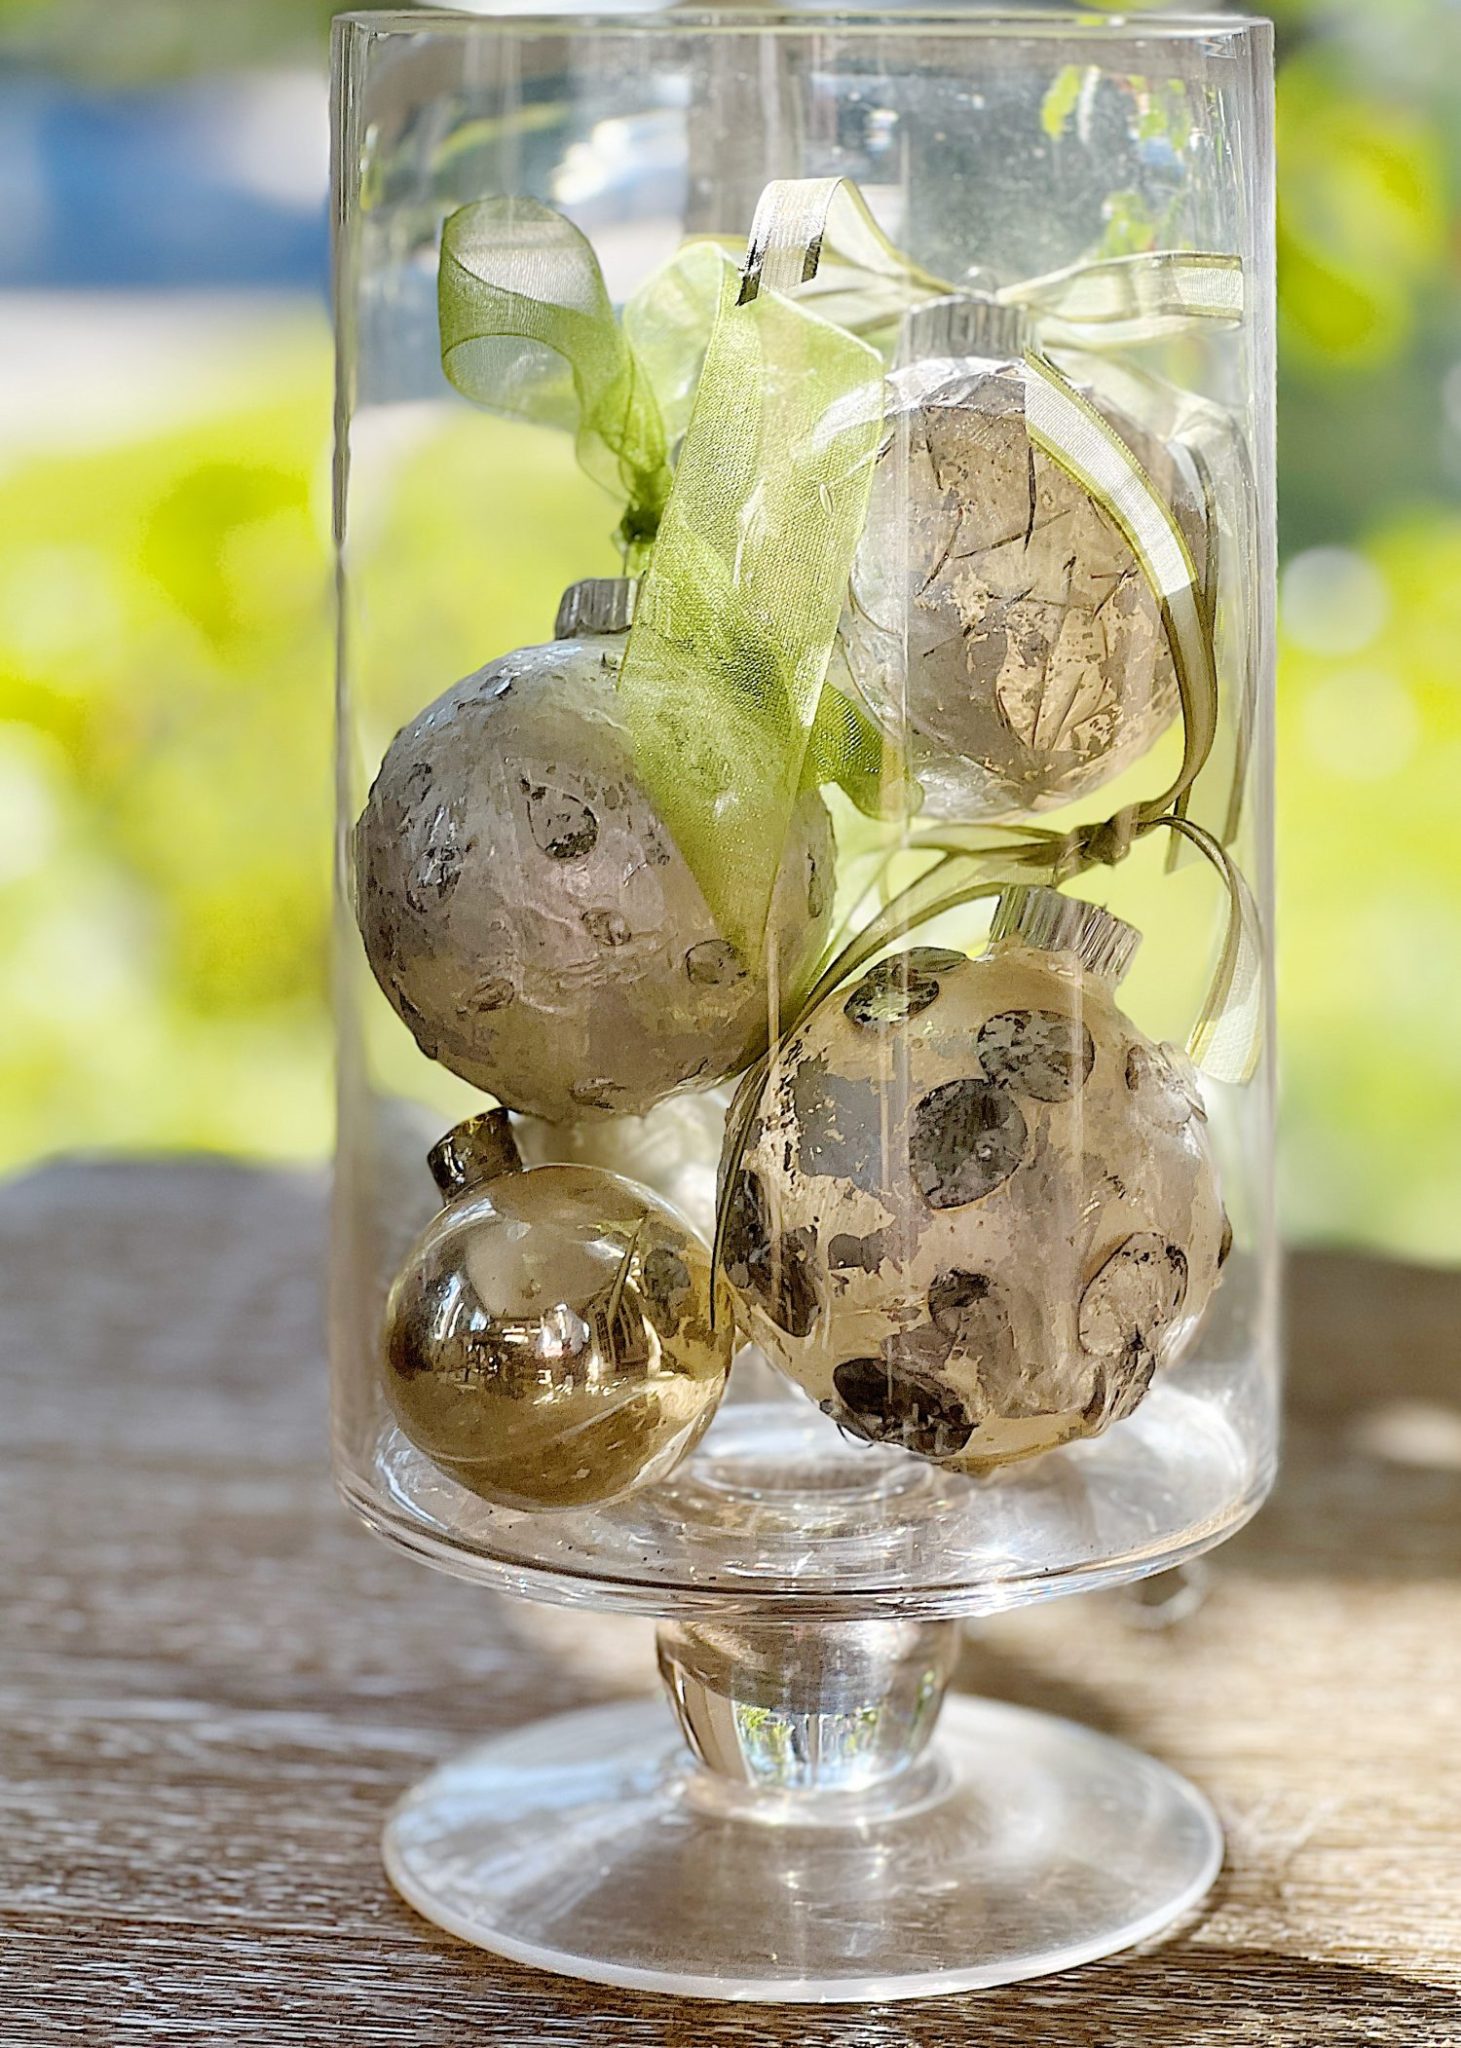
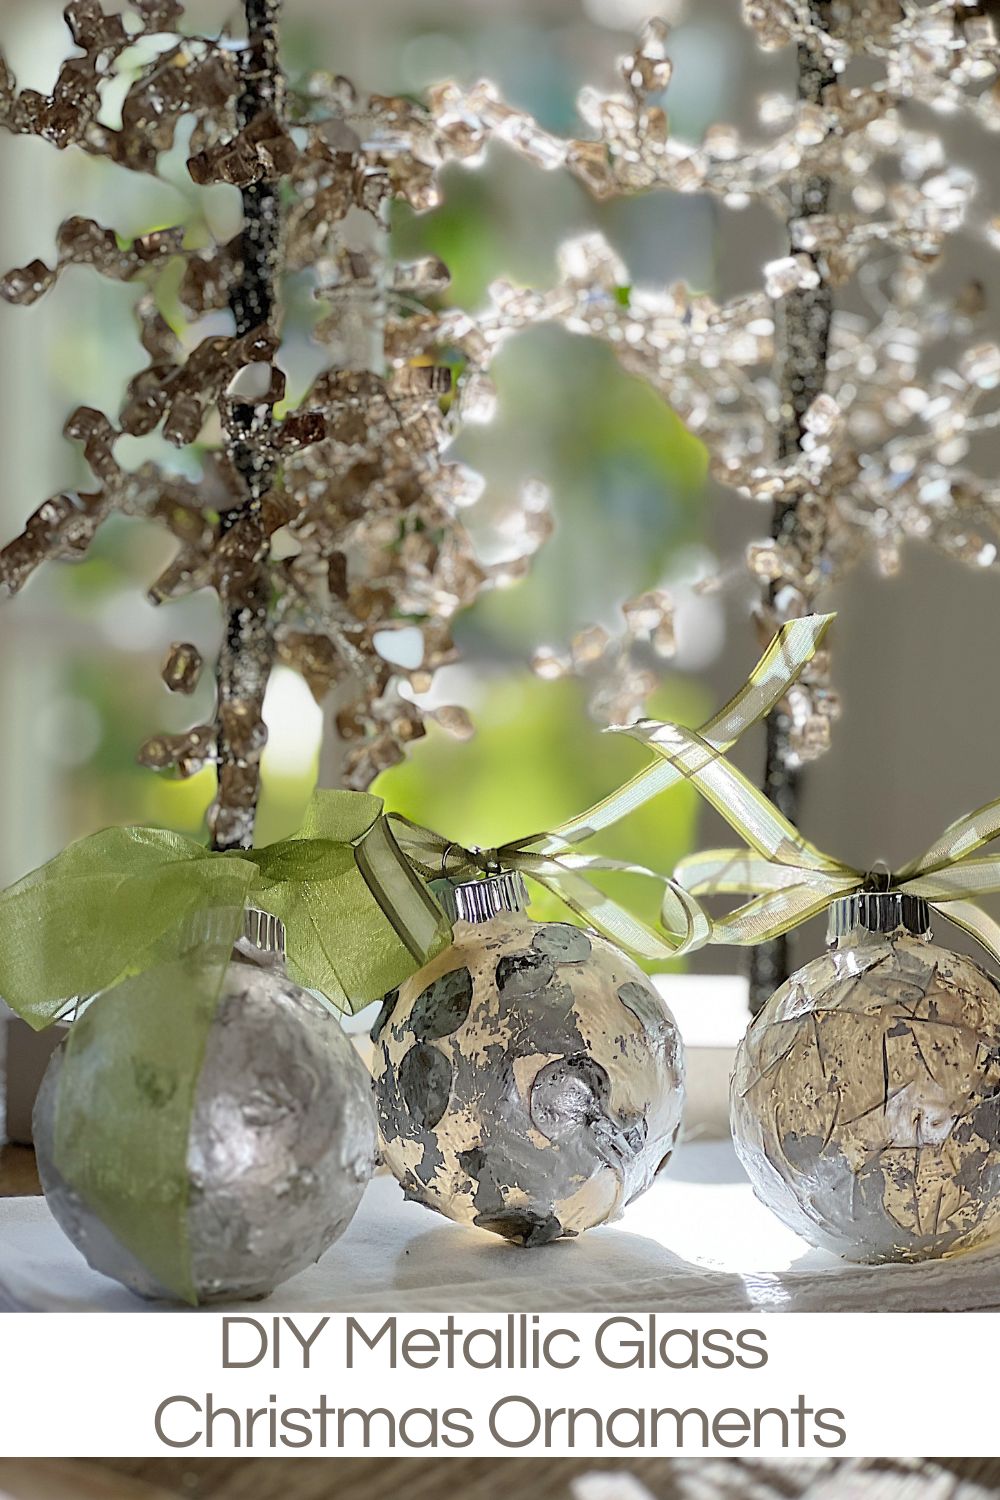
DIY Metallic Glass Christmas Ornaments
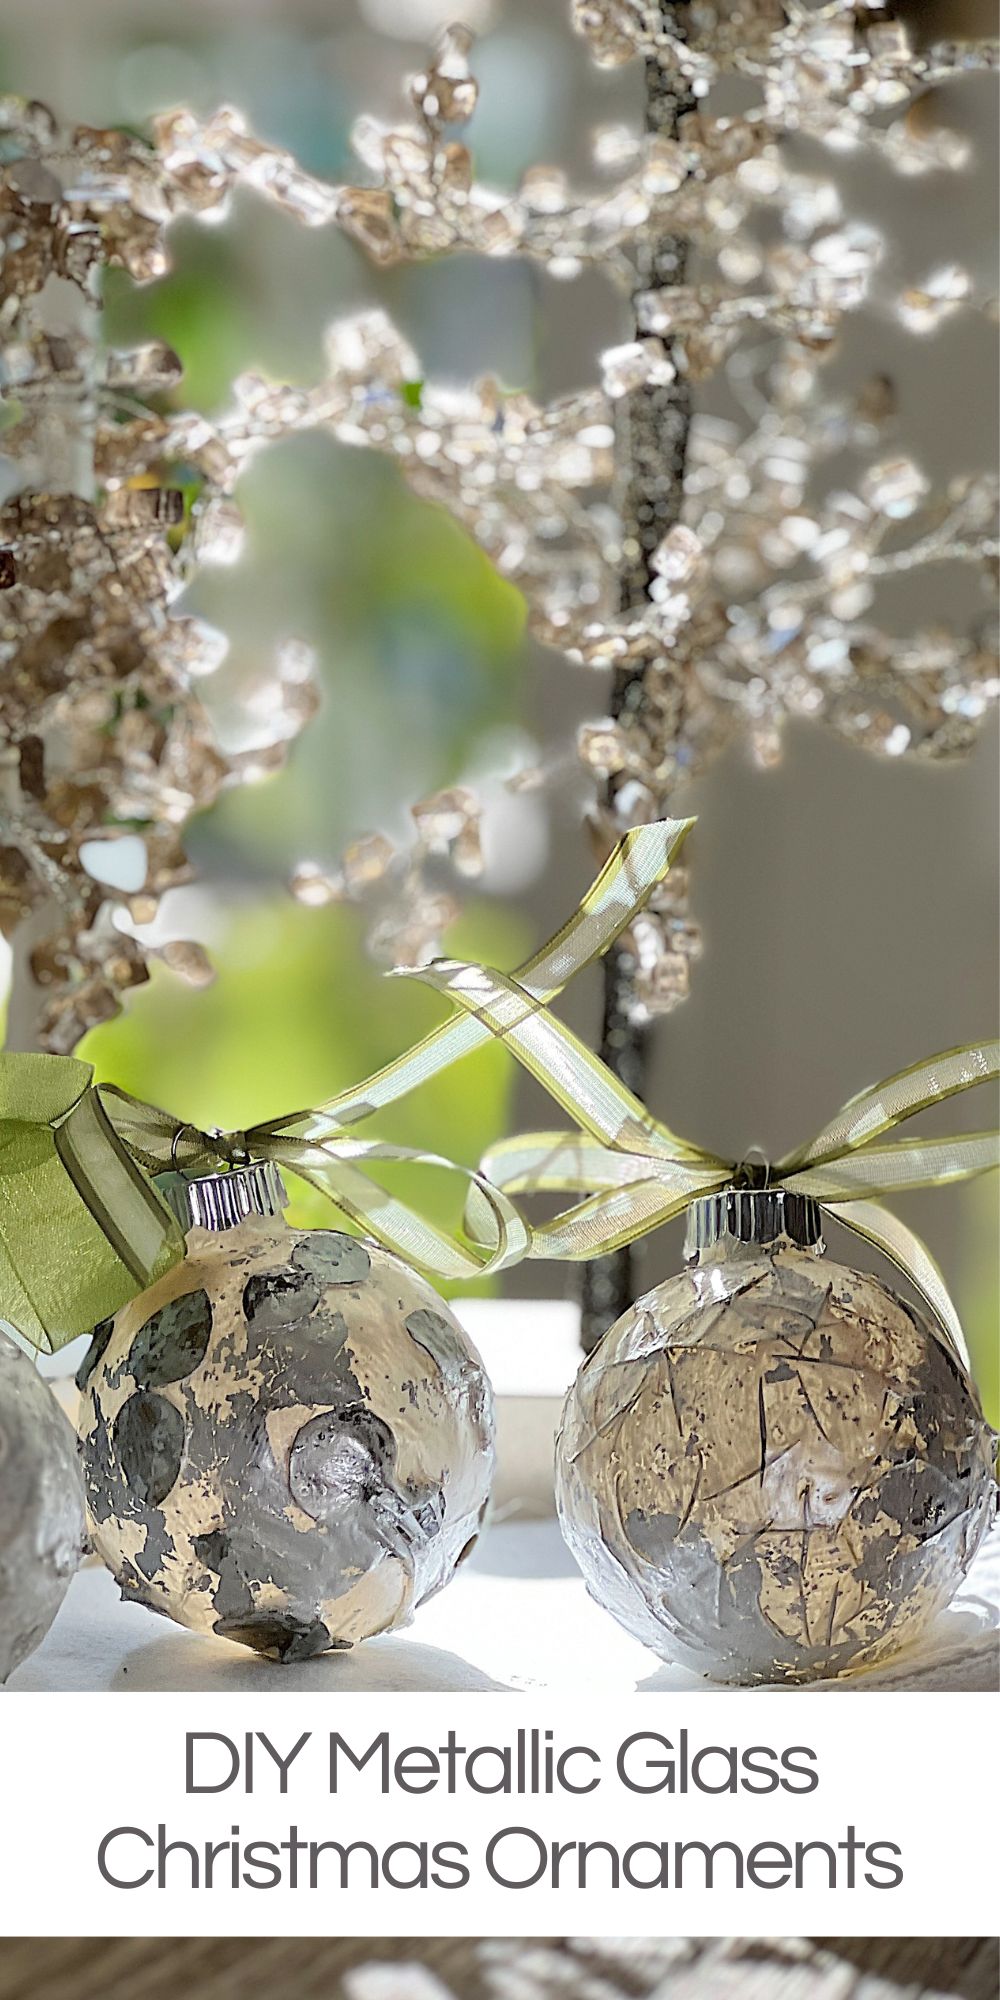
As the holiday season approaches, have some fun with your Christmas decor by creating your own metallic glass Christmas ornaments.
Today, I’ll guide you through the process of making glass Christmas ornaments that are not only beautiful and unique but also incredibly fun to create. These ornaments, combined with clear glass, metallic hues, and natural greenery, bring a touch of elegance and nature to your Christmas tree.


Crafting Elegance: Metallic Glass Christmas Ornaments
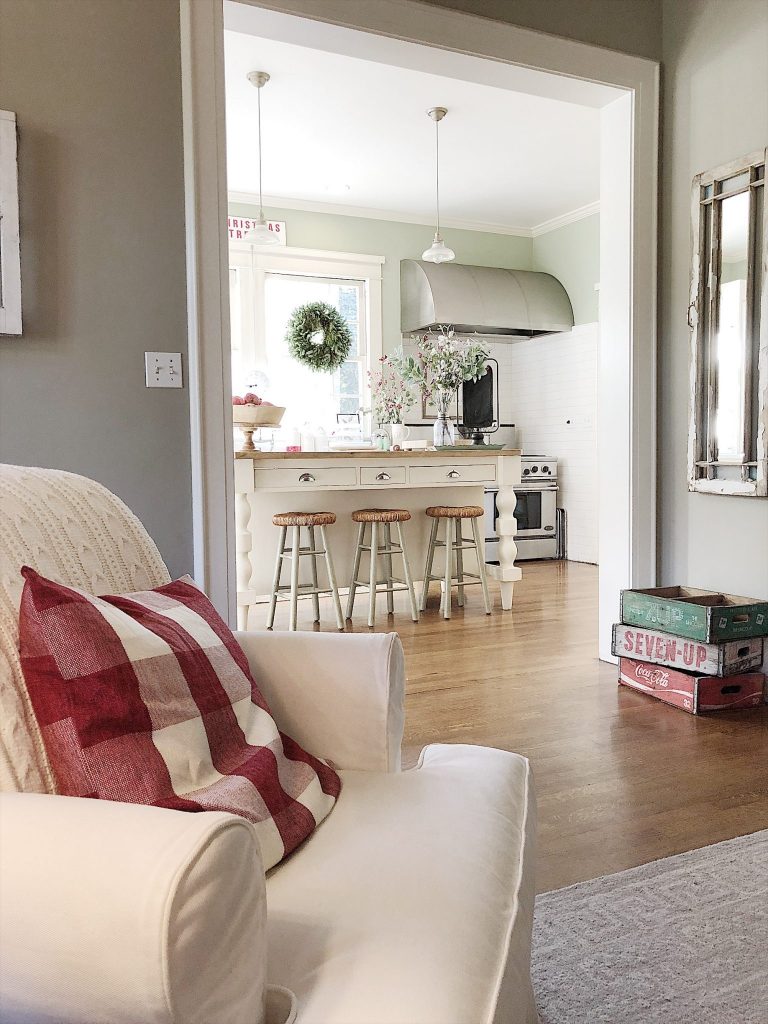
Every year, I make a set of glass Christmas ornaments. Last year, I wanted to make some to match our living room, which I decorated in a neutral color palette.
I also tried to keep this project easy so it could be done in less than an hour.
The actual crafting part is about 30 minutes. The drying time makes it longer, but using a hair dryer can greatly cut the drying time!
I may sometimes use affiliate links on this blog, which means a small commission is earned if you purchase via the link. The price will be the same whether you use the affiliate link or go directly to the vendor’s website using a non-affiliate link.


How to Make DIY Metallic Glass Christmas Ornaments
Materials You’ll Need
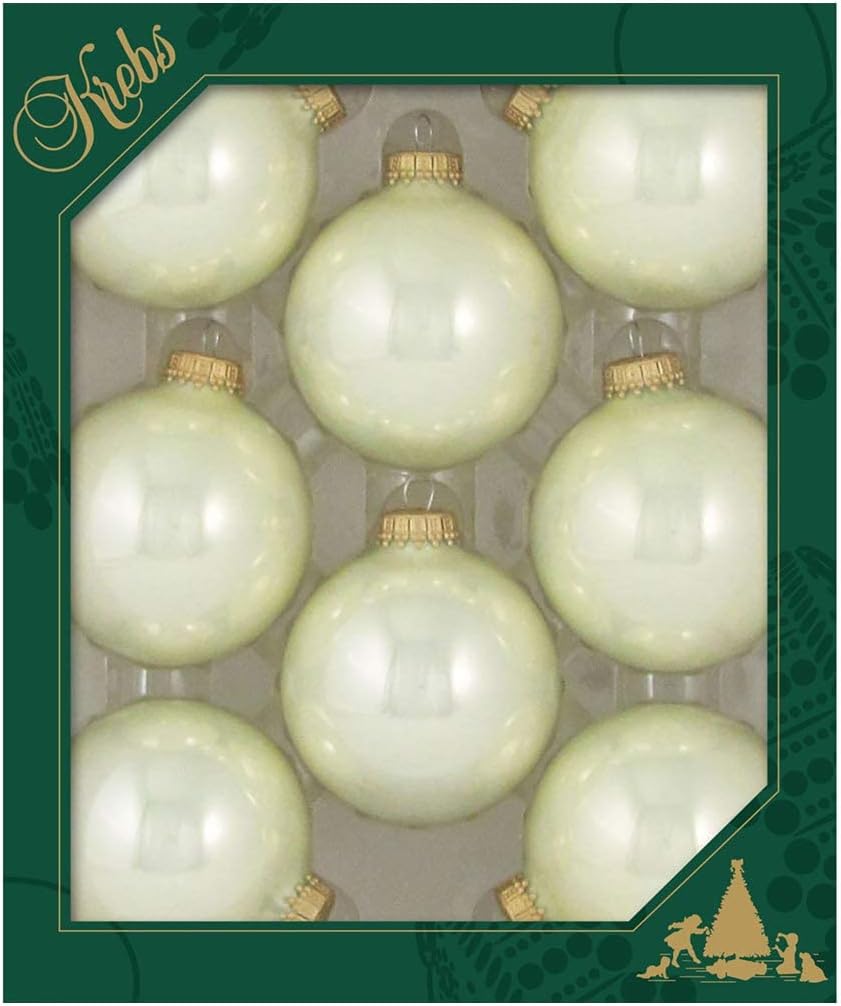
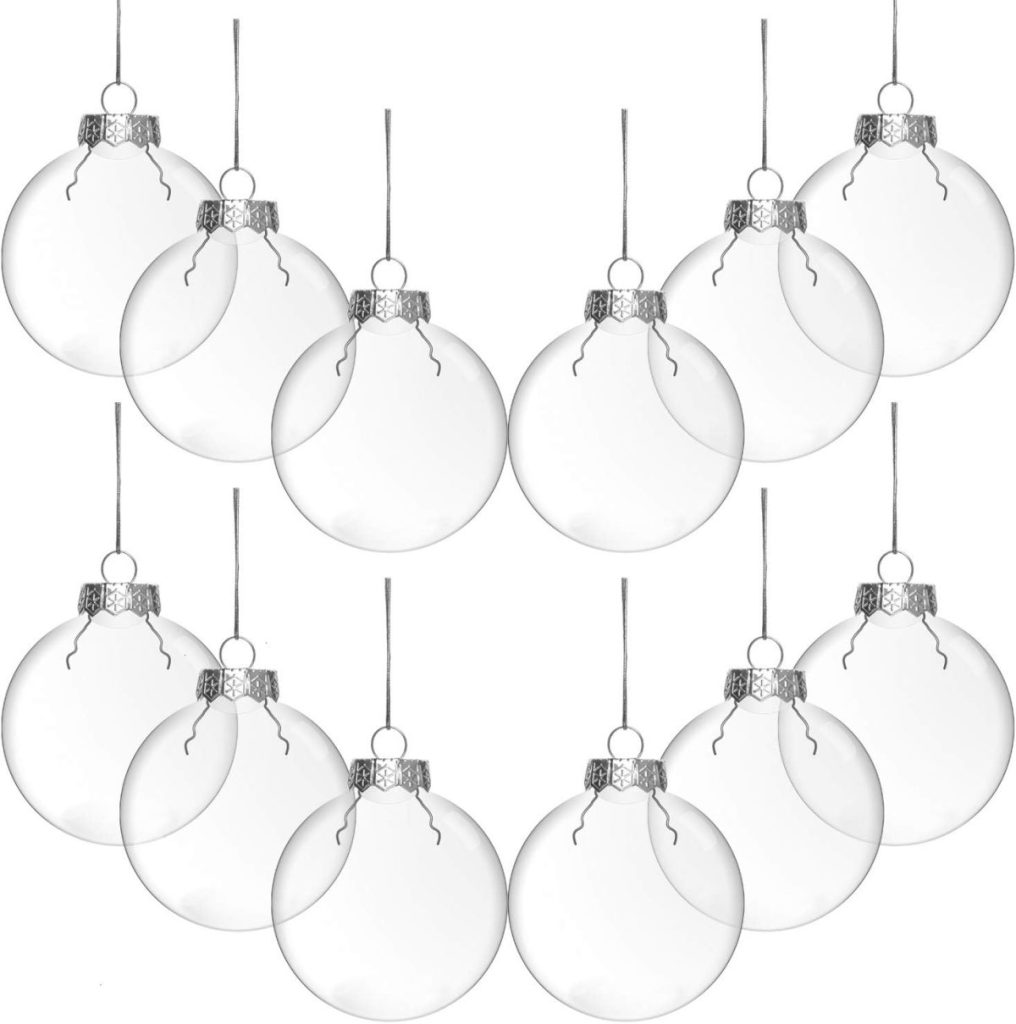
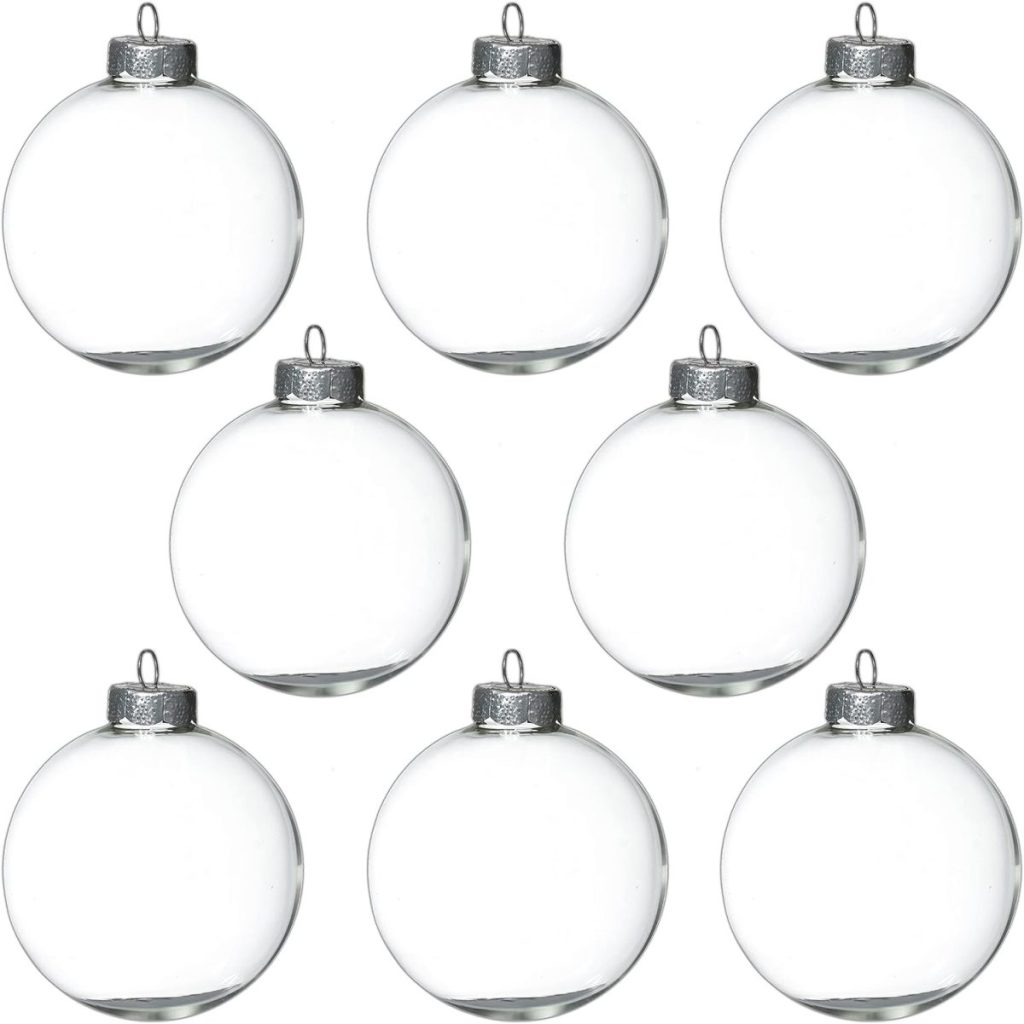
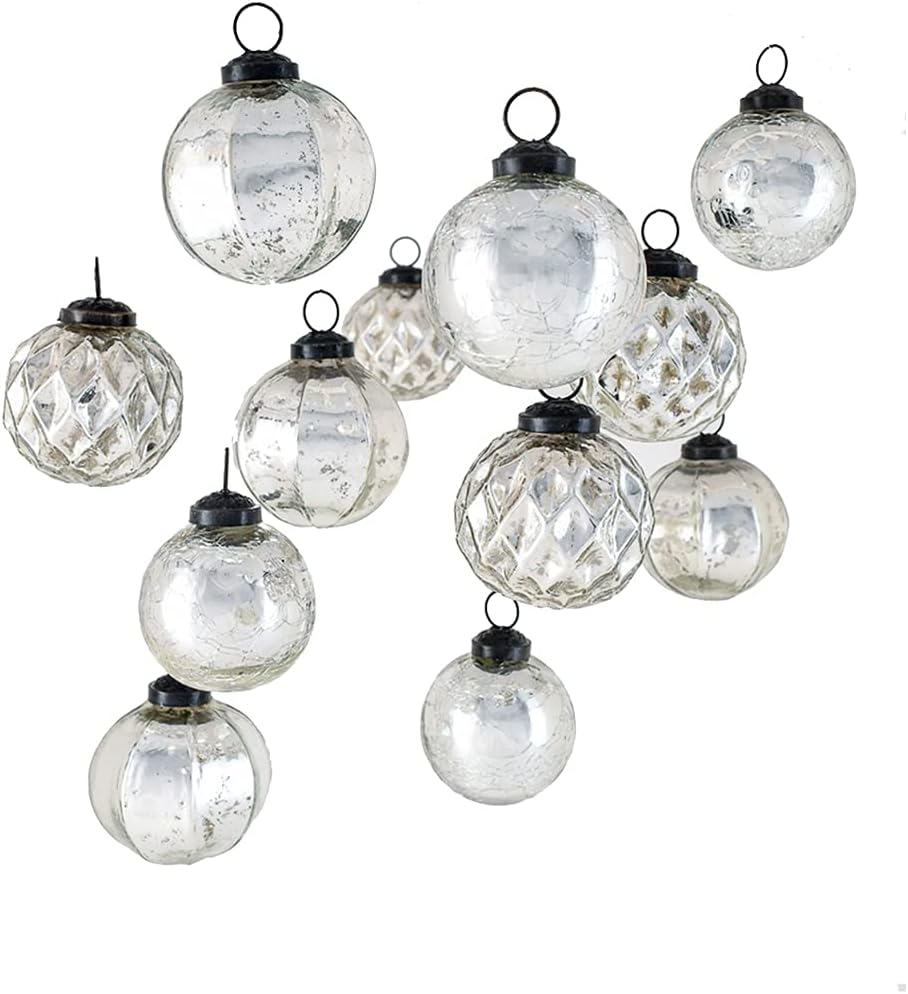
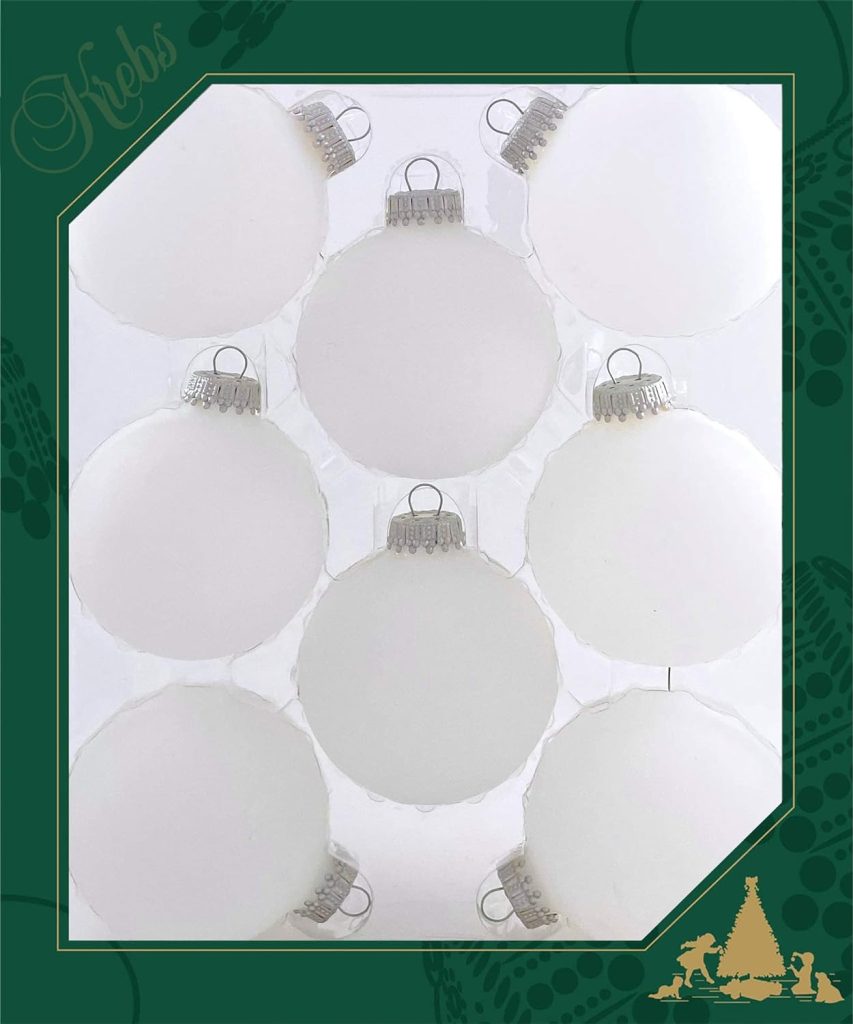
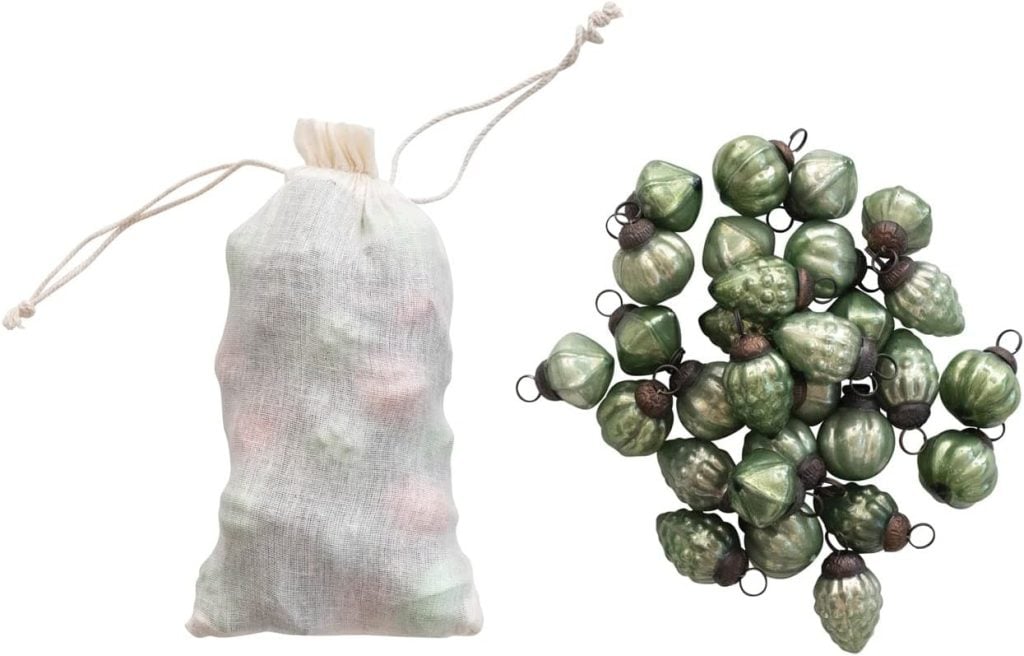
- Clear glass ornaments
- Small leaves or pine needles
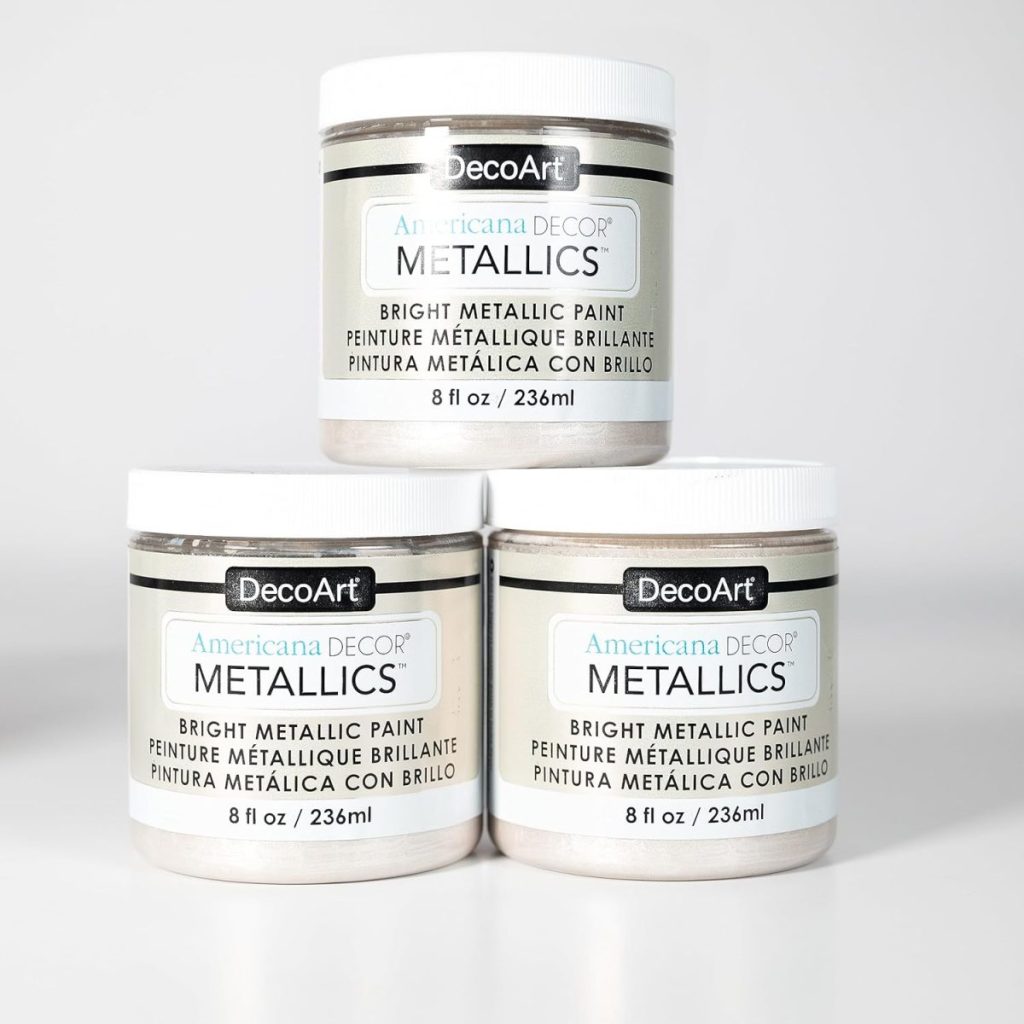
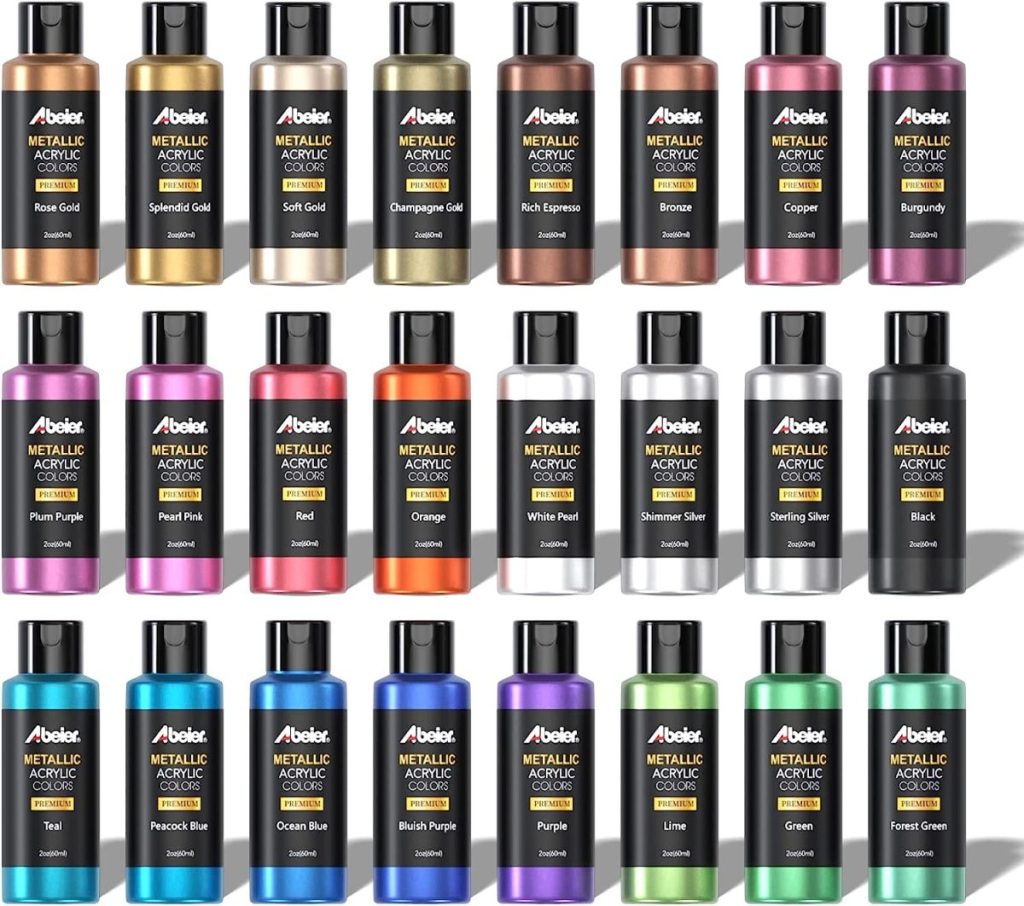
- Metallic acrylic paint (choose your favorite metallic shades)
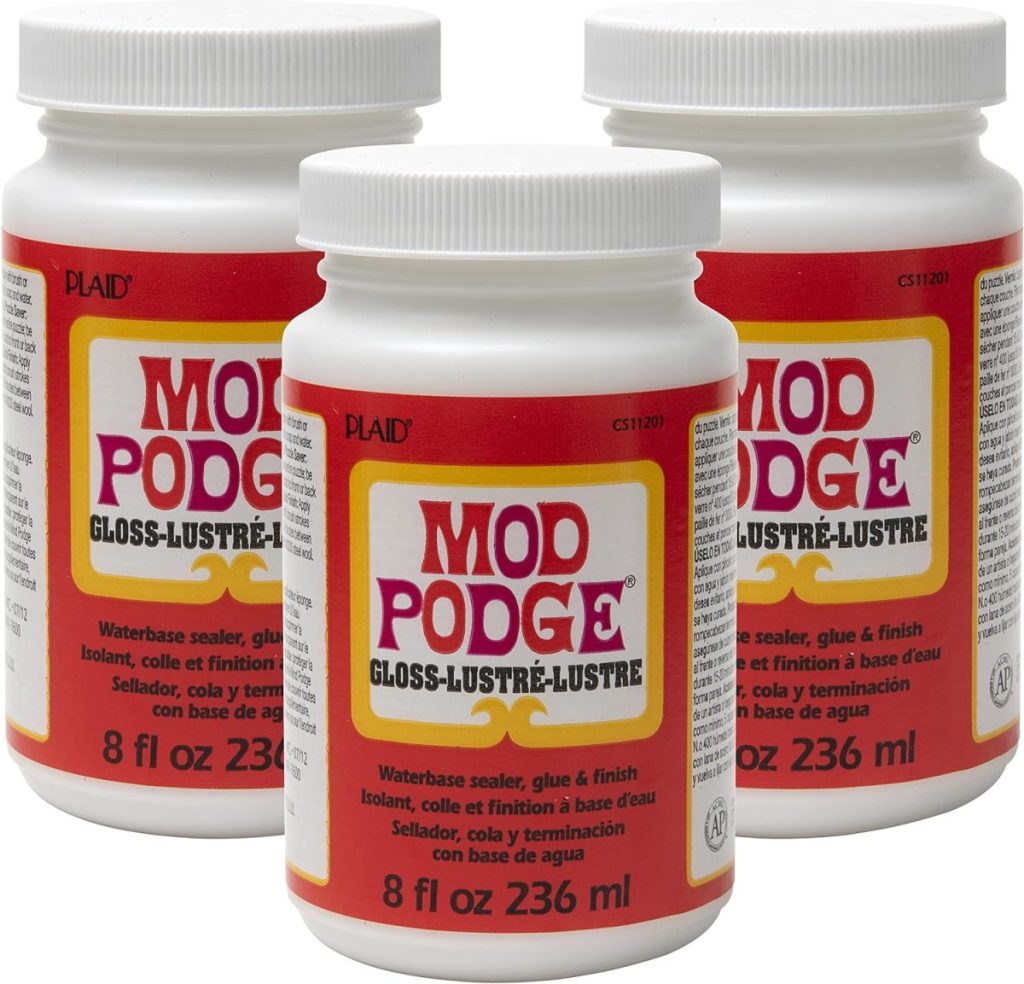
- Mod Podge (or any clear-drying craft glue)
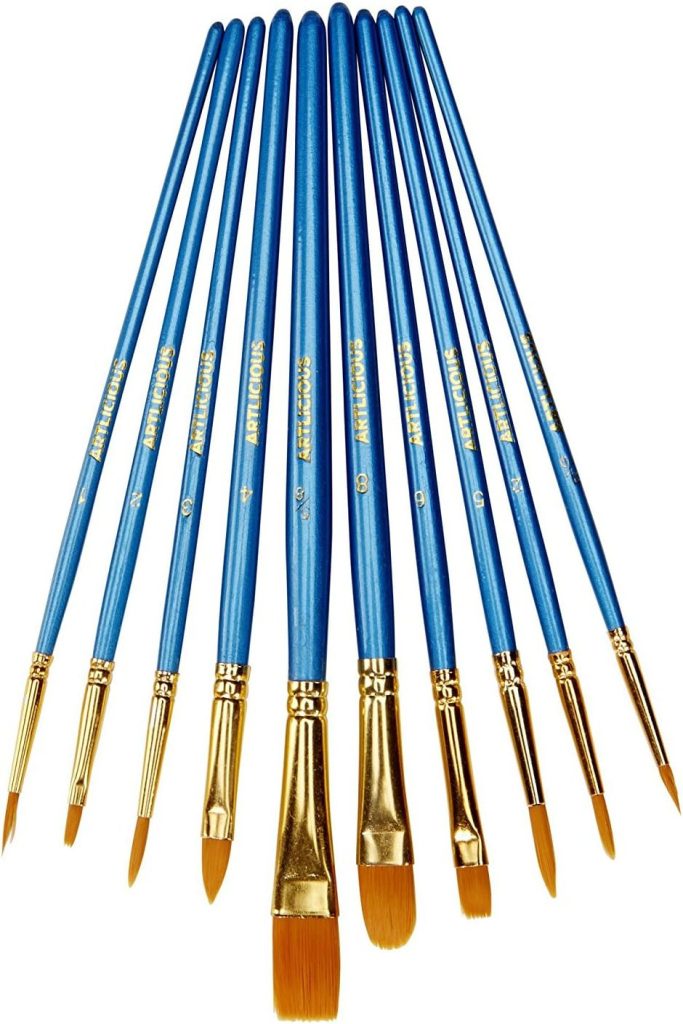
- Paintbrushes
- A small cup or container for paint
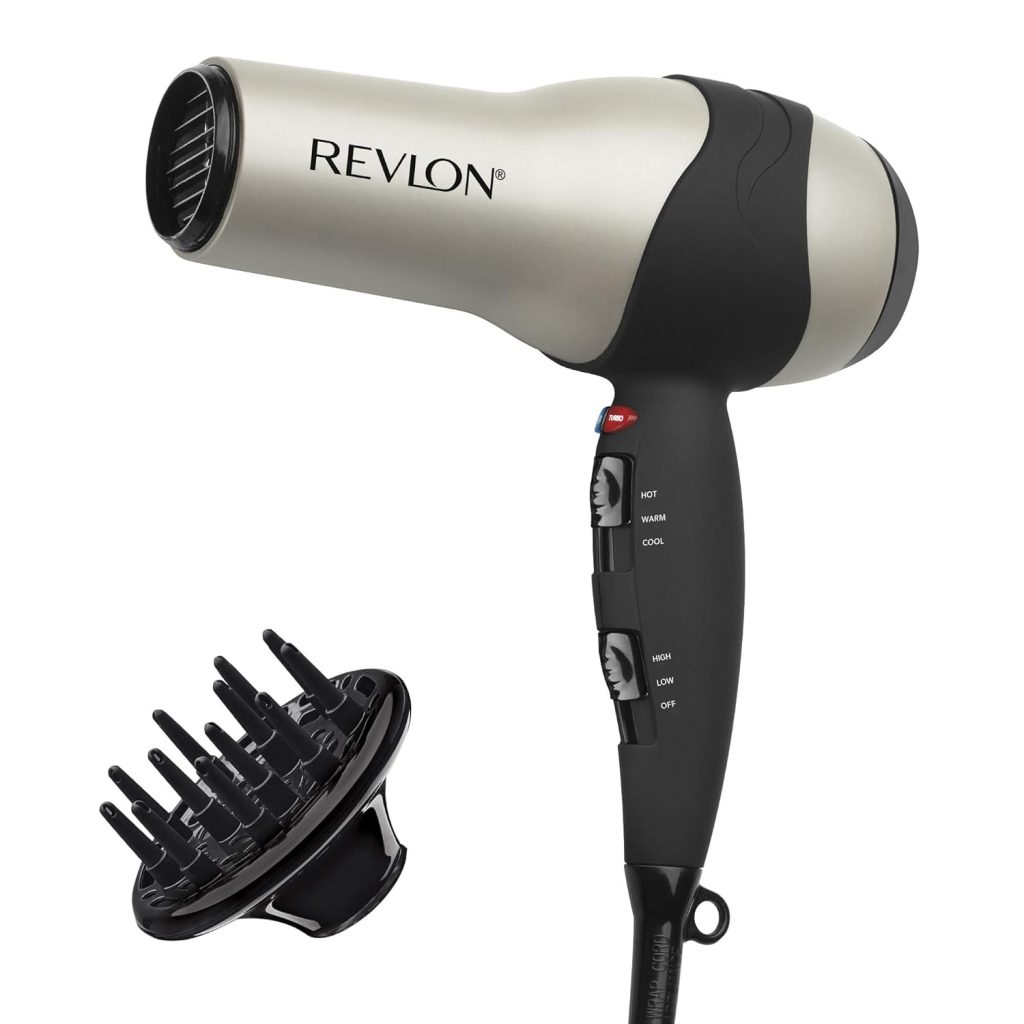
- A hairdryer (optional for quick drying)

Step-by-Step Guide
1. Preparing Your Ornaments
Begin by carefully removing the metal caps from your clear glass ornaments. This will allow you to work on the ornaments inside and outside.
2. Adding Metallic Paint Inside
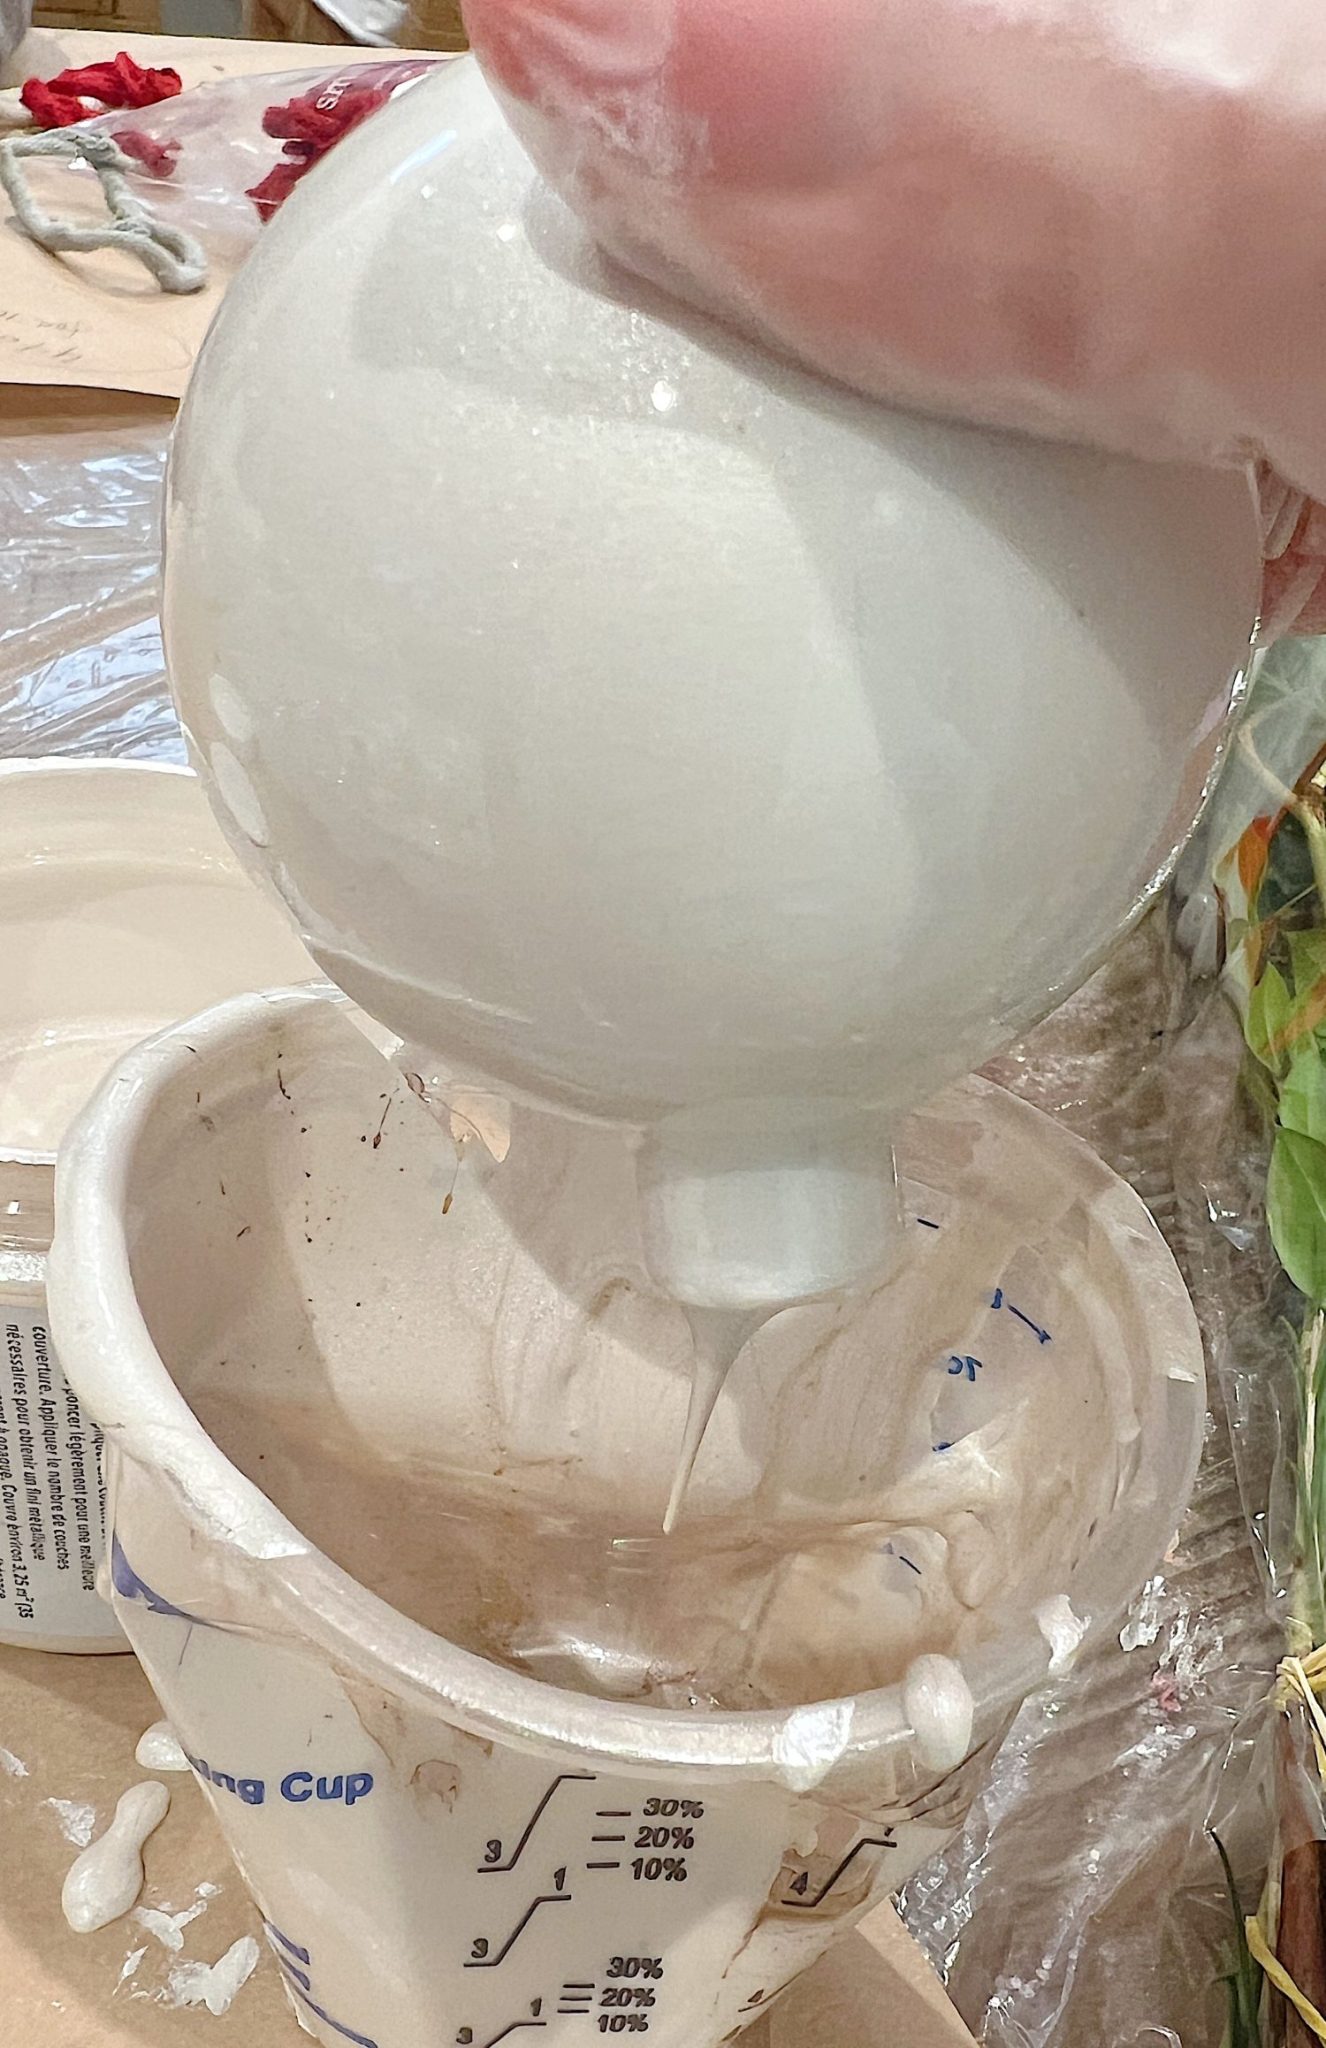
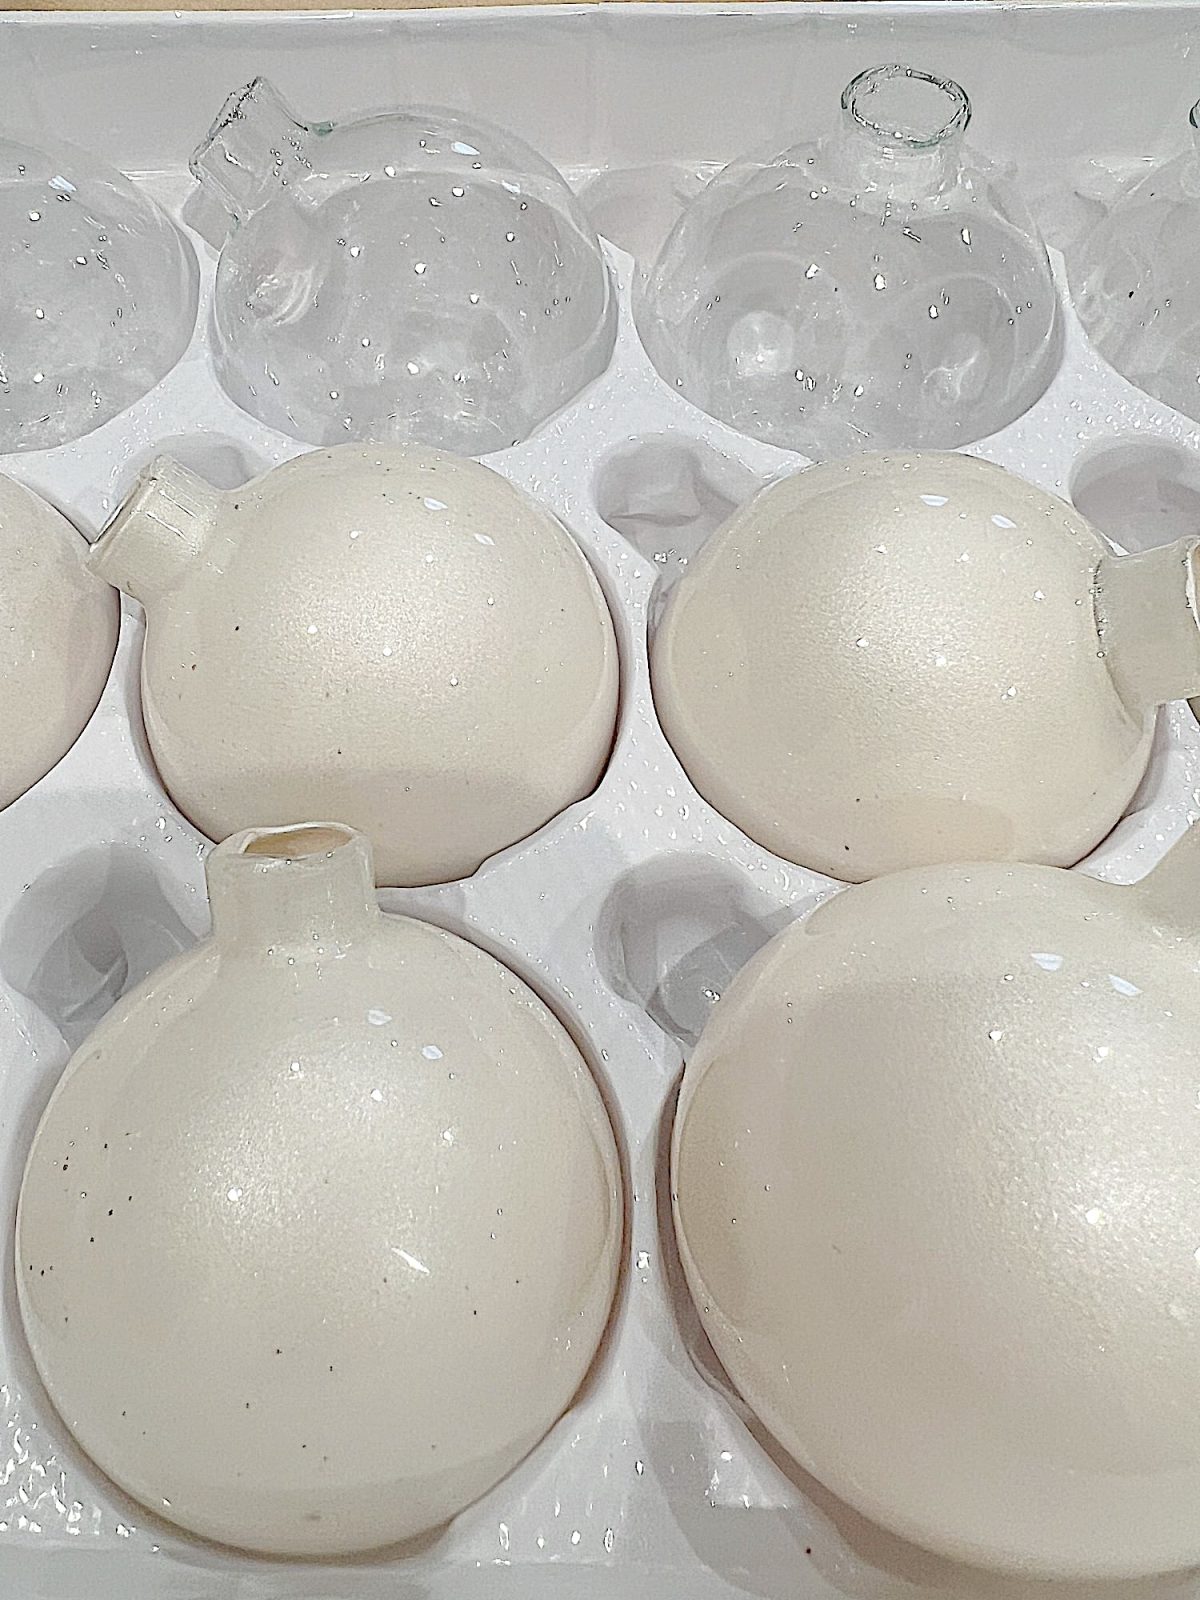
Pour a small amount of your chosen metallic paint into the glass ornament. Slowly swirl the ornament around to coat the inside evenly with paint. If the paint is too thick, add a tiny bit of water to thin it out. Once coated, turn the ornament upside down to remove any excess paint and let it dry. Using a hairdryer can speed up this process.
3. Attaching Greenery
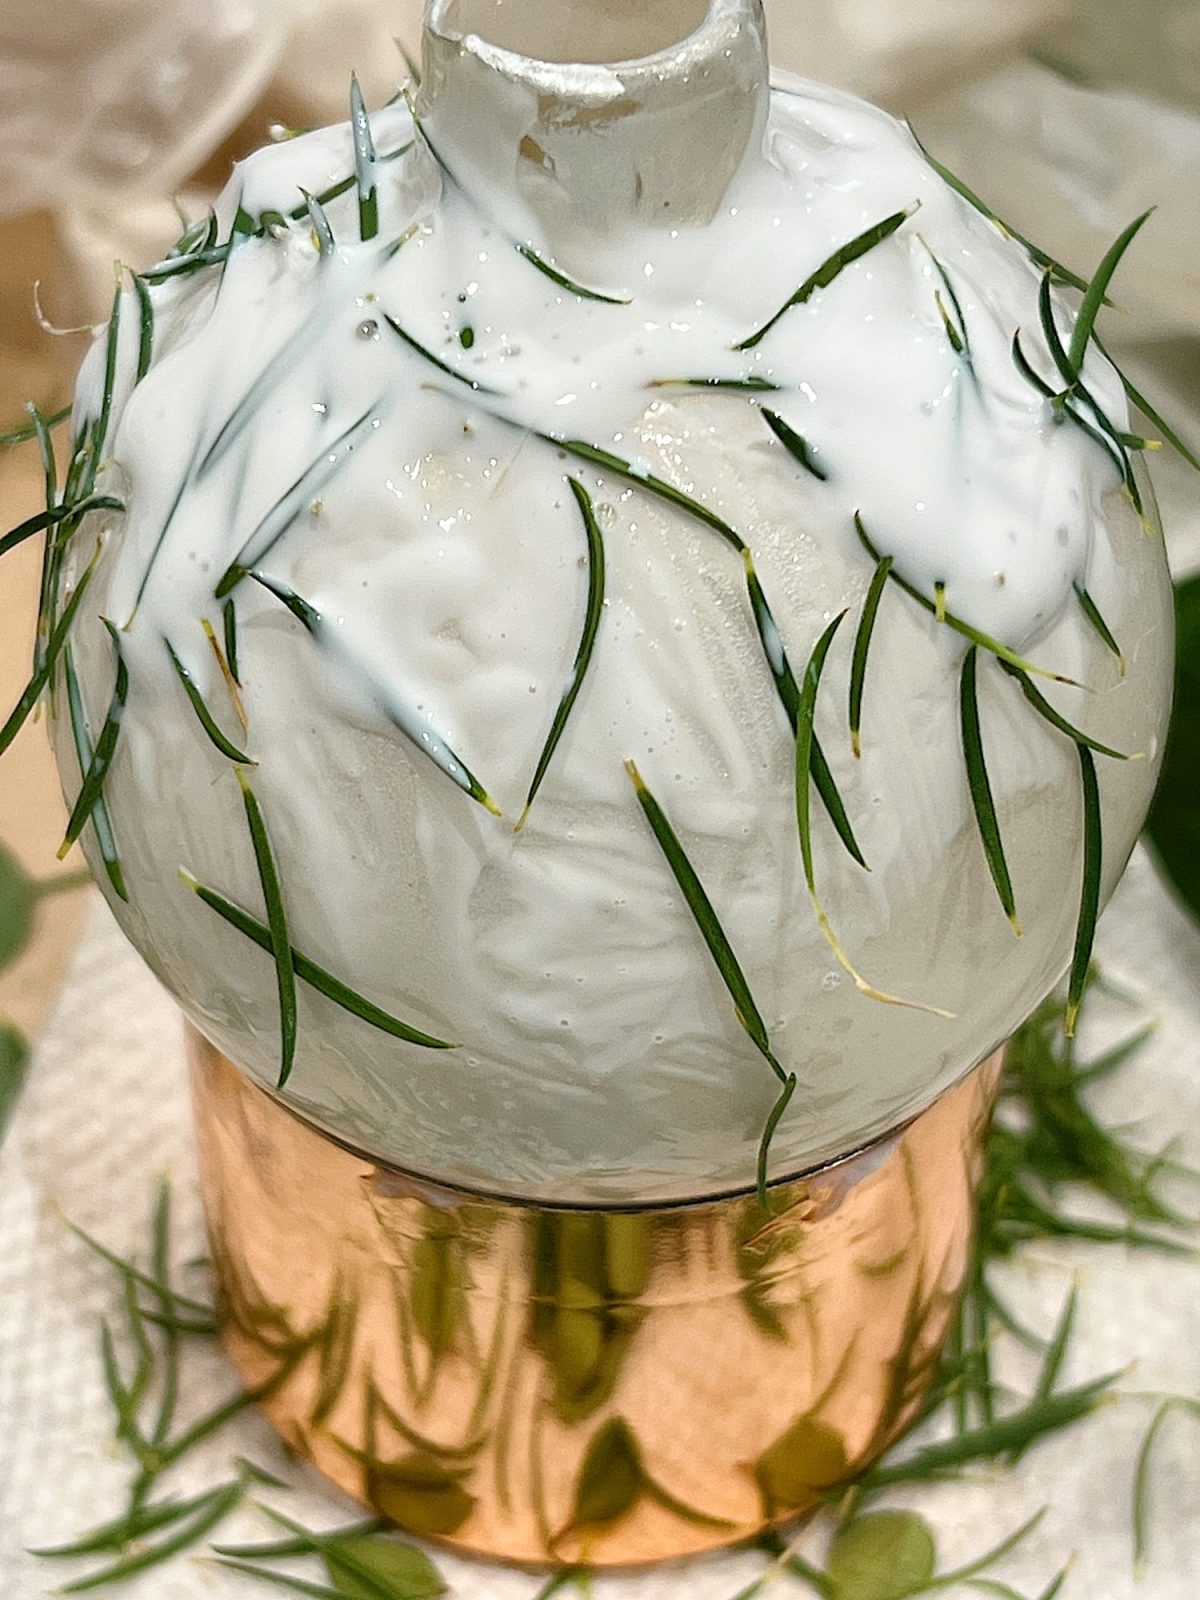
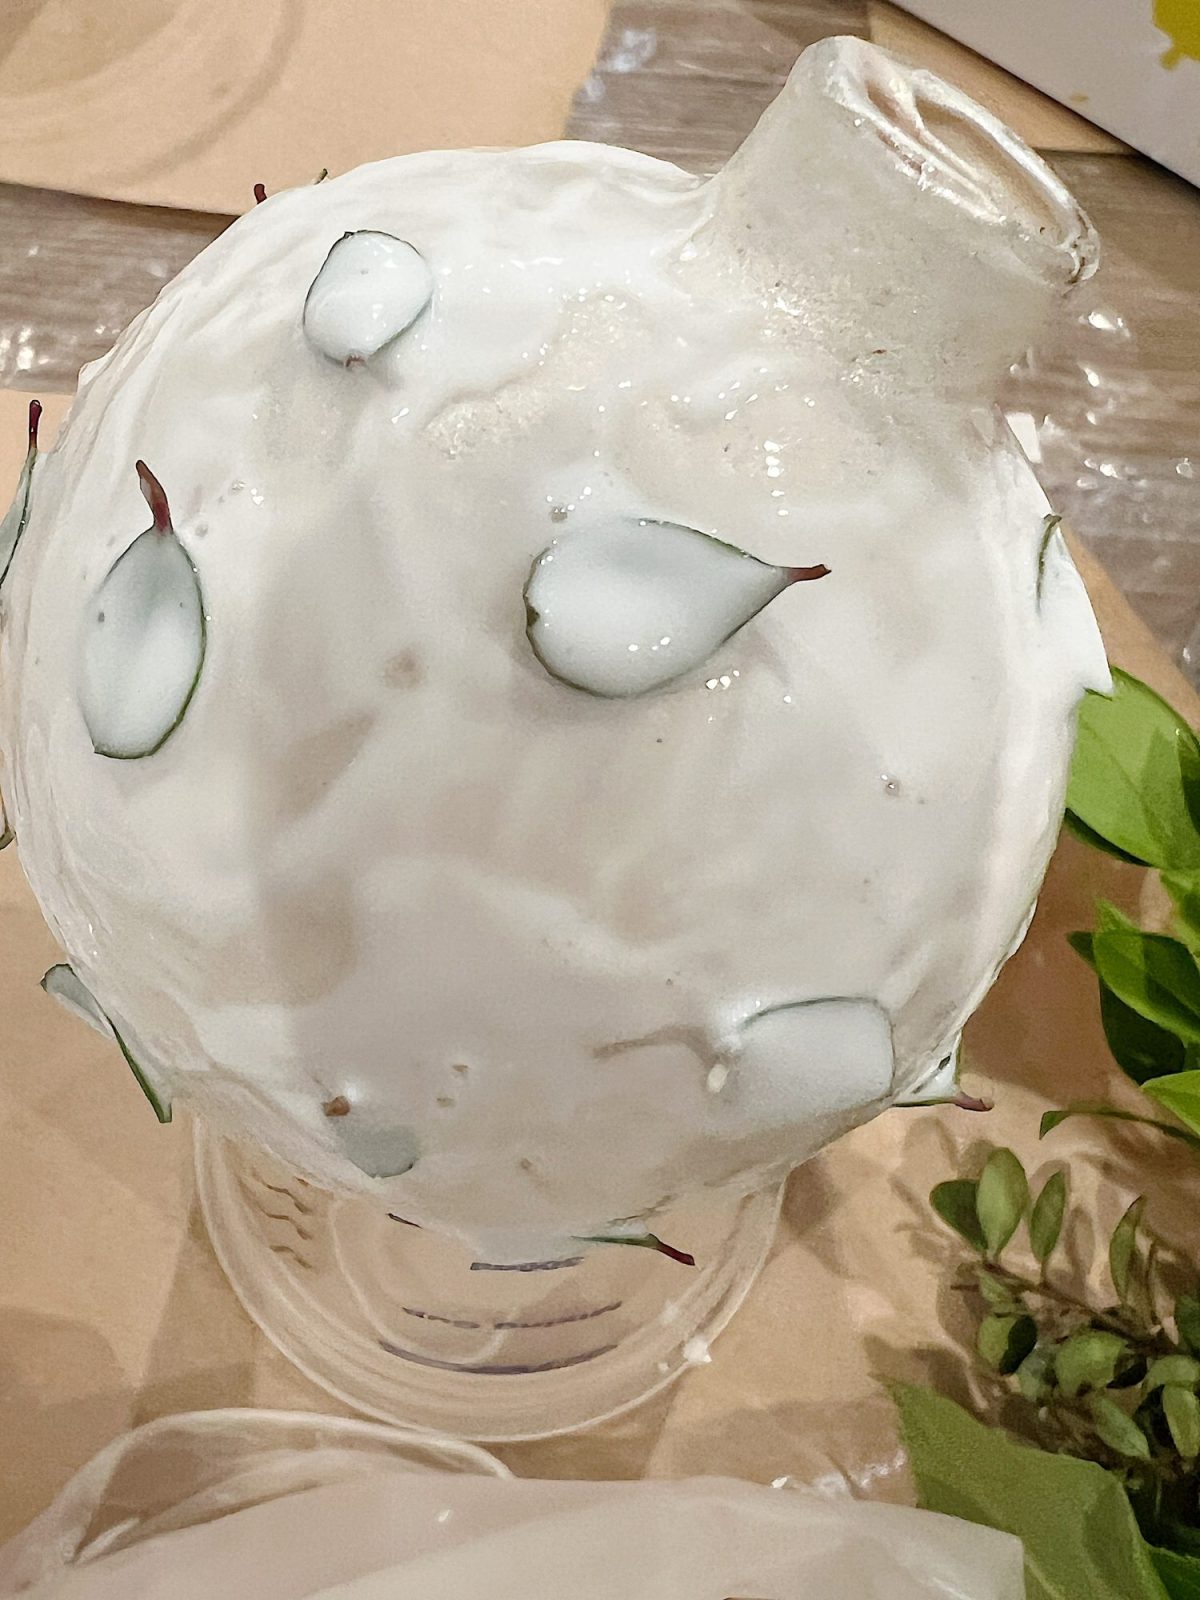
While the inside is drying, take this time to prepare your greenery. Small leaves or pine needles work best. Apply a thin layer of Mod Podge to the ornament area where you want to place the greenery.
Gently press the leaves or needles onto the glue, then apply another thin layer of Mod Podge over the top to seal them in place. Let this dry completely, again using a hairdryer to expedite the process if desired.
4. Adding the Final Metallic Touch
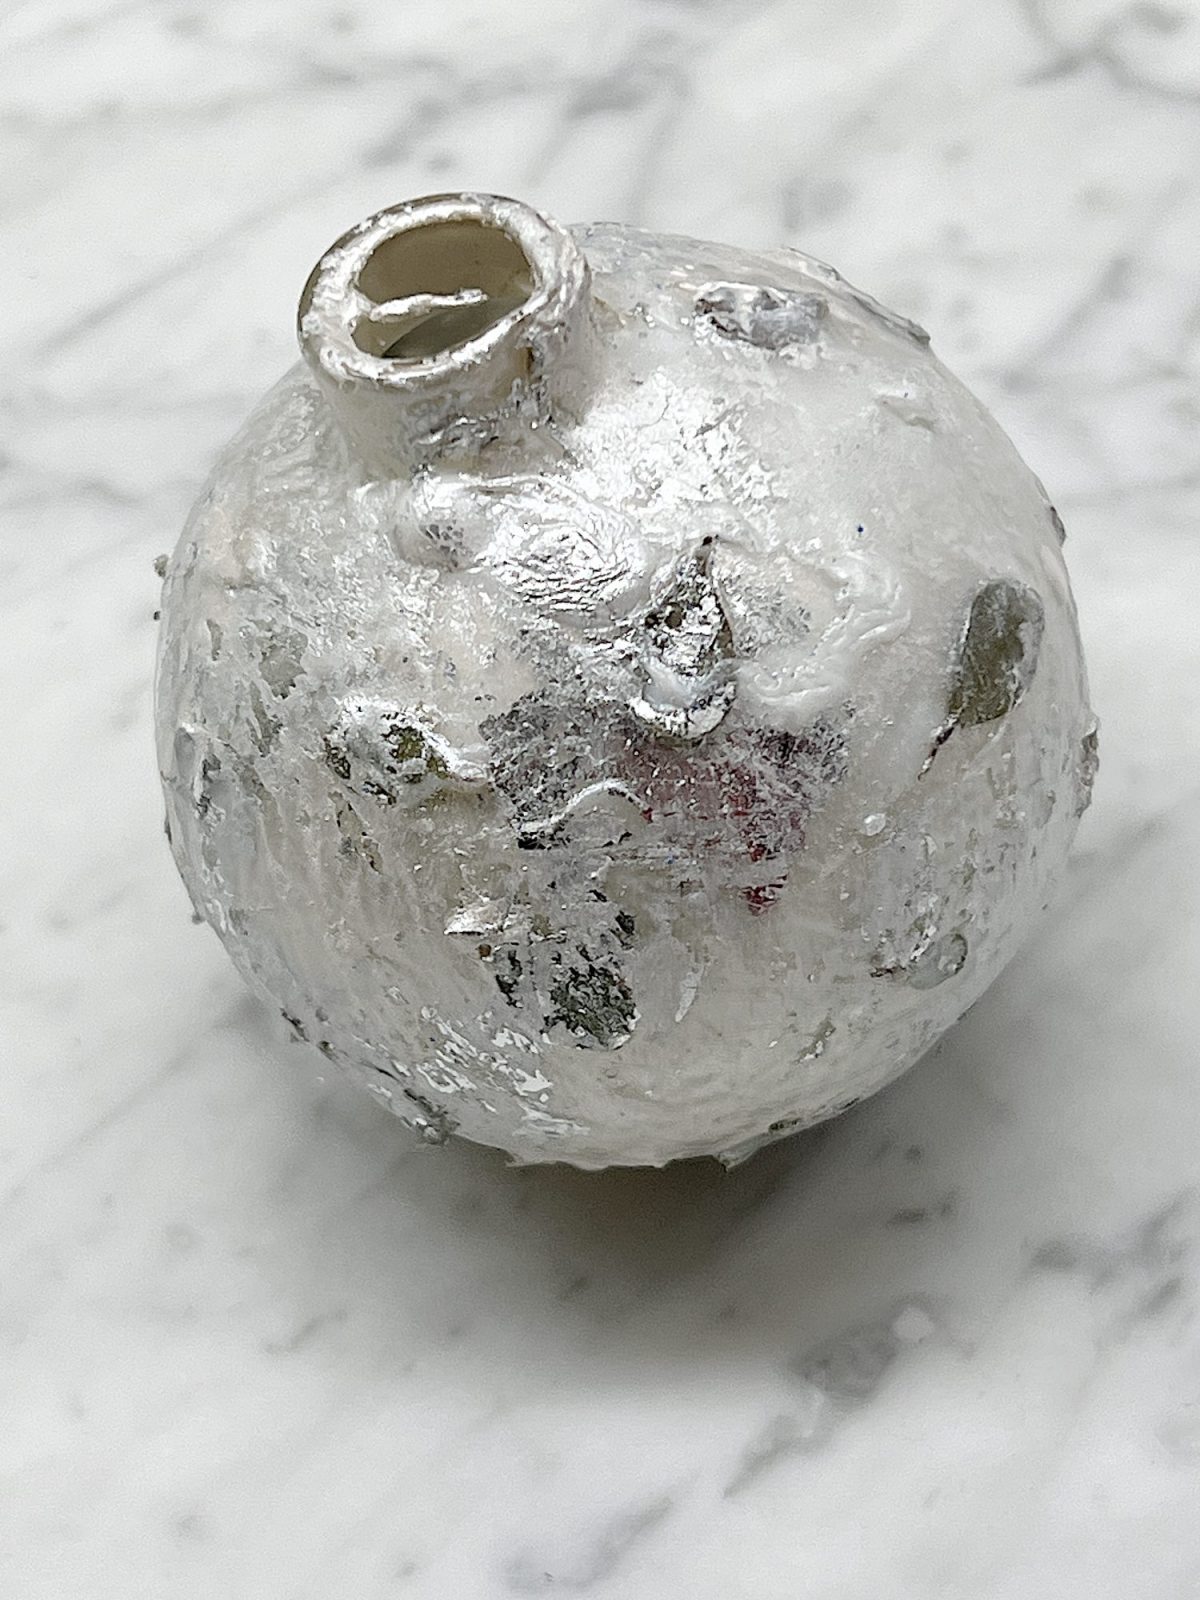
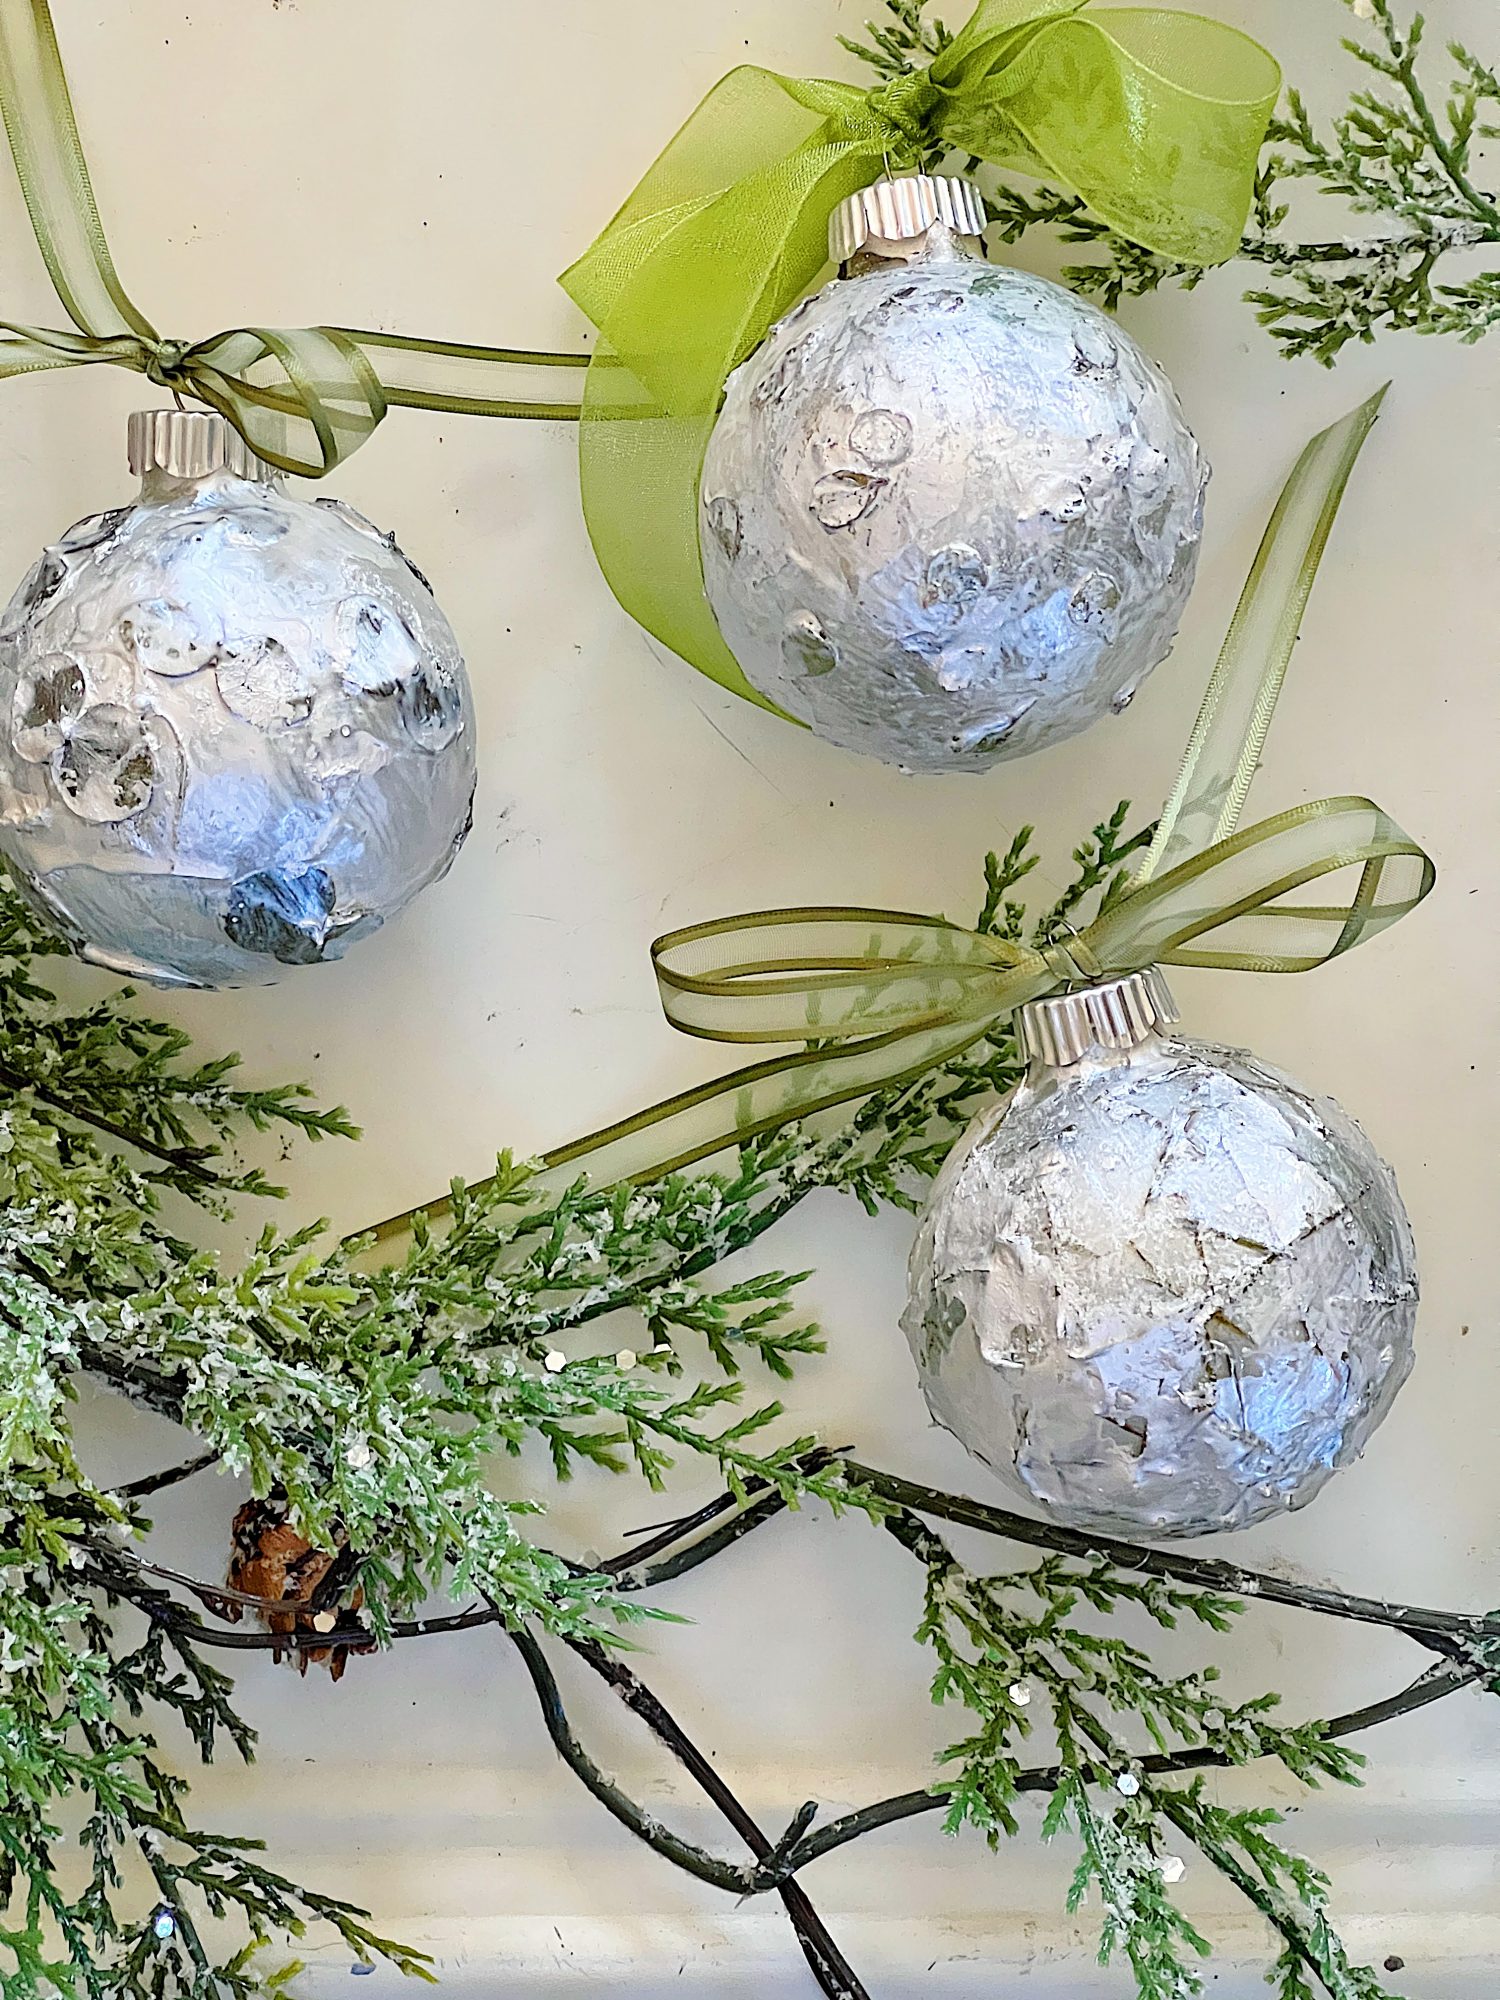
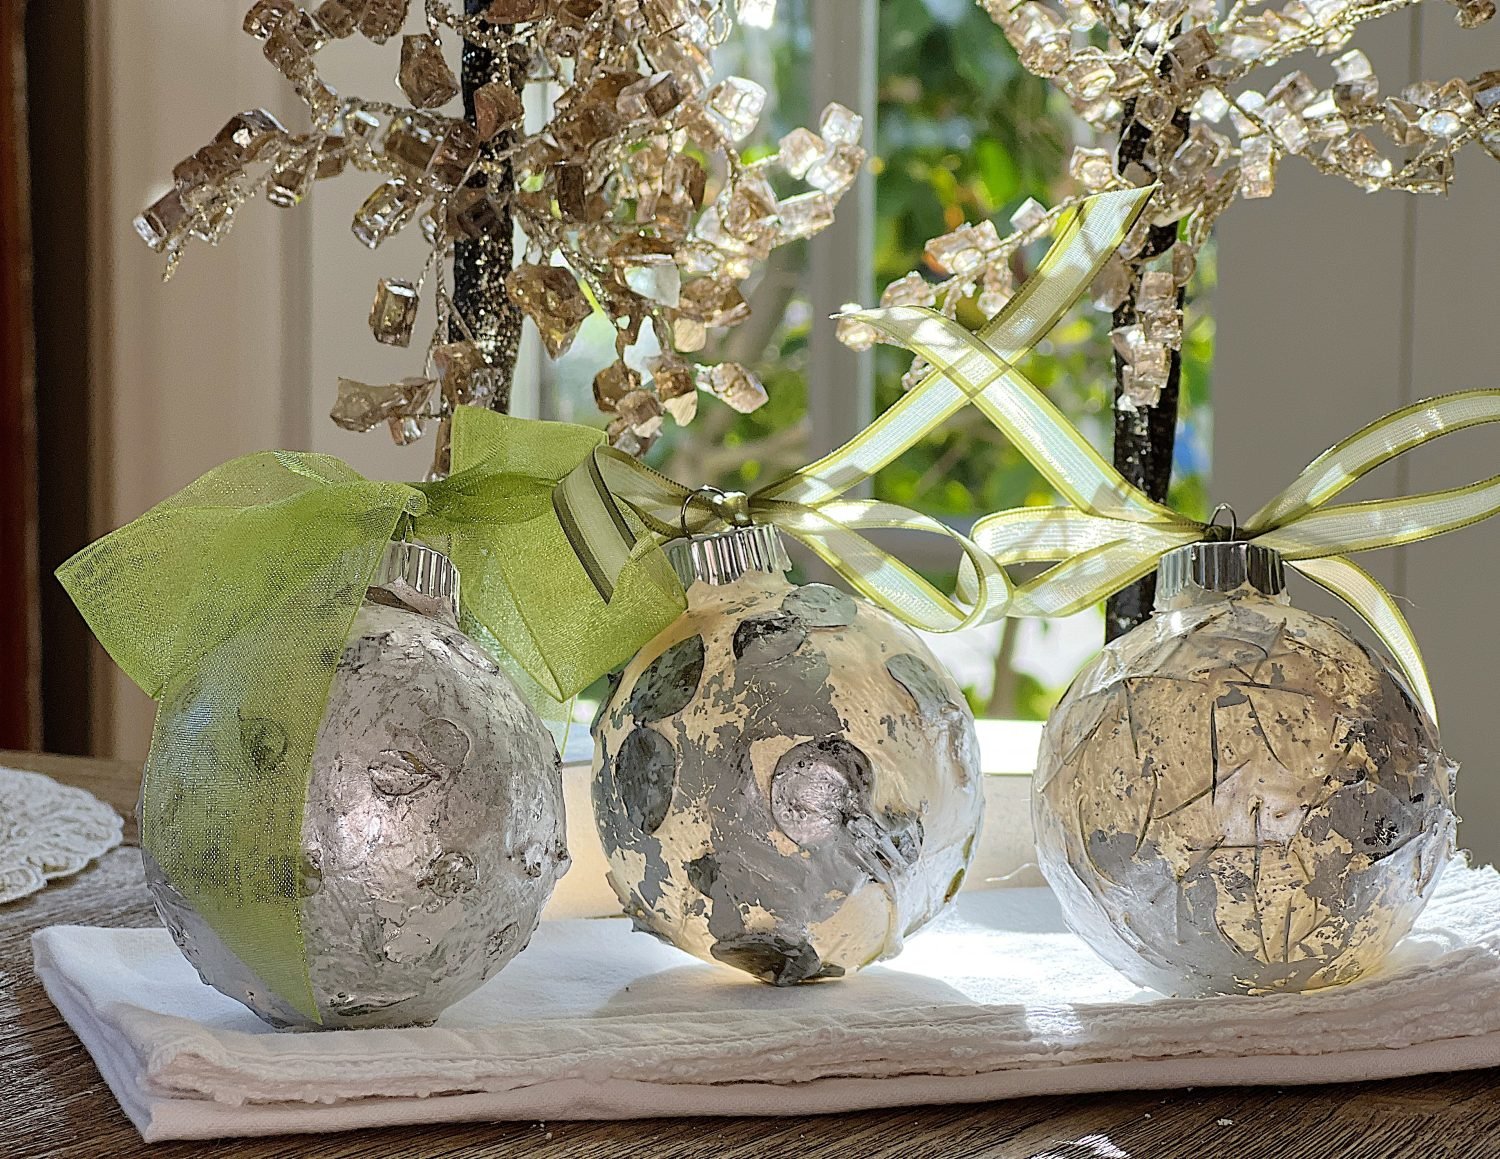
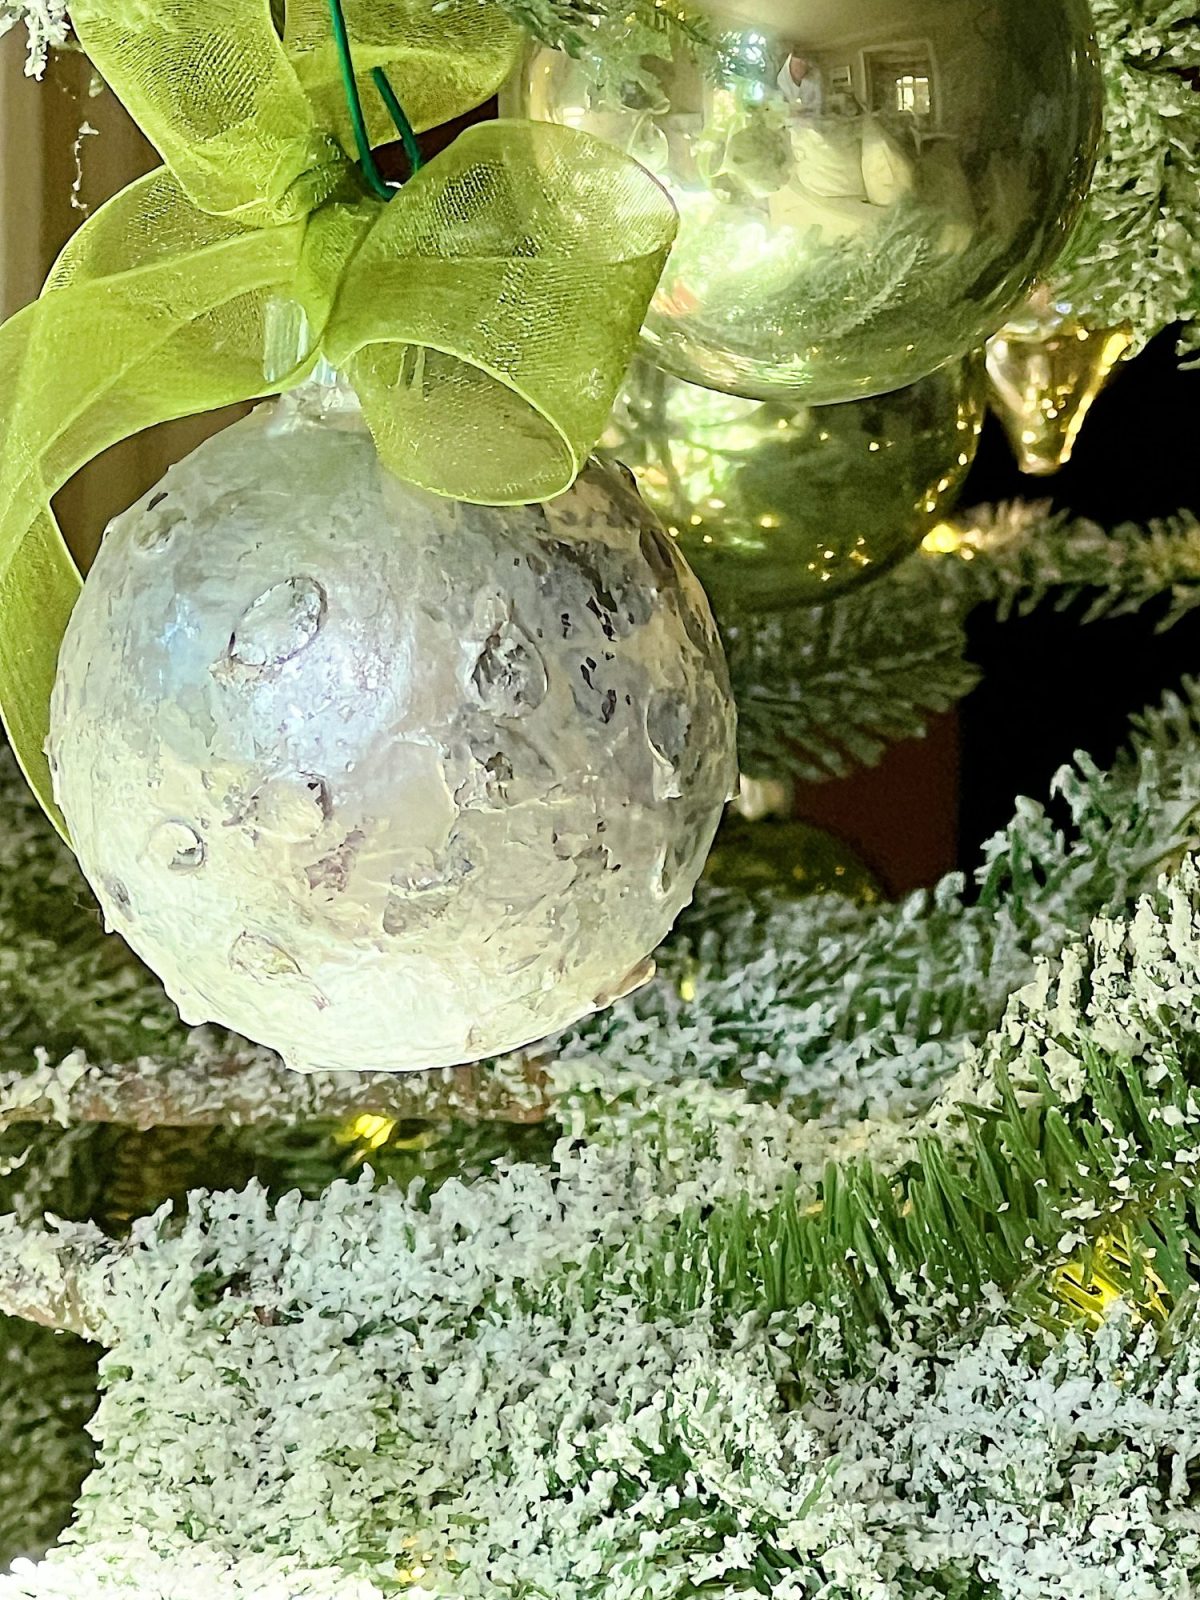
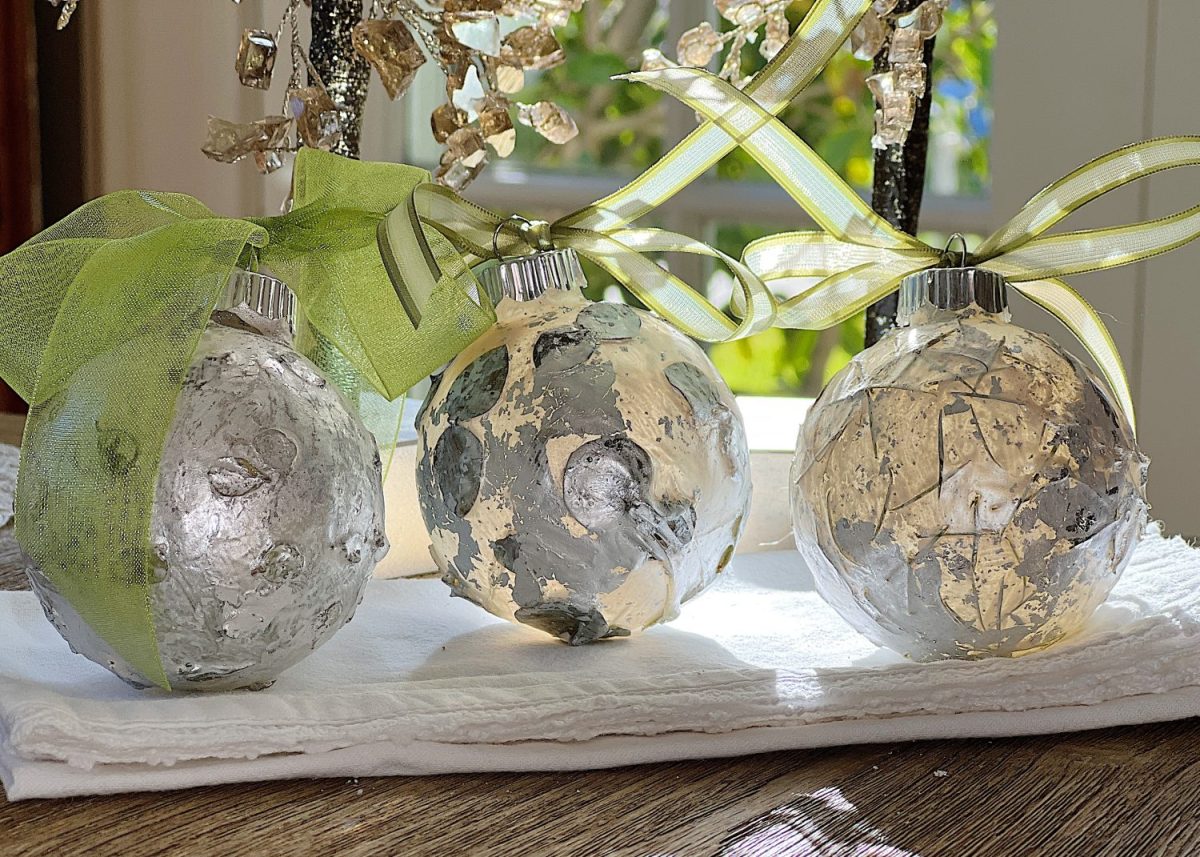
Once the greenery is secured and dry, it’s time to add more metallic charm. Gently paint the outside of the ornament with your metallic paint, being careful not to apply too thick a layer. You want to ensure that the texture and shape of the greenery beneath are still perceptible. Allow this outer layer of paint to dry completely.
You can also add some silver metallic foil, which I did on a few of the ornaments. I like the added texture.
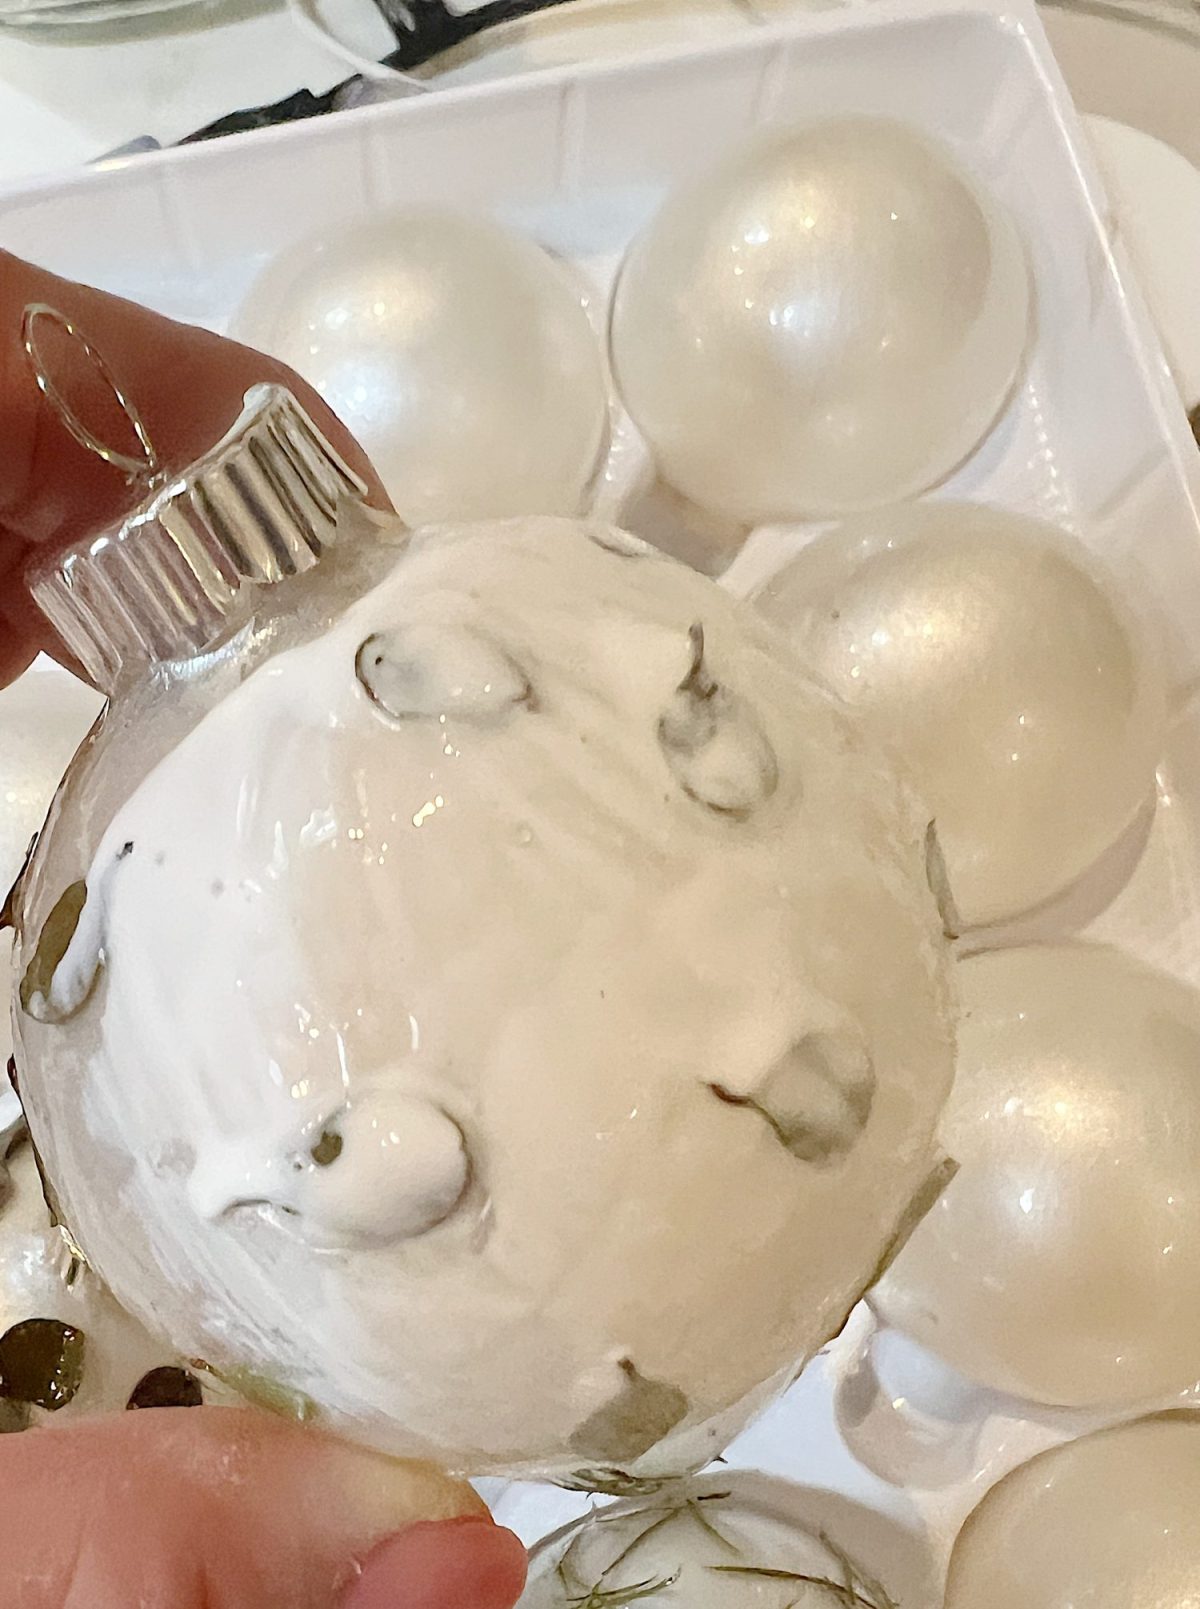
5. Revealing the Greenery
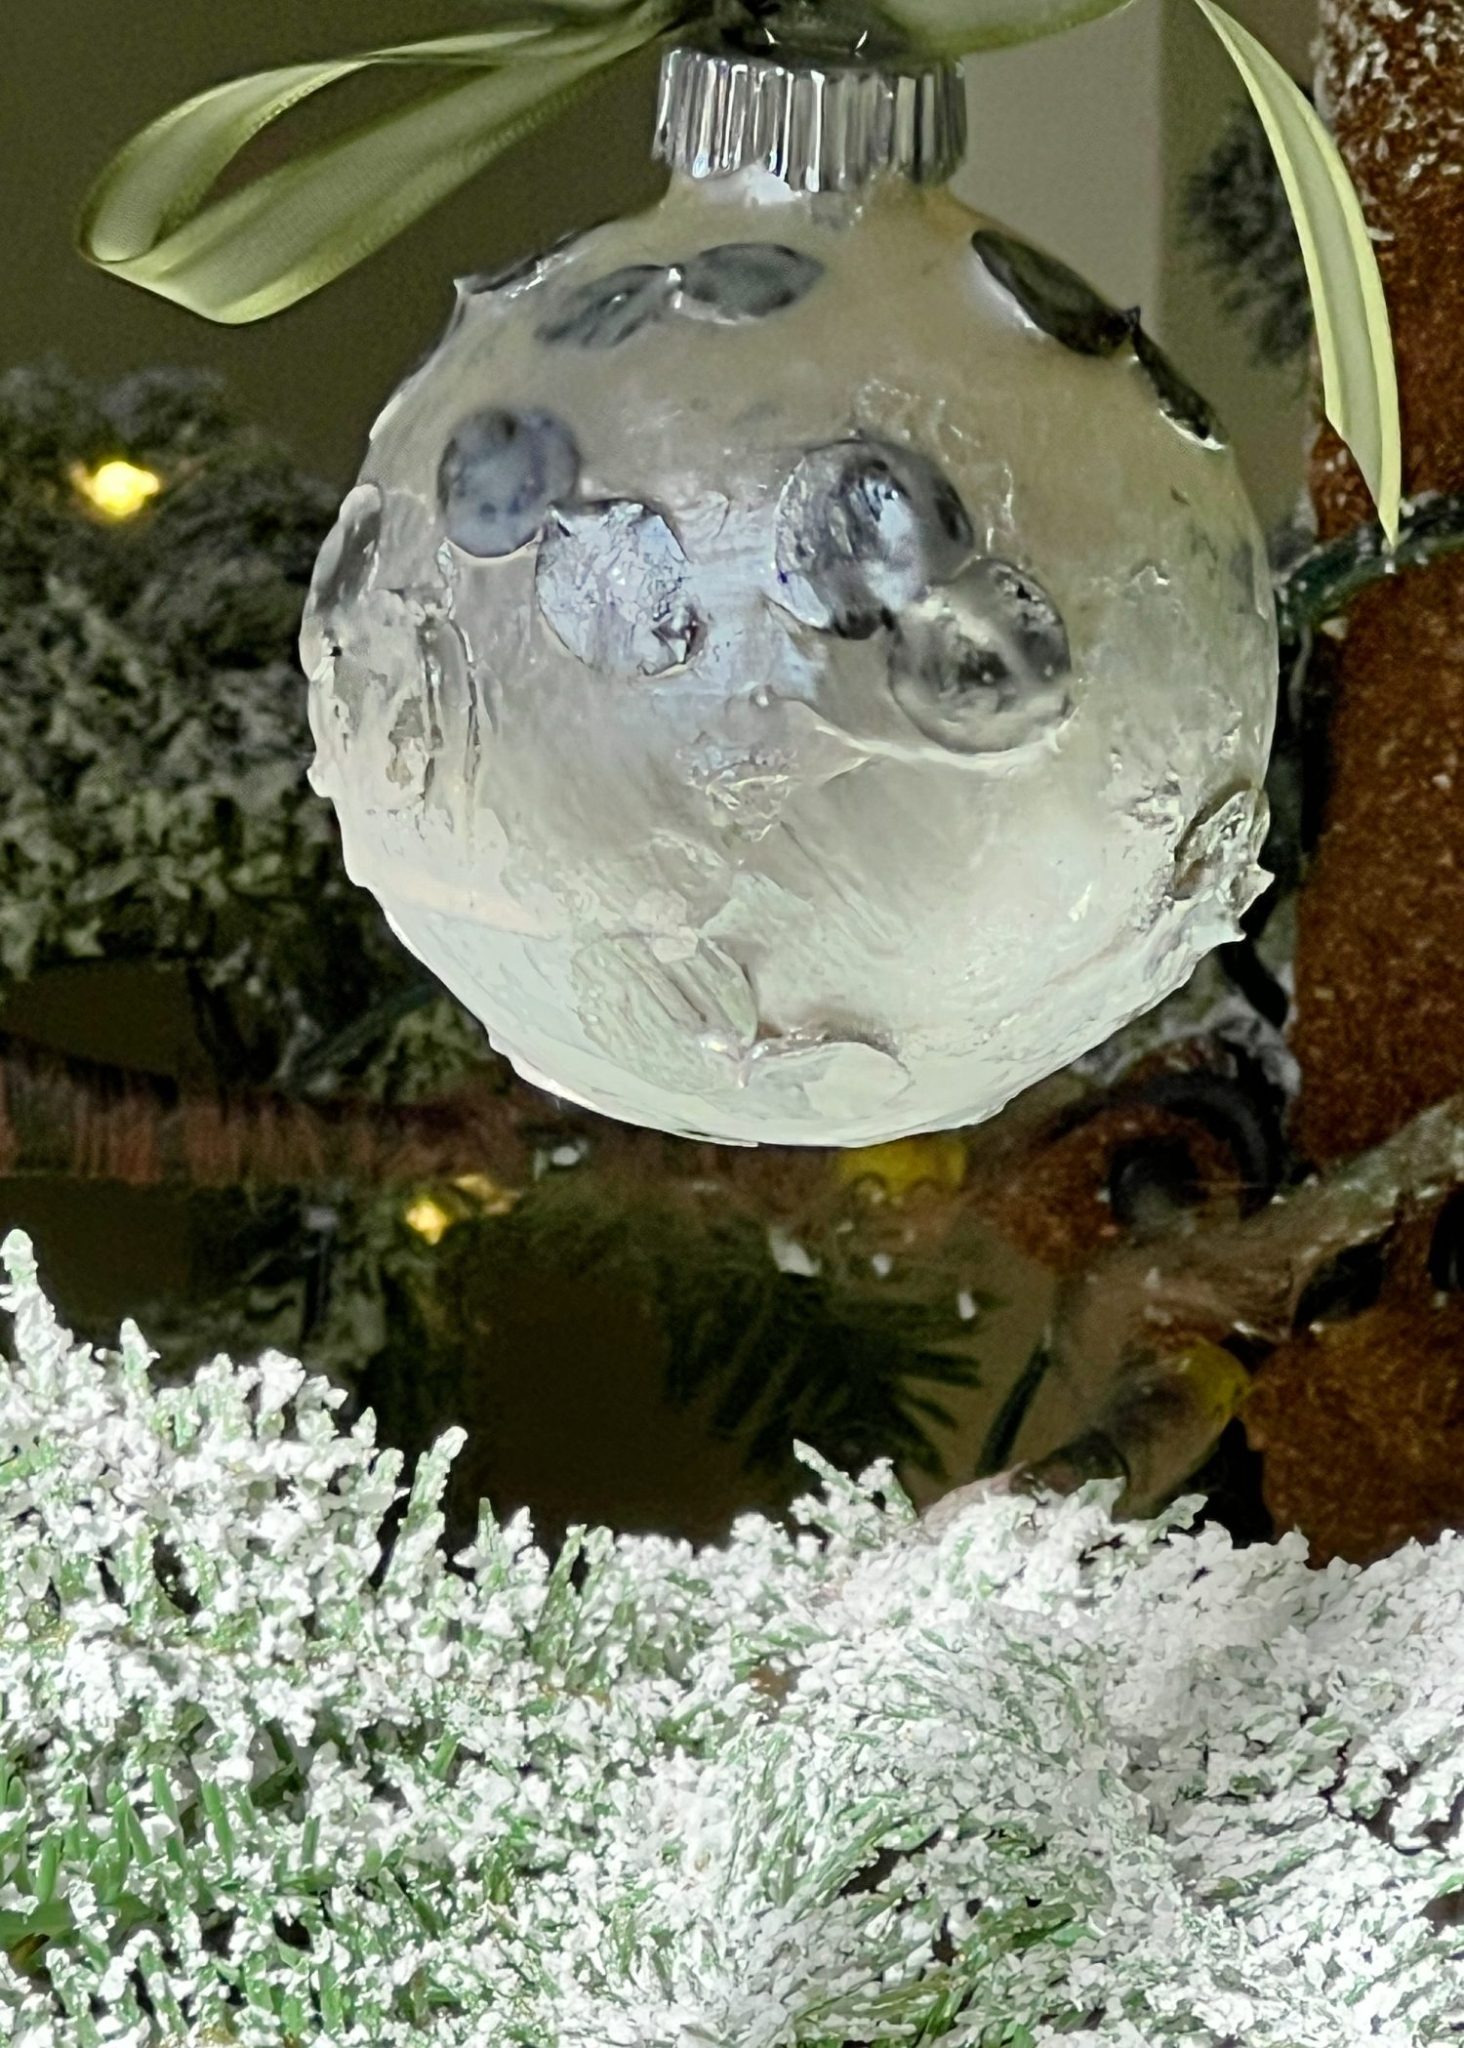
After the paint has dried, take a soft cloth or a piece of fine sandpaper and gently rub off some of the paint over the areas where the greenery is attached. This technique will reveal the beautiful texture and color of the leaves or pine needles, creating a stunning contrast with the metallic paint.
6. Finishing Touches

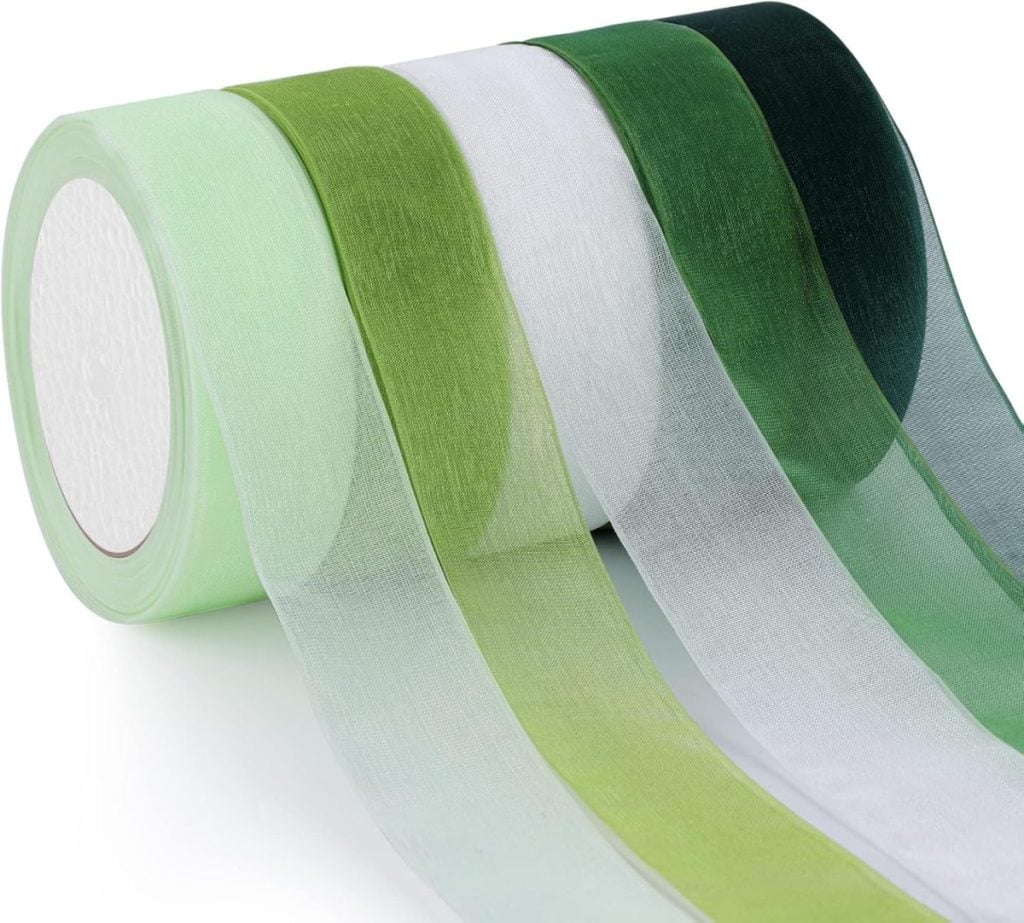
Replace the metal cap once you’re happy with how your ornament looks. You can add a ribbon or a decorative hook to hang the ornament on your Christmas tree.
Tips for Success
- Choosing Greenery: Select leaves or pine needles that are small enough to fit on the ornaments but robust enough to not tear easily.
- Paint Consistency: If your paint is too thick, thin it with a little water for a smoother application.
- Working in Sections: If you’re finding it tricky to work around the entire ornament at once, try working in sections, allowing each section to dry before moving on to the next.
- Personal Touch: Feel free to experiment with different colors of metallic paint or different types of greenery to create a variety of ornaments.
Creating metallic glass Christmas ornaments is a beautiful way to add a personal and elegant touch to your holiday decor.
Not only do you end up with beautiful, one-of-a-kind decorations for your tree, but making them can also be a delightful and rewarding holiday activity.
These ornaments can also make heartfelt gifts for friends and family.
So gather your materials, set aside some time, and enjoy the process of bringing a little extra sparkle and nature into your holiday season!


If you enjoy my blog, you can sign up to receive my updates here.
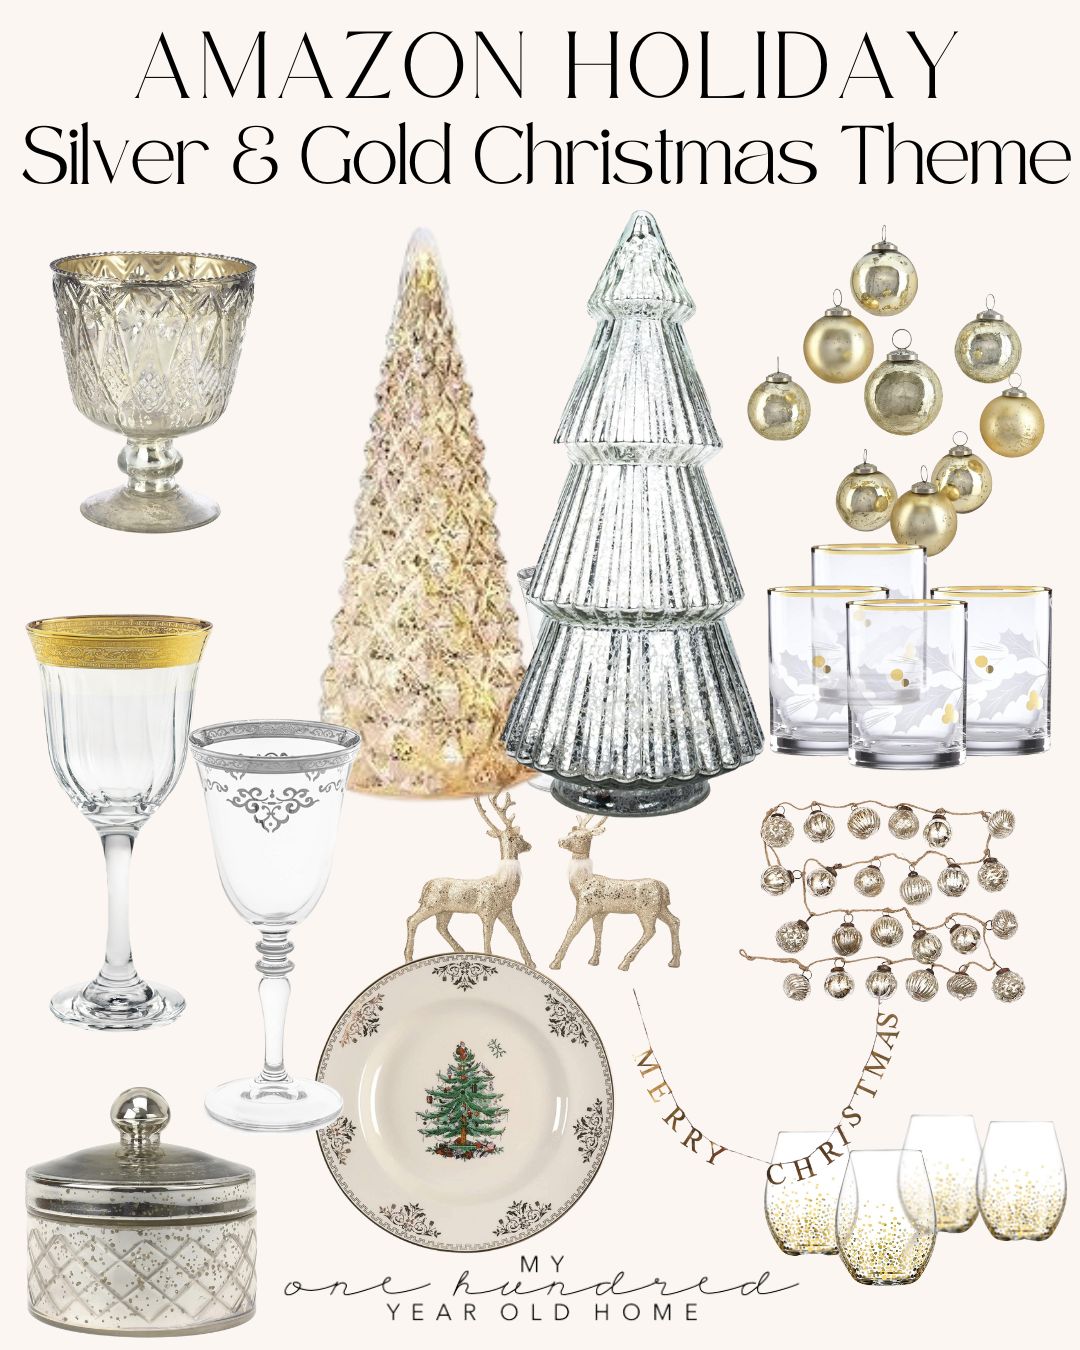
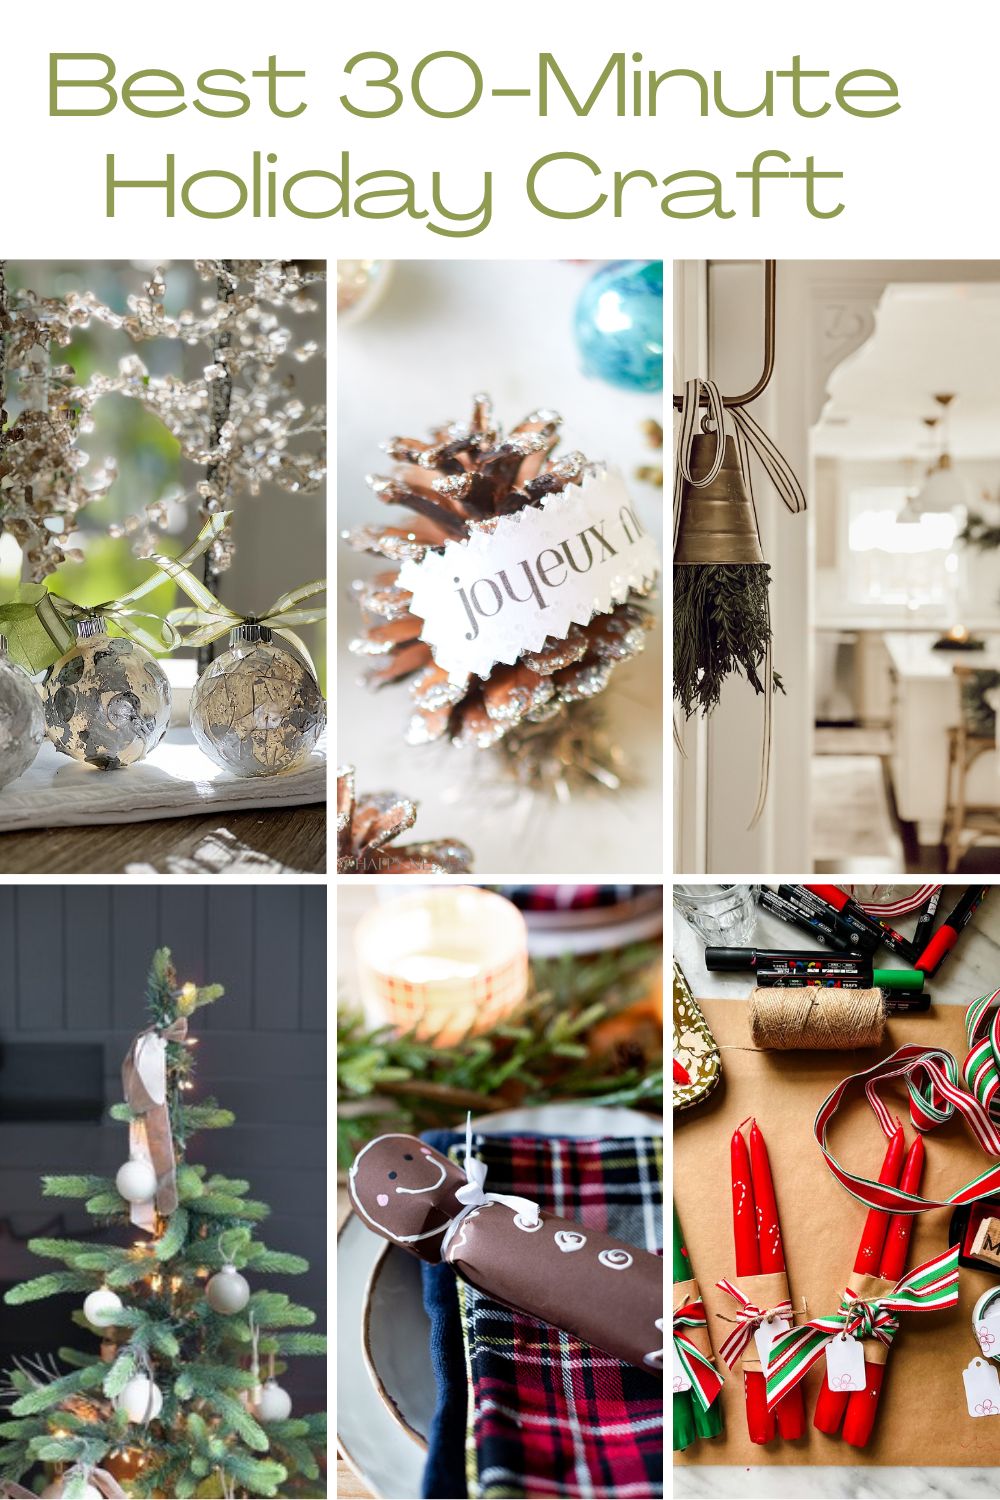
.Silver & Gold Holiday Inspiration
Blogger’s Best 30-Minute Holiday Craft
Here are more easy holiday crafts for you to make from some of my favorite bloggers!
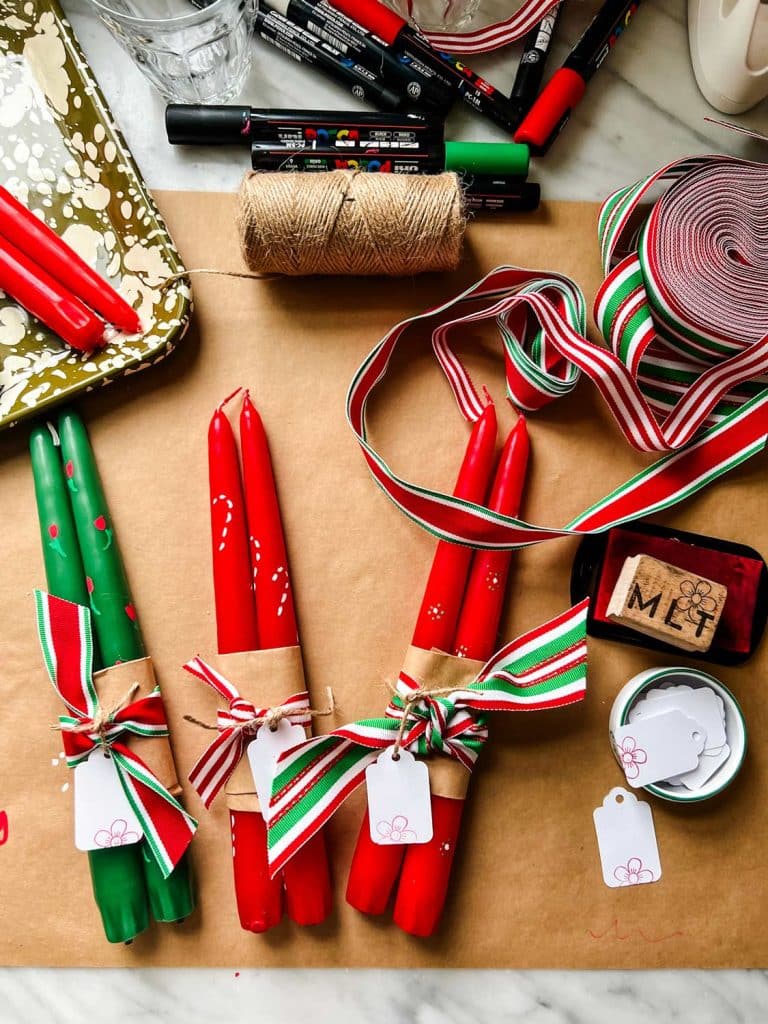
Hand Painted Candles | Most Lovely Things
Do you know those painted candles you see in gift shops for about $30 a pair that are too pretty to burn? These are not that kind. They take only minutes to make, and it’s fun! Wrap them with a little ribbon and slip them into your bag to give at your next coffee date or wherever you meet with friends.
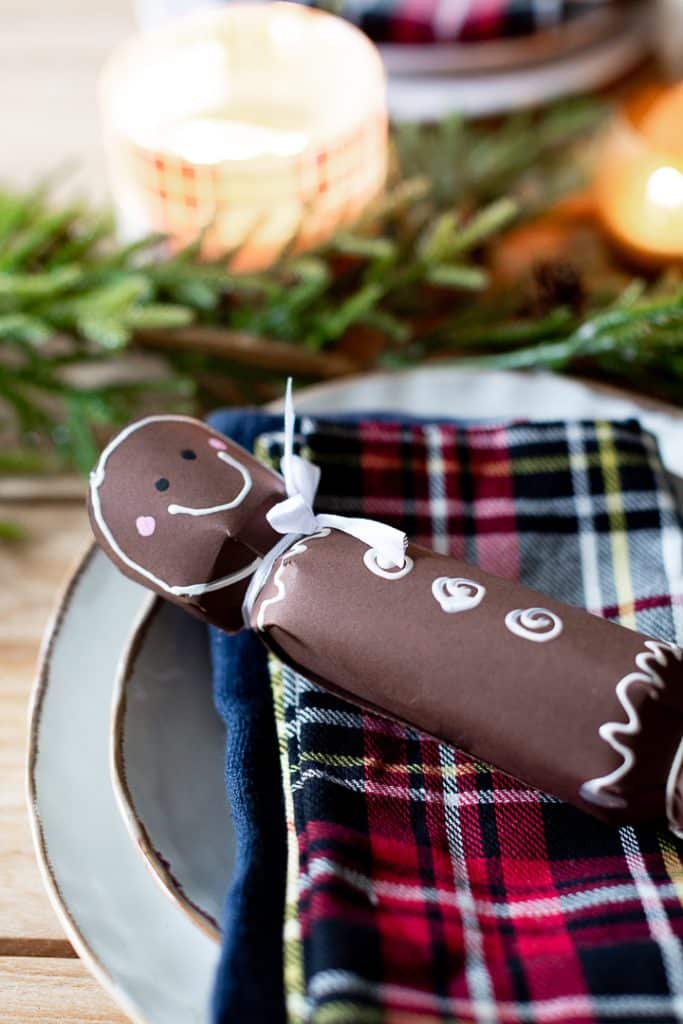
How to Make a Gingerbread Man Christmas Cracker | Craftberry Bush
Make these adorable gingerbread Christmas crackers with these simple steps. They are perfect to share around the table. Fill them with any small prize you want.
DIY Ornaments | My Sweet Savannah
Can you believe these high-end-looking ornaments are made out of Dollar Store plastic ornaments and balloons? This project is so easy, and you can customize them to match your decor.
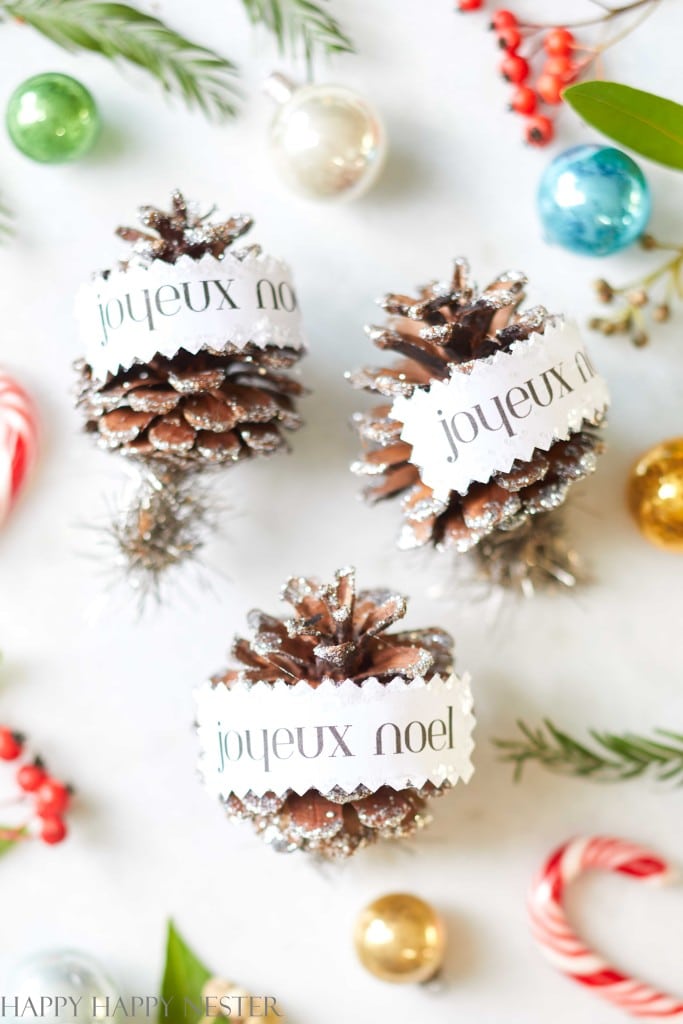
DIY Pinecone Ornaments | Happy Happy Nester
Let’s create unique holiday decorations with DIY pinecone ornaments. These little natural gems can bring a natural charm to your holiday. This craft project includes an easy free printable.
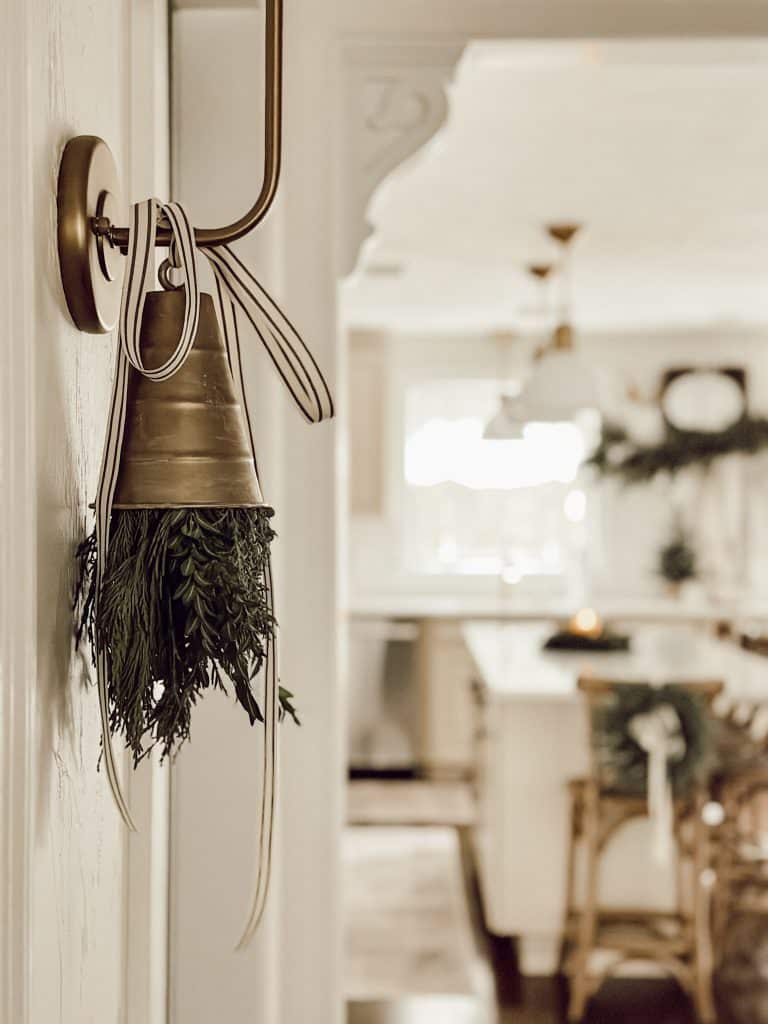
DIY Christmas Bell Decoration With Fresh Greenery | Eleanor Rose Home
Learn how to create a stunning DIY Christmas bell decoration in less than 30 minutes using affordable finds from Target, fresh greenery, and festive striped ribbon. Discover the joy of crafting with this step-by-step tutorial on the perfect Christmas decoration.

You can pin the images below to your boards on Pinterest (just click the Pin button in the top left corner) or follow me on Pinterest!
For more real-time updates, follow me on Instagram @My100YearOldHome

These are so cool Leslie! You are so crafty!
I just love them! Thank you so much ☺️
Leslie, these are fabulous!! Another gorgeous ornament DIY!
Oh thank you so much! So easy too! ☺️