DIY Halloween Wreath Ideas

I love my Halloween wreath. It is a timeless, elegant decoration that welcomes guests with festive charm, and it fits my decor style.
Halloween isn’t just about the candies and costumes; it’s an opportunity to get creative, embracing the fun of the season while expressing your unique style. Crafting a DIY Halloween wreath for your door is a delightful DIY project and a way to set the tone for the festivities.


A Simple DIY Halloween Wreath
With the leaves falling and a chill creeping into the air, it’s clear that Halloween is just around the corner. As neighborhoods transform with pumpkins, cobwebs, and other spooky decorations, you might wonder how to stand out while embracing the spirit of the season.
Why A Halloween Wreath?
Your front door is the first impression visitors have of your home. What better way to introduce them to your Halloween haven than with a themed wreath that exudes charm?
Furthermore, making a wreath isn’t just about the result. It’s a journey – a chance to indulge in the joys of crafting, let your creativity run wild, and immerse yourself in the Halloween spirit.
Simplicity is the Ultimate Sophistication
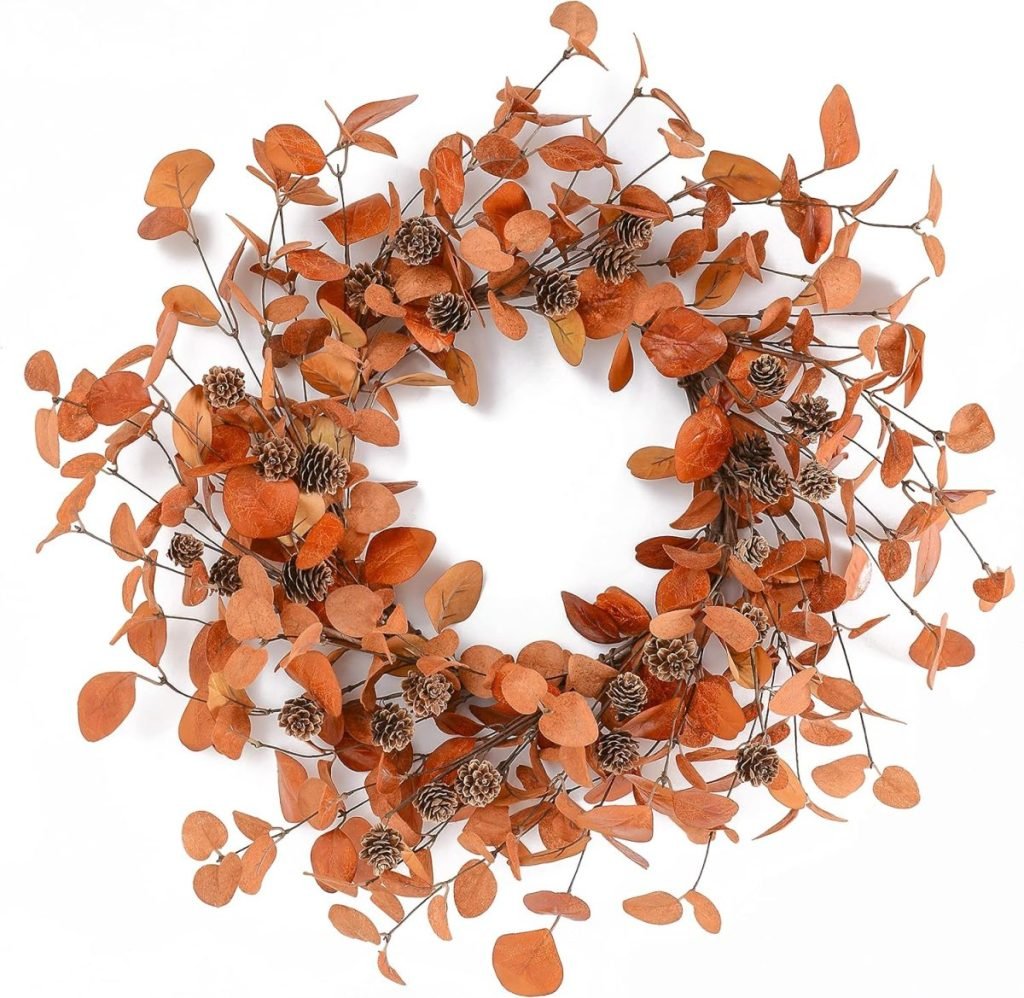
Who said you have to start entirely from scratch? Sometimes, the most captivating creations come from repurposing and elevating existing items.
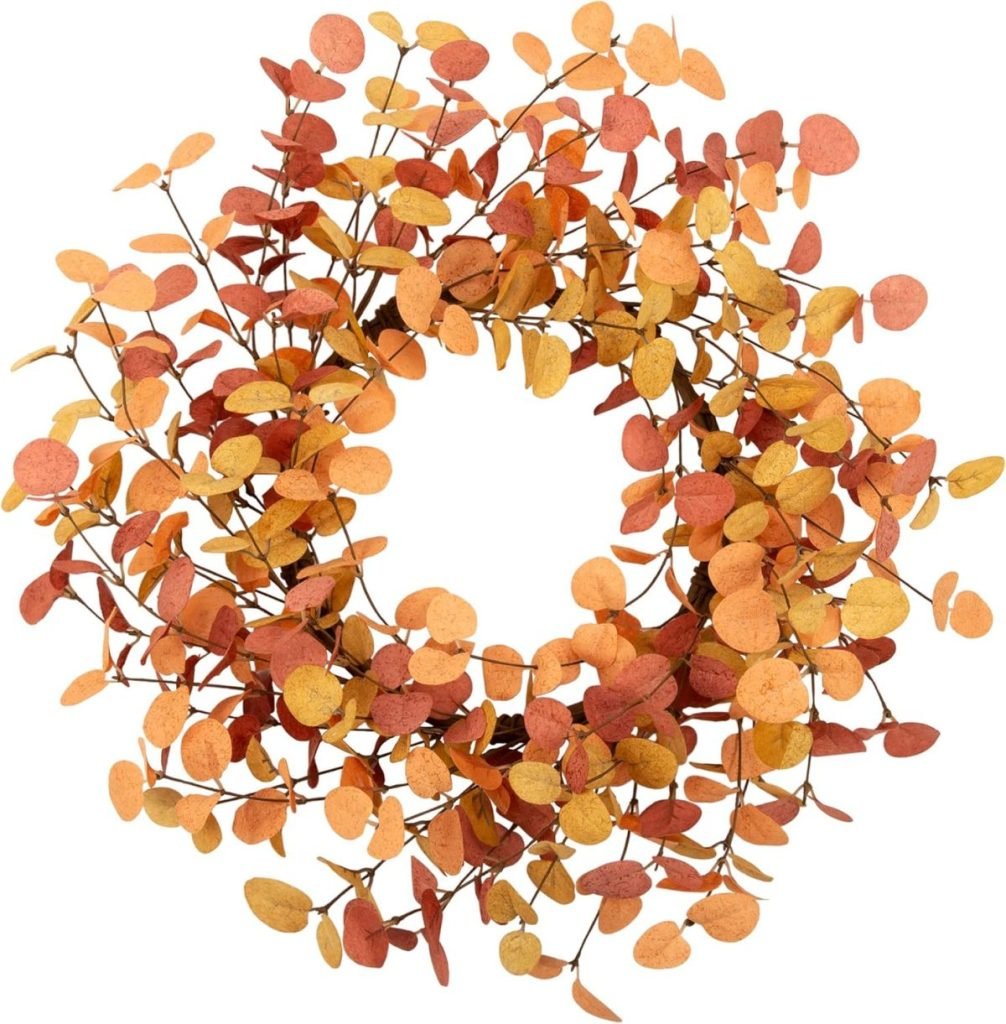
I ordered a gorgeous eucalyptus wreath from Amazon (or you can use any other basic wreath), and I was halfway there!
You can transform a simple wreath into a masterpiece with a few additions.
DIY Step-by-Step Halloween Wreath
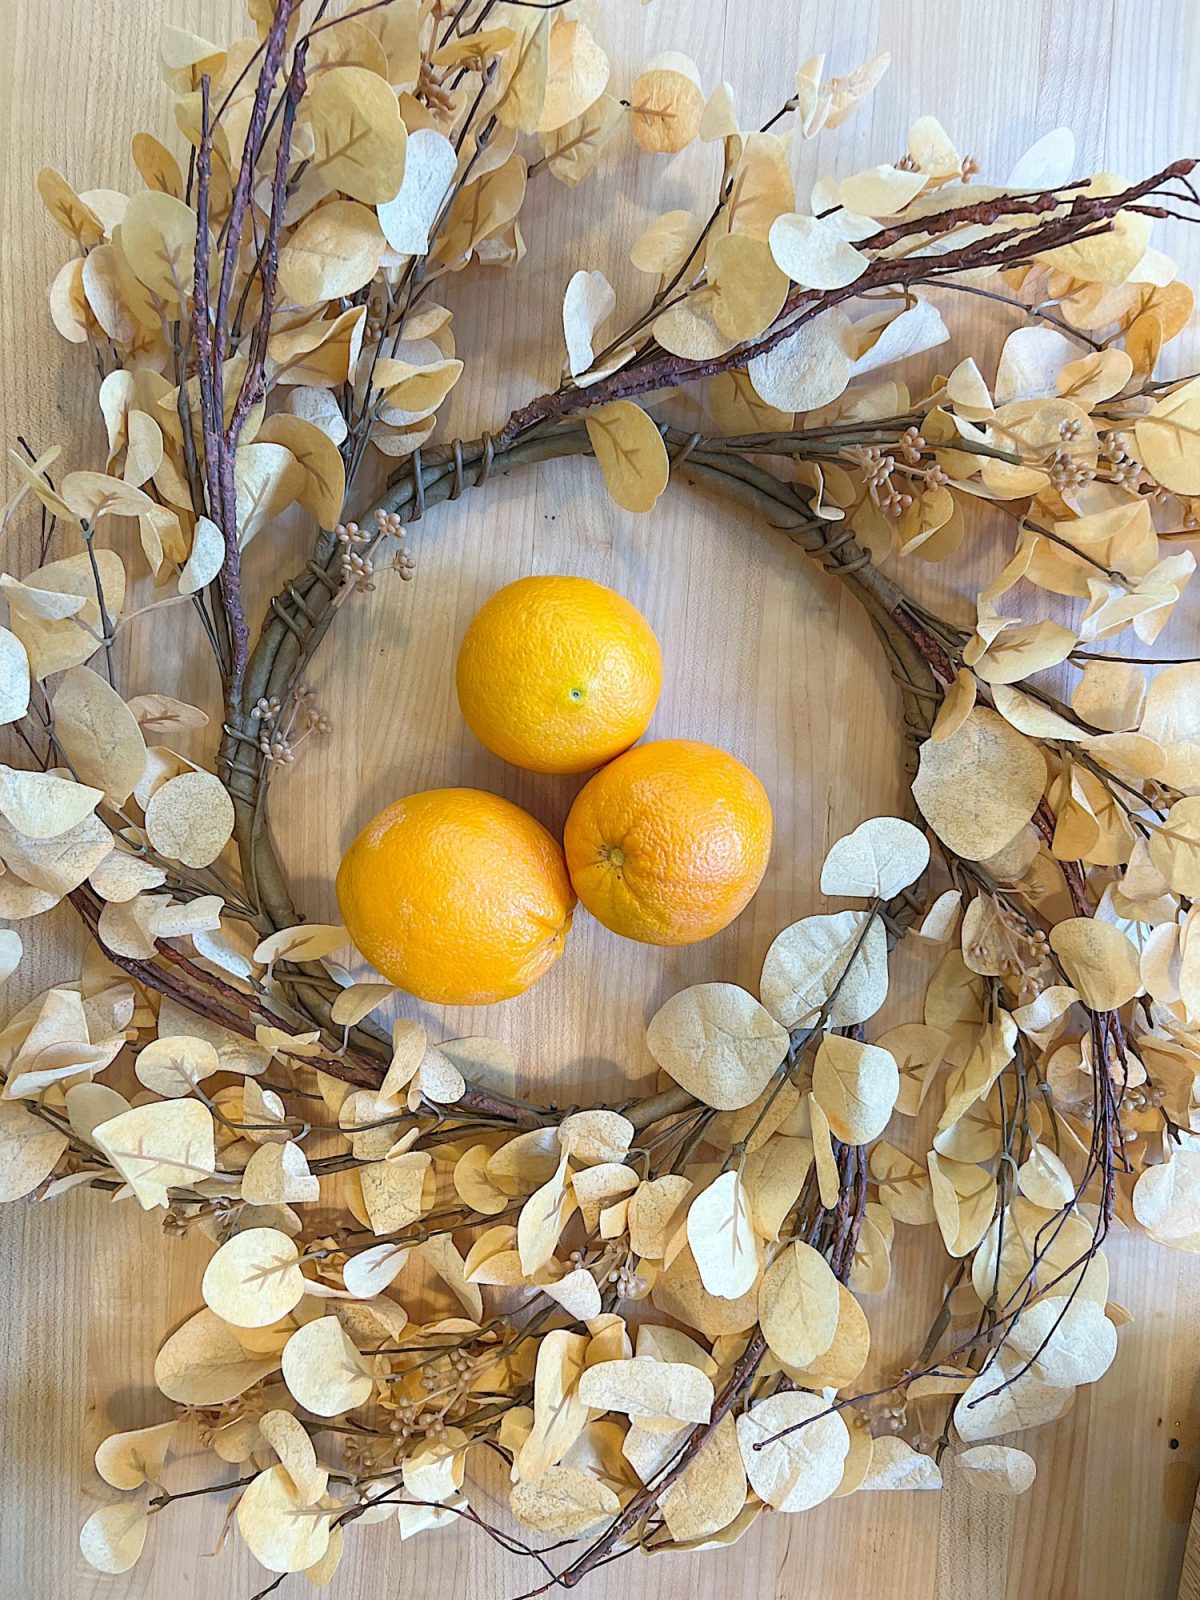
I decided to dry oranges for the first time and used them to decorate my Halloween wreath. After a slight mishap, I ended up with two different colored oranges. Read below to see what happened!
What you’ll need:
- Eucalyptus wreath (or any basic wreath)
- Dried orange slices
- Greenery or Halloween ornaments (optional)
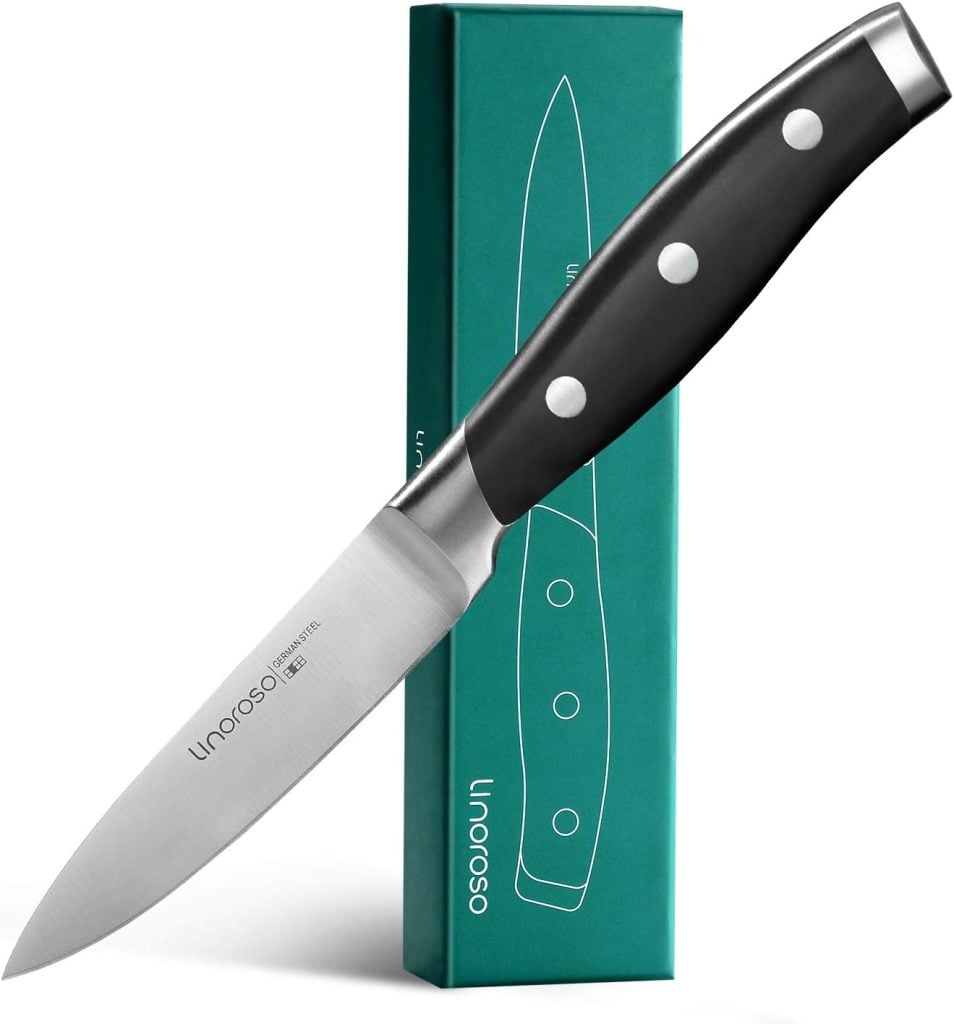
- Hot glue gun
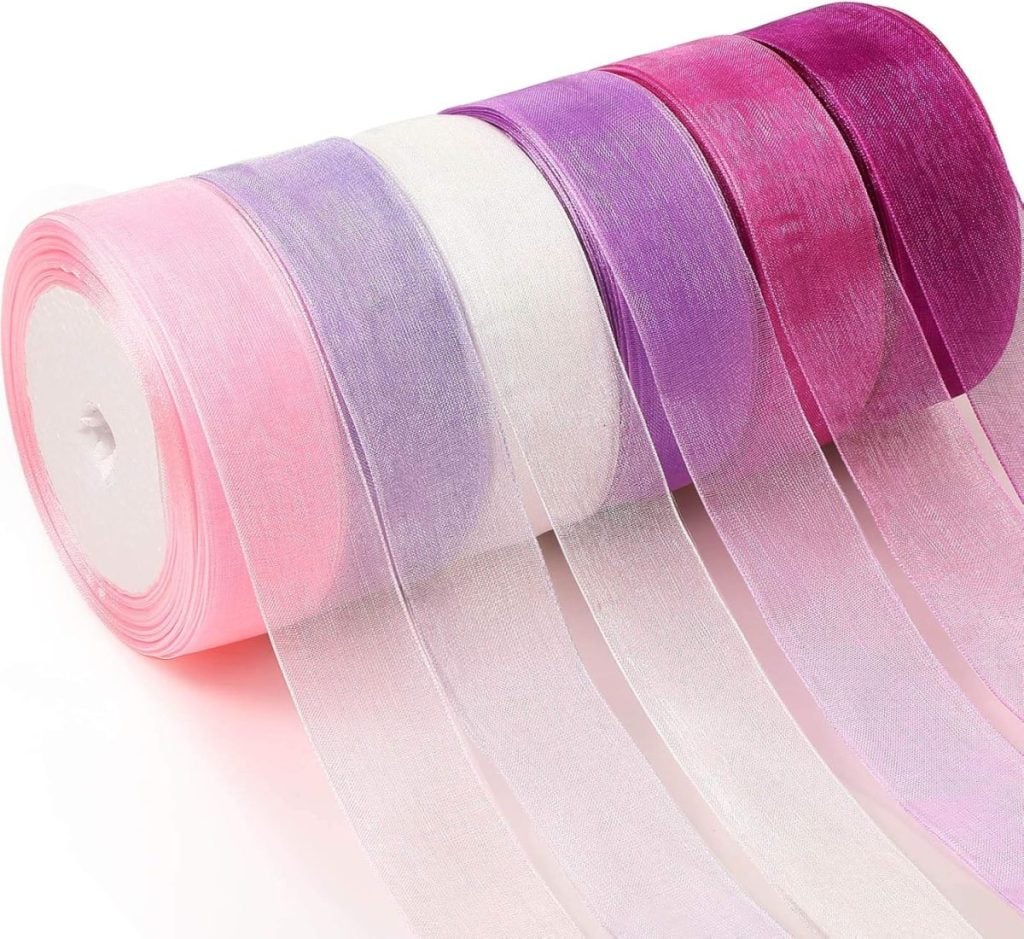
- Ribbon for hanging
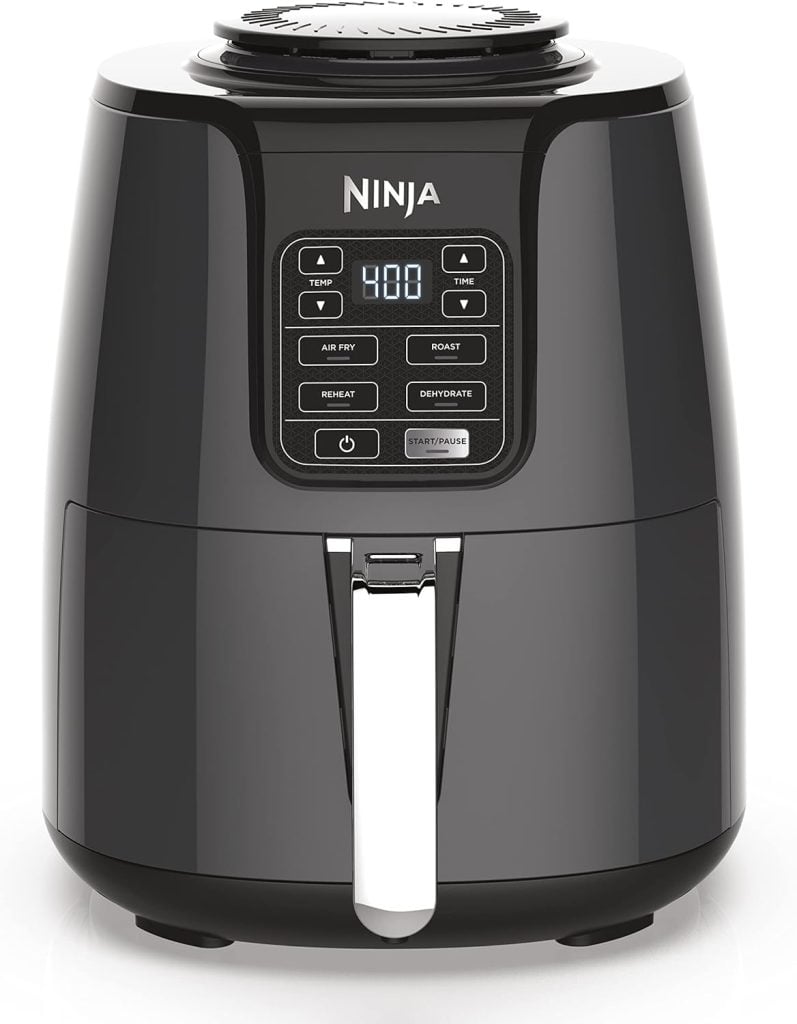
- Air fryer (for drying oranges)


How to Dry Orange Slices
Drying orange slices in your oven is a straightforward process.
Here’s a step-by-step guide:
I dried my oranges in my air fryer and the oven. I decided to make most of them in the oven because you can make much more at once. Dried orange slices are just as easy to make in the oven!
Ingredients:
- Fresh oranges (as many as you like)
Instructions:
Preparation:
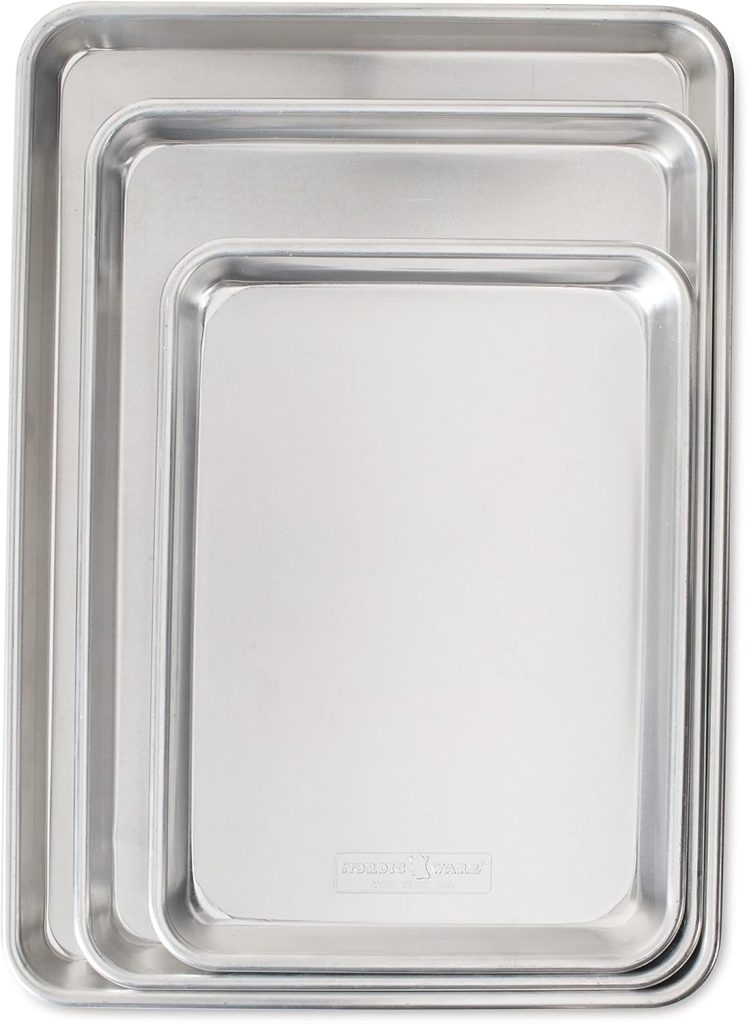
- Preheat your oven to its lowest setting, usually between 200°F (90°C) and 225°F (110°C).
- Line a baking sheet with parchment paper or a silicone baking mat to prevent sticking.
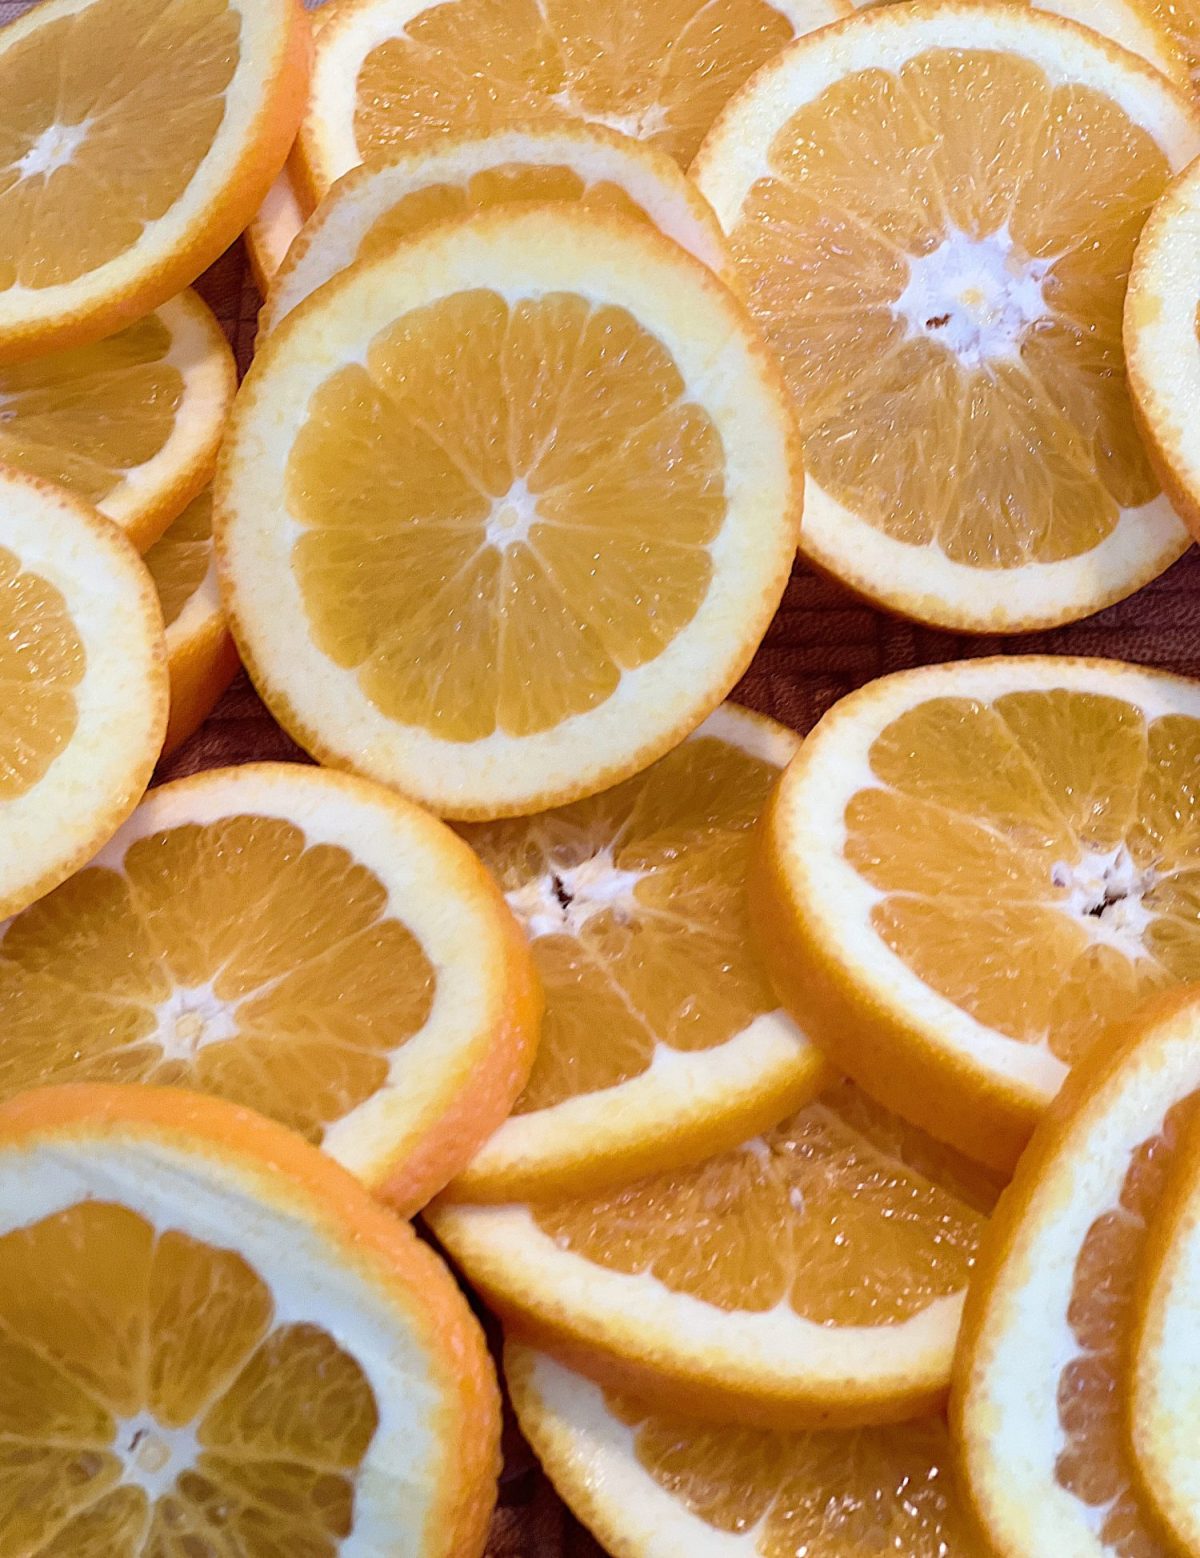
Slicing the Oranges:
- Wash the oranges thoroughly and dry them.
- Using a sharp knife, slice the oranges thinly (about 1/8 to 1/4 inch thick). Make sure the slices are as consistent in thickness as possible to ensure even drying.
- Remove any seeds from the slices.
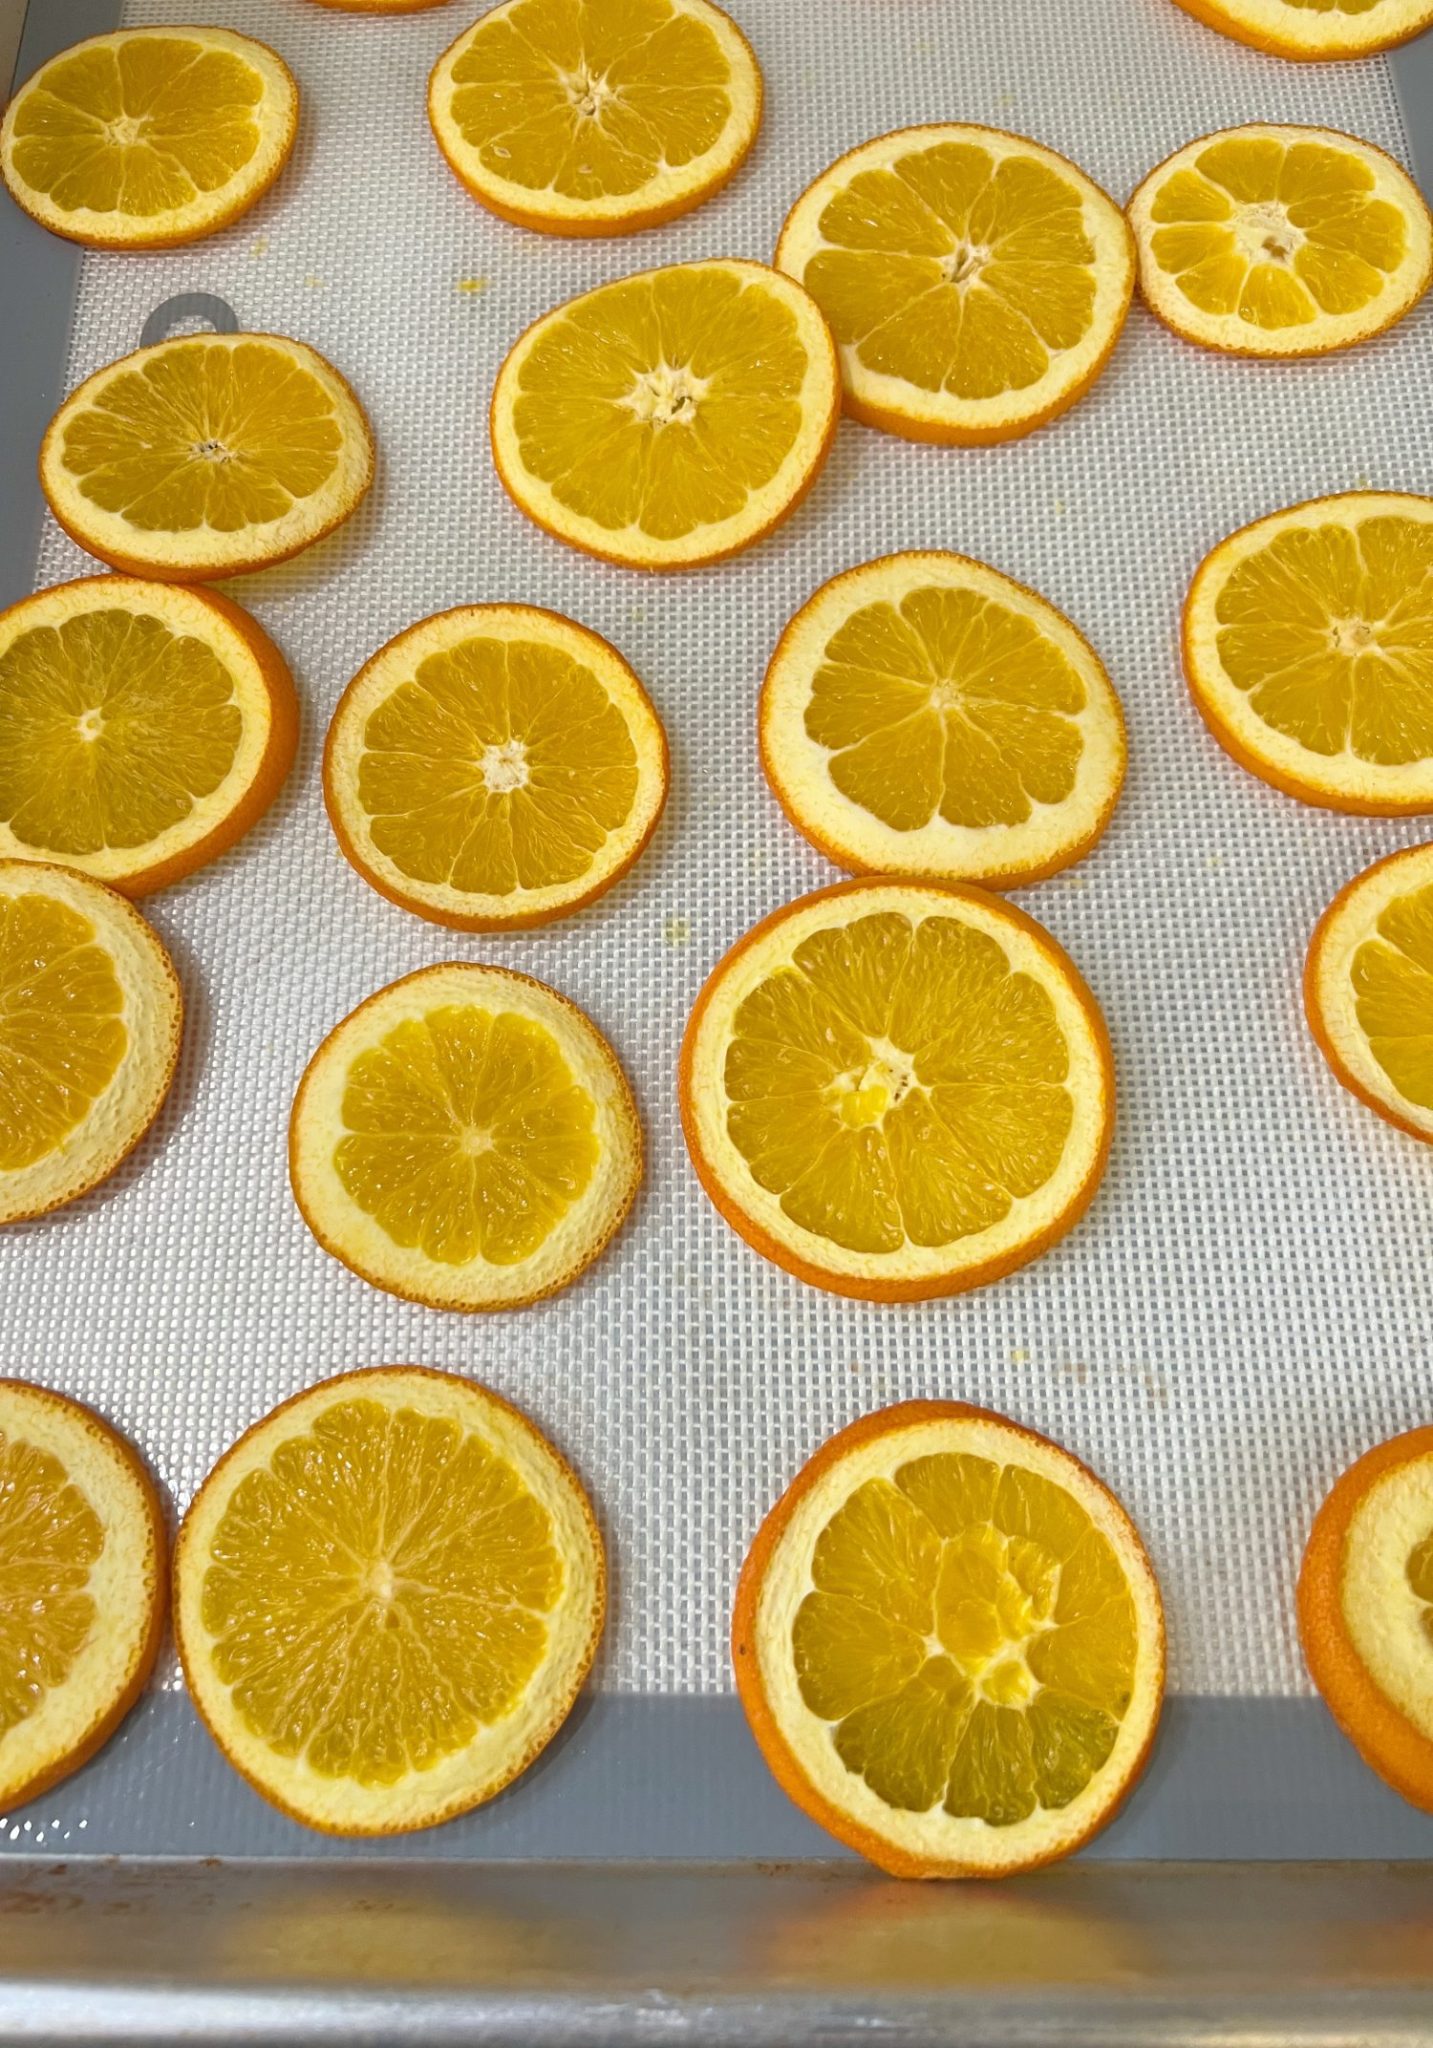
Laying Out the Slices:
- Arrange the orange slices in a single layer on the prepared baking sheet, ensuring they don’t overlap.

Drying in the Oven:
- Place the baking sheet in the oven.
- Allow the orange slices to dry for about 3 to 4 hours. Flip the slices every 30 minutes to ensure even drying and to prevent them from sticking to the sheet.
- Keep an eye on them, especially as they get closer to being done, to avoid over-drying or burning. (More about that later!) I set my phone alarm every thirty minutes.
- If you have a convection setting, use it, as it should cut the drying time in half!
Checking for Doneness:
- The orange slices are done when they have lost most of their moisture but retain some flexibility. They should be somewhat translucent and not sticky to the touch.
Cooling and Storing:
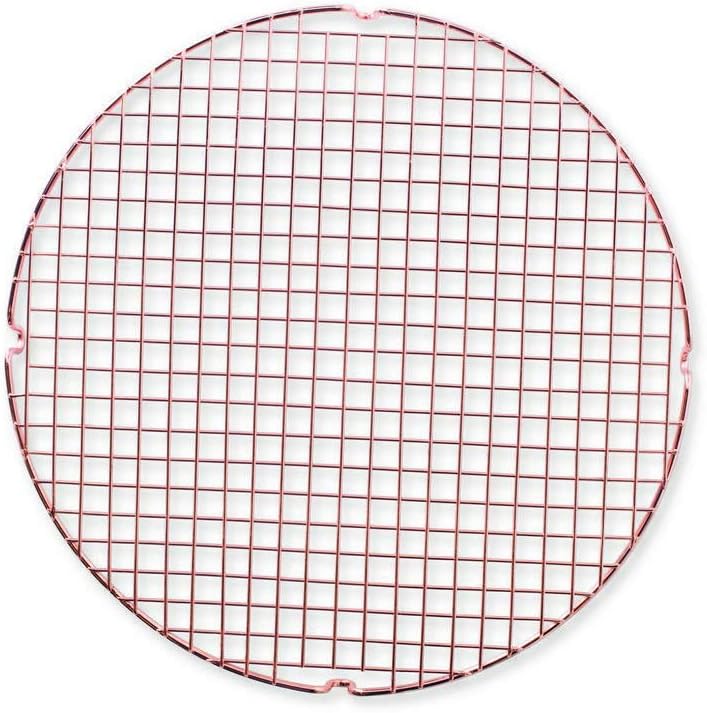
- Once dried to your liking, remove the orange slices from the oven and let them cool on a wire rack.
- Store the dried slices in an airtight container. They can be used for decorations, crafts, or even as garnish in drinks or dishes.
This method is great because it uses an oven’s steady, low heat to dry out the oranges without cooking them. The result is beautifully dried orange slices perfect for a variety of uses!
How to Dry Oranges in the Air Fryer
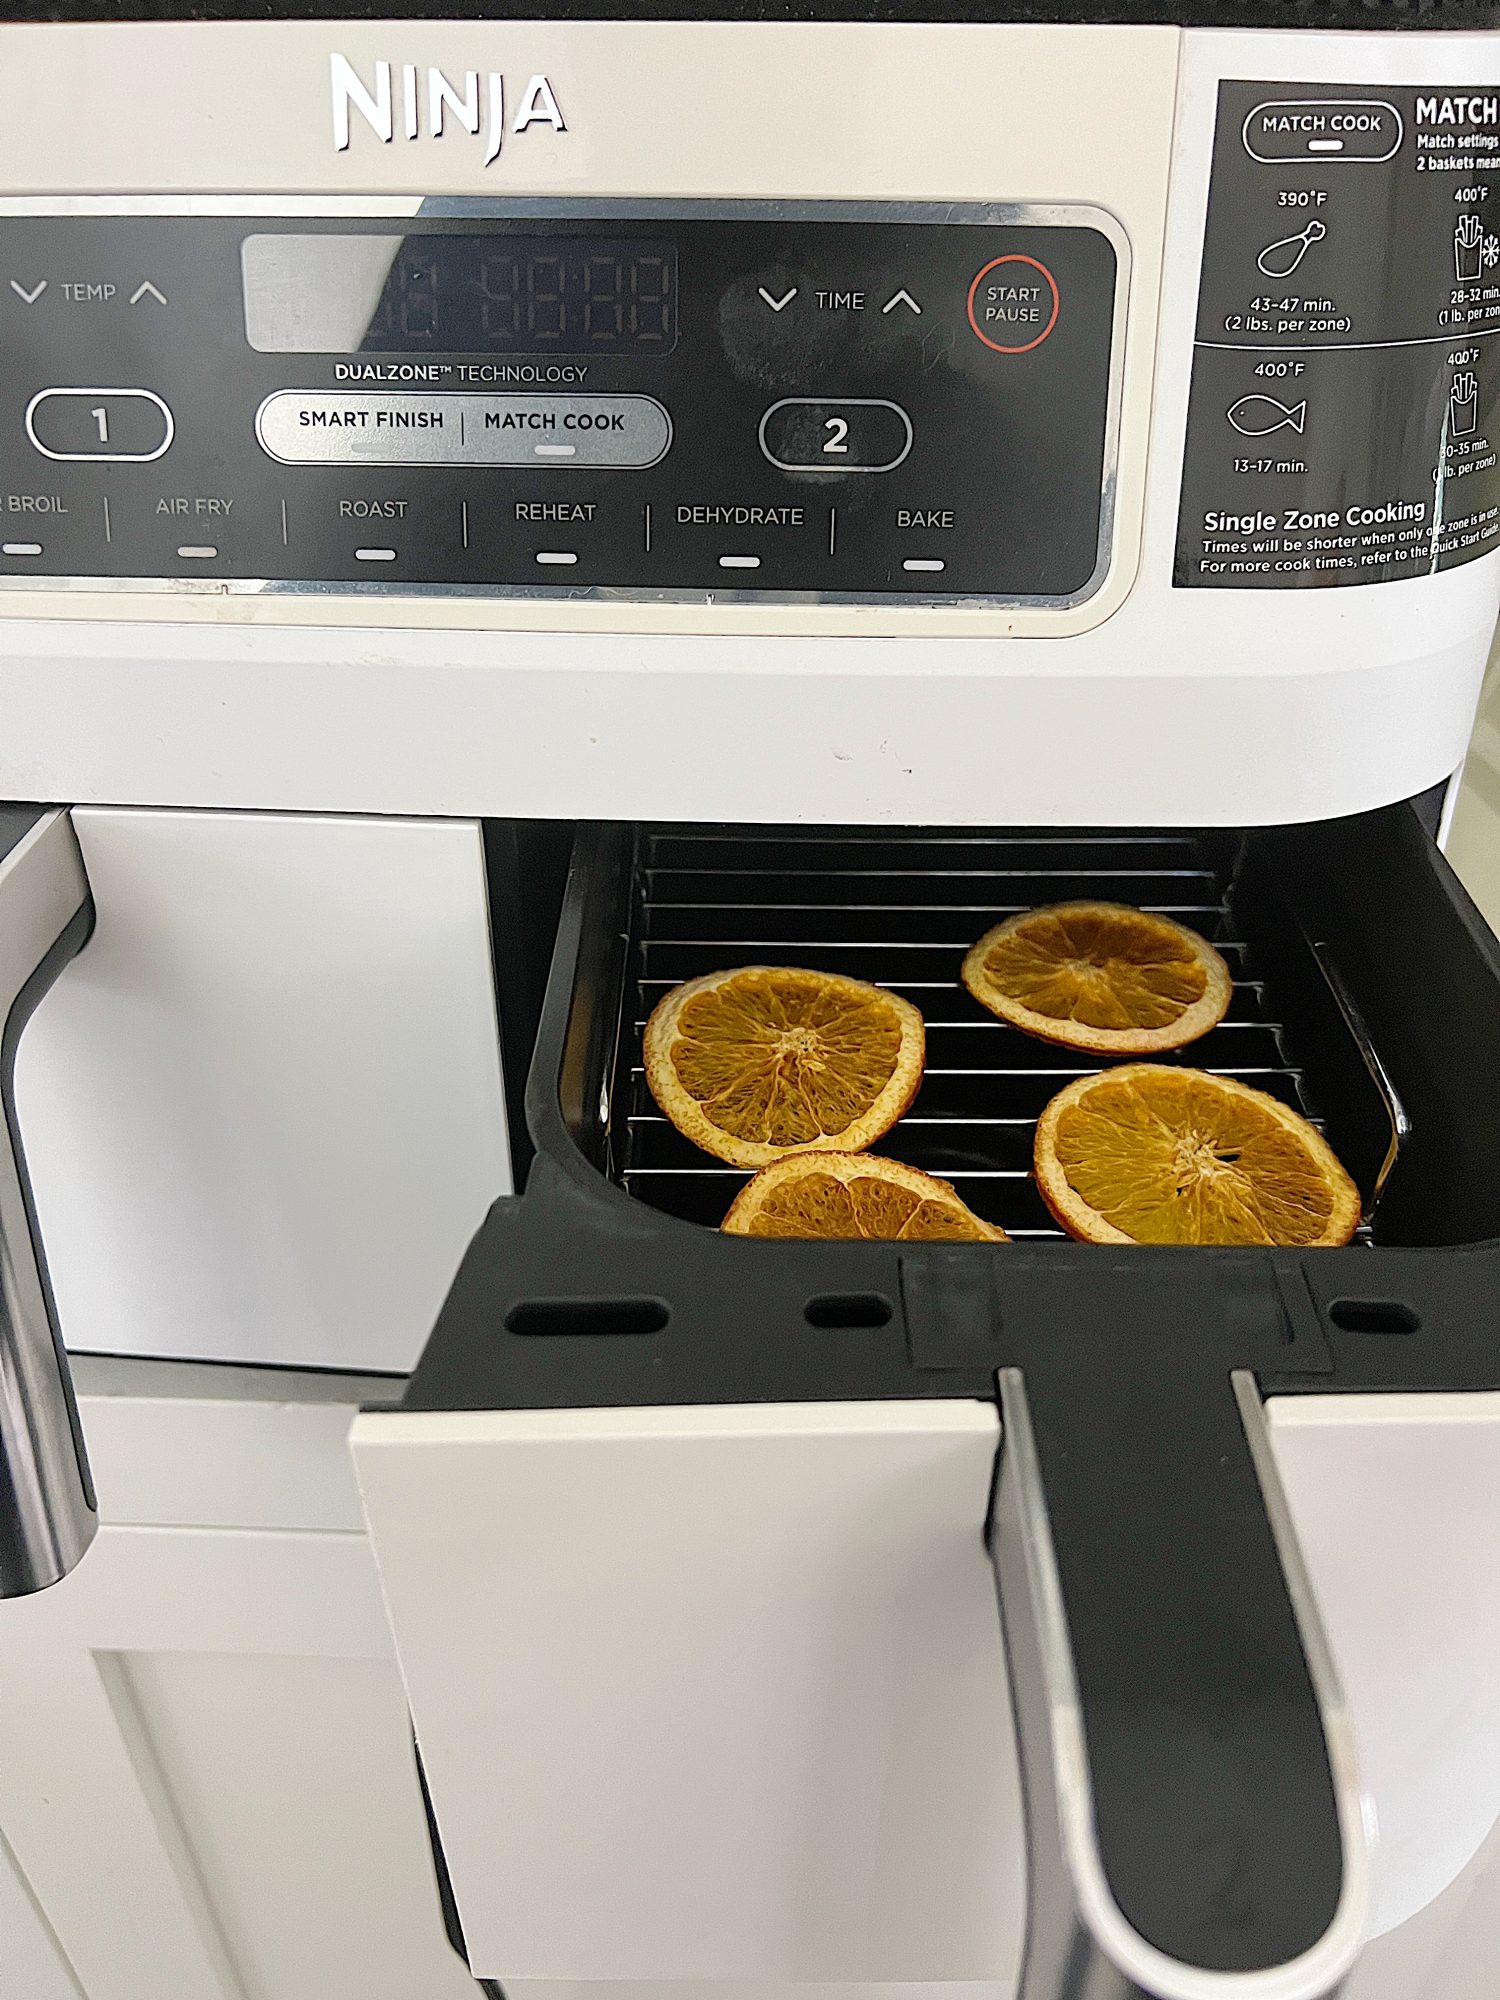
- Slice your oranges thinly, ensuring they are of even thickness.
- Place the slices in a single layer in the air fryer basket. (See the option below to make them in the oven.)
- Set the air fryer to a low setting, ideally around 130°F or the lowest available setting.
- Dry the oranges for approximately 4-6 hours, checking occasionally to ensure they don’t burn. The goal is to completely dehydrate them without cooking them.
- Once dried, allow the orange slices to cool.


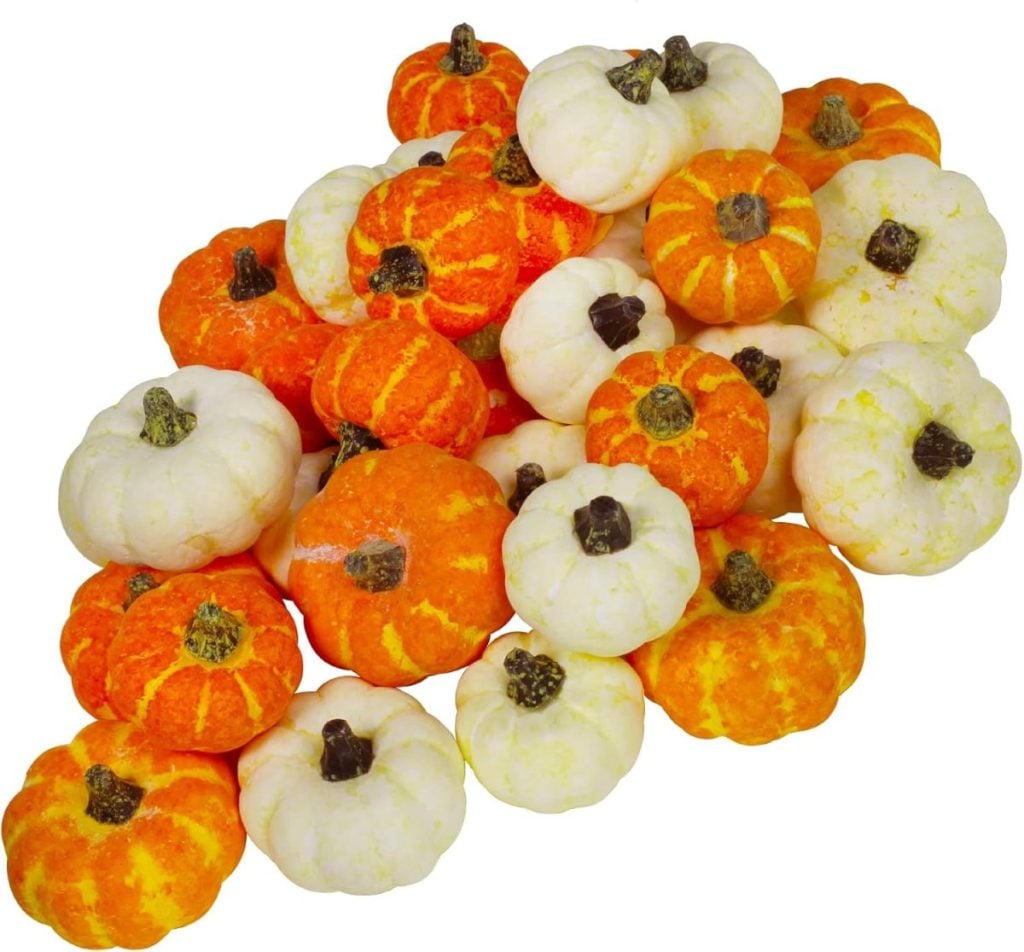
My Big Mishap
Sometimes even dumb mistakes can be a good thing.
My two large pans of orange slices had been in the oven for about four hours and needed only 15 minutes longer to cook. Dave and I were going to a wine tasting that evening, so I ran upstairs, got ready, and rushed out the door so we wouldn’t be late.
About two hours into the dinner, the winemaker commented that the wine had some ORANGE TASTE, and I screeched!
OMG, I had left the oranges in the oven! Even though they were cooking at a very low temperature, they were sure to be overcooked.
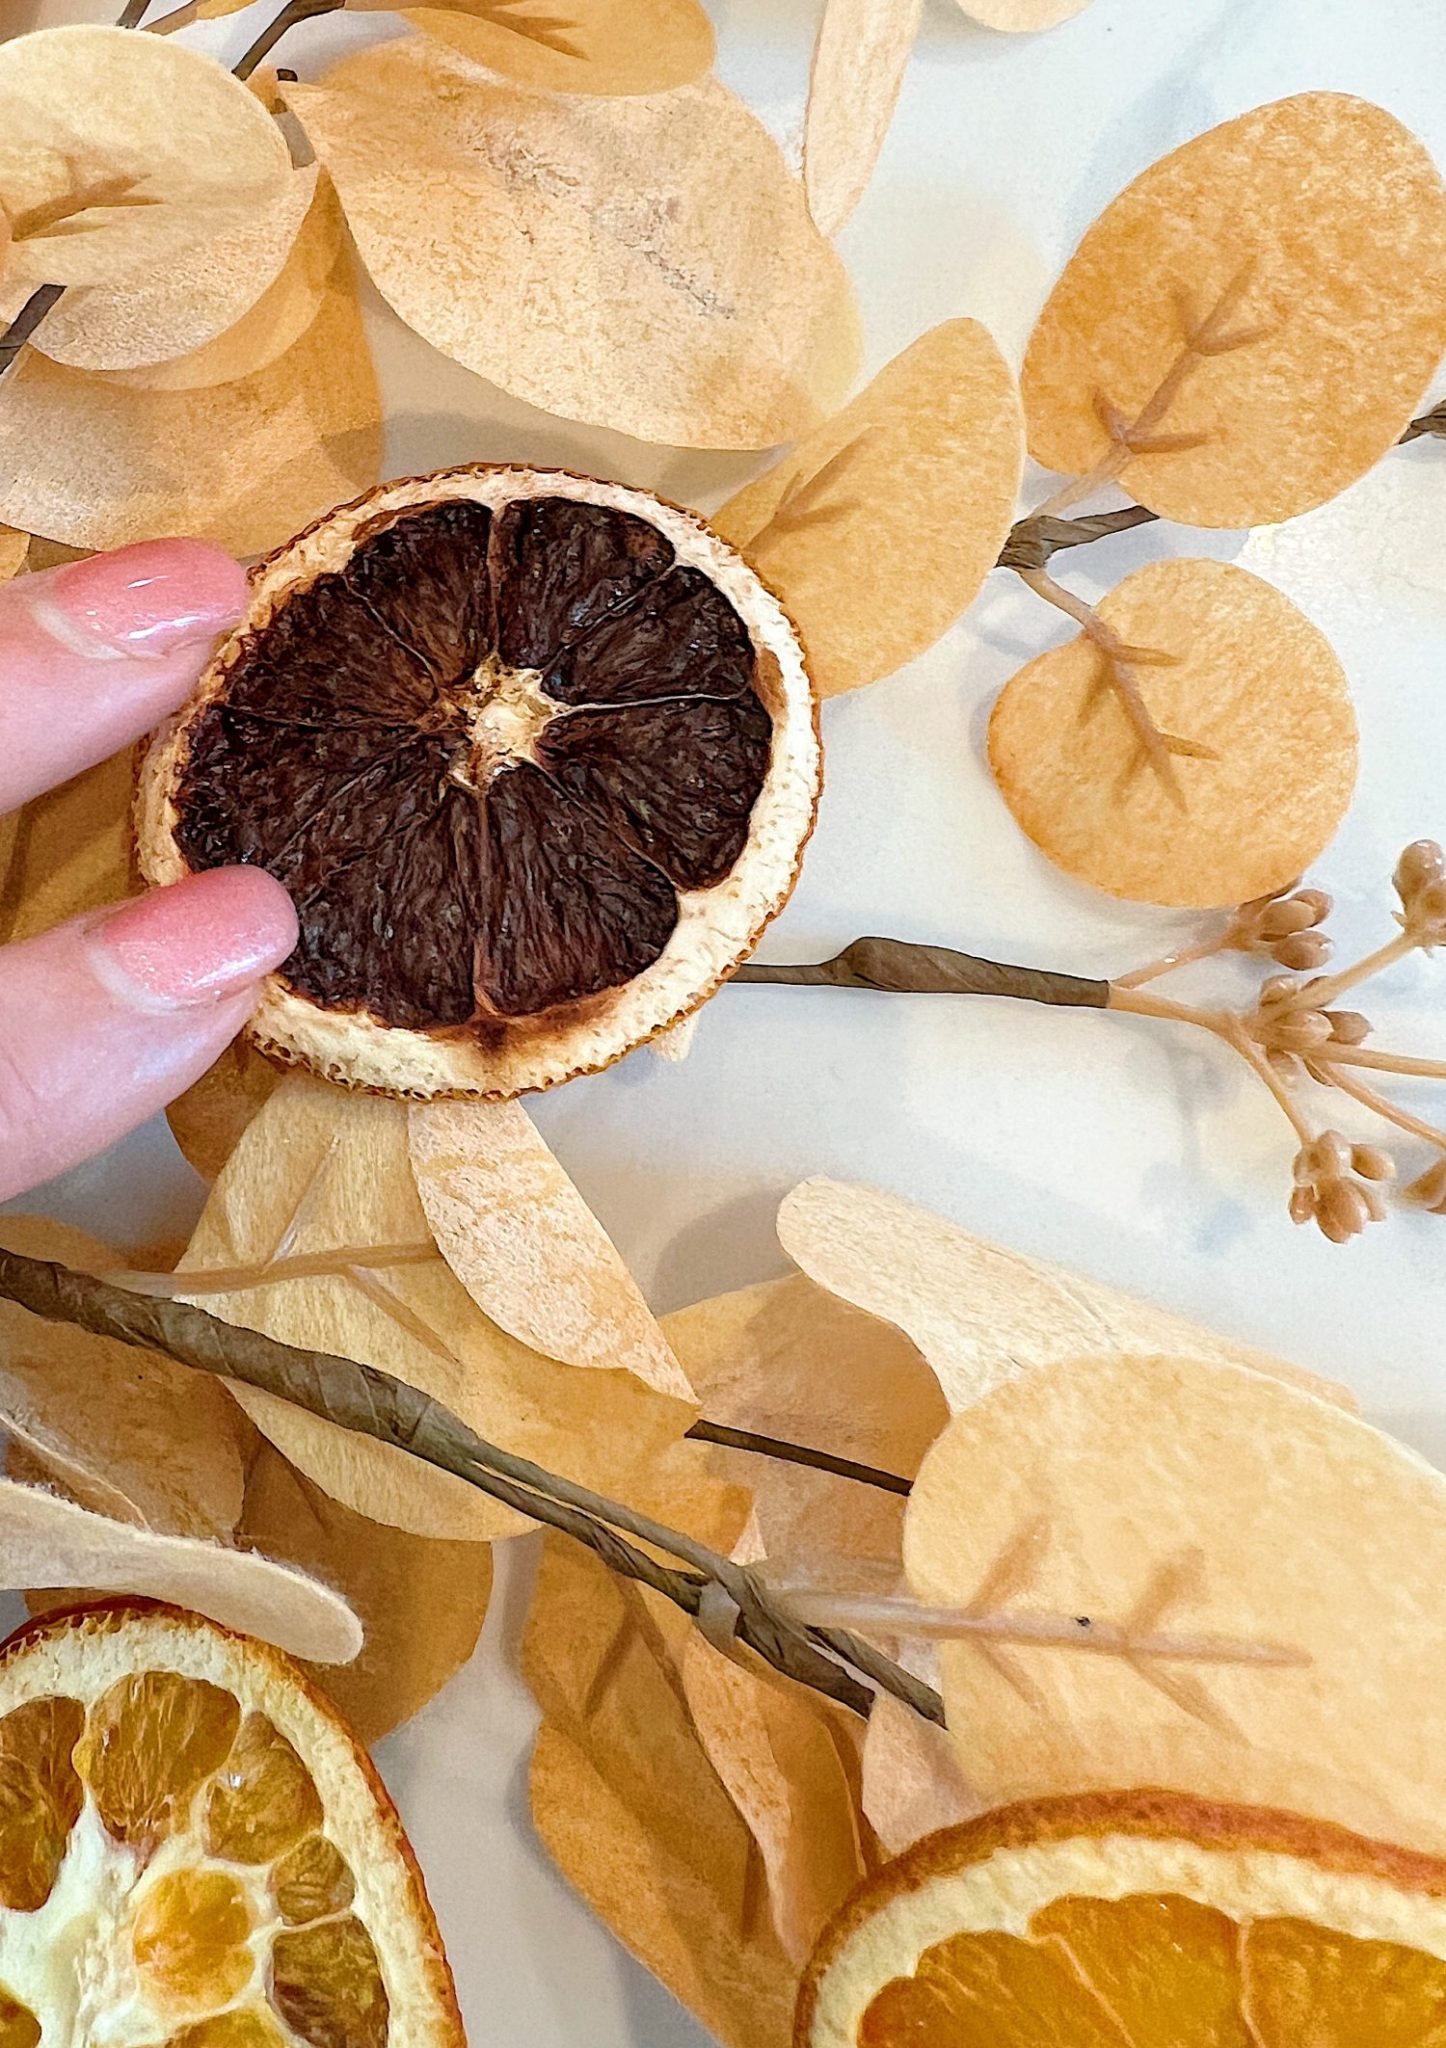
Because when we came home, this is what they looked like.
Can you tell which ones in this photo were the ones I had forgotten?

I got up early the next morning and started making new dried oranges. I decided to try the convection setting on my oven, which was the best because it sped the time by half! It only took two and a half hours to dry perfect orange slices.

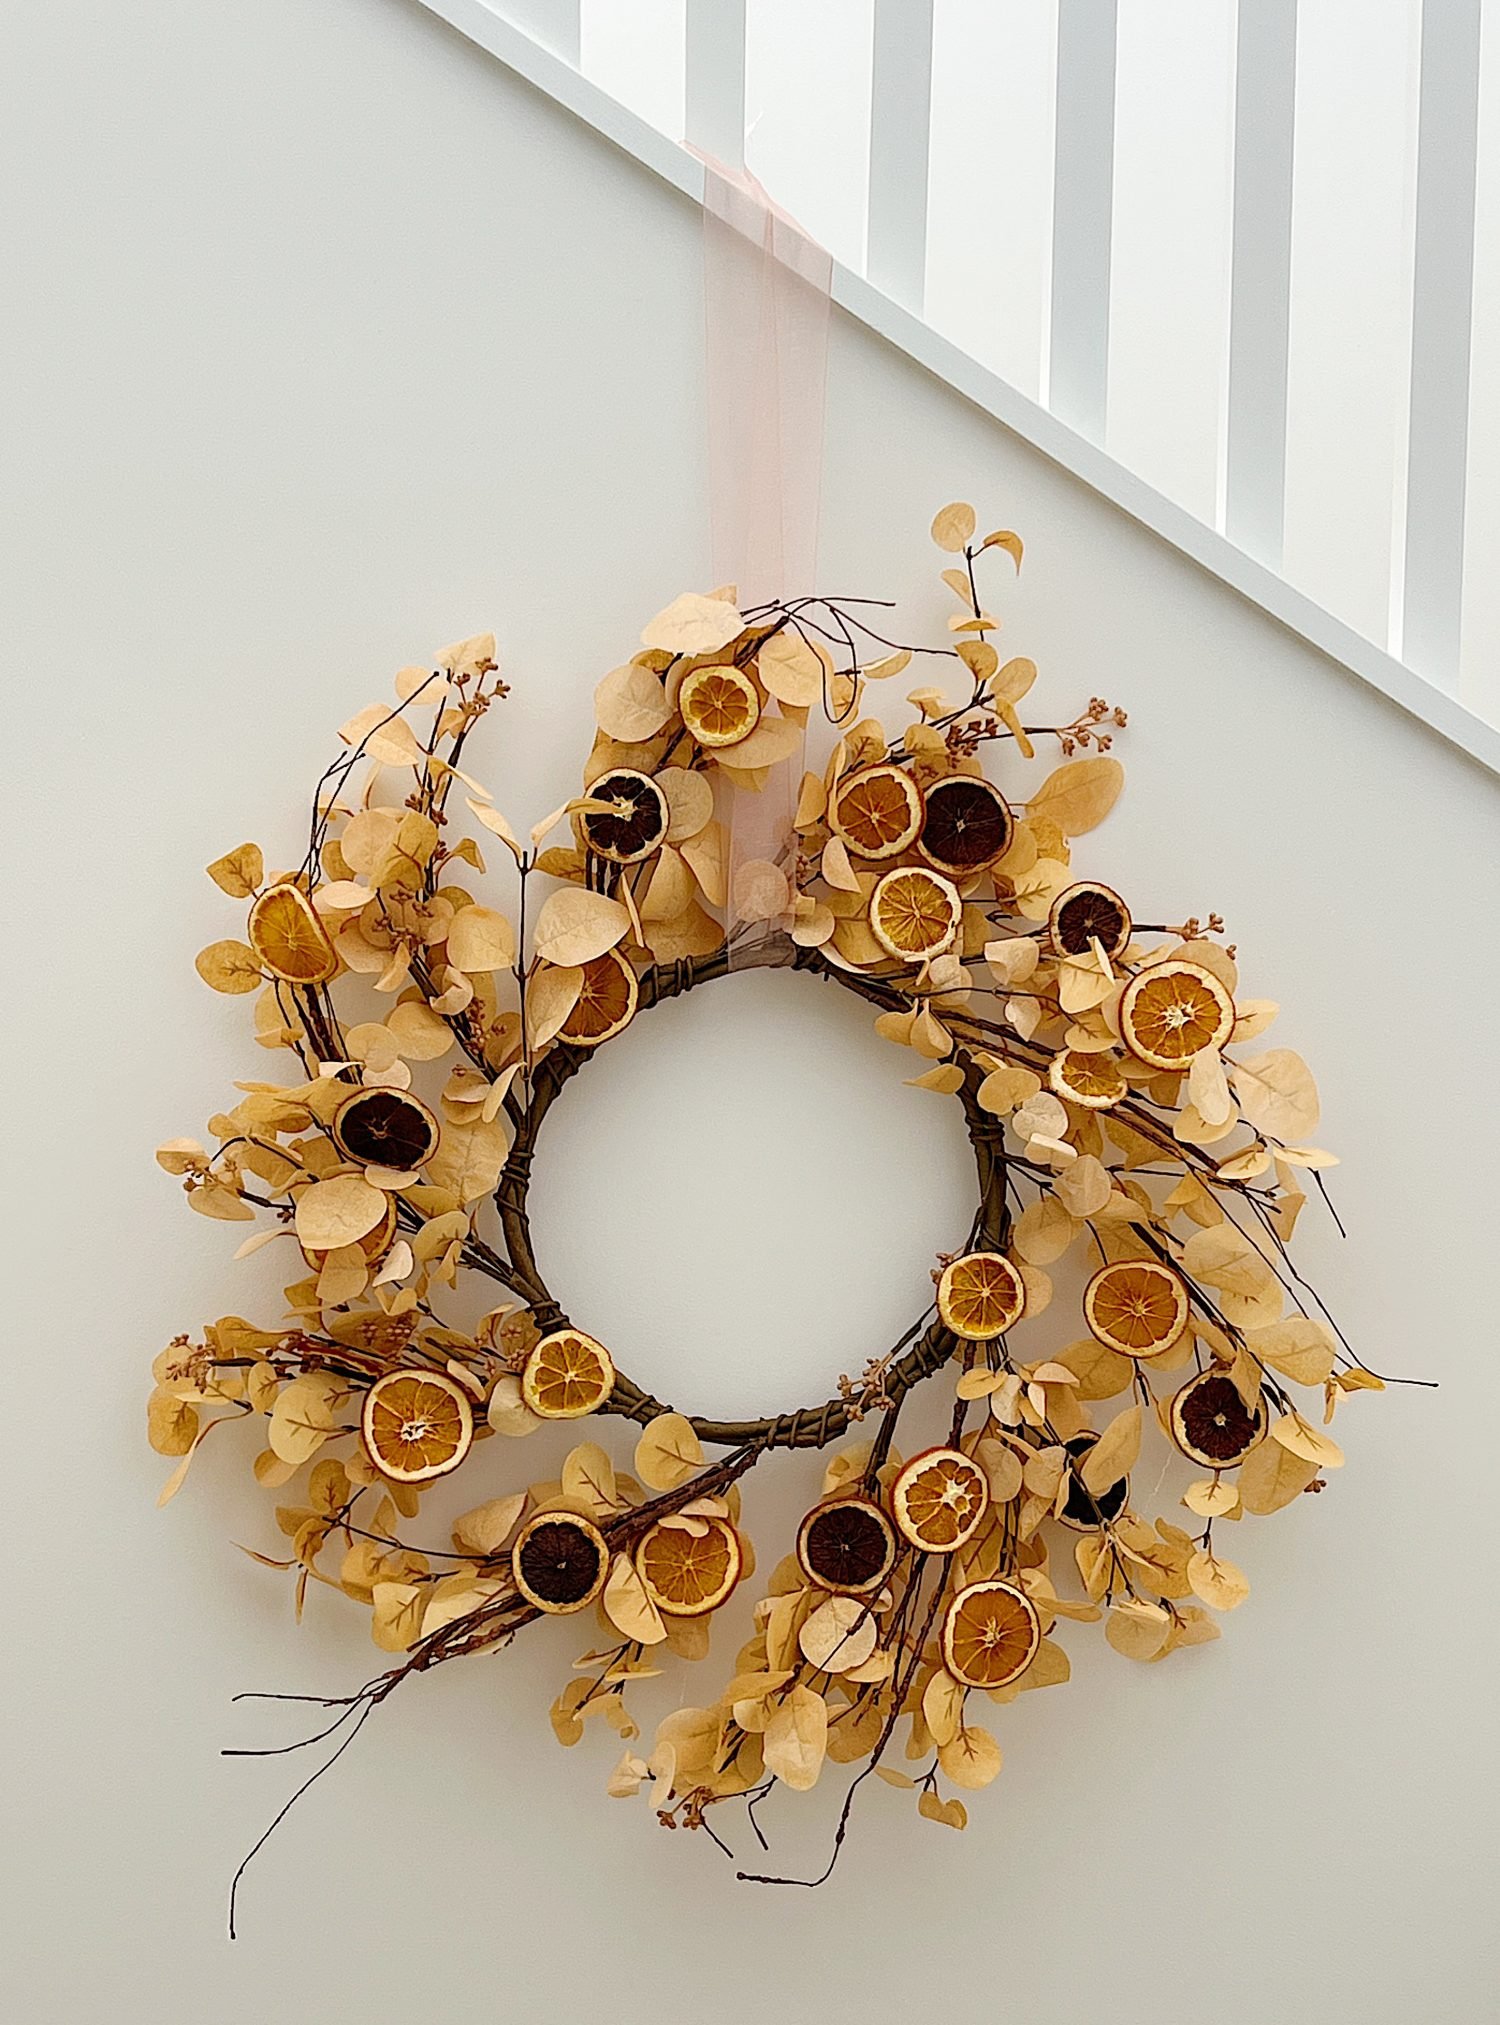
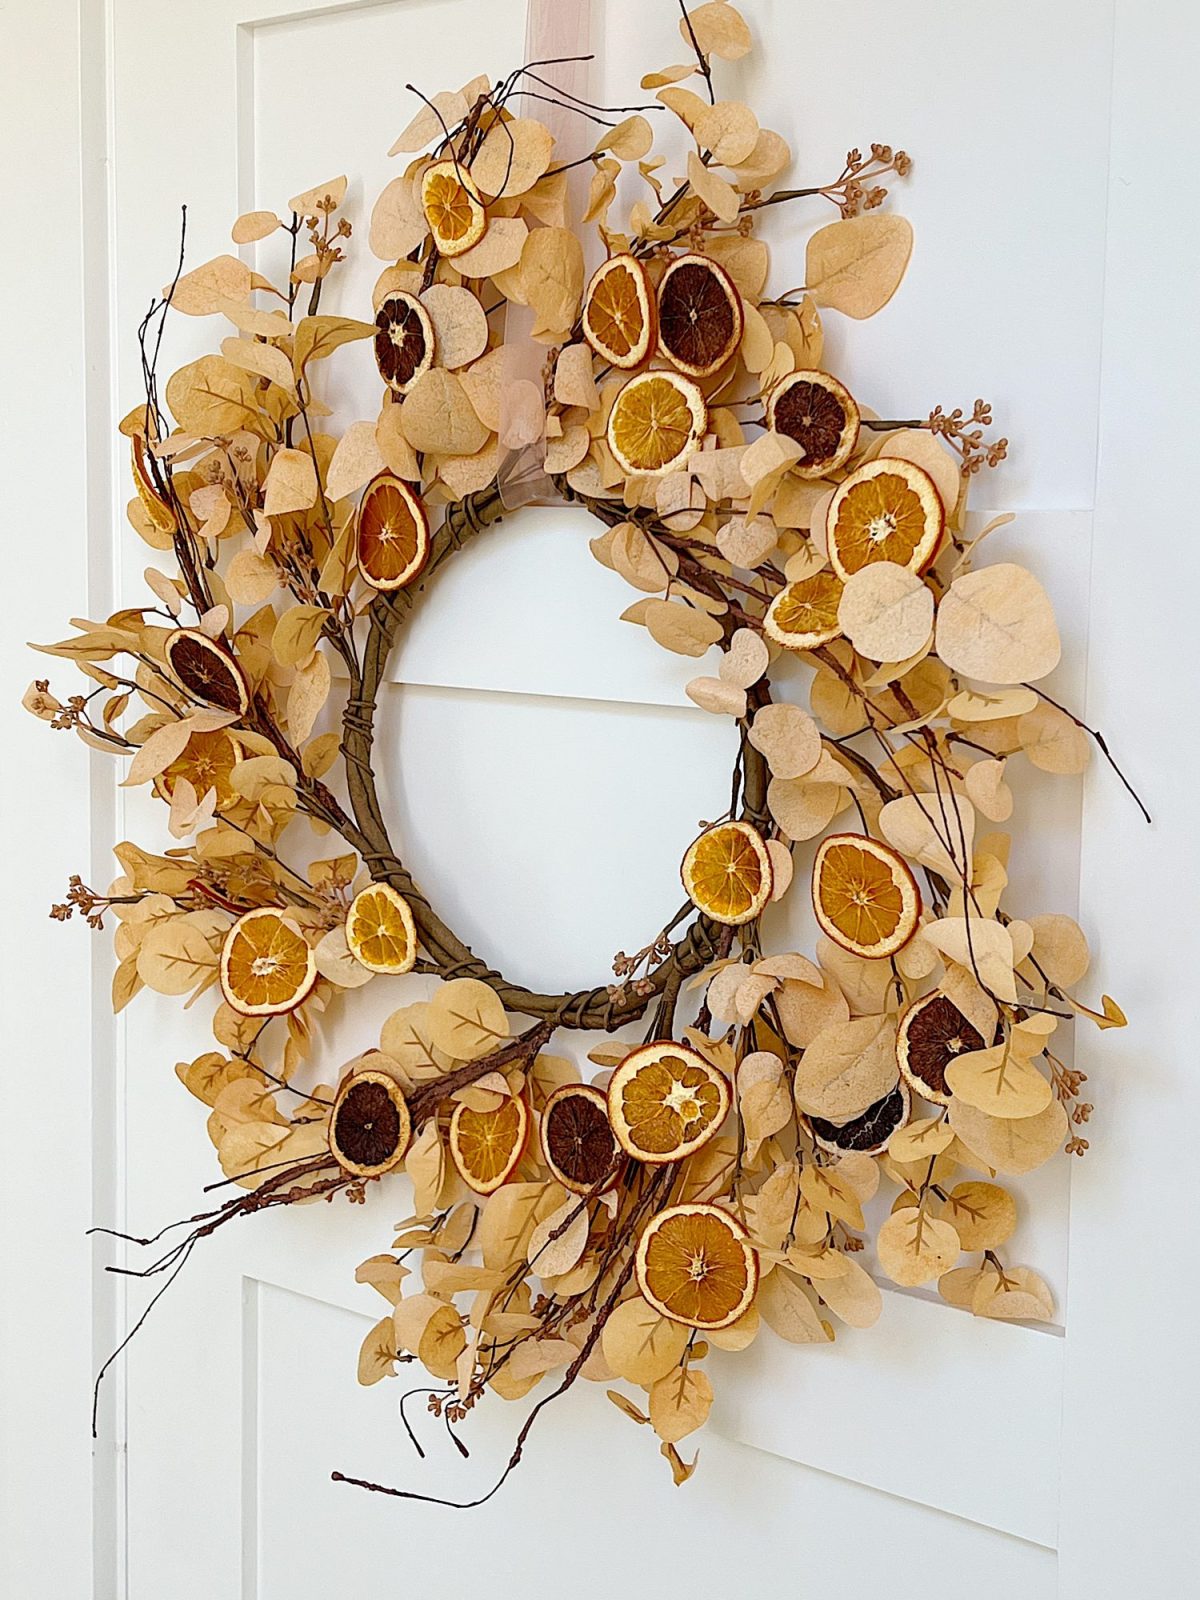
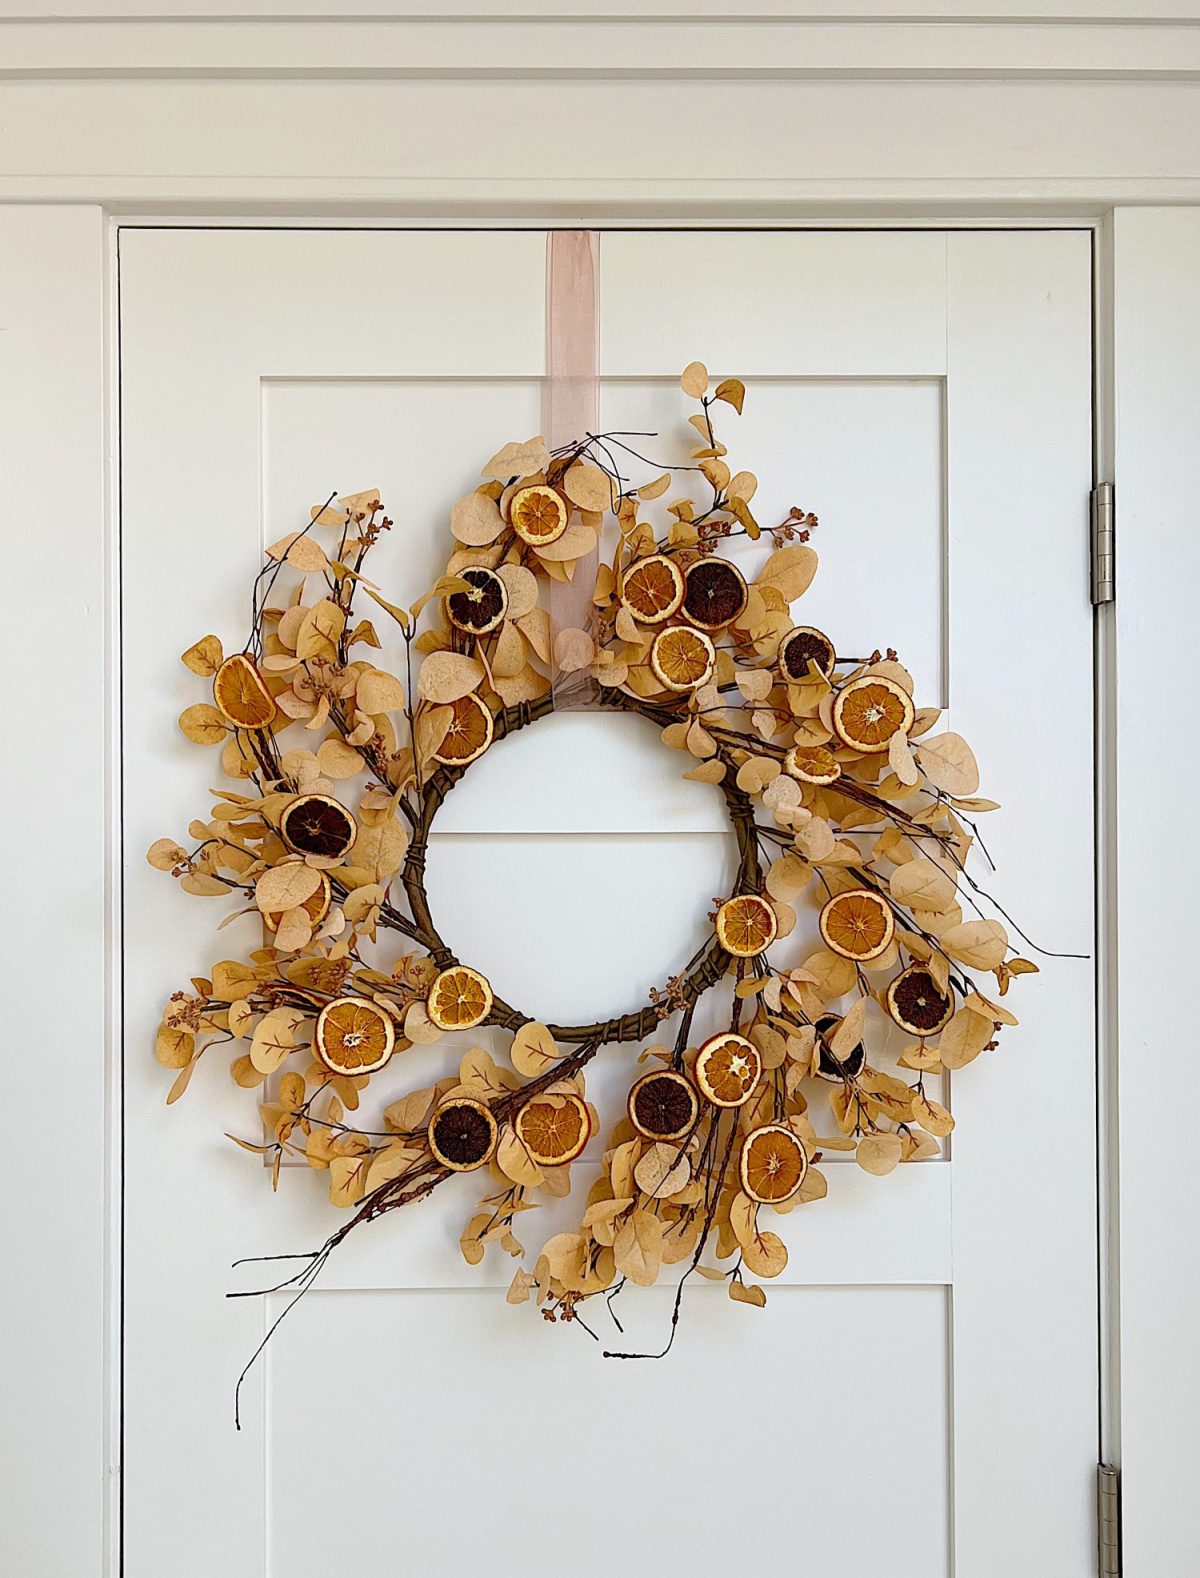
And then a funny thing happened. I liked the over-dried oranges, so I decided to use both on my wreath!
Finishing the Wreath
Positioning Your Oranges
- Before attaching, lay out your orange slices on the wreath to decide on positioning. This will give you a visual idea and allow you to make adjustments as necessary.
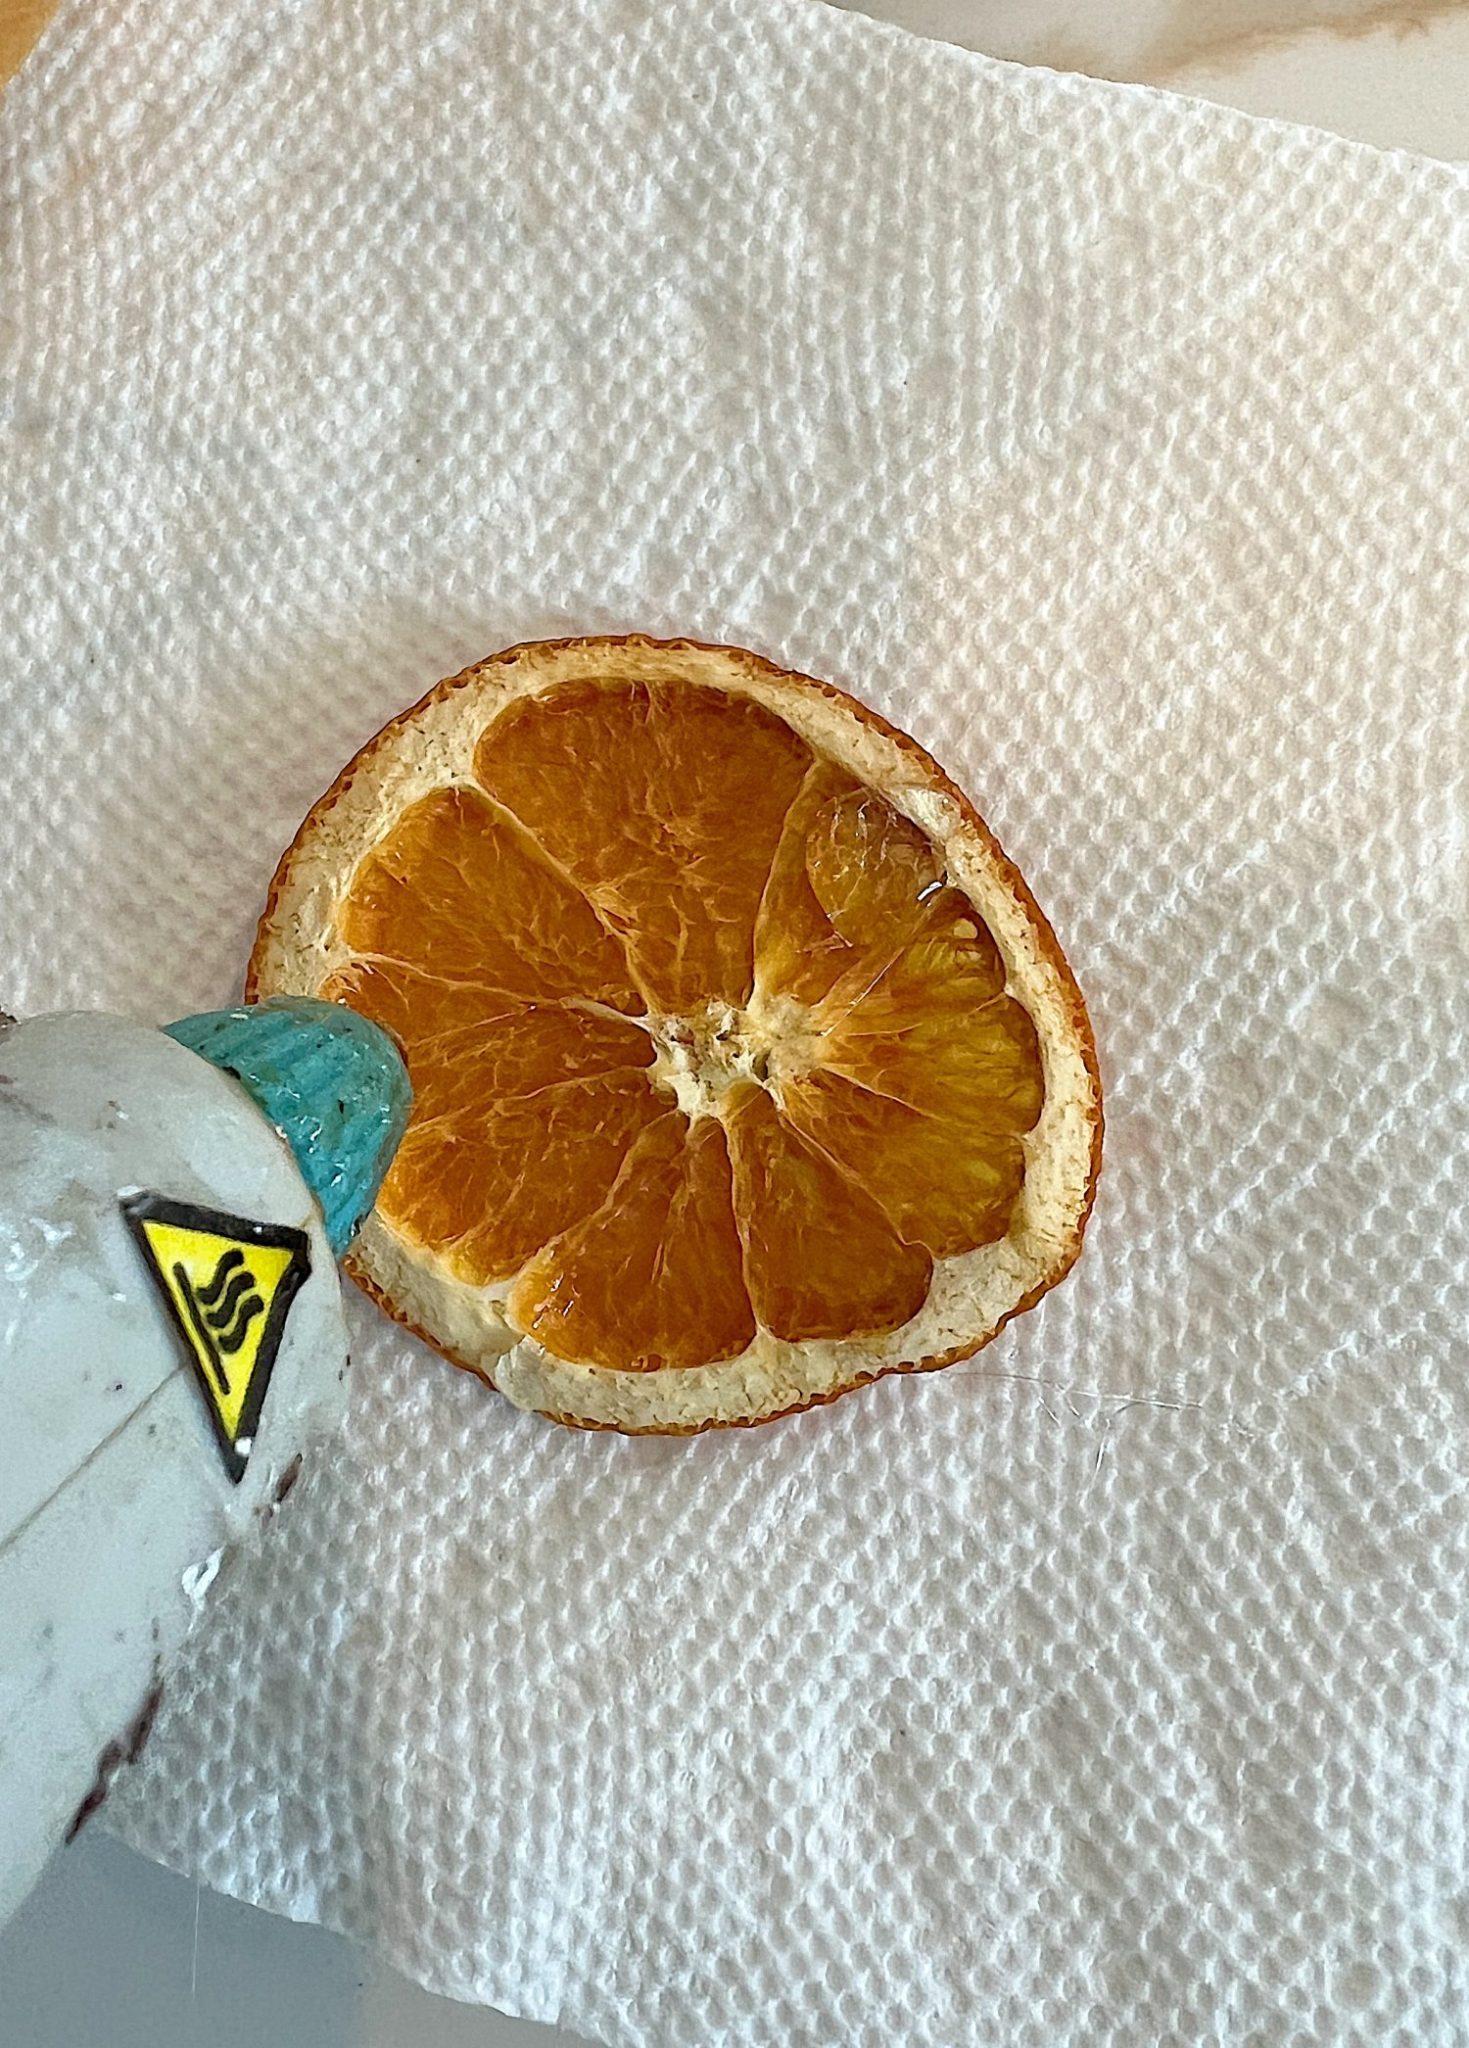
- Once you are satisfied with the positioning, use a hot glue gun to secure the dried orange slices to the wreath.
Adding Greenery or Ornaments
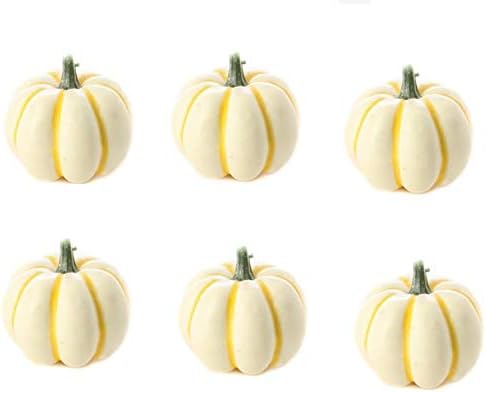
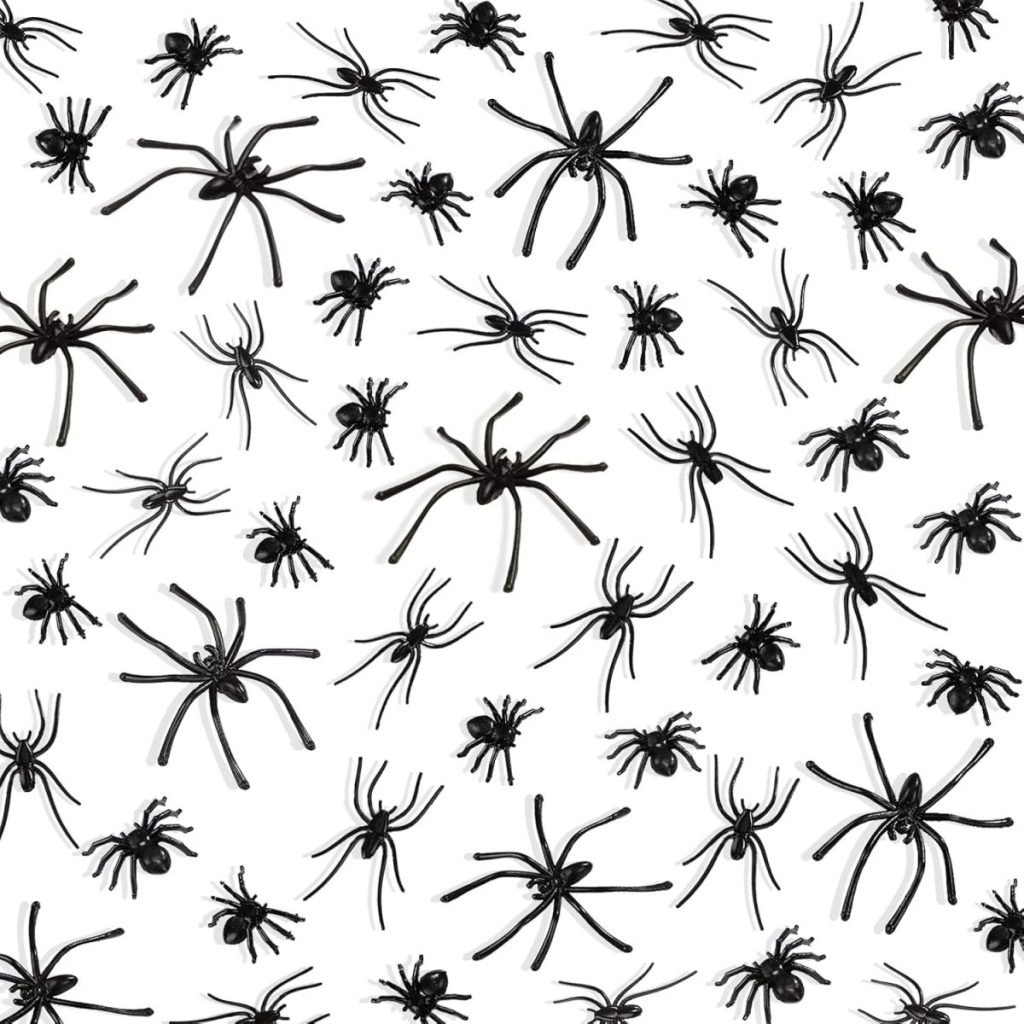
- You can intersperse additional greenery or Halloween ornaments among the orange slices if you want. This could include small faux spiders, miniature pumpkins, or even sprigs of purple or black flowers for added drama.
- Secure each item with a hot gun or wire, tightly fastened.

Hang and Admire Your New Halloween Wreath
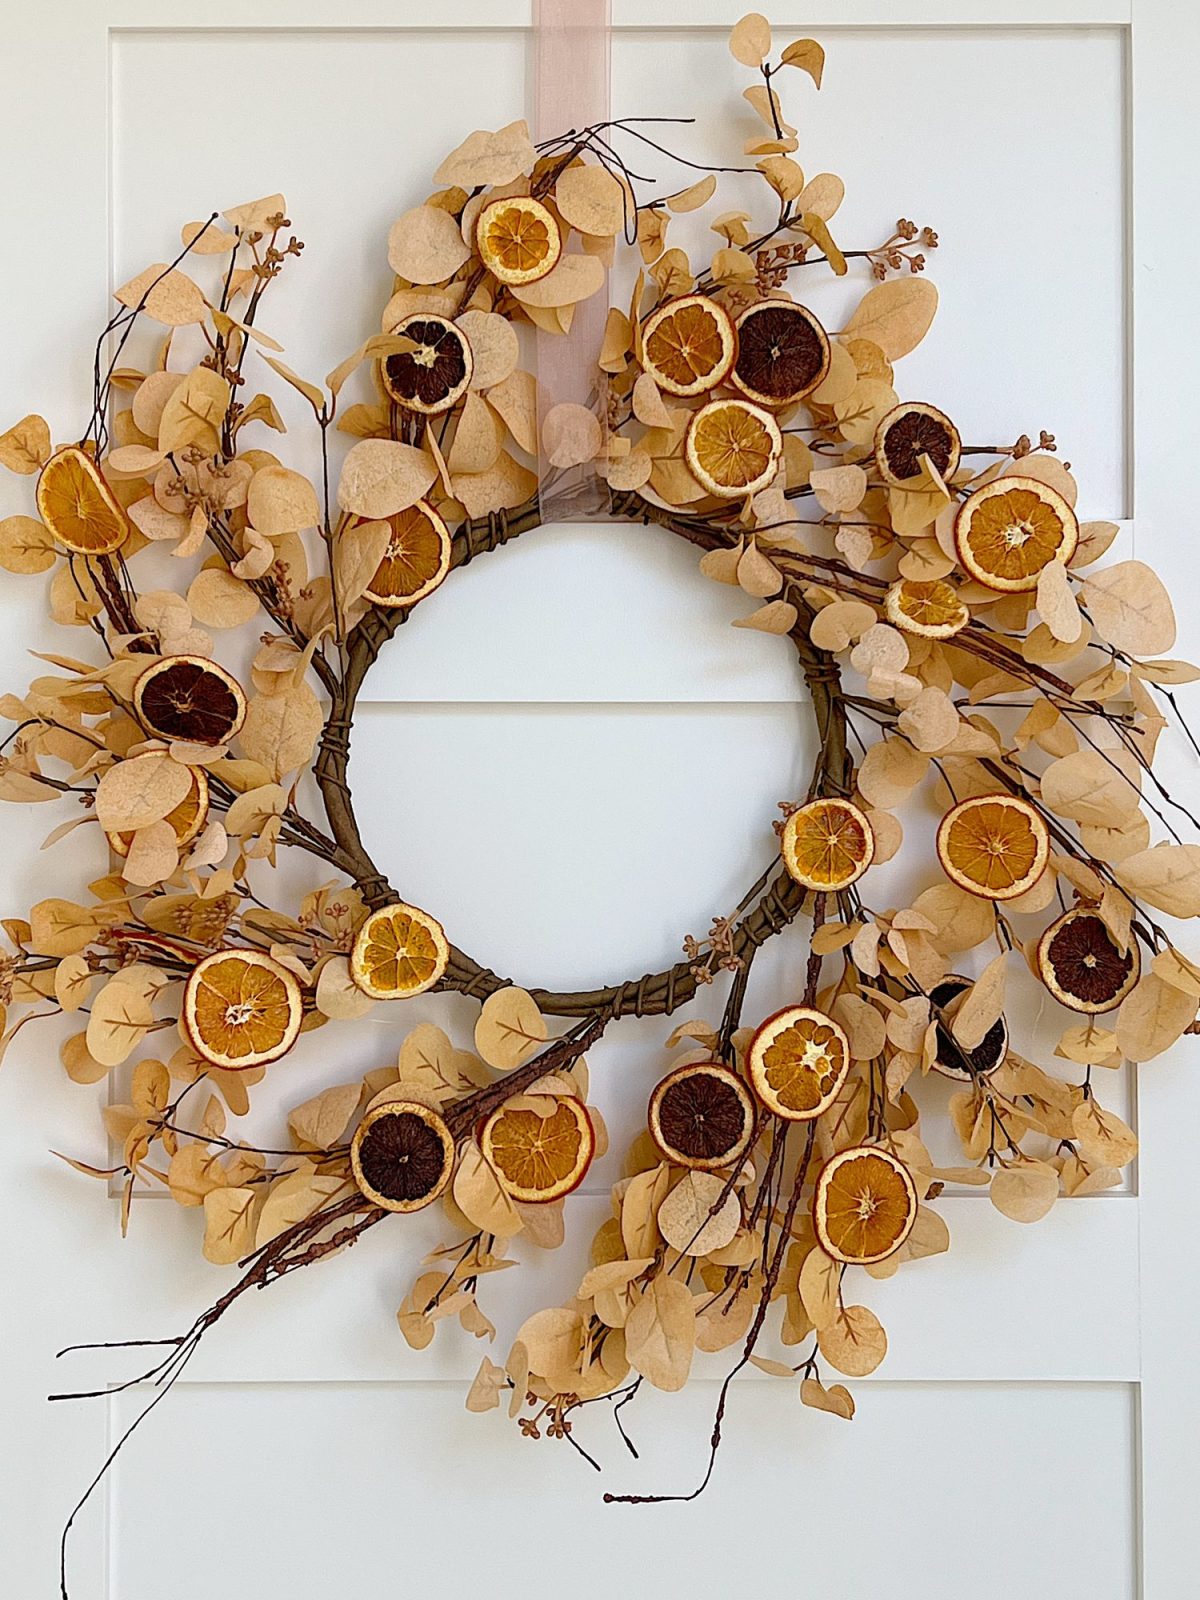
Once satisfied with your Halloween wreath, find the perfect spot on any door or spot in your home and hang it up. Step back and admire your handiwork!
Halloween Wreath Ideas
Here are some wonderful DIY Halloween wreath ideas from some of my favorite bloggers!
BLOGGER’S BEST HALLOWEEN WREATH IDEAS
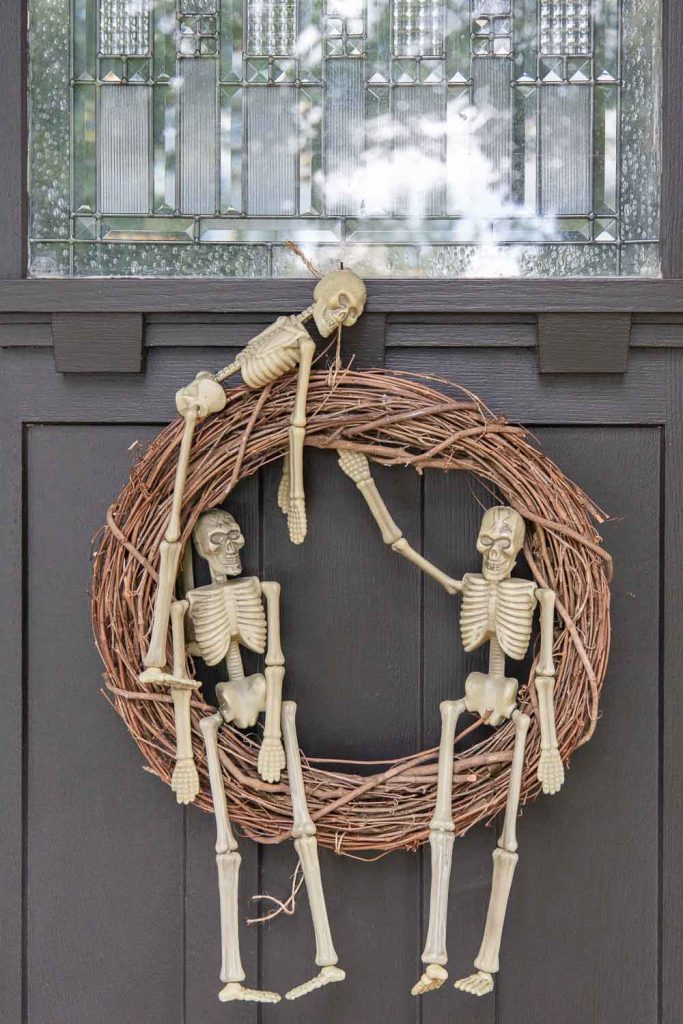
DIY Dollar Store Skeleton Wreath | Twelve on Main
How to make a Halloween wreath using dollar store skeletons! This is a quick and easy DIY wreath that anyone can make!
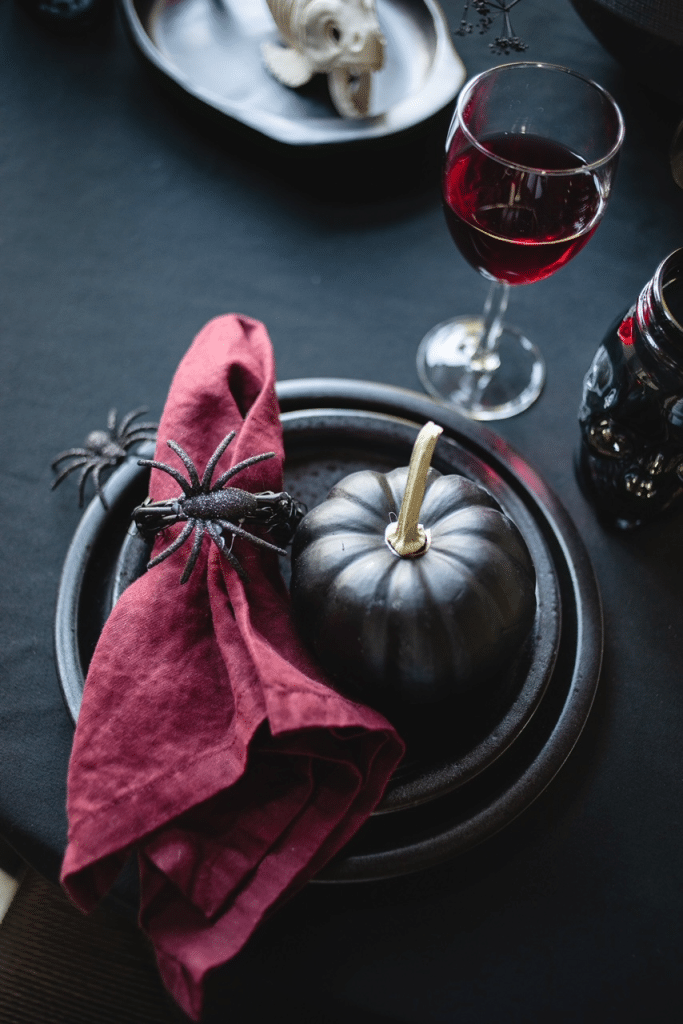
DIY Grapevine Wreath Napkin Holders for Halloween | My Sweet Savannah
Let’s make these itty bitty wreath napkin holders. You only need 4 inexpensive items to create these for your Halloween table!
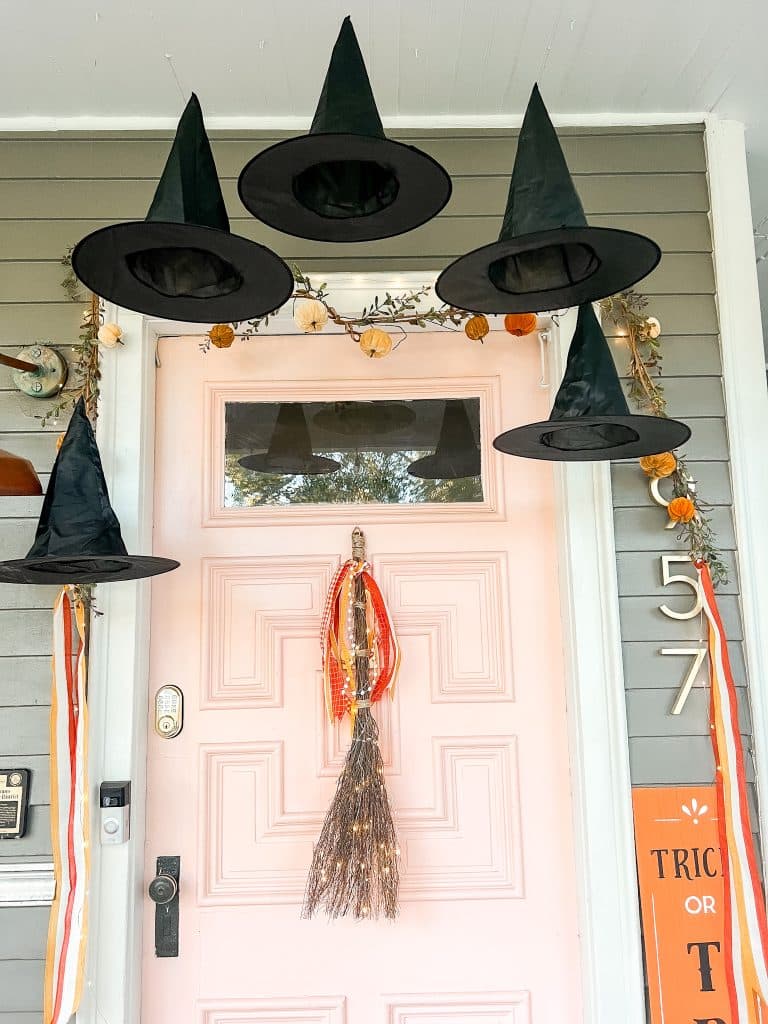
Halloween Witches Broom Wreath | Tater Tots and Jello
This Halloween, cast a welcoming spell on visitors by creating a delightful witch porch. A glowing witches broom is a whimsical wreath alternative. Battery-operated shimmering lights will light the way for guests. This is a hack on the Pottery Barn version for a fraction of the price!
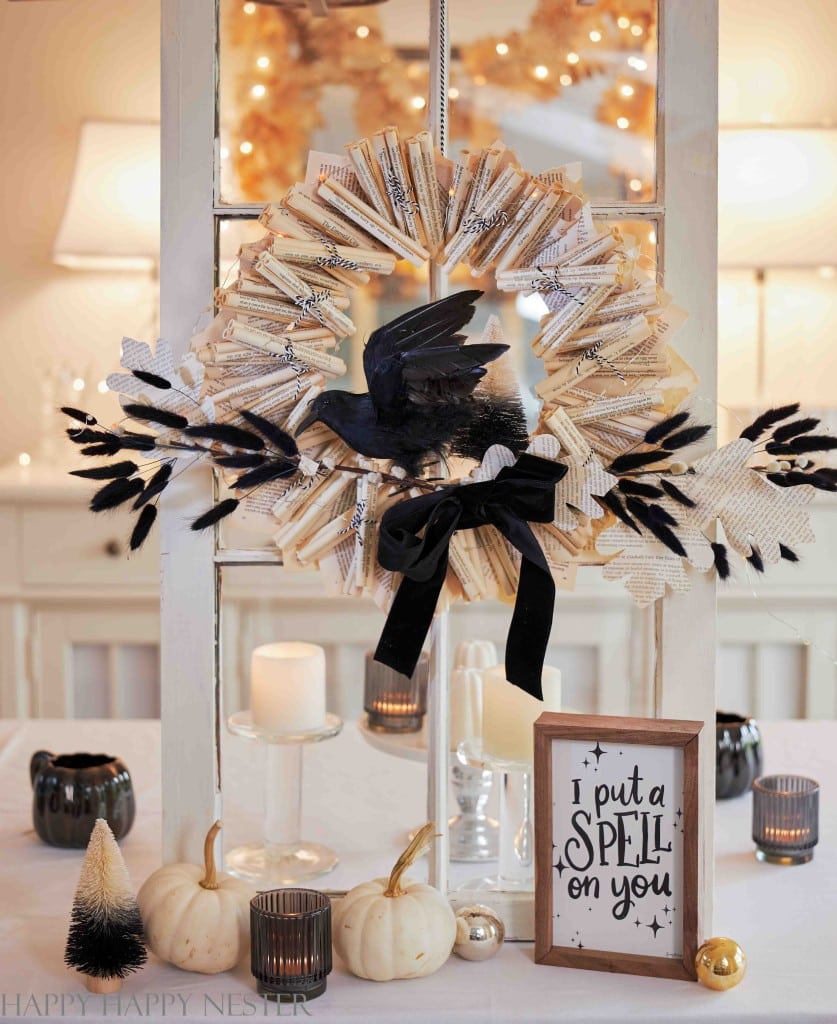
Book Wreath DIY | Happy Happy Nester
This Book Wreath is all decked out with a raven and lots of rolled-up pages. It’s definitely a unique wreath. And this budget-friendly paper wreath only requires a few supplies but a little time commitment to roll the book pages.
Halloween is the perfect time to let your creativity shine. By taking a basic eucalyptus wreath and giving it a festive twist with dried oranges (and additional ornaments if desired), you’ve crafted a unique piece that will undoubtedly capture the admiration of every trick-or-treater and guest.
Happy crafting!
On this blog, I may sometimes use affiliate links, which means a small commission is earned if you purchase via the link. The price will be the same whether you use the affiliate link or go directly to the vendor’s website using a non-affiliate link.


If you enjoy my blog, you can sign up to receive my updates here.
.


Prime Big Day Early Deals
The Prime Big Deal Days start October 7th, and the Early Deals are already LIVE!
Click here to see the PRIME EARLY DEALS.


My Favorite Spooky Porch Decor

Watch My Amazon Live

Click here to watch any of my Amazon Live shows. All shows are recorded.
I want to share this show with you, titled Get Your Kitchen Ready with Fall Deals.

You can pin the images below to your boards on Pinterest (just click the Pin button in the top left corner) or follow me on Pinterest!


For more real-time updates, follow me on Instagram @My100YearOldHome


Love the wreath! Its a very neutral way to do both Halloween and fall. Happy mistake with the overdone ones as I really like the two tones. Wonder if you would get something similar with using blood oranges? Happy Fall Leslie and hope you had a great time in San Diego.
Thanks so much! I really like it too. Absolutely! That could be a very fun color 🧡
OBSESSED with this wreath!!!! Making one, pinned!
Oh yay! Let me know how it goes for you Melaine ☺️❤️
I love the wreath and I was drawn to it because of the mix of the “burnt” orange color and the traditional orange color.