Photography Tips to Photograph Your Home
As much as I love the photos I take of my home, they are all taken with my iphone. My goal this year is to learn how to use my digital camera. Thanks to some friends of mine, today I am going to share photography tips to photograph your home.
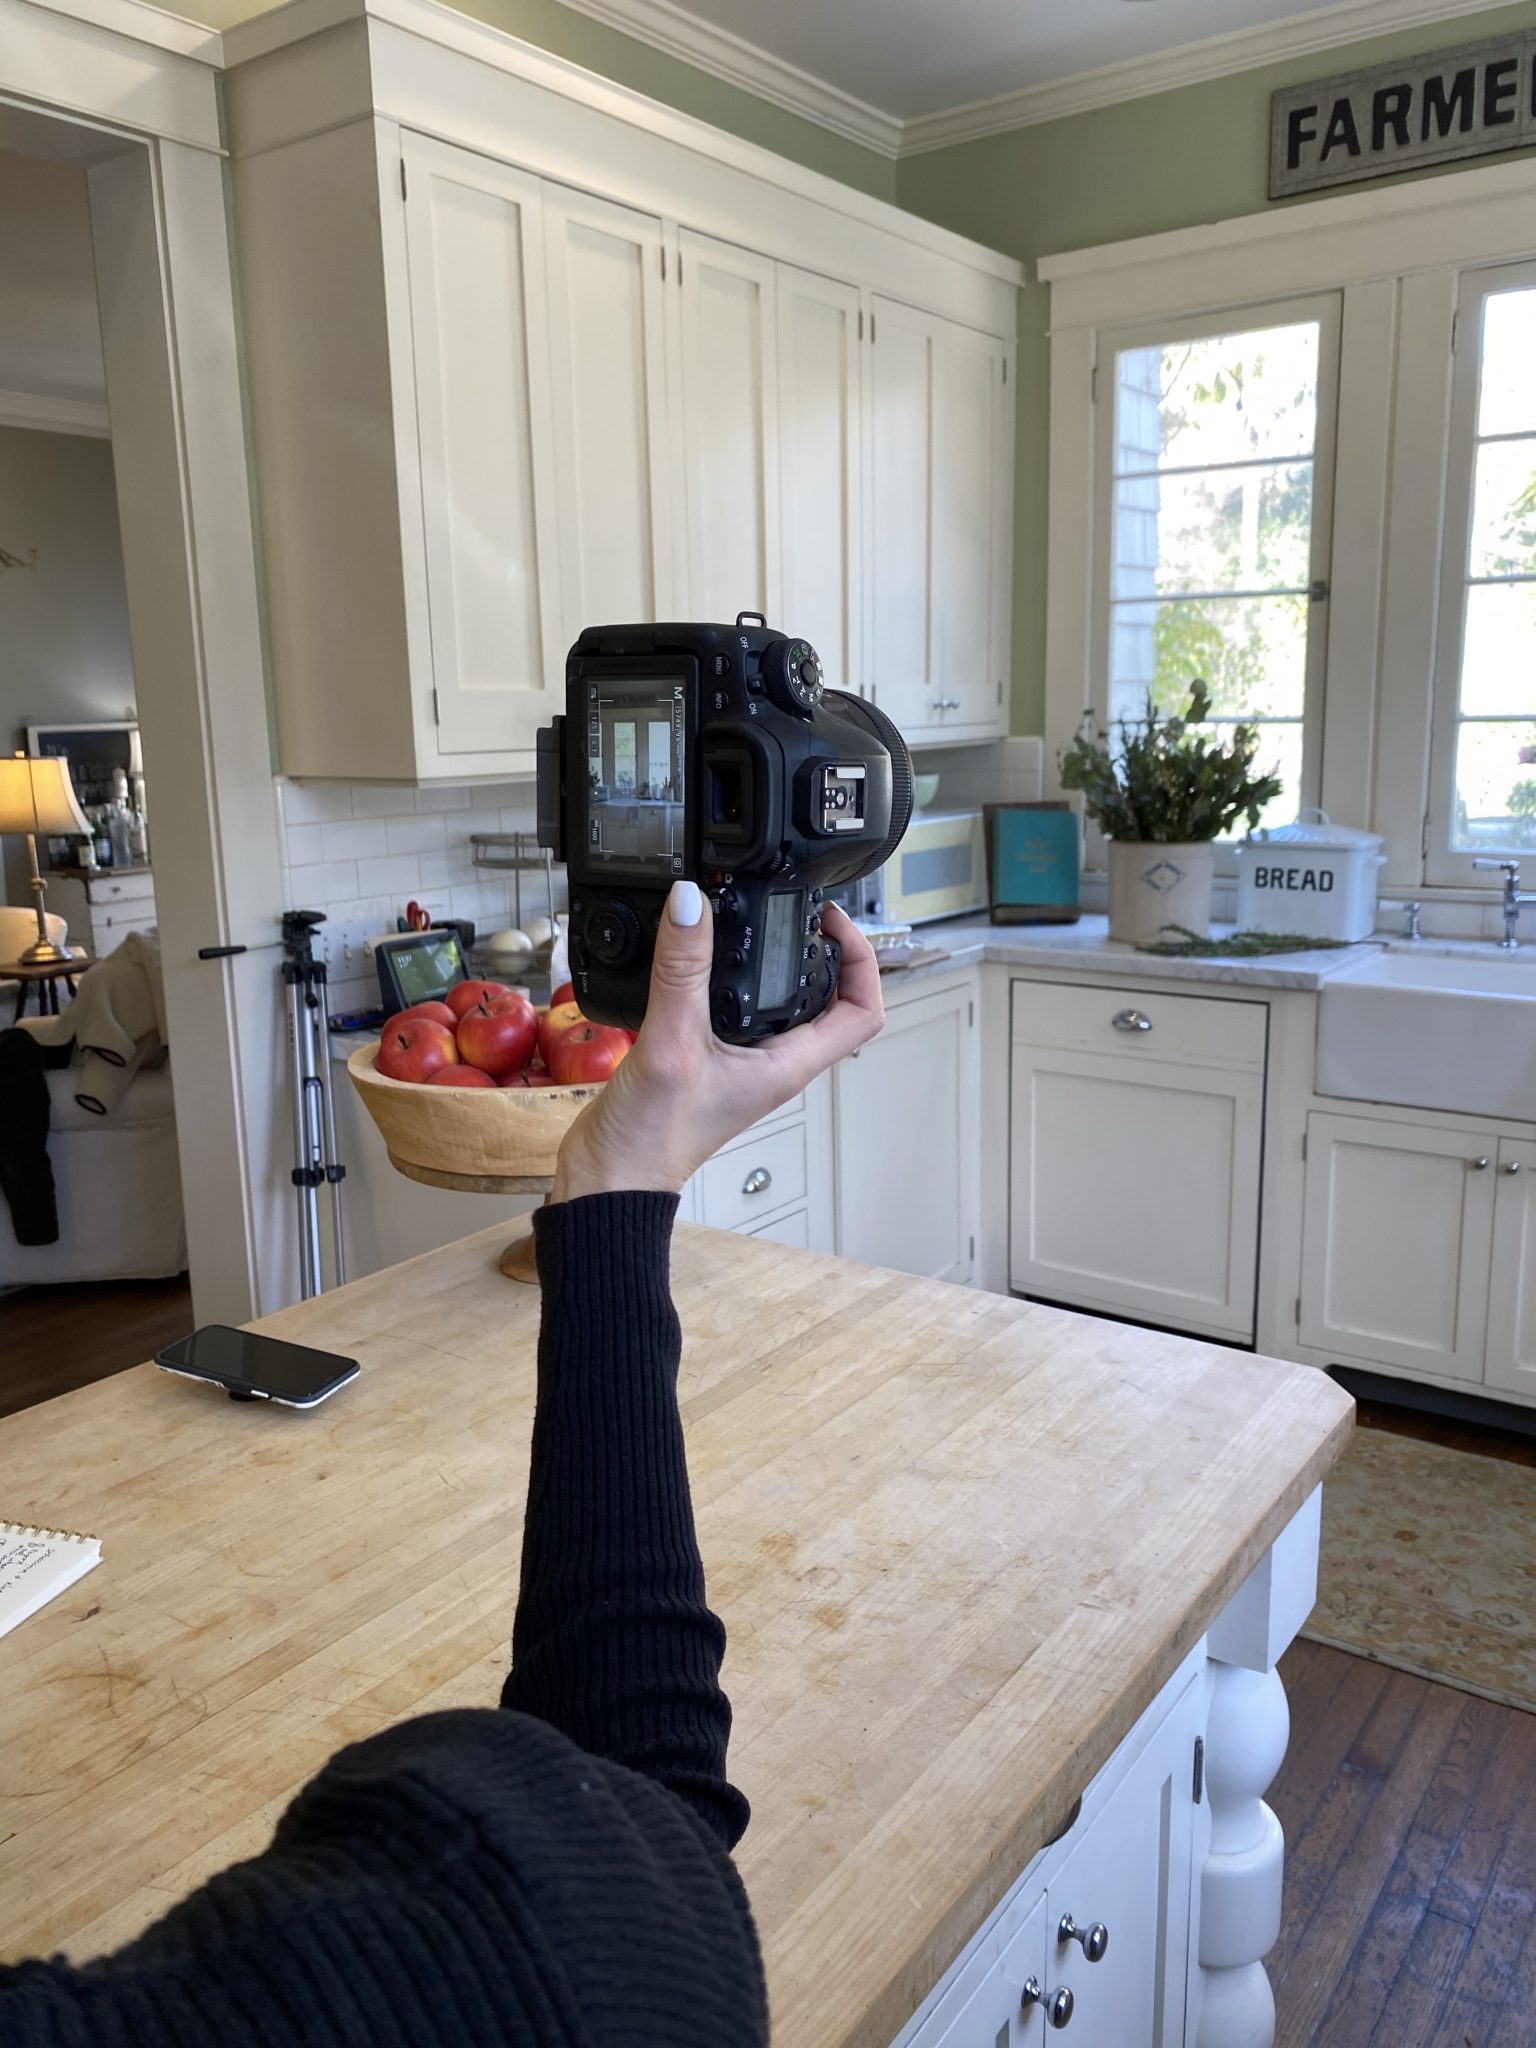
This post just might change your life. Ok, that might be a bit dramatic. But if you are like me and you don’t really know how to use your digital camera, then you need to keep reading. Because today I am going to help you learn how to use a DSLR camera to photograph your home.
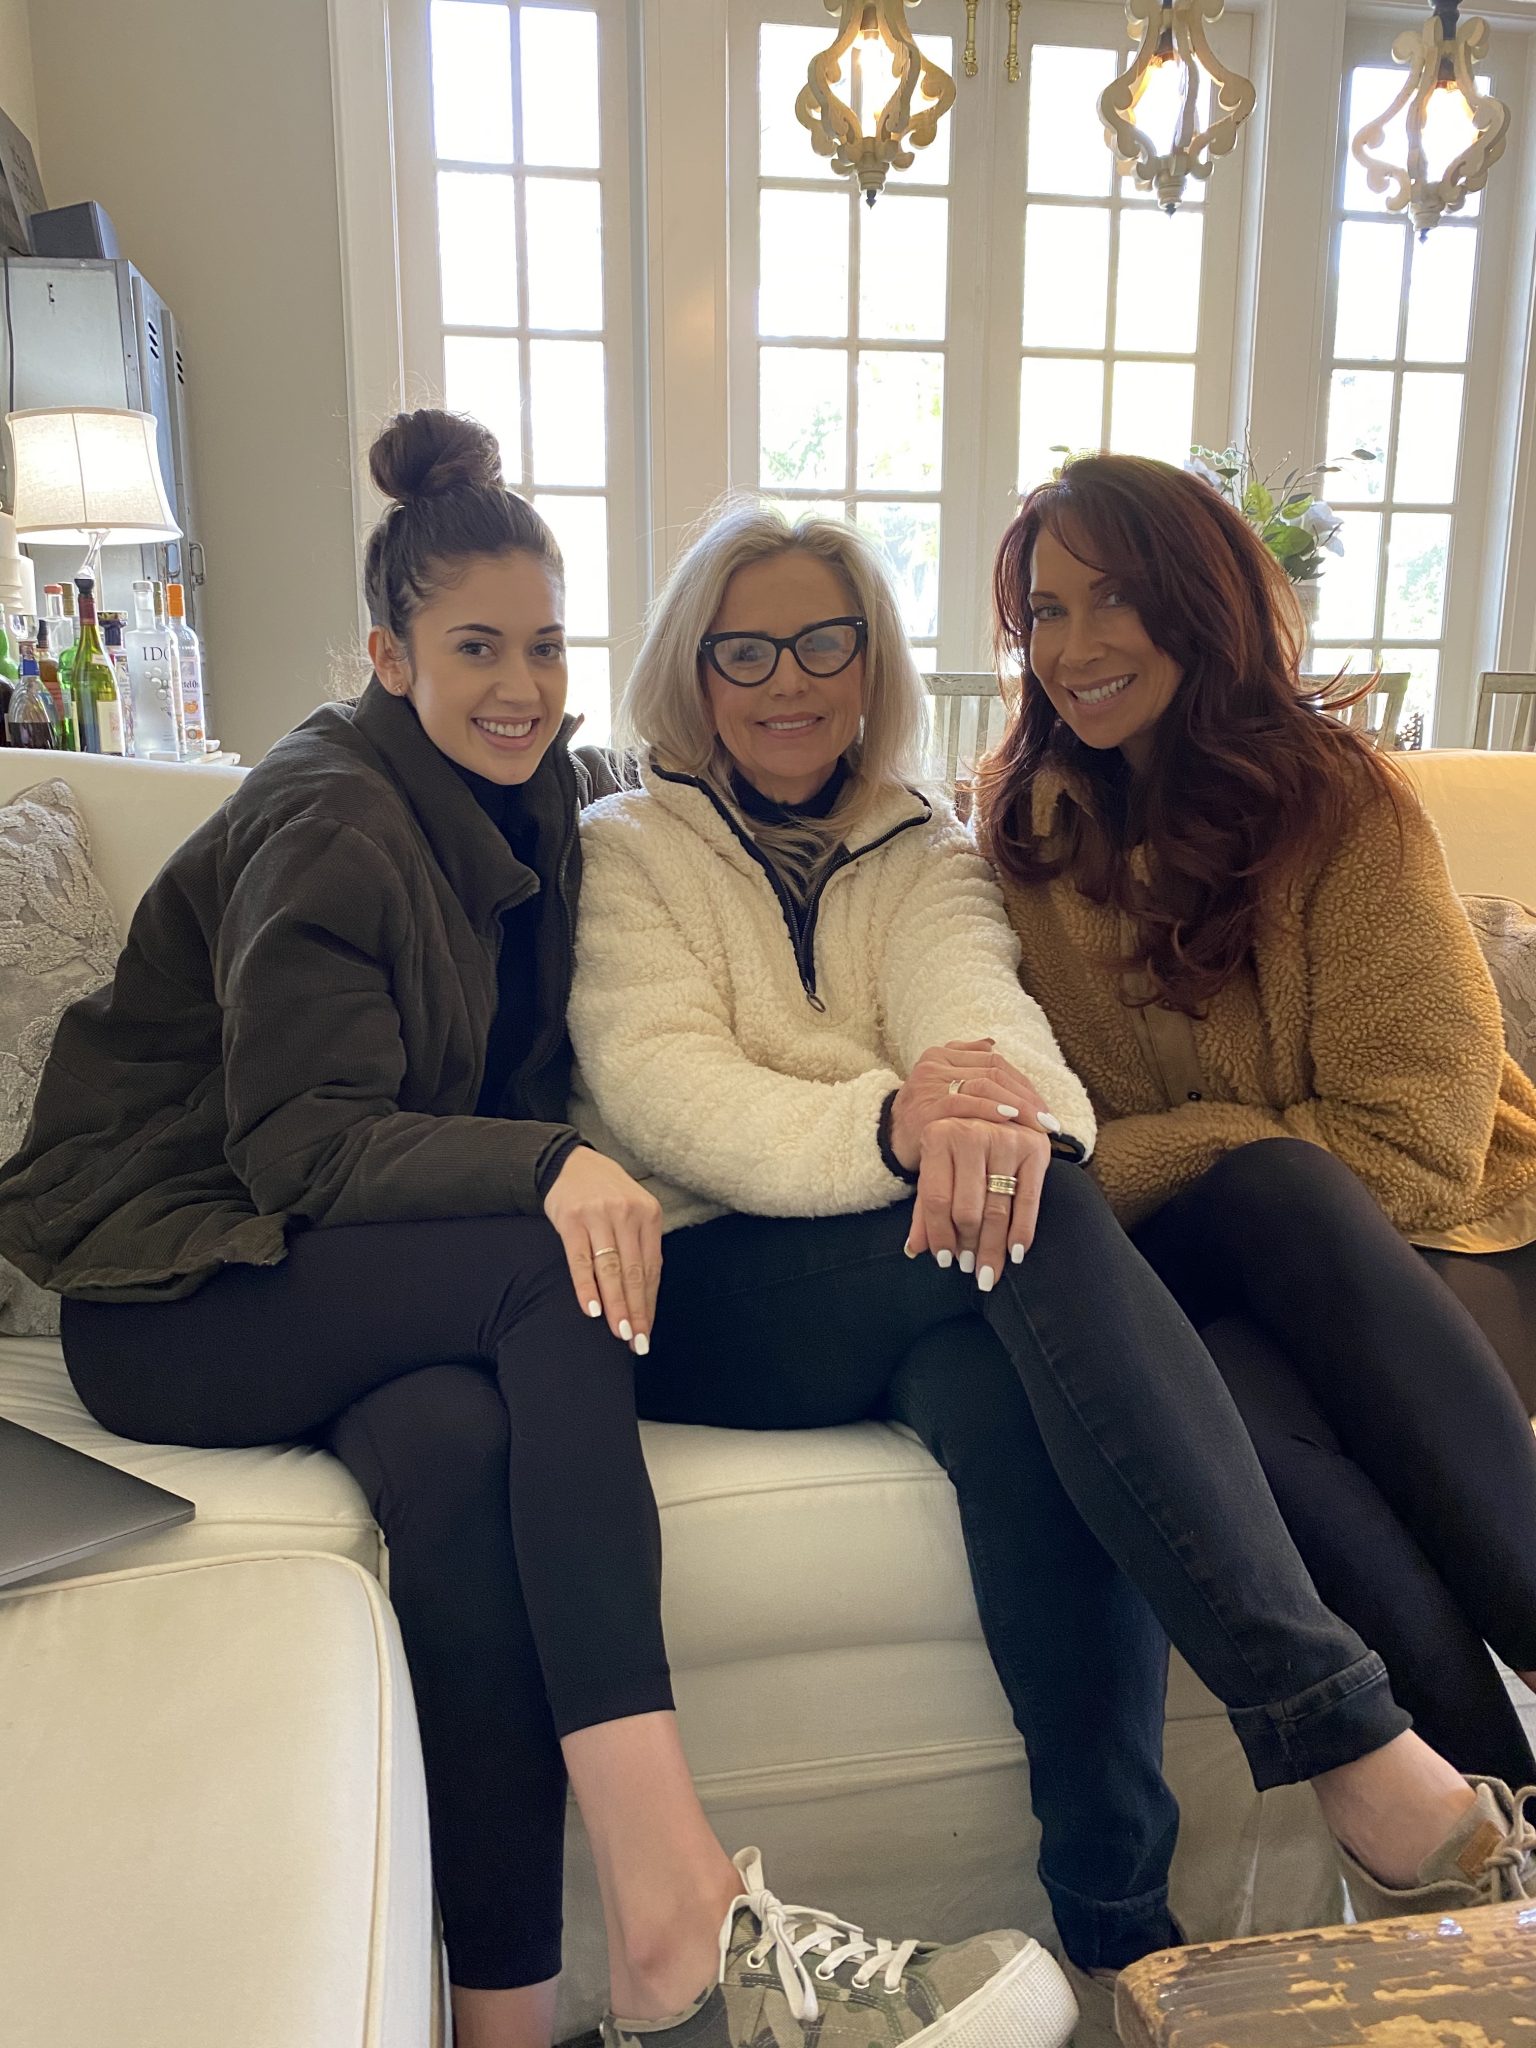
First, you need to meet three amazing ladies pictured below.
The very talented gal in the middle is one of my dearest friends, Debra Hall. She has a website Debra Hall Lifestyle where she sells the most amazing vintage pieces. In fact, many of her items are seen in these photos. She is an amazing stylist and also has a gorgeous Instagram @debrahalllifestyle
On each side of Debra are Shauna and Natashia, a mother and daughter duo from Public 311 Design. They work as an on-set stylist and photographer team to bring each of their brands to life! They produce on-going or one-time photoshoots with their clients to help get their brand the most content to share across social media platforms and e-commerce sites. They specialize in capturing home decor stores, interiors, and lifestyle brands. You can find their beautiful Instagram here.
Natashia and Shauna spent a day at my home teaching Debra and me photography tips with our 35mm cameras. Not only did I learn a ton but we all had so much fun!
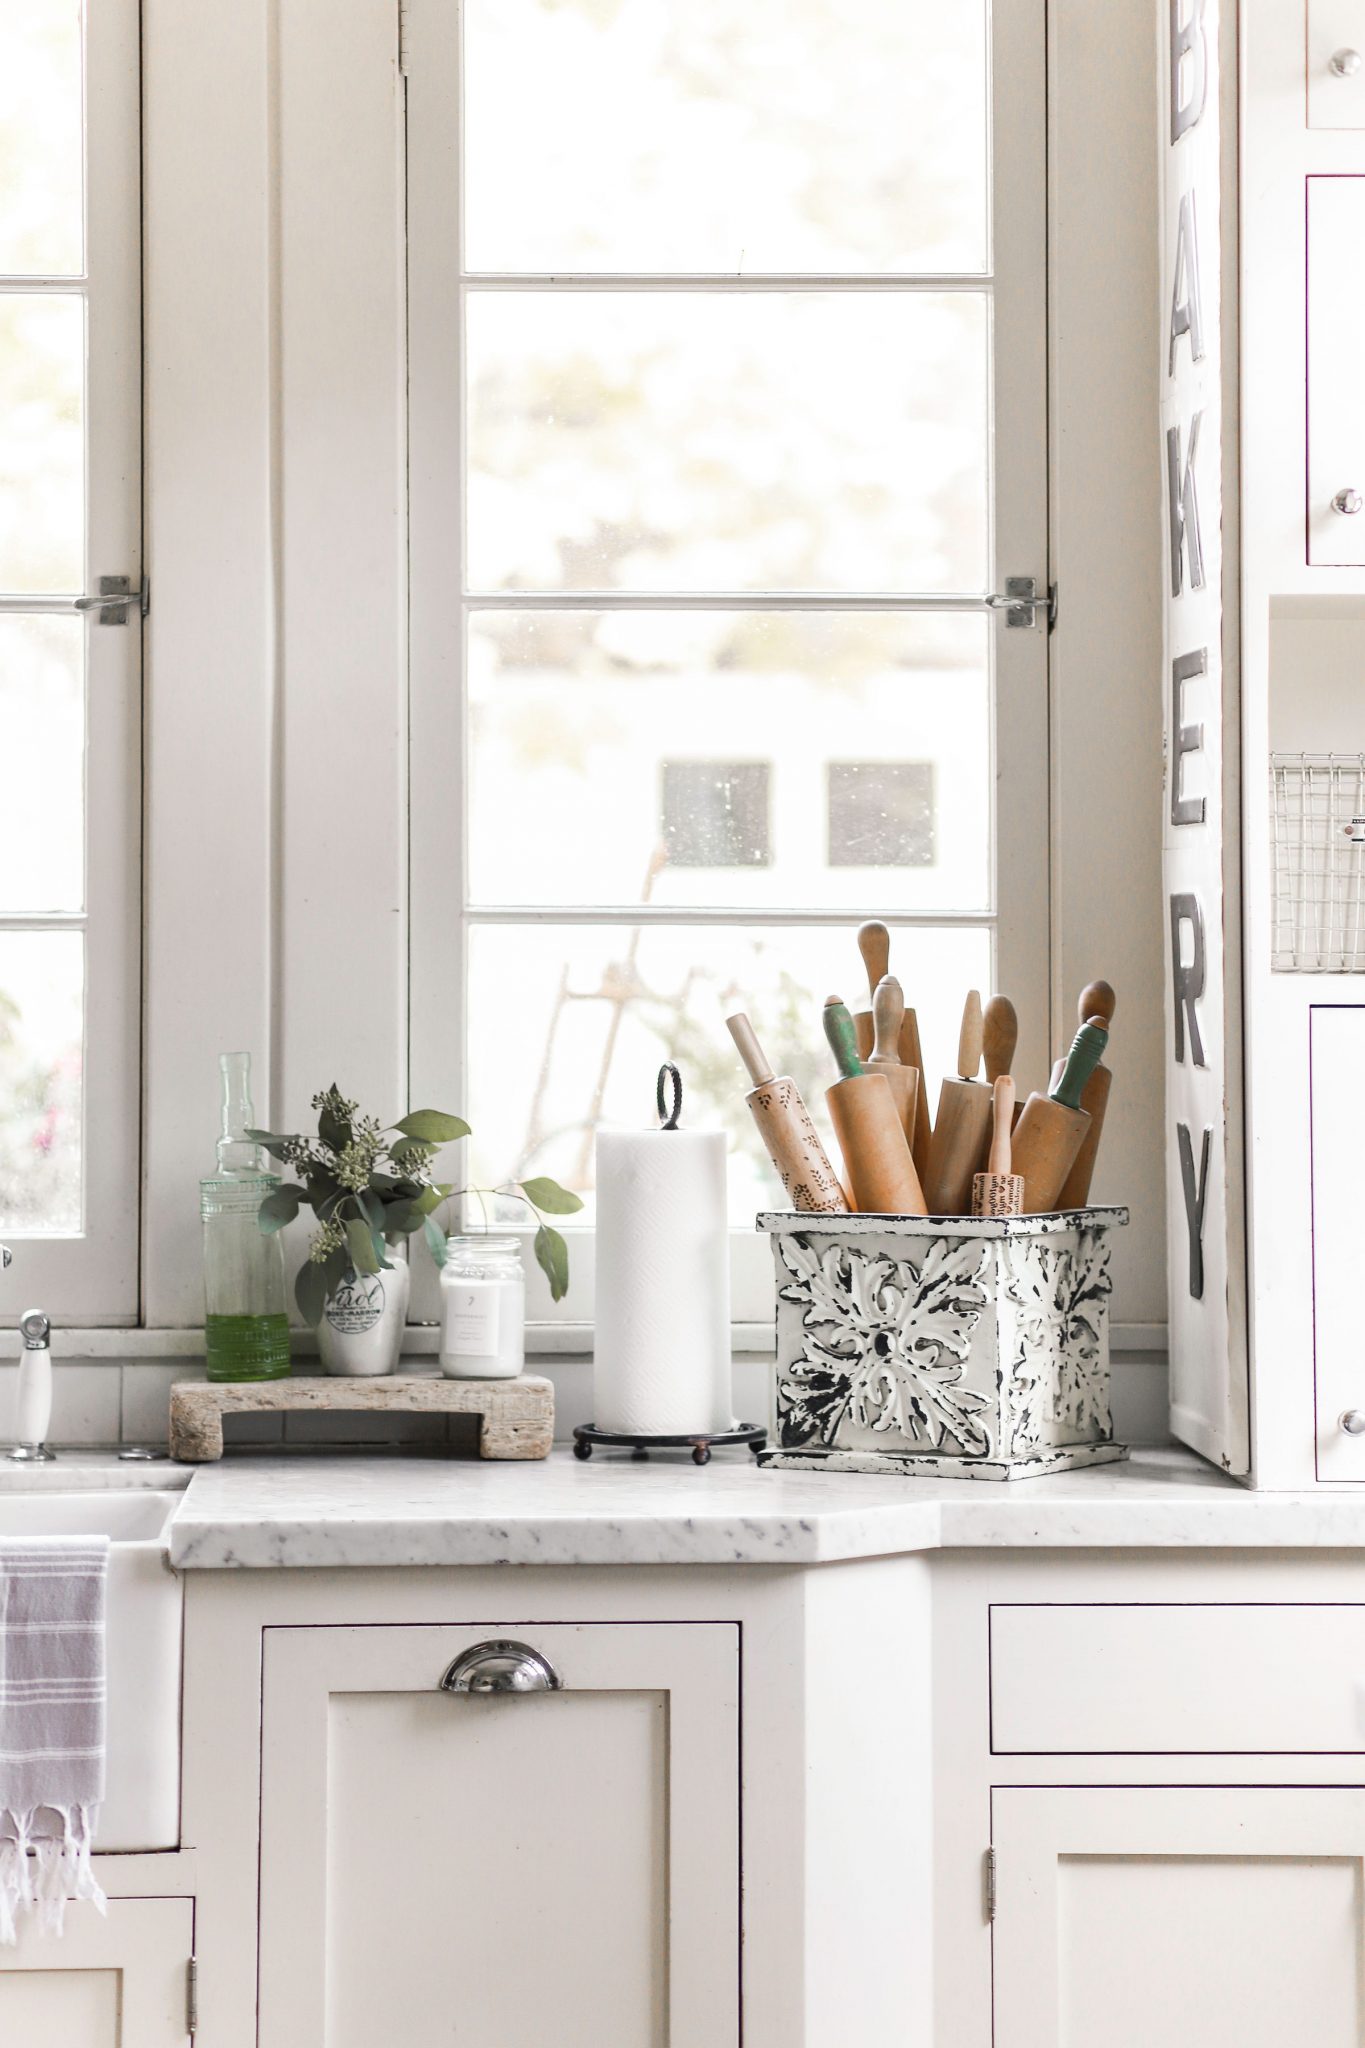
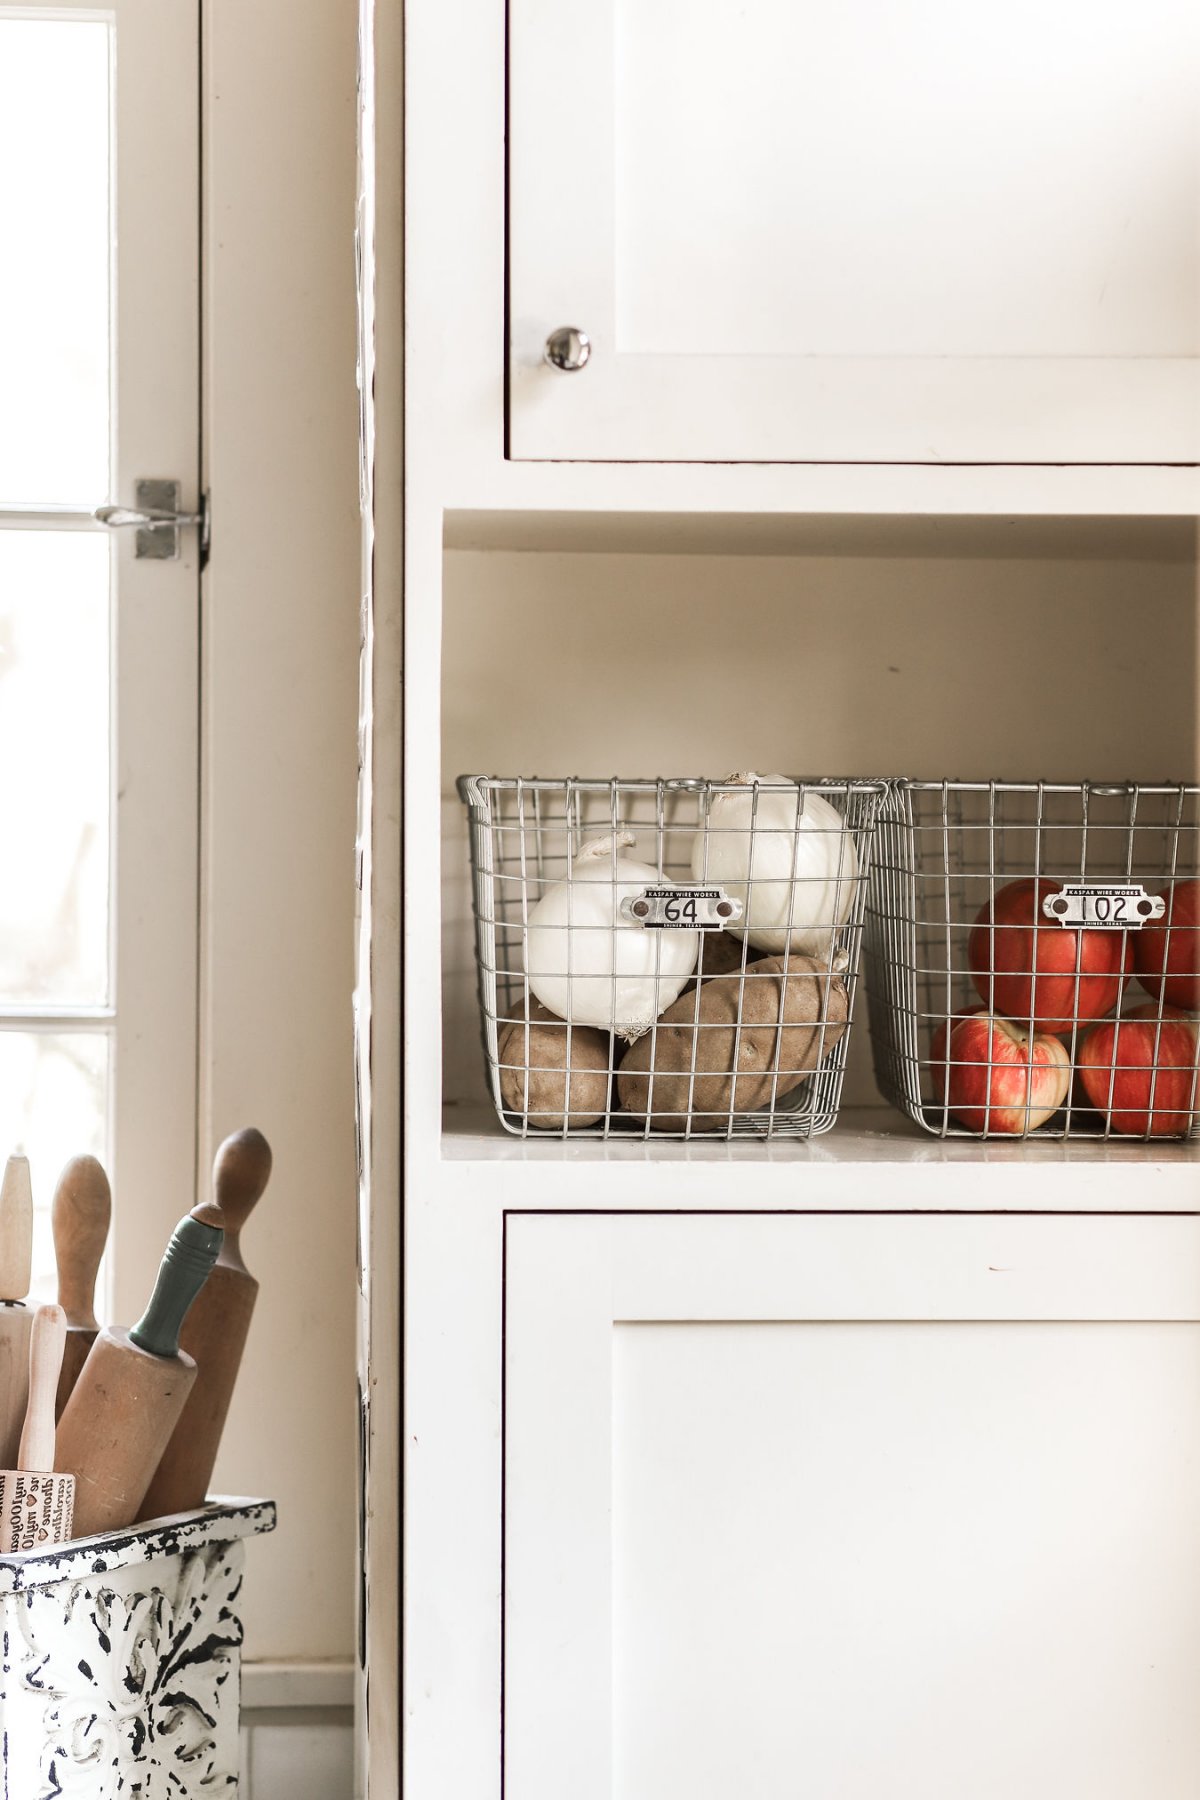
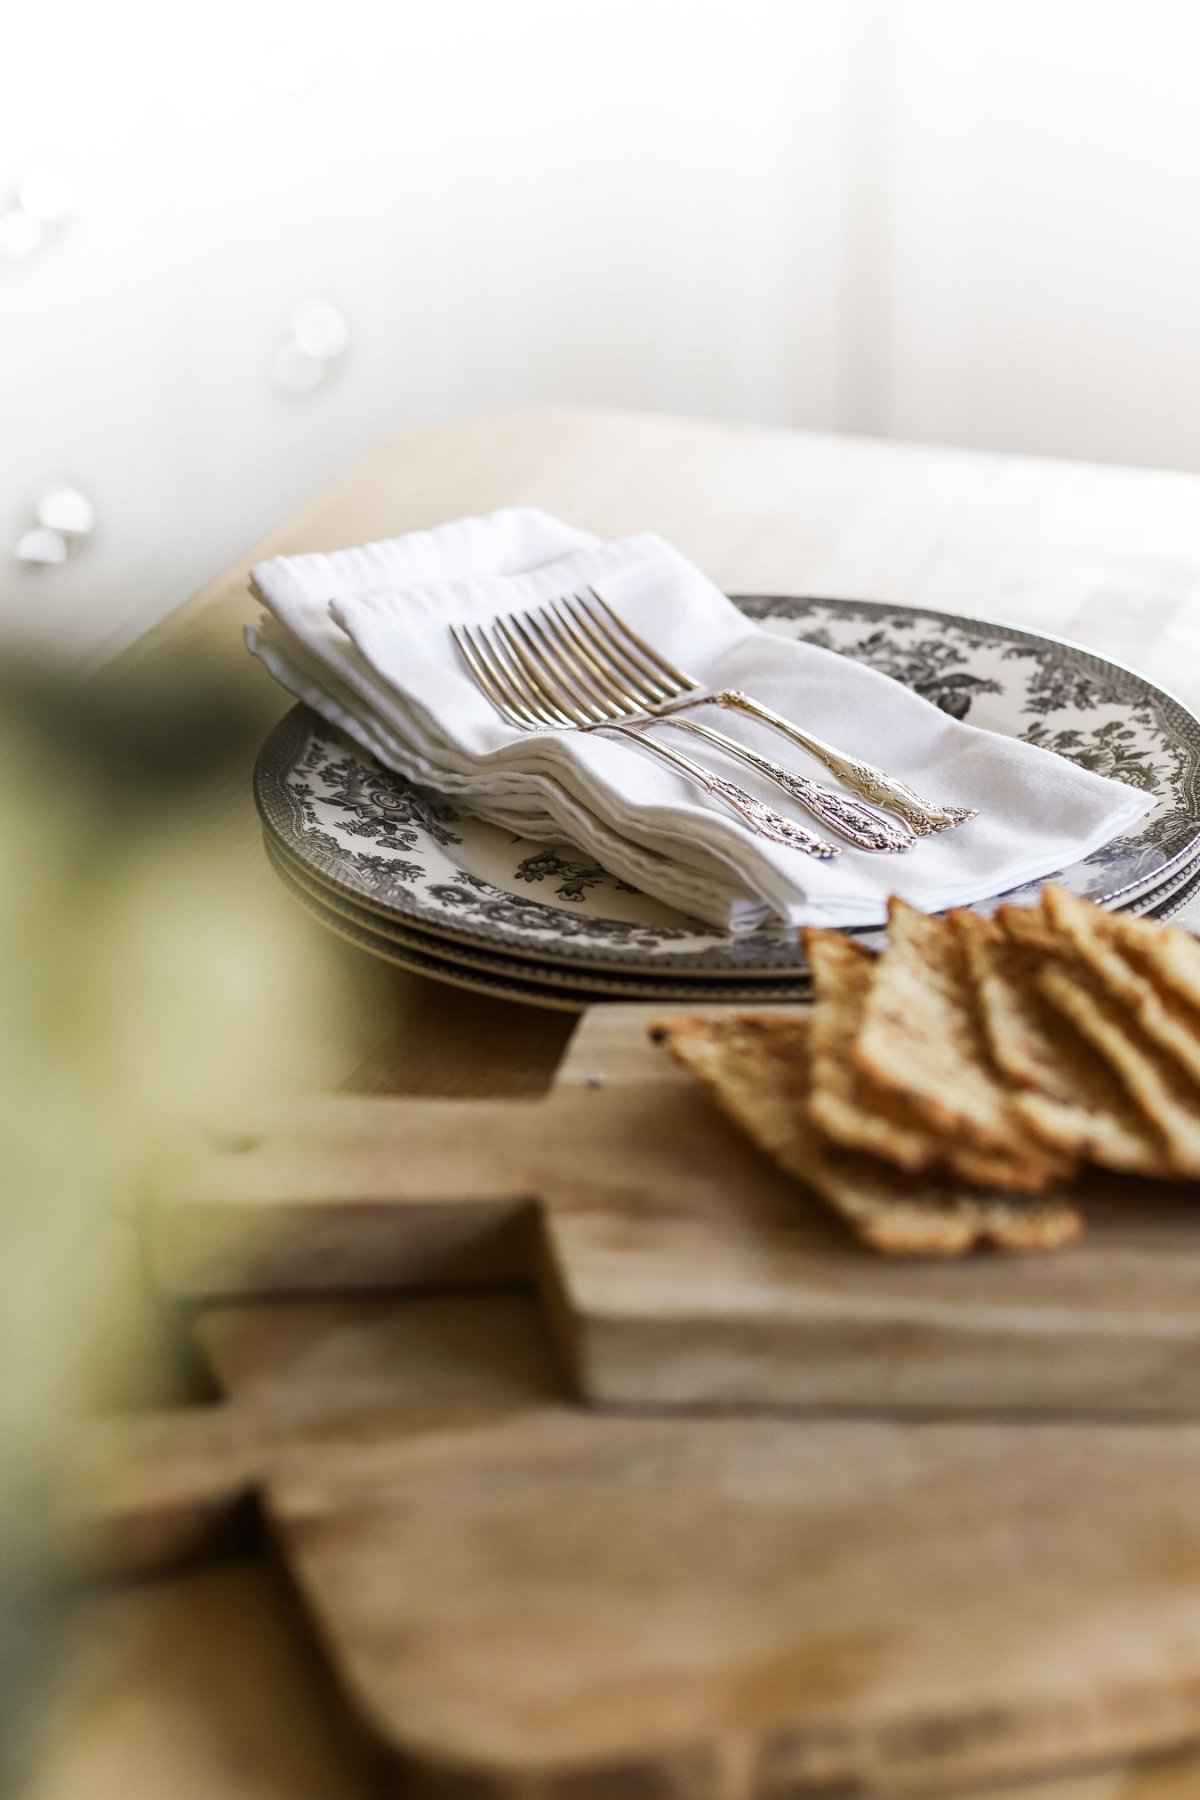
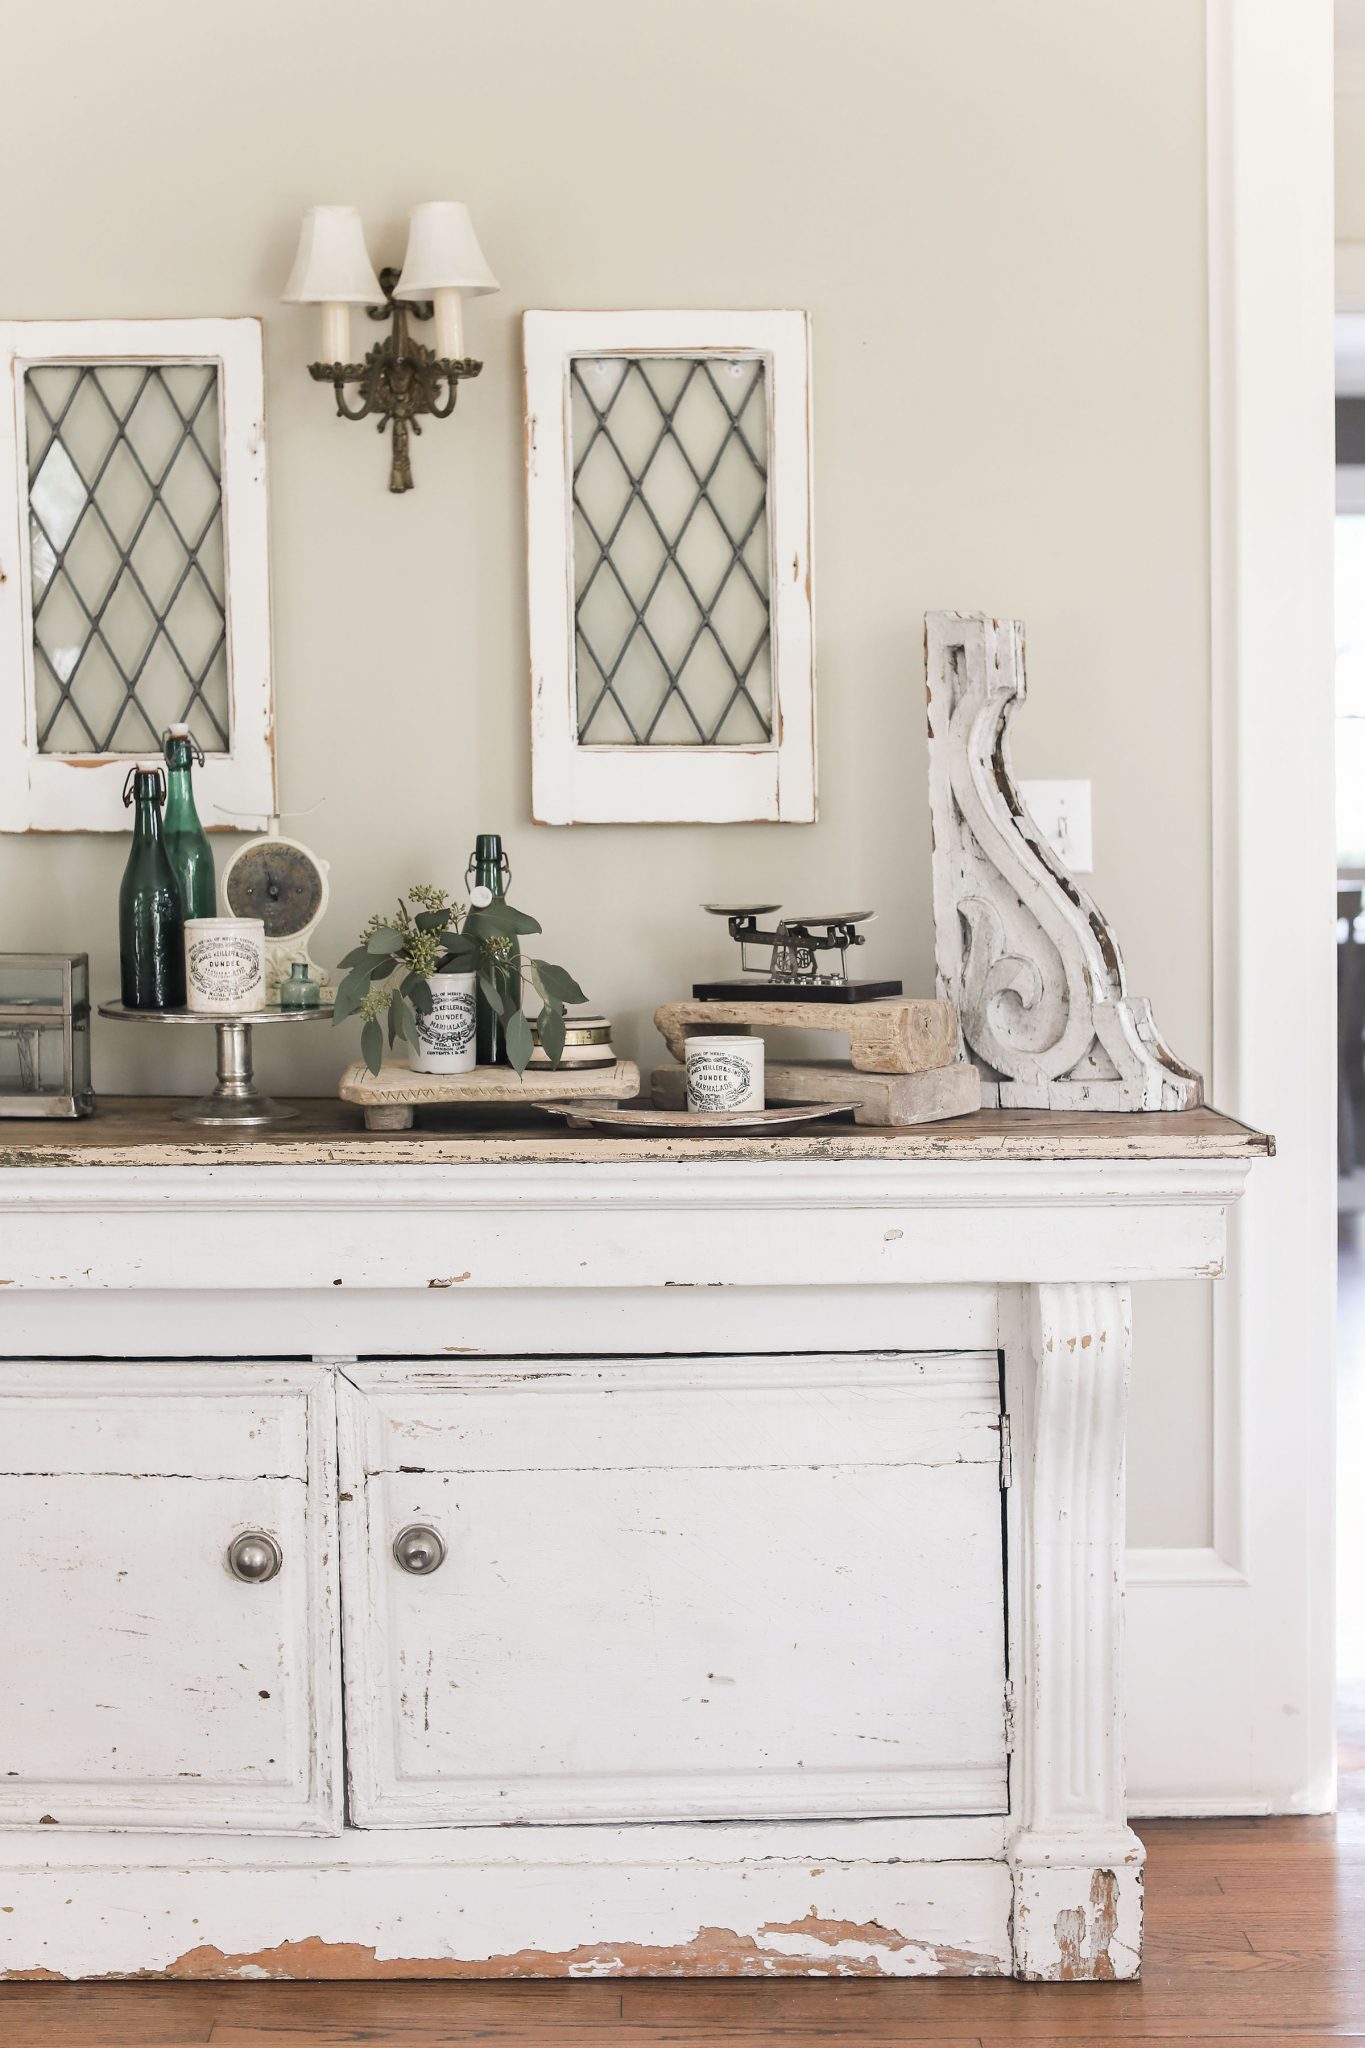
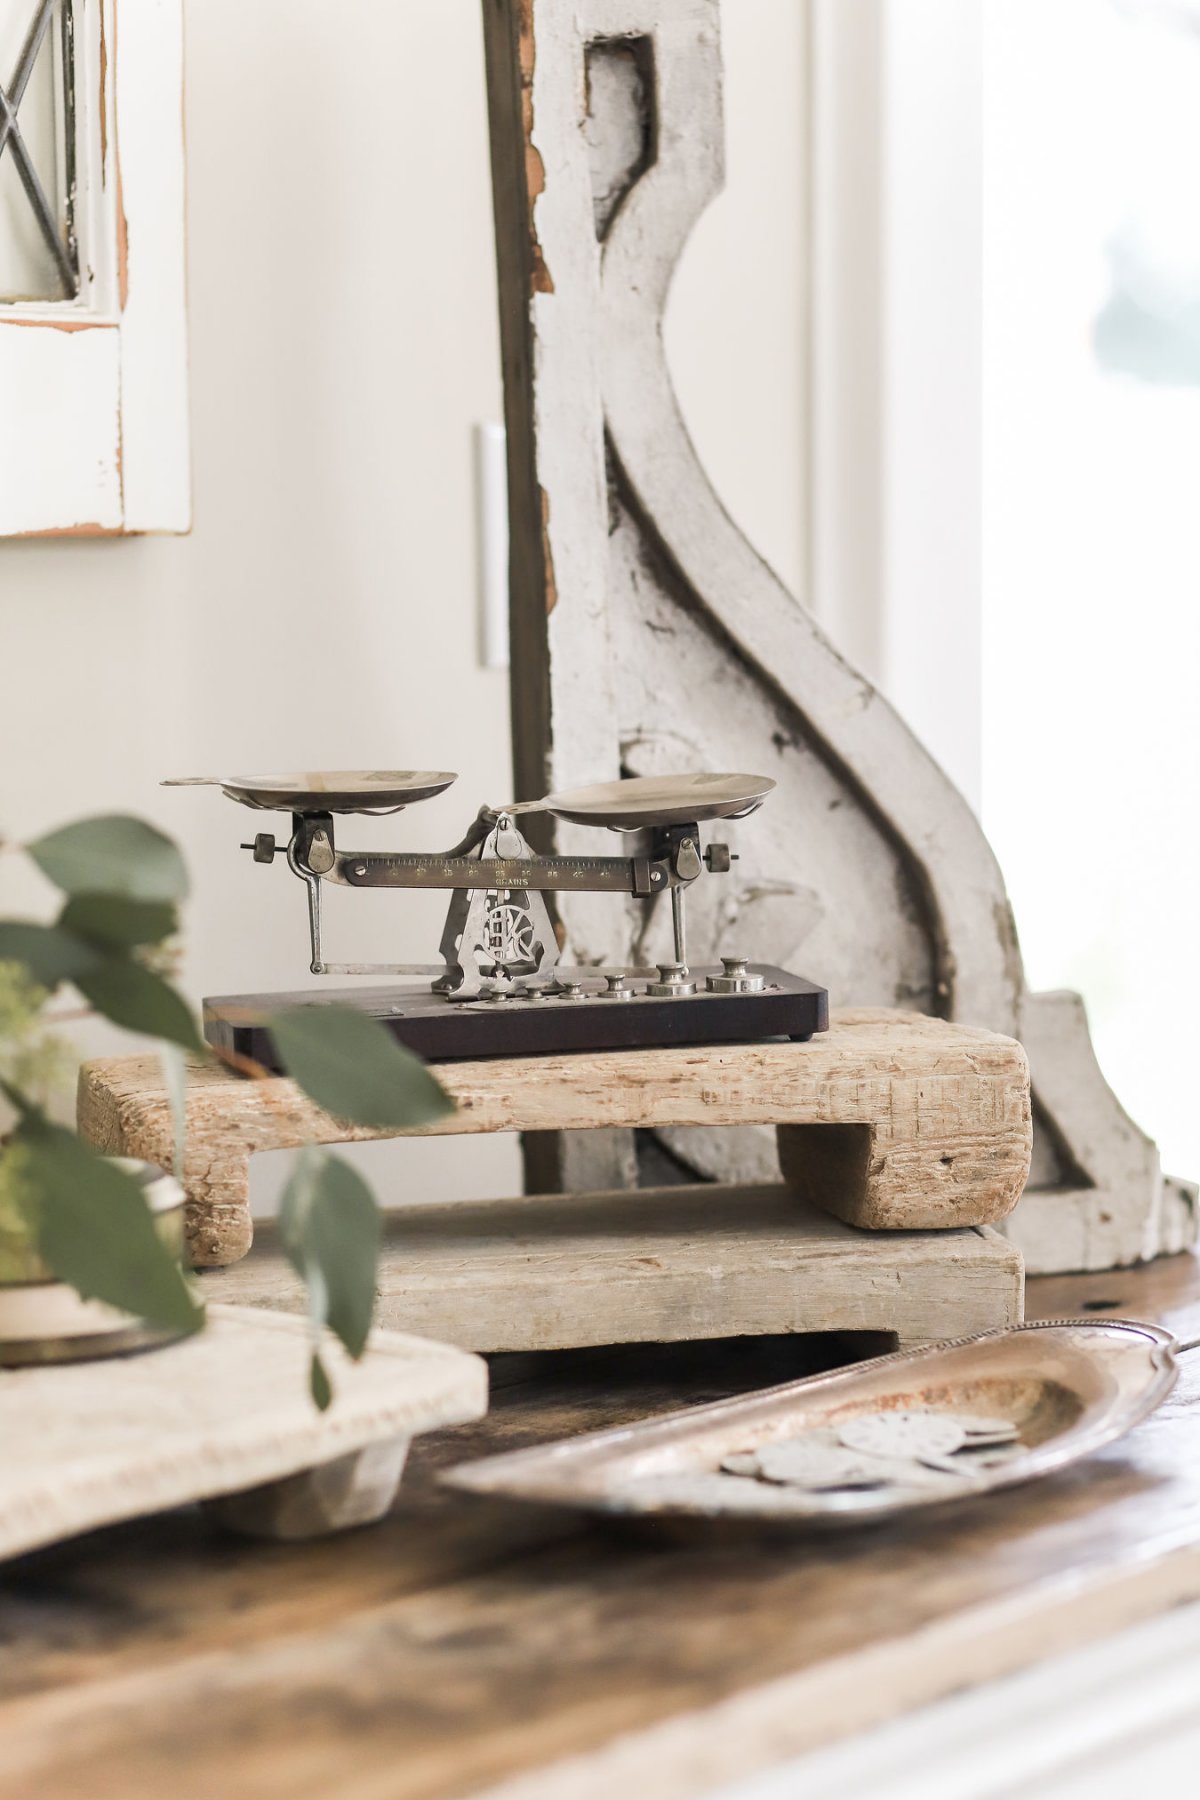
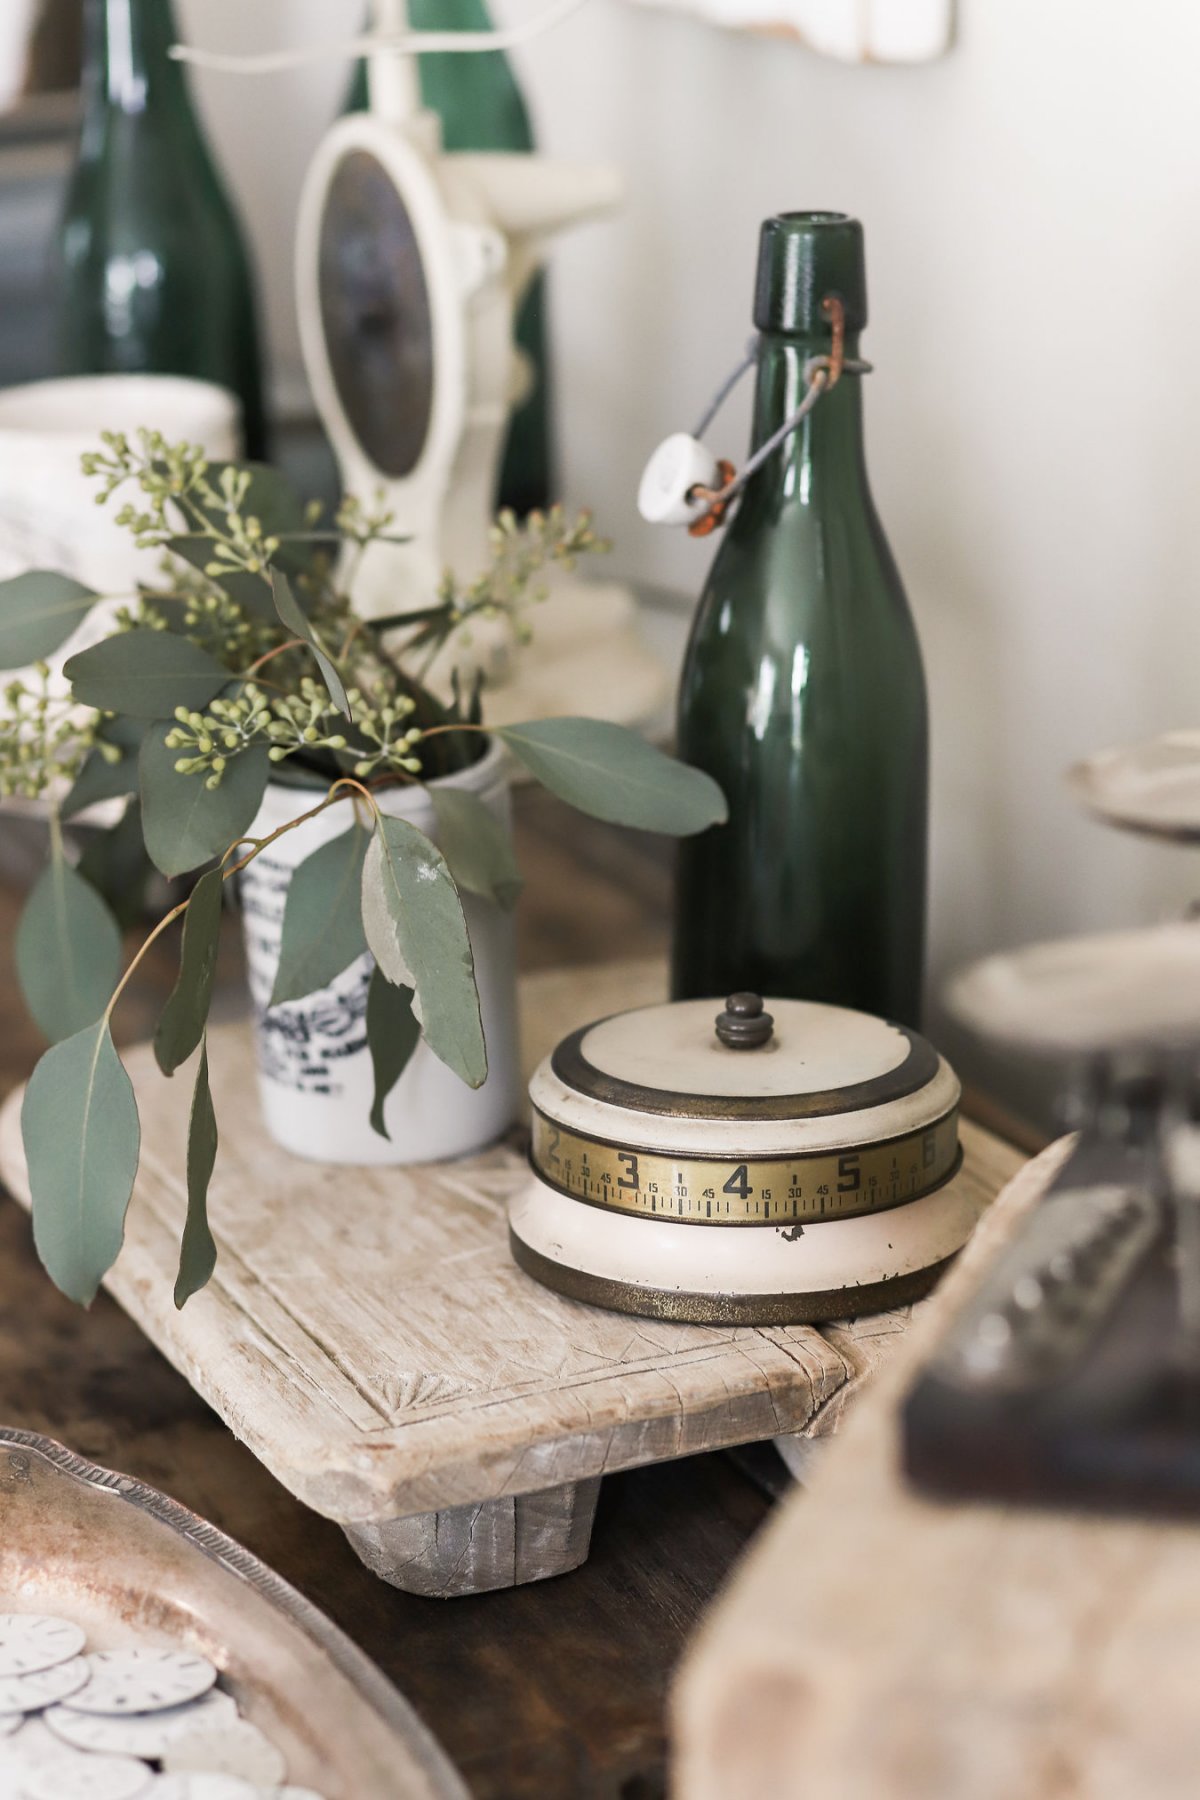
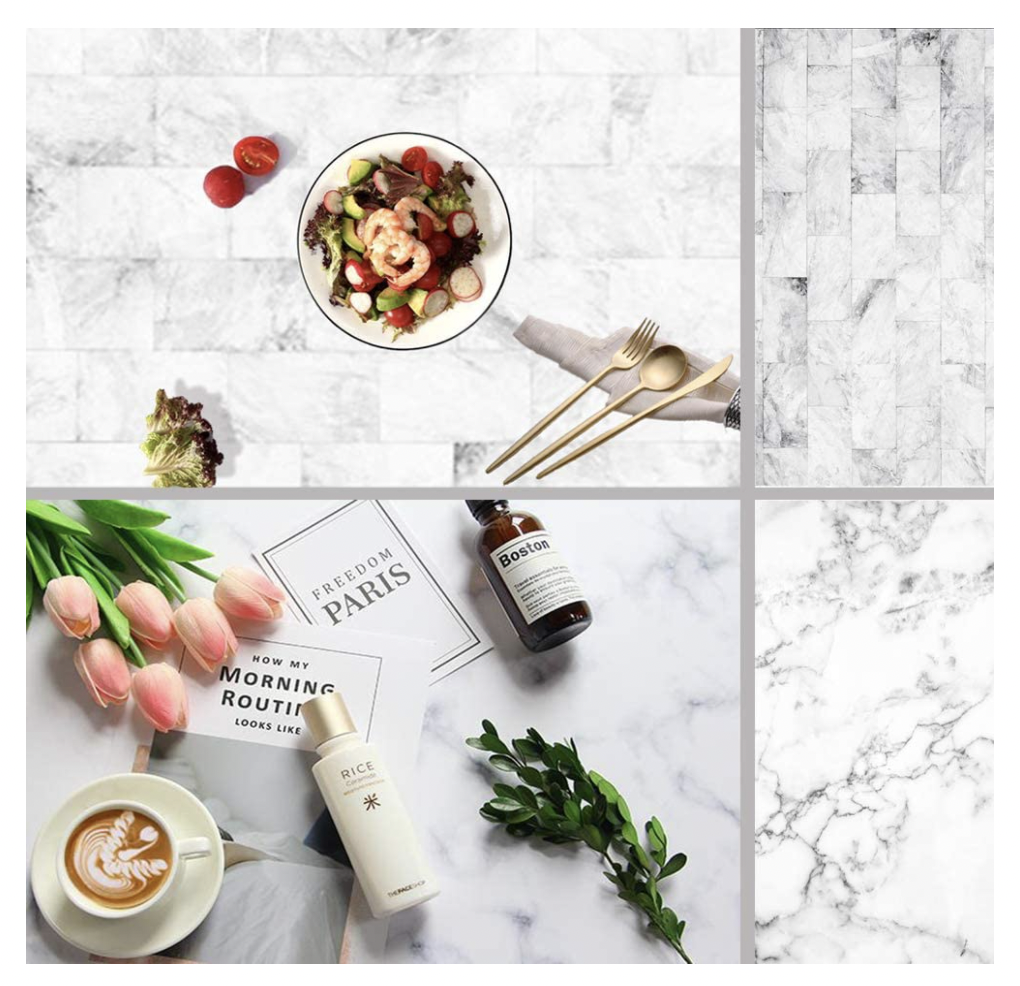
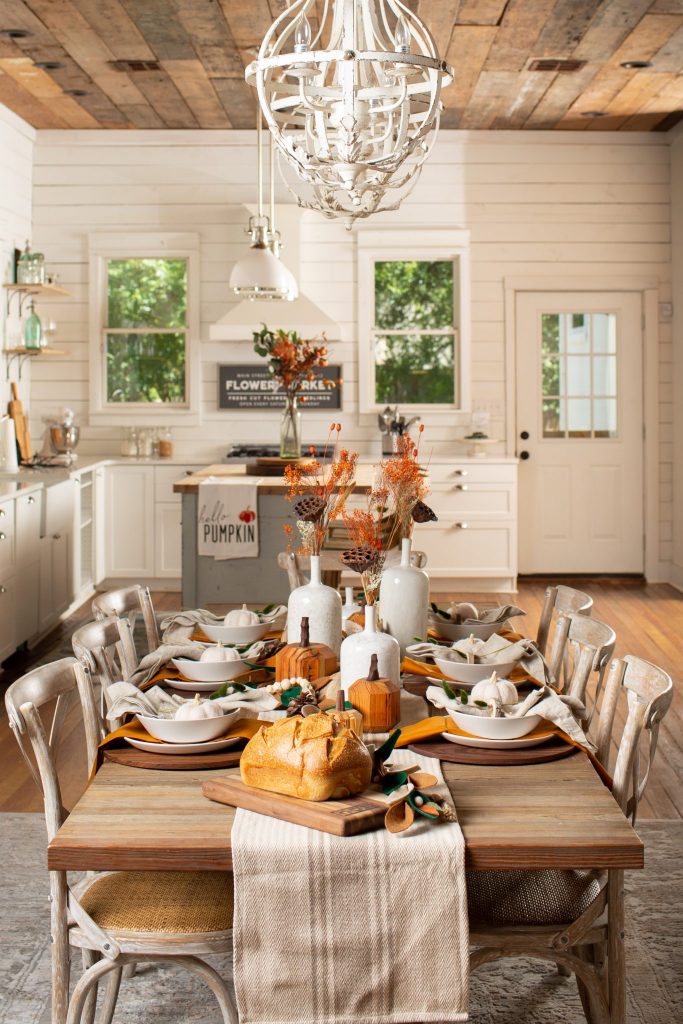
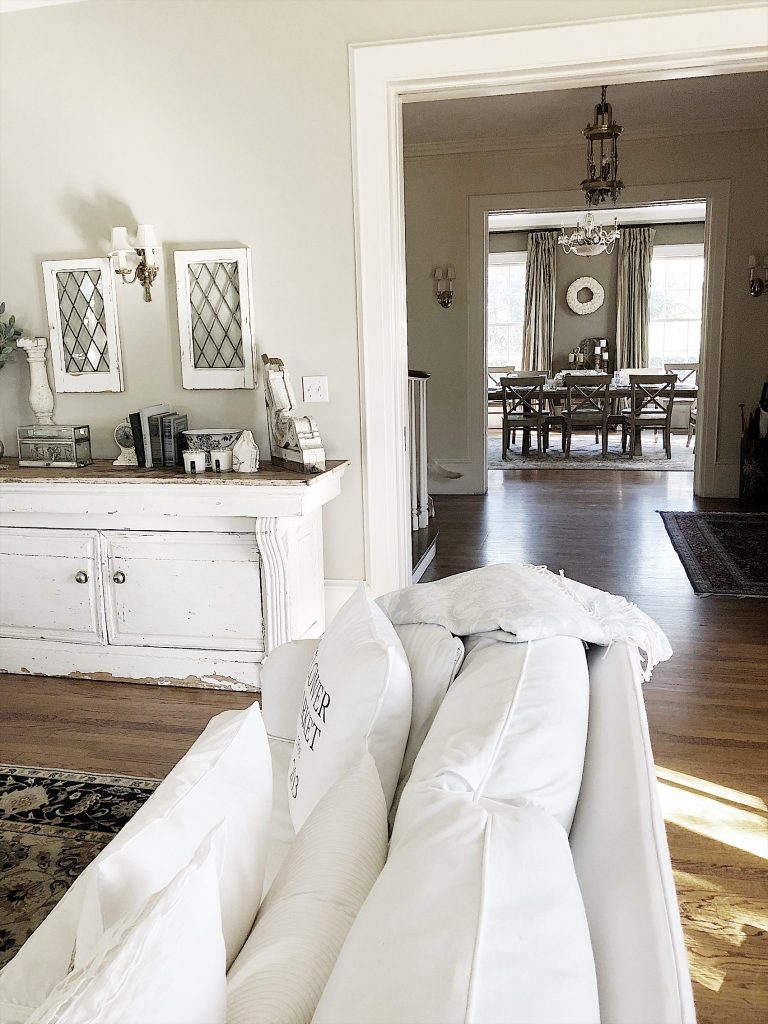
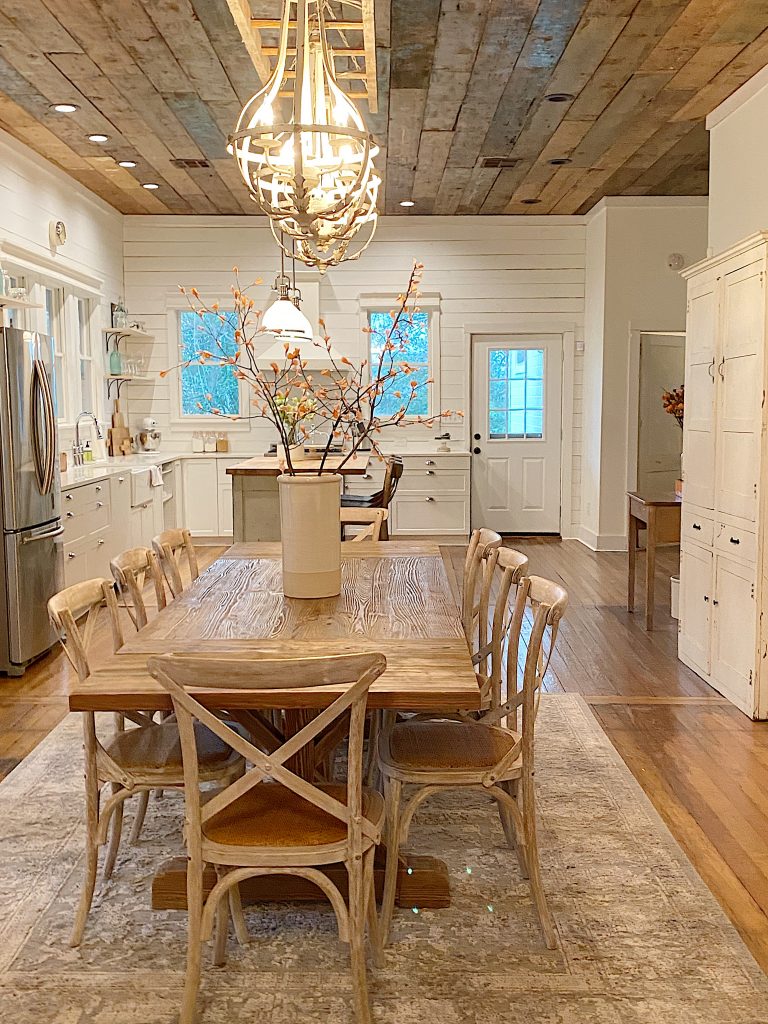
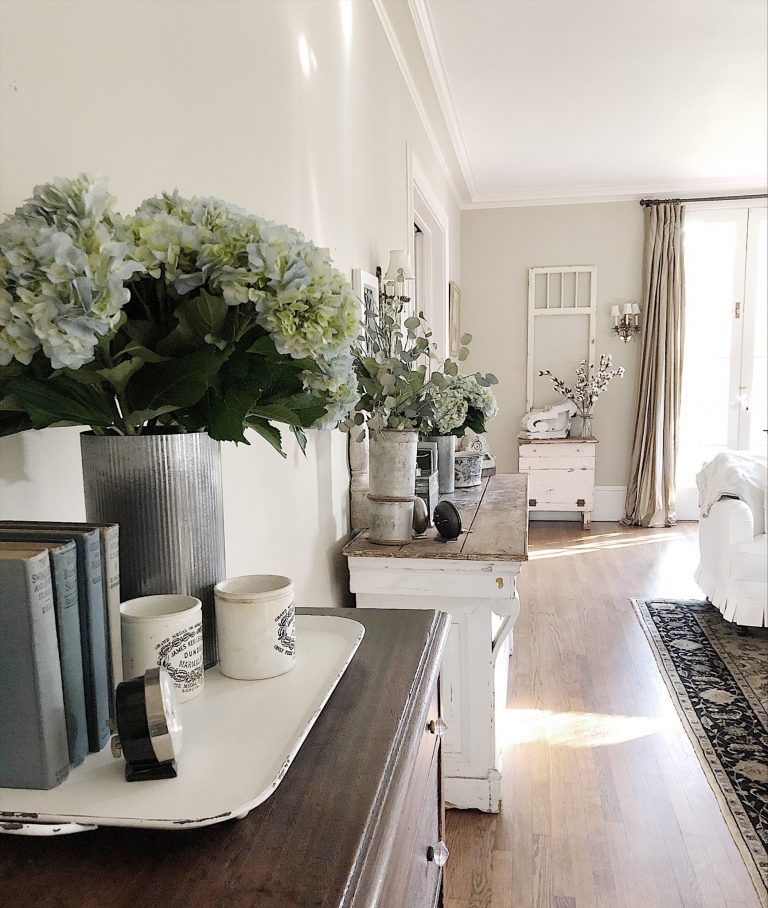
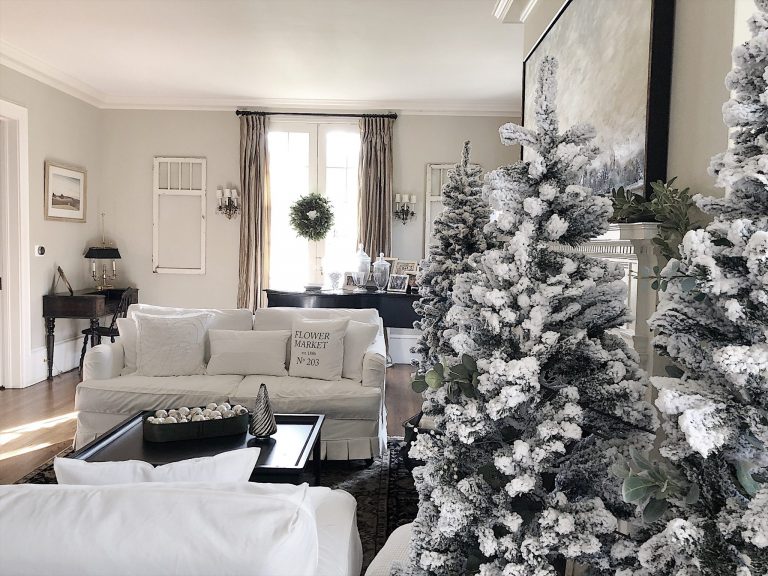
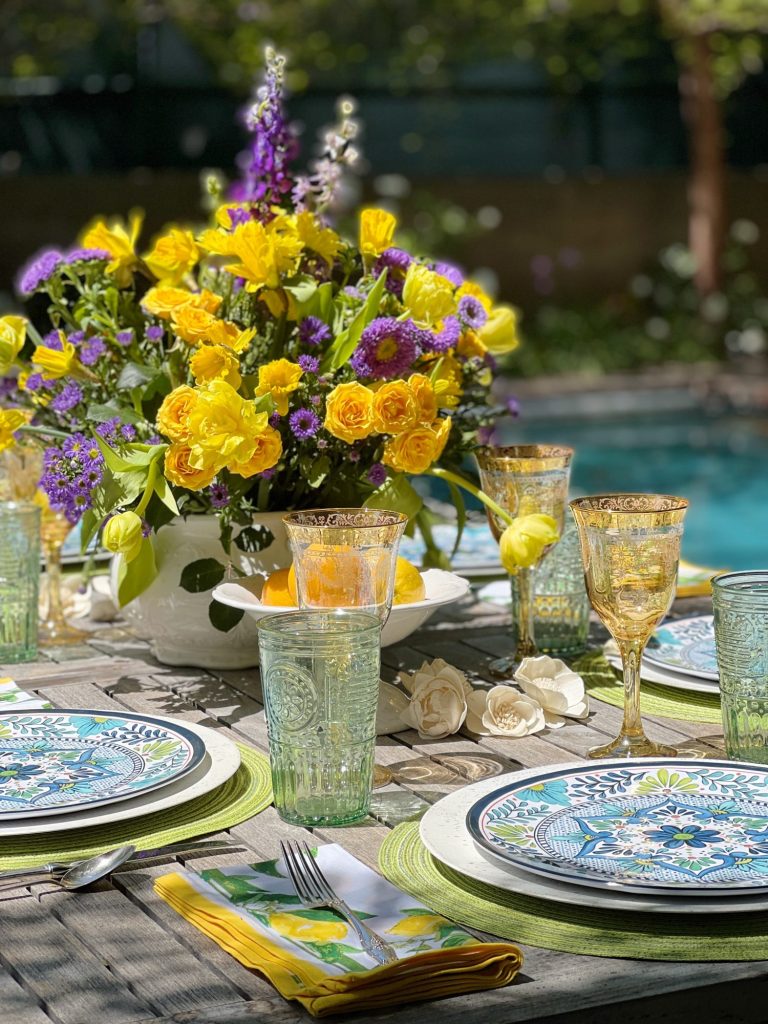
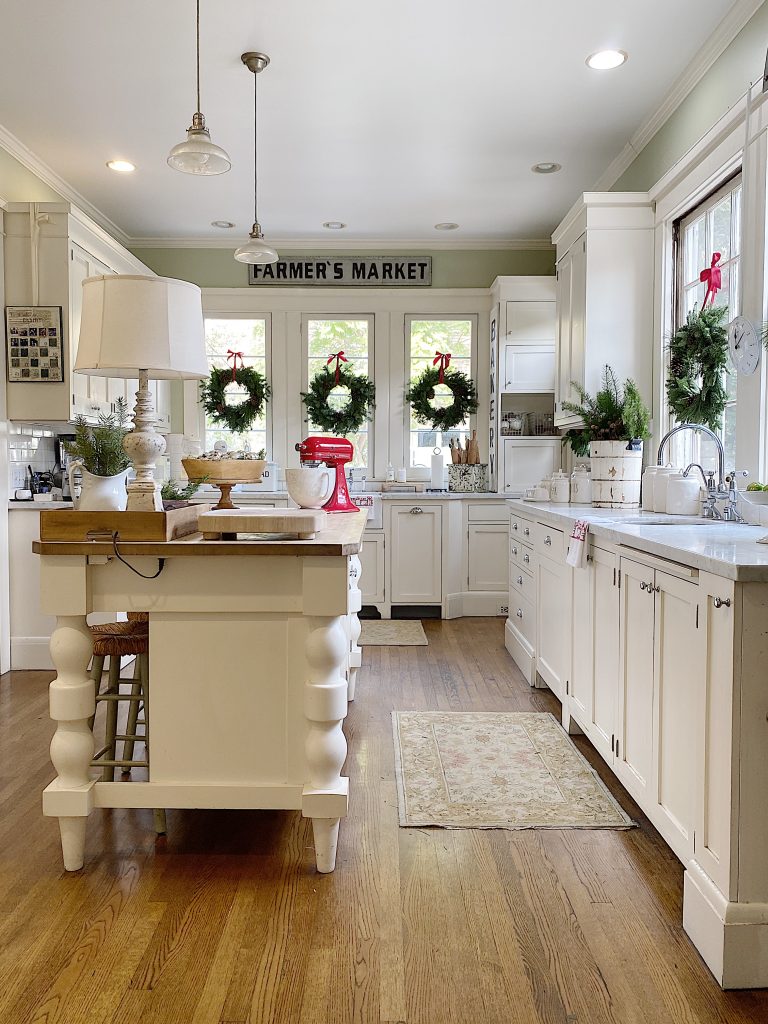
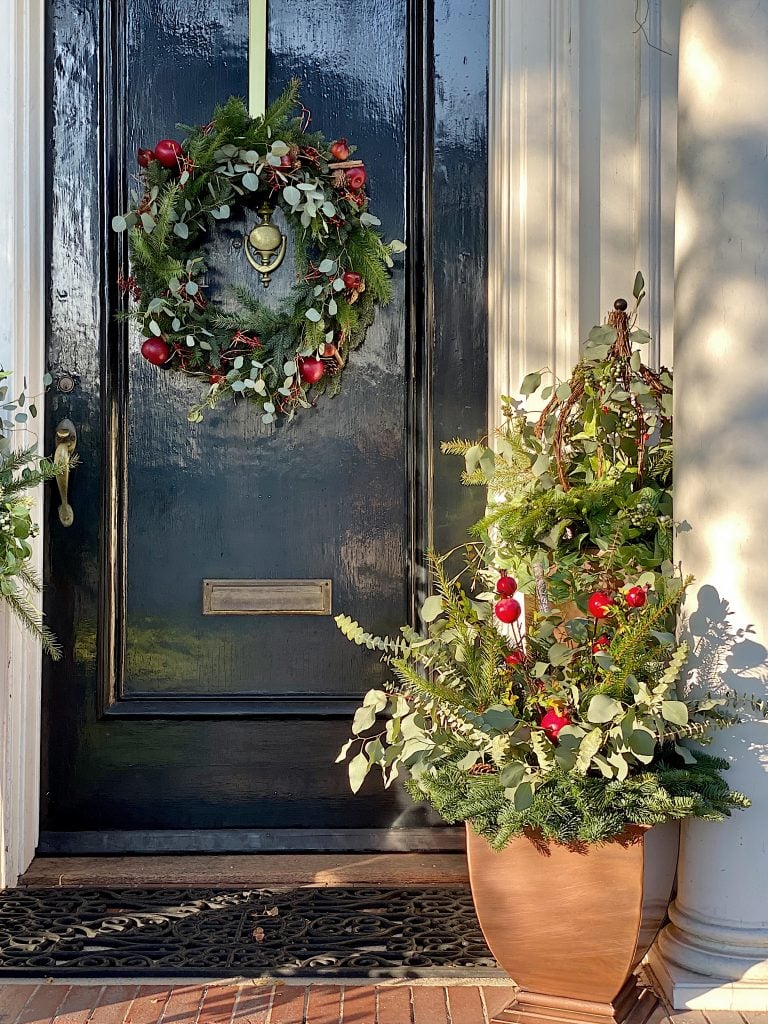
This blog post highlights many of the photos Shauna and Natashia styled and took of our home. I am so excited to share with you what I learned that day.
Tips on How to Best Use This Blog Post
- Read through the entire blog post.
- Download and print the Interior Photography Tips Document below.
- Watch the video below to see exactly how Shauna and Natashia styled and photographed our home.
- Get out your camera and try it!
Photography Tips to Photograph Your Home
Since all of the details are in the downloadable document below, I am going to share more of a high-level approach to understanding photography tips to use your DSLR to photograph your home. (Also, this information came from Shauna and Natashia. Please do not think that I know all of this!)
Equipment Checklist Essentials
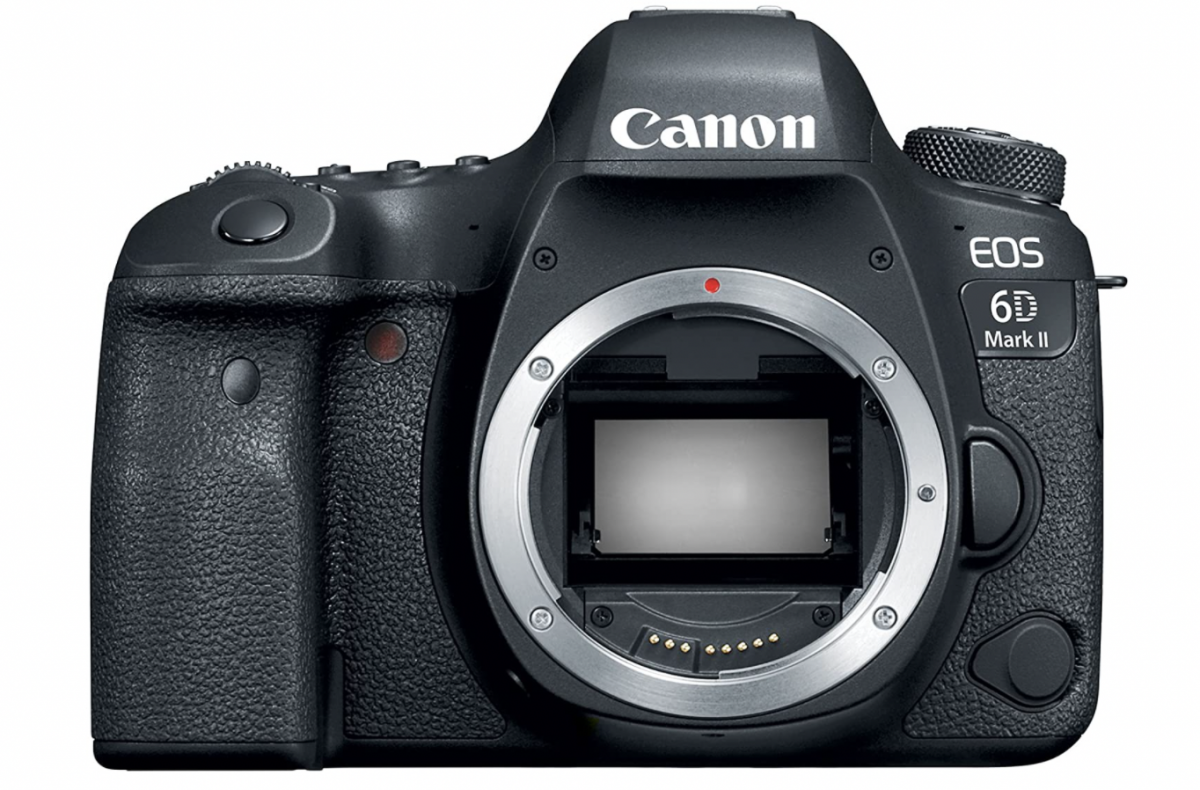
- A DSLR camera and lenses – One lens is fine. Shauna and Natashia use four lenses: 16mm, 35mm (for wide-angle), 50mm (for half shots of each room), 85mm (close up/detail shots);
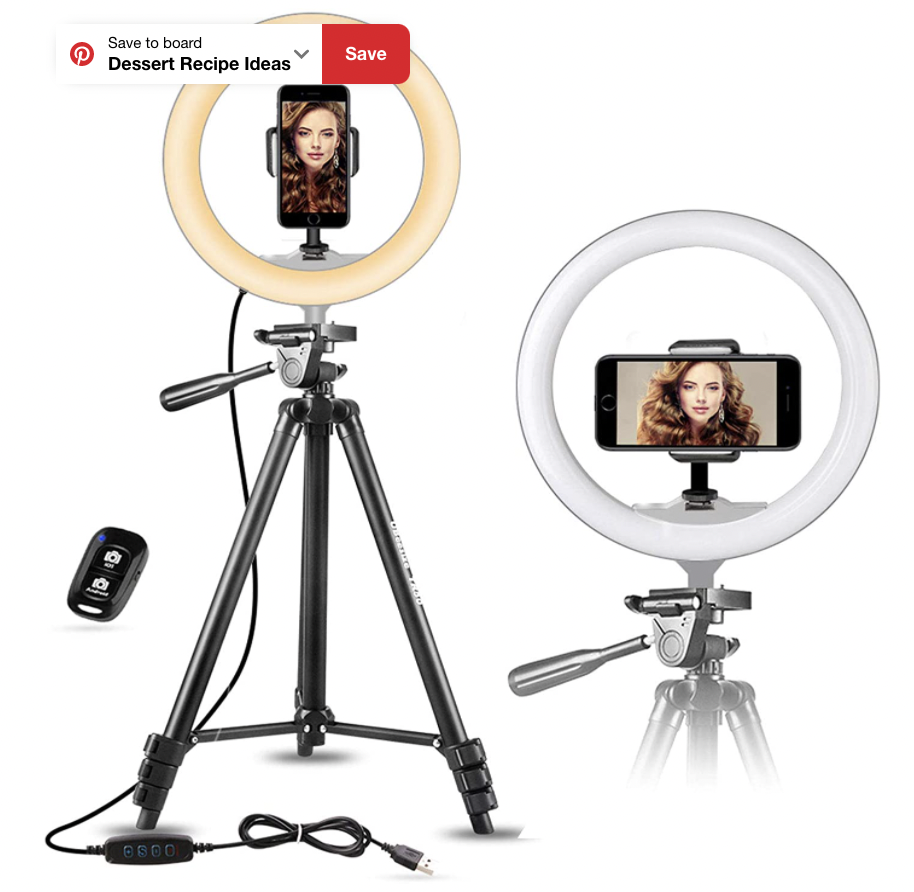
- A Tripod – this is a must for stability and focus
- Backup SD cards (memory cards) and batteries and/or battery charger
- Create a shot list for the day – Know in advance what shots you are going to take. This will help you get the styling completed so you won’t be delayed and spend the entire time “catching the light” during your photography time.
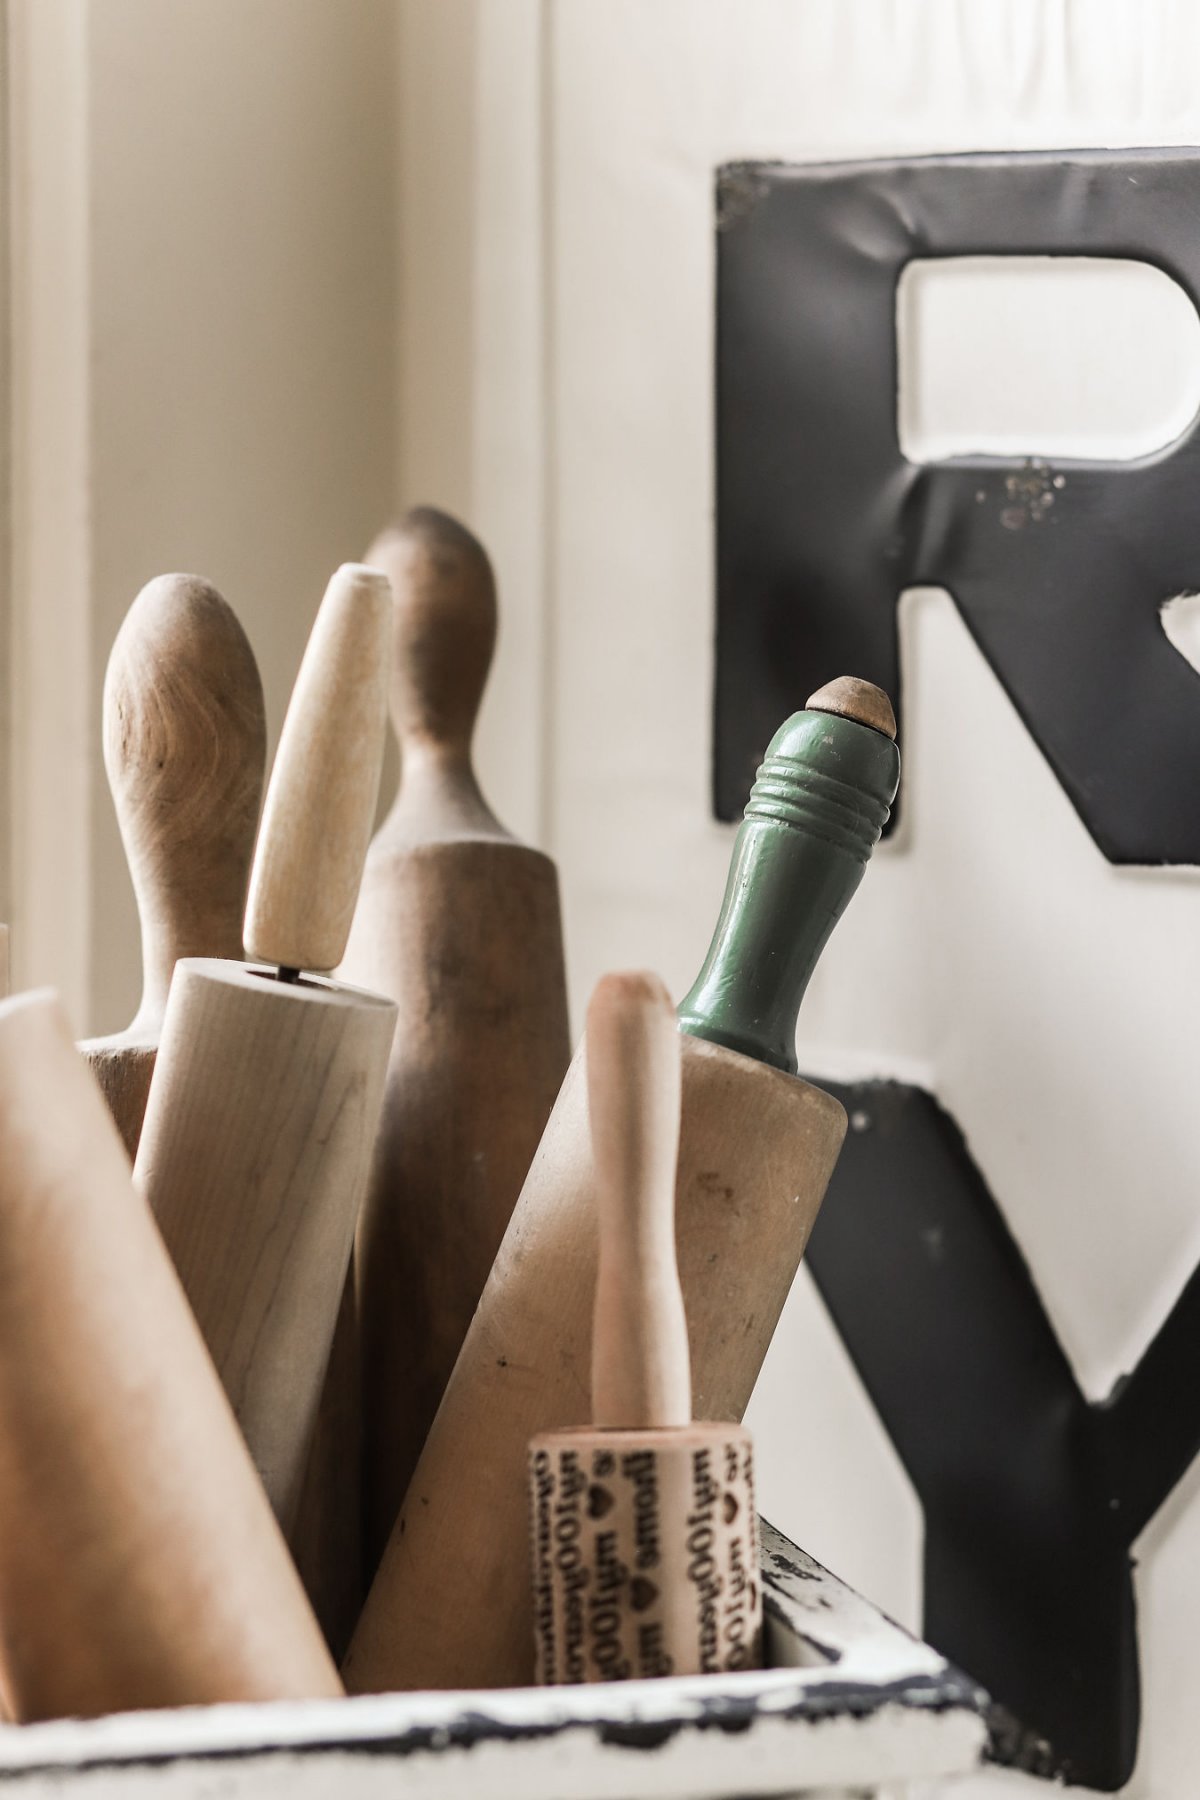
Photo Prep and Lighting
- If you haven’t done it already, create a shot list (it keeps you organized and on schedule so you don’t forget anything)
- Plan for props, setup, photo subject/area/requirements
- Lighting, be prepared to adapt
- Don’t forget the Essential Rule for Photos: start wide, move in closer, then even closer. (I needed this tip so badly. I usually end up taking too many photos of the same thing and now I always start wide, move closer, and then even closer!)
Camera Settings
There are three elements used to control exposure; f/stop, shutter speed, and ISO
Aperture of f-Stop
- Aperture of f-Stop
- This determines how much/little you want in focus.
- Lower f-Stop = blurrier
- Higher f-Stop = more in focus
- Super wide shots/half room shots = use no lower than f/7
- The further away you are from subject/room, the higher the f-stop
- Close up shots should be a f/2 to no higher than f/4
- Manually focus your image
- The halfway point of any room/subject should be the focal point of the image
- This determines how much/little you want in focus.
If you are enjoying my blog, you can sign up to receive my blog updates here.
.
Shutter Speed
- Shutter Speed
- This should be your second setting after f-stop
- This setting determines how fast or slow the camera will capture the image which is another way to determine how much or little light will be in the image
- If shooting without a tripod, the rule of thumb is minimum shutter speed should always be doubled what the focal length of your lens is, i.e. a 50mm lens should be no lower than 1/100. To avoid blur and shake, the shutter speed should be 1/160 or higher
- If shooting with a tripod, the shutter speed should be no lower than 1/100
- Adjusting shutter speed – if high f-stop and image are in the dark, lower the shutter speed until lighter. If low f-stop and the image is in the light, increase the shutter speed
ISO
- ISO
- The ISO is simply a camera setting that will brighten or darken a photo. As you increase your ISO number, your photos will grow progressively brighter.
- The ISO is your last resort when lighting exposure. Most of the time, ISO for interiors should be 200-600. Stay below 1000 to avoid grain in your images
A Few Little Reminders
Little Reminders
- For interiors, almost always use auto white balance (it keeps your photo from being too blue or too yellow)
- Be aware of angles. Try to keep your camera parallel to the ground for symmetry.
Get the Interior Photography Tips Download from Public 311 Design
Frequently Asked Questions
The f-stop is the measurement used for the size of the lens opening – with a larger aperture or opening, more light passes through to the image sensor; with a smaller aperture, less light passes through.
Shutter speed is generally measured in fractions of seconds (i.e. 1/30, 1/60, 1/125, 1/250). On DSLR cameras, typically only the fraction’s denominator is marked. For example, in the image below, the “60” in the upper left corner indicates a shutter speed of 1/60 of a second.
In simple terms, ISO is a measure of the sensitivity of the camera’s sensor to light. The lowest ISO setting of most digital cameras is 50, 100, or 200. At this setting, the camera’s sensor is least sensitive to light. At higher settings, like 3200 or 6400, the sensor is more sensitive to light.
Links to the Items Shown in This Post

Similar Posts
Pin the image below to your decor boards on Pinterest (just click the Pin button in the top left corner). You can also follow along with me on Pinterest!
For more real-time updates, follow me on Instagram @My100YearOldHome

What a great post Leslie! I never use my 35m, partly because it seemed like too much trouble, but mainly because I clearly don’t know how to use it properly!! Thanks for sharing these three lovely ladies and there accounts! Lots of good info;-)
Natshia and Shauna are so amazing and they break all of the info down to make it very understandble. Make sure to download the tips so that you have all of the info!
Boy did I need this!!! Not only did I not understand f-stop, but I’ve never been able to figure out how it works on my camera! This makes so much sense – I’m going to print out the sheet and practice with my camera asap! Thanks a million for the great info, and for introducing me to Debra and Public 311 Design. On to photography! 🙂
I’m so happy you enjoyed this post Barbara. Make sure to download tips so that you have all of the info!
This was fantastic. Thank you. ♥️
I am so glad that you enjoyed it Katrina. They are truly amazing!