How to Organize a Craft Room
It’s that time of the year where a lot of crafting is going to be happening in my craft room. Today I am sharing how to organize a Craft Room.
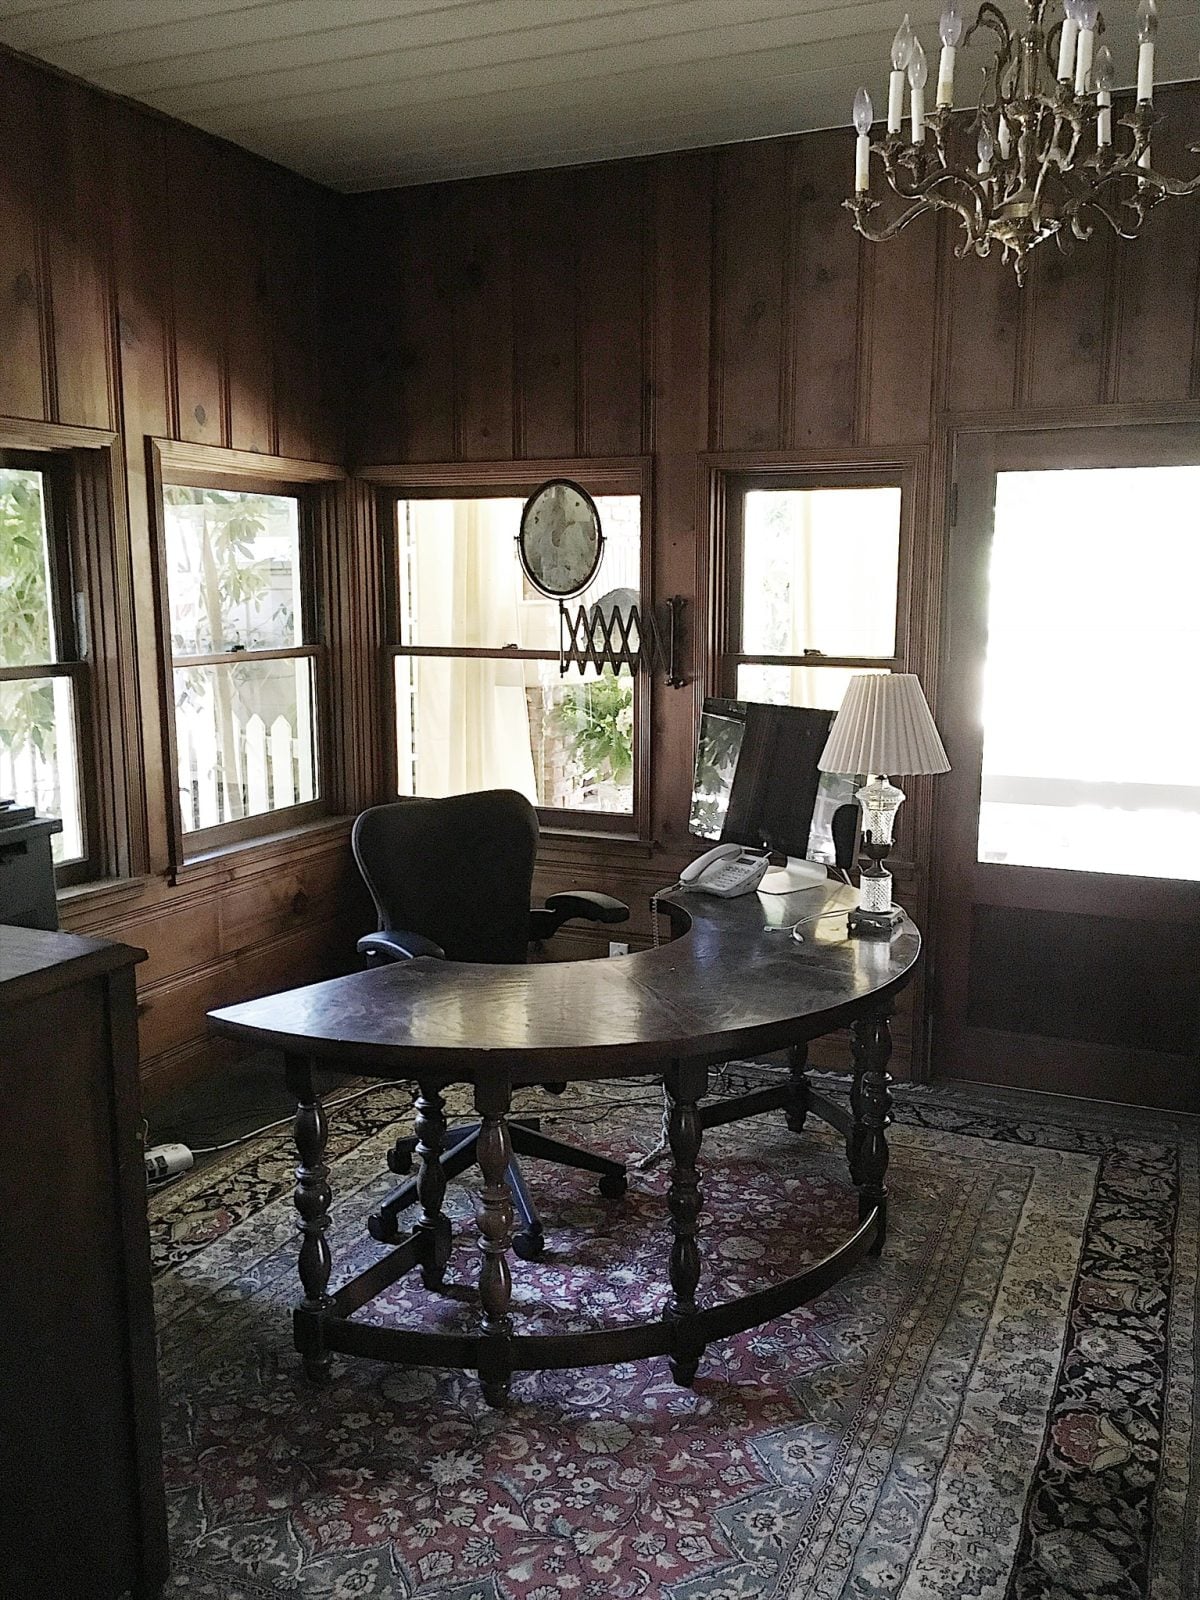
A few years ago I completely changed my office into a craft room. My office was really dark and I didn’t like it. But the wood was pretty so I just left it. It was kind of an unused room. Actually, mostly it was a storage room.
This is what my craft room used to look like. It’s a classic look and my desk was pretty cool. It just didn’t feel like a room where I could be creative.
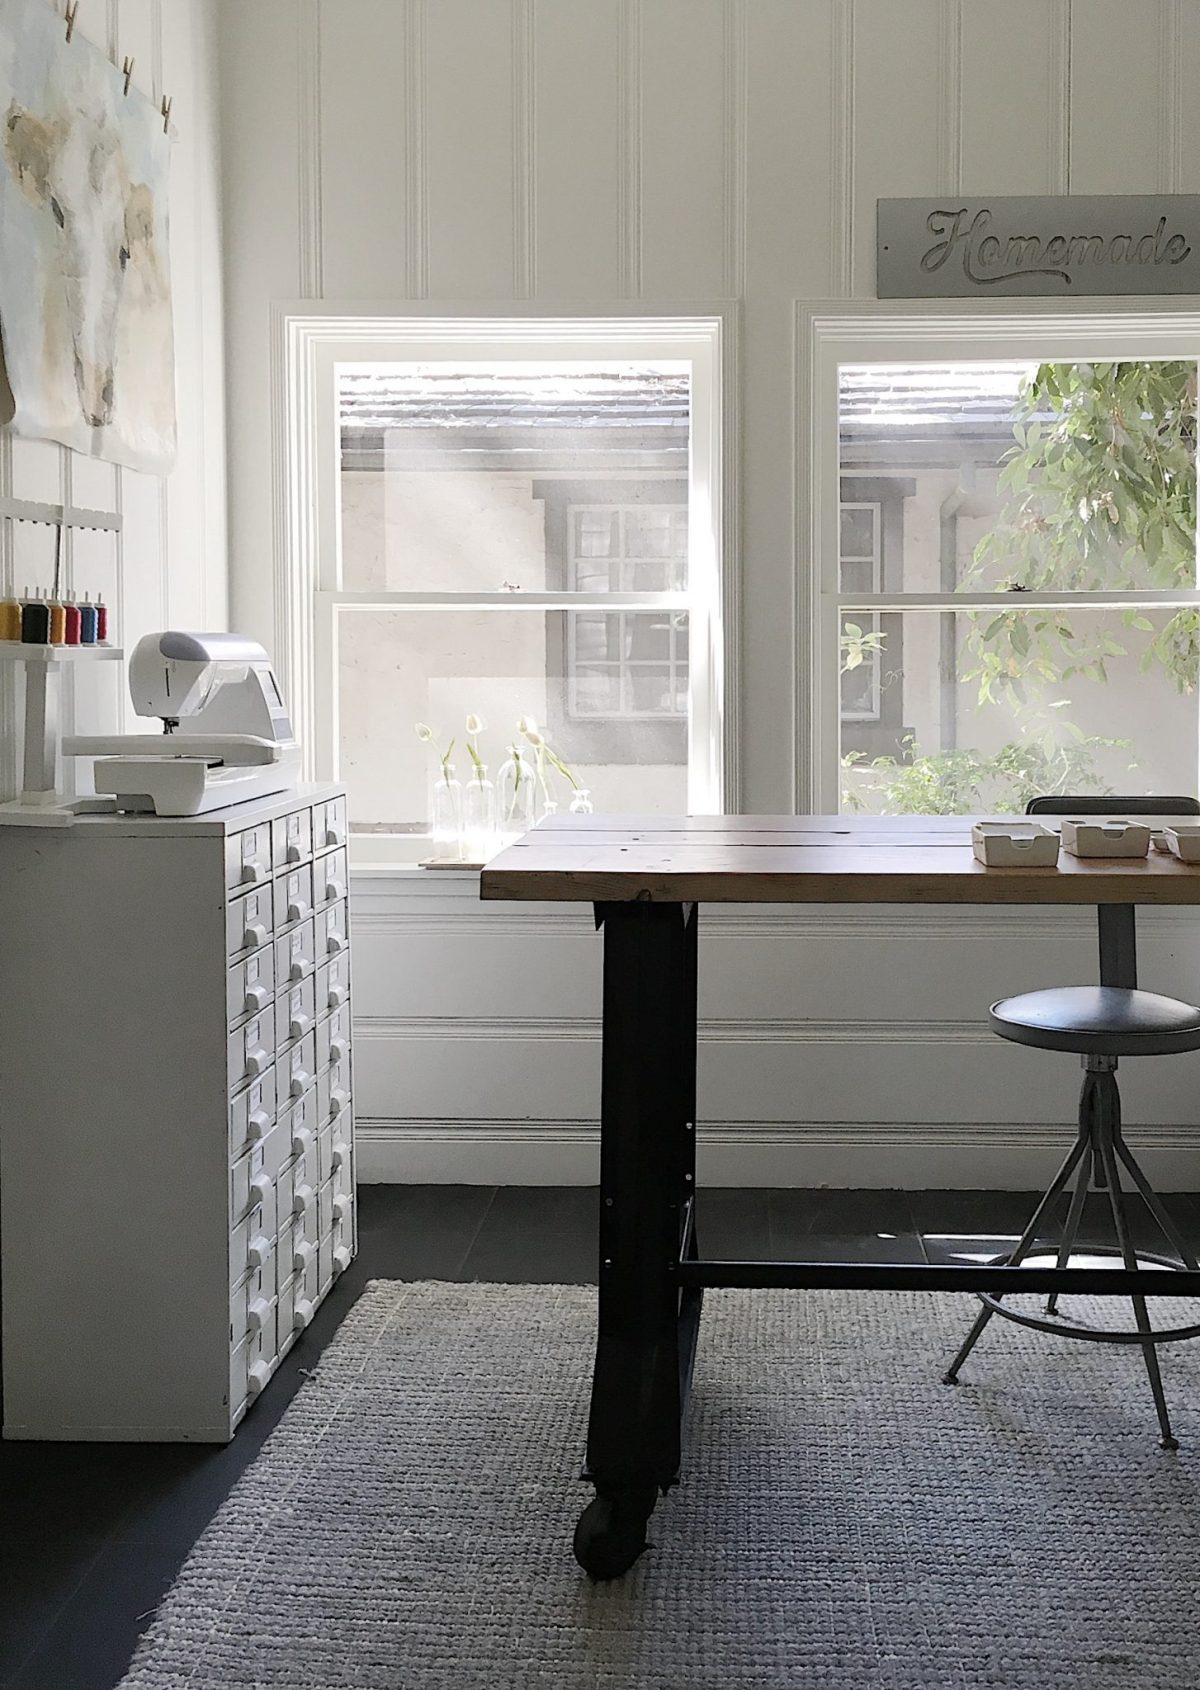
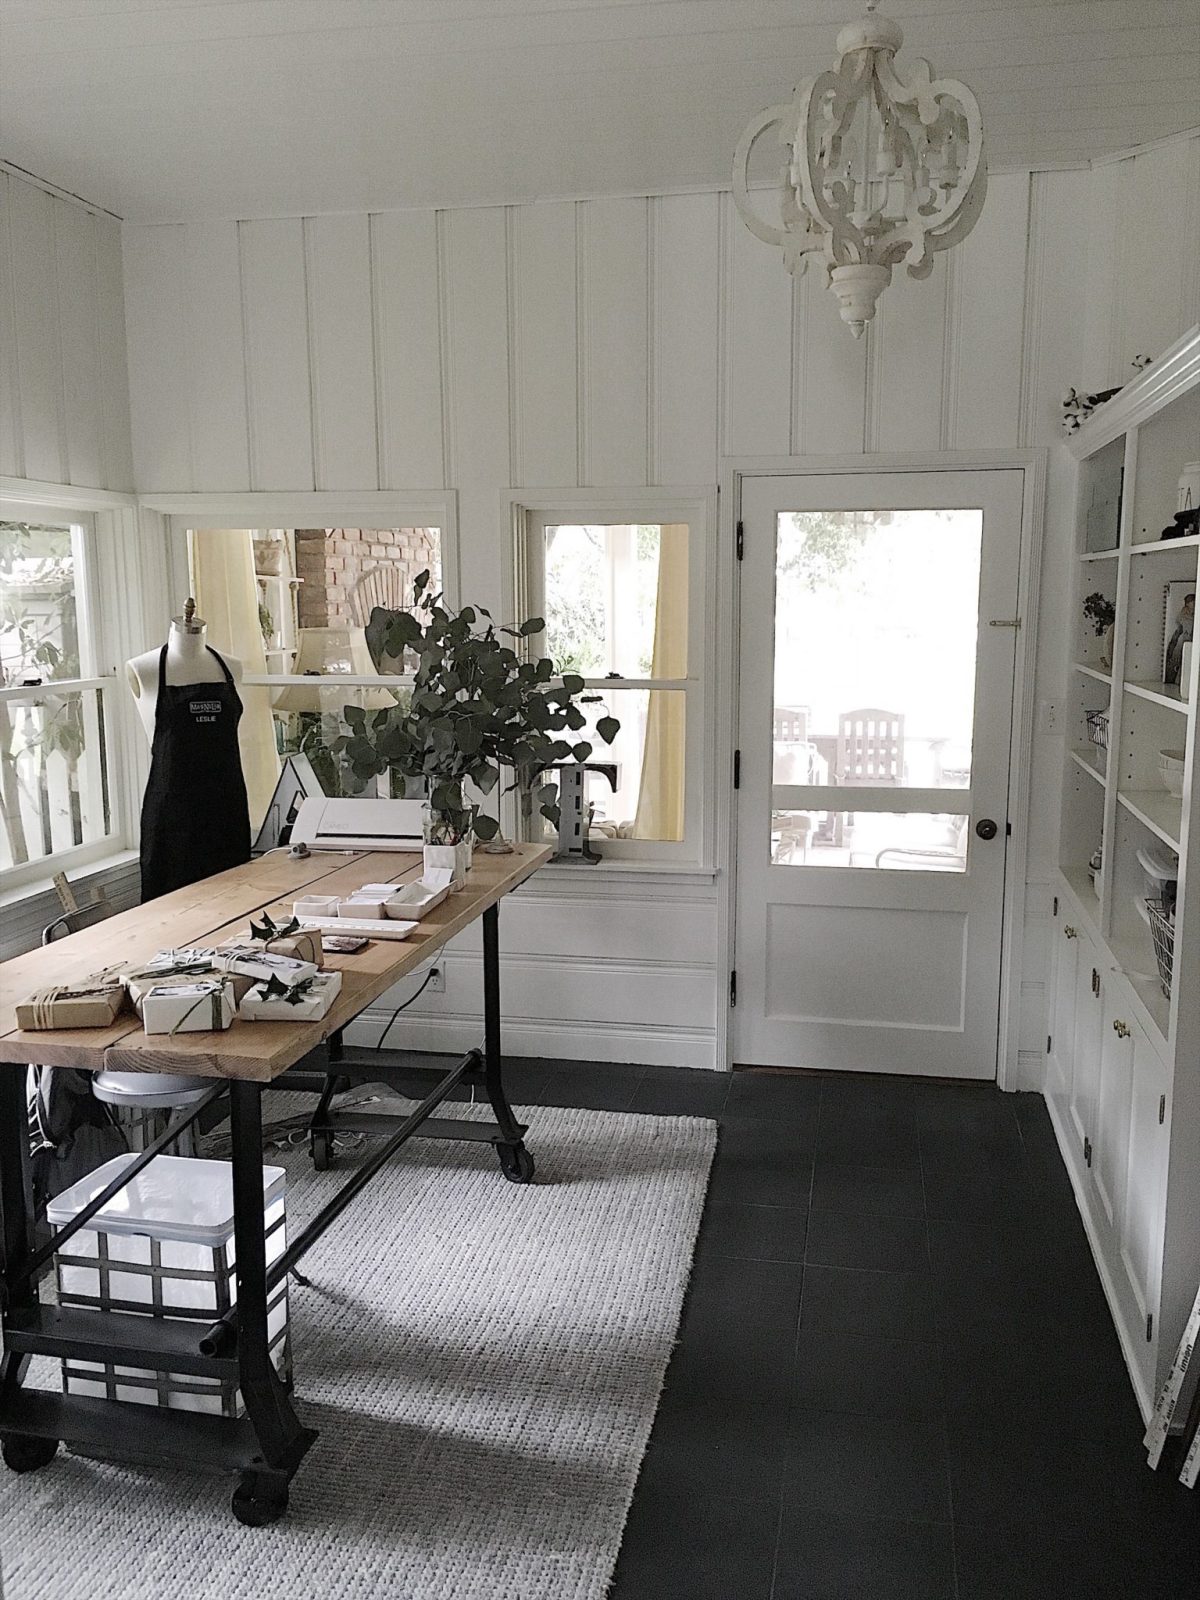
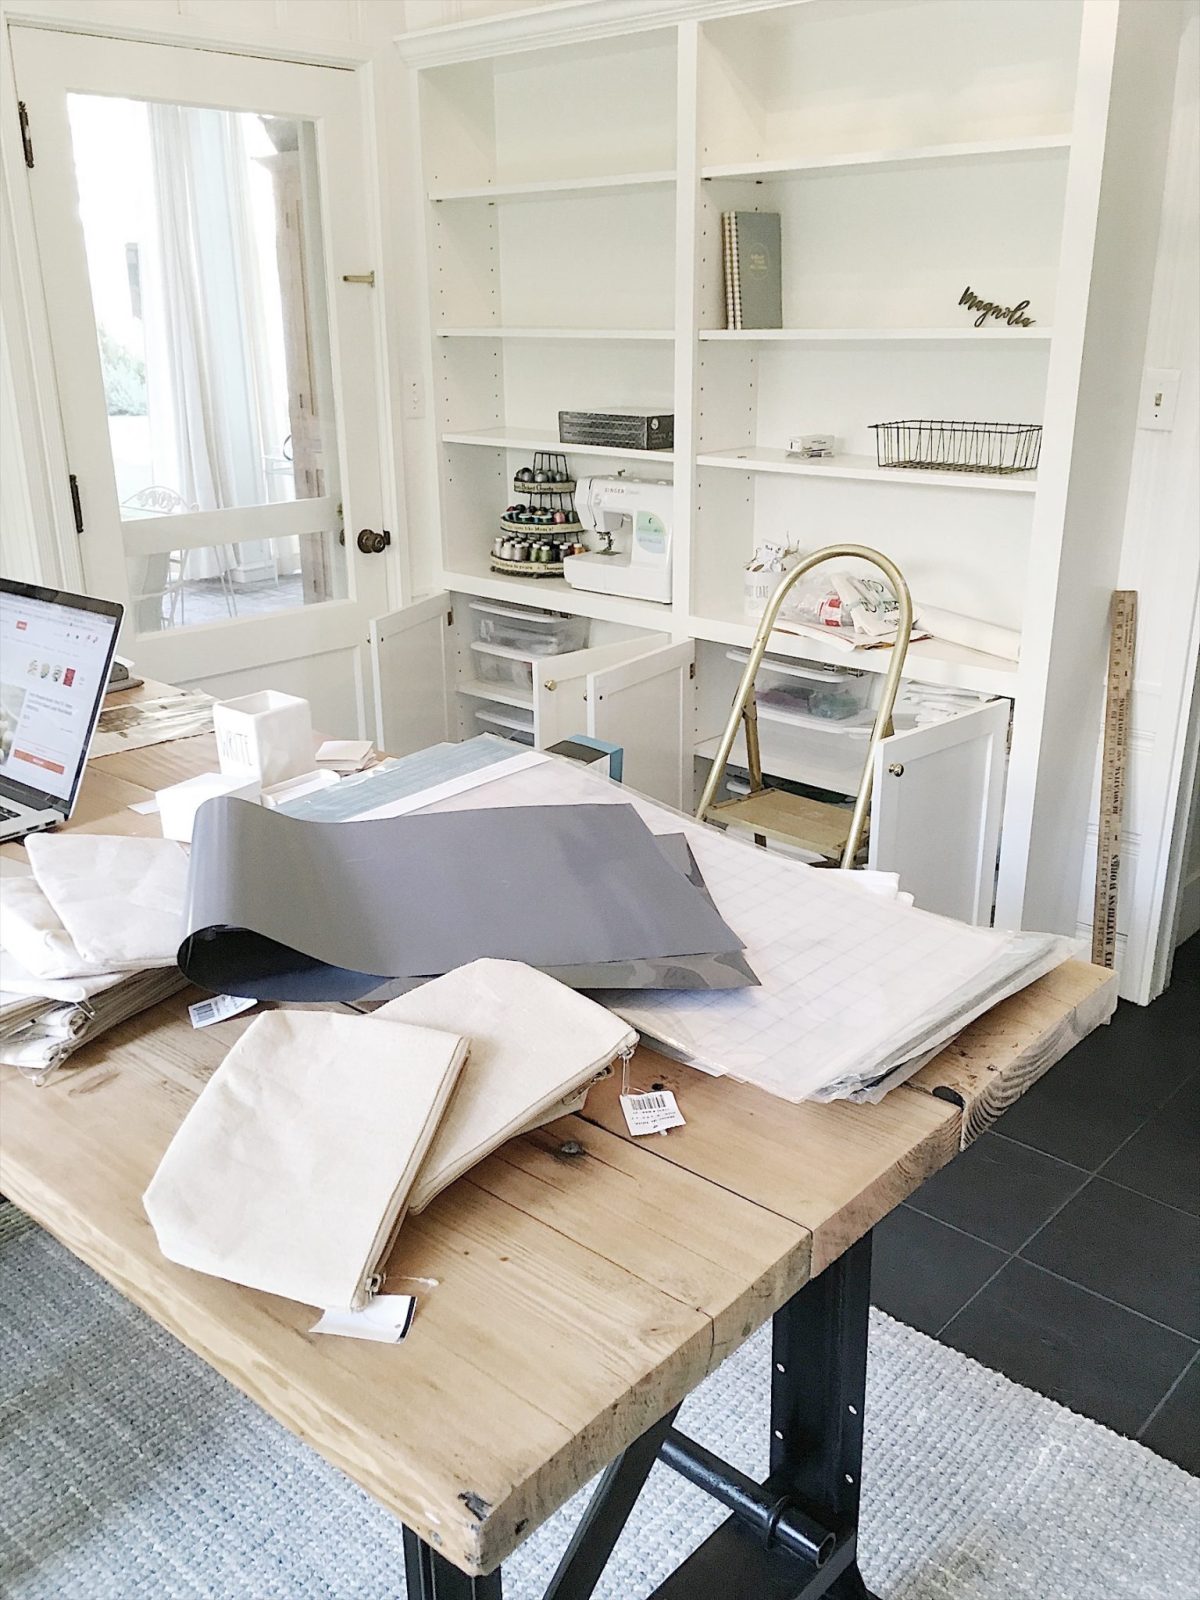
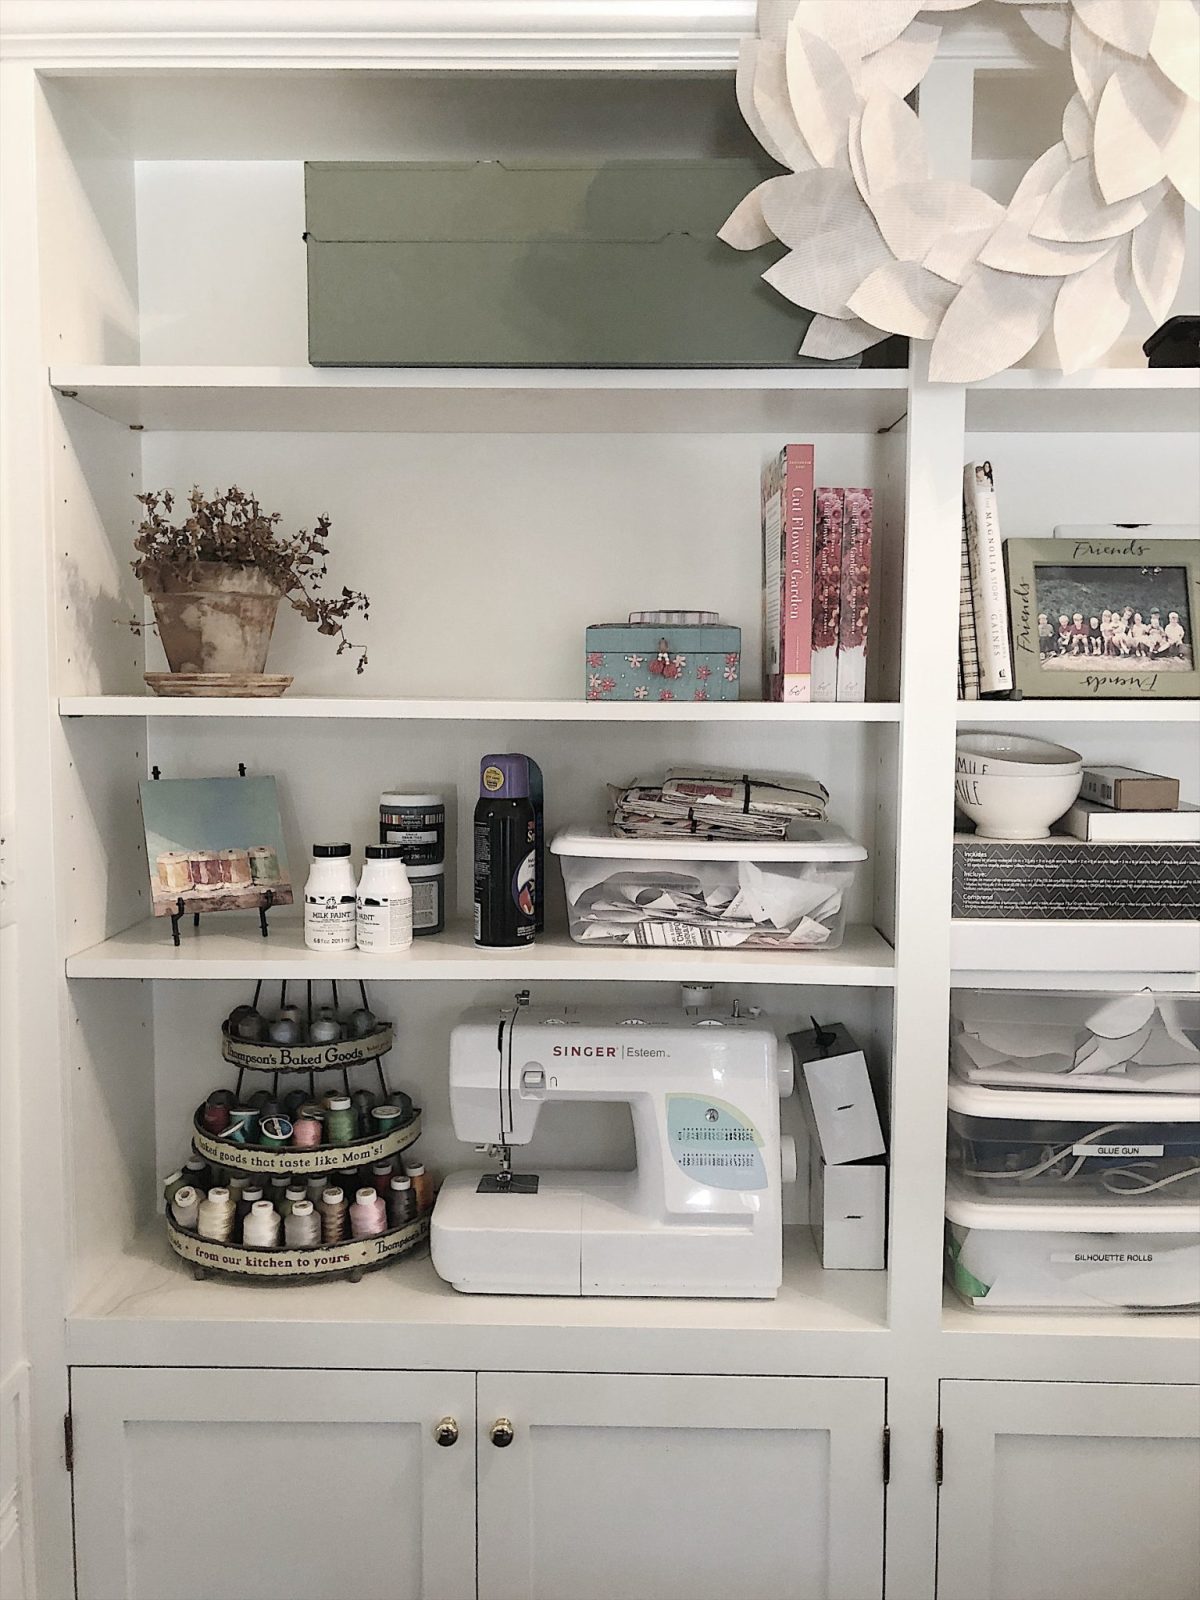
This is what my craft room looks like now. Can I just say that white paint is a very good thing? (It’s actually Swiss Coffee by Dunn Edwards.)
All I did was paint the walls and change out the carpet. Check out my blog post here about the remodel. I replaced my desk with a craft table I found at the Rose Bowl Flea Market (you can see that DIY here). Can you believe it?

I love the new room because it is light and airy and has all of my craft project stuff at my fingertips. The thing about a craft room is that you can’t expect it to always look perfect. Creativity doesn’t work that way. So give yourself a little room to spread out and enjoy your DIY’s and projects!
Tips to Organize a Craft Room
#1 Only Keep Craft Supplies That You Use in Your Craft Room
It is easy to fill your craft room with a lot of crafting supplies. I finally decided that I would store my “project stuff” in another room and just keep what I actually use in my craft room. This was a really smart decision because I have a lot of “project stuff” such as crepe paper, felt, fabric, paint, and more. As I change projects, the supplies are moved in and out of my craft room.
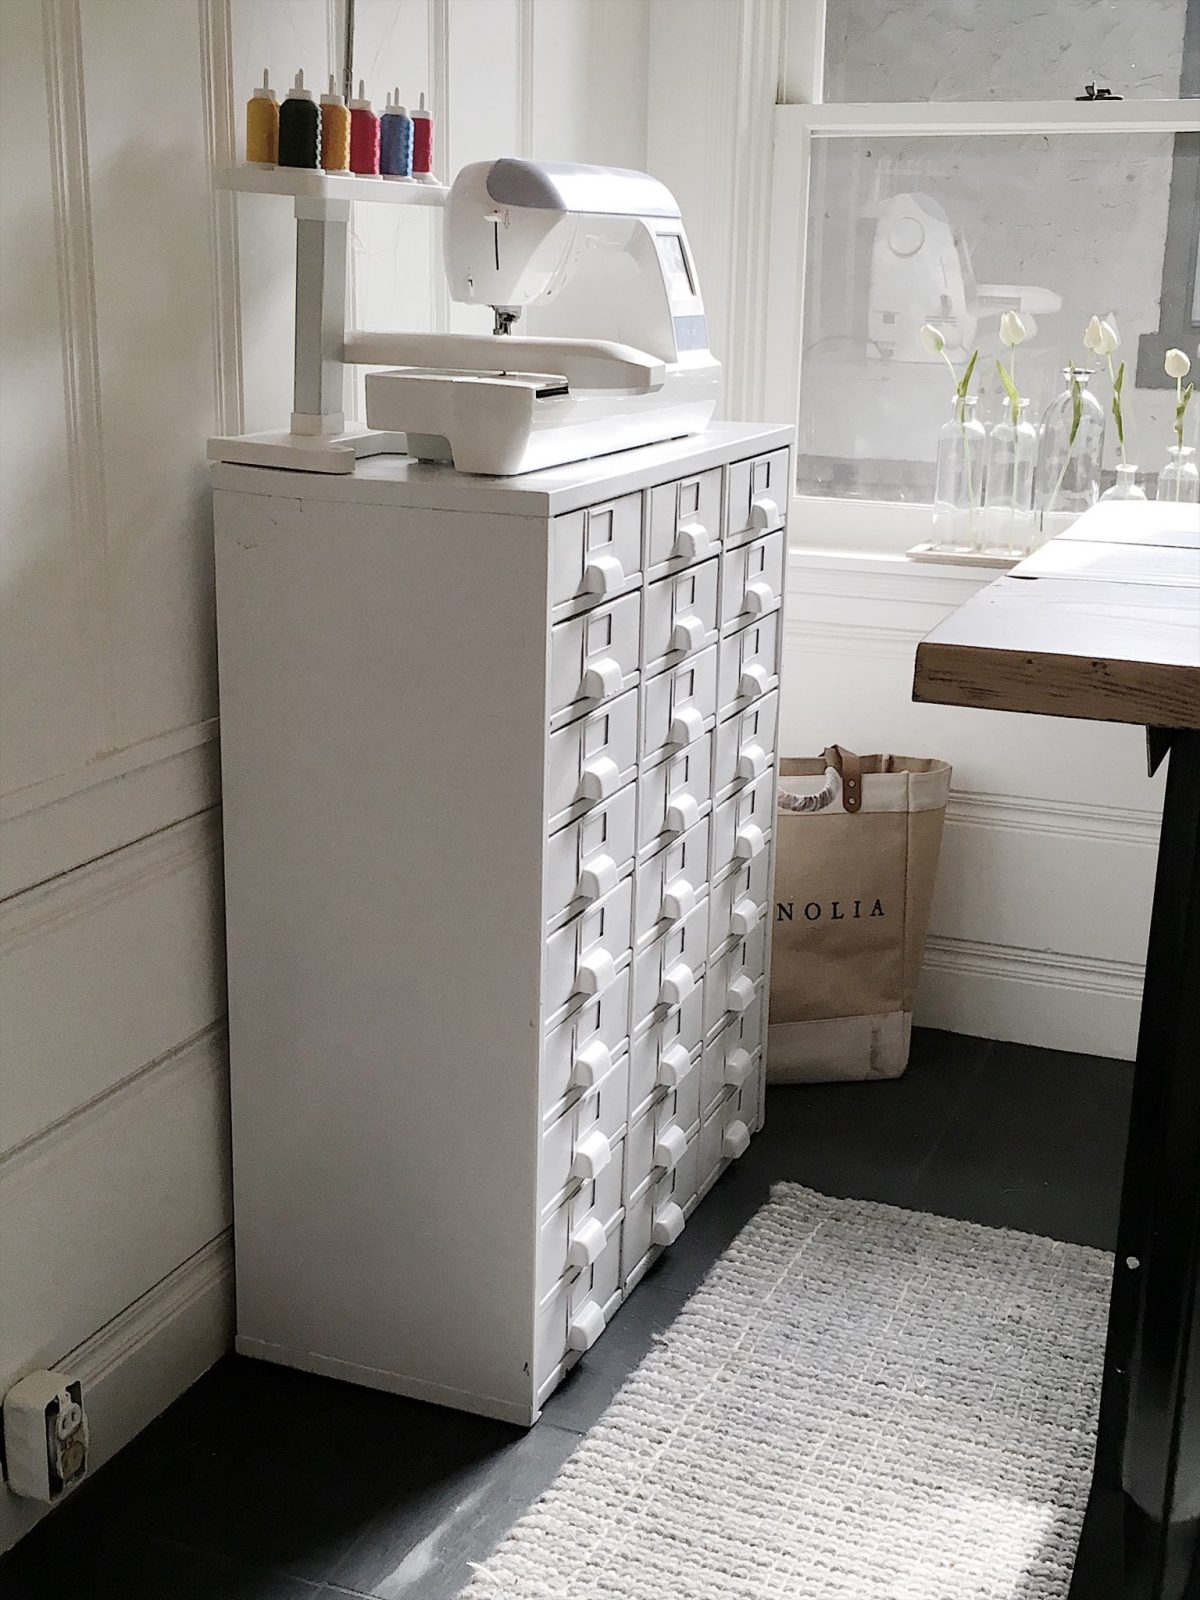
I have a wonderful Brother embroidery machine. I use it all of the time and I love it!
#2 Make Sure You Have Plenty of Storage
There are a lot of craft items that I need frequently. Things like scissors, tape, glue, pens, paper, trim, rubber stamps, and more. I wanted a cabinet to store all of these items and I found it at the flea market. This cabinet is perfect to organize a craft room.
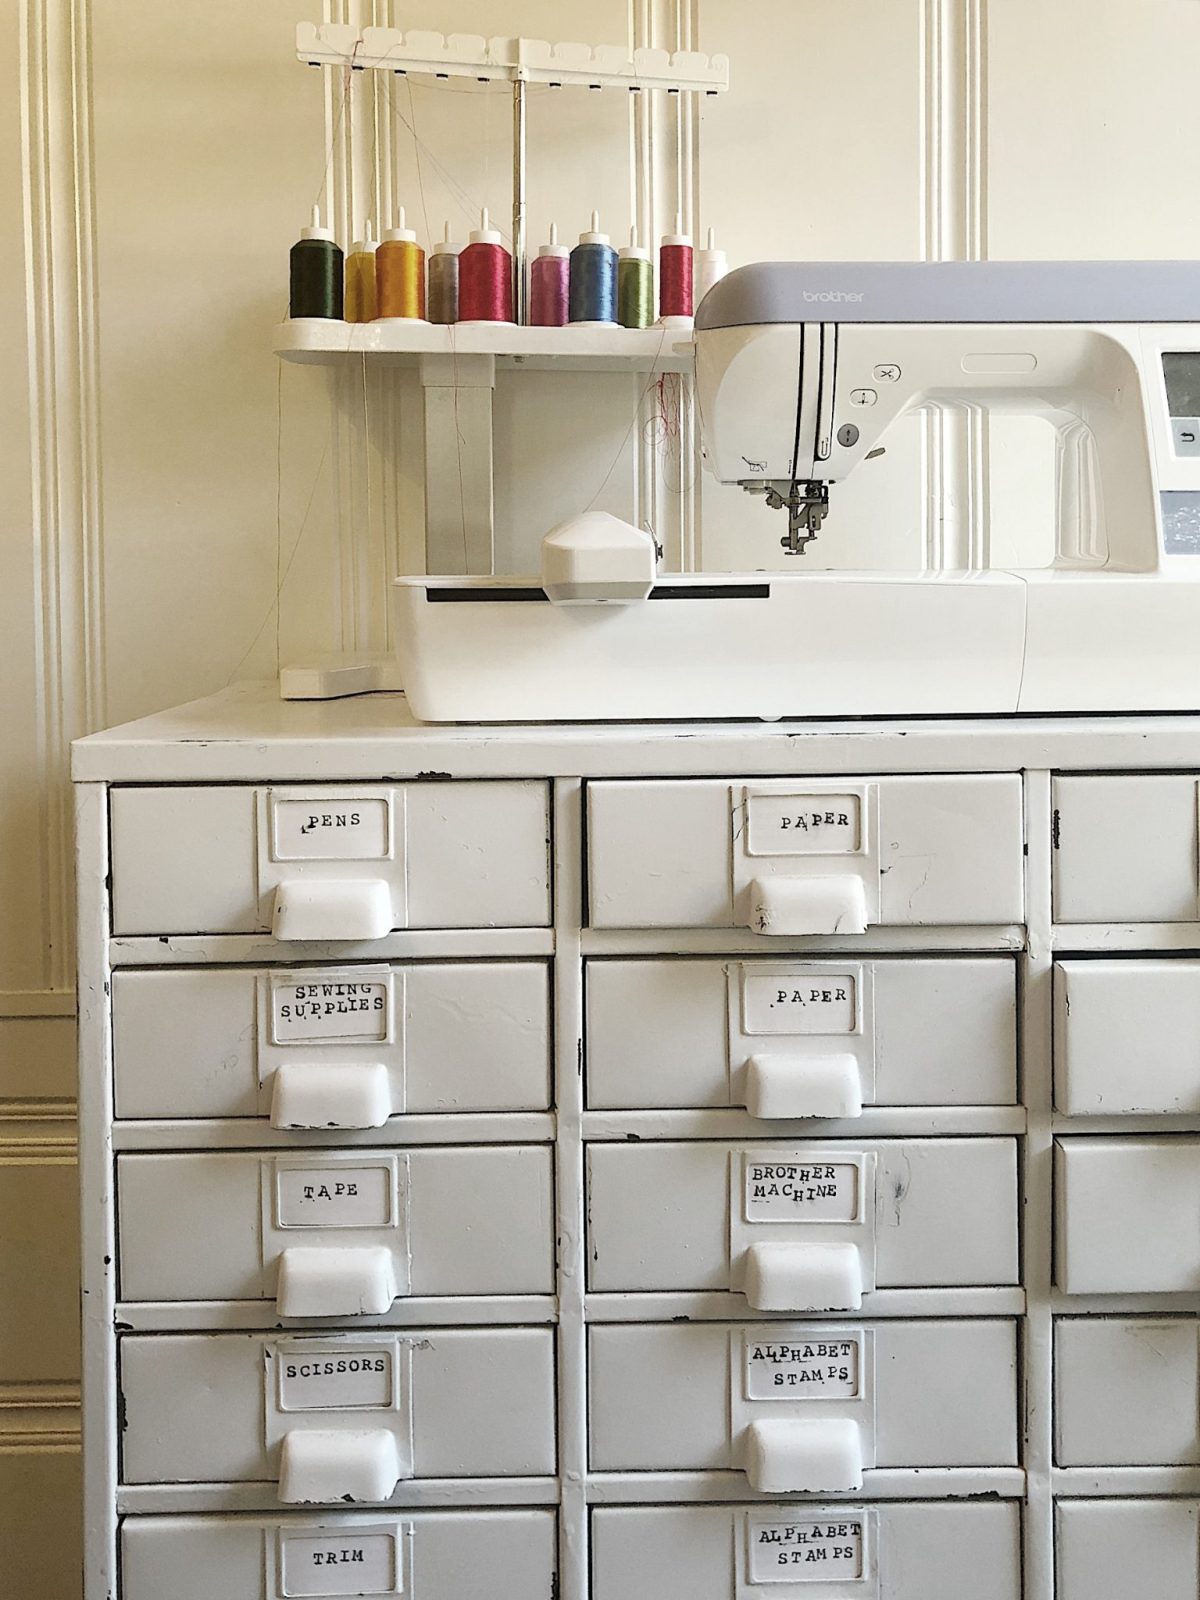
I bought the old metal cabinet and cleaned it up and spray painted it. Then I labeled all of the drawers so I could easily find my craft supplies. Something as simple as a cabinet with drawers labeled with items you need daily can save you so much time. It makes it so much easier to complete a craft when I can find everything I need at my fingertips.

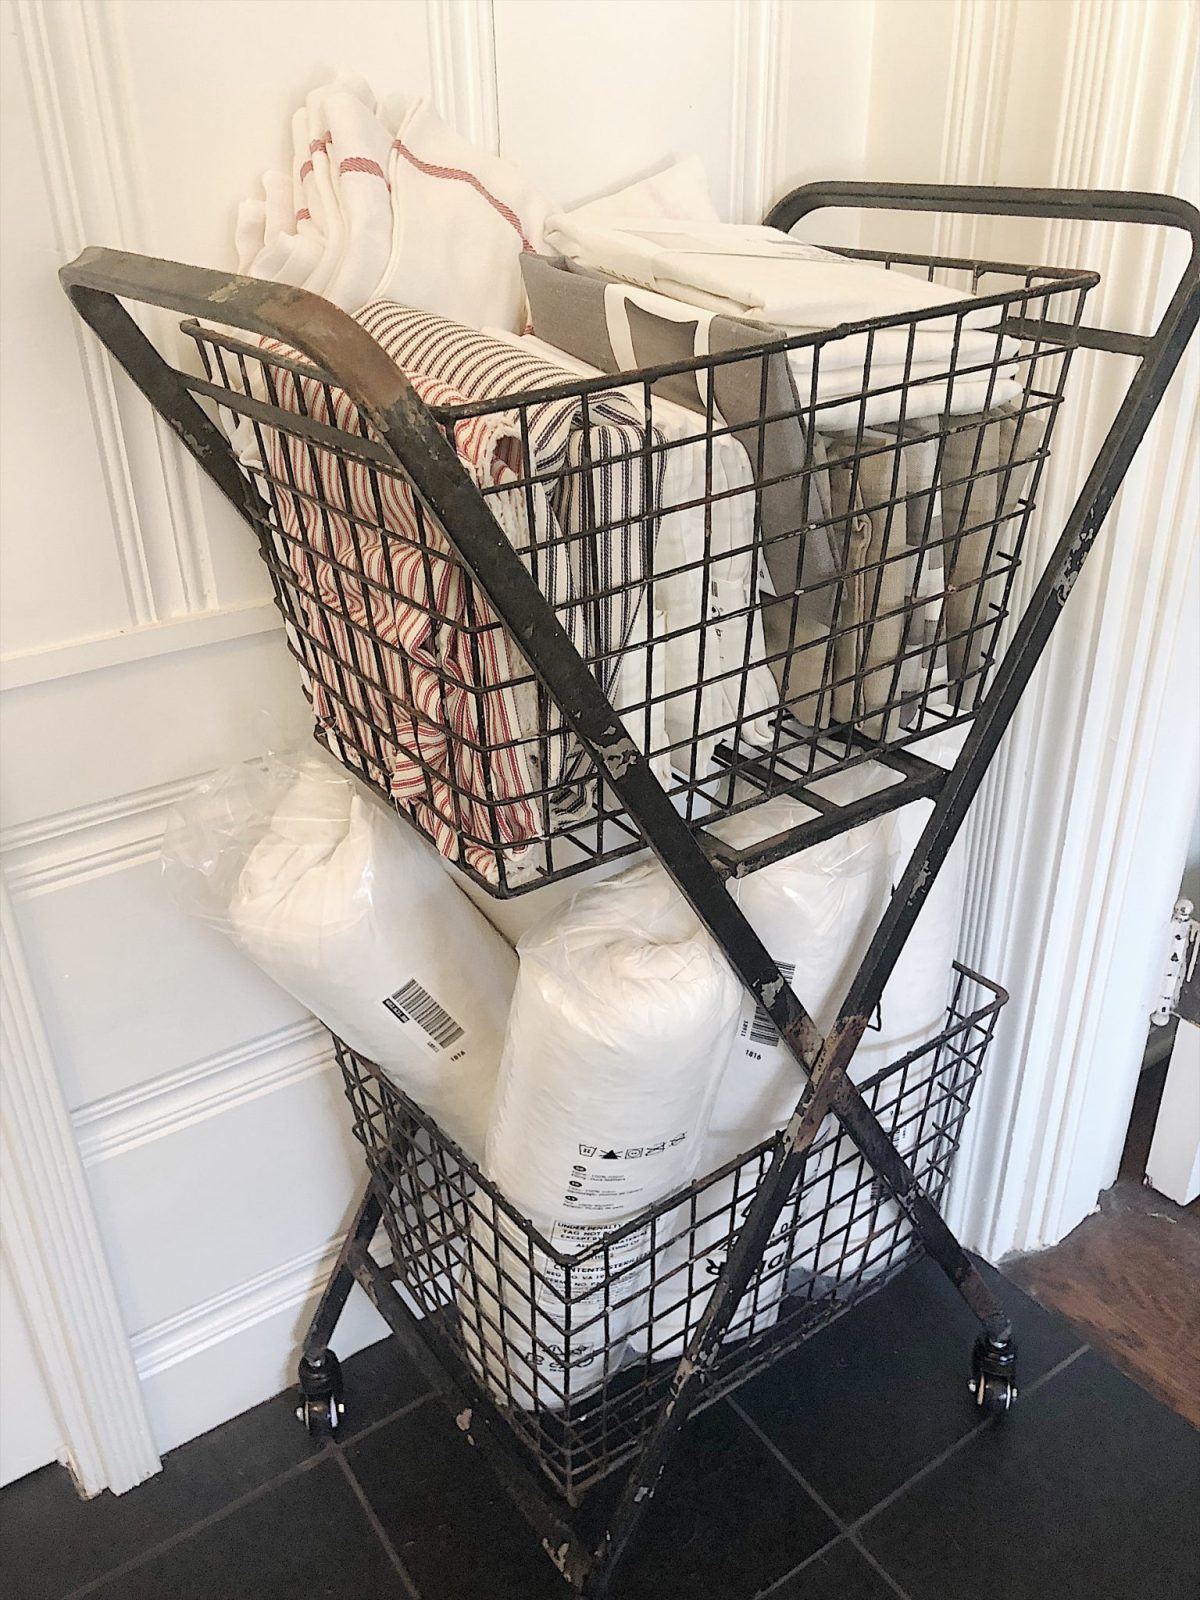
I also recently added this Project Cart to my craft room. I use the cart to store my current craft project. The two wire shelves are perfect because they hold everything I need. As you can see here I have a current project of making pillows.
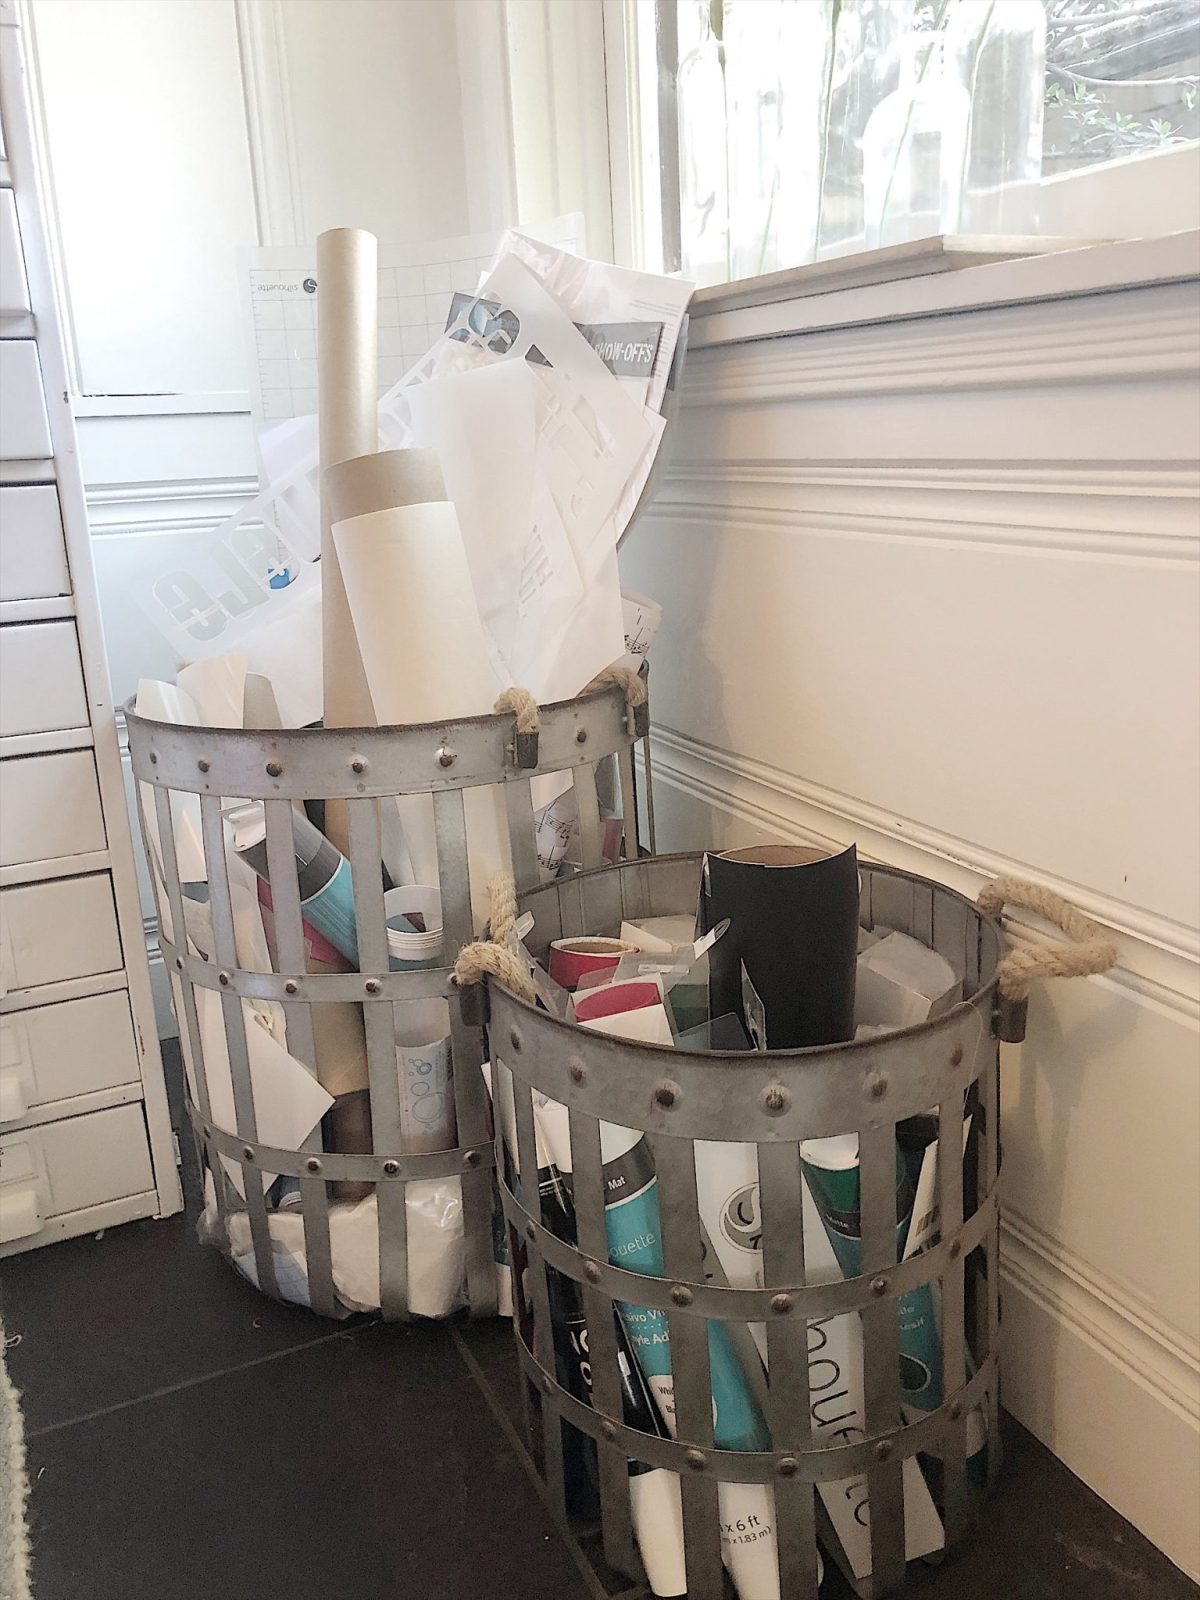
I also use metal bins (from Hobby Lobby) to organize my materials for my Cricut machine. I love these so much.
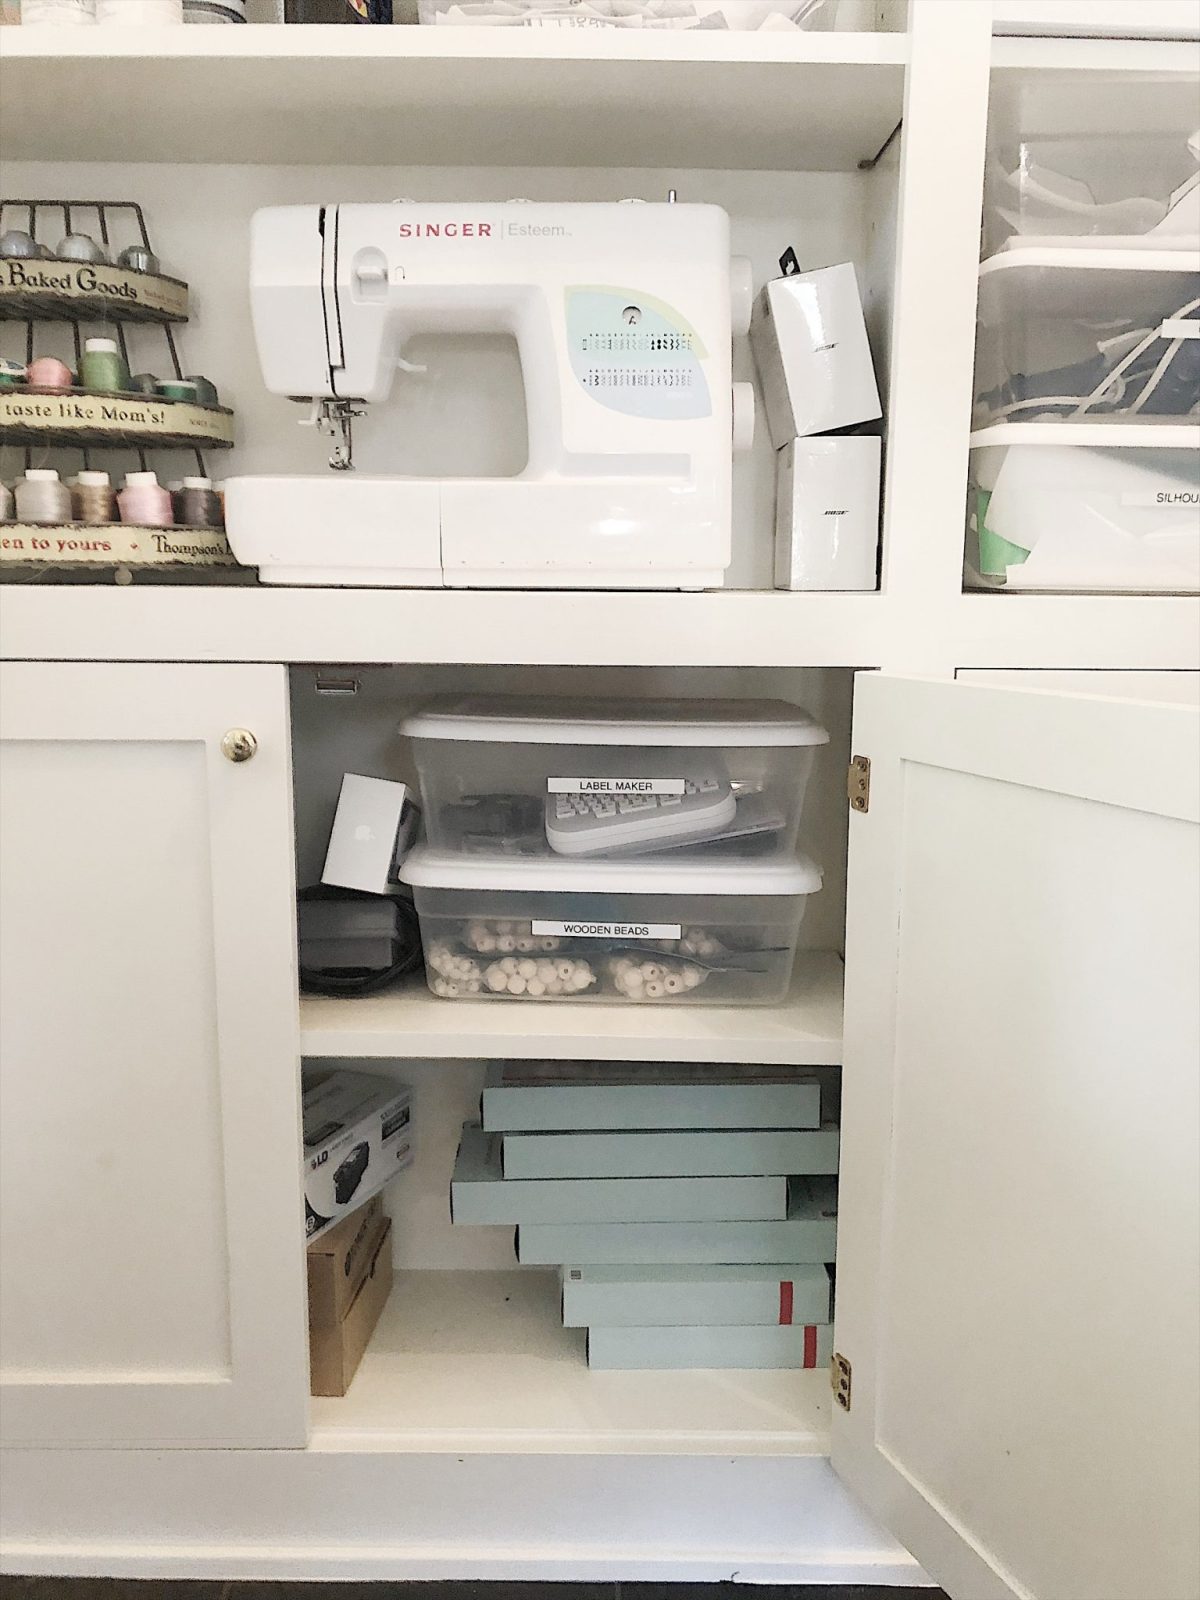
I painted the built-in cabinet in my craft room white and love how it stores so many of my supplies.
I filled a lot of bins with craft materials and labeled them and added them to the cabinet.

As you can see, I even have a bin for receipts. It still needs a label!
I also have a bin for wooden beads, my label maker and supplies, glue guns, and more!
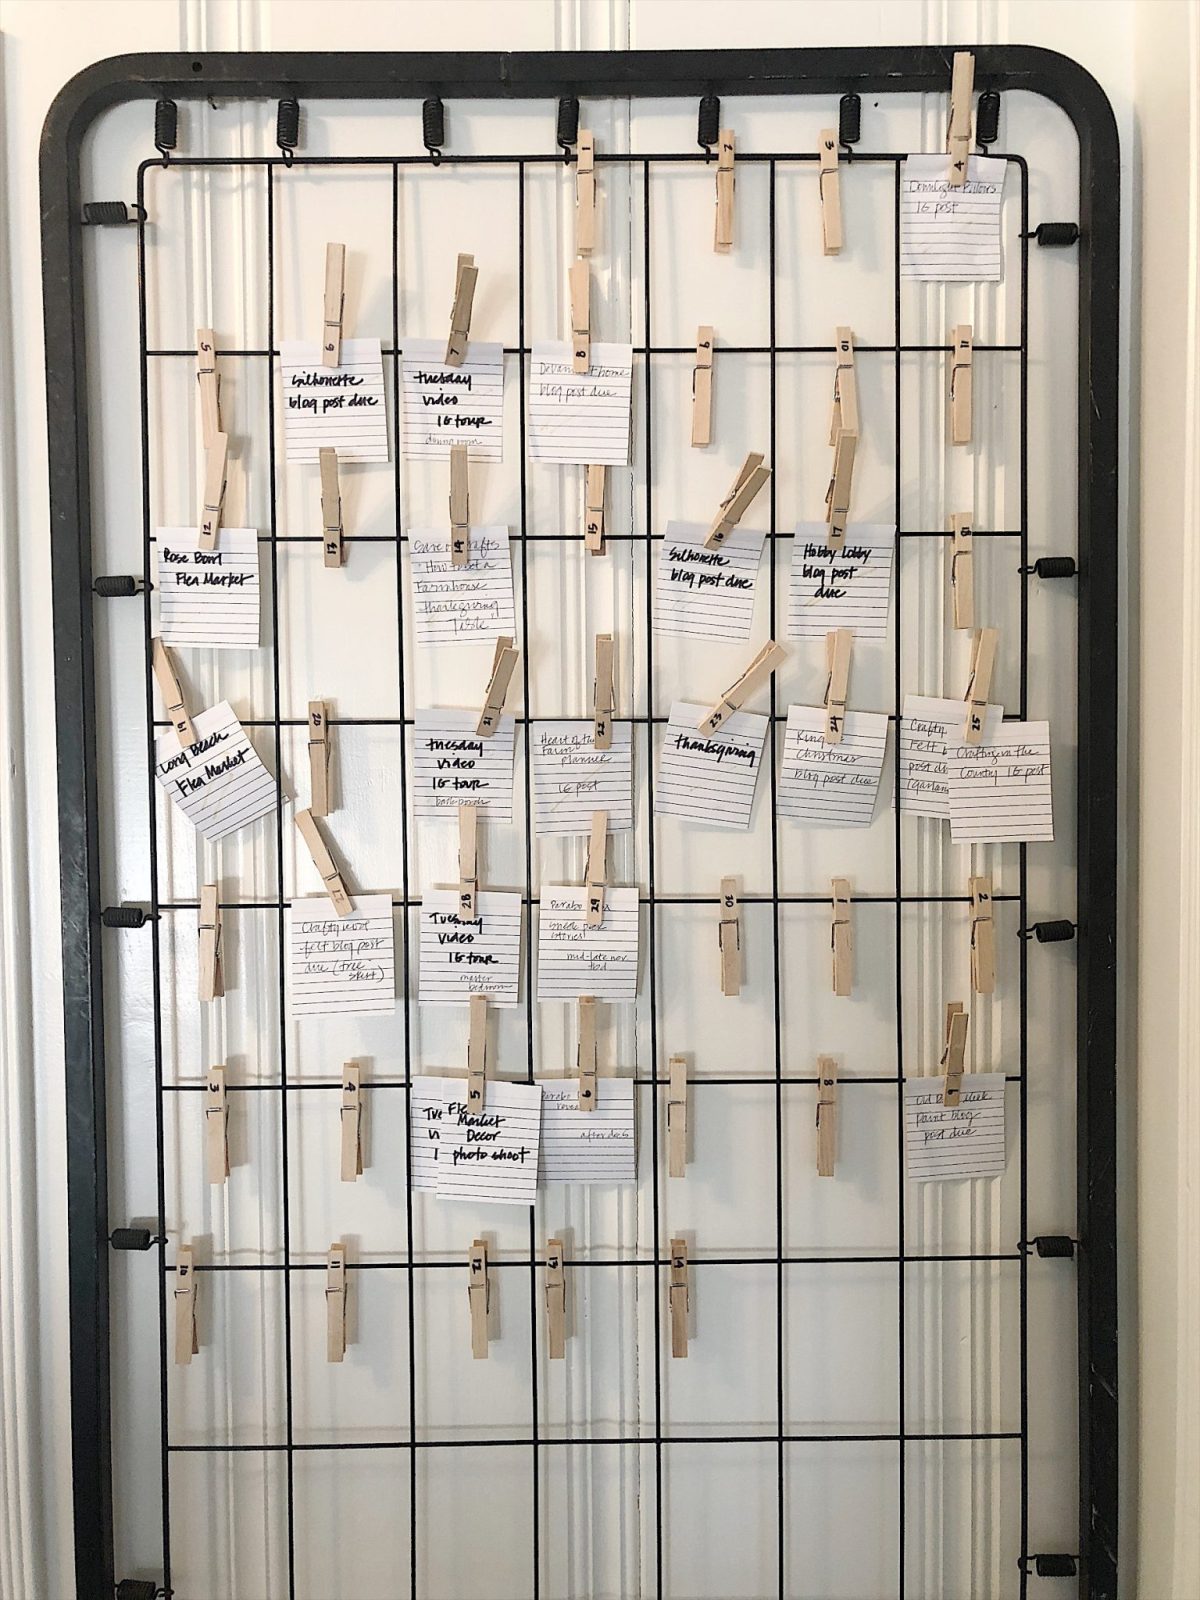
#3 Keep Things Visual
Creative people like to see everything. Many of us are afraid that if we can’t see it then it won’t get our attention. Try to keep as many things visible as possible.
I came up with a way to organize my schedule on the wall. I hung this vintage crib mattress holer and added dates to the clothespins and included all of my upcoming blog posts. This is a photo from a while ago but it worked very well.
My craft room is always changing and it still ends up full of new packages and projects everywhere. I have to force myself to put everything away. Keeping a craft room clean and organized is really important because you don’t want clutter to negate your creativity. I have to organize my craft room almost every week!


It may just be me, but I think the repainting of the walls made your room very modern, despite the vintage pieces here and there. It’s really nice!
Can you share where you found your desk/table! I love it!
Flea market?
This is inspiring, a perfect craft room! Do you have your fabric stored elsewhere?
Leslie,
What a fabulous post! I love all your containers, and I especially love your vintage crib mattress organizer! Such a cute but effective system! Thanks so much for join us!
Wow that room is stunning! I love your metal chippy cabinet, perfect for organizing!
Such a fun space! You sure are lucky to have a room for creating fun projects!
This is THE best craft room ever. The before picture and the after is crazy good. Oh the wonders of paint.
Leslie, I LOVE your craft room! As my children move away, this may be a good use of one of their rooms. The before and after photo are amazing. Thanks for sharing-great post!
I love your craft room Leslie! Maybe I can get my husband to give up his office so I can have a craft room! 😉
I do love your craft room, the paint made all the difference. What is a Silhouette?
Kathy
I love your craft room–bright and organized. As a beginner painter I really enjoyed seeing your painting of thread spools.
I am so glad you enjoyed this, Jody! Thank you for following along.
I have moved and transferred a huge amount of craft supplies from a big beautiful studio room overlooking a lake to shelves at the end of an extra long garage. Organization was key. I used metal/wood screens and that big gray shelving to make an 8′ x 8′ studio at the end of the garage and invested in plastic drawers that fit perfectly on the shelving to sort out all my tools, supplies, etc. It’s been a huge job, but it’s been nice to become Super organized and I’ve been able to re-introduce myself to some of my projects, haha!! Of course, there was lots of downsizing, but I’ve narrowed it down to the real treasures and I can find everything, absolutely sensational to put my hands on something at a moments notice. I went vertical also, so the top shelves(white boards from Lowes) that circle my little studio hold vintage gym baskets of silk flowers, sorted by color. I look up and see a garden, very nice. Your room looks so gorgeous. I love it.
Would love to see a picture of the area you created.
Thank you so much for sharing, Eileen!! You have great ideas!
Lovely crafts room (love the location of the crafts room too !). Your work table looks like it’s bar height. If I’m right, what do you do when you sew ? Do you have a platform where to put the pedal ? Just curious. Thanks !
Hi Leslie
Loved your post, and how you created your craft room! I’m always looking for a way to store my art supplies. My go to is vintage solutions and love, love your crib spring idea… so much more creative than a white board🤗 thanks! Love your blog❤️Melanie
Thank you so much for sharing, Melanie! I am so happy you are here to follow along with me.
Where do you store the other supplies? You said you moved out crepe paper etc?